Vintage Christmas Stamps Printable
Hello Graphics Fairy friends! I’m Diana from Dreams Factory and I’m back with another creative project! Today we are making a beautiful Vintage Christmas Stamps Printable Project!
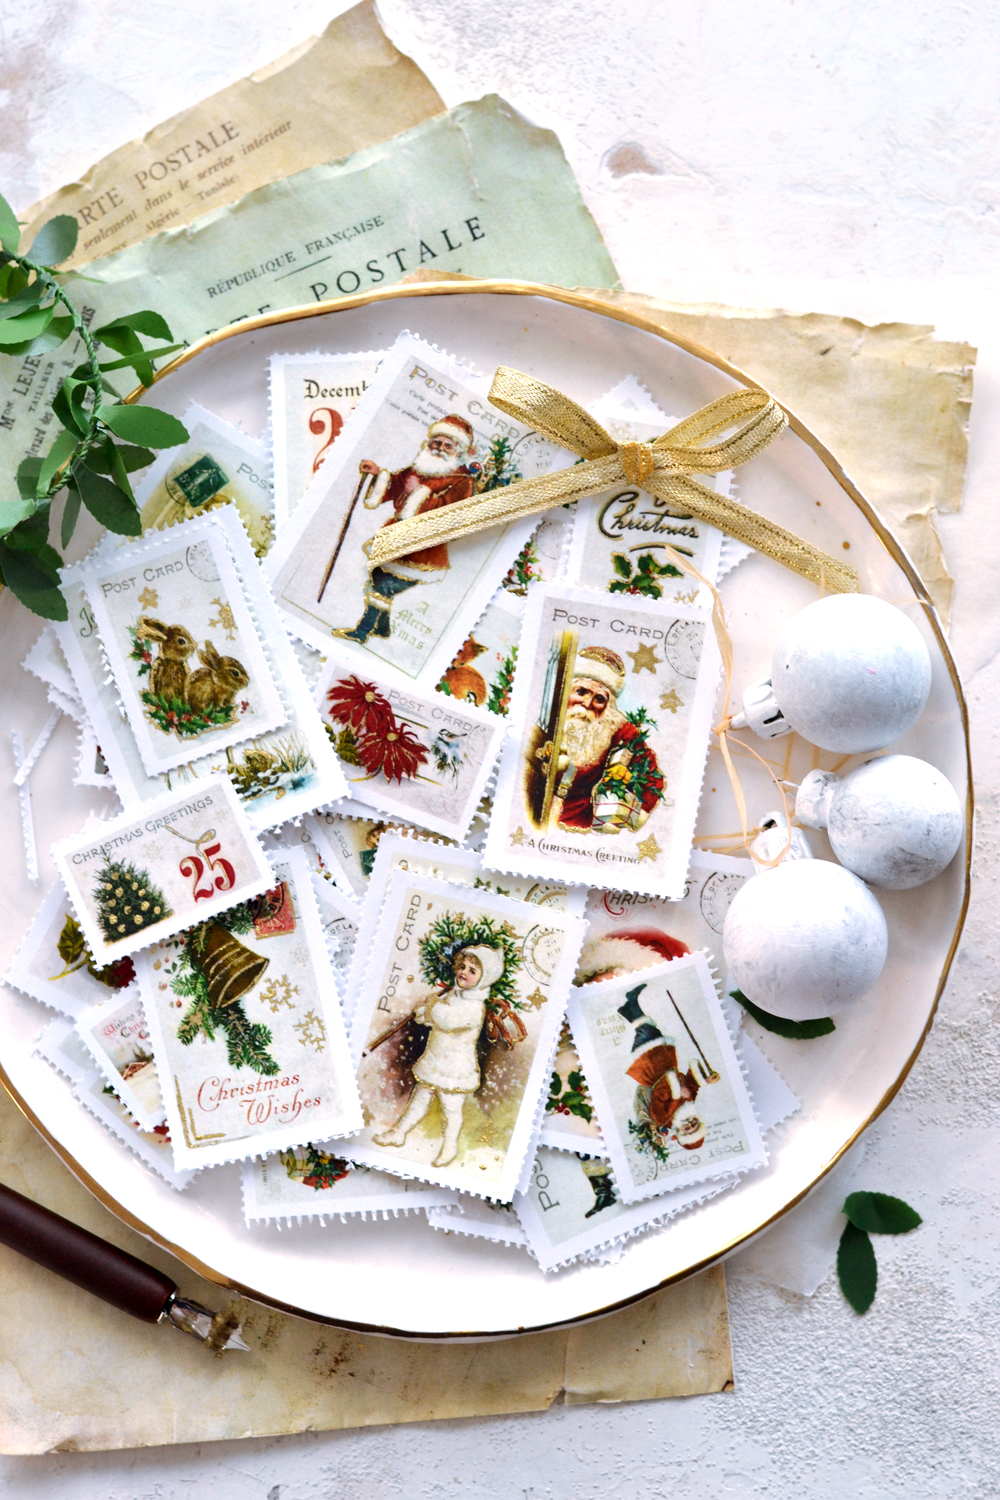
Last time I shared another round of stunning every day faux postage stamps HERE and we explored together different types of techniques for creating that specific perforated edge. I asked if you would like a more Christmas oriented set of stamps and the answer was an overwhelming YES! So here I am, including my favorite Christmas-y images in my postage stamps Christmas collection! It’s a super dreamy Christmas collections with a good-old vintage vibe. I have a feeling you will love them as much as I do!
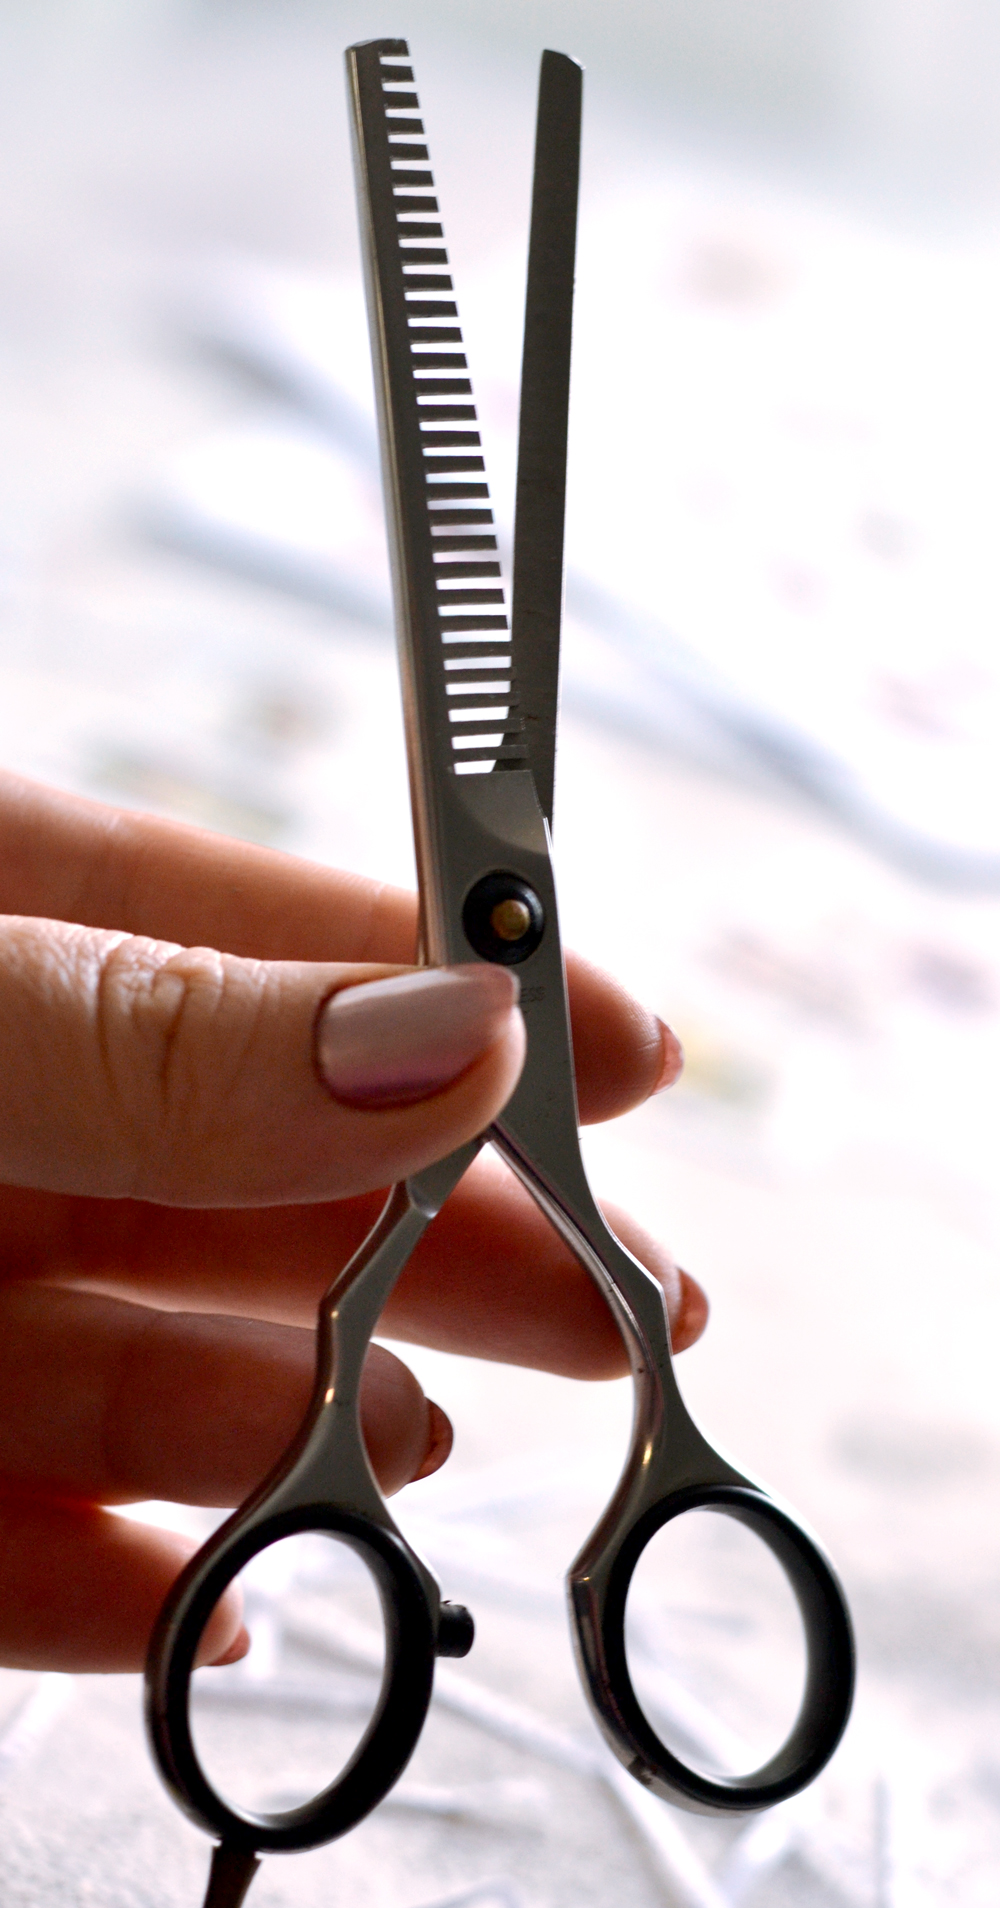
To make things easier and quicker (because let’s face it, Christmas is just around the corner) I’ve decided to only use the ‘revolutionary’ thinning shears technique this time. This was by far the technique with the most satisfying results, giving the postage stamps the most authentic look so it was somehow the most logical choice. Of course, if you feel like you need something more decorative, all the other techniques will give great results too!
The Vintage Christmas Stamps Printable comes in three different sizes! This time I also included a few landscape oriented postage stamps so I got you covered for pretty much all your needs! 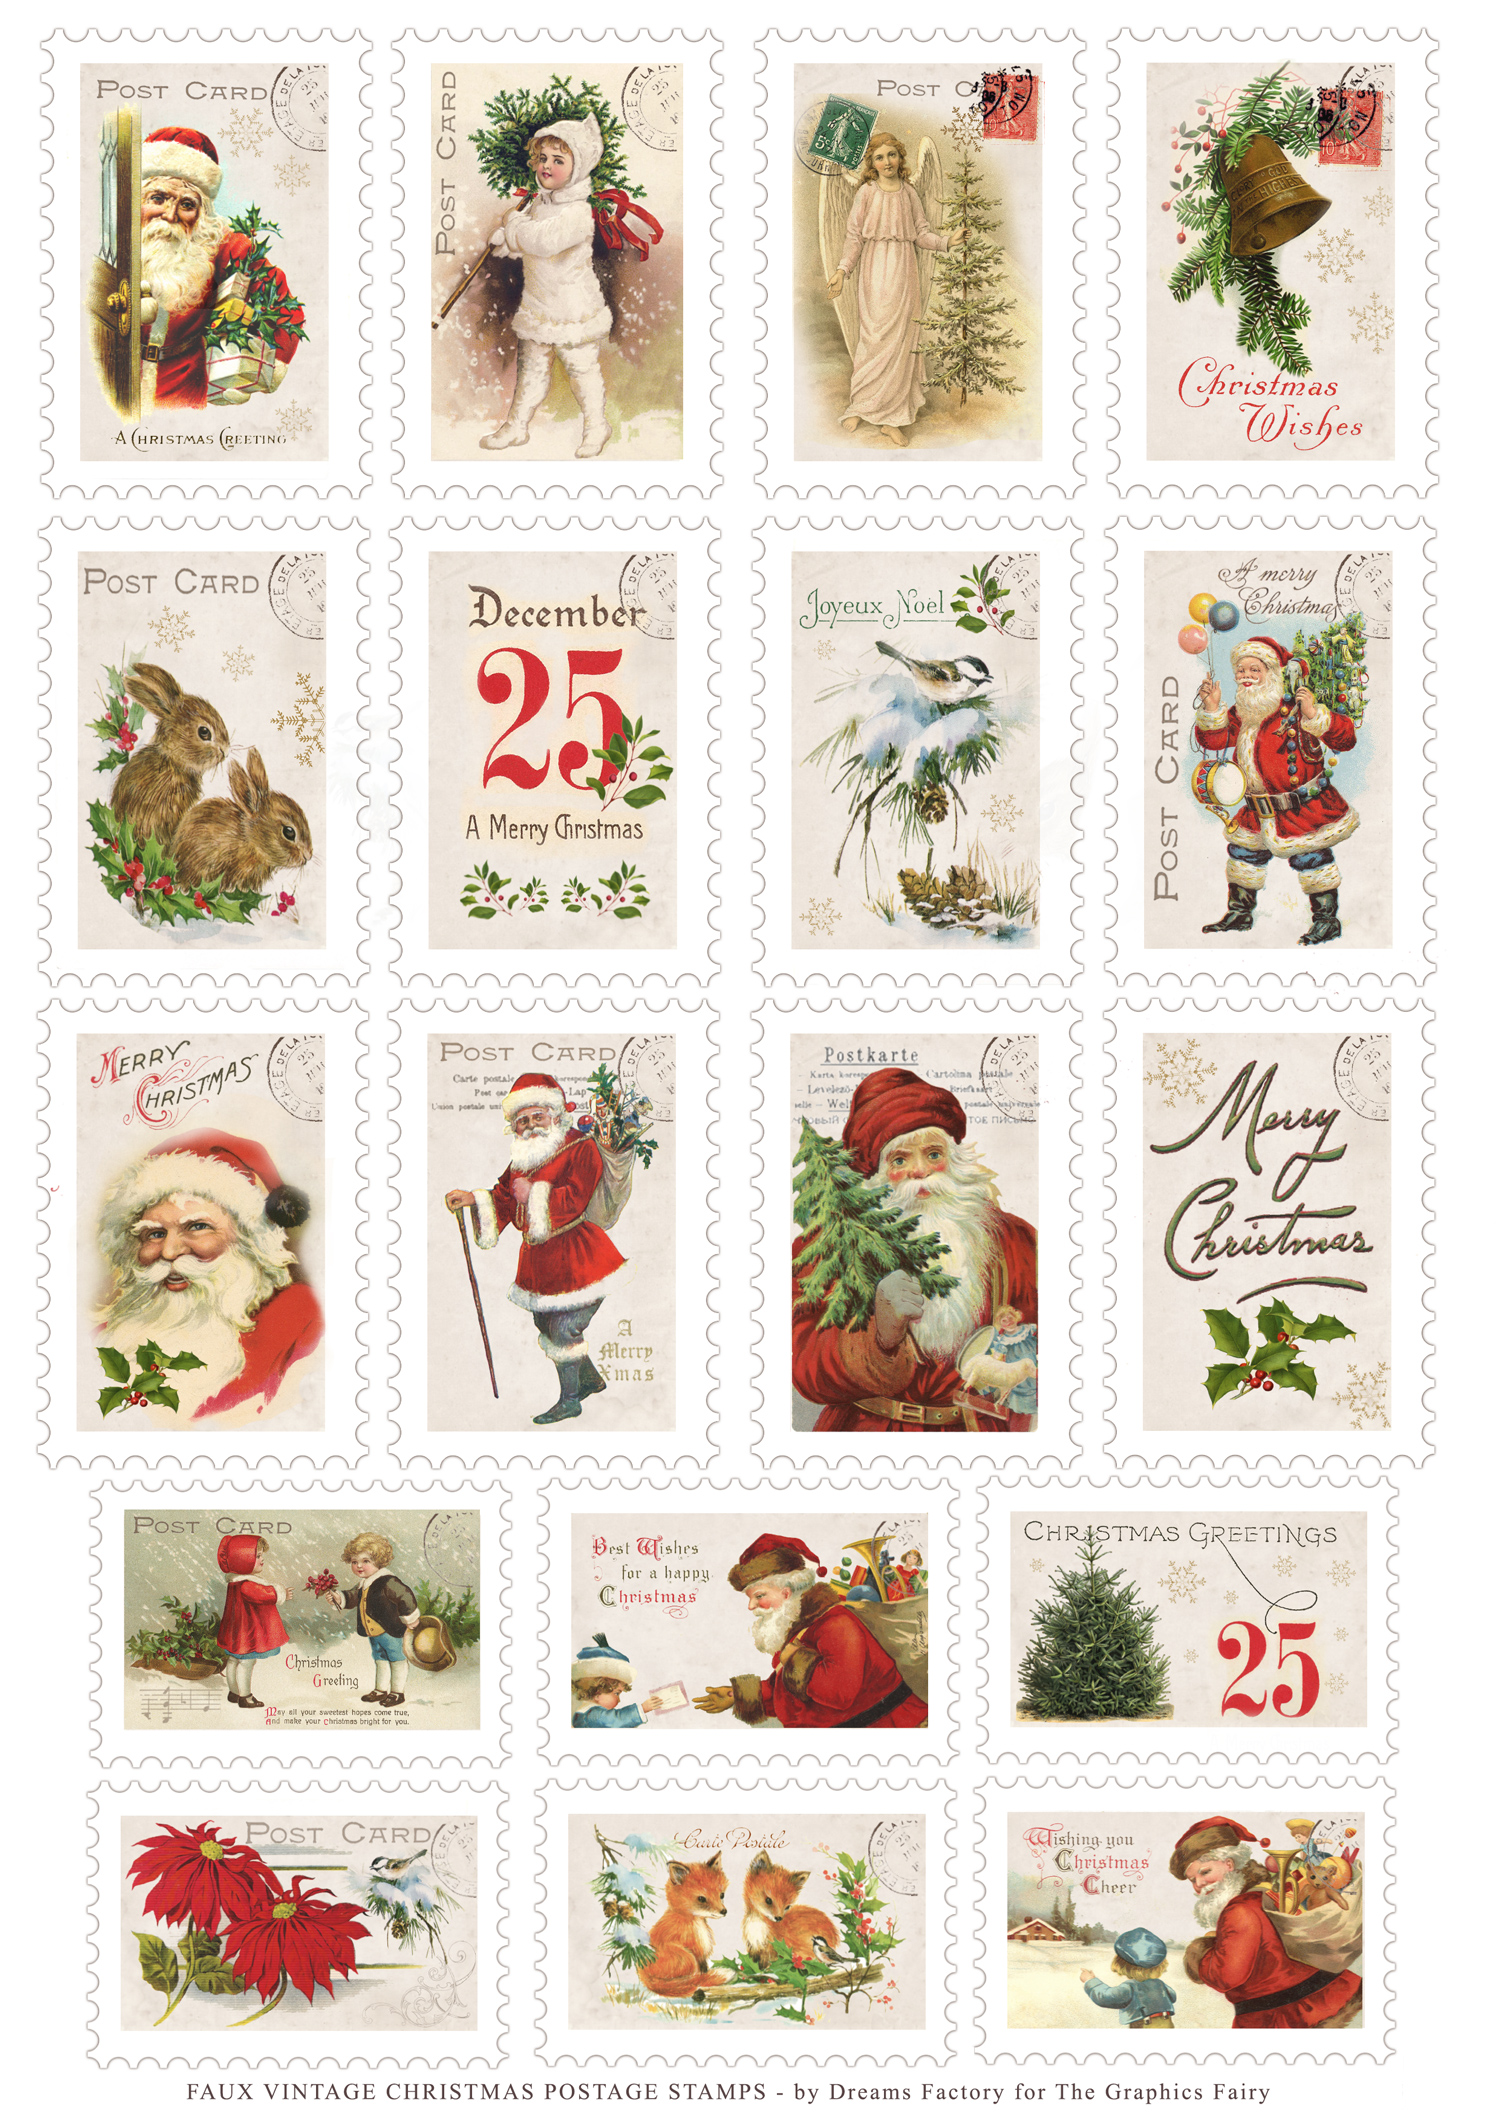
—> Click here to download the full size PDF – the large size <—
—> Click here to download the full size PDF – the medium size <—
—> Click here to download the full size PDF – the small size <—
Supplies for Vintage Christmas Stamps Printable:
- regular white paper OR cardstock paper OR white sticker paper
- Home Printer
- scissors
- calligraphy pen and gold ink OR other metallic pens, markers, etc. (optional, but highly recommended)
First I printed the printables on cardstock paper. You can also use regular paper or self adhesive sticker paper!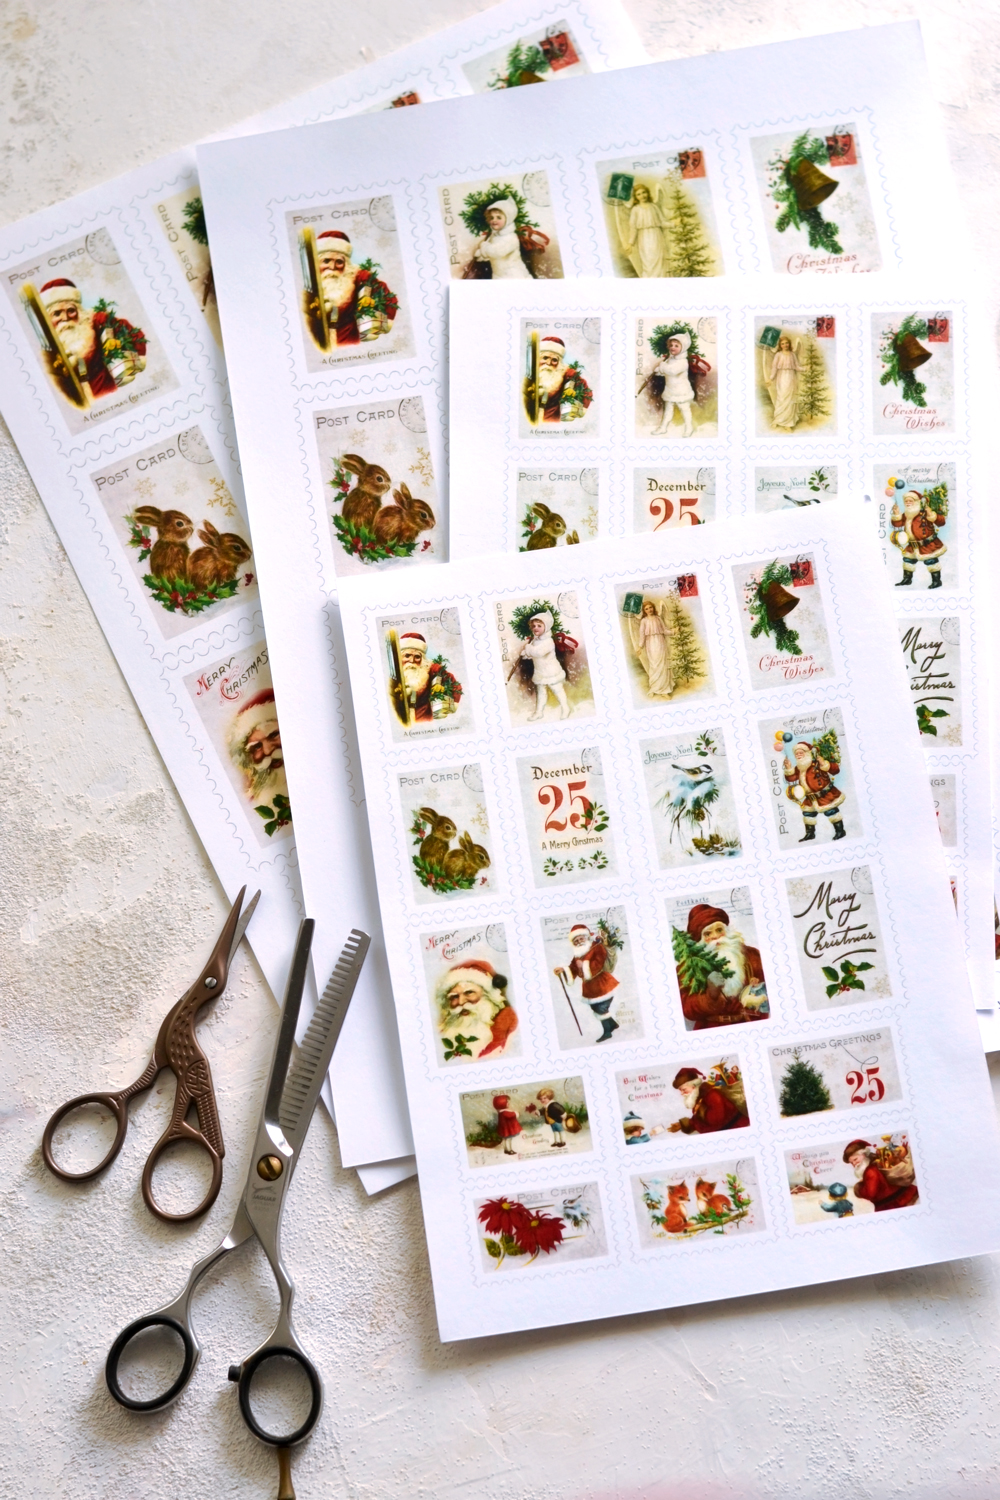
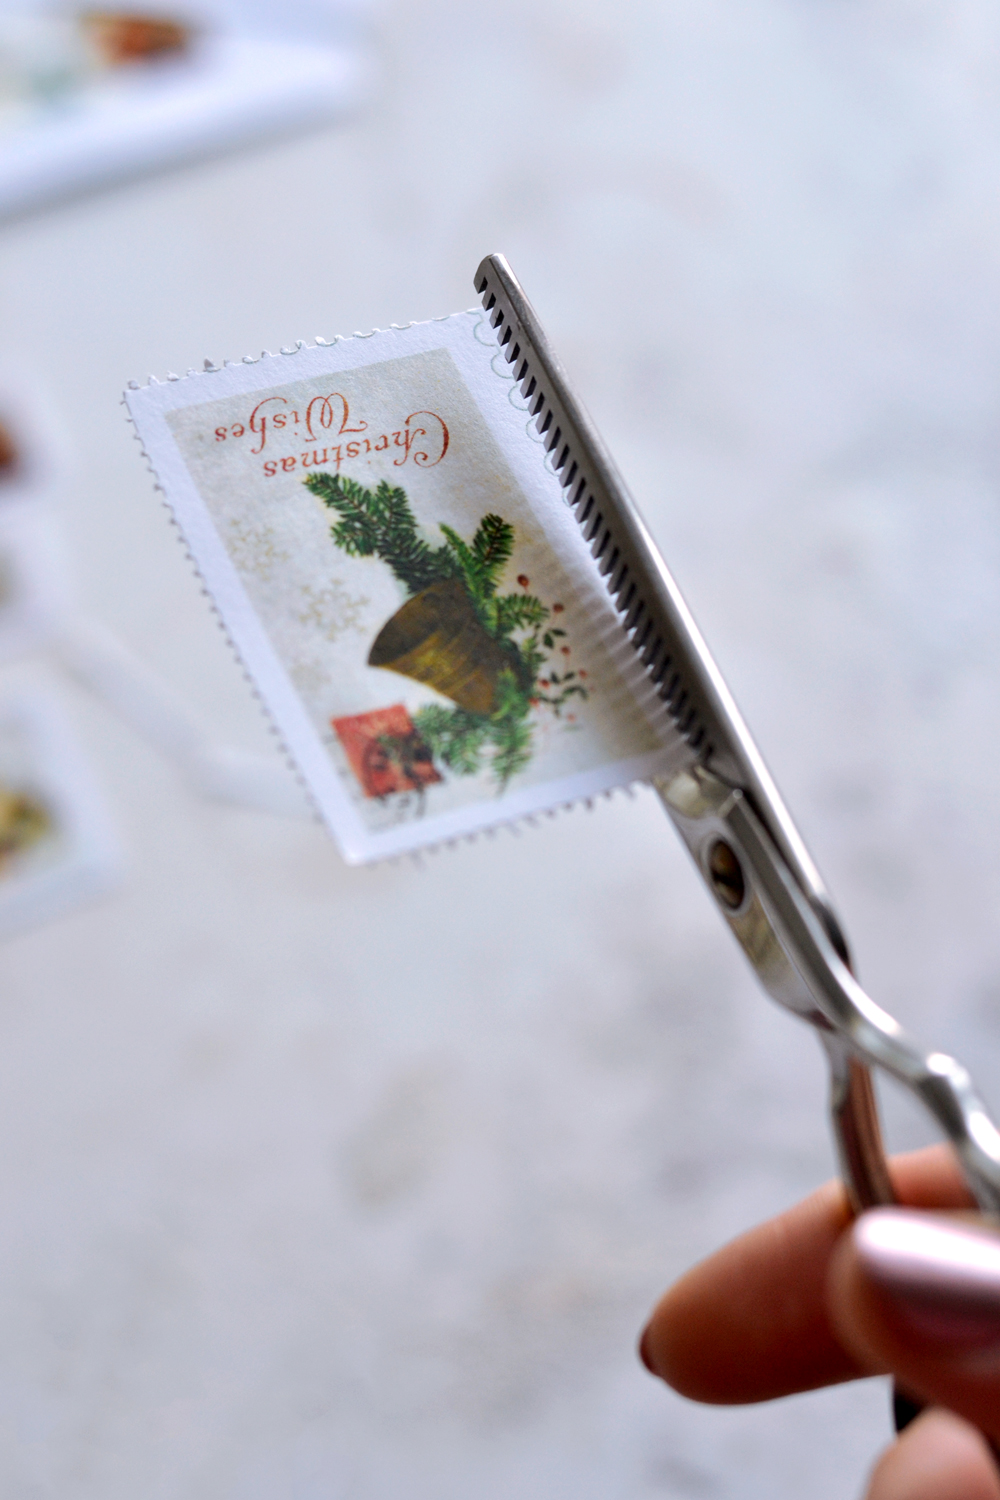
I used my regular scissors to roughly cut each stamp and then my thinning scissors to cut that beautifully perforated border! Because I didn’t want my stamps to look ‘too perfect’, I ‘allowed’ small imperfections here and there. I usually prefer to give a more handmade feel to my projects, so small imperfections are welcomed here! 😉 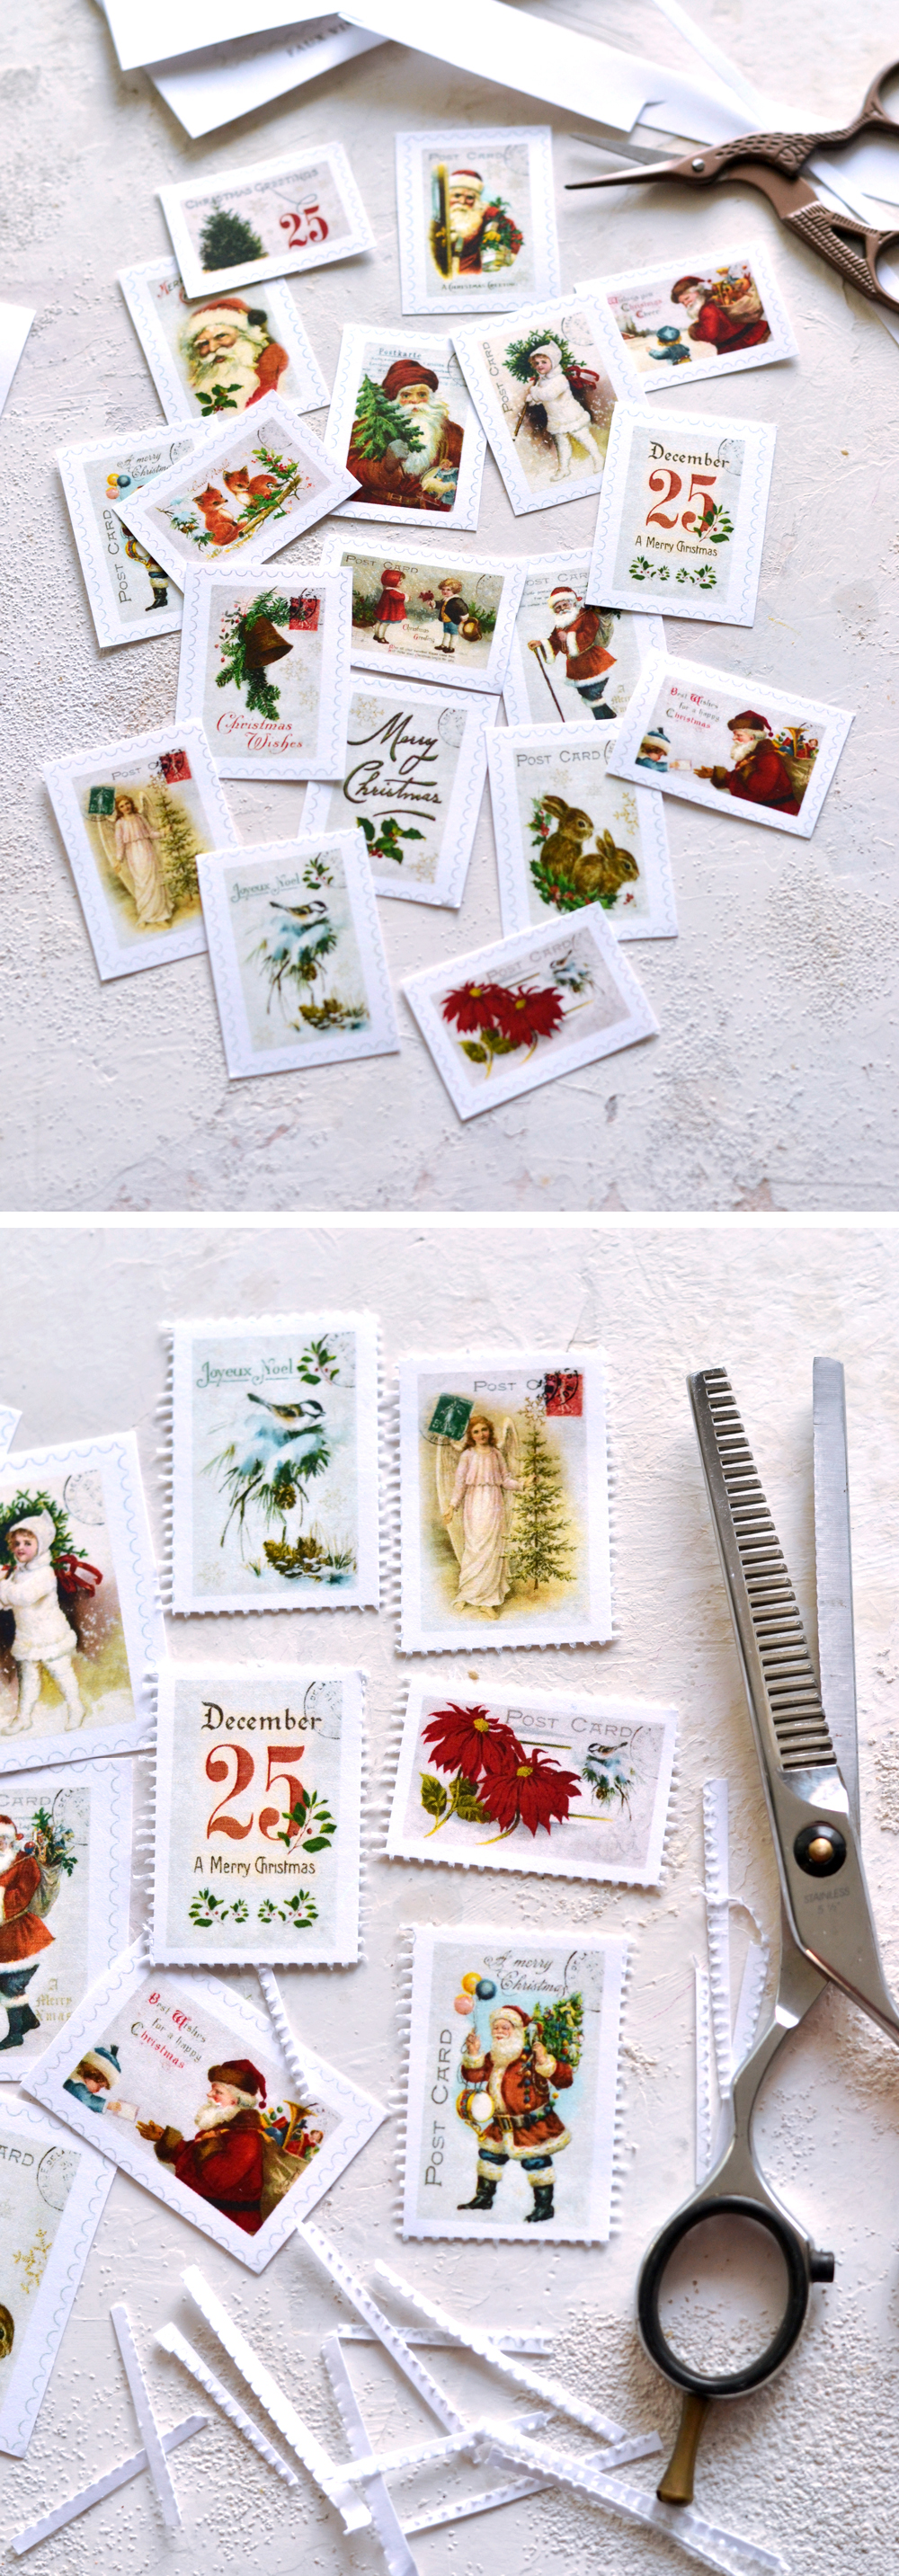
Just a small reminder when using this thinning shears technique – try to remember to always keep the serrated blade on top when cutting… 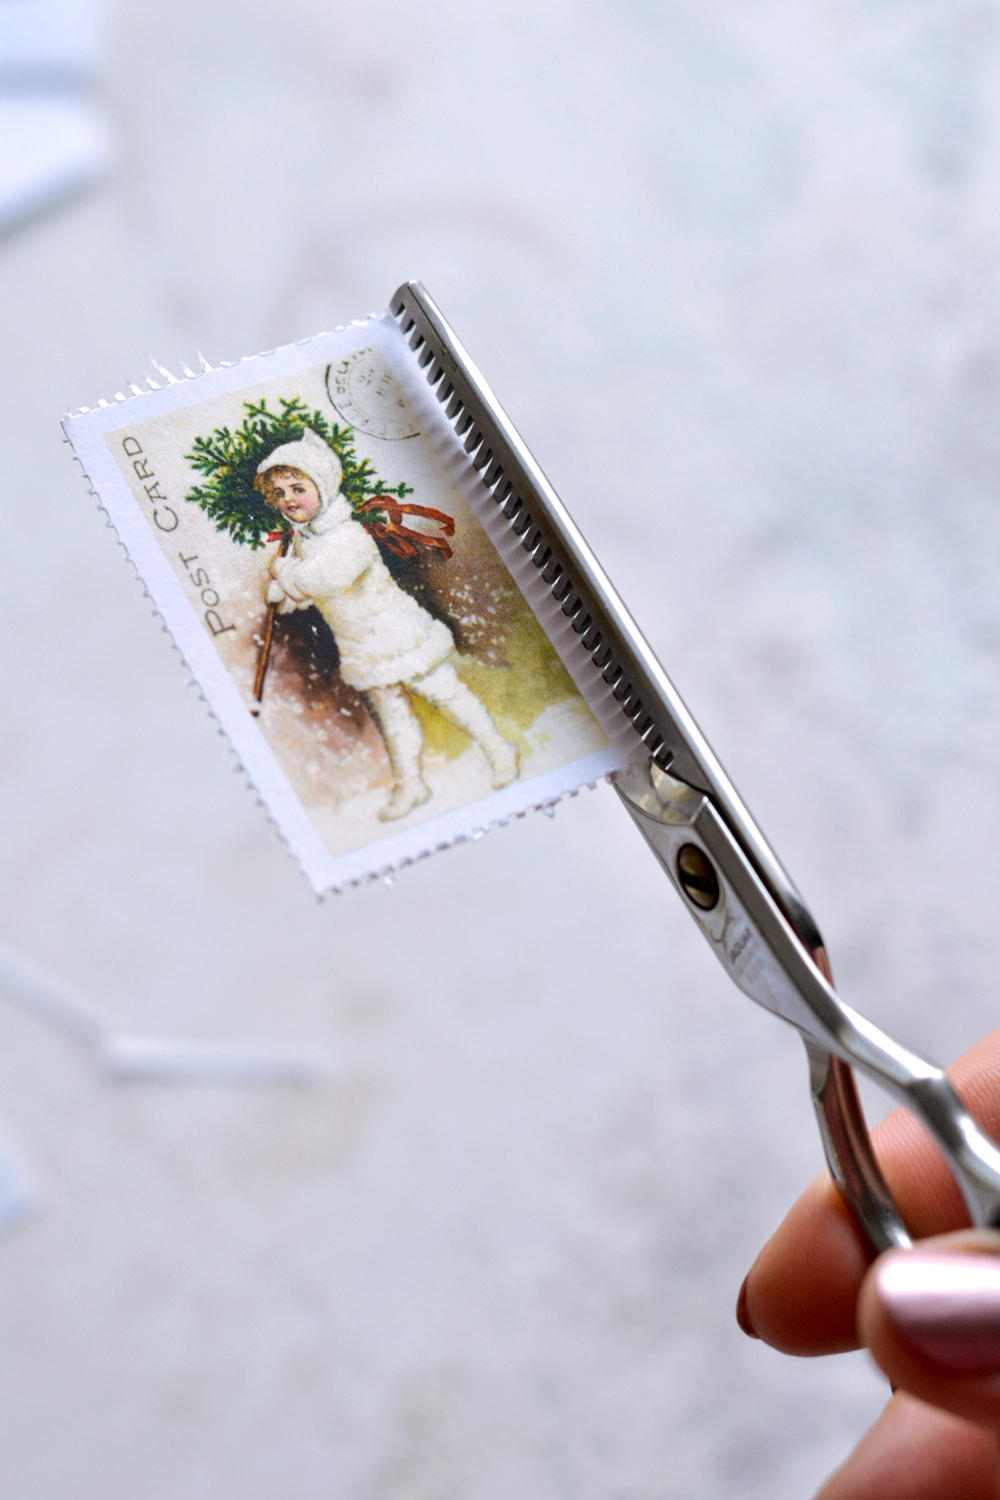
… and make sure your image is always placed on the left of your scissors! This means constantly rotating the postage stamp but keeping the scissors on the same position!
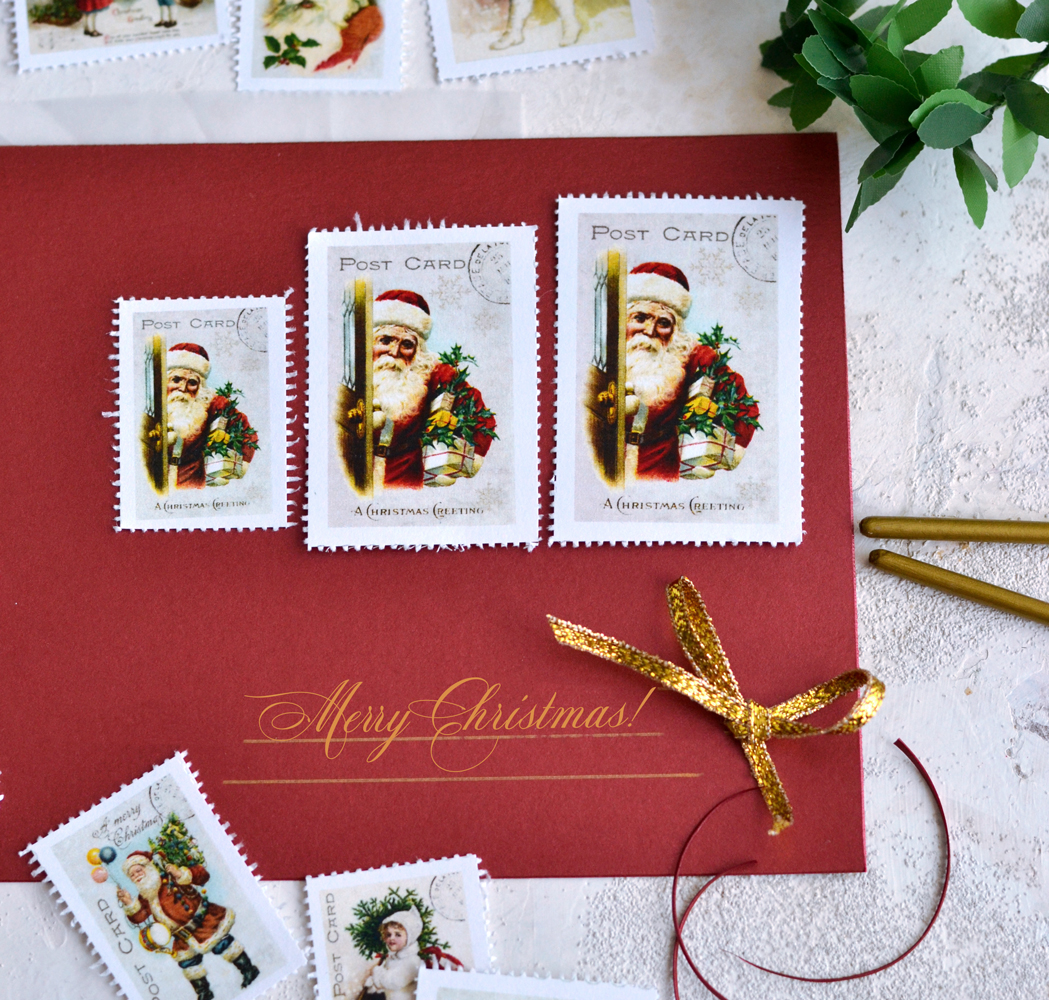
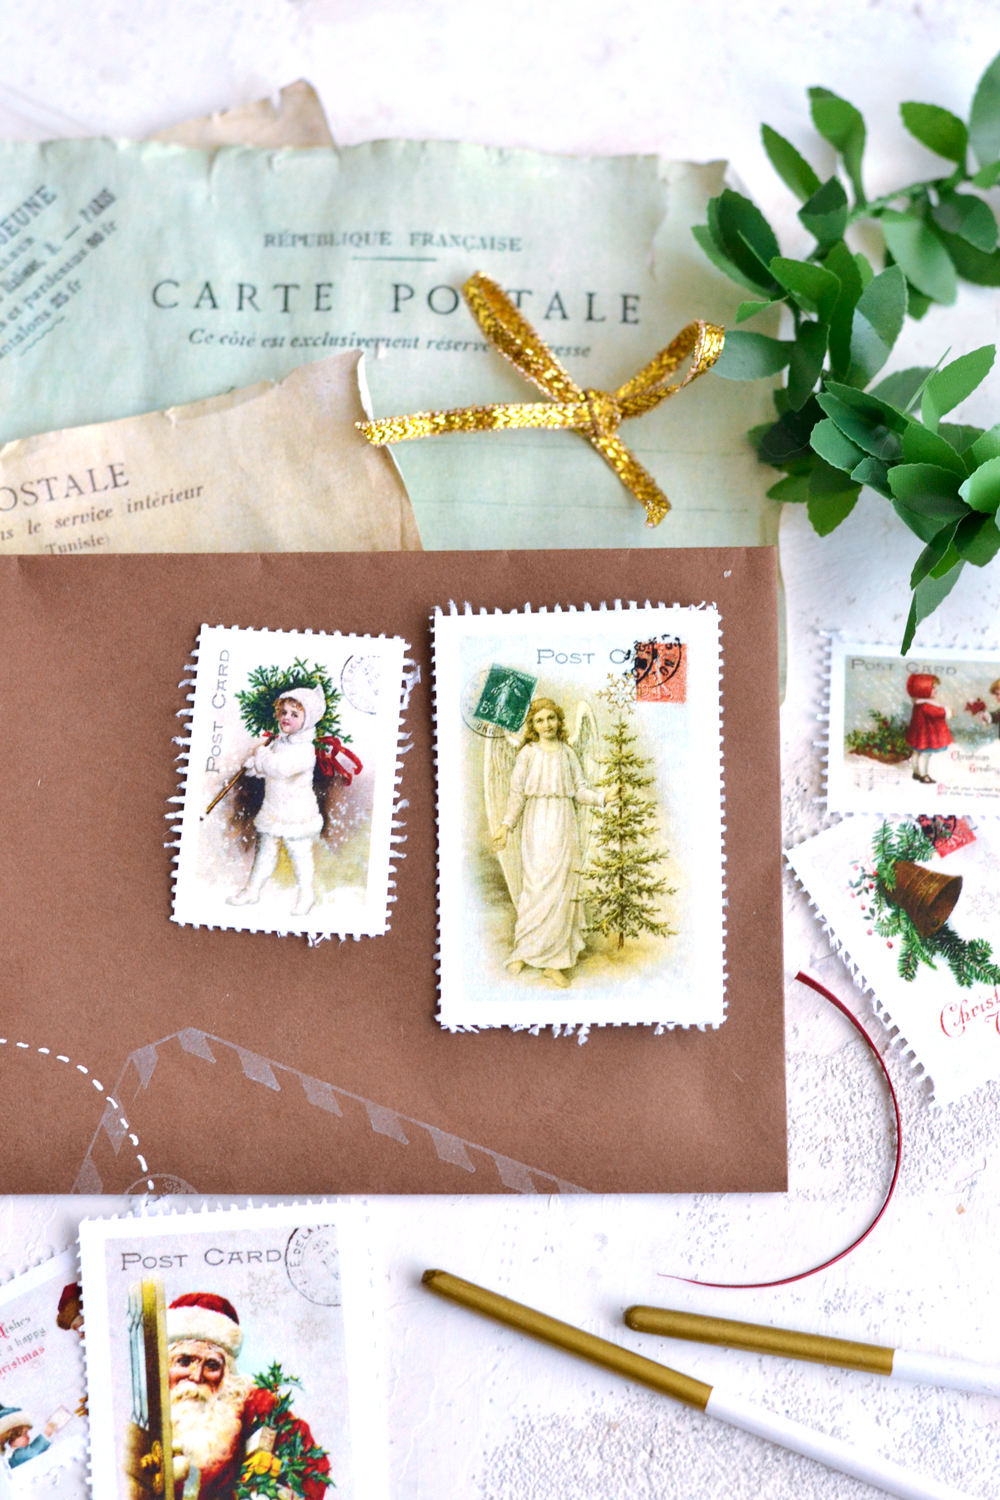
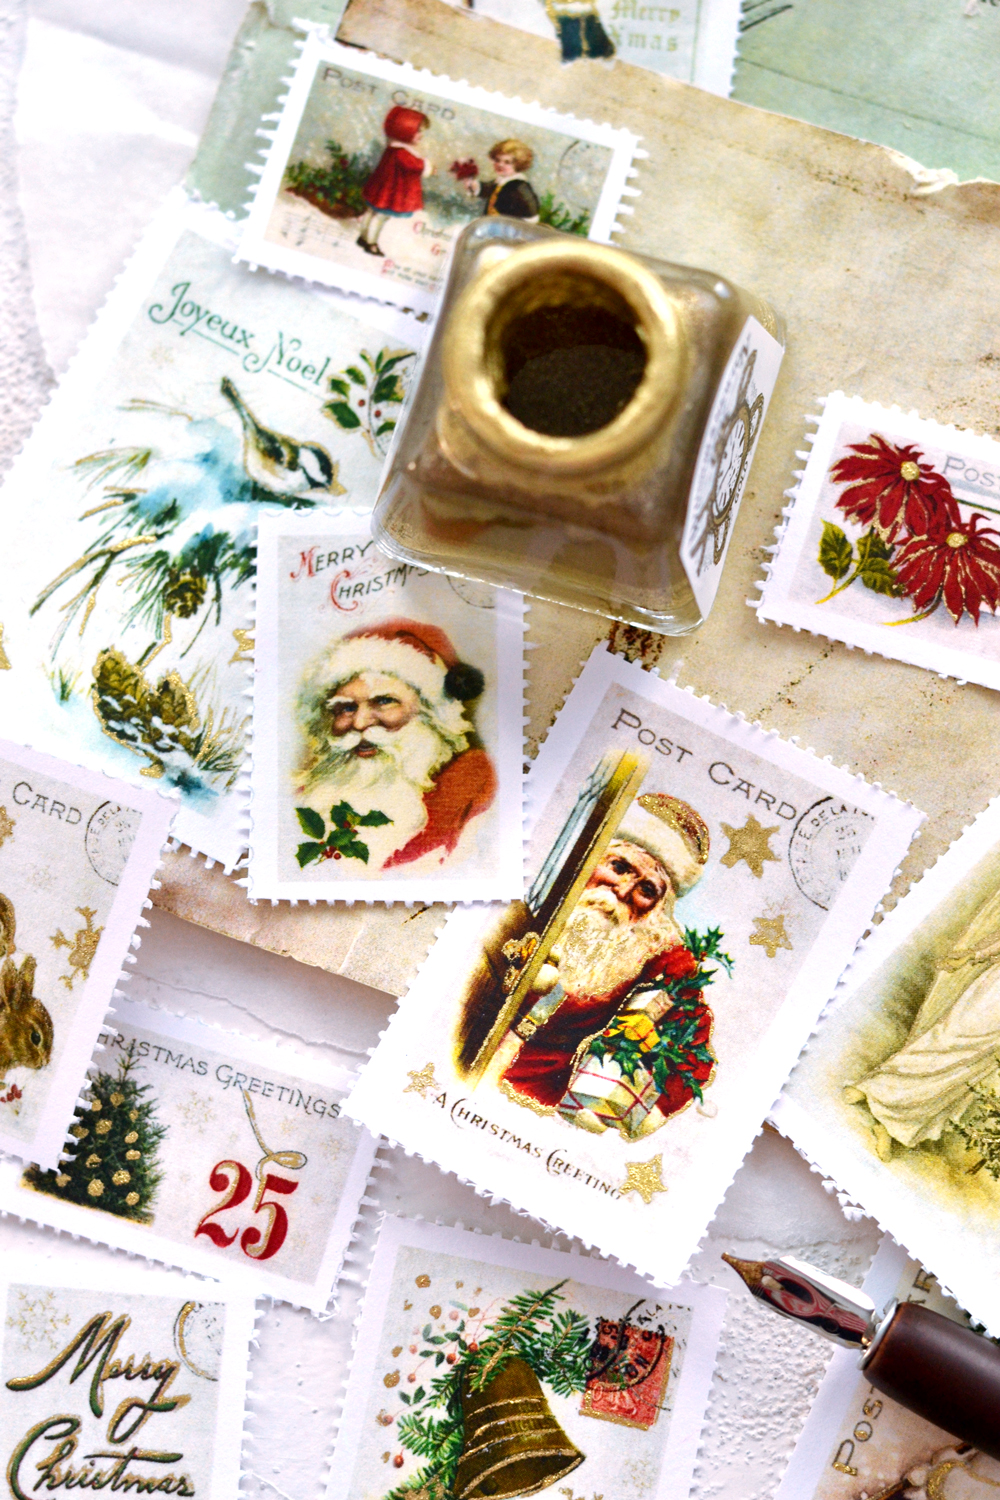
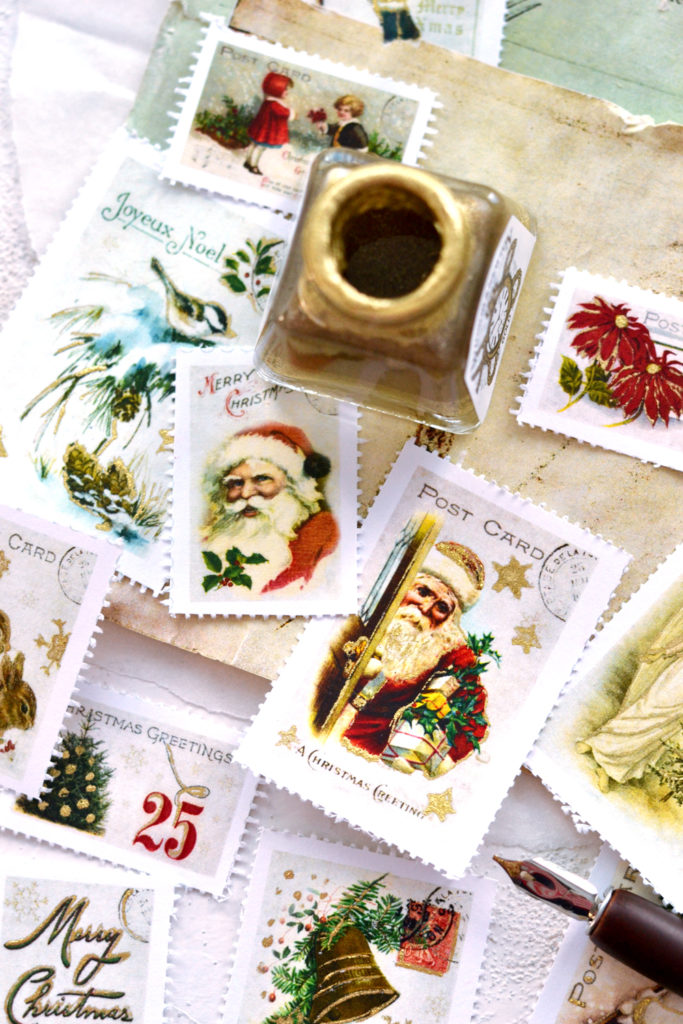
The Vintage Christmas Stamps look so beautiful on white envelopes, but a colored background really emphasizes their stunning perforated edge, don’t you think?
P.S. If you feel like your postage stamps are a little bit too bright on the edges, you could use a little bit of coffee to tone down the white of the paper and give it a more distressed vintage look!
If you decide to cut all the sizes of these dreamy postage stamps you will get a total of … wait for it … 72 Faux Stamps! I told you I got you covered! 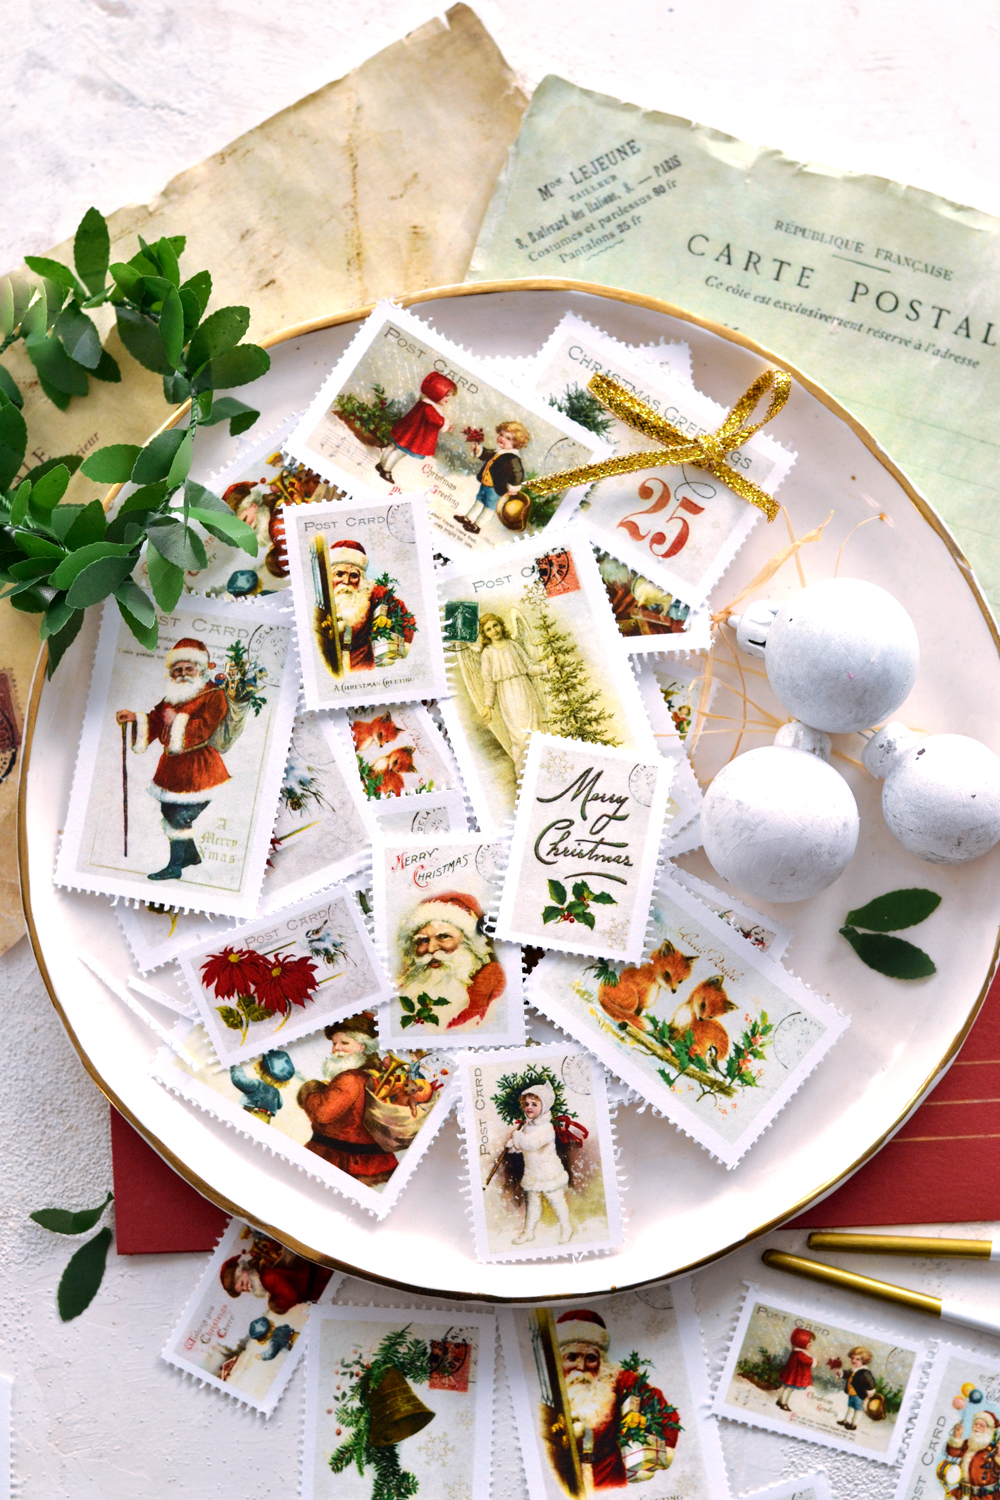
You can stop now and just contemplate all the amazing possibilities of using these beauties, or you can proceed to the next step … and just take things to another level – adding some beautiful gold finishing touches!
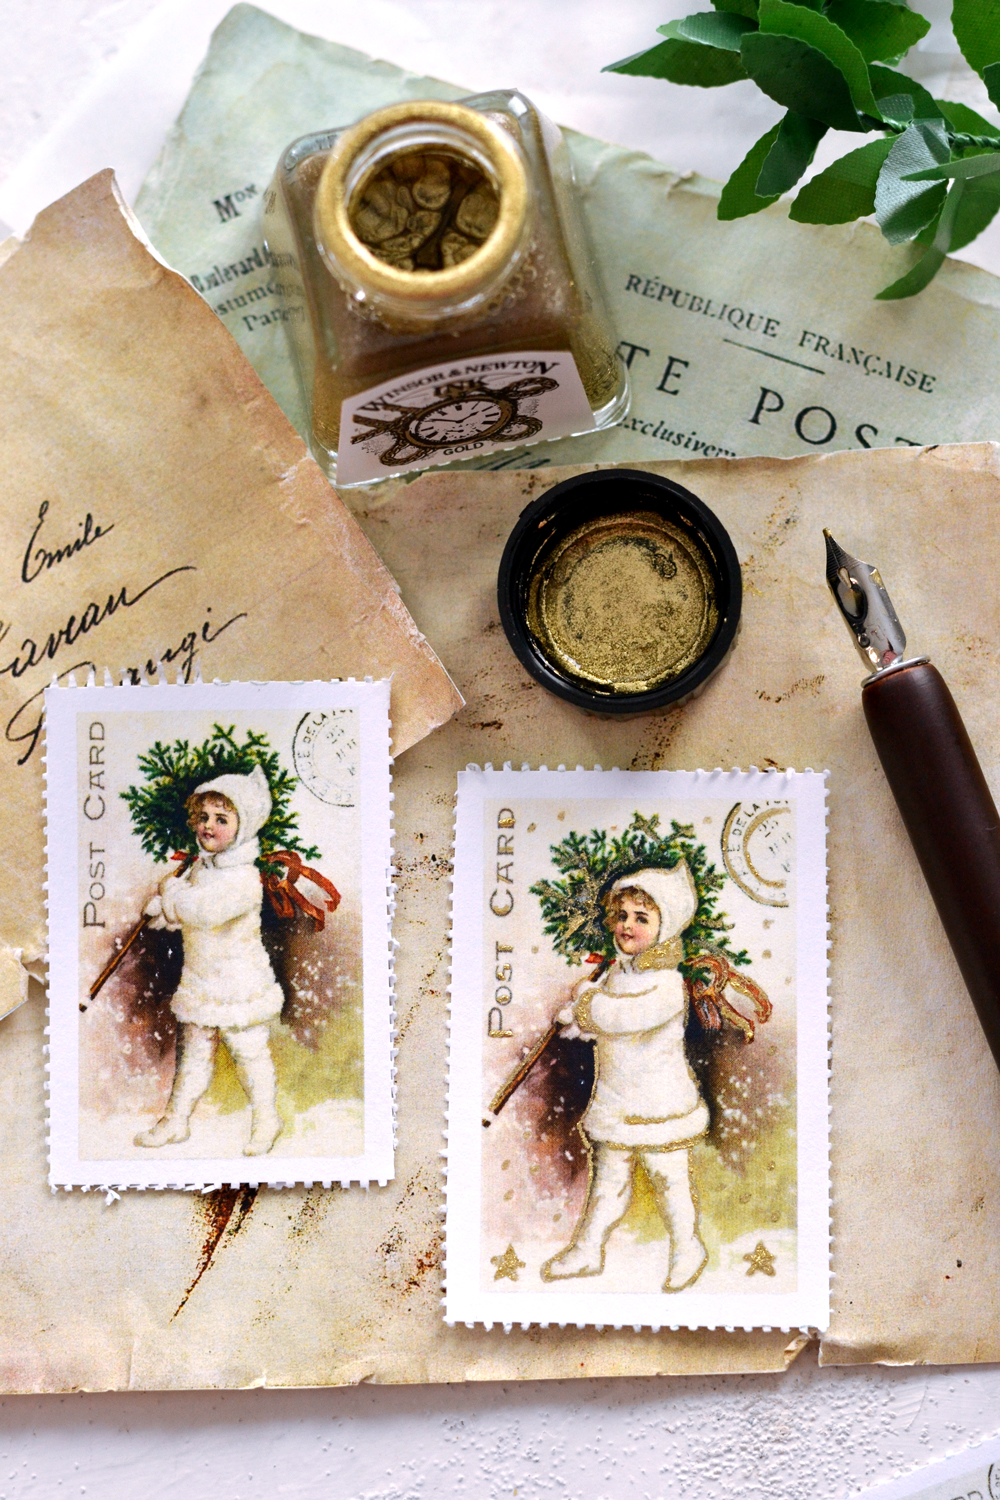
I love adding a little bit of gold to my Christmas decorations. Remember my DIY Vintage Gold Christmas gift tags and my DIY Glowing Stars Gold Luminaries that I shared last year? This time I used some gold ink and a calligraphy pen to add subtle golden details to my stamps. You can use metallic pens, markers or really anything that you have on hand.
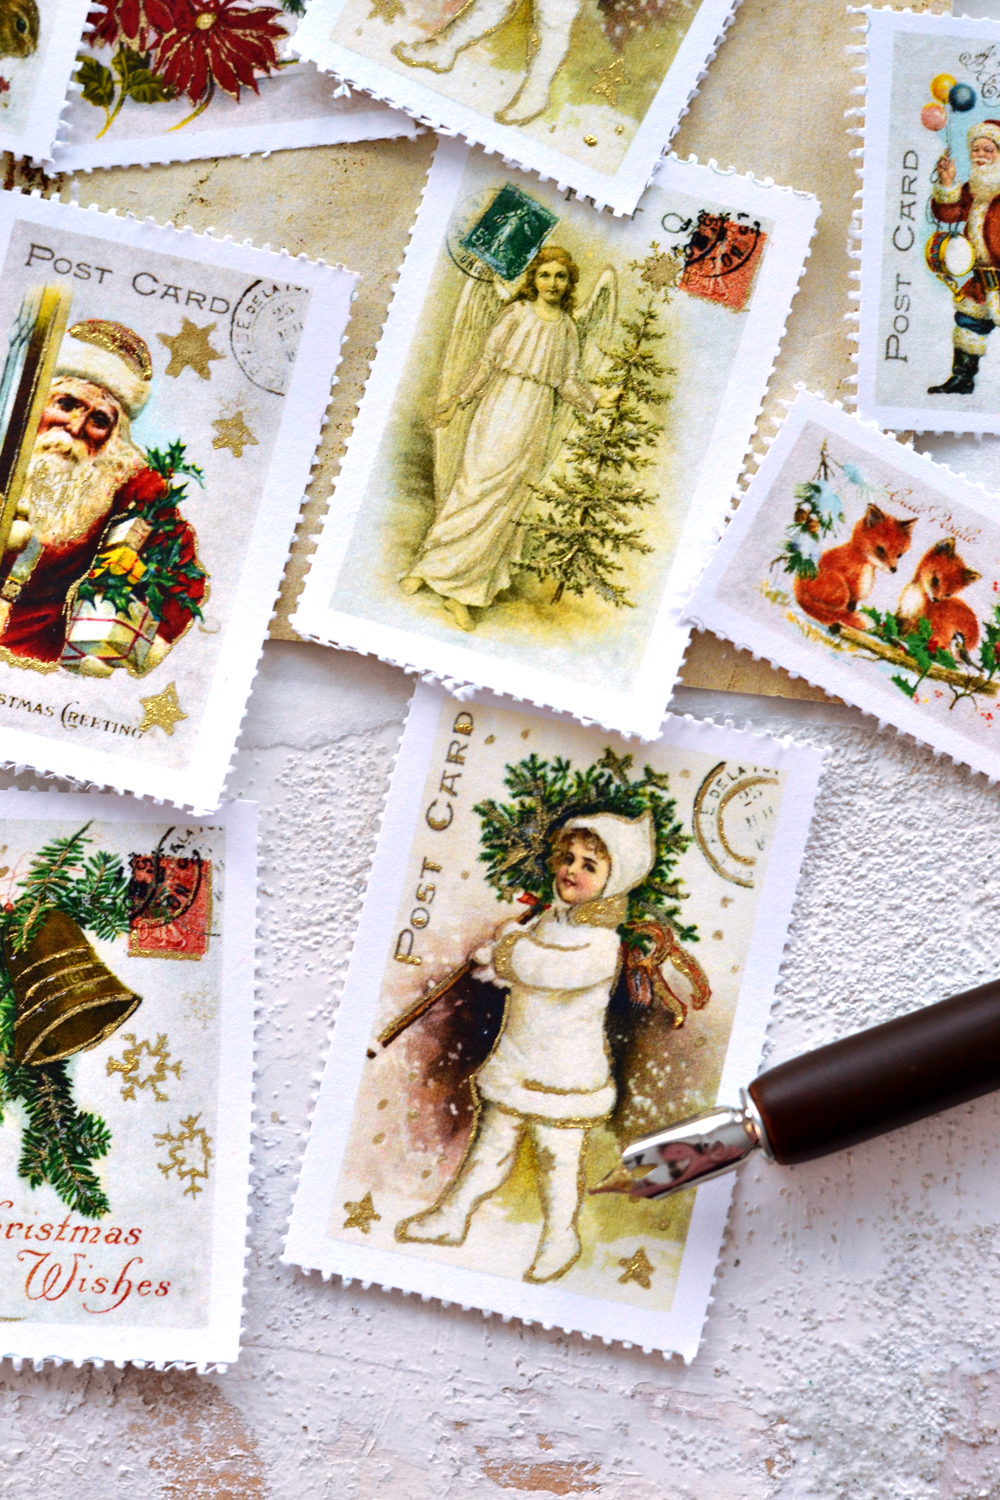
As you can see below, the image from the left is a simple unaltered (but equally beautiful on its own) image. The one from the right has a few golden touches that add depth and dimension and almost … bring everything to life!
I’m always amazed by how all these small details can add such character to simple images! You can easily trace a contour to your image to make it shine, but you can also get creative and add other details! It’s your time to shine! I added a few snow flakes, drew some small stars and even traced a small part of the writing! 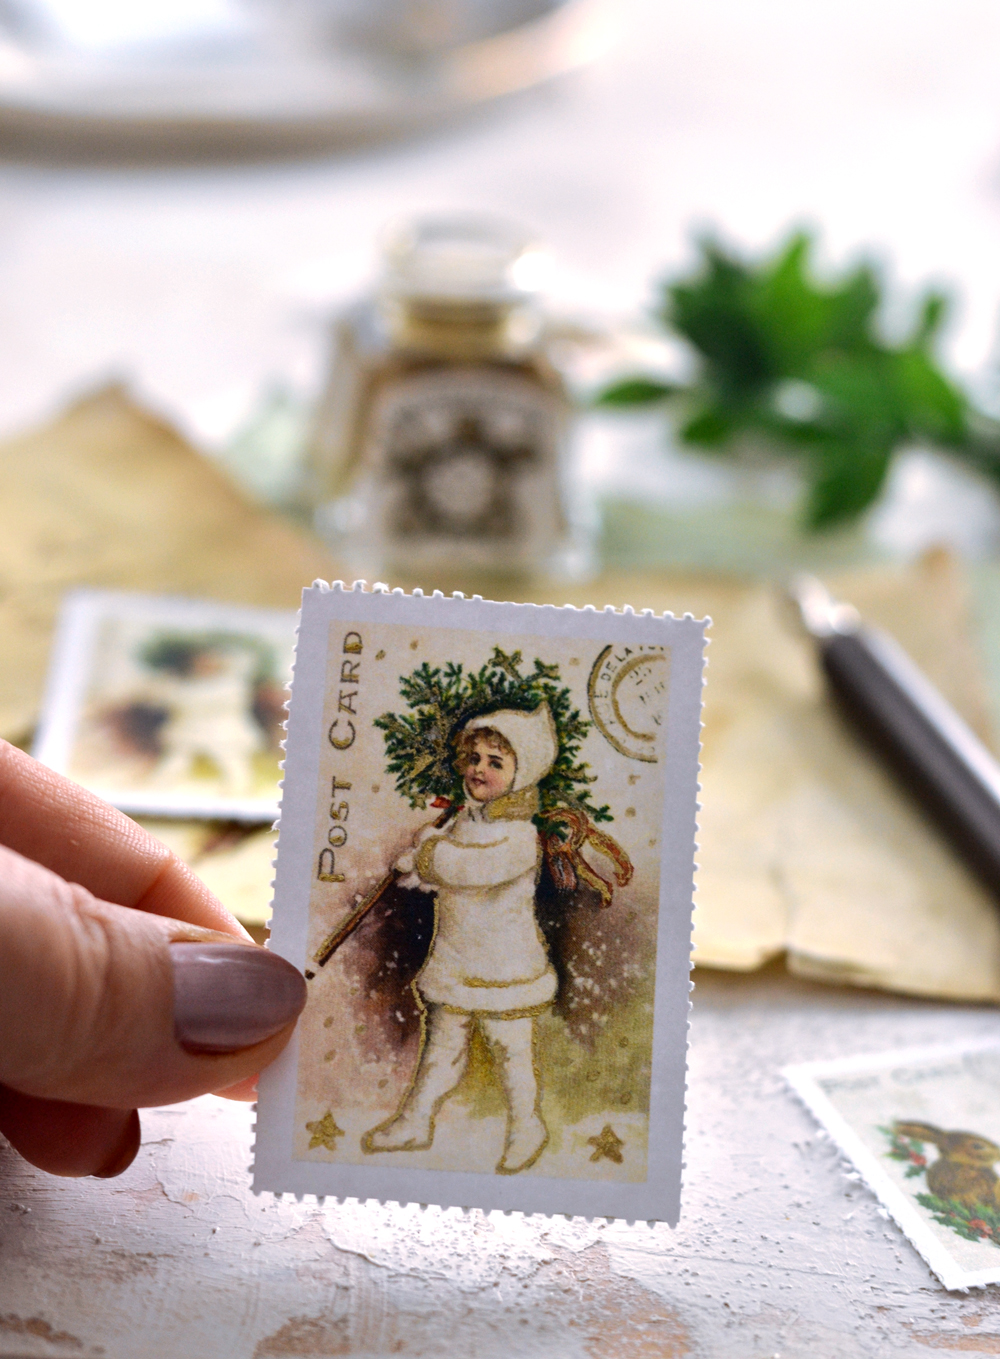
I haven’t used gold ink before and I have to say that it was pretty much love at first sight! 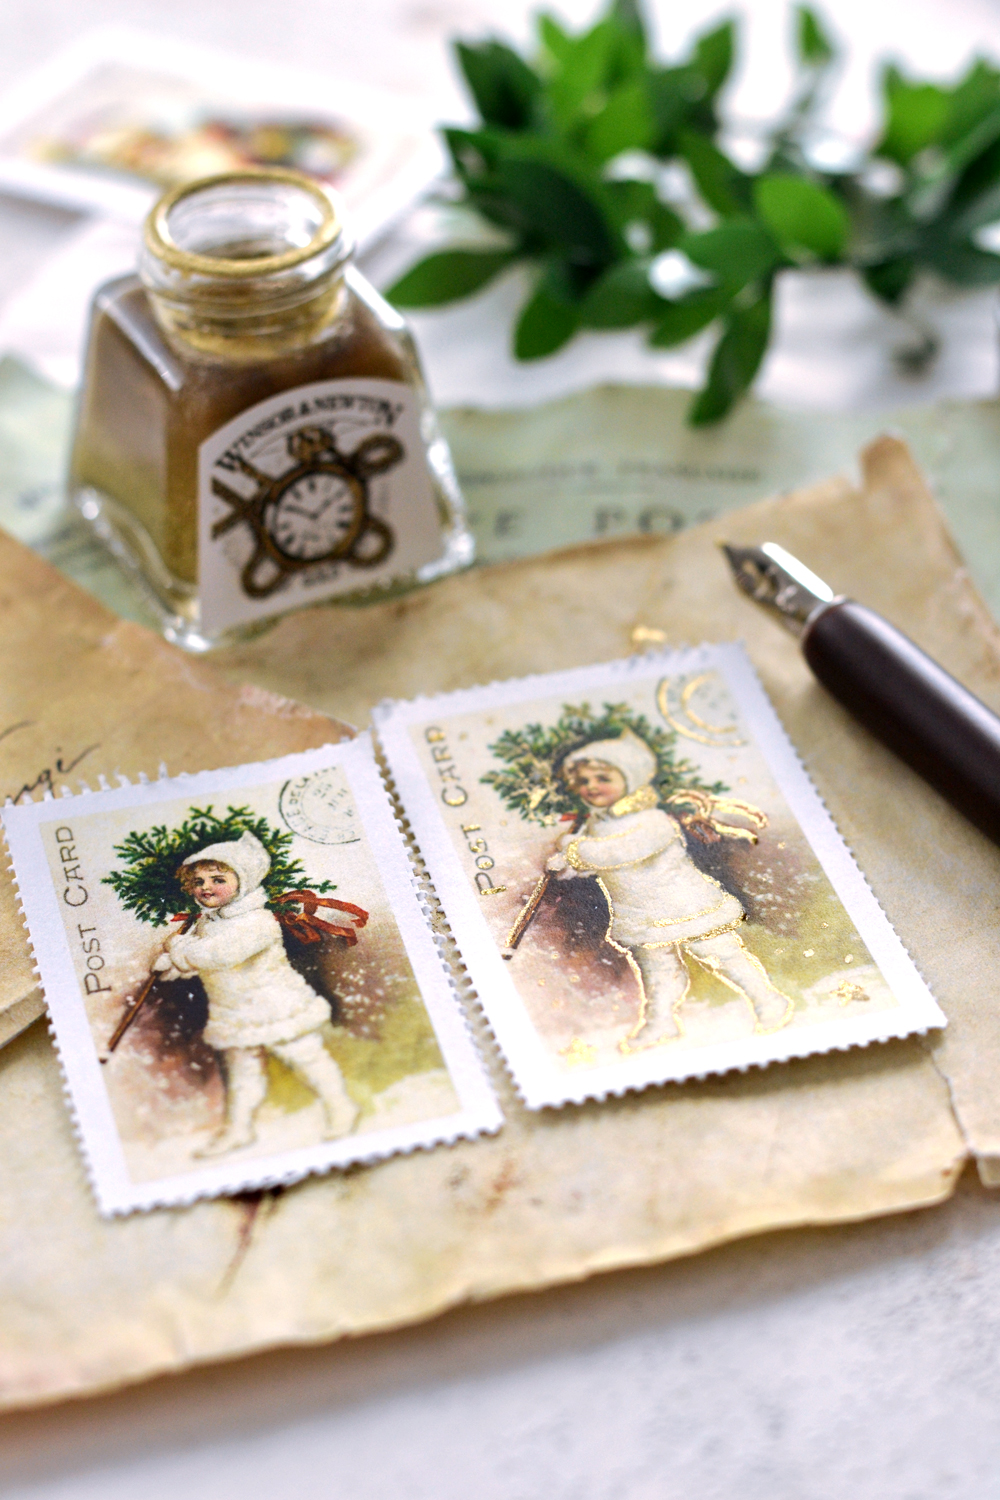
I decided to go for the gold with most of my stamps and the final results were simply stunning!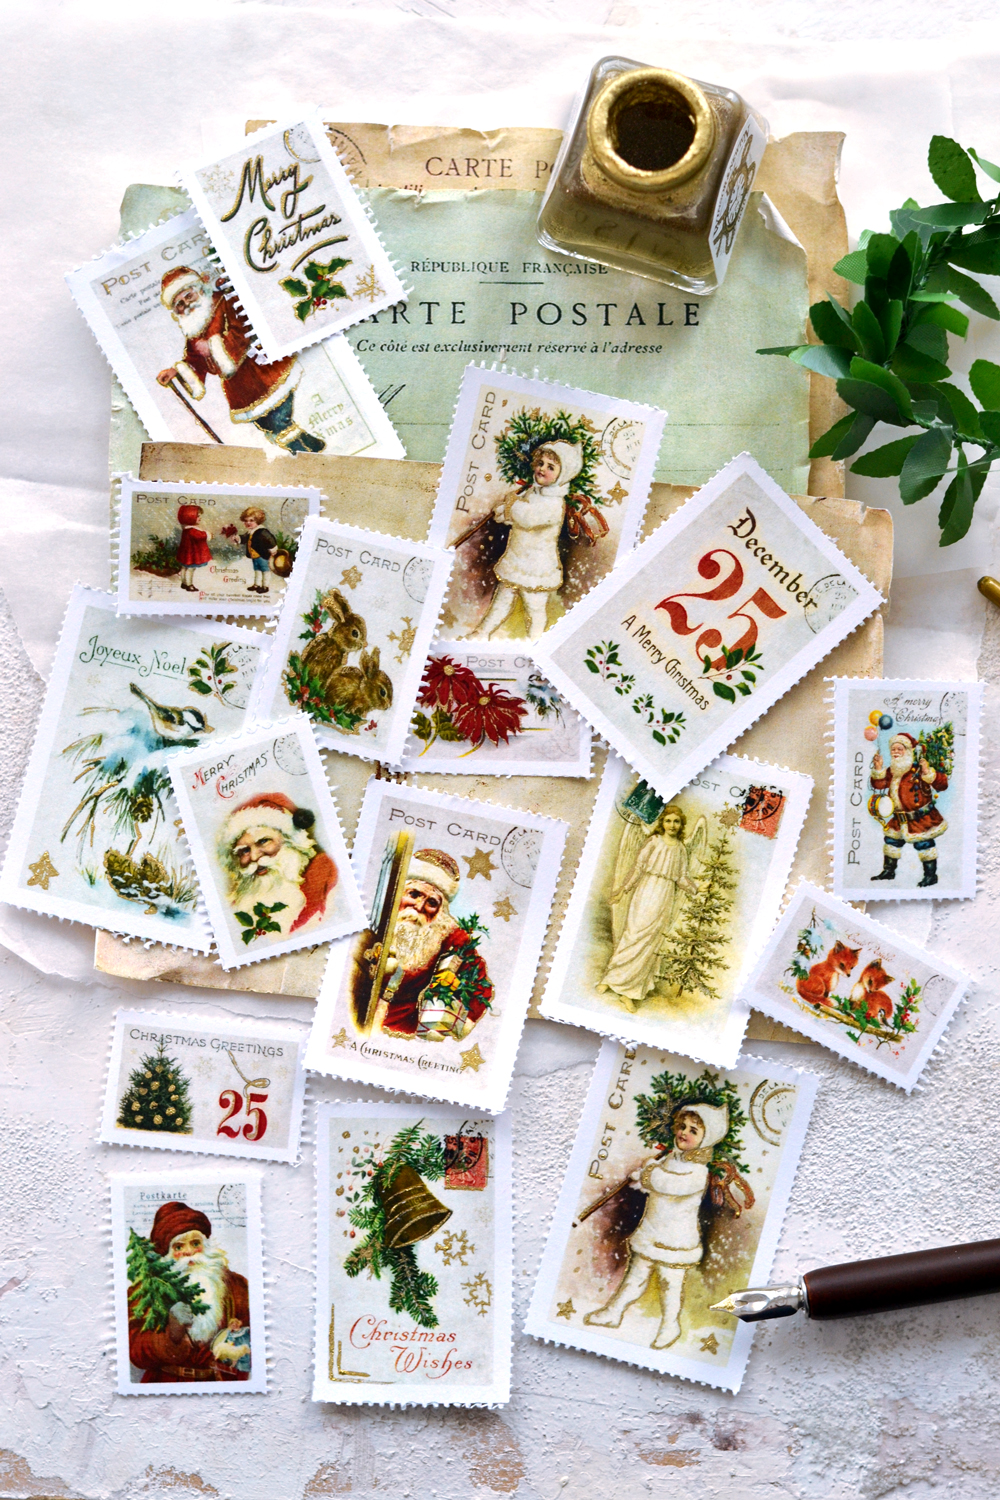
I’m really hope that you’ll love this Vintage Christmas Stamps Printable Project and decorate all your Christmas presents with postage stamps this year! You might also enjoy my DIY Christmas Postcards HERE.
Happy crafting!
Diana / Dreams Factory



elizabeth Kerckhoff says
Hi, Michael’s has gold ink with their Calligraphy stock. Also Martha Stewart has gold ink in the Martha steward’s section of stencils, paints, brushes. Good luck finding it in this time of year. Also Michael’s is having Free Shipping today(I didn’t read the email yet that I received from them). Have a great day!
graphicsfairy says
Thanks so much for the great tips Elizabeth!!
Joy Albert says
Diana; Thank you for all your hard work, these are outstanding, beautiful! And in 3 sizes, your instructions are so good, I appreciate all you do and I’m grateful for The Graphics Fairy and the vintage images I’m so fond of, these pictures speak straight to my heart. And I’m lucky enough to have a postage stamp punch that works well and takes a good bit if the hand work out of these “stamp” projects. Kind regards,Joy
Karen Watson says
Have fun creating Diana’s pretty stamps Joy! 🎄
Heather Dreith says
Thank you…these are fantastic! I’m going to be helping the residents at an assisted living facility make Christmas cards and these will be perfect for embellishments!
Karen Watson says
I love that Heather!! I hope the residents enjoy these Christmas stamps! 🎄
Cindy Murphy says
Thank you. I love these images.
Karen Watson says
Thank you Cindy! 🎄
Debra Rollier says
Can I purchase the Gold Ink from you?
graphicsfairy says
Hi Debra, so sorry but we do not sell it. I am sure you can find it at your local craft store or online, good luck 🙂