DIY Faux Metal Crowns
Hello, my dear Graphics Fairy Friends! Heather from Thicketworks here. Today we are making DIY Faux Metal Crowns! Rusty Grungy Goodness. Yep. That’s what I’ve been craving lately. Transforming humble materials into Faux Treasures is one of my VERY favorite things to do… If you’d like to convert a cereal box into an Ancient Relic – join me as we delve into this fun process! I’ve been on a Rust Effects Paste kick lately, and am thrilled to share some of my latest experiments with you!
If you’d care to play, grab a few tools and supplies and prepare to have a wonderful time!
Supplies:
- Lightweight Chipboard – (two cereal boxes were used to create these two crowns)
- A Metal Ruler
- A Sharp Craft Blade, and a cutting surface
- A Sizzix Big Shot or Big Kick
- Tim Holtz ‘Iron Gate’ Steel Rule Die
- Sizzix “Classic Icons” Steel Rule Die (Not currently Available, these dies could work as a replacement)
- Sizzix “Curly Gate” Steel Rule Die (Same as above)
- Your favorite Embossing Folders – (Embossing Folder: Anna Griffin “Foundry” and Embossing Folder: Anna Griffin “Acanthus” were used Here, Tim Holtz makes some great ones too!)
- Fabri-Tac Adhesive
- Black Gesso
- Scruffy Paint Brushes & a Container of Water for cleaning them
- Baby Wipes or Rags
- Finnabair Art Extravagance: Rust Paste Set
- A Heat Tool
- Scissors
- A piece of cardboard as a work surface will help to save your table top!
- Metal Tape (click HERE for a full tutorial on using this tape)
- Matte Medium as a sealer
- A cylindrical form (think old Quaker Oats box or similar) to support the Crown while applying Bling!
- Flat Backed Pearls and Gems
- Gem-Tac
- Glitter Glue
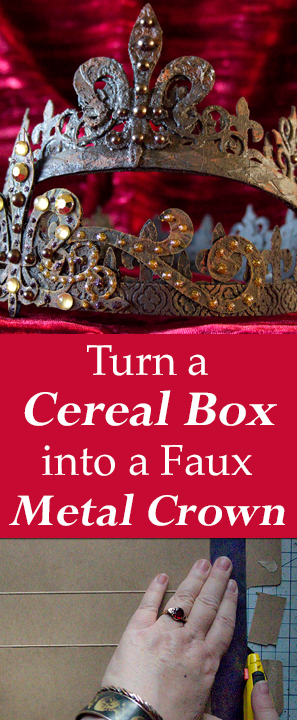
I wanted to find out how far we can push this humble cereal box… Can it be transformed into something Magical? Oh, yes it CAN!
How to create a DIY Faux Metal Crown:
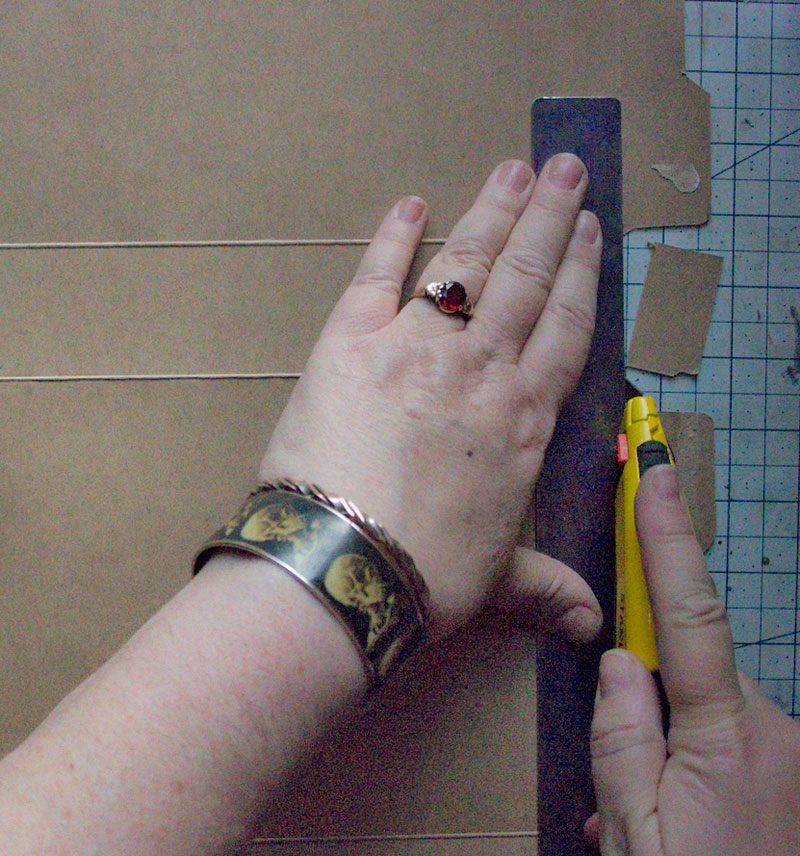
Begin by salvaging chipboard from the Recycle Bin! Trim the pieces to a size that will easily fit the Dies that you will be working with.
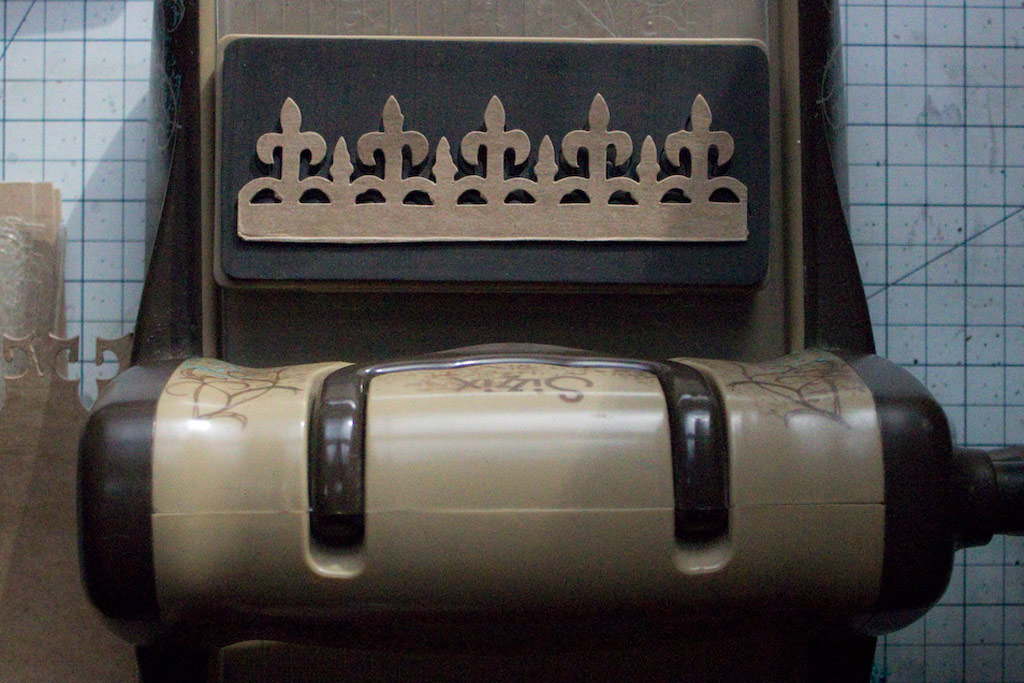
Use the Tim Holtz ‘Iron Gate’ Steel Rule Die to cut multiples of this lovely Fleur de Lis border.
For an Adult Sized Crown, 5 repeats (more or less – measure your head) will do the trick.
For the Smaller Sized Crown, 3 repeats were used.
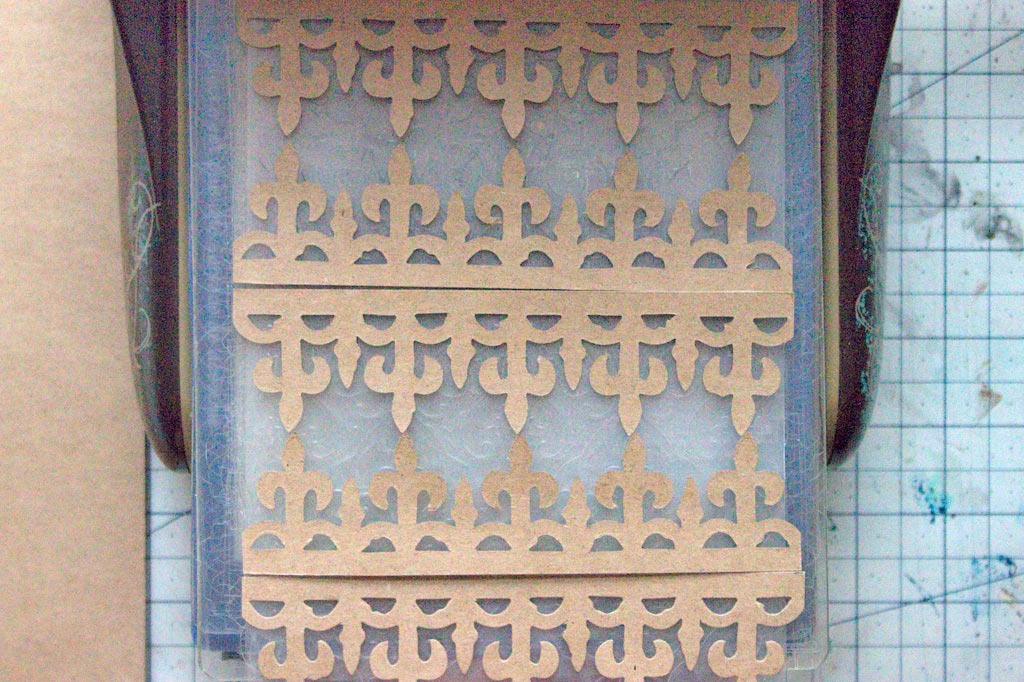
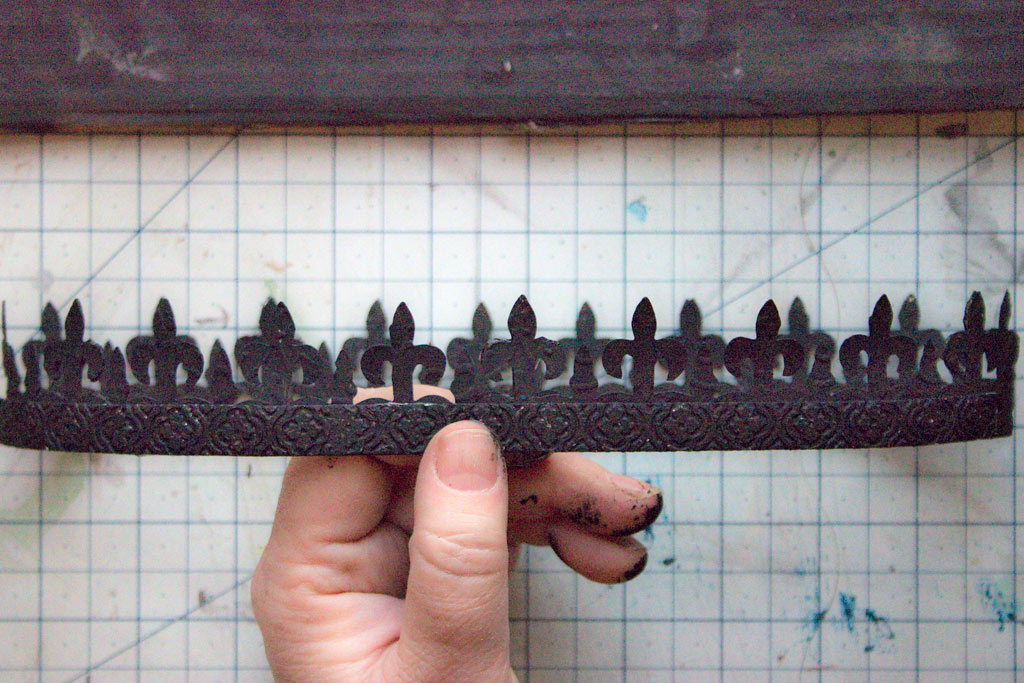
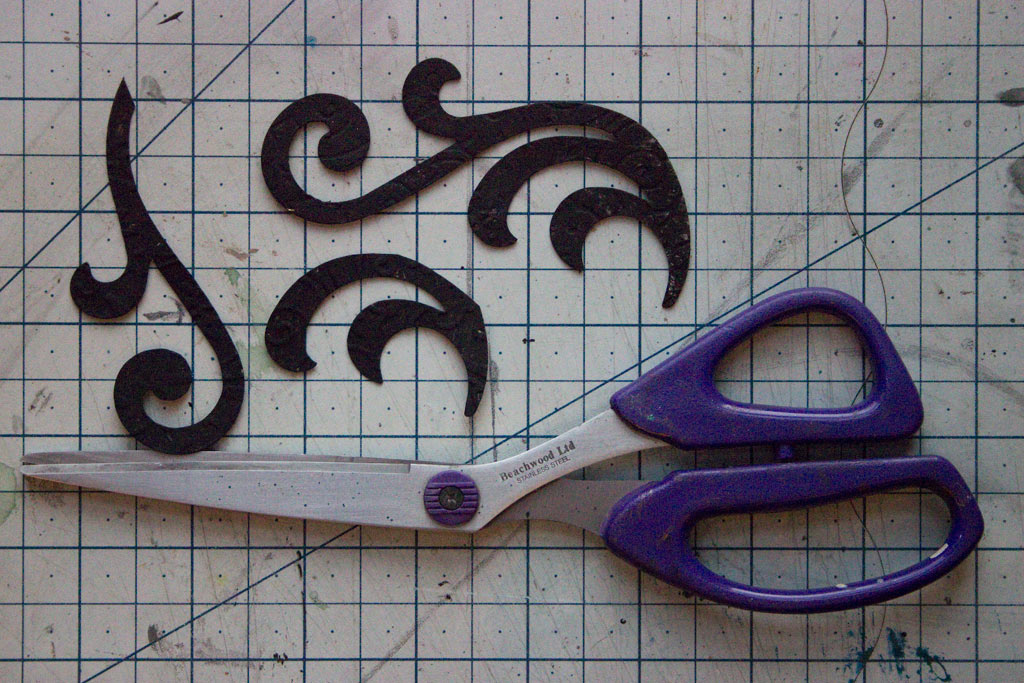
Here are the Die-Cuts, all trimmed by hand to the same height:
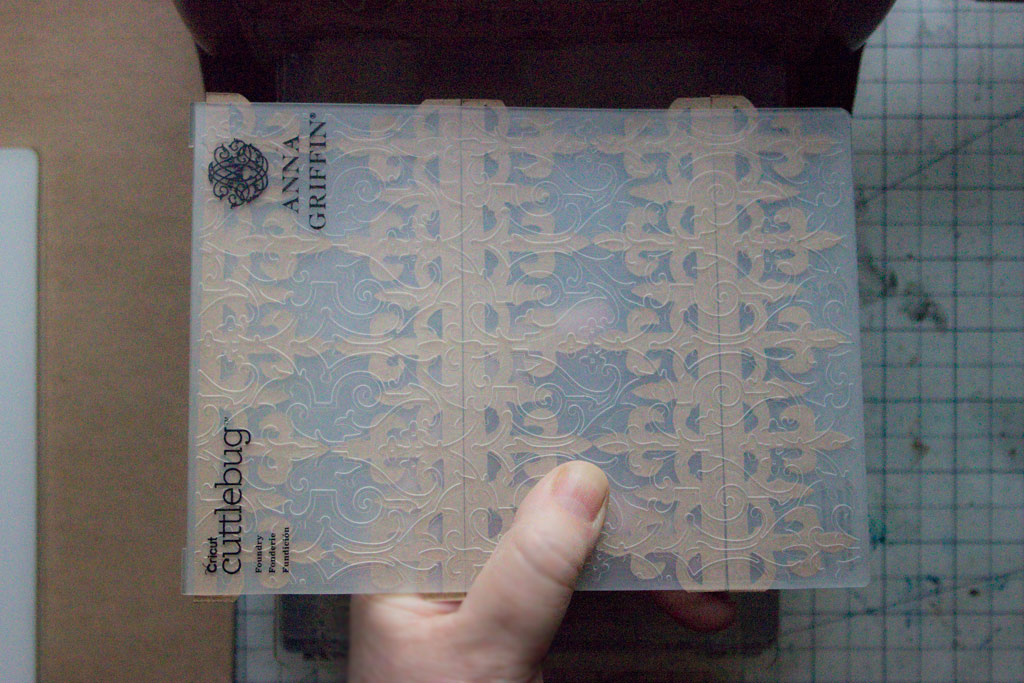
Once the chipboard has been Die-Cut, emboss the surface with your favorite Embossing Folder:
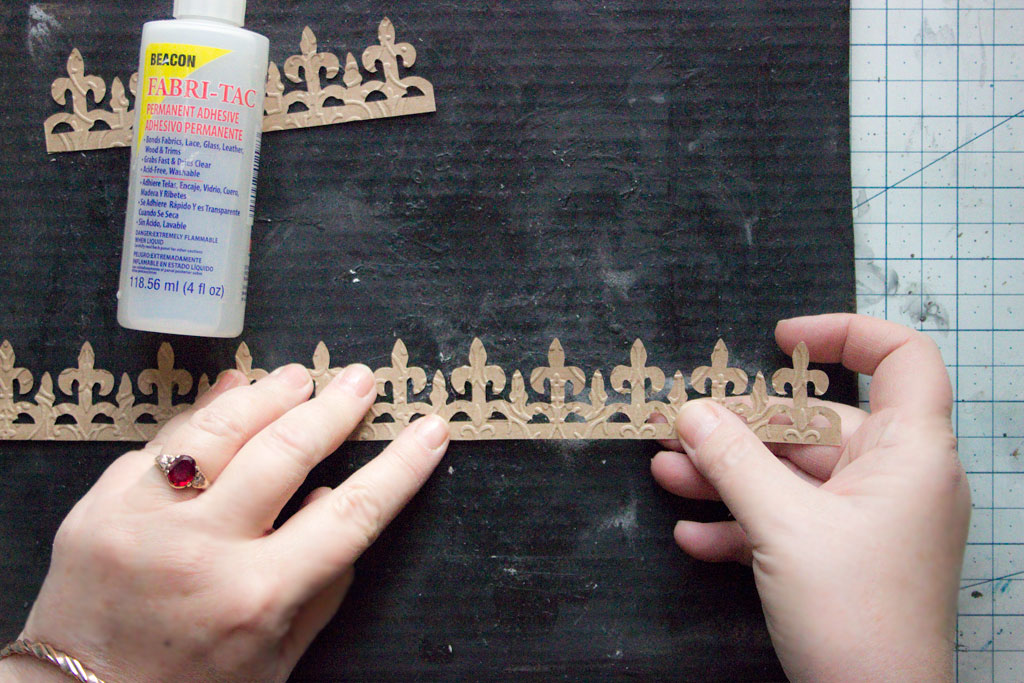
Attach the Die-Cuts end to end using a strong adhesive like Fabri-Tac Adhesive.
Overlap the repeating pattern, to create one long strip:
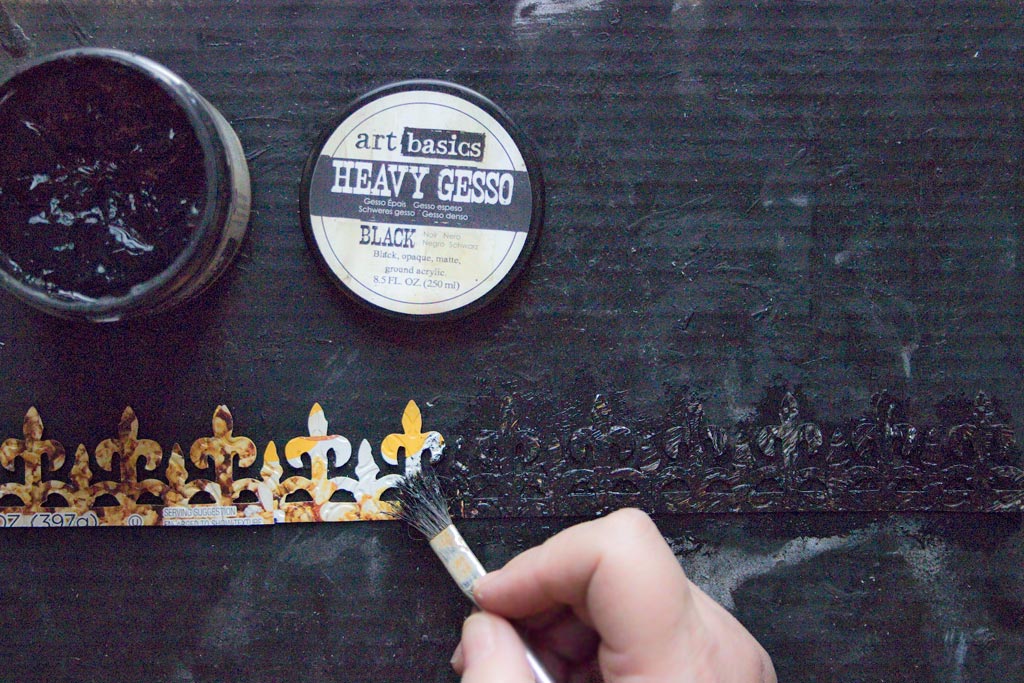
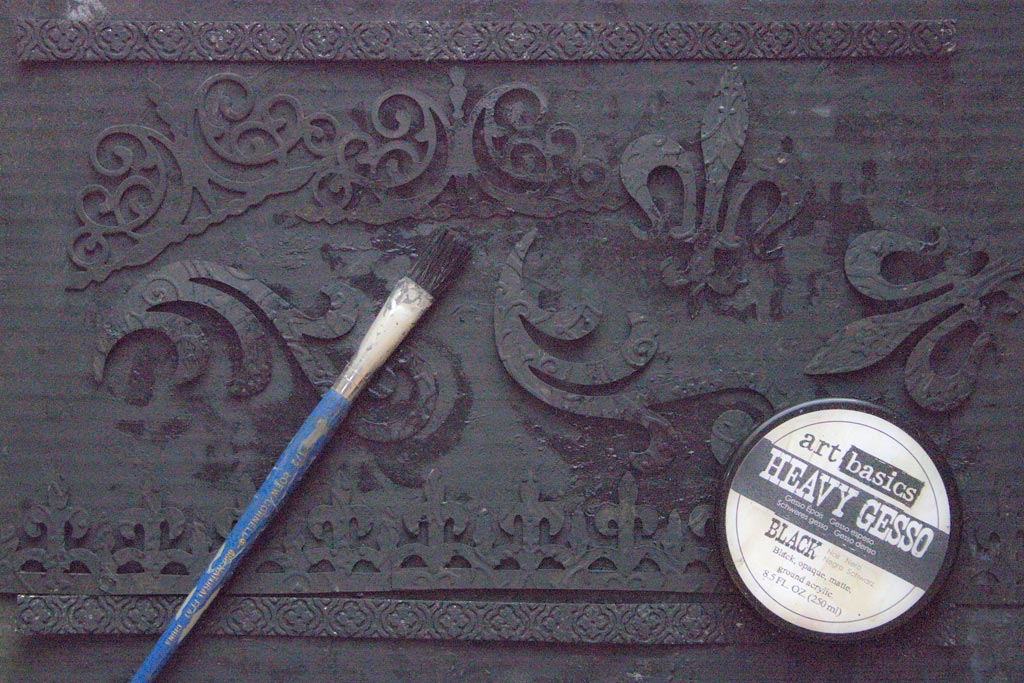
Once the adhesive has dried, coat the chipboard with Black Gesso, front and back:
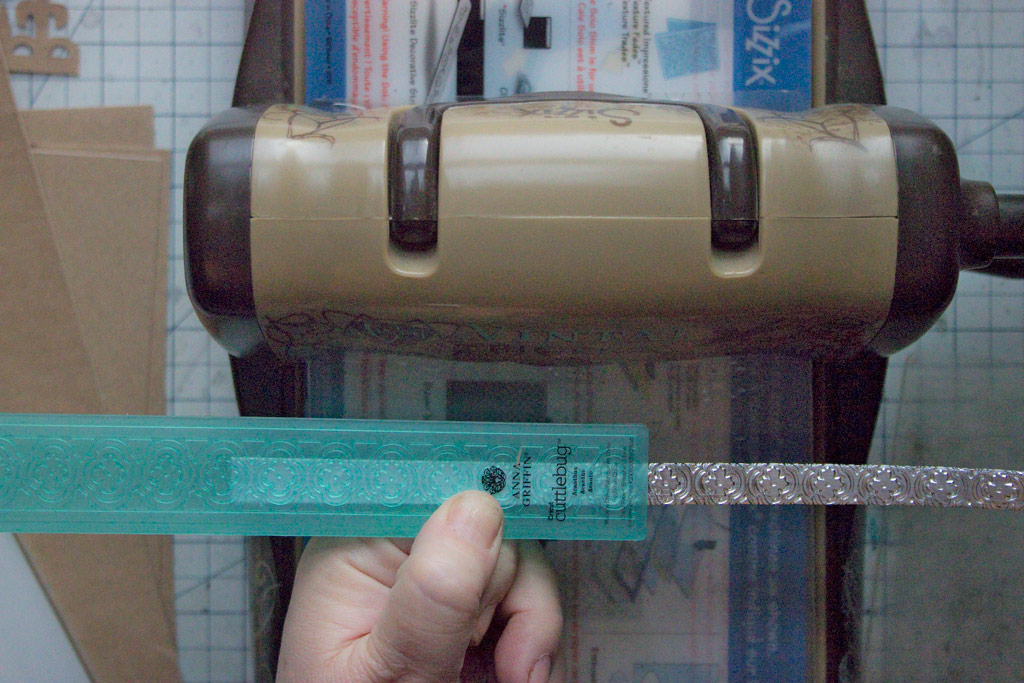
Fold matching lengths of Metal Tape into sturdy bands.
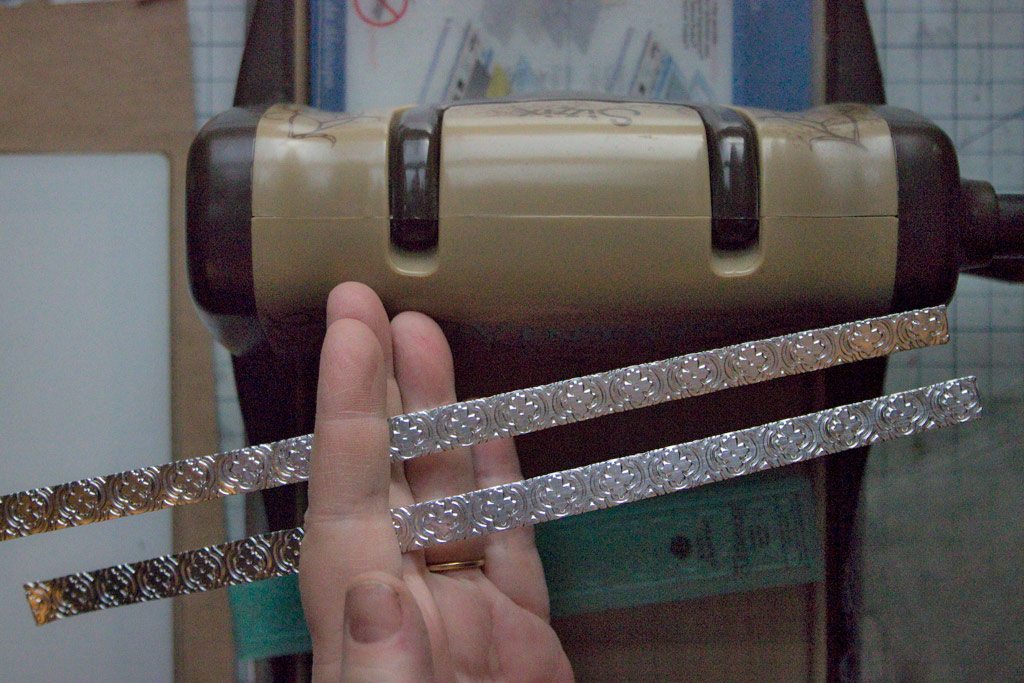
Emboss with a lovely pattern:
The resulting bands will be flexible and strong!
This will make your DIY Faux Metal Crowns robust and ‘moldable’, for a perfect fit!
Continue to Die-Cut the following pieces from Chipboard:
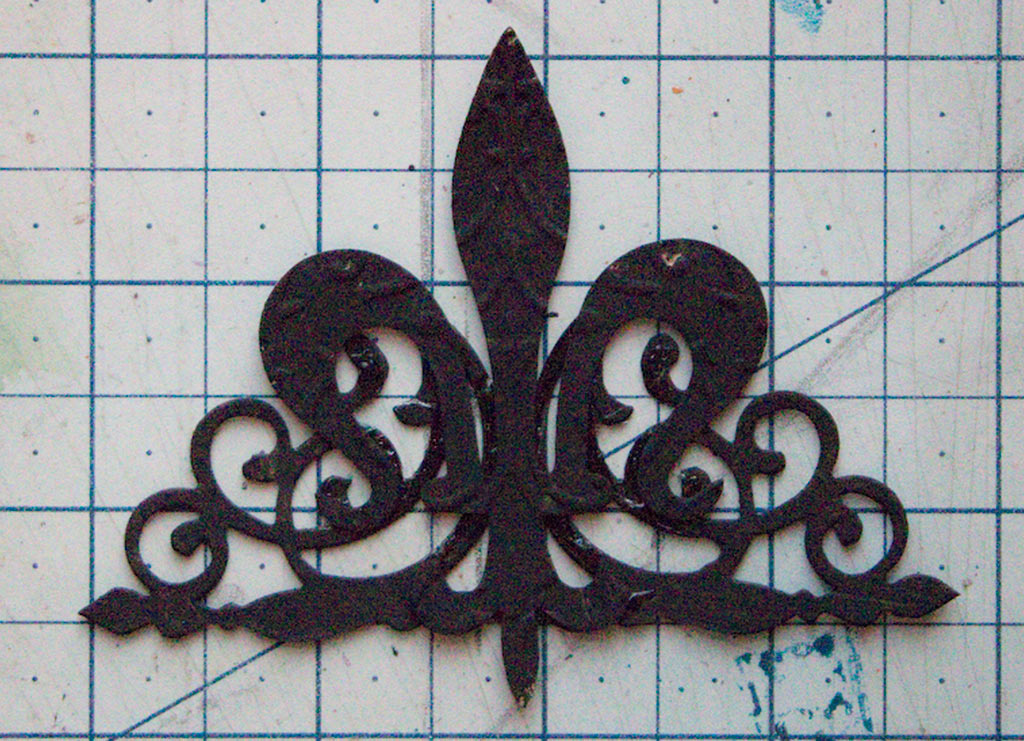
Sizzix “Classic Icons” Steel Rule Die : for the Fleur de Lis – cut 2 for each DIY Faux Metal Crown.
Sizzix “Classic Icons” Steel Rule Die : for the Flourish – cut 2 for each DIY Faux Metal Crown.
Sizzix “Curly Gate” Steel Rule Die : cut 2 for each Crown.
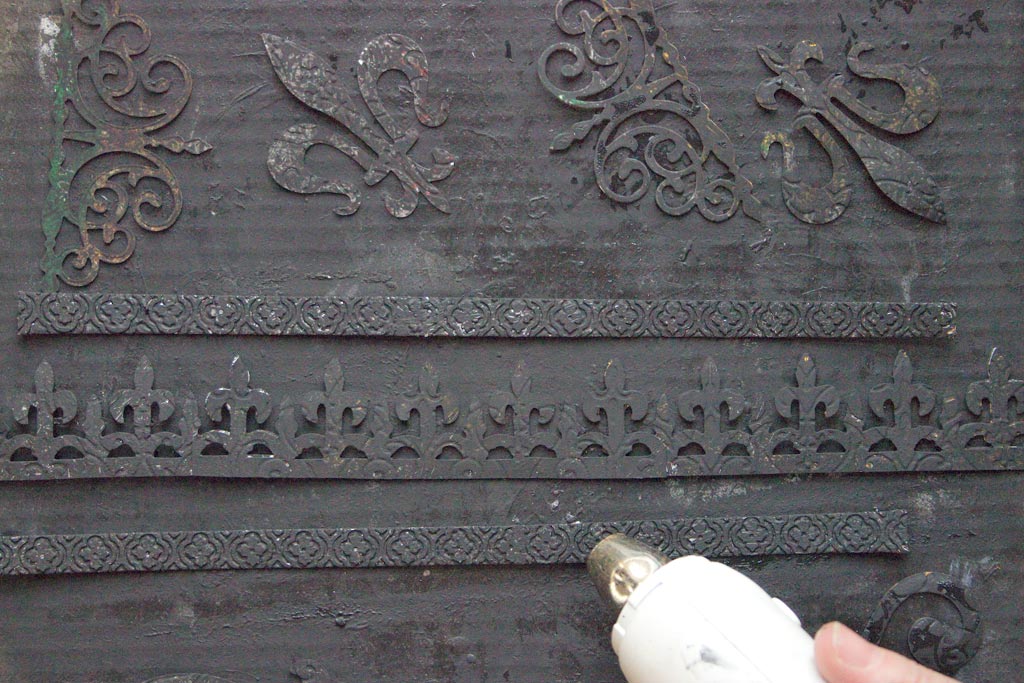
Coat all of the Die Cut Components with Black Gesso and dry with a Heat Tool:
Apply Black Gesso to the front and back of each piece:
Create a circle by adhering the ends of the Iron Gate Die Cuts together with Strong Adhesive.
Apply the bands of Embossed Metal Tape over the exterior of the circlet.
You may wish to clamp the pieces together for a few minutes to ensure a firm bond:
Layer the Large Fleur de Lis over the Curly Gate Die-Cut. Adhere.
Create two of these components for each DIY Faux Metal Crown:
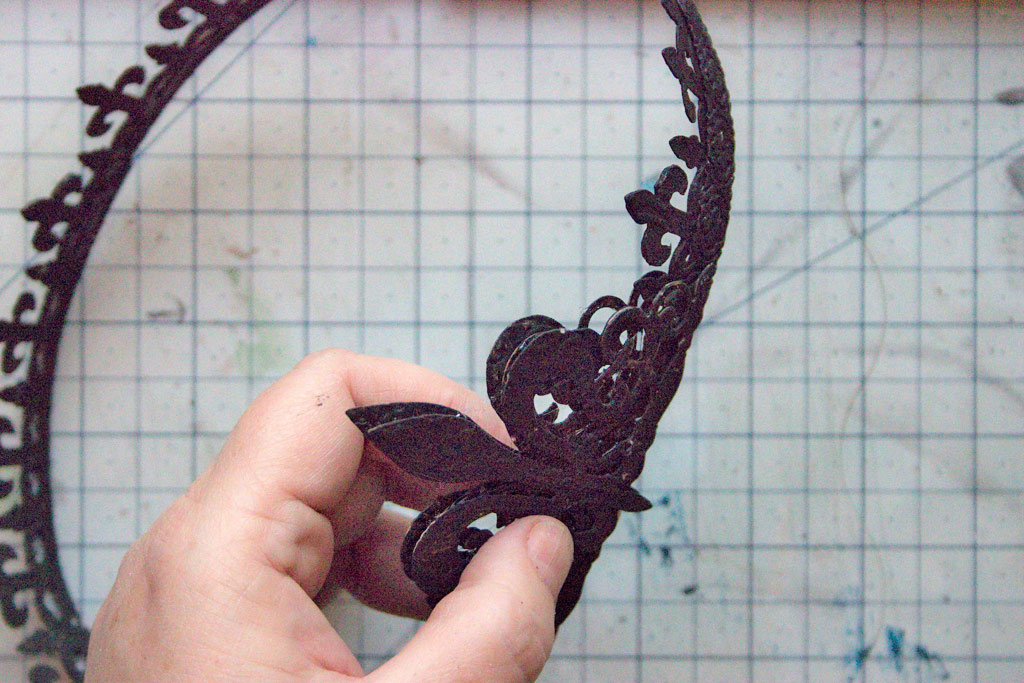
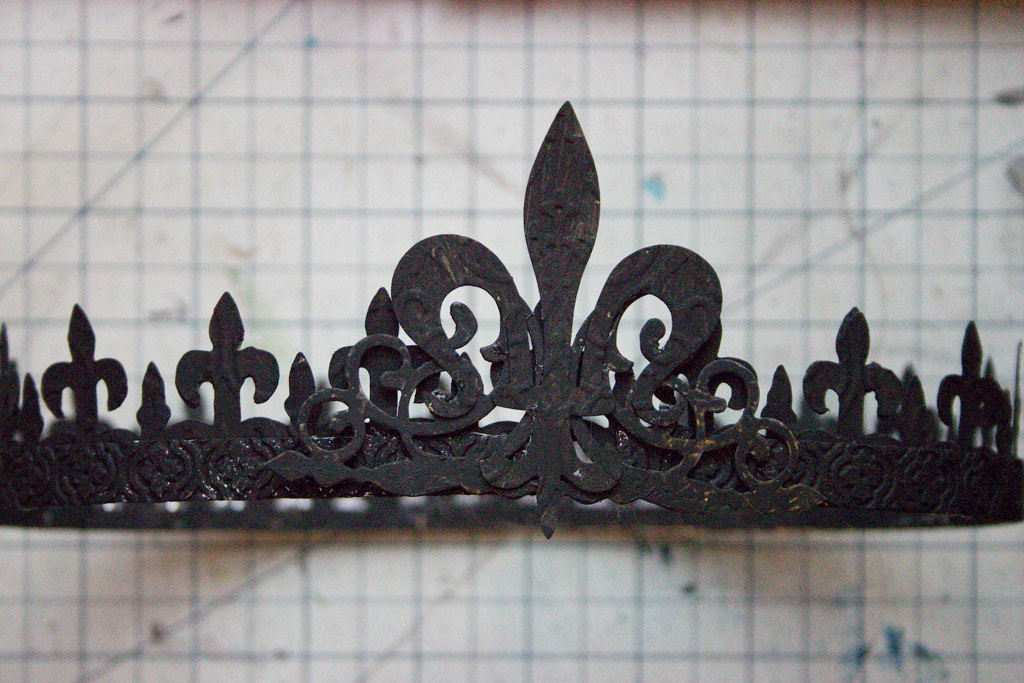
Sandwich the circlet between the Fleur de Lis / Curly Gate pieces, and adhere with Strong Adhesive:
Allow the adhesive to cure for a few minutes before proceeding:
Snip the two Flourish Die-Cuts to isolate the longest curlycue.
Adhere the Flourish to either side of the Fleur de Lis.
You can incorporate the smaller pieces if you wish. Just make an Executive Designer Decision, and glue them in place!
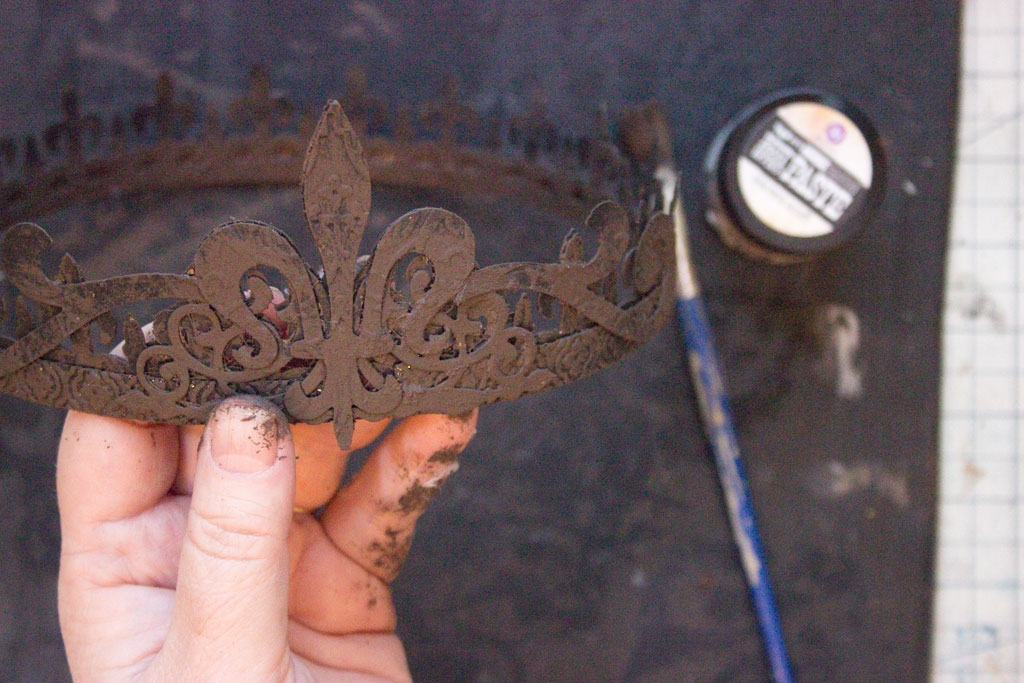
Once the adhesive is set, add a layer of Rust Effect Paste: Brown to the entire surface, inside and out:
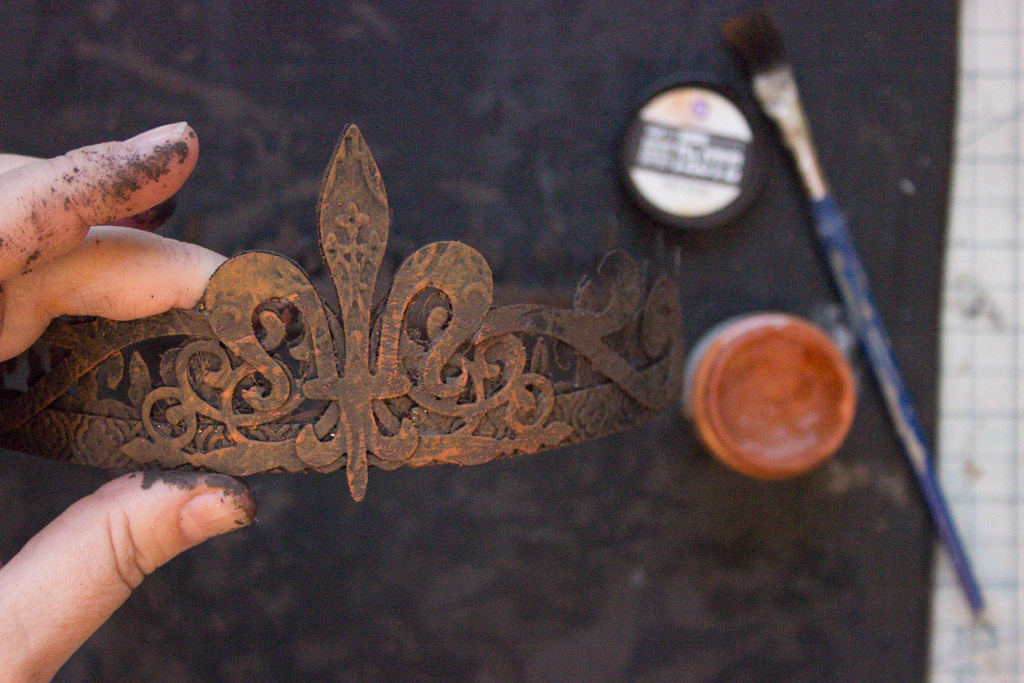
Follow with touches of Rust Effect Paste: Red, concentrating on the areas you wish to appear Deeply Rusty!
At this stage, you can really begin to appreciate the Grungy Magic of this finish:
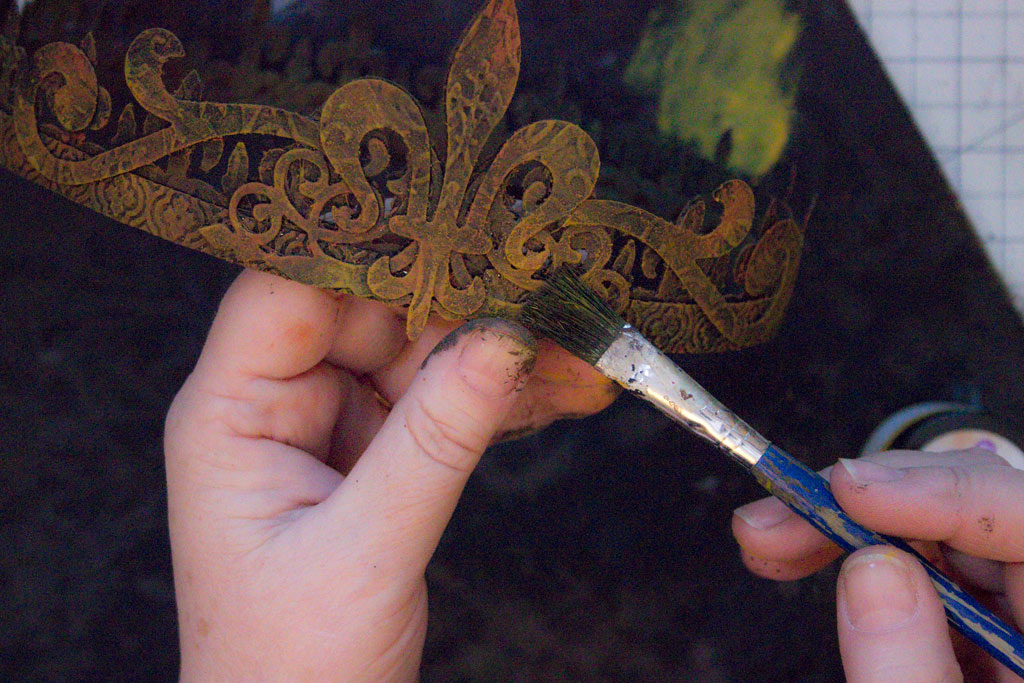
Highlight small areas with Rust Effect Paste: Gold applied in a ‘dry brushing’ technique.
Dry thoroughly with a Heat Tool.
Slip the DIY Faux Metal Crown over a cylindrical form (an old Quaker Oats box or similar)
This will provide support to the Crown as you Embellish.
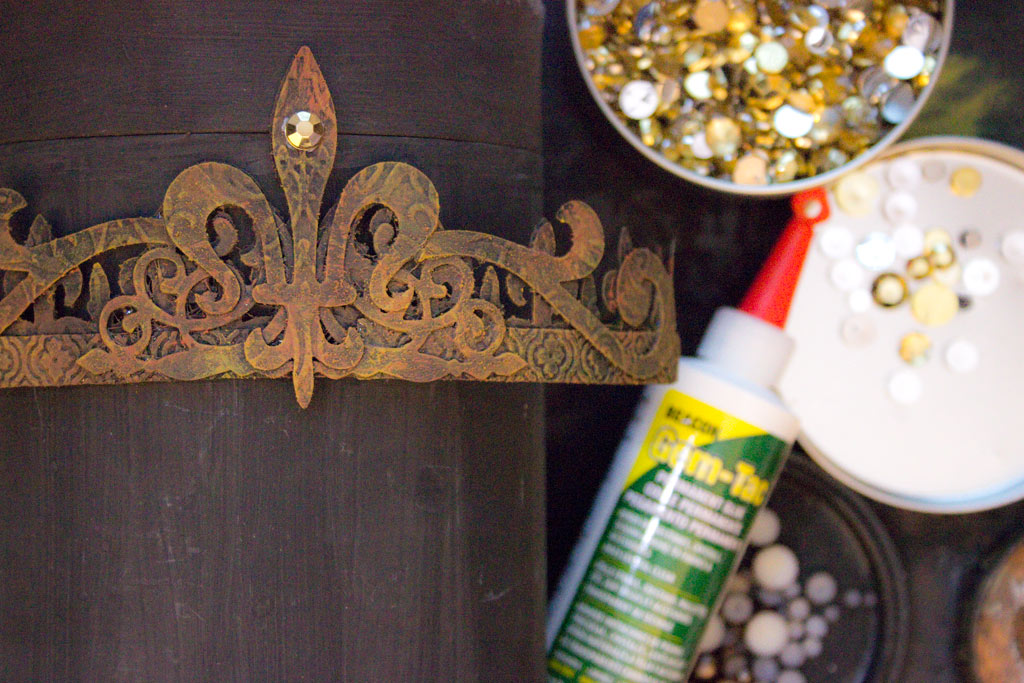
Grab your favorite assortment of flat backed pearls and gems and Let the Embellishment Begin!
I recommend Gem-Tac for this process, even if your gems are ‘adhesive’.
Nobody wants to lose the Royal Jewels!
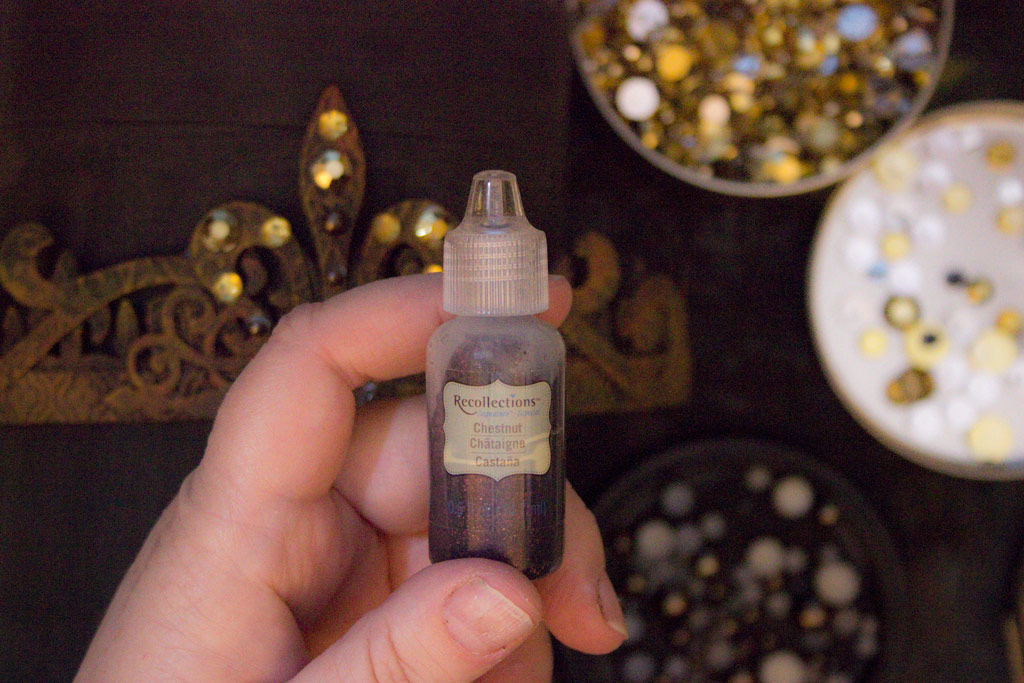
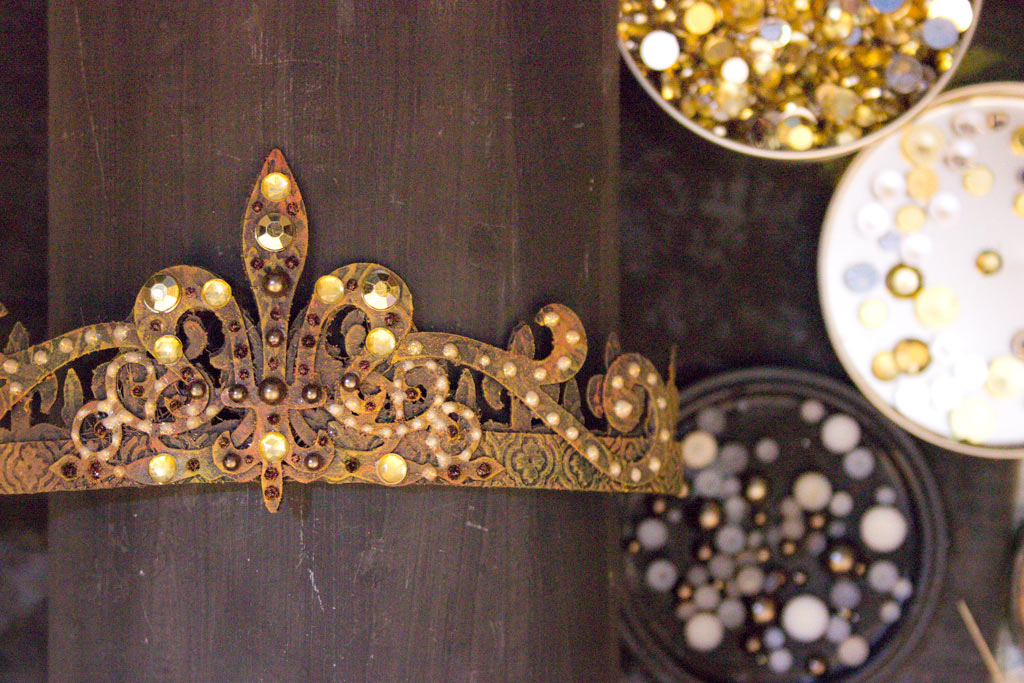
Add dots of Bronze Glitter Glue, to accentuate the Rusty Glamour of this Crown.
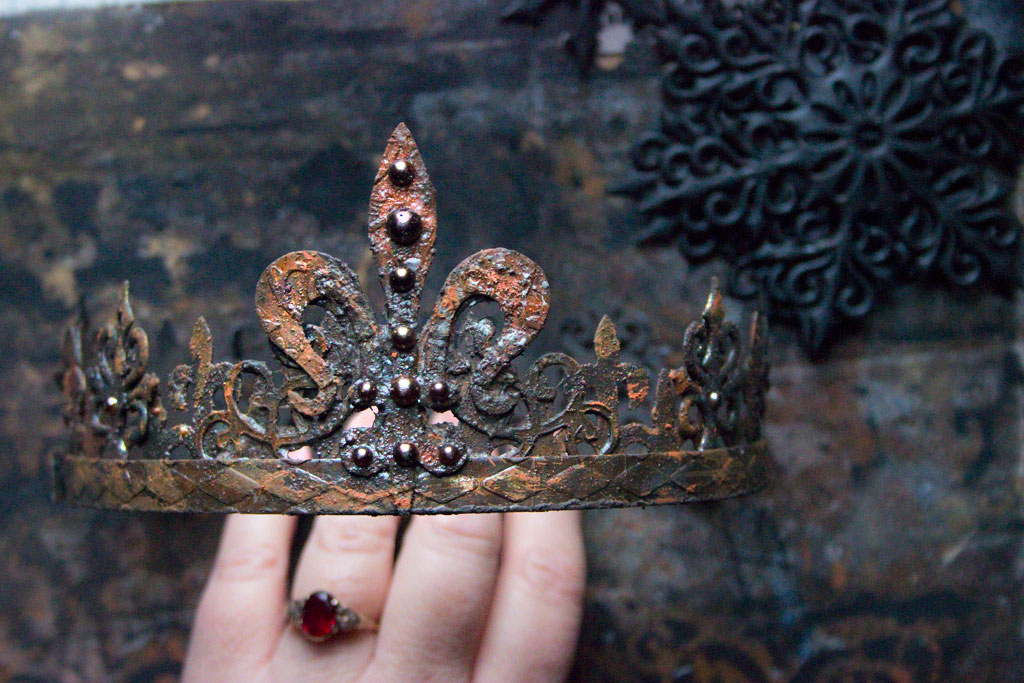
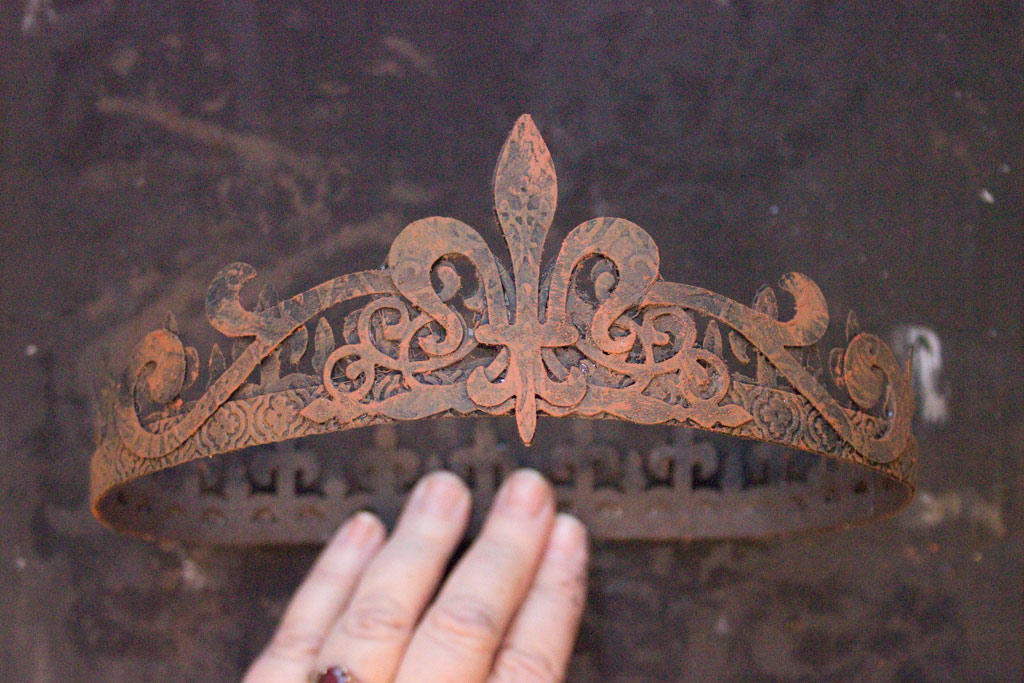
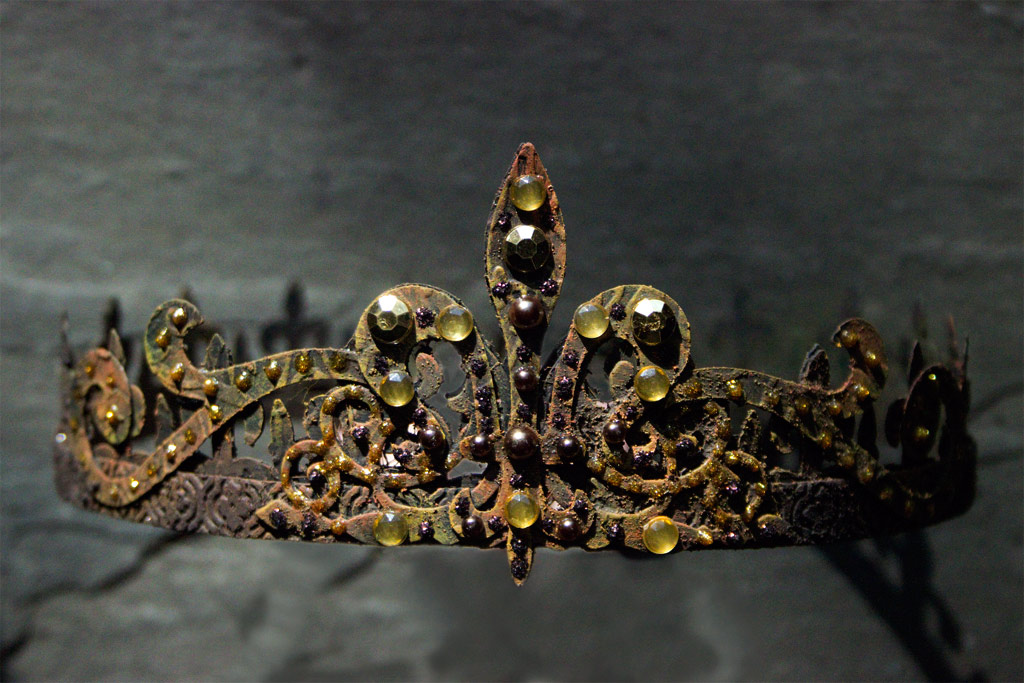
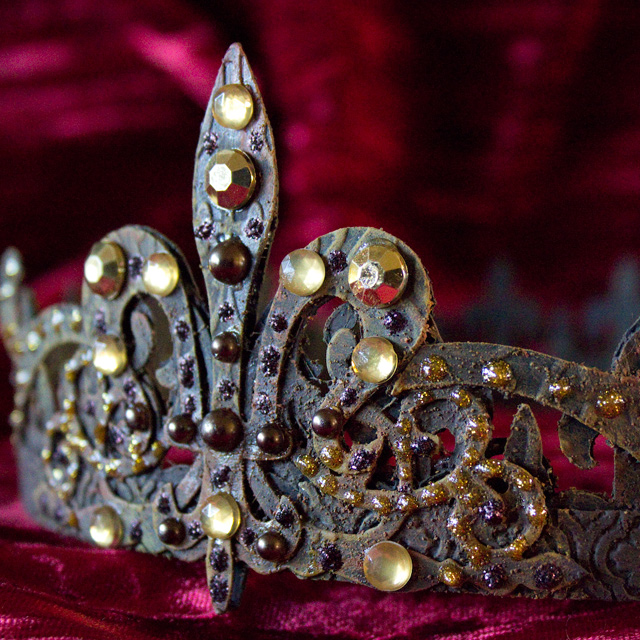
A few dots of brighter gold sparkle, and we have an elaborate Crown, fit for Royalty…like YOU!
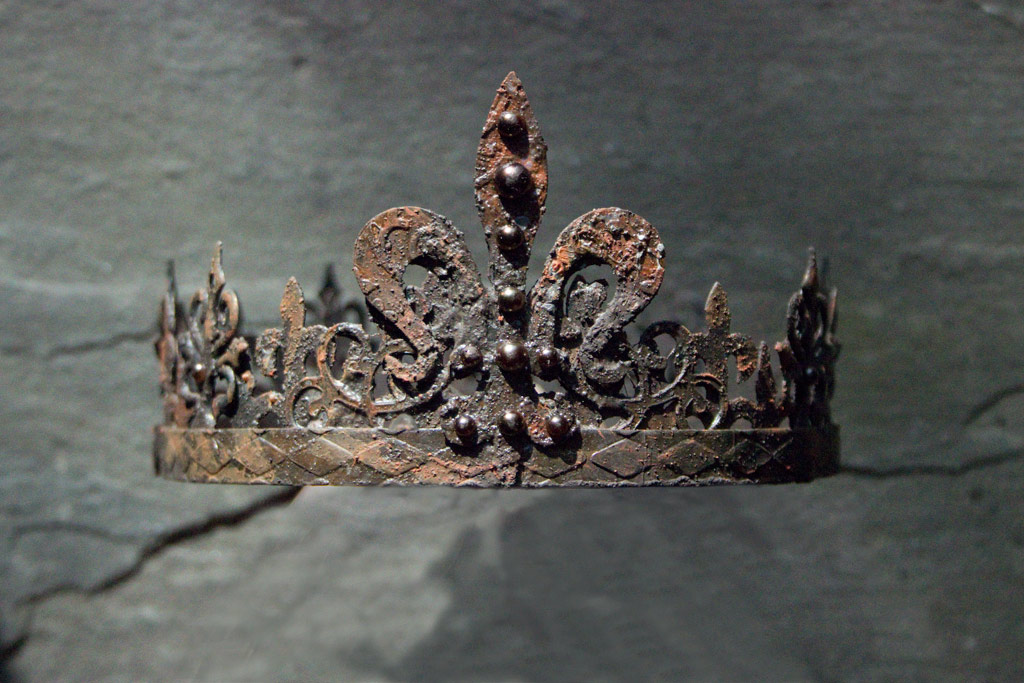
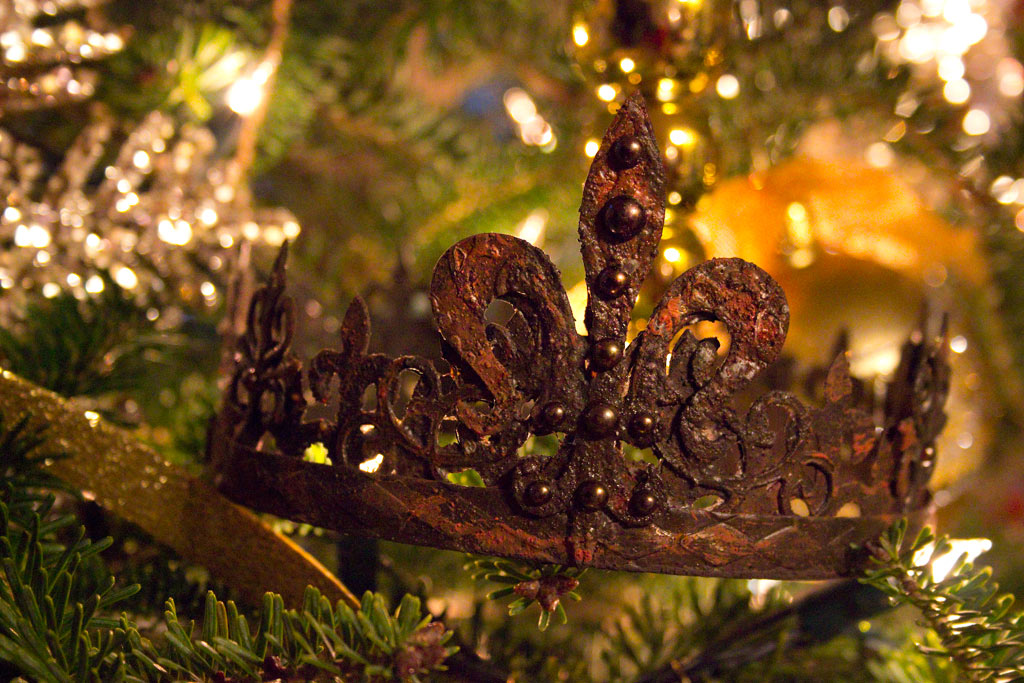
Here is a smaller, less elaborate version.
This one is sized perfectly to perch in the branches of a Christmas Tree, or sit fetchingly on the head of that Grecian Bust that you have tucked away in a corner!
The combination of Rusty Goodness and soft touches of Bling melts my heart!
Our more Elaborate and Stately version…
This one is sized to fit on your own lovely head, whilst you issue Royal Decrees!
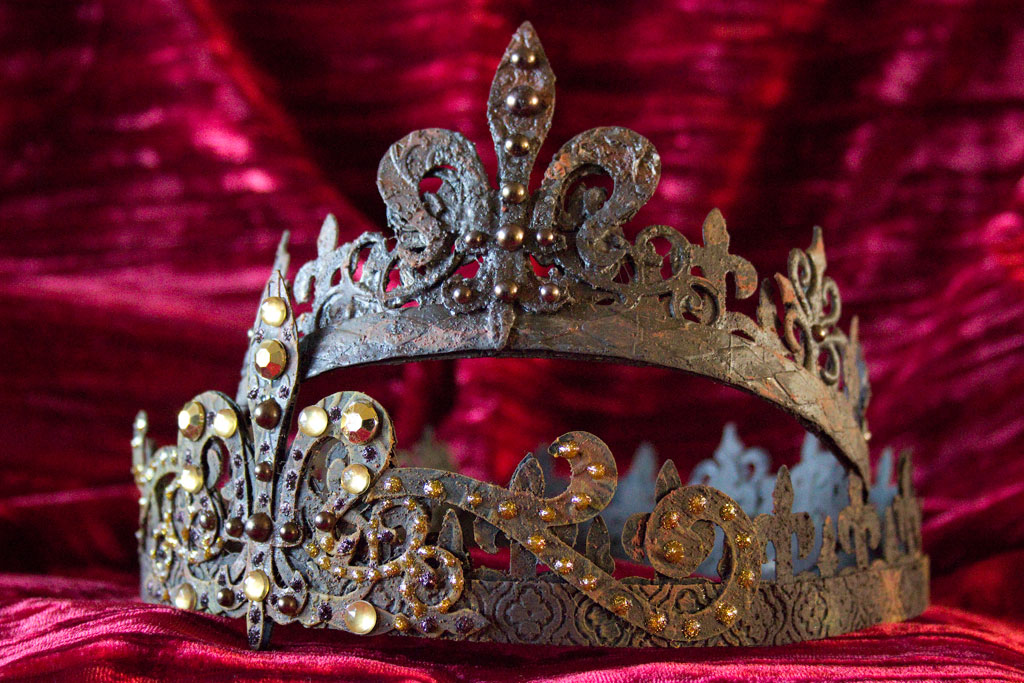
Both DIY Faux Metal Crowns have Serious Presence!
And could make Fabulous Presents for your Retinue…
And there we have it: from Humble Cereal Box to Royal Treasure!
Thank you SO much for visiting The Graphics Fairy today! I hope that you have enjoyed this Royally Frivolous Experiment, and that the techniques will spark ideas for your very own Precious Projects!
Come see me at Thicketworks, if ever you crave a bit of Quirky Crafting Madness!
Until next time,
Heather ♥
It’s finally here! Our first online crafting eCourse! If you’ve always wanted to try the art of Mixed Media, be sure and check out this amazing course by Heather Tracy!
Click HERE to learn more about it.



annie says
I do agree with Kitty what happened to the days when crafters crafted by hand without all the expensive tools and machines
graphicsfairy says
We still can Annie 🙂 I guess to each his (or her) own 🙂
Kitty Forseth says
Disappointed that this takes a lot of expensive materials, guess it’s out for this household :(.
Heather Tracy says
I’m sorry that this doesn’t meet your expectations, Kitty. It’s true that this does require a die cutting machine and dies, and not all crafters have access to these resources. By cutting the motifs by hand, those expenses are eliminated, but it would be a huge job. Thank you for visiting, and I hope you find other projects that will be a better fit. xox
Colette Leisen says
Is there anywhere that sells the cut outs as I don’t have the money to buy those cutting machines! I tried to hand cut the shapes with an exact knife…not great results. Thanks so much!
Heather Tracy says
I totally understand this situation, Colette. I remember all-too-well exactly how that feels. Here’s a link to one site that sells individual chipboard ‘crown’ components https://stampington.com/Regal-Chipboard-Santos-Crown
I’m sure there are others – good luck!
Rupa says
“measure your head” That had me laughing…what a great transformation! My dear husband can’t understand why I keep all that thick cardboard from boxes etc. I know it will be put to good use (one day) but given my slow crafting process, he thinks I am just hoarding 🙂 The finish, the whole process is just amazing as usual. Only you can come up with such brilliant ideas and explain it all so well! Wish you a very happy, peaceful and joyous new year, filled with lots of creativity!
Heather Tracy says
Hi Rupa! Thank goodness that even though our loved ones may not always understand our ‘hoarding’, they tolerate it! I hope you have a chance to play with Rust Effect Pastes soon, I had a blast, and I know you will too! Thank you, my friend, for your kindness. May 2017 bring you your hearts desire! xox
Gloria Westerman says
What a clever idea…thank you so much for the tutorial…looks pretty easy…might give it a try…tfs
Heather Tracy says
Why thank you, Gloria! It IS pretty easy, and very fun! Thank you for taking the time to visit today. 🙂
Terry Morrow says
Theses ate beautiful!
Heather Tracy says
Hi Terry! Thank you for stopping by, and I’m so glad you like them! 🙂
Regina Hanna says
Thank you so much for posting this with links to products! So helpful.
Heather Tracy says
I know how I feel when I see someone create something that I’d like to reproduce! I want to know where to get the stuff, Regina 🙂
Zeli says
I love these crowns to bits – and crave a rusty little tiara all of my own.
But, alas, the only items on the materials ist I own are scissors and baby wipes. To purchase everything else (including the cereal) would cost me as much as moving to England, wooing and marrying a duke, inheriting the family tiara, burying it out in a field for a few years and waiting for it to tarnish.
*sigh*
Heather Tracy says
I hear you Zeli – I certainly wouldn’t have invested in the necessary items for this project alone. However, the Big Shot and dies are part of a group of tools that I turn to again and again, for many different projects. Thank you for visiting today!
Linda Knox says
Thank you, thank you, thank you! This is soooo cool and the fact that it is made from recyclables is the best. I appreciate your willingness to share your talents.
Heather Tracy says
Hi Linda! Thank you so much for taking the time to visit The Graphics Fairy, my friend! I just LOVE working with cast-offs of all kinds: it warms my heart to bring them to ‘life’, and sharing these little experiments is my JOY. xox
Jan Ross says
THANK YOU SO MUCH FOR THE GREAT TUTORIAL, AND THE LINKS TO THE PRODUCTS NEEDED.
Heather Tracy says
Hi Jan! So happy that you like this little project…and it is my pleasure to share tips n techniques, my friend!
Gunnvor Bakke says
Dear Heather!
I’m always reading your post the minute they arrive, there is always so much inspiration on how to upcycle every day items into wonderful ART! And of course, making it look aged and fabulous makes my heart jump! I also love reading your posts because of the wording, today’s favorite statement was “Begin by salvaging chipboard from the Recycle Bin!” Priceless! My cereal boxes never make it to the recycle bin, but I have been know to “dumpster dive” into friends’ recycle bins when visiting, and all of a sudden coming up with a project idea…lol Keep up the great work, Karen sure did a clever thing when she decided to bring you on board 😀
All the best, and bright wishes for a prosperous New Year to all of you guys at TGF, may 2017 be both grungy and sparkling 😀
Love&Light
Gunnvor Karita
Heather Tracy says
Hi Gunnvor! It makes me so happy to connect with other creatives who see the possibilities in ‘rubbish’! We are surrounded by so much raw material, and these days we have access to such wonderful tools to re-imagine it with. Thank you for being so kind, and for visiting The Graphics Fairy!
We hope you have a wonderful New Year, filled with Sparkly Grunge, too! xox
Martice says
Heather! This project is beyond incredible! With these marvelously exquisite crowns, I was sure the tutorial was gonna be a headache. Ha! That’s never the case with you. Thank you for clear, concise instructions. I gotta try this!
Heather Tracy says
Martice! How lovely to hear from you! I’m so glad that it seems doable – it truly is…so satisfying to transform Trash to Treasure. Thank you for stopping by. xox
Ann L. says
I love this! I made crowns for the children in my Sunday School class, and every time they achieve a goal, they get to glue a plastic cross or bling embellishment. Every time they get 10 “ornaments” on it, they get to wear it to church service to show their achievement. They actually like the grunge beginning and transforming it into a beautiful “antique.” The adults enjoy their enthusiasm for this project.
Another plus: the crown motif fits well into many lessons.
Heather Tracy says
Hello, Ann! What a wonderful way to engage the children and provide them with a keepsake they will cherish! Crowns are so FUN!
Ann L. says
We always do a little craft session after a quick lesson. They love it, and hopefully will continue crafting throughout their lives.
Karen Watson says
🙂
Ardith says
Well, Heather, this project is beyond impressive. Your crown may have humble origins, but it is regal in design and finish. Thank you, Karen, for sharing Heather’s incredible creation.
Heather Tracy says
Yay! So glad you like it, Ardith. It was such a joy to create, and I think I may just have to make MORE! Thank you for your kind words, my friend.
Josie says
Exquisite!
Heather Tracy says
Such fun, Josie! It warms my heart that you like it. xox