DIY Floral Gift Tags
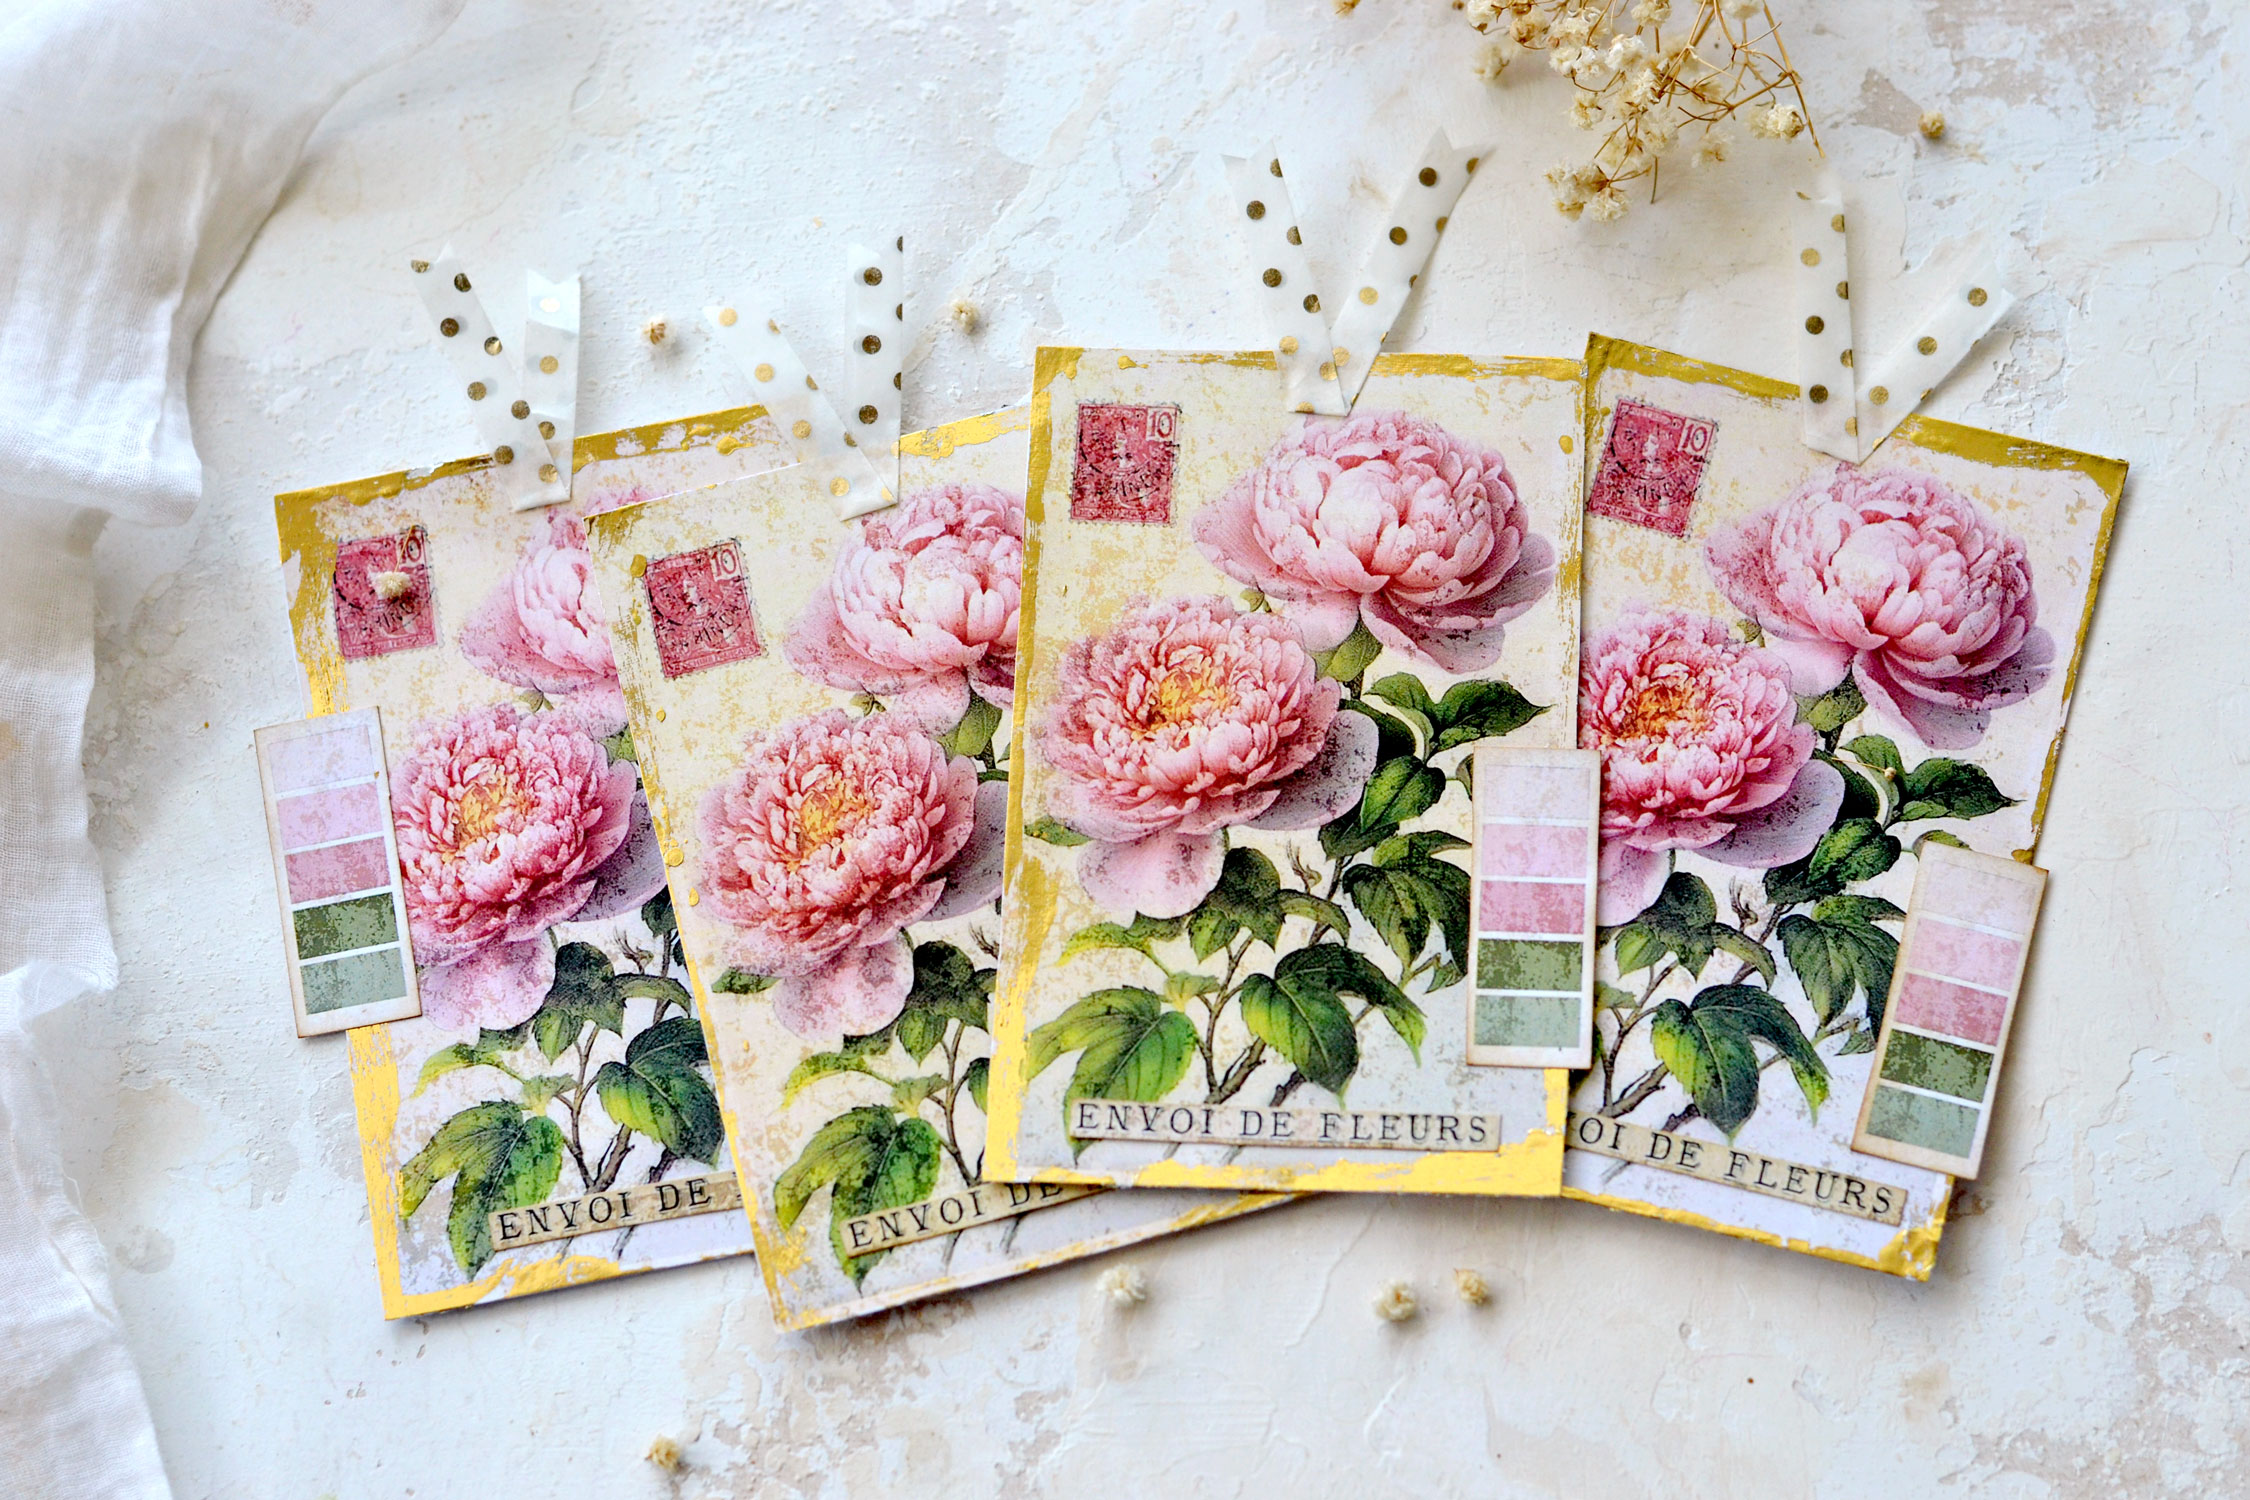
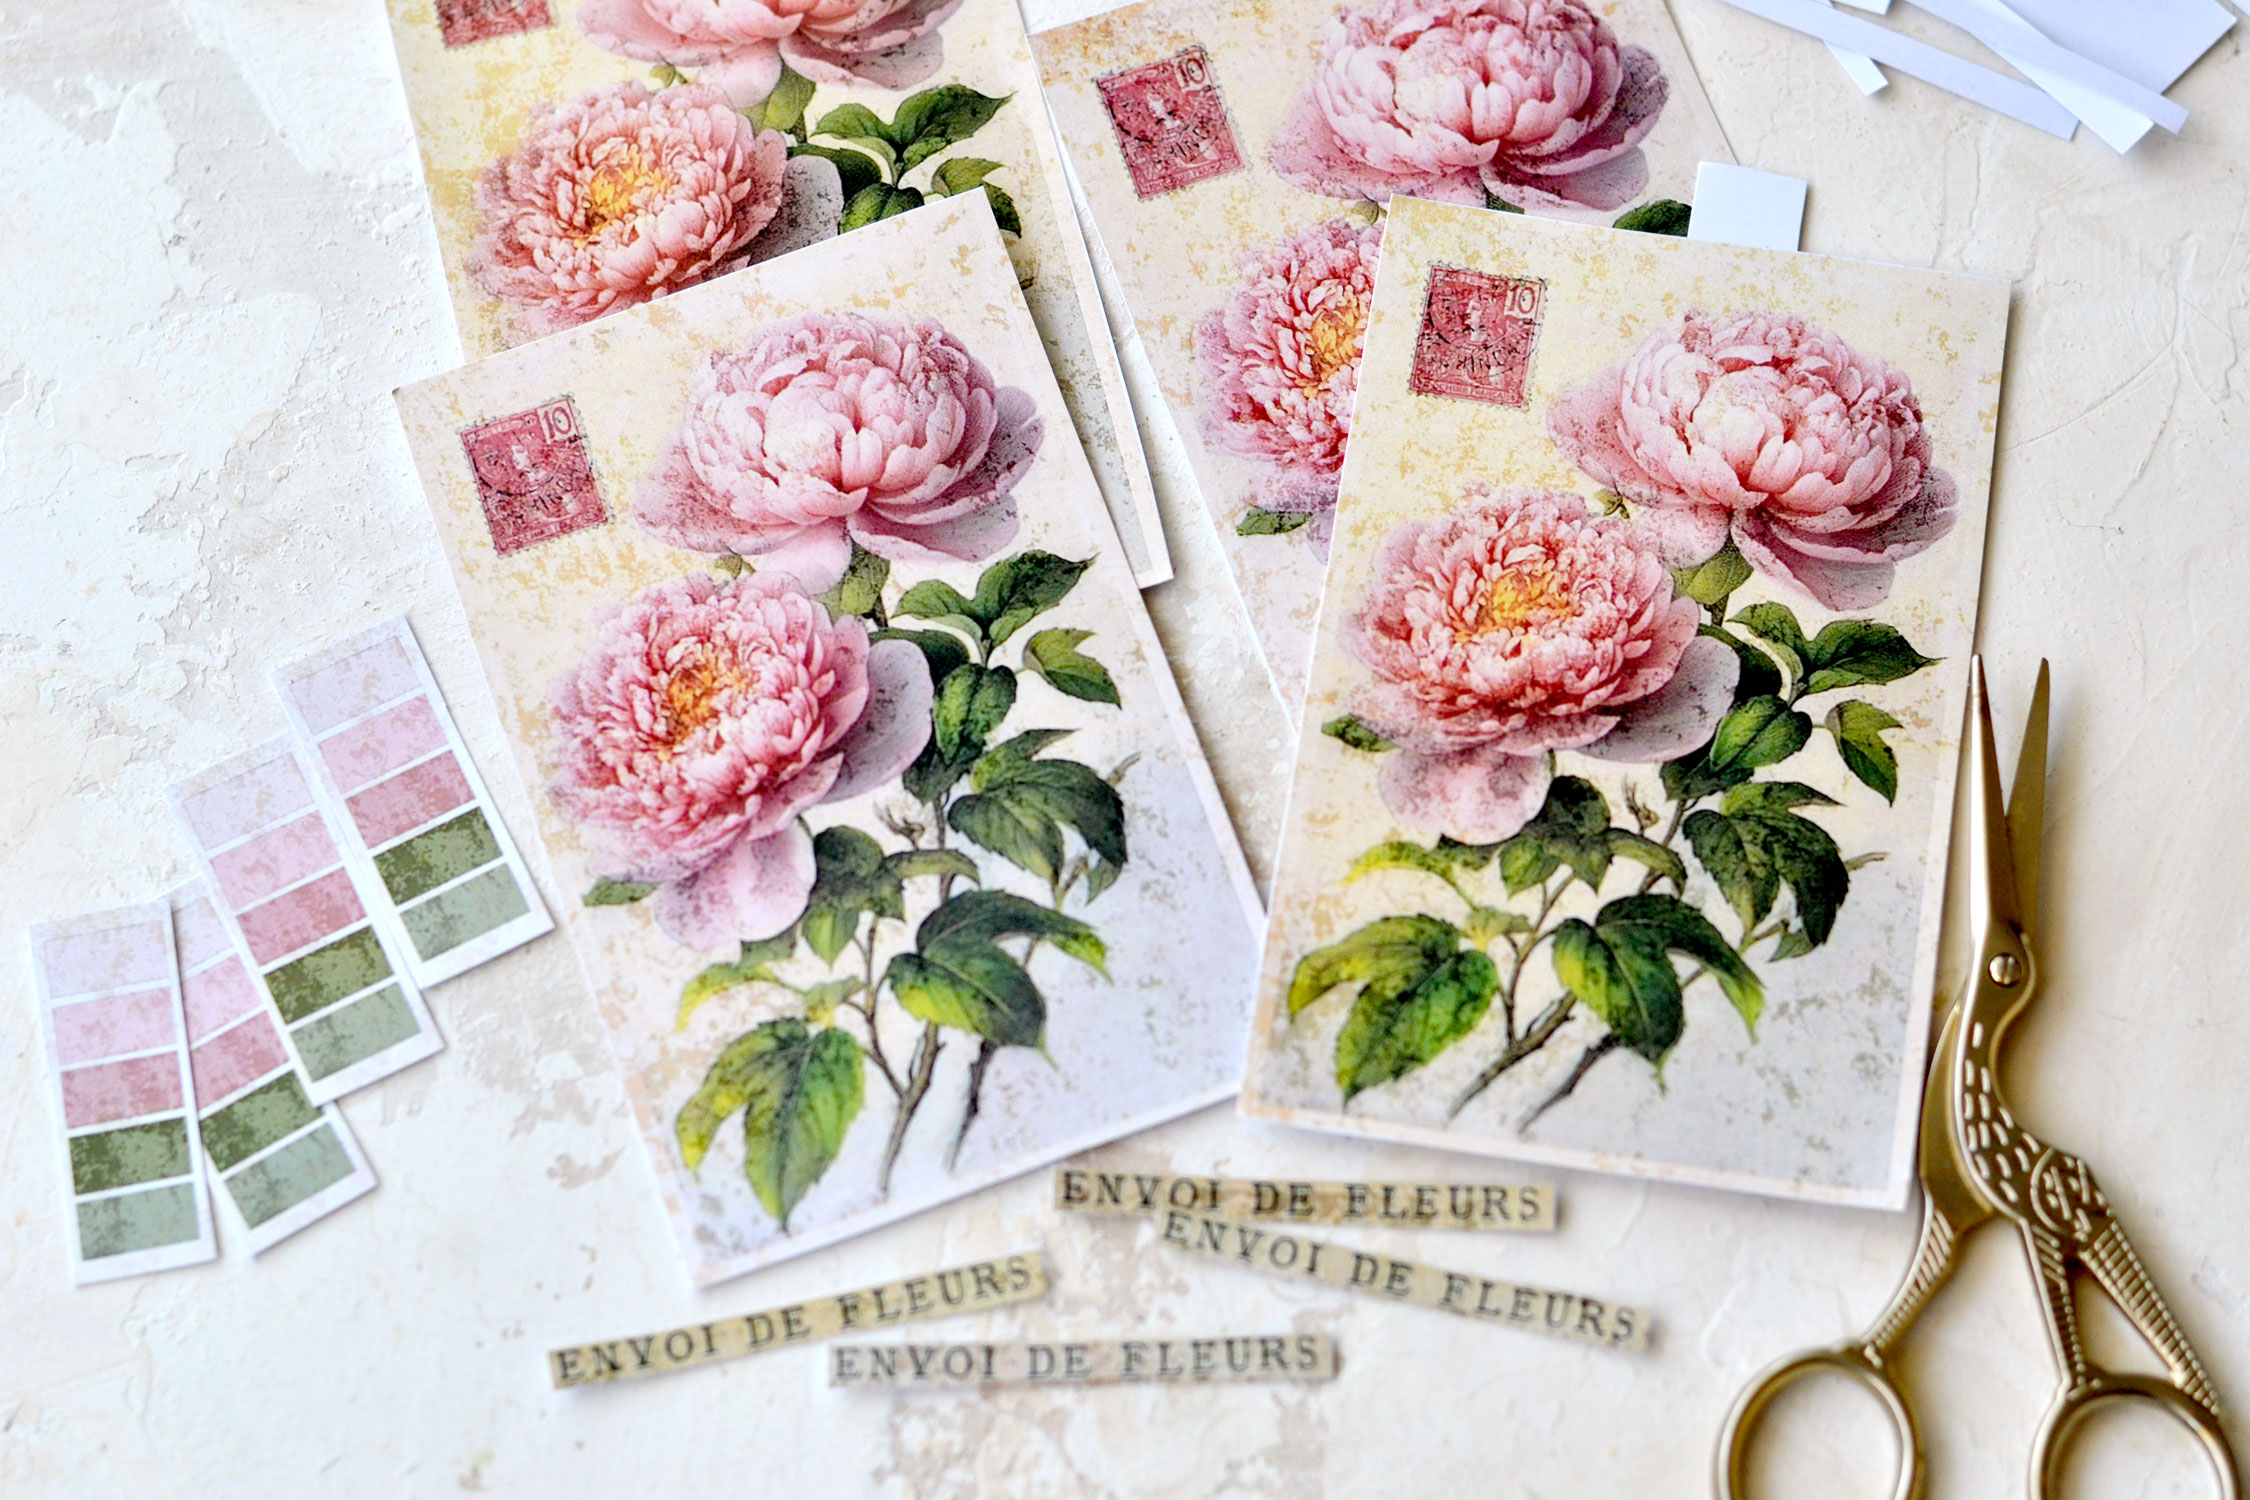
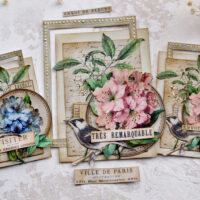
Hello Graphics Fairy friends! I’m Diana from Dreams Factory and I’m happy to be here again to share another DIY project with you! Today I will show you how to make these gorgeous DIY Floral Gift Tags that have a super chic Frenchified vibe. I included a few color swatches that can be added to the side to create a matching color scheme with our lovely peonies. We’ll add a little bit of gold foil on the edges while trying not to make it too perfect so we can keep their aged vintage appearance. And as a final step, I’ll show you how to make a washi tape ribbon that is really easy to make and will quickly add even more charm to these beauties.
The peony design itself is so beautiful that it doesn’t really need too many embellishments, but you will see that all these small details add so much character to the finished pieces.
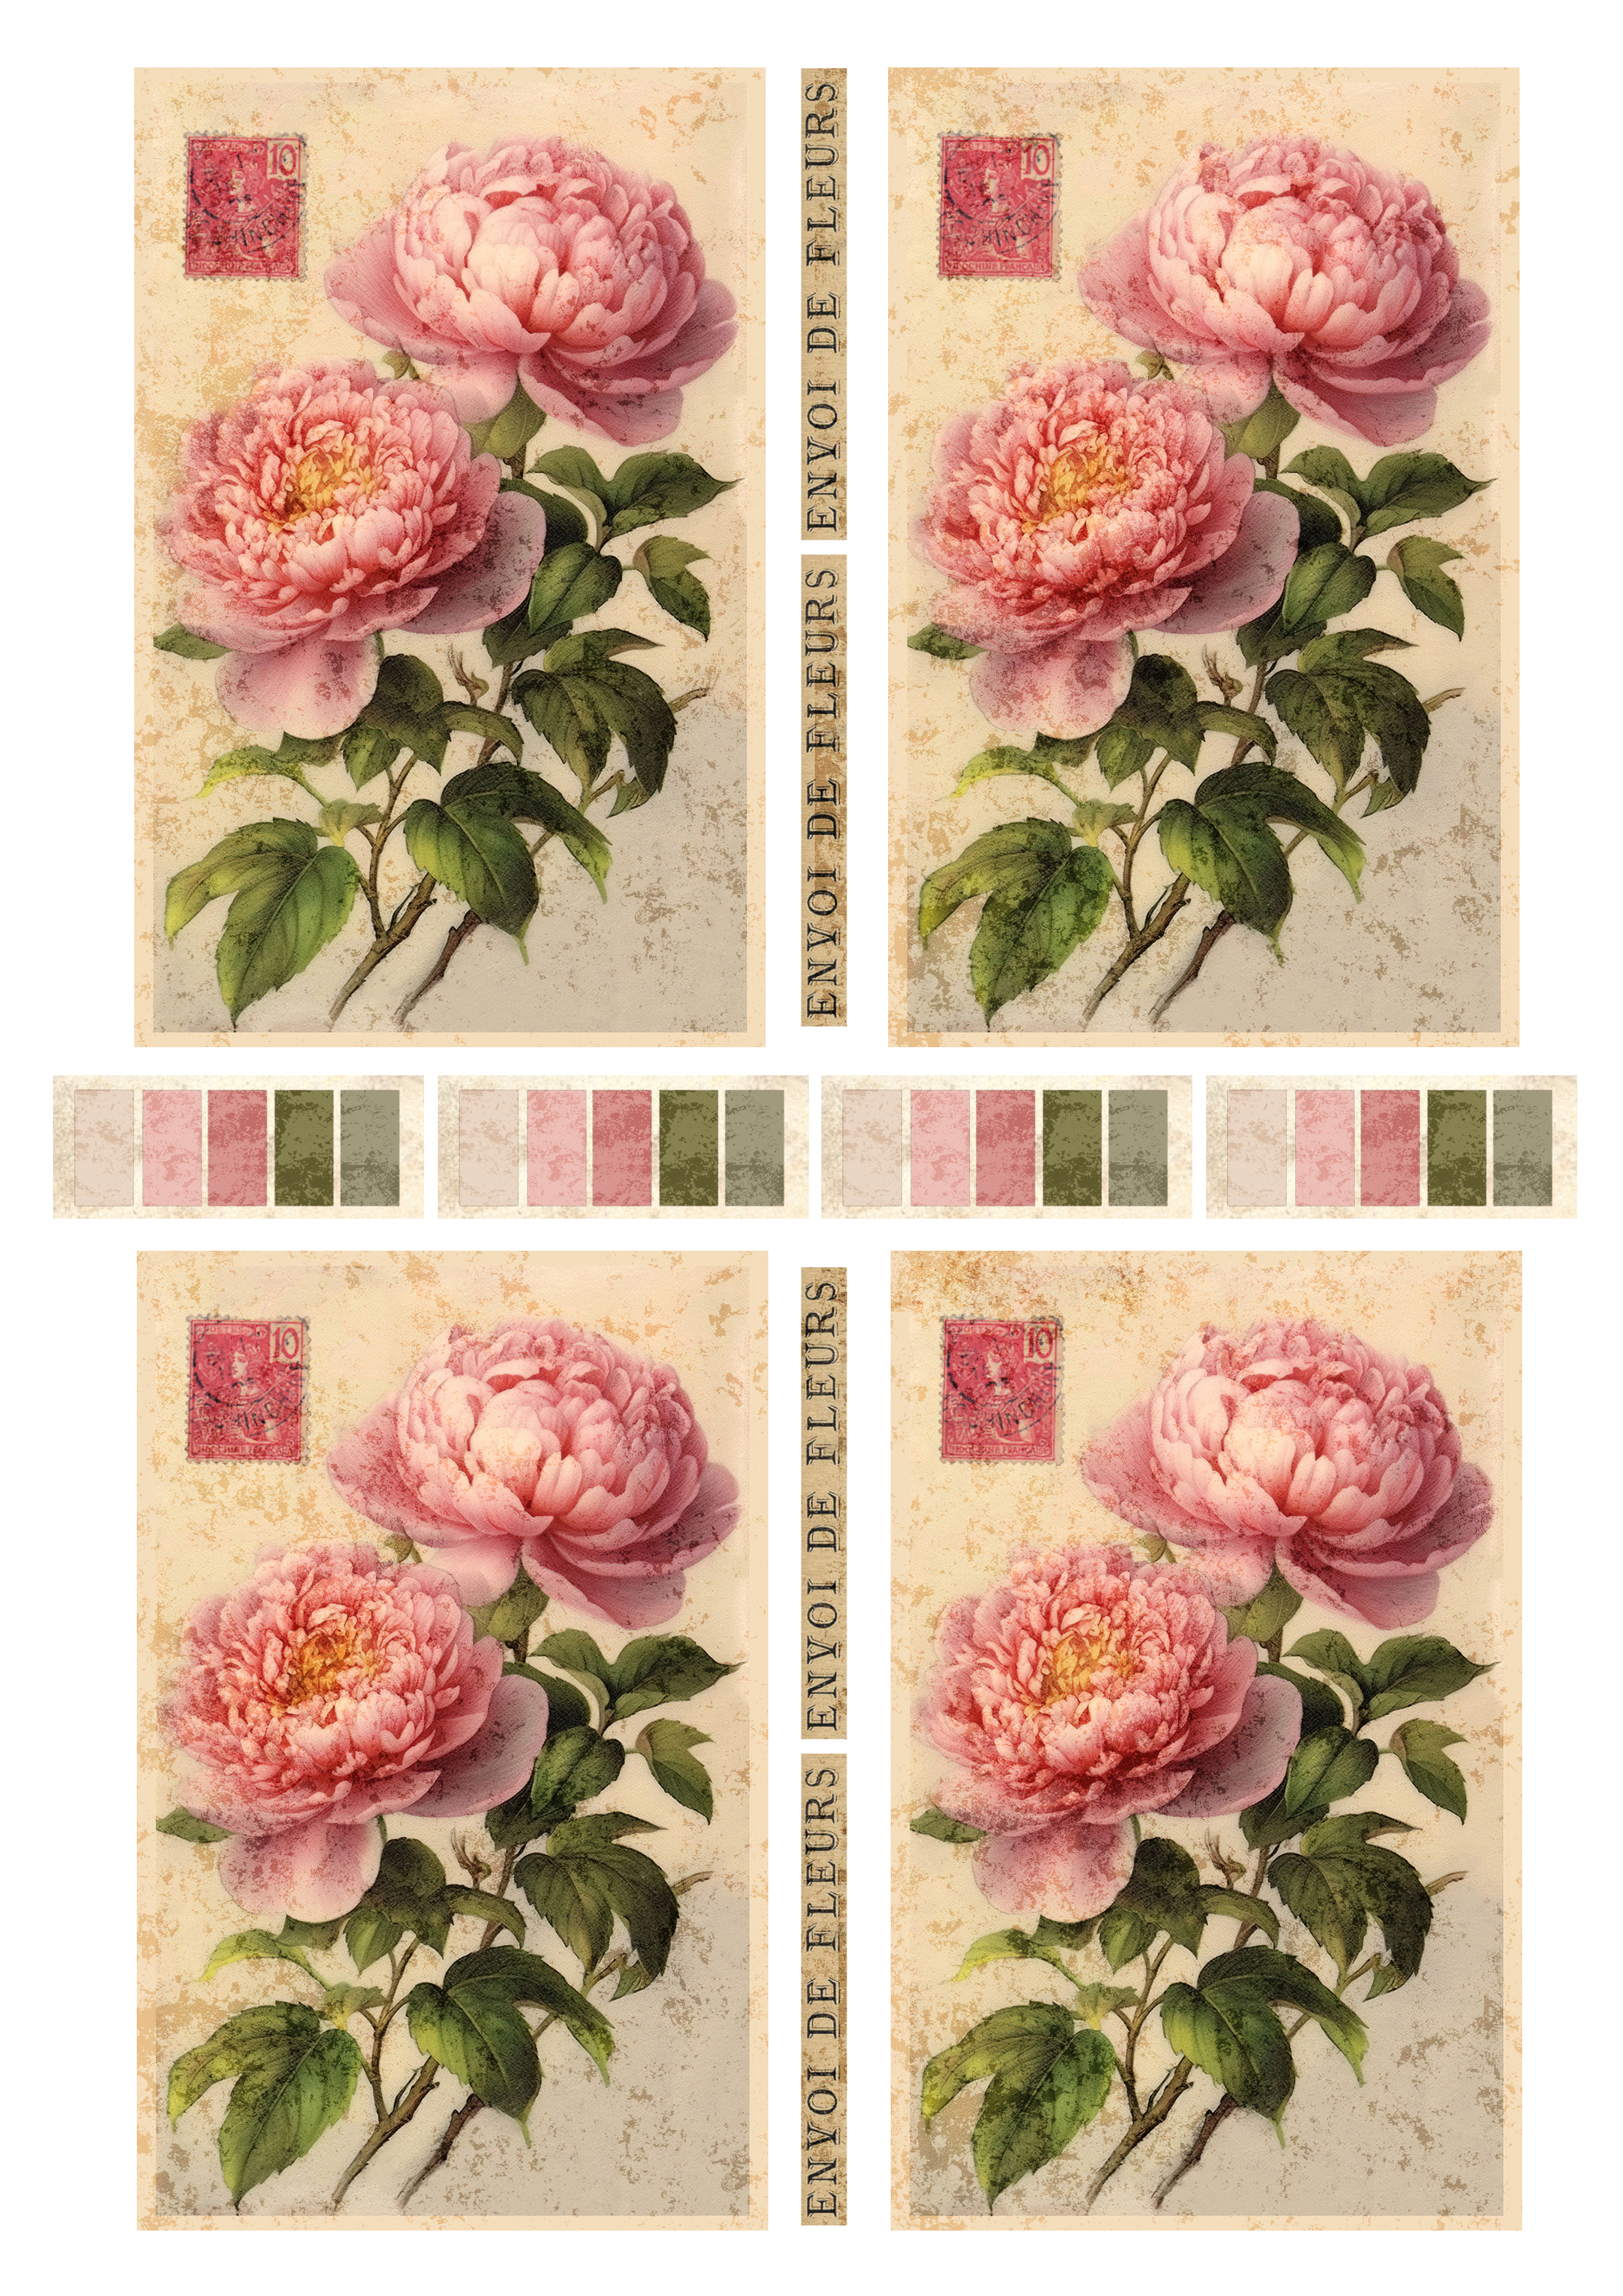
Here is the printable that I created for this project, you can save it on your computer and print it as many times as you want! As you can see, I added some texture on top of the design, I wanted the final pieces to look a little bit aged and stained, so you can quickly use them without performing too many distressing techniques.
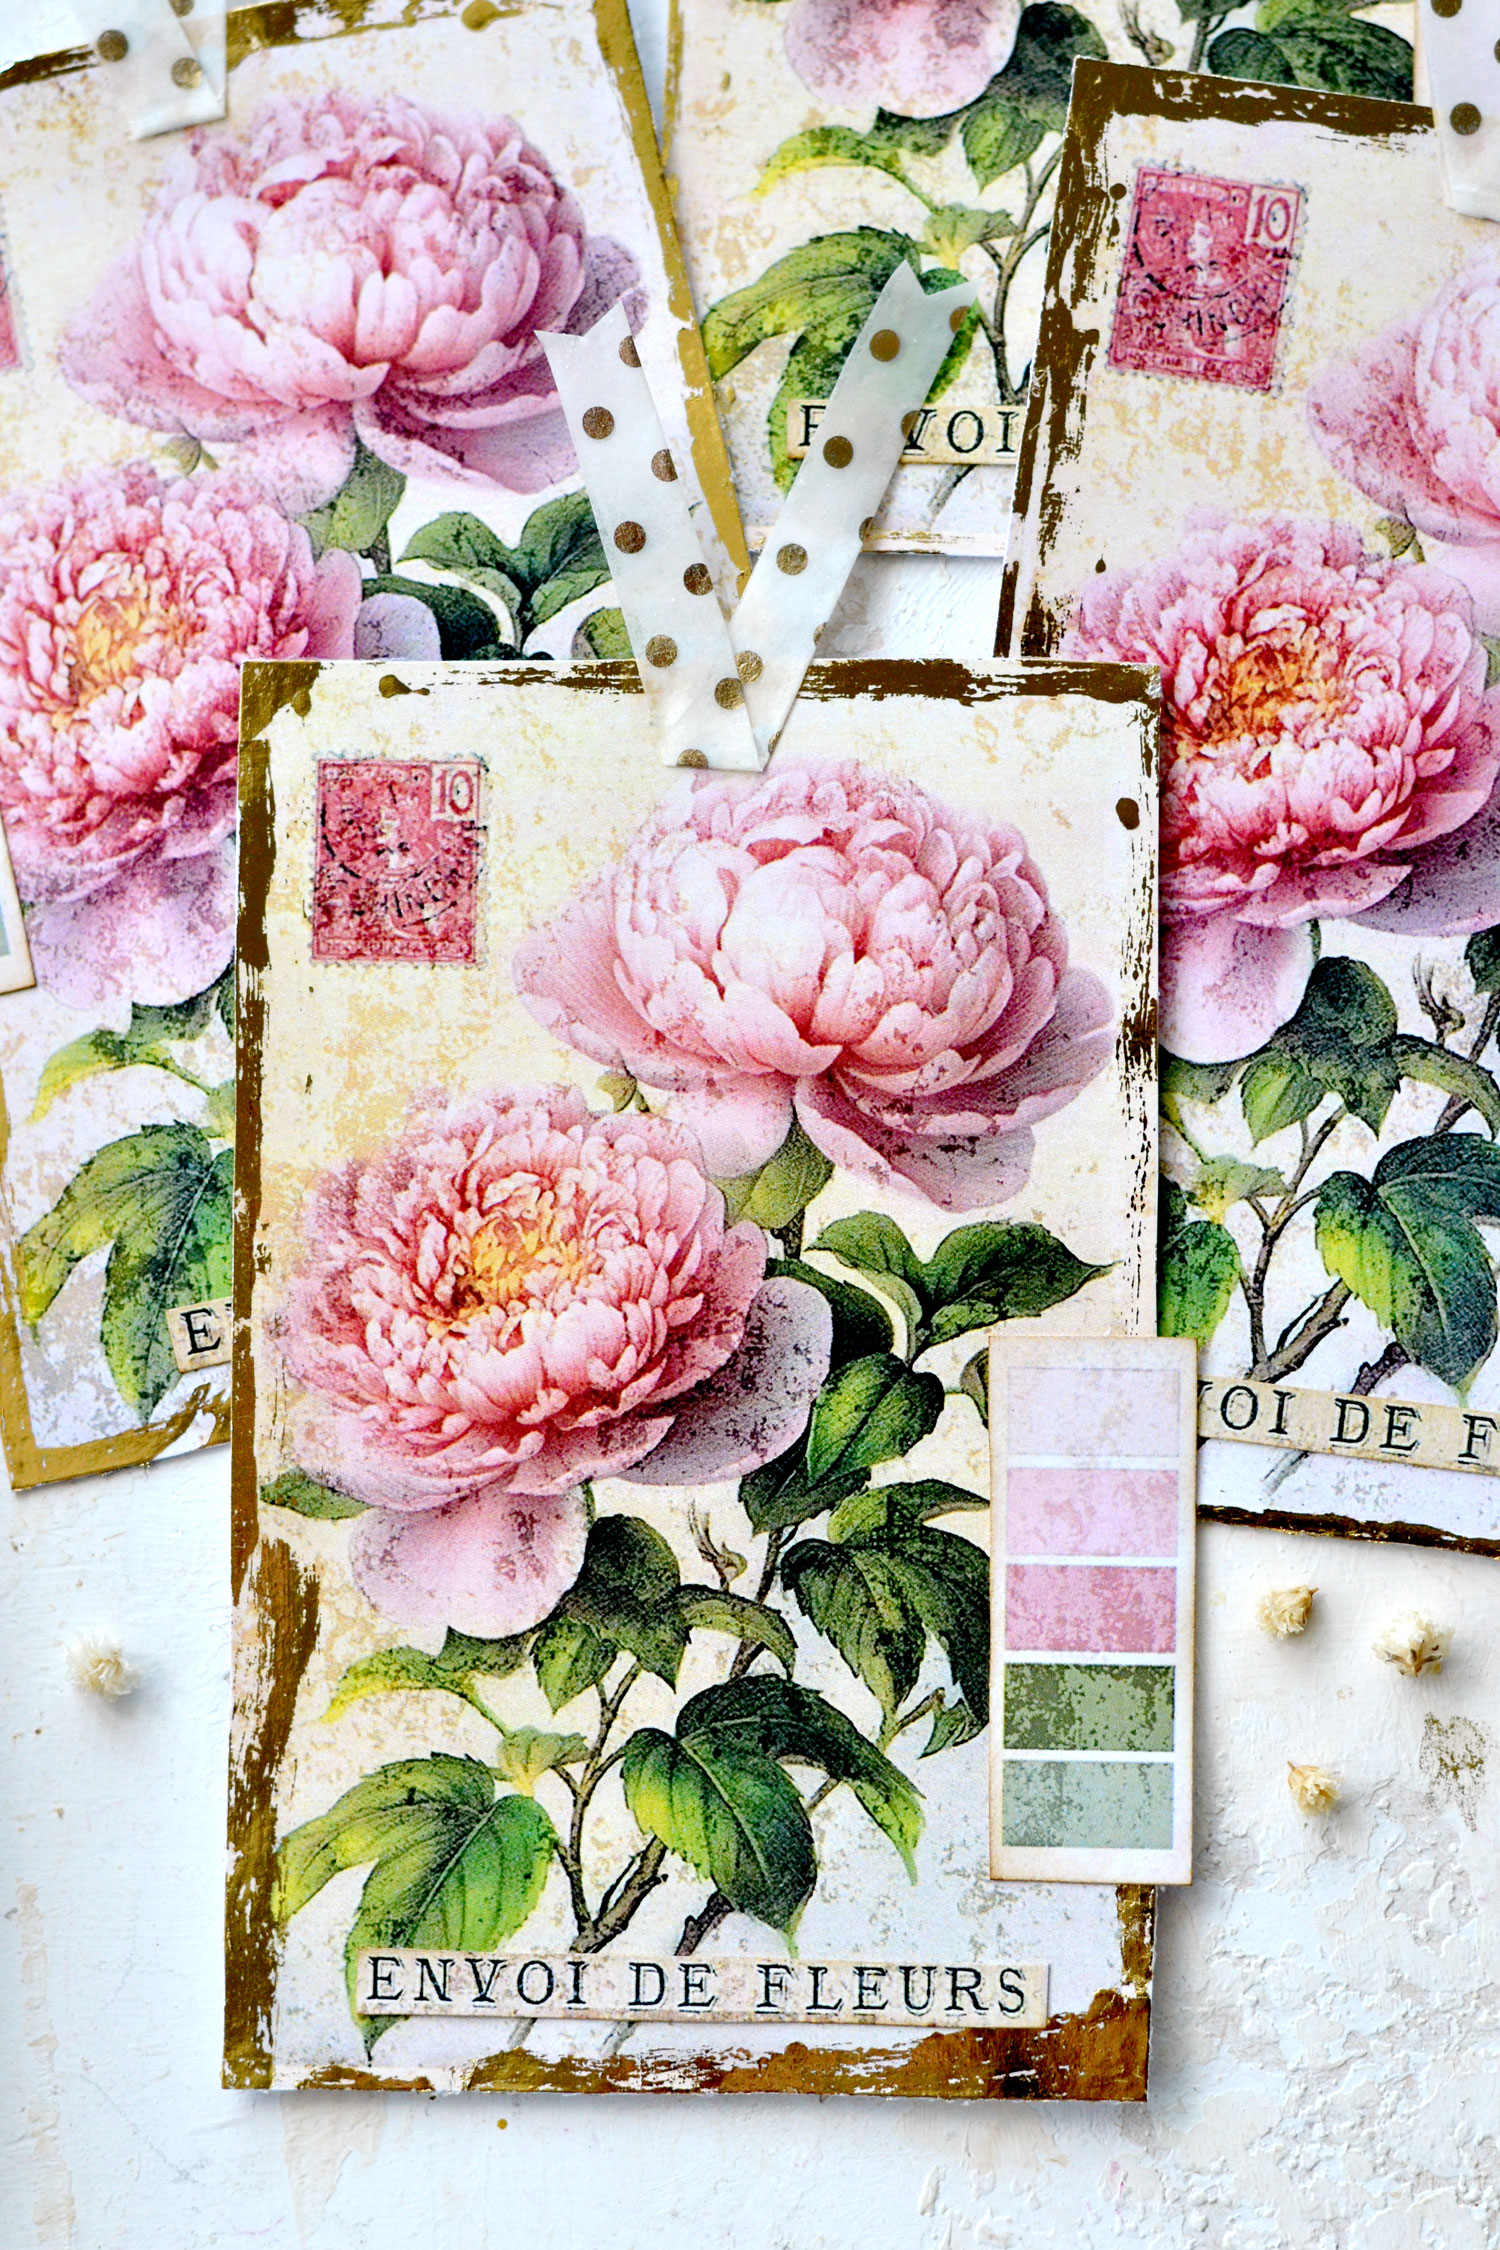
I printed quite a few of these, to be honest, I think these peonies look absolutely stunning!
Free Printable
—-> Click HERE to Download the Full Size Printable PDF <—-
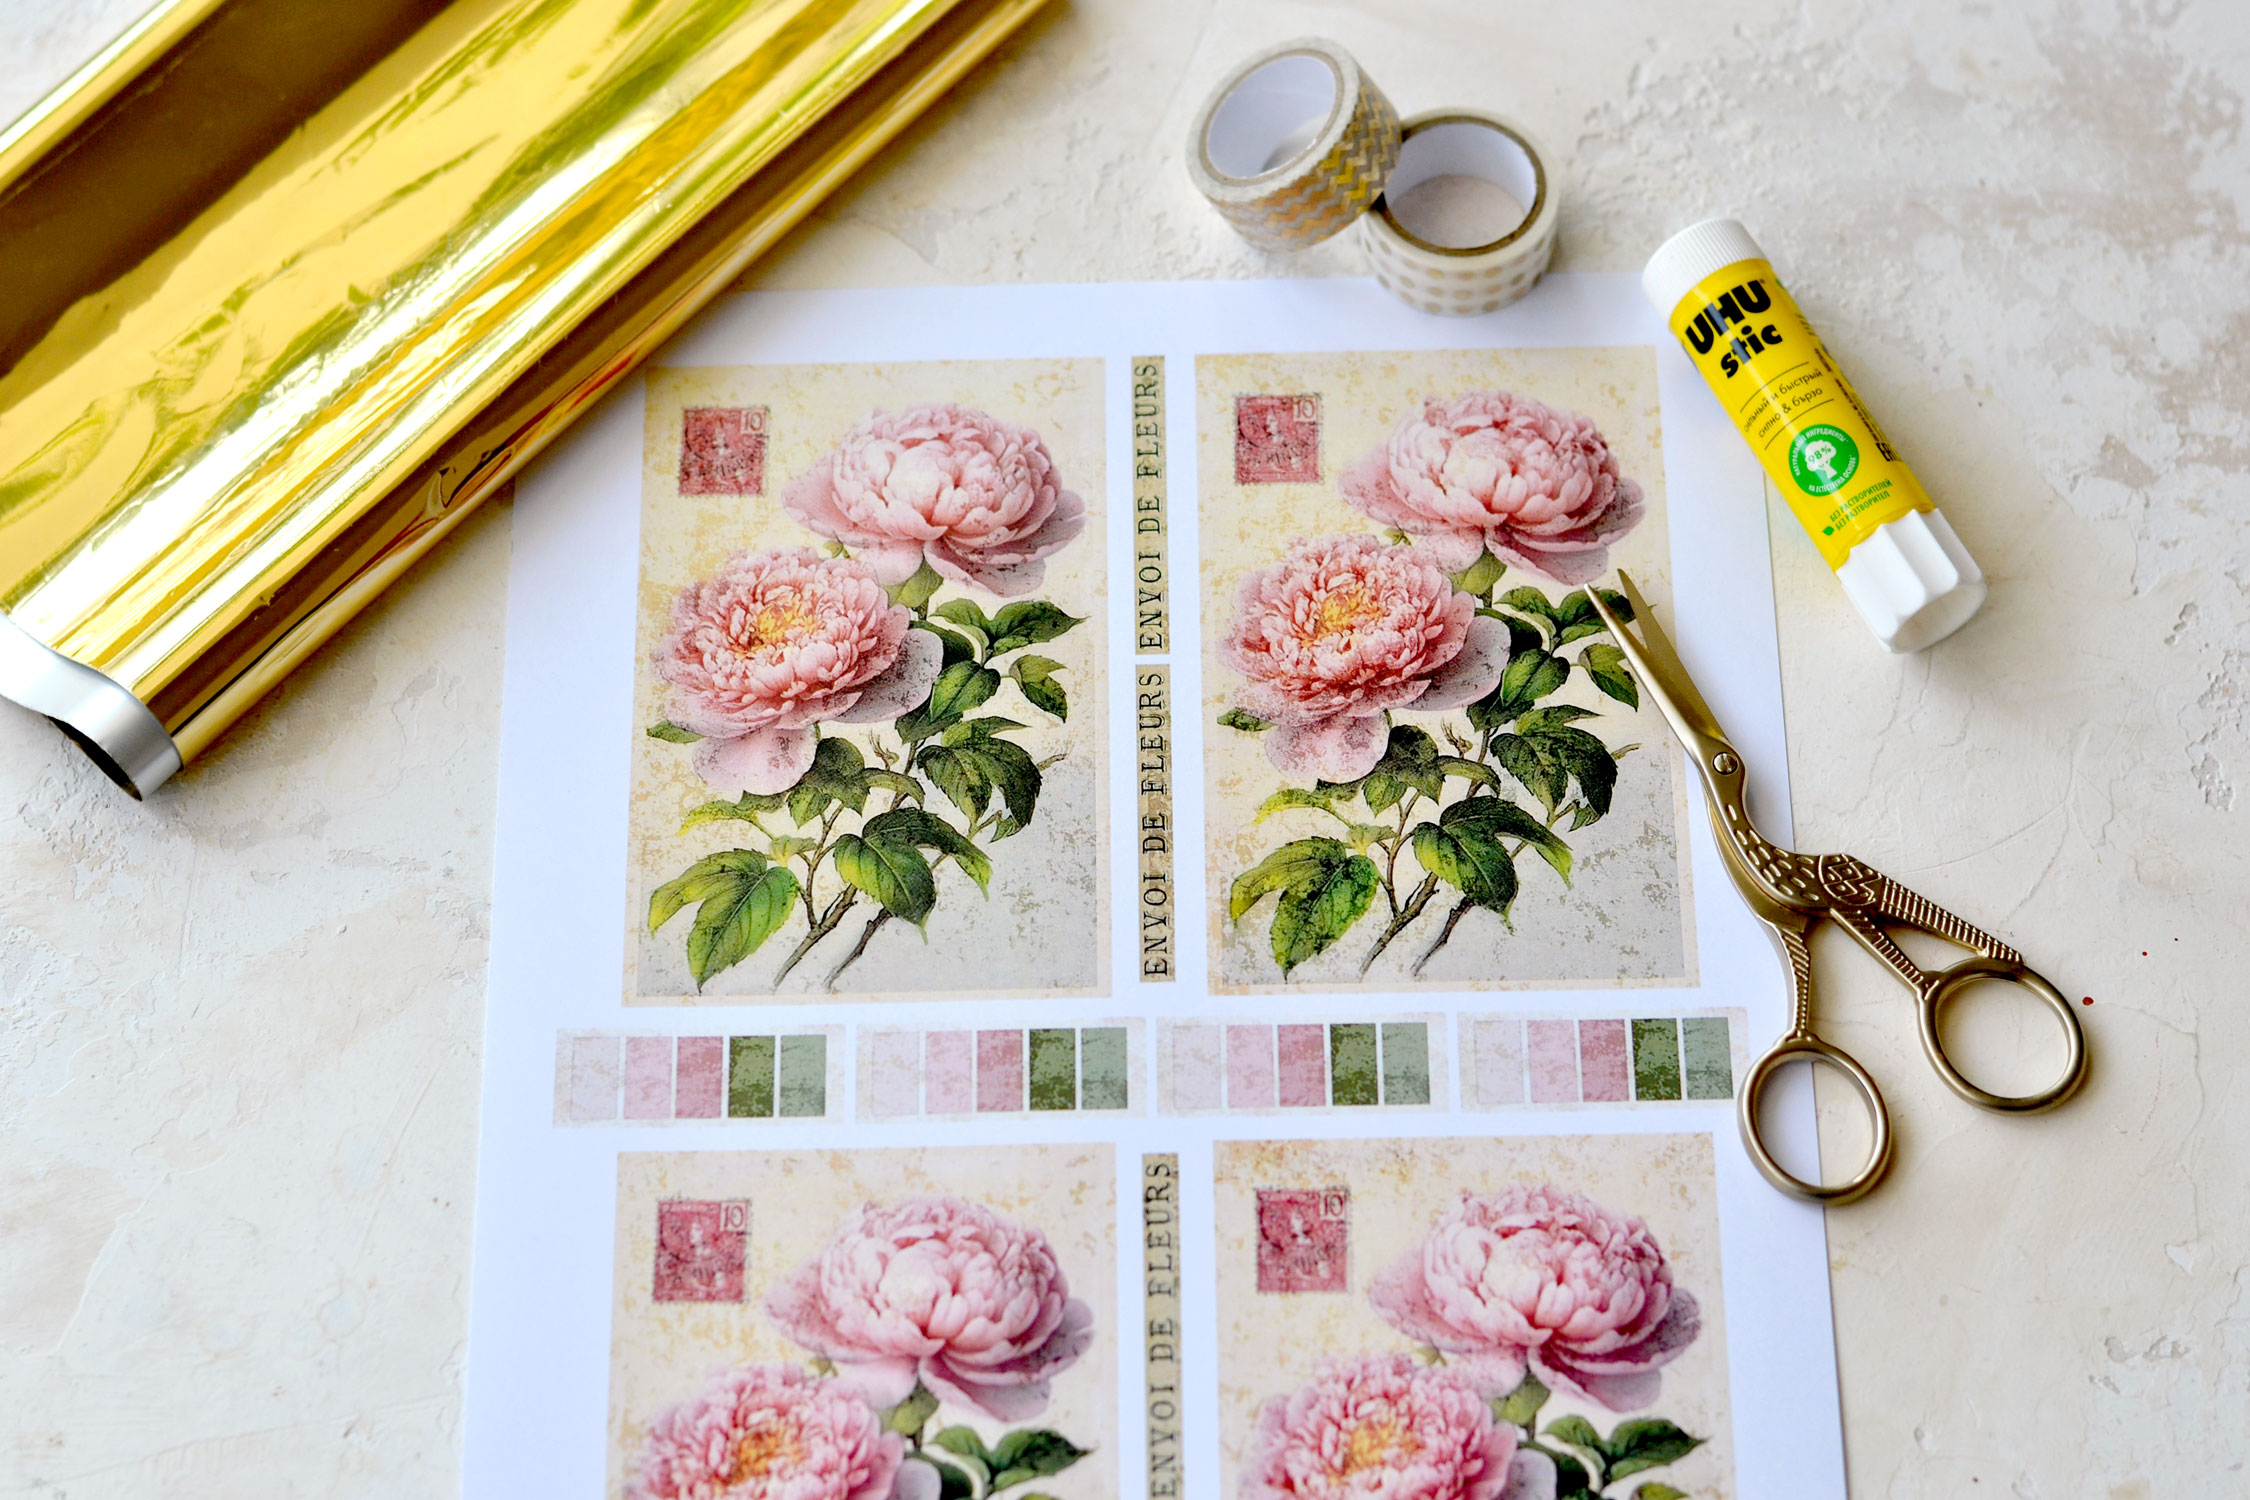
DIY Floral Gift Tag Supplies:
- cardstock paper
- home printer
- scissors
- gold foil
- mini distress inks
- blending tool with foams
- paper glue – I used UHU, but also had great results with Staedler
- washi tape
- a plastic sheet or a non-absorbent surface like parchment paper (to protect your working area while gluing)
Step by Step Tutorial:
Start by printing the tags on regular printing paper or cardstock paper. I used white cardstock paper, but if you are using regular printing paper you might need to add another piece of paper or cardstock on their backs, to make them sturdier.
The tags look really beautiful on their own, so if you feel like using them as they are, please do!
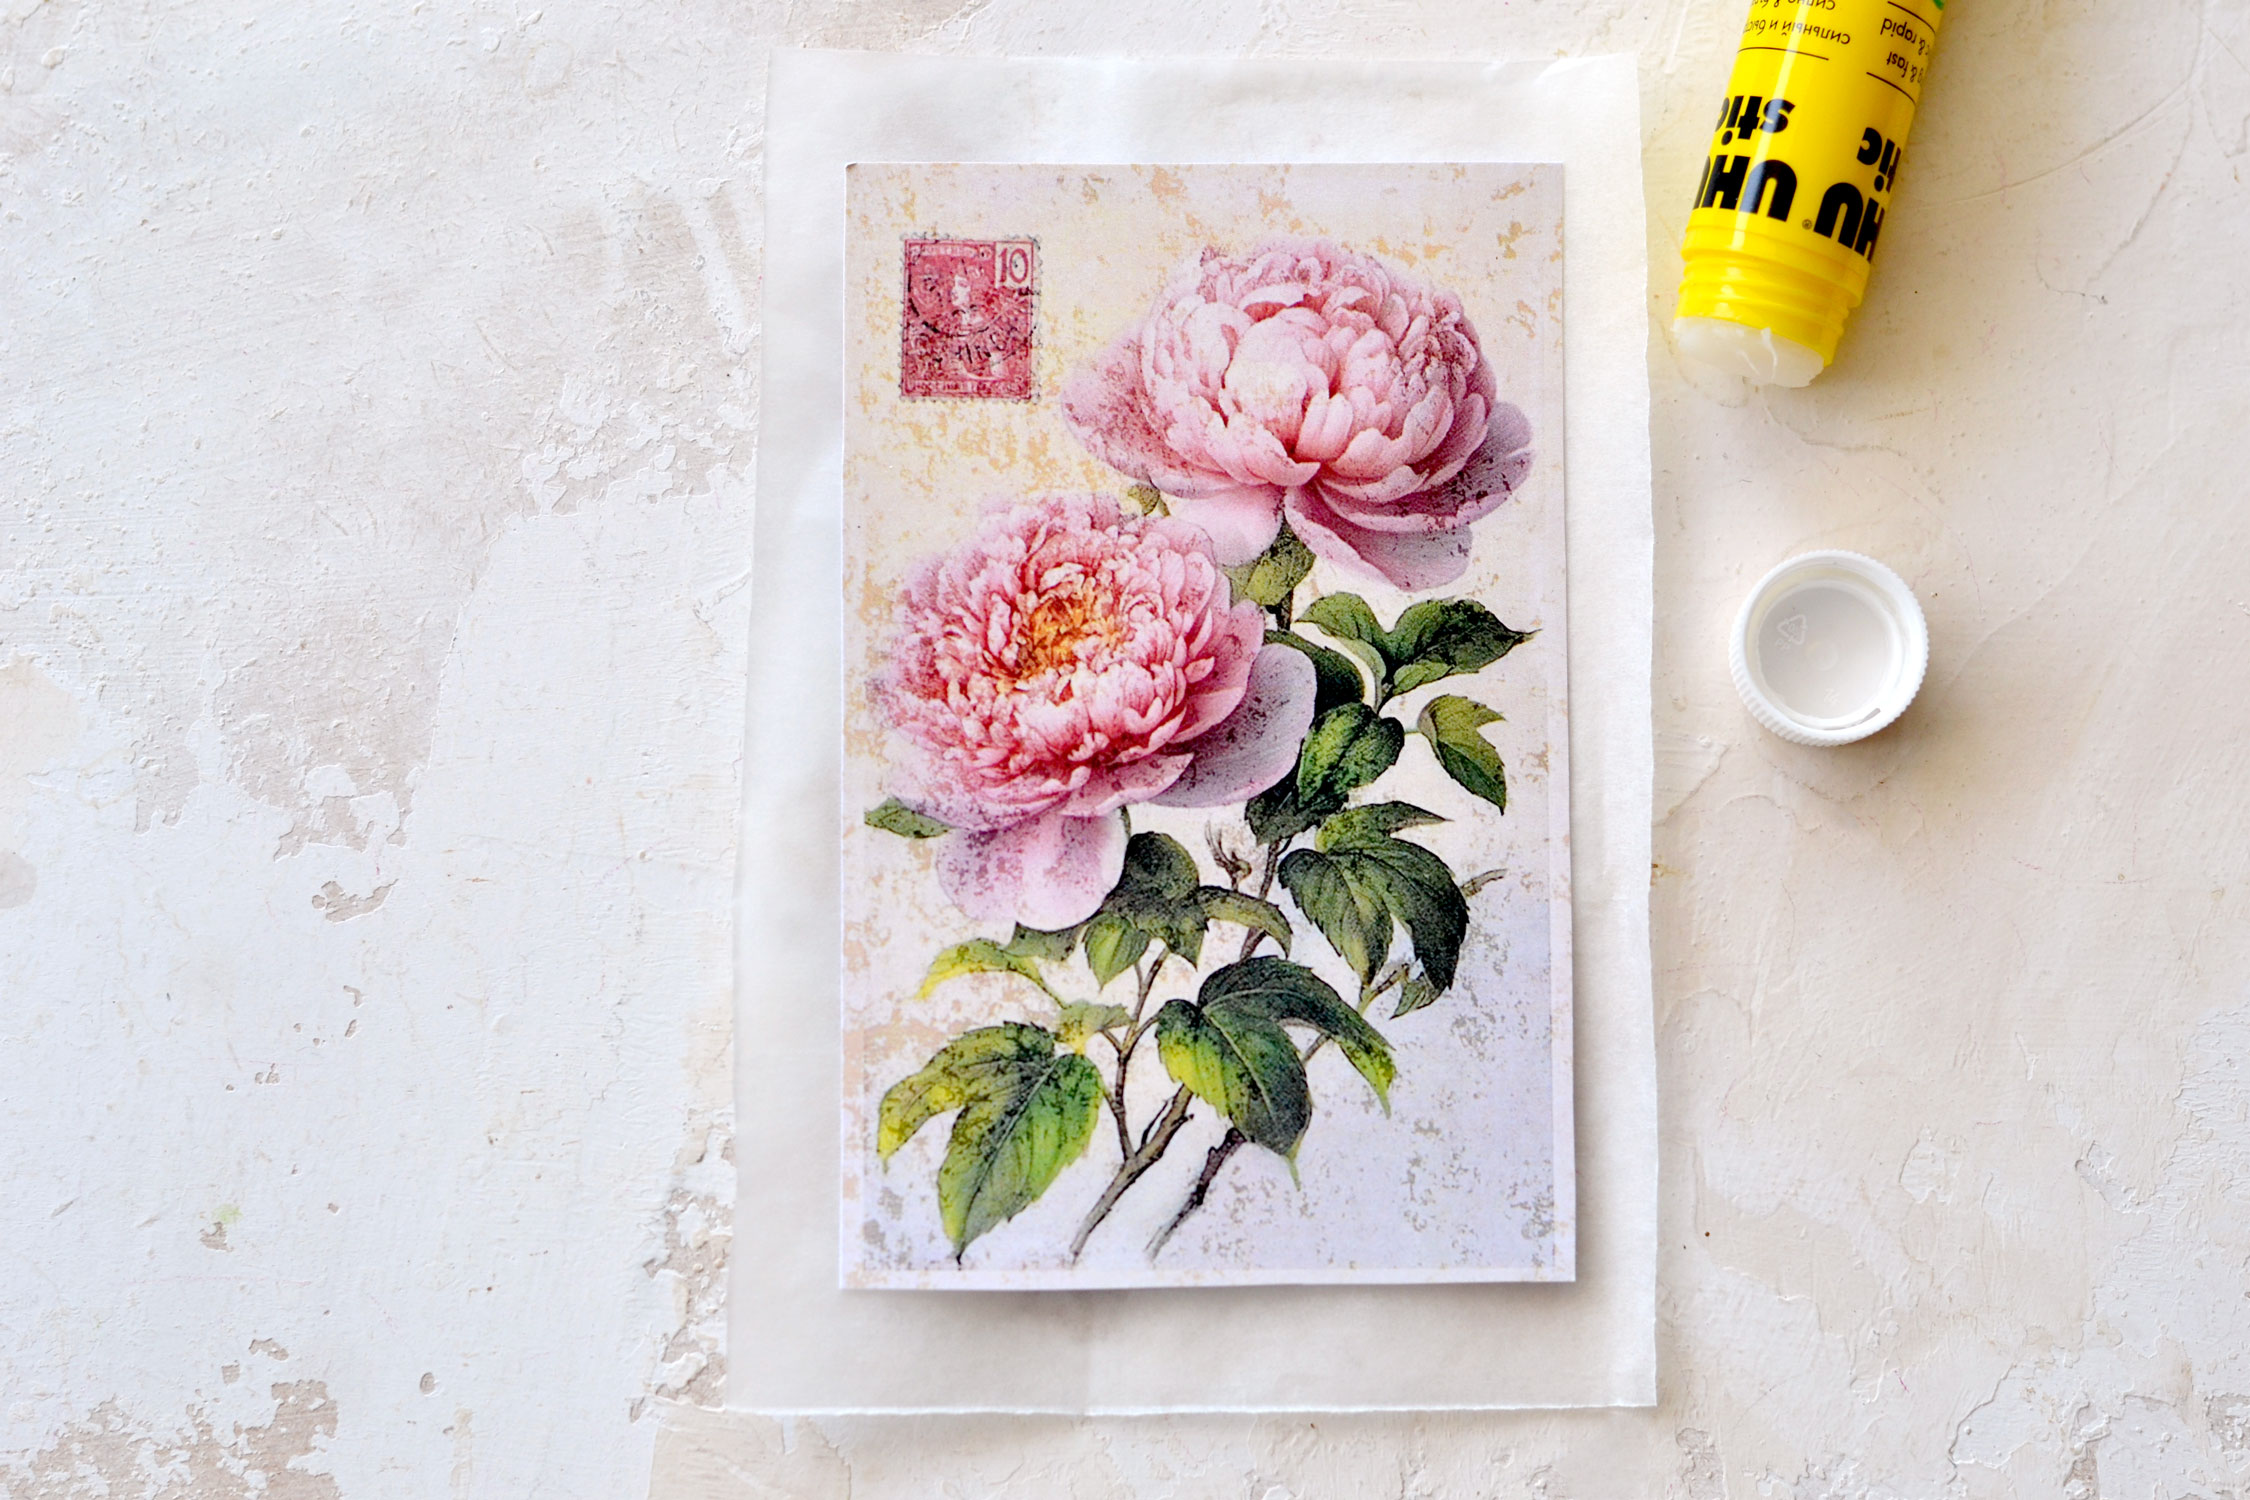
Cut and place a sheet of plastic from a recycled bag or a piece of parchment paper on your table that is a little bit larger than the tag, then place the tag on top.
Apply the glue all around the edges, trying not to add too much but not too little either. I usually tilt the glue while applying it so only a small surface of the glue actually touches the edge of the tag, this way I can make the glue lines thinner. If you add too much glue it will take longer to dry and it might smear and even create a thick edge when you add the gold foil. If you add too little, it might dry too quickly and not give the gold foil the chance to adhere to it. So balance is key here – if you want, you can make a few tests before on a scrap piece of paper.
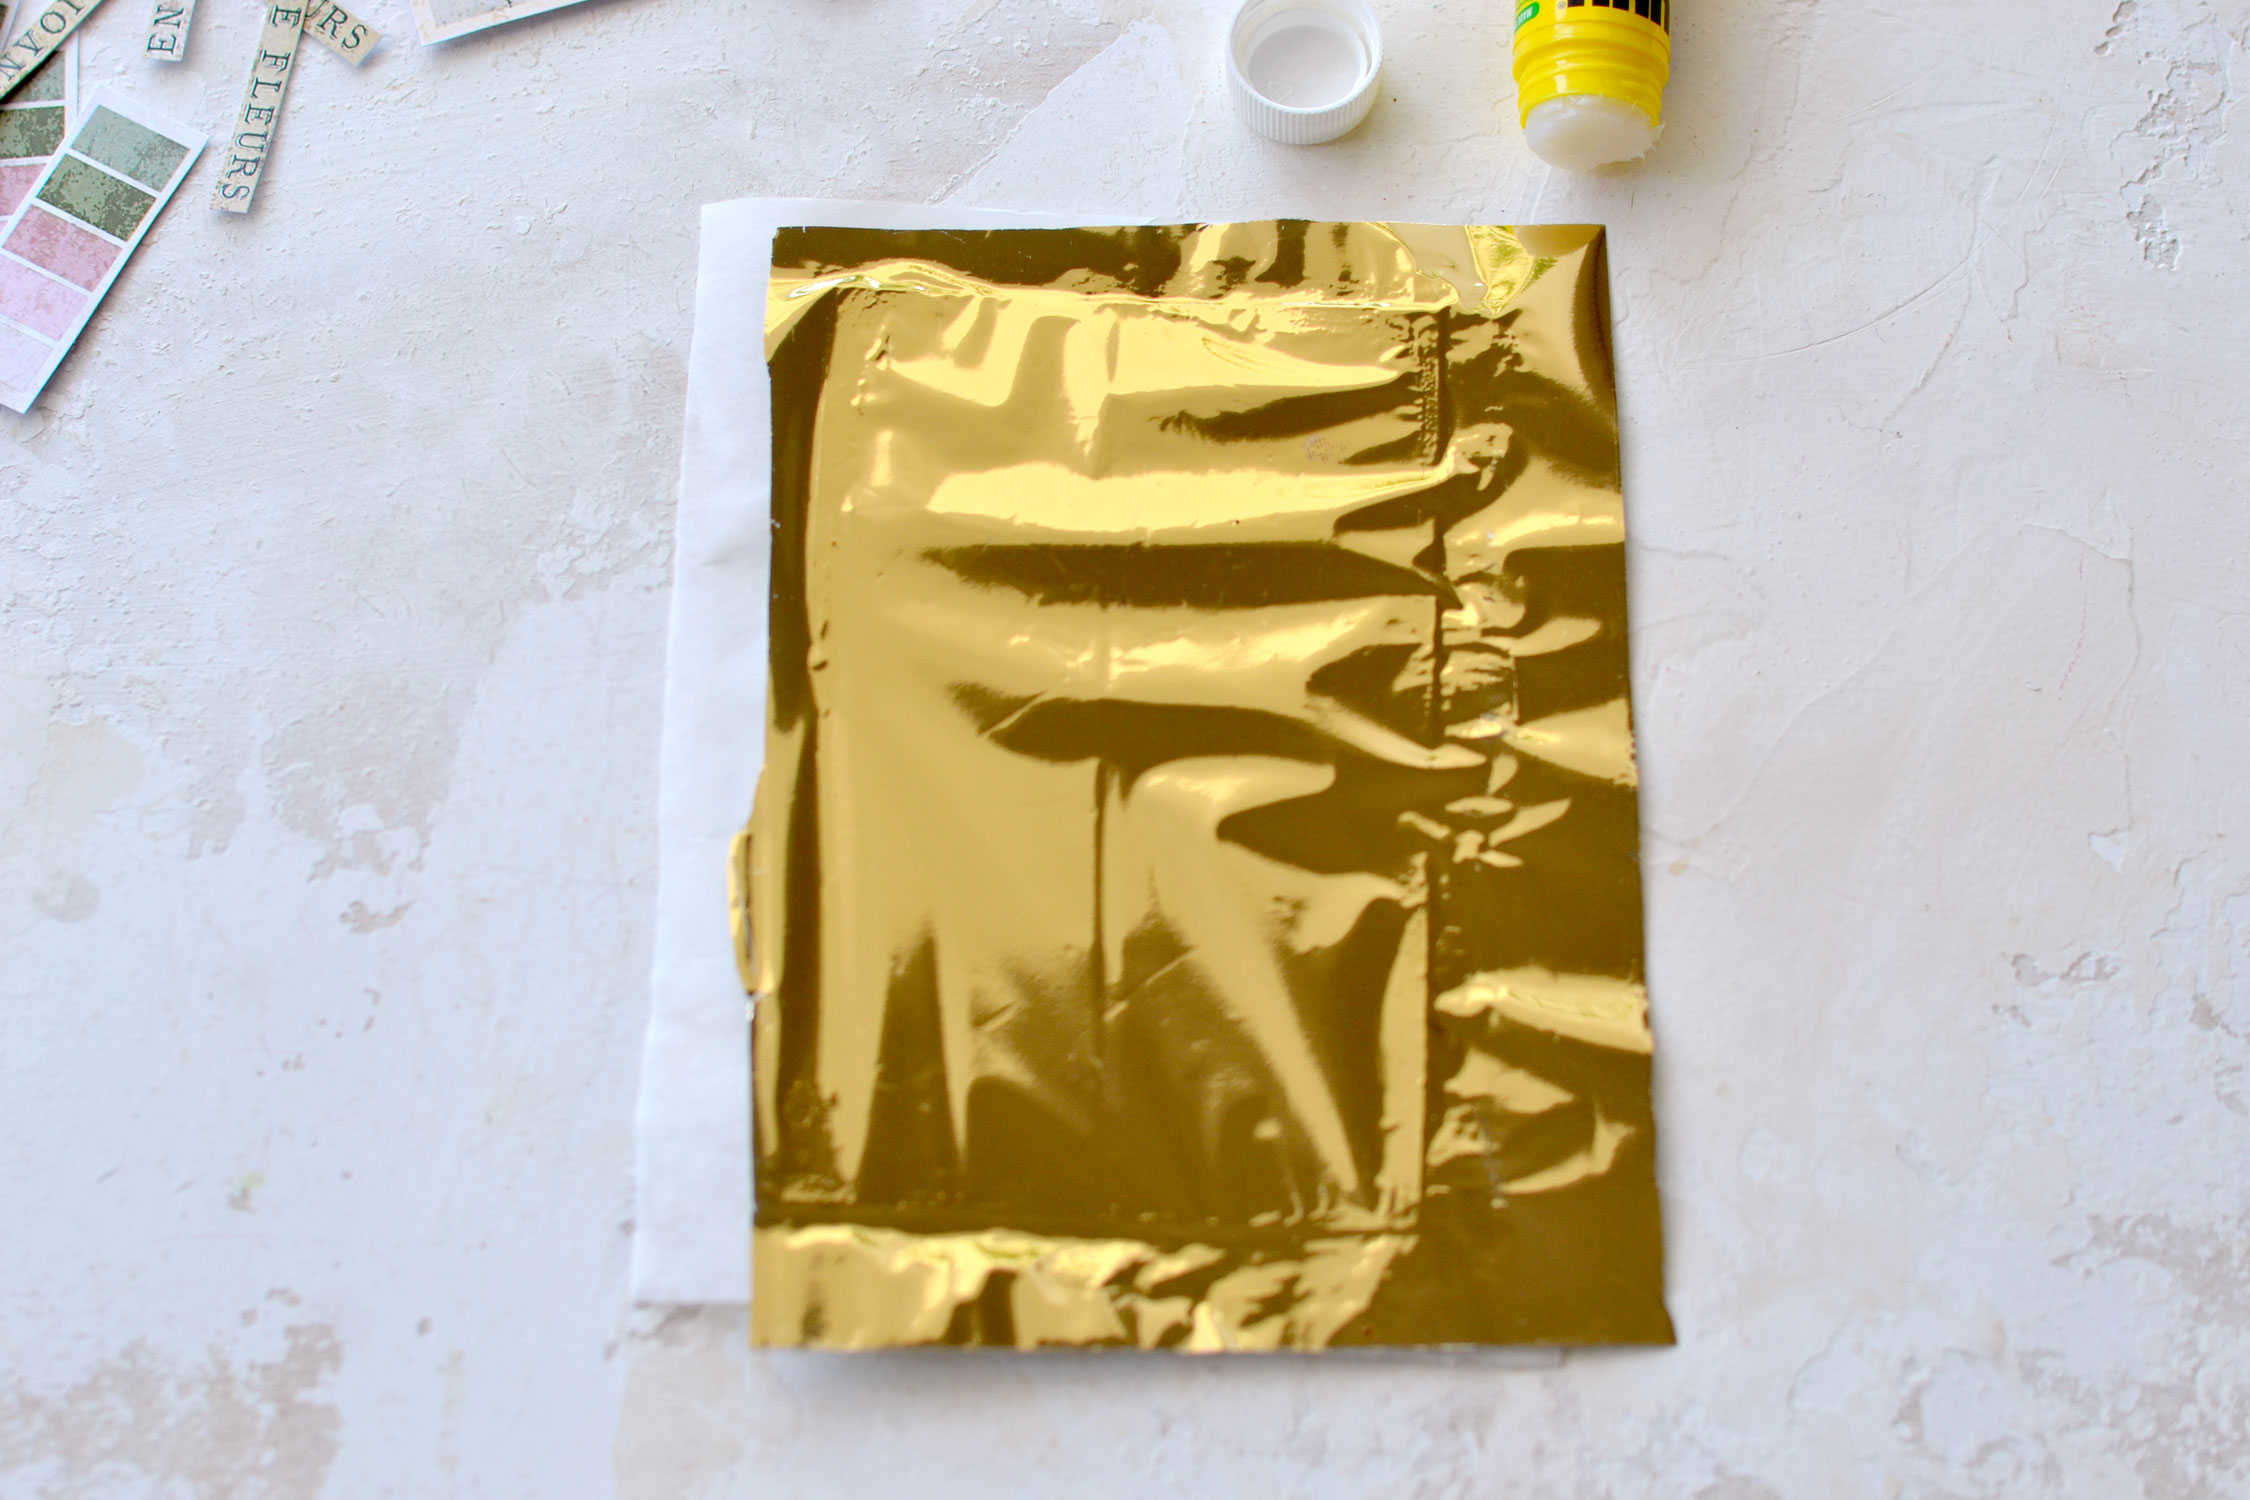
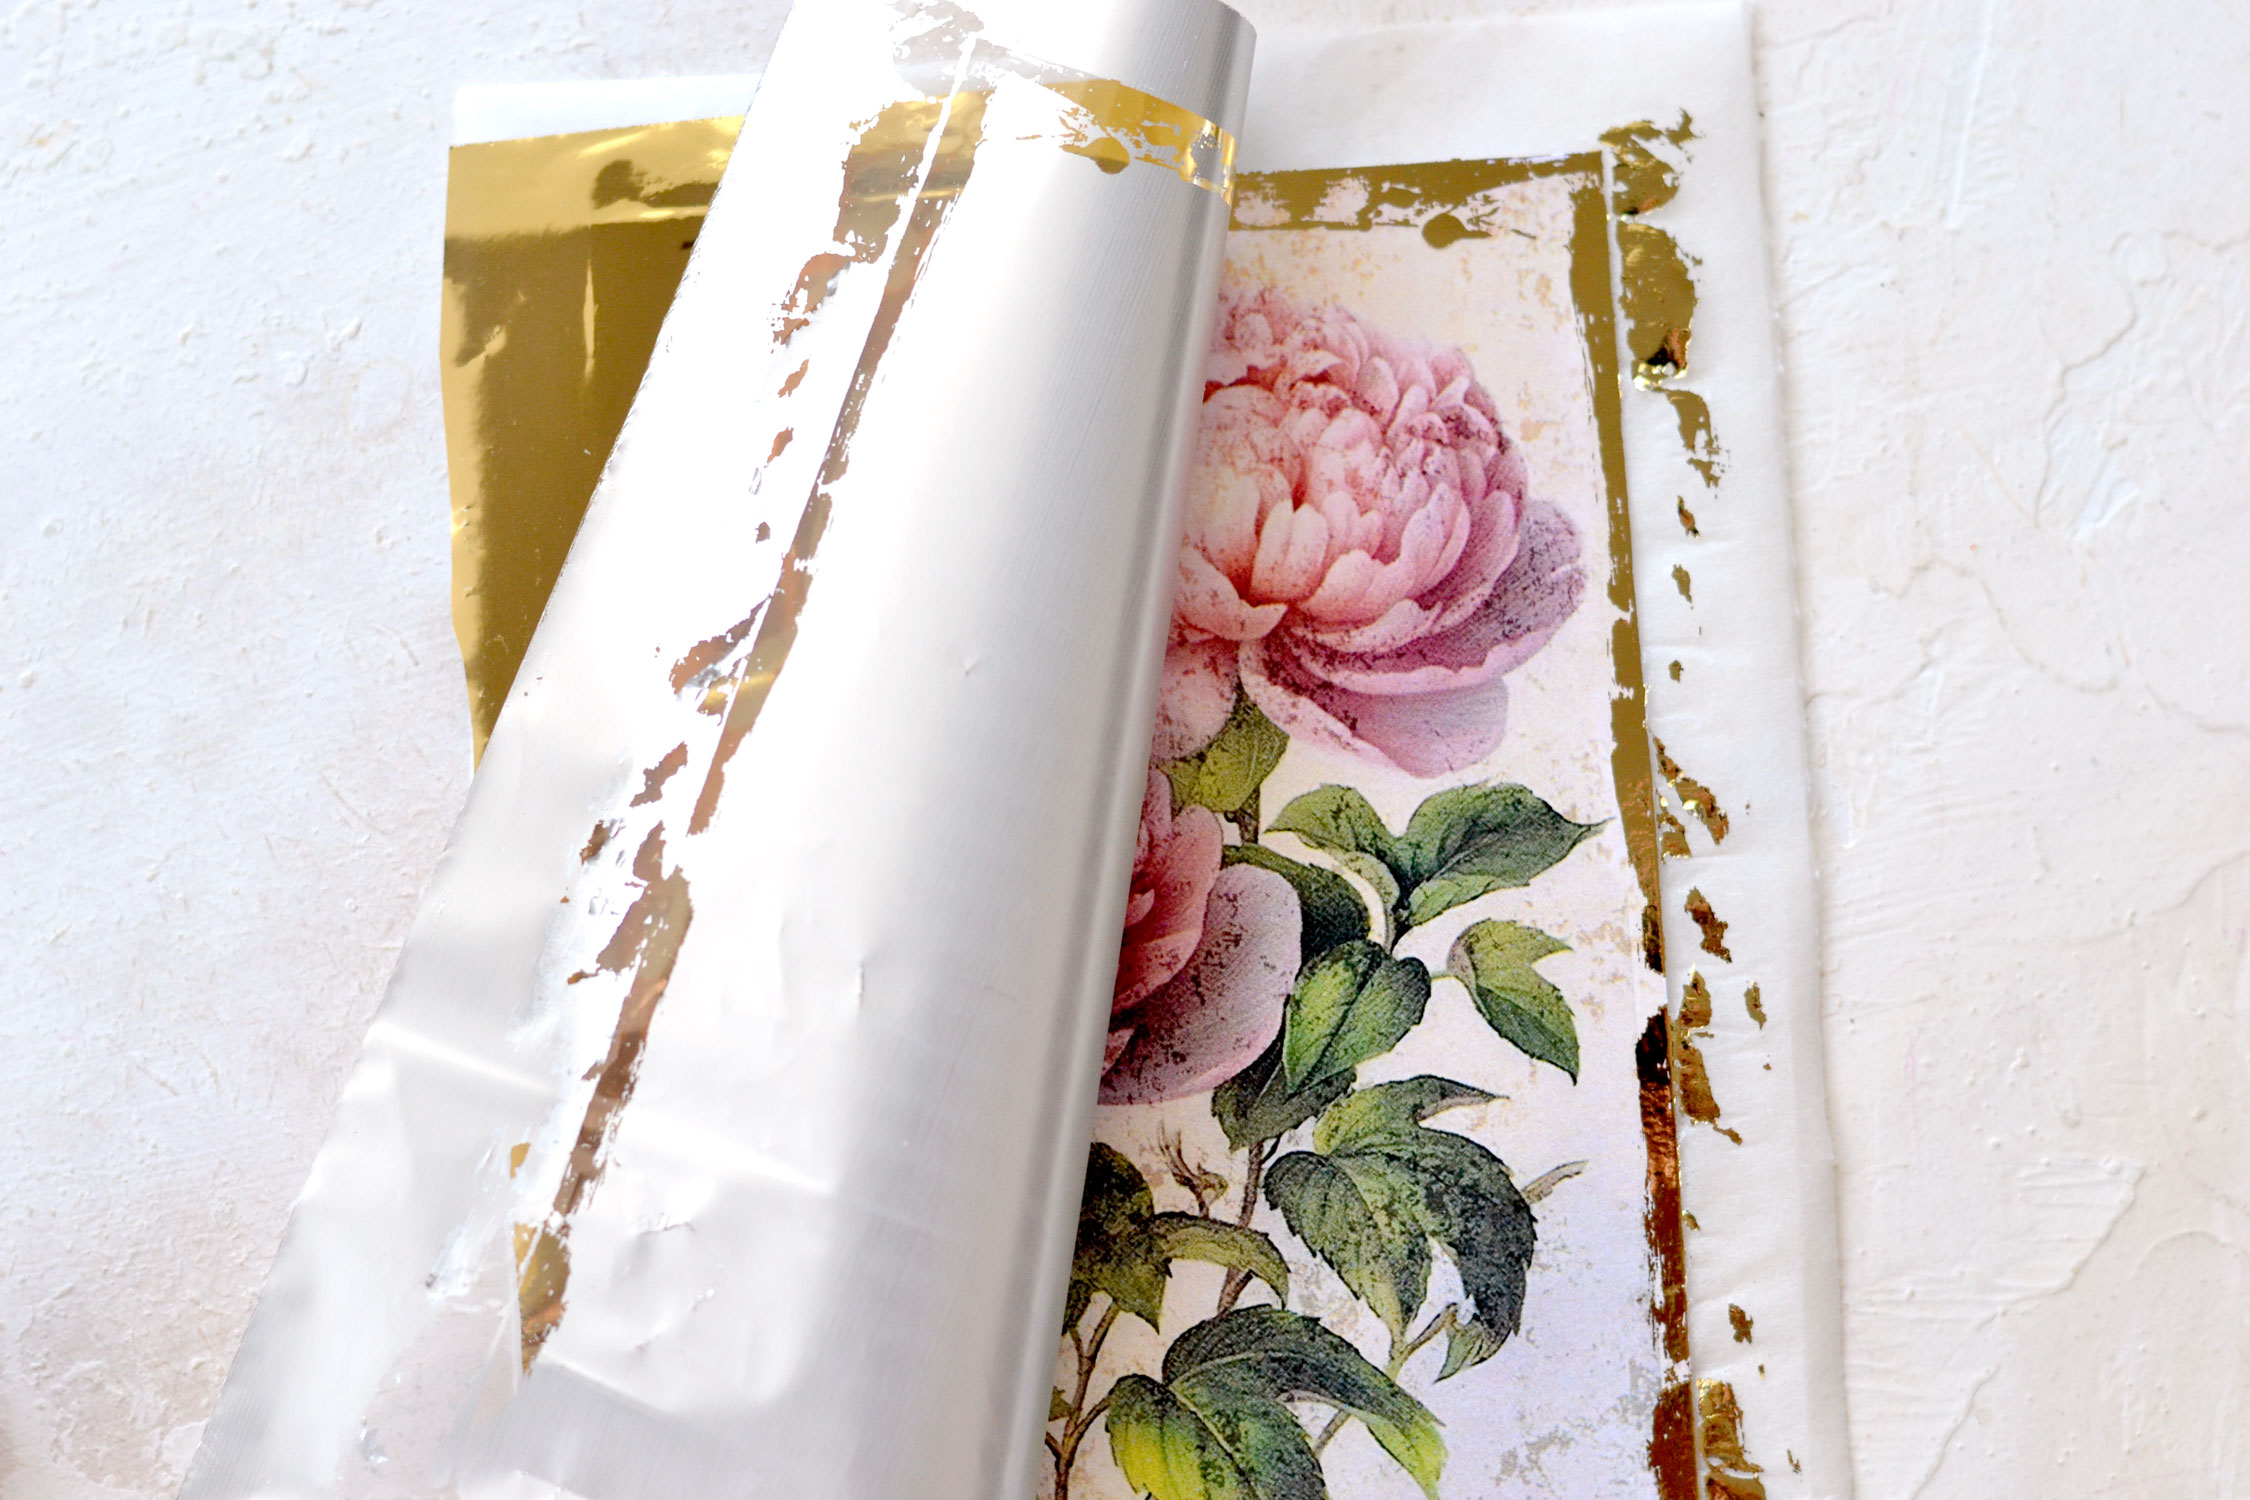
After applying the glue, place a piece of gold foil that is a little bit larger than the tag on top, then use your fingers to press all around the edges. Leave the whole assembly of glue and gold foil to dry completely as it is, just to make sure the foil adheres to the paper. The drying times depend on where you live and how hot and humid the air is, but I usually like to leave everything like this for about 10-20 minutes, just to be on the safe side.
In the meantime, you can follow the same steps to cut small pieces of parchment paper for all the other tags, then add glue and gold foil on top.
Put them aside while the glue dries and in the meantime, you can start working on your embellishments.
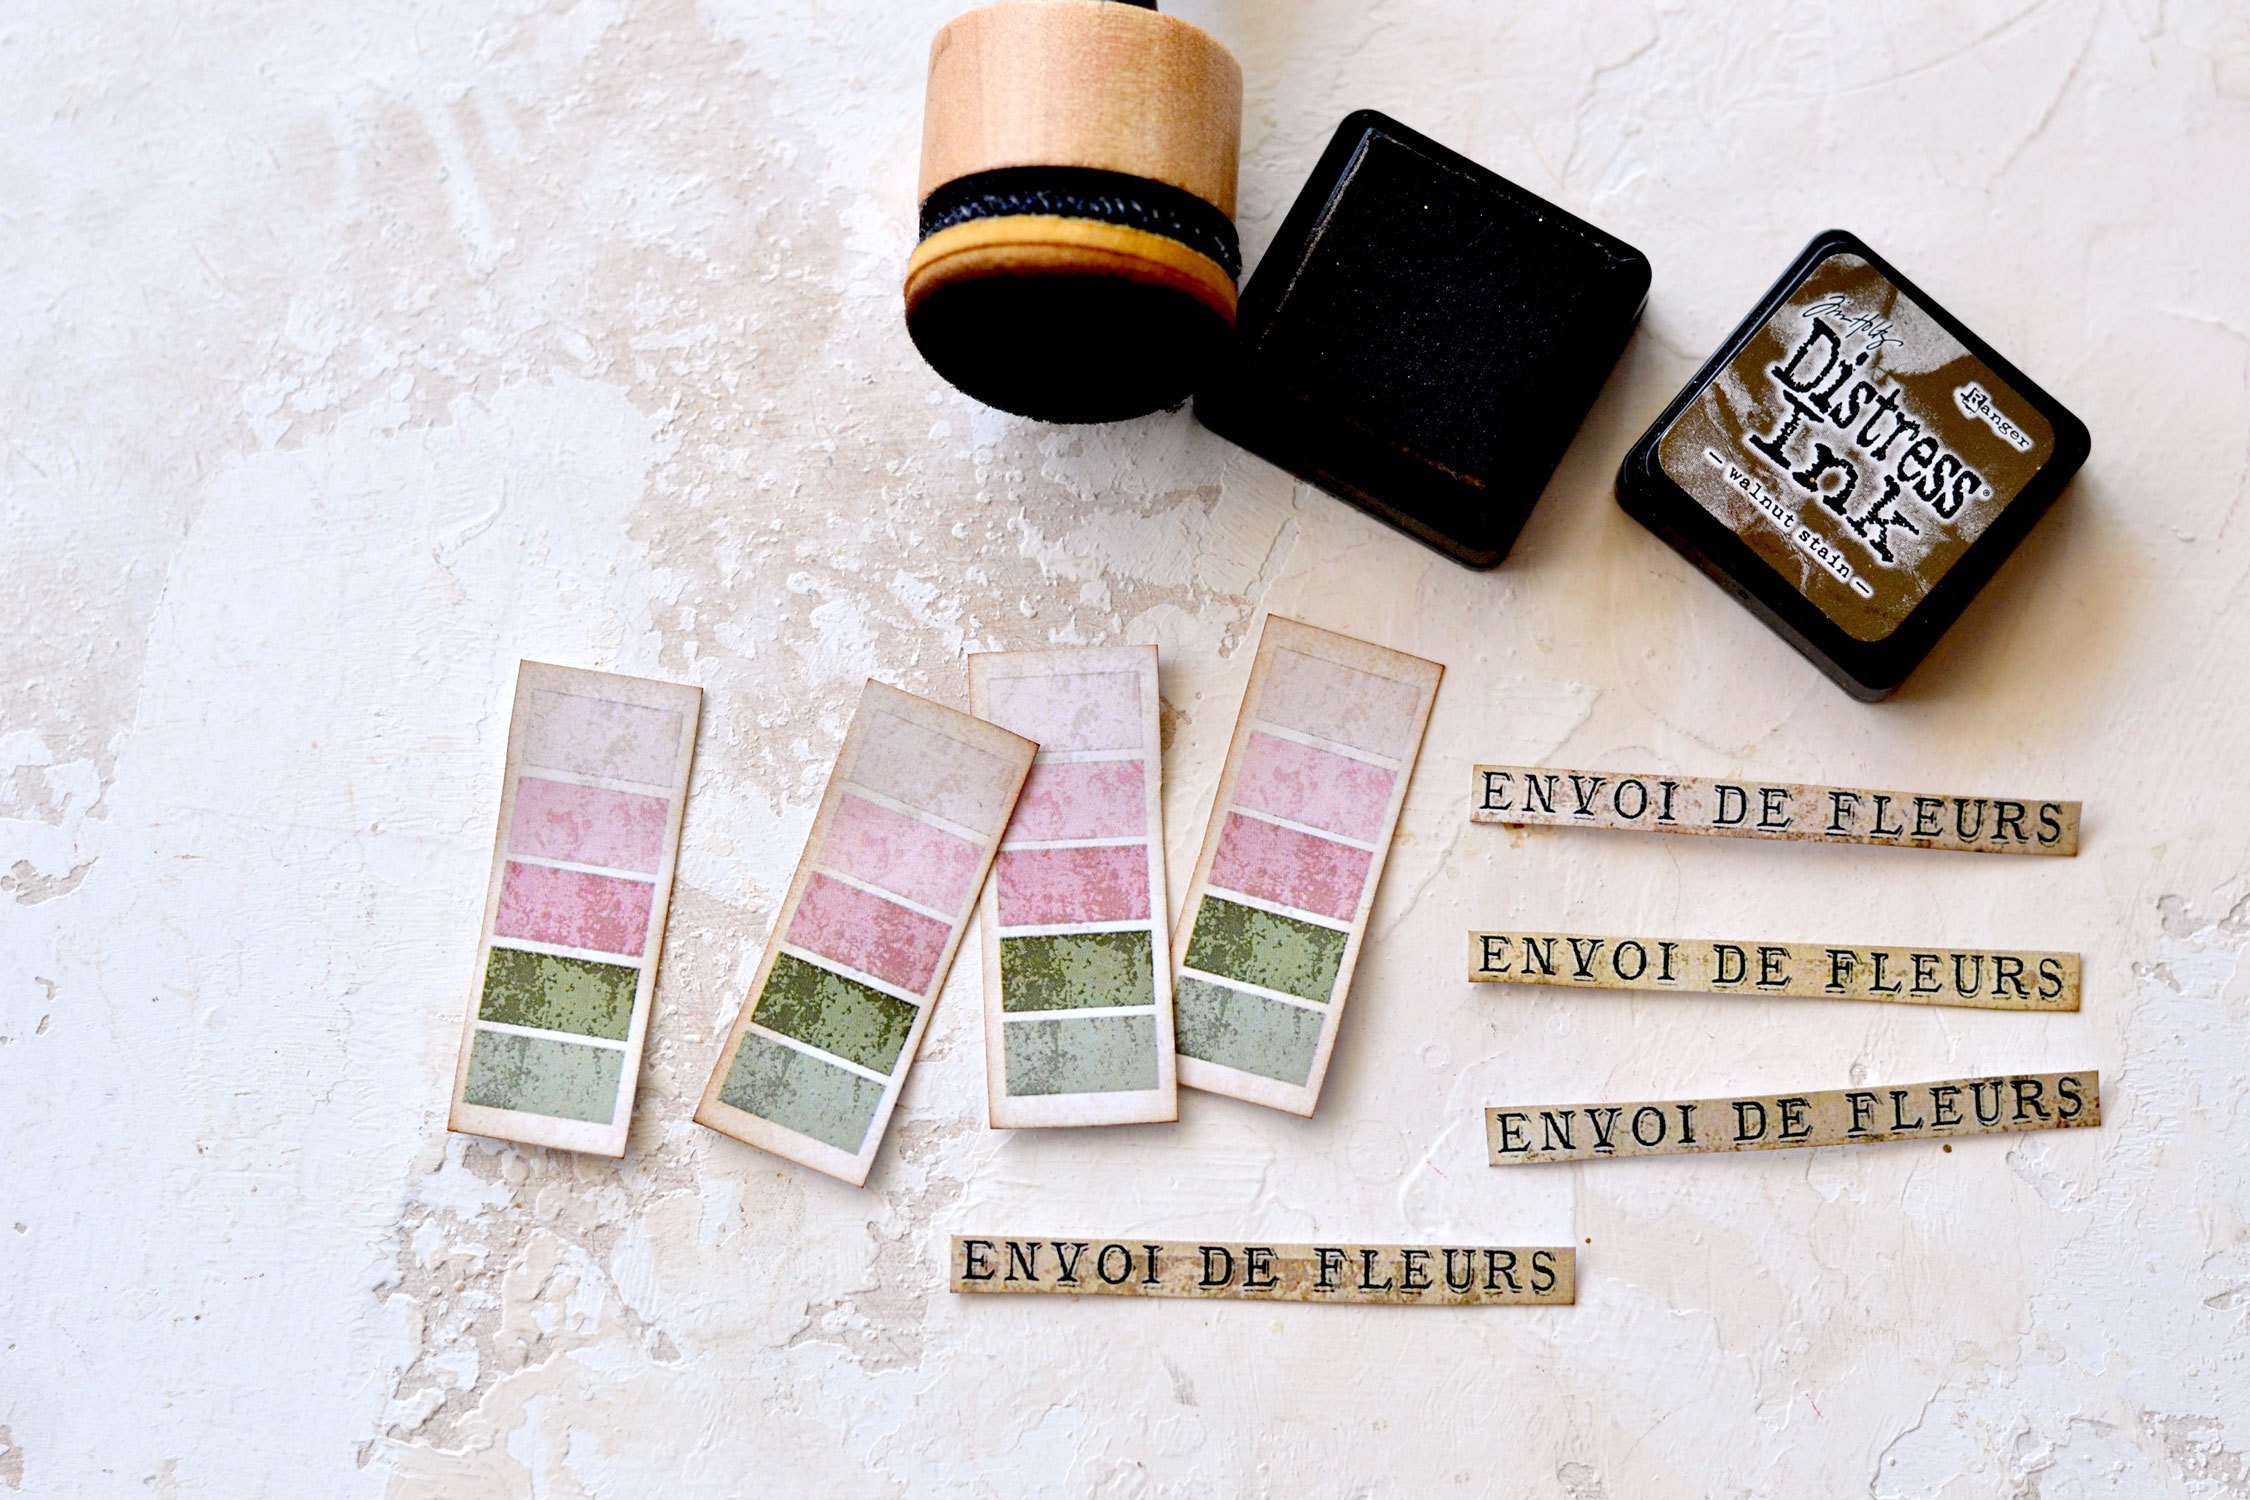
I used a little bit of distress ink to give the paper a lovely worn effect on the edges.
You can also work on your washi tape ribbons, this way you’ll have everything ready for when in need!
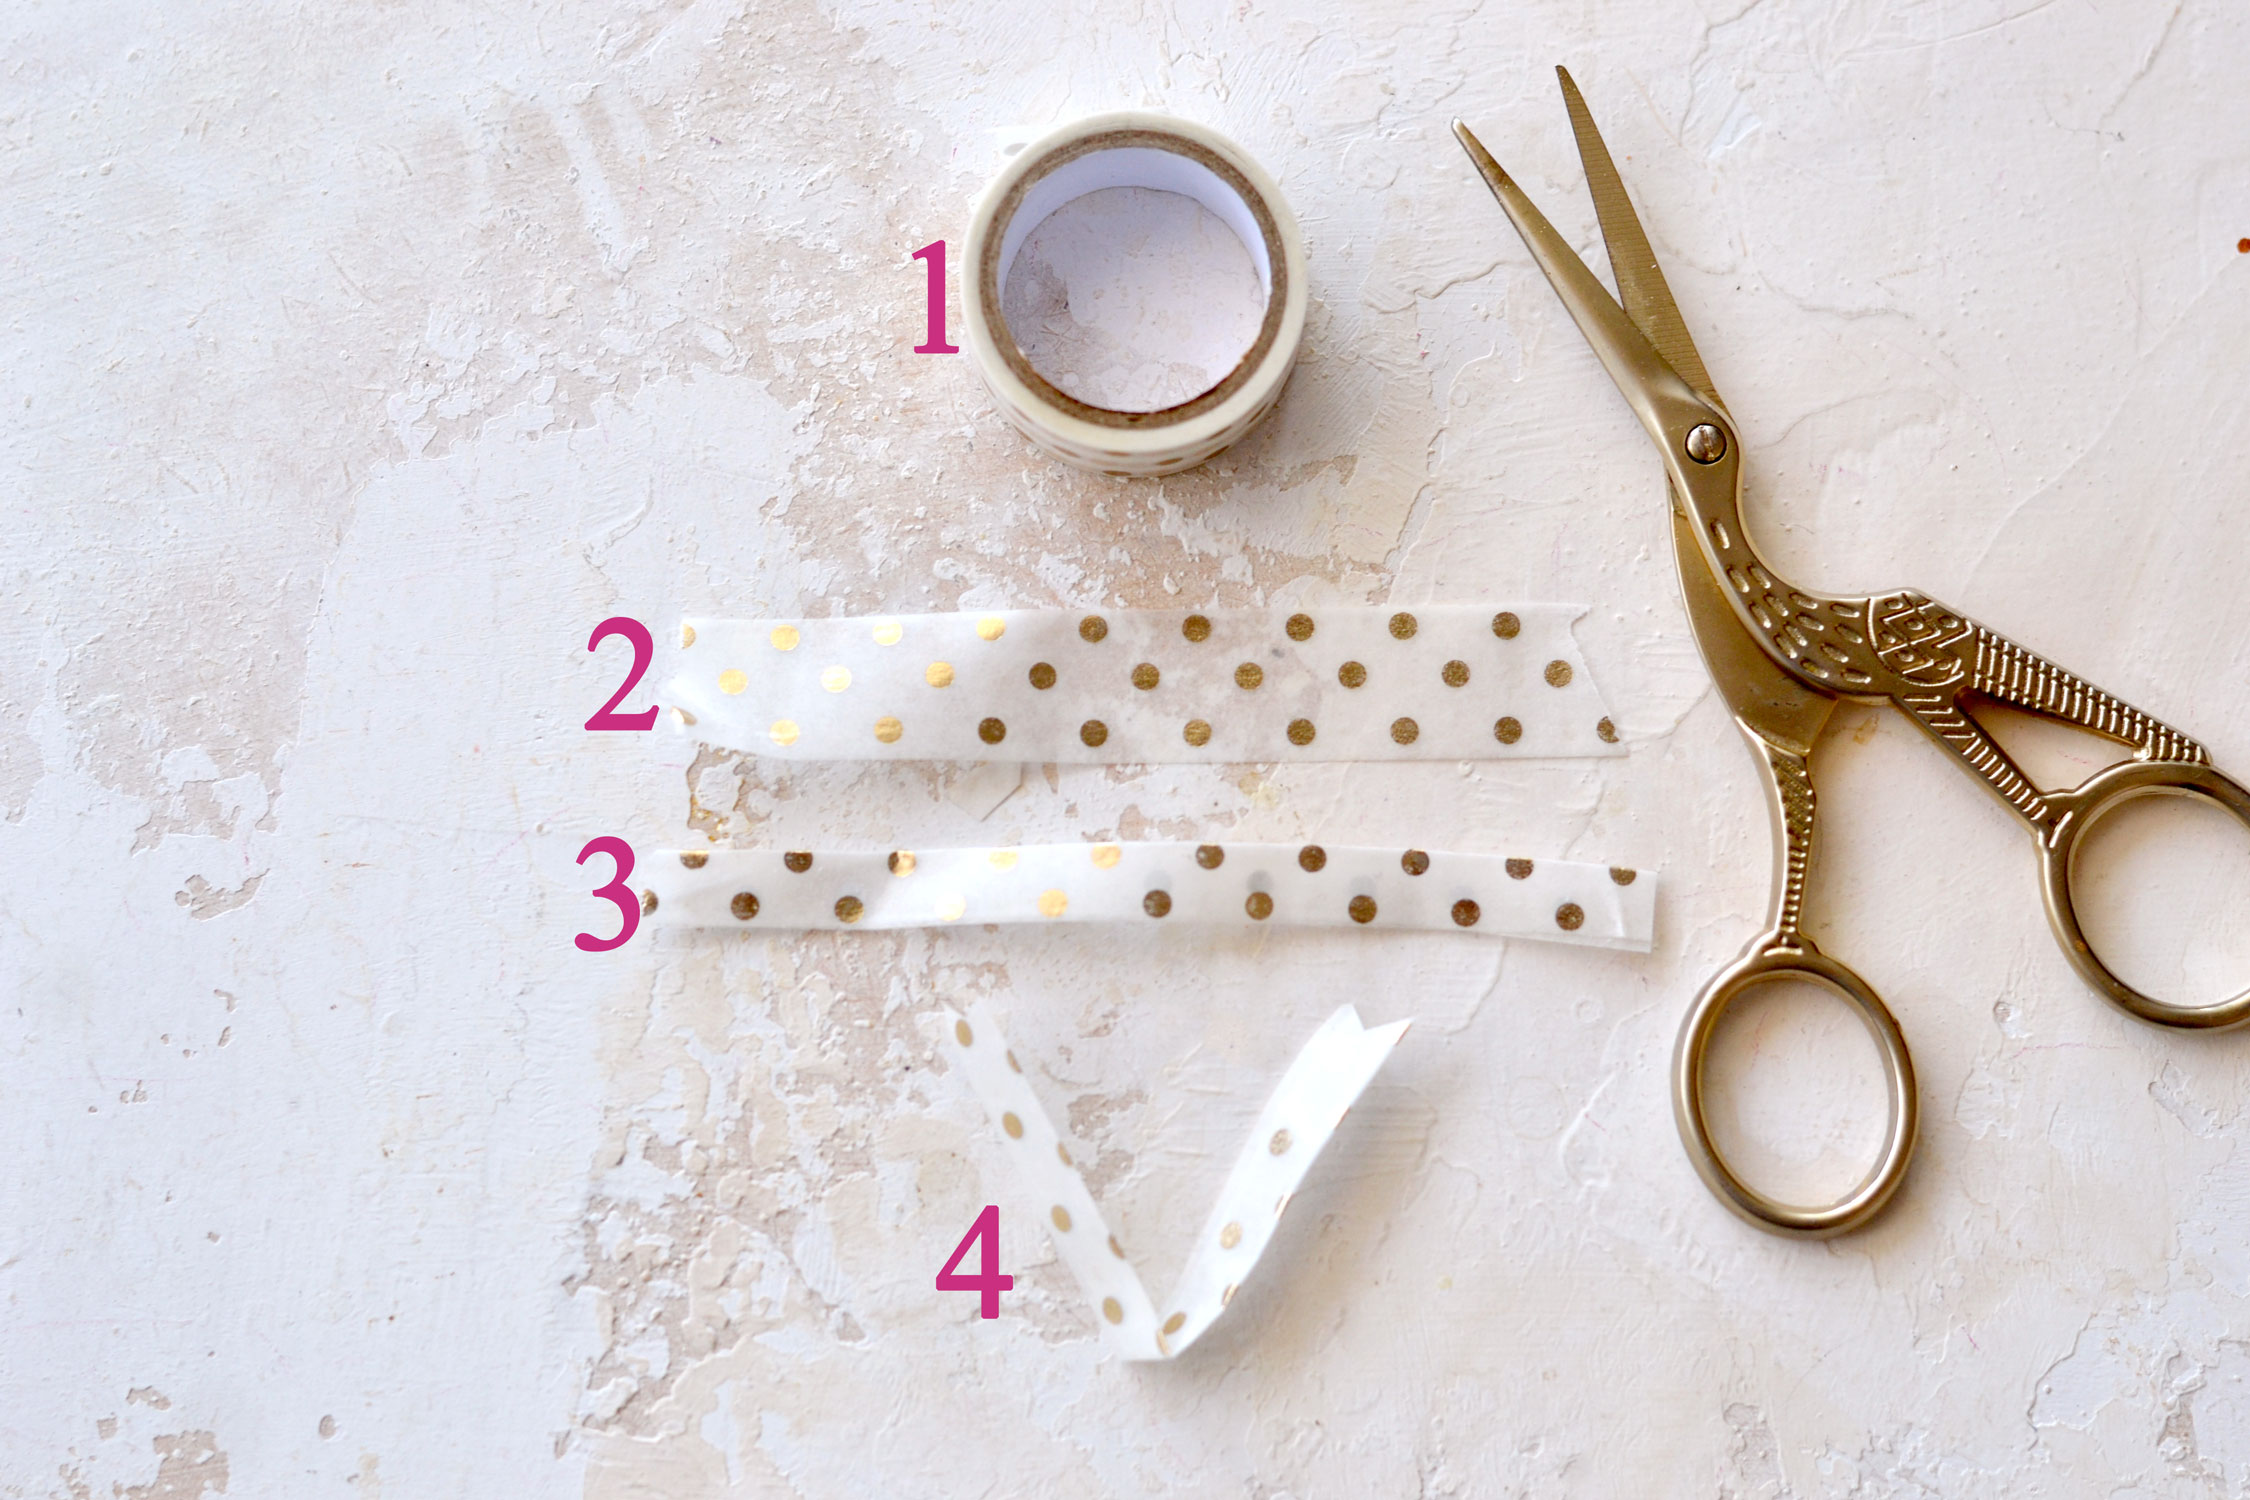
Choose your favorite washi tape with gold accents (1) or one that you think will look good with our tags. Cut or tear a piece of washi (2) then simply fold it in half lengthwise (the adhesive side should be inside) to glue it (3). Now fold it in the middle to create a V shape (4) and voila, you have your washi ribbon ready!
Make washi ribbons for all the tags, then use your scissors to trim their ends as you want. You can keep the ends simple, you can trim them diagonally or even cut them in a V shape to create a banner-like effect.
And then, return to your gold foil assemblies. Go all around the edges and gradually rub them with your fingers, you will notice that the gold foil will start to peel by itself if the glue is perfectly dry.
If you feel like some edges might need a little bit of a redo, you can add some more glue to those areas and place another piece of gold foil on top. I decided to keep them as they were, without adding any additional glue and foil.
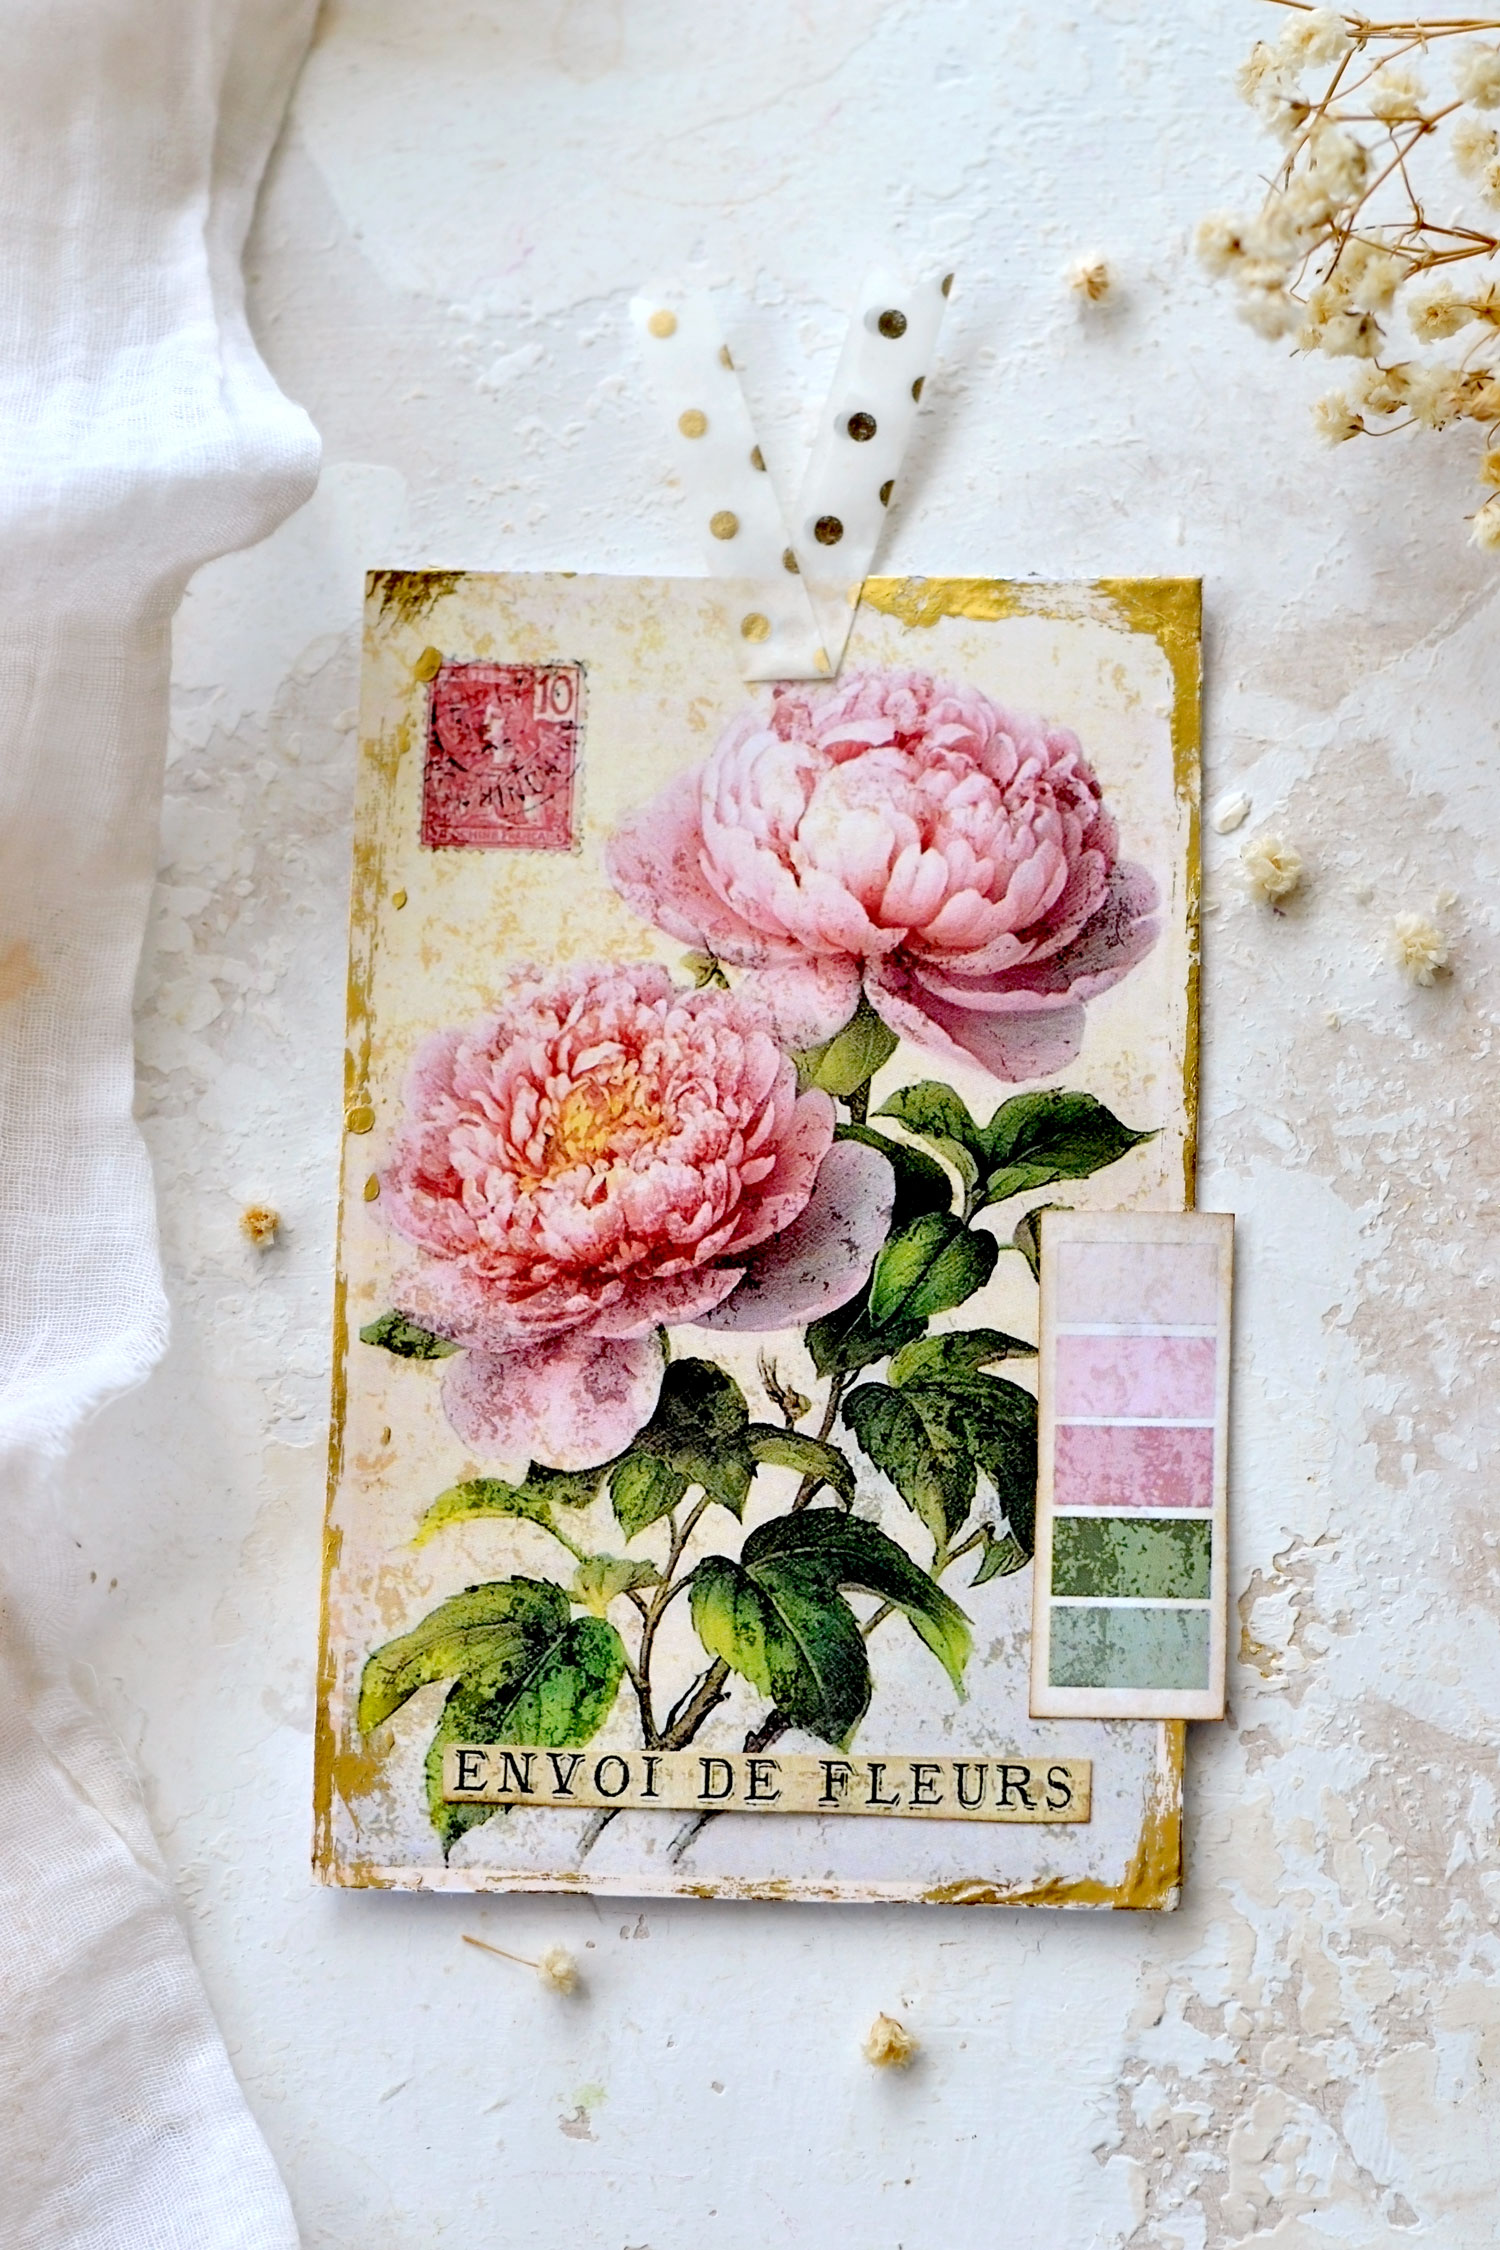
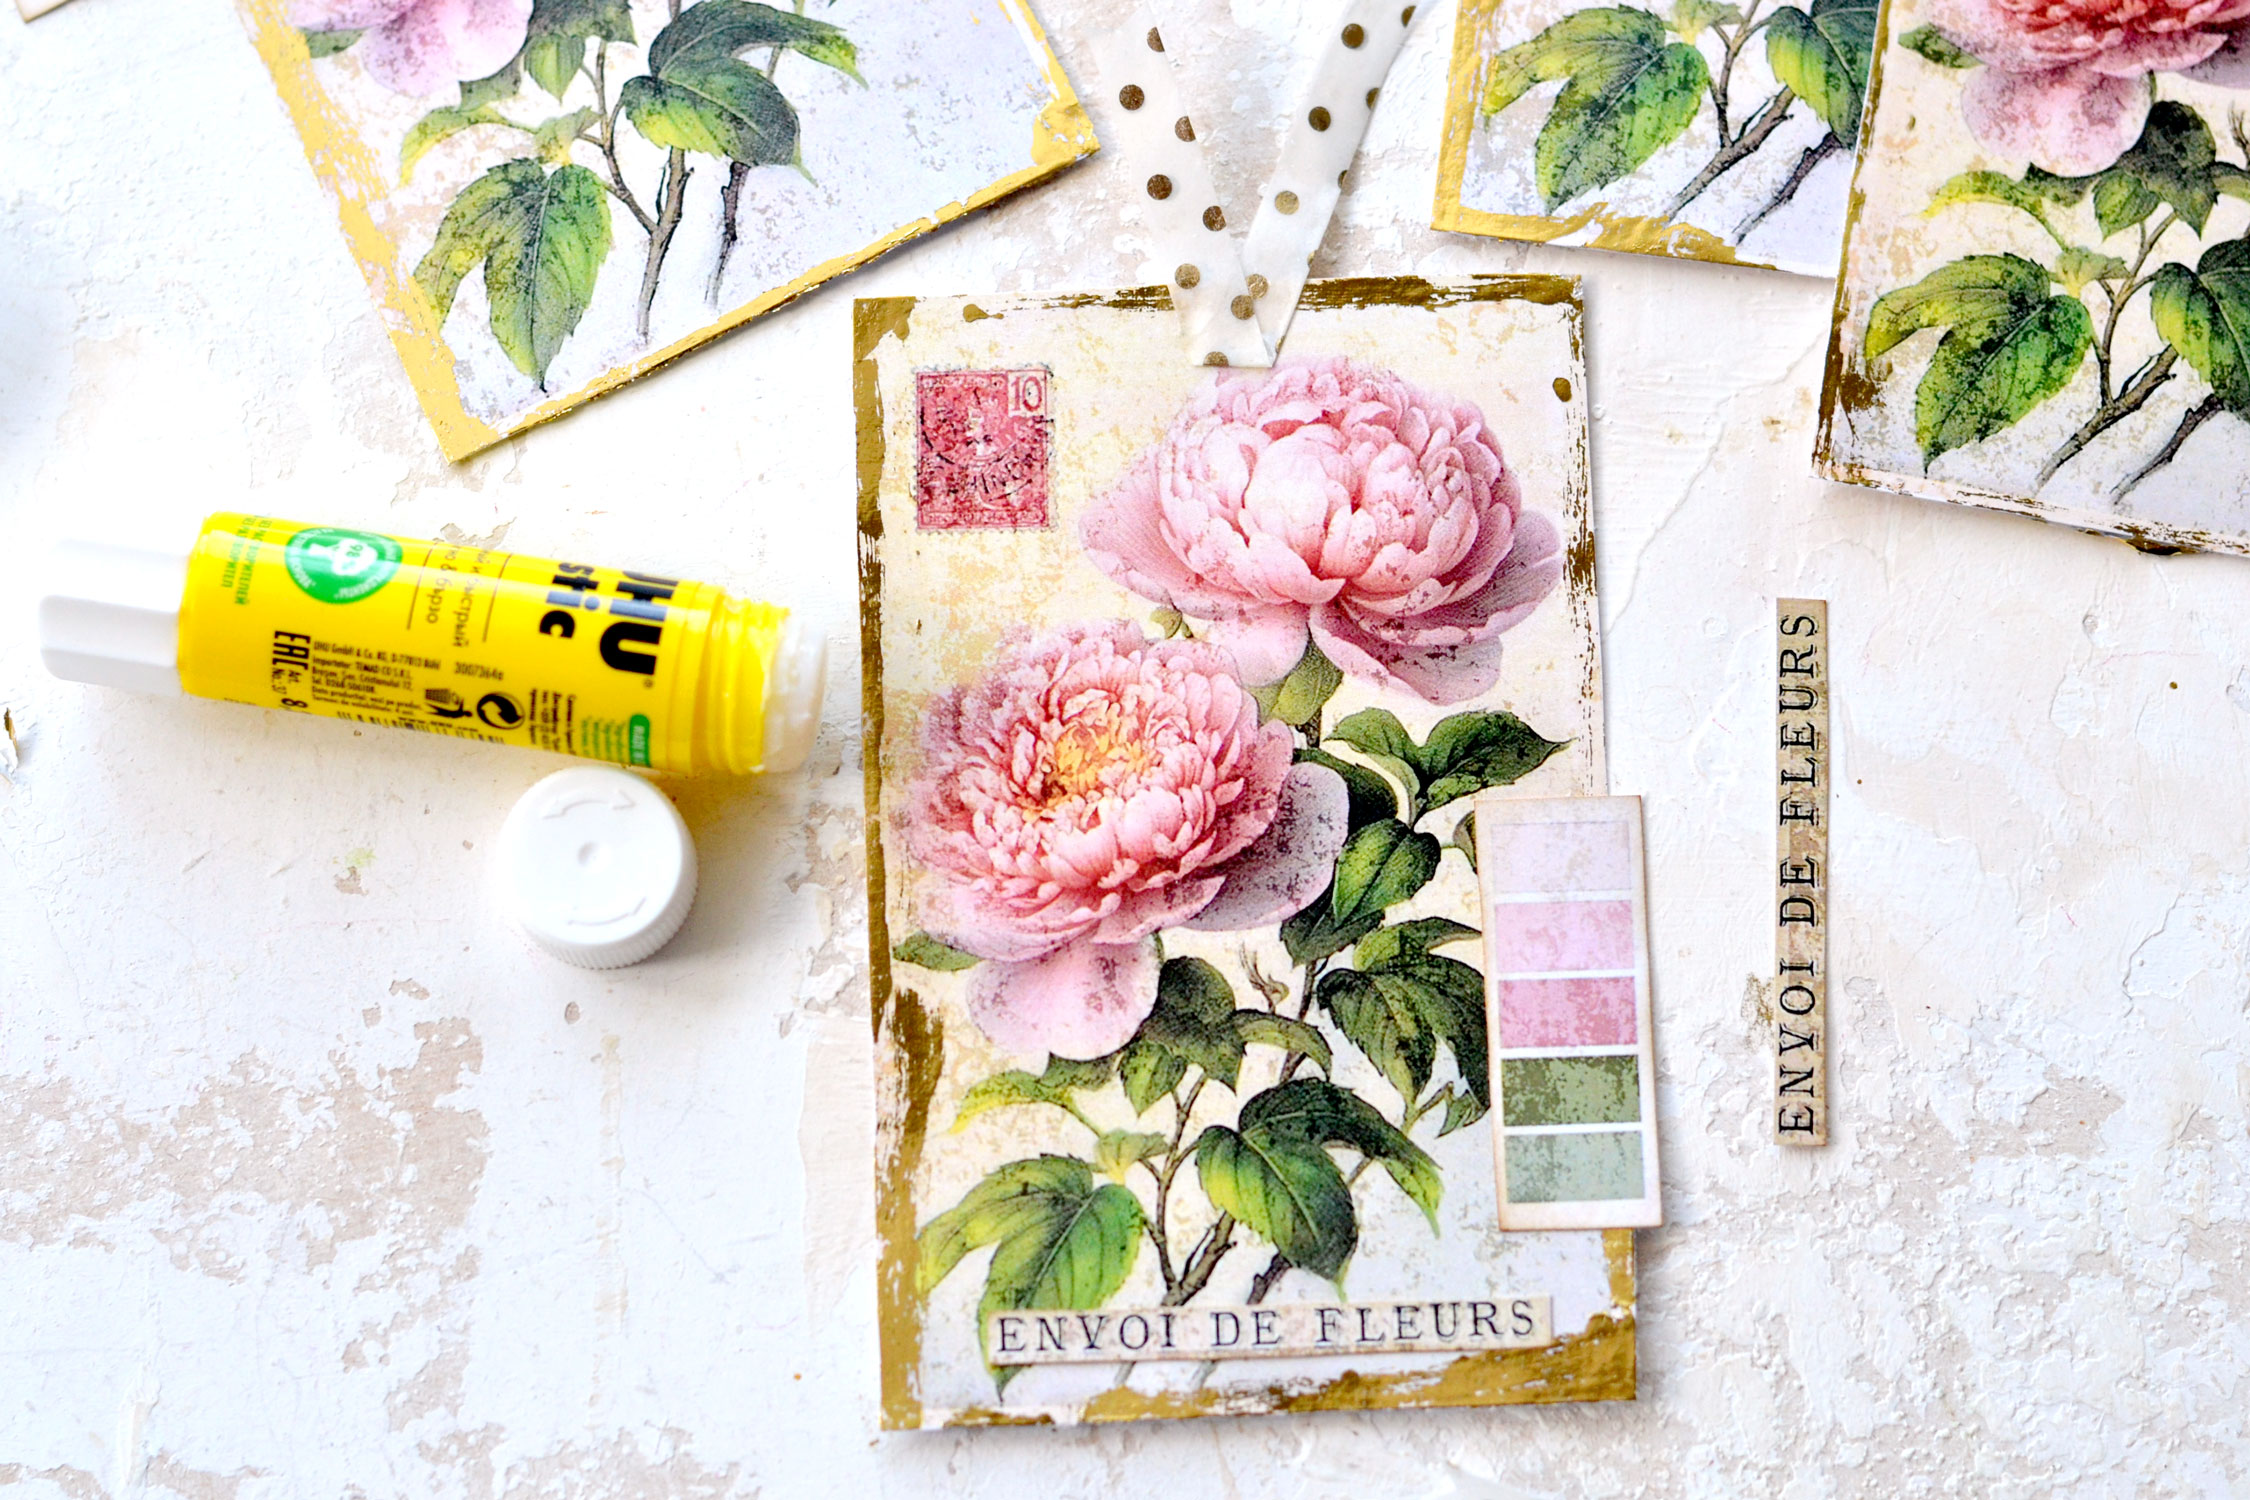
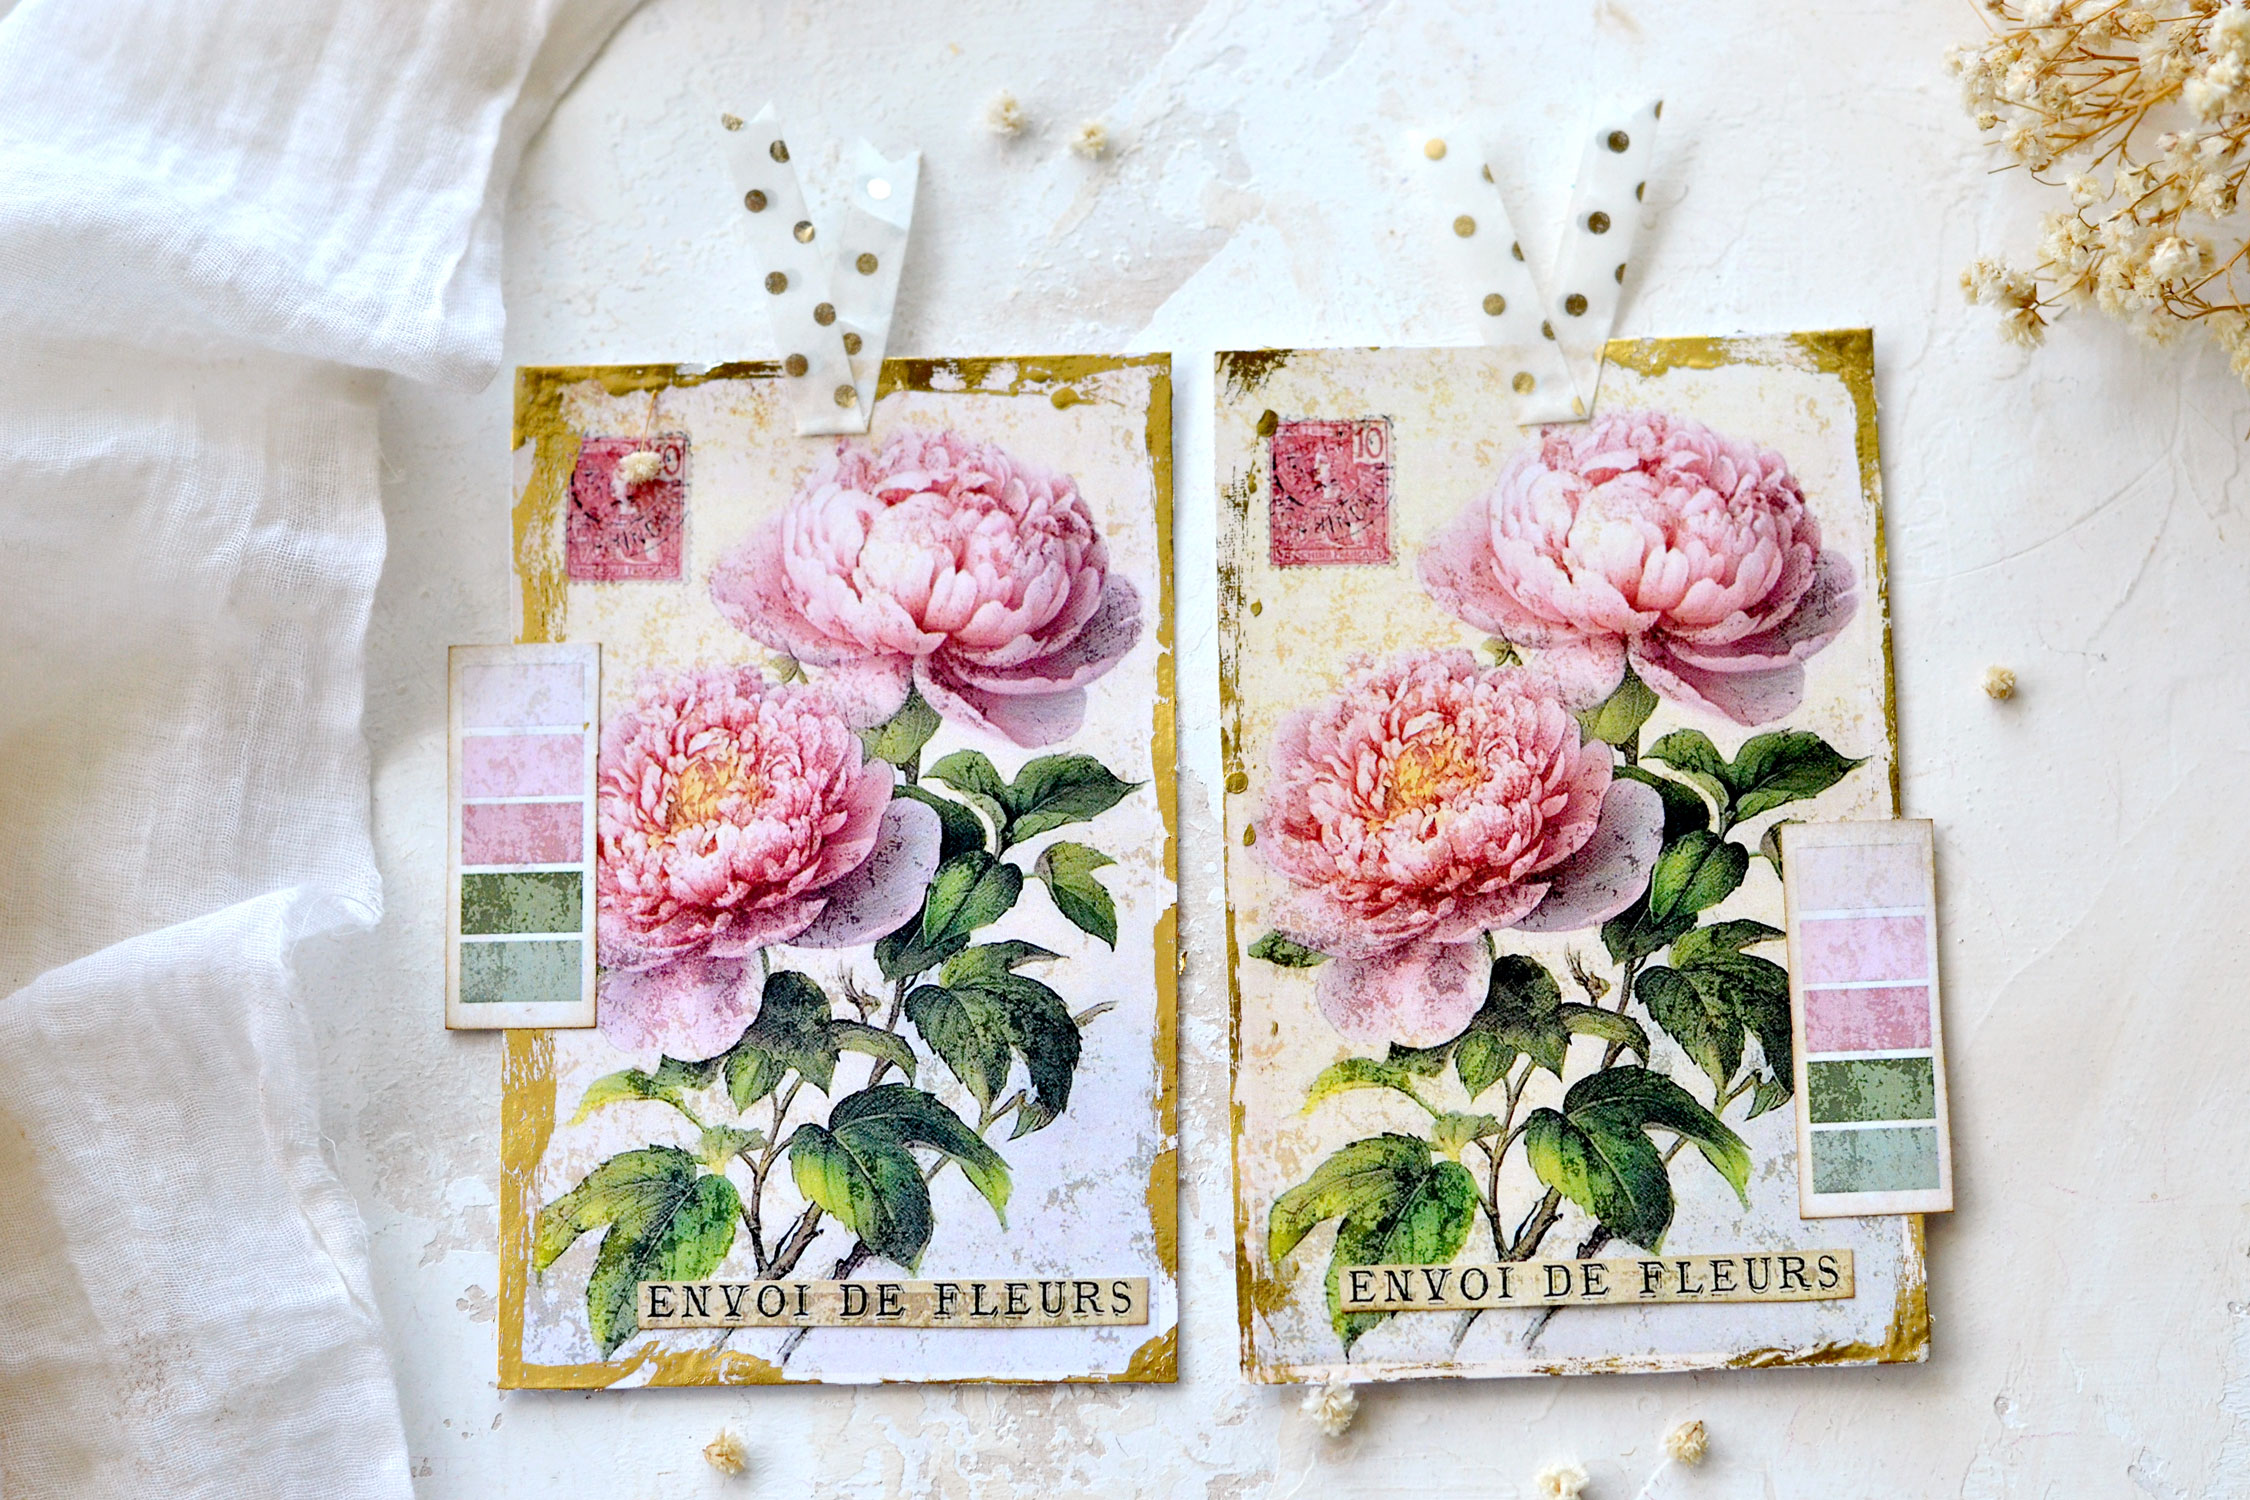
Then use glue to adhere the small embellishments where you want. I added the ‘envoi de fleurs’ cutout centered, on the bottom and the color swatches on the lower right side, but if you want, you can place them elsewhere. Then add some more glue on top and place the washi ribbon in the middle. Don’t forget to also add glue between the two folded pieces of washi so they will keep their V-shaped look.
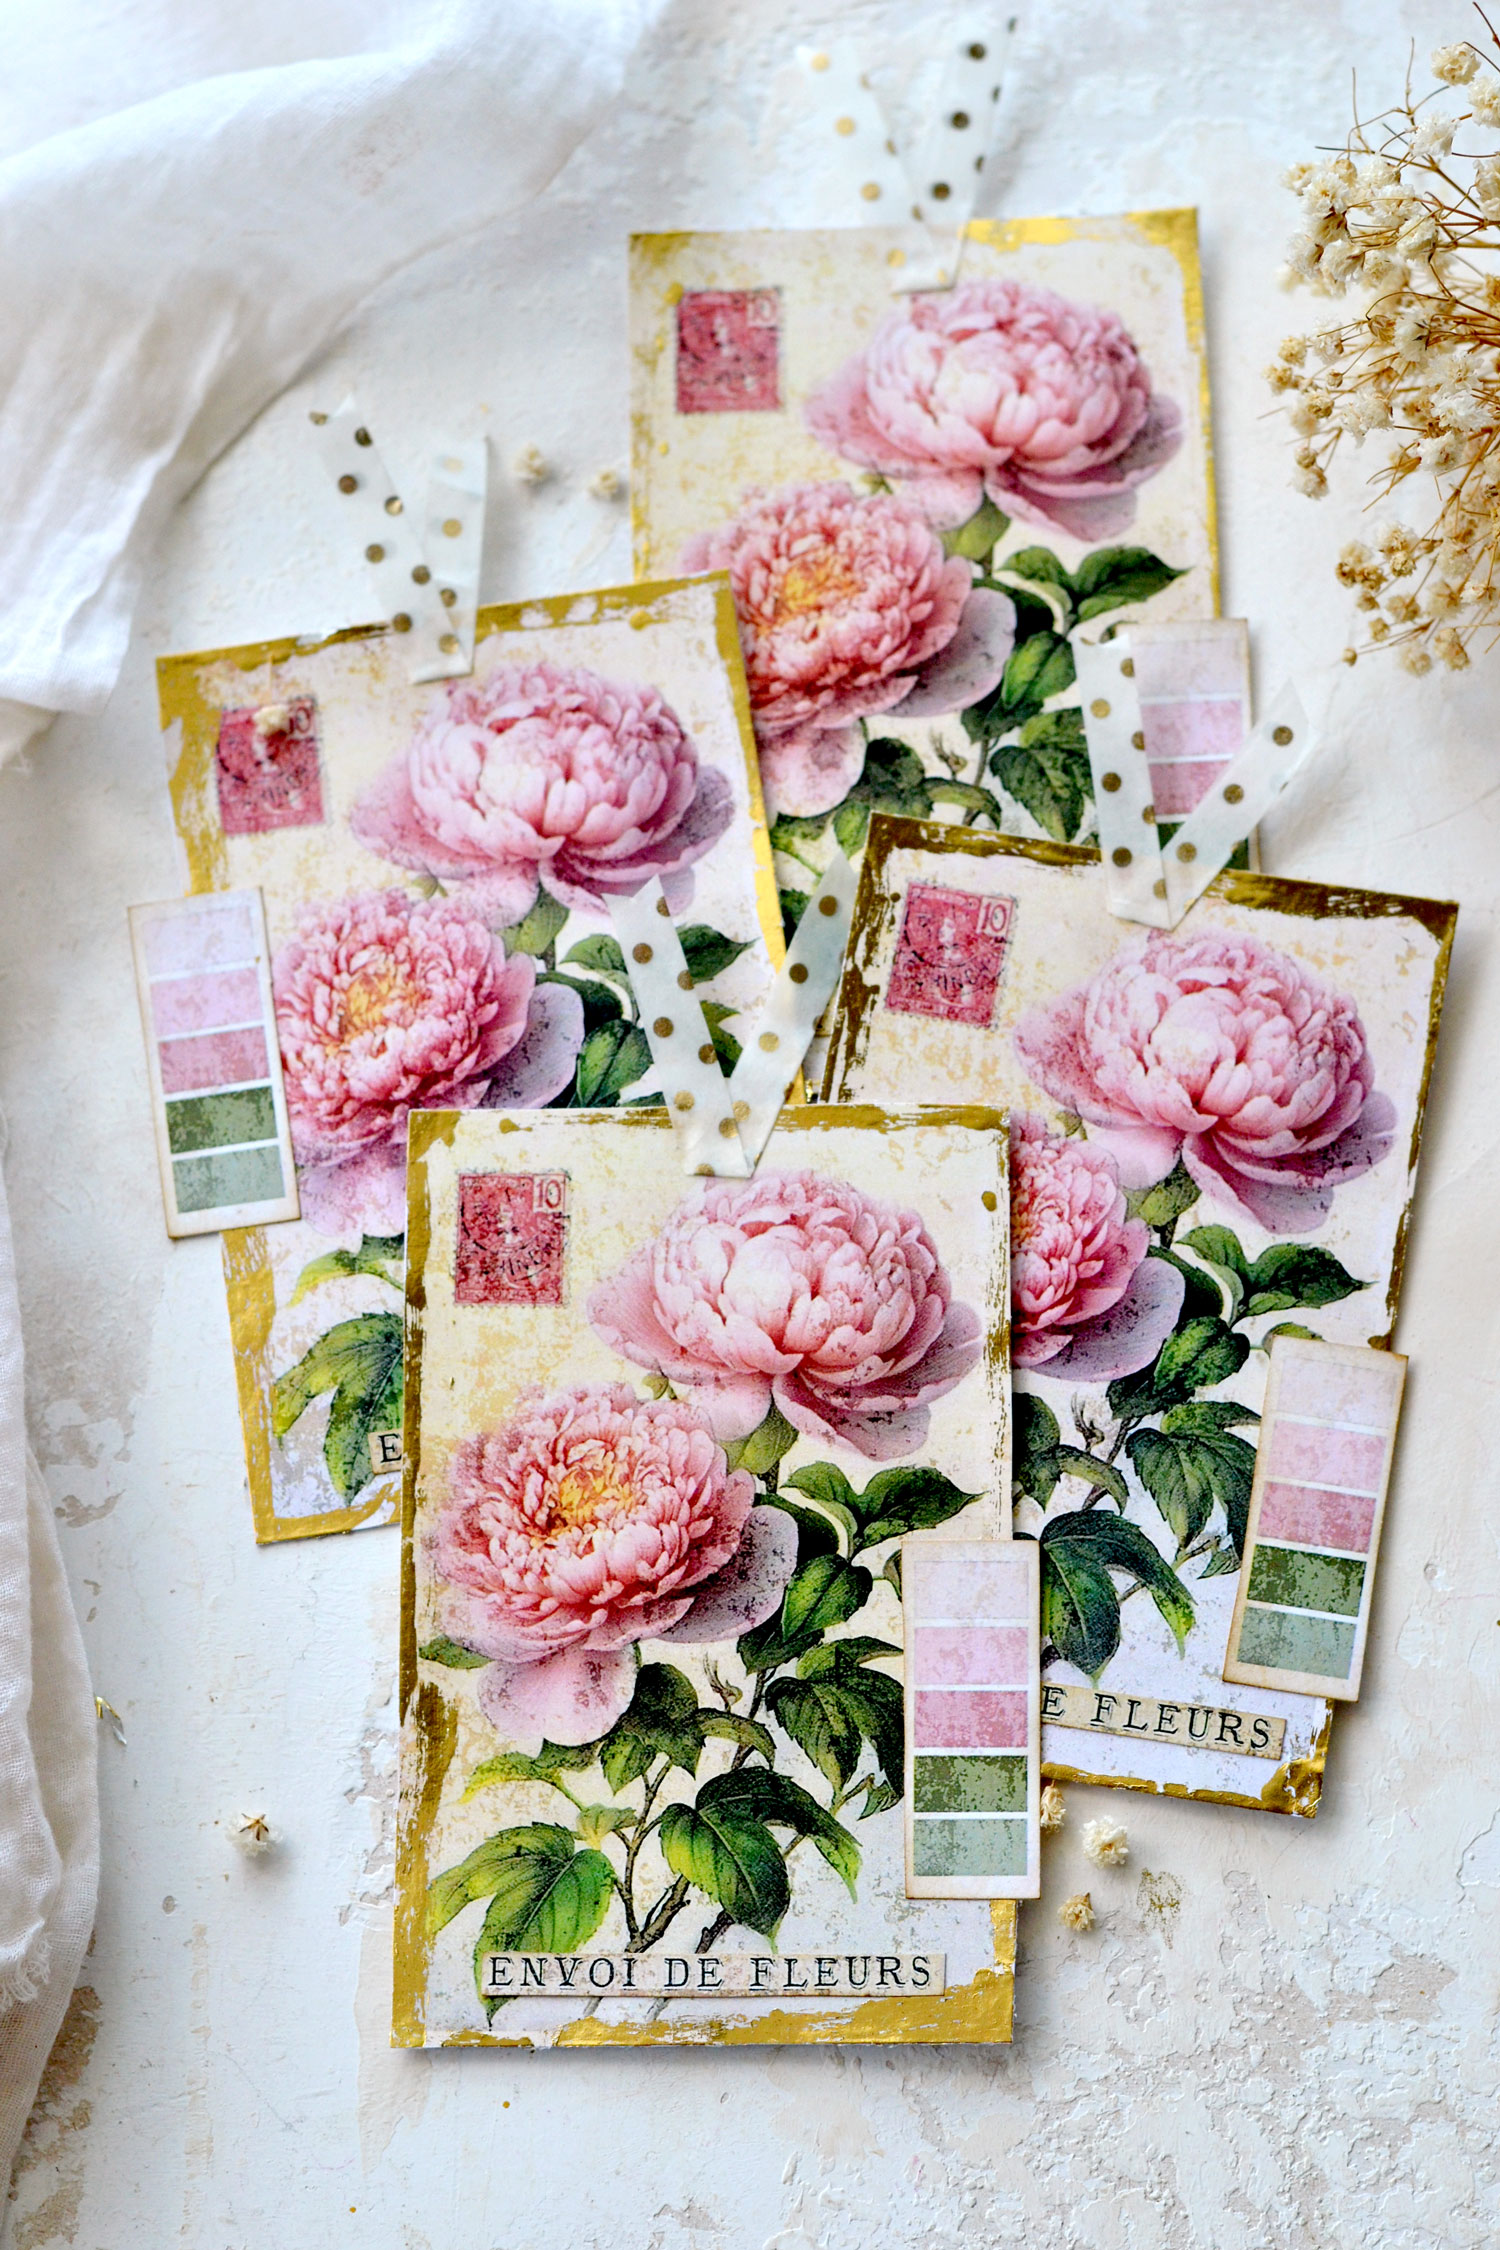
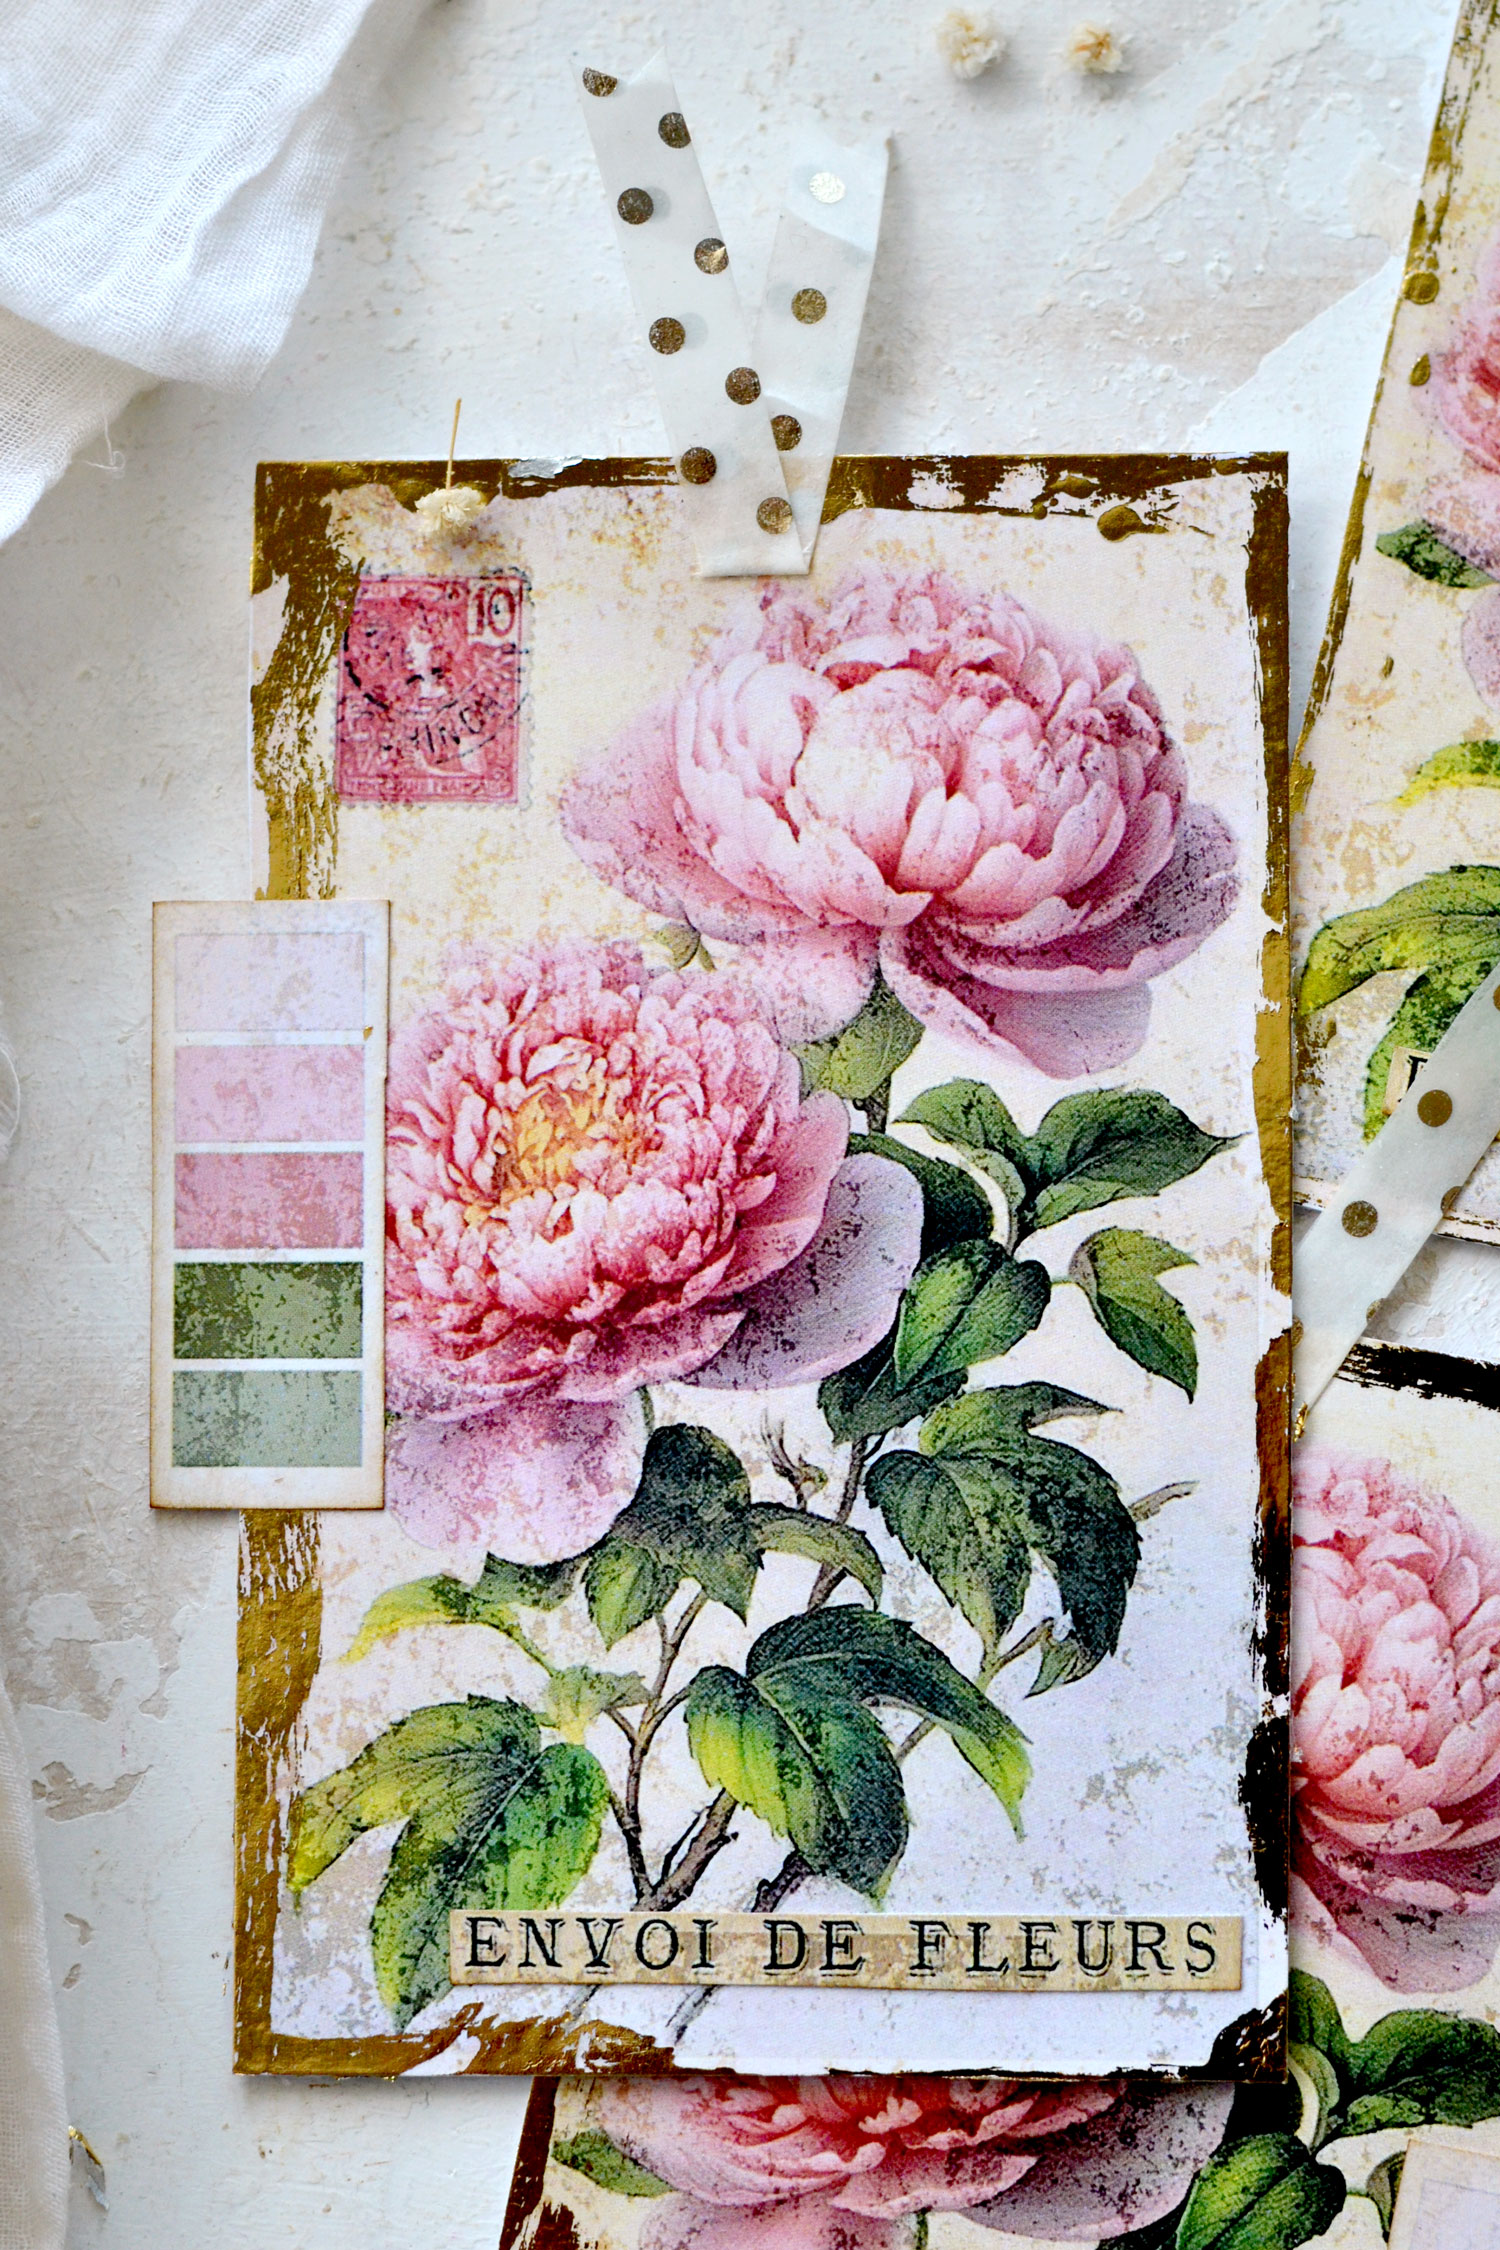
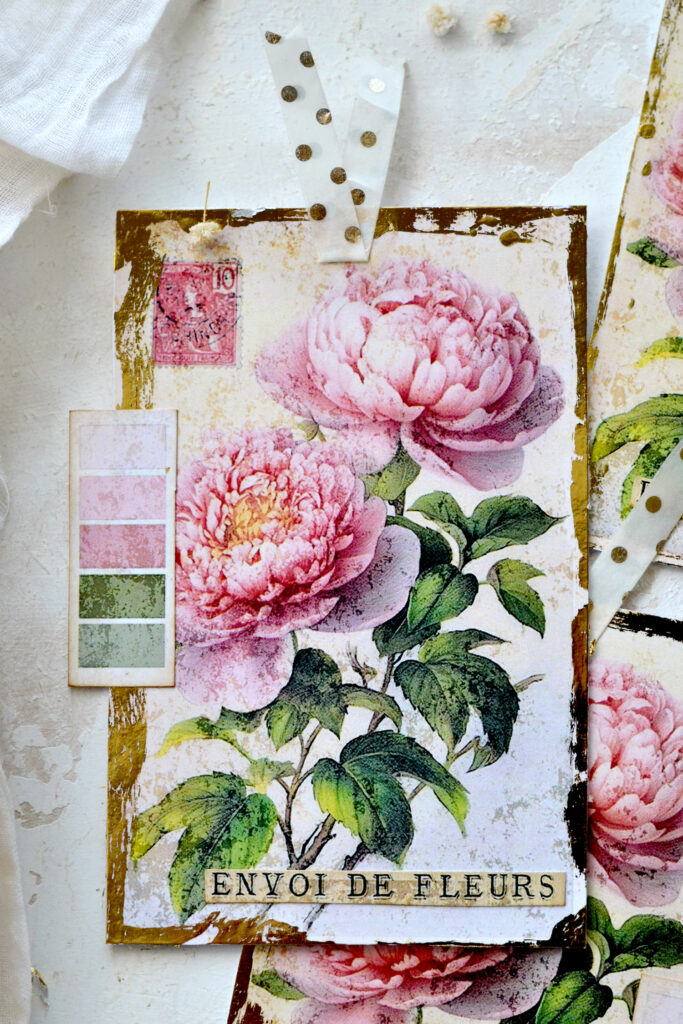
And voila, your Vintage Peony Tags are now ready! I couldn’t stop staring at them from different angles, you will see that gold foil looks so gorgeous when tilted, depending on the lighting in your home.
As you can see, adding gold foil using a glue stick creates a perfectly imperfect gilded edge that adds so much charm and character to the final pieces!
I initially imagined the tags with the color swatches on the lower right side and even created the design having this in mind, but of course, you can move them to the other side if you prefer. I actually did that here with this tag because I thought that the gilded edge was a little bit too thick, so I used one of the swatches to sort of hide this small imperfection. Feel free to improvise depending on your needs, DIY projects usually empower us to adapt to new situations to create something truly unique!
This is not my first gold foil project, you can look for ‘gold foil’ on the Graphics Fairy search bar to see other lovely gilded projects. You’ll need to check the projects if you are not familiar with gold foil (which by the way is different than gold leaf), and keep in mind that not all glue sticks work for this technique. You actually need a special gold foil glue, but as an alternative, I’ve had great results with Staedler and UHU glue sticks (the one that I used for today’s project).
I hope you’ll have fun creating this project and love it as much as I do! Use the finished pieces as tags to embellish your junk journal pages or even your covers, include them while wrapping special gifts or simply display them in your home as mini signs that have a super chic and colorful vibe!
You might also like this lovely 3D Flower Tag Tutorial HERE.
Happy crafting,
Diana / Dreams Factory



rk says
Gorgeous tags! Happy that it’s a new project and not a recycled one 🙂
Karen Watson says
Hi Rupa, we do both here. We usually have a new project 3 weeks out of 4 and we recycle 1 or 2 each week as well. There are 17 years worth of projects here that many of the newer people have never seen. We’ve had so many amazing instructors here over the years, I’ve been very blessed to have so many talented people share their work on this site. And occasionally I even dig out one of my own from the old days. Lol!
georgina says
Everything you put on Graphic Fairy is so Beautiful, and I Love all of your projects and ideas , Absolutely Fabulous, Thank you very Much and also Graphic Fairy
Karen Watson says
Thanks so much for your kind words Georgina!
Sandy says
Thank you for this lovely DIY!! I didn’t have any gold foil, but I did have some metallic gold paint, so I just used my finger to dab a bit around the edges of my tag, and it worked great! I thought I’d share that in case anyone else didn’t have the gold foil. Sometimes, you just have to work with what you’ve got! But I definitely want to try the gold foil technique in the future!! I love the way you gave the original image – which is gorgeous as it is – the “weathered” look – simply beautiful!!
Karen Watson says
That’s a great tip Sandy! I agree, you don’t always need to have the exact supplies, just work with what you have!
Connie Pruitt says
Beautiful. Thank you ❤️
Karen Watson says
I hope you make Diana’s pretty tags Connie!