DIY French Floral Gift Tags
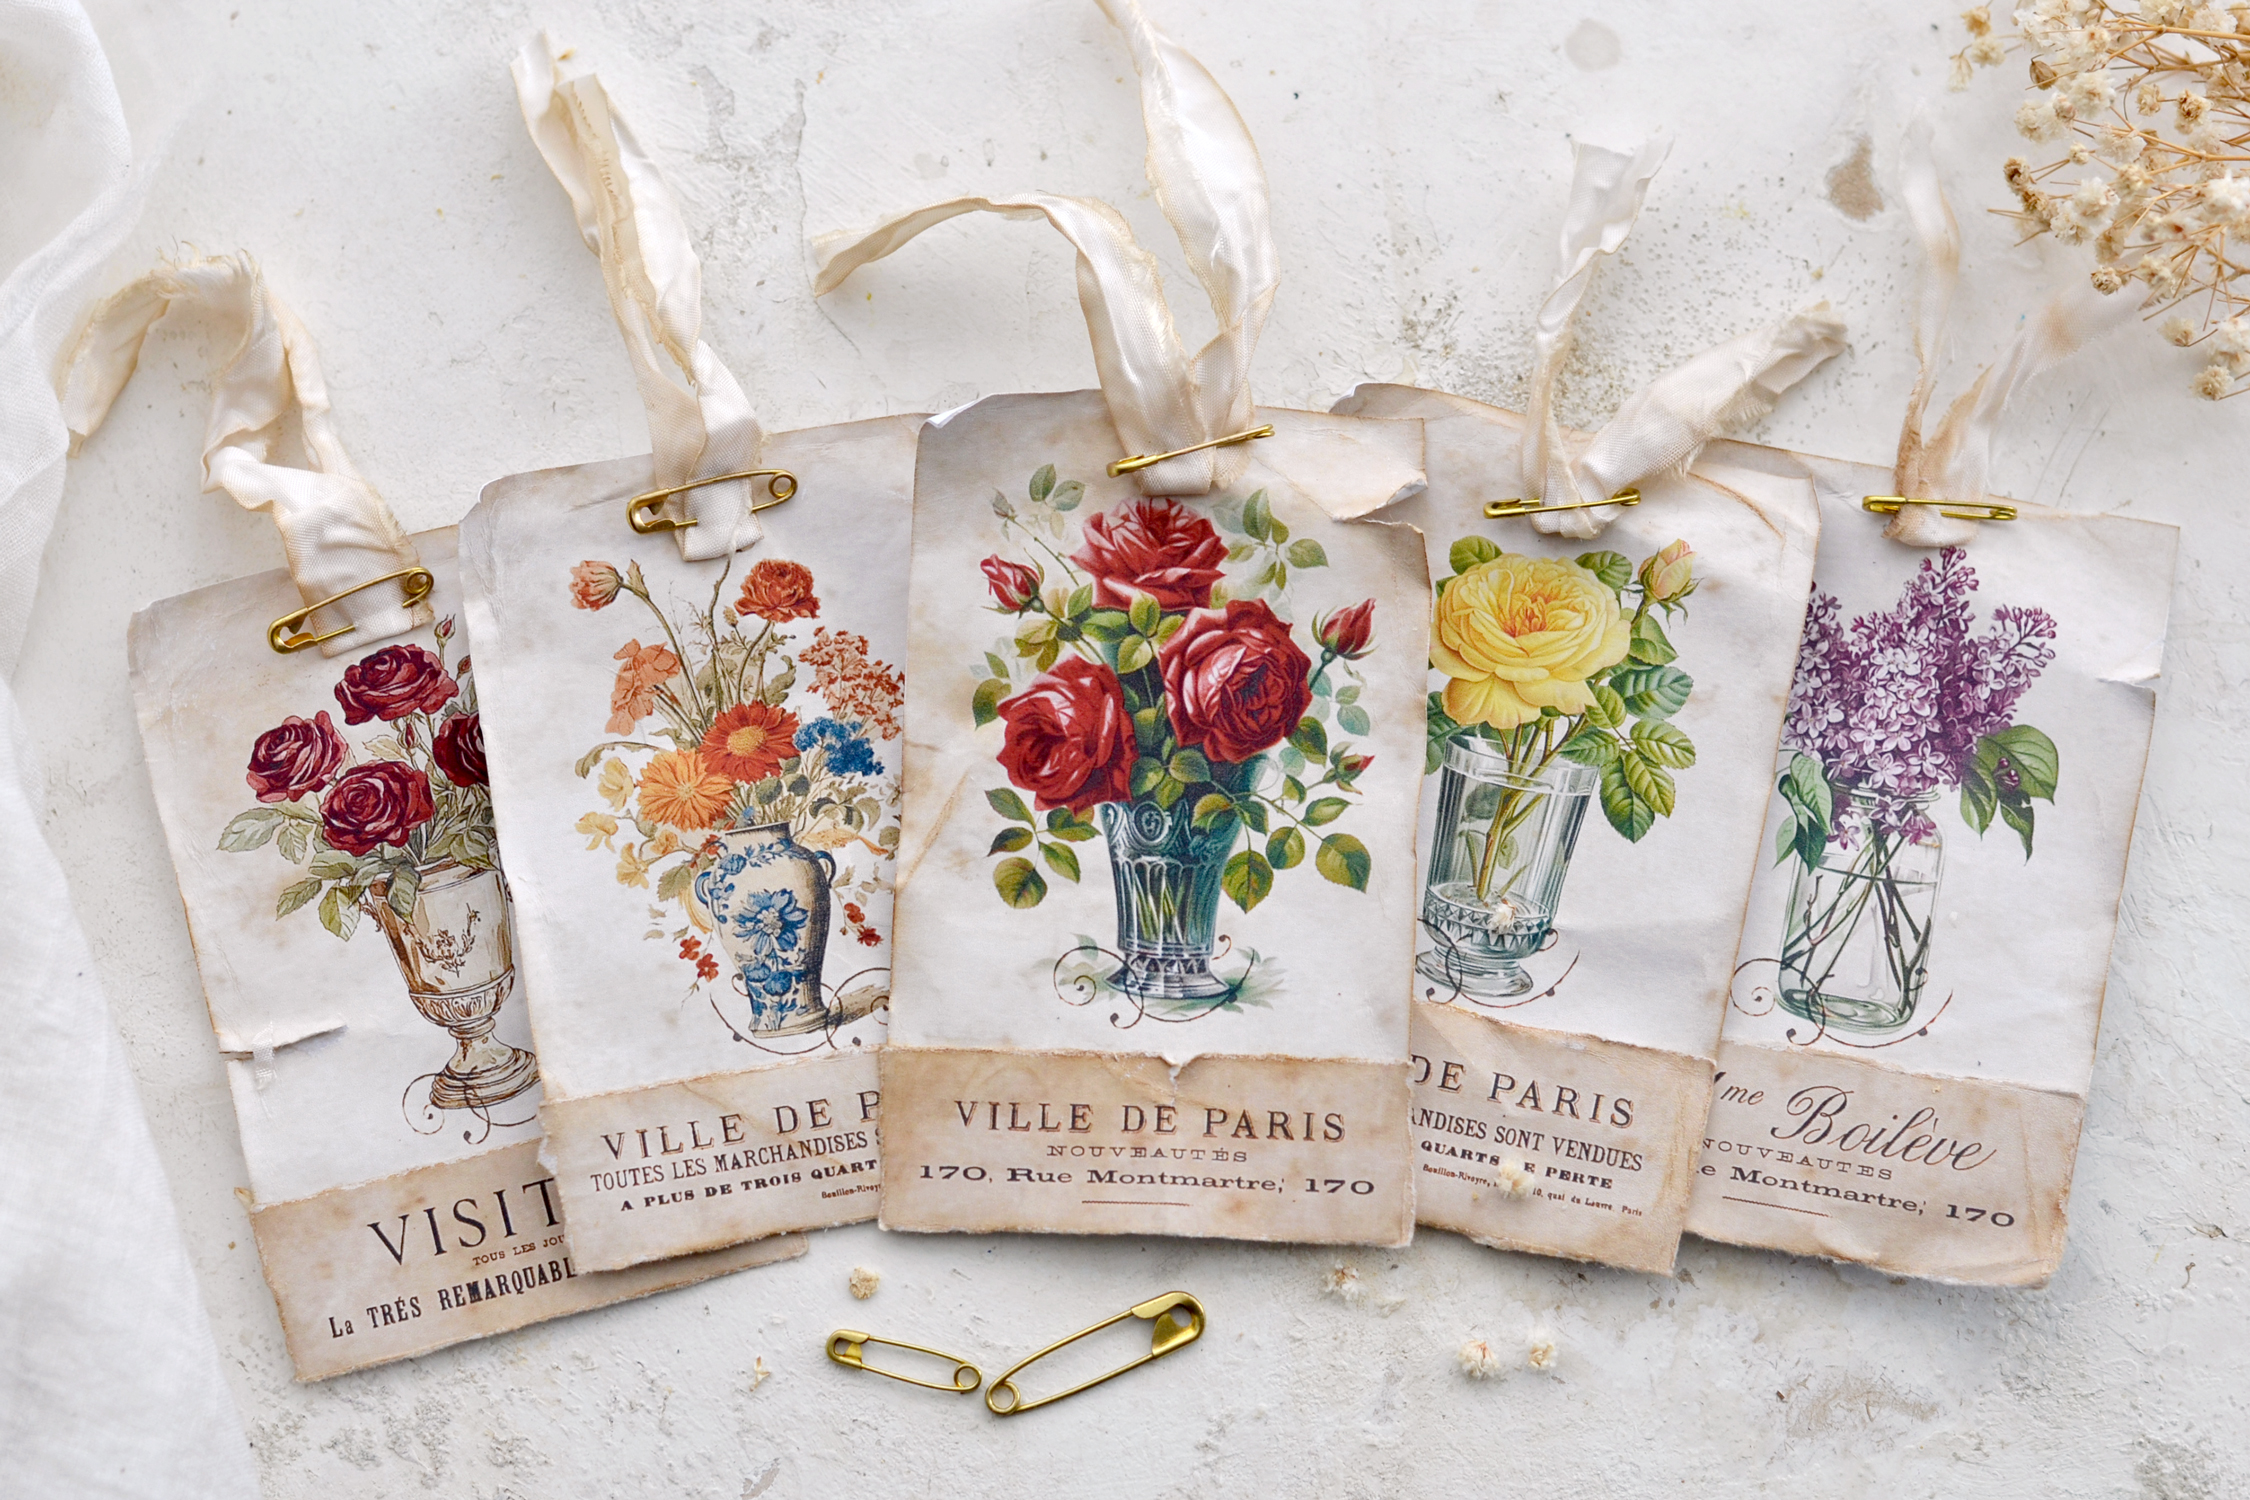
Hello Graphics Fairy friends! I’m Diana from Dreams Factory and I’m happy to be here again to share another DIY project with you! Today I will show you how to make these gorgeous DIY French Floral Gift Tags, with a très chic Frenchified vibe! Even though these beauties are colorful and vibrant, they still have a charming vintage appearance that will make them perfect for all sorts of creative projects.
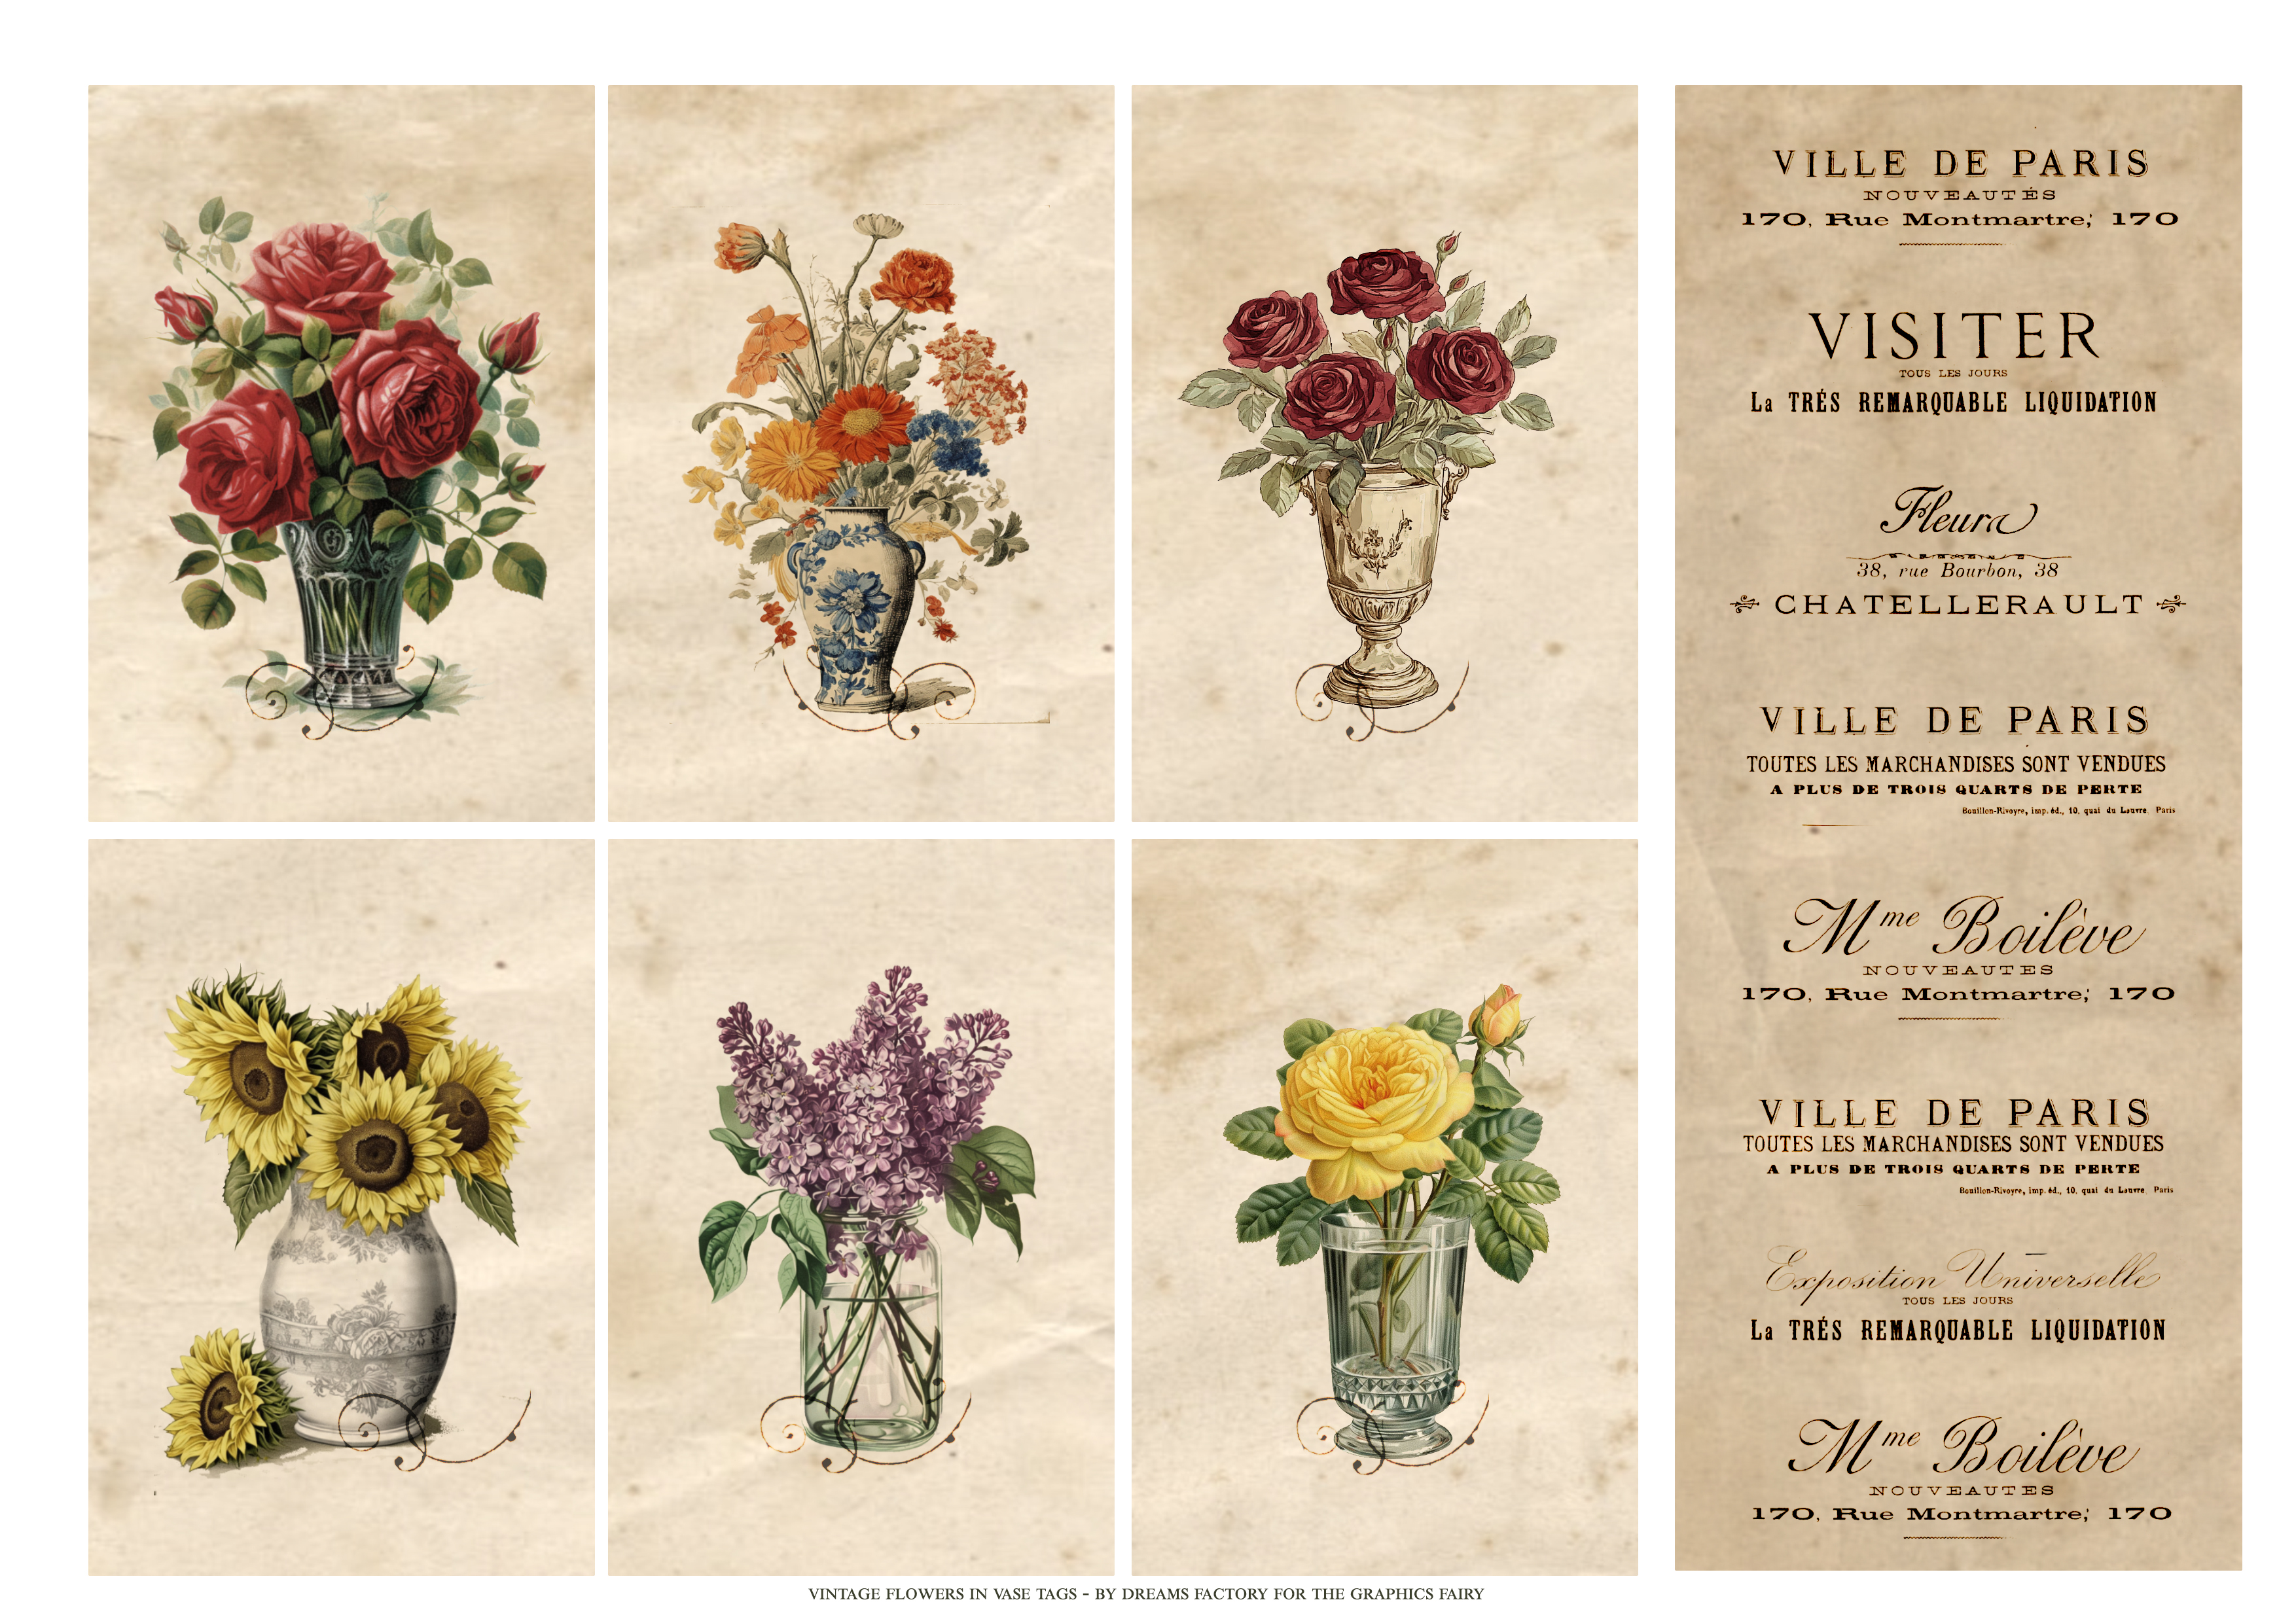
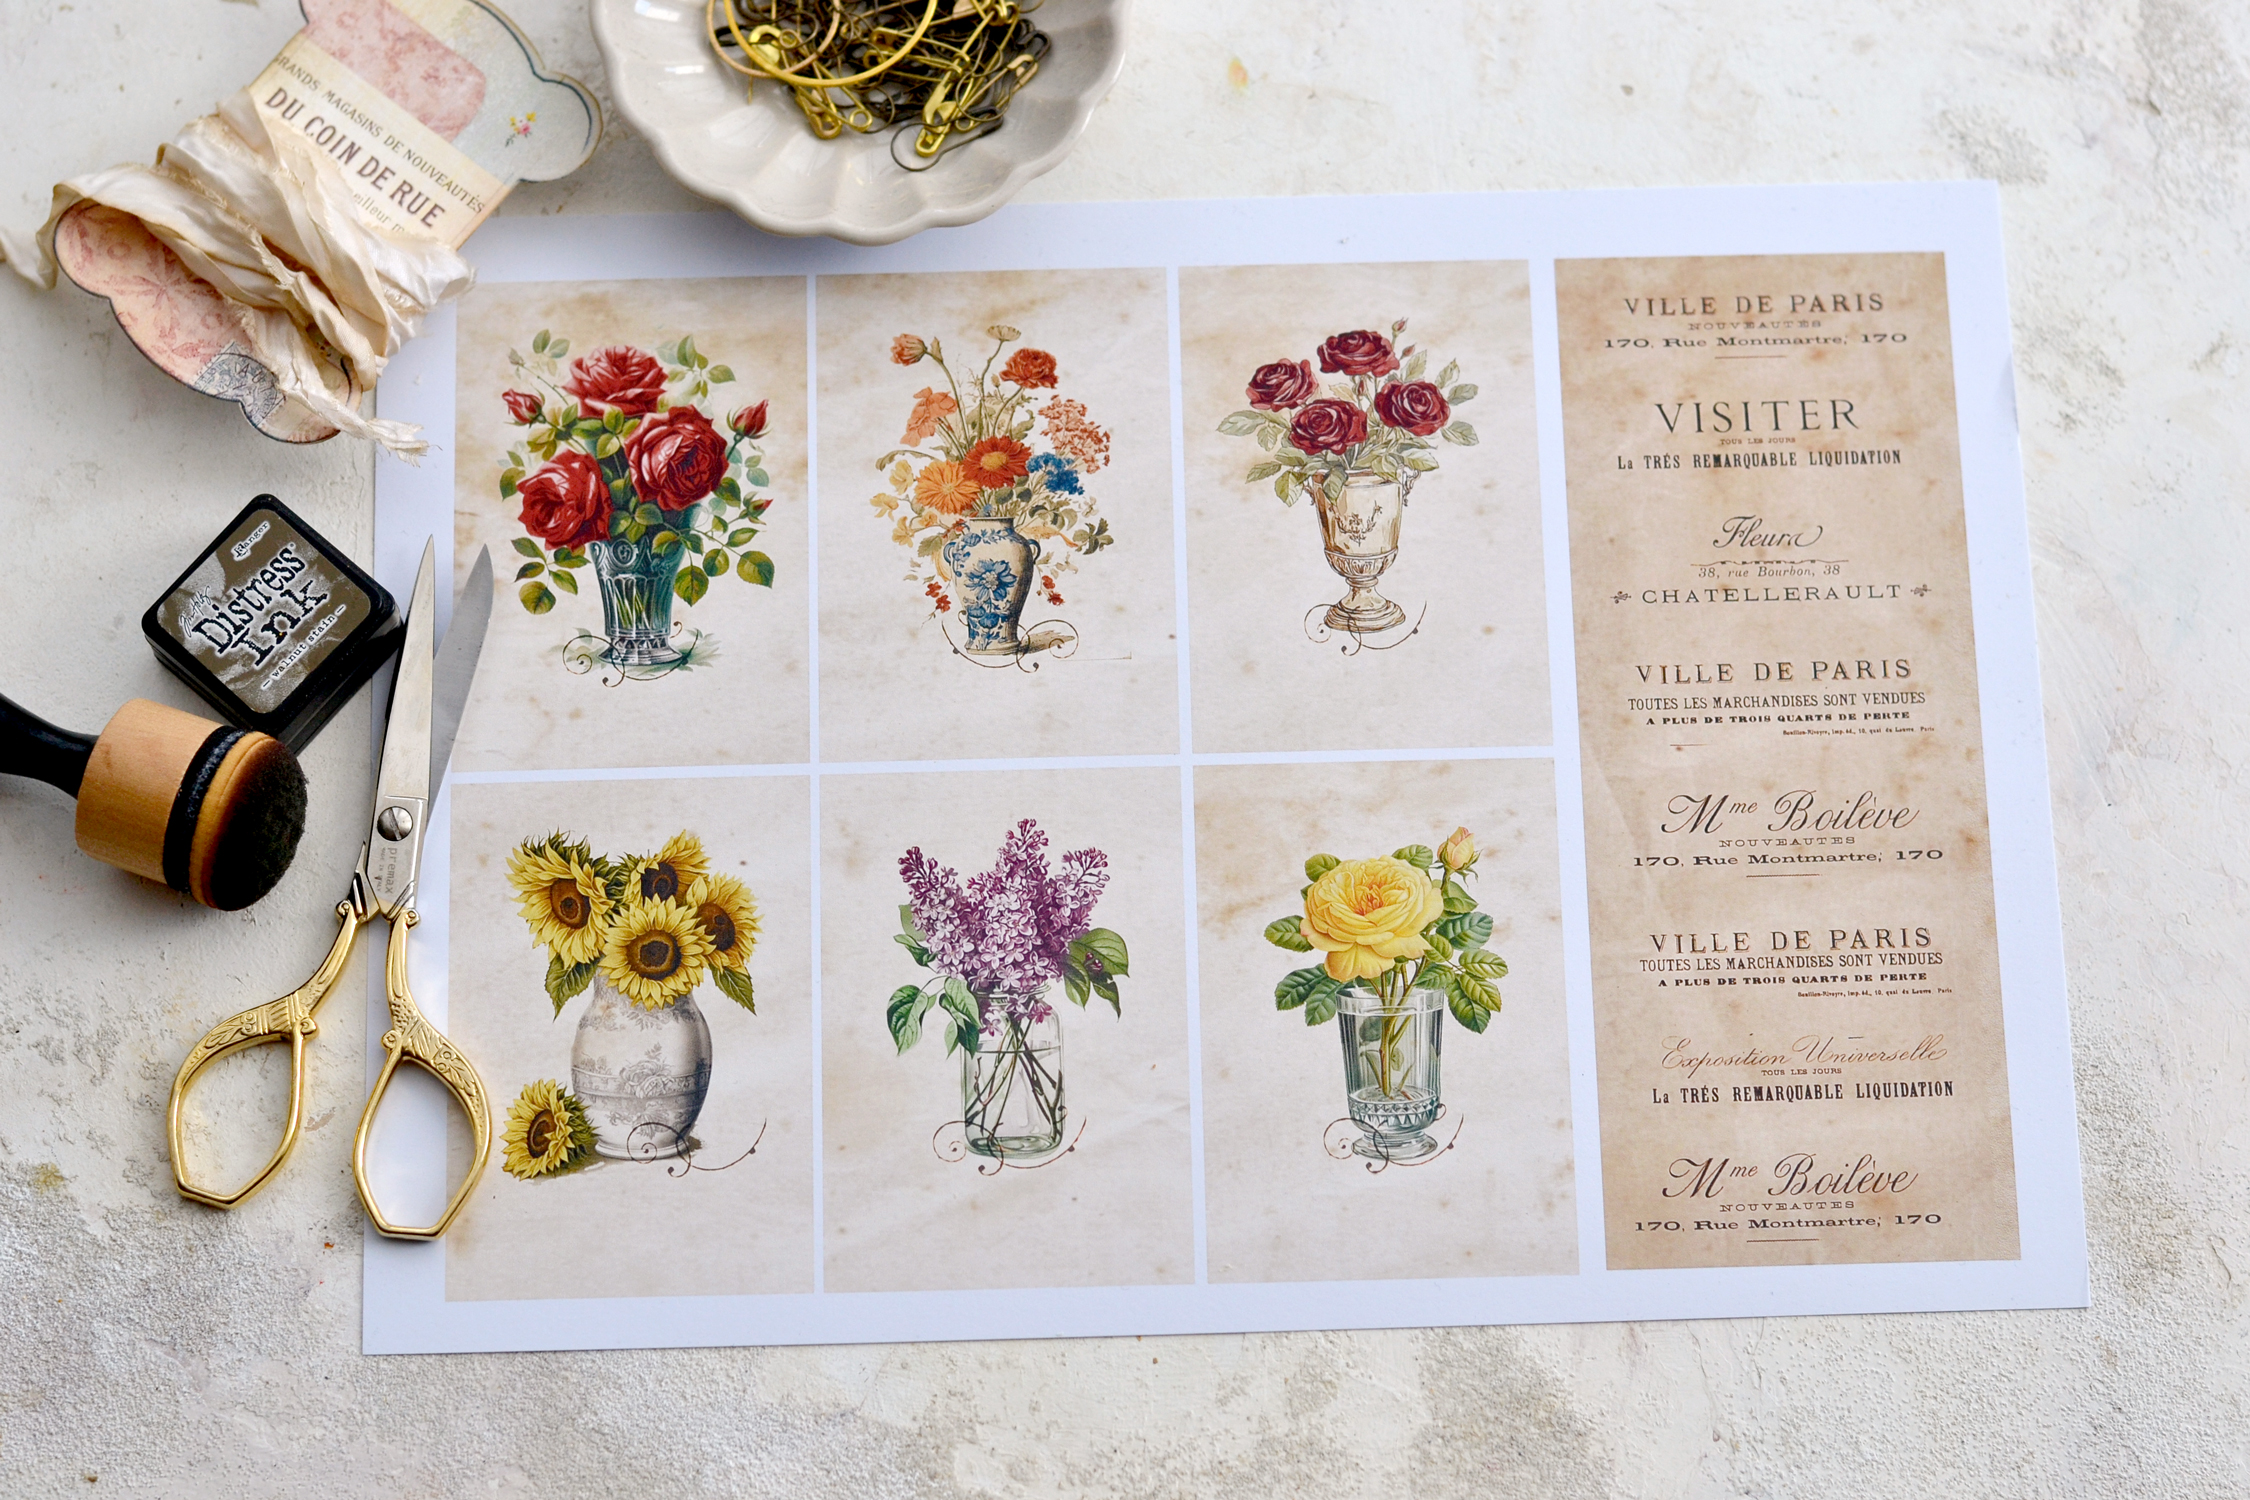
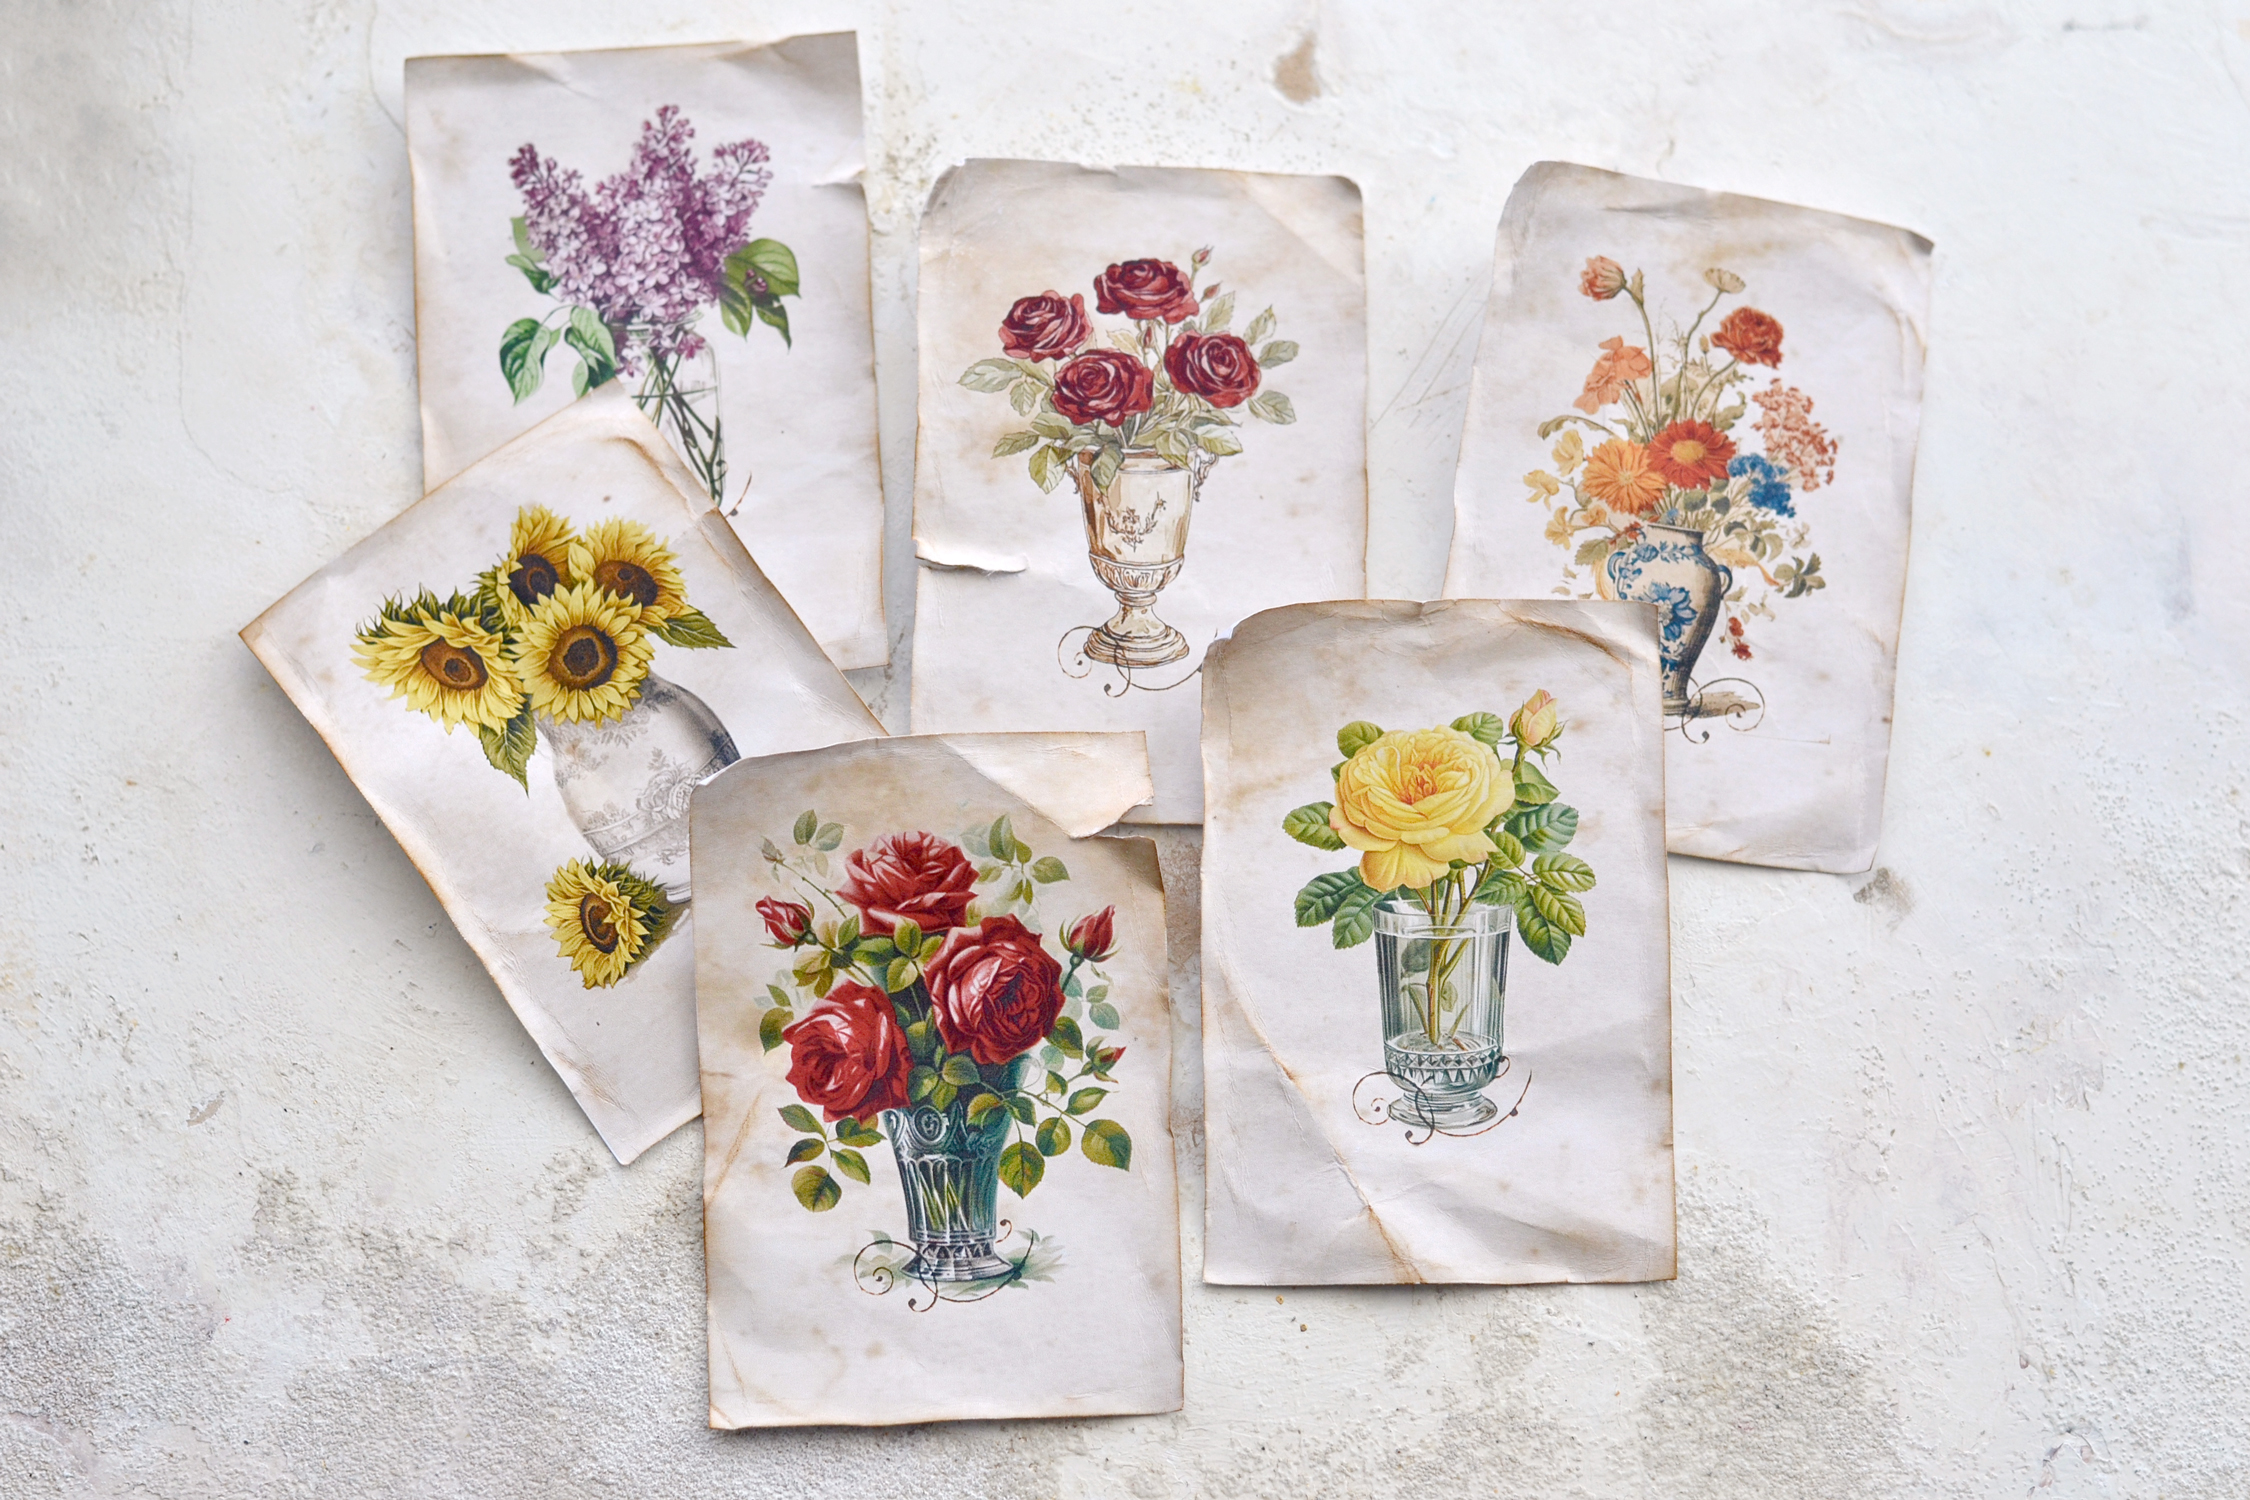
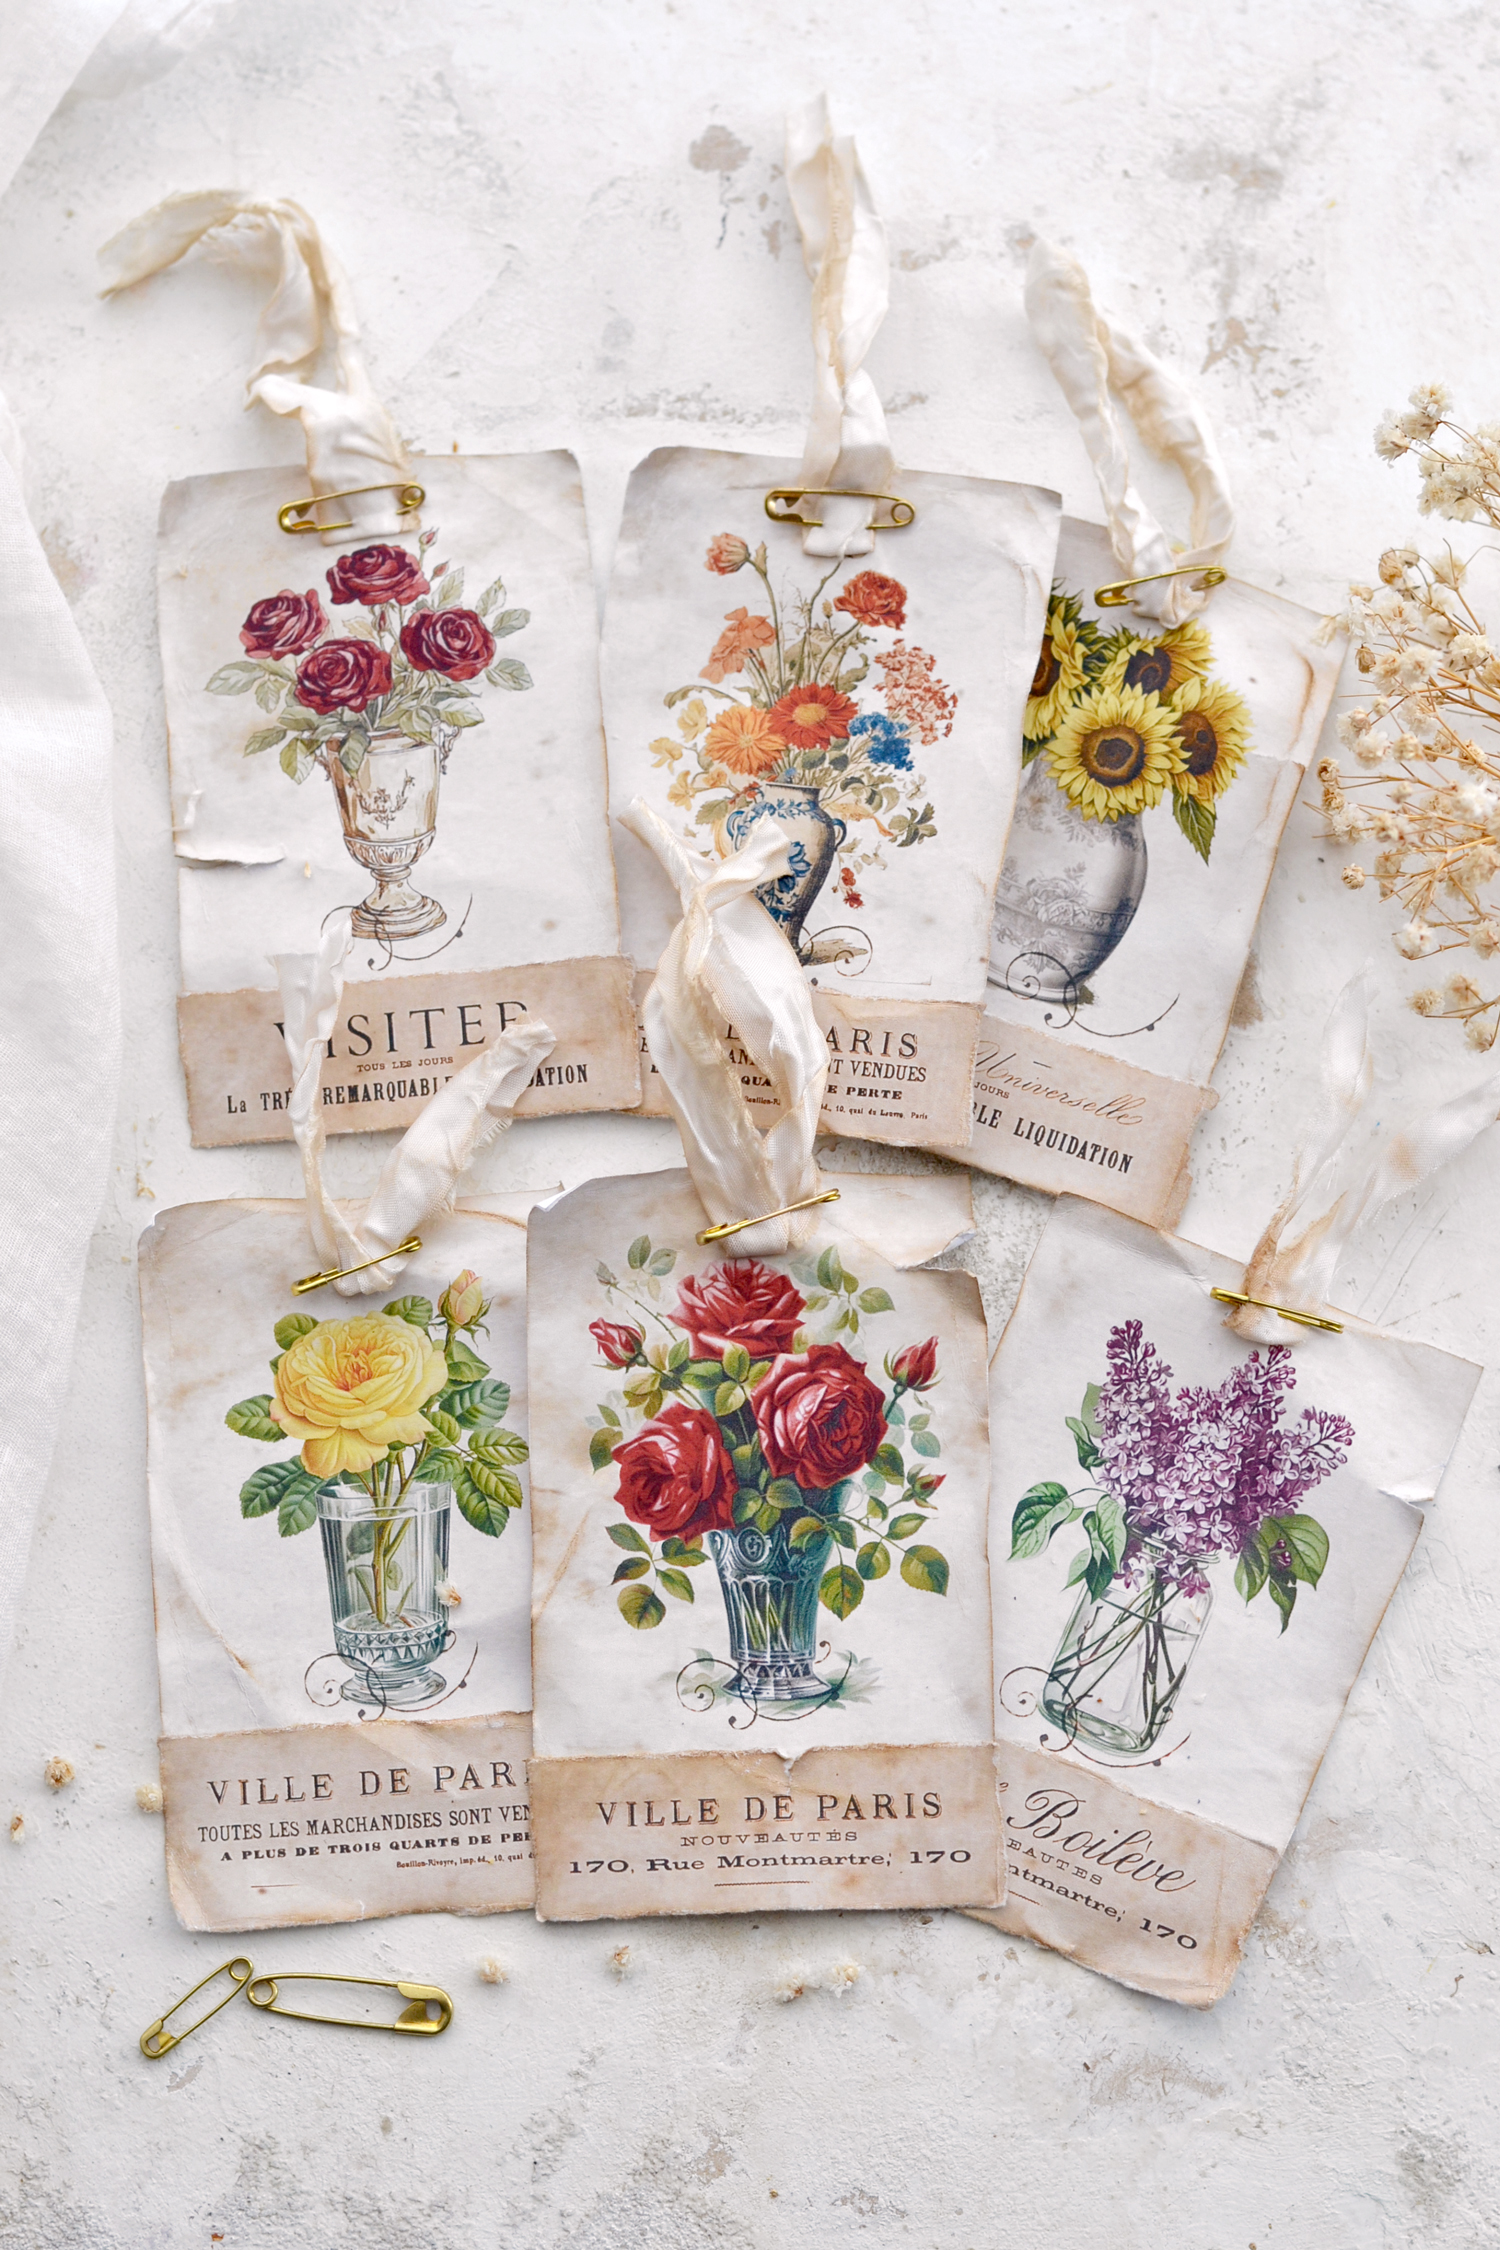
I challenged myself once again to design a printable using images that I haven’t used before and I love every single one of these beauties. I included red and yellow roses, sunflowers, some orange flower arrangements and my favorite, lilac! All these images are really beautiful on their own but I feel like adding that French ephemera image at the bottom really takes them to the next level.
You can find below the free printable that I created for this project. There are six different tags with lovely flowers, one more beautiful than the other. On one side, you will find a French ephemera strip that you can use to embellish this project, or why not, even other projects!
Free Printable:
—-> Click HERE to Download the Full Size Printable PDF <—-
DIY French Floral Gift Tags Supply List:
- white cardstock paper or regular paper
- home printer
- scissors or a paper trimmer
- mini distress inks
- blending tool with foams
- paper glue
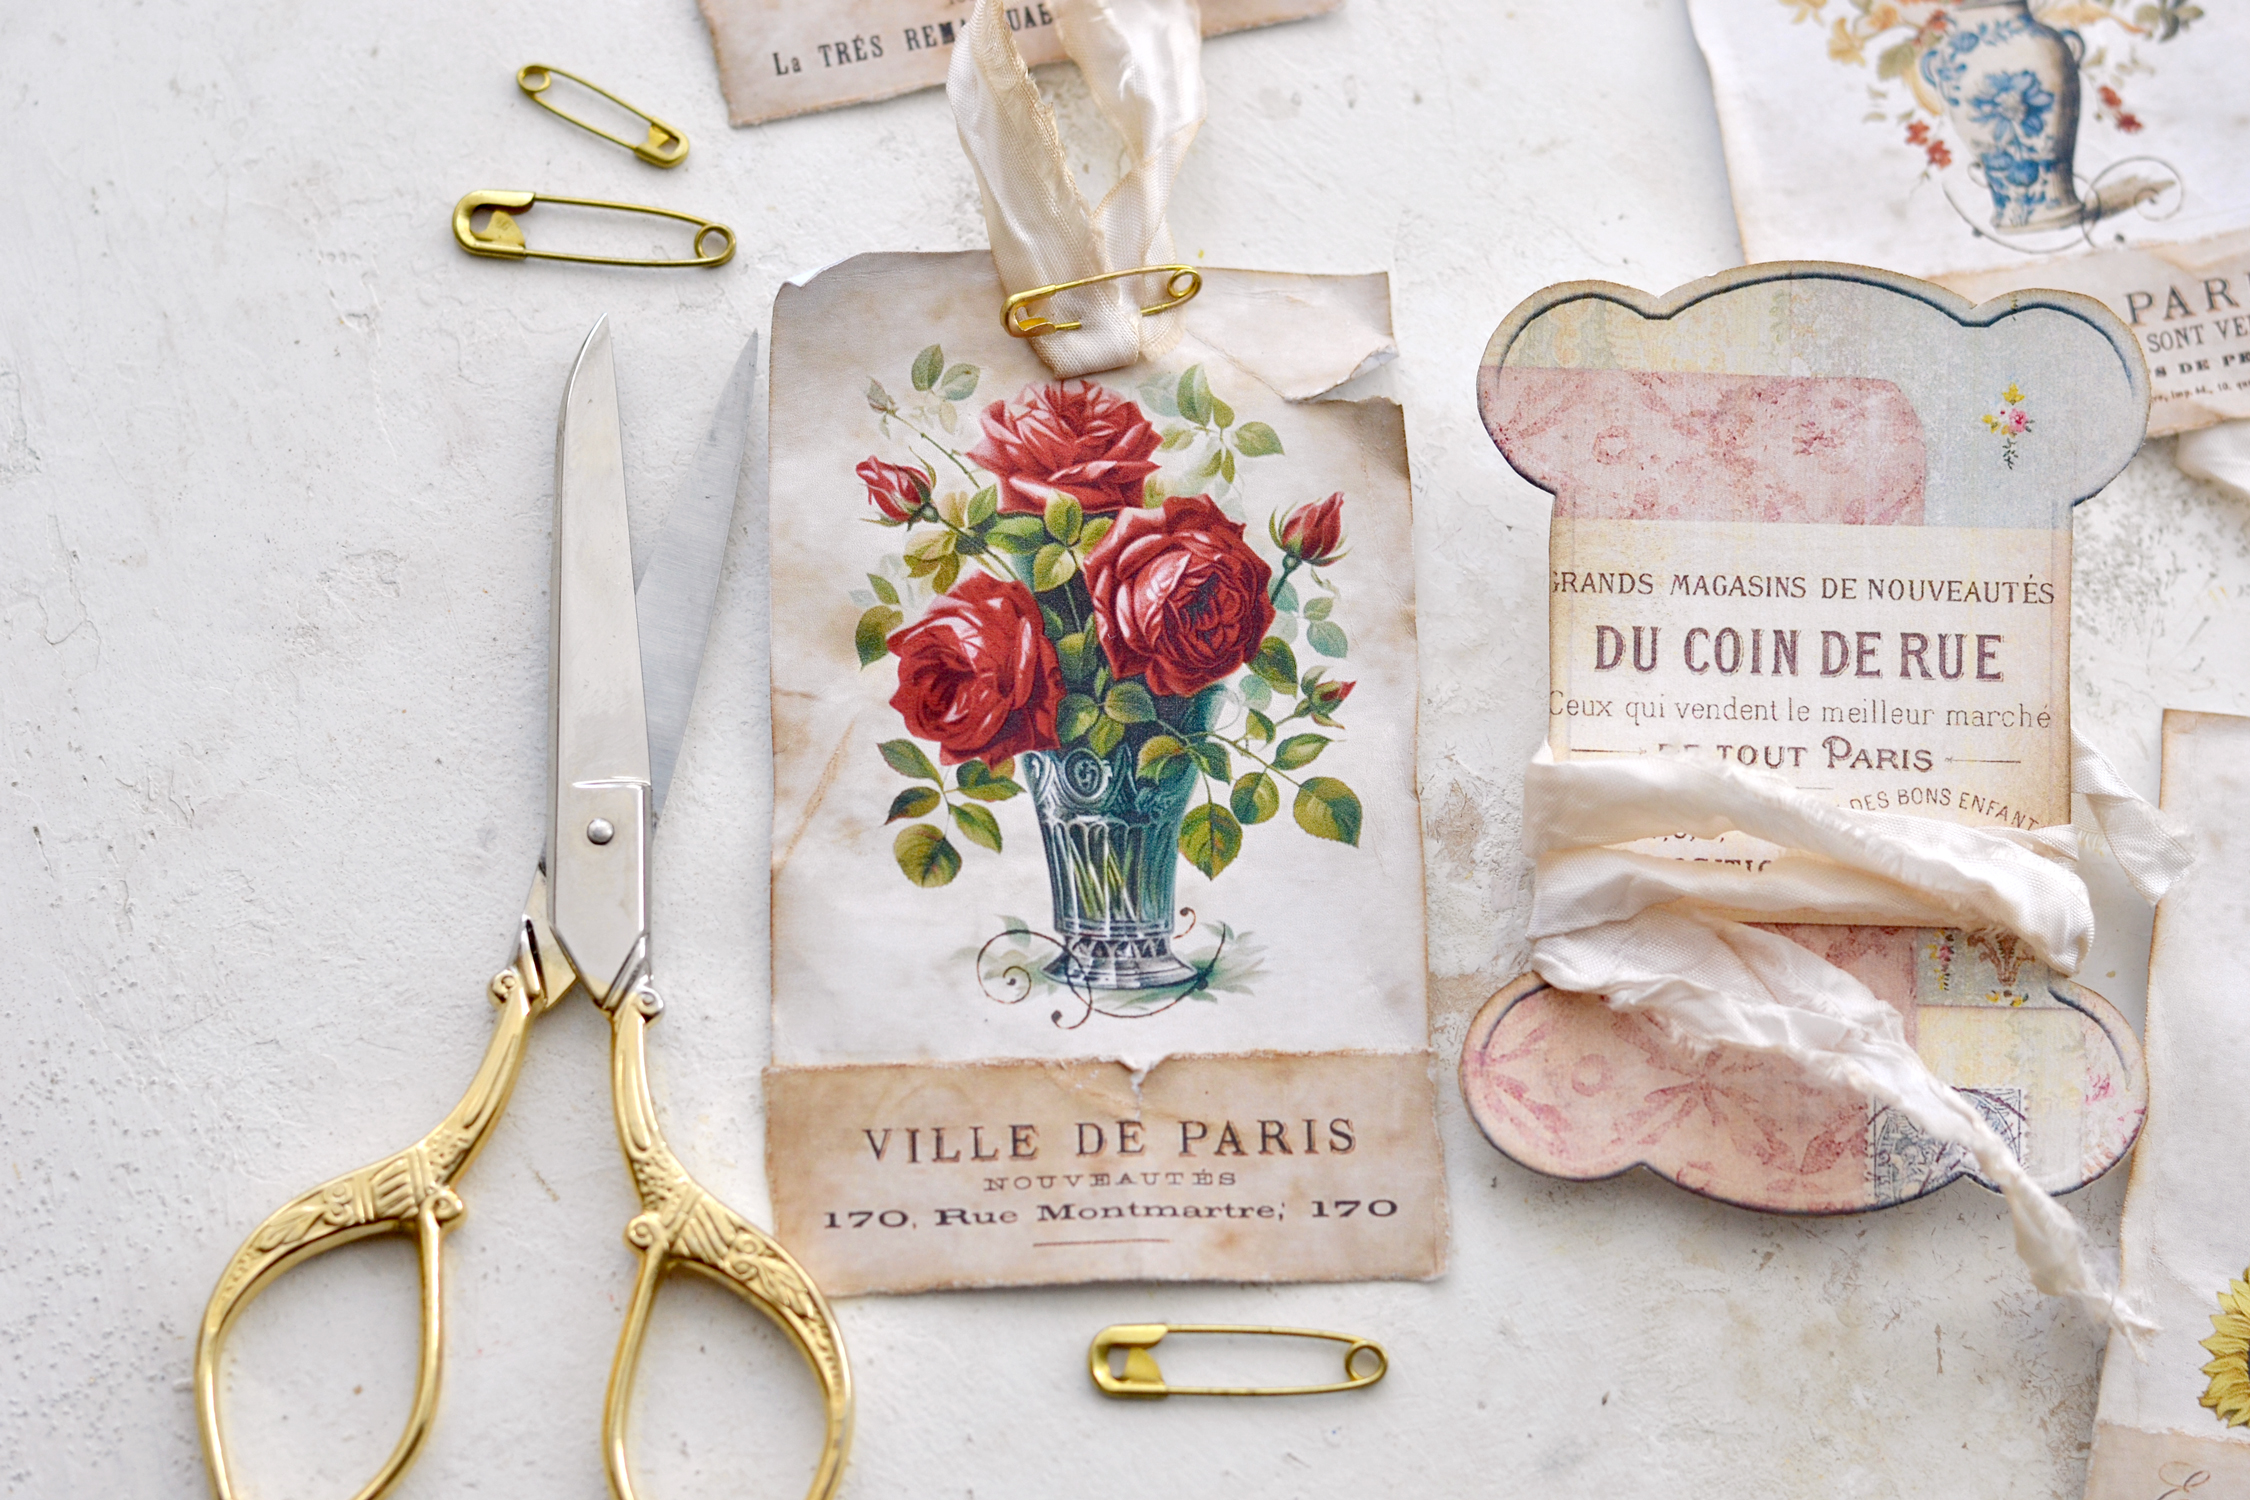
- gold safety pins
- crinkle ribbon
Step by Step Tutorial:
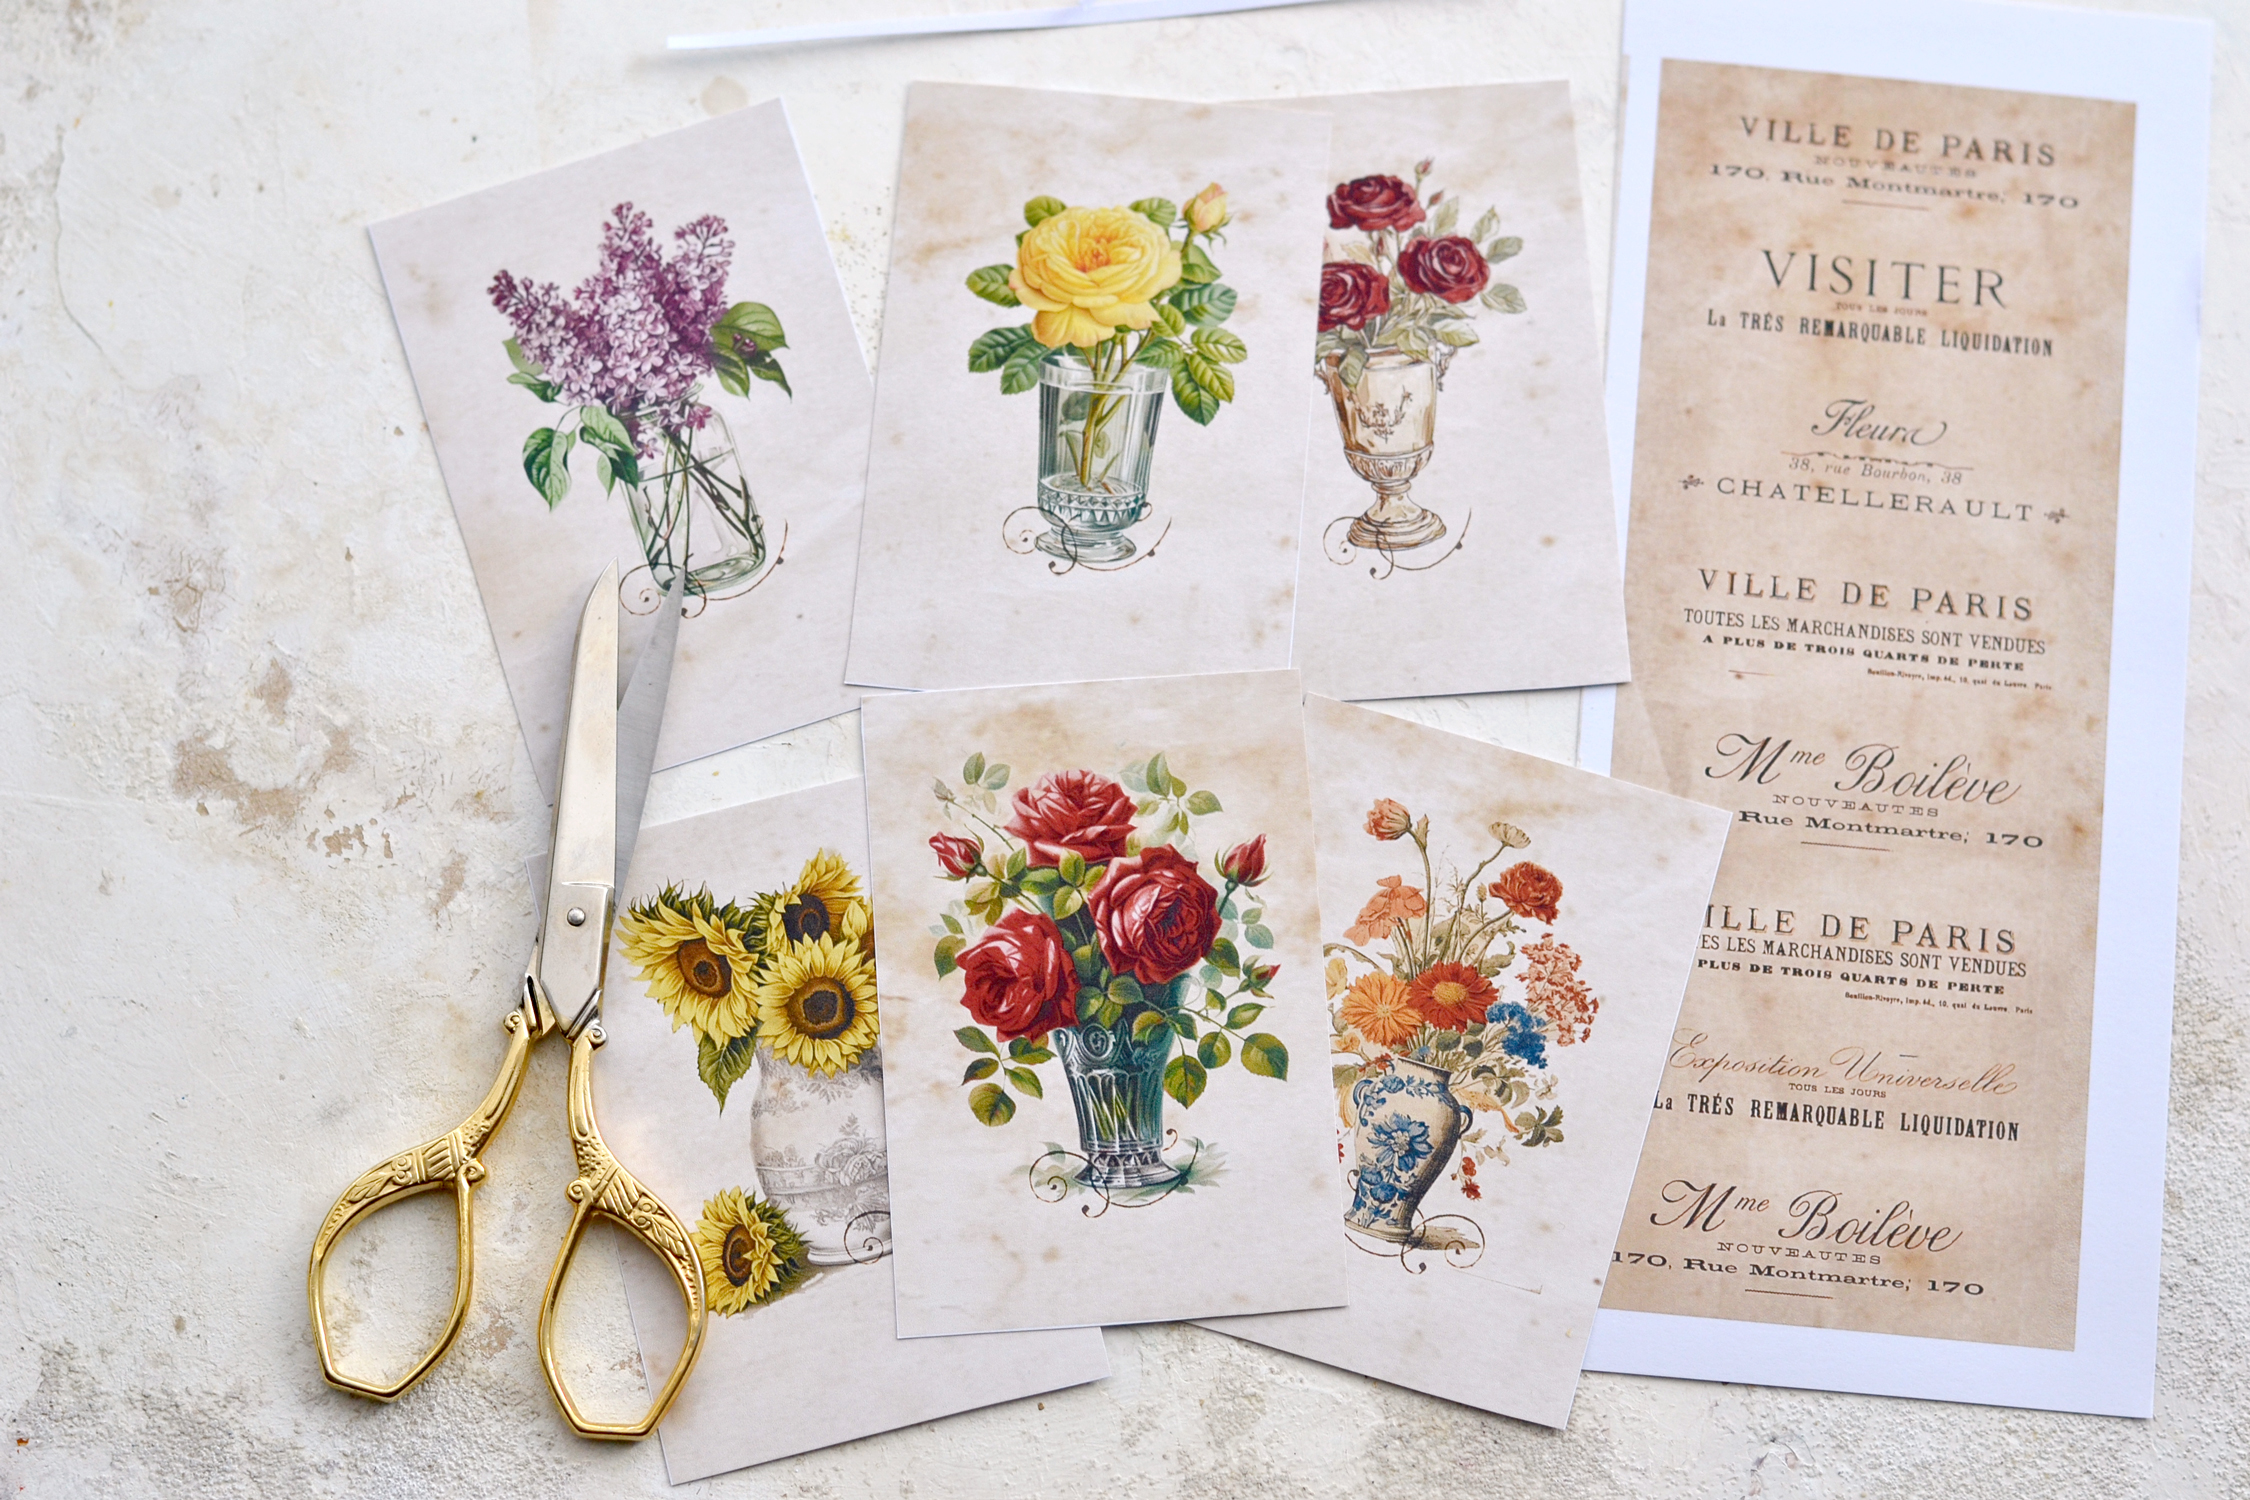
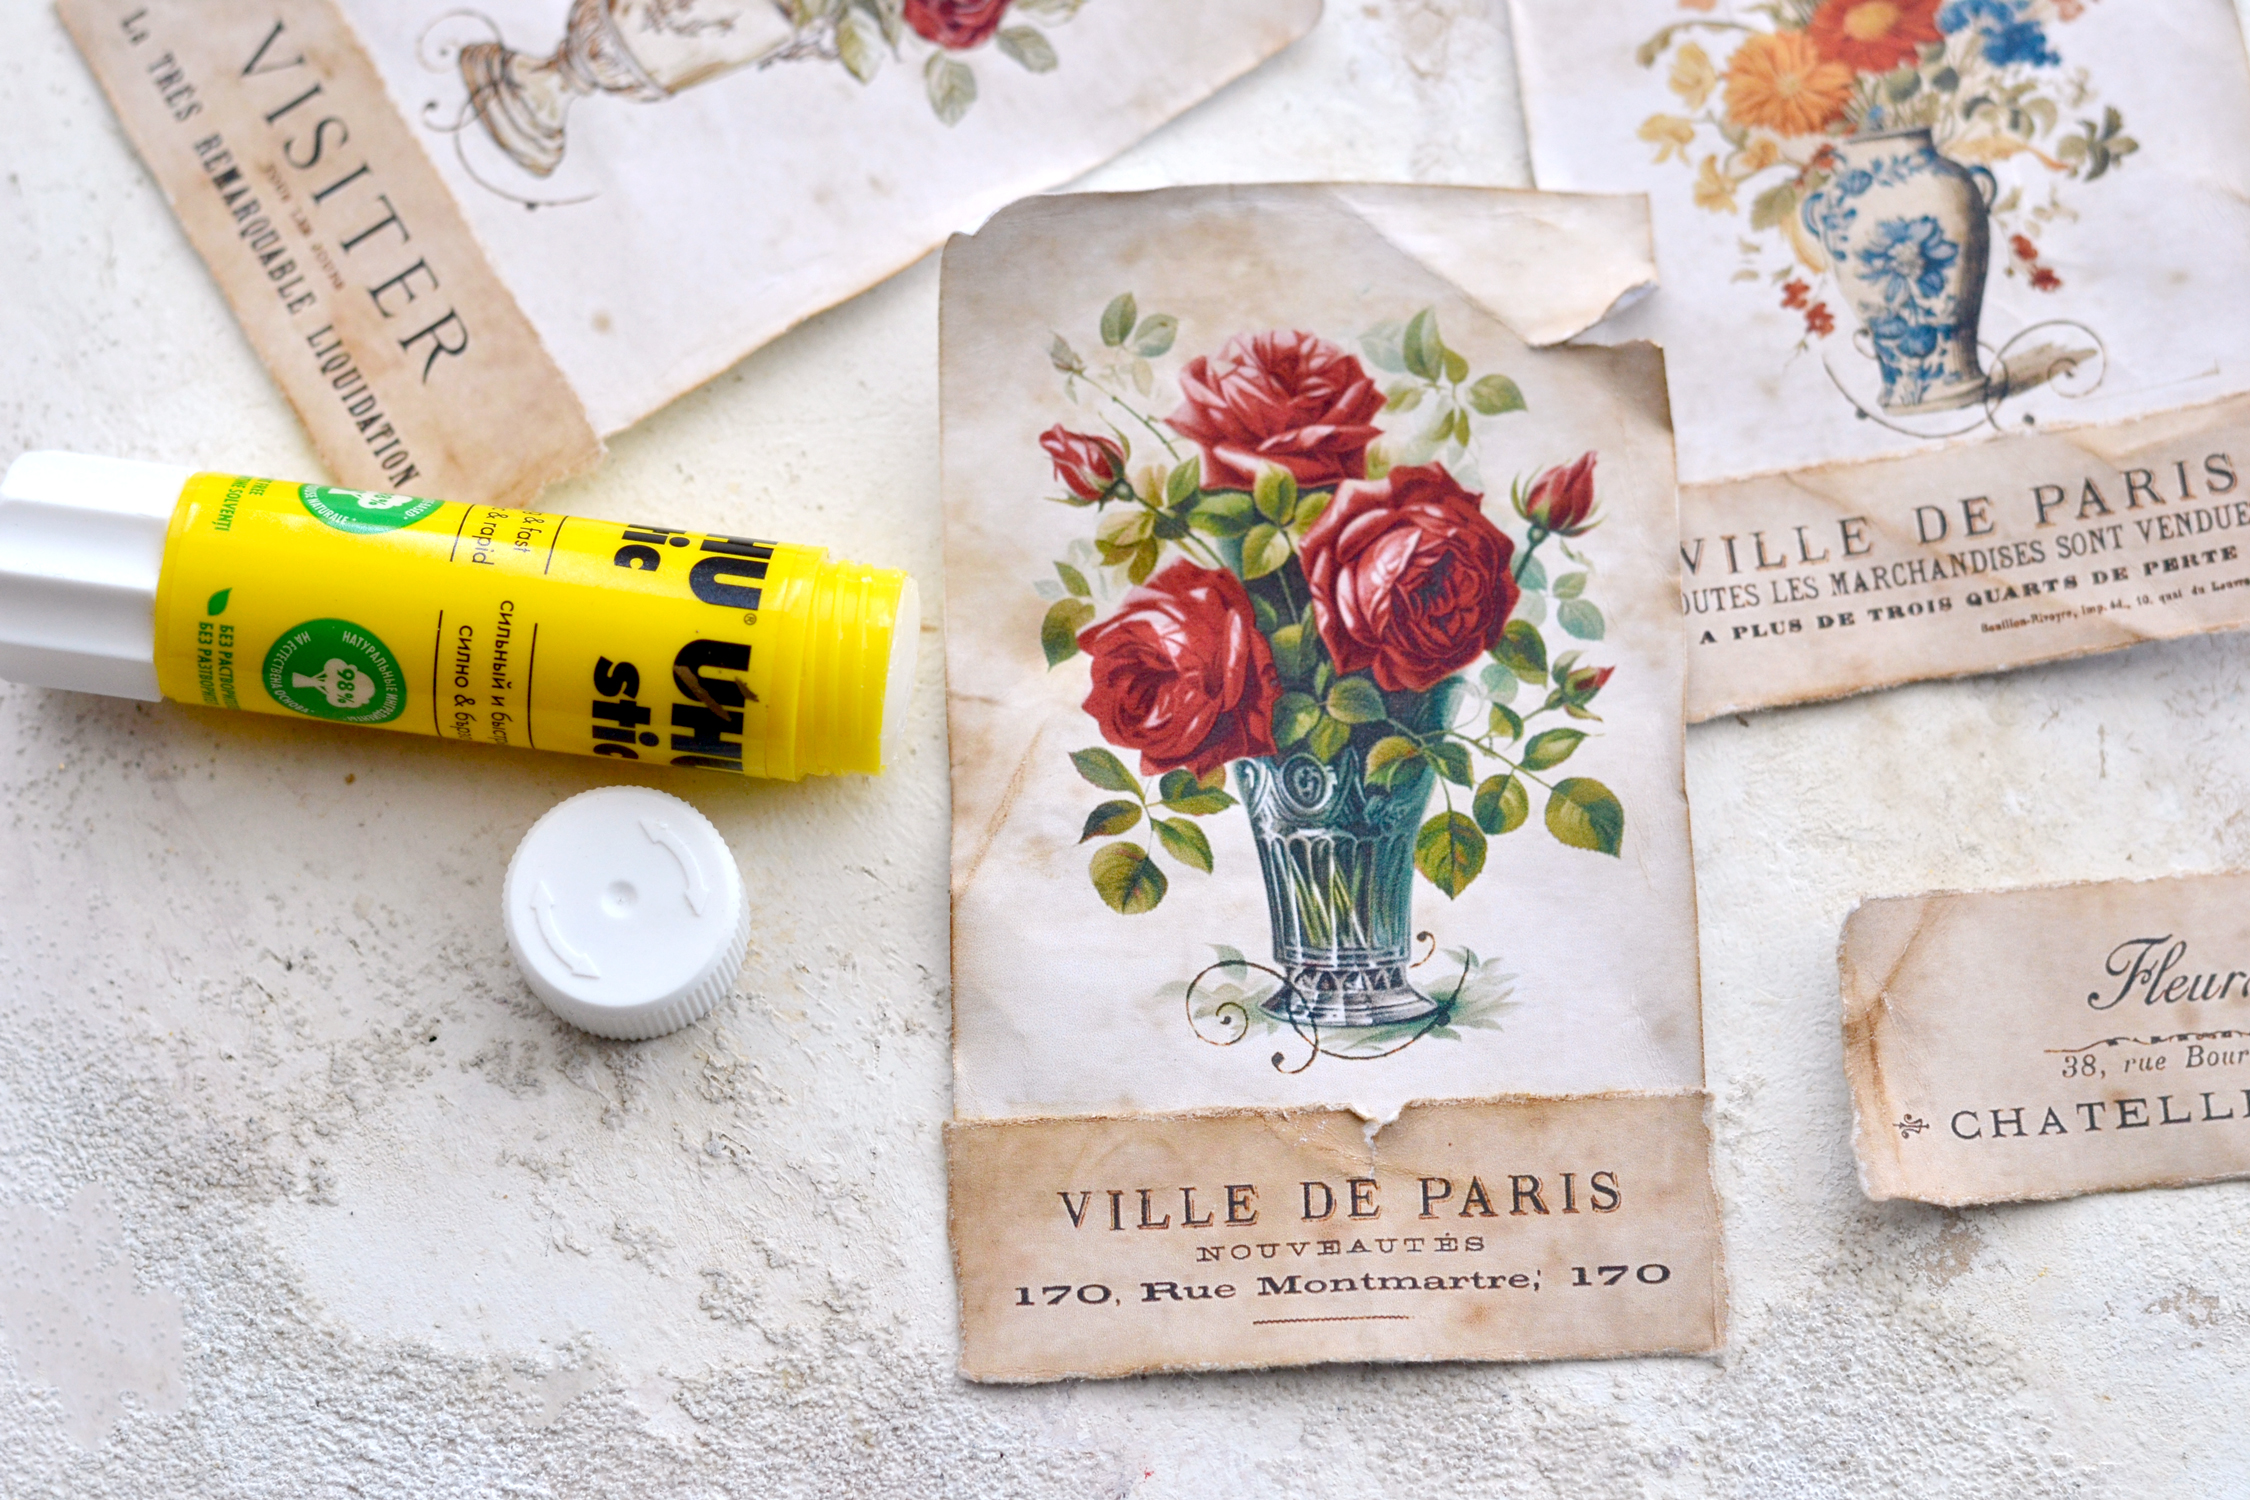
Start by printing your printable on cardstock paper, then use your scissors (or a paper trimmer) to cut each tag. Don’t cut the French ephemera strip just yet, I’ll show you a cool way to tear it instead.
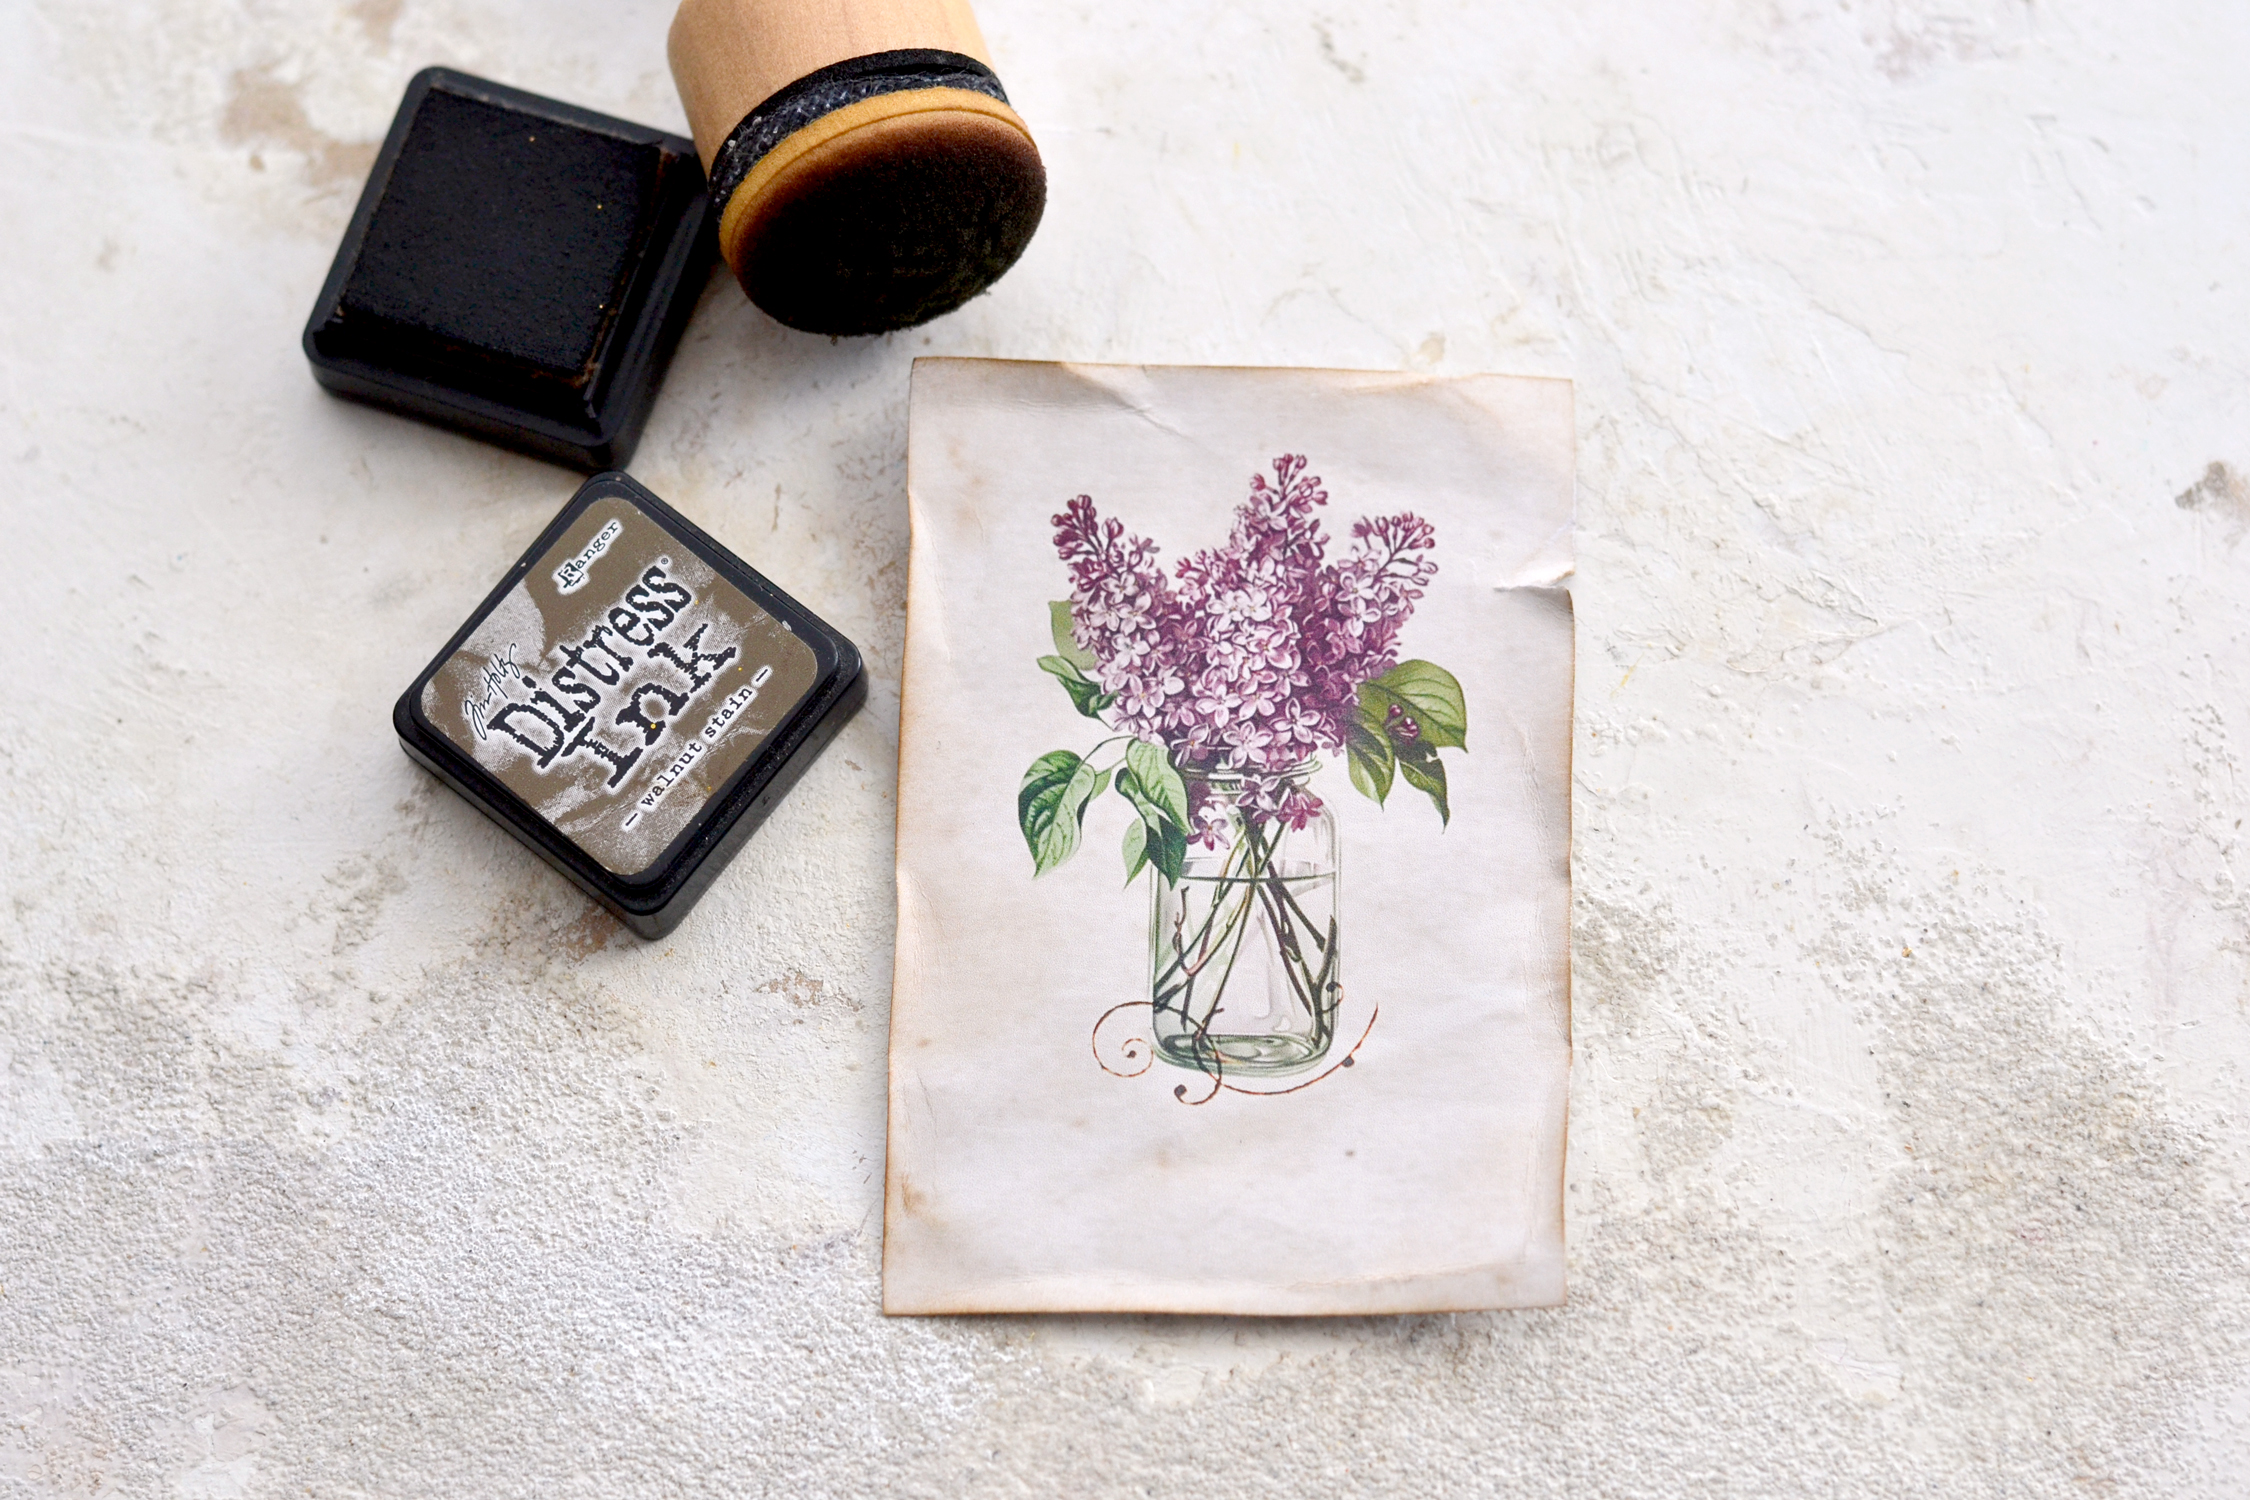
Distress the paper using your fingers at first – start by folding the edges around the tag to break some of the fiber in the paper. Roll and unroll the corners to make them less sharp, make some tears, and crinkle the paper here and there. Use your favorite brown distress ink to distress the edges but also to highlight and emphasize all those crinkles, folds and tears.
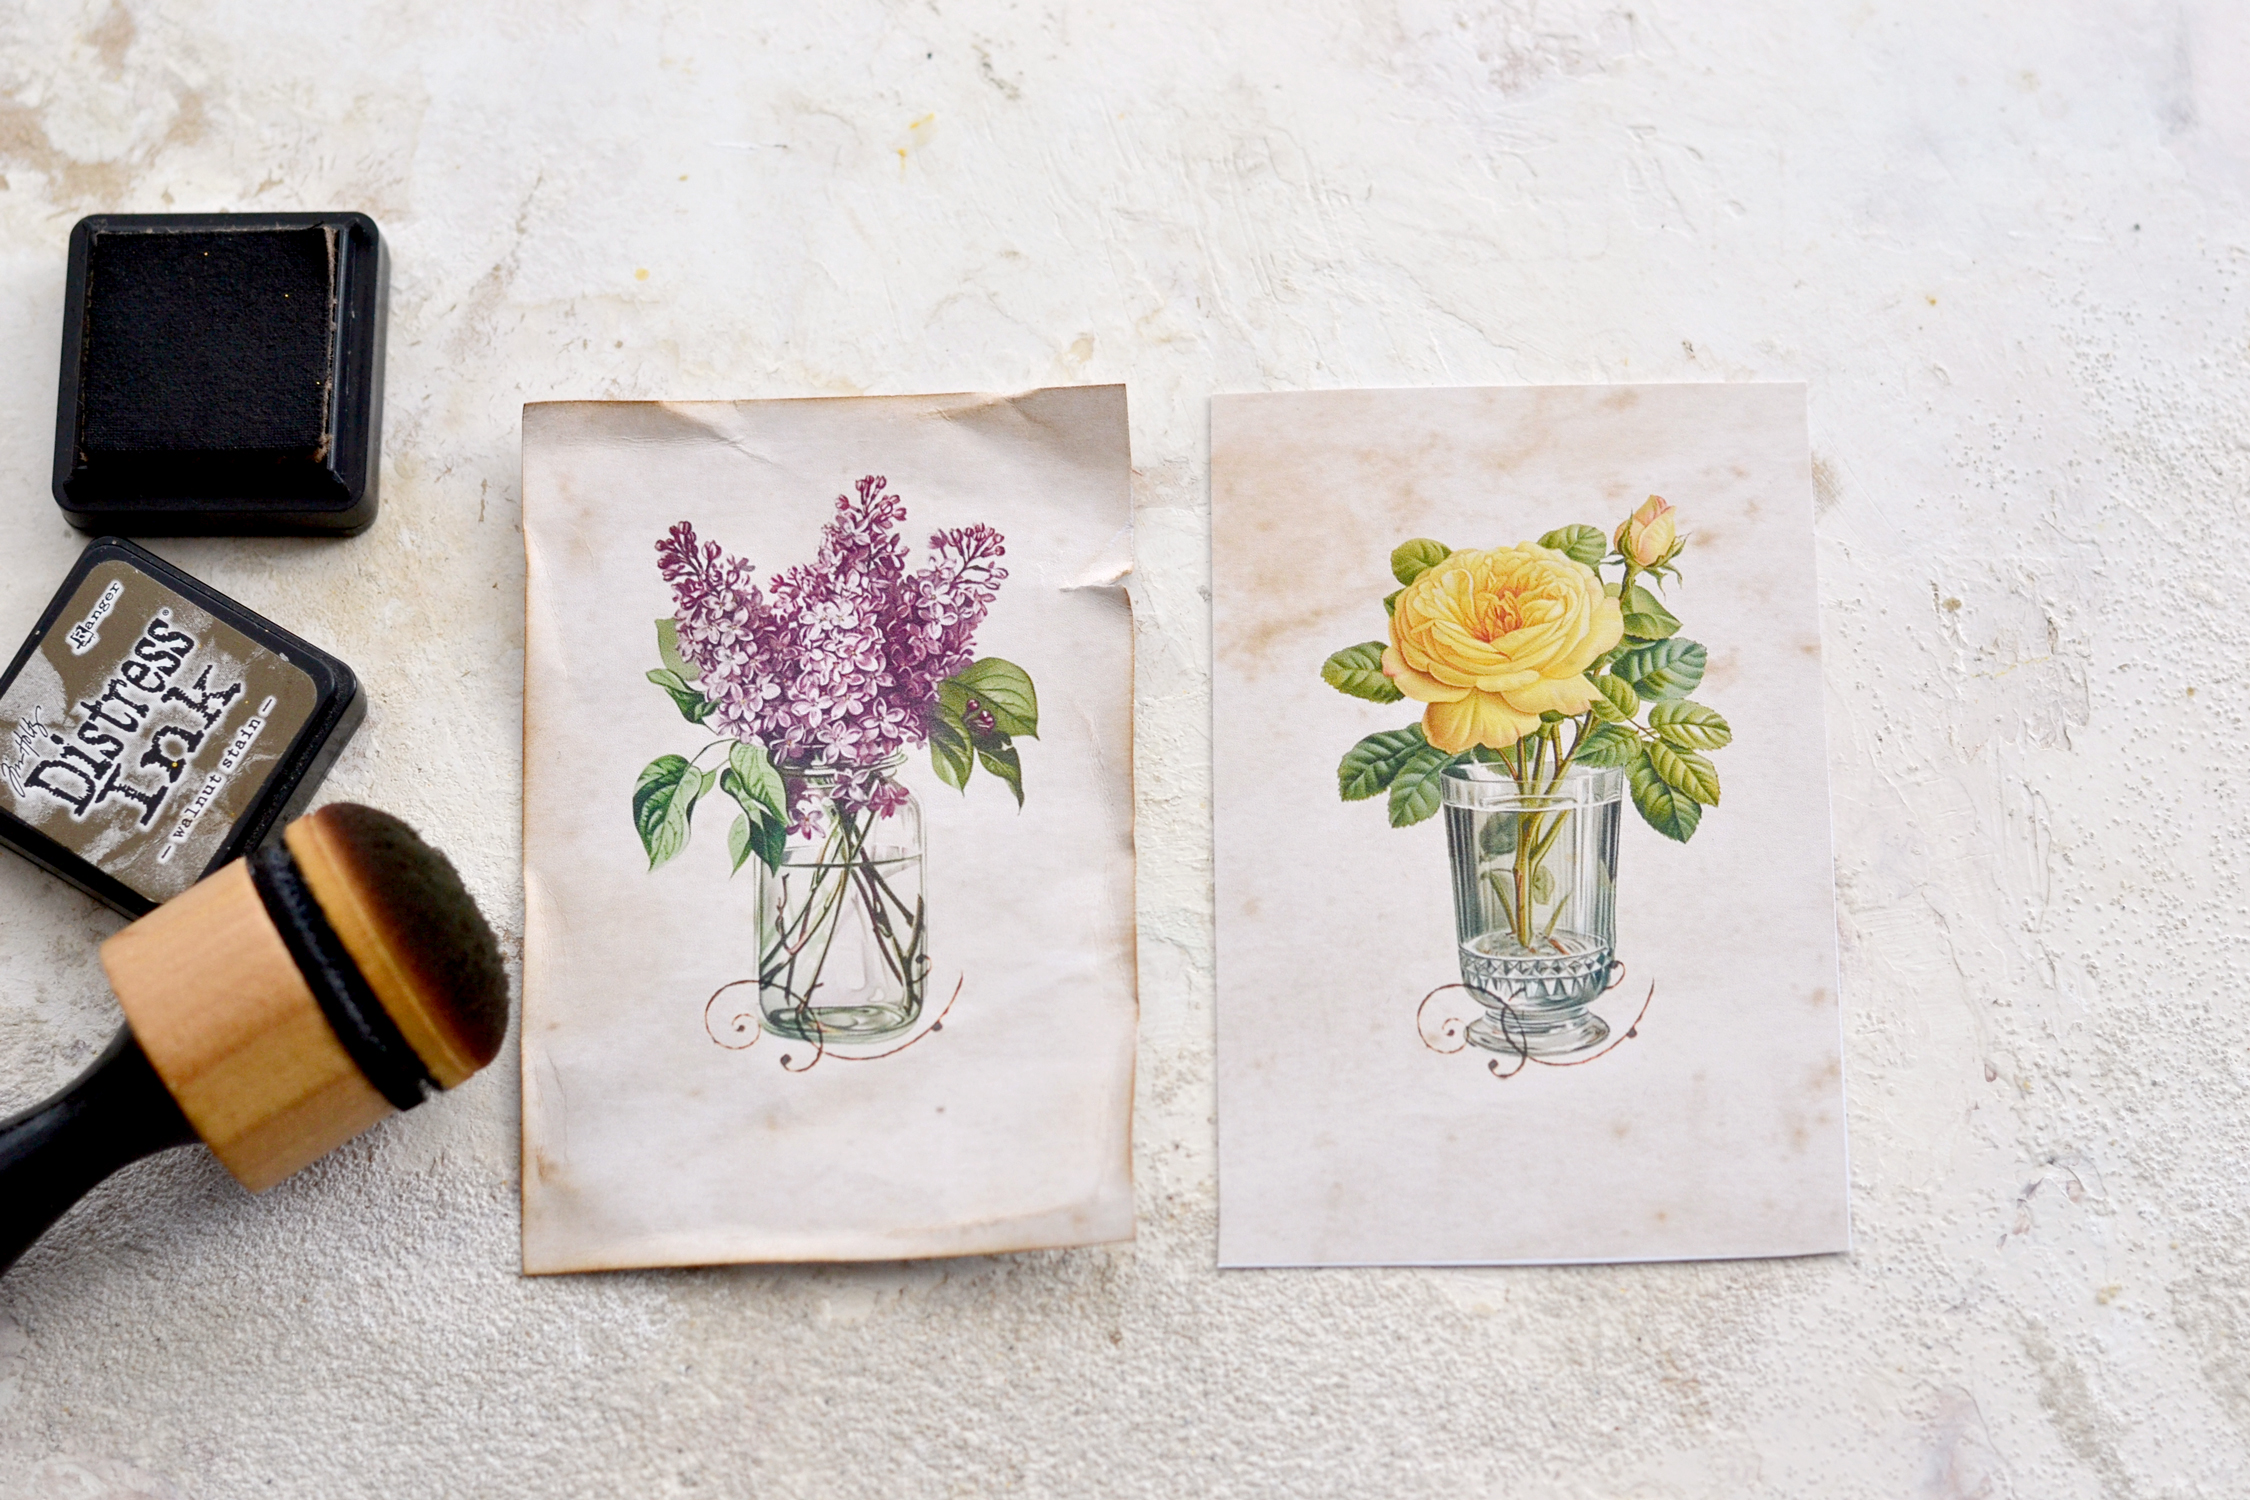
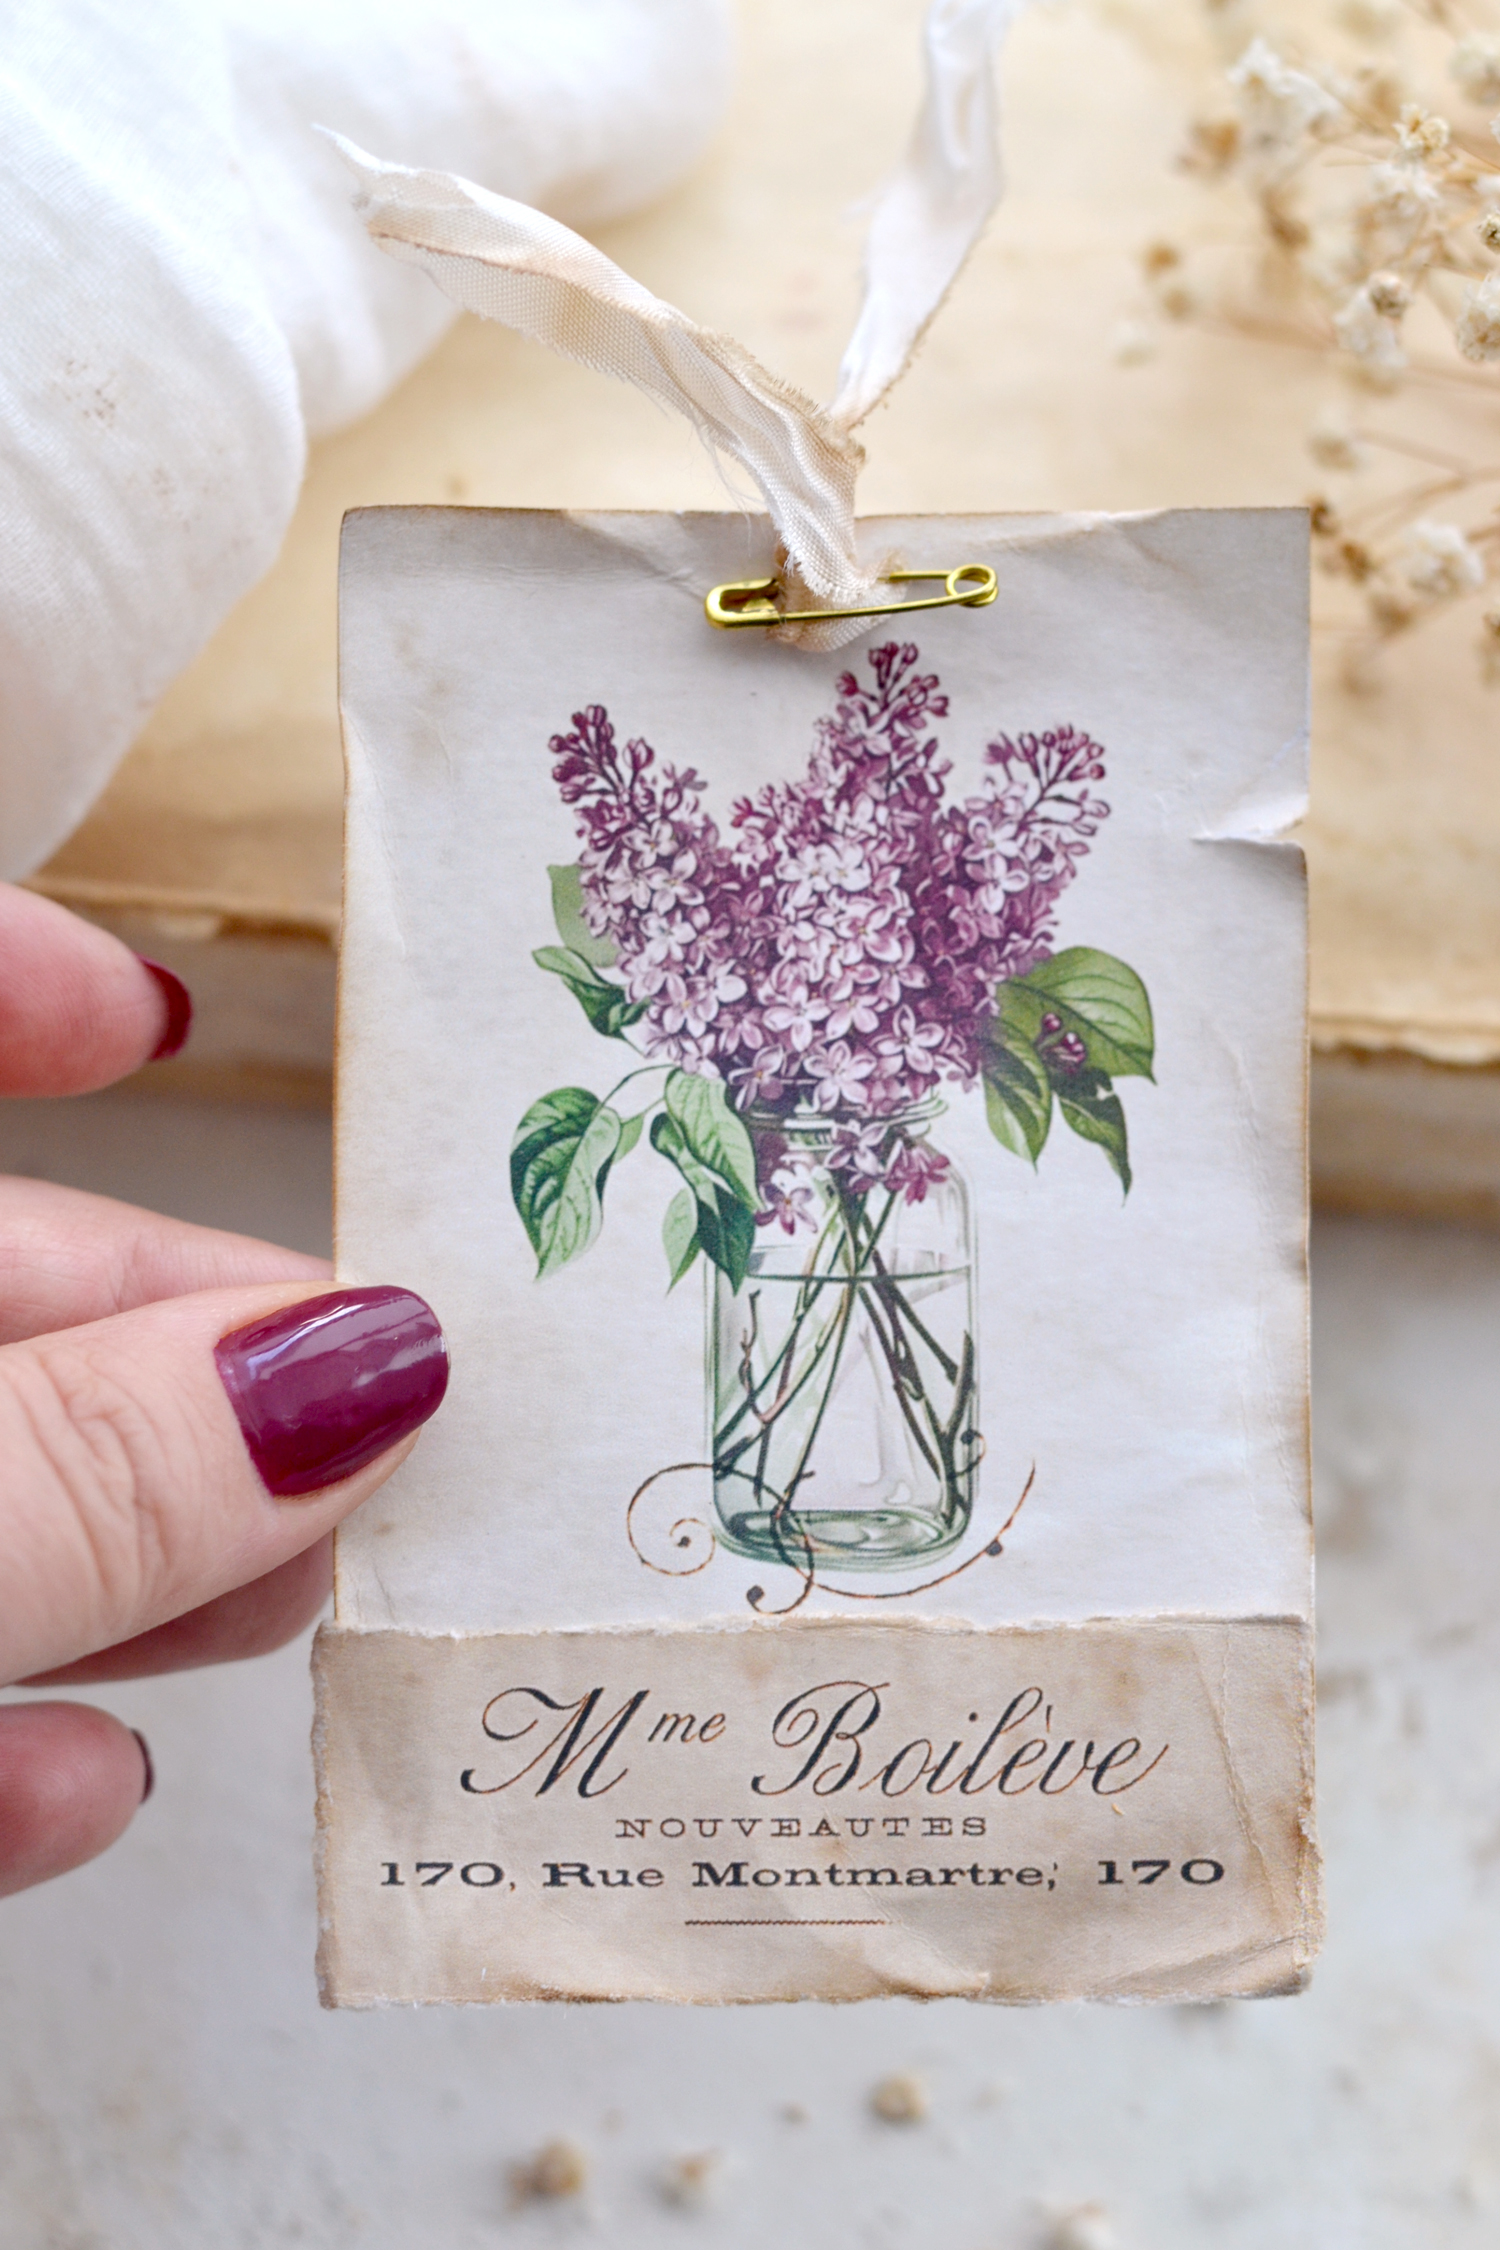
Here you can see a before and after comparison, you can see how alive the distressed tag with the lilac looks as opposed to the one with the yellow rose which looks so much more flat and plain.
Have fun distressing these beauties, your hands and some good old distress ink can make wonders!
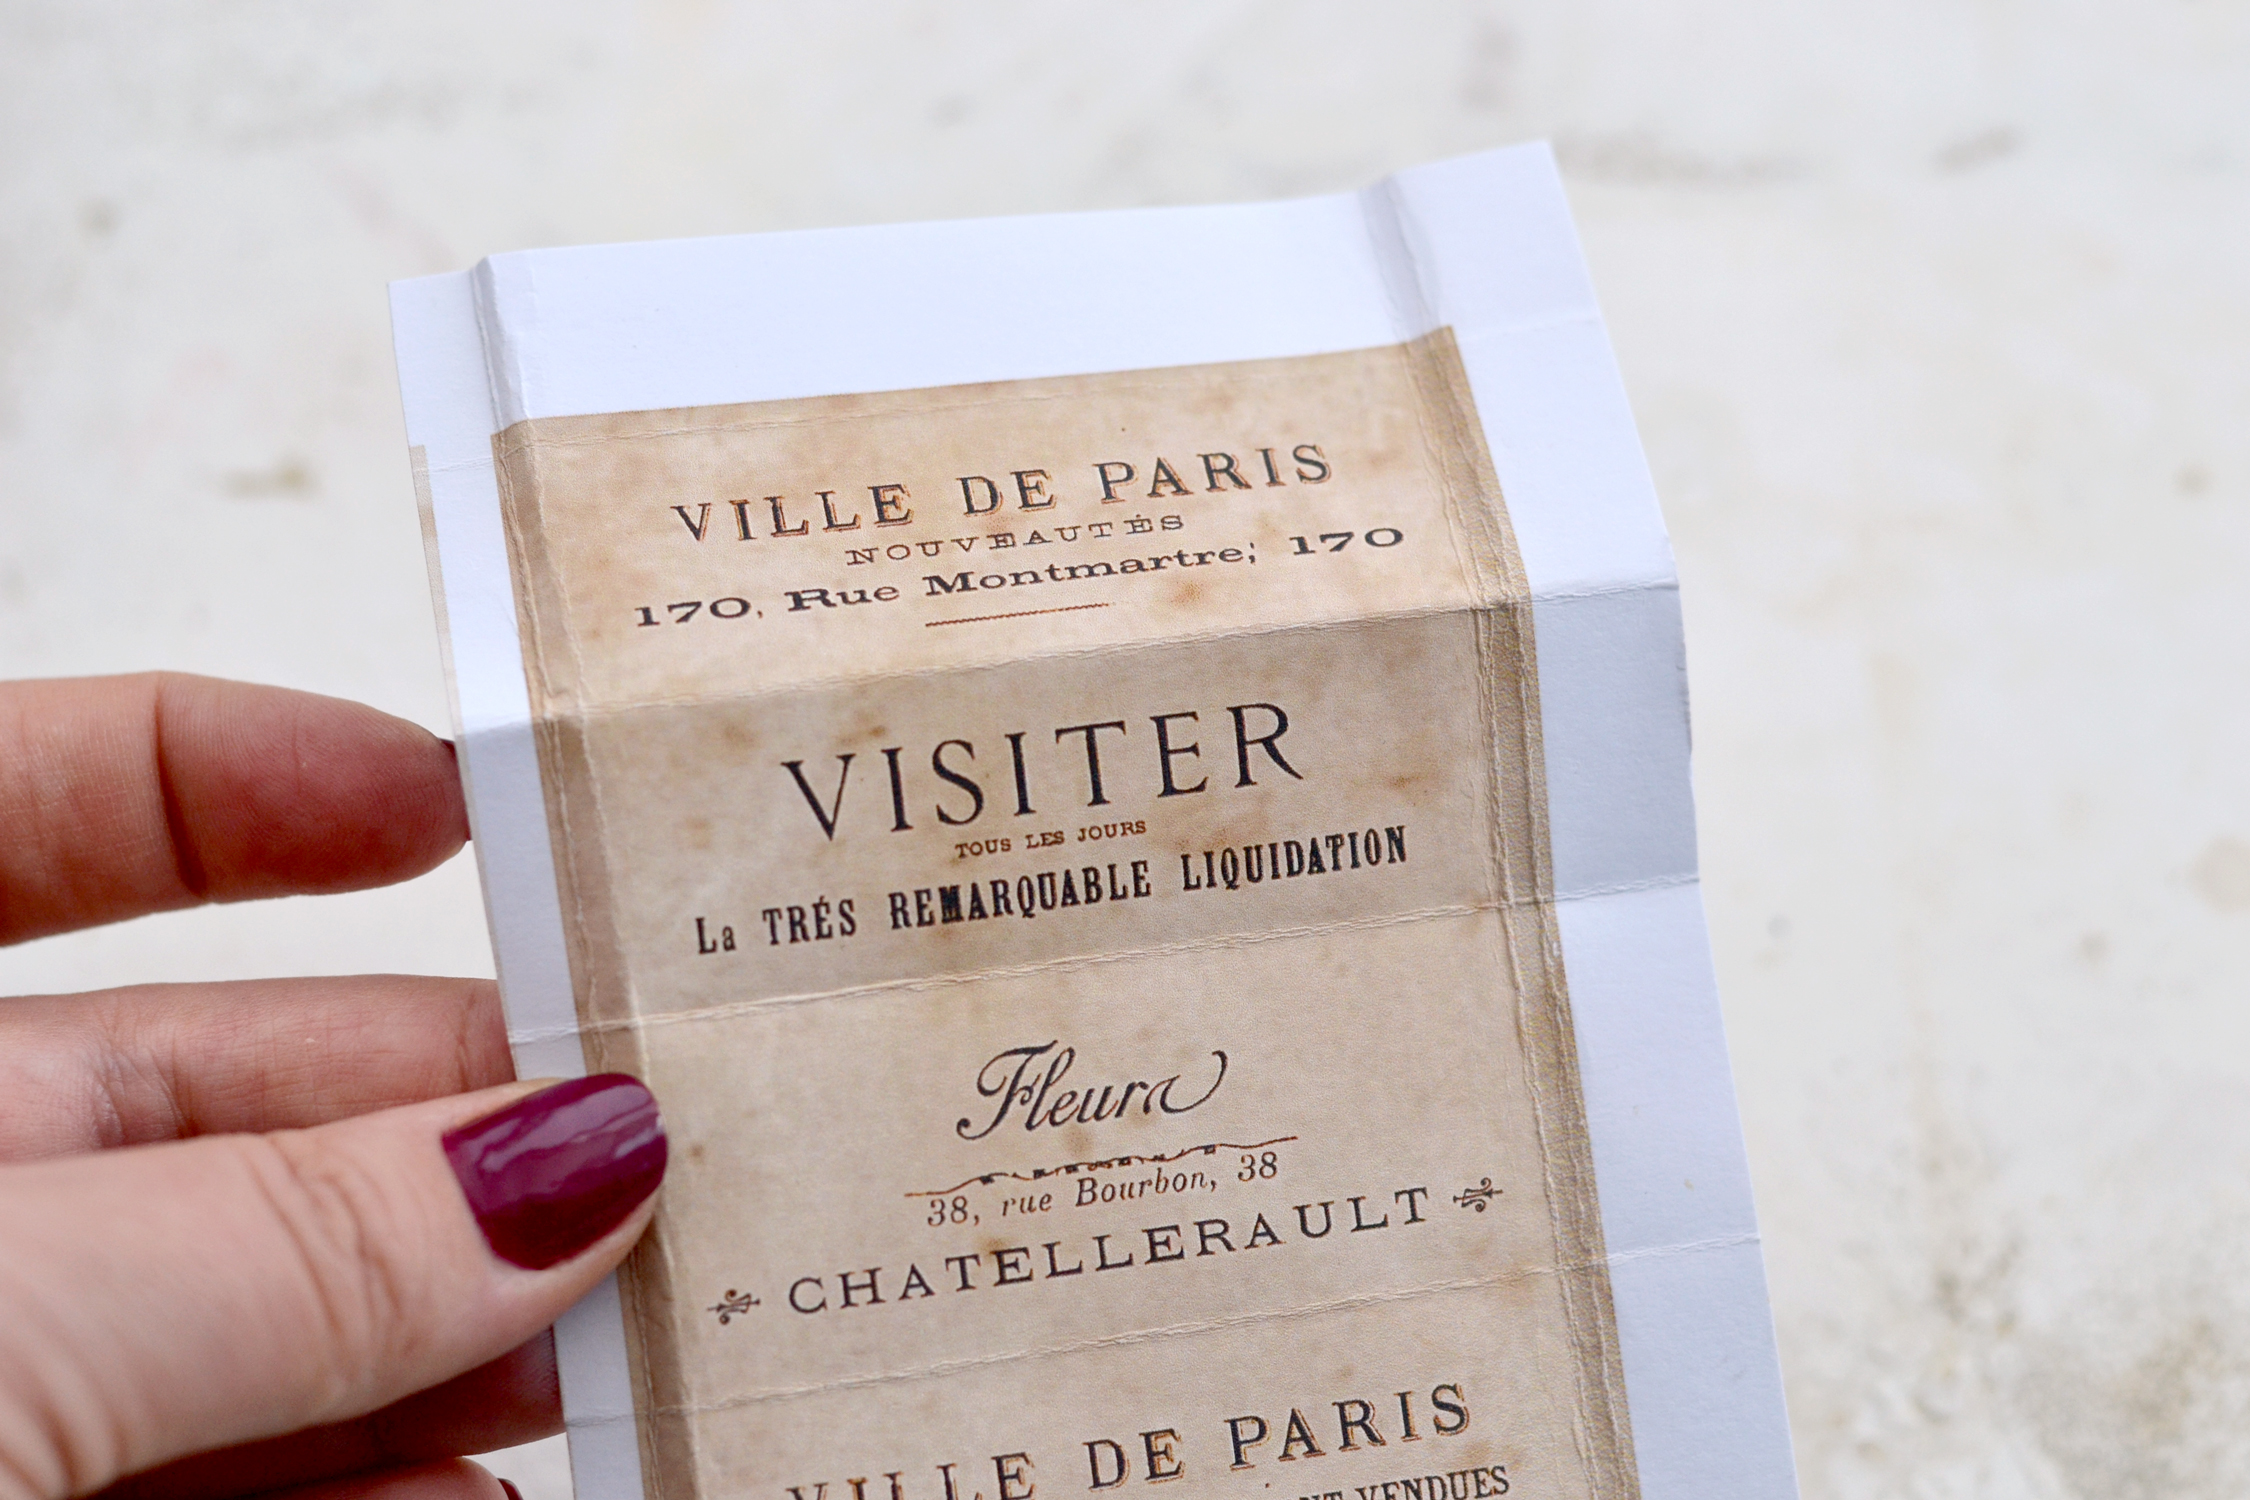
Moving on to the French ephemera strip, start by folding the edges first. Envision it as a large rectangle and follow its shape to make the outside folds. Just make sure you fold a little bit inside the edges because I intentionally left the left and right sides a little bit larger, so you’ll have room to tear them as you want. Place one of the tags on top to check the size, then make the outside folds.
Then proceed to fold each French ephemera image rectangle trying to keep the same size on the top and the bottom. You will see that some French ephemera images will be larger in height and others will be smaller – this will bring uniqueness to your final tags!
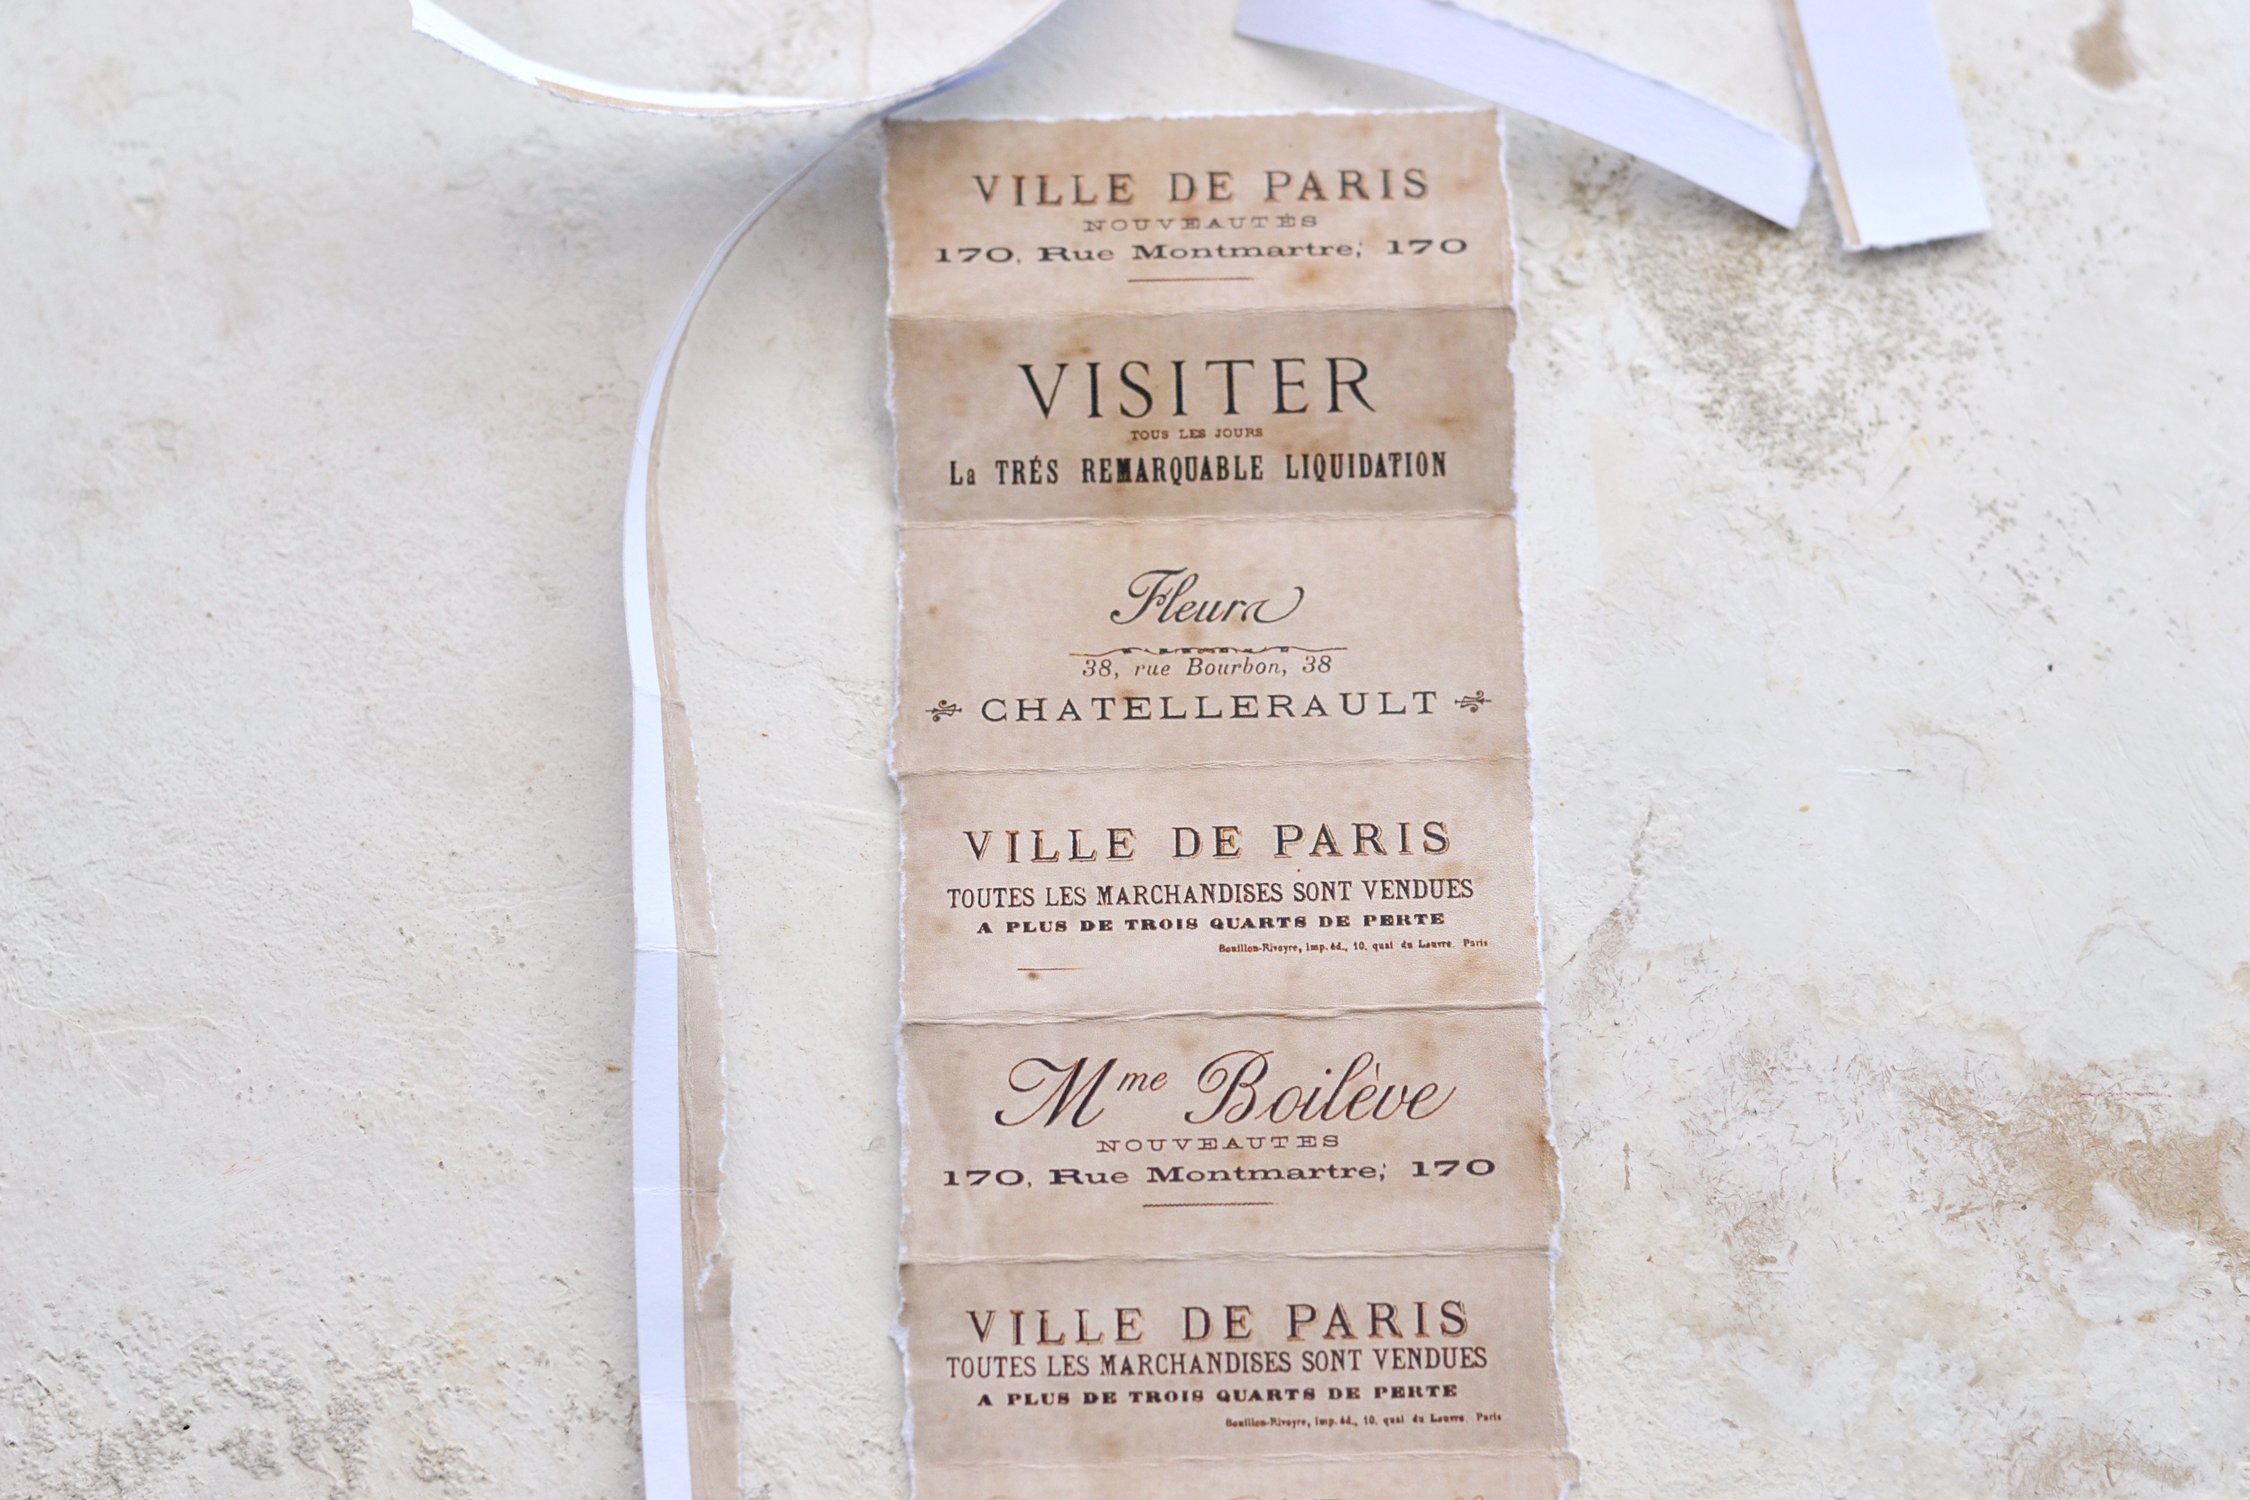
When you are done, start to tear the excess white paper around the edges, you should be left with a large rectangular strip with smaller folded French ephemera images.
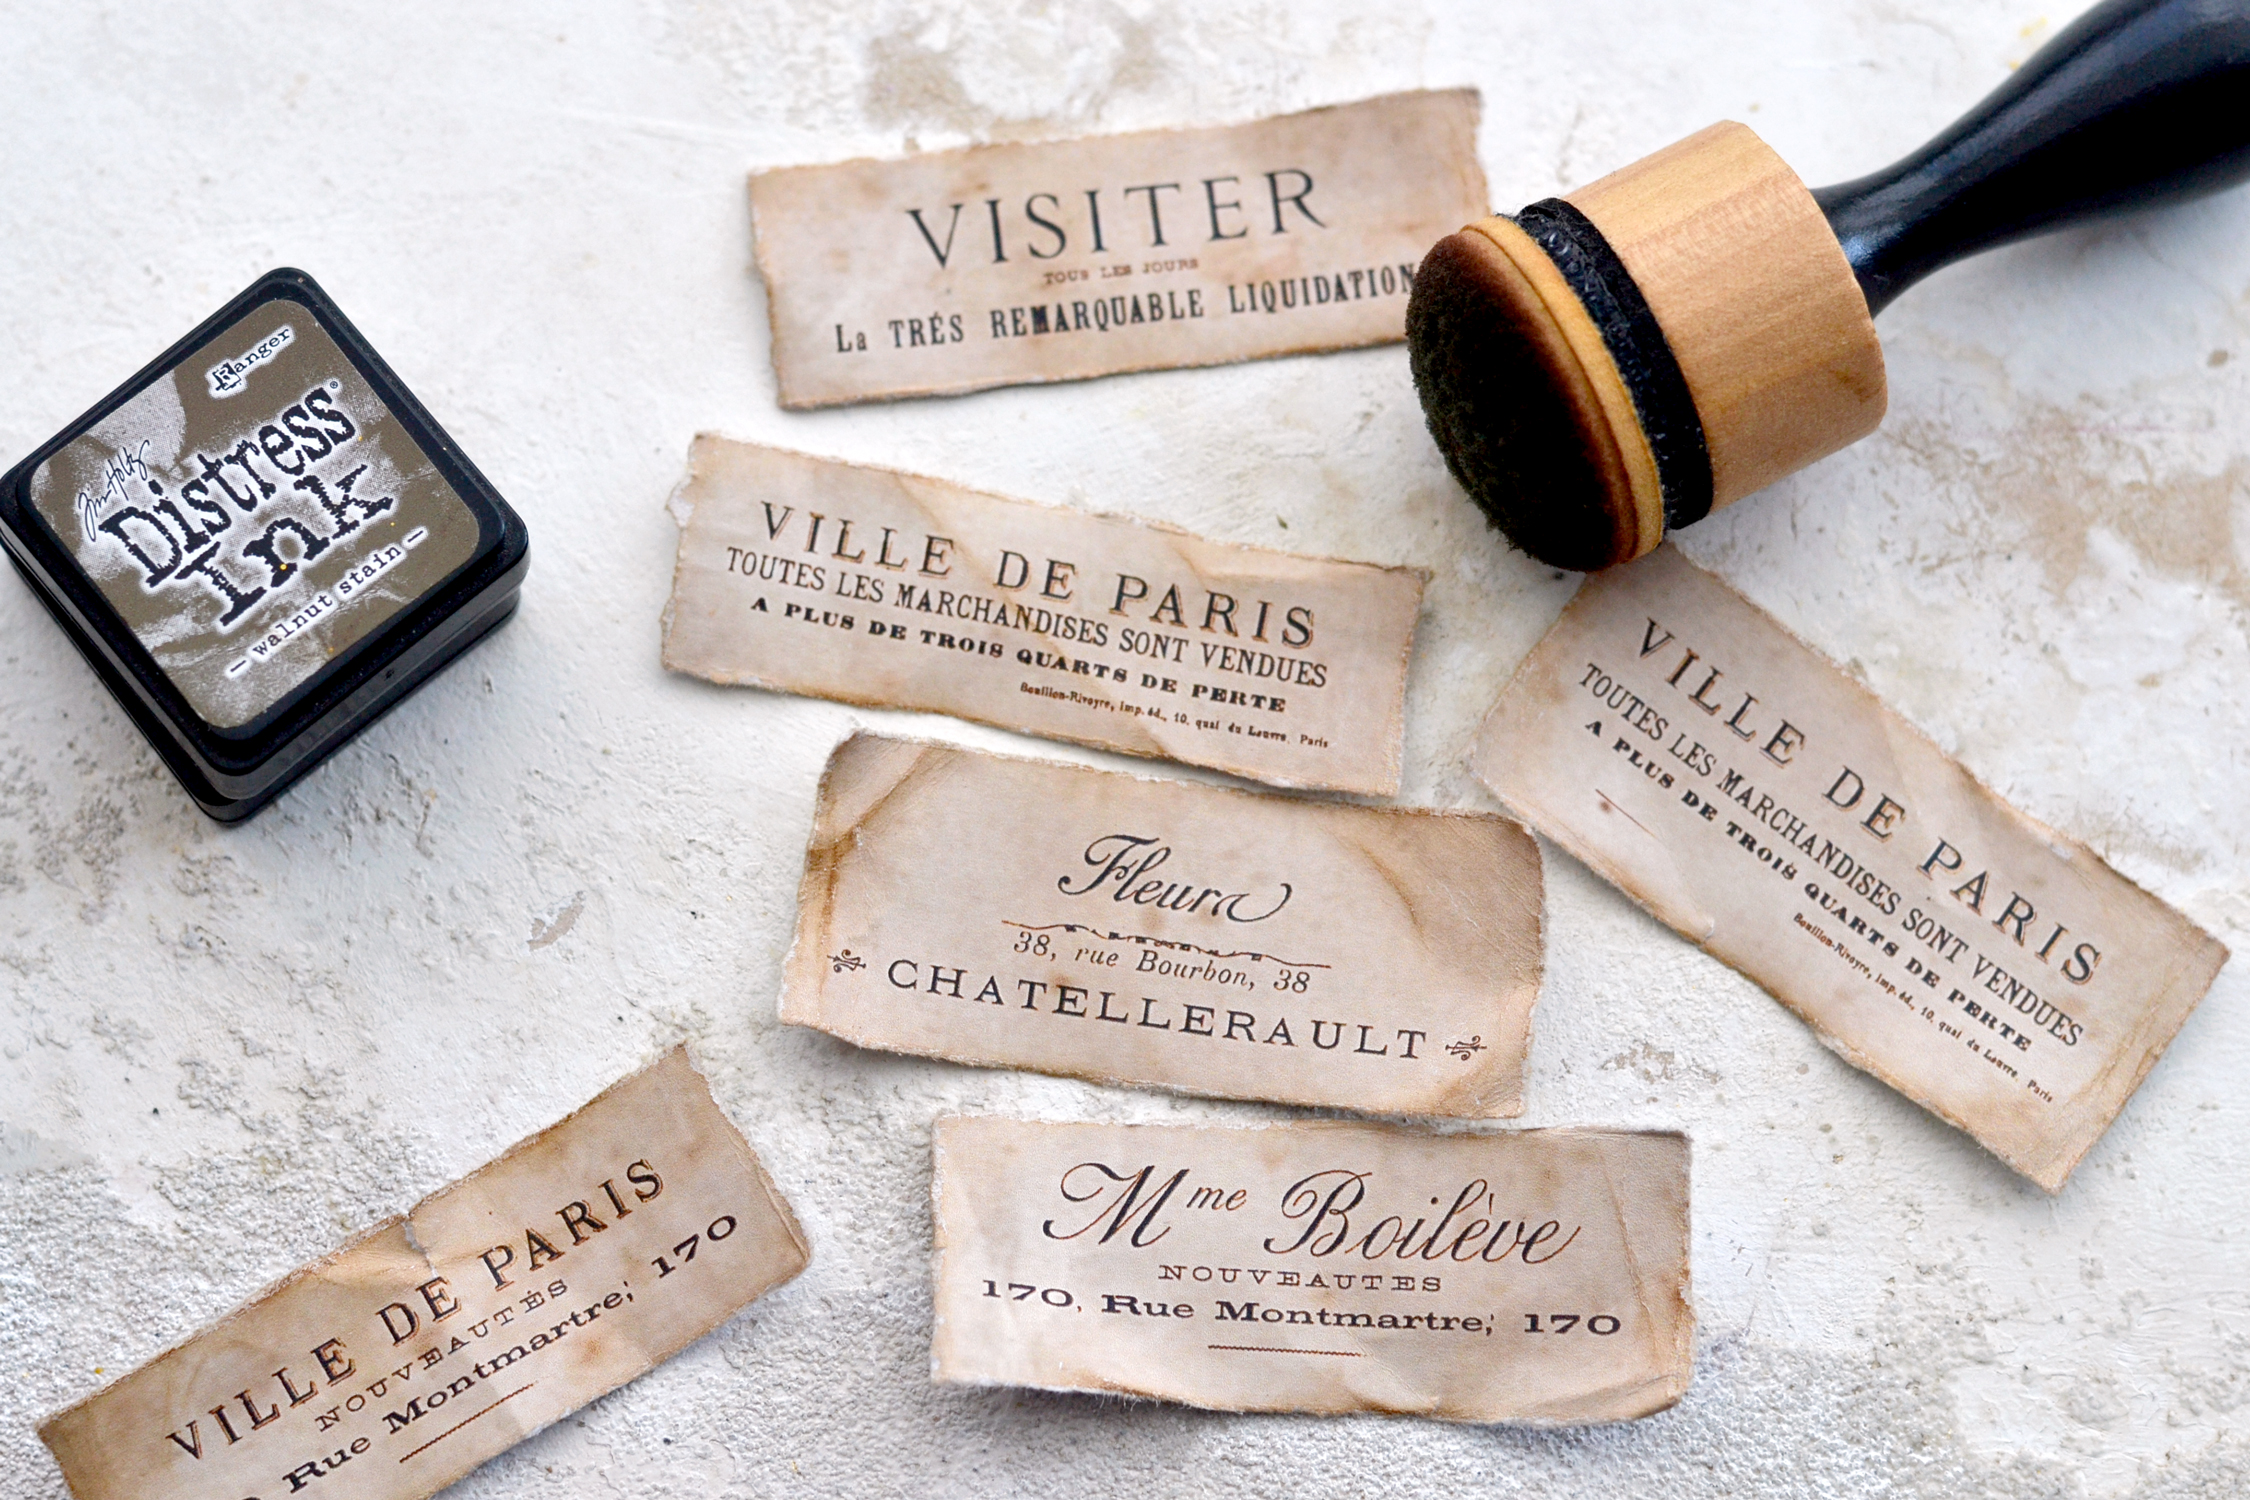
Tear each French ephemera piece, then use distress ink to distress their edges. You can also perform some folding and unfolding, tearing in some places techniques on these too, just have fun giving them a super chic vintage vibe.
Use paper glue to glue your favorite French ephemera cutouts to your tags. Let the French cutouts go a little bit over the bottom edge of your tags so they don’t overlap the flower image. If you want to cover that excess paper in the back, you can glue a dictionary page or a cut-to-size vintage background that would completely cover the tag and the hanging piece.
If you want, you can only add a small line of glue to the bottom of the tag and leave some unglued space on the top of your French ephemera cutout to create a small pocket!
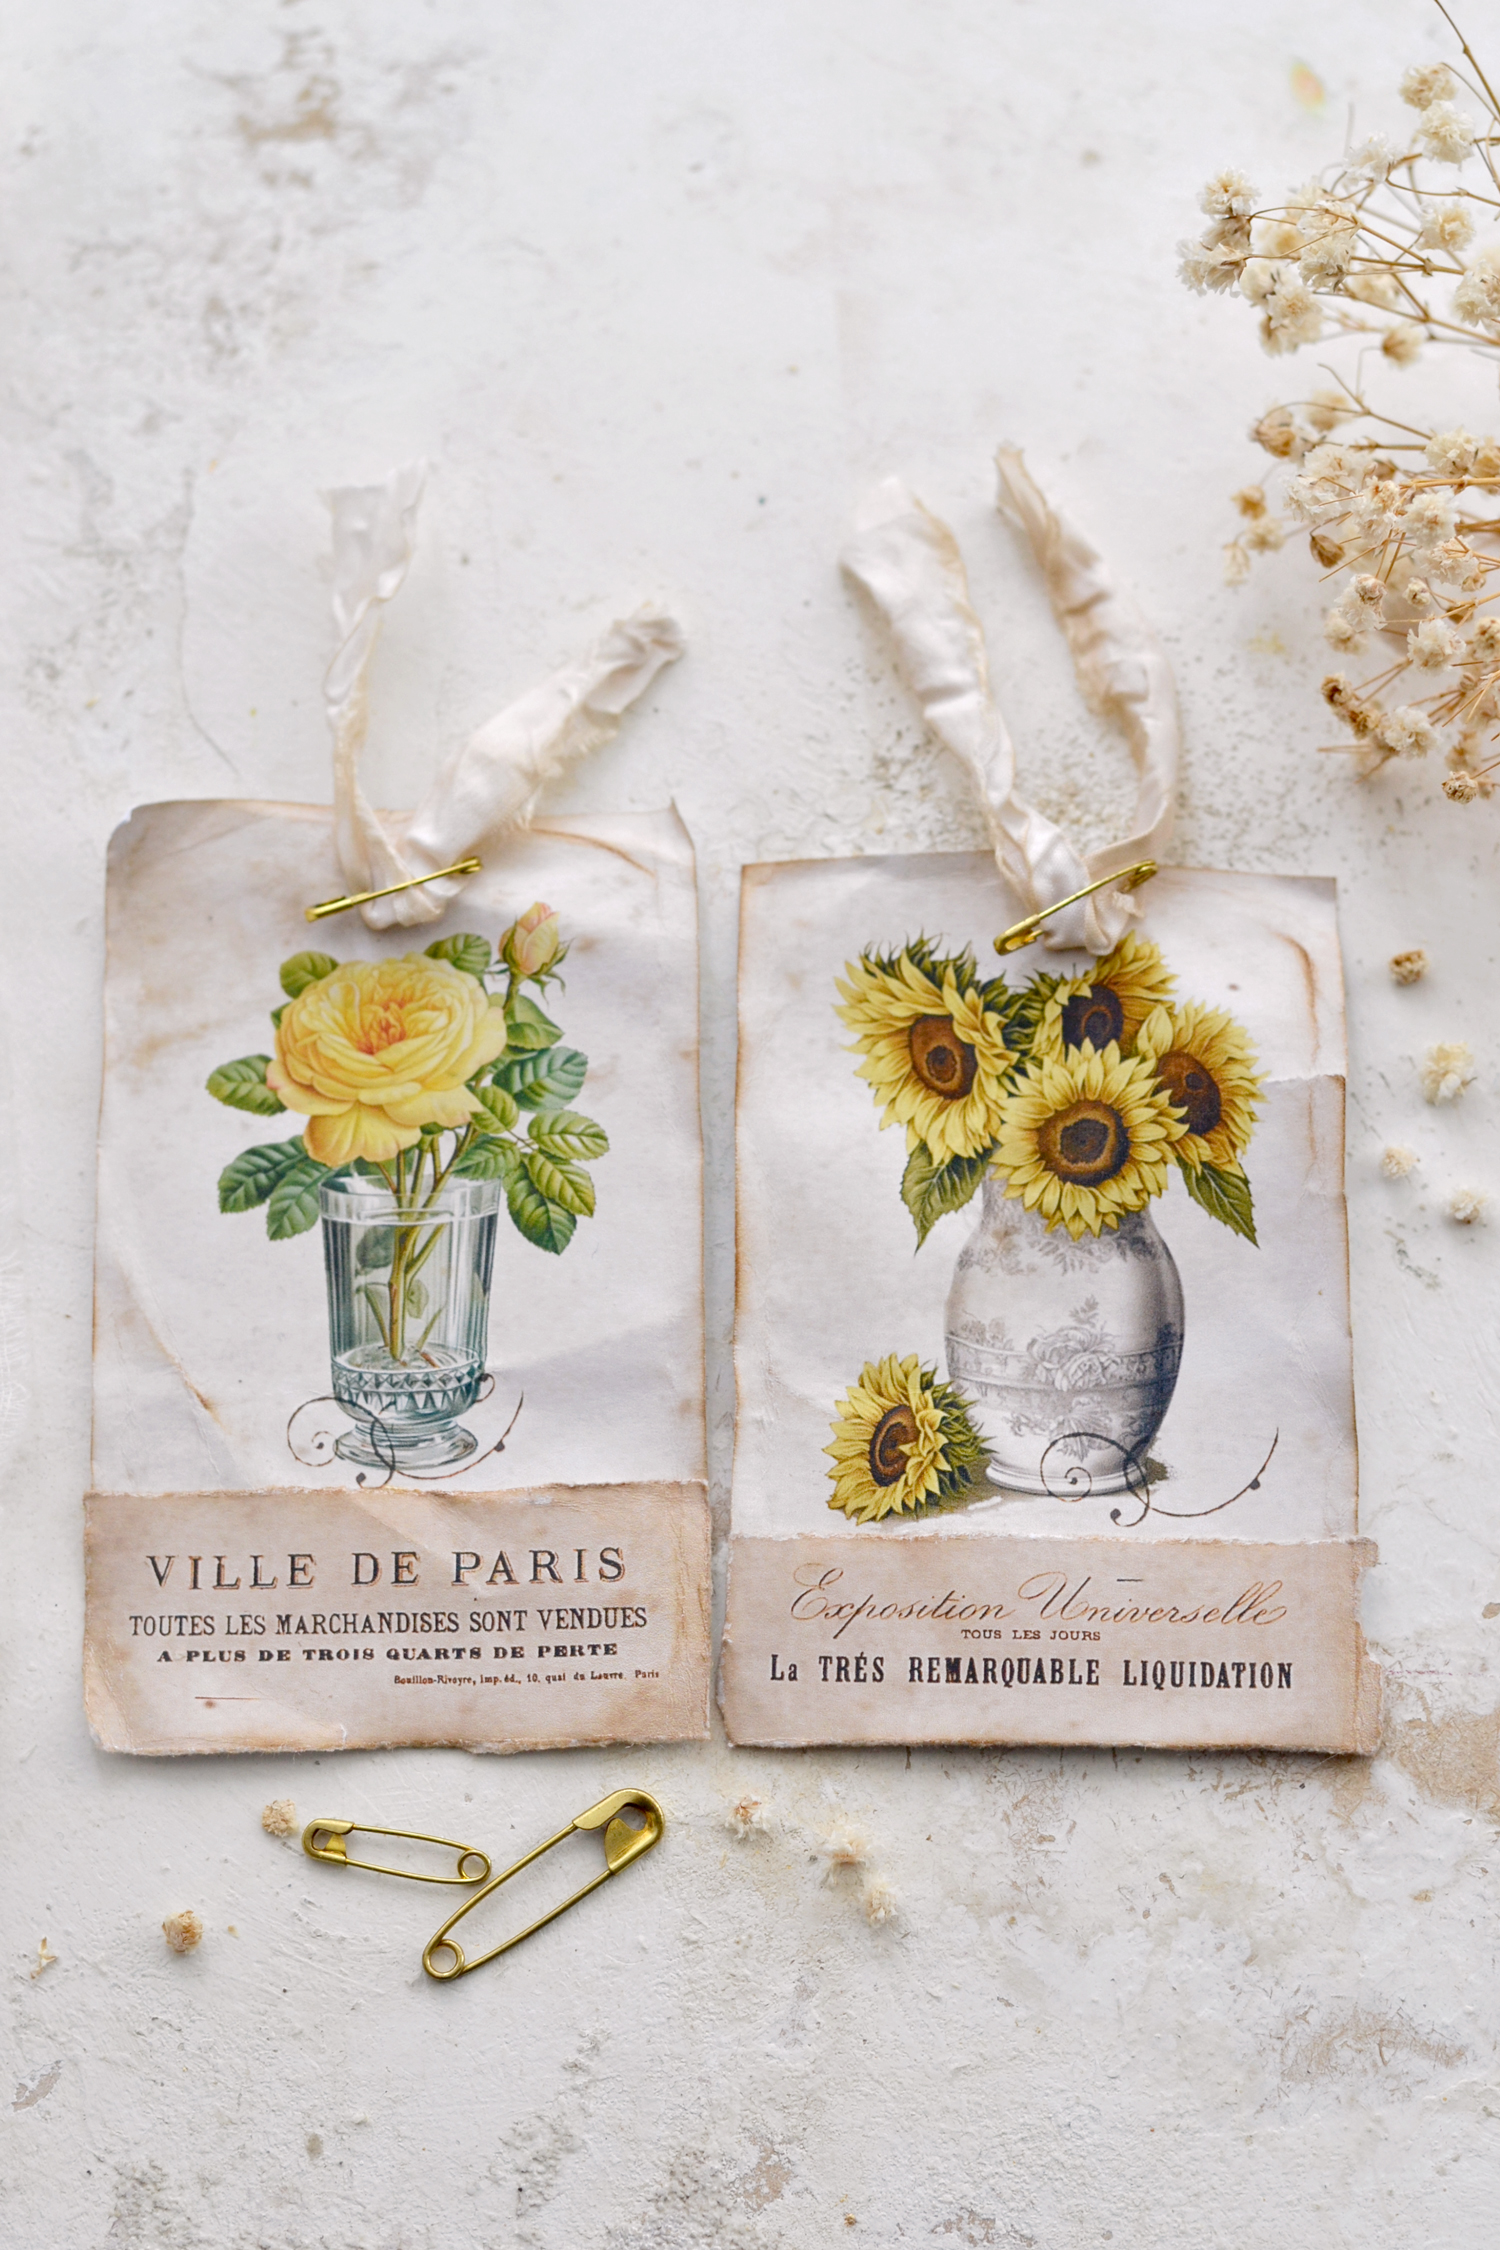
And finally, add some beautiful ribbons! I used coffee-dyed crinkle ribbons for mine and a small gold safety pin to hold the ribbon in place. You can make a hole first if you want, but I just pierced the paper with the safety pin because I wanted to keep it more visible so it looks like a small piece of gold jewelry.
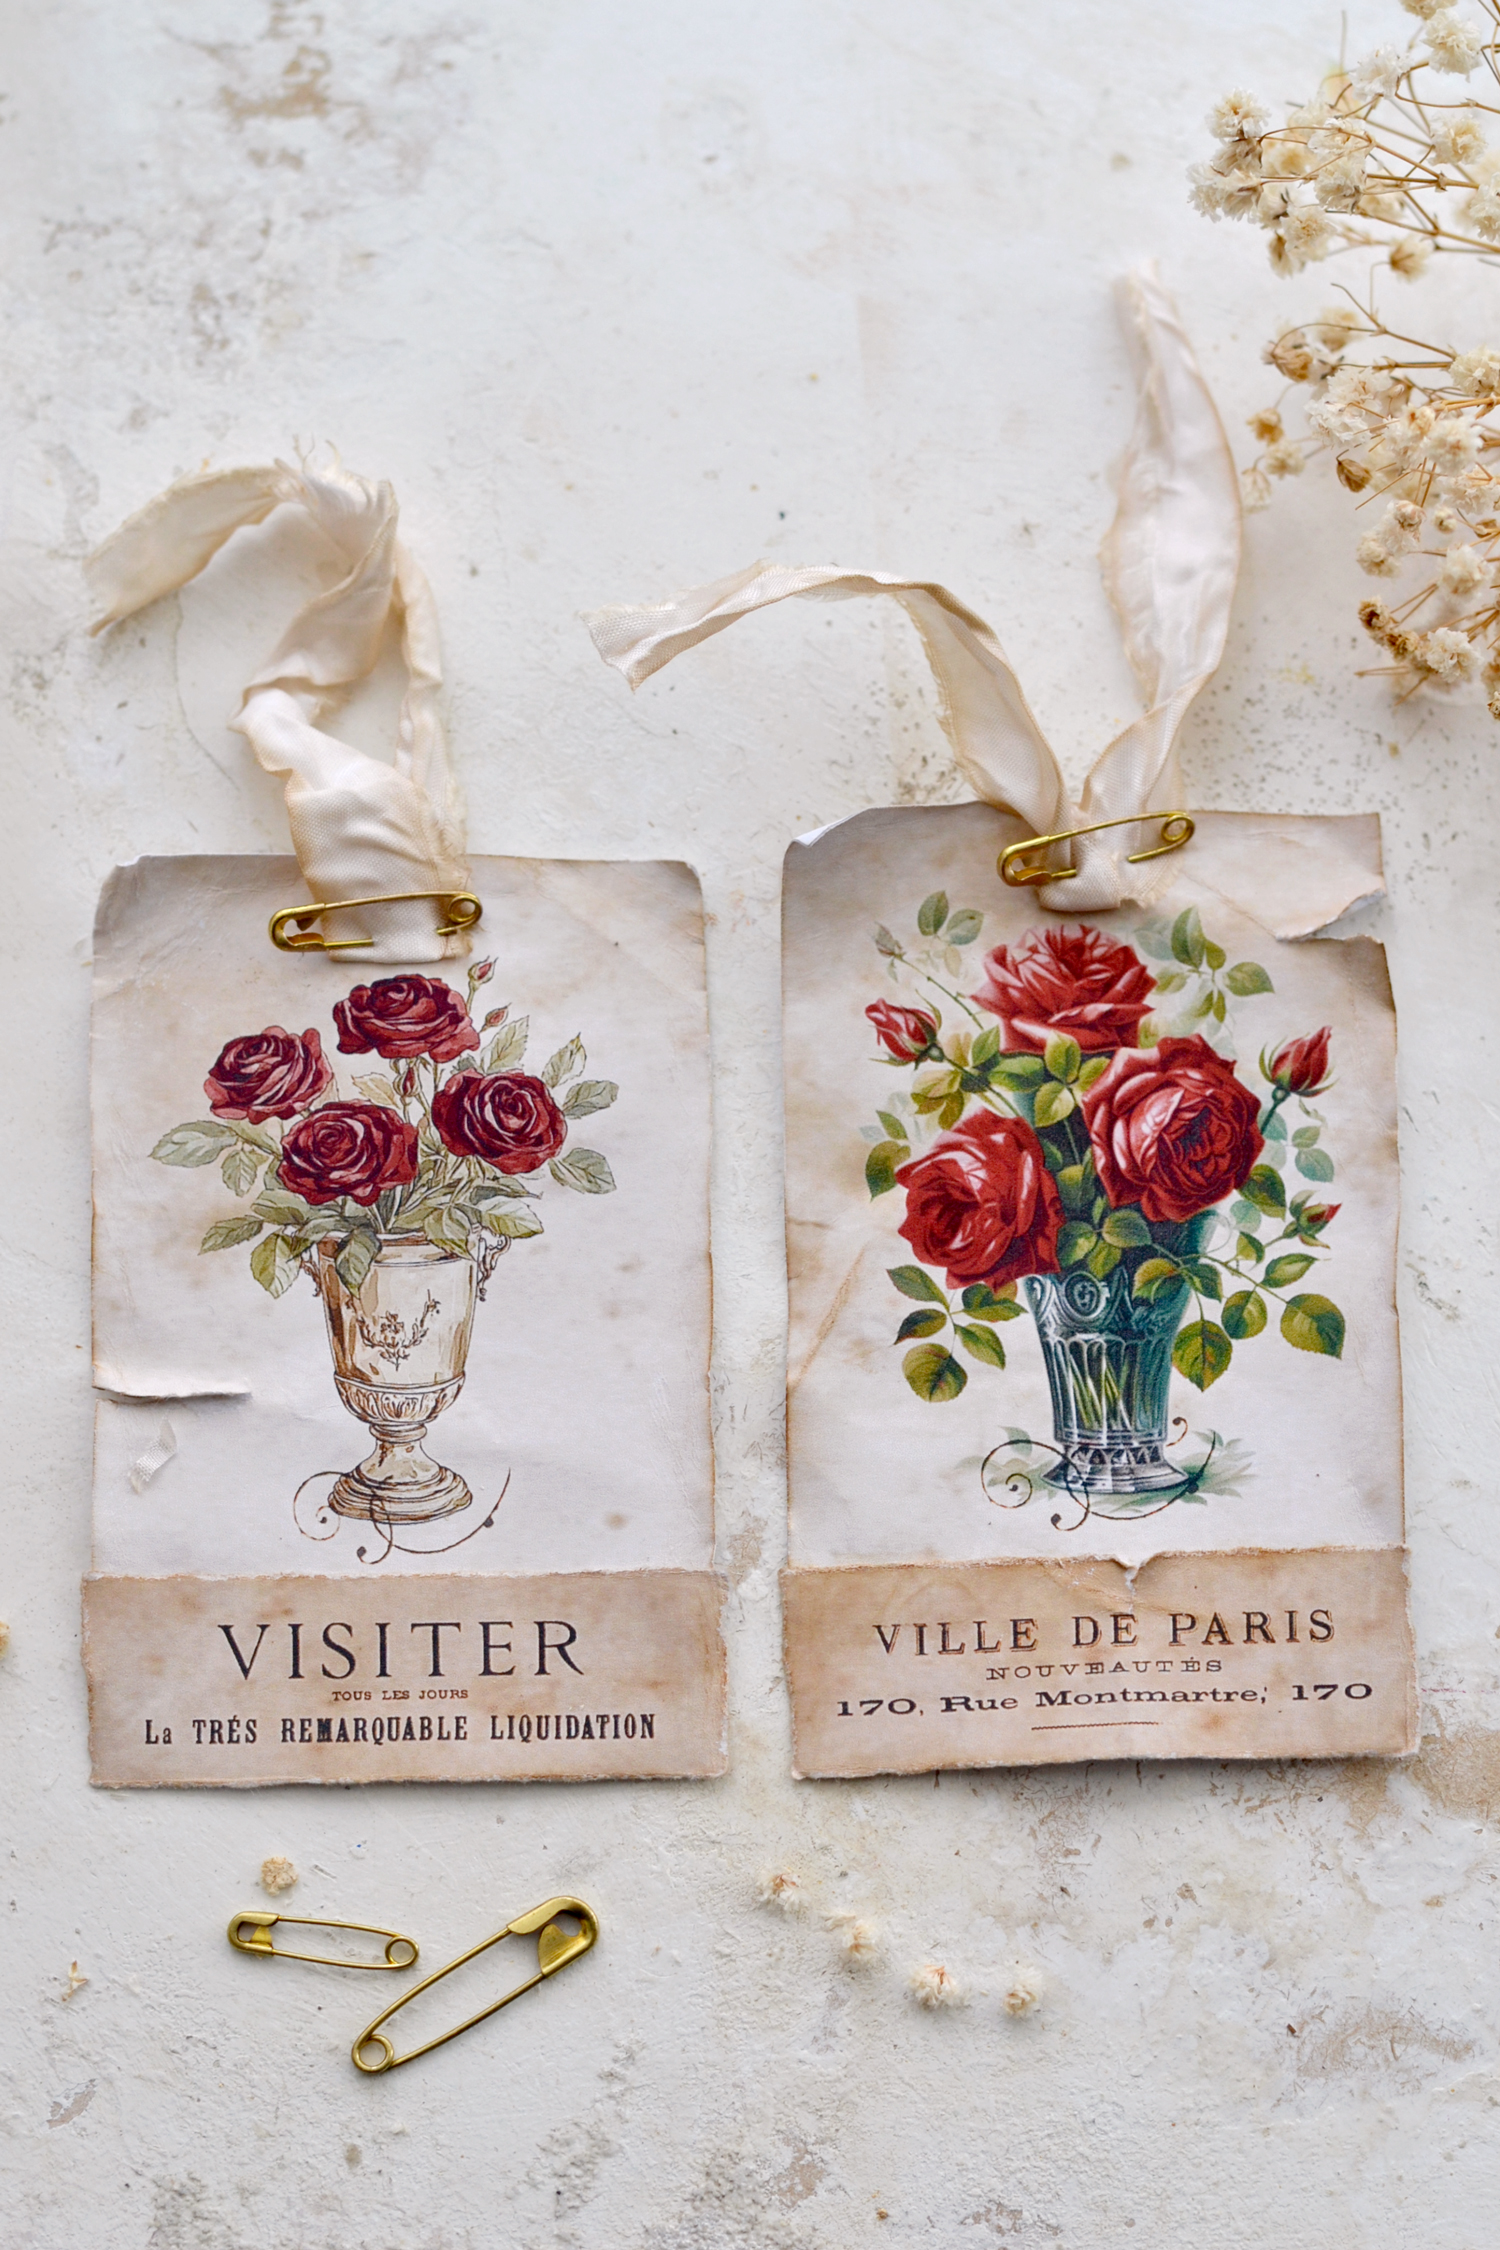
Voilà…your oh-so-chic Vintage Flowers in Vase Tags are now ready to be admired! And because we applied all those folding, rolling and tearing distressing techniques, each piece will be truly unique!
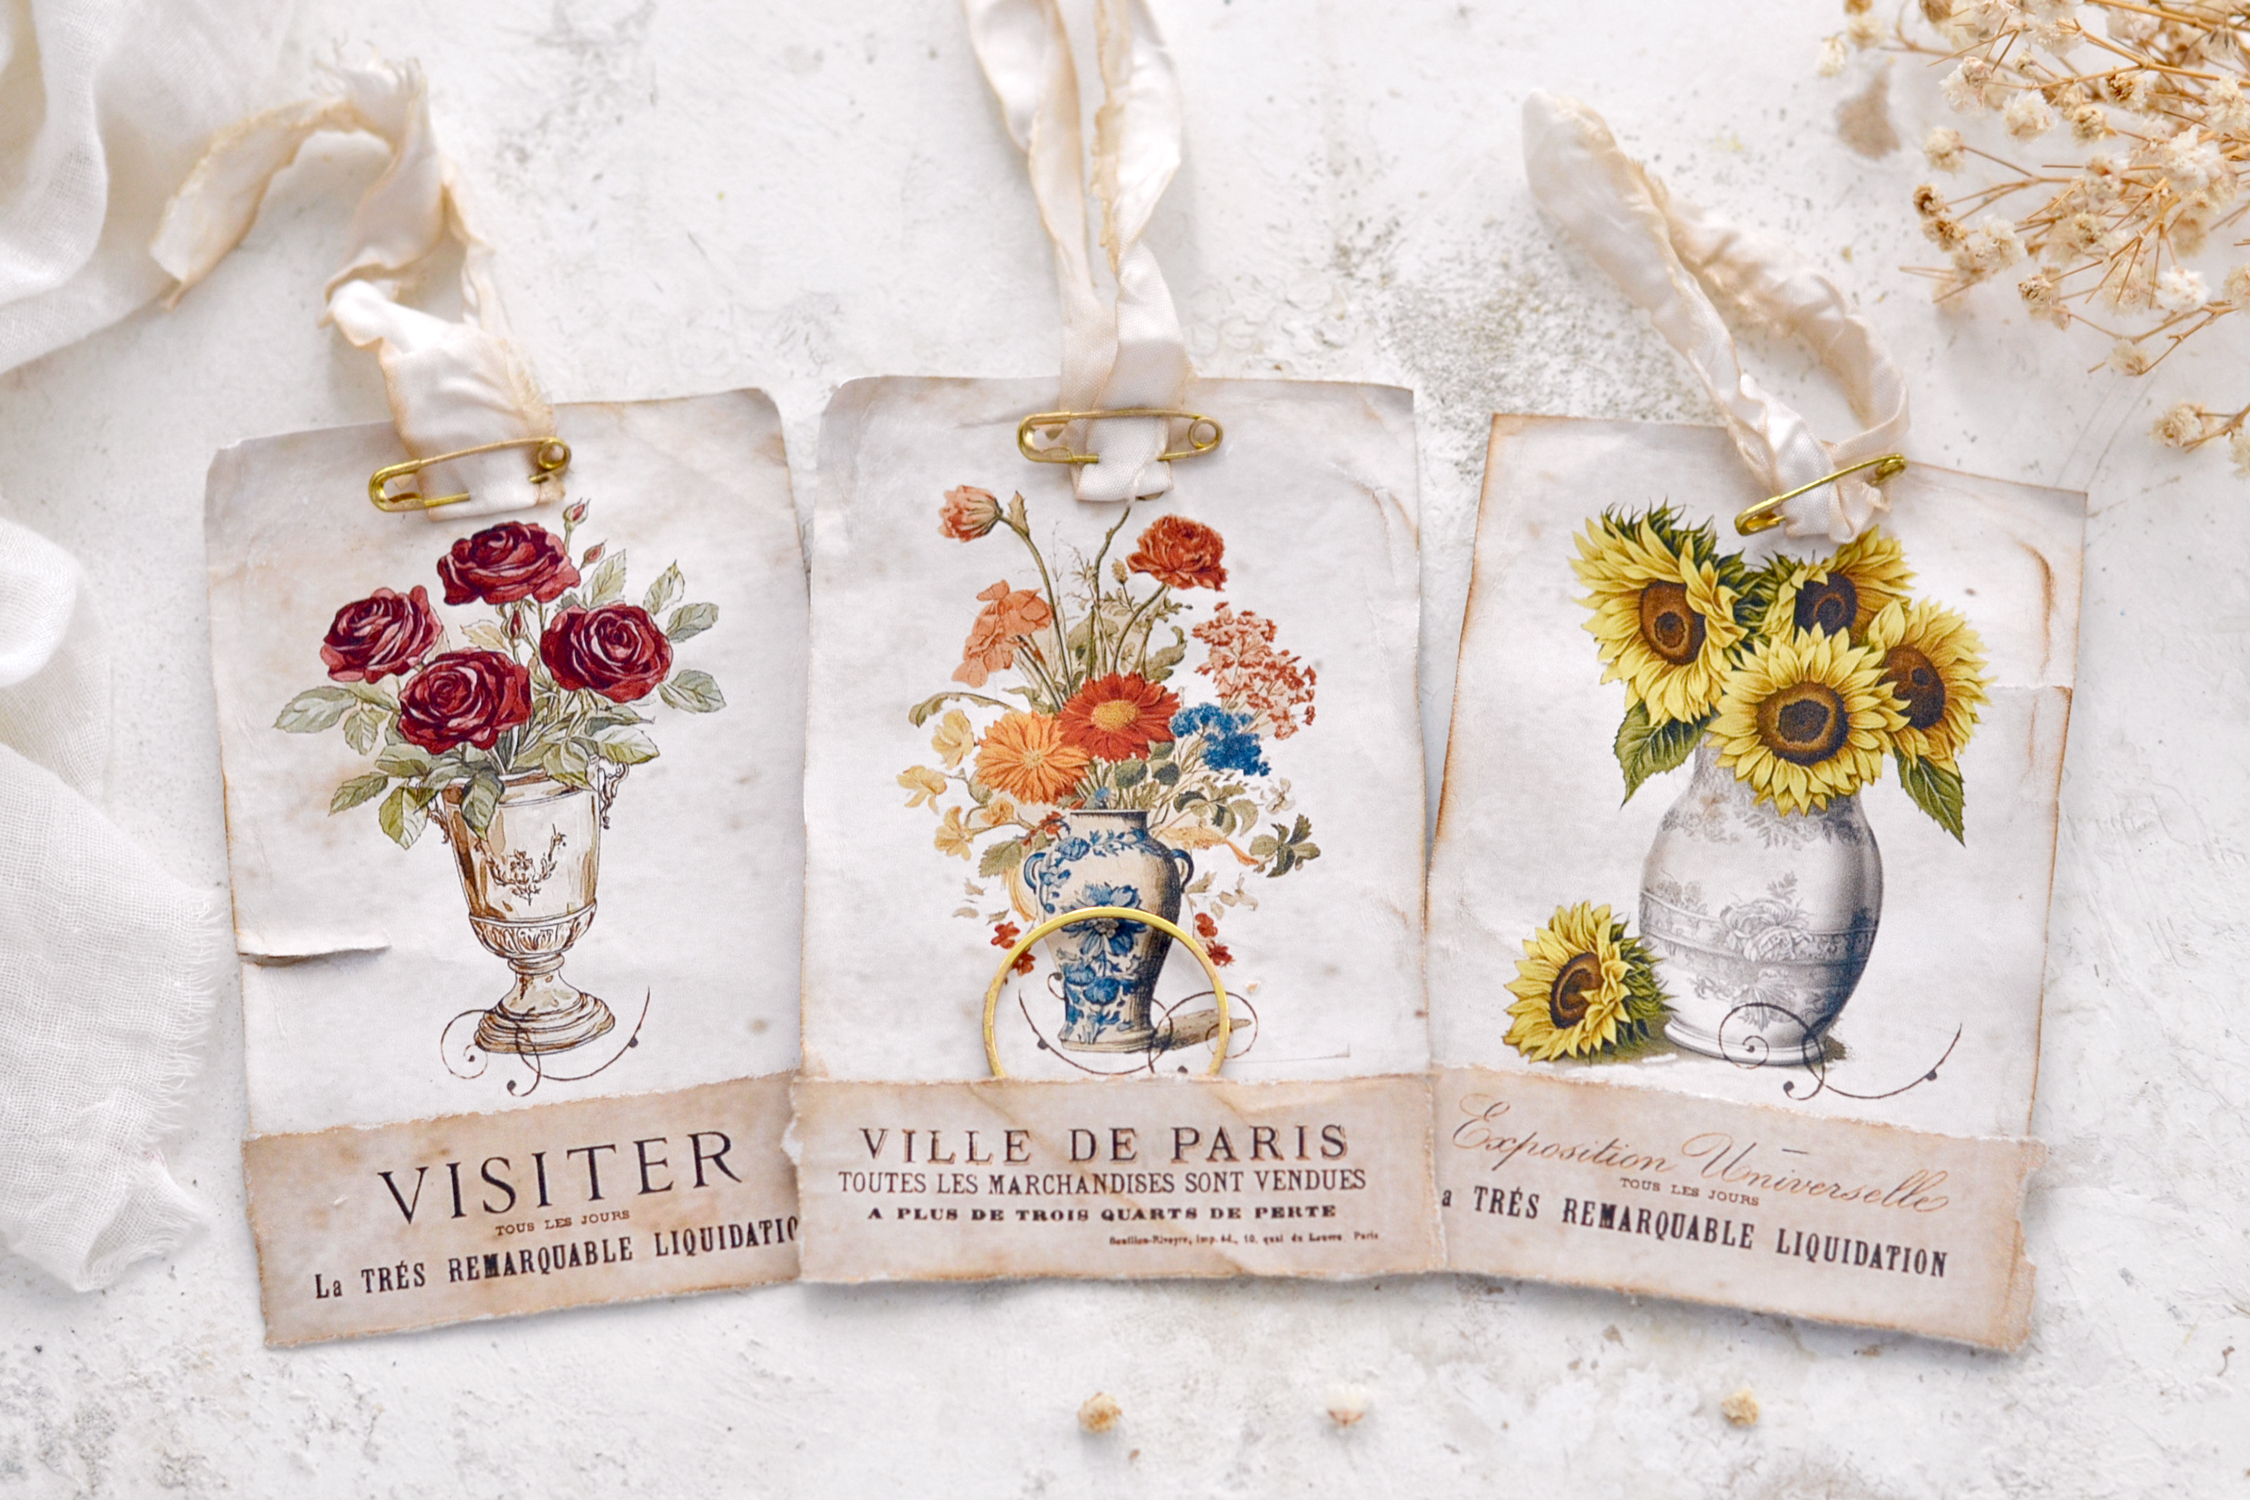
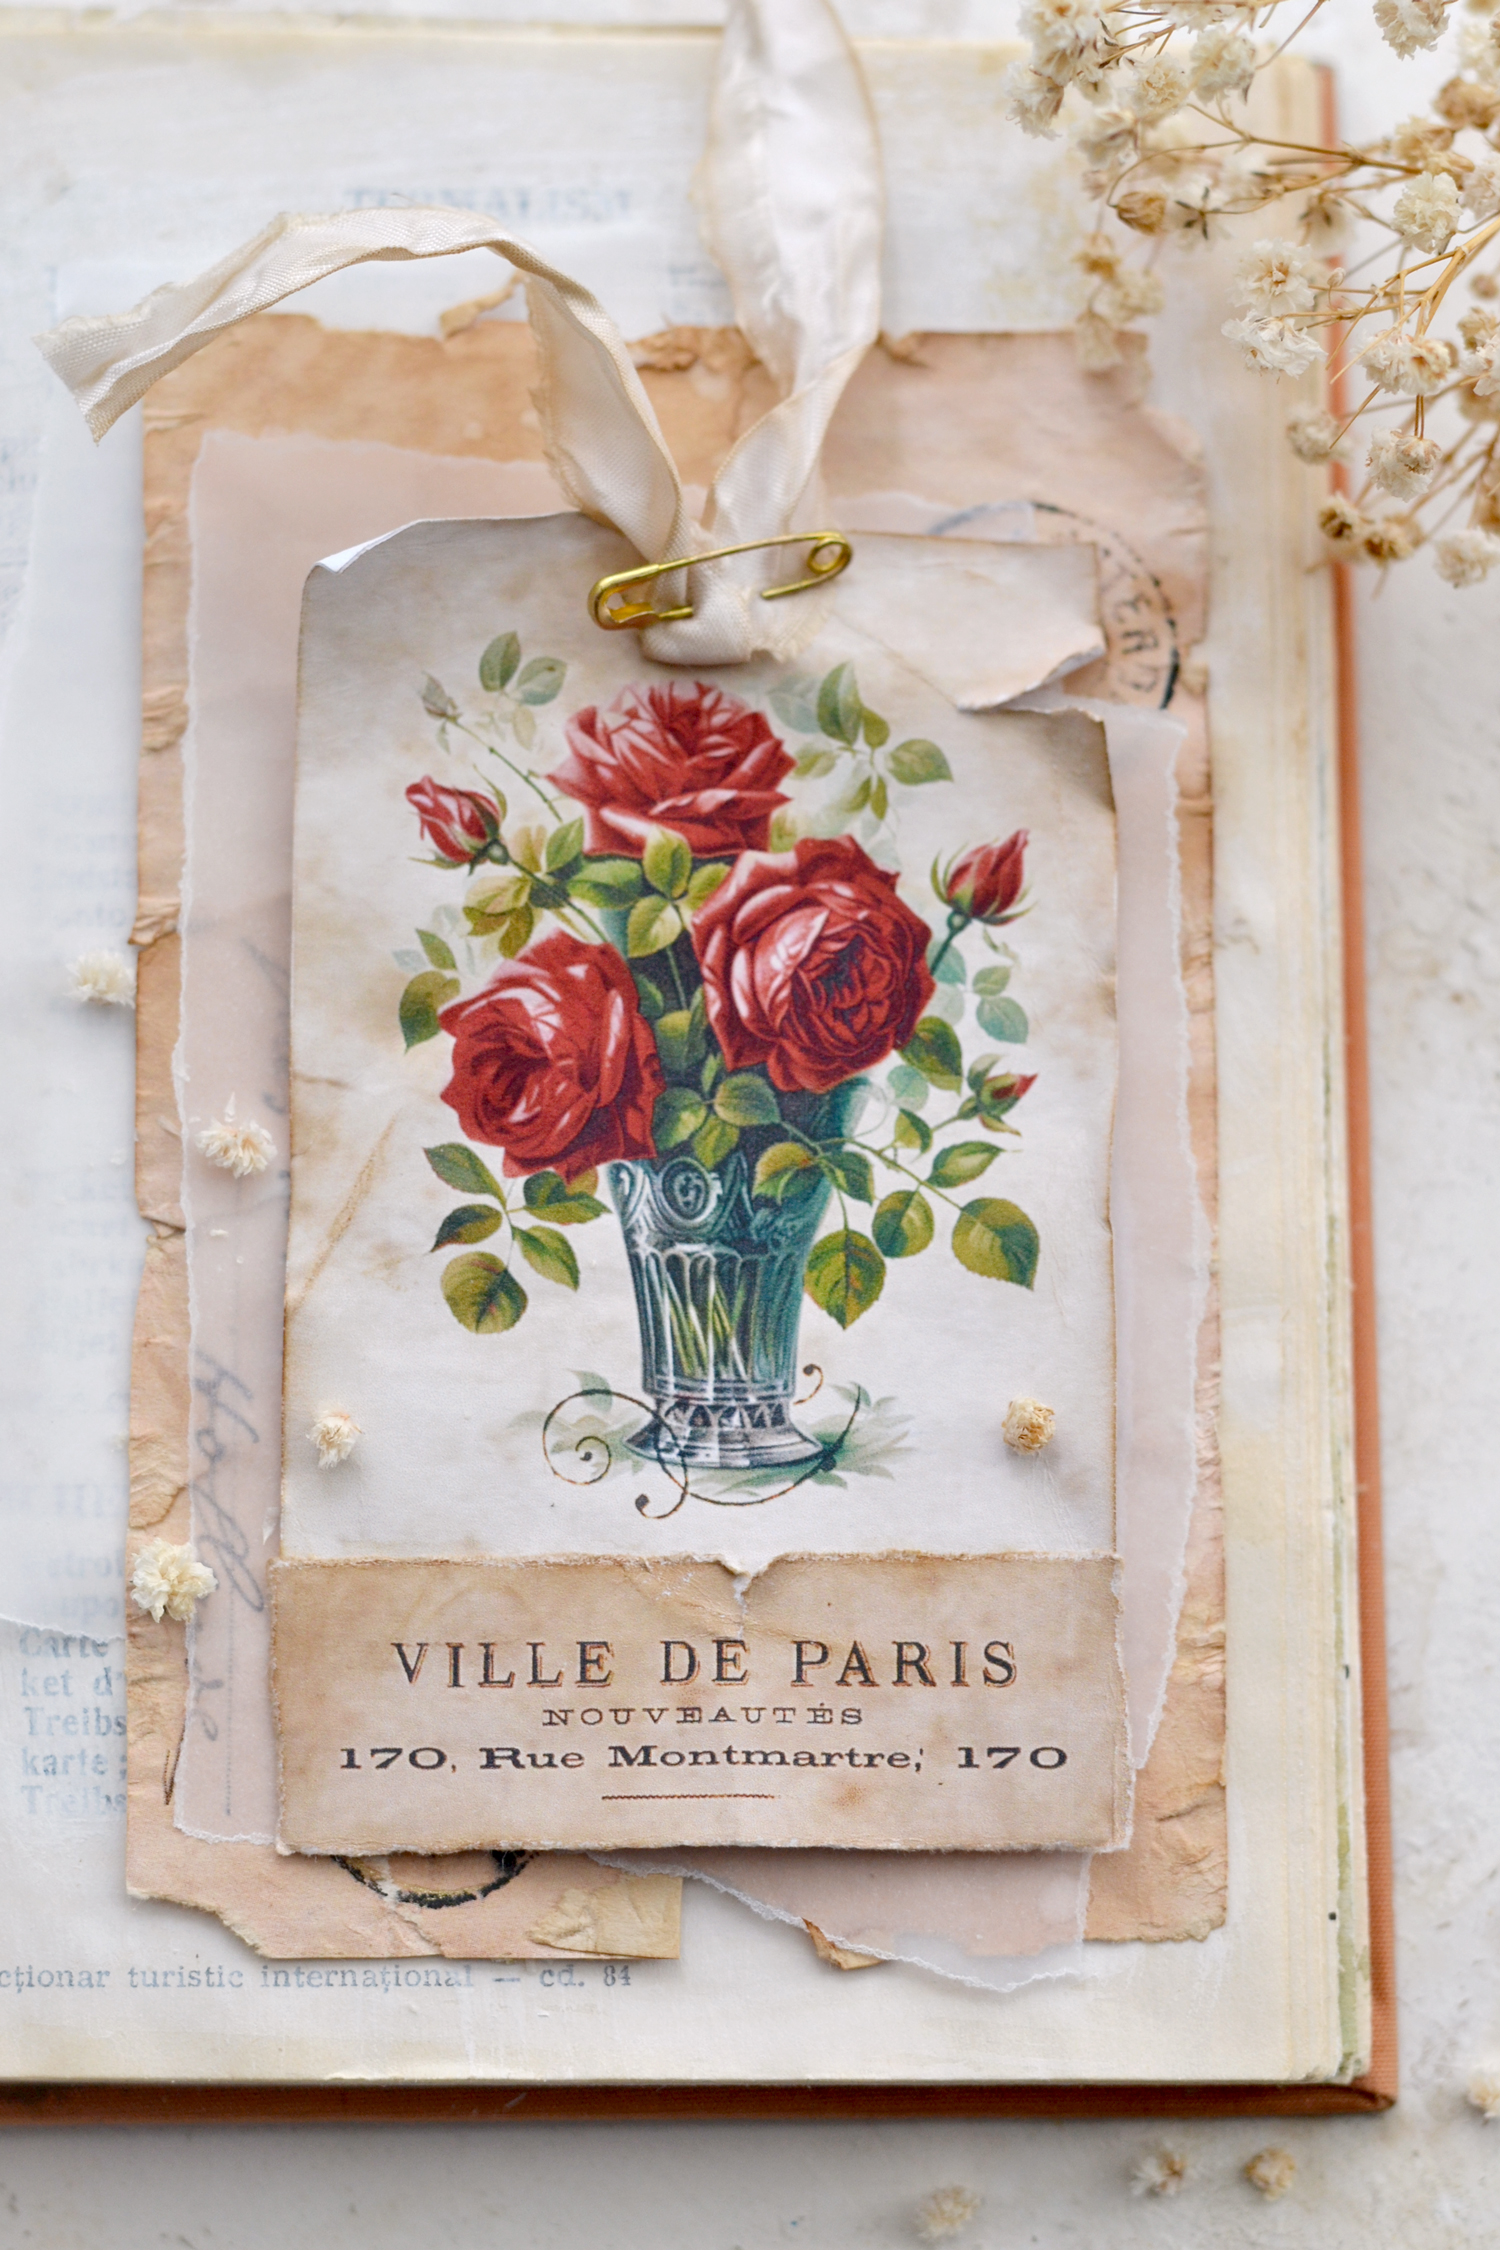
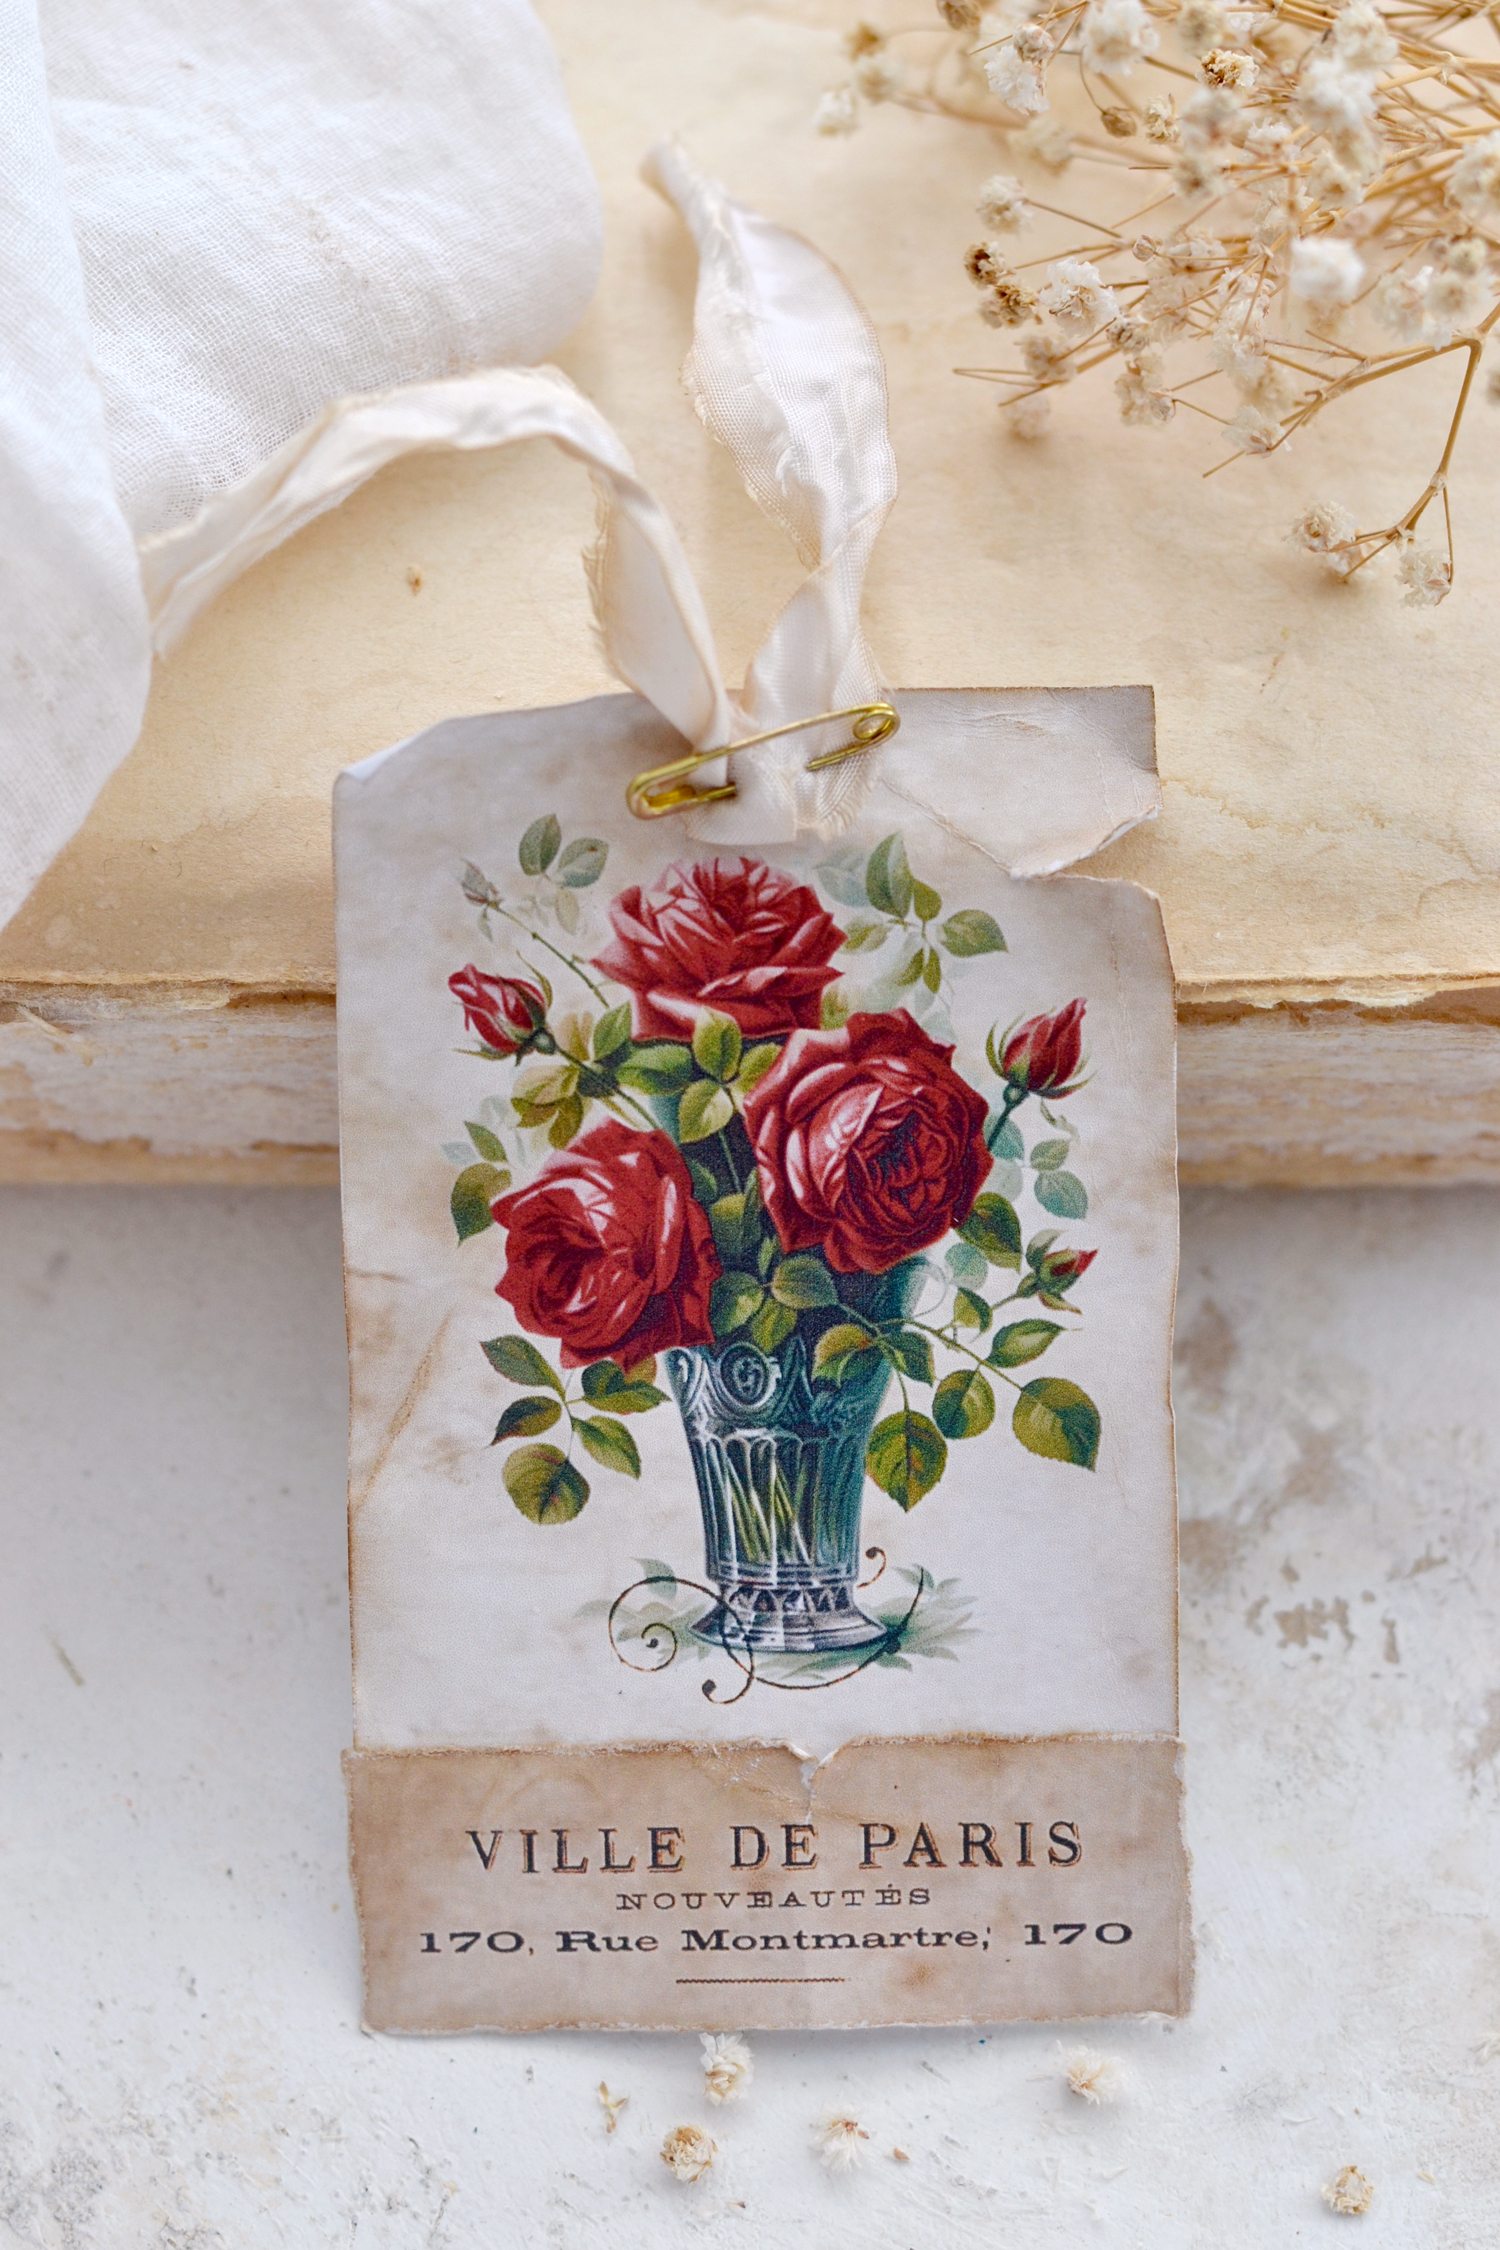
You can mix and match them according to their color or why not, the color scheme of your project. I feel that these gorgeous red roses are pretty universal and go really well with almost any project!
And for a sun-kissed touch, yellow roses or sunflowers are always the way to go!
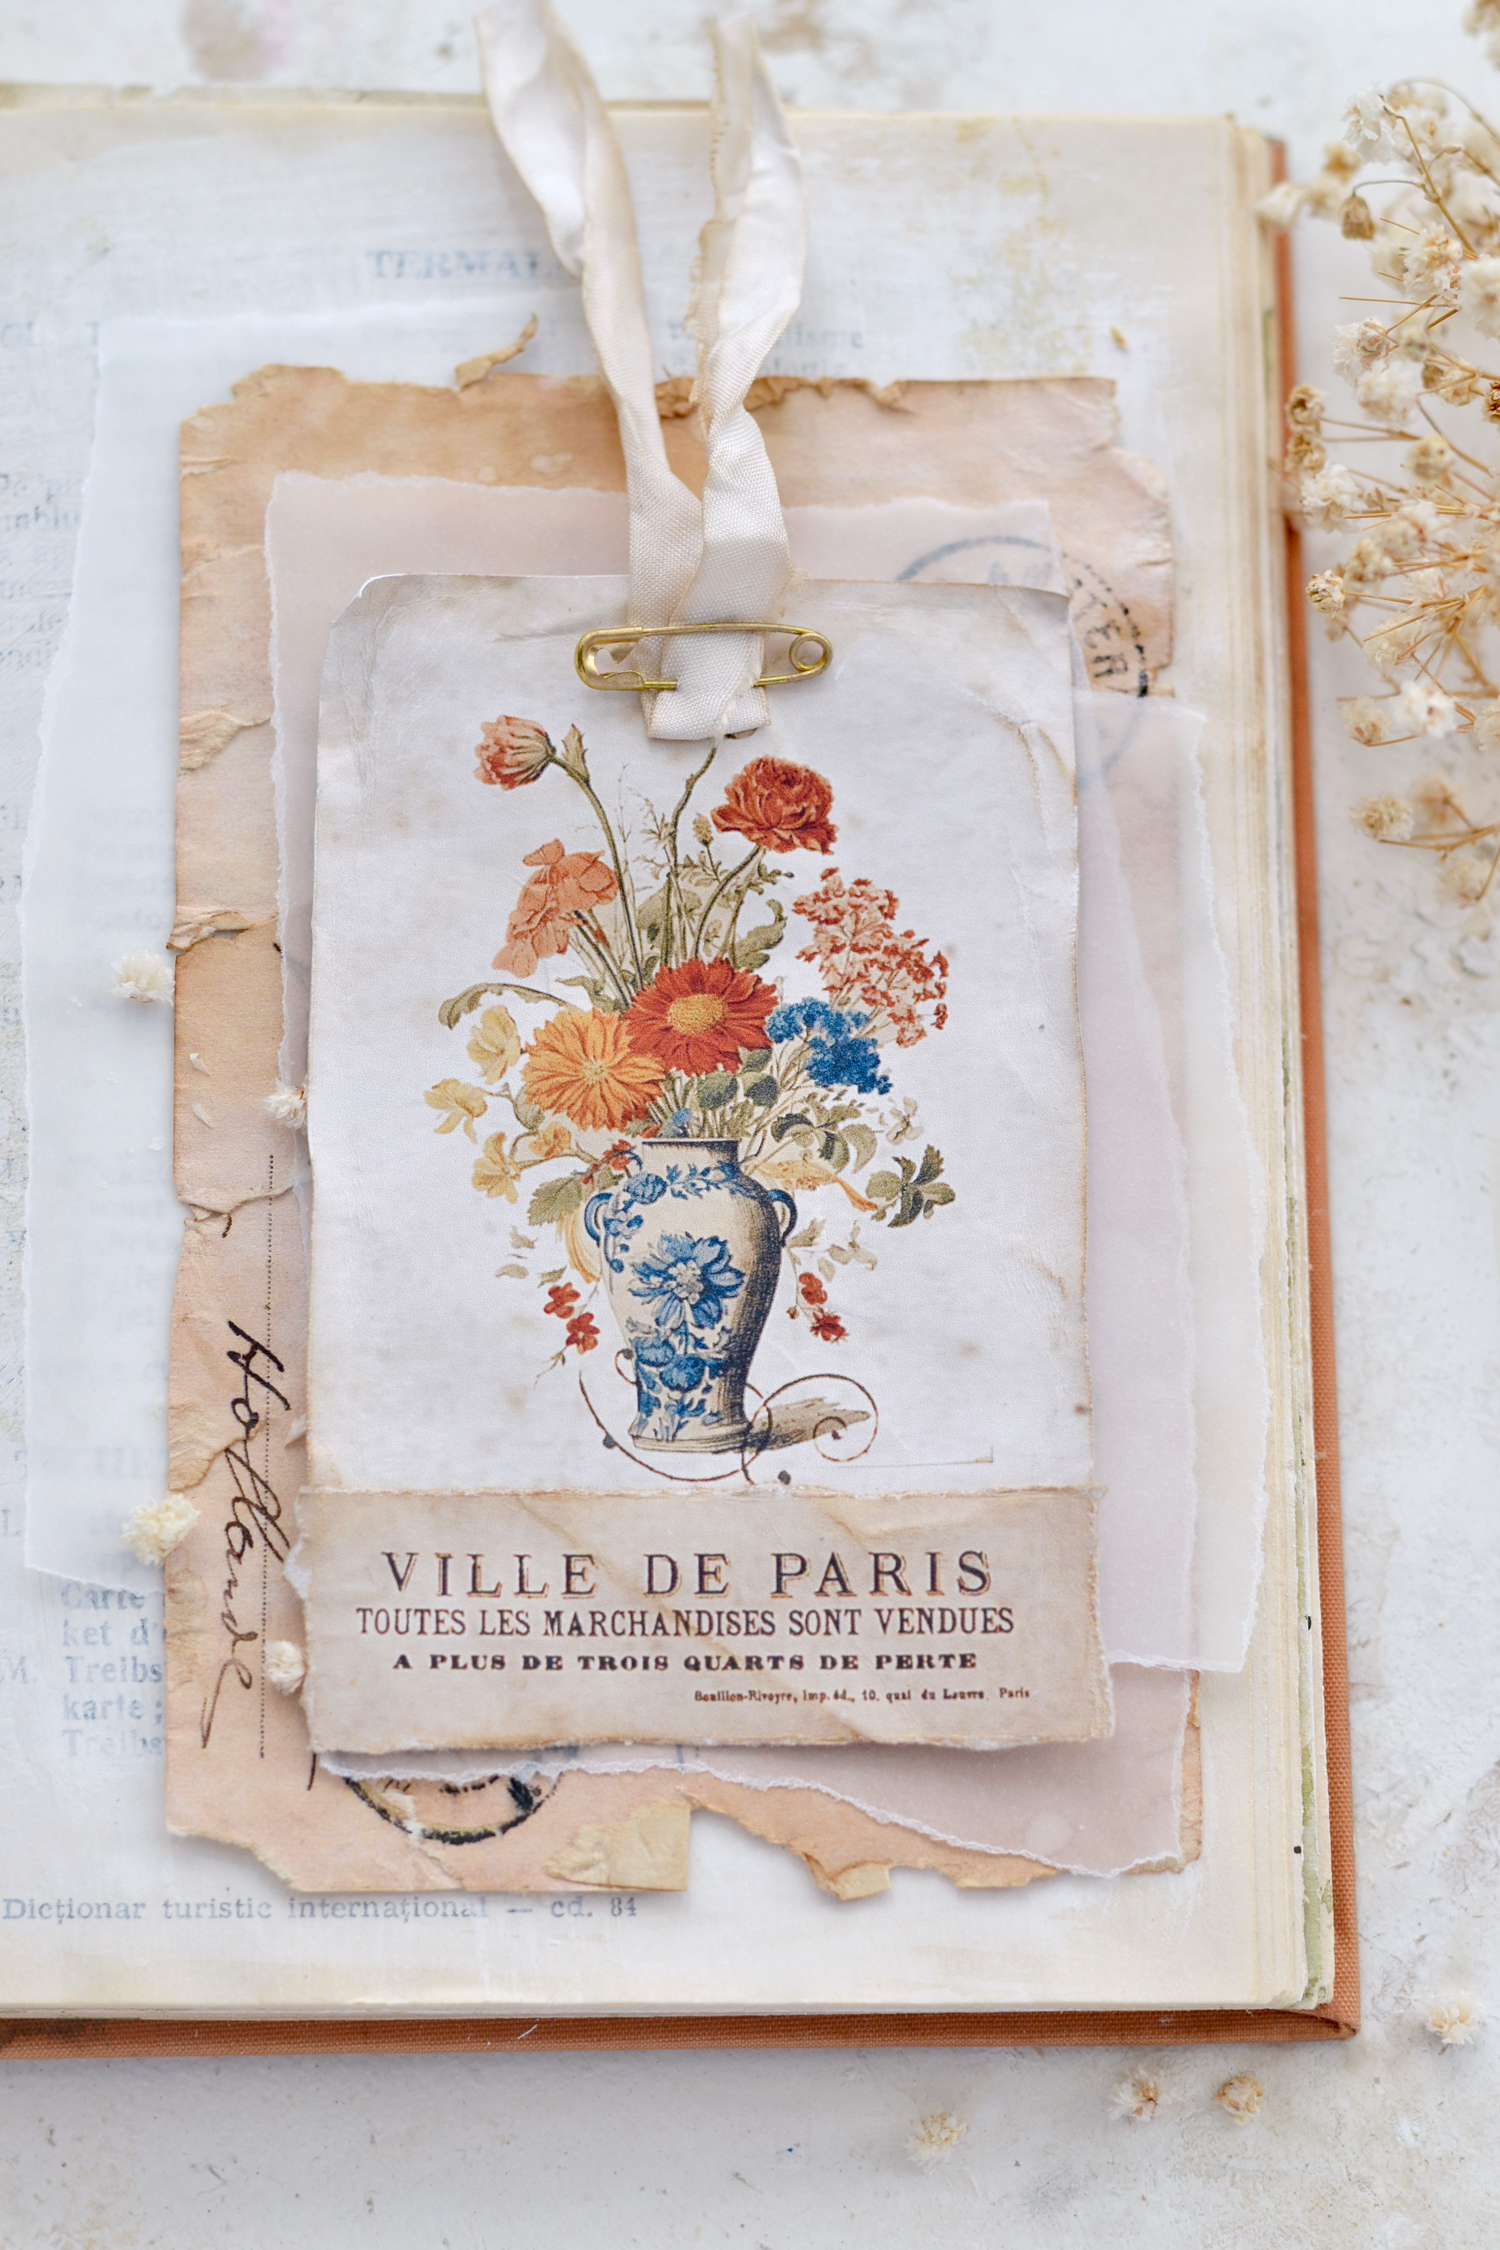
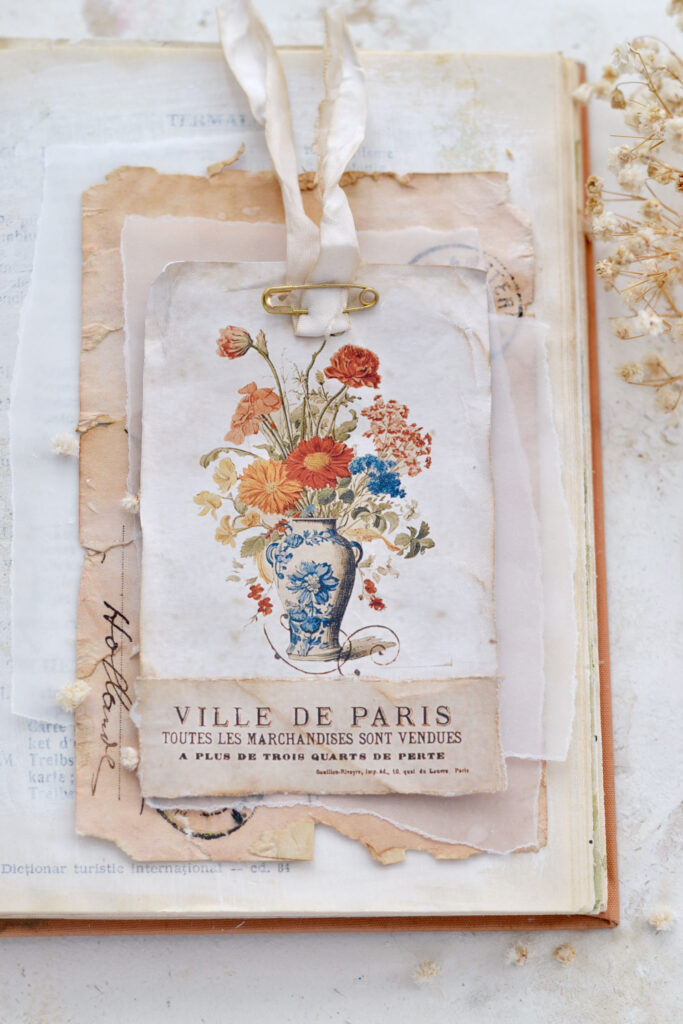
Remember that I mentioned that you could leave the top of the French image unglued to make a small pocket on your tag? I did that here with my orange flower tag, I placed a small gold embellishment circle inside so you can better see how it would look. This way your French ephemera image will have a double role – we’ll use it for its beautiful appearance but also to create a lovely pocket that can be filled with all sorts of stickers or scrap pieces of paper! Or you could just tuck a secret message inside if you are planning on using them as gift tags for someone you love!
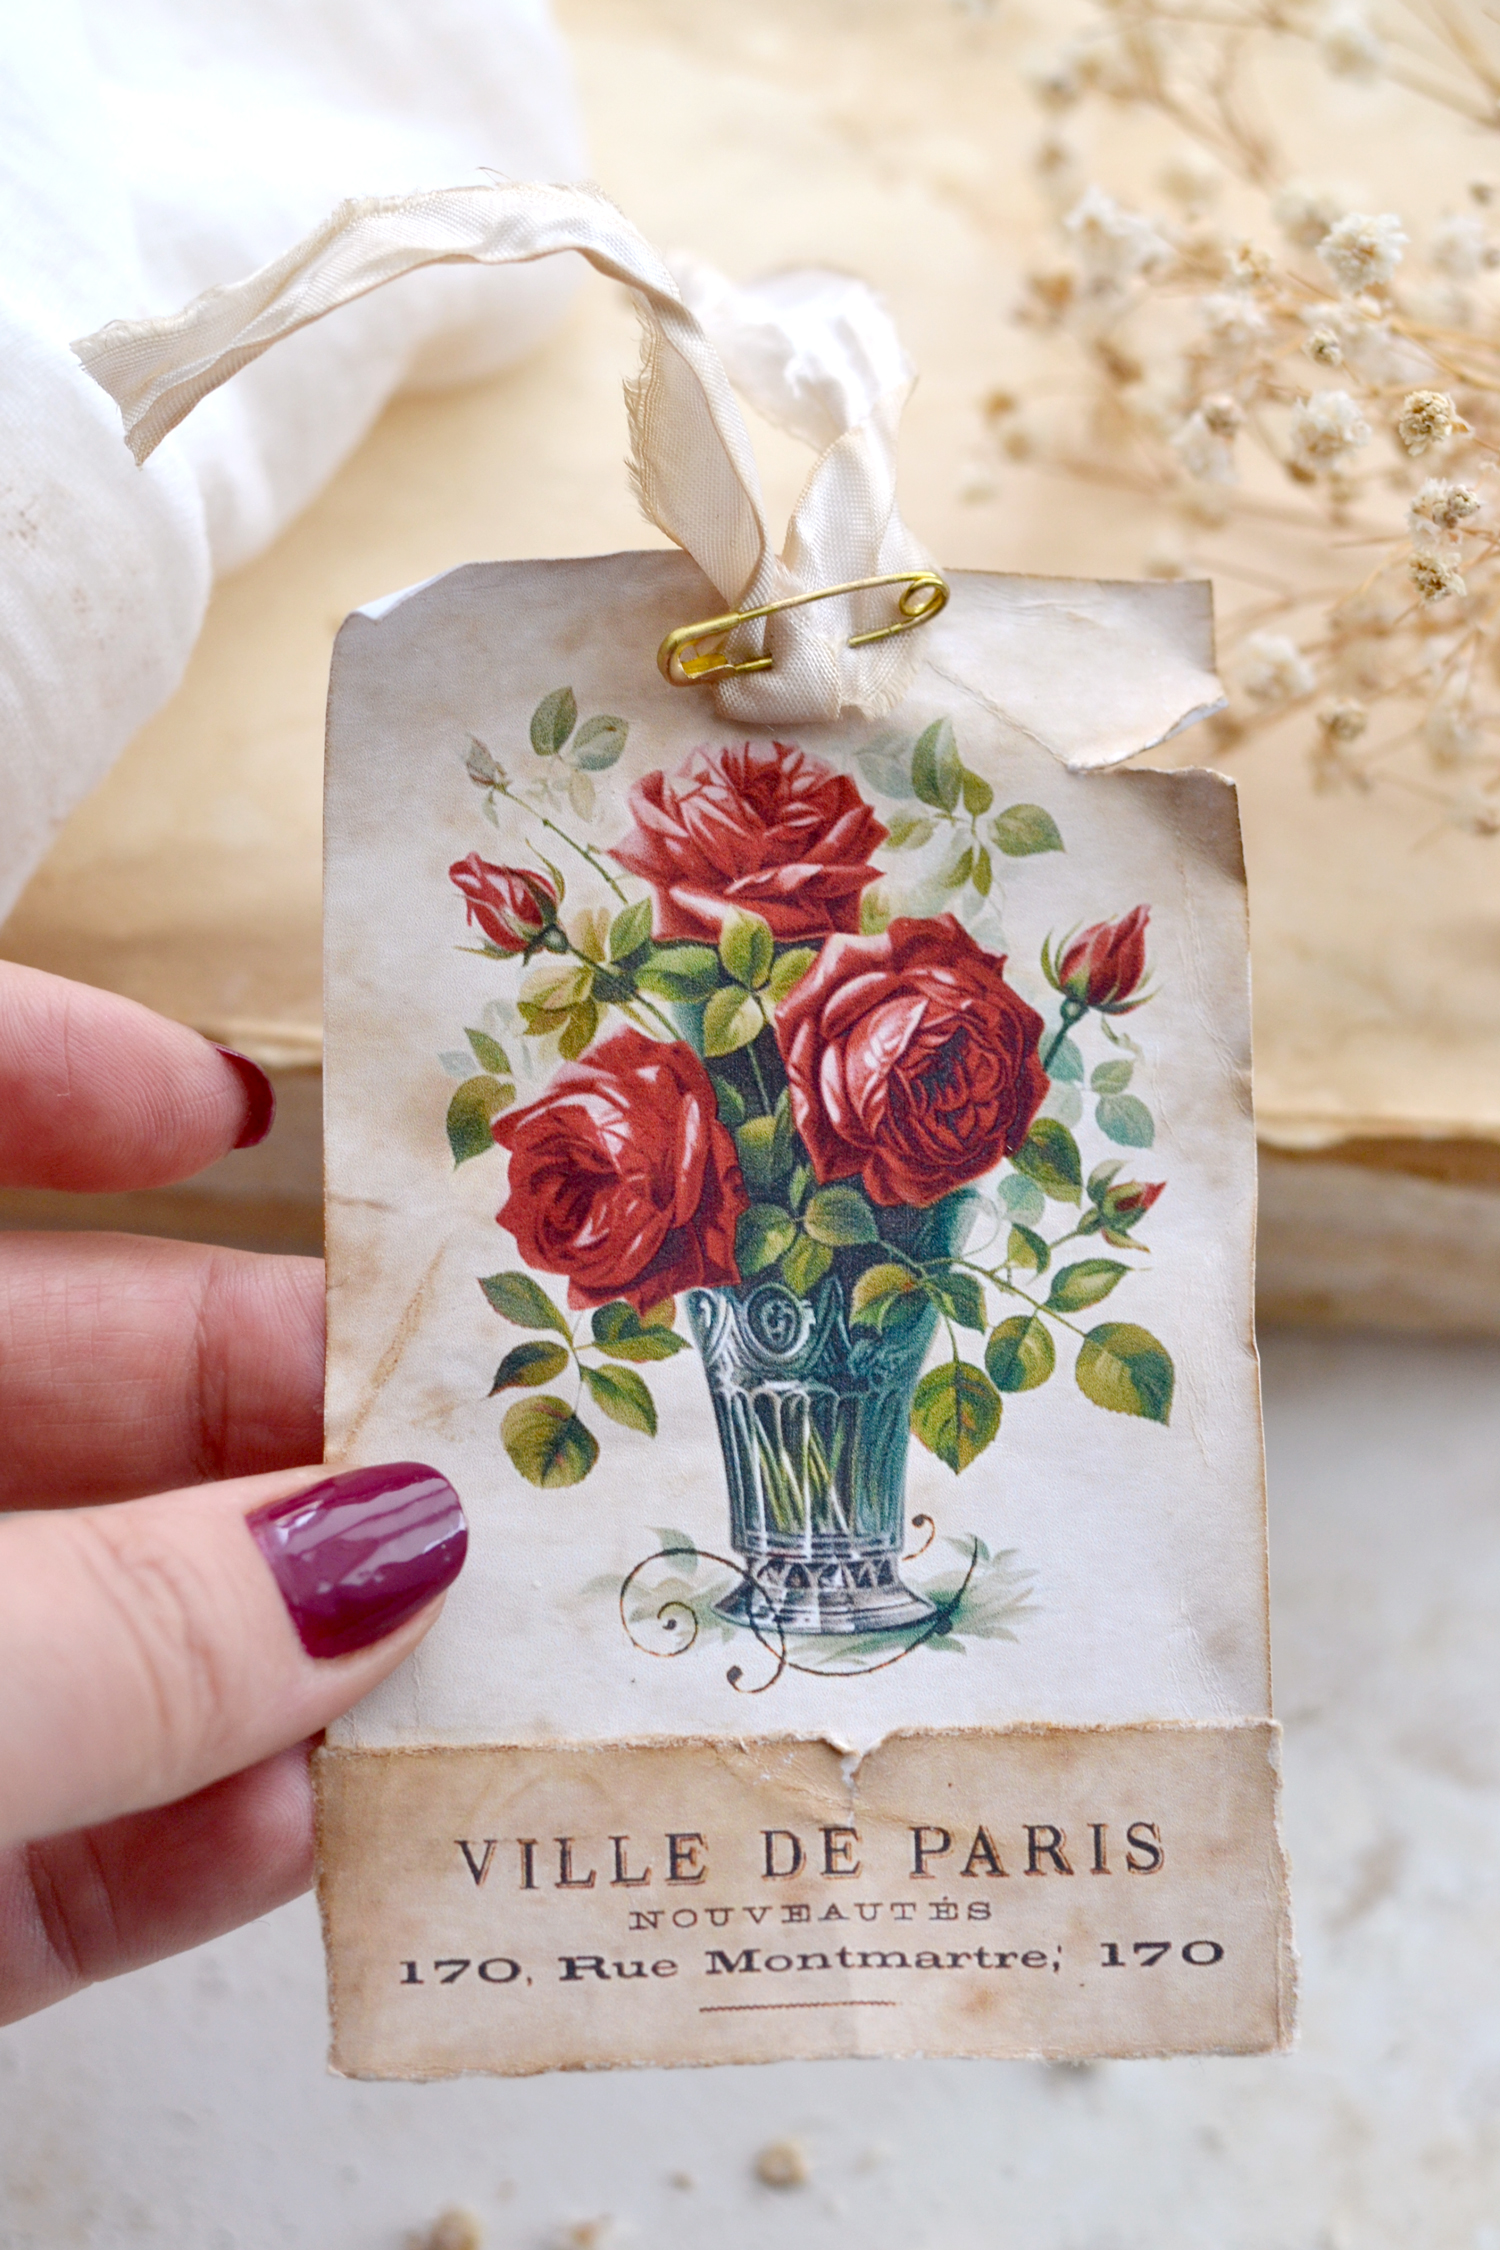
This vintage red rose in vase tag turned out to be my favorite, there is something about this image that makes my heart sing!
I also loved this orange flower arrangement with this gorgeously crafted white and blue chinoiserie vase! I think it would be perfect to include in general projects, but because of its colors, it could be easily included in charming projects for fall, too.
But let’s not forget this super chic lilac in a vase (or is it maybe a jar) that makes me miss its heavenly fragrance so much!
One thing I would like to mention is that you will see that your tags will be slightly different than mine. In what sense you may ask? I noticed while making the project that the vases with the flowers are a little bit too high on our tags. I intentionally left more space on the bottom so that the French cutouts would fit well, but I felt like I could have left some more space on top of the vases to make things more balanced. So I changed the design and moved the vases downward after completing the project so you’ll have some perfectly balanced tags!
I hope you will love this project and decide to give it a try! It’s a sweet project that will award you with these super chic, perfectly imperfect charmingly distressed tags! And a sense of accomplishment when you realize that you created something so beautiful, these little gems will be the perfect companion for all sorts of creative projects!
Happy crafting,
Diana / Dreams Factory


Marcia says
Thank you so very much! These are super lovely!
Karen Watson says
Thank you Marcia!
Diane says
Very nice – I appreciate every email you send and also belonging to the group. Very nice printables and ideas. Thank You.
Karen Watson says
Thank you Diane! I’m so glad you are enjoying our offerings!
Debbie says
Thanks so much for the free sheet and the ways to create the beautiful images you did . You are such an inspiration to me .
Thanks for the inspiration.
It is so much appreciated.
Karen Watson says
Thanks for your sweet comment about Diana’s project Debbie!