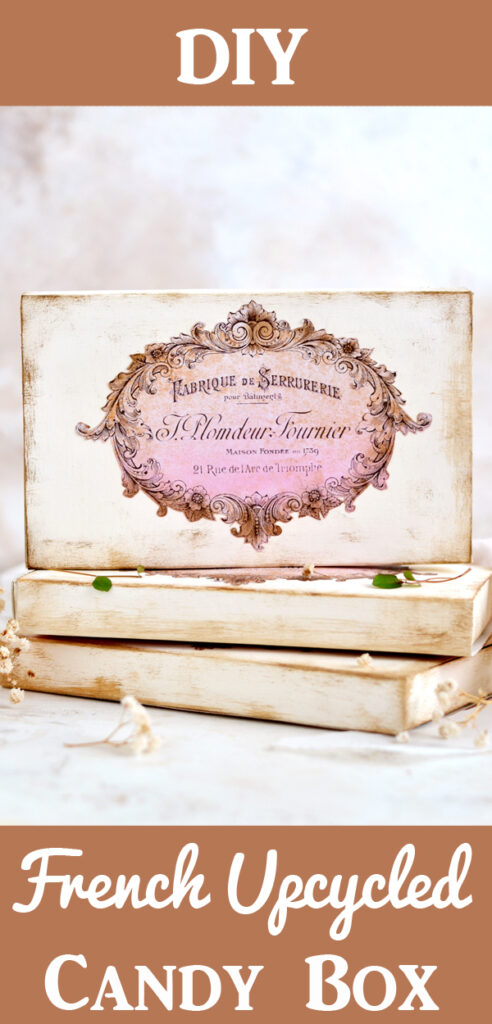
DIY French Upcycled Candy Boxes
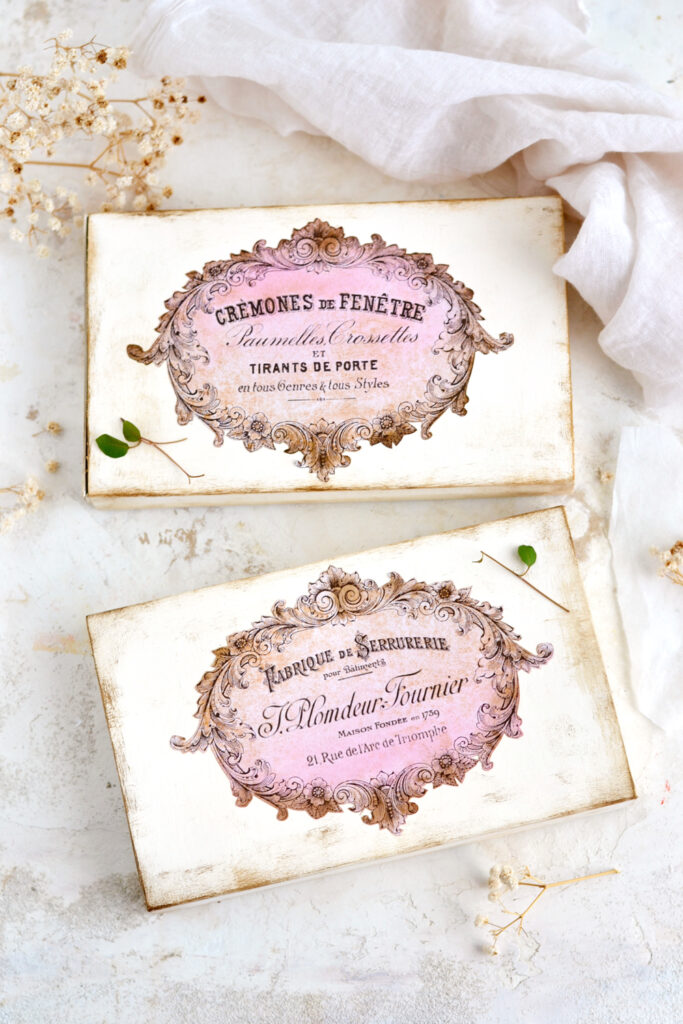
Hello, Graphics Fairy friends! Diana from Dreams Factory here, sharing another fun project with you! Today we are making some ‘très chic’ DIY French Upcycled Candy Boxes. We could also call these lovely mixed media recycled boxes, because we will be using a few different techniques to get these gorgeous final results.
This project will give you plenty of room for experimenting and having fun. You can play with different color schemes according to your own preferences, these recycled boxes can be painted and transformed into something that you really love.
I chose a light ivory acrylic paint (mixed with a little bit of white) as my main color for the boxes but you can also use any other neutral color that you want. I went with burnt umber acrylic paint and a little bit of gold to dry brush and distress the edges – again, you can really choose ANY color that you love. I chose pink and gold DIY spray inks to give the labels a beautiful watercolor-y effect, then I went in with some more of that burnt umber and gold to lightly distress their edges. The distressing will give both the boxes and the labels a more cohesive appearance and will simply turn them into the DIY Vintage French Recycled Chocolate Boxes of your dreams! 🙂
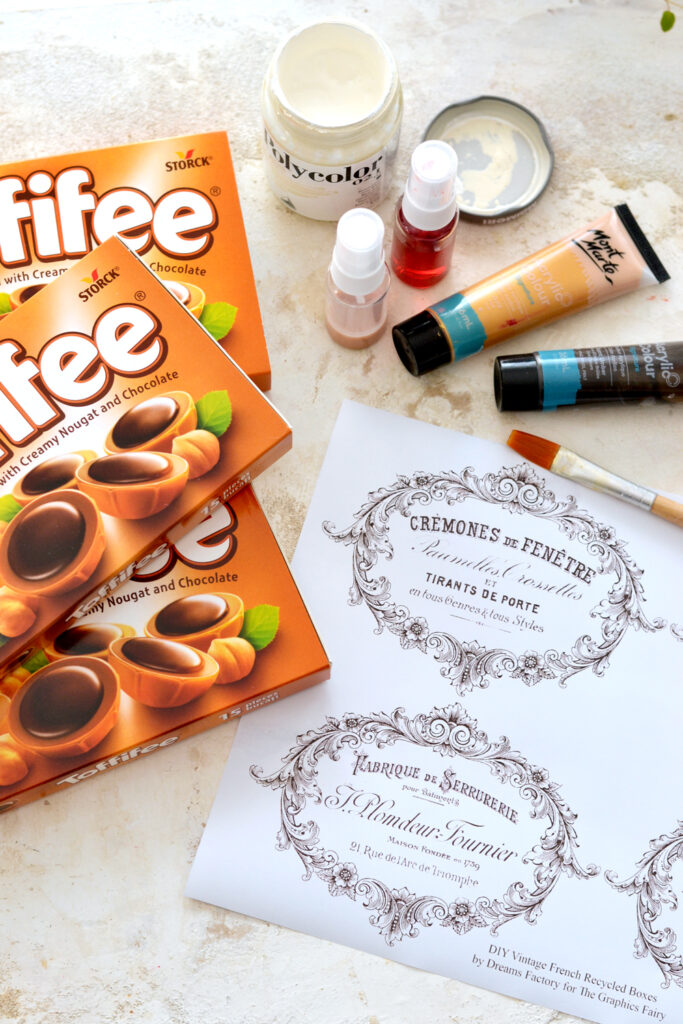
The printable that I created for you today doesn’t really need any presentation, because it just speaks for itself! It’s simply a stunning printable with French ephemera images and a gorgeous ‘scrolly’ and flowery vintage frame. This frame is one of my old time favorites and I believe it was one of the very first images that caught my attention here on The Graphics Fairy, almost ten years ago (time flies way too fast these days).
The printable comes in a dark brown color, if you need a black and white version, simply set that on your printer, right before printing.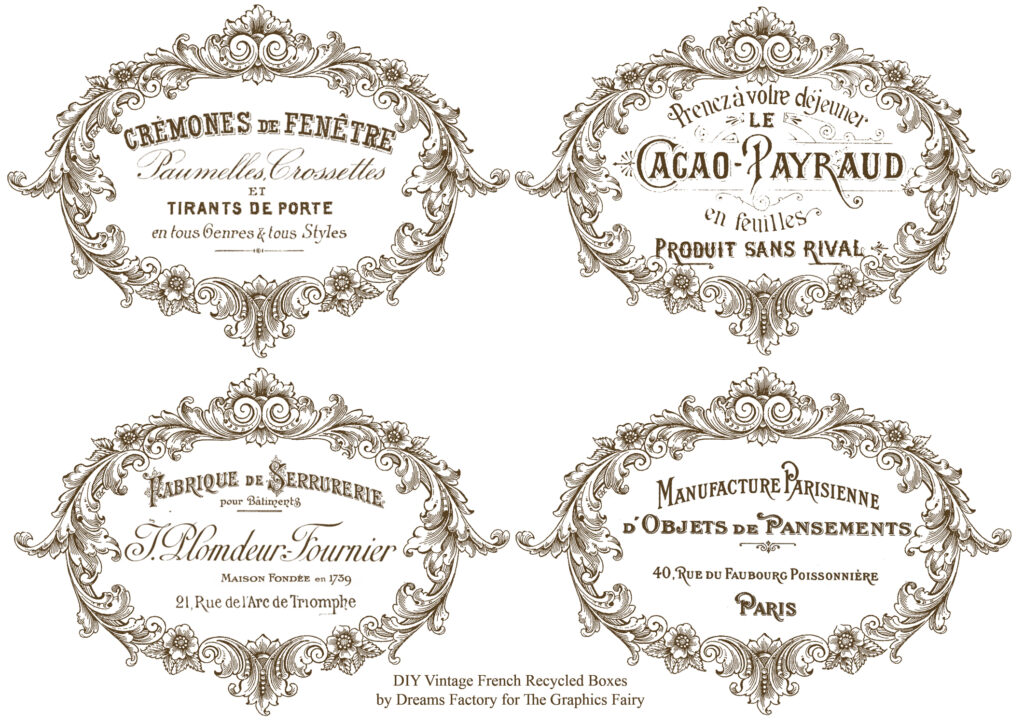
—-> CLICK HERE TO DOWNLOAD THE FULL SIZE PRINTABLE PDF <—-
Supplies
- French printable
- cardstock paper (or regular white paper, even sticker paper will work)
- laserjet printer (I have this laserjet printer)
- scissors
- old chocolate boxes (I used Toffifee)
- chalk paint or acrylic paint (I used ivory as my main color)
- chalk paint or acrylic paint (I used burnt umber and gold as my distressing colors)
- chalk powder or baking powder (optional, if using acrylic paint)
- a small mixing palette (I used a small plate)
- spray inks (pink and gold)
- a small brush
- a small craft sponge
- Mod Podge
- a plastic sheet or a non absorbent surface (to protect your working area)
- a heat gun tool or a hair dryer (to speed up the drying)
You can start by painting the boxes or working on your labels, either way is fine. Intertwine the painting with the drying times as you wish.
DIY French Upcycled Candy Boxes – painting the boxes
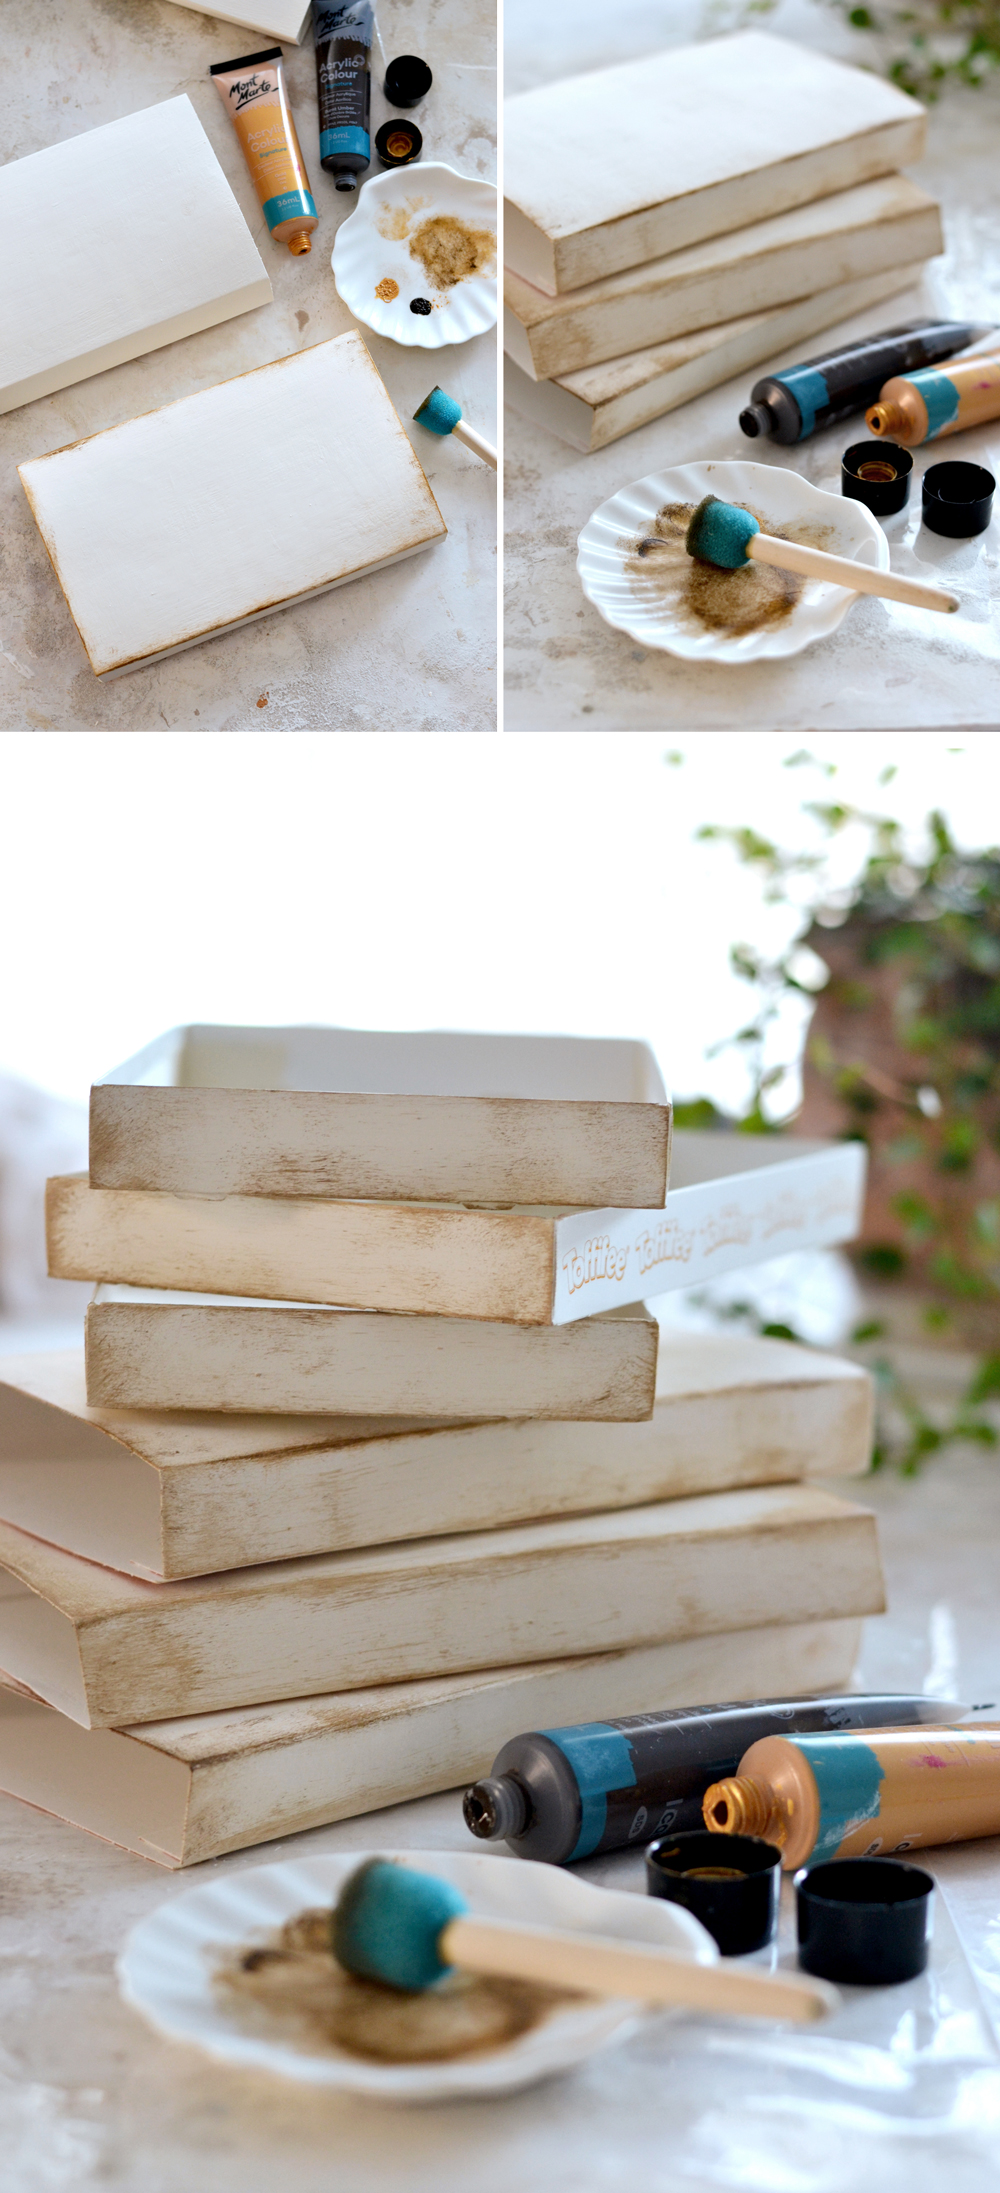
1. Start by removing the inside sliding part of your box and paint the outside of the box in your neutral color of choice. As I mentioned before, I went with ivory acrylic paint mixed with a little bit of white as my main color.
2. The inside sliders (not sure if they have a more specific name) of these particular boxes can be quite difficult to get out, you have to be careful not to tear them. Because of this, I knew that adding a few layers of paint will make them even more difficult to slide out, so I decided to only add paint on the shorter sides of the slider – the ones that were not touching the inside of the box.
3. Depending on the acrylic paint that you are using, you might have to brush a few layers before getting a full and complete coverage.
TIPS & TRICKS:
If you want to speed things up, you can gradually mix chalk powder (can be found in craft stores or online) or baking powder (can be found in your kitchen, hehe) – with your acrylic paint to give it a thicker consistency. This will help you get a better coverage quicker and will give your acrylic paint a more chalky finish. If you want to get even more of that chalky feel, try alternating the direction of your brushing – go with up and down moves for one of the layers, let it dry, then go with left and right brush strokes for the next one and so on. This will also create some beautiful texture. Let everything air dry before moving to the next step or use a heat gun / hairdryer to speed up the process.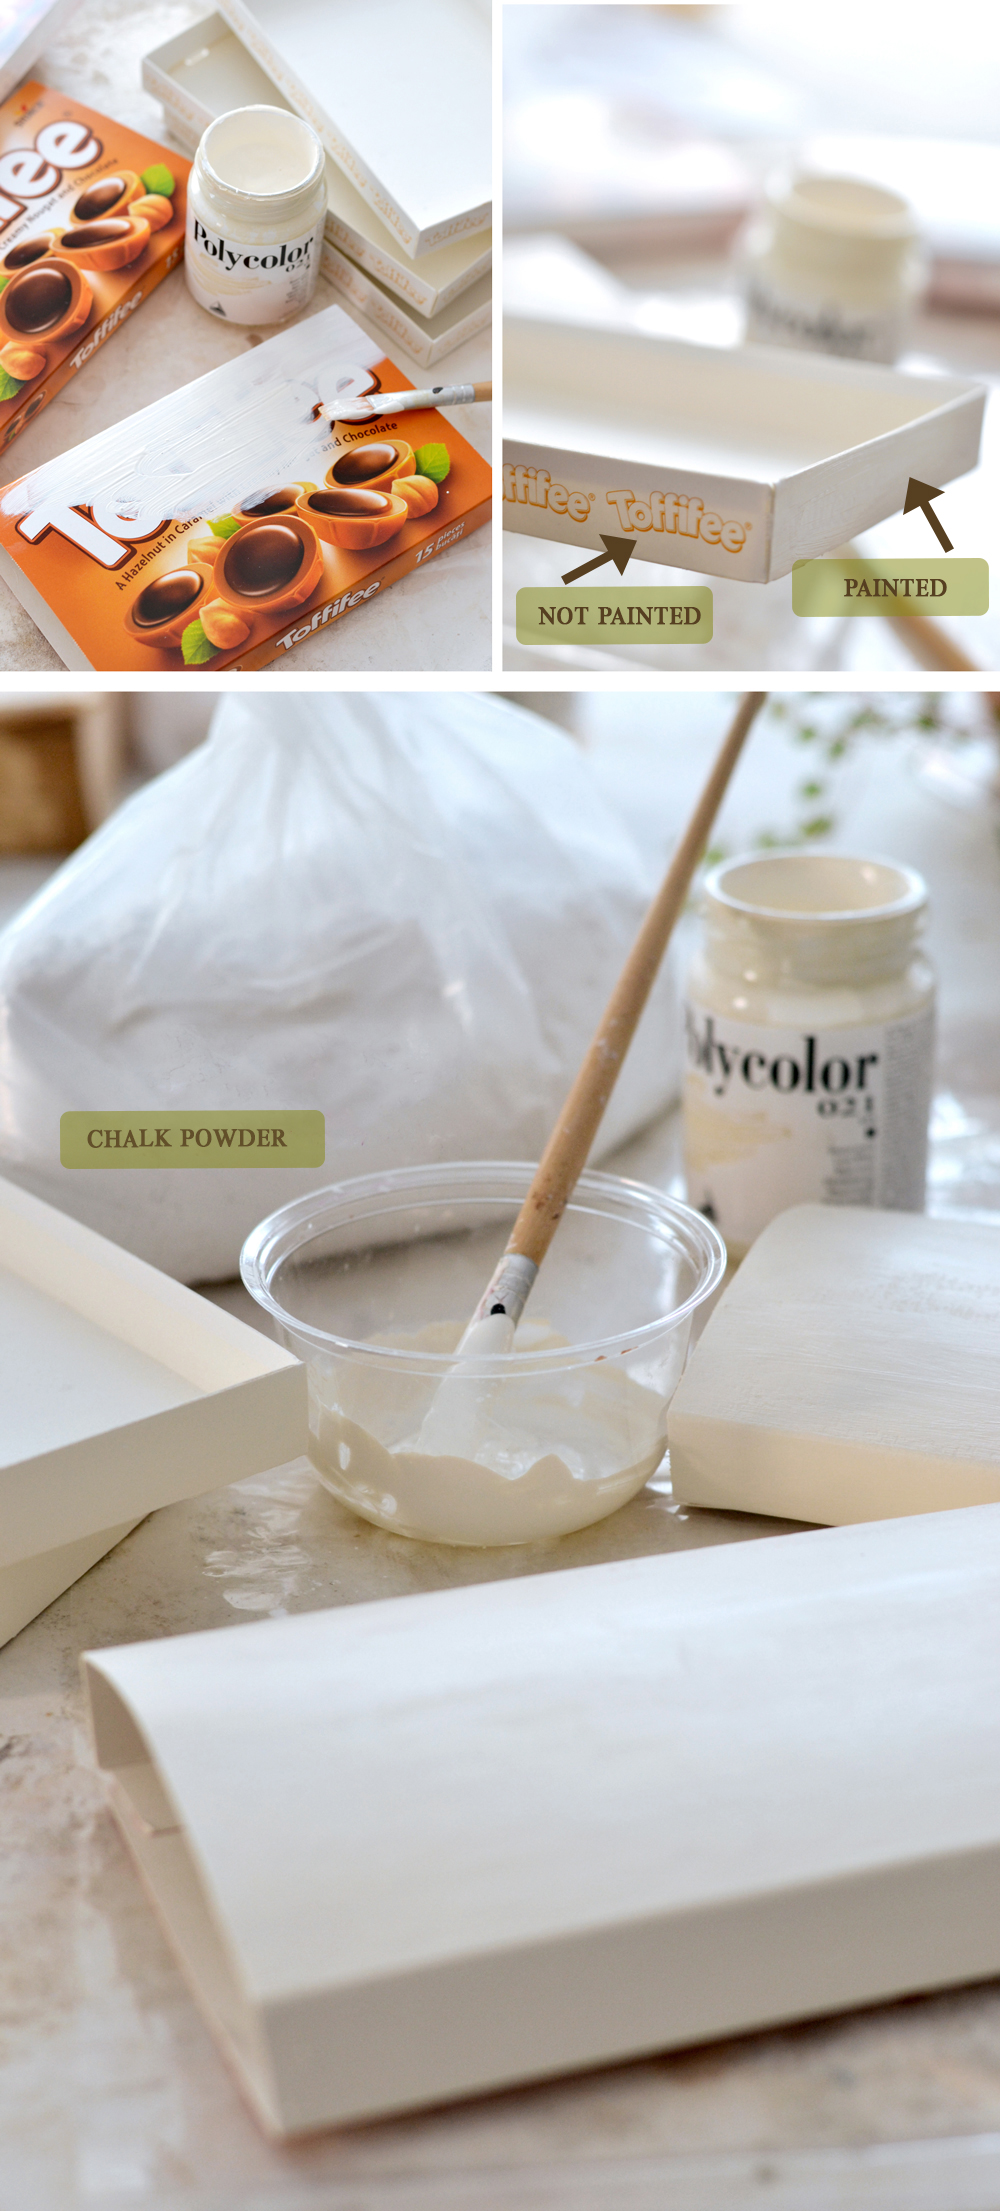
DIY Vintage French Recycled Chocolate Boxes – distressing the boxes
4. I went with burnt umber and gold to distress the edges of the boxes, again, choose only one or several other colors if you want. This dry brushing technique is really simple, you just add a small amount of the two colors on a small plate, and without adding any water, lightly dab a small sponge into the paint a few times. Now dab some of that paint on your plate first, until almost completely removed from your sponge, then go with your sponge all over the edges of your box. Apply more or less pressure, depending on the level of distress you are trying to get. Add more paint on your plate first, dab it with your sponge, then apply it on the edges again, until you reach the desired look. The up and down, right and left moves that we made earlier to create texture will now pay off, the distressing sponge will beautifully accentuate some of those marks.
5-6. Do the same with all the boxes, then distress the small sides of the sliders too.
DIY French Upcycled Candy Boxes – staining and distressing the French labels
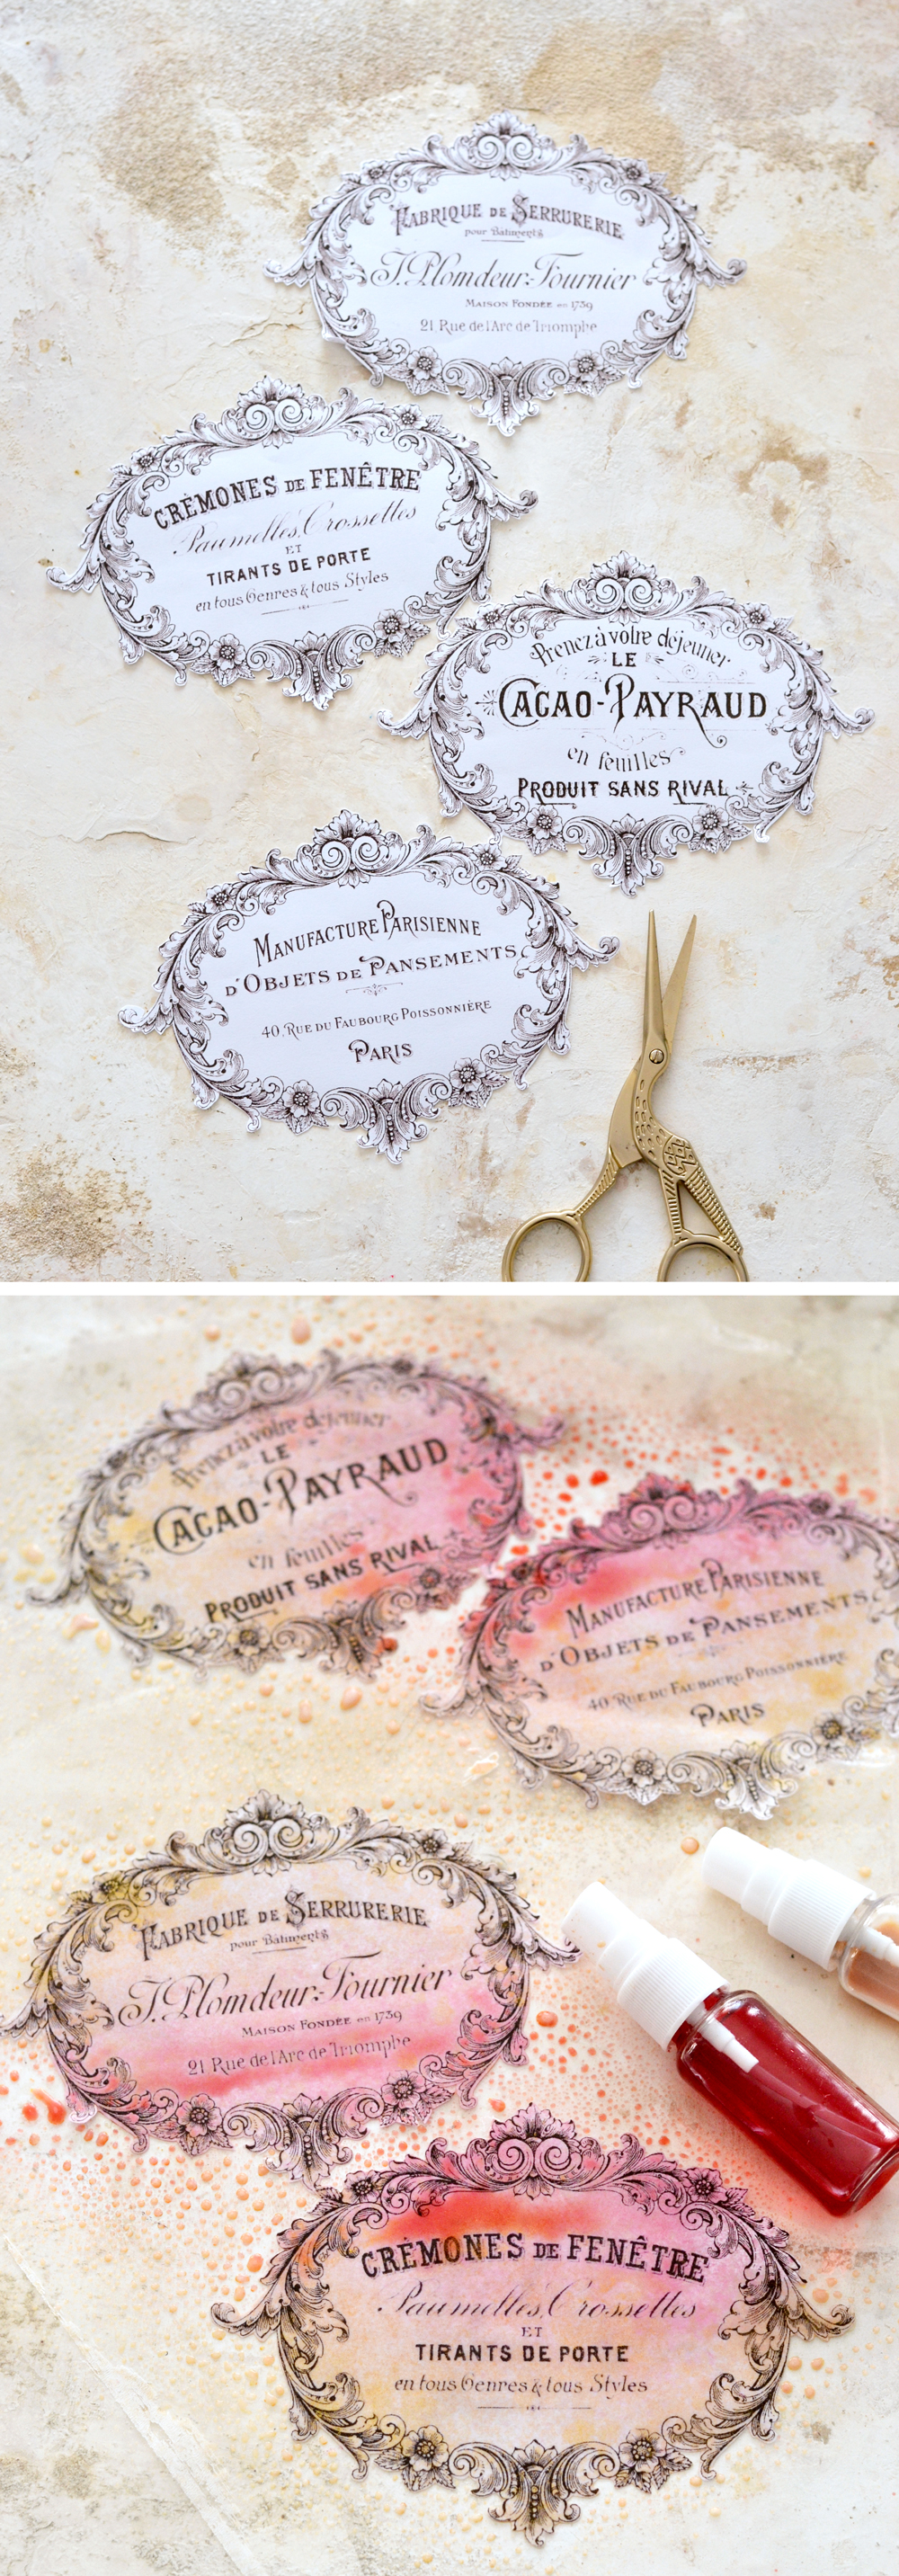
7. While the boxes are drying, start working on your labels. Use your scissors to remove the excess white paper outside the beautiful vintage frame trying to follow the lines of the design.
8. I used spray inks for the next fun part and simply spritzed some pink and gold on the paper, here and there. Just like before, you can choose the colors that you want and also how vivid you want them to be. Use watercolors or highly diluted acrylic paint to create a similar effect.
P.S. Please tell me you’ve already placed some sort of a protective material (plastic sheet, teflon mat, silicone mat) on your working surface 🙂
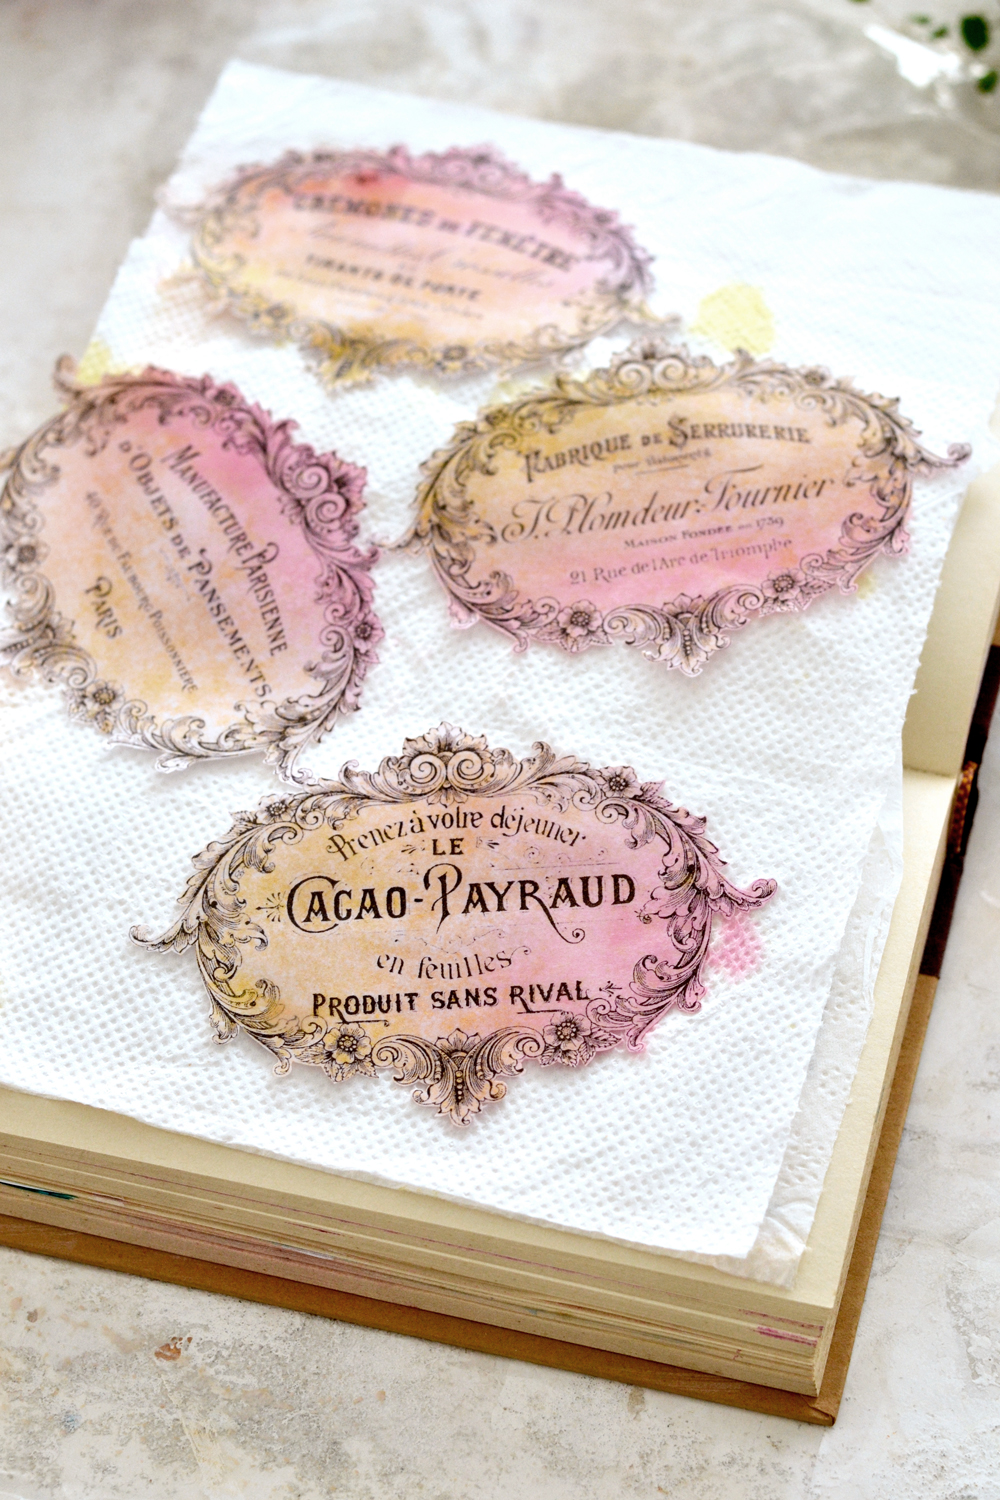
9. You can leave the labels on your table to air dry, but it might take quite some time. You can also gently peel the labels from your table and arrange them on some paper towels, for a better absorption. I used an old open book that I didn’t mind staining.
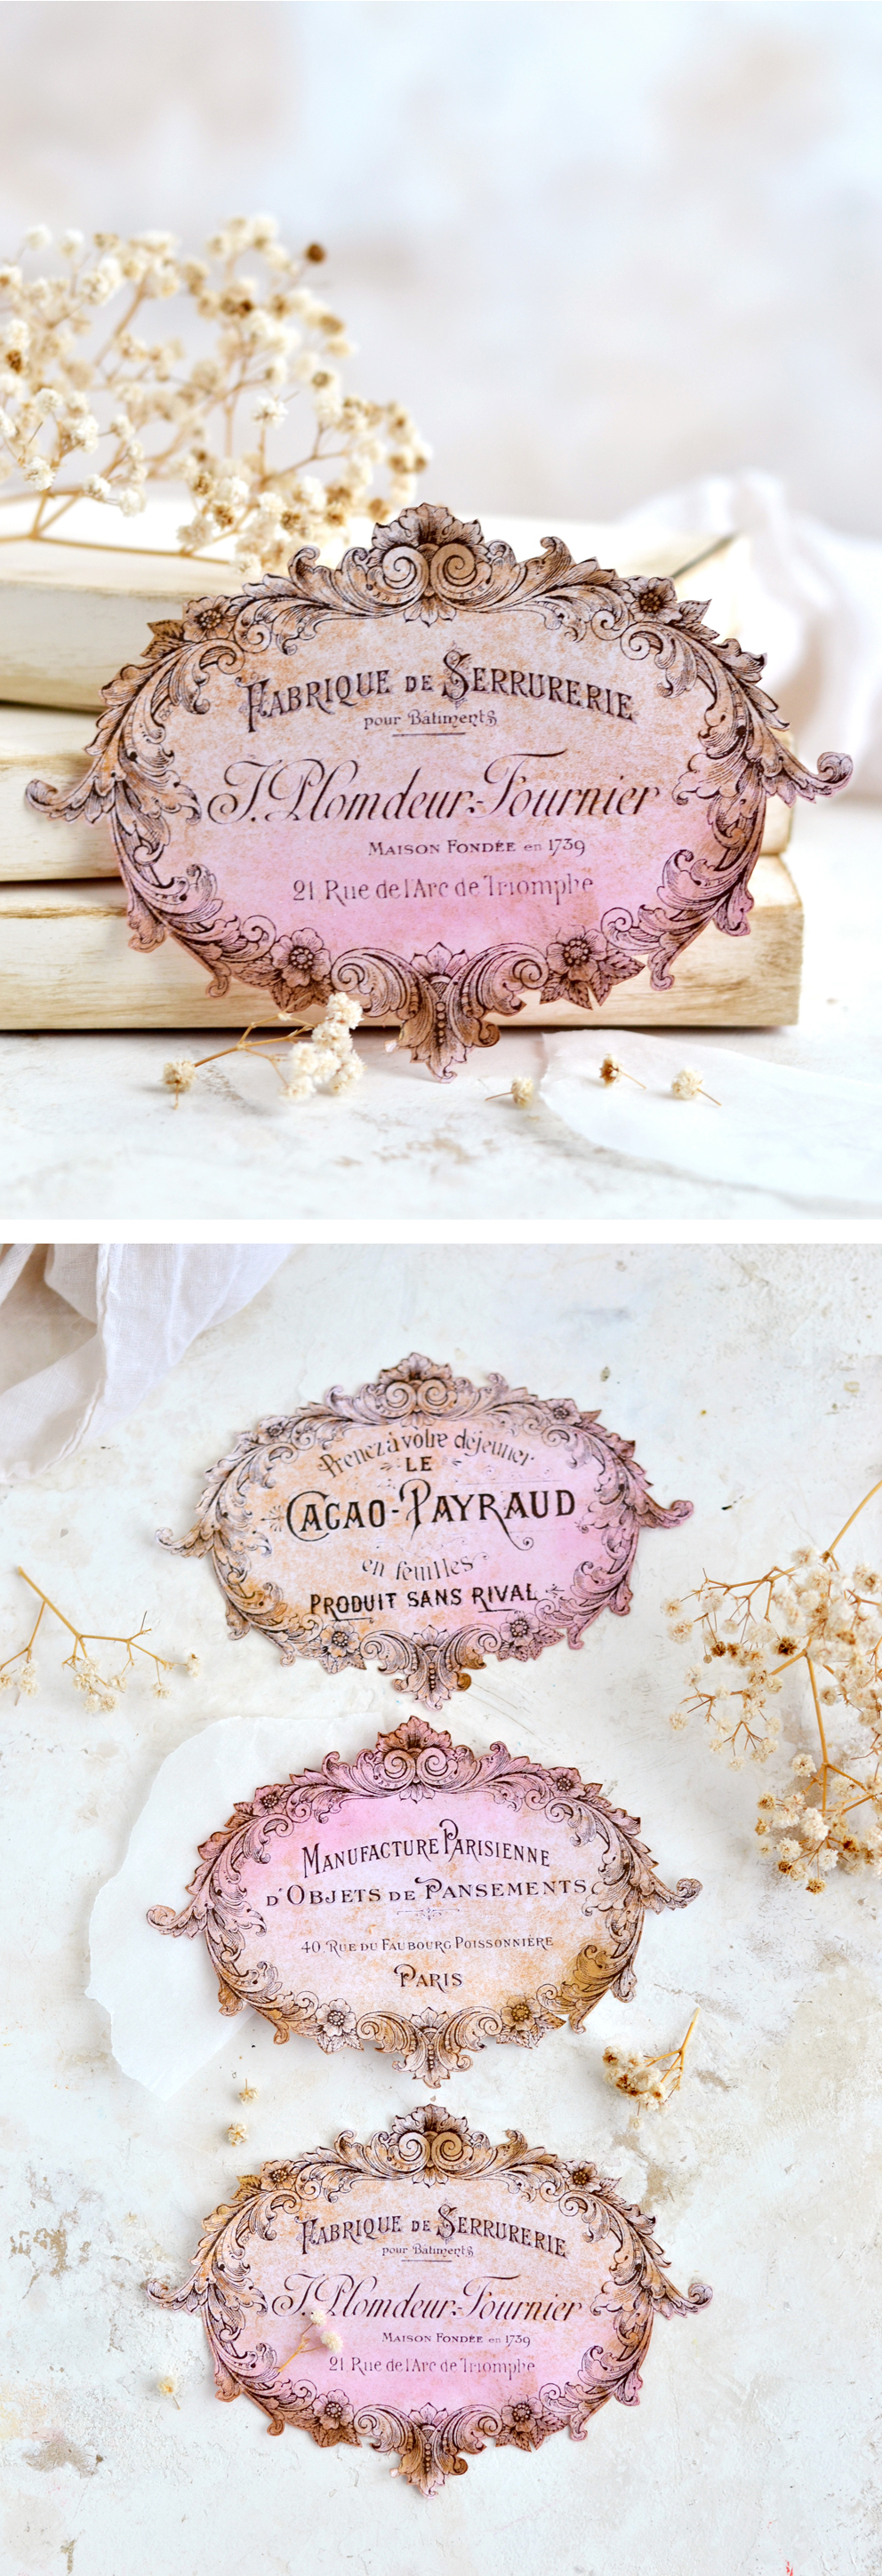
The colors faded a little bit after drying and I really loved their final muted look. You can use more of that burnt umber and gold acrylic paint to lightly distress the edges if you want, following the same dabbing on the plate first, then painting steps as before. Just make sure you go really gentle while applying it over the paper edges.
Using the gold spray ink on these labels was simply a brilliant idea, I’m sure you will agree with me on that if you give it a try. The really small shimmering metallic particles bring the labels to a whole new level of chicness! Depending on the lighting, the gold will create beautiful glowing effects and will even give a somehow ‘rusty’ feel to the labels. Give it a try, you will adore them! 🙂
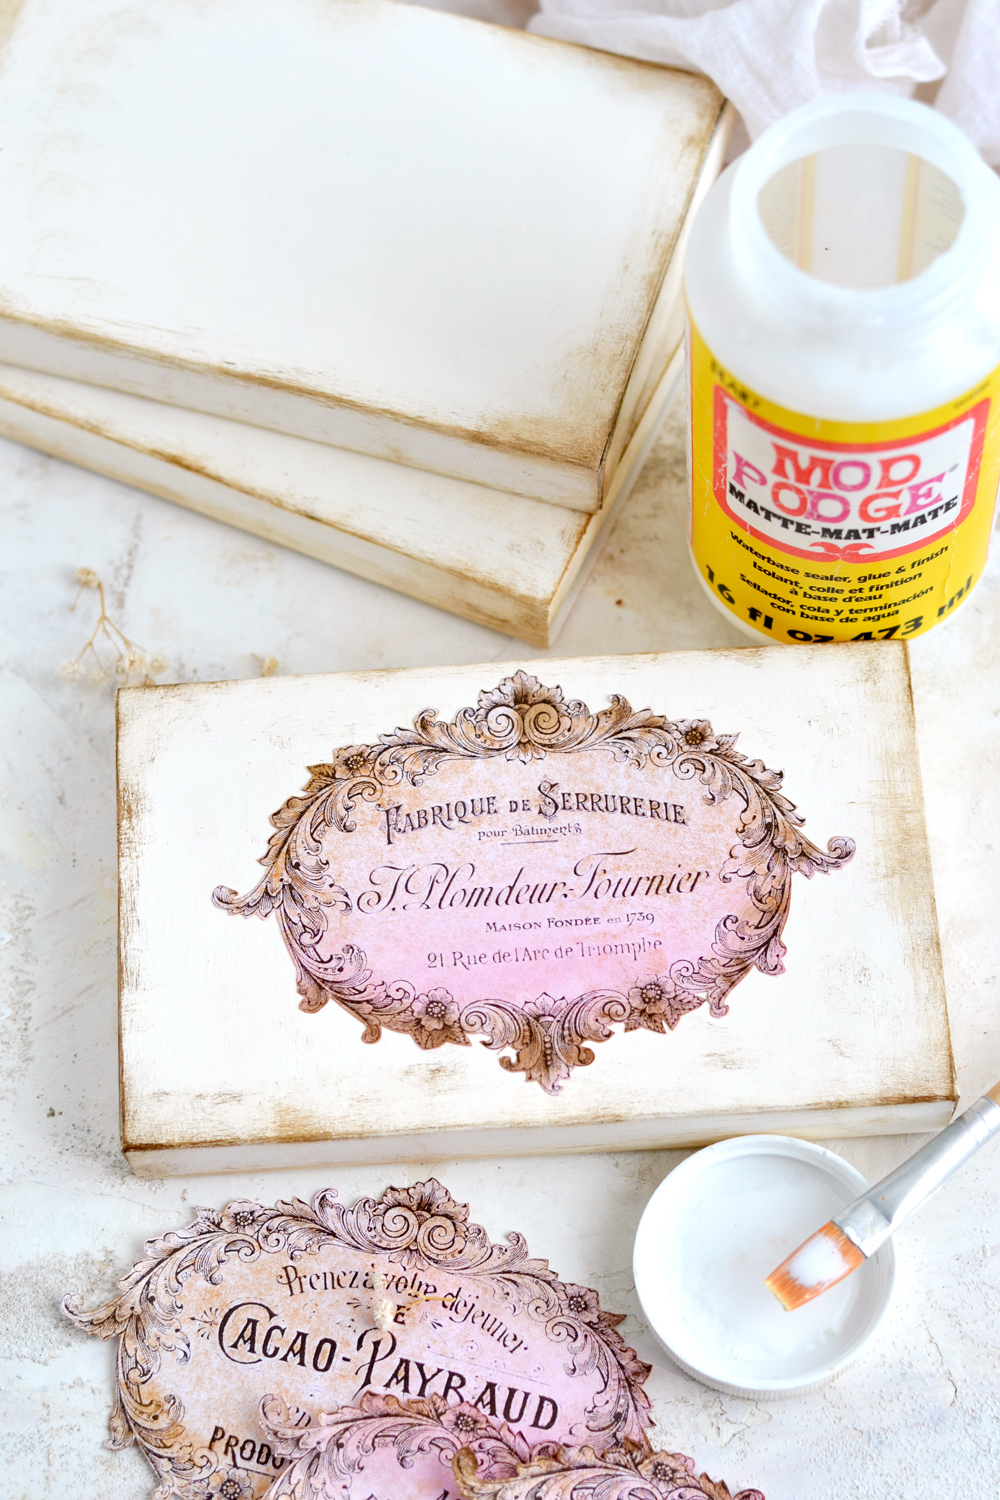
10. For the next and final step I simply glided the sliders back into the boxes, then used Mod Podge to adhere the chic labels on top.
And that’s it! Can you believe we created these beauties and we started with some regular chocolate boxes? Pretty amazing, right? 🙂
After giving the recycled boxes this chic and dreamy new life, you can use them to store and organize different small objects around your home. The perfect way of combining functionality and aesthetics, I just LOVE when that happens!
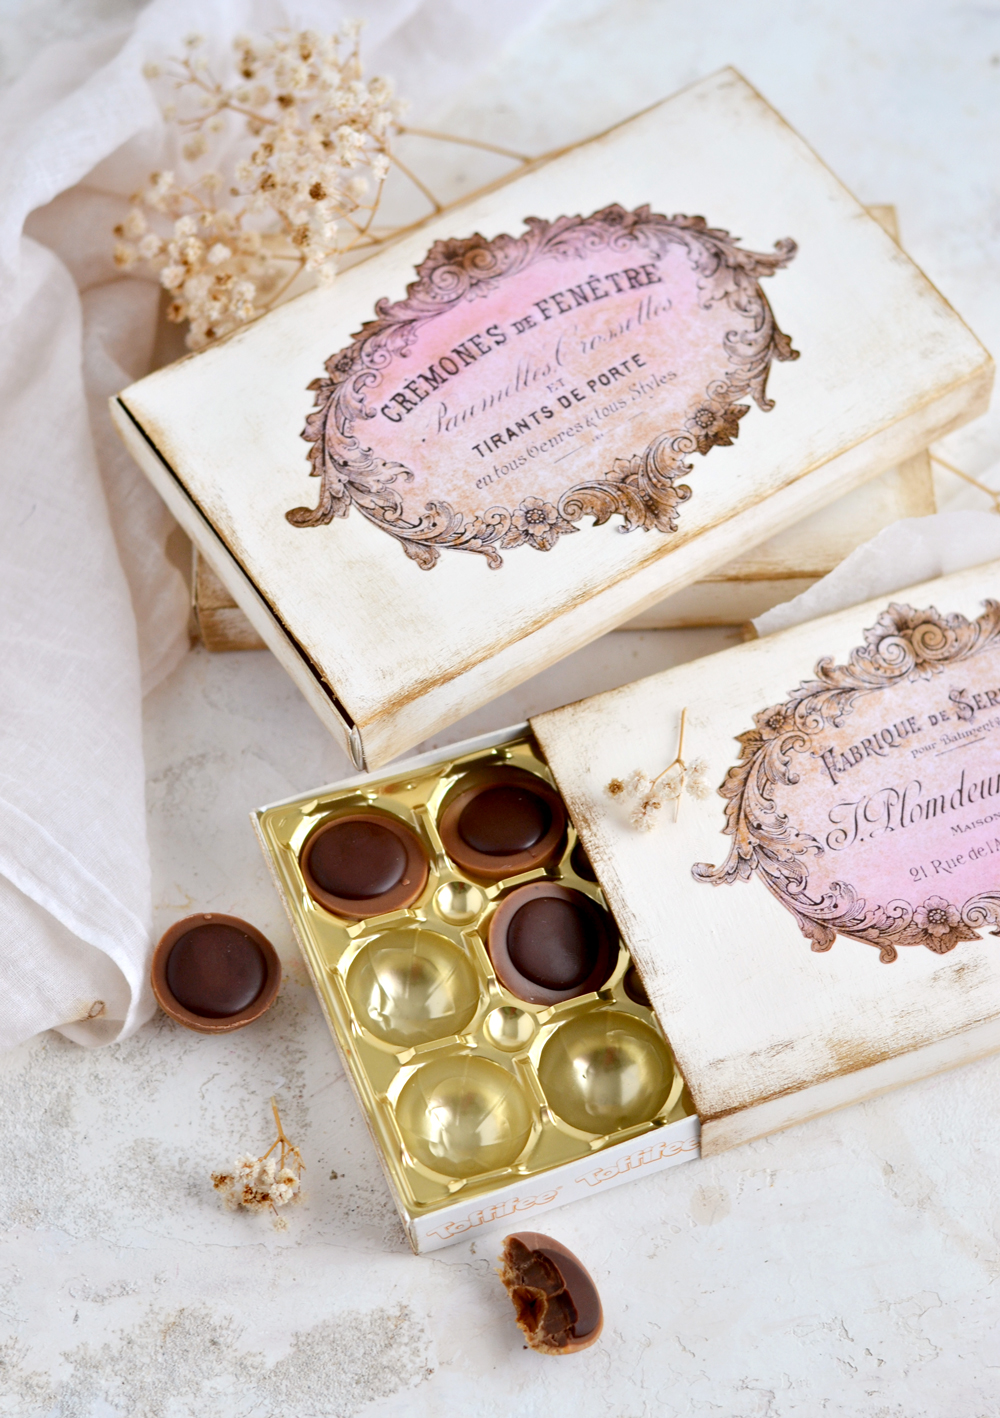 You can also turn the boxes into amazing gifts for family, friends or neighbors! Thoughtful gifts are much more appreciated, especially when they are handcrafted by you! And if you have no idea what to put inside, simply add some chocolate. That is always a good idea! You might also want to check out my Gorgeous DIY French Chic Recycled Containers too!
Happy crafting,
Diana / Dreams Factory


Sally says
Cannot wait to try this! How do you think this would be on recycled lamp shades?
Best,
Sally
graphicsfairy says
Diana did an amazing job as always! You could give it a try for sure, good luck and have fun!
Annita M. Escobar says
Sweet! Merci!
graphicsfairy says
Thank you Annita and you are very welcome 🙂
Genna Morrow says
Thank you!
graphicsfairy says
You are very welcome Genna 🙂
Ruth A Bryant says
Delightful! Thank you.
graphicsfairy says
You are very welcome Ruth 🙂