Gold Foil Laminator
Hello, Graphics Fairy friends! Diana from Dreams Factory here, and today we are going to use a Gold Foil Laminator! We will be making some super chic and playful DIY Gold Foil Butterfly stickers, perfect to integrate in all of your creative experiments and projects!
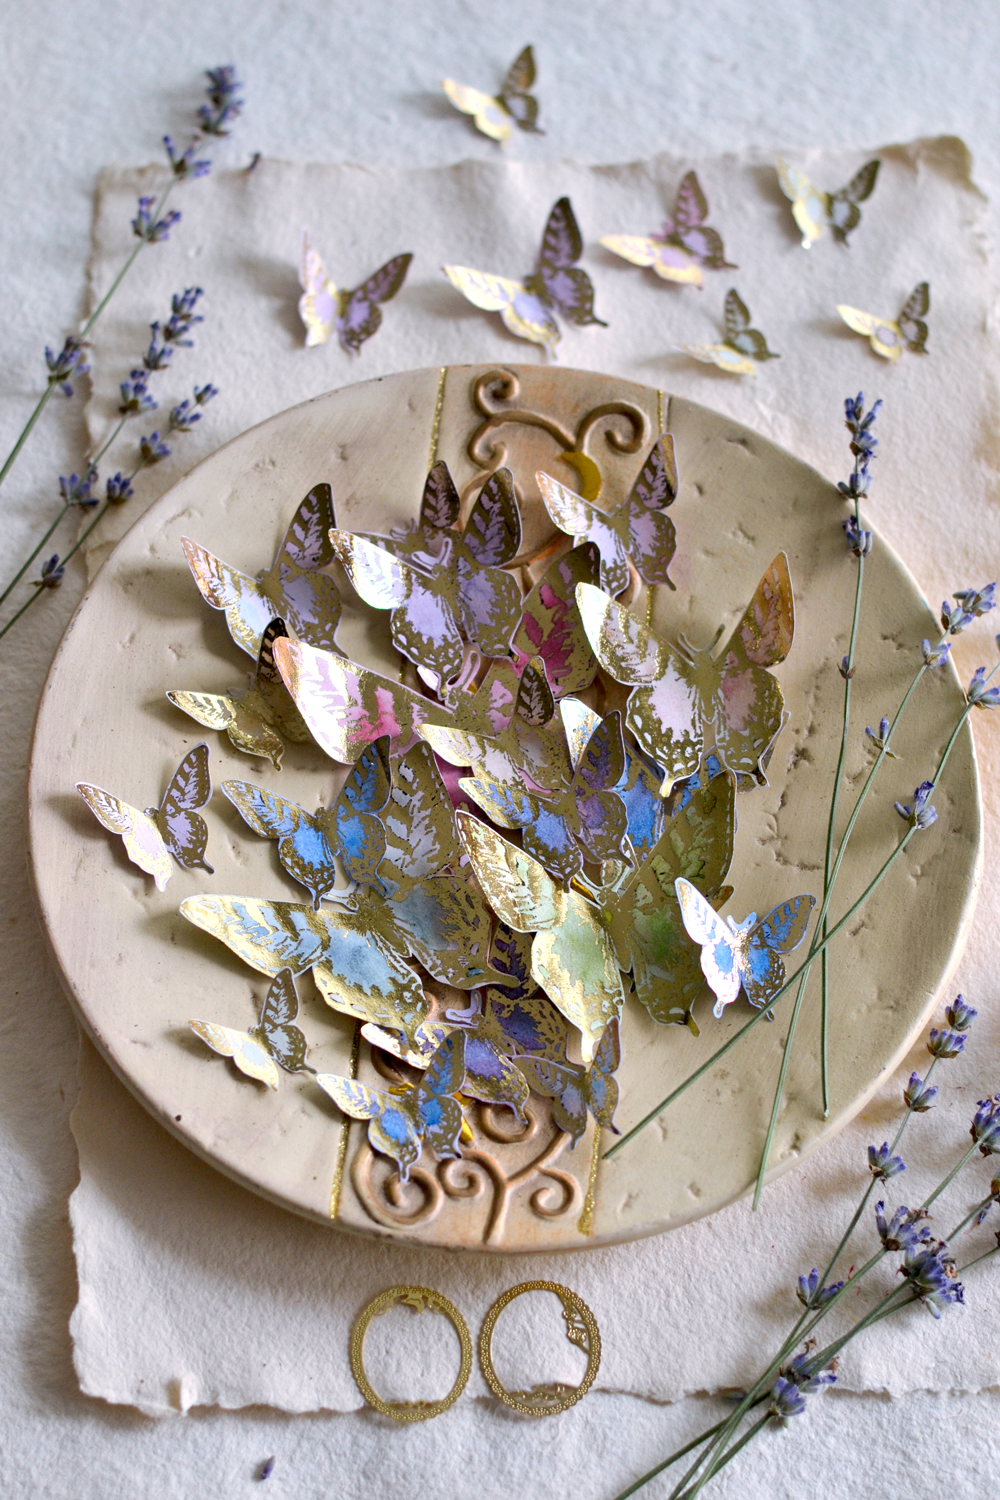
This is one of those projects that you just HAVE to try! Why? Because it’s always a good idea to have some gorgeous paper butterflies laying around for when in need! And when you add gold foil to the whole scenario and some pretty watercolors, you might have THE winning combo! These Stickers are extremely versatile, highly adaptable … and they just look amazing wherever you put them!
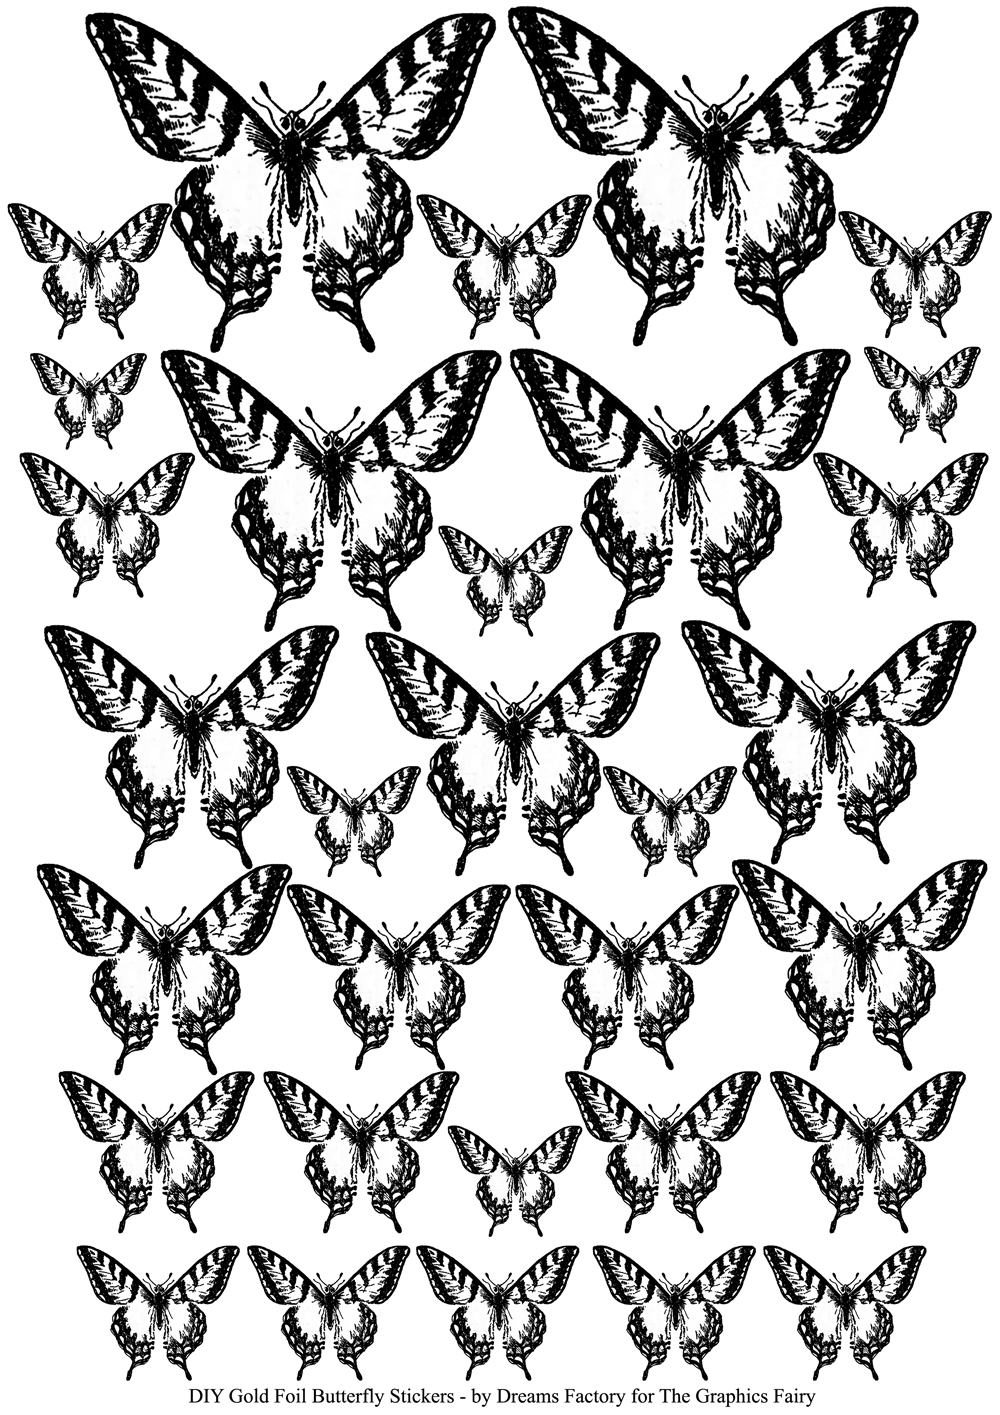
I had the idea for this foil project in mind for a while, but I wasn’t sure what images to use at first. And when I stumbled upon this beautiful black and white butterfly image, I knew this was it! It was just perfect for what I needed it to become! I wanted it to be something easily adapted to one’s need. Something that would give you the chance to experiment and have fun with while adding your favorite colors. Something that would add a pop of chicness, no matter the project or the season!
—-> Click HERE to Download the Full Size Printable PDF <—-
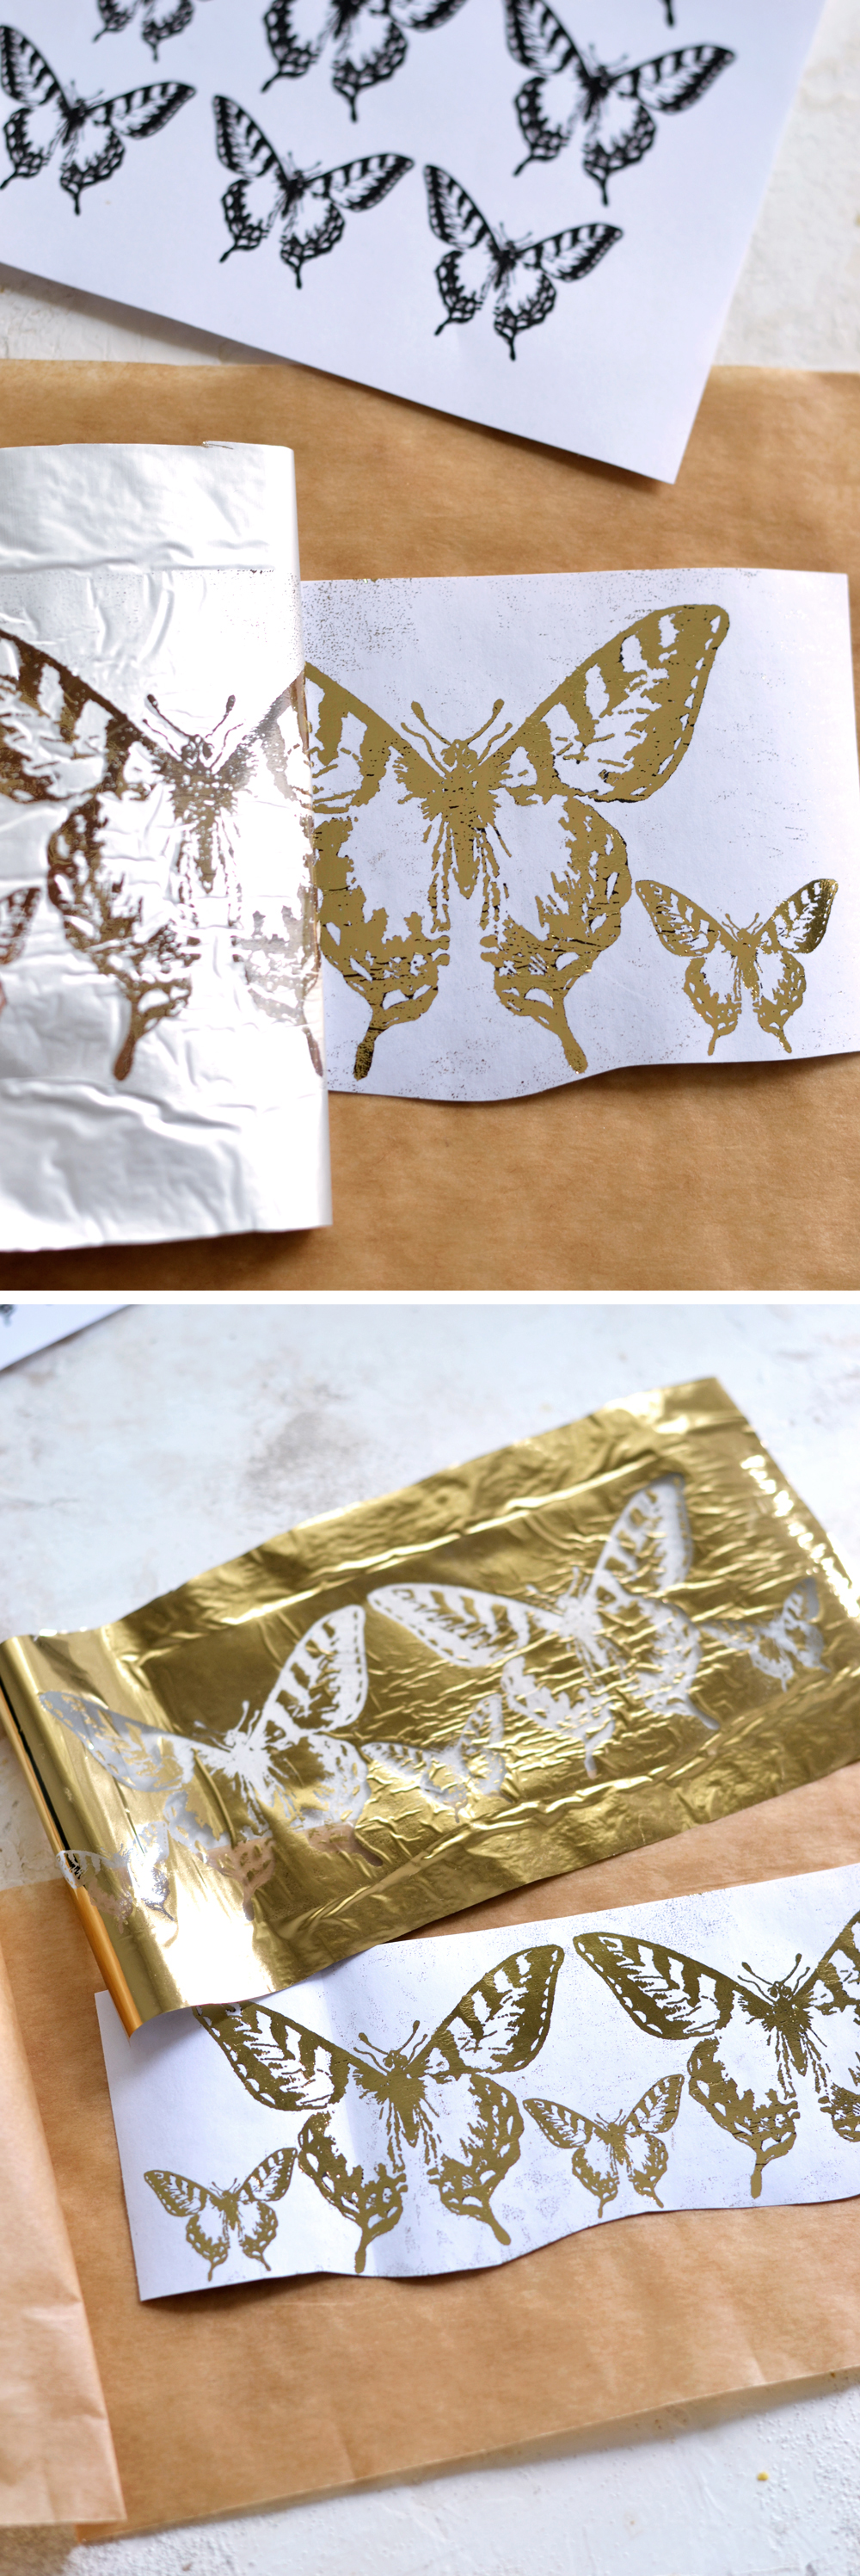
We will be using our black and white butterfly images and we will be taking them to new shiny territories using our laminator! The black and white images here are not chosen by accident, we need a black and white laser printed image for this heat transfer to work. If you are not familiar with heat activated metallic foil transfers, you will be surprised! This technique is really easy but so amazing! When I first discovered this technique, a few months ago, I just wanted to gold foil everything! OK, I still do! It’s really mind blowing to see how an image comes to a new metallic life when simply feeding it through your laminator!
Ideally, it would be best to have a special gold foil machine like a Minc, that is specifically designed for these types of heat transfers, but a laminator would work too. You might not get the same perfect results, but the outcome will be stunning nonetheless.
If you are not a fan of gold in particular but would still love to try this technique, there are other heat metallic foil colors to choose from, just pick the ones that work for you (love the Deco Foil and the Gemini Foilpress )!
My choice of paper for today was white sticker paper, because I wanted to be able to easily adhere the gold foil butterflies to different objects when finished. But feel free to also try this technique with any type of paper (regular, cardstock), just keep in mind that you’ll have to use some sort of adhesive (paper glue, Mod Podge, etc.), depending on the surface you are planning on using the butterflies afterwards.
This technique only works with a laserjet printer, if you don’t have a laser printer at home, print your beautiful butterfly printable at a copy center instead!
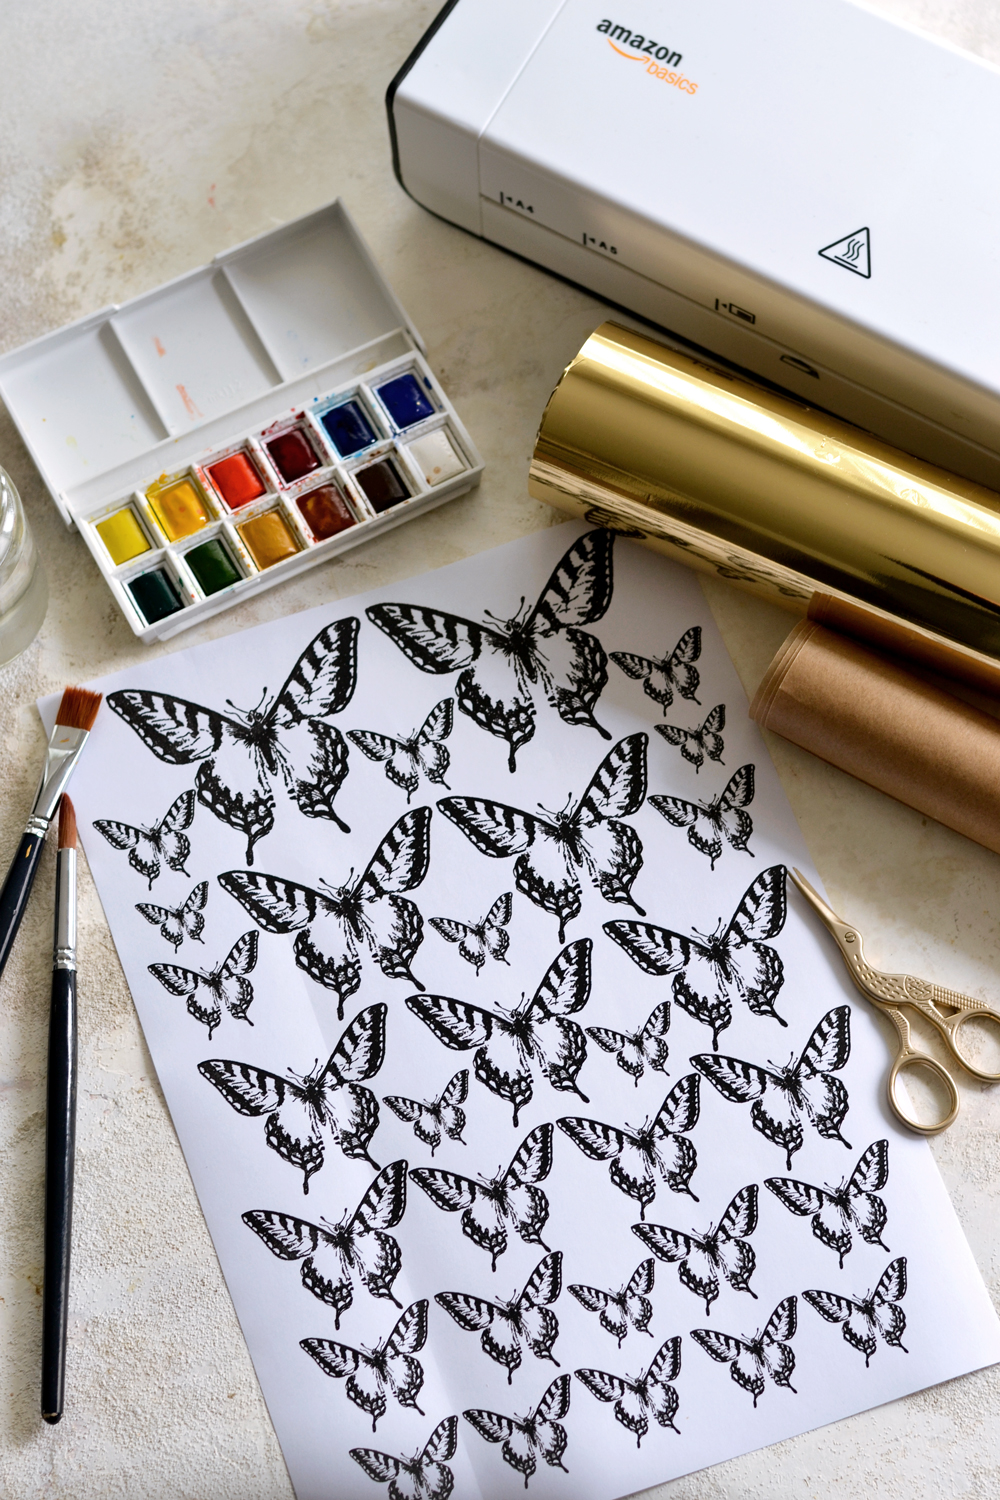
Gold Foil Laminator Stickers Supplies:
- sticker paper (or regular white paper, cardstock, etc.)
- laserjet printer (I have this laserjet printer)
- laminator or Minc
- heat transfer metallic foil
- parchment paper
- scissors
- watercolors & a brush
- a jar / other recipient for water
- a plastic sheet or a non absorbent surface (to protect your working area while using the water and the paint)
- a heat gun (or a hairdryer) – optional
Print your butterfly printable on your choice of paper, gather all the supplies and let’s get started!
Before jumping right in, you can choose to cut your printable in 3 or more sections, I usually get better results when working in smaller sections. 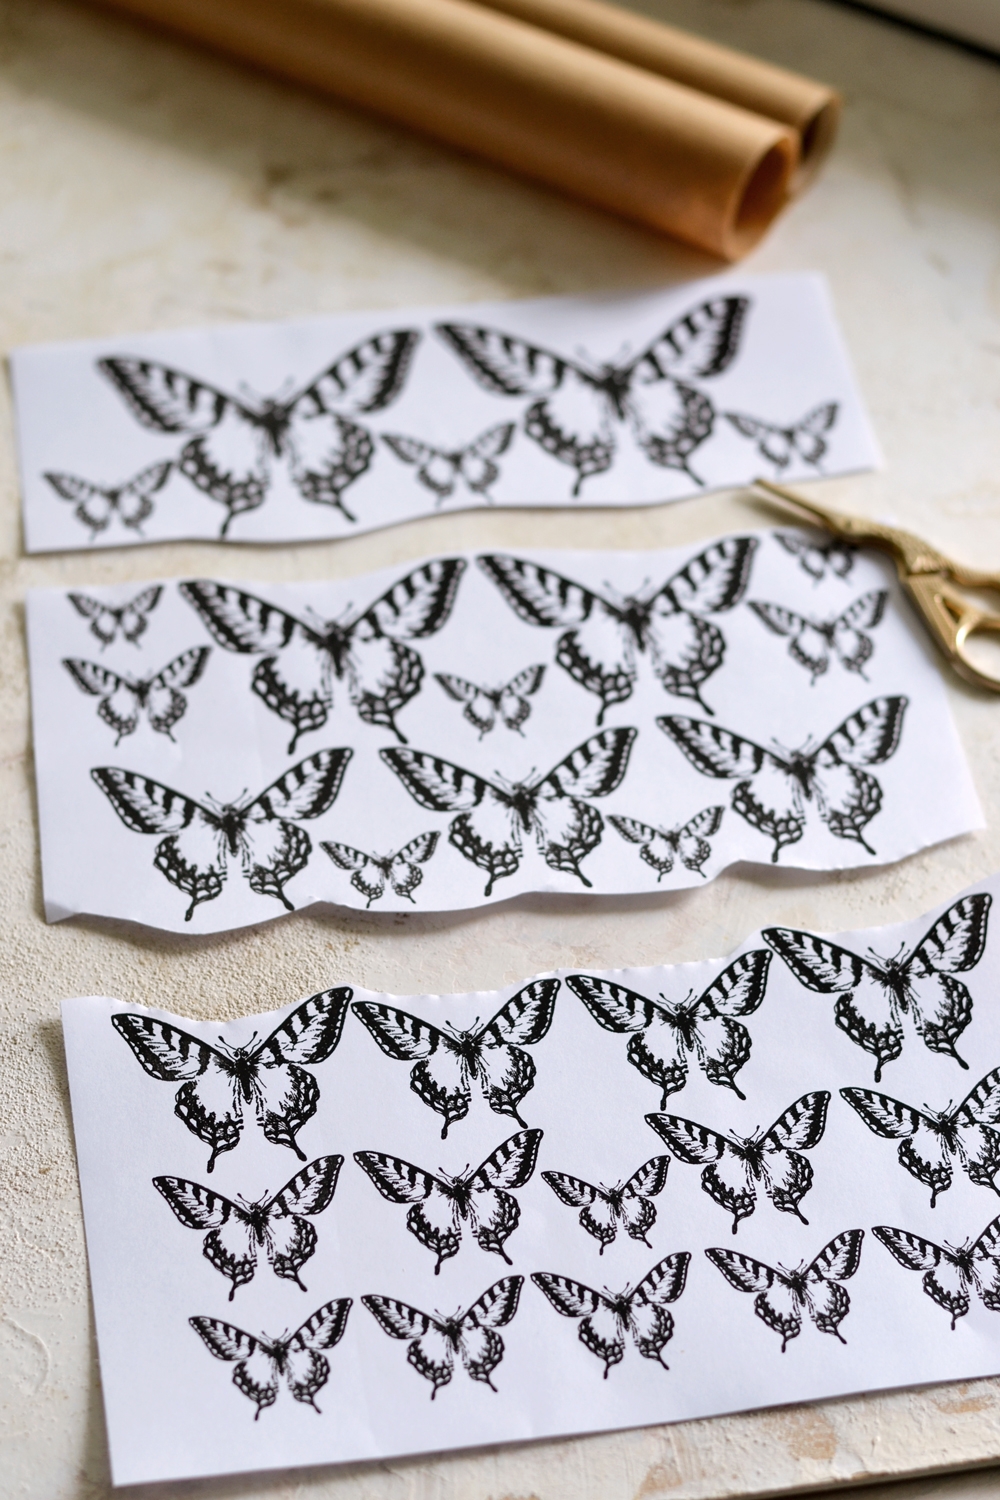
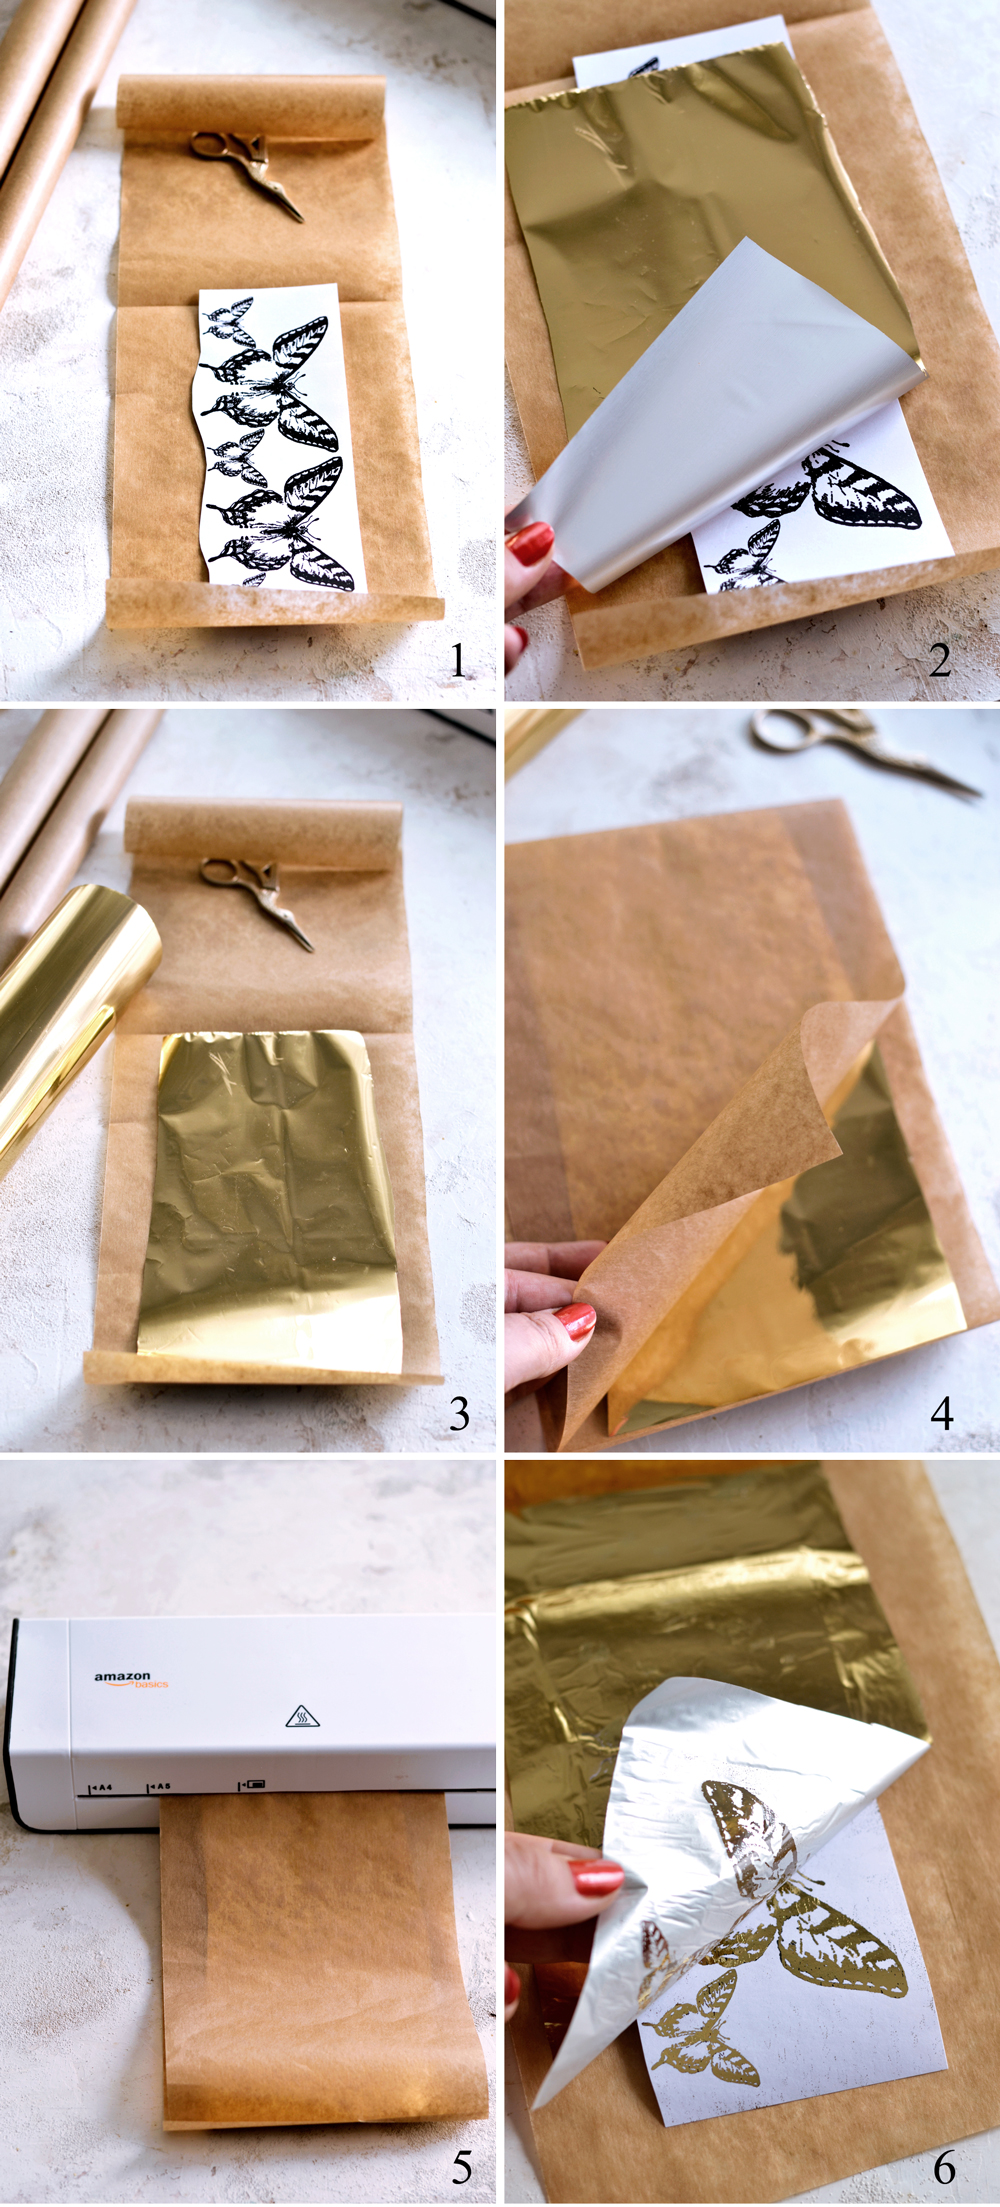
1. The first thing we need to do is create a foldable parchment paper pouch! The parchment pouch needs to completely cover your sticker paper section when folded in half, so it would protect your paper when going through the laminator.
2. Now grab your roll of gold foil and cut your metallic foil the same size or a little bit larger than your sticker paper, so it would completely cover all the printed images. Remember that the beautiful gold and shiny surface is always up when it comes to these types of heat foil transfers and the more dull, silver surface is facing down.
3-4. Carefully arrange you metallic foil on top of the images and fold the parchment paper over them. You now have a perfectly arranged sandwich that is ready to go through your laminator!
5. Let your laminator heat up for a few minutes (mine has a green light to let me know when it’s ready) and carefully feed your parchment sandwich through it.
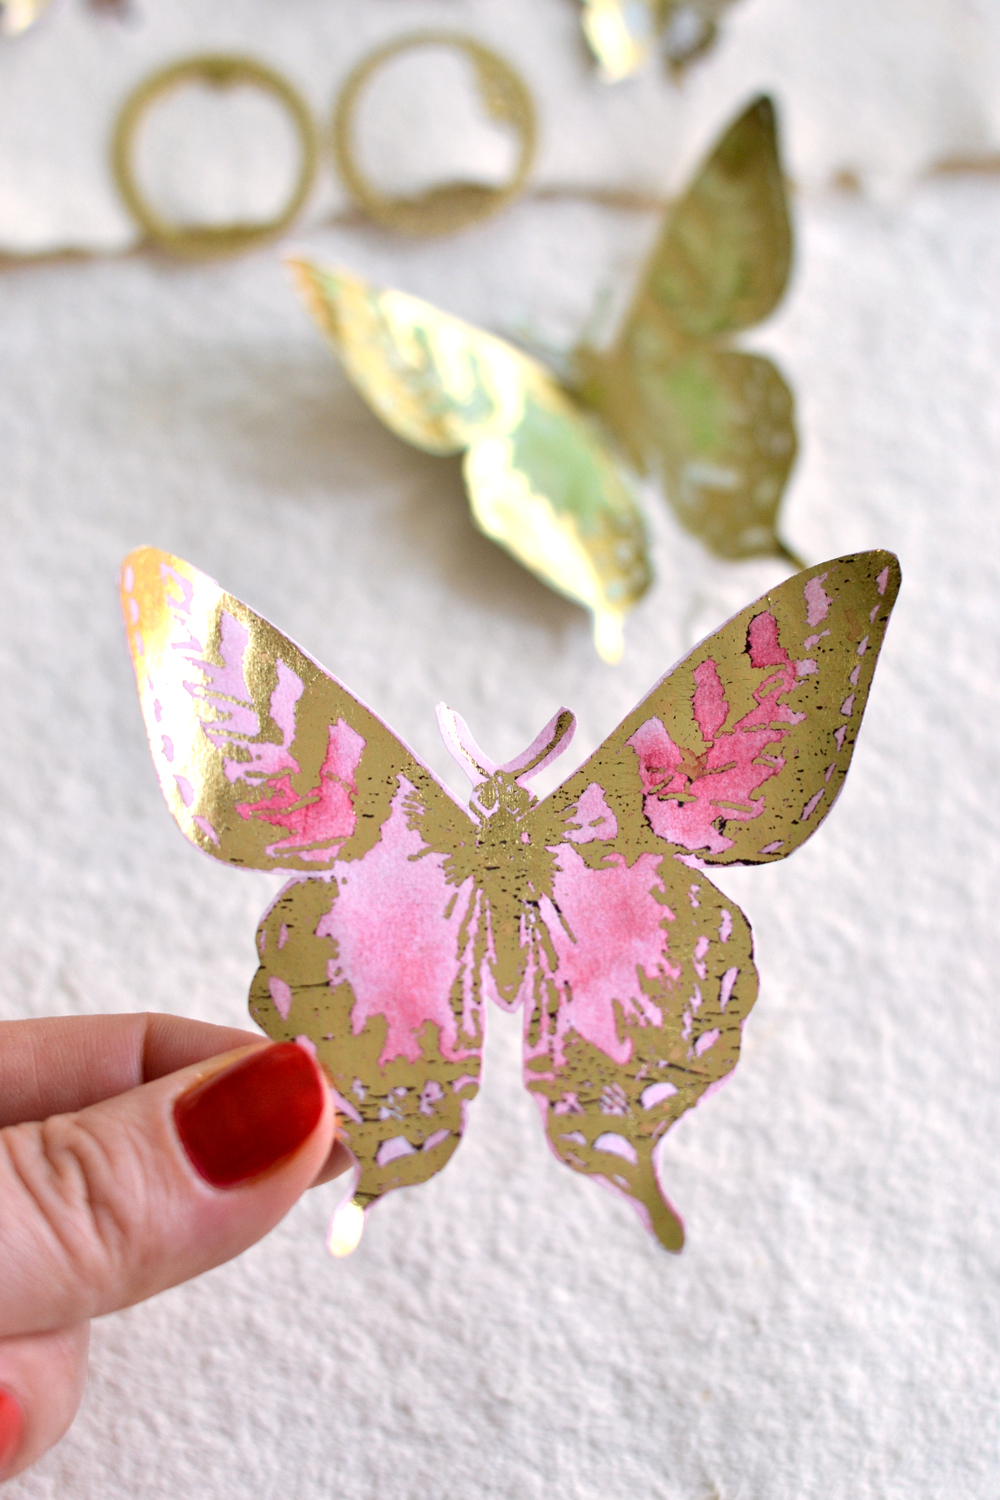
6. Wait for about 20-30 seconds to cool off a little bit after the pouch comes on the other side, open it and then carefully peel off the gold foil on top of the sticker paper to reveal the magic! Your first heat foil transfer is now complete! I told you it was easy!
Depending on the foil you used, your paper, your laminator and even your printer toner, your results will be more or less perfect. So many variables, just like everything in life. So you will only have one choice – to experiment with what you have and see what works best for you! My Butterfly Stickers weren’t flawless for sure, but I really LOVED them all! Even their small perfect imperfections!
7-8. Follow the same steps for the other two sections of printed paper (if you cut the paper in 3 sections like I did), individually feed them through your laminator.
9. All your Gold Foil Stickers are now done, just get ready for all the ‘Oh my God, these are really stunning!’ remarks while admiring all these metallic beauties in different lighting.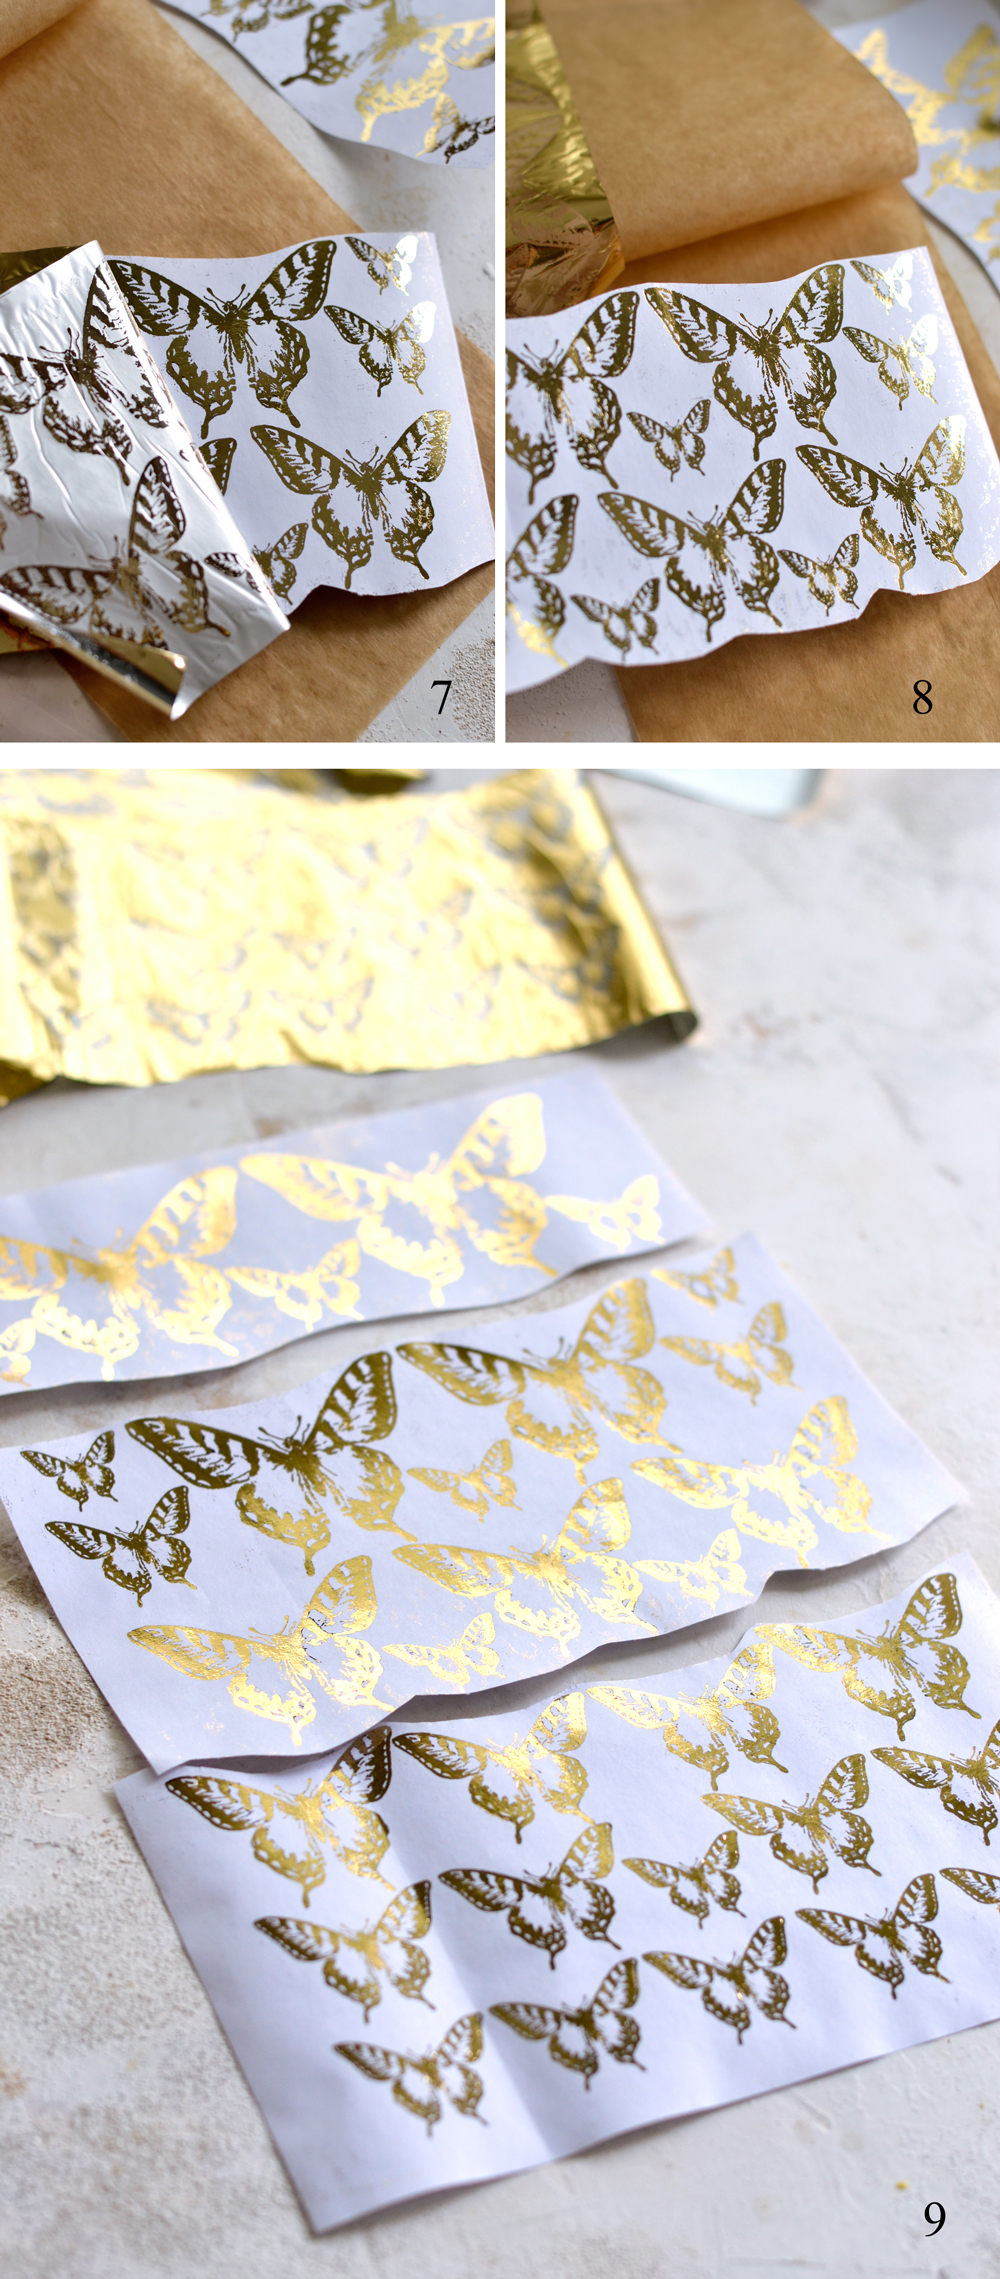
You could stop now and just use the gold stickers like this, but if you want to further experiment, take your watercolors out and have some (more) fun!
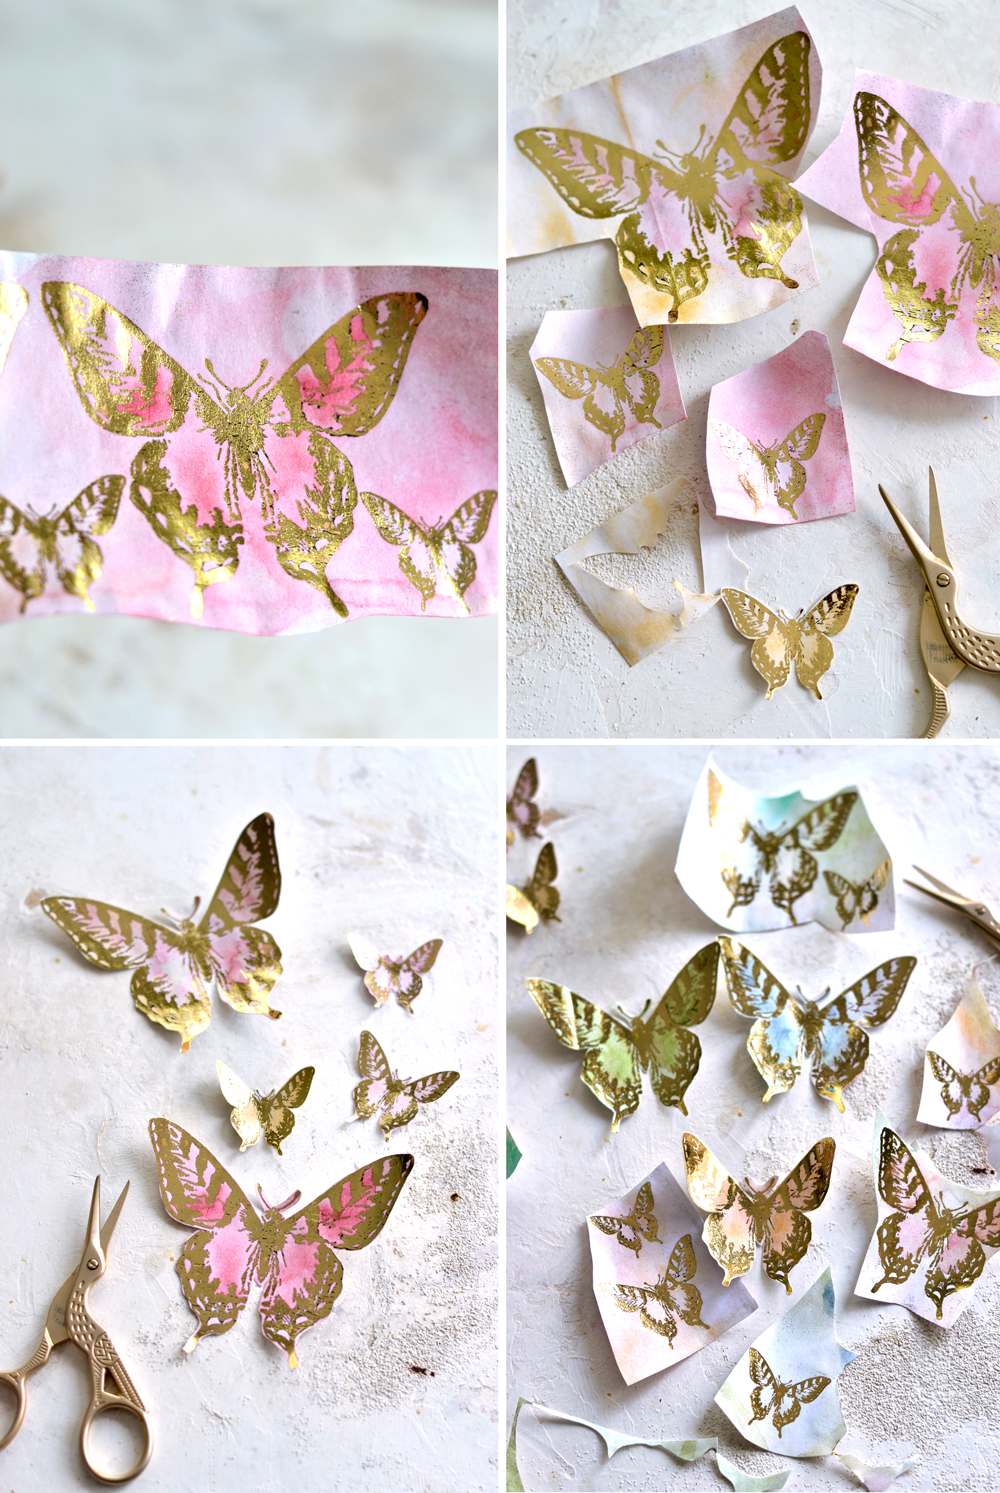
10. Use something to protect your working area first ( I used a large plastic sheet) and arrange your gold foil stickers on top. Use a small bottle to spray some water on your watercolors to activate them.
11. At first I started by completely covering the surface of the paper with lots of water and highly diluted paint, even outside the butterflies’ shapes.
12. While the paper was soaked, I added small dots of more concentrated paint here and there on the butterflies’ wings, to create more interest. I only did this on some of the butterflies while leaving the others with a more subtle colored appearance, to create more contrast and diversity.
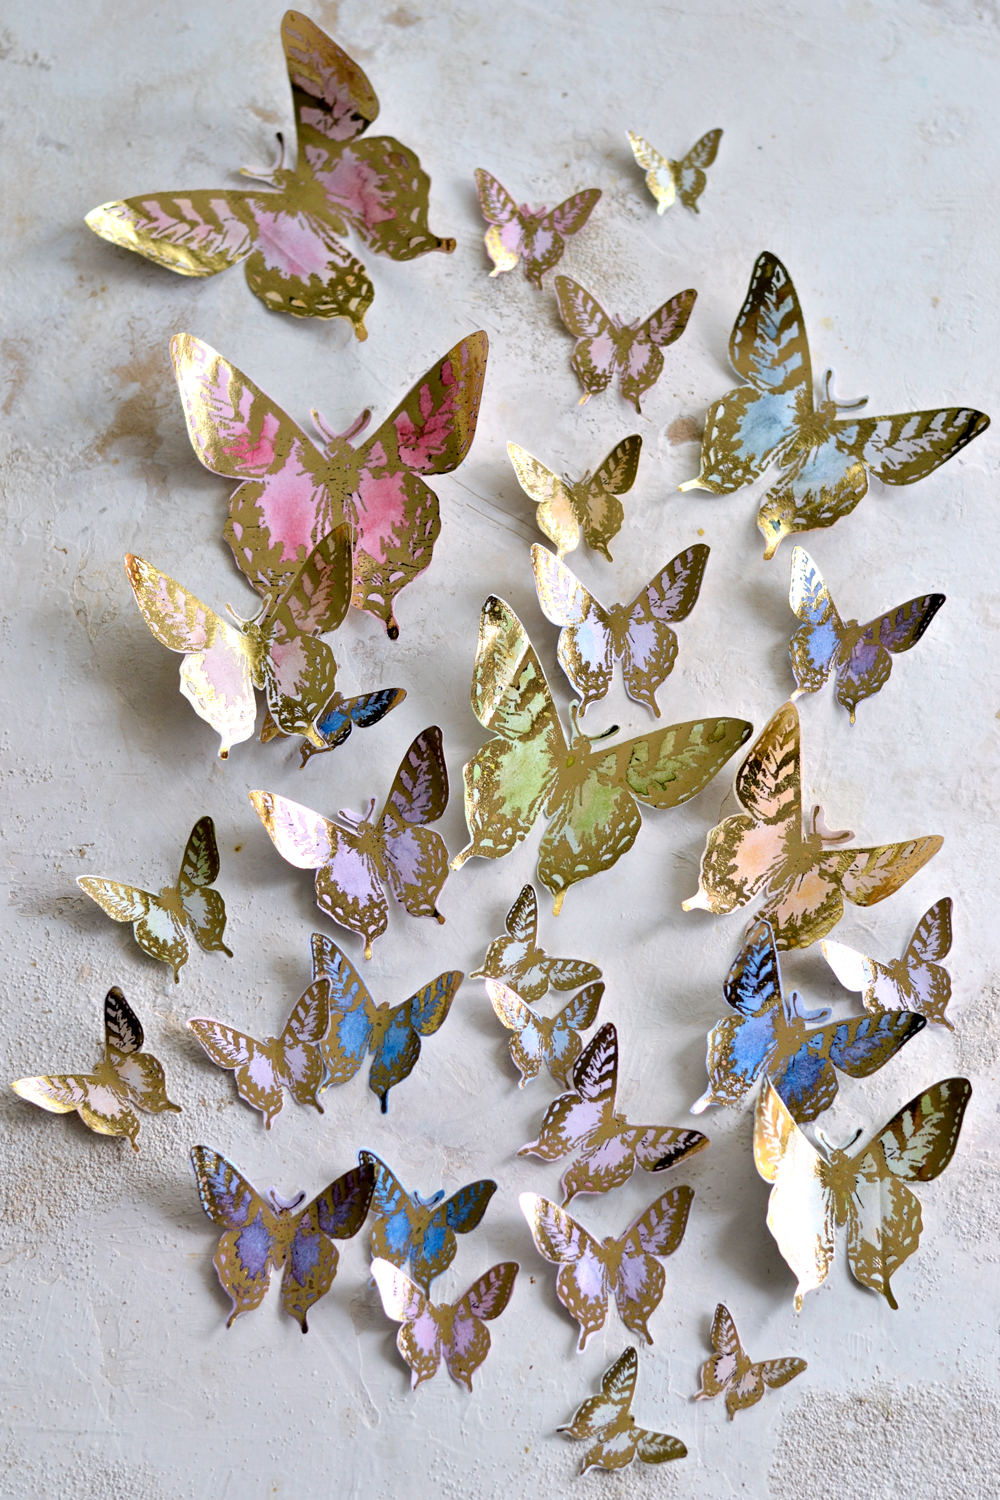
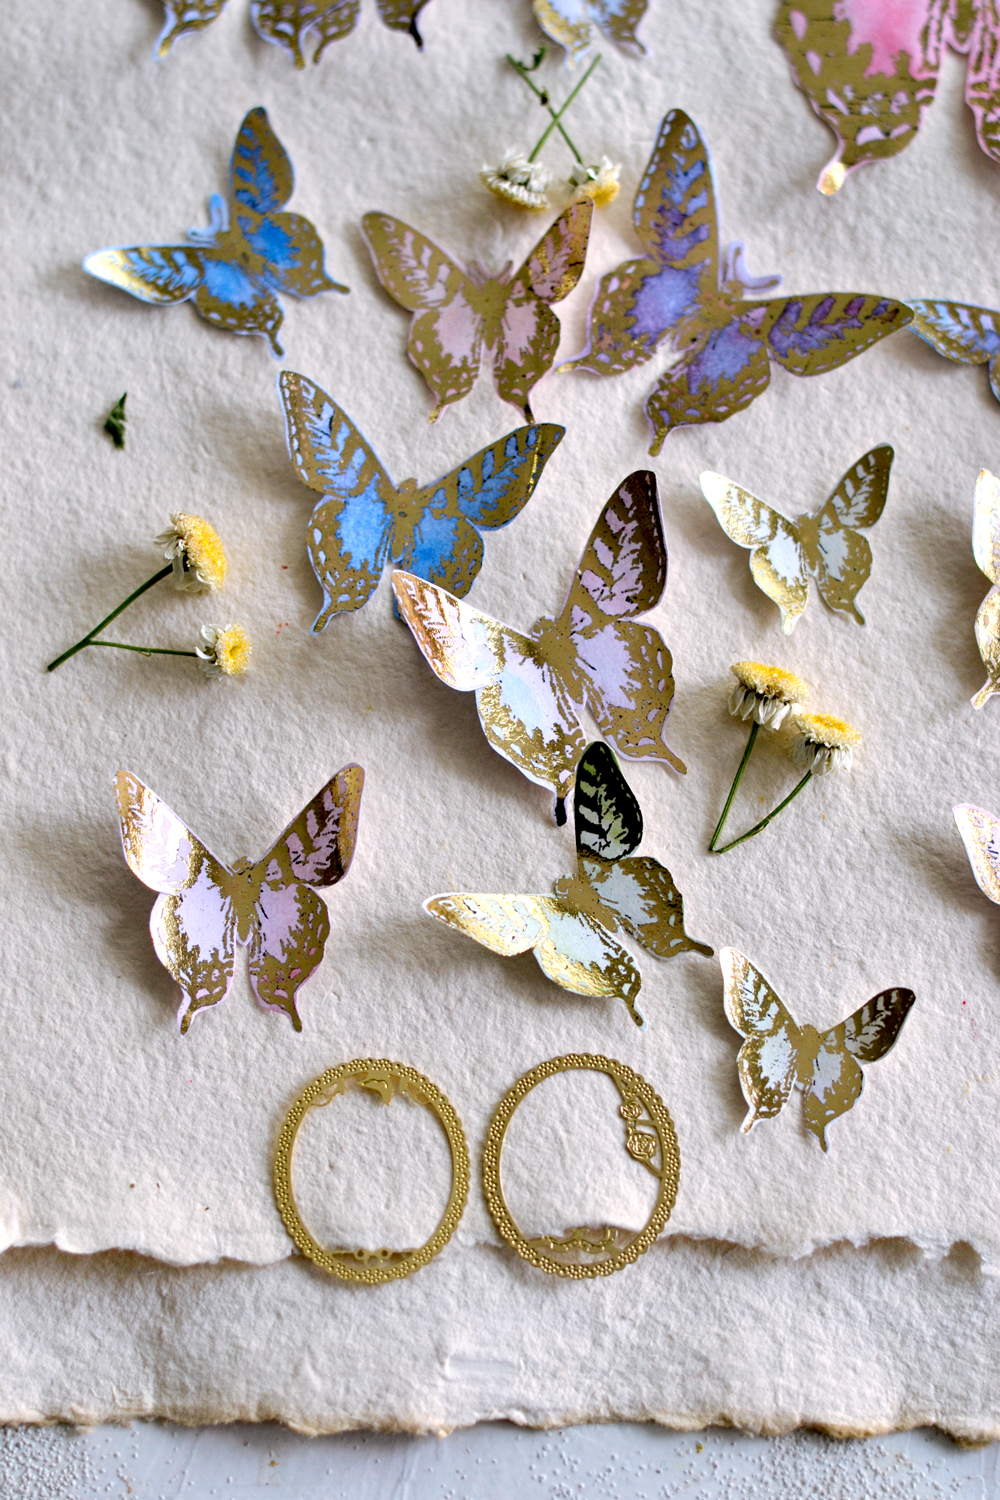
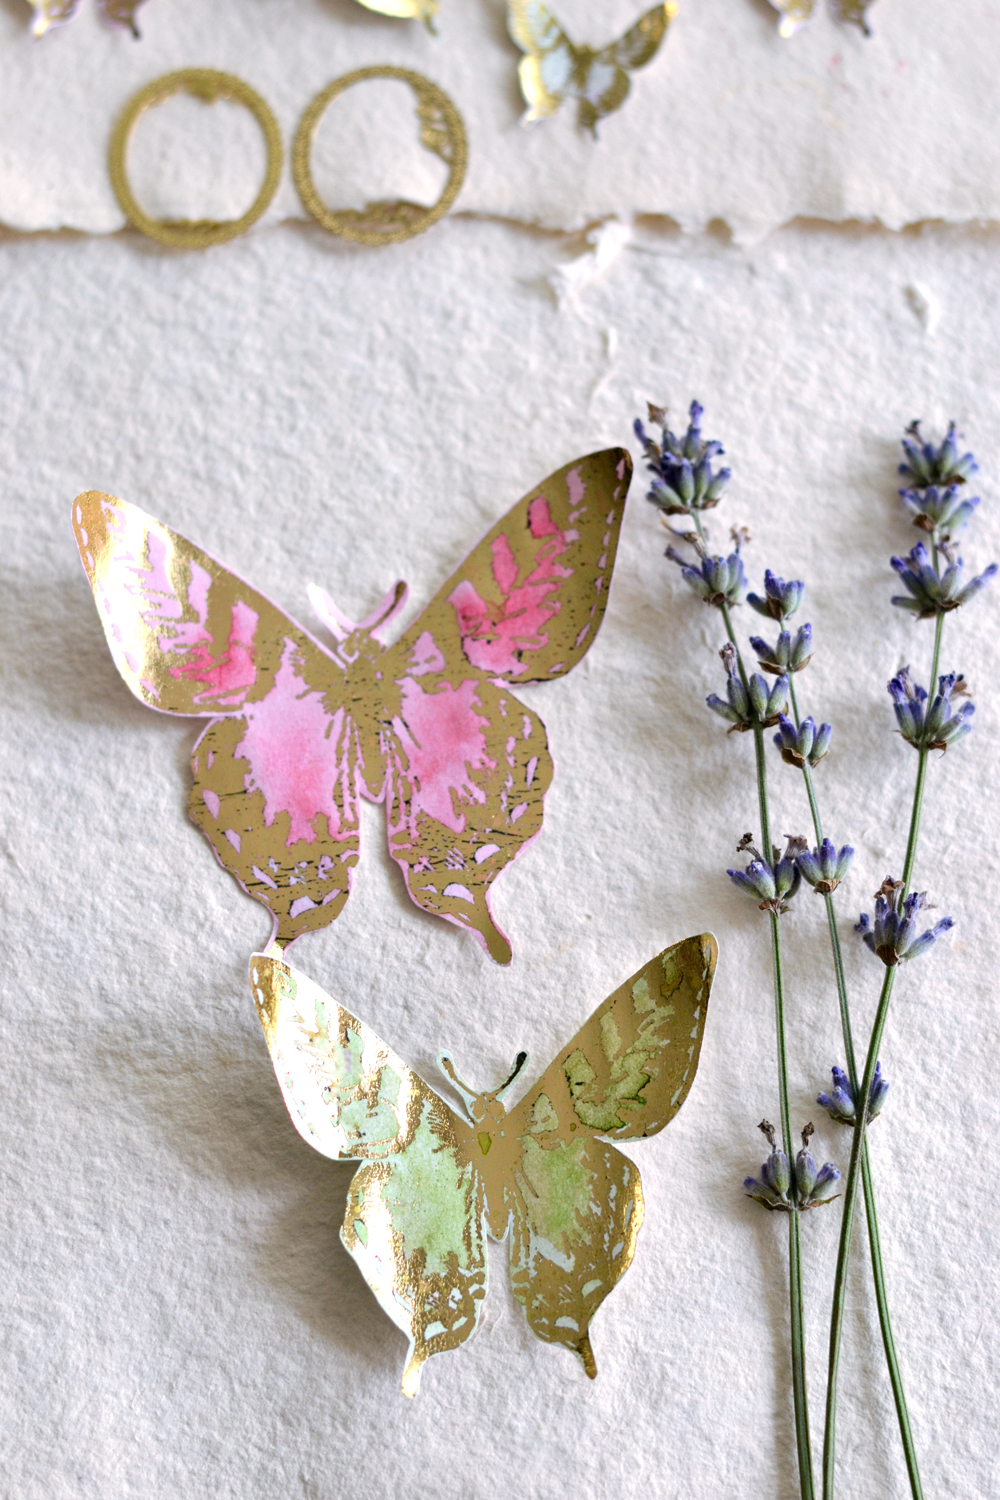
13. As you can see, I created an almost like a rainbow, gradually watercolored effect, making each of my final butterflies unique and beautiful on its own! 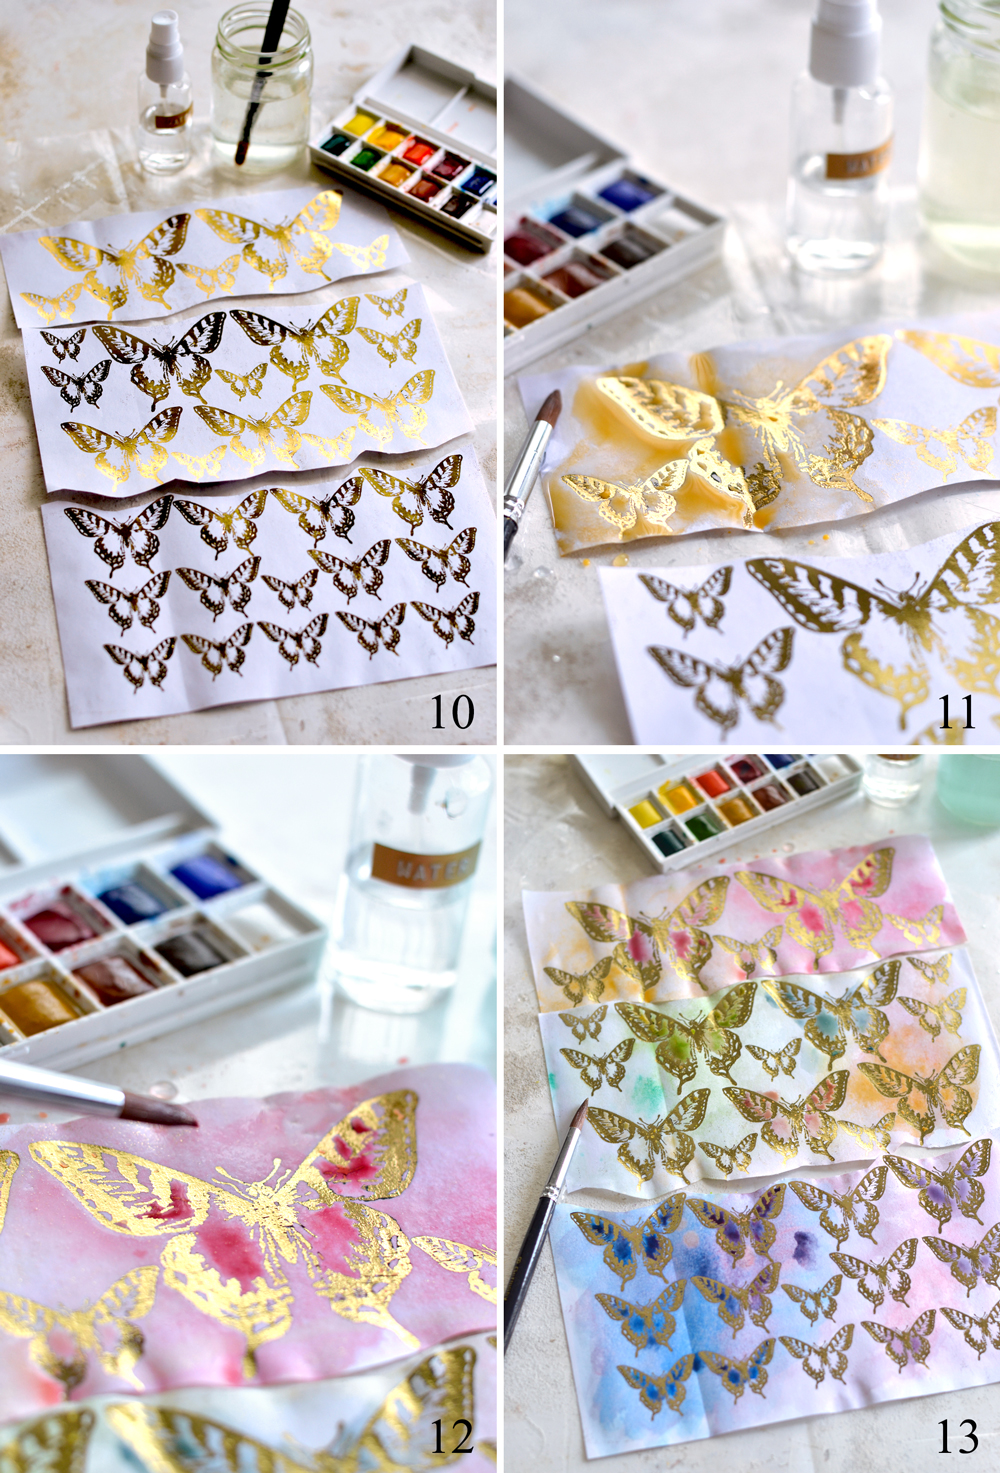
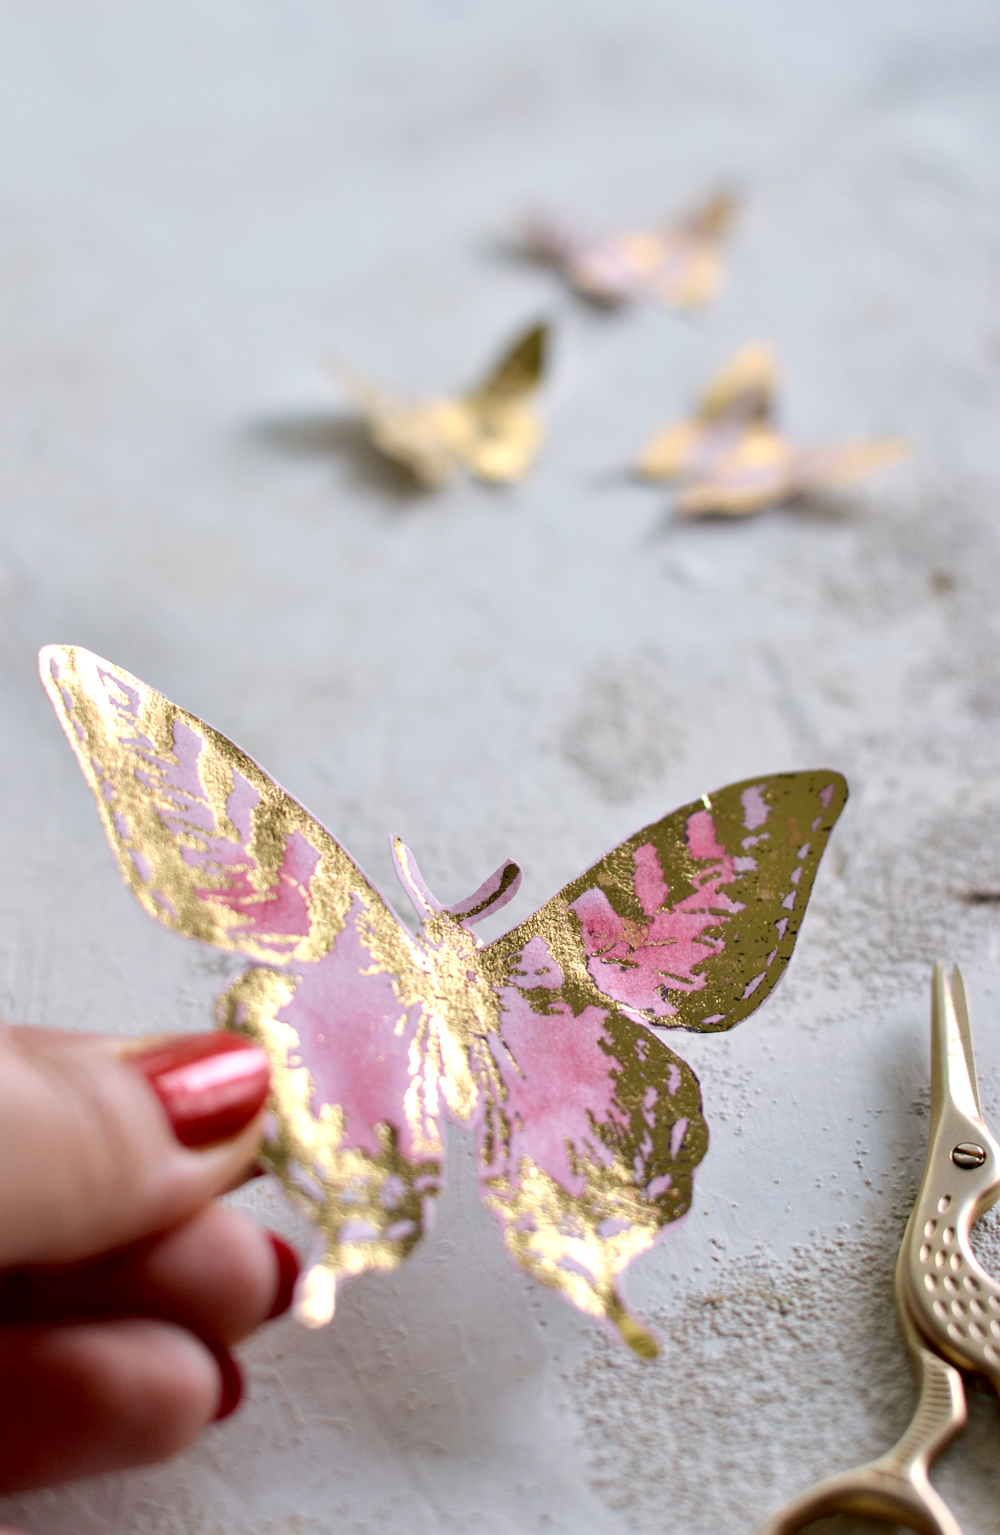
And even though I loved the uniqueness of each butterfly, because I used so much water, at this point I was pretty much convinced that I ruined the stickiness of my sticker paper. But after using my heat gun to dry the paper, I was happy to see the stickiness was still there! Phew, that was close!
The sticker paper will warp and bend after drying, but I actually loved how they look after all this warping!
I used small scissors to cut each butterfly and even though it might sound like a tedious job, the final results will make everything worth while. I promise!
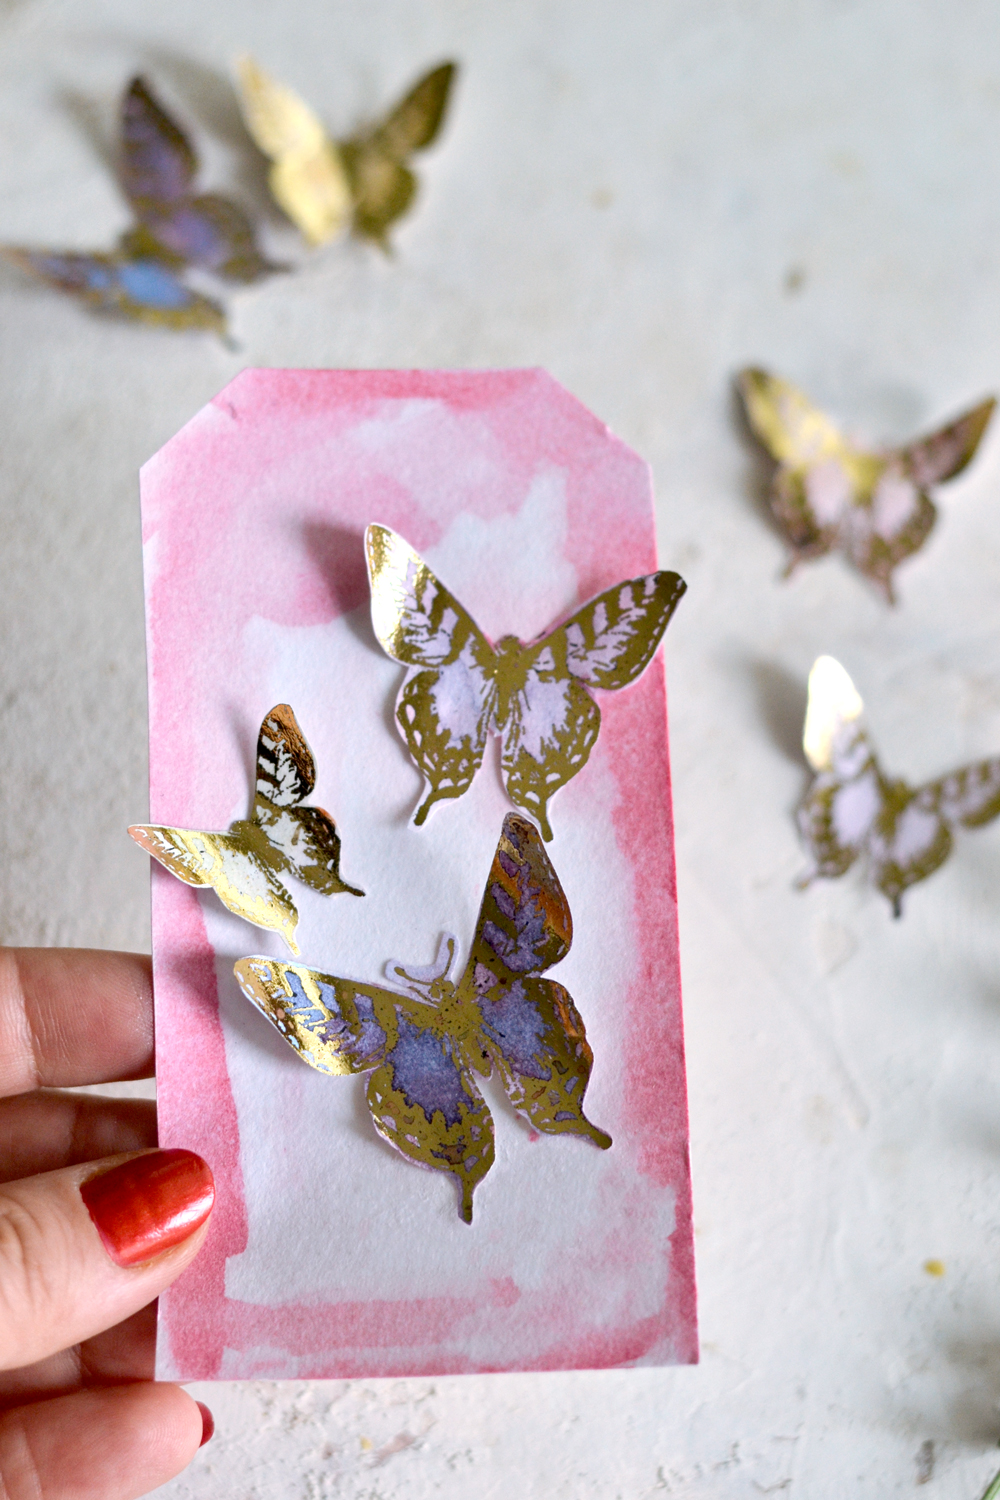
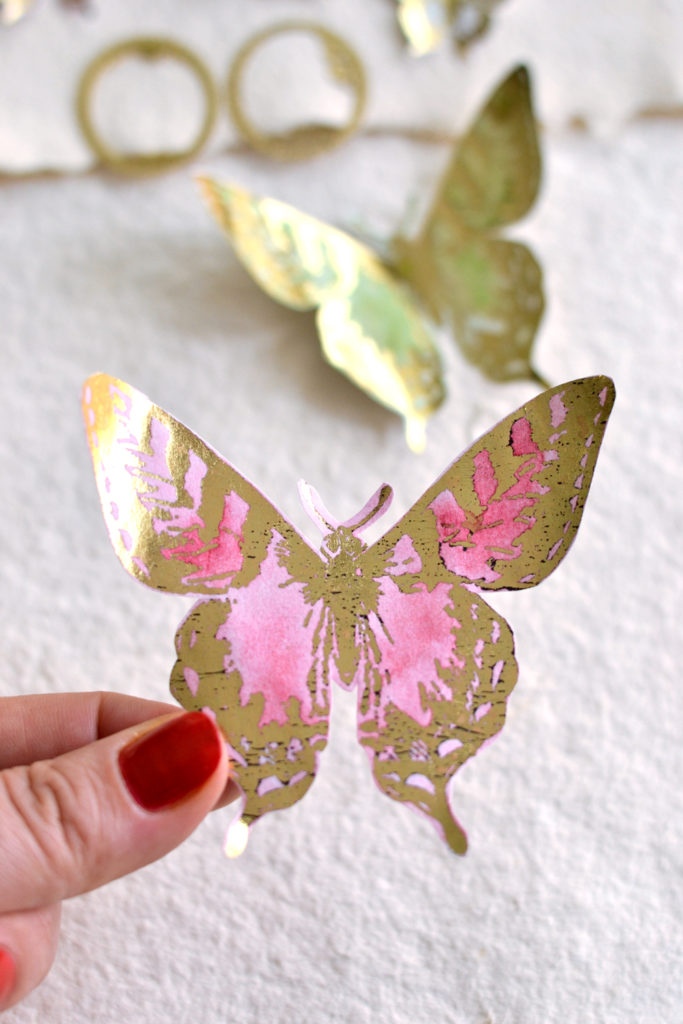
You have just created some of the most amazing metallic Stickers ever! It just amazed me how the light loves to play with all this metallic shine and gives you so many gorgeous effects!
Just try to look at these lovelies in different lighting scenarios, you will be amazed by how gorgeous they are.
P.S. You can also try this technique with these black and white stickers I created for you a while ago.
The truth is you can try this gold foil heat transfer technique with the free butterfly printable that I shared with you today, but you can also try any other black and white images that you can lay your hands on! Versatile projects like this one right here make our lives so much beautiful, don’t you think? Who would have thought a gold foil laminator and some foil can have so much power!?
Finding ways of using these can be a fun adventure on its own! Think art journals, junk journals, gifts tags, gift wraps, wood signs, love letters, bookmarks, fridge magnets, different objects around your home, recycled jars or bottles, your laptop (why not?) – they can all benefit from the chicness of one of these beauties. I started with this enamel pitcher from Ikea and decorated one of its sides with a stunning green gold foil butterfly. I loved it!
P.S. I French decorated the other side (almost 5 years ago!) with waterslide decals -> you can check the project here.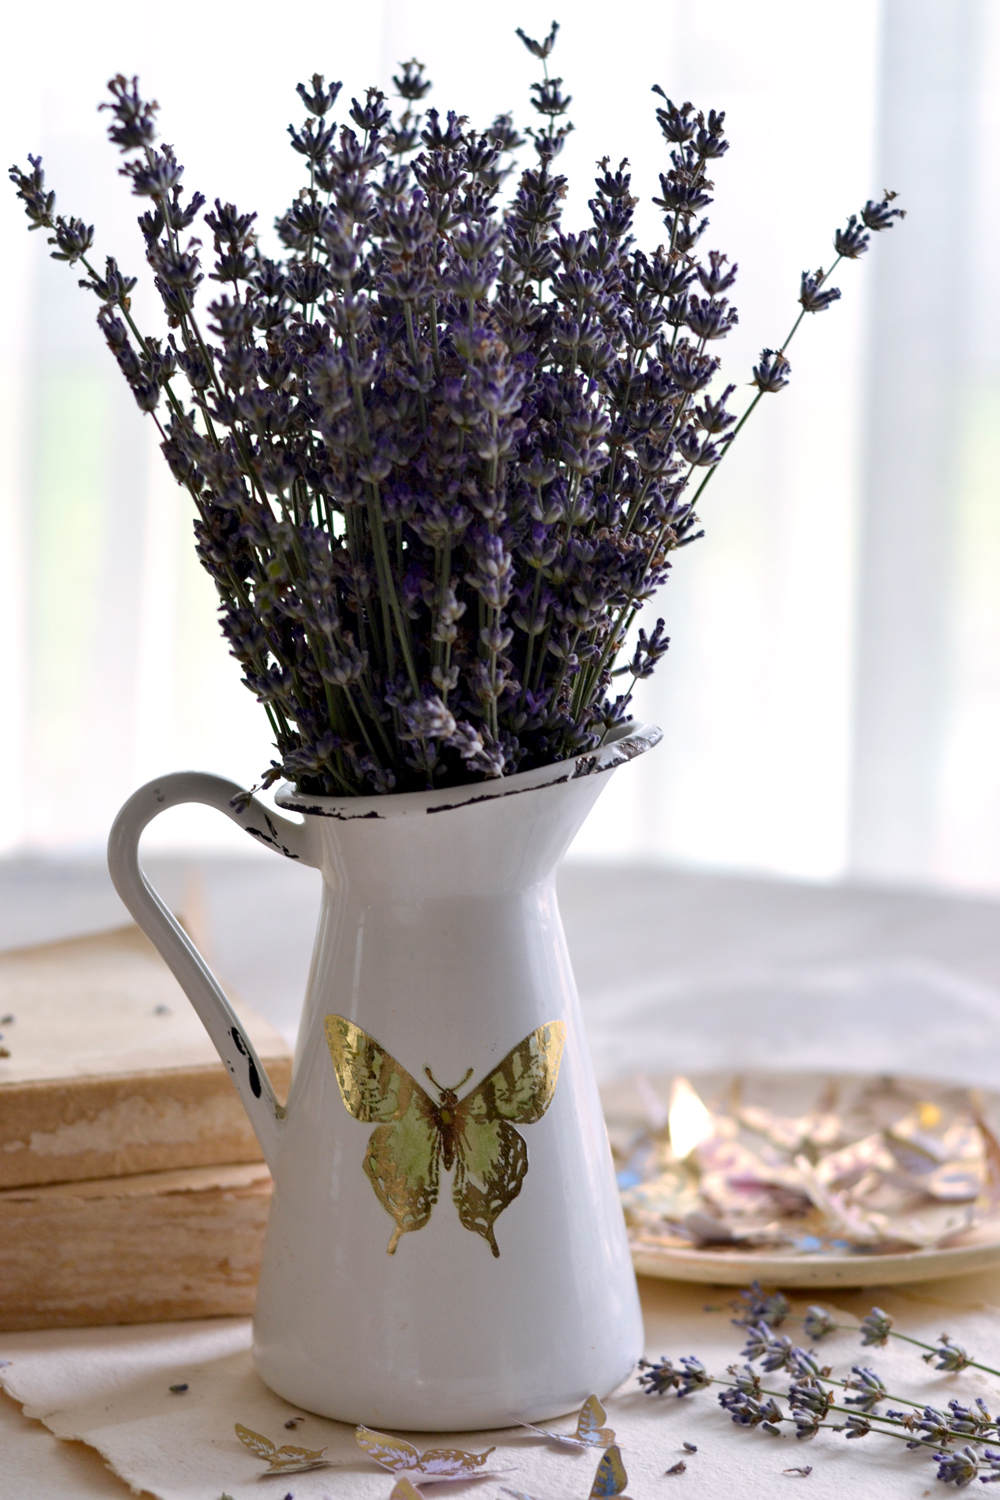
You can use the butterflies to decorate gift tags and add them to embellish gifts (obviously), but also to decorate your art journal or any other creative experiments.
I also thought about using two of these gold foil butterflies to decorate some Weck jars (you can use any new or recycled jars or bottles you have around)! I chose pink for me and blue for Mr. Dreamy, you could even do different colors for each member of your family! 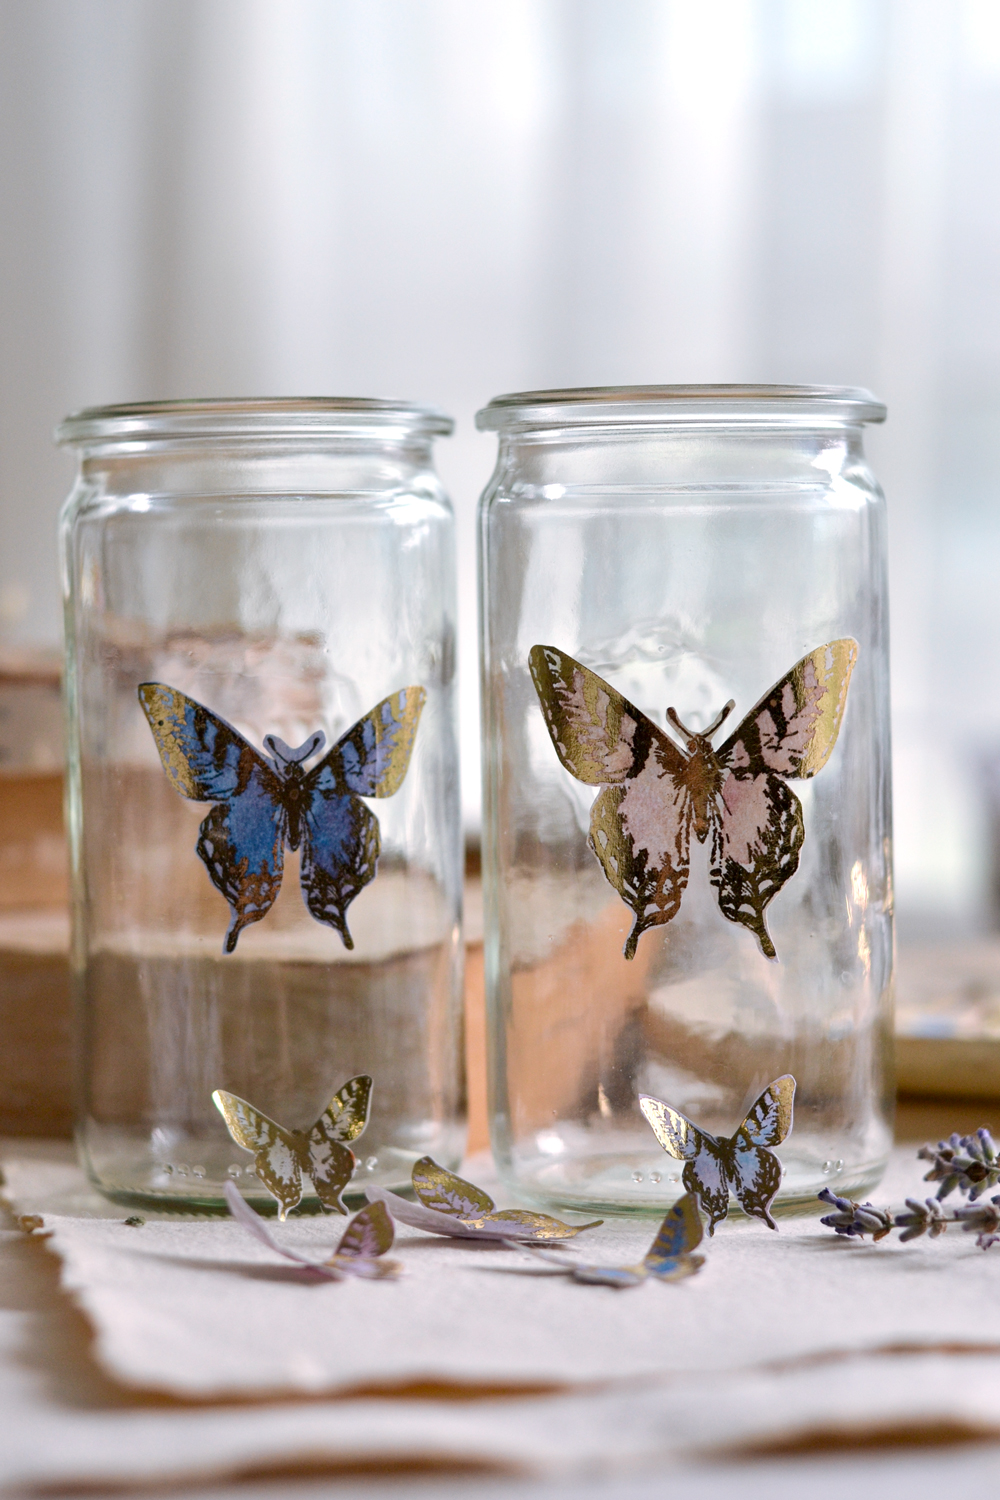
Hope you’ll love this project as much as I do, we could all use some of these super chic and playful DIY Gold Foil Butterfly Stickers in our everyday lives! You might also like my Easy Gold Foil Decor Post HERE.
Happy crafting,
Diana / Dreams Factory


Deborah Ray-Roberts says
This project looks so interesting. I do not have a laminator or access to one. Could I possibly do this using a iron? Just wondering. Dieing to try this.
Karen Watson says
Hi Deborah,
I’m not sure, we haven’t tried it with an iron. Perhaps we will experiment with that for a future post. Thanks for the idea!
mawy says
that butterfly drink, without shoes, feeling the lawn, listening the birds, the sun hot, family around…. so calming, so daydreaming,
🙂
graphicsfairy says
Thanks so much Mawy, loved your description!!
rk says
These butterflies are gorgeous! Thanks for sharing a new technique with these foils! I have some gold and copper foil I should try this with. Mine may be called stix or something that sticks to any surface. I just also remembered a technique shared by Heather Tracy that achieved similar results if I may say so. We could stamp/emboss with gold/silver/copper embossing powder. Then use distress inks or water colors etc. to color them and even create ombre shades using multiple DIs just swiped over the embossed image. The embossing acts as the barrier and even if inks went outside on the pape while swiping, the stamped shapes (even if intricate) could be cut out carefully. I had done them a long time ago.
graphicsfairy says
Oh Rupa, that sounds amazing just reading your description!!! Thanks so much for sharing your thoughts:)
Viviane says
Thanks from Brasil!!!!
graphicsfairy says
You are so welcome Viviane!
Linda Lorenz says
do you have any ideas about using Modpodge on projects?
graphicsfairy says
Mod Podge is a great crafting glue and works well as a decoupage medium. Are you looking for anything in particular? Here is a link to a post on transfer techniques that you might find interesting 🙂 https://thegraphicsfairy.com/12-easy-image-transfer-methods-for-diy-projects/