Gold Foil Paper Crafts
Hello, Graphics Fairy friends! Diana from Dreams Factory here, are you as excited as I am for another one of our creative get together? I hope you are, because today we are making some gorgeous Gold Foil Paper Crafts! I’m sharing my quick technique for antique gilding French ephemera paper edges using a special ingredient – gold foil. It’s a quick and easy process that will give you such stunning final results!
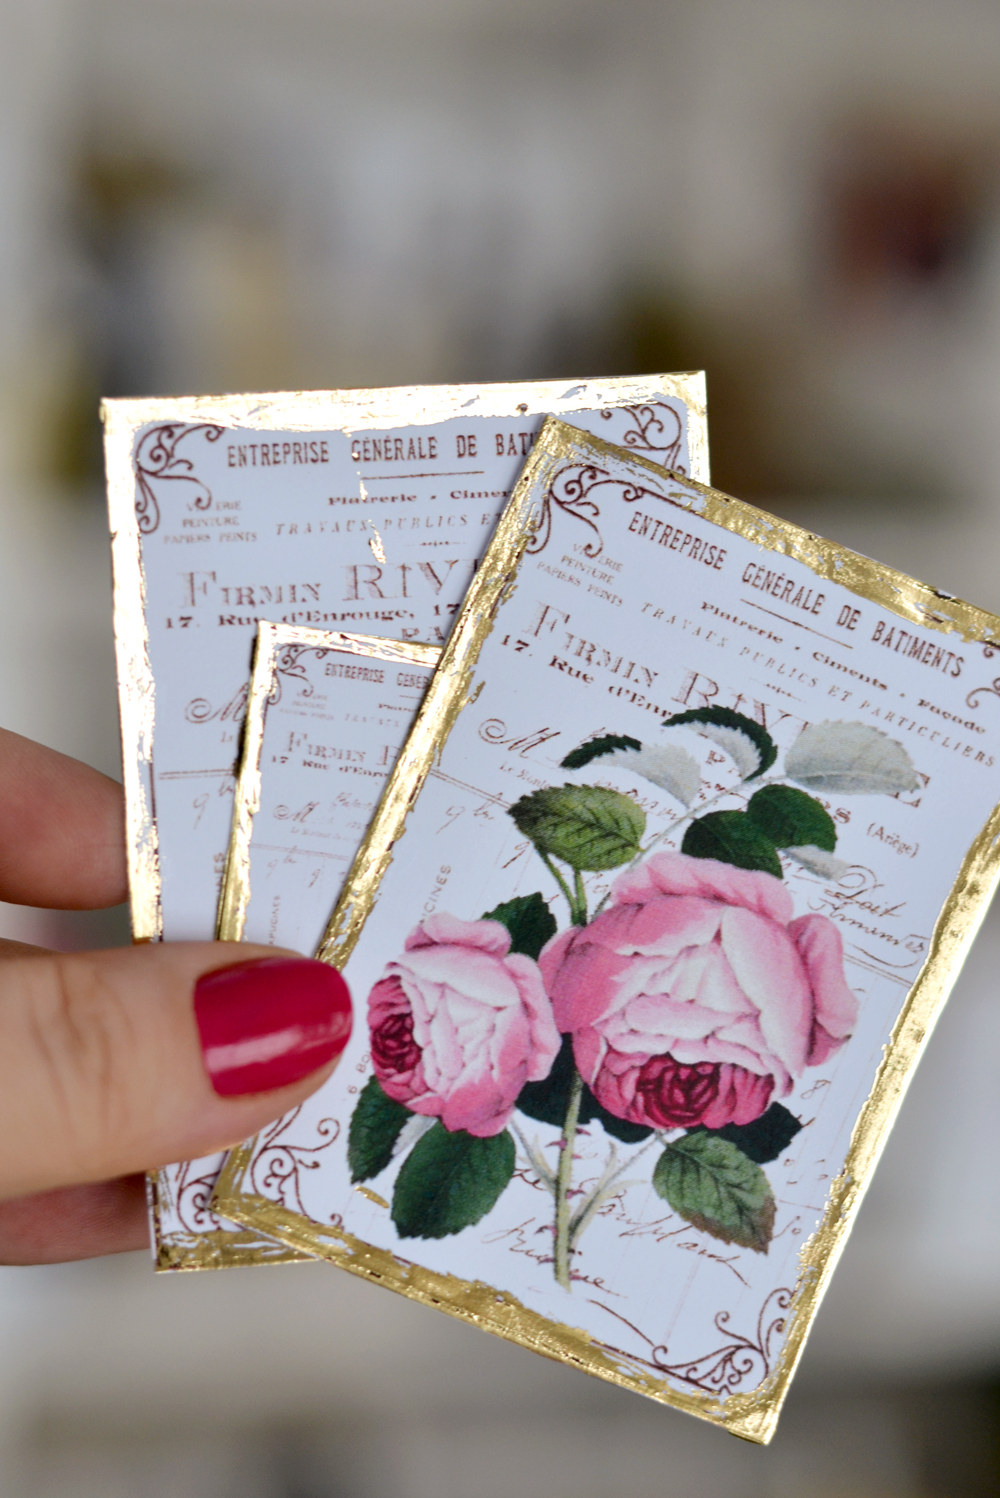
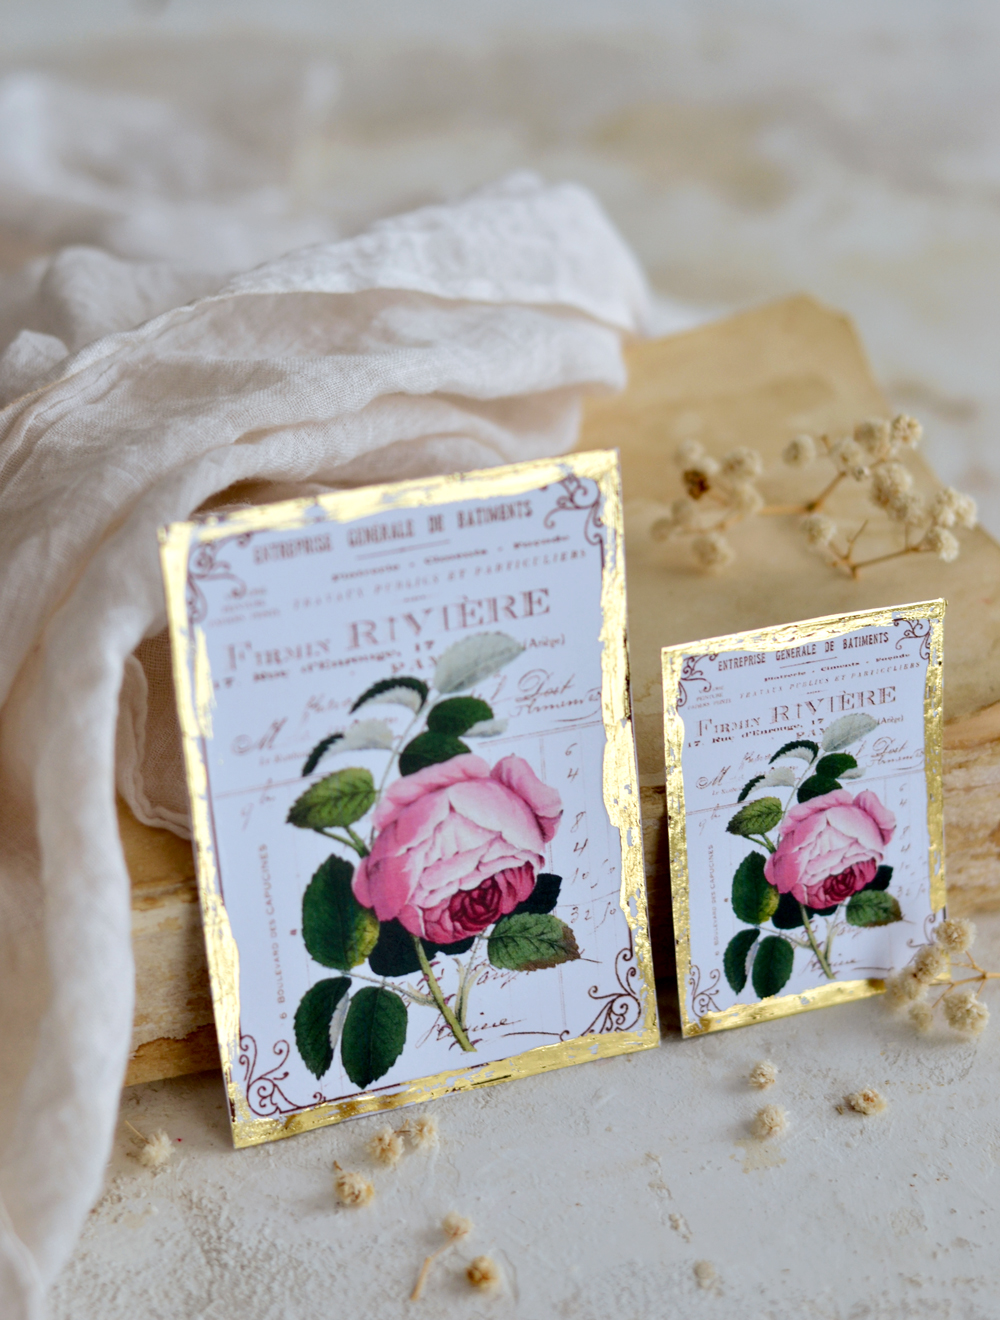
These Gold Foil Paper Crafts are truly unique, the special gold foil ingredient will give you the chance to experiment and play with the level of gold chicness that you want to achieve. I’m calling them antique tags because of all their small ‘time-worn’ imperfections. You will see that this technique is quite forgiving – there is practically no right or wrong, and will easily help us achieve our goal – that antique, vintage-y feel that we all love.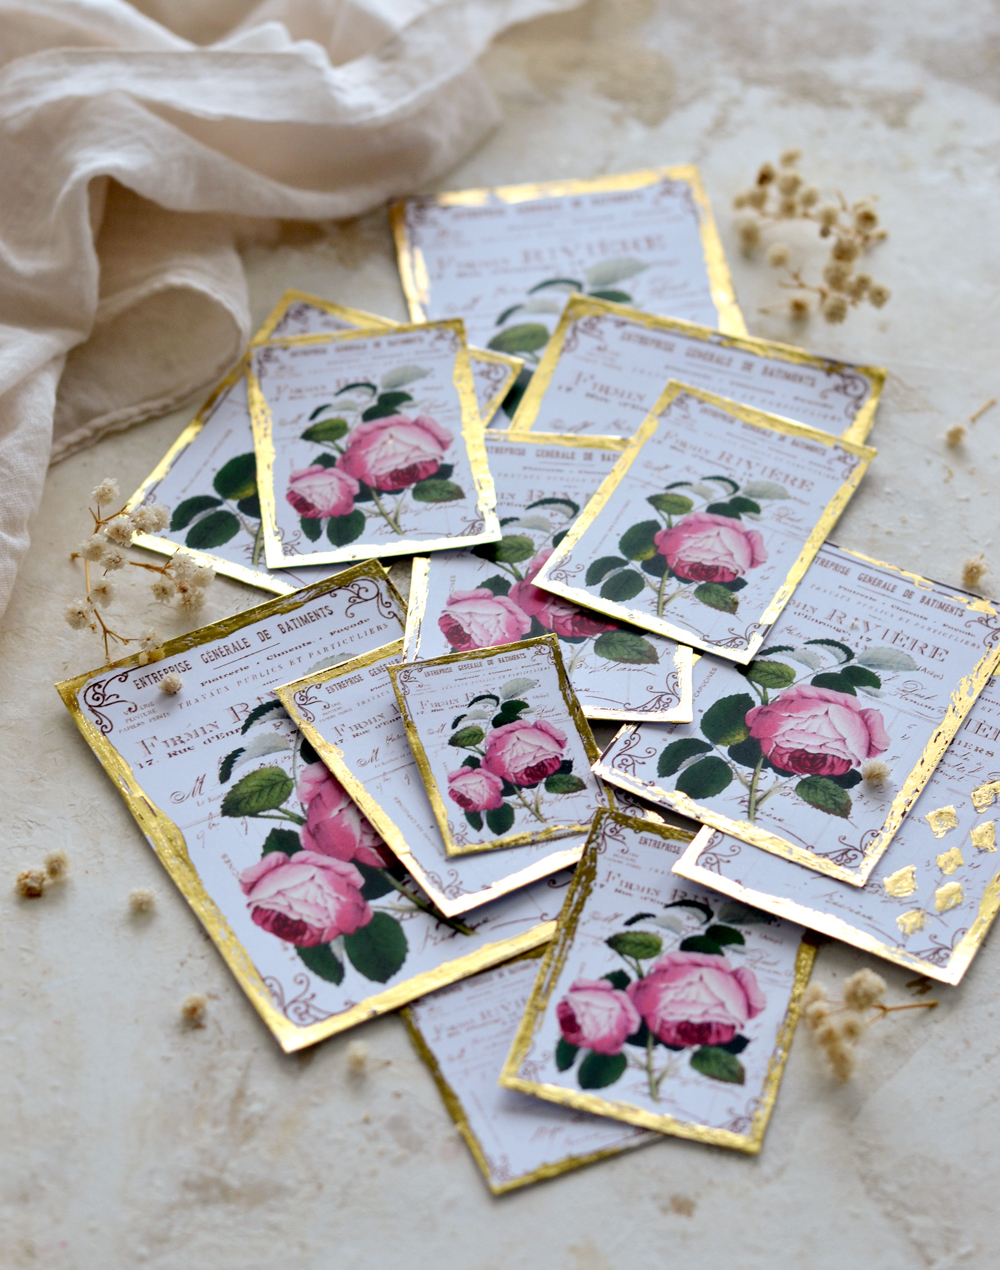
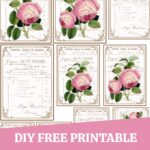
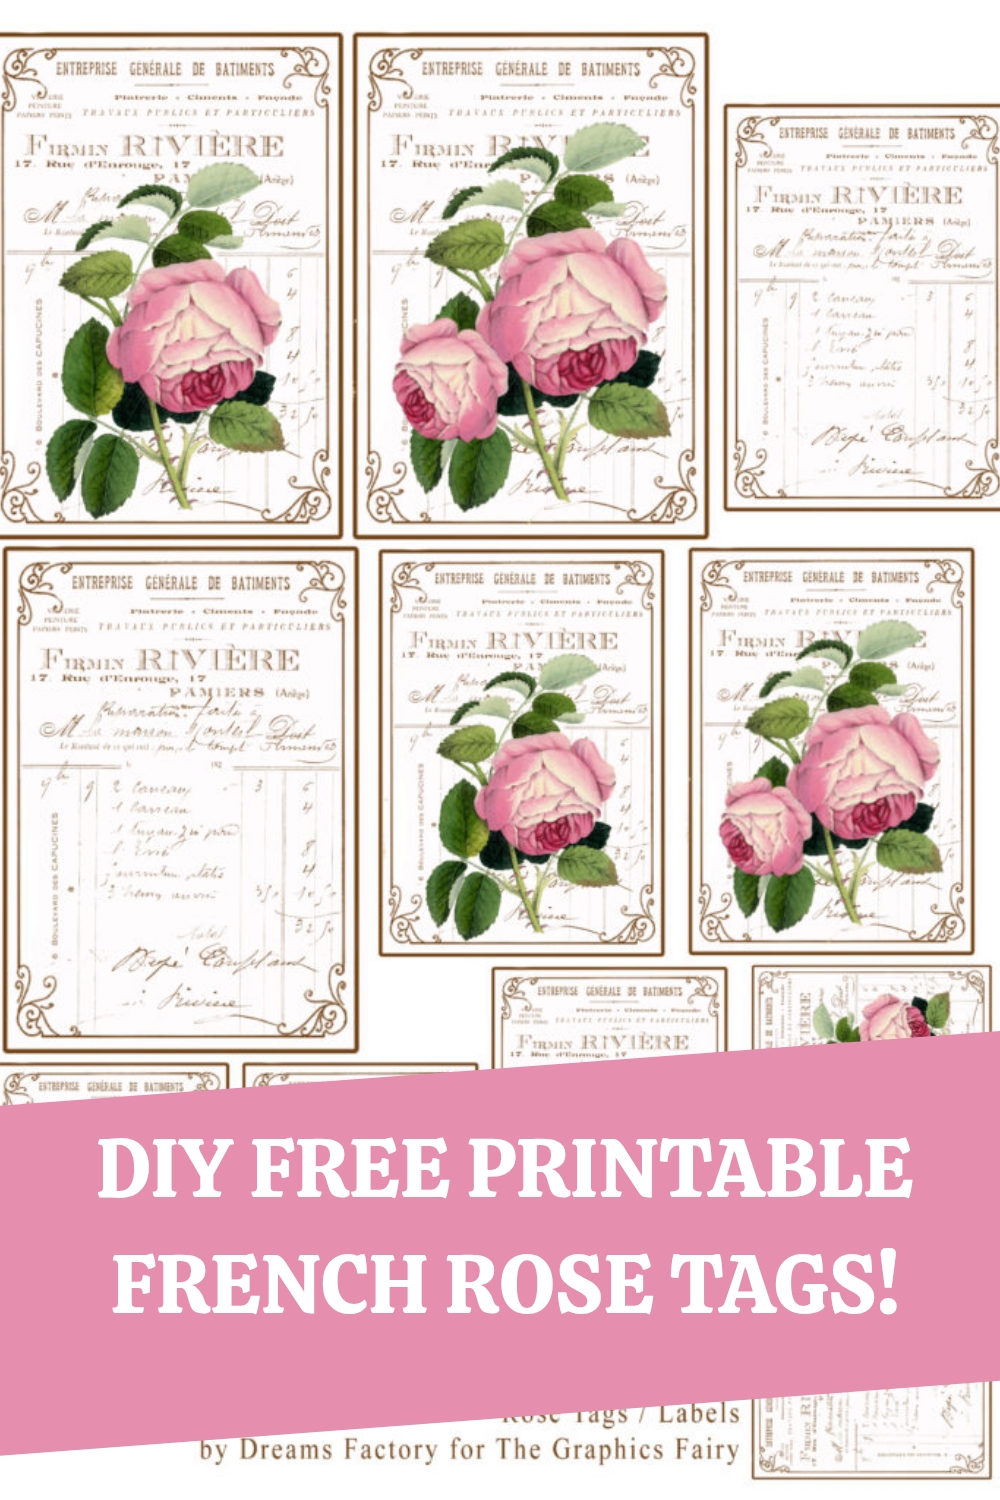
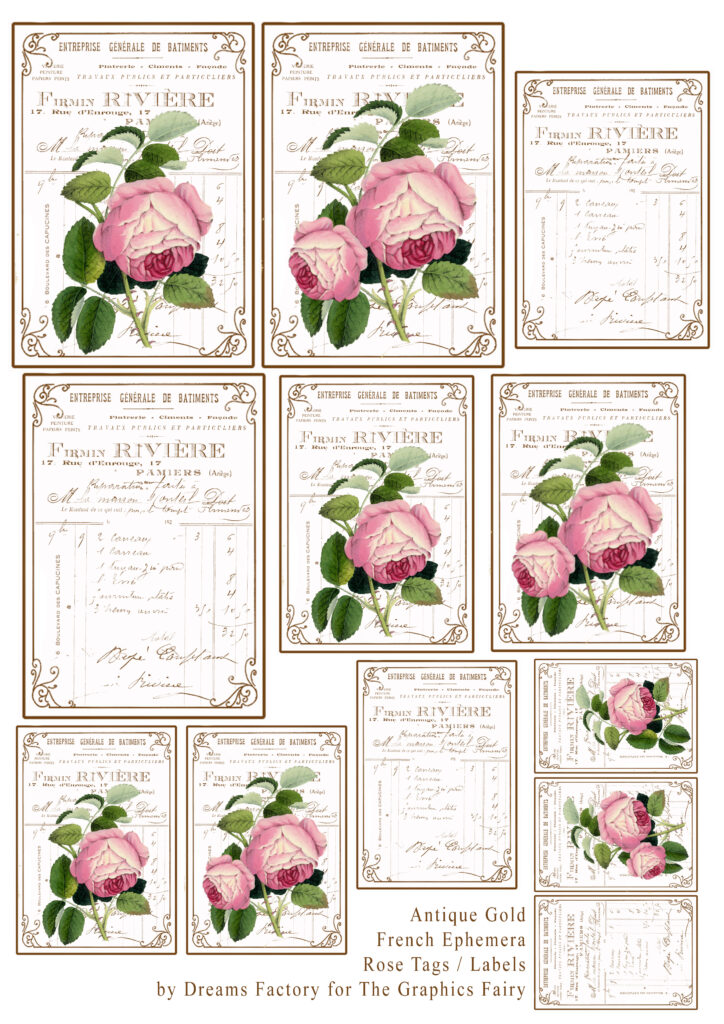
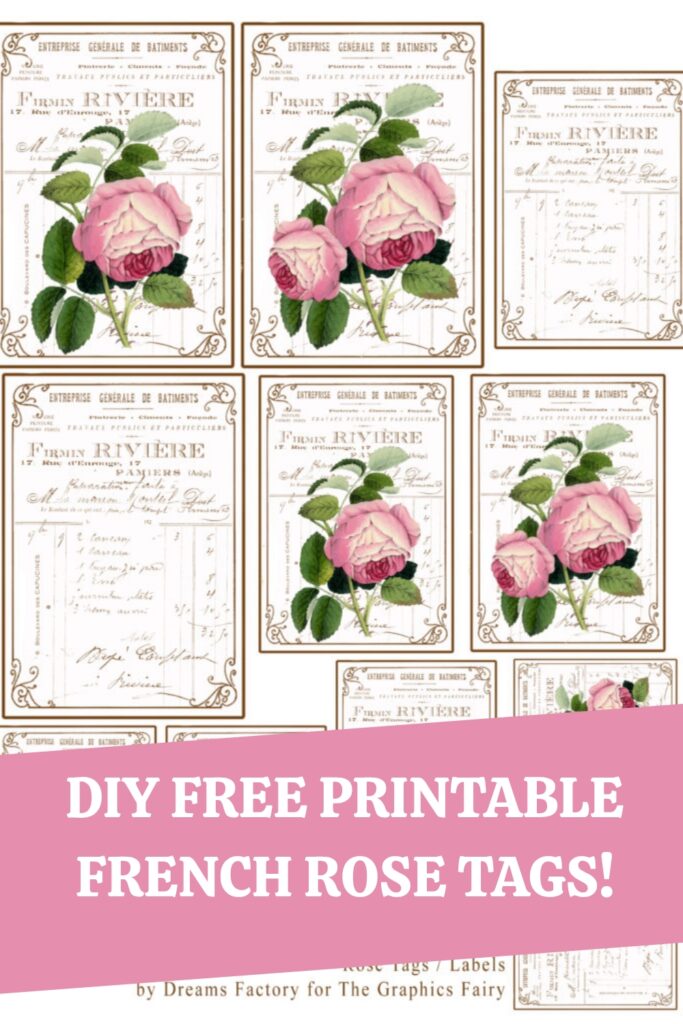
OK, I would say that this elegant and beautiful printable that I created for this project is also a huge, quite IMPORTANT part of this equation! French ephemera gorgeousness, a beautiful decorative border that makes it even more intricate and some delicate roses that complete this whole antique Frenchic look. The tags or the labels (couldn’t really decide) come in 4 different sizes, giving you the chance to really adapt them to your needs! I loved playing with this beautiful rose graphic, but I thought it would be fun to also have a few rose-free French ephemera tags … again, just to give you more room for experimenting and playing with these beauties.
Free Printable Gold Foil Paper Crafts
—-> CLICK HERE TO DOWNLOAD THE FULL SIZE PRINTABLE PDF <—-
Gold foil or gold leaf?
Before we jump right in, I would like to mention that we will be using metallic gold foil and not gold leaf for this project! You could use gold leaf, if you want to, but I find gold foil so much easier to apply, especially for this project!
What type of adhesive to use?
This is not my first experiment using metallic gold foil, I’ve used it before on these absolutely beautiful DIY Gold Foil Butterfly stickers. The only difference is that today we will be simplifying the whole process and we won’t be using a laminator! We will be making things easier for everyone and we will be using a little bit of Mod Podge, that will act as our gold foil adhesive. As simple as that! You could also try a waterbased wood glue that dries clear as an alternative, or of course a gold foil adhesive that was specifically created for this type of metallic foil.
Gold Foil Paper Crafts Supplies
- French ephemera rose printable
- cardstock paper (or regular white paper, sticker paper, etc.)
- home printer
- gold foil
- scissors
- a small brush
- Mod Podge
- a plastic sheet or a non absorbent surface (to protect your working area)
Later edit about the gold foil
If you have never used gold foil before and have no idea where to find it, you could try Amazon first! Depending on where you live in the world you could also try searching for it in physical or online craft stores. This foil is also called metallic foil or heat transfer metallic foil (it can be used with a special foiling machine like a Minc or a laminator – check my DIY Gold Foil Butterfly Stickers for more on that) and comes in several AMAZING colors.
All metallic foil – no matter if it’s gold, silver, copper, rose gold, blue or any other color – ALWAYS has a silver backside, as opposed to gold leaf, which has the same gold color on both sides.
The gold metallic foil mostly comes in rolls or Us Letter / A4 size and can be cut as you wish, as opposed to gold leaf which comes in smaller sheets or flakes.
Deco foil, Heidi Swapp Foil and Gemini foil are a few examples of metallic foil.
I decided to use cardstock paper for this project and I really loved it! You could also use regular printing paper, even sticker paper, but just keep in mind that the edges might warp a little when the Mod Podge will dry – if using any of these last two.
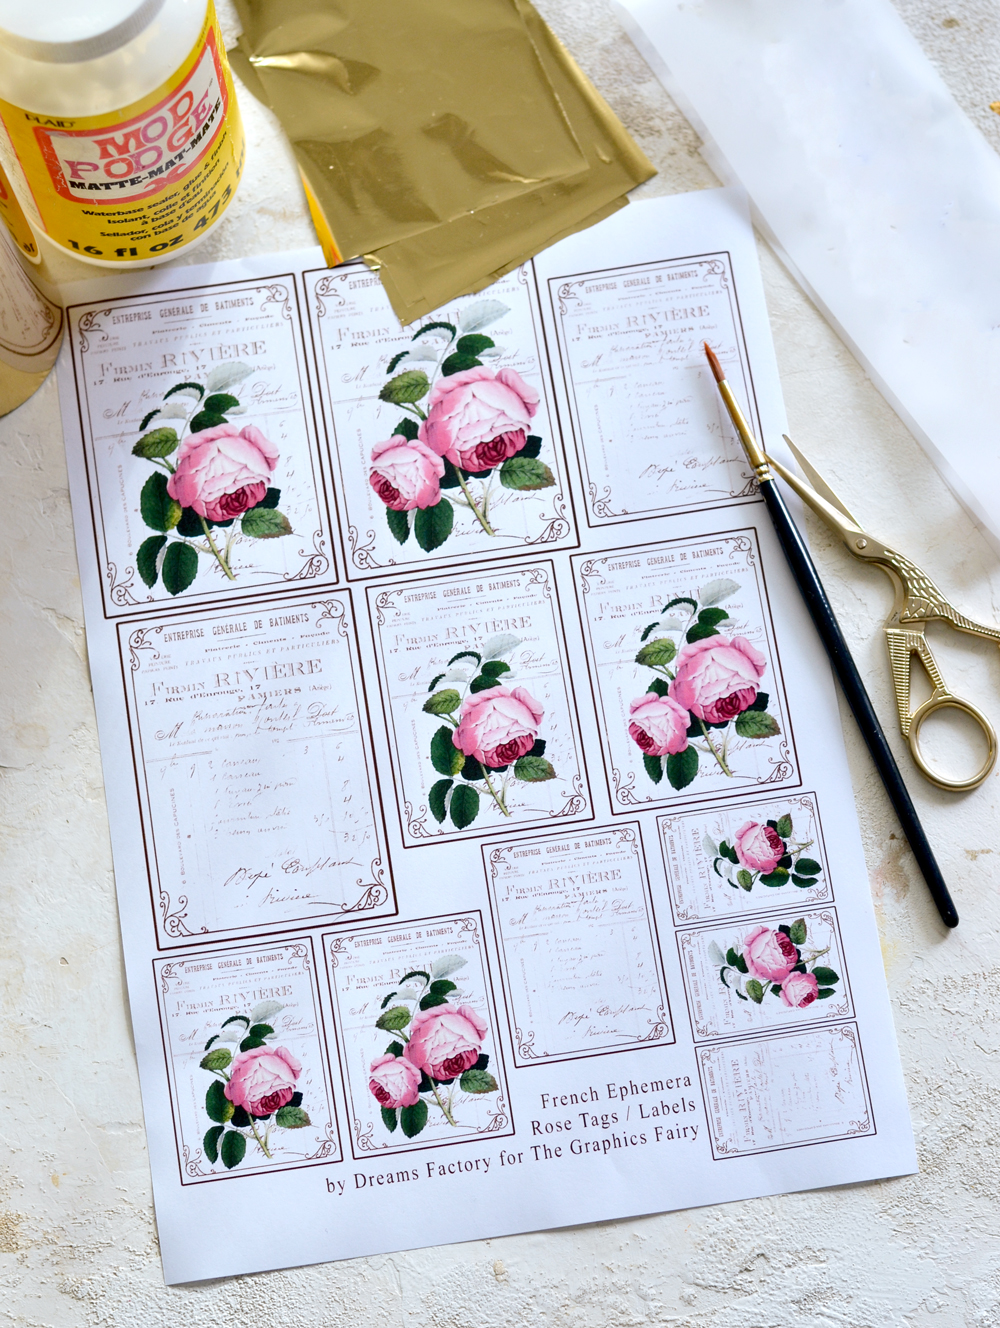
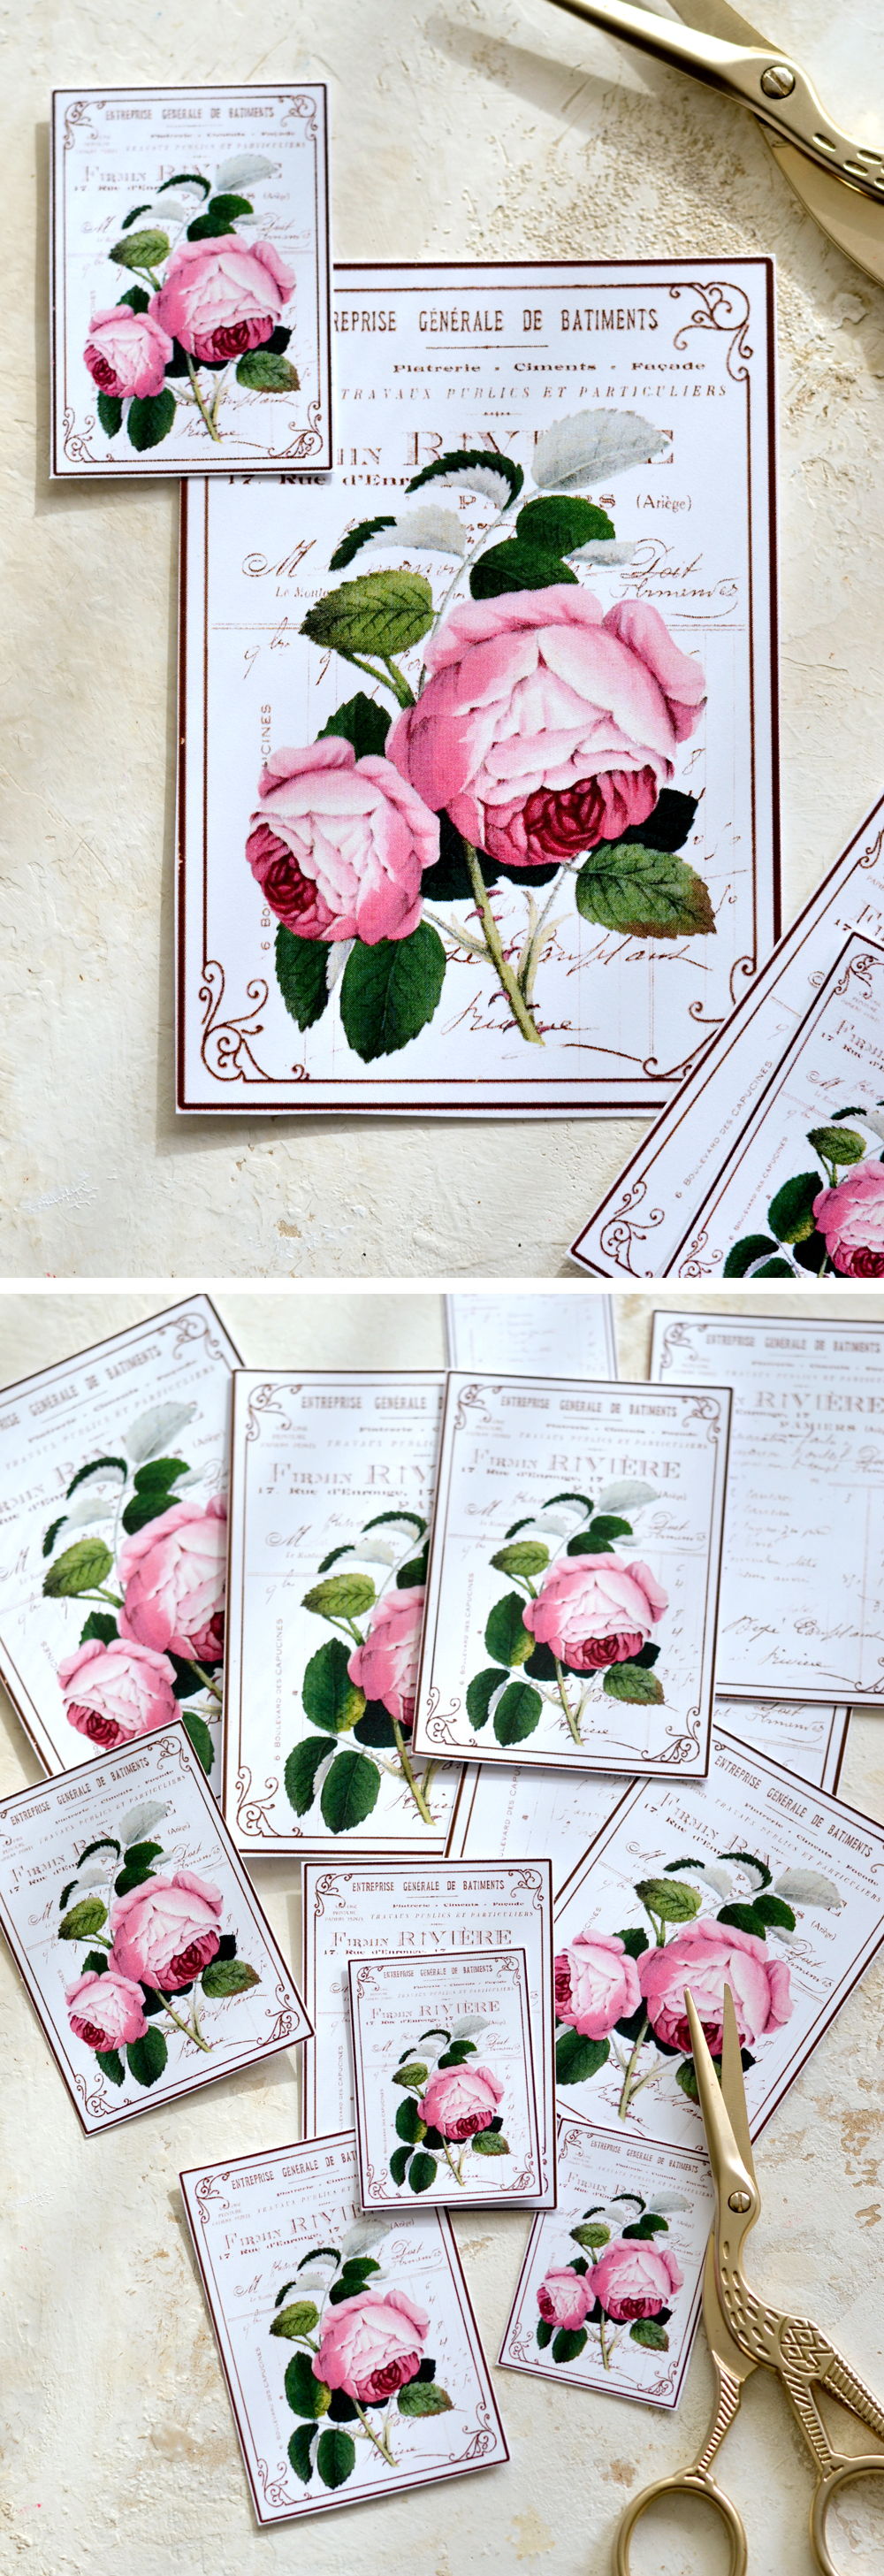
Download and print your French ephemera printable, then use your scissors to cut each tag outside its border.
Cutting the foil
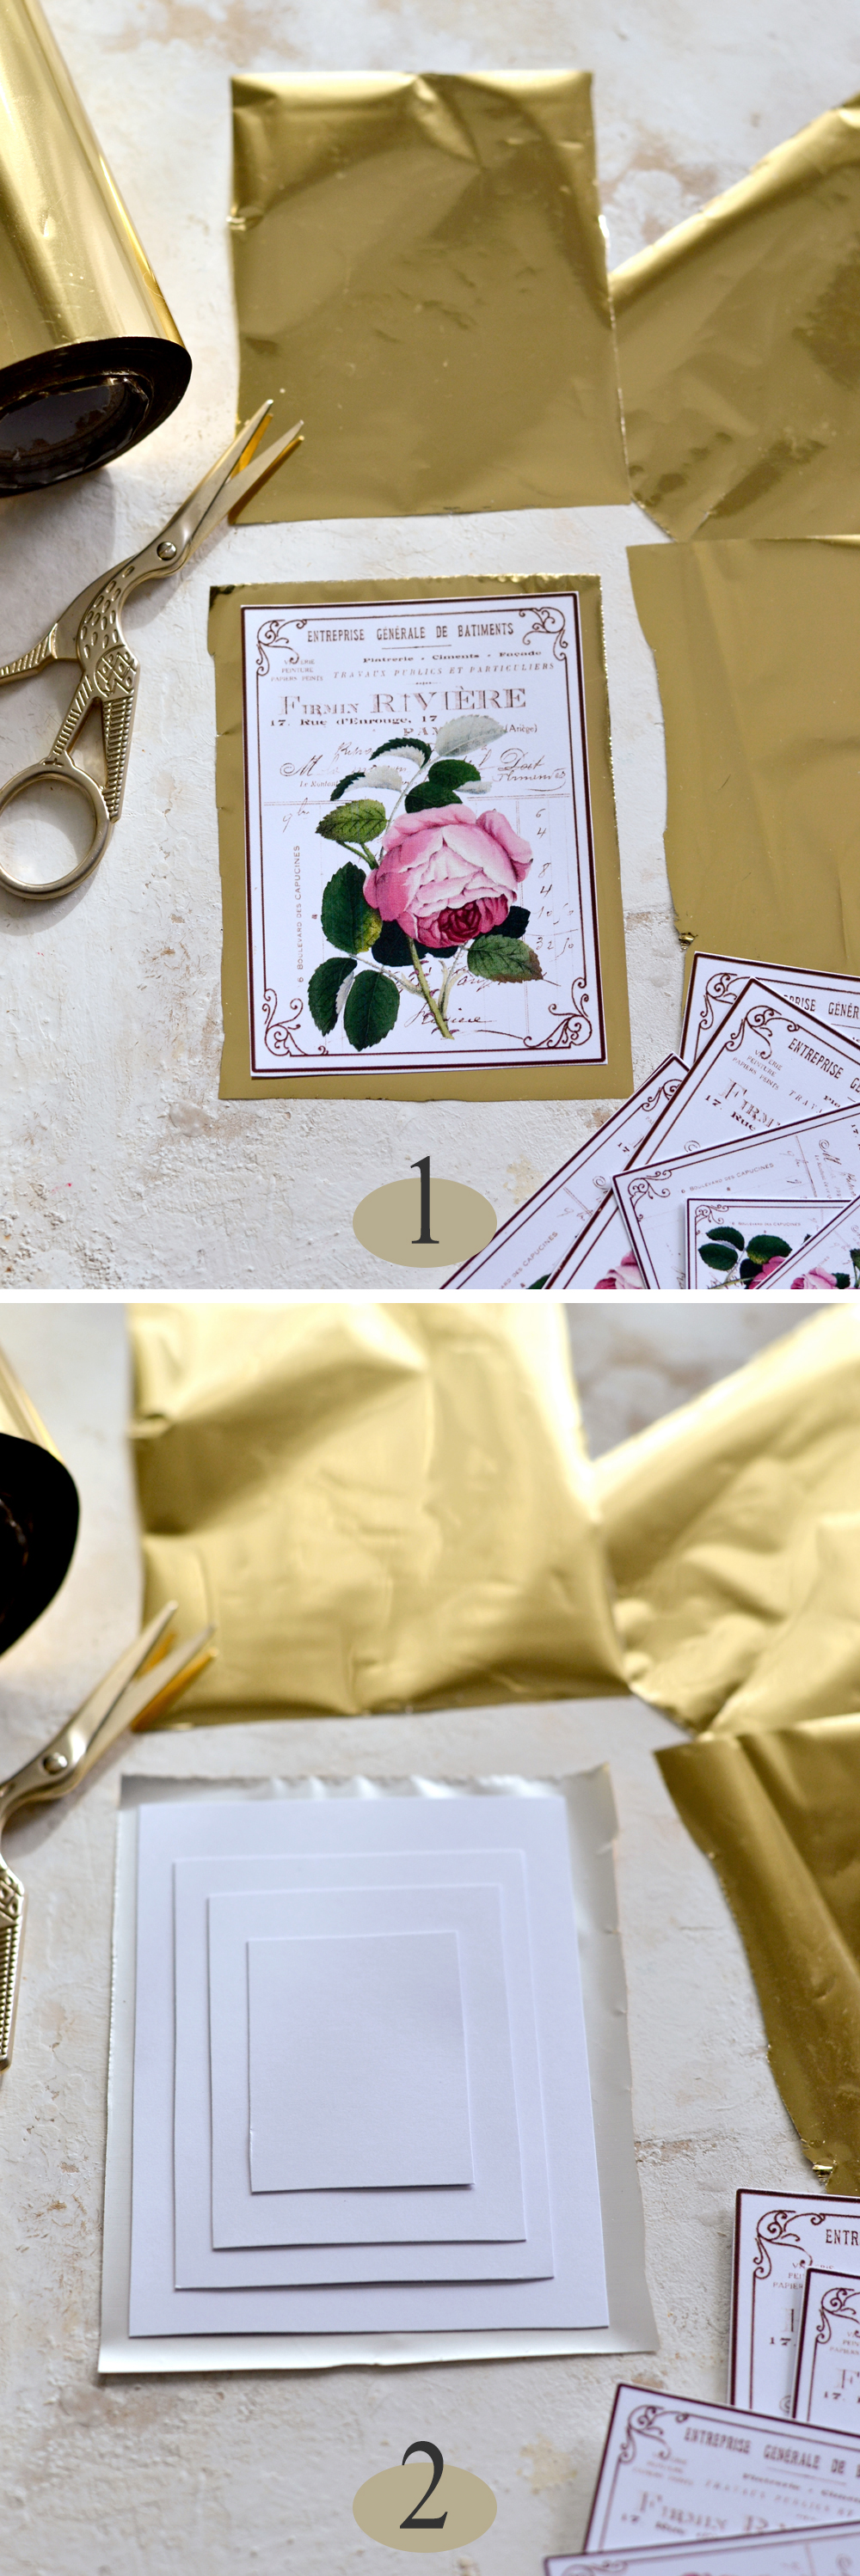
1. Start by cutting 3 pieces of gold foil – each one should be a little bit larger than our bigger tag.
2. Because we have our tags in different decreasing sizes, my idea was to use a sheet of gold foil to gradually decorate 4 different sizes. You can start with the smaller size and gradually go upwards or you can start with the larger size and gradually go downwards. This will minimize your foil usage and will help you preserve this precious little gold gem longer!
Applying the foil
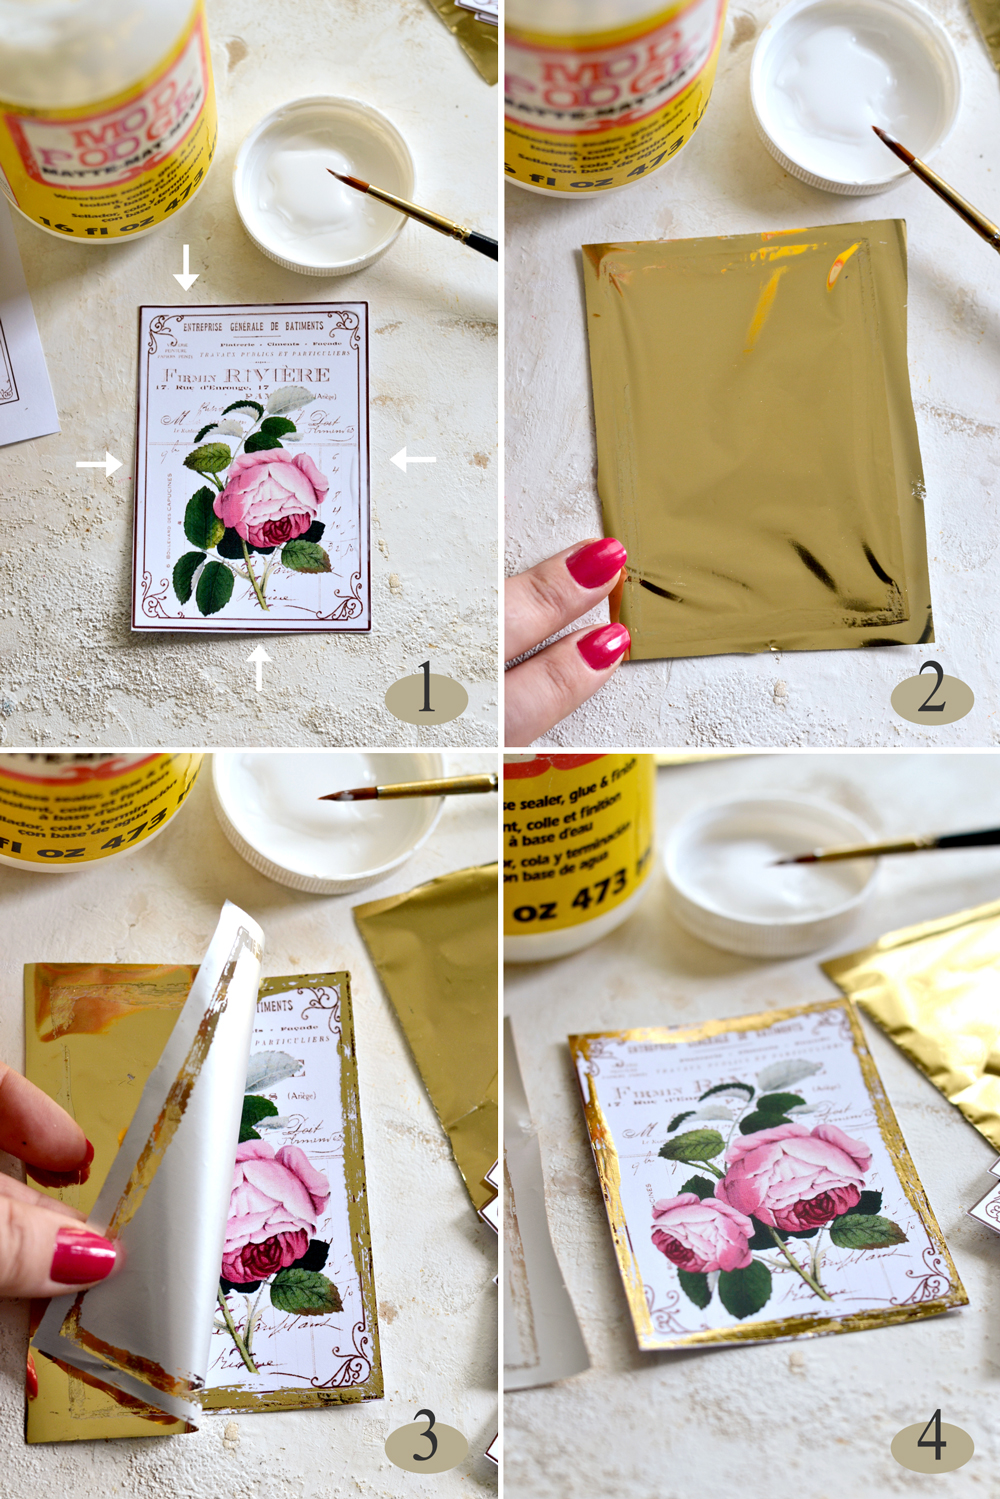
1. I decided to start with a large tag and using a small brush, I liberally applied Mod Podge all over its edges. I went a little over the two border lines when applying the adhesive, but I avoided the embellishments on the corners, as I didn’t wanted to cover them. Now, there is a trick to applying the adhesive – you need to add enough so it doesn’t instantly dry, but not too much, because it will smudge (and will be harder to control). You will have to experiment a little bit to get it right (well, almost right), because remember, we are not looking for perfection here!
Really important – with this technique the Mod Podge will have to be still wet when applying the gold foil, otherwise the transfer won’t work.
2. Place the foil on top of the image and gently press with your fingers all over the edges where you applied the adhesive. Then go all over the edges again, but this time applying a little bit more pressure with your fingers. You will be able to see where the transfer was made properly because the foil will follow the shape of the adhesive underneath. If there are places where you see there was no adherence, just press again for a few seconds with your index finger. When applying pressure, your finger will gently ‘warm’ that spot up and will help with the adherence. Let the adhesive dry for about 1-3 minutes (depending on the thickness and the environment) before moving to the next step.
3-4. Carefully lift the gold foil and admire your first perfectly imperfect Antique Gold French Ephemera Rose Tag! How gorgeous is that?!
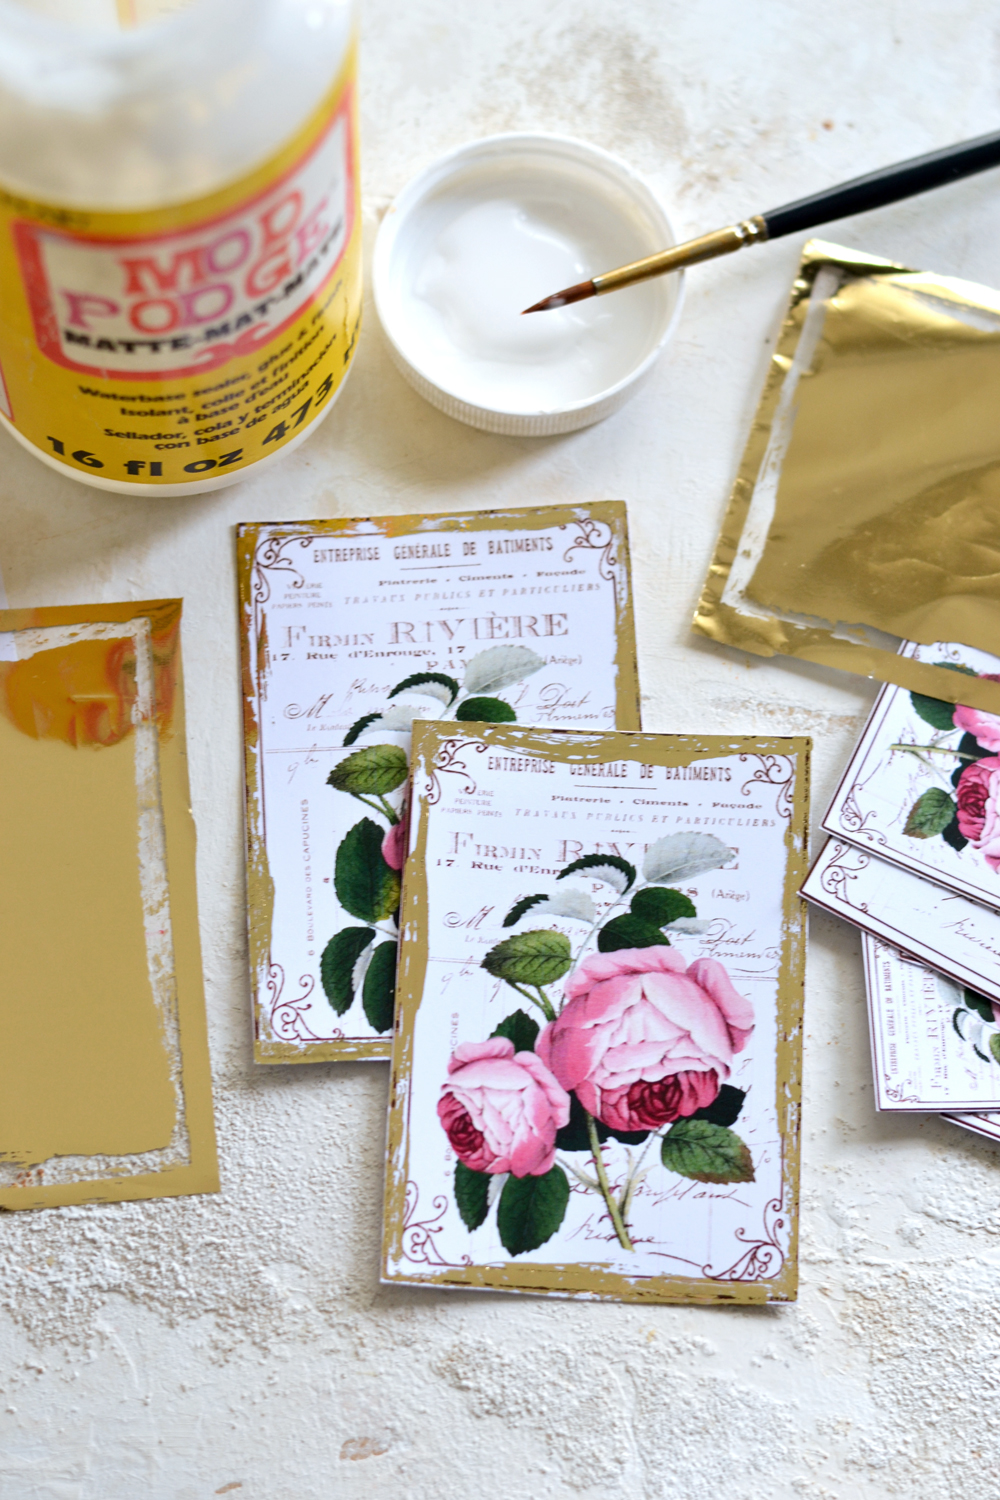
5. Do the same with all the other tags and admire your beautiful work … again and again!
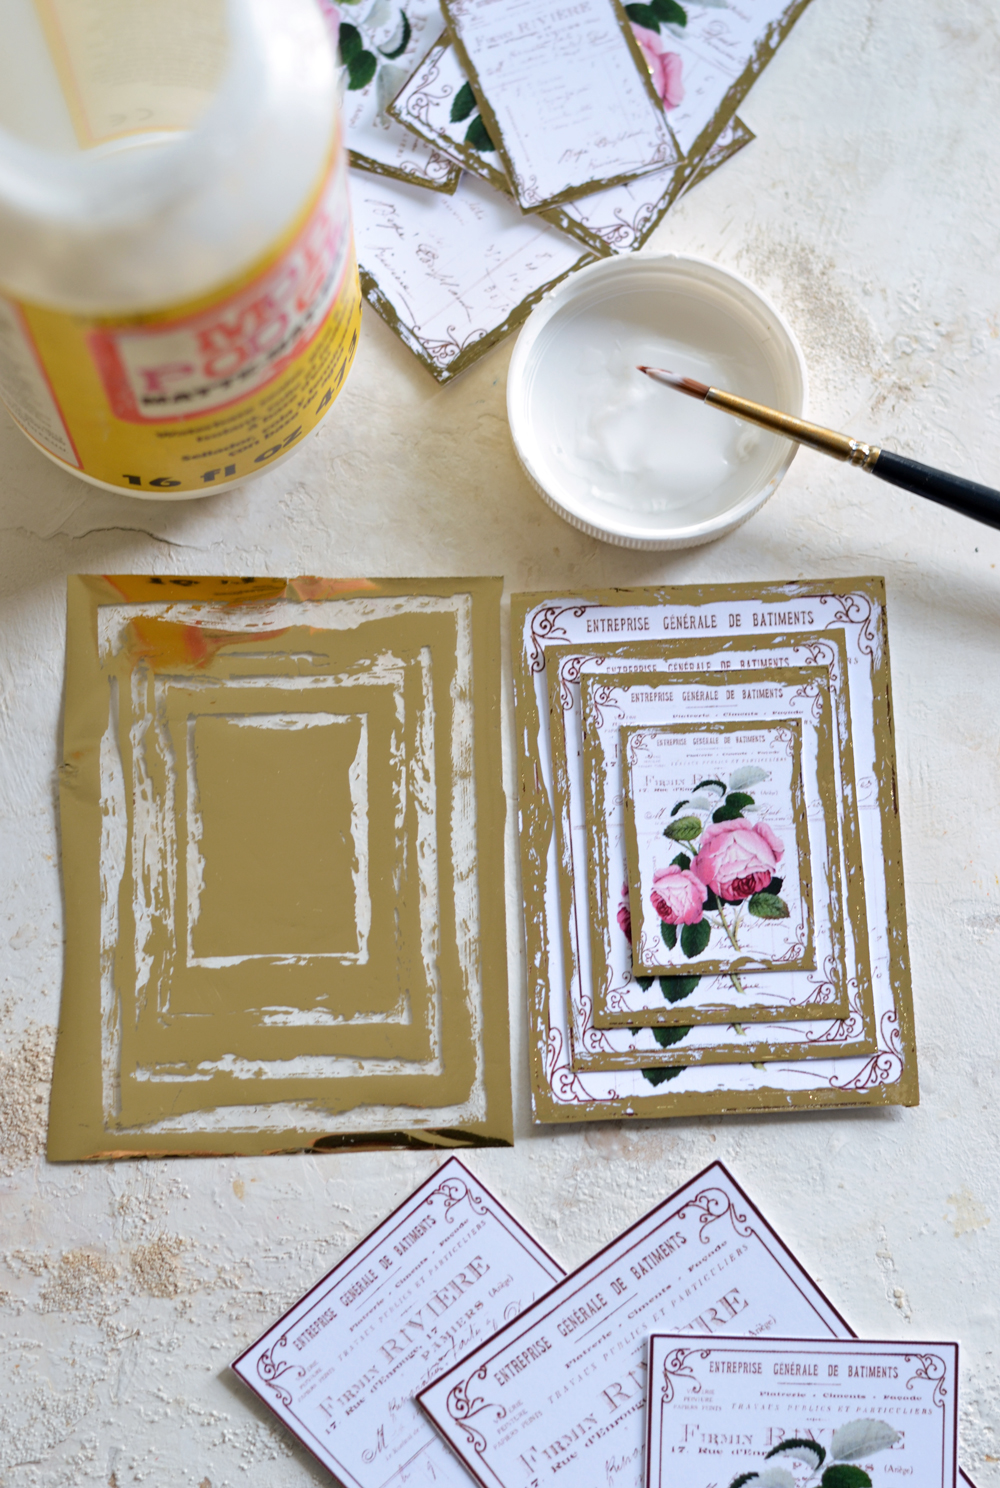
6. If everything goes well, you will be able to use one of your gold foil sheets to make 4 different decreasing size tags, just like I mentioned before.
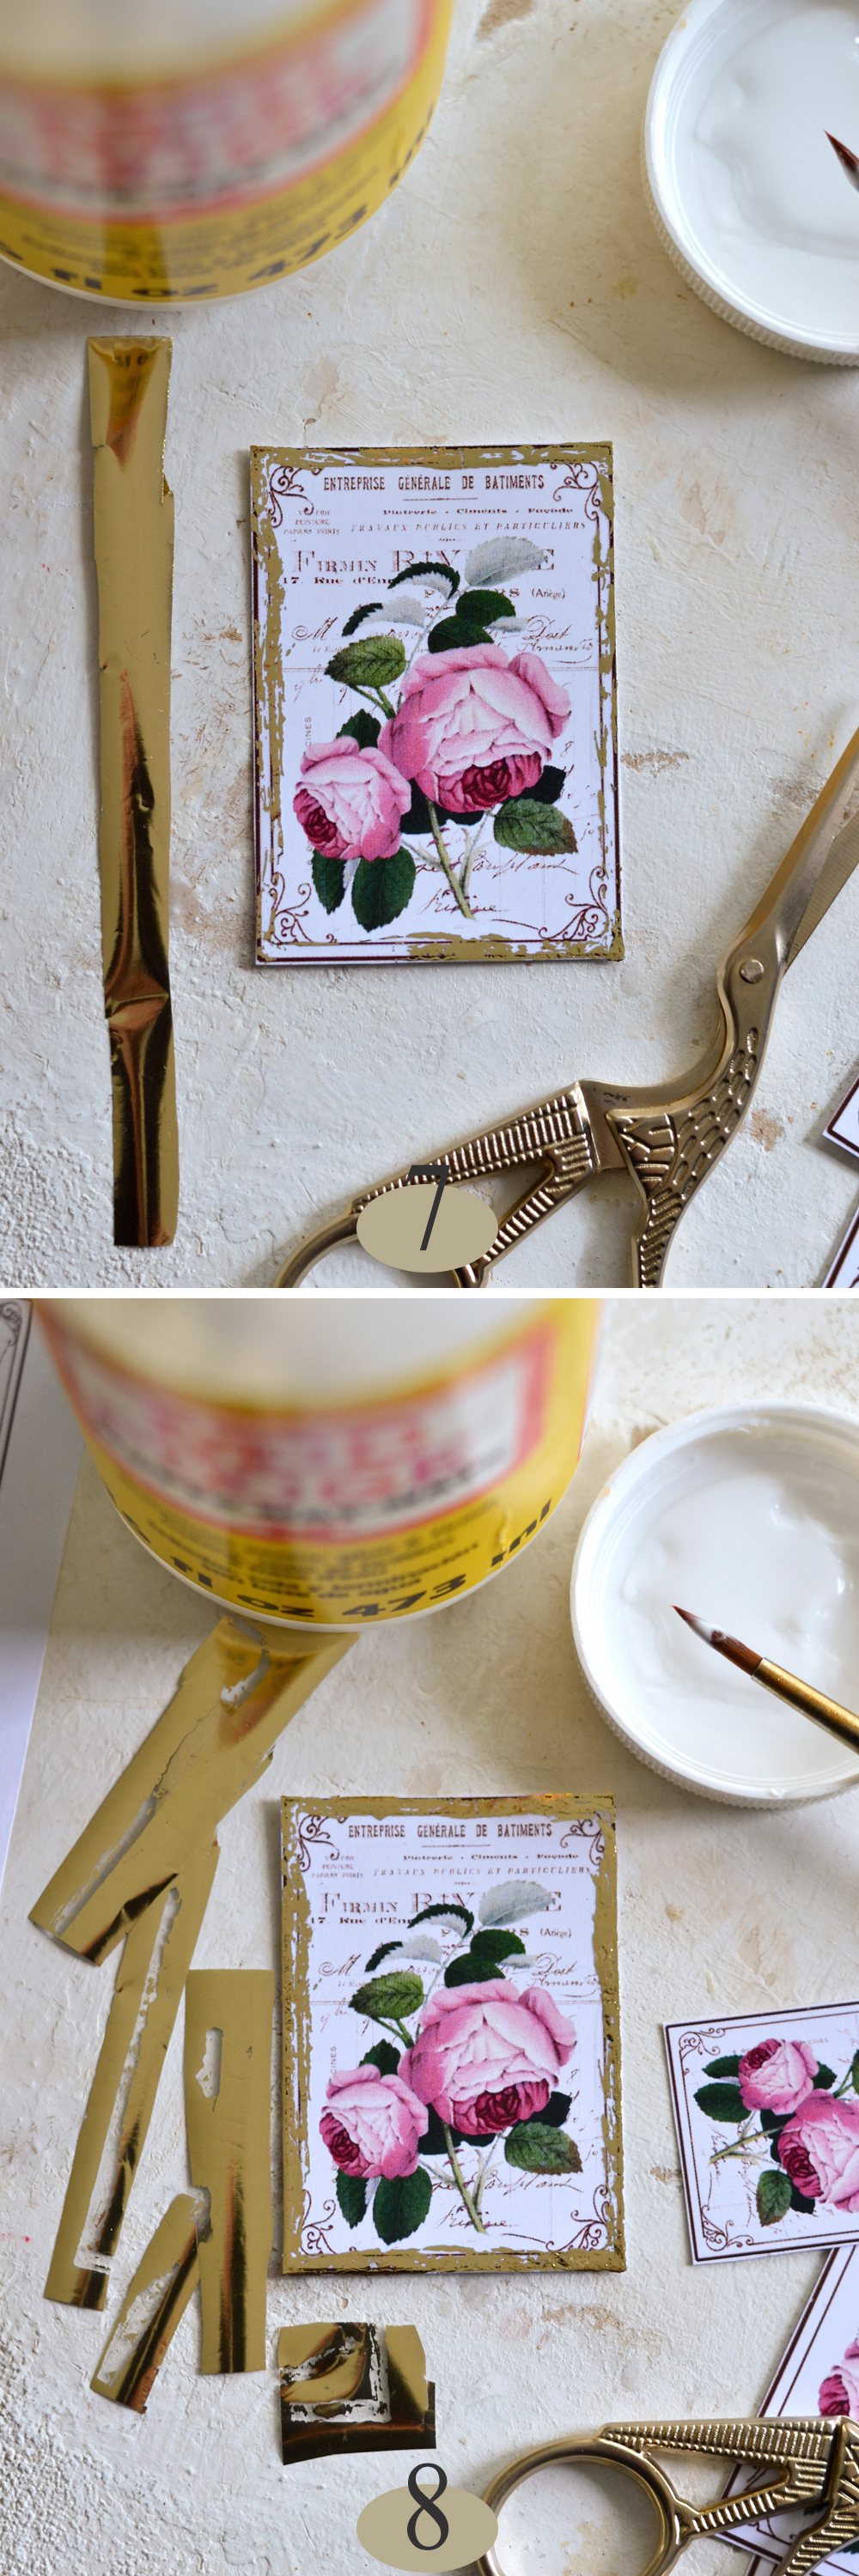
7-8. If everything doesn’t go that well or maybe you are not completely happy with the results you got, you might have to use a few more smaller pieces of gold foil to repair some of the gaps. Here you have two options:
- you can apply adhesive and patch one specific area where the gold foil is missing
- you can apply adhesive and foil all over the entire edge / edges again (this will also create a slightly raised edge, which might create a nice almost 3D effect)
9. You can also use stencils or free draw a few diamond shapes using a pencil, they will look good on all the tags – but especially on the rose-free French ephemera tags. ‘Paint’ the shapes with your brush using Mod Podge (just make sure you completely go all over the pencil marks), then follow the same steps as before when applying the gold foil.
10. You can create other shapes too and you might have to go all over and fill them again, until fully satisfied!
Ta-daaaaaa! Your simply gorgeous Gold Foil Paper Crafts are now ready! These beauties have the capability of catching the light in so many simply stunning ways, during the day! You will be amazed how different they will look while the day unfolds right before your eyes!
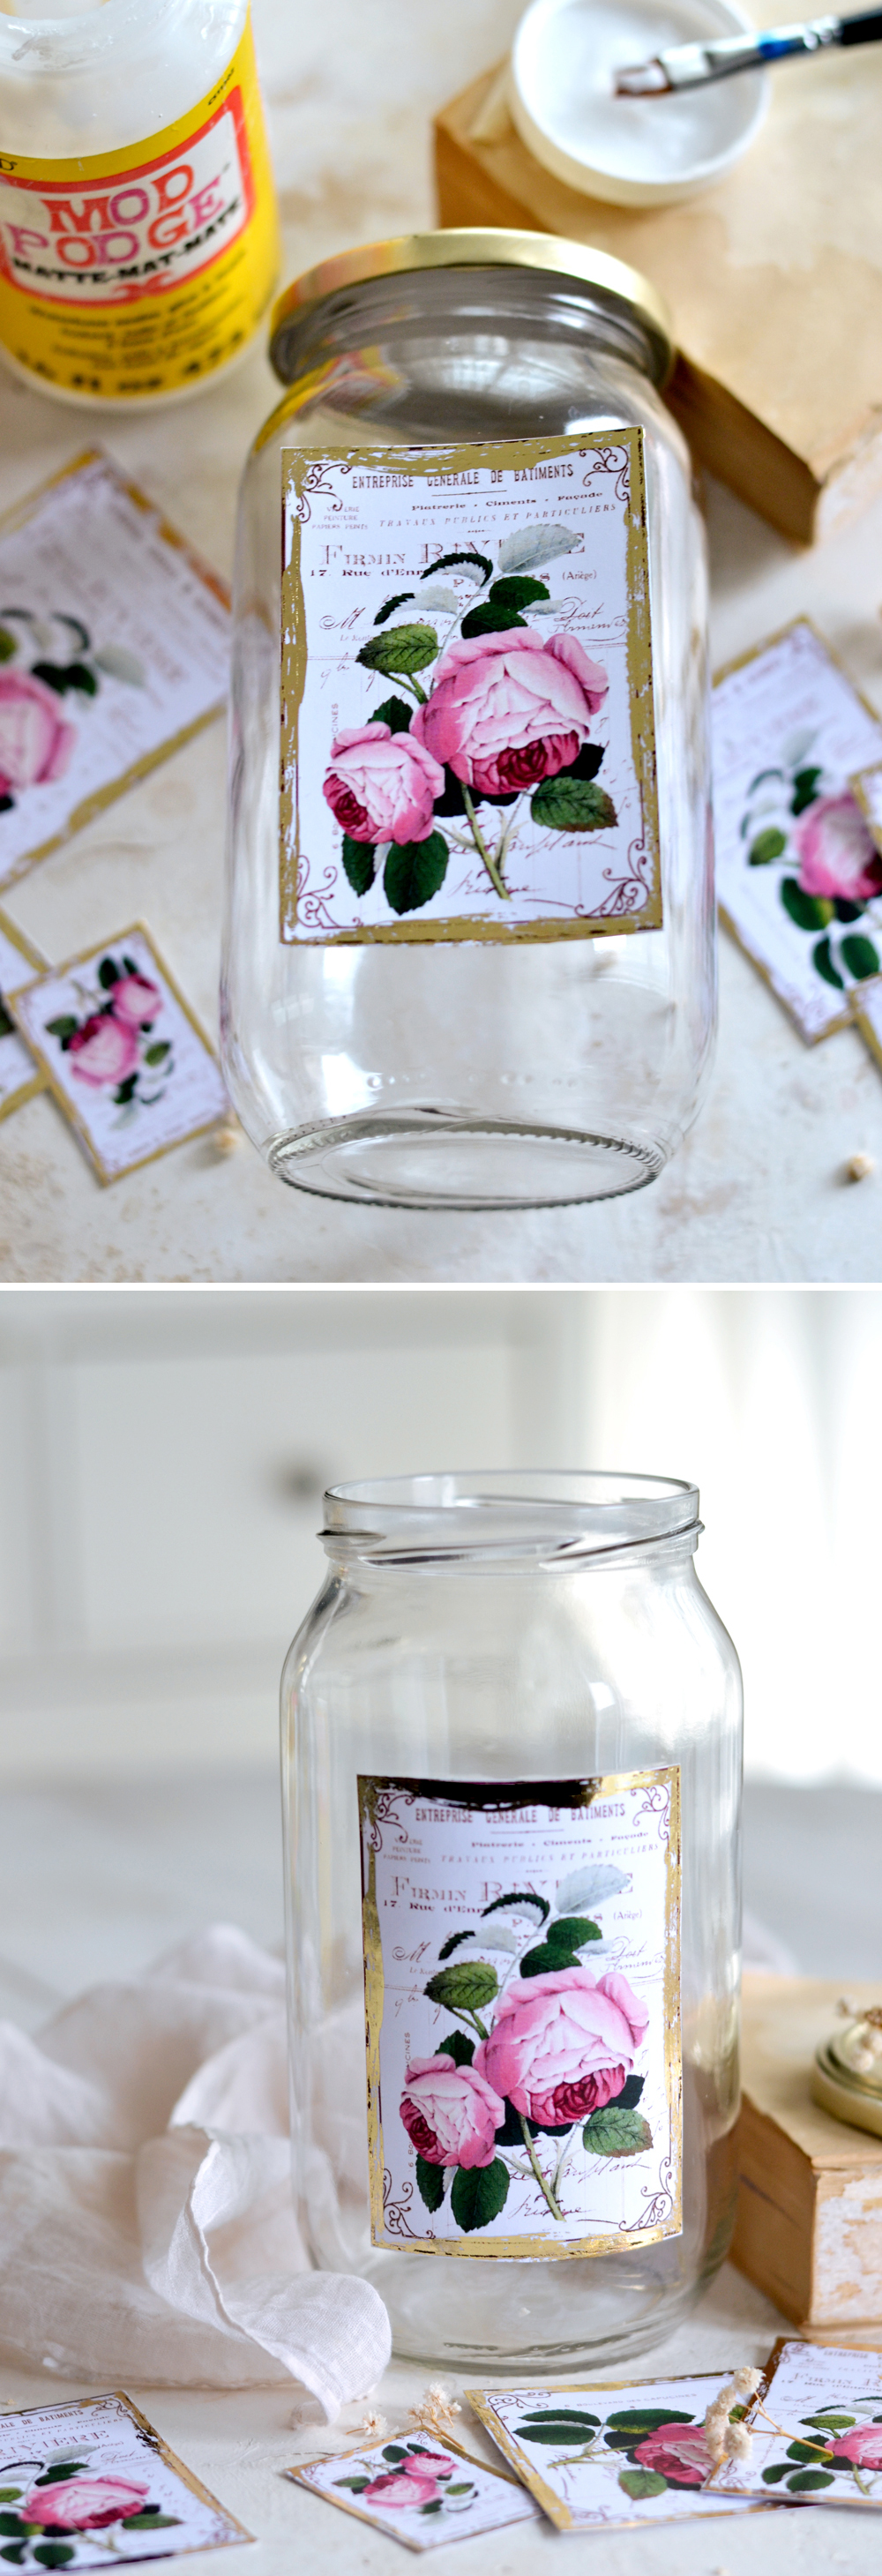
The first thing that came into my mind after finishing these lovelies? I need to make a quick and easy recycled jar vase! I’m obsessed with recycling all types of jars and all sorts of bottles, so I guess this doesn’t come much as a surprise.
I used Mod Podge again, this time to turn the tag into a label and adhere it to the jar. I had to press it for a few minutes with my fingers to make sure the label adhered properly.
Now I can hardly wait for spring, my new recycled jar vase is sooooo reaadyyy for some fresh flowers!
I’m really happy with how my Gold Foil Paper Crafts turned out, I hope you will love experimenting with these as much as I do!
They can be used on their own to make special presents even more beautiful or can be gifted with chocolate boxes or flower bouquets to add a little bit more charm. They can be also easily turned into cards – just write thoughtful messages, love poems or your favorite quotes on their backs – Hello Valentine’s Days, Mother’s Day, special anniversaries and birthdays!
Of course you can include them in other DIY experiments, even apply the same gold foil technique to make lovely sets for your art or junk journal.
Use them as home decor embellishments and decorate other objects around your home – think jars, bottles, scrap pieces of wood, flower pots. The possibilities are simply endless!
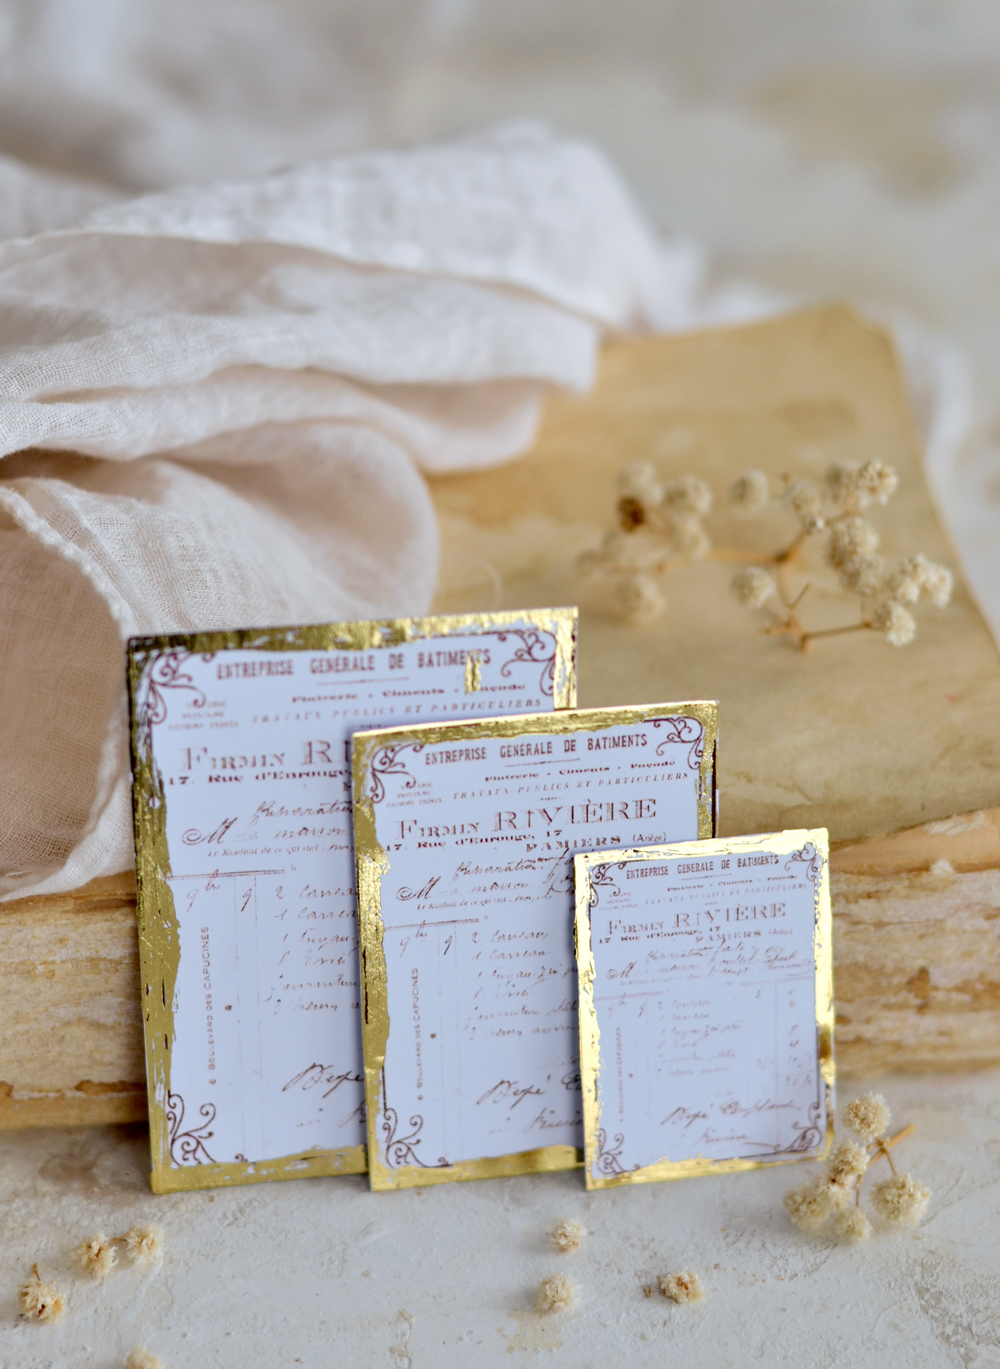 I hope you enjoyed these DIY French Gold Tags! Give this project a try and bring a little bit of goldness (gold + goodness) into your life! You might also like my Easy Gold Foil Decor Project HERE.
Happy crafting,
Diana / Dreams Factory



angela says
Beautiful! I knew there was some use for those gold inside chocolate wrappers : ) Thanks for a wonderful tutorial!
graphicsfairy says
LOL, to funny Angela 🙂 I am so glad you enjoyed it, Diana is amazing!!
Jeannette says
Thank you, thank you, thank you. These are fabulous and so beautiful. My first thought is a sympathy card. I always need them and typically I do a personal message on a separate sheet and add it to the inside with a tiny bit of glue along the seam and voila a personalized card with their name and my sentiments. These will make them look striking. Great job on the image and the tutorial. Never thought of using the Mod Podge.
graphicsfairy says
Thanks so much Jeannette, what a lovely sentiment, I am sure they are very much cherished 🙂
Ishka McNulty says
Hi Suzanne I have seen it in Spotlight. Or at least I think it is foil to use this way. I have seen foil in a number of colours there but have never bought it so I’m not sure how it is to be used.
Karen Watson says
🙂
Pat says
I am enchanted with these lovely rose tags embellished with gold. I have tons of gold leaf sheets that I’m going to try before I purchase the foil. The tutorial is great and I love the rose graphic! Thanks so much!
graphicsfairy says
Thanks so much Pat and have fun creating your own!!
Pat says
Guess what? The gold leaf sheets were very difficult to work with and MESSY! I want to try the foil but when I went to the craft store, I had no clue what to buy. I don’t see it listed on the supply list. Can you help? Thanks!
Pat
Karen Watson says
Hi Pat, we asked Diana to update the post with some links the foils on Amazon. If you check just under the supply list now, you can find that info and those links. I hope that helps!
Marilyn says
You might want to edit this to add gold foil to your supplies list.
graphicsfairy says
thanks Marilyn good idea!
Suzanne says
Hello, I love this but I am in Australia and have never seen gold foil in shops here. I am hoping that someone from Australia sees my comment and could let me know where to look for it here, if it exists. So many thanks. I hope that I get the chance to make them. Suzanne
Karen Watson says
Hi Suzanne, you may want to ask the shopkeeper as I think there is a good chance that they have it, but usually it’s just a small section, so might be hard to spot. As an alternative I found an online shop in Australia that carries a line of gold foil here https://www.craftonline.com.au/collections/gold-leaf-embellishments I hope that helps!
Suzanne says
Thank you so much Karen for your help. I will call them on Monday (its Saturday evening here).
Karen Watson says
You’re welcome Suzanne. Have fun creating with some gold touches!
Gloria says
Foil is sold as a craft accessory . I have ordered it from Amazon ,and purchased from stores like Walmart, JoAnns , stamp shops or craft store. Not sure for where you live but maybe if you look at images of the product you will recognize it when you shop. I live in Alaska and have to order mine so Amazon works for me.
graphicsfairy says
Thanks for helping Gloria 🙂
Linda Dow says
These tags are just stunning. Can’t wait to give them a try with foiling. Thank you for sharing.
graphicsfairy says
Thanks so much, we are so glad you enjoyed them! Have fun making your own 🙂