DIY Apothecary Jars
Hello, Graphics Fairy friends, I’m Diana from Dreams Factory and today we are making some DIY Apothecary Jars! I thought it would be fun to take the first steps to making our own herbal apothecary! Herbs have been used for thousands of years for medicinal purposes, so we are basically connecting to our roots and are shifting gears to a more natural state of mind. And well being.
This might seem intimidating at first, but the world of herbalism is actually such an exciting territory that is just waiting for new explorers! So what do you think, are you ready for some exploring?
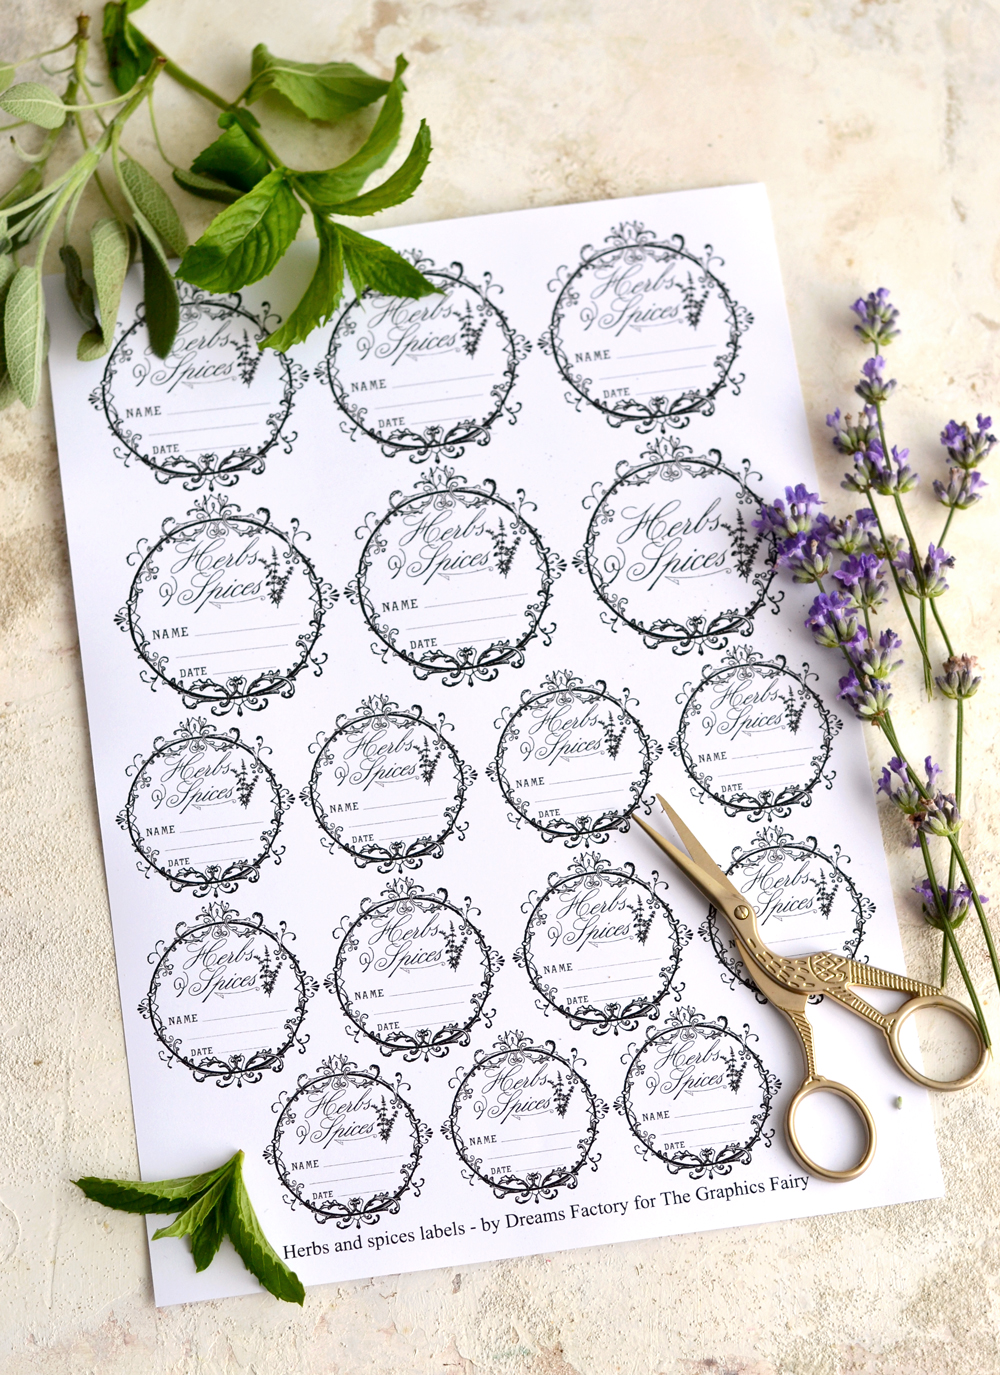
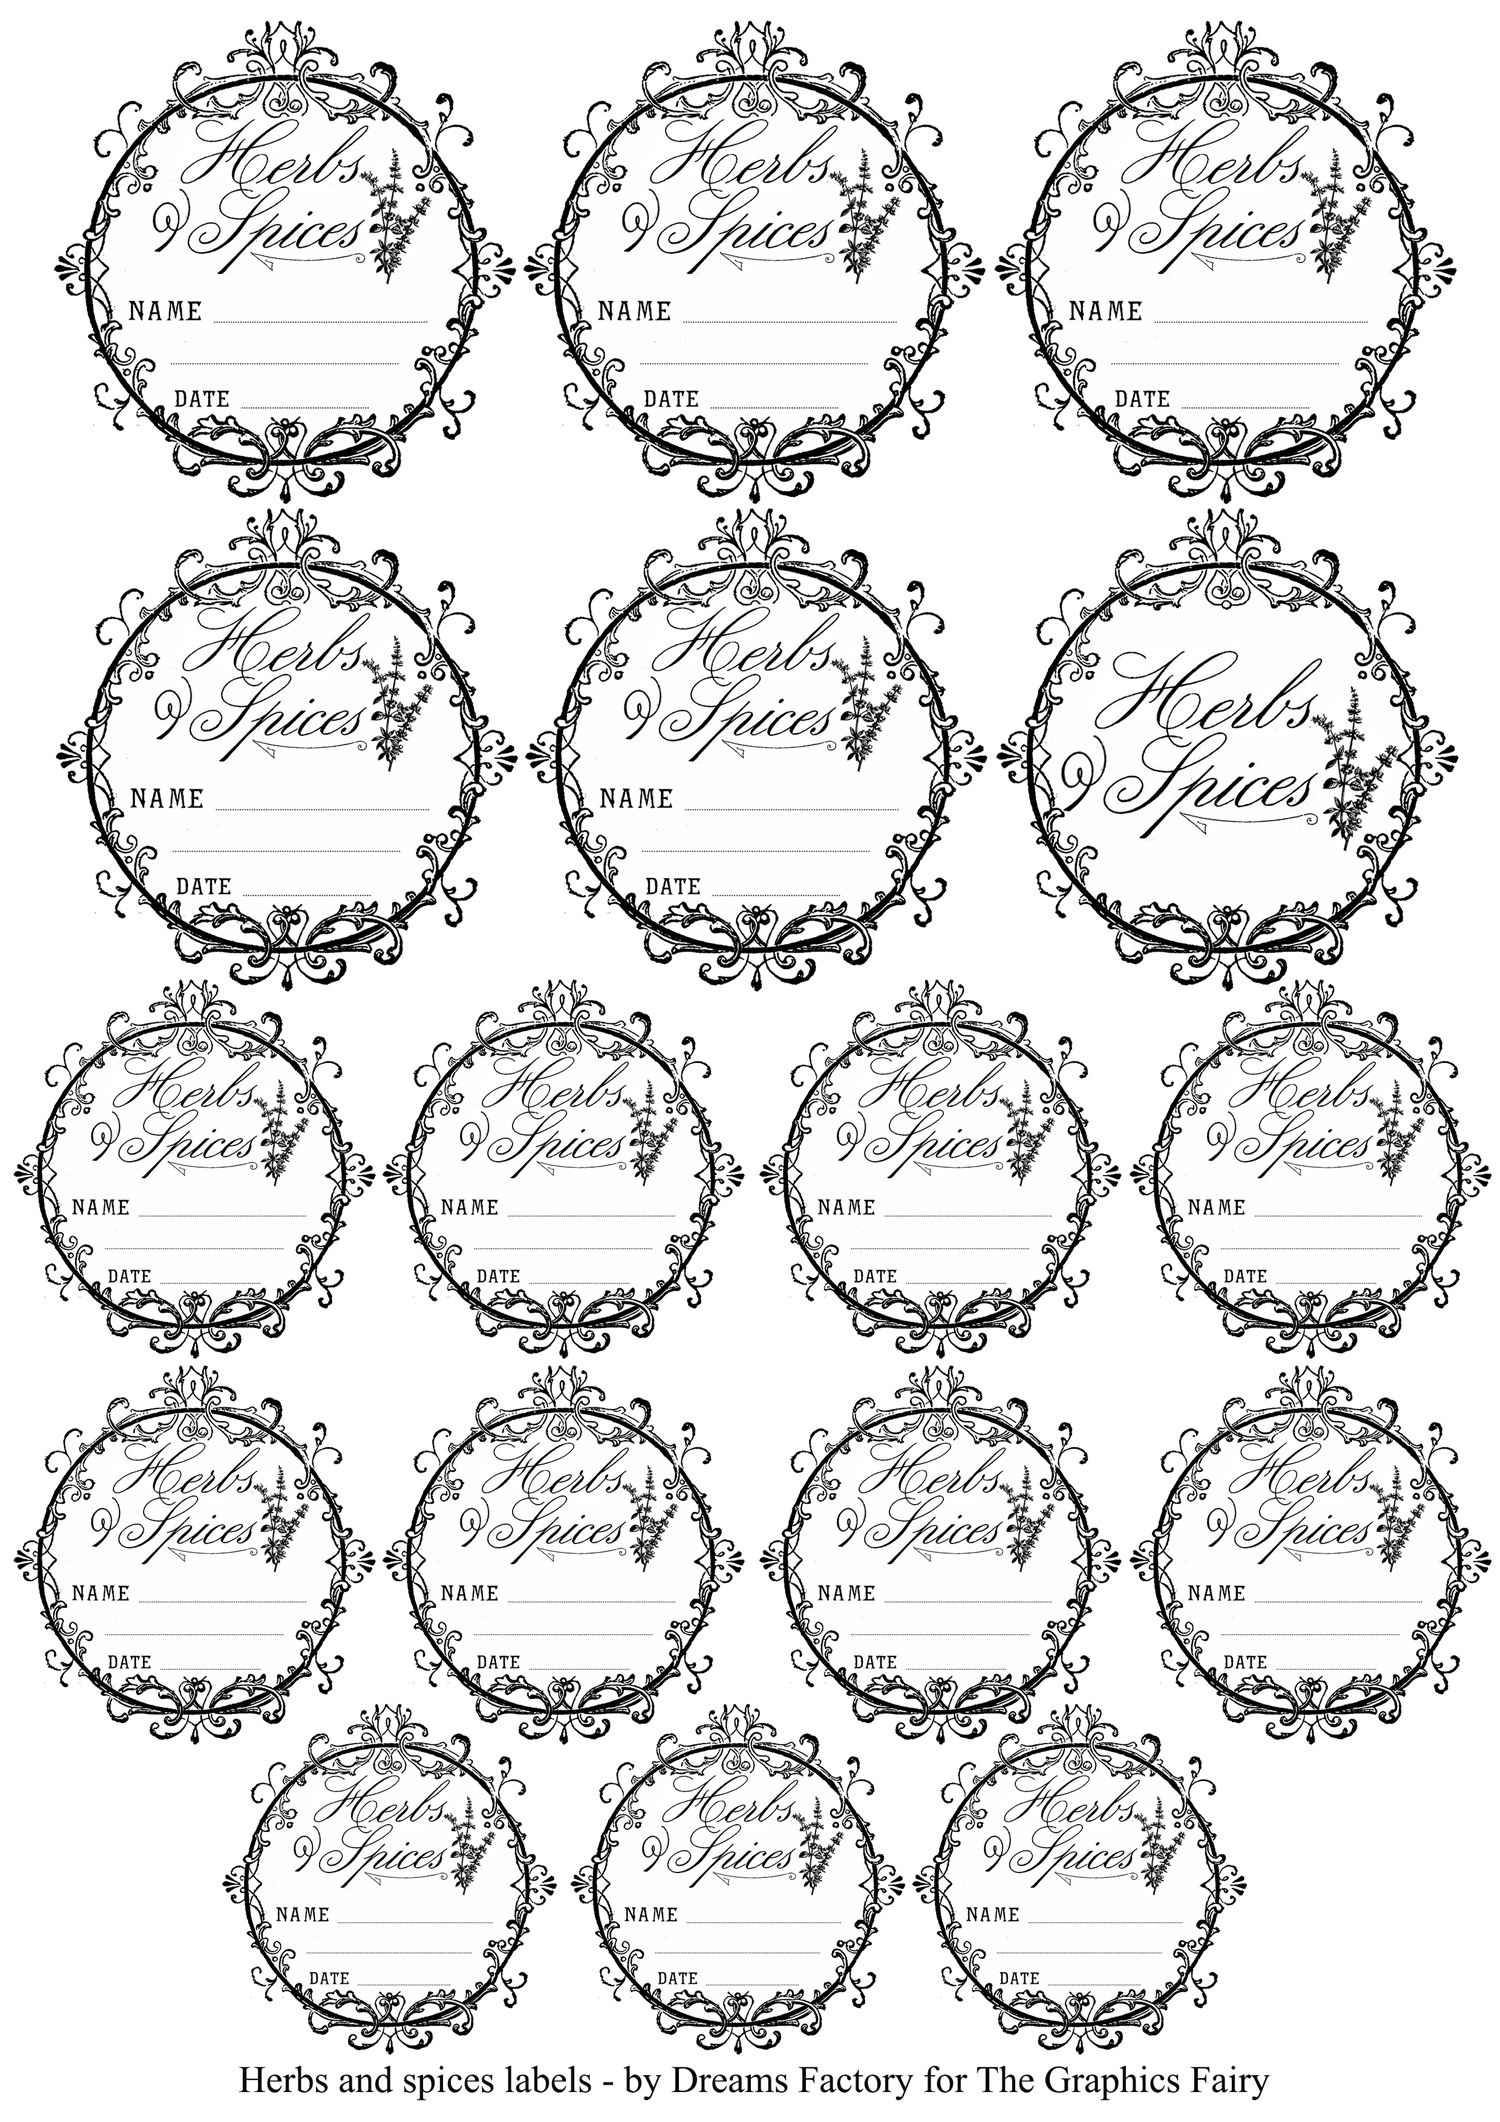
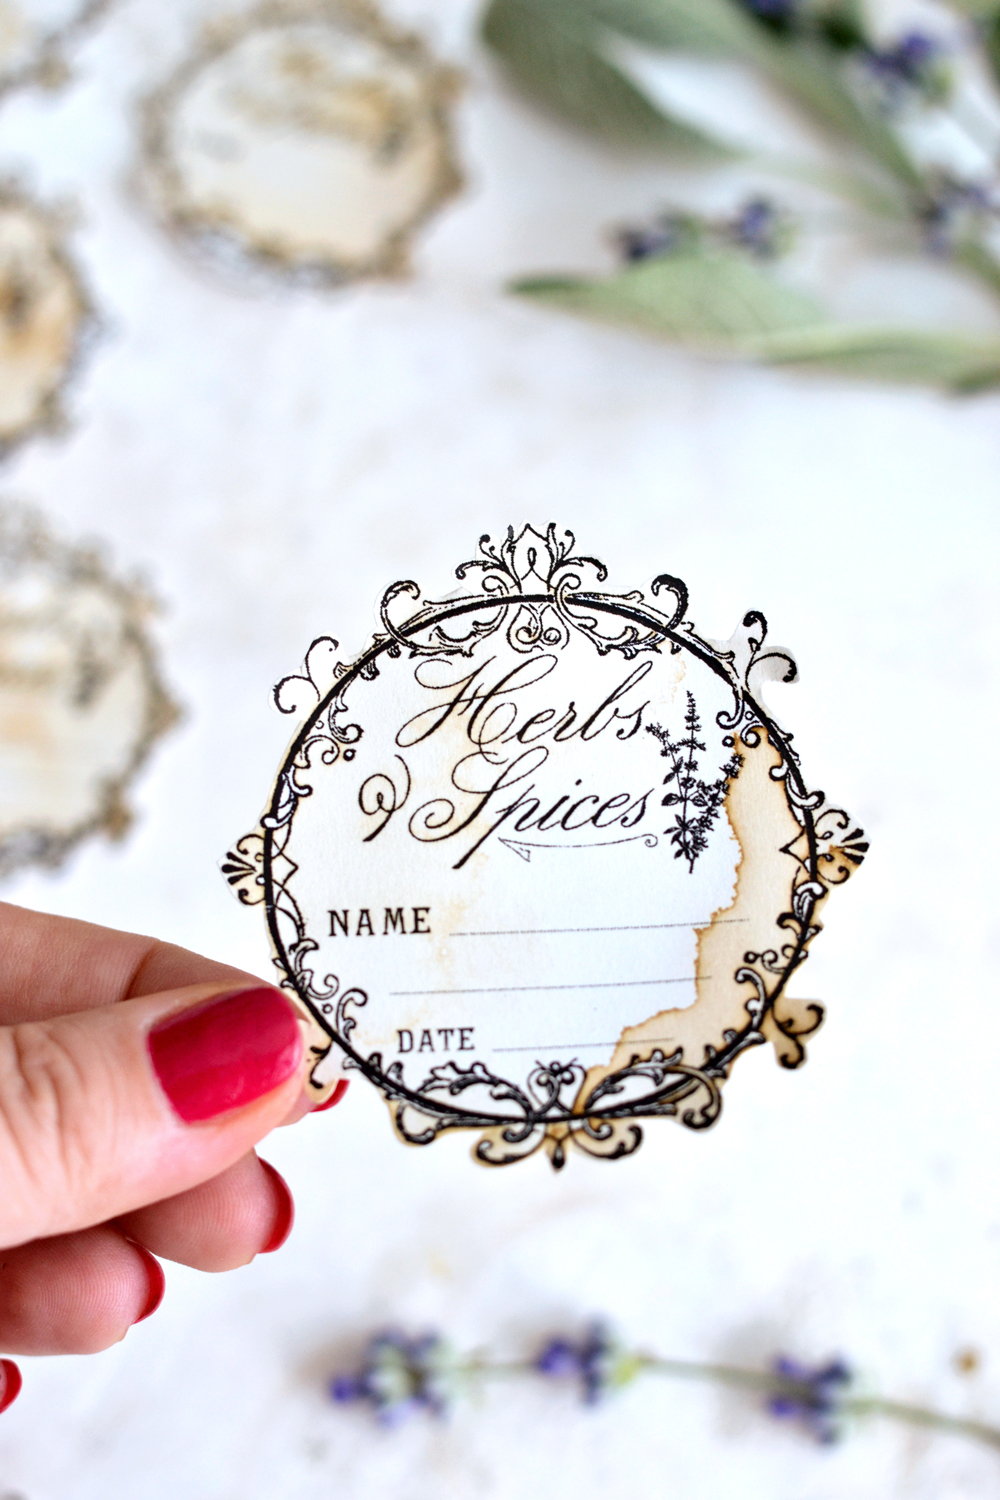
You might be already into drying herbs and taking advantage of their amazing healing properties, but to be more intentional with the process itself, I thought it would be great to share these super chic herbs and spices apothecary labels with you. This can be a stepping stone in building your own homemade apothecary! I actually created the labels using this lovely script font from an 1877 lettering book and this amazing lacey vintage frame from an 1890 label catalog, so this is yet another way of connecting to our past. You will be able to write the plant’s name on the first row and the date on the last row. And in case you are wondering what’s the deal with the middle row – well, that one is pretty special! It’s for writing the Latin names of the herbs, just like a real herbalist would do! You can find the Latin name of a specific plant online, this could be another fun thing to learn this year!
Free Printables for DIY Apothecary Jars
—-> Click HERE to Download the Full Size Printable PDF <—-
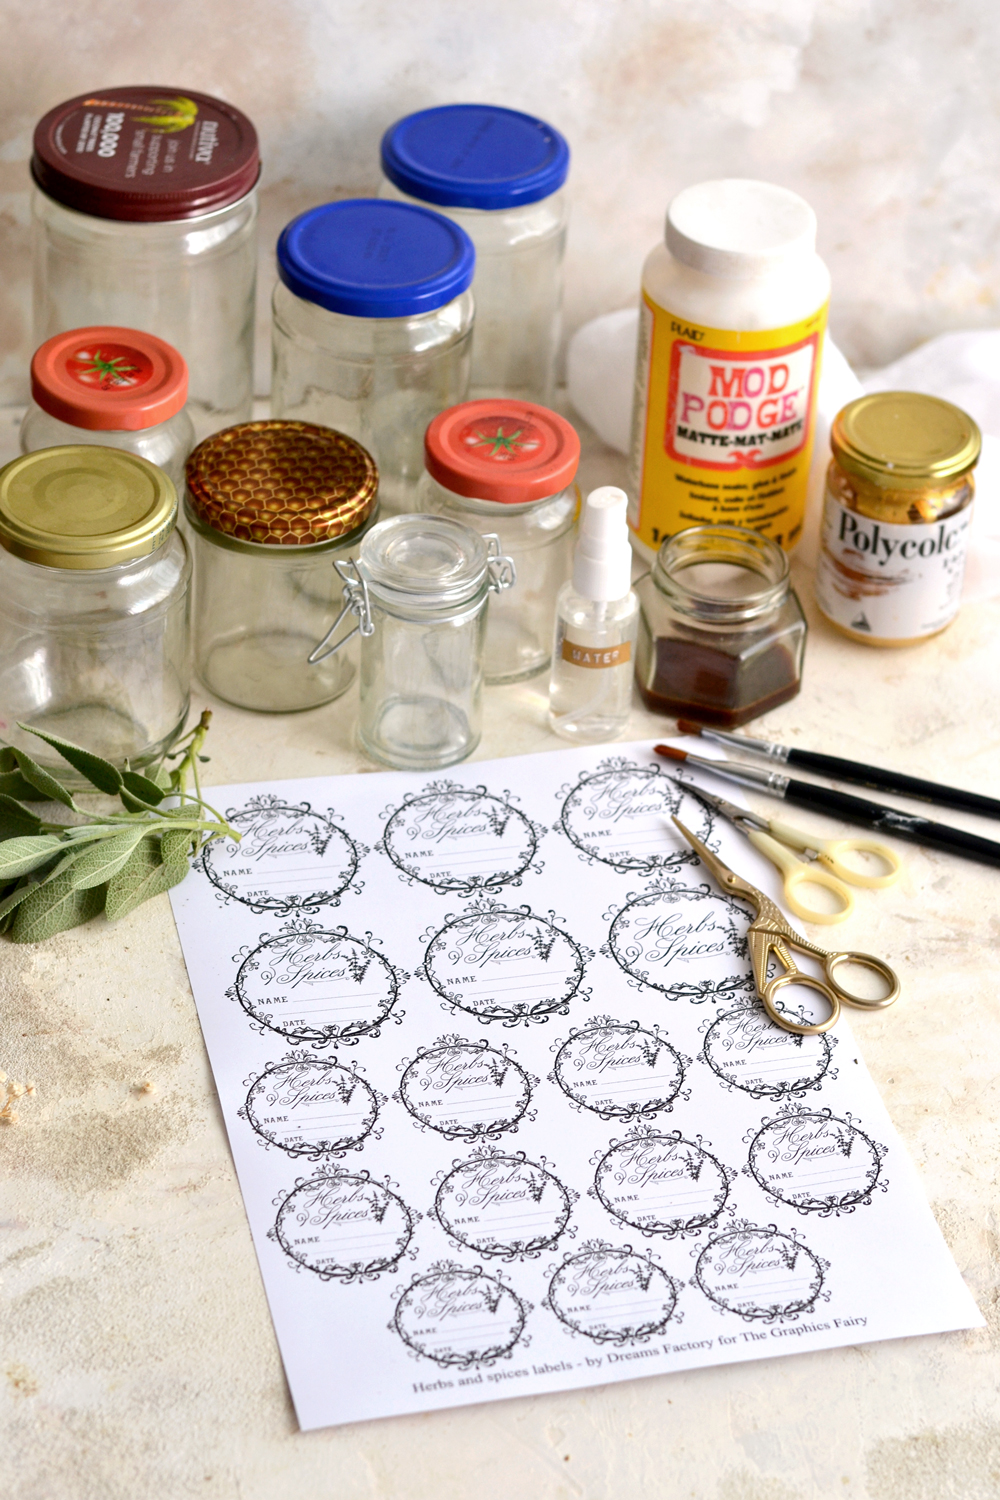
DIY Apothecary Jars Supplies:
- regular or cardstock paper ( I used cardstock)
- scissors ( I used small manicure scissors)
- Home printer
- coffee
- brown acrylic paint
- gold acrylic paint – you can use metallic gold, copper, bronze or brass
- brushes
- water bottle
- a plastic sheet or a plastic bag to protect your working area
- Mod Podge and a small brush
- paper towels
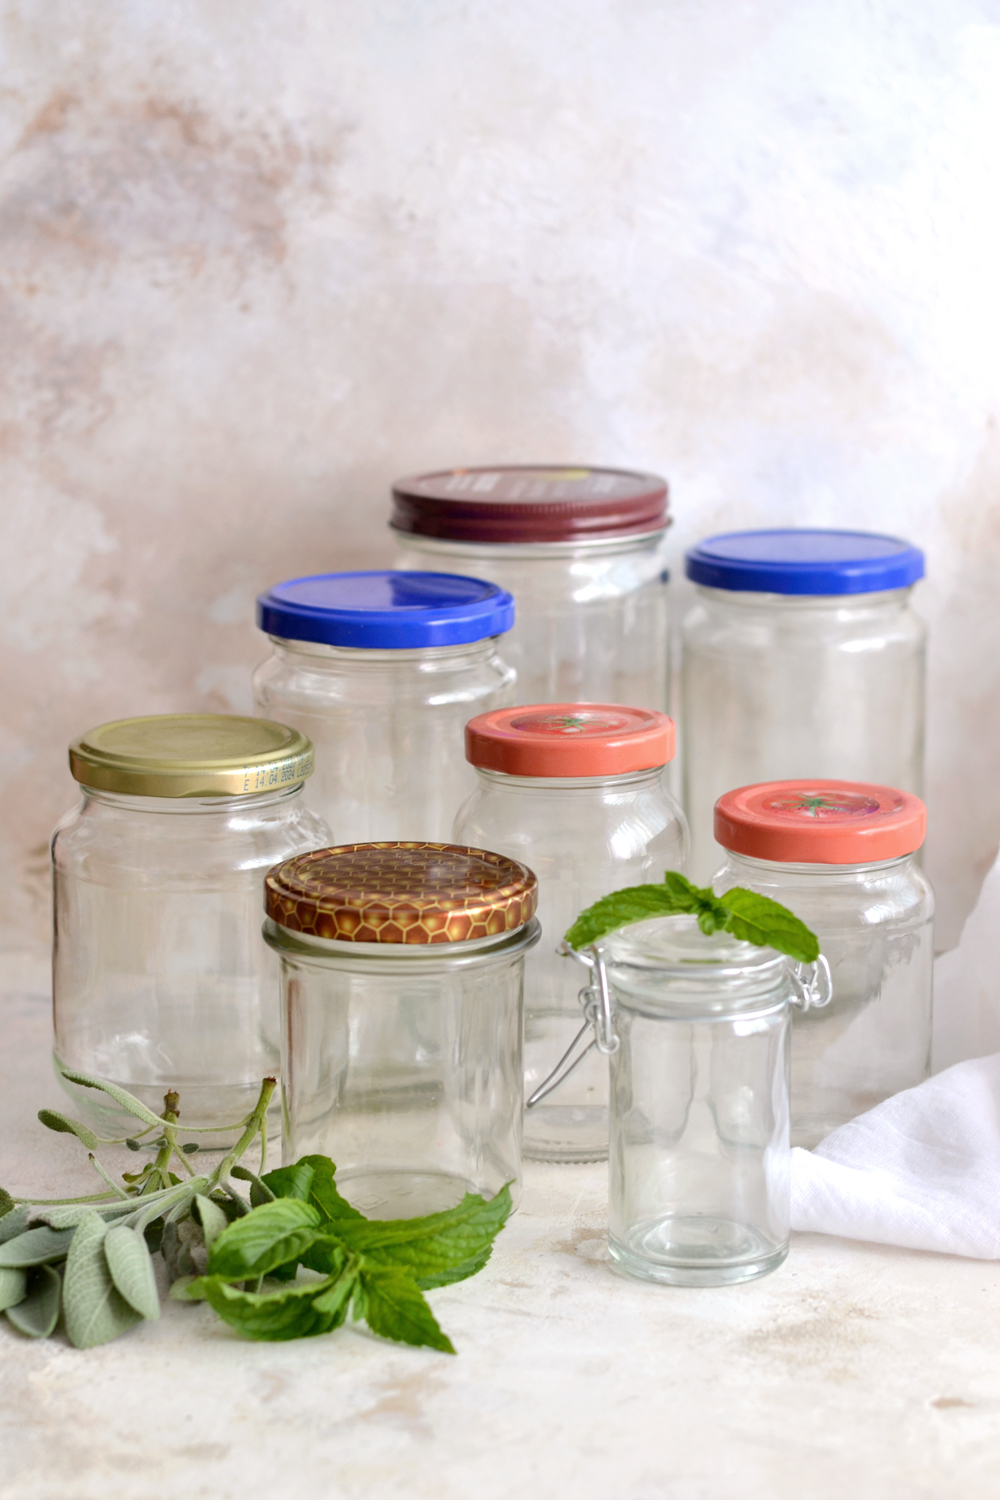
- new or recycled jars
You can buy new jars or use recycled ones for this project, either way is fine. I used recycled jars in different sizes, just use what you have on hand! Make sure you wash them really well and you let them dry completely before using, we don’t want any moisture added into our our dried herbs!
DIY Herbs and Spices Apothecary Jars – painting the lids
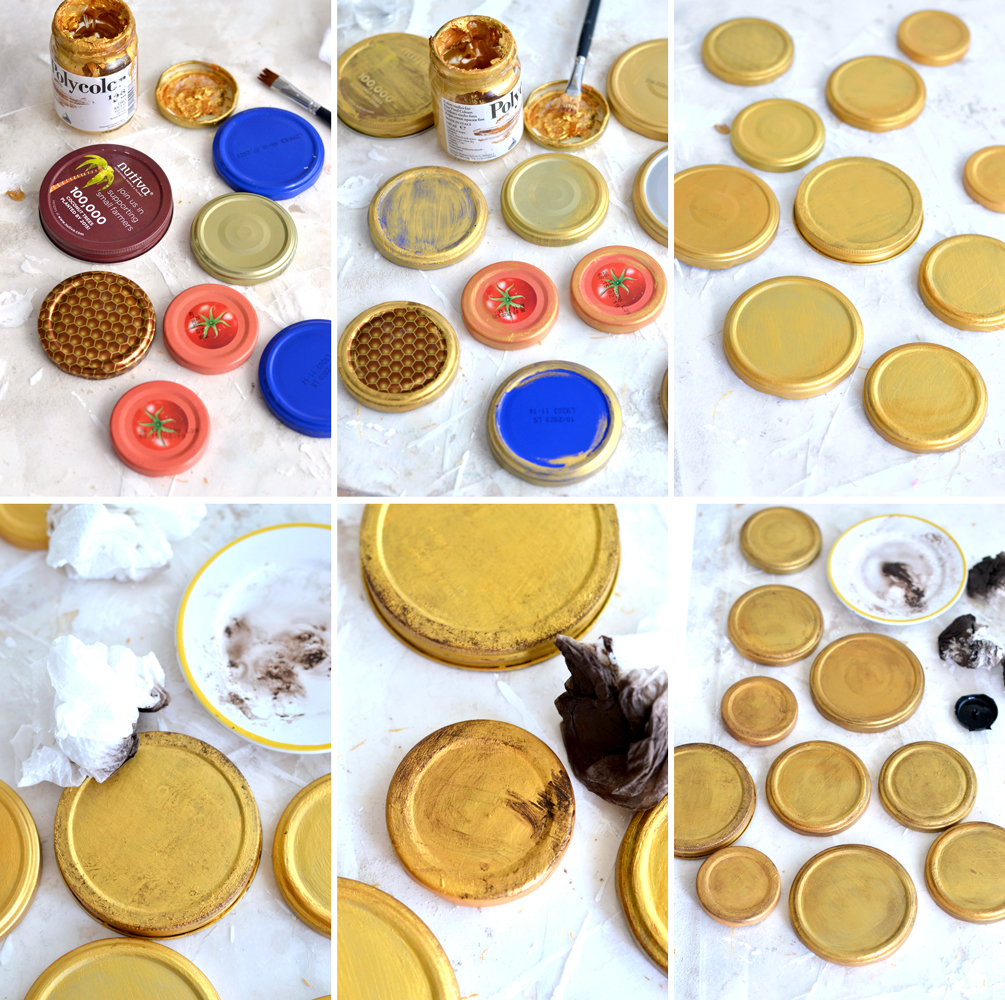
Of course I couldn’t just use the jars like that, those lids NEEDED a face lift! I decided to go with gold acrylic paint, but you can use any color you want! Just make sure you don’t paint the interior of the lids, we don’t want any acrylic paint inside our herbs and spices jars afterwards!
1. It’s best to use a plastic bag or a plastic sheet (and not paper) to protect your working surface while doing all these steps, the lids will stick to everything until drying.
2. I started painting each lid with gold acrylic paint. I first painted the edges of each lid (while holding them between my fingers), then I came back after drying and did the top (while they were laying on the table). I applied several layers, letting each layer dry to touch in between. For a better adherence on your metal lids, only use undiluted acrylic paint, do not use any water at this point!
3. I liked my new golden lids but I felt like they were missing something.
4-5. So I decided to play with some brown acrylic paint and use it like a stain to add a little bit of interest and get a more antiqued look. I diluted the brown acrylic paint at this point and used paper towels to apply it, mostly on the edges, then I used a another slightly wet paper towel to wipe off the excess.
6. Now I really LOVED my unique lids! You can add more or less brown paint (you can even add more stain colors if you want), depending on the level of distress you want to achieve, you can really tailor these beauties to your needs. Who says you need a canvas to get creative, some metal lids will work just fine!
Distressing & cutting the labels
While you wait for your lids to dry, you can simultaneously work on your chic vintage labels. I used my laser printer to print out the labels. If you are using an Inkjet Printer you will want to set the ink first using this tutorial HERE.I used a brush to apply highly diluted coffee all over my page and then came back with undiluted coffee to add more interest on the edges – shout out to Mr. Dreamy for providing the best coffee!! I used another plastic sheet under the page, coffee will stain everything … including your table! You can also use highly diluted acrylic paint in your favorite color or you can even use your watercolors like I did with my French Clock Faces, if you want to make multi colored labels! Just use what works best for you and your style!
I let the labels dry completely then used a small manicure scissors to cut all the fine details.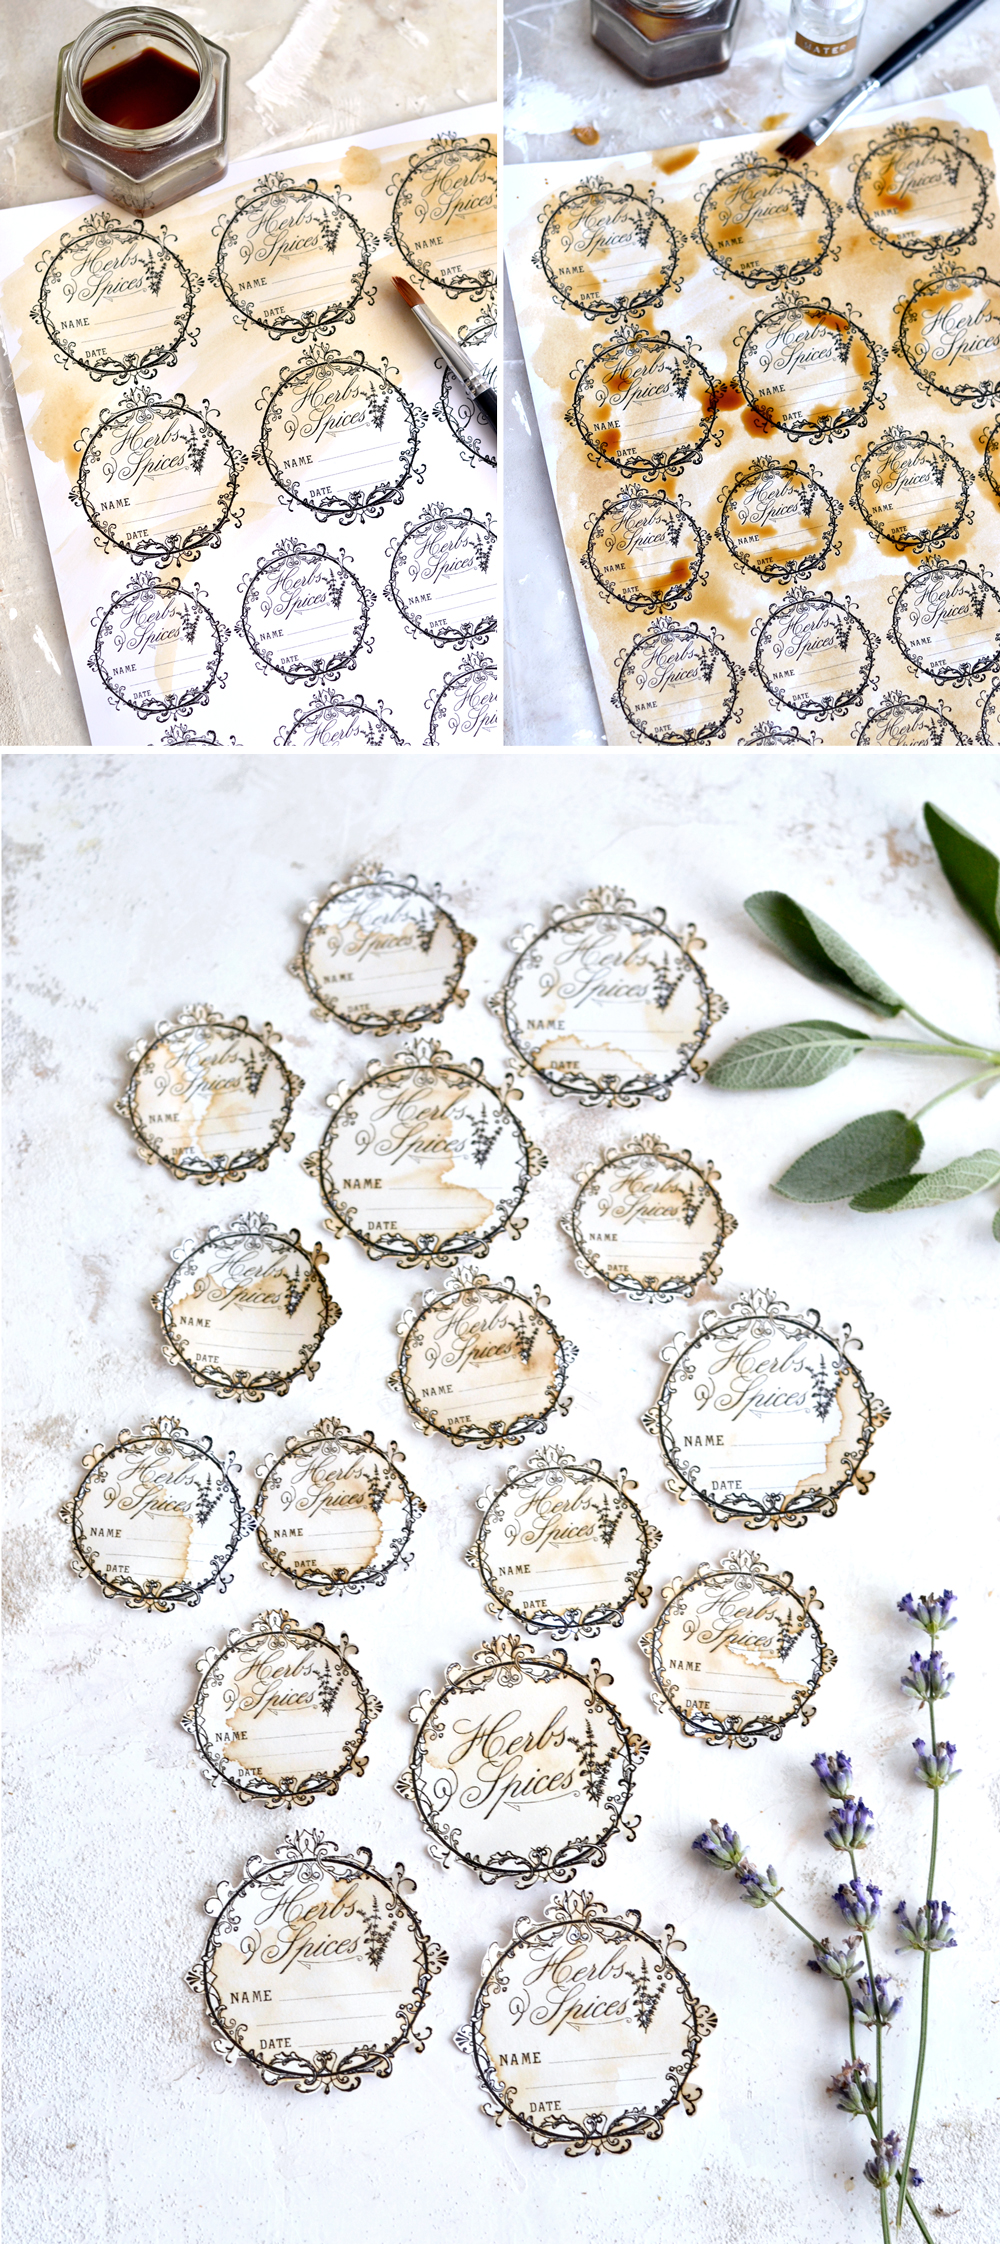
DIY Herbs and Spices Apothecary Jars – the herbs
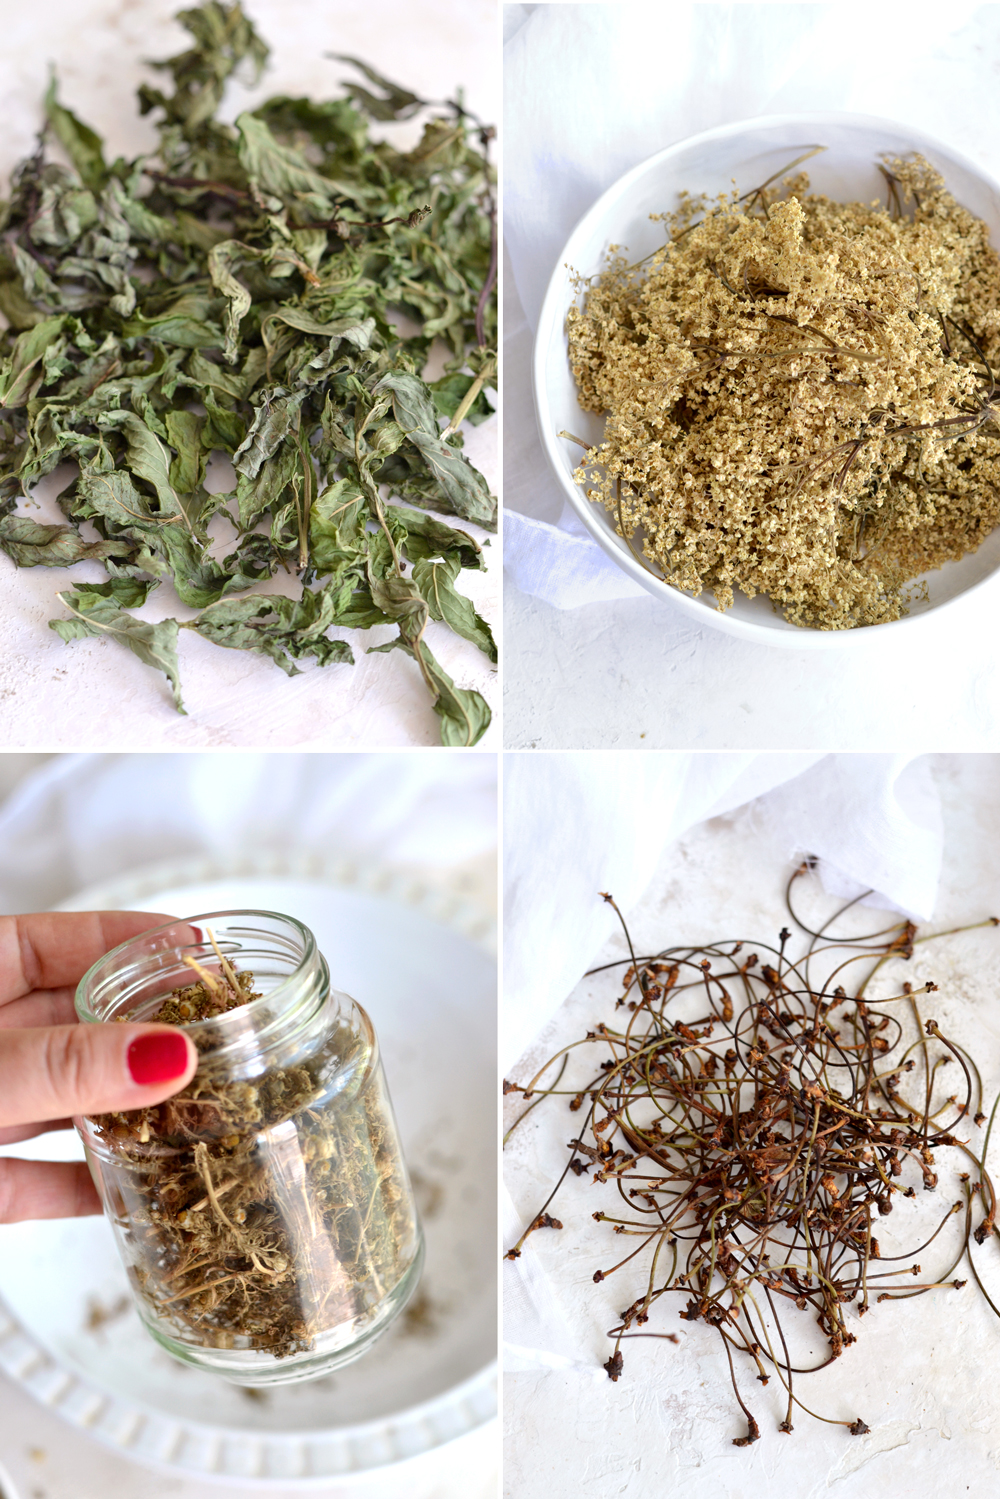
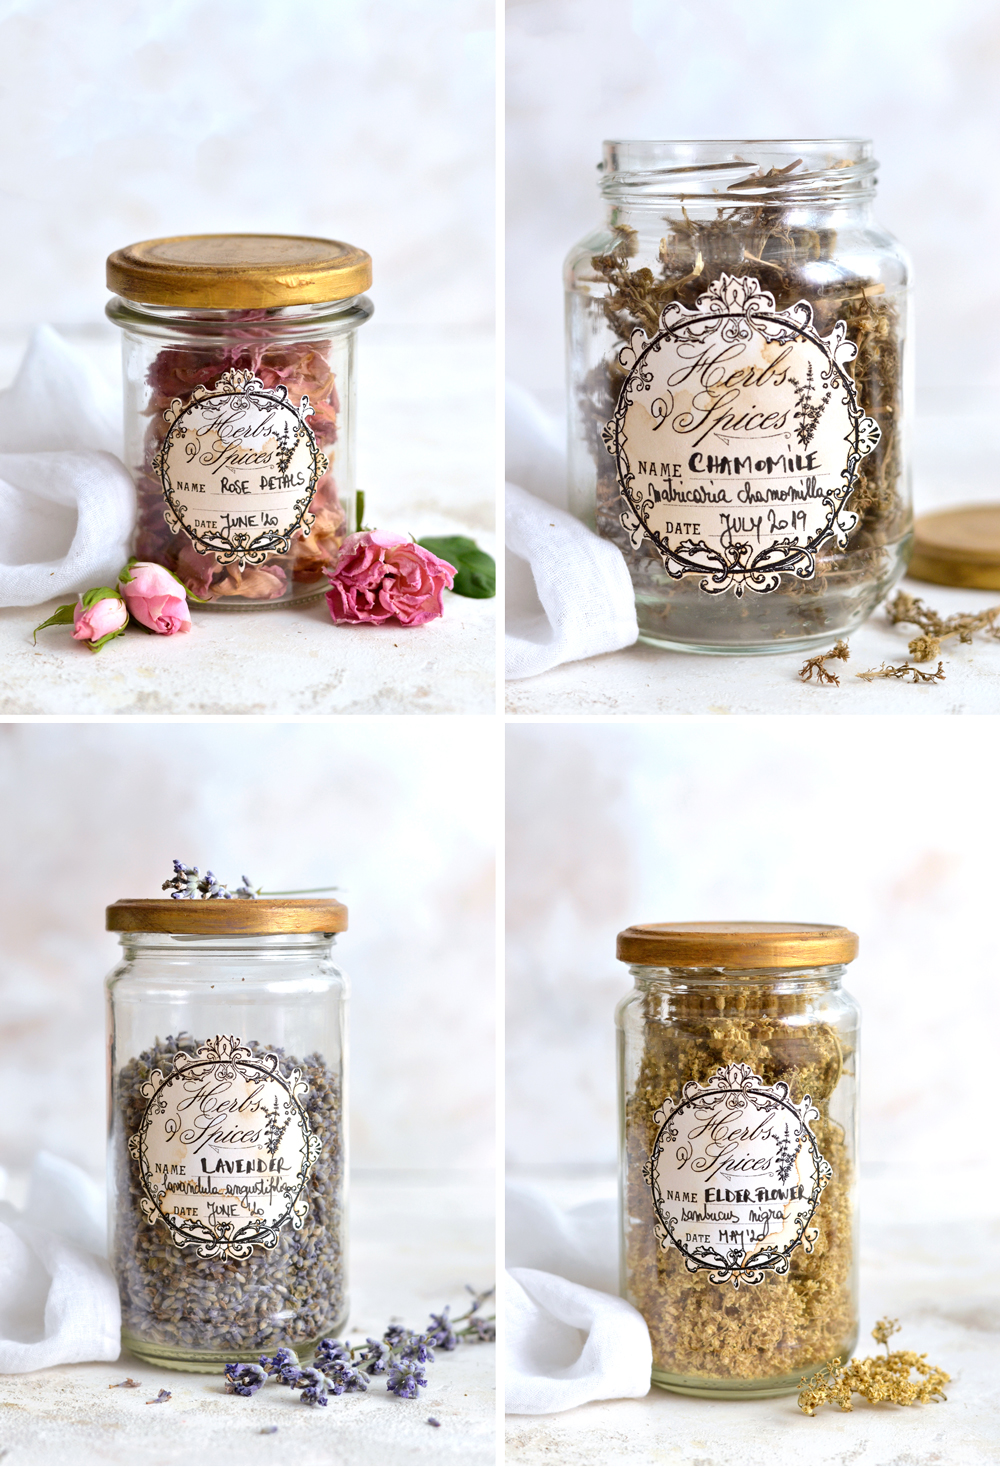
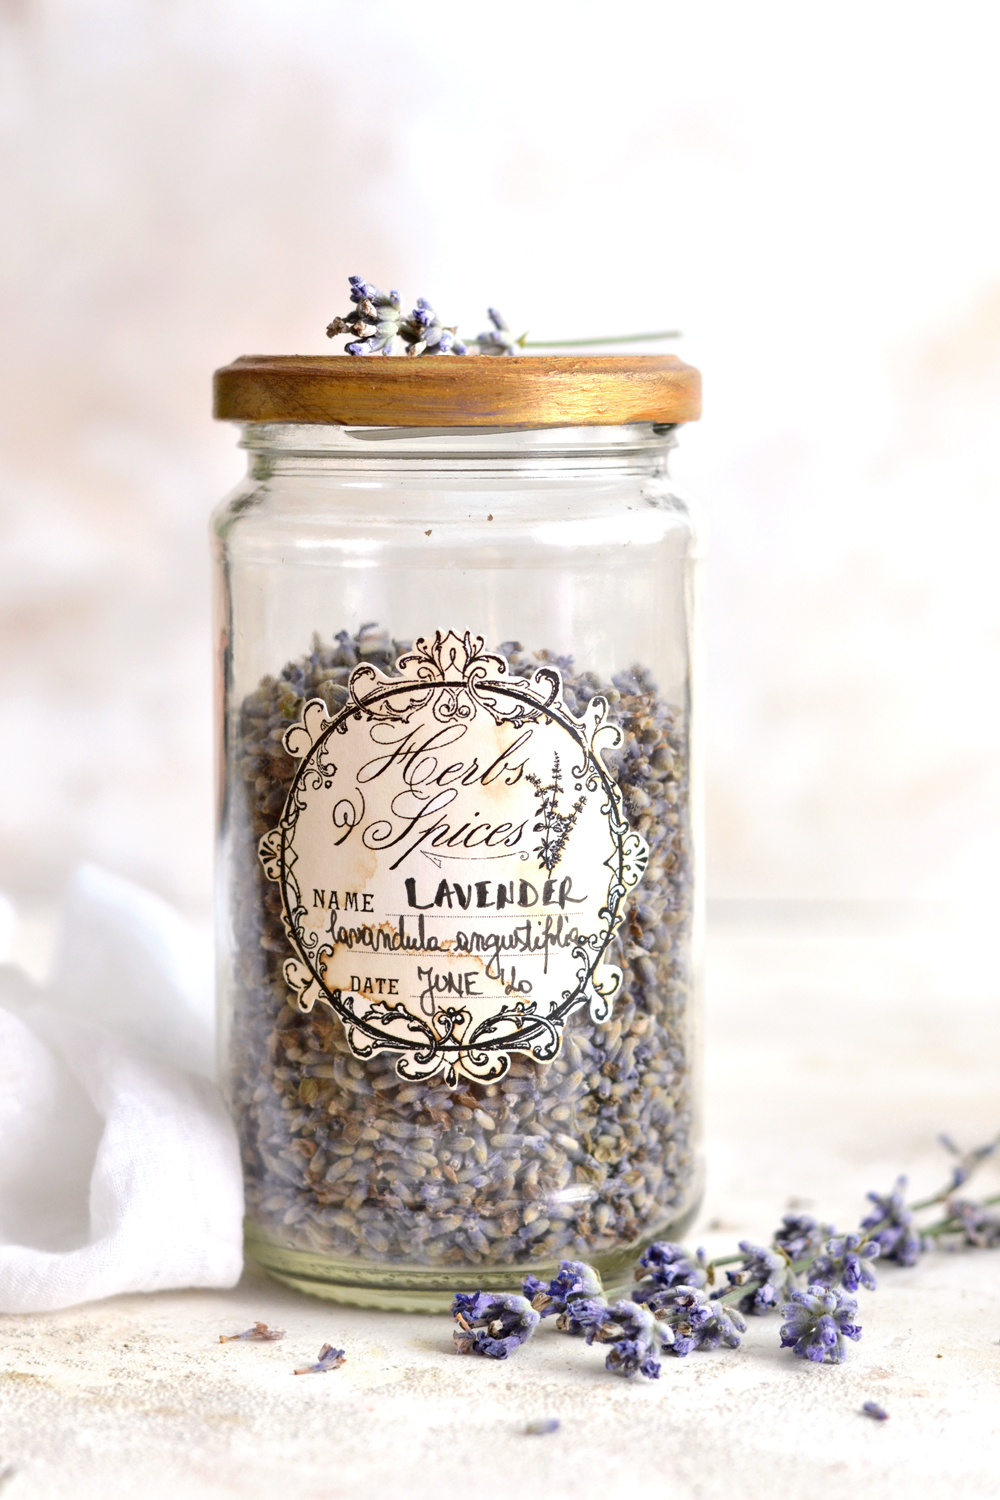
As for the dried herbs, let’s start with the stunning lavender – my all time favorite – shall we? I really love everything lavender related, we started growing it in our garden a few years back. I was actually surprised how easy it is to grow it, if you have the chance of growing some yourself, just go for it! It’s always good to have some lavender around, you might need it for these DIY No Sew Lavender Sachets, this Epsom salt & lavender detox bath soak or this unique essential oils diffuser. 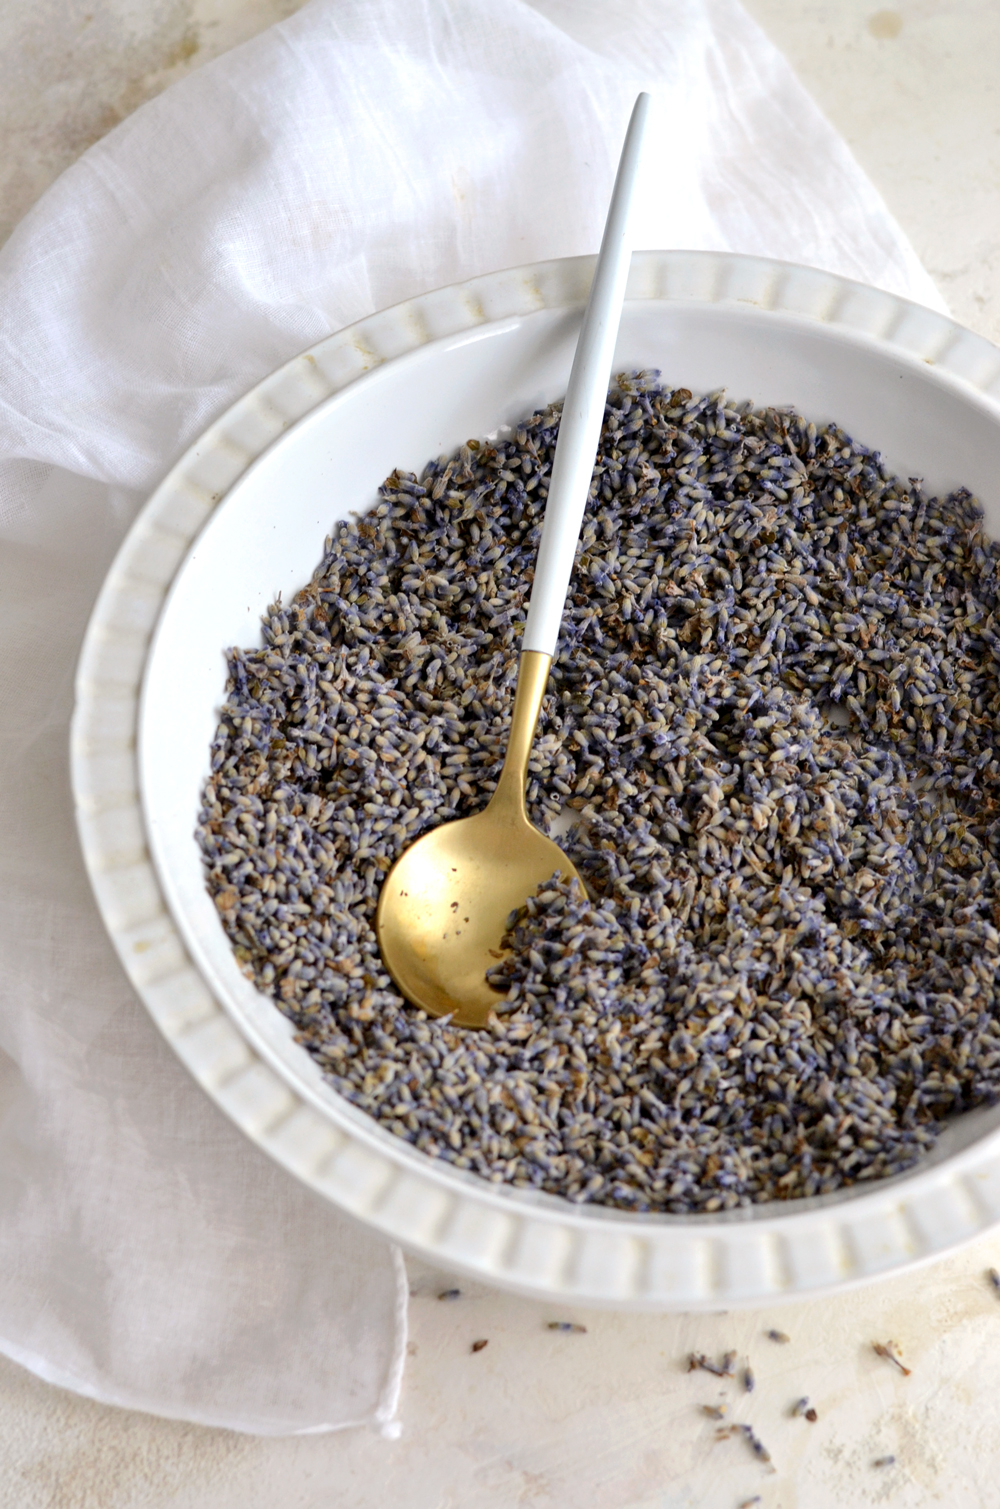
Mint is another one of my favorites, along with elderflower! Not sure if you ever tried elderflower before (hello Hugo cocktails!), but here in my country (Romania) this super fragrant flower is highly appreciated. It is loved by children and adults alike, especially when in season, we use it to make an out of this world drink called ‘socata’. It’s an amazing naturally fermented, really refreshing, sweet and super bubbly drink – just like an all natural soda. What’s not to love, right?
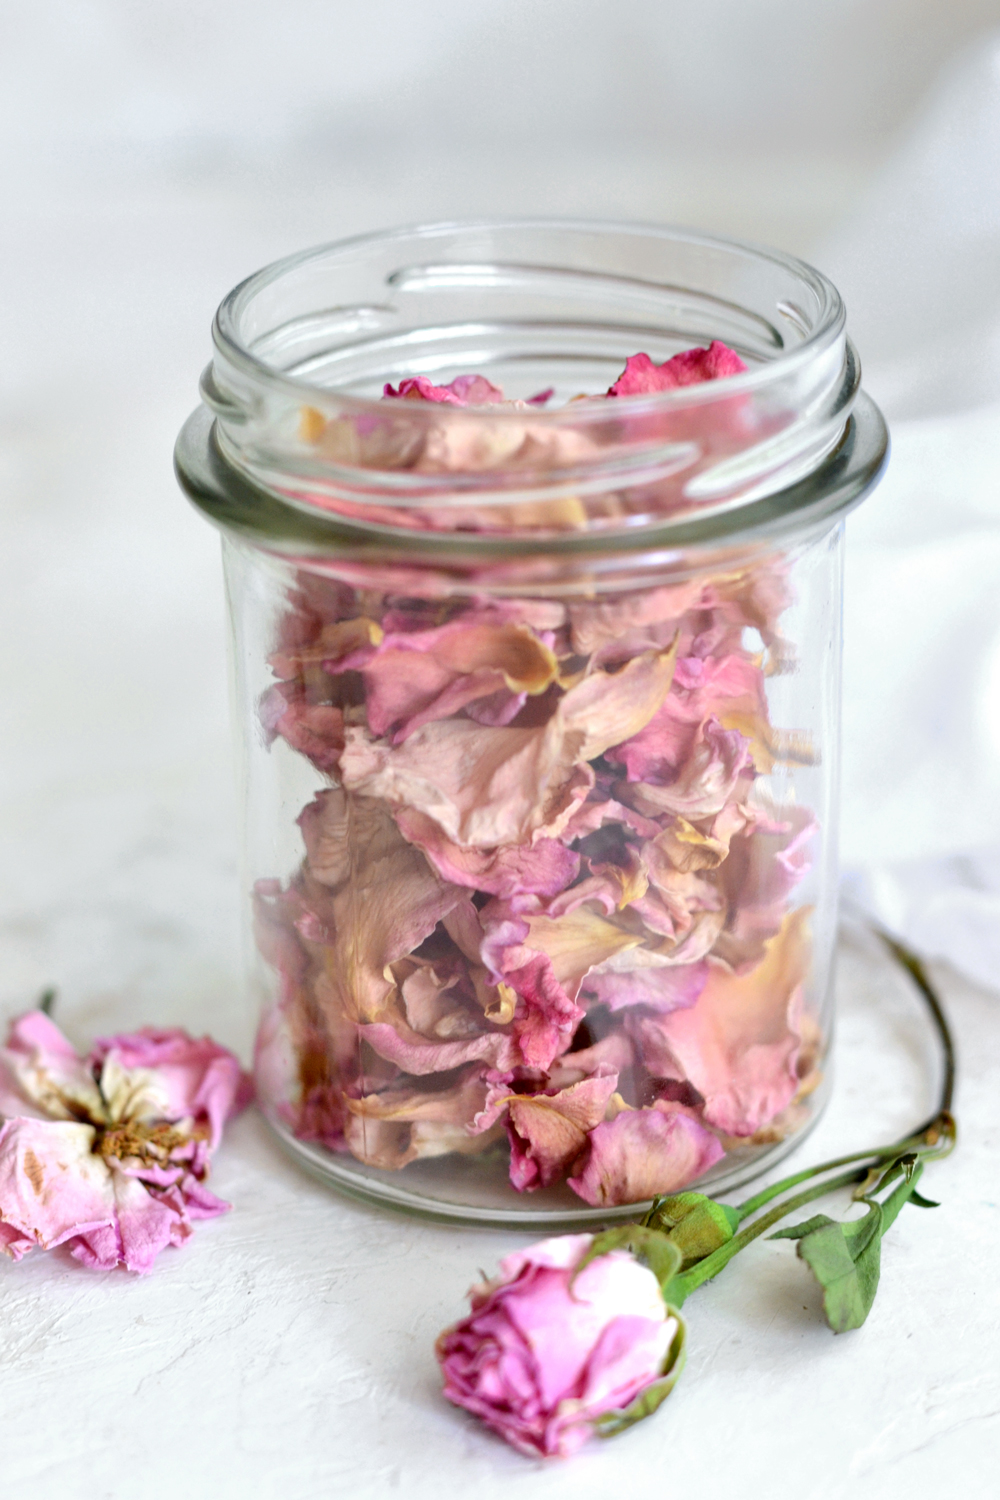
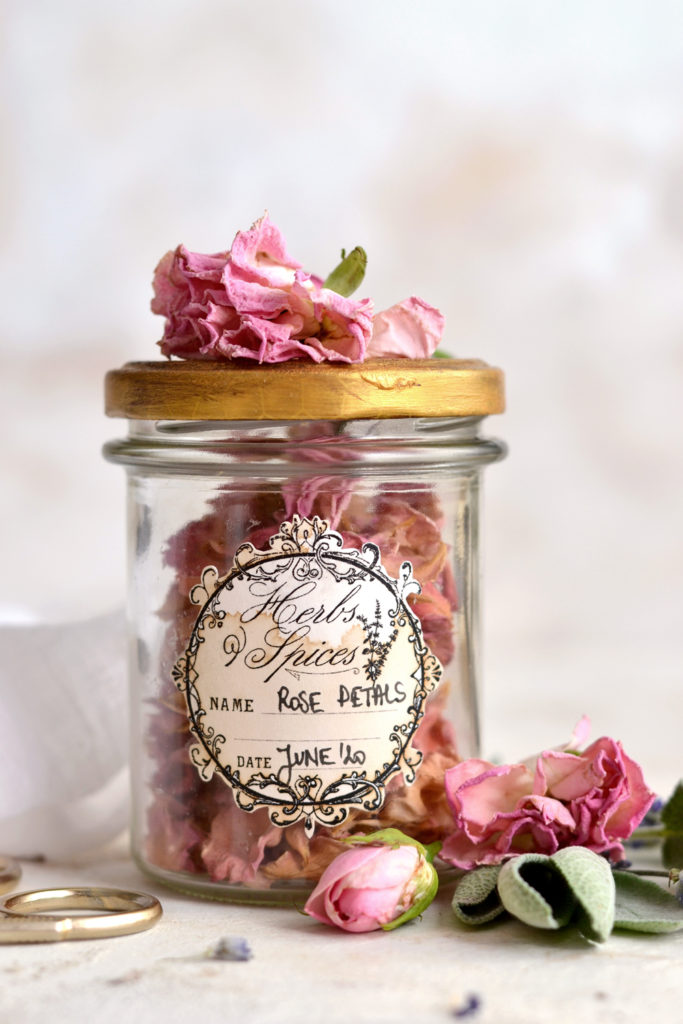
And these heavenly scented rose petals from our garden? They are simply perfect for making flavored rose petal vinegar! They can also be used to make million other things – like the best tea – but can also be incorporated into beauty products too!
Can you smell the roses?
So after my lids were completely dried, I added my herbs into the jars. The labels were ready too, it was time to move to the next step!
DIY Herbs and Spices Apothecary Jars – handwriting the labels
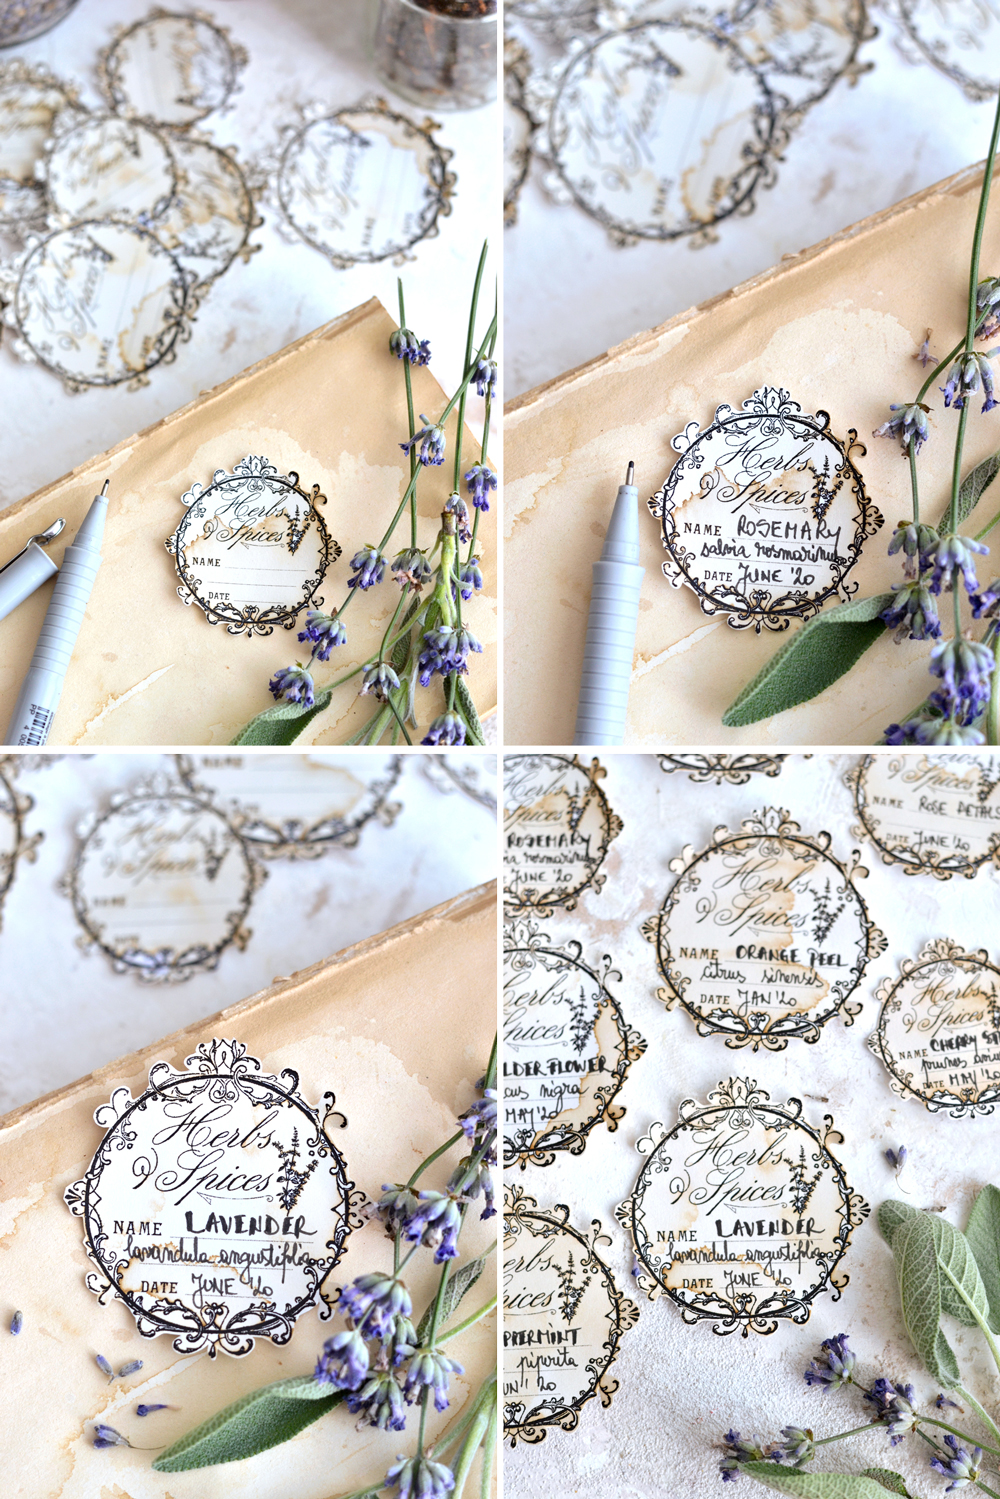
I used a book under the labels while I was writing on them because my surface was not perfectly flat. I matched the smaller labels with the smaller jars and the larger labels with the larger jars. Genius, I know!
Like I mentioned before, I wrote the name of the herbs on the first row, the Latin name on the middle row and the date when my herbs were dried and ready to be used on the last row. You can find a system that works best for you!
I really loved my new apothecary labels, I think they look really charming! I know, handwriting can be an adventure on its own, especially in this (almost too) digitized world. And even though people are not usually fans of their own handwriting (myself included), I think this would actually be a great way of adding a personal touch to these beauties and really making them your own!
Gluing the labels on the jars
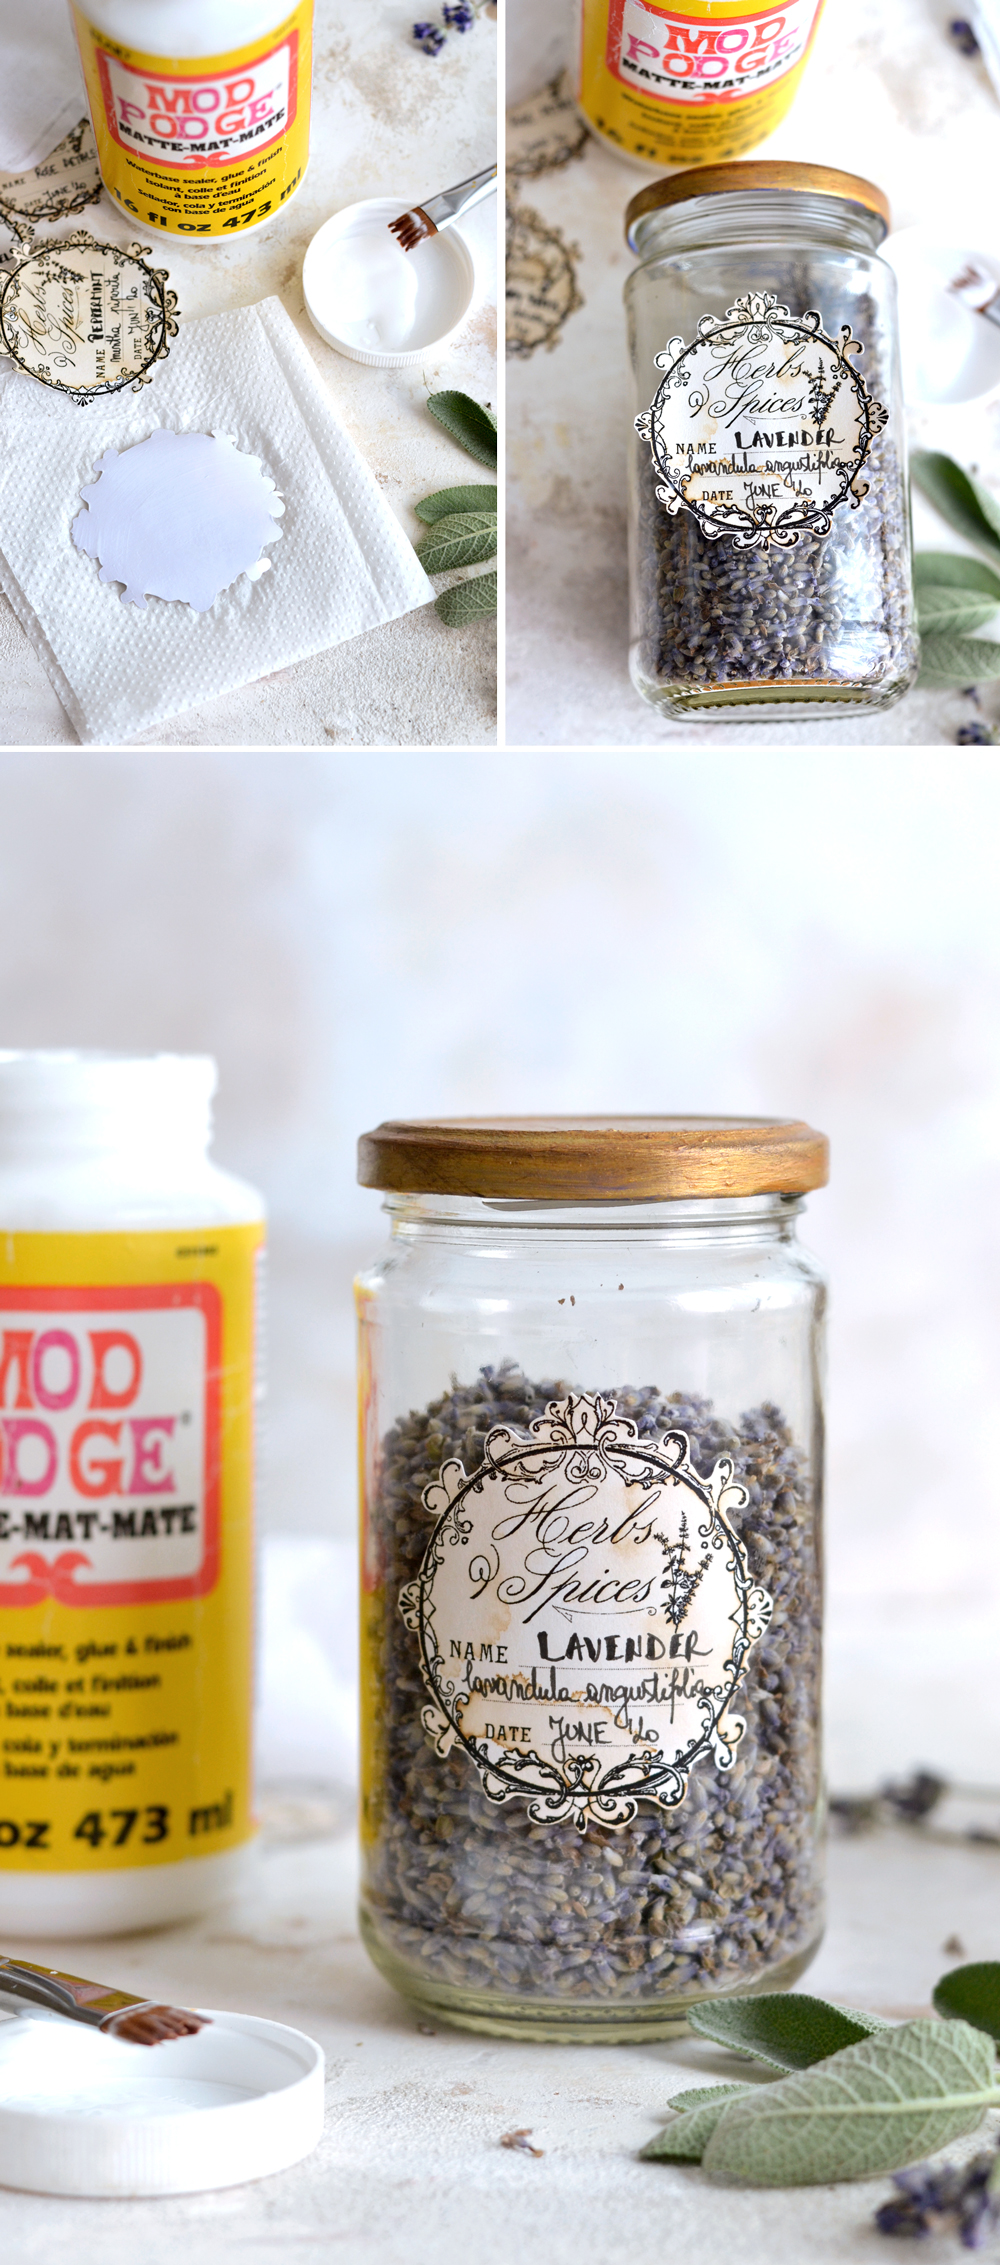
For the final part of this project, I used Mod Podge to adhere each labels to its corresponding jar. I flipped over each label and placed it on a paper towel so I could easily brush the glue on the back. Then I air centered it as much as I could and I placed it on the jar. Then, starting from the middle of the label, I used my finger to press the label on the jar while trying to remove all the air bubbles.
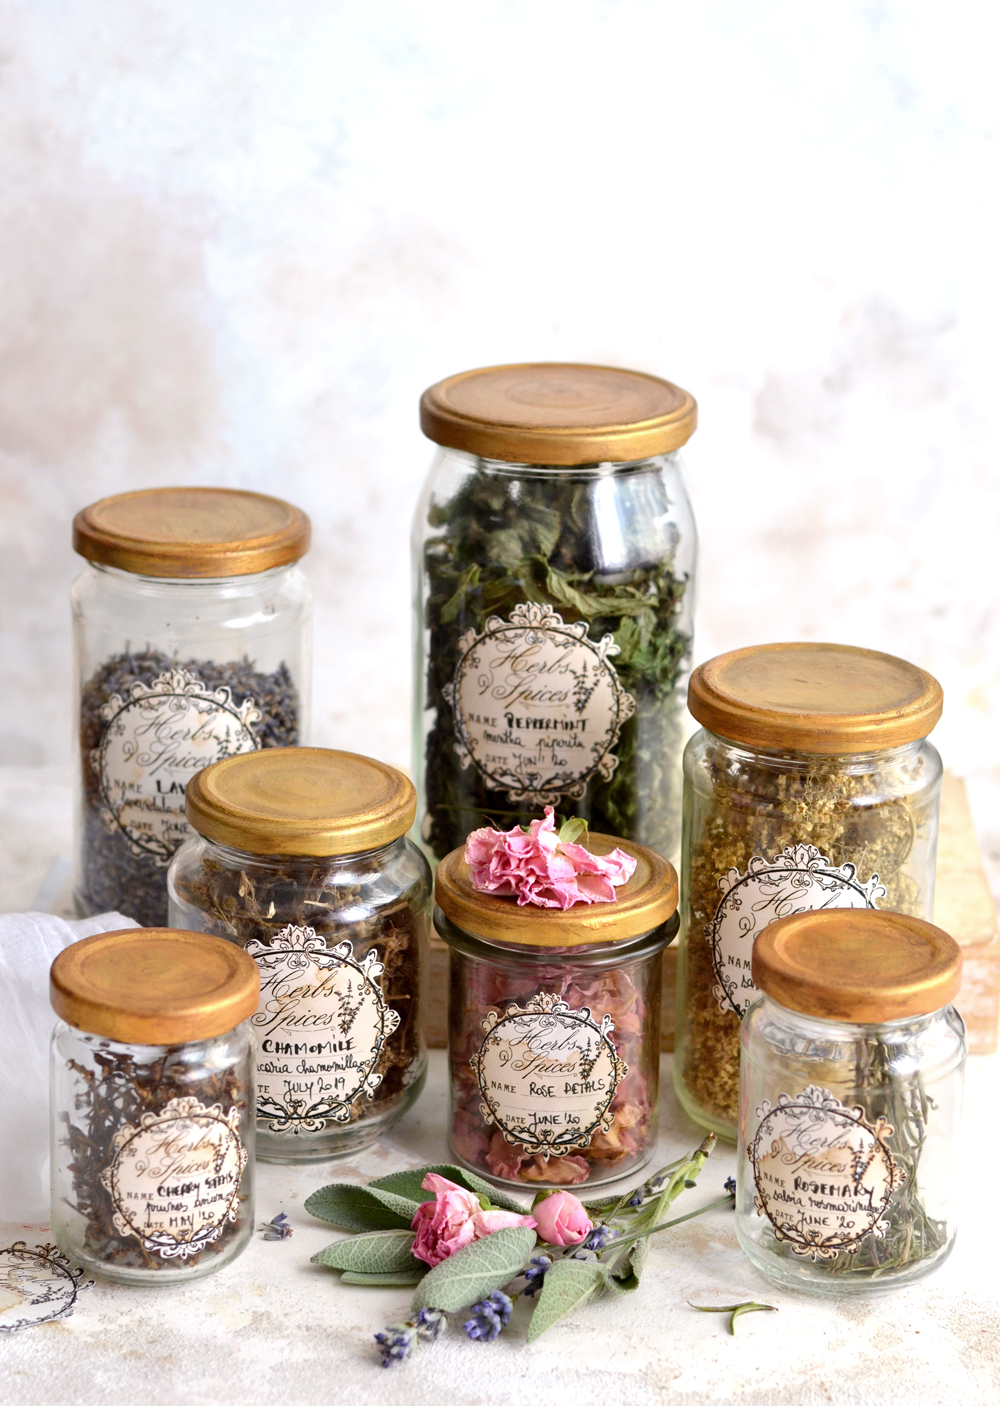
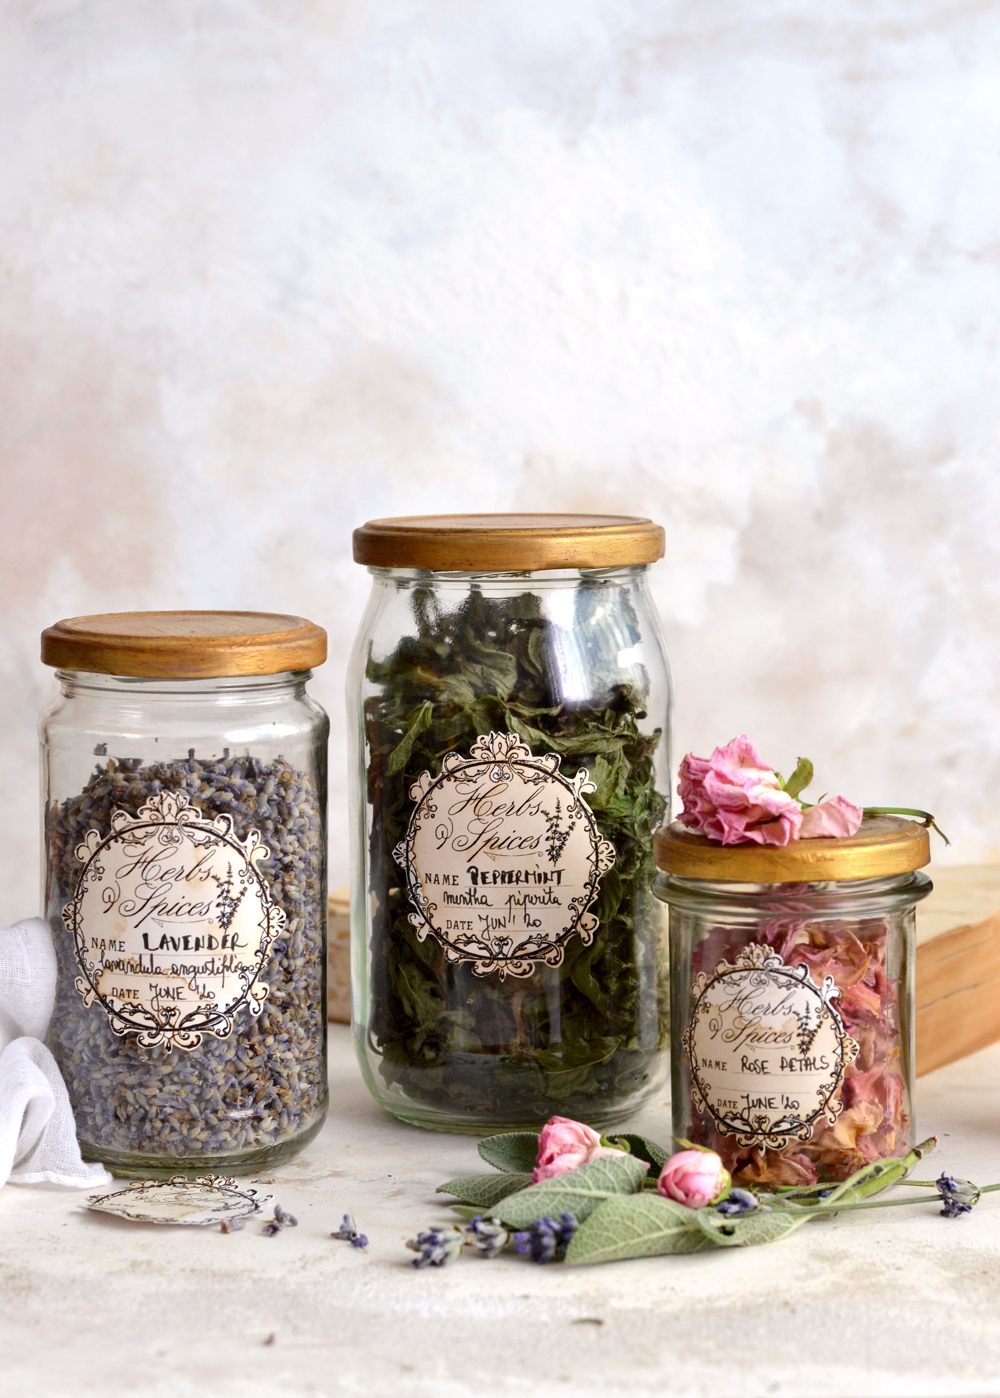
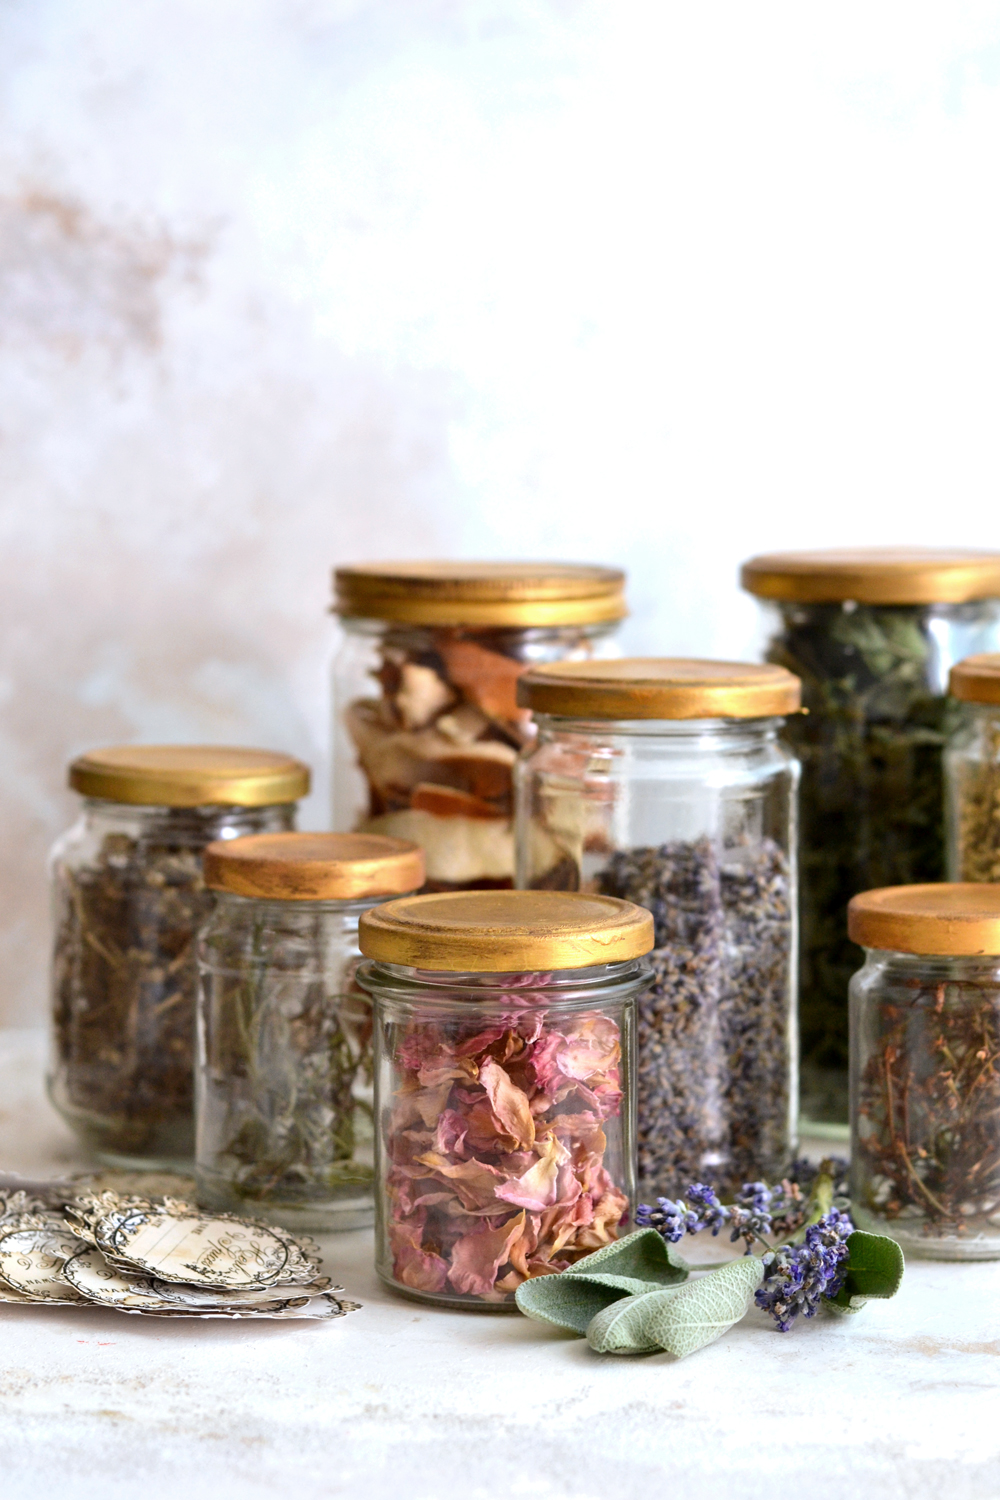
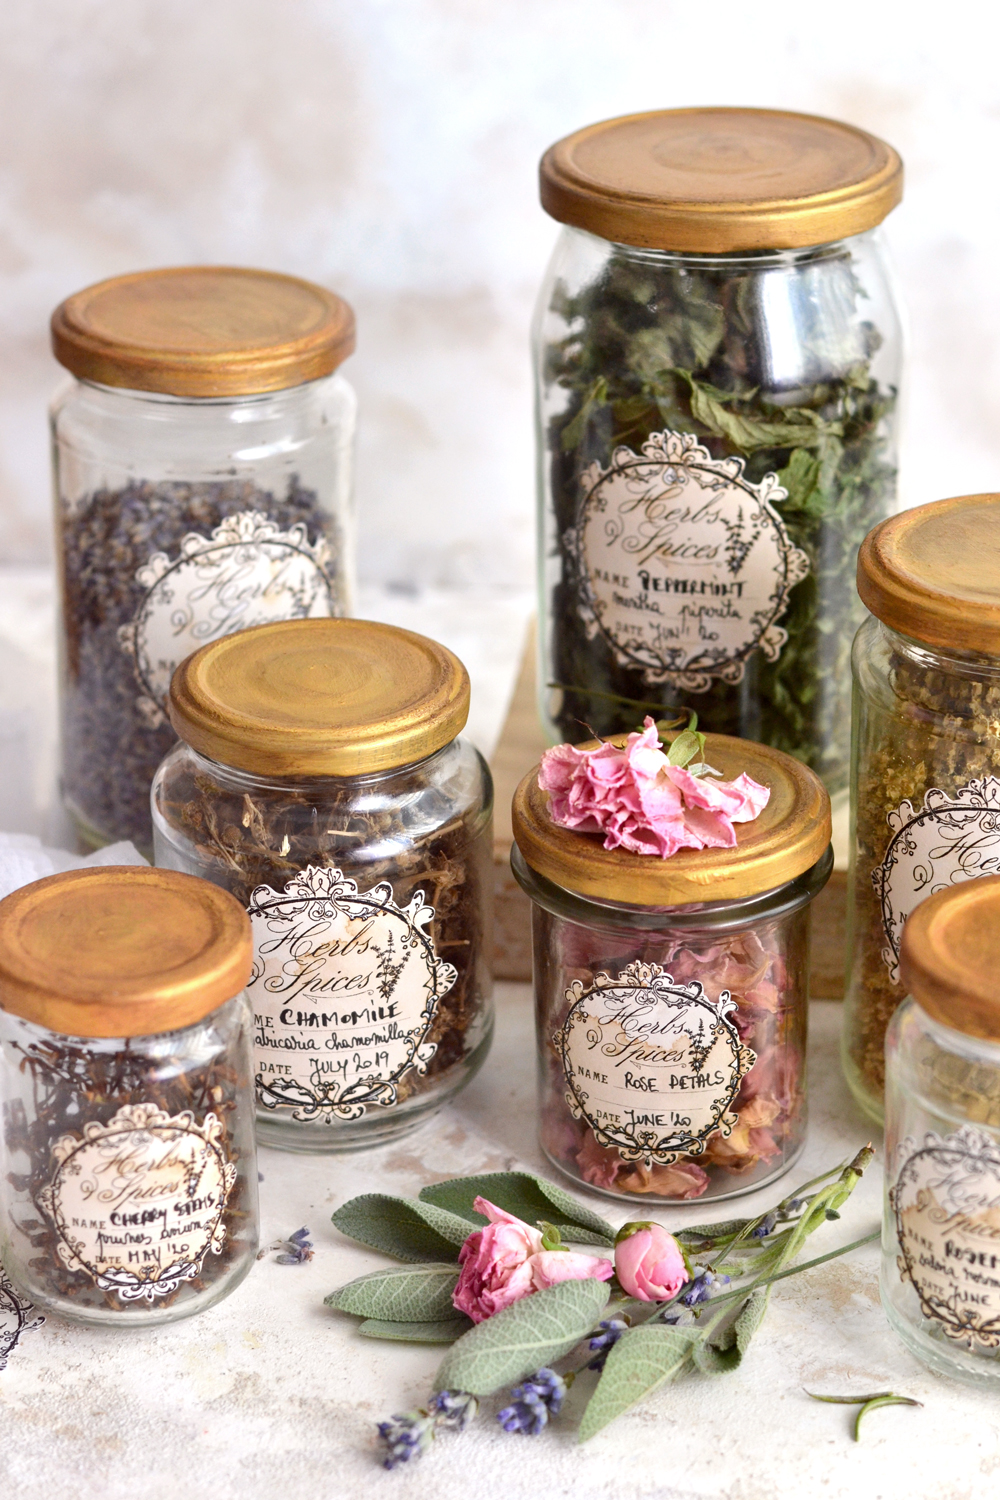
Here is a close look of all the final DIY Herbs and Spices Apothecary Jars, one more beautiful than the other and each charming on its own!
I adore how they look simple but also sophisticated at the same time! 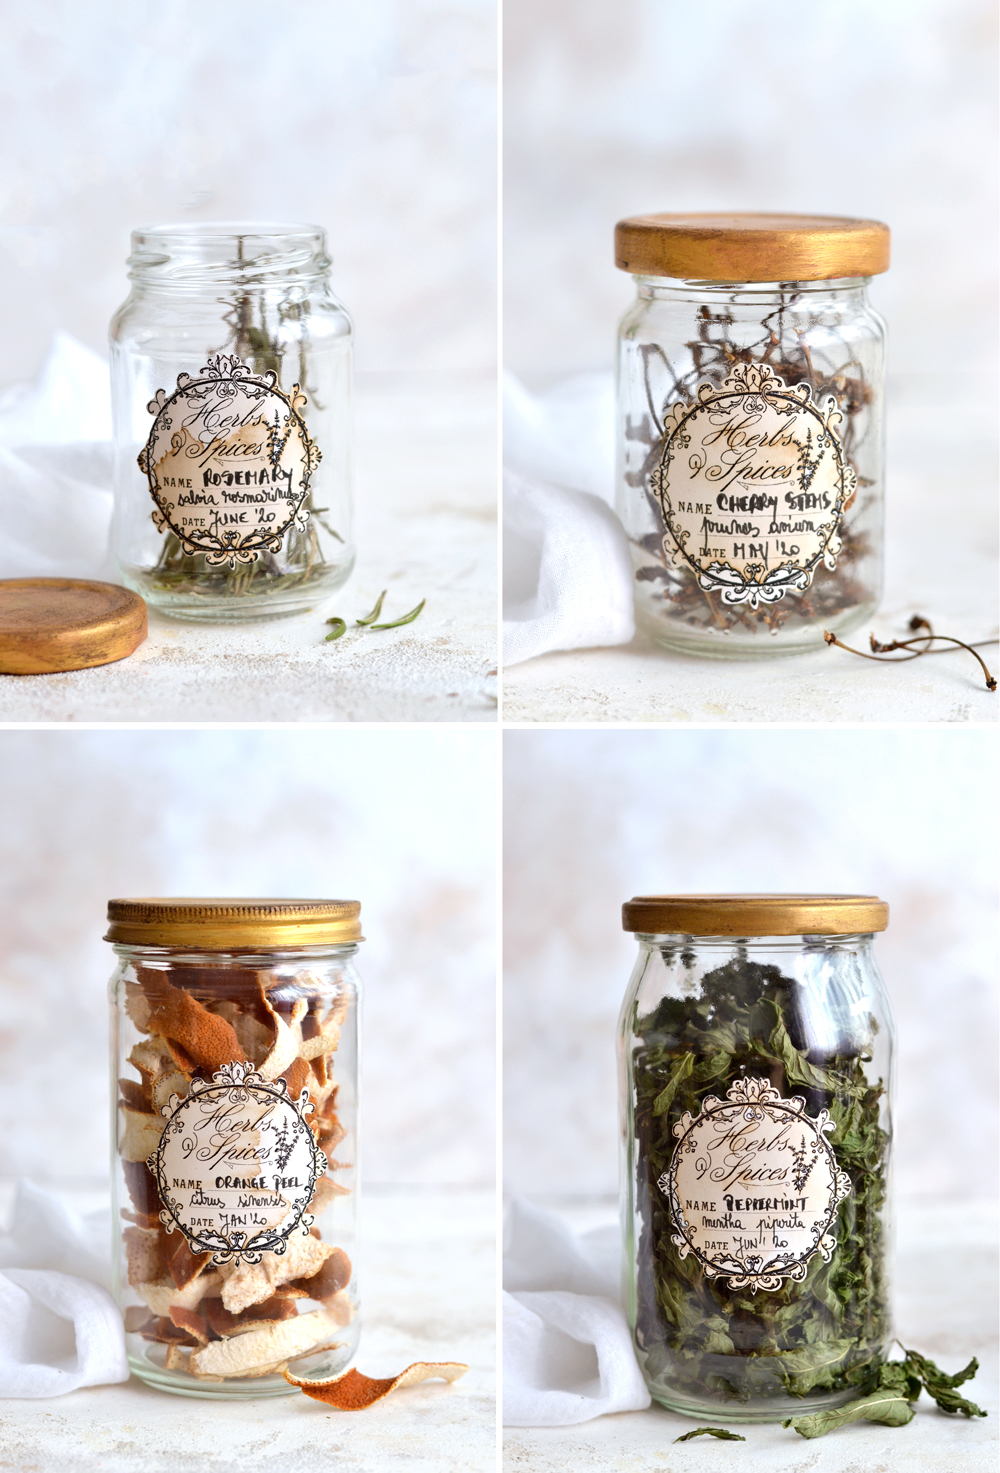
I’m not going into many more details right now, the herbal apothecary is such a vast territory that needs to be slowly discovered by everyone. It’s like a personal journey if you wish.
But I will tell you that there are several ways of including dried herbs and spices into your life. The easiest way would be to just sprinkle them on your food, make teas or to incorporate them into your meals while cooking. It’s always great to have some basil, oregano, rosemary, thyme, sage, dill or parsley around – even when they are not in season – they can be used to build new blocks of flavor and add depth to your favorite recipes.
There are also a few other ways of taking advantage of the herbs’ amazing properties.
The best case scenario is this – you can grow the herbs yourself or forage them in the wild and you can dry them at home (I will share my favorite ways of air drying herbs on Dreams Factory soon).
But if you can’t do that, you can also buy them online.
You can then use the herbs to create infused herbal oils, tinctures, flavored vinegars, infused honey, oxymels (honey with vinegar and herbs), homemade extracts, bitters, salves, hair, body and beauty products and many more – the sky is the limit. Don’t be discouraged if you are new at this, just start small with some of the aromatic herbs that you already love and start exploring from there.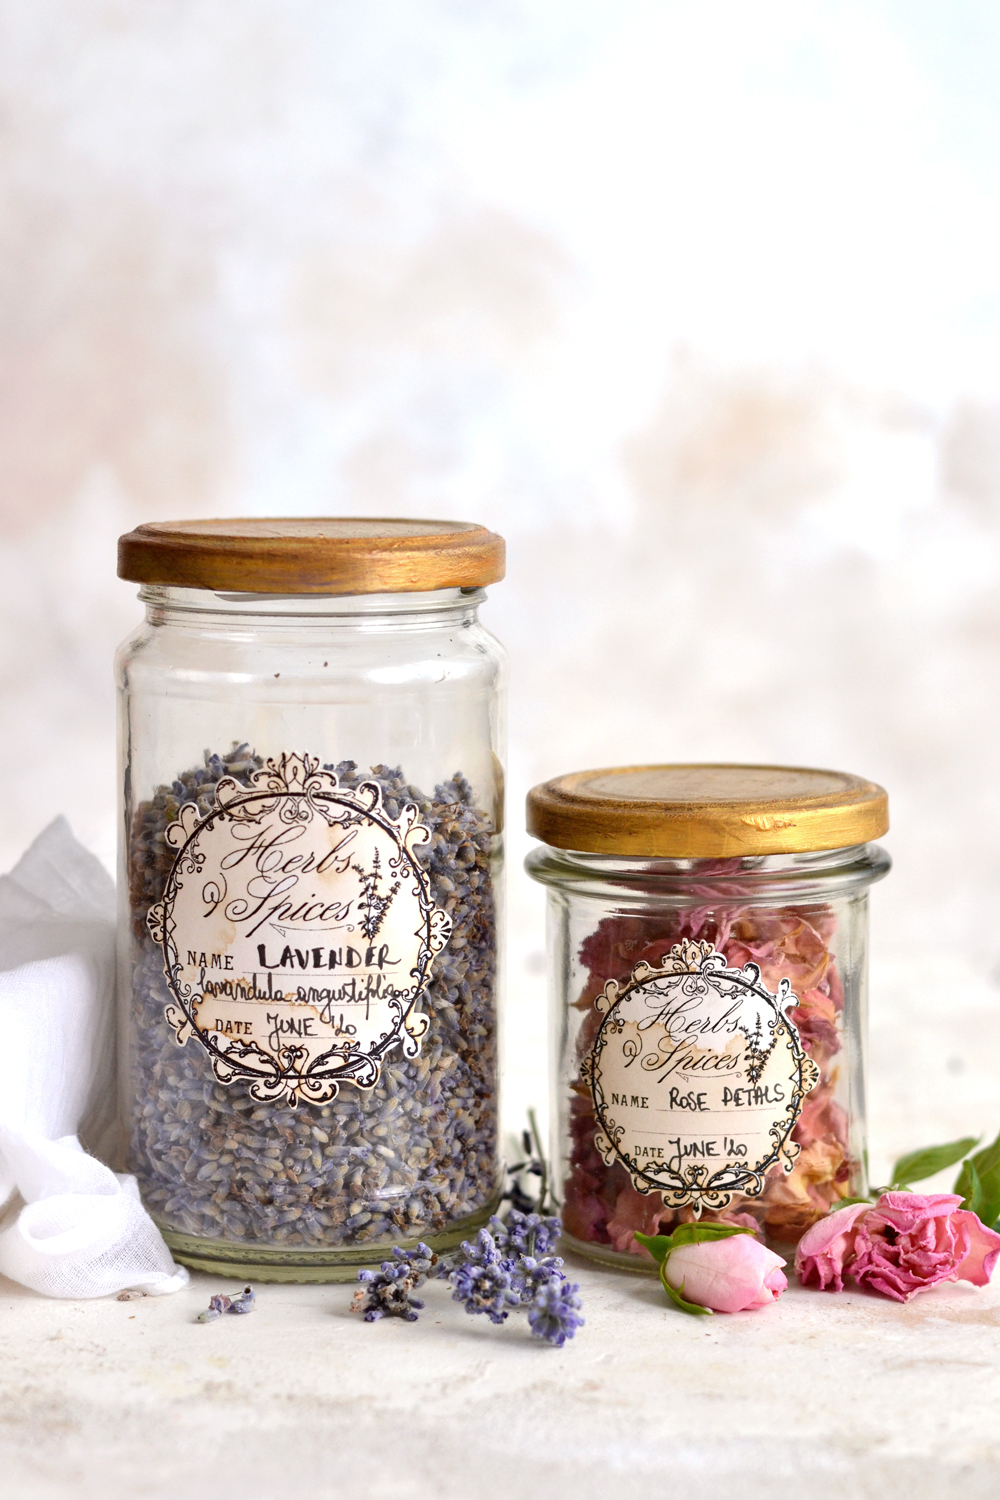
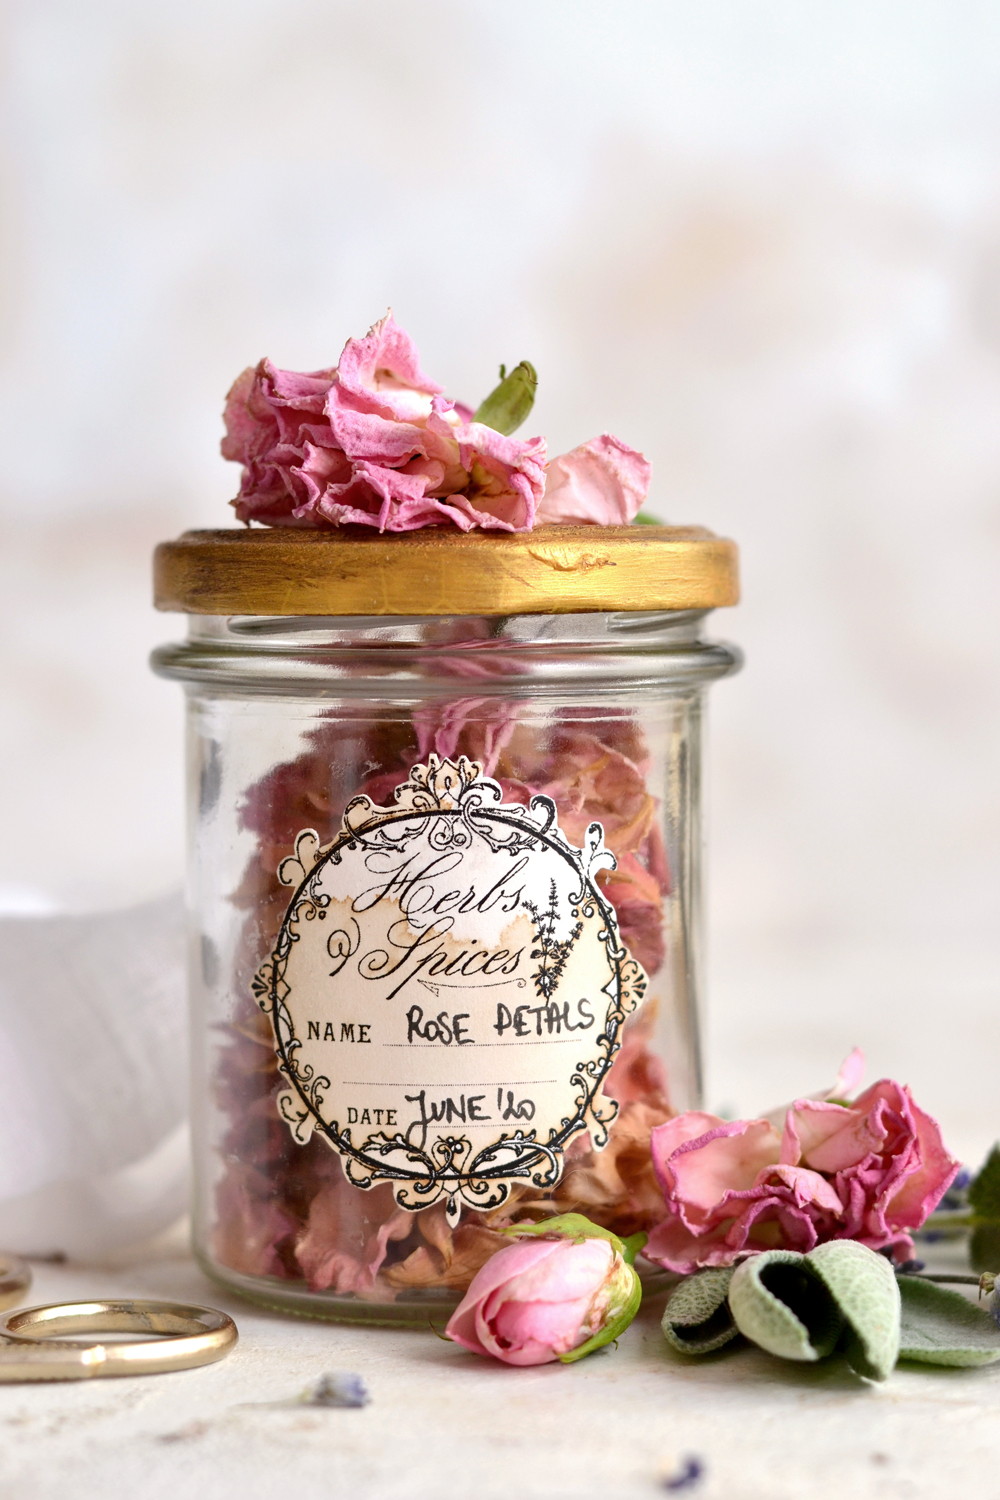
As you can see, my beautiful pink petal rose is the only one that doesn’t have its Latin name written down just yet … I still need to figure out what type of rose it is first!
This whole DIY Apothecary Jars project can also be a great starting point to make us more aware and more in tune with nature and all the things surrounding us. Nature has always been ready to communicate with us, we just have to stop, tune in and listen!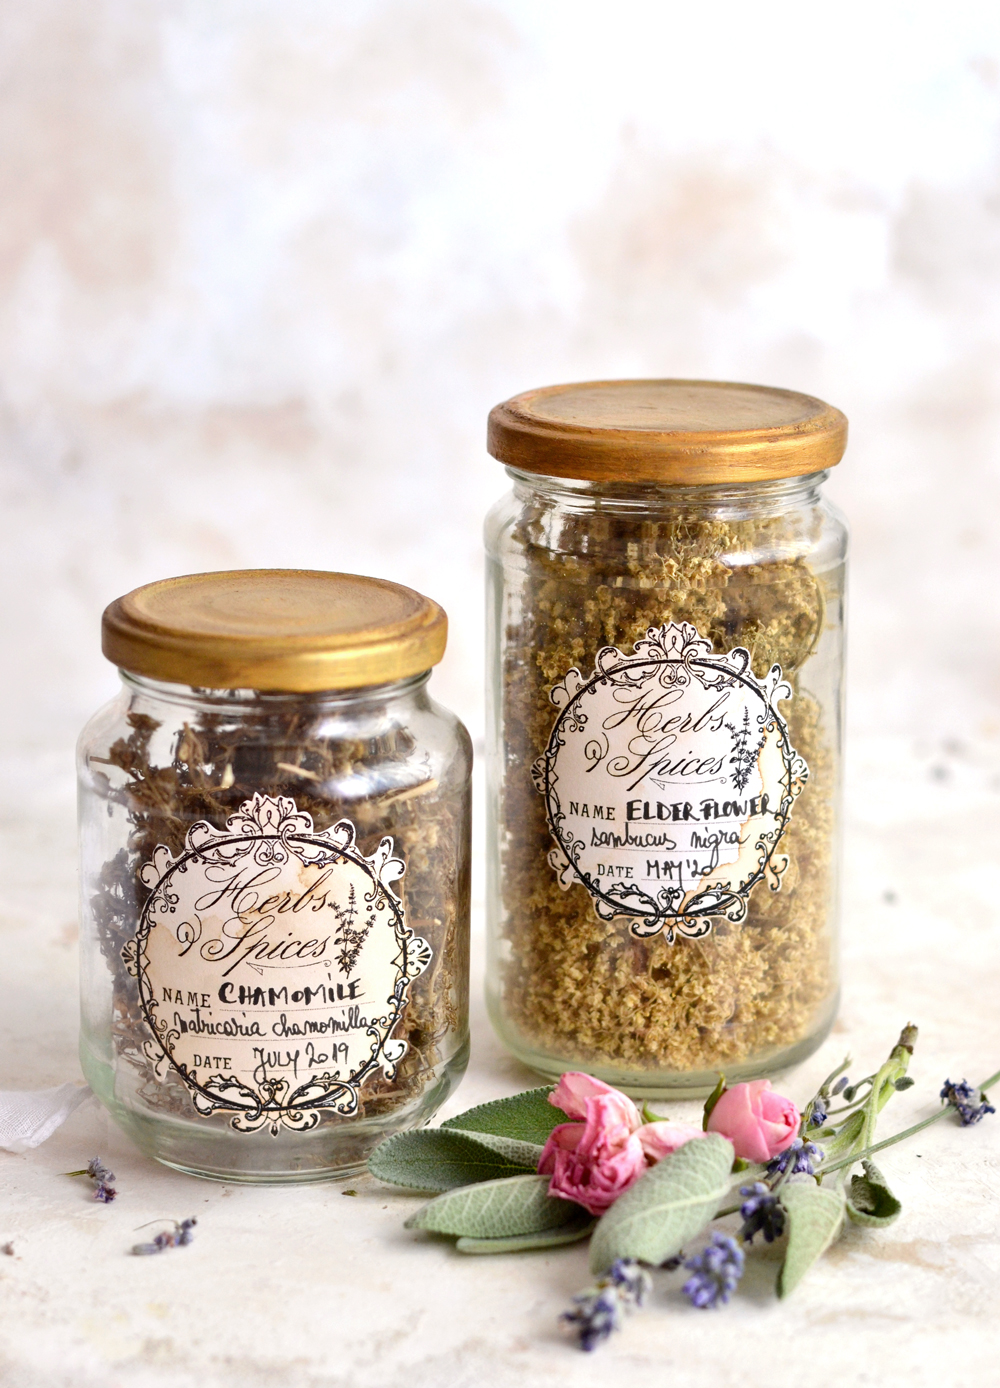
I’m really hoping the world will look at herbs and spices with different eyes now and you will instantly think … wait, can I dry this and keep for future use in my new DIY Apothecary Jars?
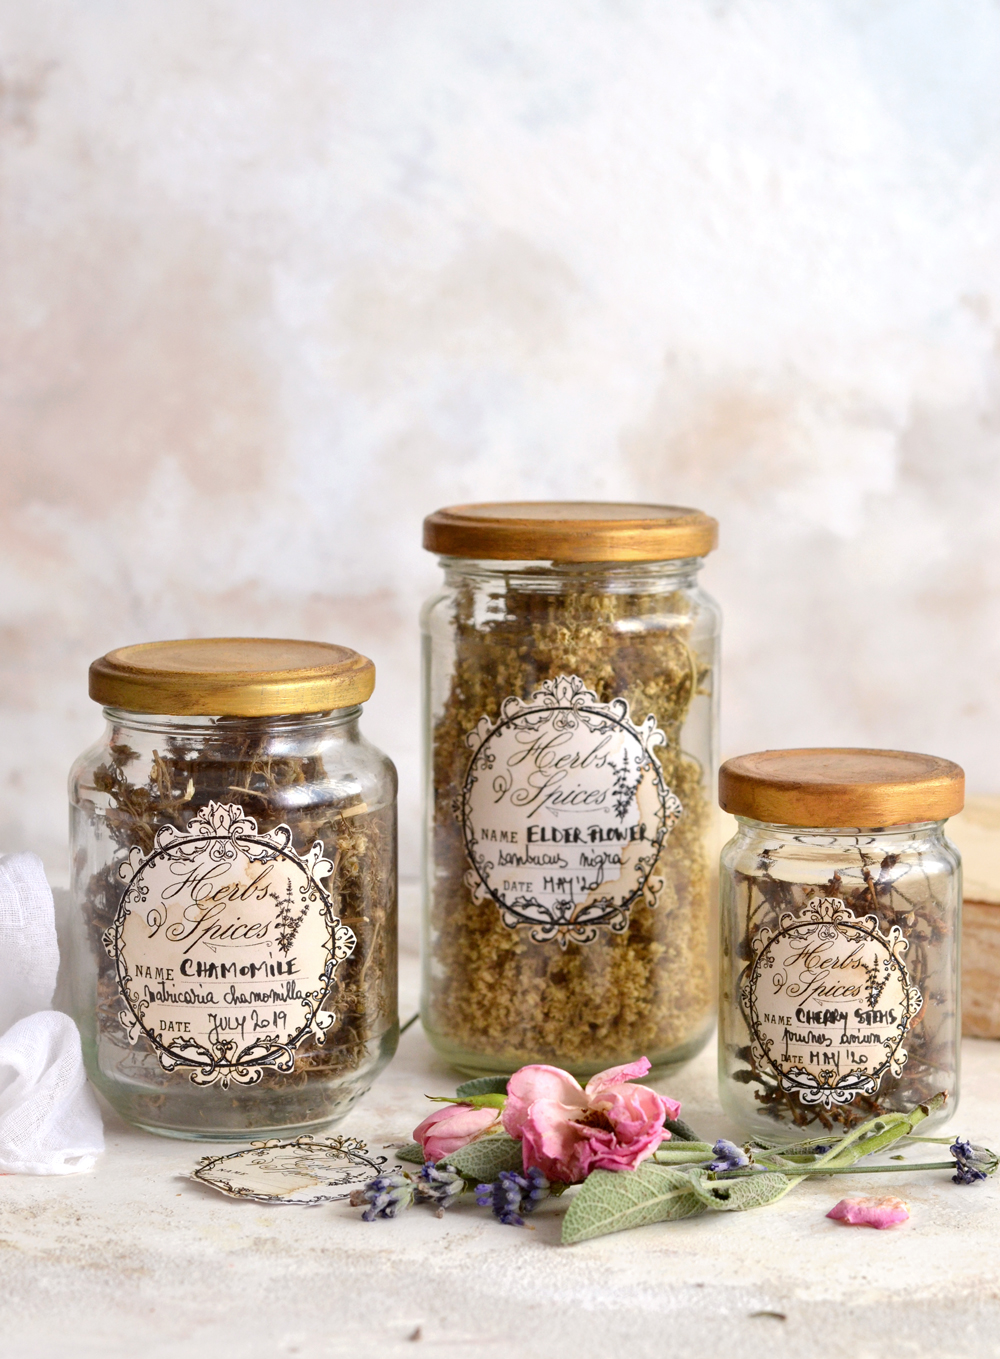
Oh, I almost forgot to tell you about this one special label that I included in the free printable. It’s a label without any name or date, just with the beautiful Herbs & Spices saying. You can use this one to label an envelope or even a jar, where you can store all your beautiful vintage labels! A label to label the labels, I know!
I folded a little bit of kraft paper to make a small ‘envelope’ but you can also use a real envelope or even a jar to store your labels – this way you can make more apothecary labels at a time and have them ready for when in need!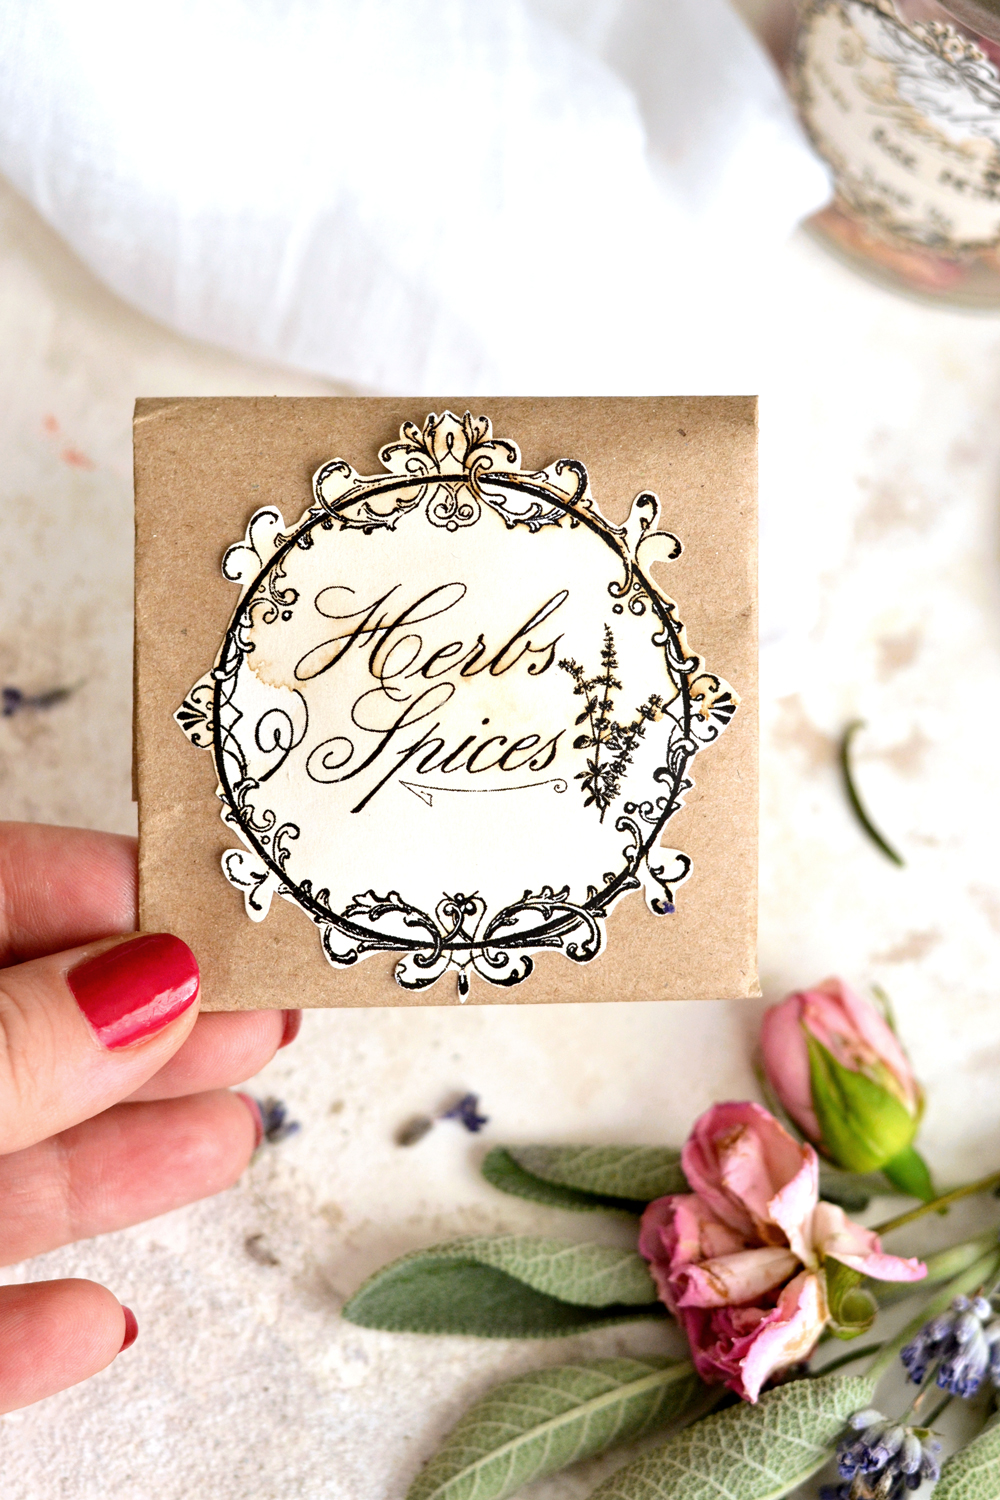
Have fun discovering the exciting world of herbal apothecary with these DIY Apothecary Jars!
I hope you liked this latest DIY craft. You can also check DIY Clear Labels for Jars HERE.
Happy crafting,
Diana / Dreams Factory


Michela says
Hi, these are absolutely beautiful I definitely will be using them for my herbal jars. By any chance do you have the same design in a rectangle? I’m useless with doing this on computer and have to stick to blanks and hand drawn ones or bought but I have really fell I love with this design. Thank you so much for it.
Karen Watson says
Hi Michela, No, I’m sorry we don’t have any rectangle ones. I hope you can still use them for your jars!
gena holland says
How do you attach the wax label to glass? ModPodge?
graphicsfairy says
Yes, Diana used Mod Podge to adhere the label. I hope you enjoyed it 🙂