Make Tissue Paper Art
Making art for your home isn’t hard, and it can be fun – hey that’s why we love The Graphics Fairy, right? Let’s make a little vintage inspired kitchen art, shall we?
(This post contains affiliate links)
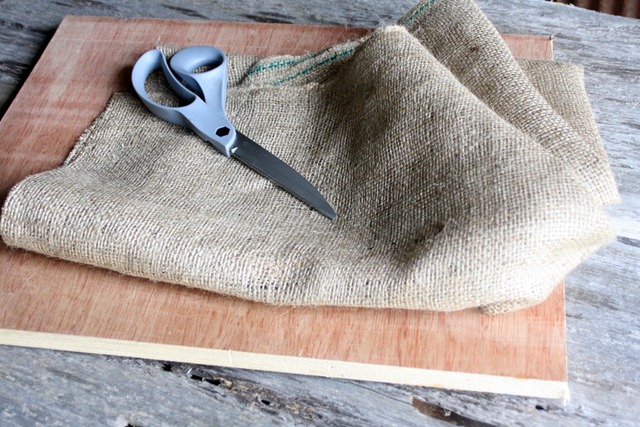
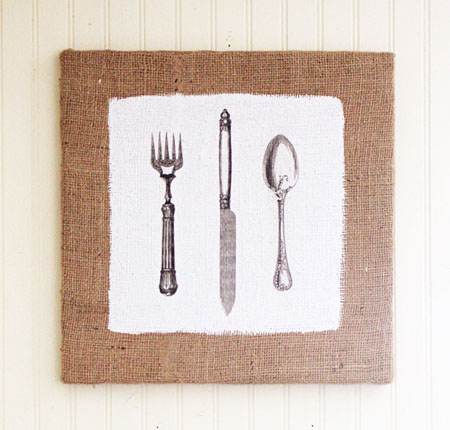
Start with a piece of ply wood, MDF, or even a canvas. Either works great! I did mine with plywood, then wrapped it with burlap. My piece is 15×15.
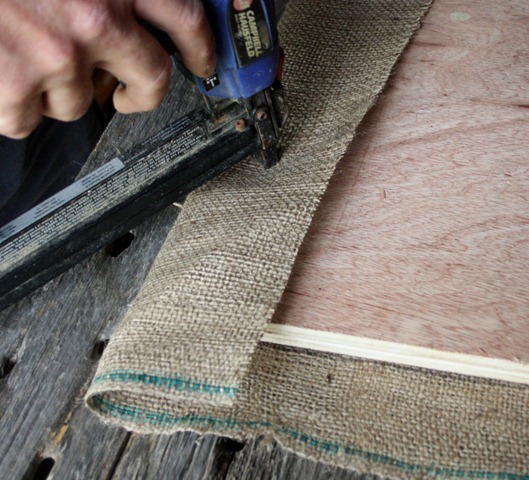
I simply wrapped it around the wood and stapled it on the back.
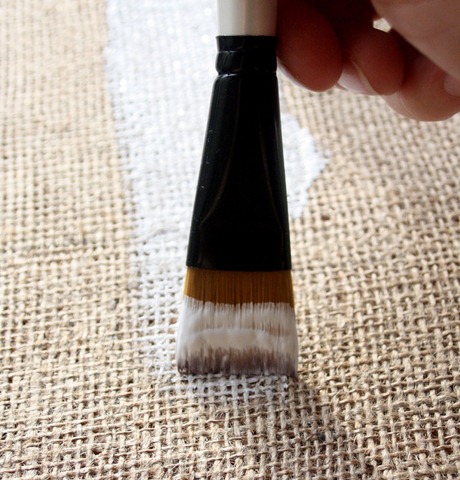
Next, I painted a 12×12 square inside the middle of the burlap piece. You can either do it by eye or tape it off first, but if you do tape it off, go back over the edges so it looks a little more free form.
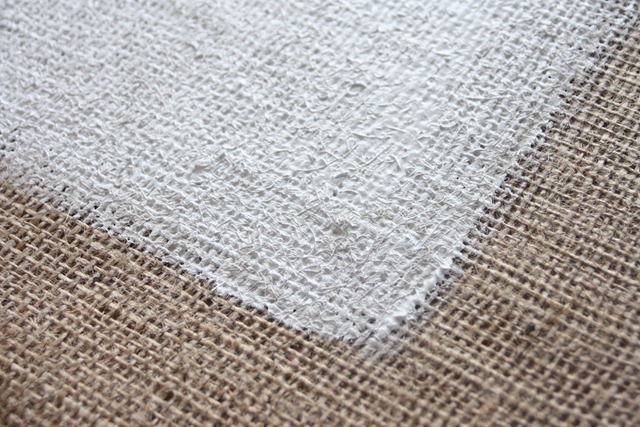
It took lots of coats. Lots and lots of coats. I put a total of 6 coats of off the shelf white latex paint in a satin finish, regular wall paint. Let it dry between each coat and thoroughly dry before the next step.
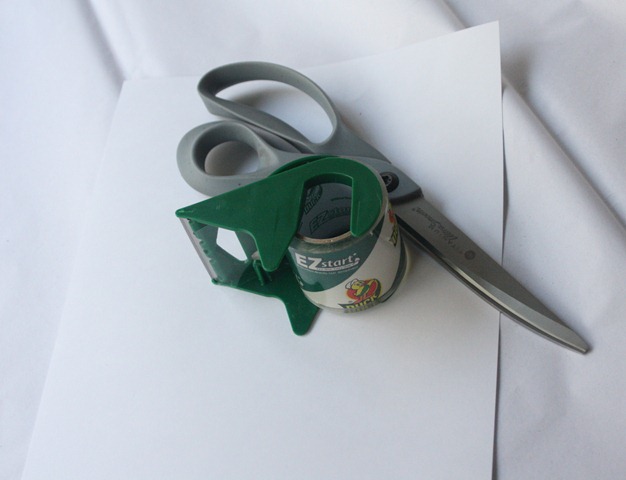
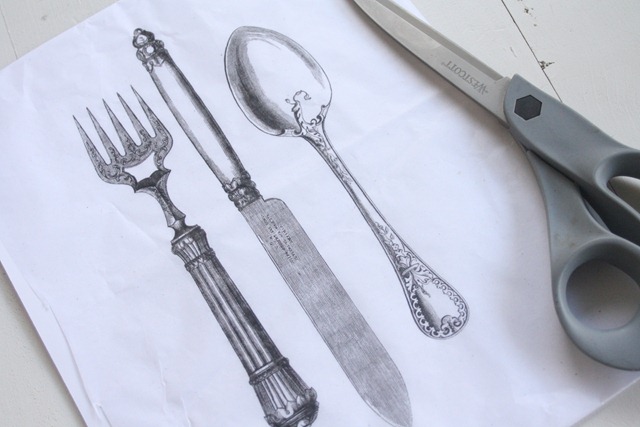
Next I took regular tissue paper, trimmed and taped it to a piece of card stock and ran it through my printer to get this image of the fork, knife and spoon graphic.
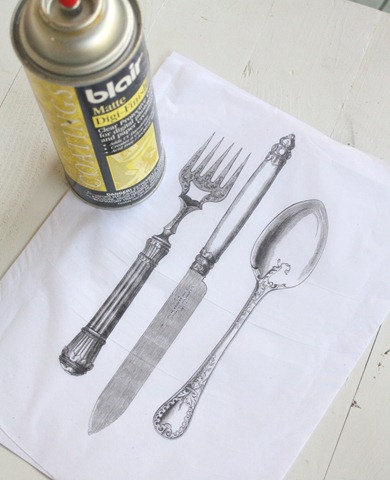
After the ink is dry, spray it with a digital finish product, like Krylon Preserve It HERE, – or any clear coat that will not yellow with age. I tried it with and without spraying the tissue paper. Spraying it helps keep it together for the next step – but also helps it to “fade” into the background, since it makes the paper a bit translucent.
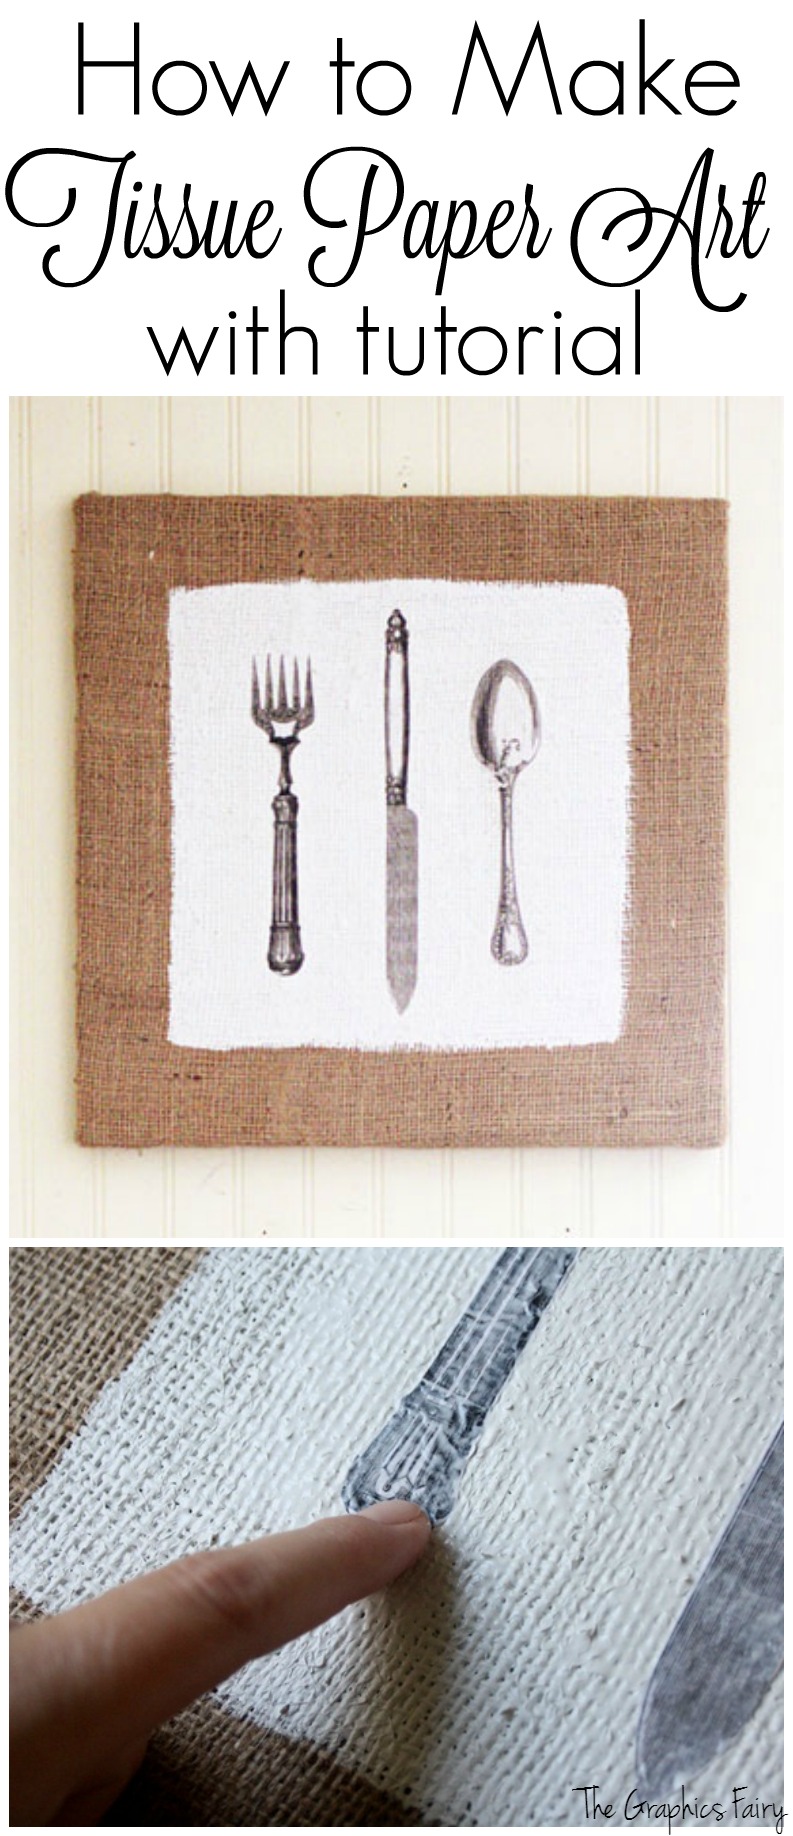
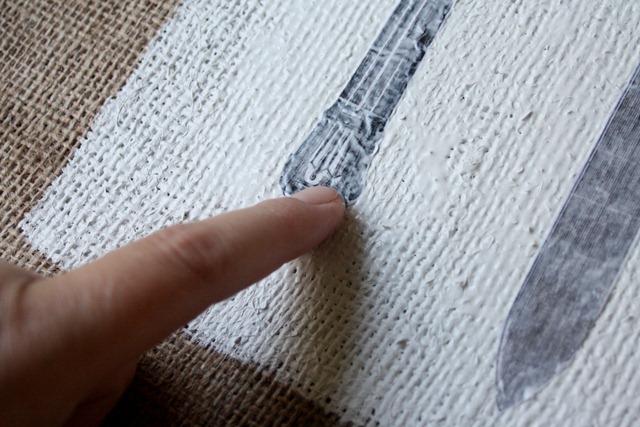
Last I used Mod Podge to adhere it to the painted portion. The clear coat helps to give it more stability so you can use your fingers to smush it into the nooks and crannies of the burlap texture. After you have it all smoothed out, then put a coat on top and let it dry.
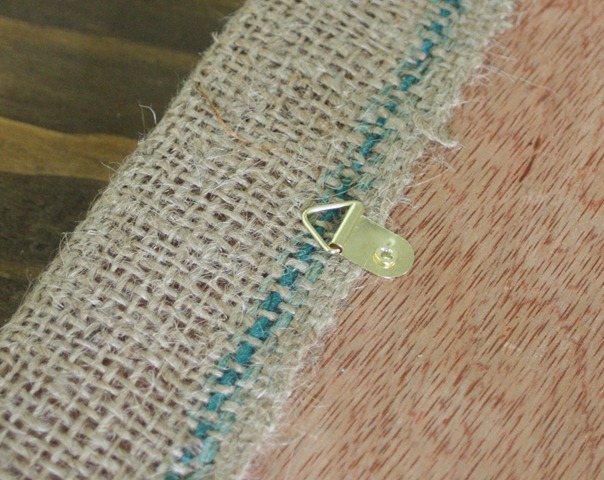
One more step – add a hanger to the back and hang it up.
Then you’re done! Stand back and enjoy. Of course, you can do it with almost any image found on The Graphics Fairy, too.
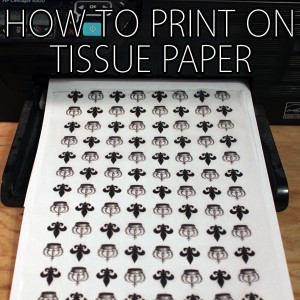
Also be sure and check out the post How To Print on Tissue Paper!
See ya next week for another project. Looking for more DIY ideas? Stop by my project gallery on my blog, over at The Shabby Creek Cottage.



Devon says
Great to tutorial! Maybe I missed something….but do you remove the tissue paper from the card stock before gluing it down with the modge podge..or is it all stuck together after sealing it? Thanks so much!
graphicsfairy says
Thanks Devon,
The card stock is just used to stabilize it in order to run the tissue through the printer. If you don’t use the cardstock, your printer will eat the tissue. Once your done printing, you want to remove the card stock. Hope that helps 🙂
Deena O'Daniel says
Great project! But what is a digital finish product? Can you give an example? Thanks!
Karen Watson says
Hi Deena, I just added a link to the post, so that you can see what she means. Also, I love your cute Corgi picture!!
rk says
Great project Karen! I have been dreaming of tissue paper projects for weeks now, after I did one using store bought tissue paper (printed). Your printer recommendation (epson xp-420) fits right into this project I think since we can print and glue as it’s water proof ink? I see that you fussy cut each image but if we used the whole tissue paper, would it still need spraying before gluing?
Karen Watson says
RK, if you have the Epson 420 Printer no need to seal your print! You should be just fine with out it!
Gwyneth says
So clever, thanks for sharing. I will certainly be having a go at this, may need a Blue Peter here’s one I prepared earlier though ha!
Pascale says
fantastic job. I really love it. I will try it some time.
Pascale
M. Santos says
Thanks for tutor, It is lovely and very original.
Maria
glenda says
Original and so lovely, words fail me!
Laurel Stephens says
This method results in such a crisp graphic. Love this project!
Becky Green says
VERY NICE!!!!!!!!!! 🙂 Thanks for showing! 🙂
Sophie says
Original!
Rene says
That is so cool!
It's All Connected says
Get technique and it looks hand painted! ~ Maureen
Donna OShaughnessy says
So fun and looks easy. Today after the farm work is done I am doing something fun for my house. Many thanks!