DIY Mercury Glass Art
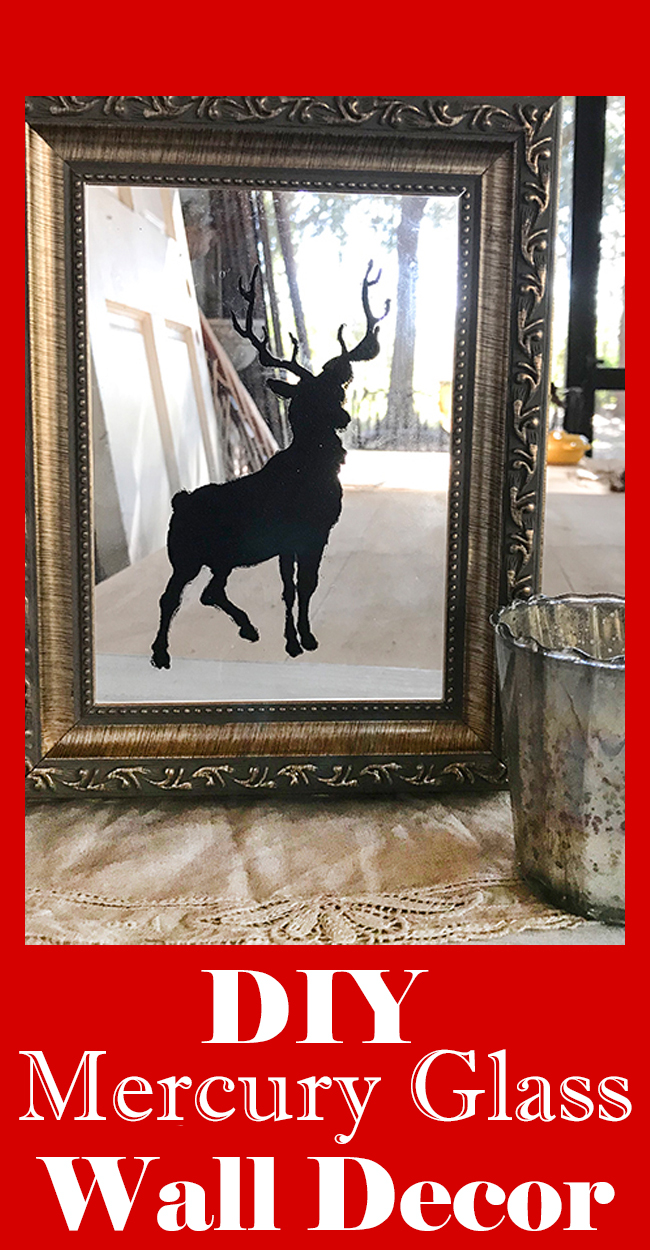
Hi everyone, this is Rebecca and today, I’ll teach you on how to make DIY Mercury Glass Technique. Oh how I love mercury glass. The pitted, rustic mirrored kind that is so very pricey. Since I don’t like pricey, I developed a DIY Vintage Mercury Glass technique over ten years ago when Mirror Paint first hit the shelves. I thought a reindeer silhouette standing out from a faux vintage mercury glass background would be a fun and easy DIY Christmas gift idea for this mixed media session. Let’s get started!
Cricut Stencils from TGF Images
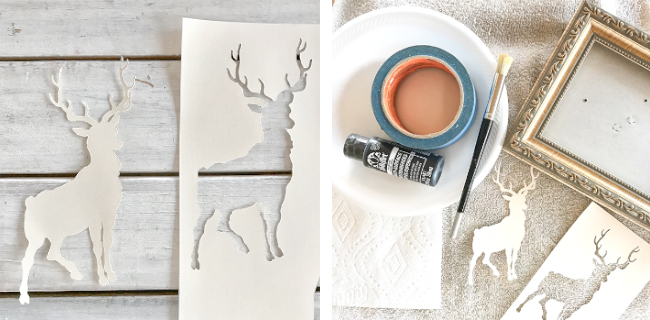
We will be stenciling this Noble Reindeer Image from the archives here at The Graphics Fairy. Isn’t he just the most statuesque reindeer? I downloaded the jpg file and cleaned it up making some of the open areas further apart. Click here for my cleaned up jpeg version if you would like to take it into your Cricut or Silhouette to cut your stencil. I then uploaded it into Cricut Design Space as a cut file where I deleted the white background area and it was ready to cut. I sized him to fit my piece of glass, cut the image on cardstock, and had stencil in hand in just a few minutes. How cool is that? If you don’t have a Cricut or cutting device, you can cut this by hand easily. Just print the image on cardstock.
DIY Mercury Glass Tutorial
Stenciling is so hot right now and I have been stenciling since the 1970s. (Oops, my age is showing.) I have a little secret to share. I am putting the final touches on a Stenciling eCourse for The Graphics Fairy. But…today you get another little sneak peek at what is possible with stenciling. I also have a couple of other stenciling tutorials on velvet and on cards if you would like to check them out.
Enough chatter, let’s create! I happen to love reindeer, and make them part of my year-round decor. This Reindeer Silhouette artwork will work well for the holiday season, Winter, or even Fall. I love to turn plain glass into faux mercury glass. This versatile DIY vintage mercury glass technique works well on any clear glass object or surface. This tutorial is also an introduction to reverse glass painting, which I will be sharing in a future tutorial. So let’s get started.
Supplies
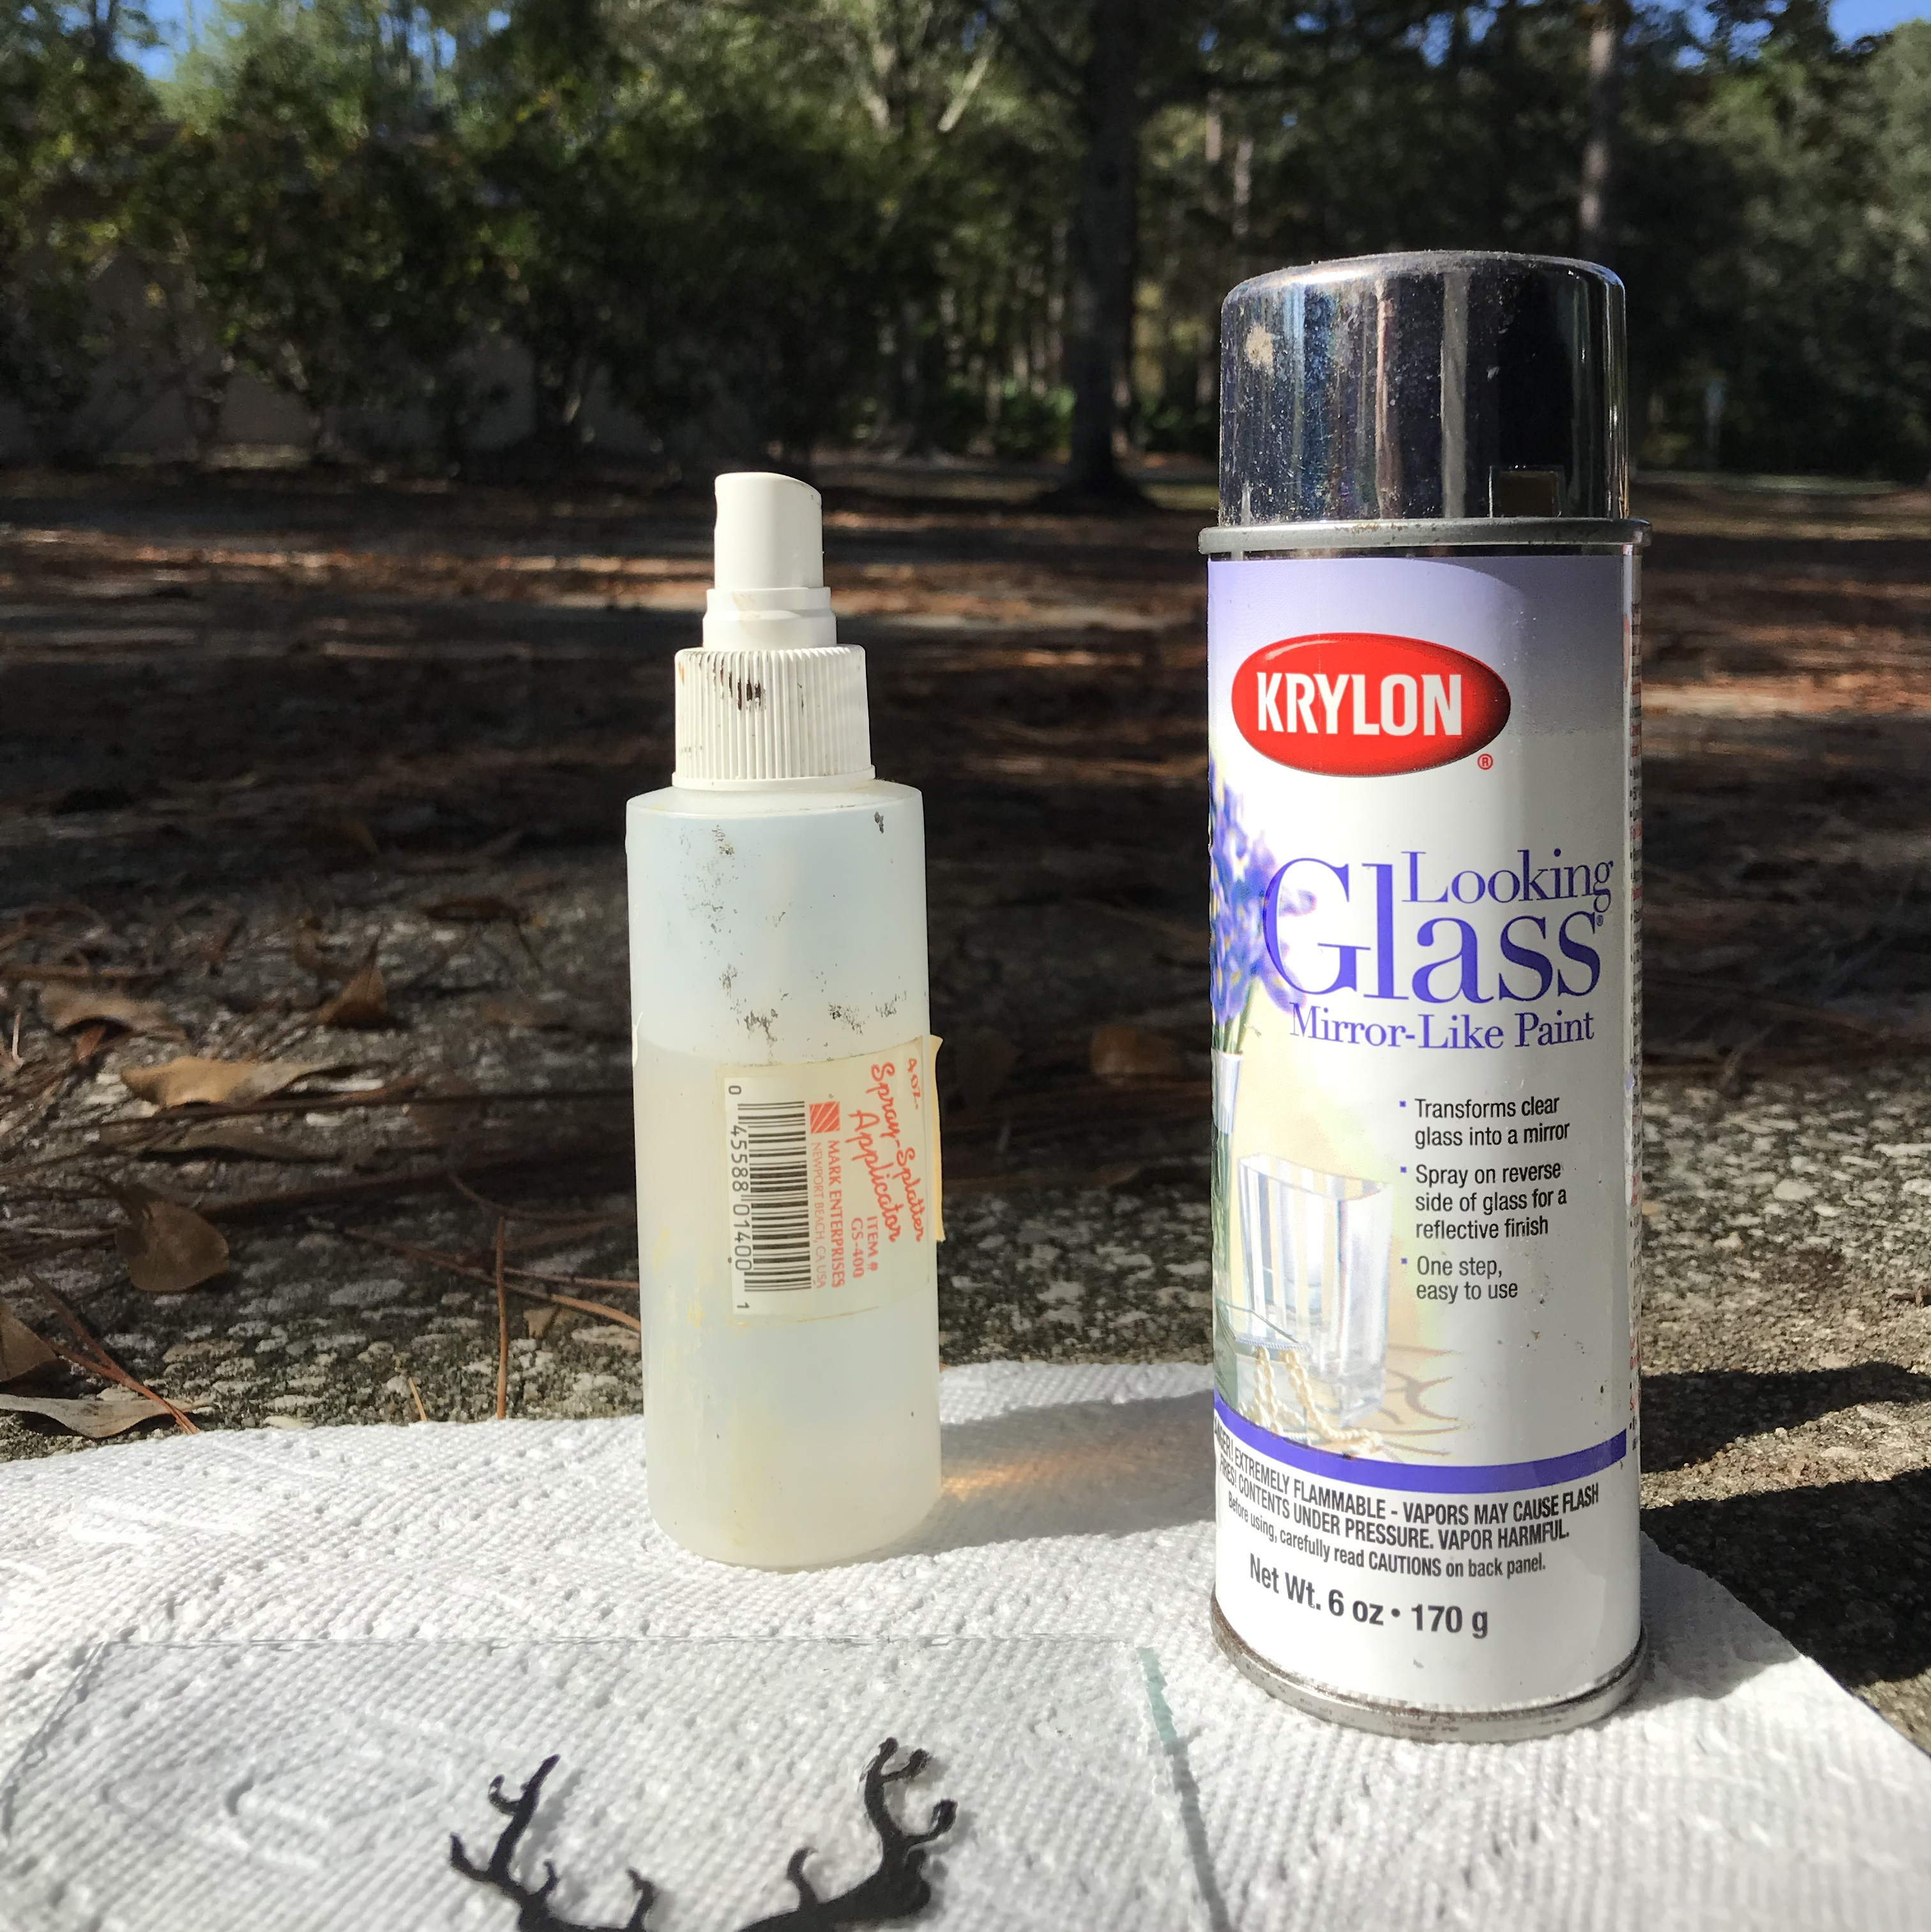
You just need a few things to perform this technique. That makes it even better. I used an old frame I had, but you can adjust the size for any piece of glass. I could envision a large one on the mantle. Oh yeah!
Frame with glass (my glass is 5’X7″)
Cardstock for stencil
Stencil of Reindeer Silhouette
Folk Art Multi-Surface Paint in Licorice
Stencil Brush 3/4″ or the size that fits your stencil
Paper Towels
Foam Plate as a palette
Vinegar
Small Spray Bottle
Looking Glass Spray Paint or Rust-Oleum Mirror Paint
Painter’s Tape
Old towel to protect glass
Step by Step Instructions
This is an easy technique and I give you three finishing options. Remove glass from frame being careful not to cut yourself. You can cover the edges with tape if you like. Clean the glass with vinegar on a paper towel and allow to dry. It takes just a few minutes. Once clean and dry, place the reindeer cutout on the glass to establish placement. When you know where he will go, place the stencil part over the cutout. Tape the stencil along one edge and remove the cutout. Tape all four edges.
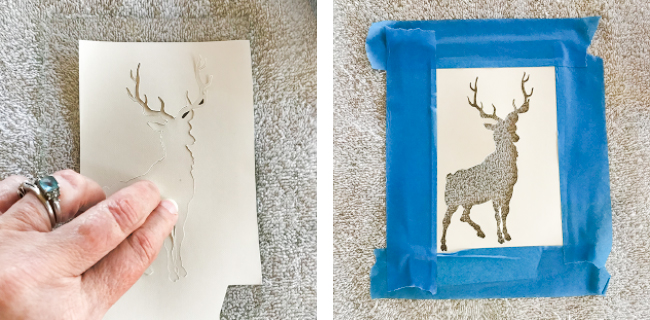
Stenciling
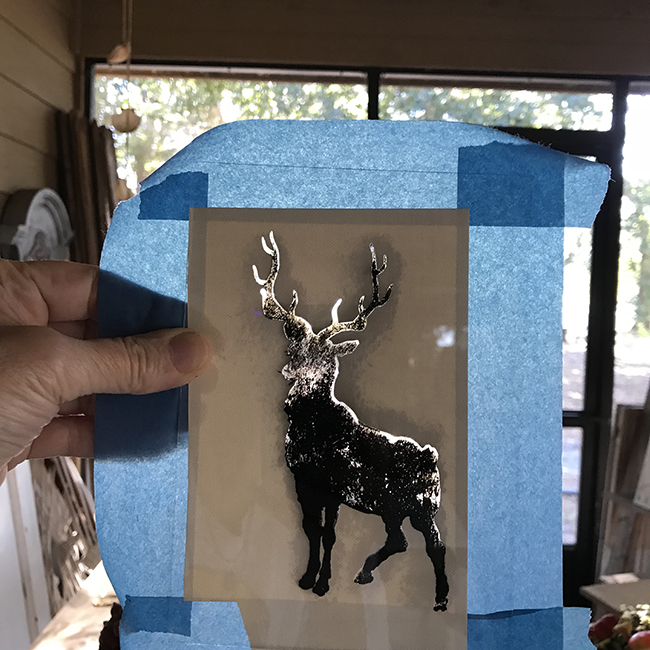
Place about a quarter size puddle of paint on your foam plate palette. You don’t need much for this size. Options: You could use Repositionable Adhesive on the back of the stencil to ensure paint does not run under. You can also spray paint the deer. I think I will do that the next time. Place your brush flat down into the puddle of paint. The bristles will be flat against the plate. Tap it on the foam plate a few times and then begin tapping inside the stencil. Gently tap with bristles flat against the glass. Reload the brush often and repeat the process until you fill in the deer solidly. The great thing about glass painting is that you can hold it up to a light source and check for coverage. As you can see below, I need to add more paint. We want a pretty solid reindeer silhouette.
When the reindeer is opaque, carefully lift the stencil off the glass. If you are messy like me, you will have a few places where you need to tidy the paint. Use a cotton swab to remove any paint messes.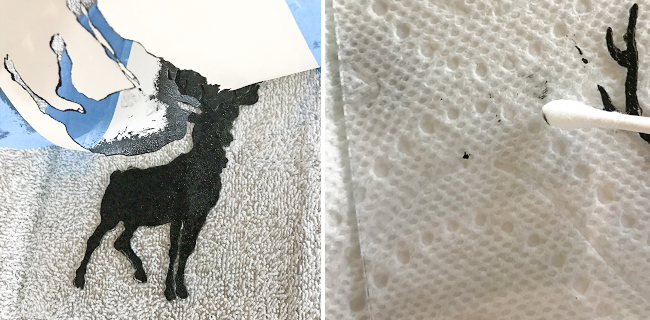
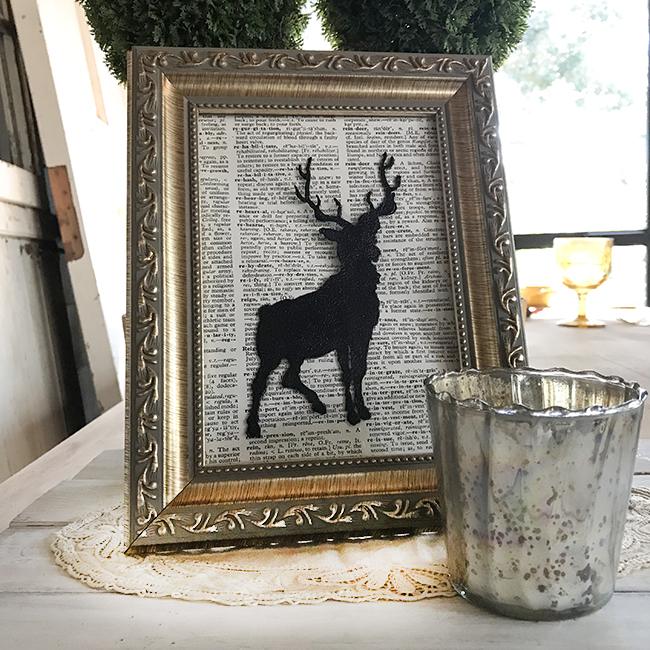
You could stop here if you like. You can insert the glass into the frame and have a clear see through image like the first one below. I used the reindeer page of an old dictionary as a backing in the second image.
Technique
But who wants to stop there? We have vintage mercury glass to create. It is simple to do. But I warn you, it can be addictive. You see a spray bottle with regular household vinegar, the Looking Glass Paint, and a soft cloth to lay glass on and protect the surface. Place the fully dried stenciled reindeer painting side up on a towel. It must be dry before you do this next step!!! You will be painting over the reindeer black paint. But you will view the image from the unpainted side of the glass.
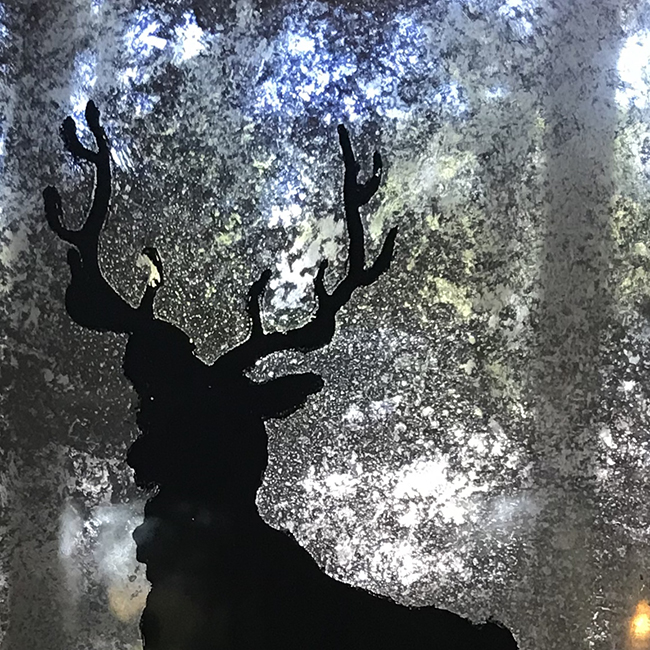
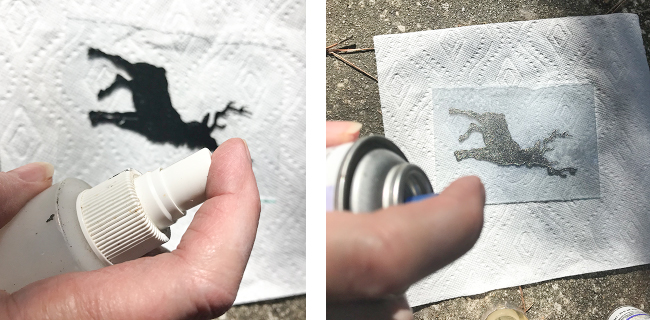
It is all about Spritz and Spray. Here’s the secret sauce to a beautiful DIY vintage mercury glass finish. Spritz the surface with vinegar. The farther away you hold the spray bottle, the finer the pitting will be. I like a good amount of pitting, so I spritz a few times. Then let it rest about 15 seconds while you shake the paint well.
Holding the can the distance stated in the directions on the can, begin to spray over the wet vinegar. Spray several passes. It will be very sheer from the back. Then count to 10 and gently press or dab a wadded up paper towel onto the mirror paint, lifting a few areas. Don’t get too carried away here. But if you do, you can always spritz and spray again.
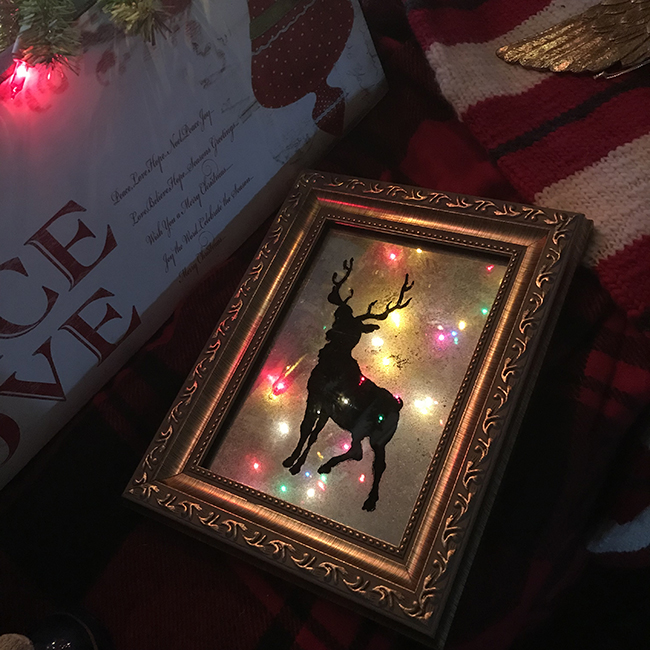
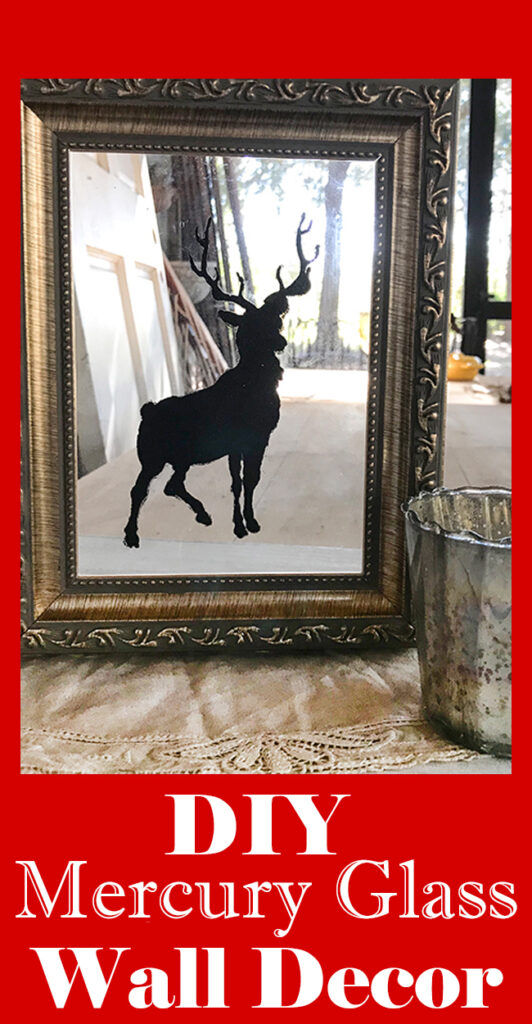
Then hold it up and see what you created. Lift the glass up and look at the unpainted side. Repeat the process of vinegar and paint three times, dabbing with a paper towel in between. When finished, it should look similar to the first image at the top of this tutorial. Below is the finished DIY Vintage Mercury Glass Reindeer Silhouette under my Christmas tree.
I hope you enjoyed learning how to make DIY Mercury Glass Art today. Designing this project for you was so much fun. You might also like this Mercury Glass Bowls Project HERE.
I also create Photoshop Elements tutorials over on The Graphics Fairy Premium Membership site. You can find even more of my art, DIYs, and whimsical shenanigans on Cre8tive Compass Magazine.
You may also like Glass Painting: Easy Tutorial HERE.
Rebecca




Candy says
I have been a loyal graphics fairy subscriber and premium member for many years now. I truly am your biggest fan. However the past year and a half the advertisements are overwhelming. It’s hard to read and enjoy when there’s continuous pop-ups.
Karen Watson says
Hi Candy, I’m sorry about the ads. They do support the site and this time of year is the busiest time as the advertisers spend more of their budget during the holiday season. You may want to wait and come back to the free blog again in January. Also, the best way to view the site is on a computer as the ads are less intrusive than on a phone. There are more pop ups on a phone. And of course the Premium site is ad free always, so you may want to just spend most of your time there. I hope that helps!
Terri says
Very cool! I just did a window almost
The same way I used half water half
Vinegar in the spray. I will try just vinegar next. But love this.
Karen Watson says
Love the window idea Terri! 🎄
Pauline Joy says
Fabulous!!!! Thank you for sharing the tgechnique 🙂
graphicsfairy says
Thanks Pauline, It is my pleasure 🙂
Naomi Shelton says
I love mercury glass, too! This is a cool method and your project turned out really lovely! Something new to try!
graphicsfairy says
Thanks so much Naomi 🙂
Rebecca E. Parsons says
Thank you Naomi. Have fun with this!
Elaine says
I love this technique but instead of painting the main image, I have applied black vinyl die cut with my Silhouette Cameo. Spray painted the mirror with the silver and let dry. Remove the black vinyl and the spray paint it with black to fill in where the vinyl was. Turned out beautiful.
graphicsfairy says
Oh wow, that sounds amazing Elaine!
Rebecca E. Parsons says
Elaine…that is a great idea. Some people love the look of a dark final coat. Thanks for sharing. Would love to see it!!