DIY Mixed Media Shrine to French Chocolate
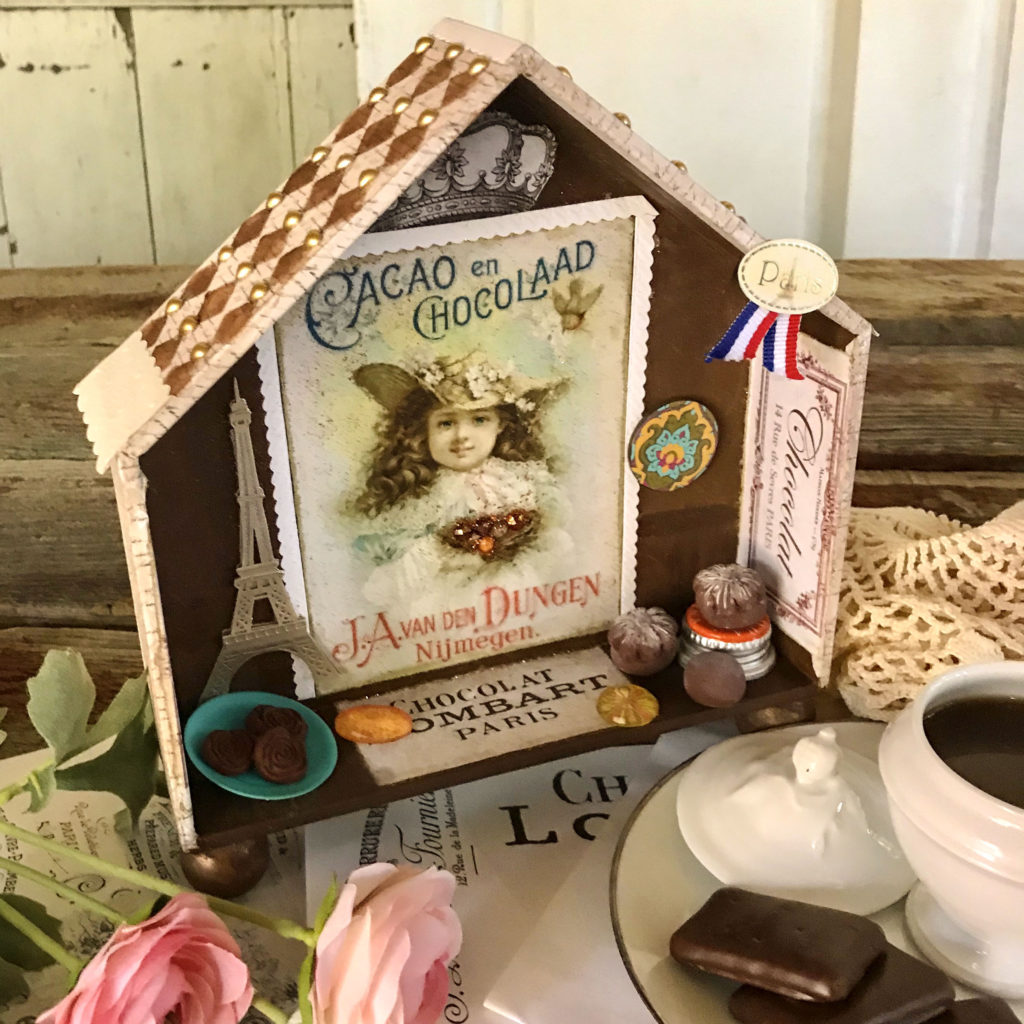
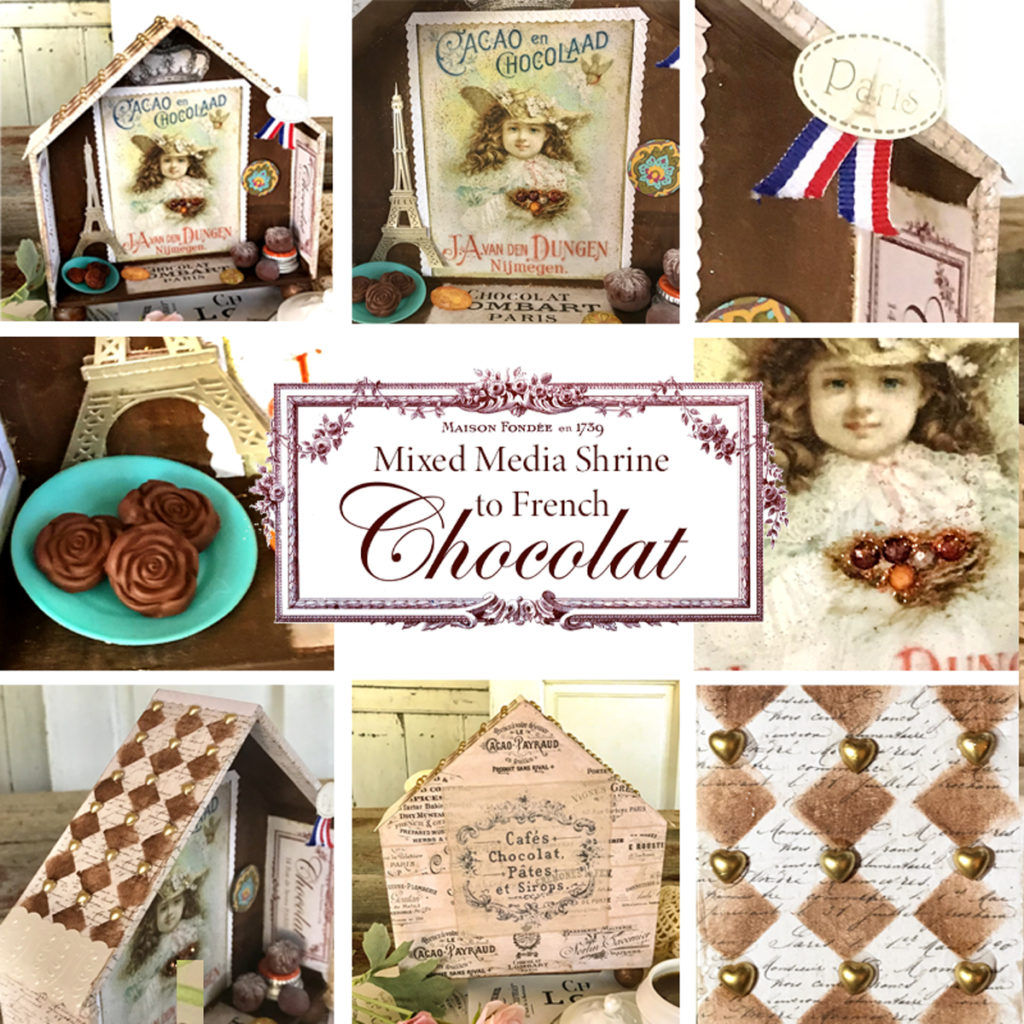
Hey y’all – It’s Rebecca from The Bookery here with a super cool (I think) DIY Mixed Media Shrine to Chocolate – especially French Chocolat. It is also a fun way to use our beloved Graphics Fairy images. I think I used every single Black and White Advertising graphic under the French Typography category for this project. TEE HEE! Plus, it pays homage to my love of really fine chocolate. It is a great craft project for Valentine’s Day, Mother’s Day, or as a gift for the chocolate lover in your life. Plus, it is easy and fun to make. WINK!
Materials for this Project
Graphics Fairy Images printed and cut or torn as necessary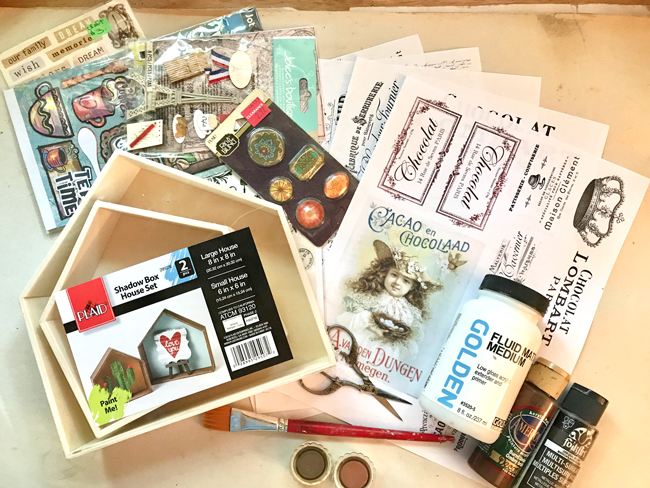
House Shaped Shadow Box
Burnt Sienna and Brown Folk Art Acrylic Paint
1″ Artist Brush
White Glue
Old Credit Card
Distress Ink to age edges of t0rn or cut images
Golden Fluid Matte Medium (for glazing)
Old Lint Free rag (I use a well worn washcloth)
Optional – Distress Ink Spray for aging
Hand Dyed Antique Lace
Stickers, Beads, Baubles from your Stash
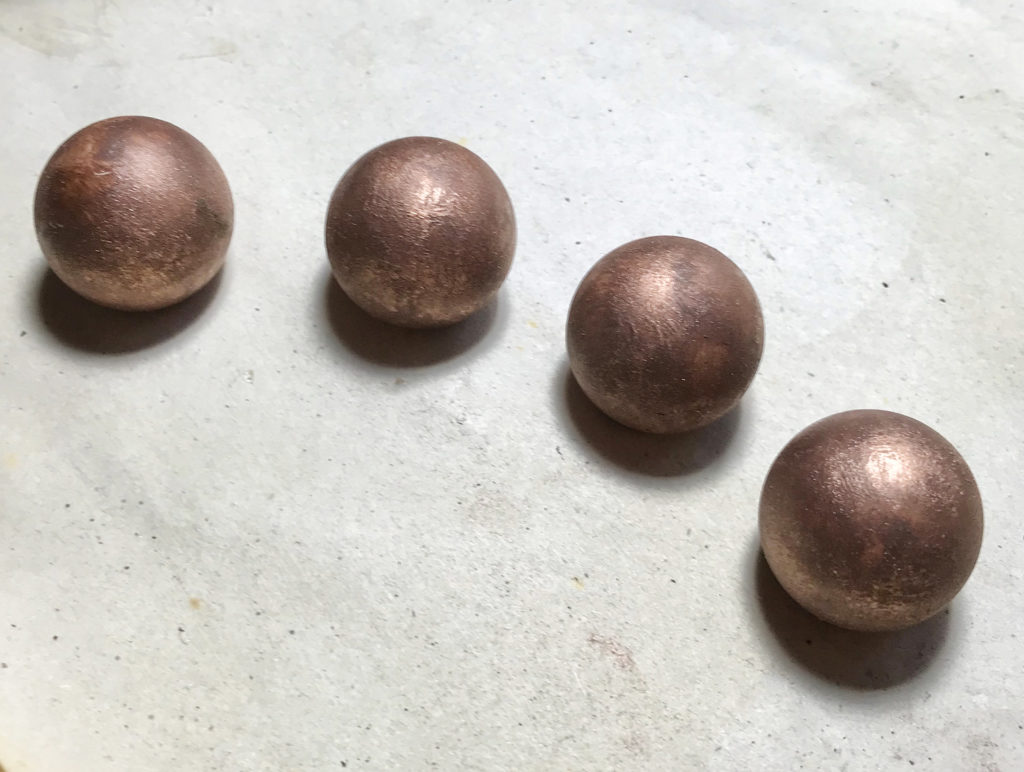
4 – 3/4″ Wooden Balls for Feet (your box may need larger feet)
Copper Gilding Wax
E6000 glue
DIY Mixed Media Shrine Craft Project Tutorial
Ahhhhh Chocolate!! Please bear with me as I indulge my chocolate obsession by crafting about it. I hope some of you have the same affliction and will enjoy this cute and easy mixed media shrine project. We will be tearing/cutting and gluing, ageing papers, embellishing, stenciling, and using glazes to give age to the entire project. Let’s get this yummy project started.
Print your Images. I created a printable of the images I used. It is designed for chocolate lovers. You can enlarge or reduce it as needed to fit your shrine box. You can of course use these directions to create your shrine and honor anything your heart desires. Download the TGF Shrine Printable HERE!
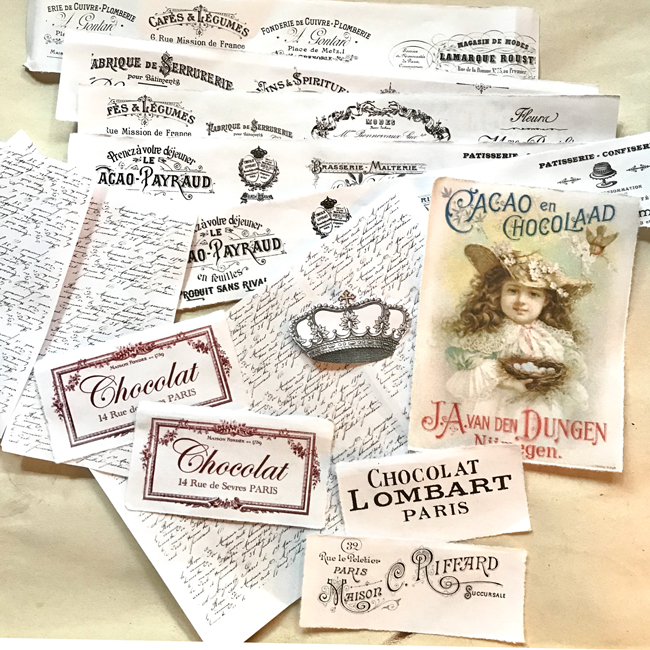
Cut and/or tear out all your images. I fussy cut the crown only. Everything else I tore using my fave Paper Tearing Techniques. I did an earlier tutorial about these techniques HERE. Included in the printable kit are:
- Focal Images and Crown.
- An image with drop shadows, sized to the shadow box I am using. You can reduce or enlarge to fit your box.
- Long strips 11″ wide (they will print slightly smaller due to printer margins).
- Three columns of French Handwriting which can be used for the roof and outer sides.
- Random images to use to collage and decorate your shrine any way you like. Be creative!! Have fun with this.
Decorating the Shrine
Remove the hanger from the back of the shadow box if there is one. Make sure you place the tiny screws and hanger somewhere safe. WINK! (left image) Paint the entire inside of your shadow box with the burnt sienna acrylic paint. (center image) PRO TIP: To keep your edges clean, pull your loaded brush from the inside toward the edge. Slightly lift your brush when you get near the edge, leaving only the tips of your brush in contact with the surface. (right image) If you happen to get paint on the edge, wipe it immediately with a wet cloth or sand it away. You will be using light papers over the edges, so any darkness may show through. Let it dry.
There is a well thought out process for covering the outside of the box. Each step should go in sequence because the next step will cover the edges of the previous wrap. This will all make sense as we work. Of course, if you are into freestyle collage, just go for it. The end result will be beautiful regardless.
Cover the Back
Collage the back of your shadow box with any of the images. I use white glue that works on wood and paper. (left image) PRO TIP: Wrap a little bit of each image onto the sides of the box. This makes the edges look finished. (center image) Gently smooth and burnish the back with a old credit card making sure there are no loose places, wrinkles, or bubbles. (right image) NOTE: You can use the strips from the printable to cover the back if you like.
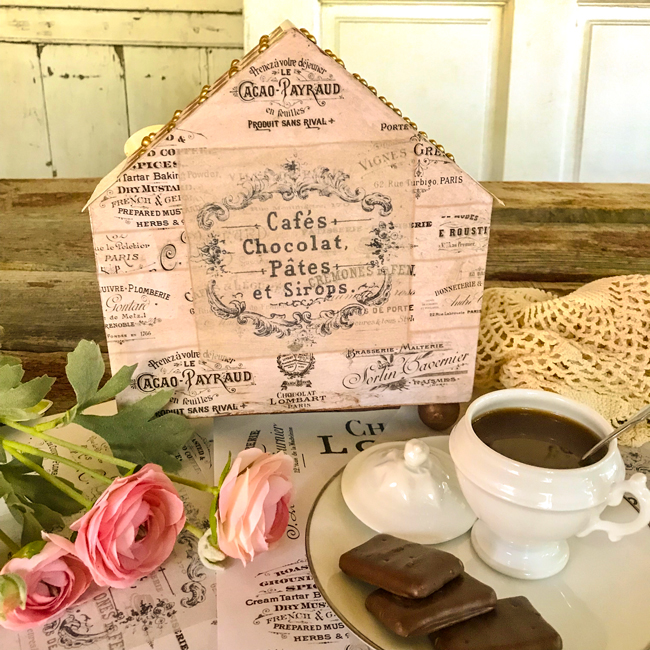
Cover the Roof and Sides
The roof images will wrap to the inside of the shadow box. Cut the French Handwritten Script about 1/2″ larger than the roof at top and bottom. It will wrap over the peak and side of the box. Trim the side of the script to fit flush against the back of the roof. It will not wrap to the back of the box as it is already decorated. Leave about a 1/2″ or so to wrap over the front edge. (left image) Cut a notch out of the corners to make it wrap smoothly to the front. Glue the first roof piece. Wrap the edges at the top peak and side with the first image. (center image) Cut the second roof piece as above, only in reverse. Cut the top of the second side script image to align with the top peak line. It will not wrap the top. Again notch it so it will wrap easily. (right image) Cover the sides with any image(s) you like. Use the side as a template to cut your image to the exact size at the top, bottom, and back edges. Leave some extra to overlap the front edge of the box. Allow all the glue to dry.
Place Shrine Focal Images
Age the edges of your focal image and side images with ink. (left image) Place your focal image inside the shrine and glue in place. Glue the images for the side pieces in place. Glue the crown in place. (center image) Add lace or lace stickers around the edges of your central image framing it. (right image)
Antique the Outside
Mix about 1 tablespoon of the Liquid Gel with a few drops of Real Brown acrylic. Stir until blended. Add about 5 drops of water. This will be runny. (left image) Apply glaze to the back and sides with a brush. Quickly rub and dab the glaze with your rag to soften it. You can leave as much as you like or remove it. The choice is yours. I just wanted my images to look a little older. (center image) You can see how this ages the bright white of the paper in the right image below. We just want a hint of age here! Be creative! If you have Distress Sprays you can use them to take it further.
Finish and Embellish the Mixed Media Shrine
Paint your wooden ball feet to look like chocolate truffles. I similarly used Burnt Sienna again as a basecoat. While the feet are drying, embellish your shrine. Is too much embellishment possible? NAH!!! Once the feet are dry, rub some metallic wax in copper or gold in strategic places. This makes them look like bon bons. Attach them to the bottom corners of the shadow box with E6000 glue.
Embellishing is the most fun part for me. Here is how I finished mine. First, I stenciled little diamonds on the roof to give it some dimension. I added tiny gold hearts that look like gold leaf chocolates after the paint dried. There are a bunch of French themed stickers and jewels that go perfectly on and inside my shrine. Some chocolate candies and bon bons were created with polymer clay for an added element of yum. I then sprinkled a little rusty glitter on the inside to give it some shimmer. If you are like me, shop your stash and see what you can find to accentuate your piece.
I hope you had as much fun as I did creating this little DIY Mixed Media Shrine to Chocolate. Oh La La au Chocolate!! I also create Photoshop Elements tutorials and craft project videos over on The Graphics Fairy Premium Membership site. You can find even more of my art, DIYs, and whimsical shenanigans on The Bookery (Just launching in Summer 2019!)
