Hello, my fabulous Graphics Fairy Friends! Heather from Thicketworks here with another Product Hack!
Today, we’ll make some super-useful DIY Modeling Paste, and I’ll show you several ways to Dress it UP!
Now, there are many, many ways of creating your own Modeling Paste…what I like about this one is the simplicity, the adhesive quality, and the flexibility of the resulting texture.
Judge for yourself and enjoy these DIY Modeling Paste Techniques!
{this post contains affiliate links}
If you’d like to play along, here’s what you’ll need…
Supplies:
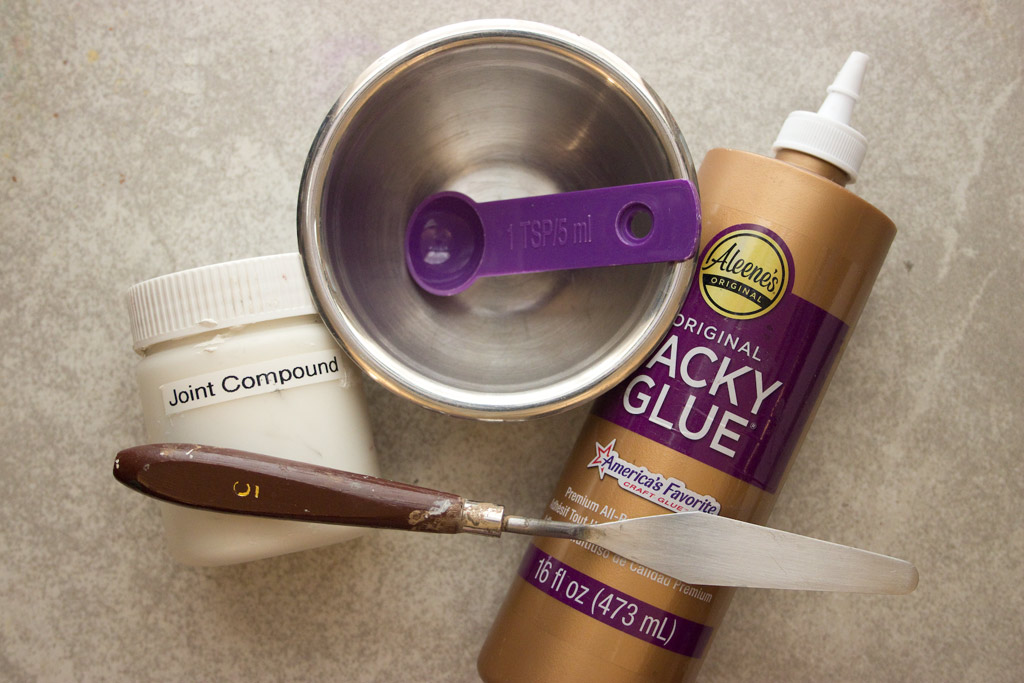
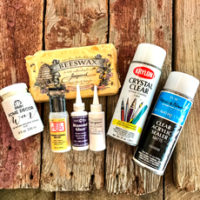
- Joint Compound ( I use DAP Joint Compound )
- Aleene’s Original “Tacky” Glue
- A mixing bowl
- a Tablespoon
- A spatula, to mix the Goop!
- Palette Knife
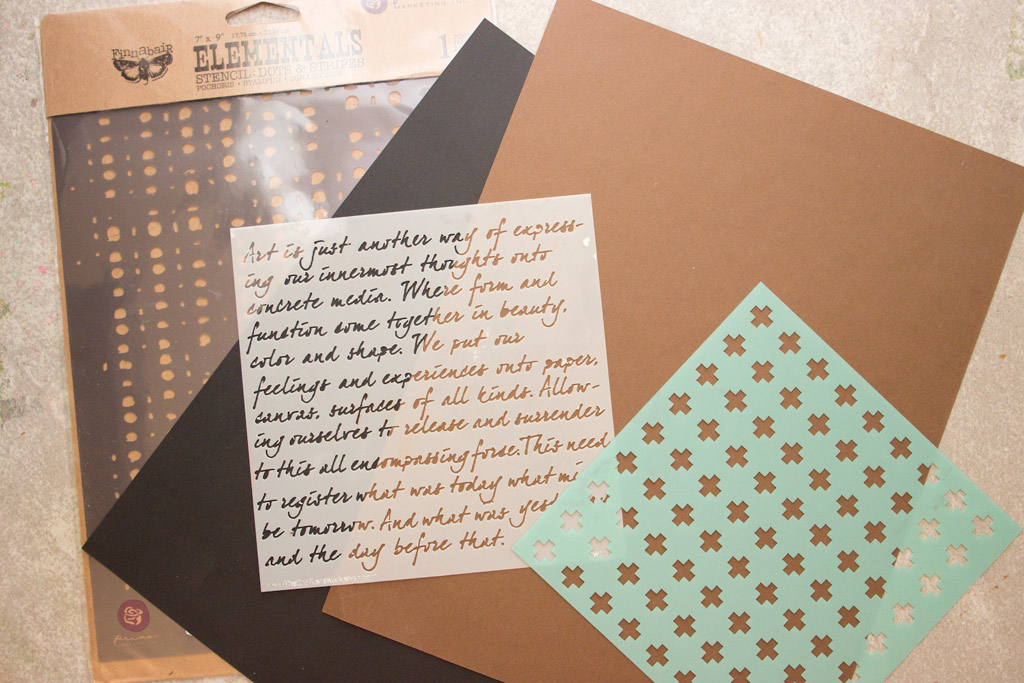
- Your favorite stencils. (I used: Mixed Media Dots and Crosses by Heidi Swapp , Art Is, by The Crafters Workshop & Finnabair Dots & Stripes)
- Cardstock or other surfaces to add TEXTURE to!
- Heat Tool
- Fine Sand
- Glitter
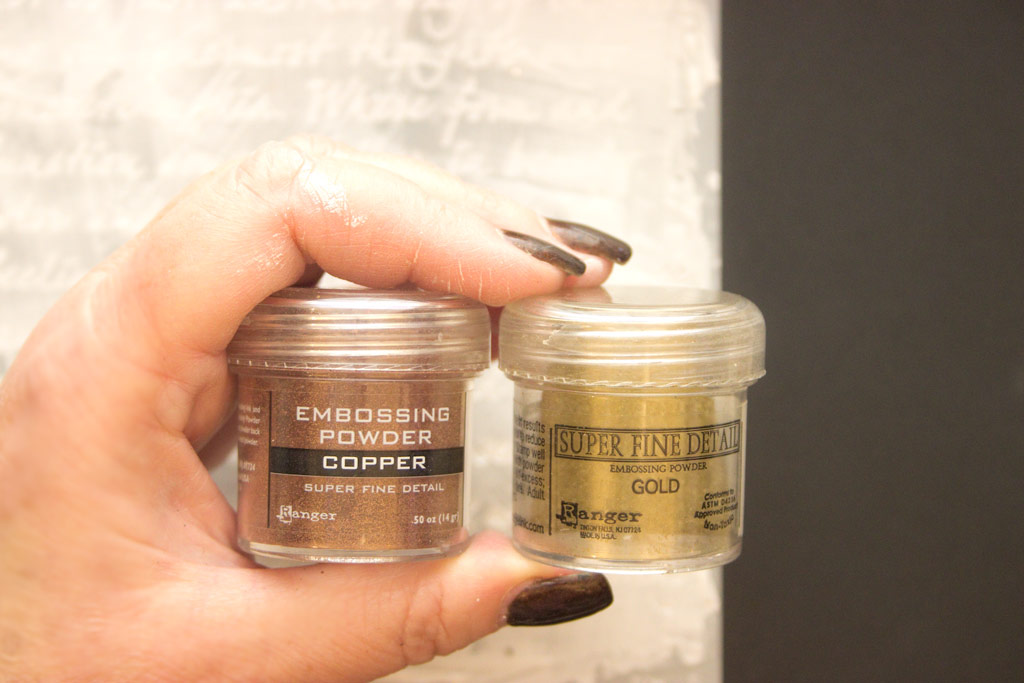
- Ranger Embossing Powder: Super Fine Gold
- Embossing Powder: Copper
- A sheet of scrap paper (for gathering loose glitter, sand, etc.)
- Paper towels for wiping down your tools prior to washing them (no globs of Joint Compound in the plumbing, if you please!)
- A sense of ADVENTURE!
- Optional:
- Assorted Spray Inks, if you desire
- Acrylic Craft Paint (to tint the Goop)
- Triple Thick Gloss Glaze (if you like the shiny leathery look)
Gather your ingredients onto a washable work surface – here, I’ve just used a large ceramic tile.
Note: wipe away the excess, then wash your stencils before they dry.
This goop will become a tough- to-remove layer once dry!
Measure 4 Tablespoons of Joint Compound into the mixing bowl
Add 2 Tablespoons of Aleene’s Tacky Glue.
Note: this is a very small batch – plan to use it in one sitting. If you mix up more, be sure to keep it in an airtight container for best results.
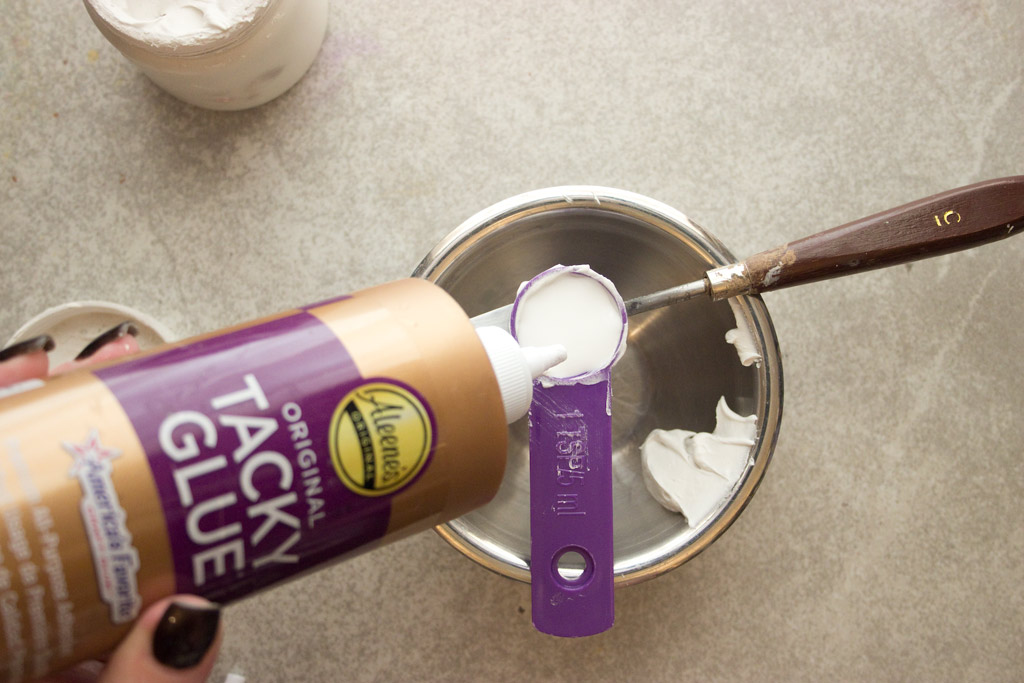
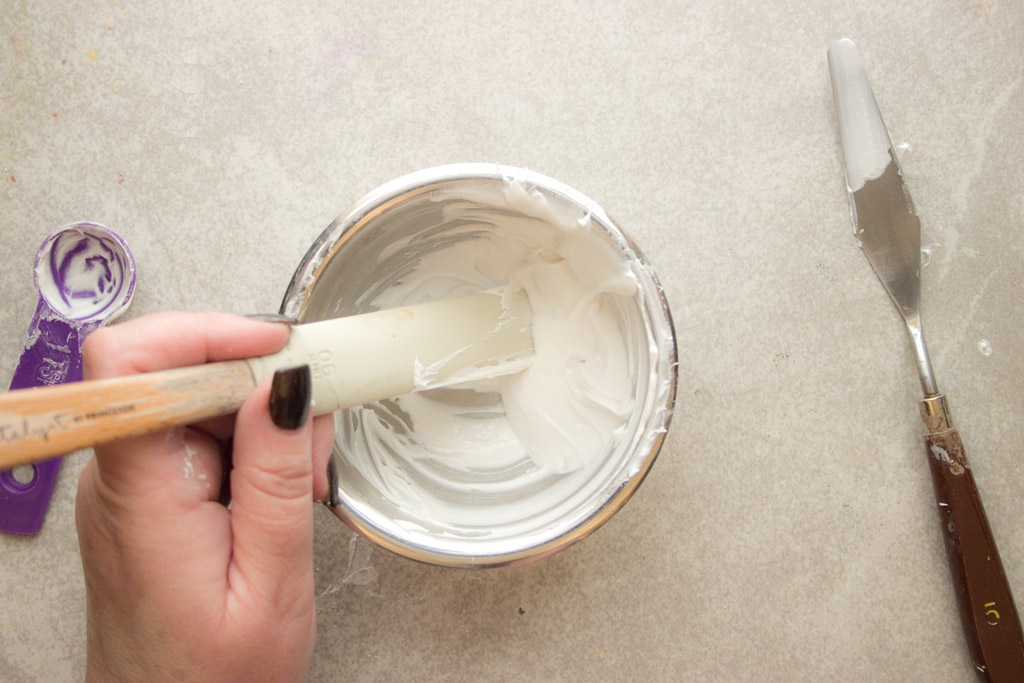
Mix thoroughly, scraping the sides of the bowl.
Do NOT lick the spoon!
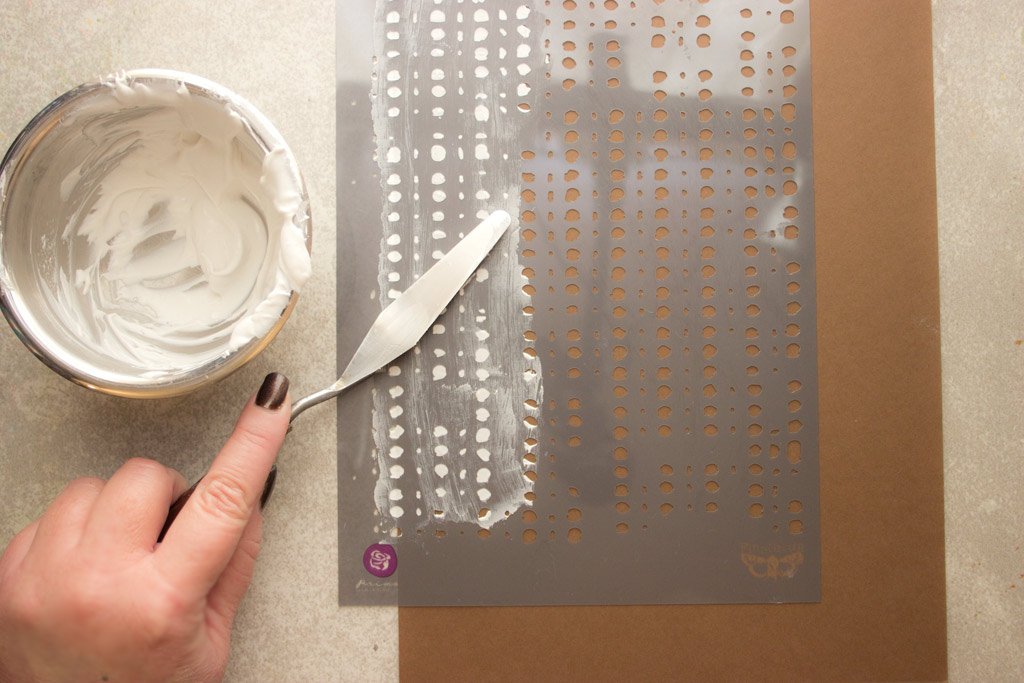
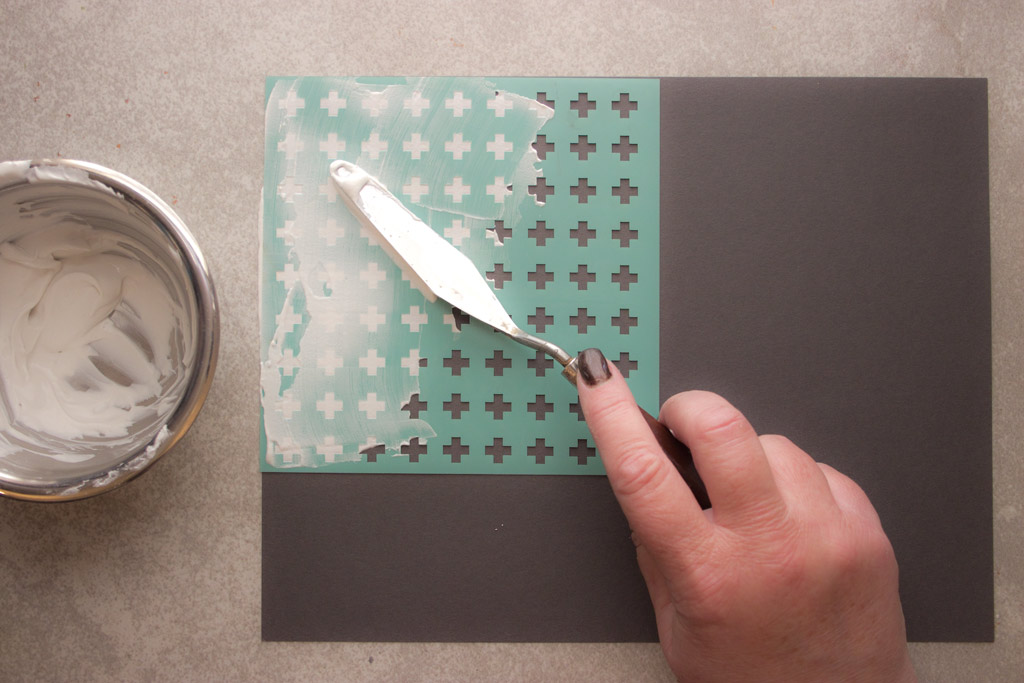
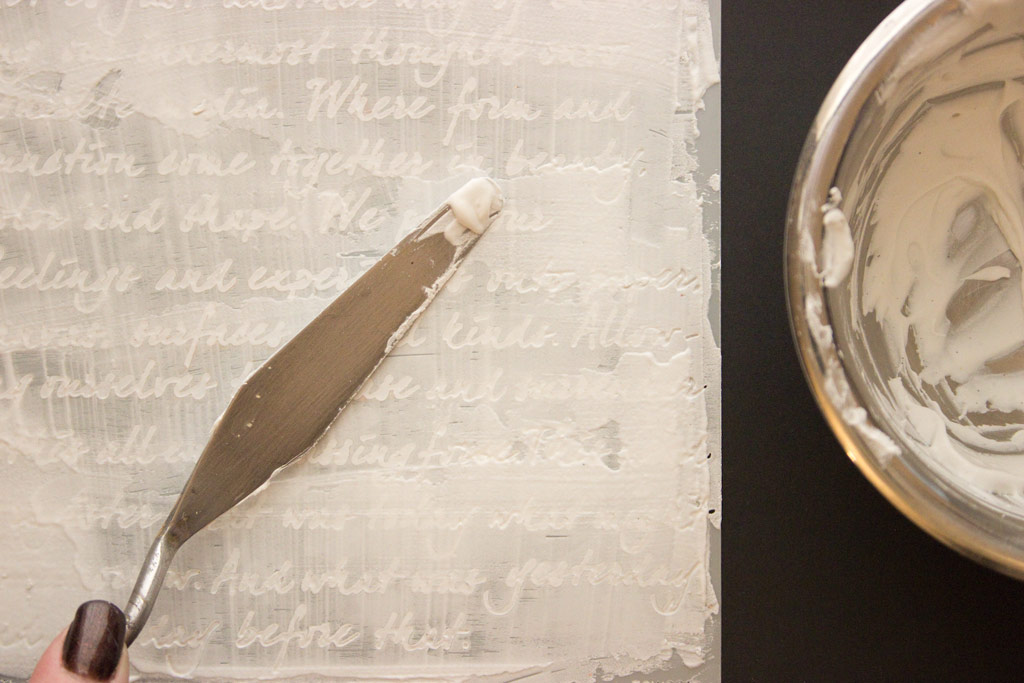
Spread the mixture through a stencil, using a Palette Knife for Raised Texture:
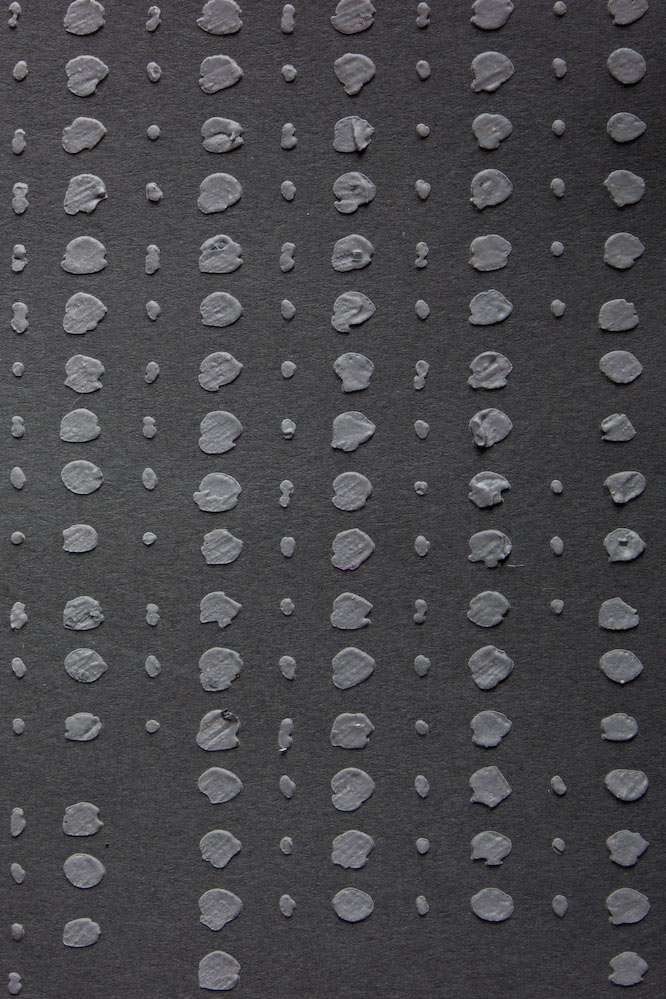
You can leave it at that, and simply allow it to dry.
The results will be sturdy and flexible.
The dry DIY Modeling Paste will be paintable, and will tint a bit with most translucent media.
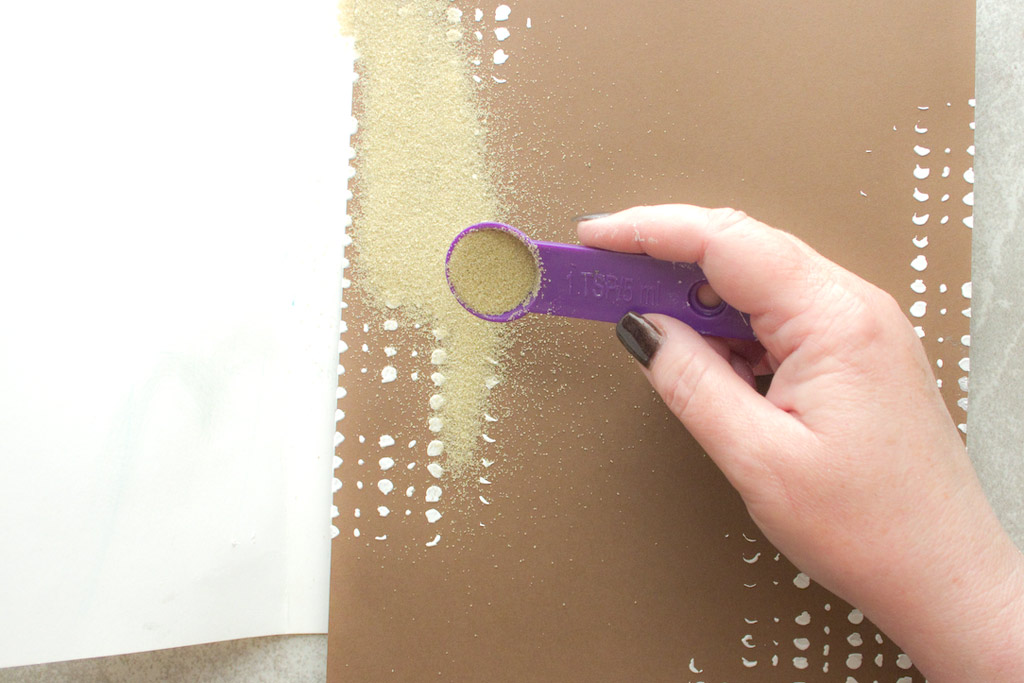
If, however, you crave a bit of Crunchy Texture, sprinkle the wet mixture with fine sand:
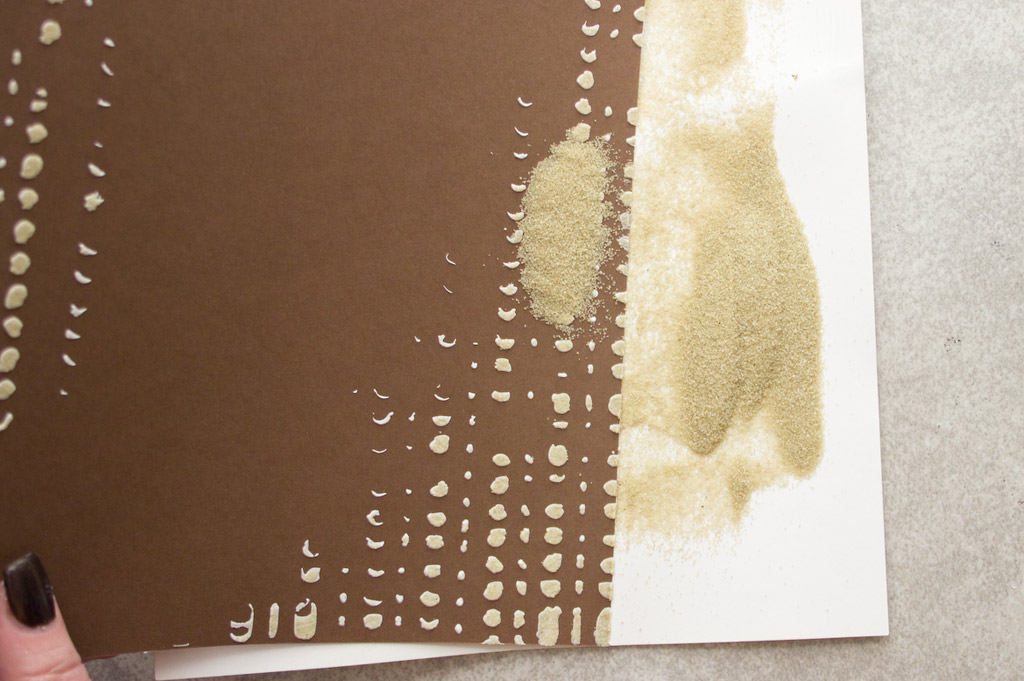
Pour the excess sand onto a piece of scratch paper, and return it to your container.
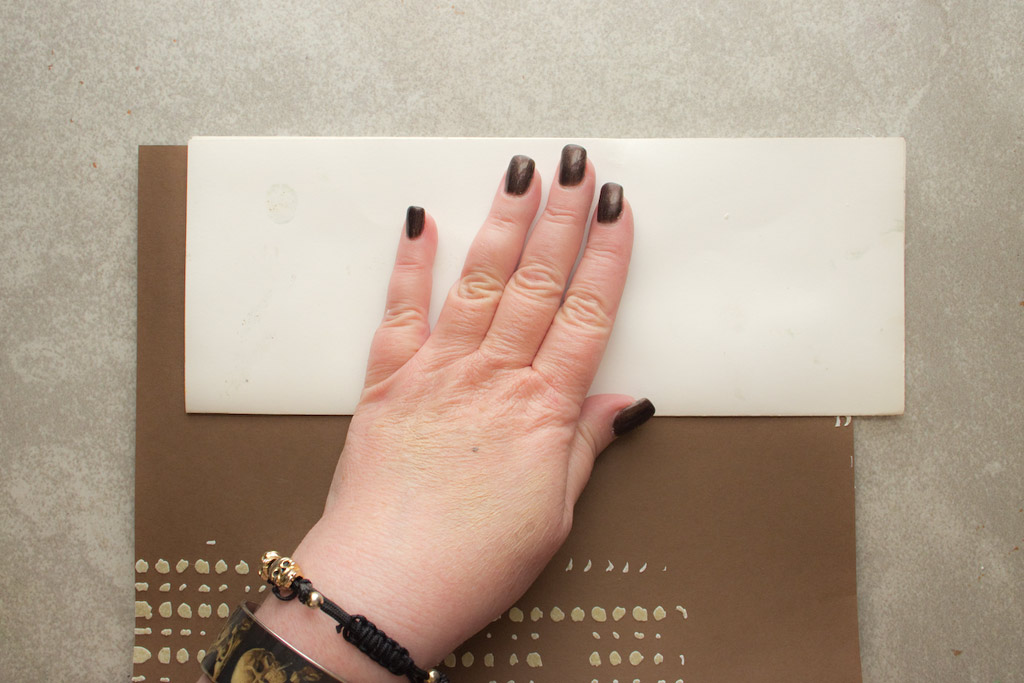
Gently press the surface of the DIY Modeling Paste with the same paper to embed the sand particles into the Paste.
This stuff dries quickly, so don’t delay!
What else can we do with it?
Well, swipe more DIY Modeling Paste through a stencil…
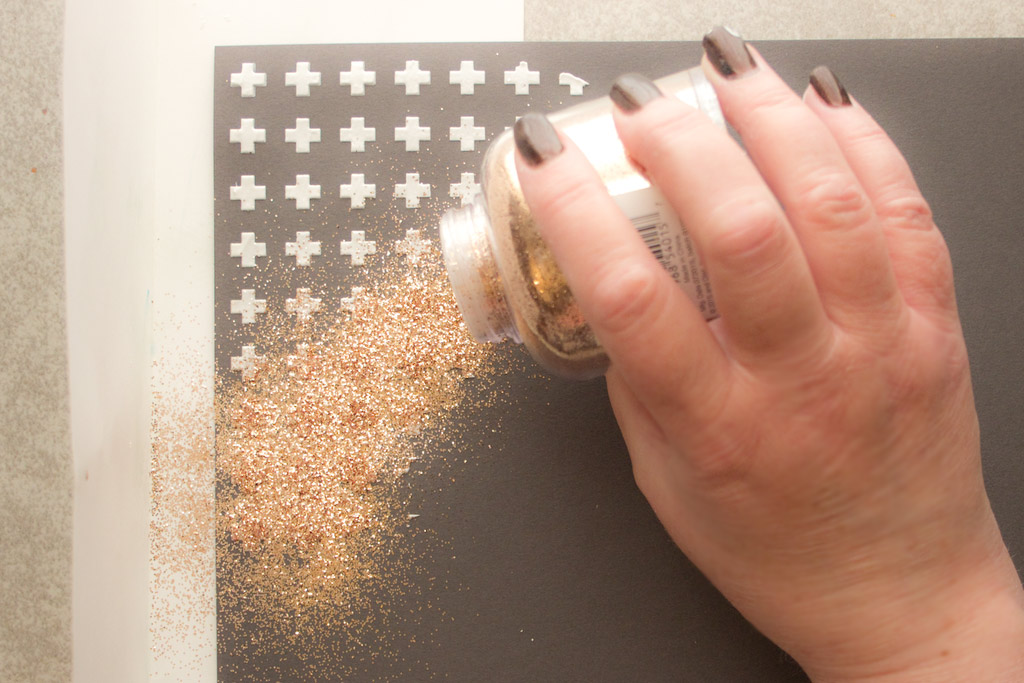
Quickly sprinkle on your favorite Glitter!
The adhesive in the Modeling Paste will hold fast to those little sparkles!
For an even shinier effect, use a Fine Glitter.
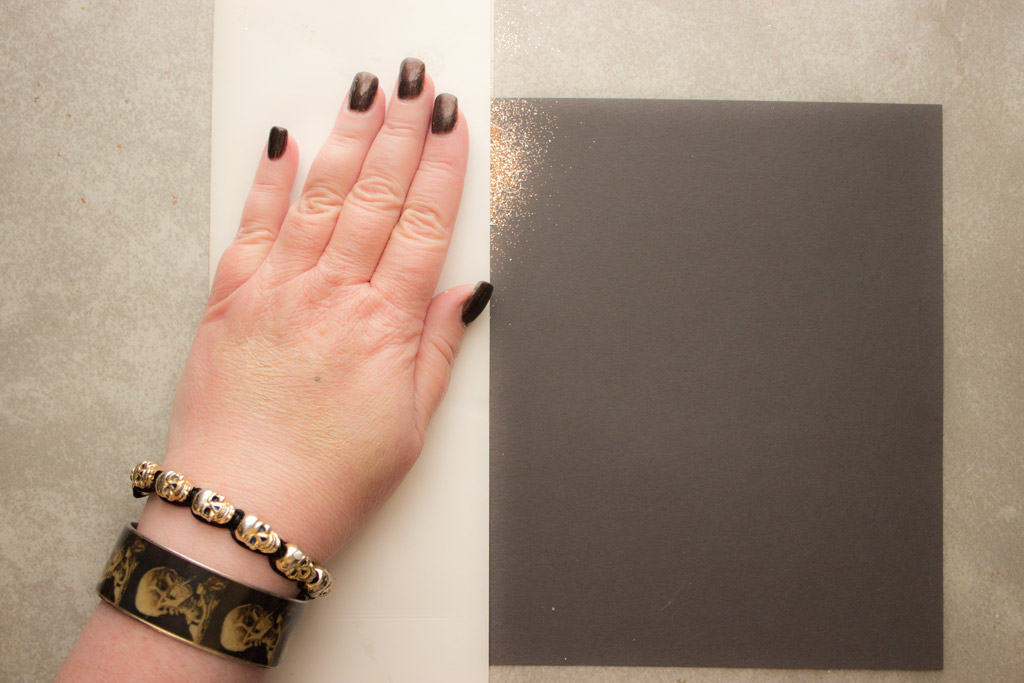
Press the surface gently…
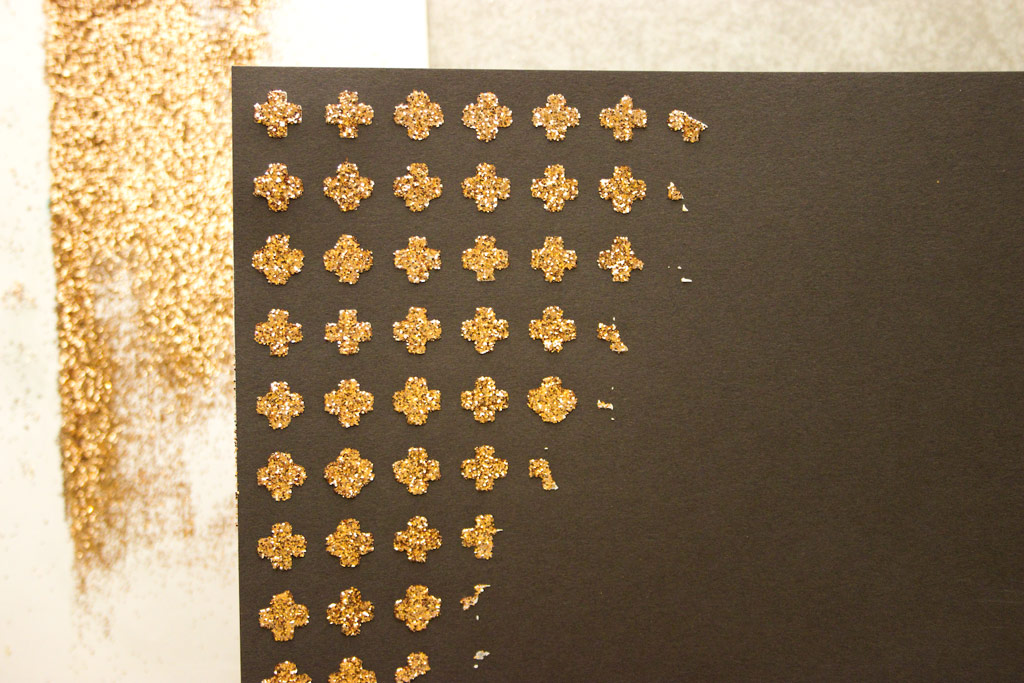
Presto!
Glittered Stencil Designs!
How does it perform with an intricate stencil design?
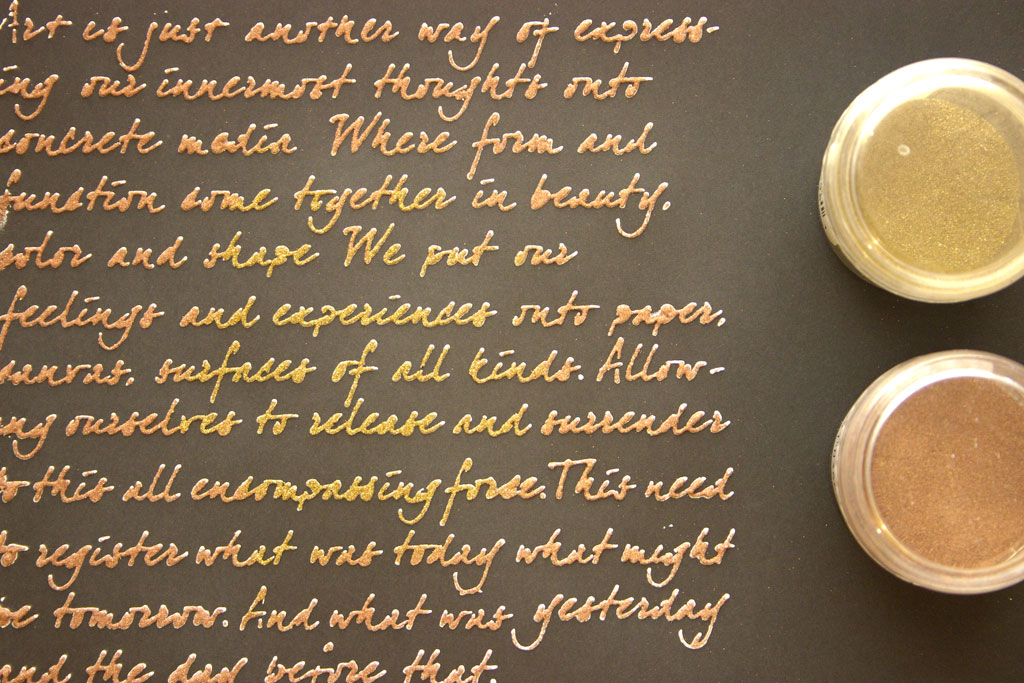
Let’s test it with the classic Stencil: Art Is, by The Crafters Workshop and Embossing Powders!
Remember to work quickly!
Cover the DIY Modeling Paste with your favorite Embossing Powders.
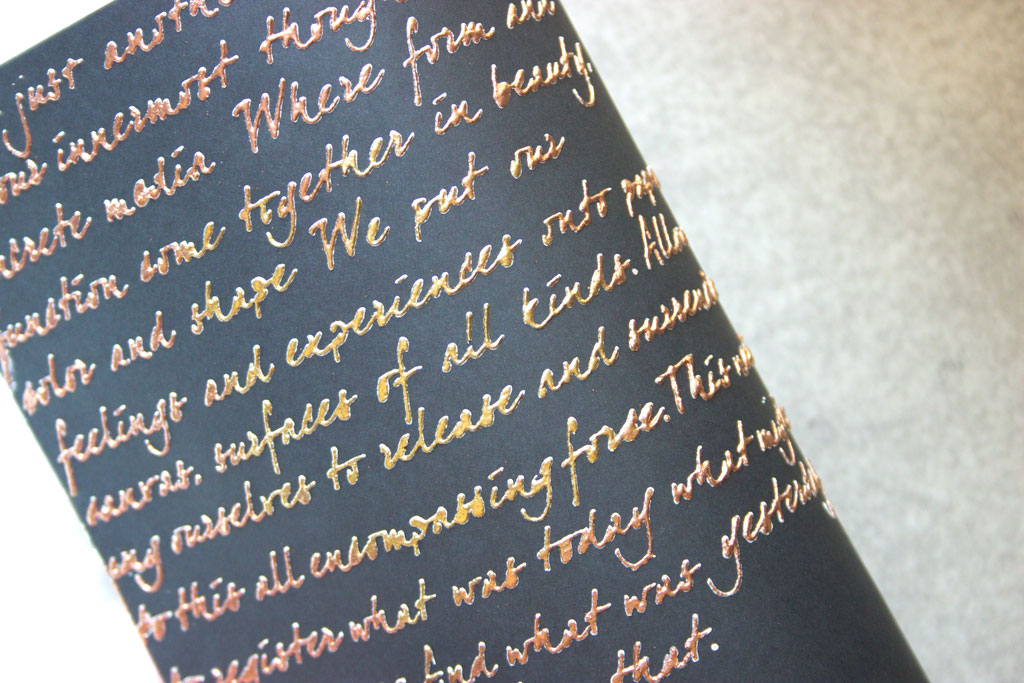
Here, I first applied a bit of Gold in the center of the text. Then, I tapped off the excess, and quickly added Copper over the rest of the design, for a two-toned effect:
The moment of truth….melt the Embossing Powder with a Heat Tool…
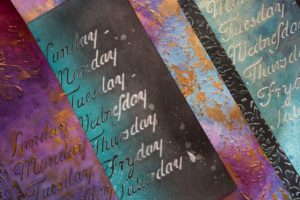
What I love the most about it with this text stencil is the depth of the texture created.
The fact that it remains flexible is a bonus, too!
The results are interesting….
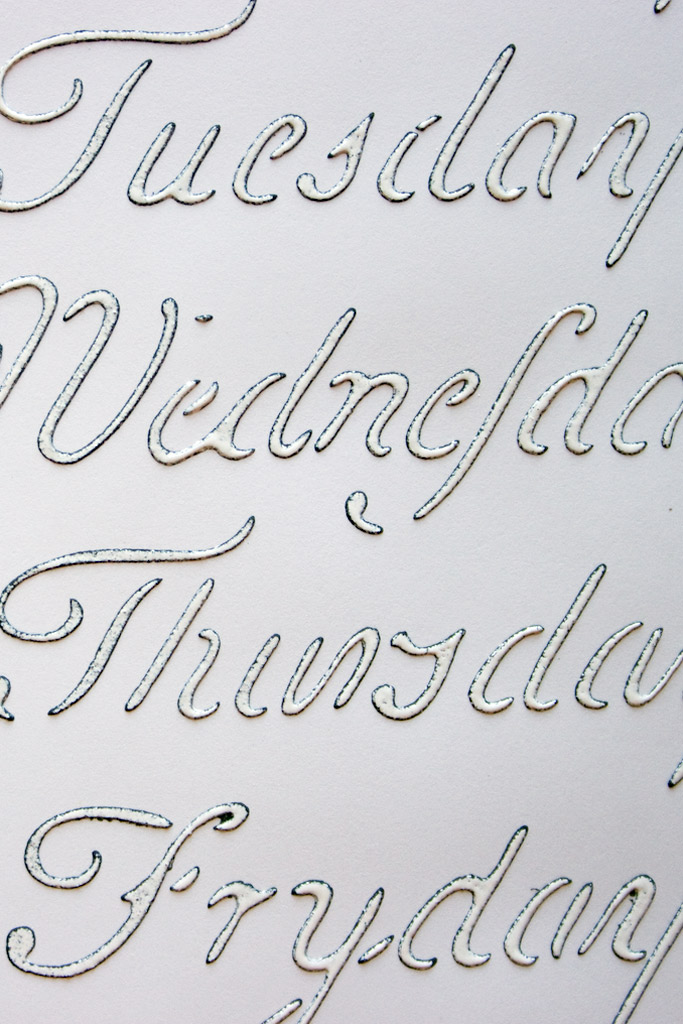
Because the mixture dries so quickly, there is a small margin of the paste that the Embossing Powder didn’t cling to.
This holds possibilities…I experimented with tinting the DIY Modeling Paste black, then embossed with white…the result is intentional fine outlines to the embossed motifs. That is SUPER cool.
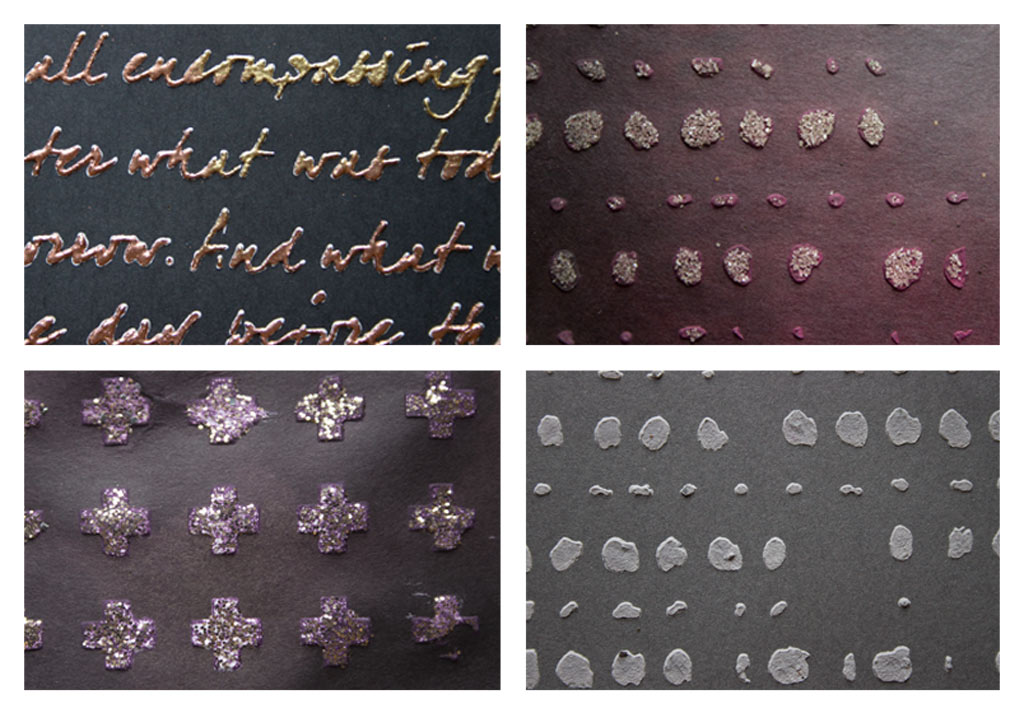
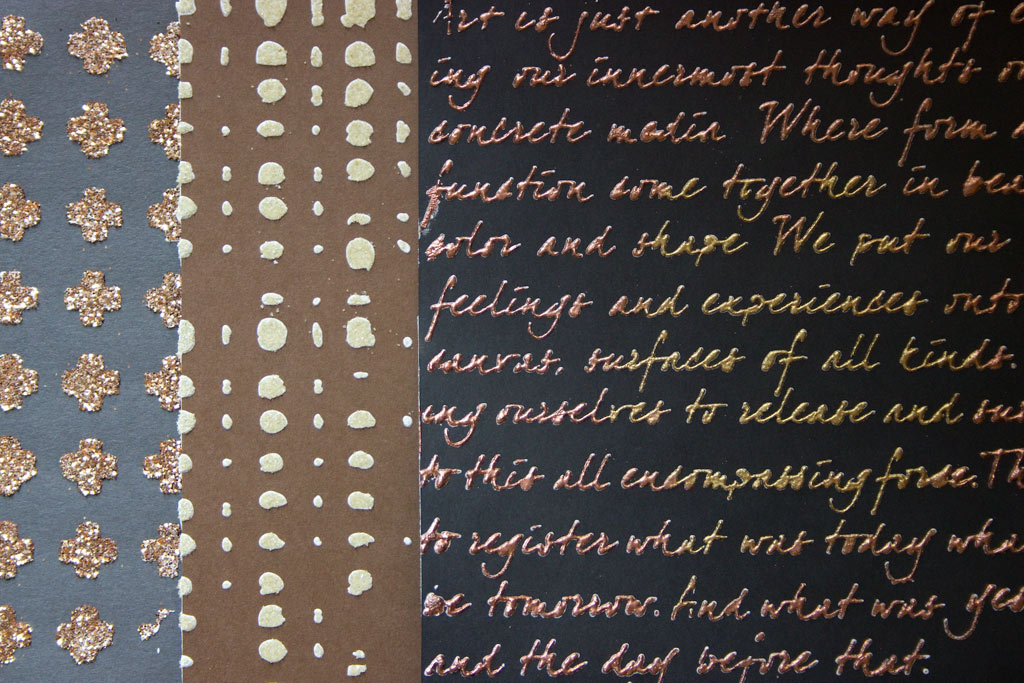
Our results so far:
Chunky Glitter
Fine Sand
Embossing Powder
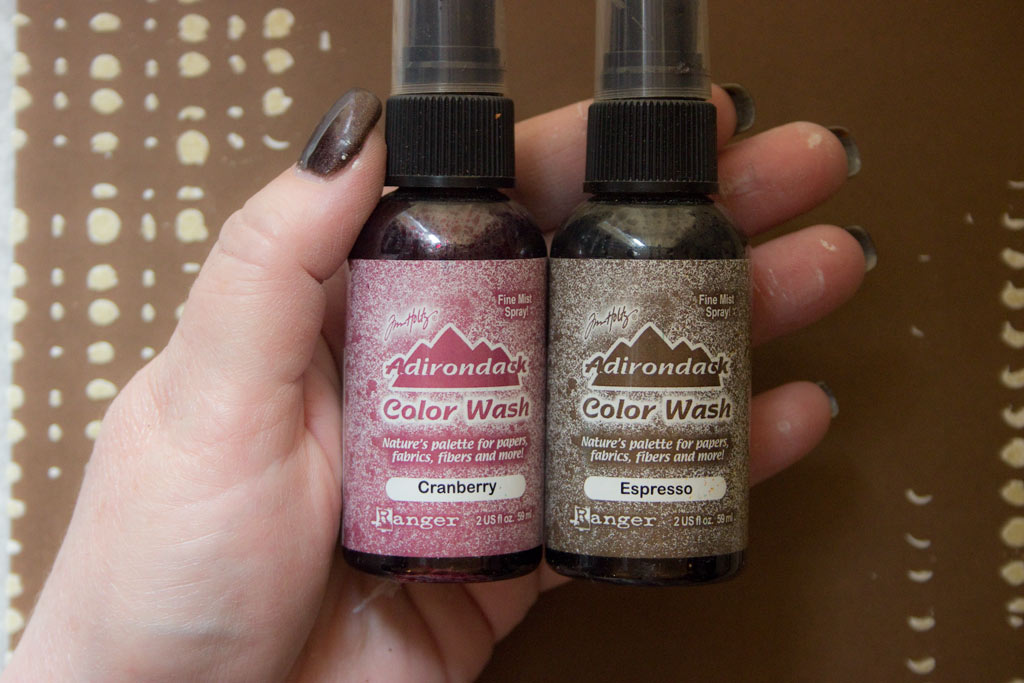
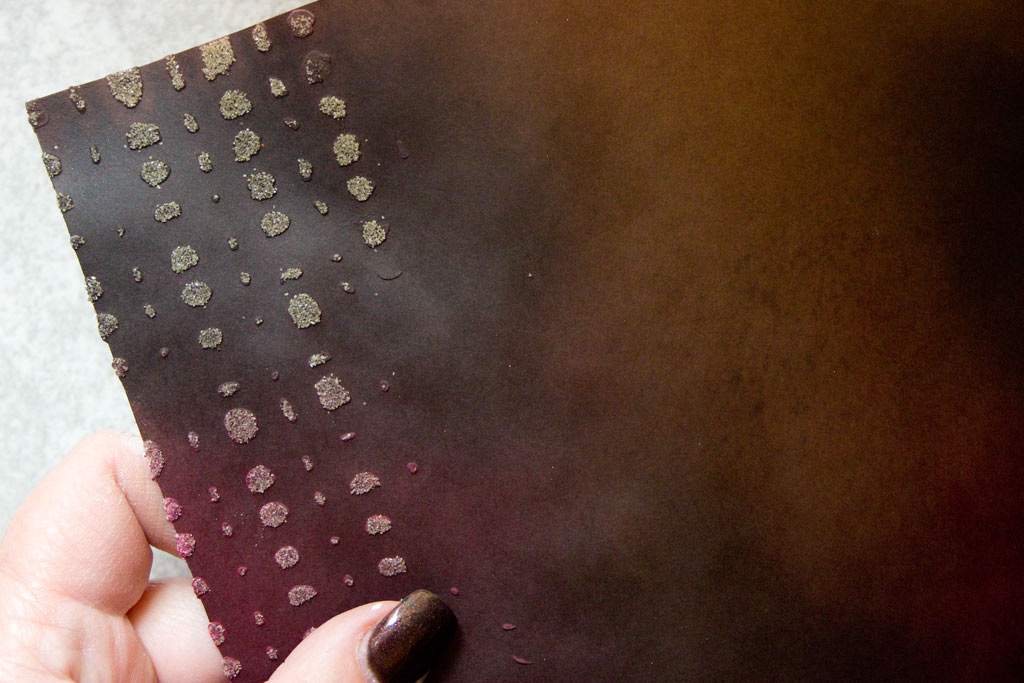
Experiment with Spray Inks…these will tint the paste nicely…
I love the subtle variation in the color of the sanded textures here…
Mix a couple of drops of any Acrylic Craft Paint into the Goop for a quiet tint.
Up the ratio for more intensity.
Brush a coat of Triple Thick Gloss Glaze over the top.
On cardstock, this results in a shiny, leathery paper. Cool!
Now, what you DO with your DIY Modelling Paste is entirely up to you!
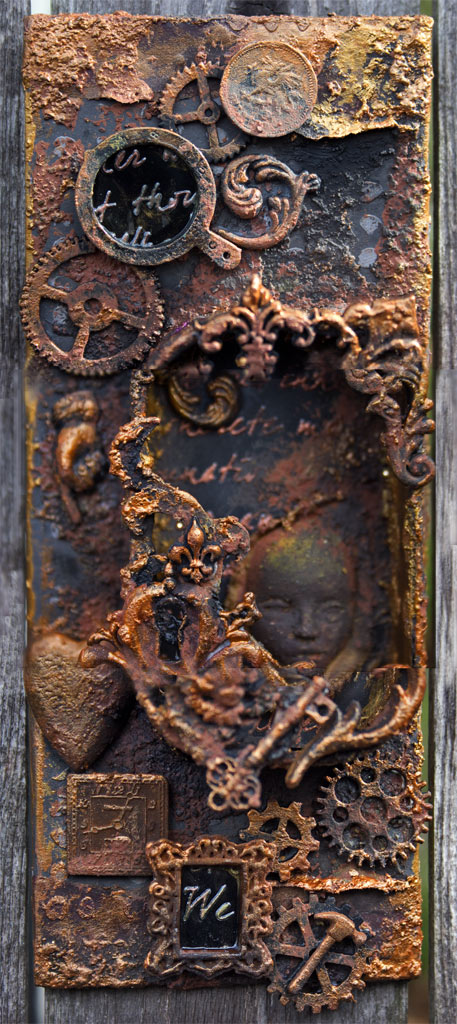
Here’s how I used the papers made for this demo.
By covering a substrate with the DIY Modeling Paste stenciled paper, you have an immediate texture layer, just begging to be enhanced!
By adding layers of castings, dollops of DIY Rust Pastes, and judicious applications of DIY Metallic Highlighting Gel, a quick Mixed Media piece takes form…
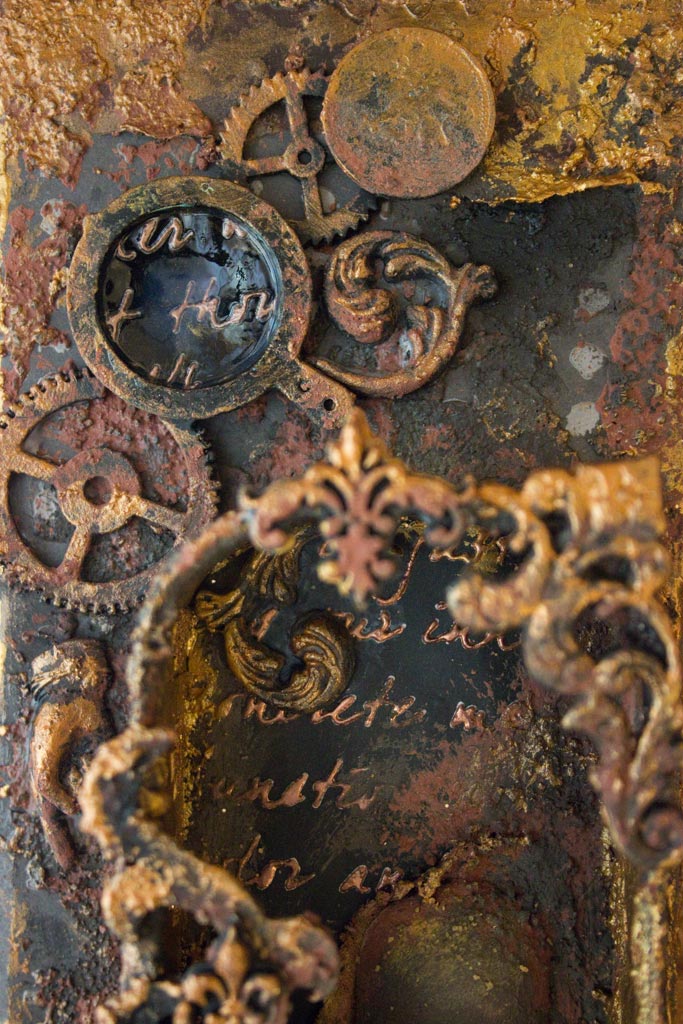
If you look closely, you’ll see the Sanded Dot Texture Paper in the background.
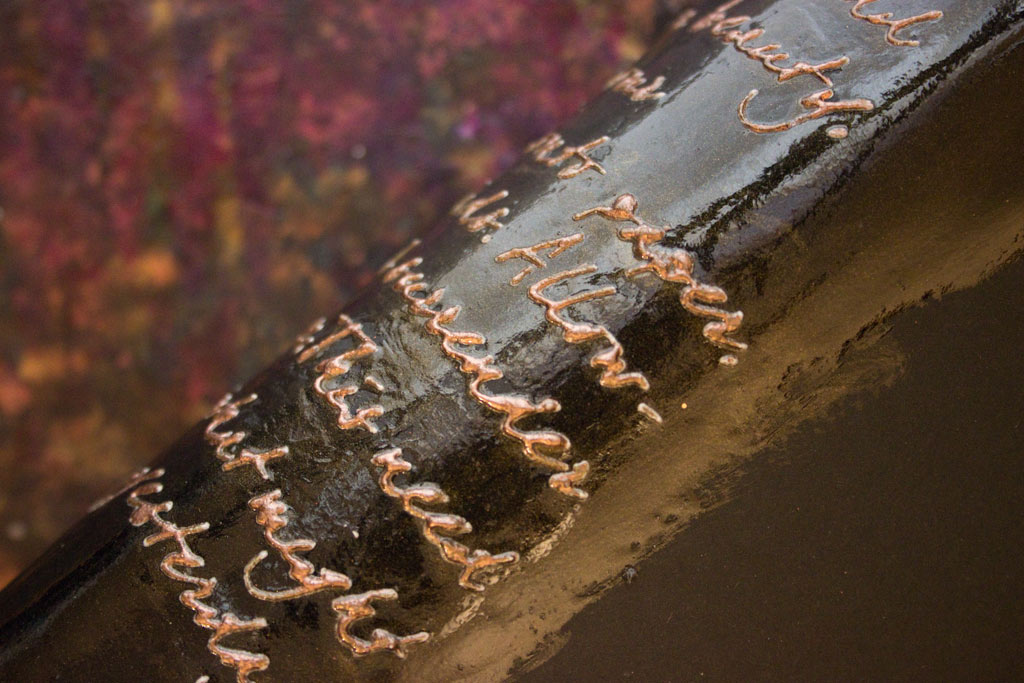
A luminous pool of Textured Text lurks within the looking glass.
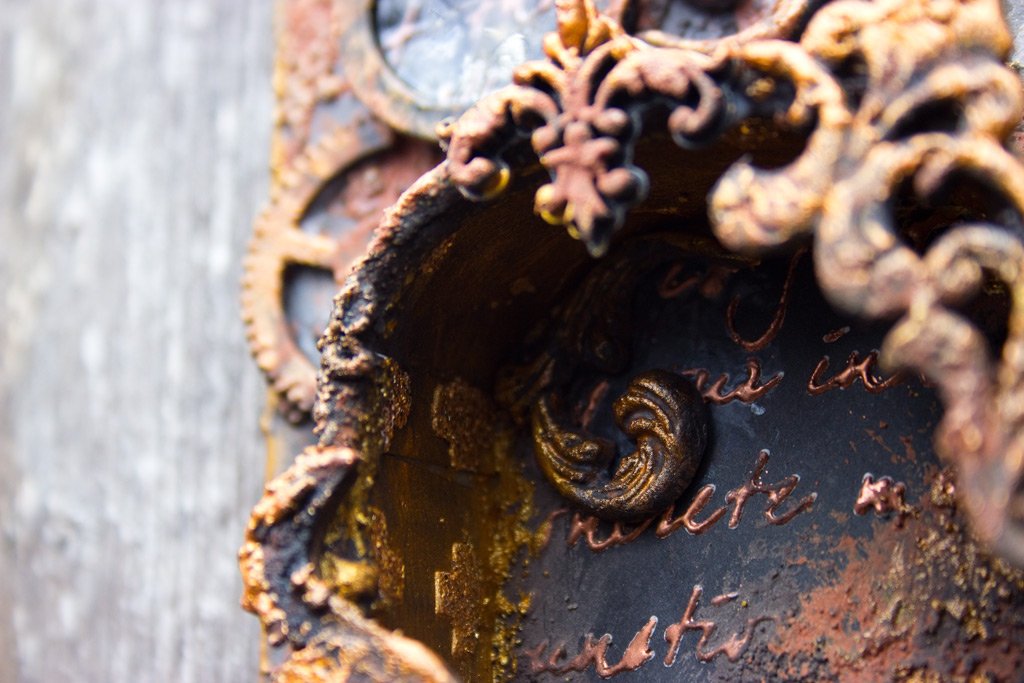
More Textured Text appears in the central niche…
Even our funky Glitter Crosses make an appearance – lining the walls of the niche…
So, my friends, that’s our adventure for today.
I thank you for taking the time to visit The Graphics Fairy, and I hope that you’ll give this humble but marvelous recipe a try!
For even MORE ideas about how to utilize DIY Modeling Paste, click HERE.
Until next time,
Heather ♥
It’s finally here! Our first online crafting eCourse! If you’ve always wanted to try the art of Mixed Media, be sure and check out this amazing course by Heather Tracy!
Click HERE to learn more about it.



Karen Daniels says
WOw! You made it look like a deep sea treasure! Absolute amazing! Thank you for taking the time to experiment with so many options (like it was a chore, lol) and sharing your results.
Heather Tracy says
Hi Karen! You are so sweet – thank you. And I hope you have as much fun experimenting as I do! xox
graphicsfairy says
Thanks so much Karen! It is my pleasure 🙂
Beth Giardina says
Oh my goodness, Heather! This is inspiring, for sure!
Thank you so much for sharing your project, knowledge & talents.
Now, if I just had the time to do something so creative! Beth
Heather Tracy says
Hi Beth! I promise it doesn’t take that much time, but there’s never enough of it, is there? I hope you get a chance to create soon, my friend…thank you for your kind words. xox
Hellen Edwards says
Another mouthwatering dish you`ve served up Heather!! Beautiful and inspiring —both the project AND the artist. Can`t wait to give this a try and thankyou for all the fantastic “recipes”.
Hugs Hellen
Heather Tracy says
Hi Hellen! Awww…you are unfailingly kind to me. Thank you, my friend. This little experiment was fun and satisfying. I hope you make the time to play! xox
rupa says
Heather, your tutorials are not only phenomenal but also dee..licious! You have covered all the materials in various depts. at Home Depot and also the cake shop lol! I love the results and anything to do with stencils, I am in! This requires not too many things to cook up, hope to get this going soon. Thank you my friend for the endless inspiration!!! You truly make this world a more interesting and inspiring one!
Heather Tracy says
Hi Rupa! I see you forgive me for my feeble attempt at humor…thank you, my friend. 😉
This one is super simple – shouldn’t take too much time. And YOU, Rupa, make my world richer, warmer and more FUN! xox
Margie D. says
Hi Heather and thanks so much for your inspiring post. I haven’t tried the home-made texture paste yet but I used your idea of fine gold and bronze glitter on top of regular paste with a stencilled script image and it worked brilliantly so thanks for that.
Heather Tracy says
Yay! Hi Margie! That makes me super happy…I’m just thrilled that this gave you the impetus to grab supplies you had on hand and get Messy! Thanks for stopping by, and for being so kind. xox
JaneEllen says
When I cleaned out my studio while back, took all my powders and tools etc.out since hadn’t used for too long. Just so much room for all that in a tiny room. Didn’t get rid of it however, will have to go digging in my old suburban where I store things not ready to let go of – just yet. just yet. Drug so much of that stuff from KY where had stocked up well.
This sounds so intriguing can hardly wait to try/play. Awesome post and subject.
Heather Tracy says
Hi Jane Ellen! It’s always fun to hear from you, my friend…I have a TINY studio space, too! I hope you do take the time to play with this simple technique/recipe…it’s loads of fun! Thanks for stopping by The Grapics Fairy and leaving such a fun comment! xox
Suzanne Brodie says
I am so disappointed that I can’t lick the spoon! Love your sense of humour.
Heather Tracy says
It IS disappointing, I know, Suzanne! Maybe I’ll have to consider DIY edible Mixed Media concoctions…thanks for taking the time to read the post, and for not minding my silliness. xox
Daphne says
You, Heather, are simply amazing – well “simply” is certainly an understatement! Masterful and inspiring, with obviously a never-ending inquiring mind that will try anything!!!! Thanks so much for sharing another technique. Hmmm, another canvas or box is calling my name 😉
Heather Tracy says
Hey Daphne! You do realize that I got GOOSEBUMPS when you wrote that ‘another canvas or box is calling my name’, don’t you? You know why? Because that’s what thrills me more than anything! To know that all this Mayhem inspires someone ELSE to get messy is my delight. Thank you, my friend! xox
Dorthe Hansen says
And what an adventure dear Heather, more magic from you and your studio, so amazing to see and read, –the results are stunning , and your art piece just fabulous, I could stare on it for hours, to see all details. Thank you for another recipe, looking like I just HAVE to try this and the Join compound and glue I can find here,– I guess I don`t need to use Arlenes , 🙂 Heather you are the queen of new ways of playing, thank you dear. xoxo
Heather Tracy says
Hi Dorthe! I’m so excited that you’re going to play, too! That just warms my heart. Thank you for your lovely encouragement, my friend – it means the world to me. xox