DIY Paper Clutches
Hello Graphics Fairy friends! I’m Diana from Dreams Factory and I’m happy to be here again to share another DIY project with you! Today I will show you how to make these super chic DIY Vintage French NO Sew Paper Clutches using only a handful of supplies. I decided to go with a pastel color scheme for my clutches and I included all these colorful designs so you can make these beauties in no time. And I really mean that, if you follow my instructions, you won’t believe how easy it is to print them with the template so you can have them ready to assemble in about 5 minutes.
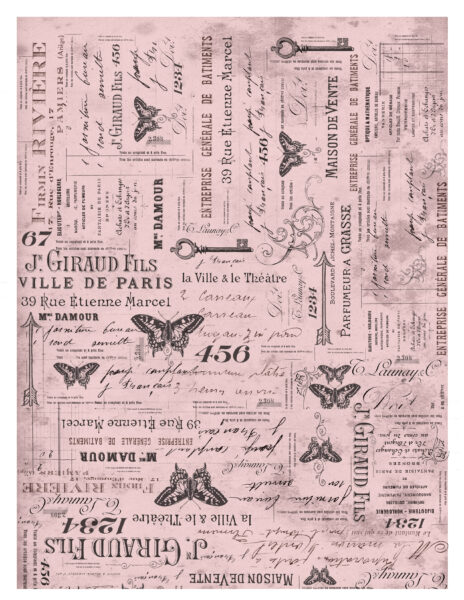
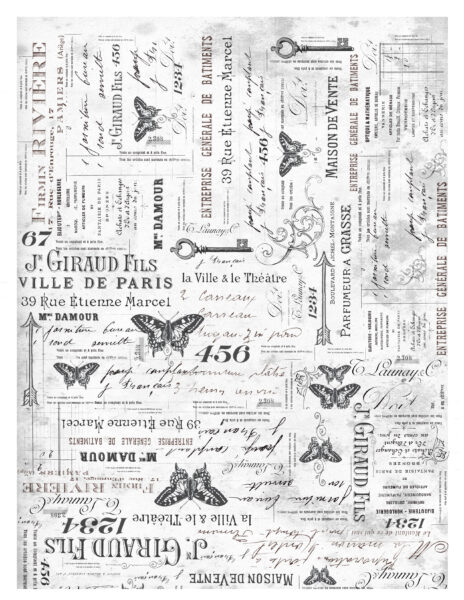
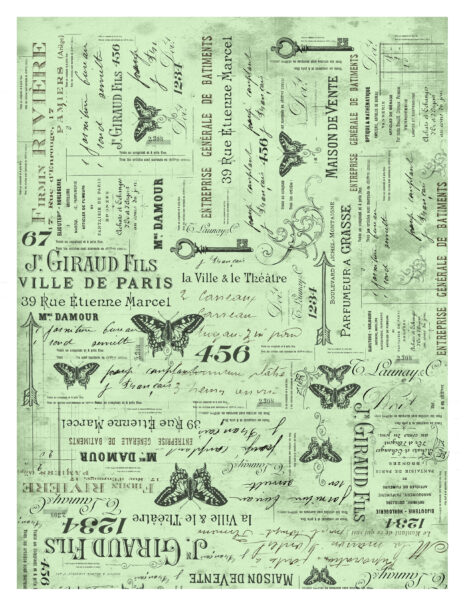
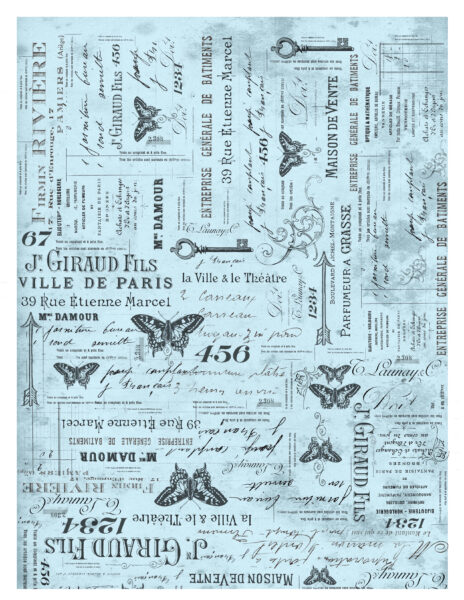
Pastel blue, pink, green, purple and yellow versions are one click away and are available for free download. If you are not into pastels or are already contemplating how to give these a whole new direction, I’ve got you covered, I also included a black-and-white version that you can personalize to your heart’s content!
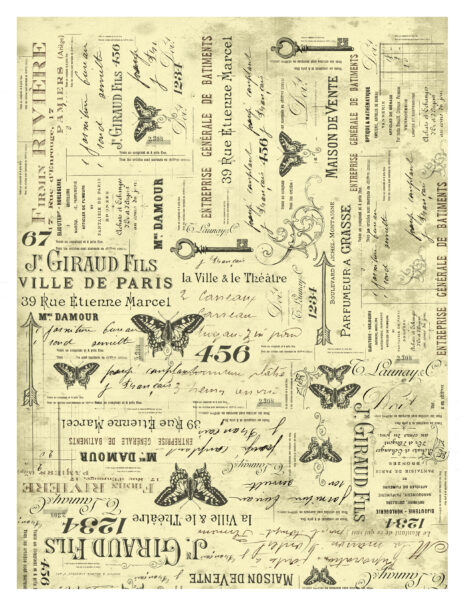
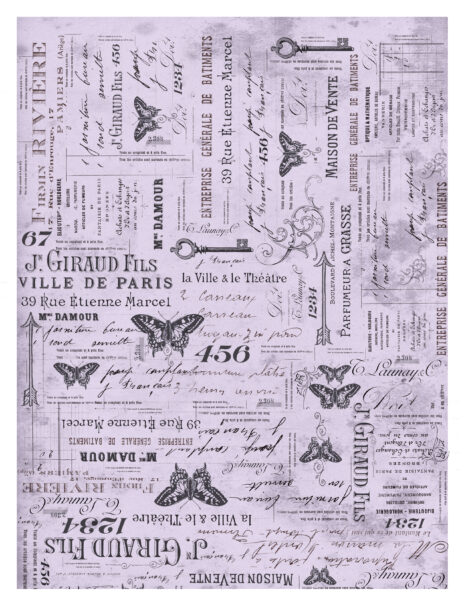
I used a few of my favorite French ephemera images to create the design and I also included a few other elements that I love like vintage keys, arrows, scrolls and butterflies.
Free Printables:
—-> Click HERE to Download the Full Size Printable PDF – the yellow version <—-
—-> Click HERE to Download the Full Size Printable PDF – the purple version <—-
—-> Click HERE to Download the Full Size Printable PDF – the pink version <—-
—-> Click HERE to Download the Full Size Printable PDF – the black and white version <—-
—-> Click HERE to Download the Full Size Printable PDF – the green version <—-
—-> Click HERE to Download the Full Size Printable PDF – the blue version <—-
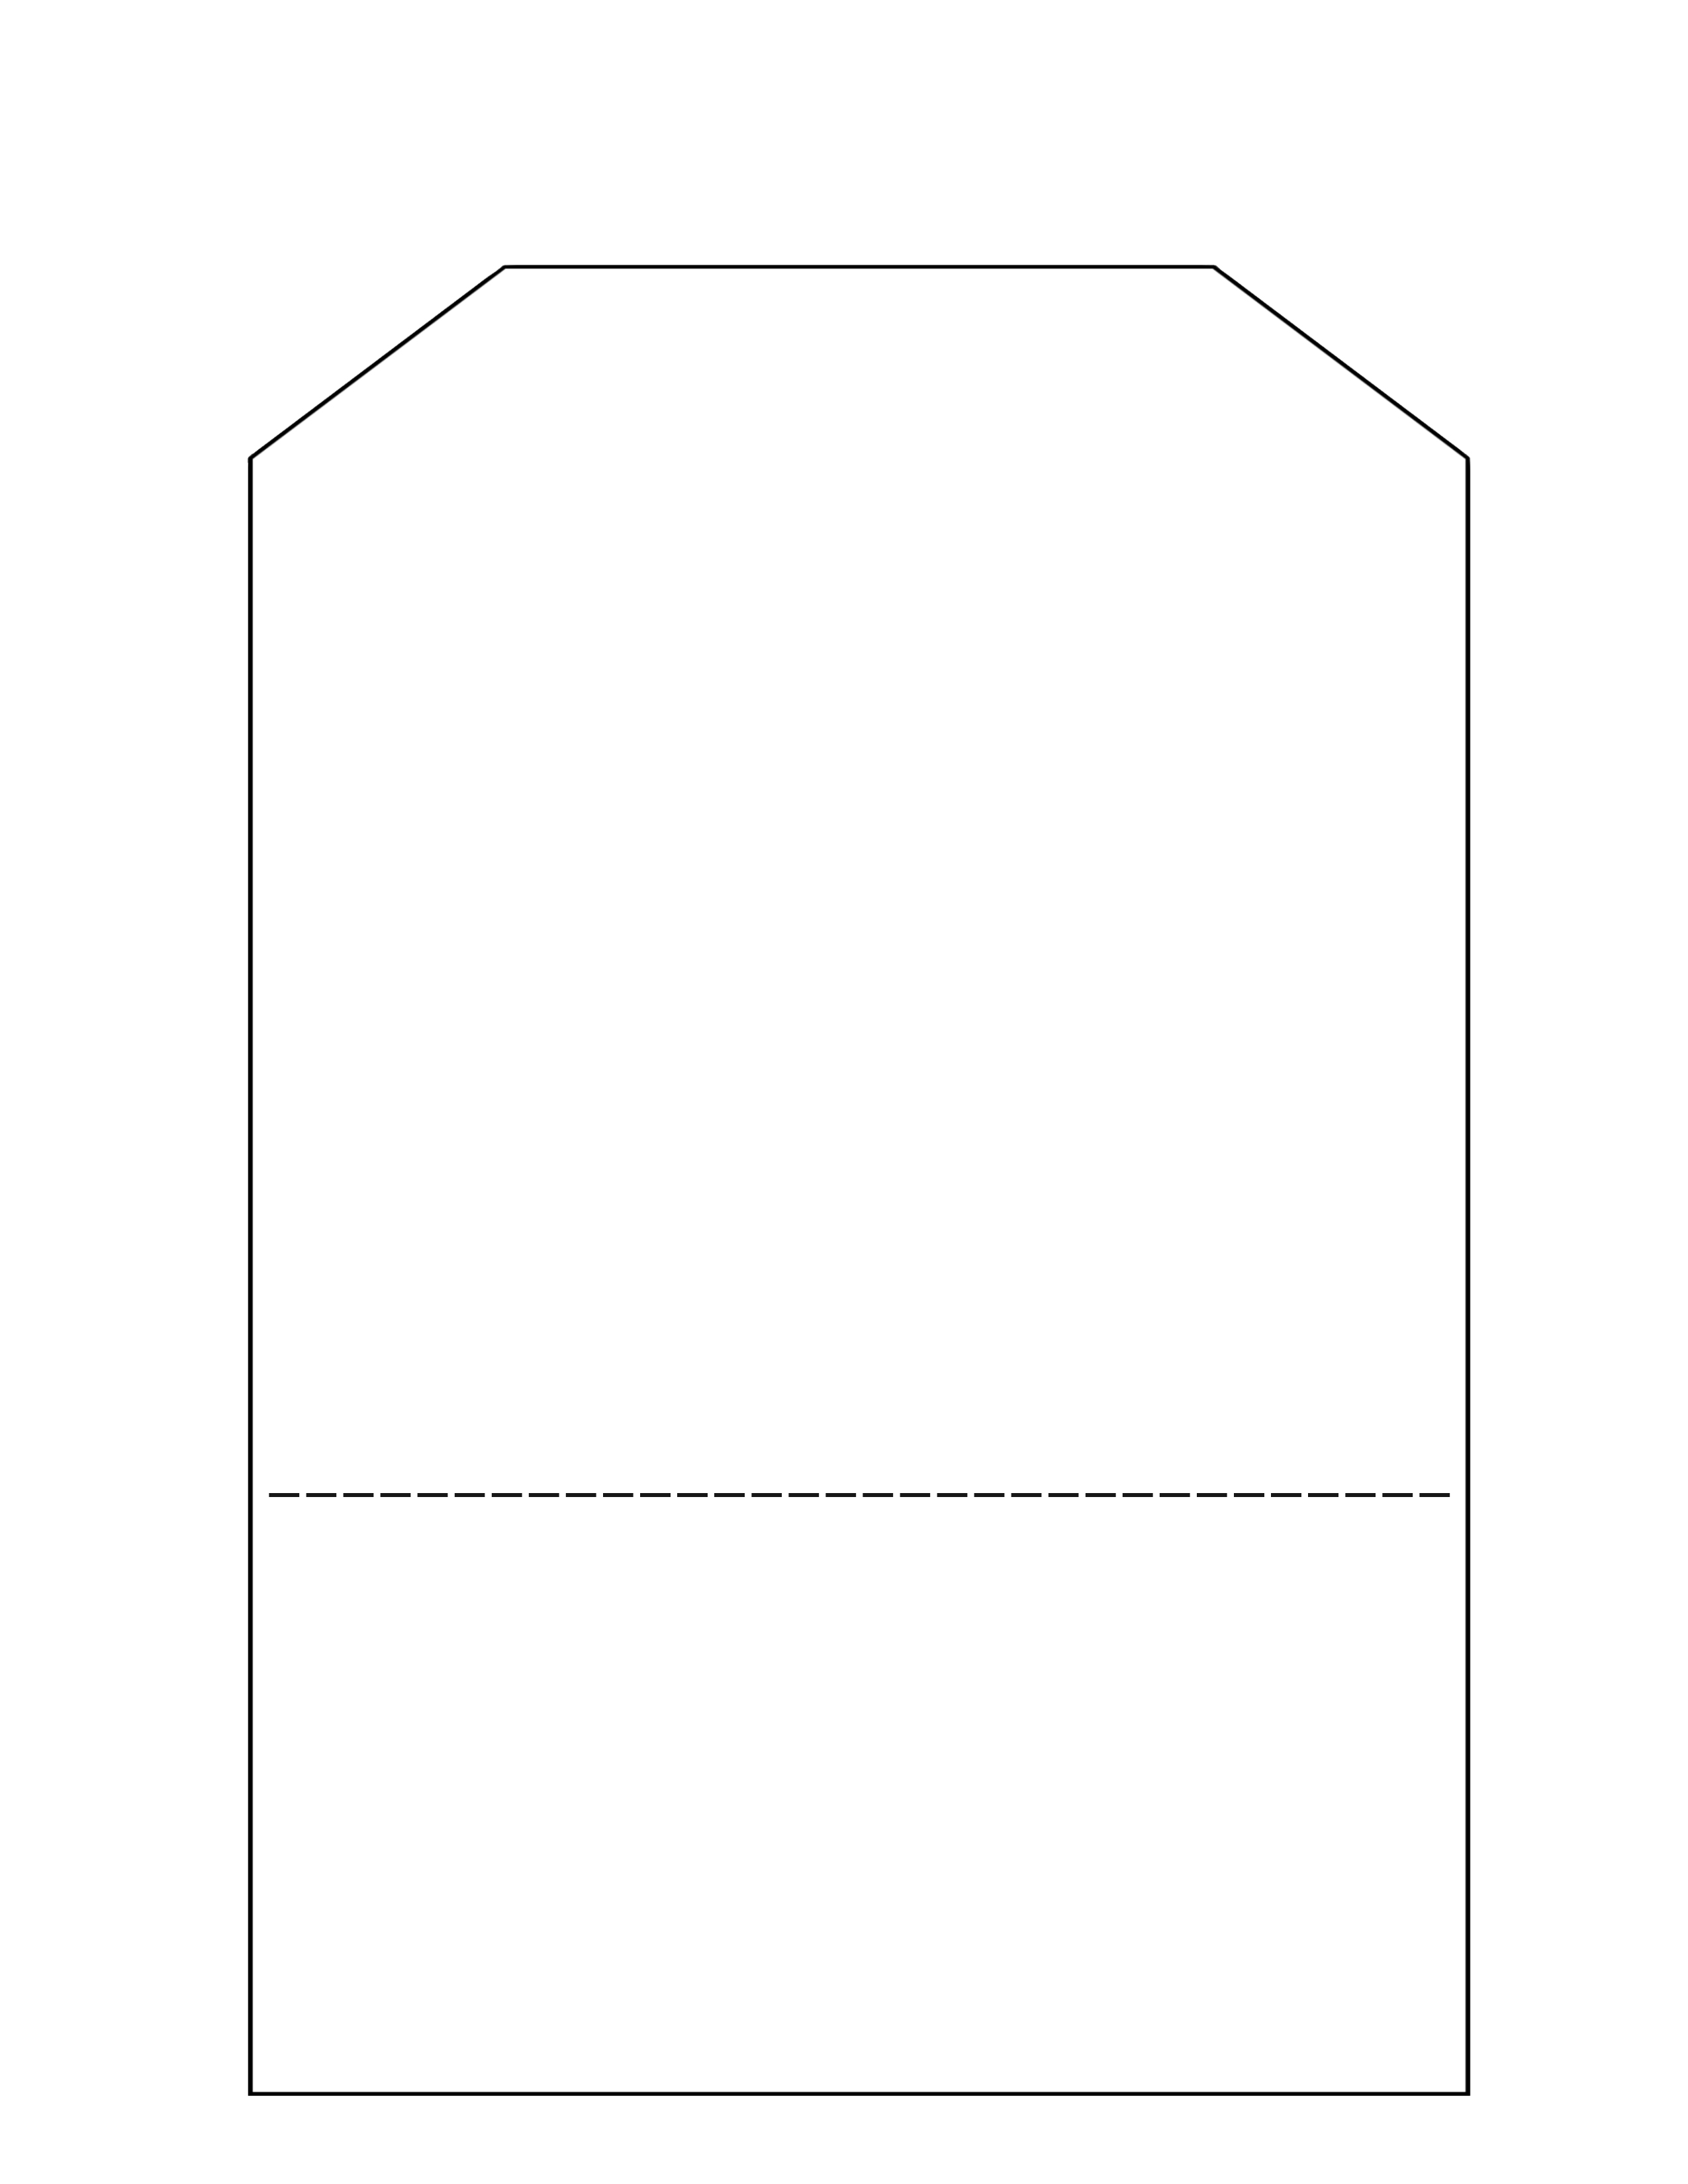
I also included a template that will help you trace and cut the shape of your clutches.
—-> Click HERE to Download the Full Size Printable PDF – the clutch template <—-
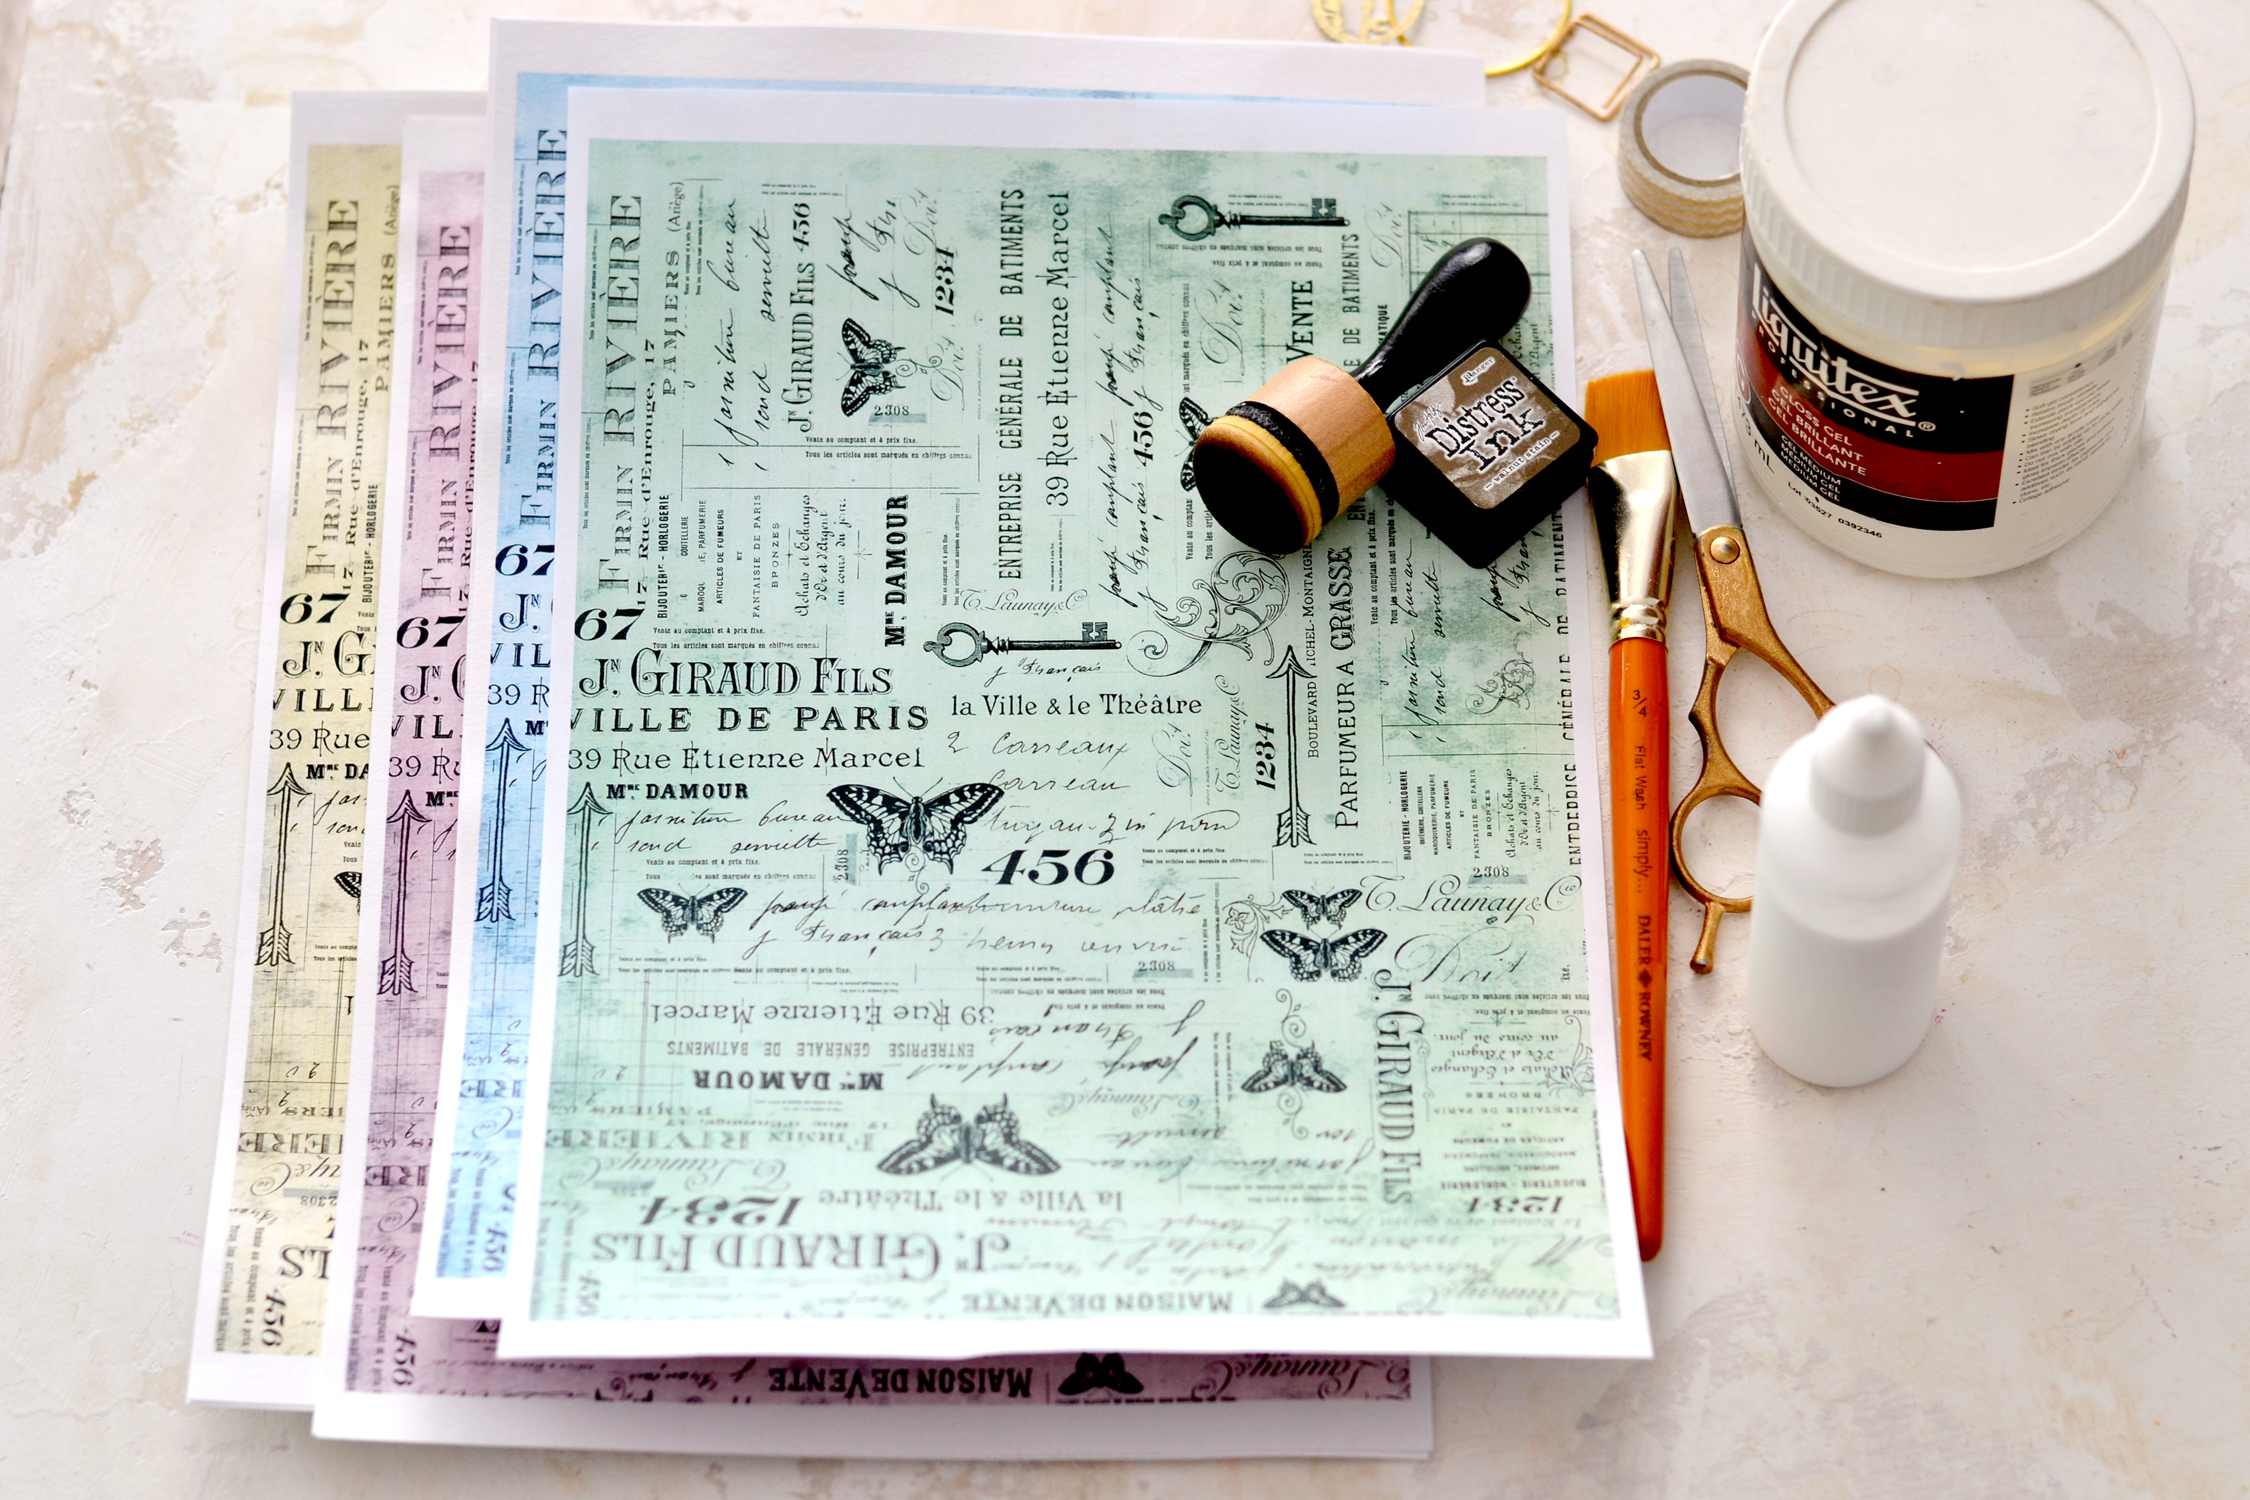
Supplies for DIY Paper Clutches:
- cardstock paper
- home printer
- scissors
- bone folder
- ruler
- mini distress inks
- blending tool with foams
- a brush
- gel medium and/or craft glue
- washi tape, gold painted paper clips, gold metal circles (optional, but highly recommended)
Step by Step Tutorial:
The best part is that all these colorful variations will give you the option to mix and match things as you want. You will need two separate printed pages that you will have to glue together back-to-back to create a clutch – one page will become the inside of our clutch and one will become the outside. So you can decide if you want to use the same color for both pages or use different colors as I did.
After printing all the colorful or the black and white French ephemera printables that you want, you’ll have two options:
- you can decide if you want to print the template on a separate piece of cardstock paper, cut it and use it to trace a clutch on one of the French ephemera printables;
- you can decide if you want to print the template directly on one of the already-printed French ephemera printables – I decided to go with the latter because I knew it would help speed things up and have these printed in no time.
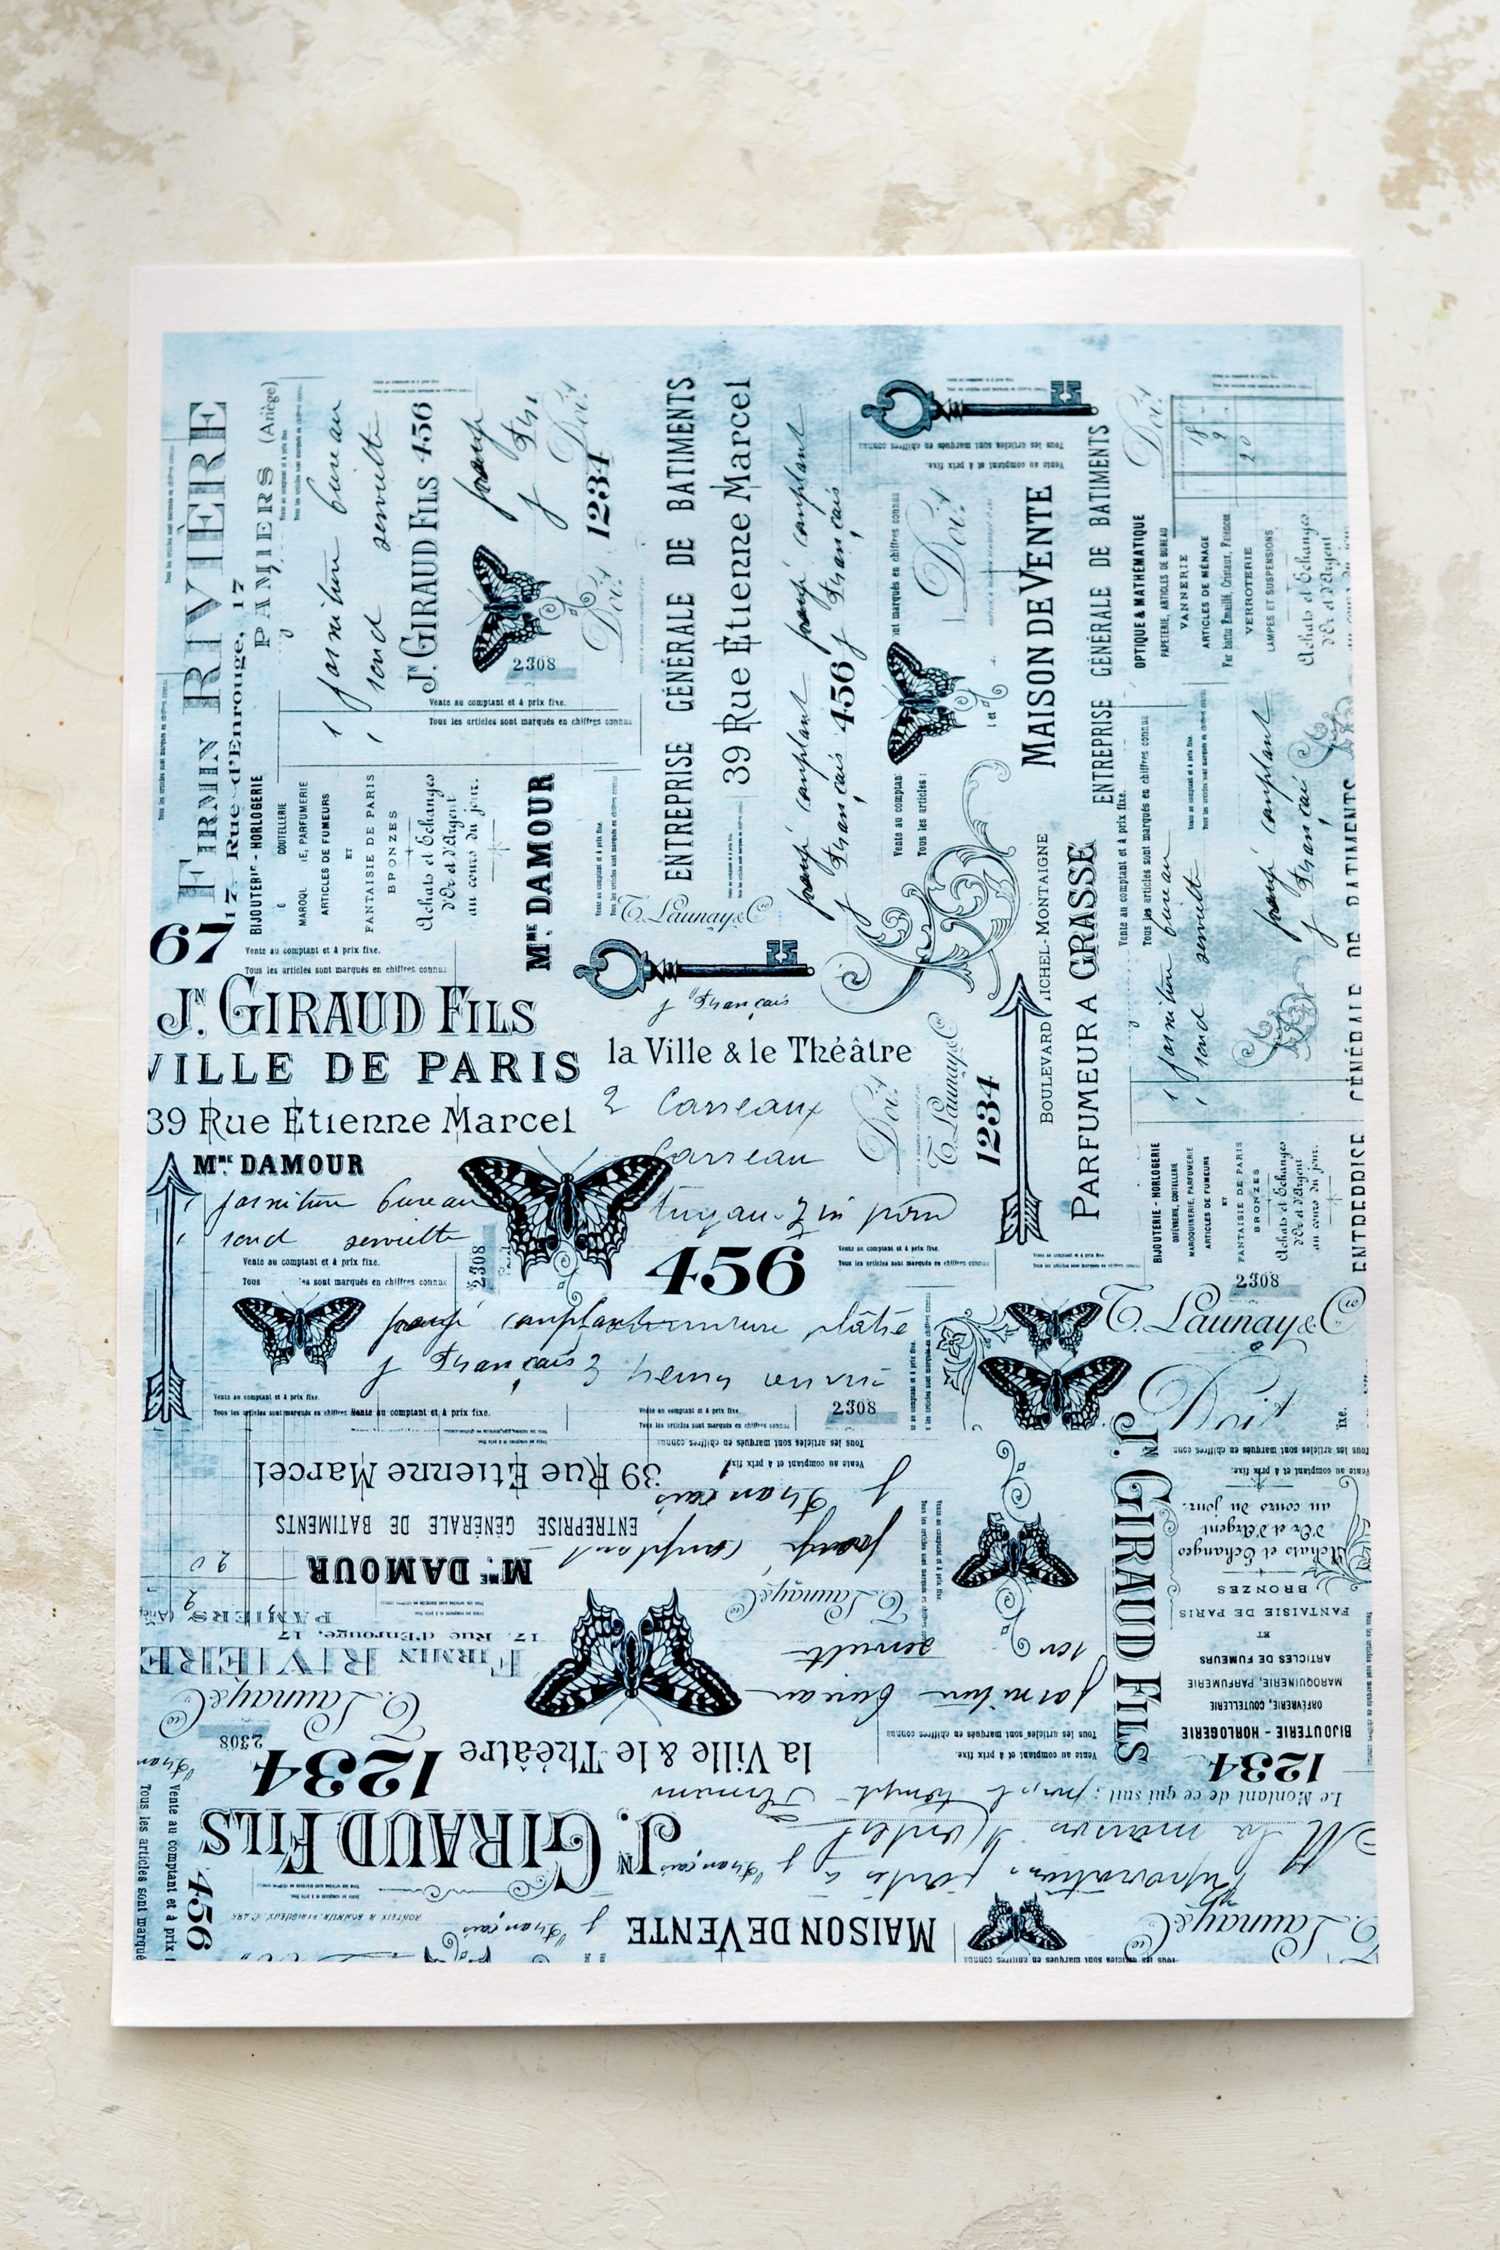
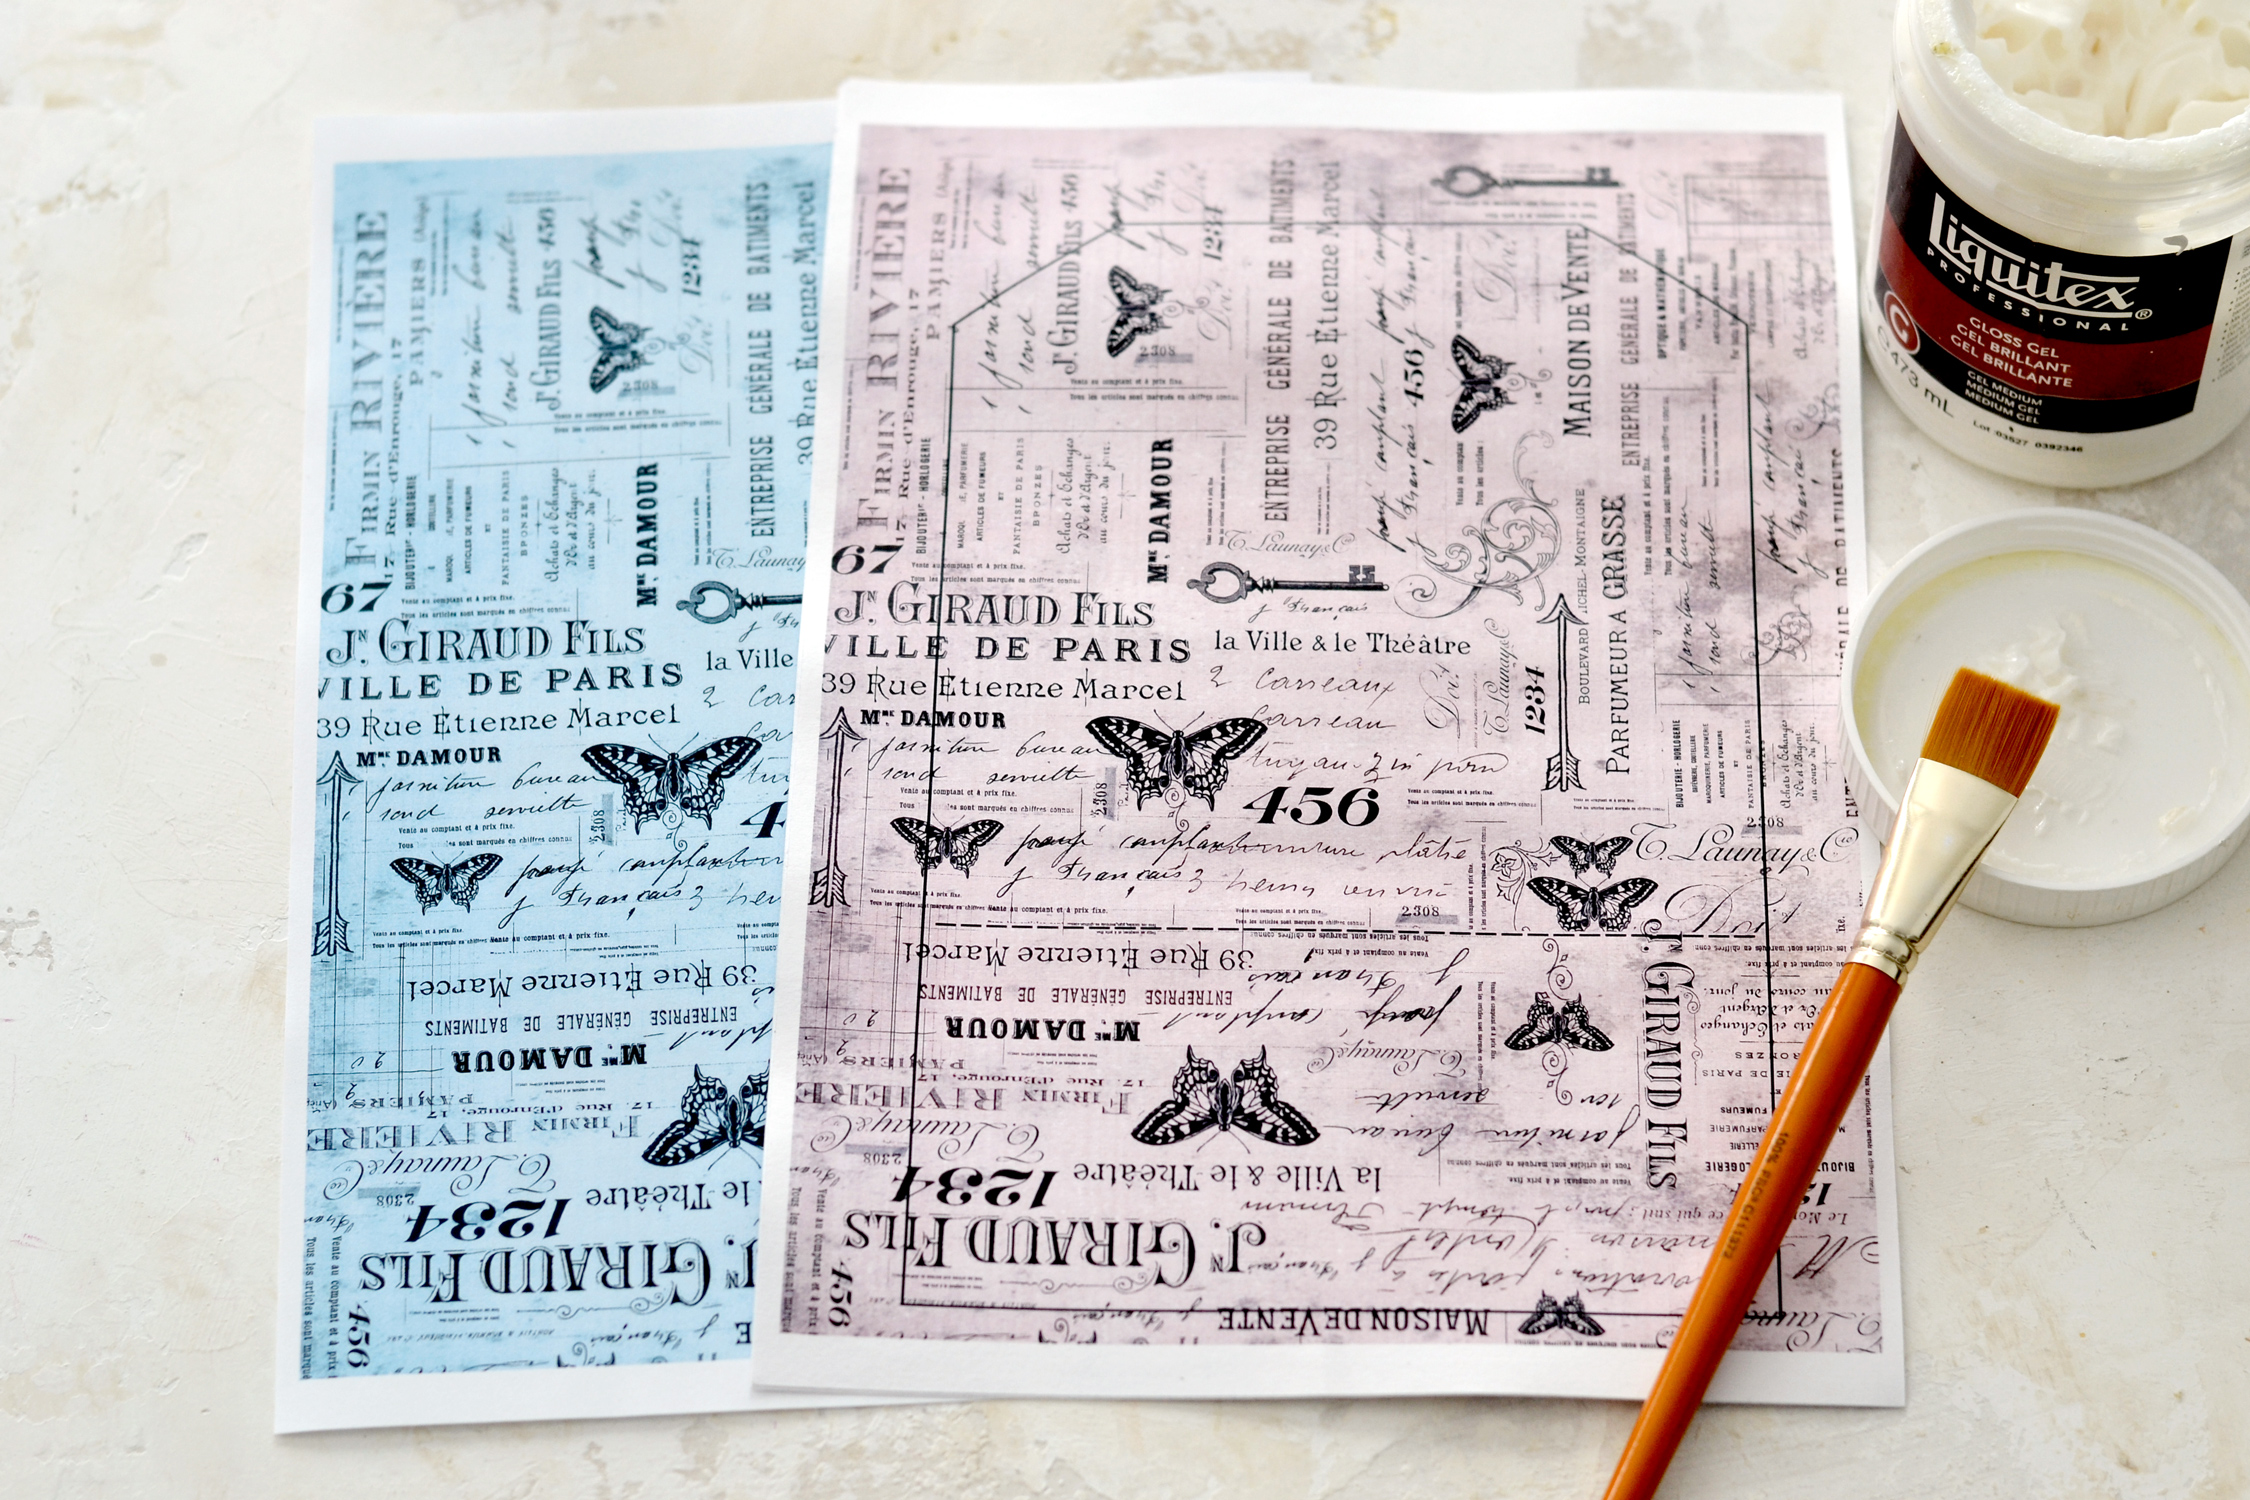
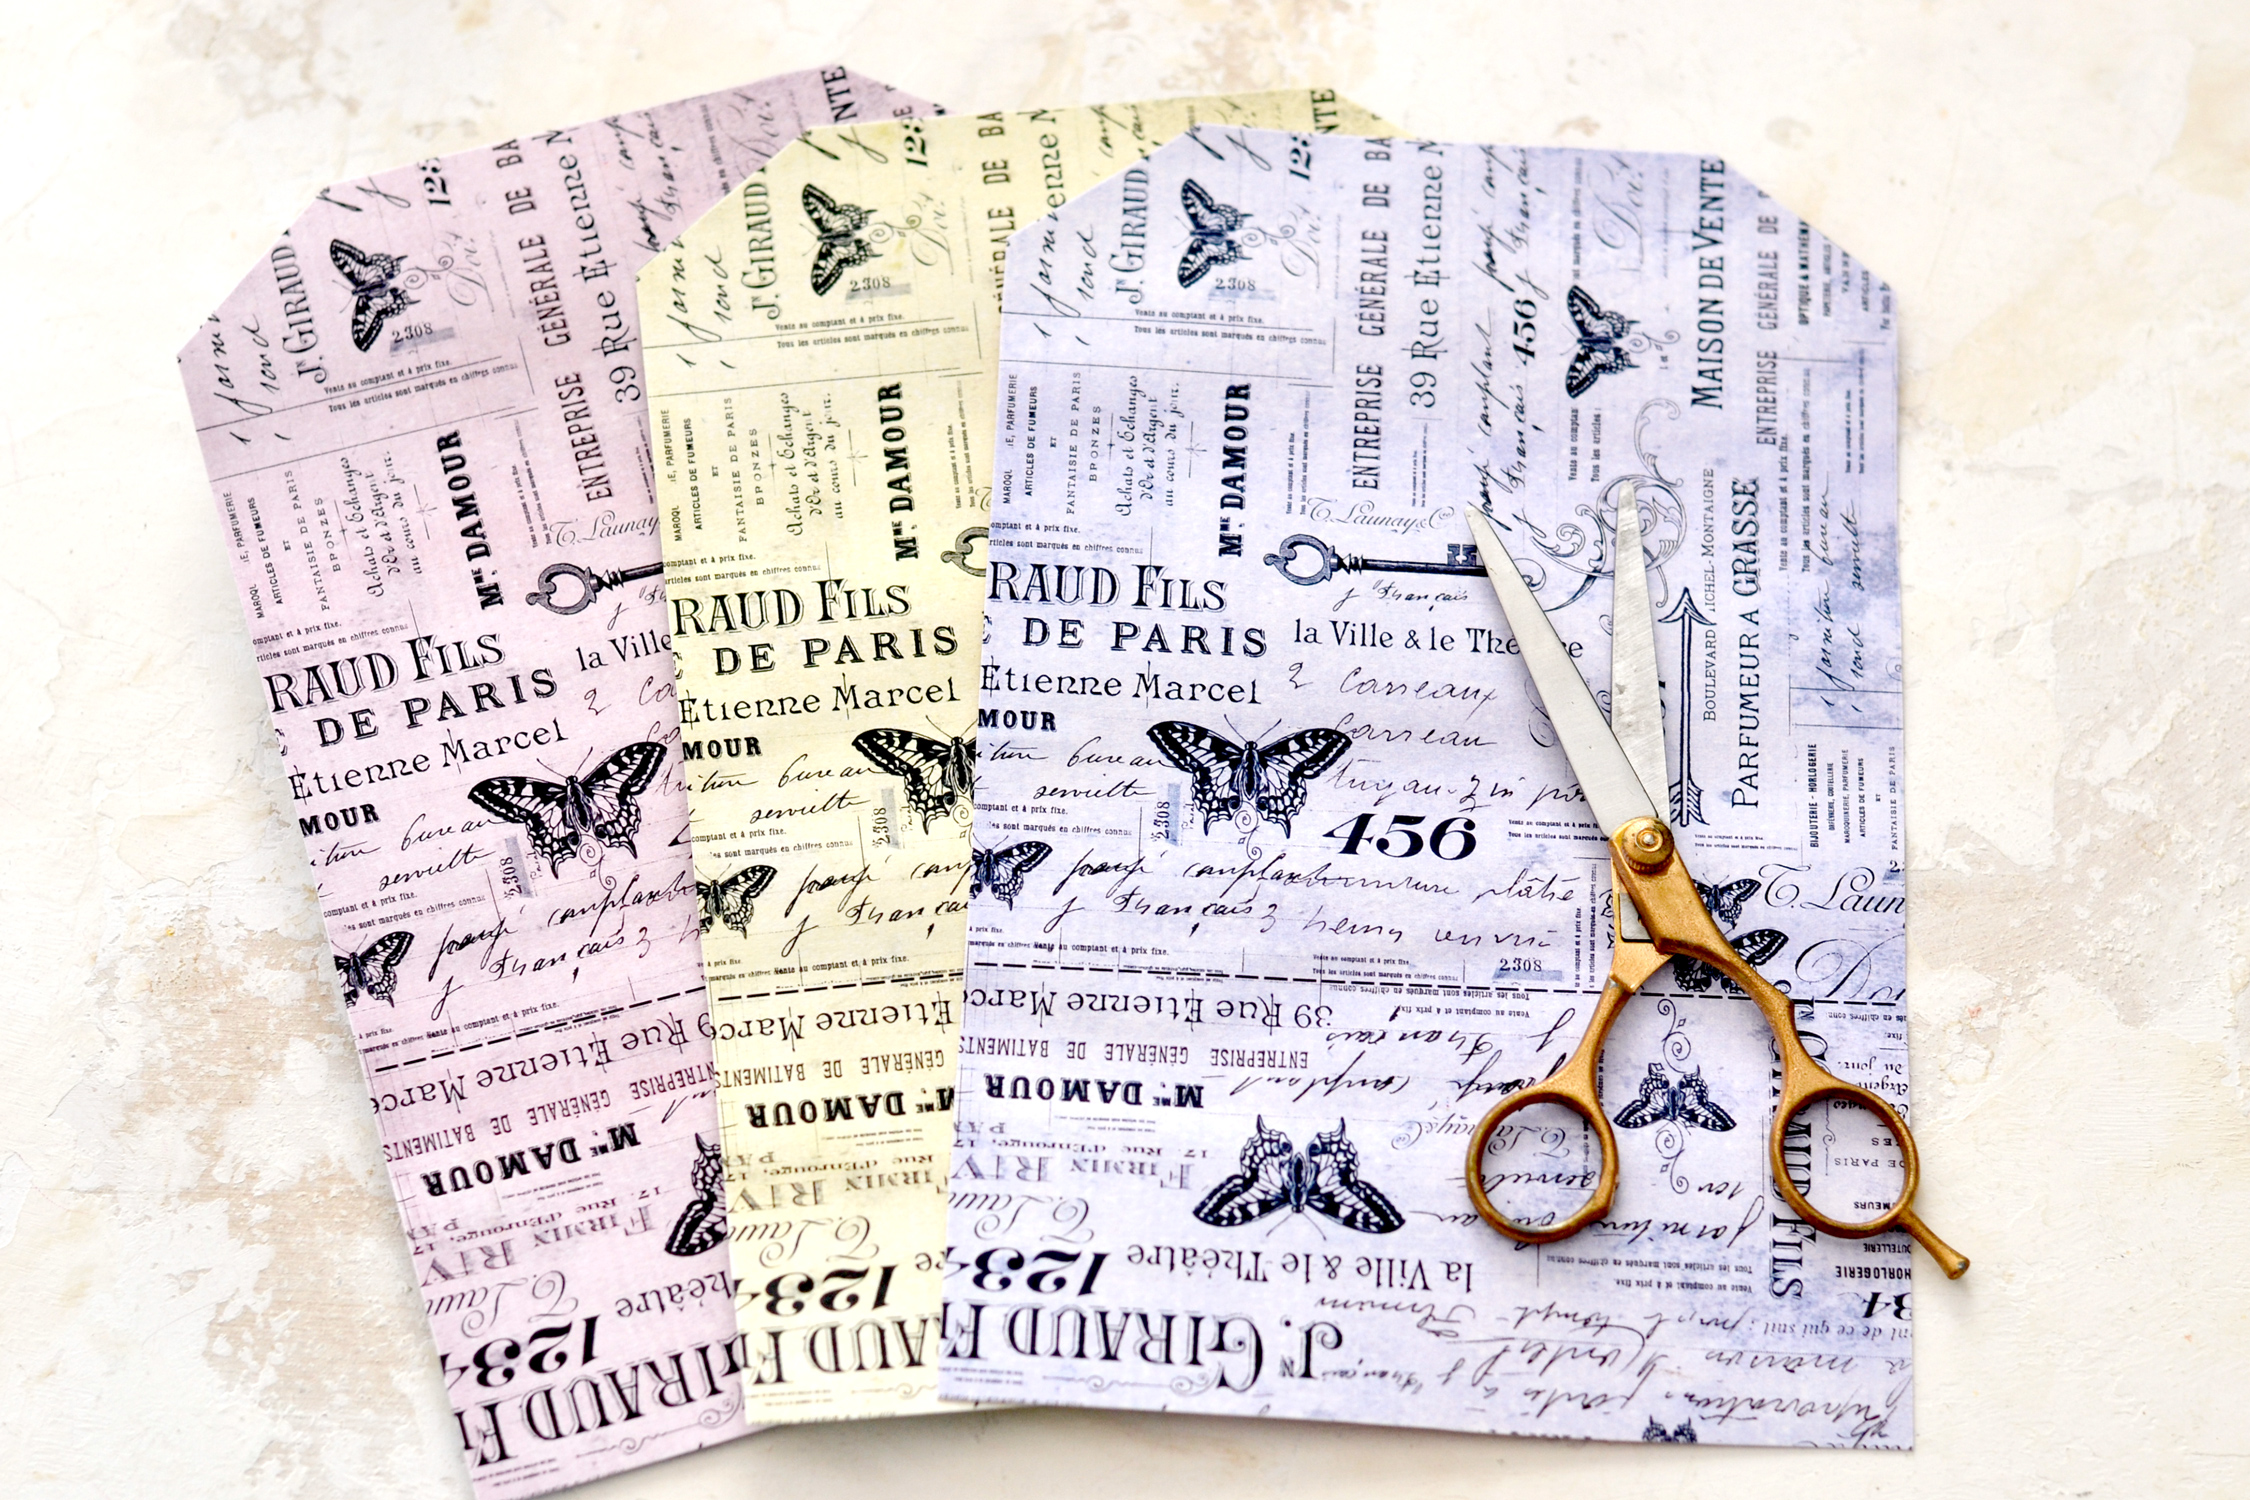
Start by printing one of the French ephemera printables on cardstock paper – I went with blue. The heavier the cardstock, the better – if you ask me, it will give the finish pieces so much more dimension!
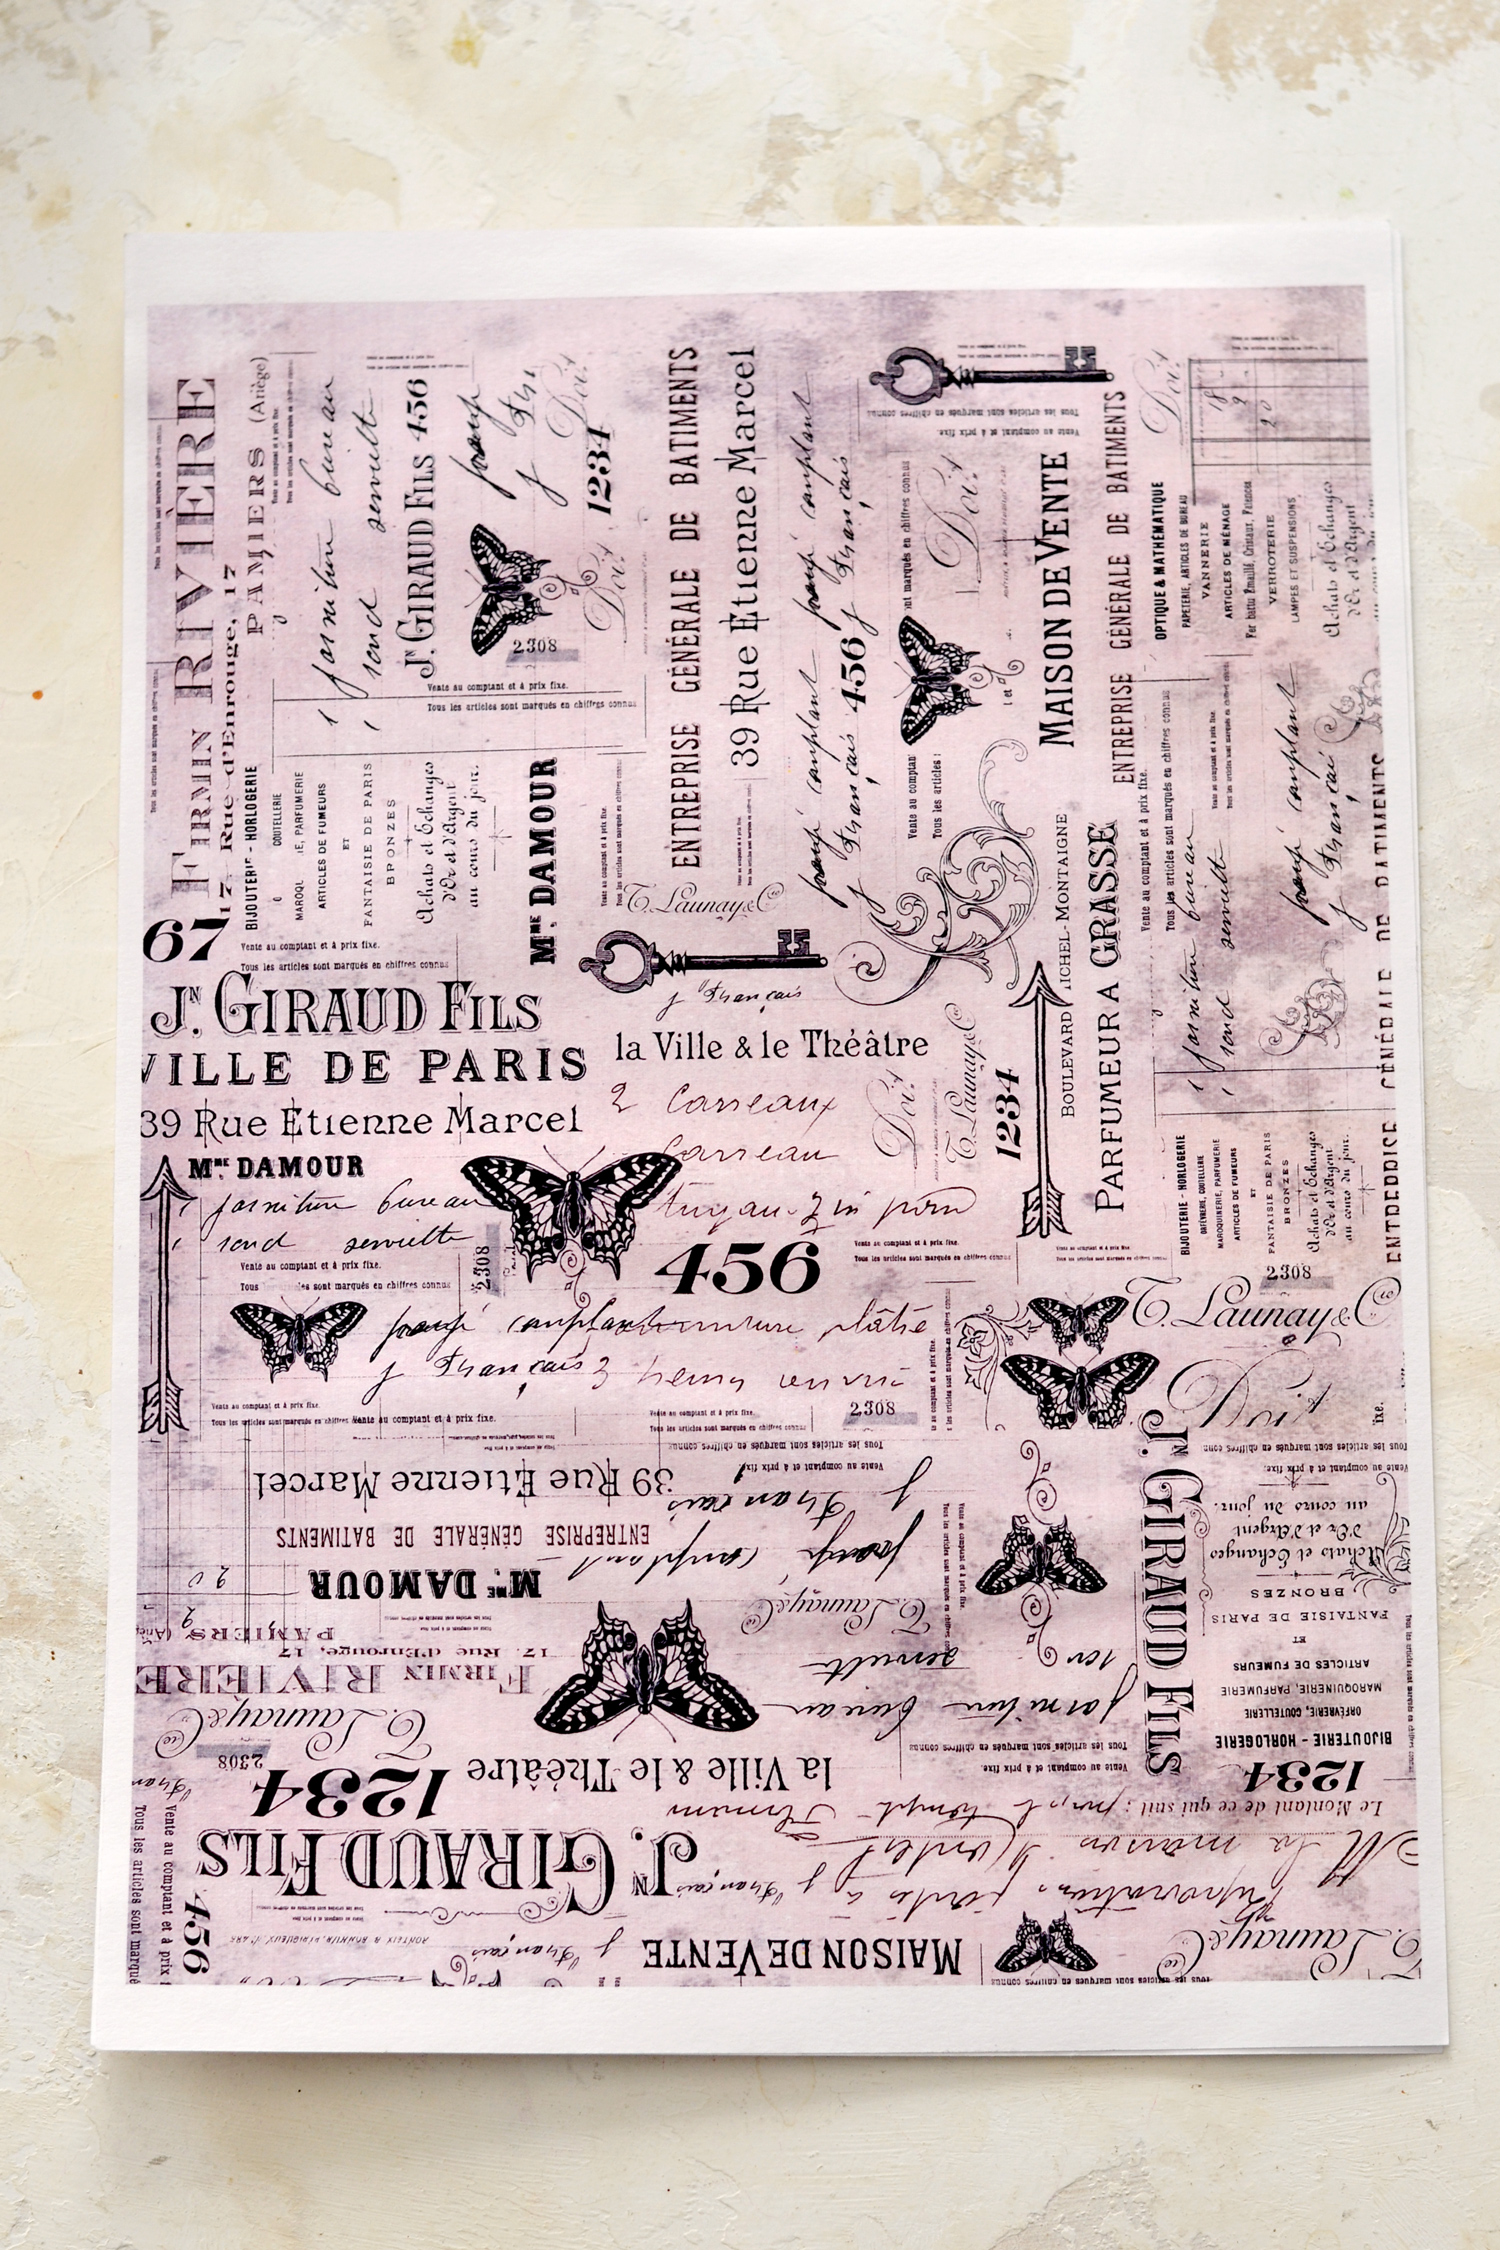
Put the blue printable aside, then use another sheet of cardstock and print the pink ephemera printable.
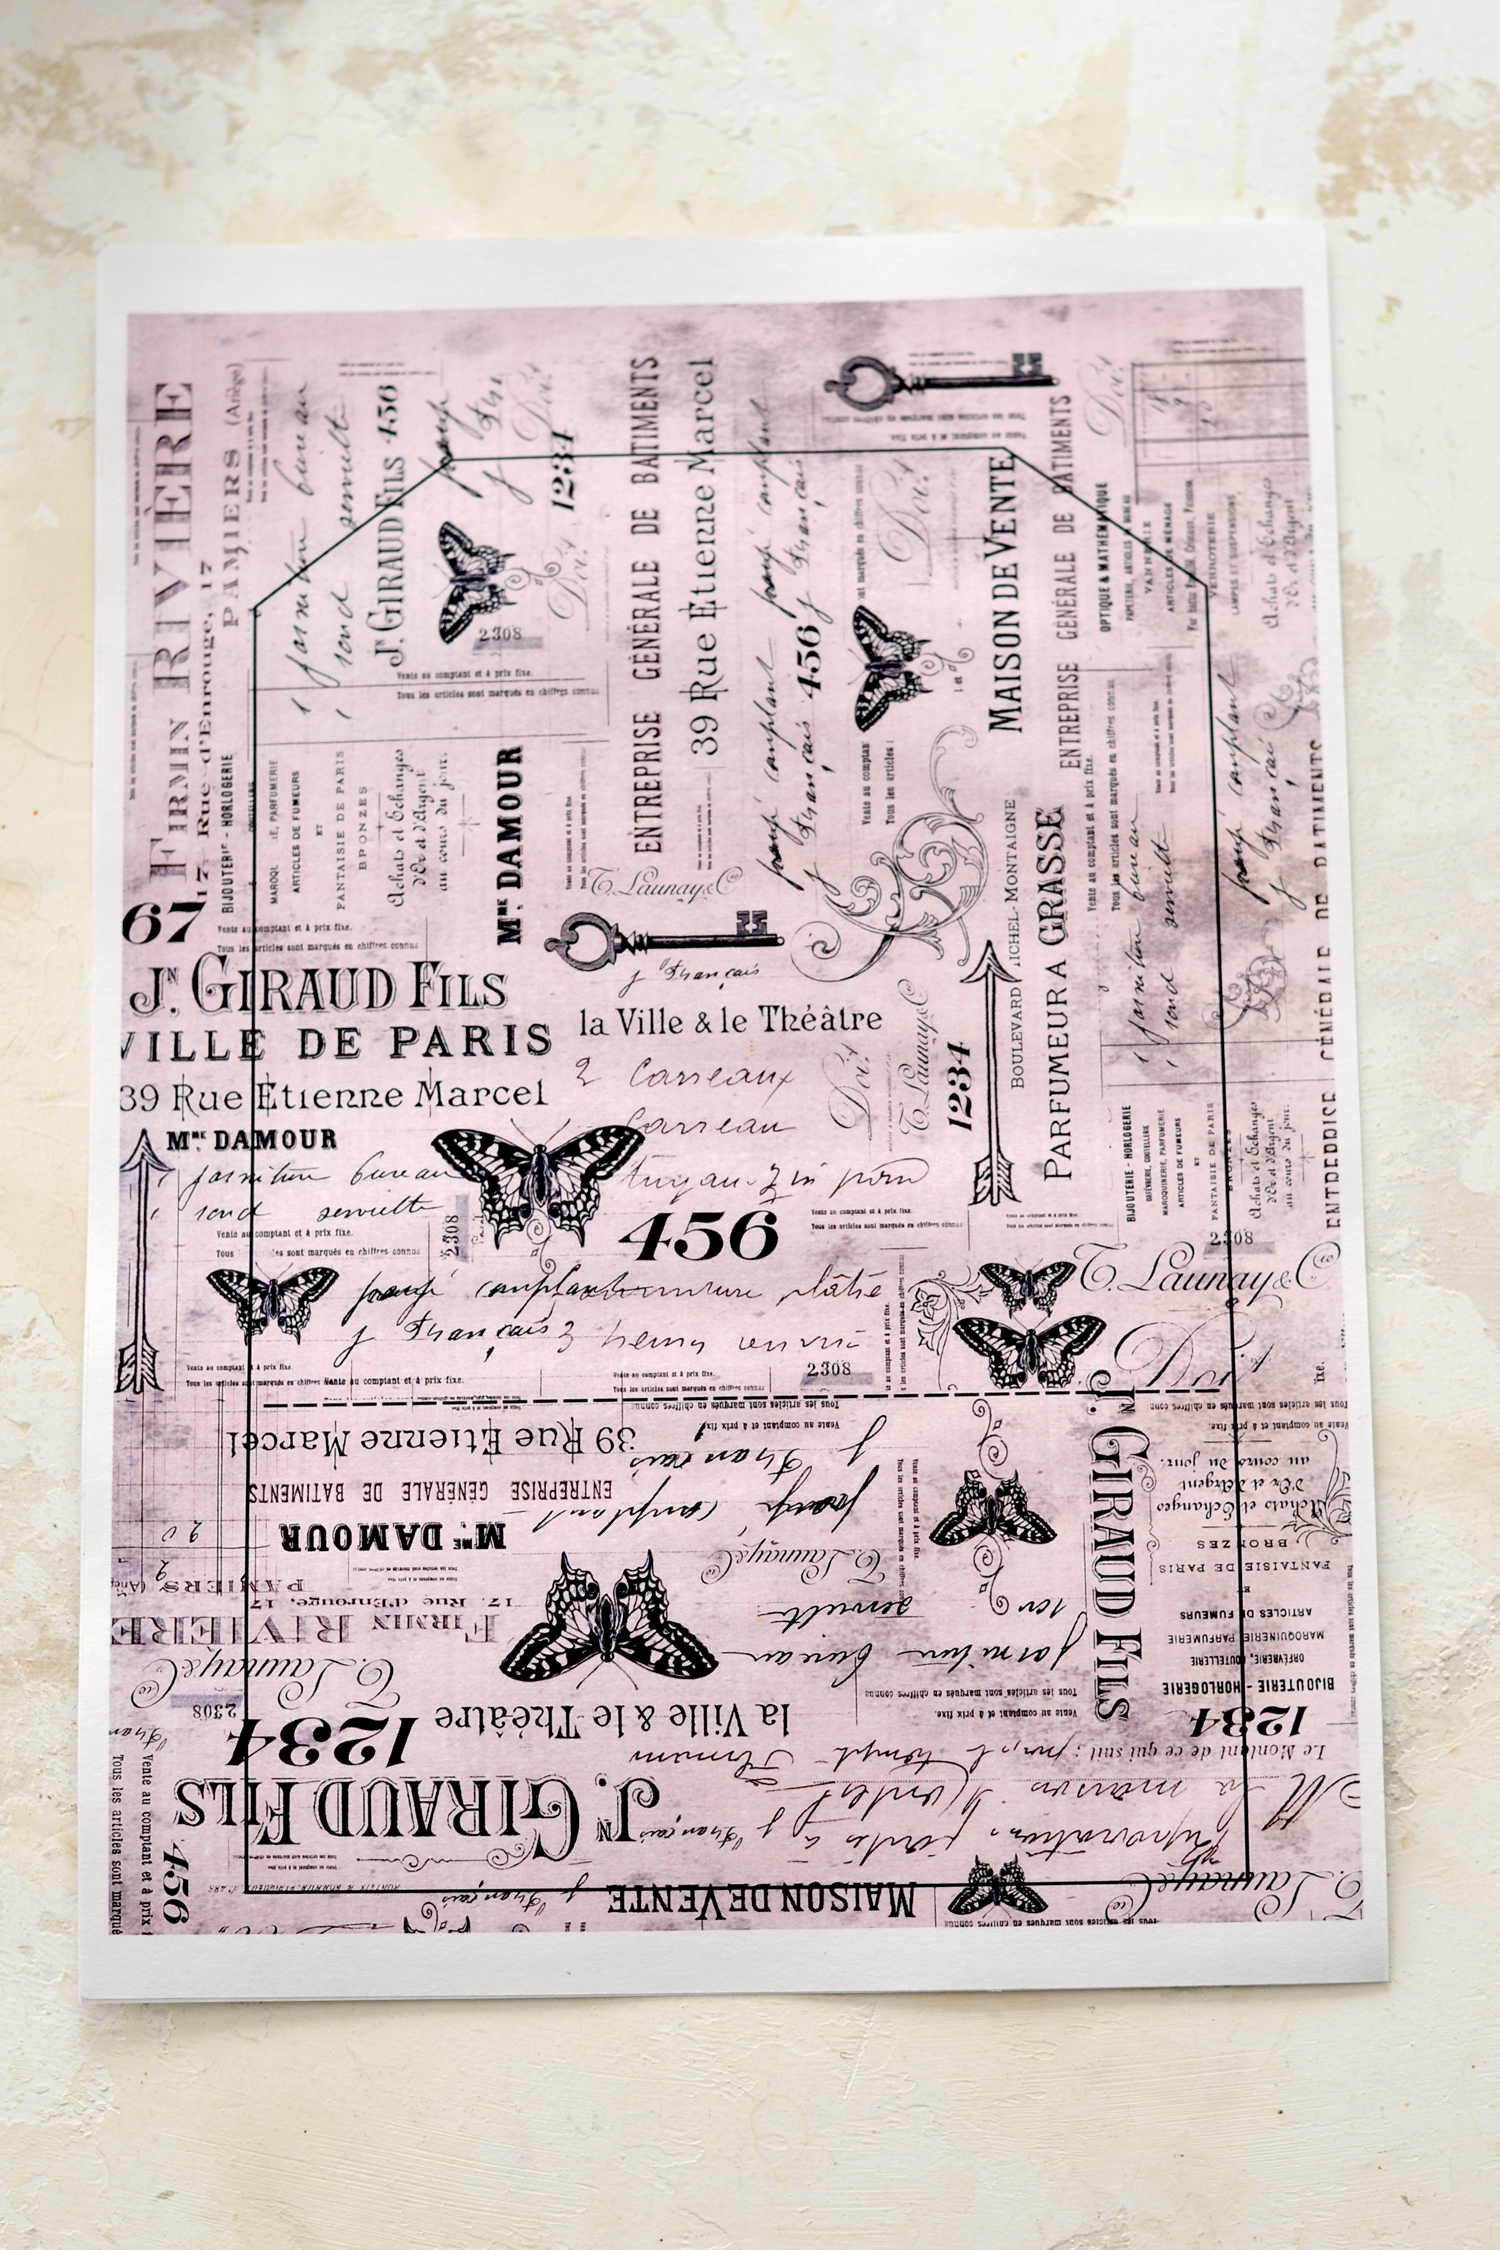
Now feed the pink ephemera printable through your printer one more time, but this time print the clutch template on top! So easy, right?
NOTE: This is the step where you need to become best friends with your printer and make sure you use the same orientation as before for printing. It’s really important to print the template in the same direction as you did your French ephemera printable, I created the design having this specific project in mind! As you can see in the image below, on the lower part of our clutch template the writing is placed upside down under the dashed line and that’s OK, everything will make sense after folding the clutch.
If you prefer to print the template on a separate sheet of cardstock, you will need to use your scissors to cut it, then place it on the French ephemera printable and trace it using a pencil. Try to position it as you see in the image below, remember that the upside-down writing should be placed on the lower part of our clutch template, under the dashed line.
As I mentioned before, you will need two pages to create a double-sided clutch – a simple French ephemera printable without any template and a French ephemera printable with a template on top.
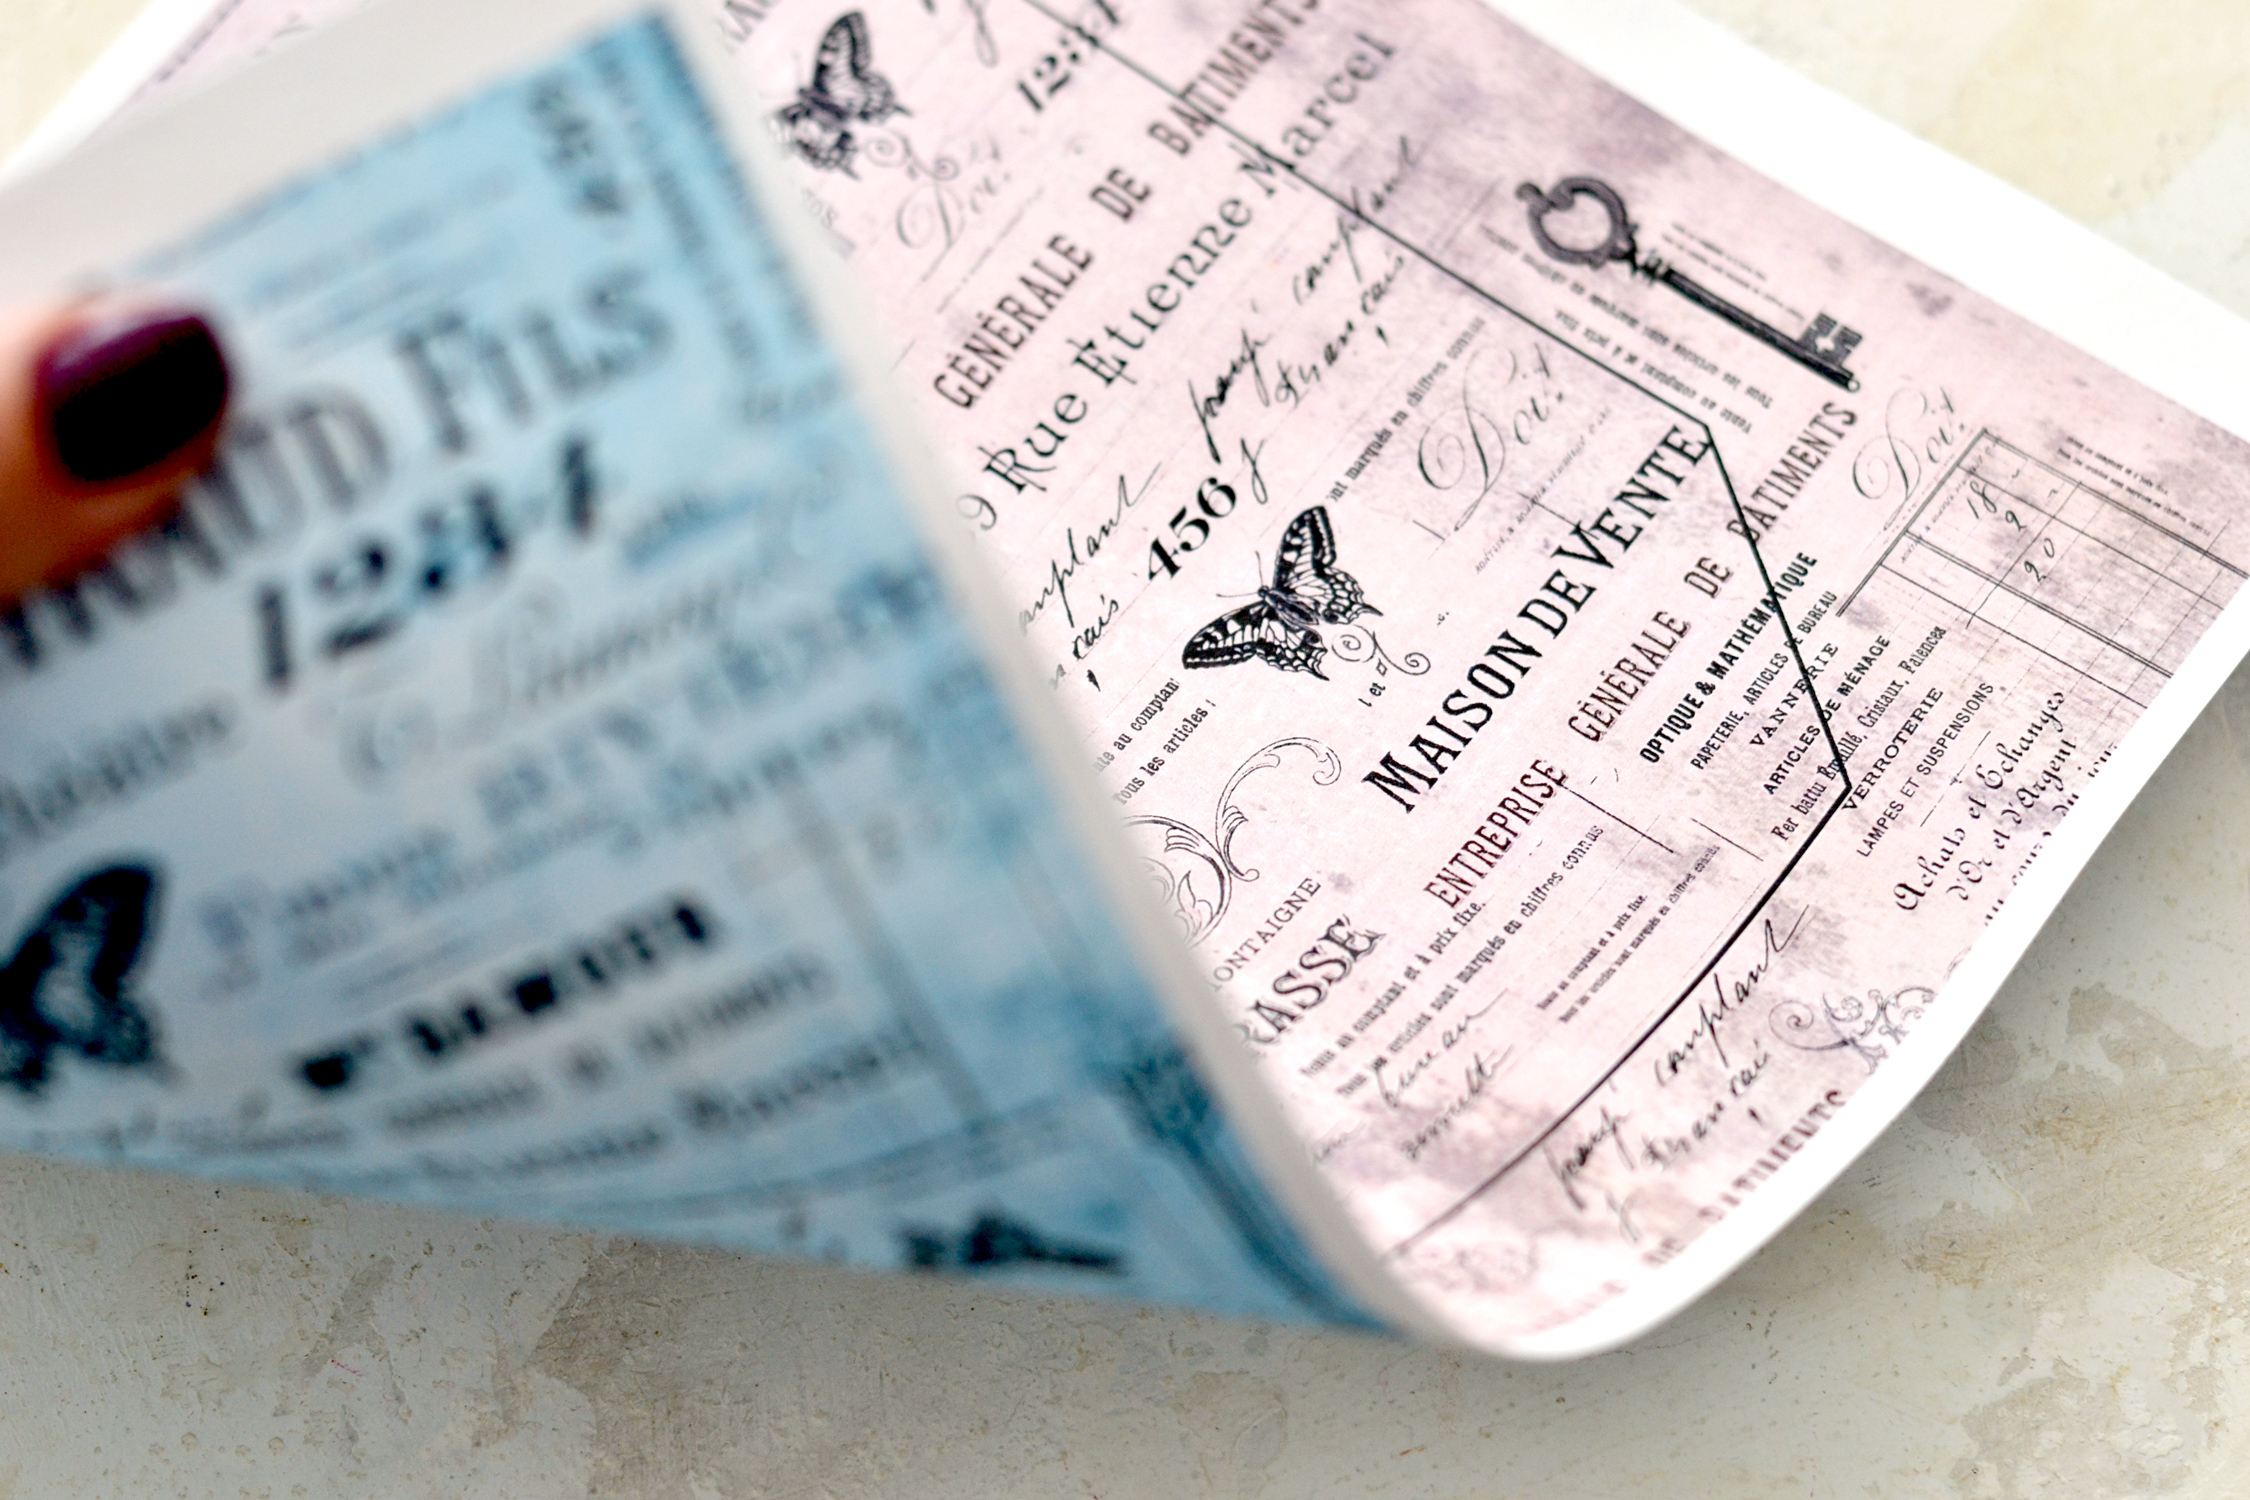
Use a brush to apply gel medium or any other craft glue on the back of these two printed pages and glue them together. Use a generous amount of glue and make sure you brush it well on your pages to avoid any clumps. Move quickly but be careful when actually overlapping the back of the two printed pages. Overlap and align them as well as you can to make sure you get a beautiful, perfectly positioned design on your clutch.
Use your fingers to gradually press all over the surface of the glued pages to make sure the glue is evenly distributed and everything stays in place as it should. Let everything dry completely before moving to the next step, when you are done, you should be left with a double-sided beauty that is now ready to be turned into a clutch!
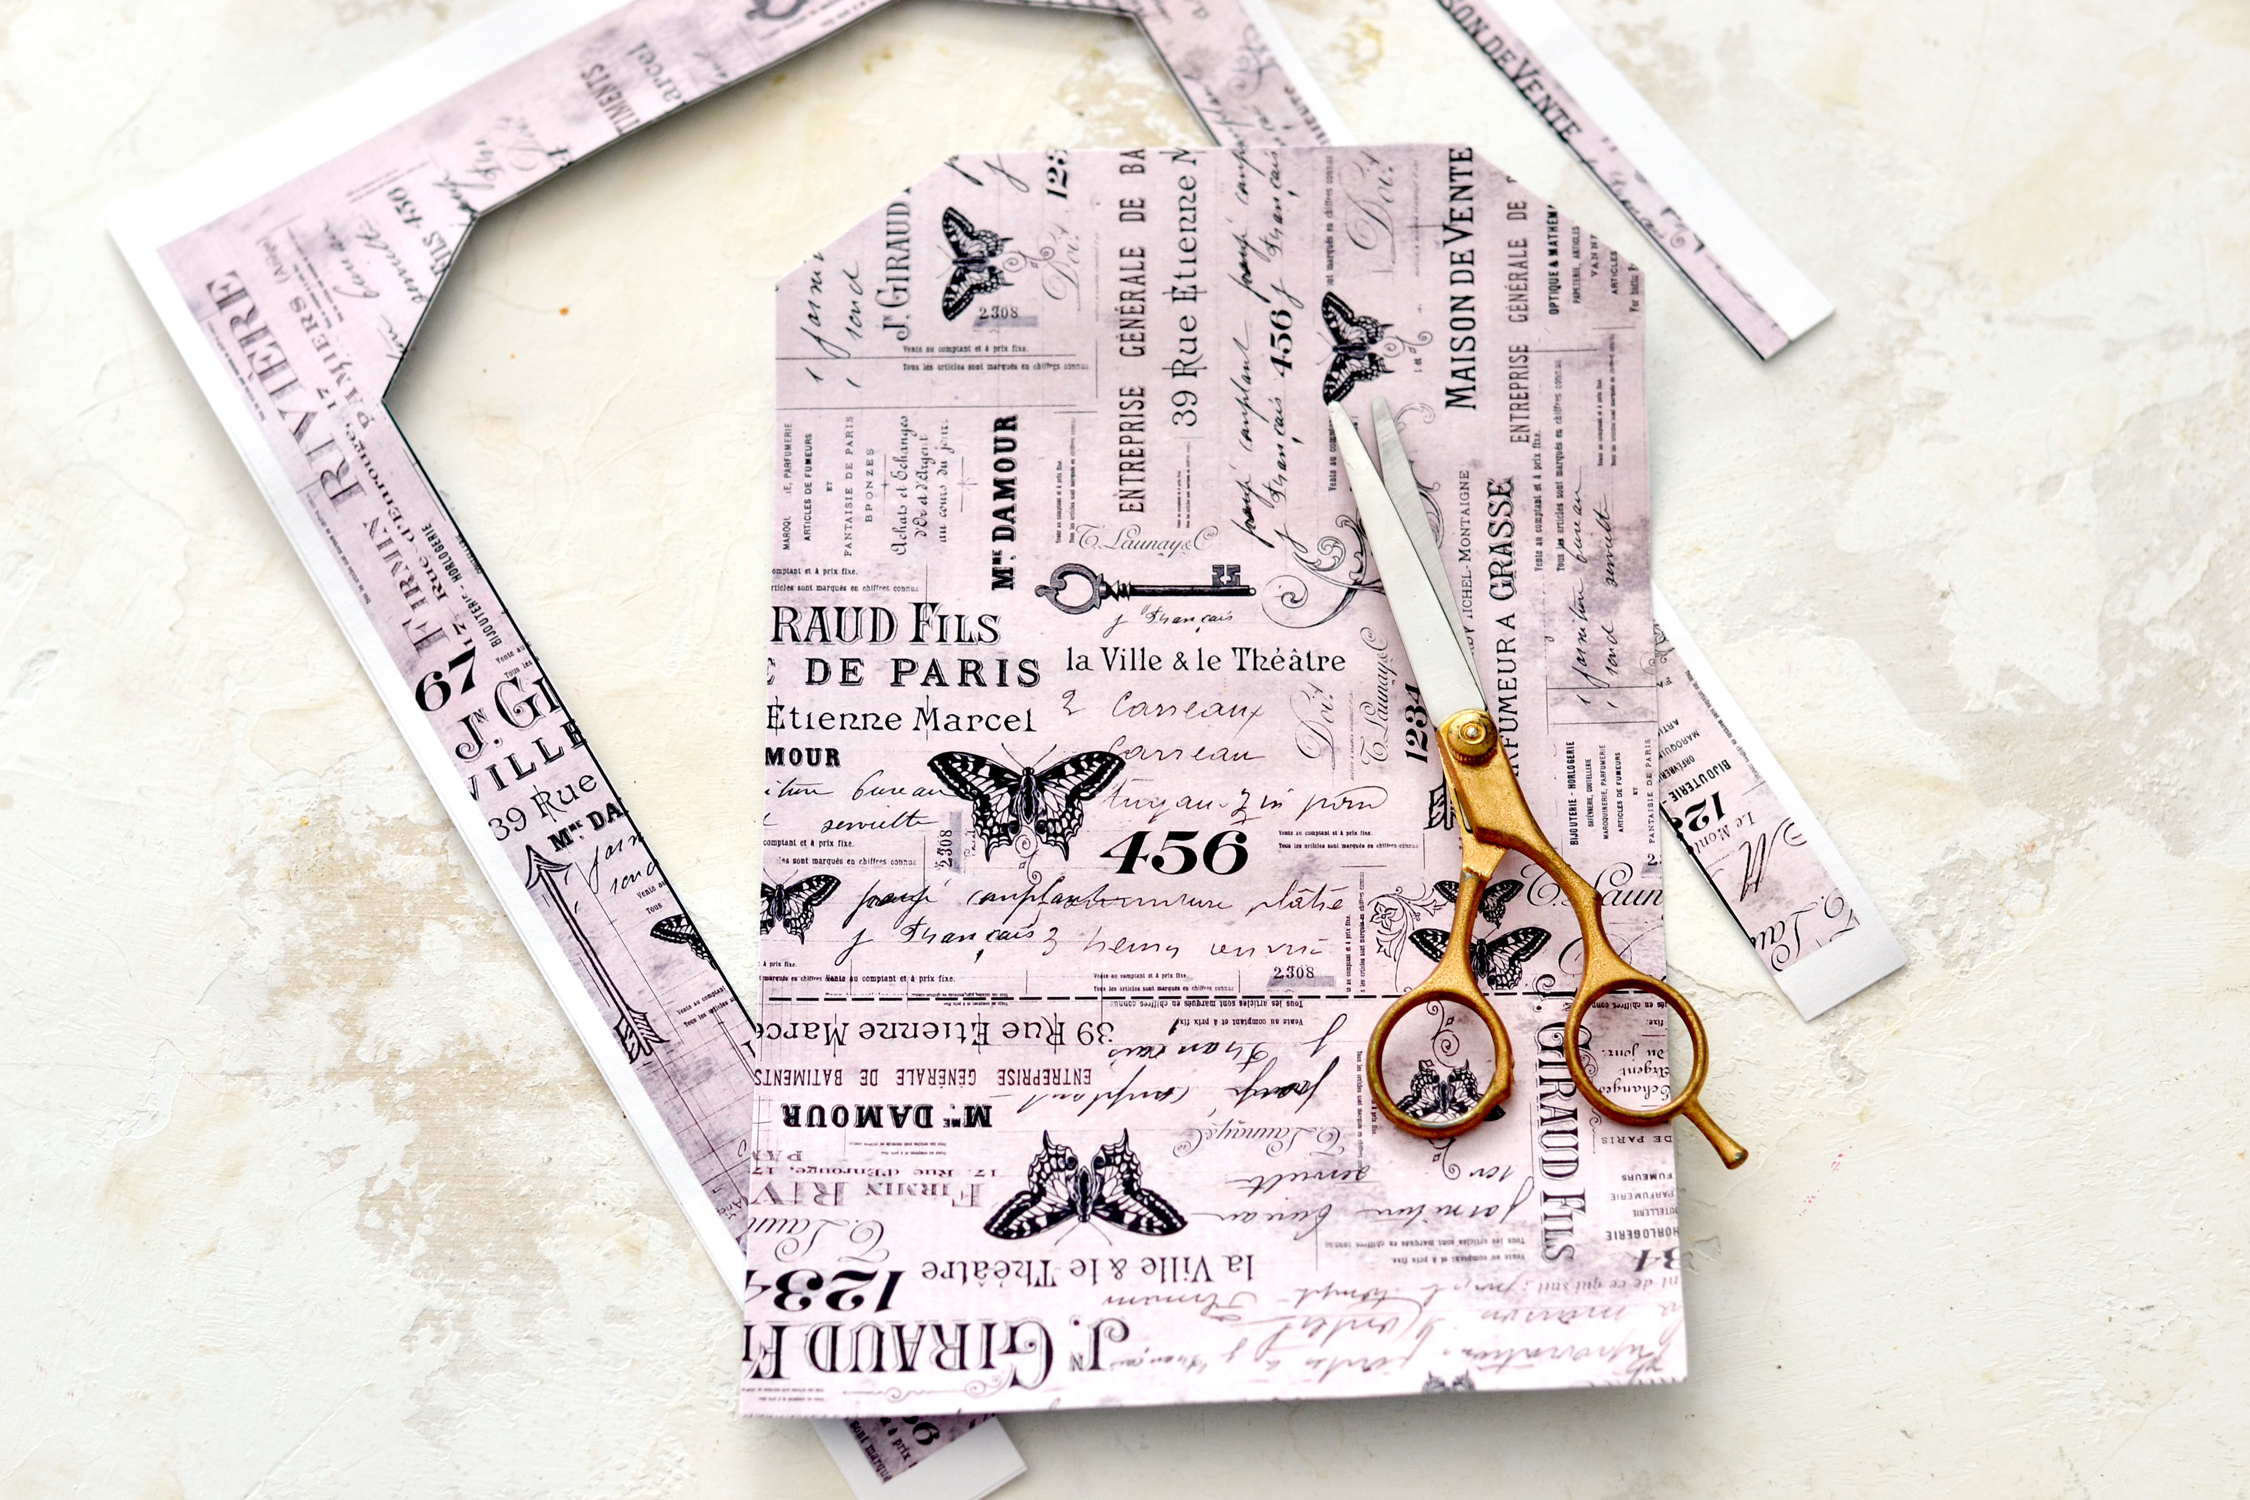
Use the template on top as guidance to cut your clutch. You can use your scissors or a cutting machine, the choice is all yours. Just make sure you completely remove the outside black border of your template, you will only be left with the dashed line that we will use as guidance for folding the clutch.
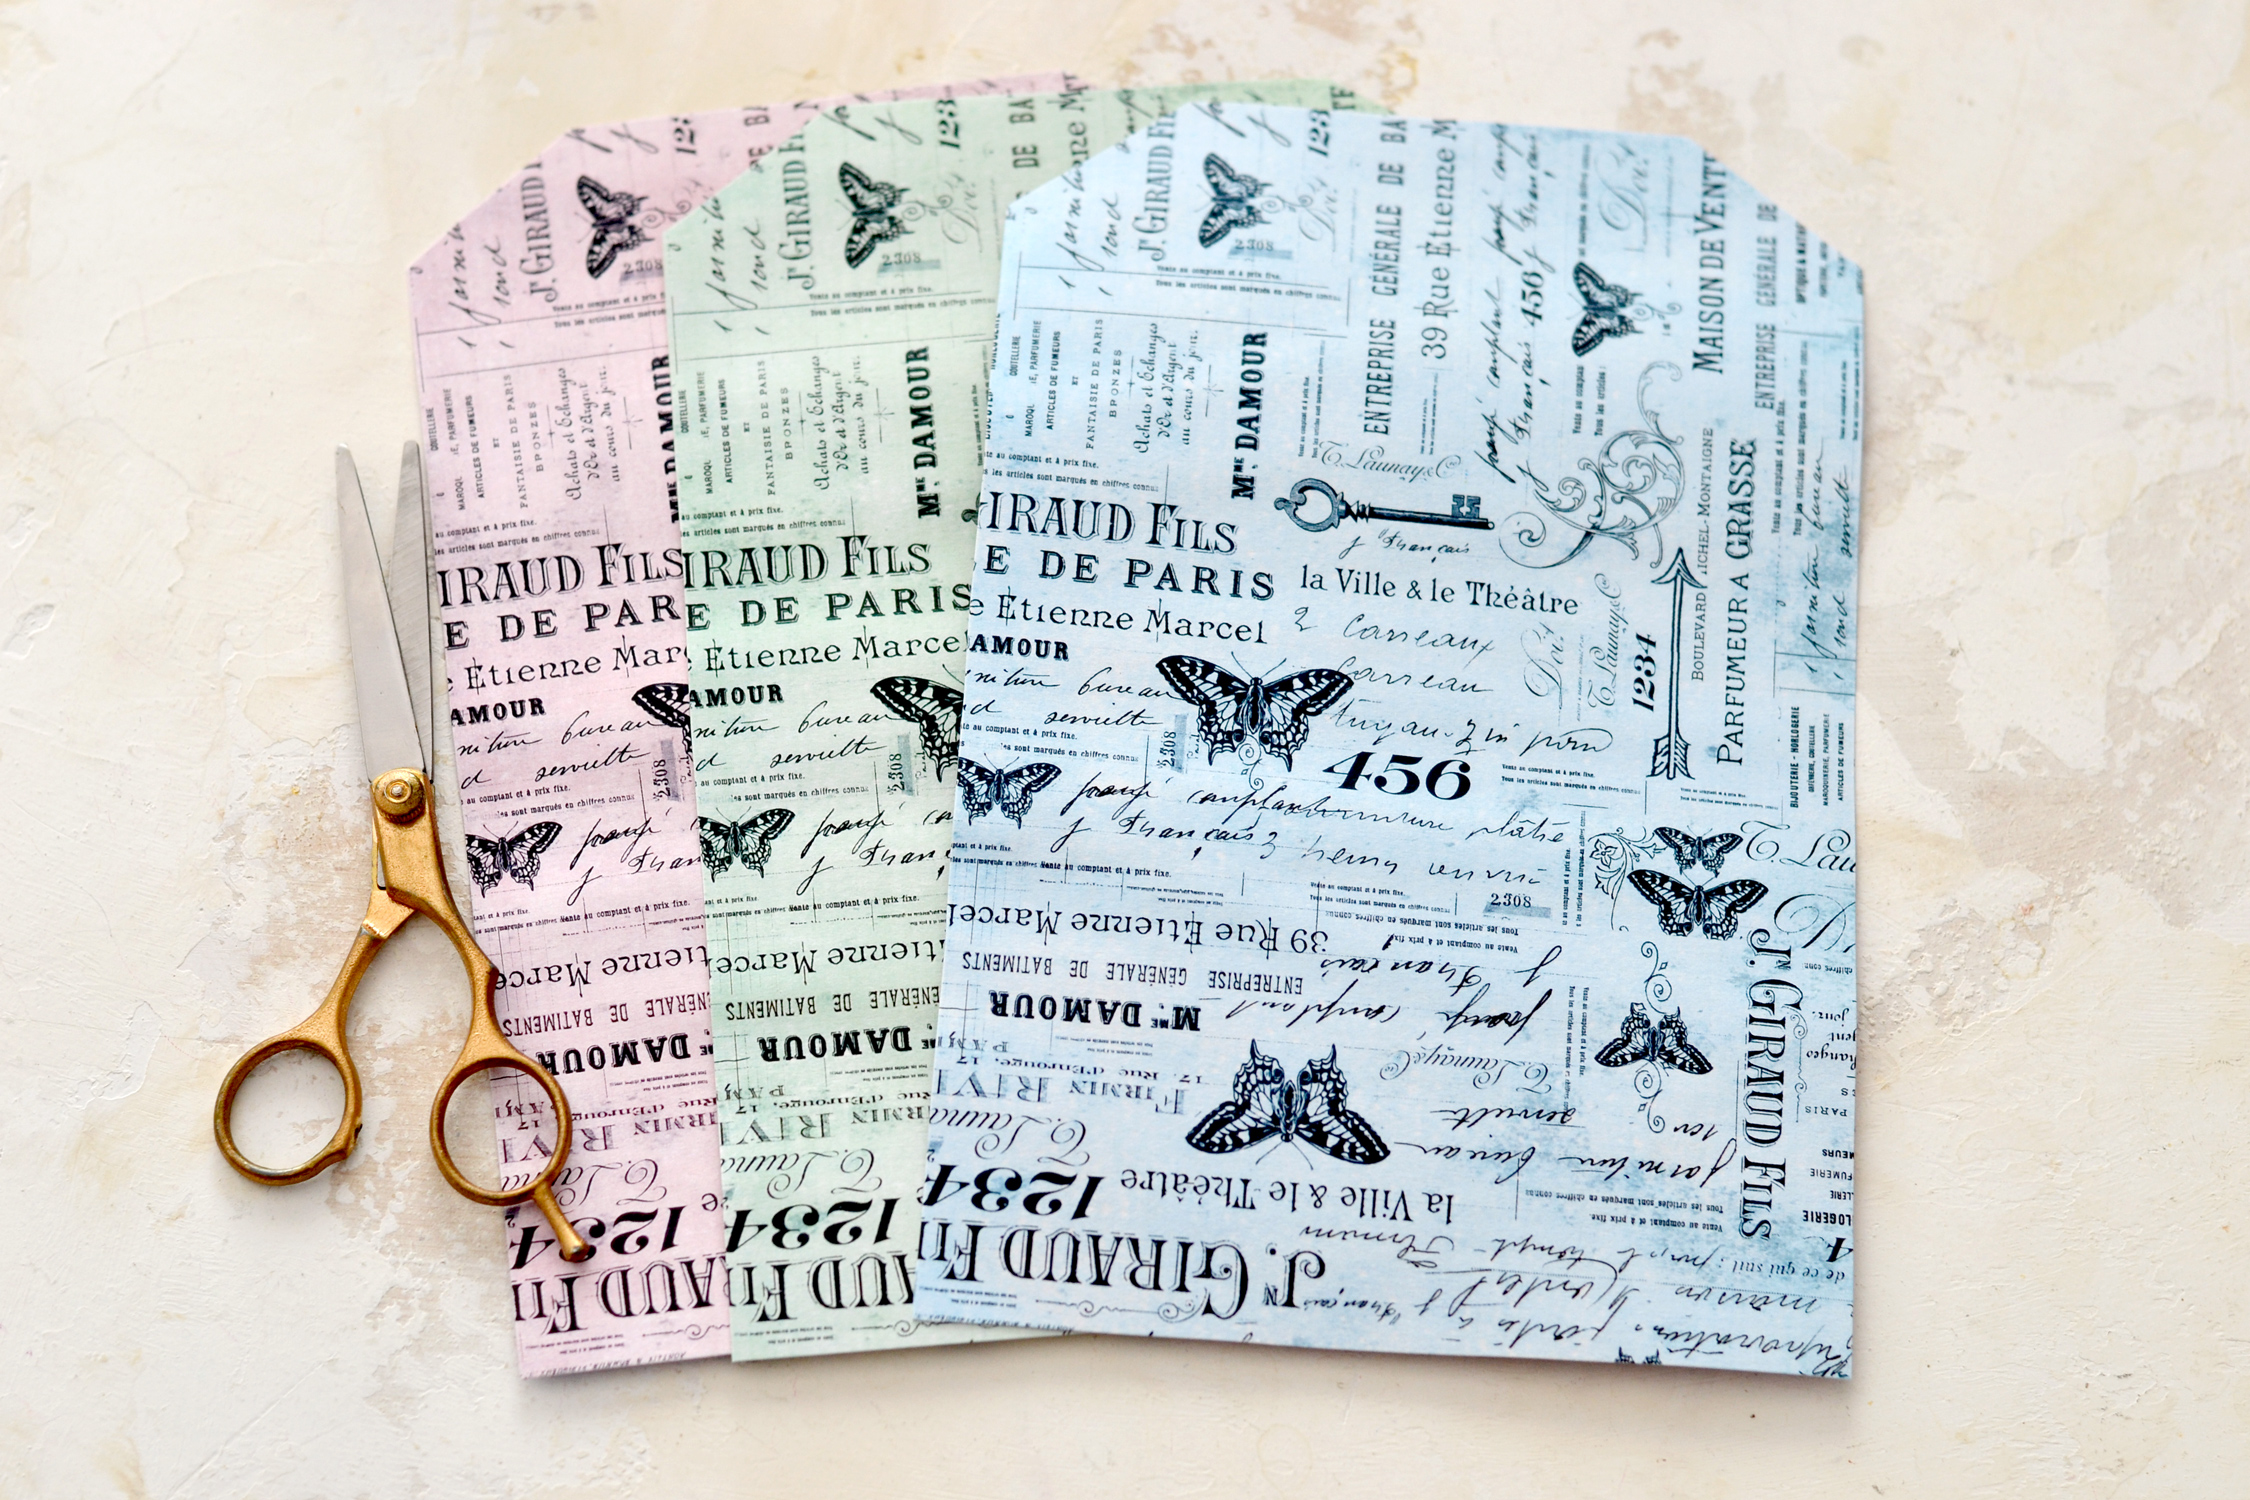
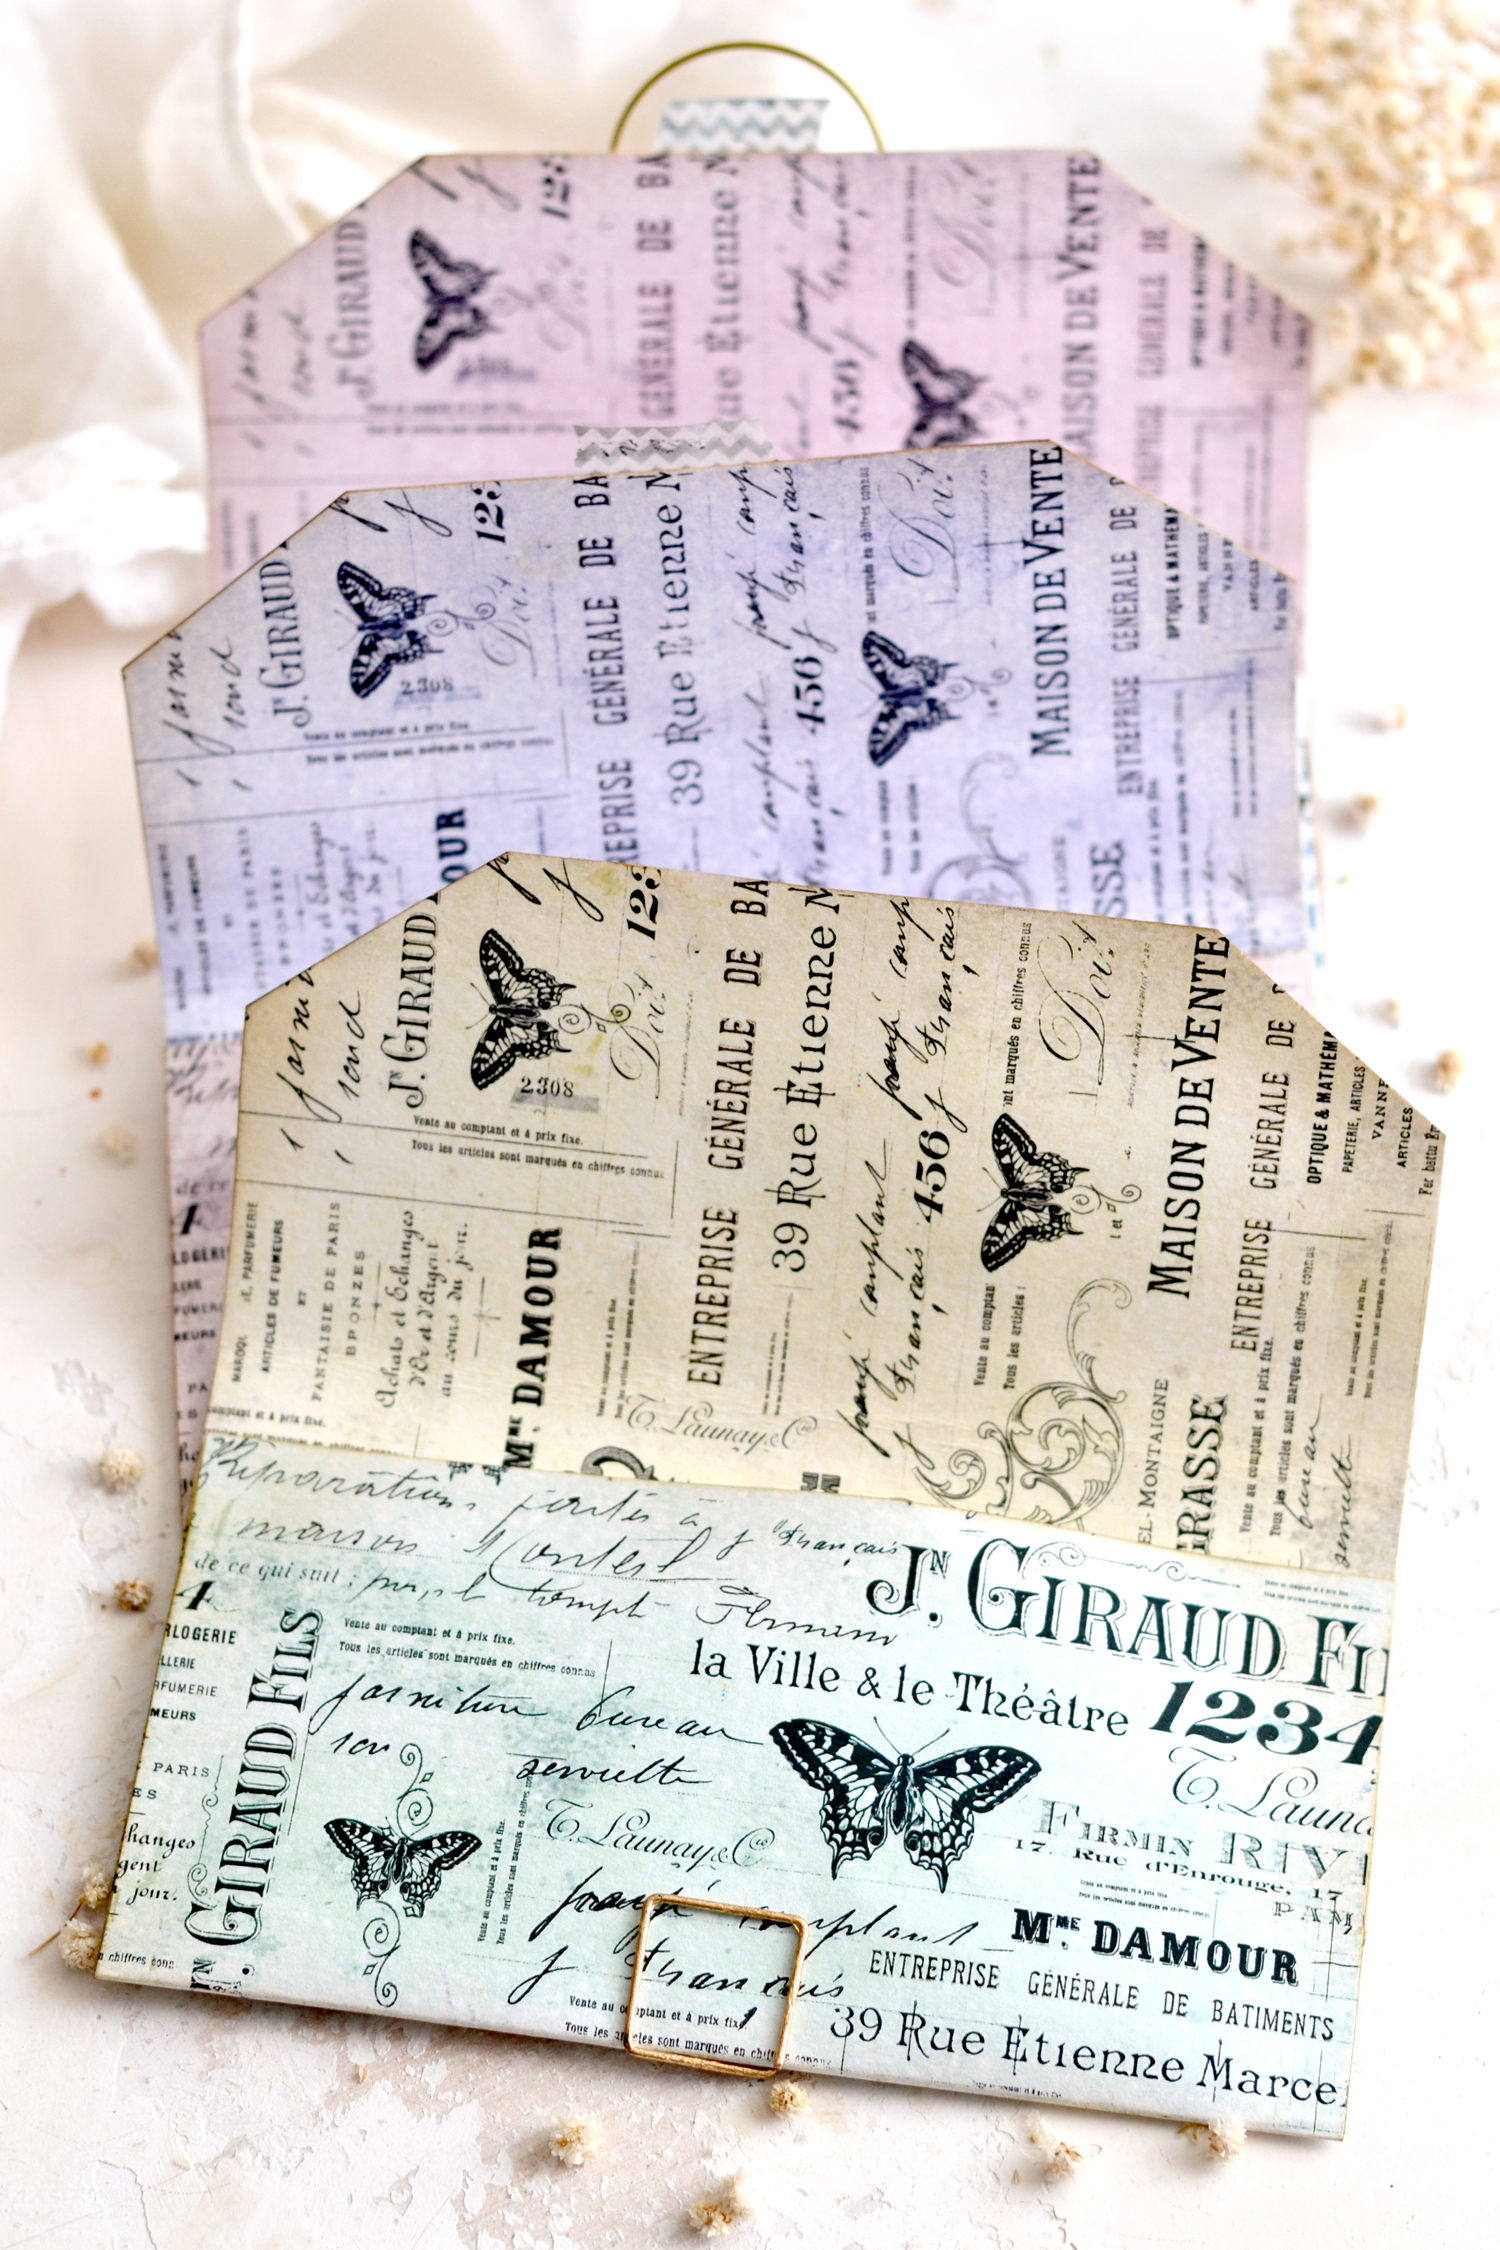
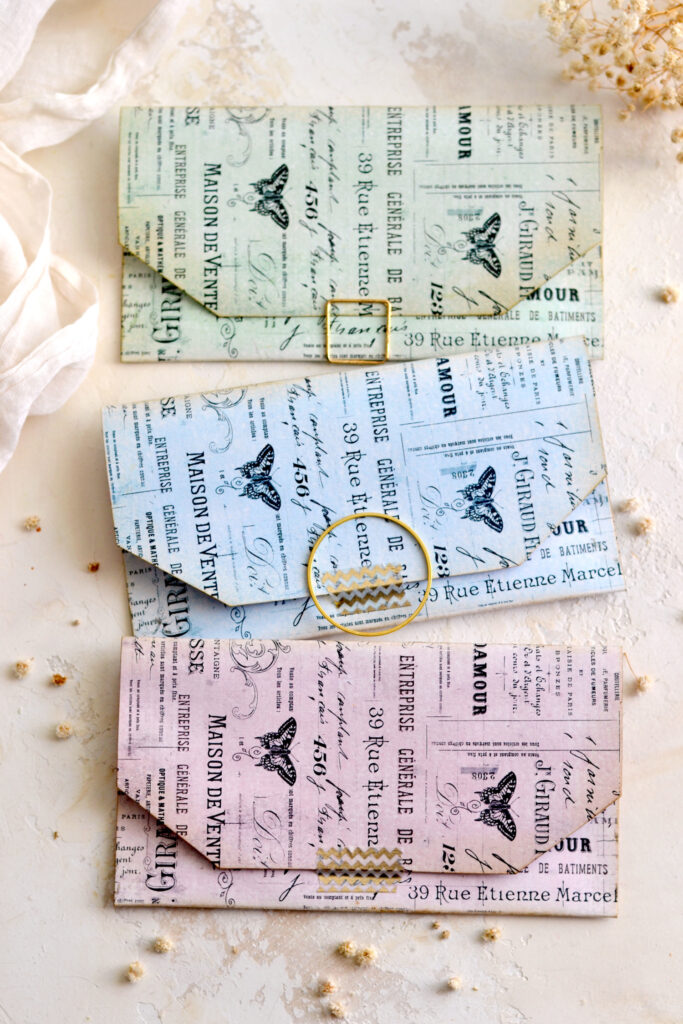
I went with pink, yellow and purple for the top printables (the ones with the templates) that will become the inside of our clutches.
And pink, green and blue for the printables that I glued on the back (the ones without the template) that will become the outside of our clutches.
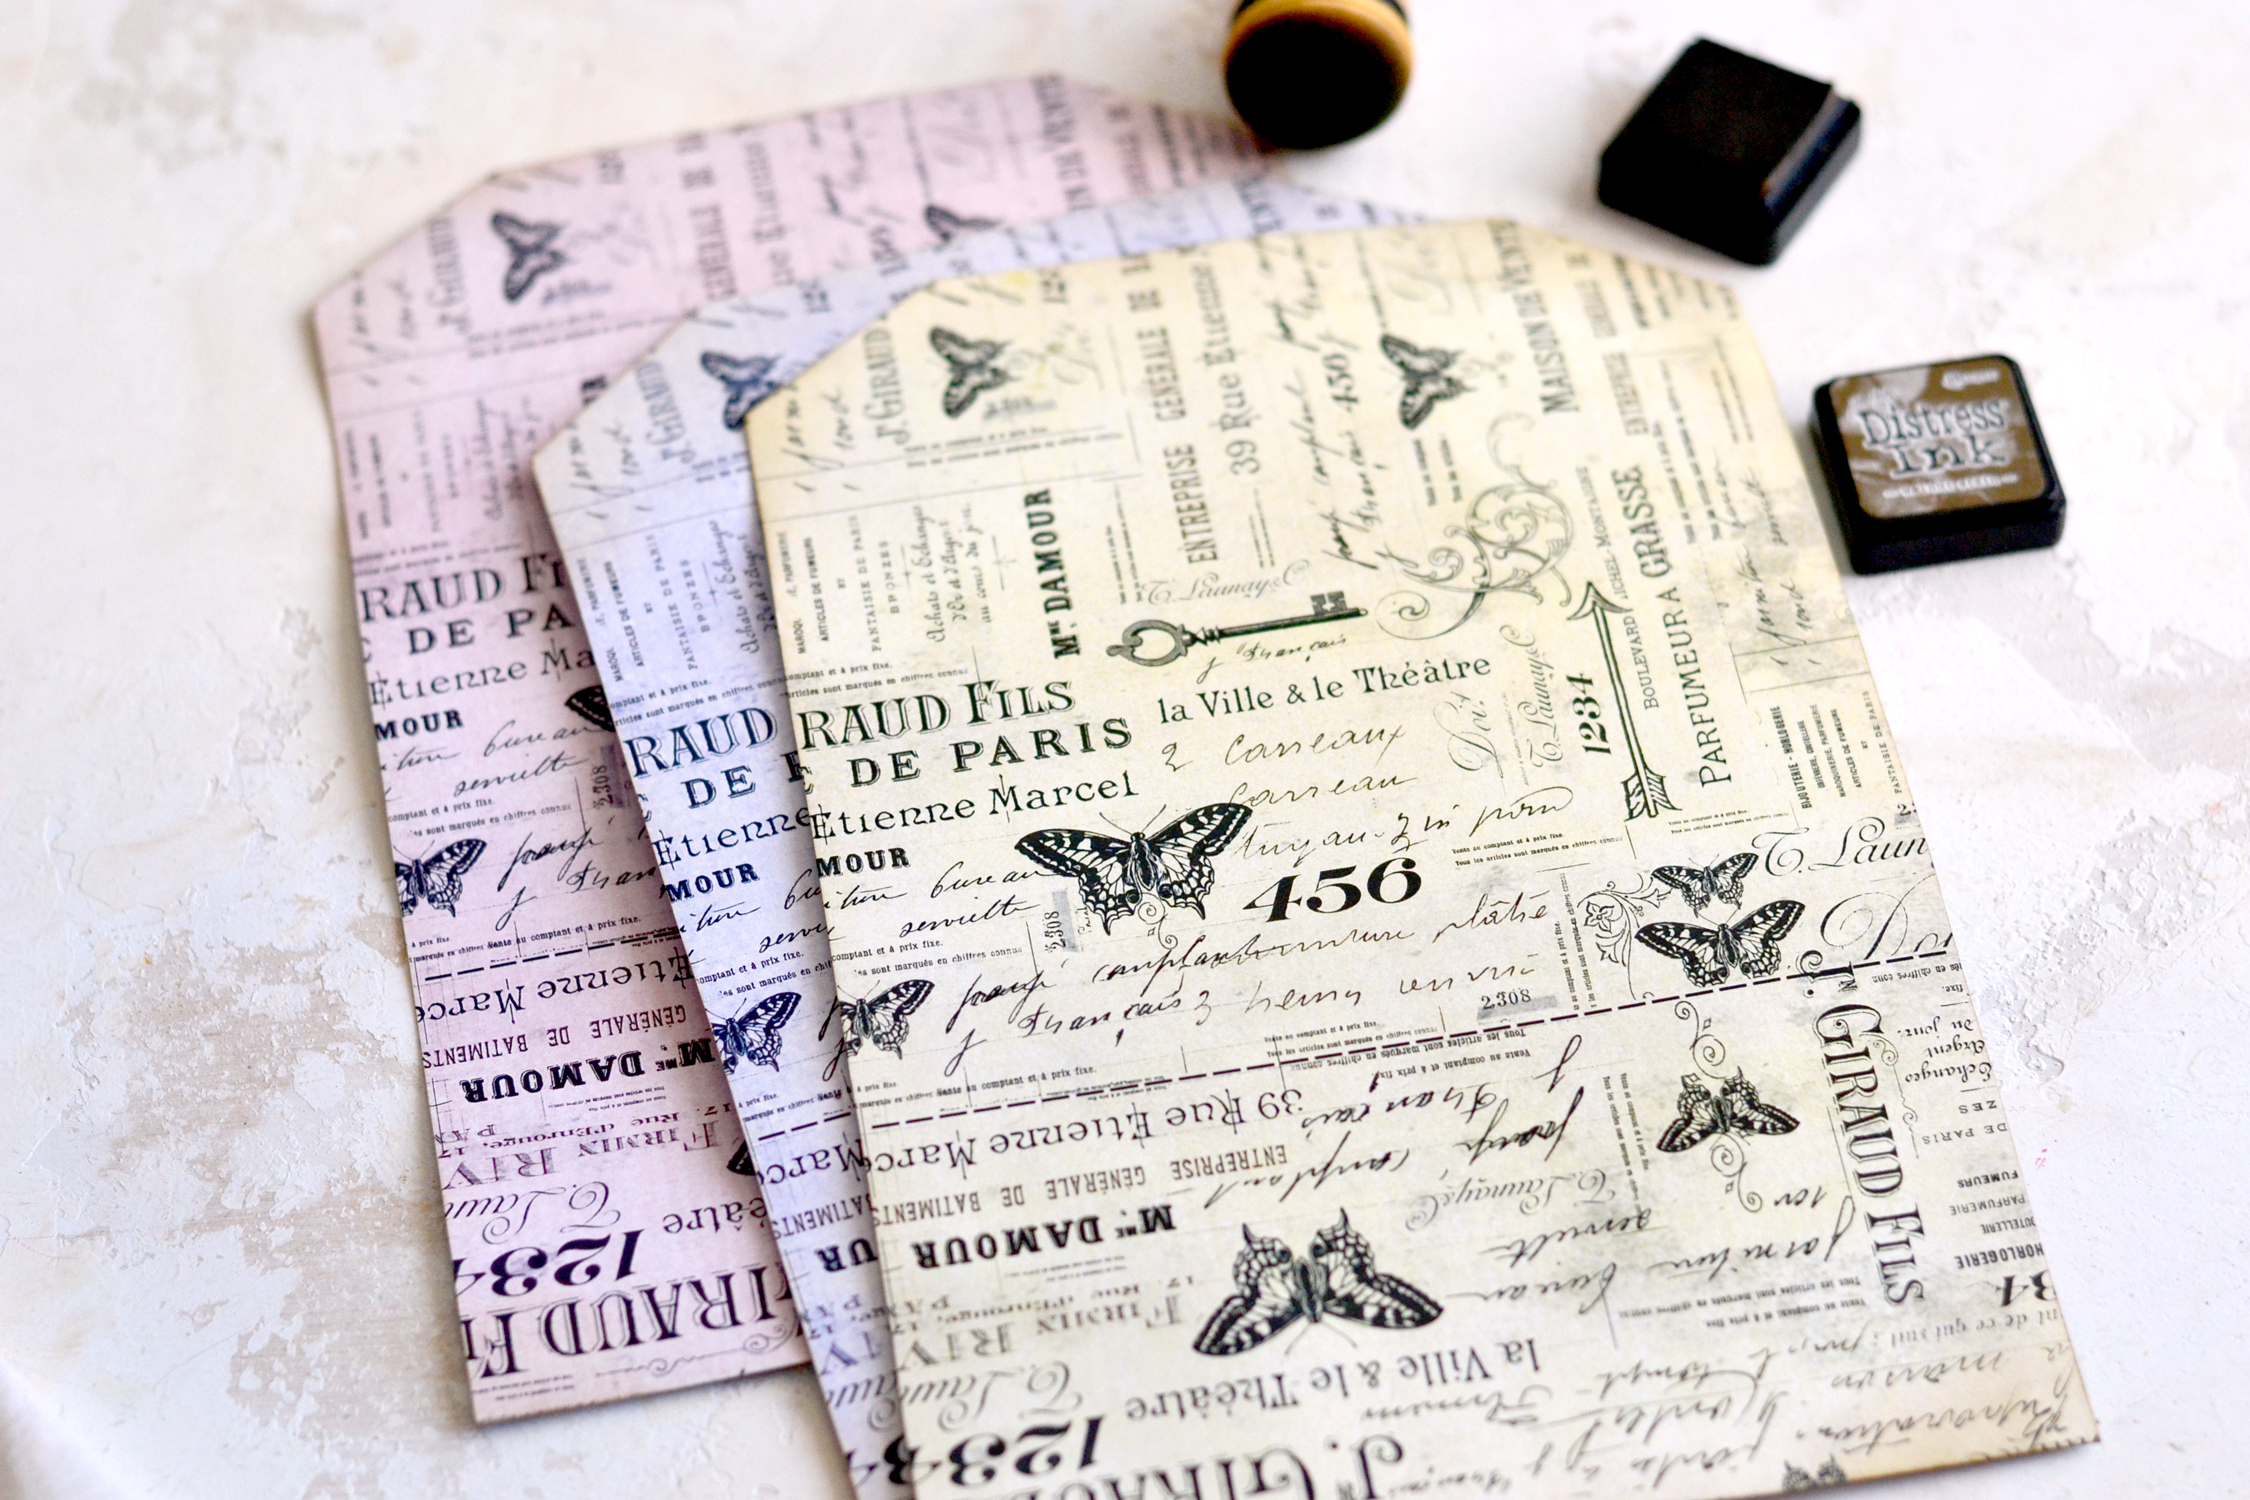
You can use distress ink to add a touch of vintage to the edges.
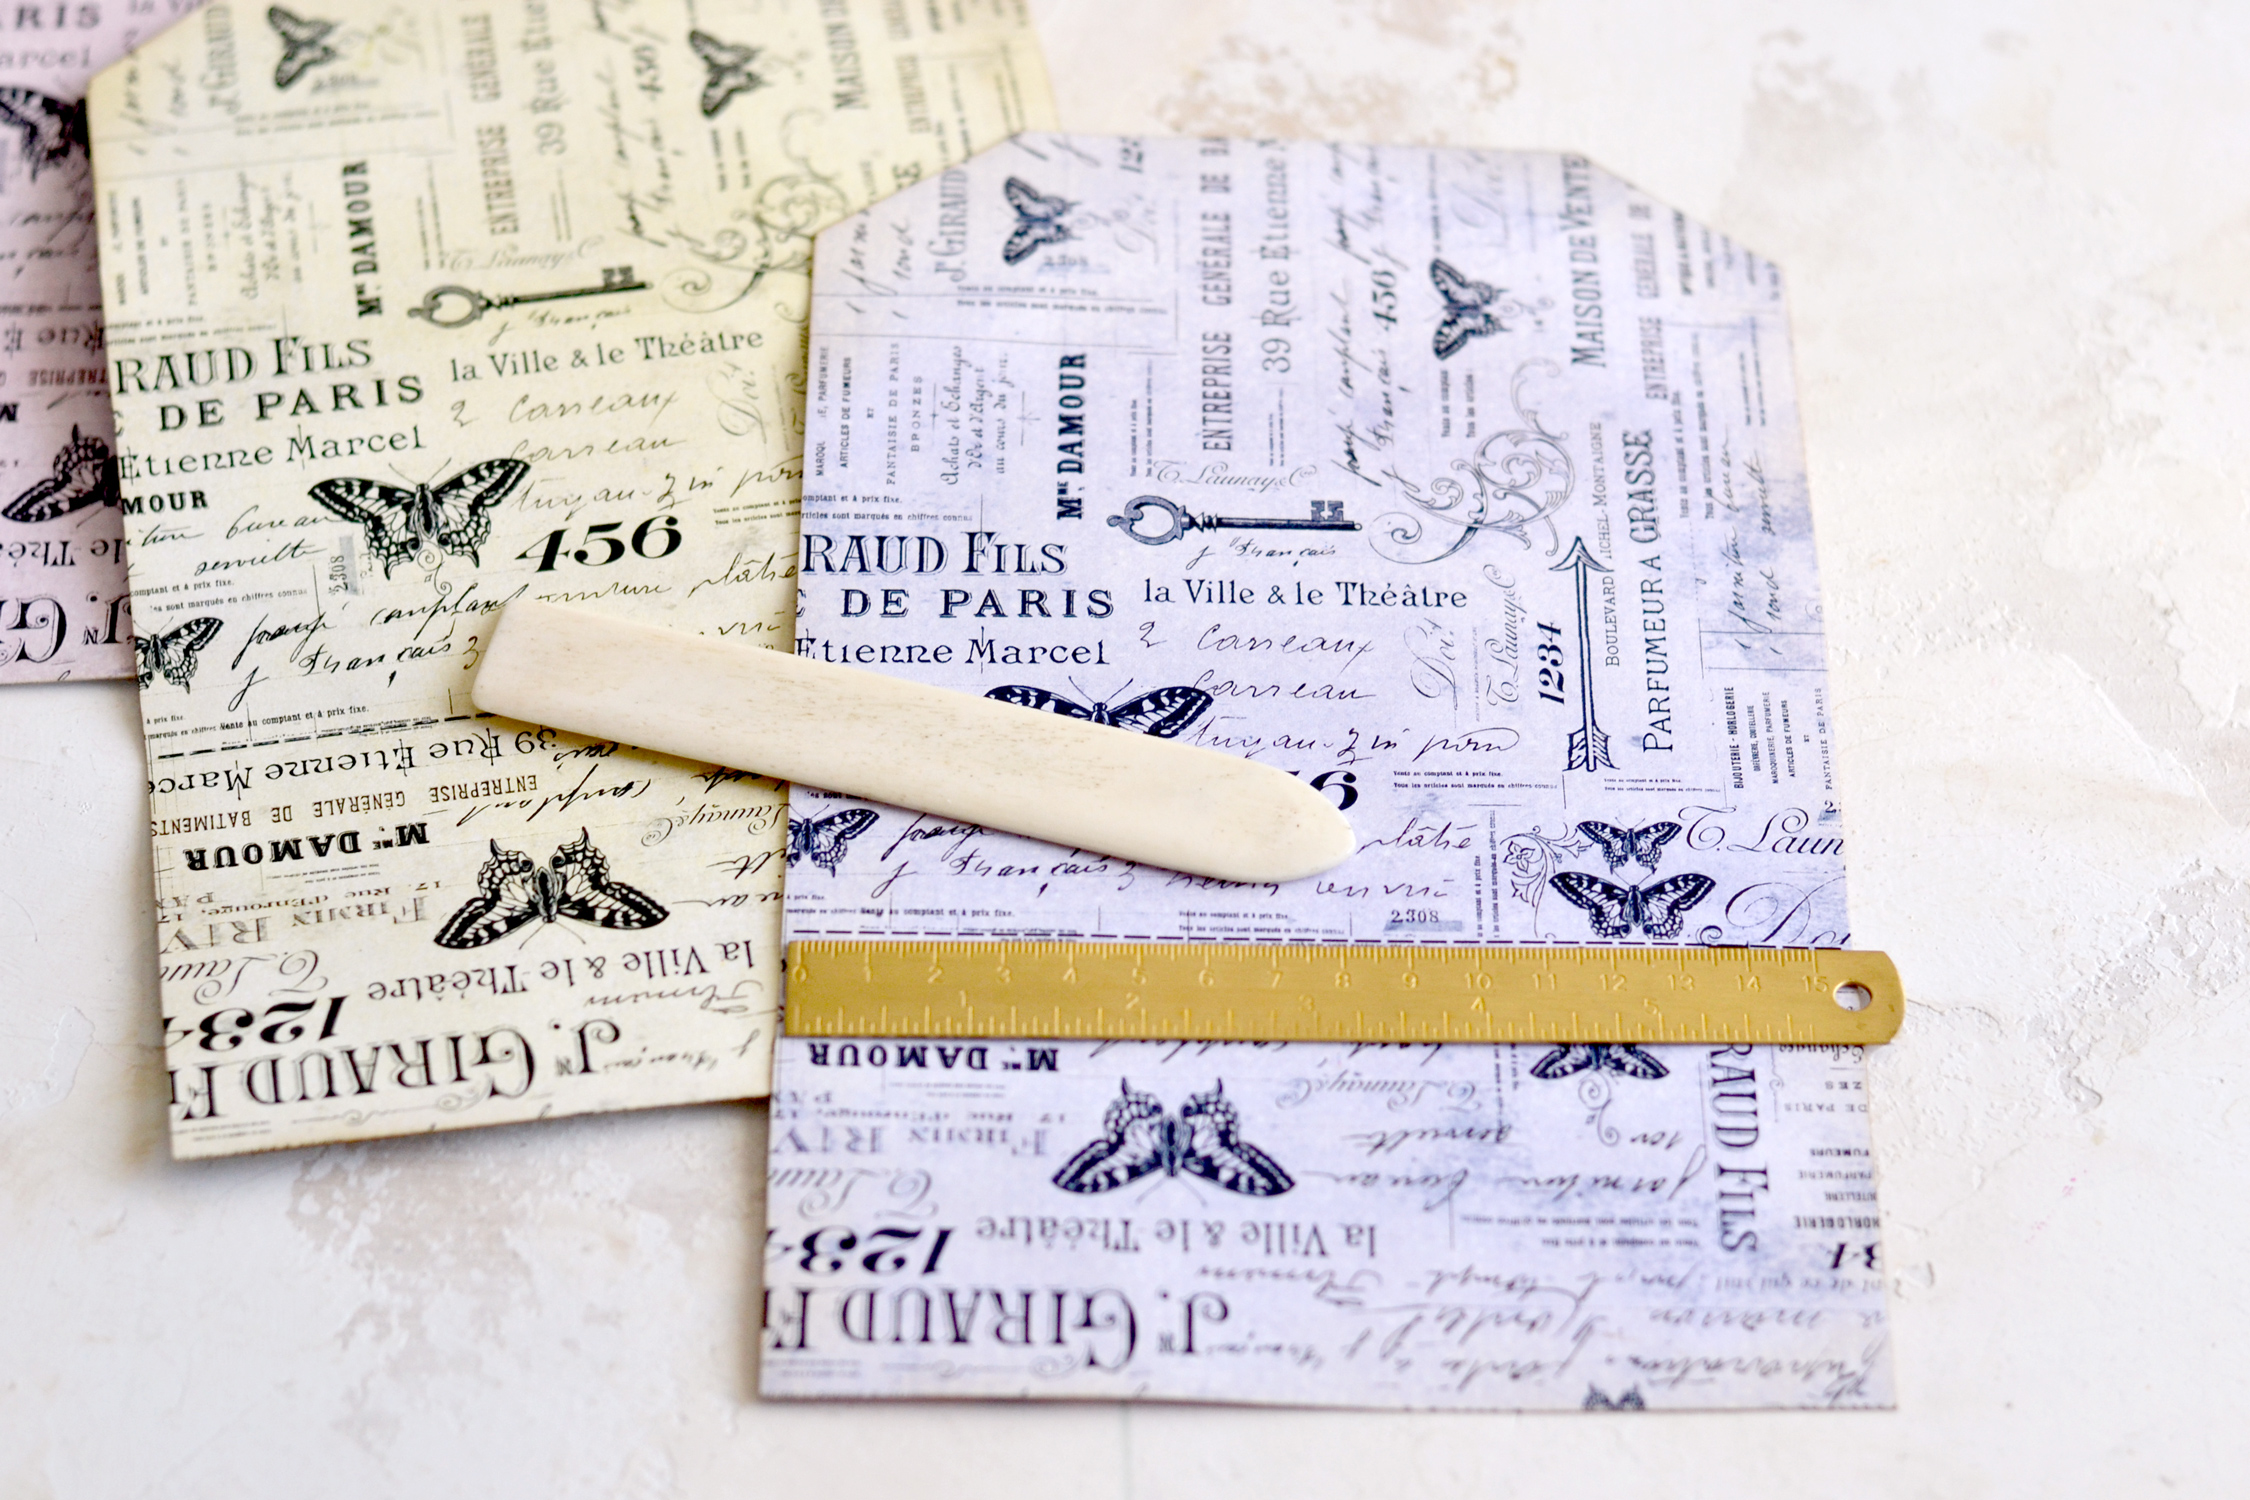
Use a bone folder and a ruler to score the paper using the dashed line as guidance.
Then simply use the scored dashed line to fold the lower part upwards and the upper part downward, all while trying to align the left/right margins as well as you can.
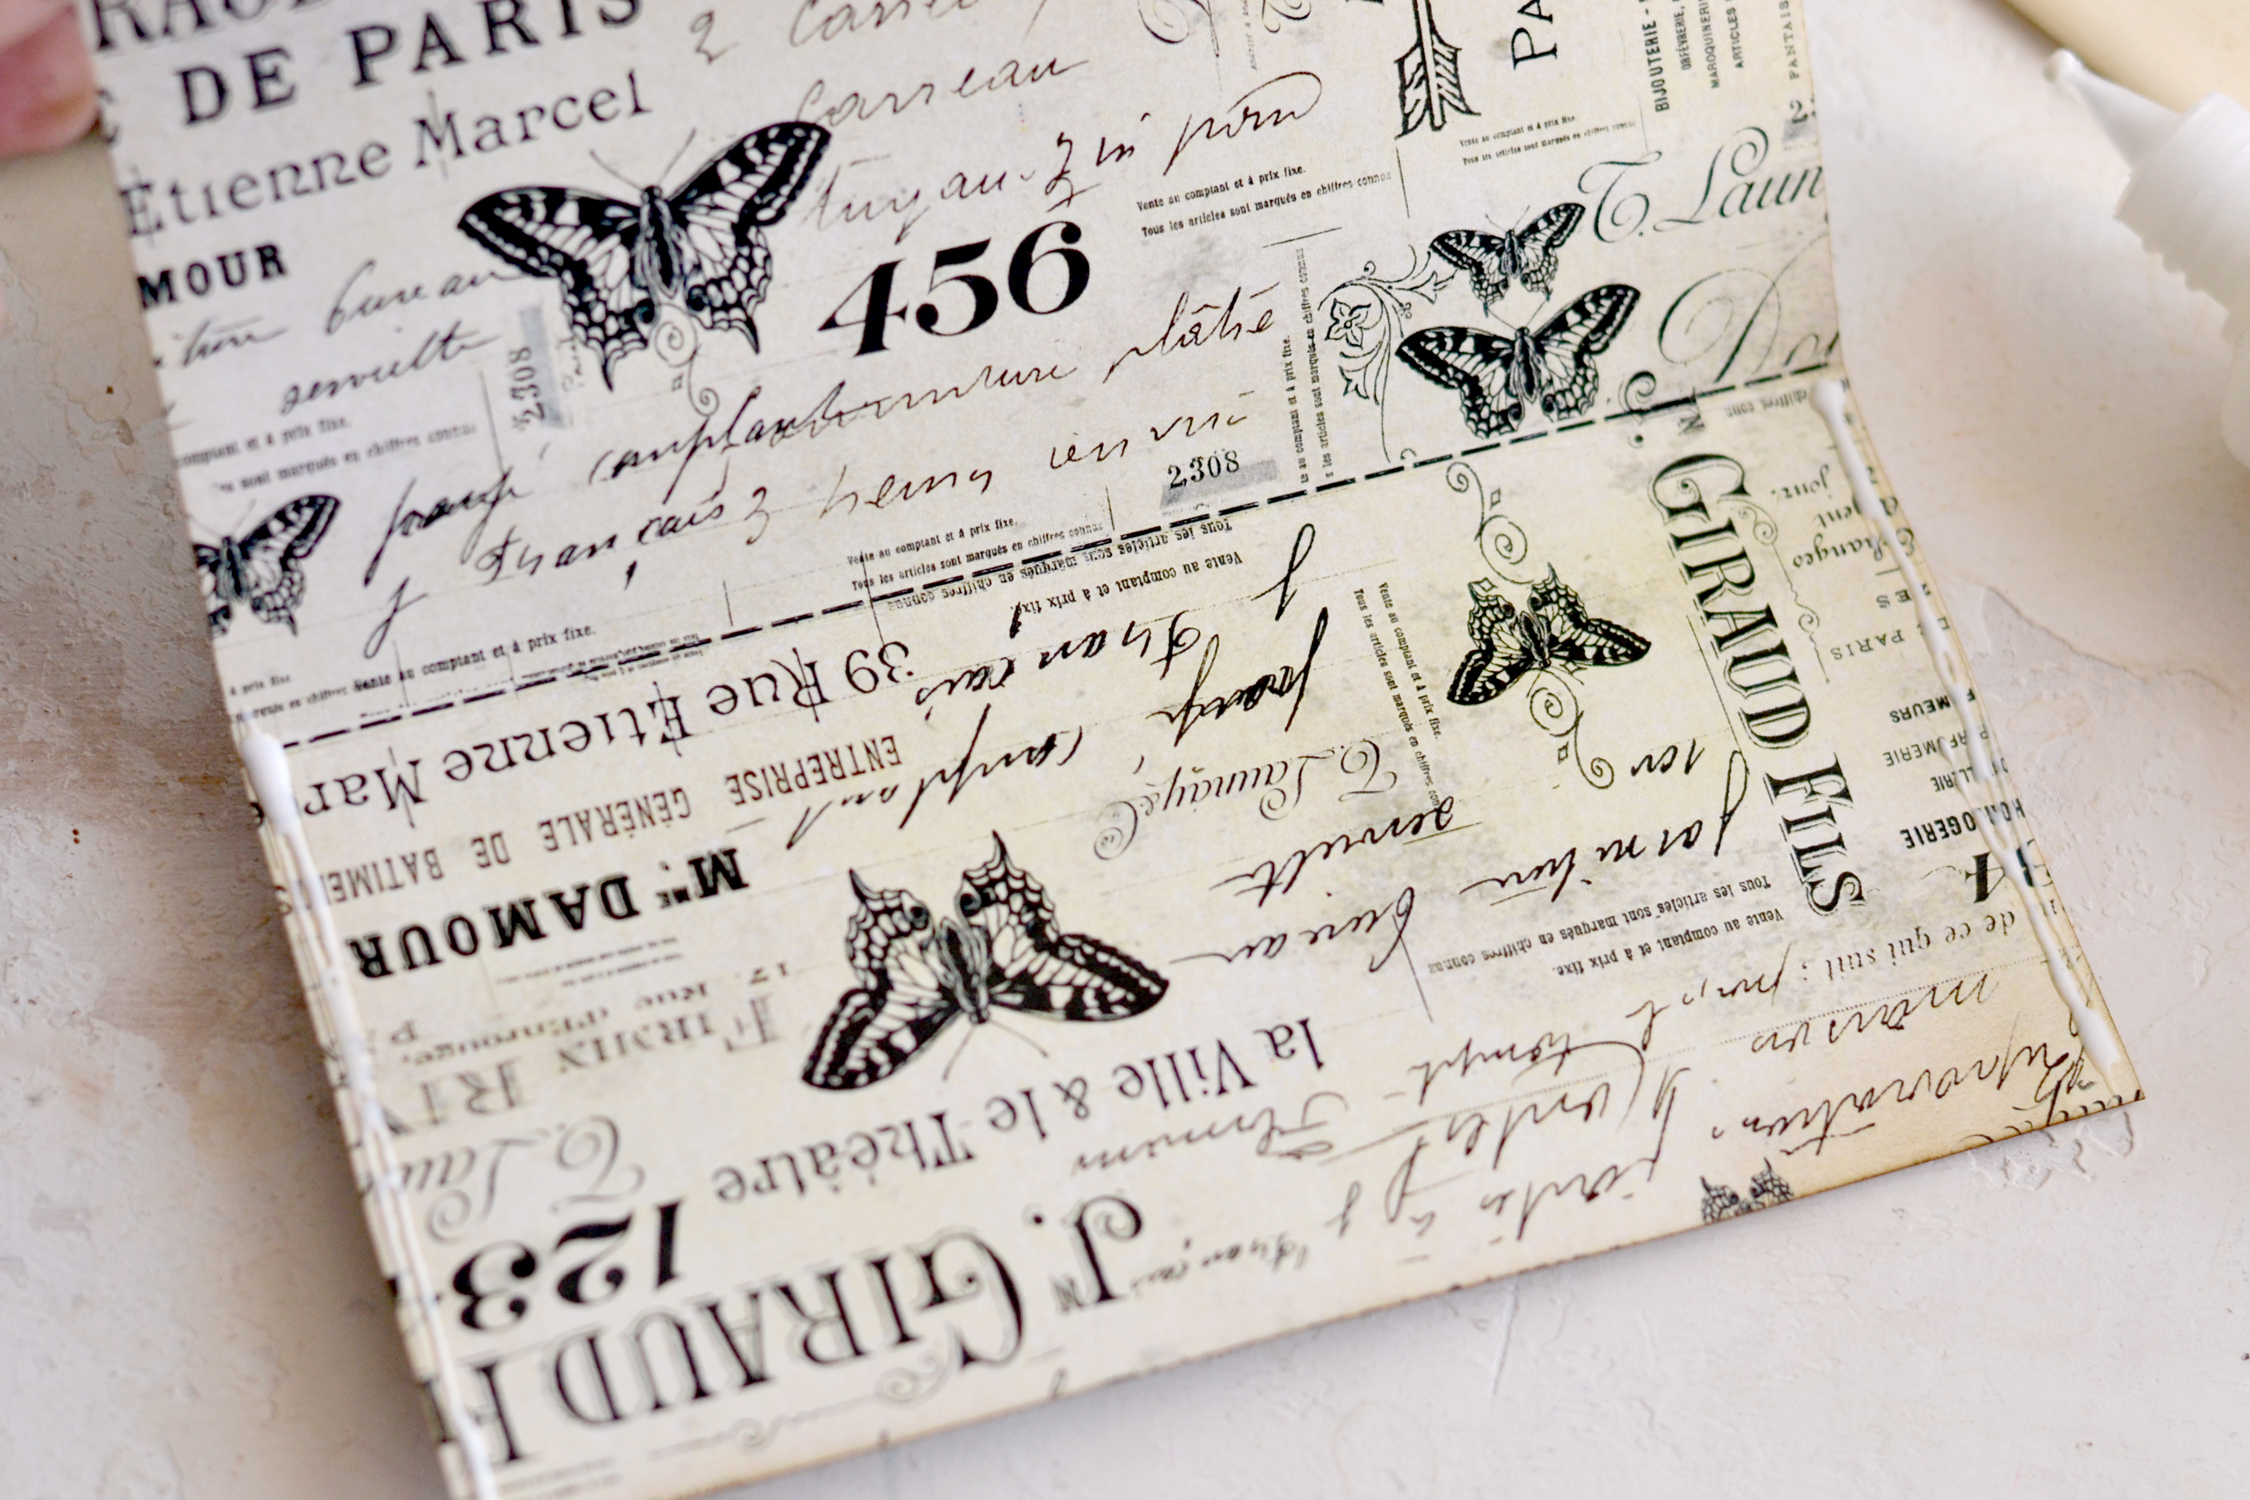
Open the folded paper and use craft glue and preferably a fine-tip applicator to apply some glue on the left/right side of the lower part of our clutch. If using white craft glue, leave it to dry for about a minute or two before trying to overlap the glued paper, then use your fingers to press the glue for a few minutes to make sure everything stays in place.
And now your absolutely gorgeous French ephemera clutches are ready to be admired!
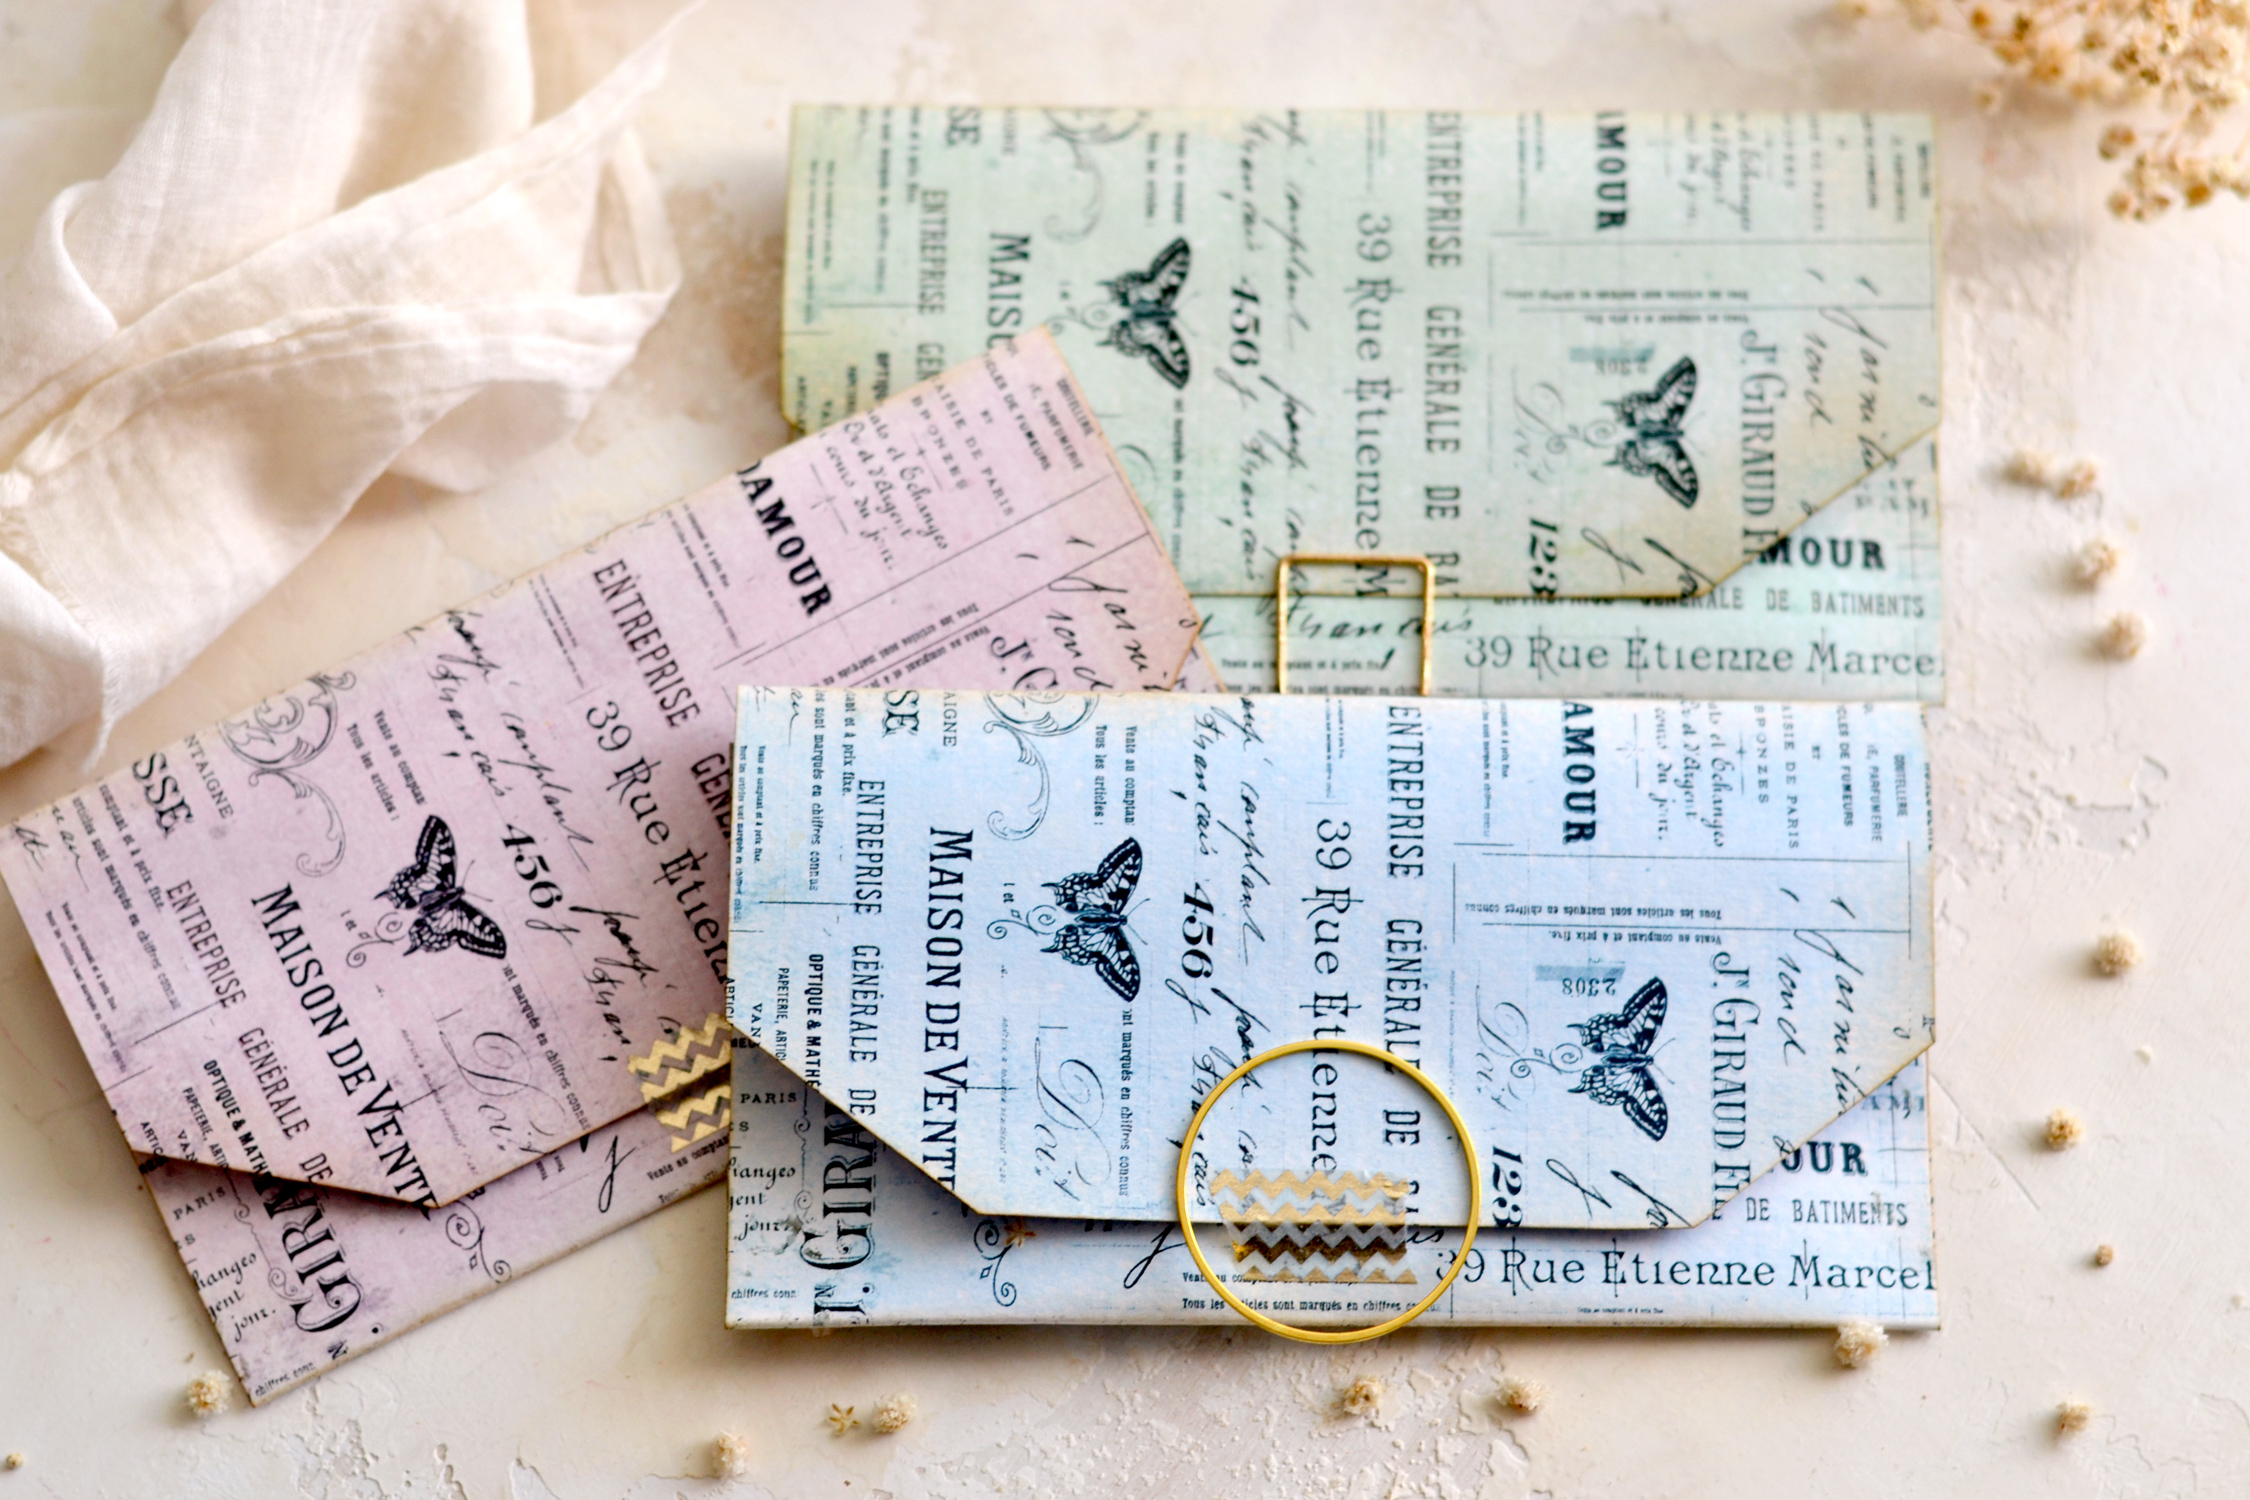
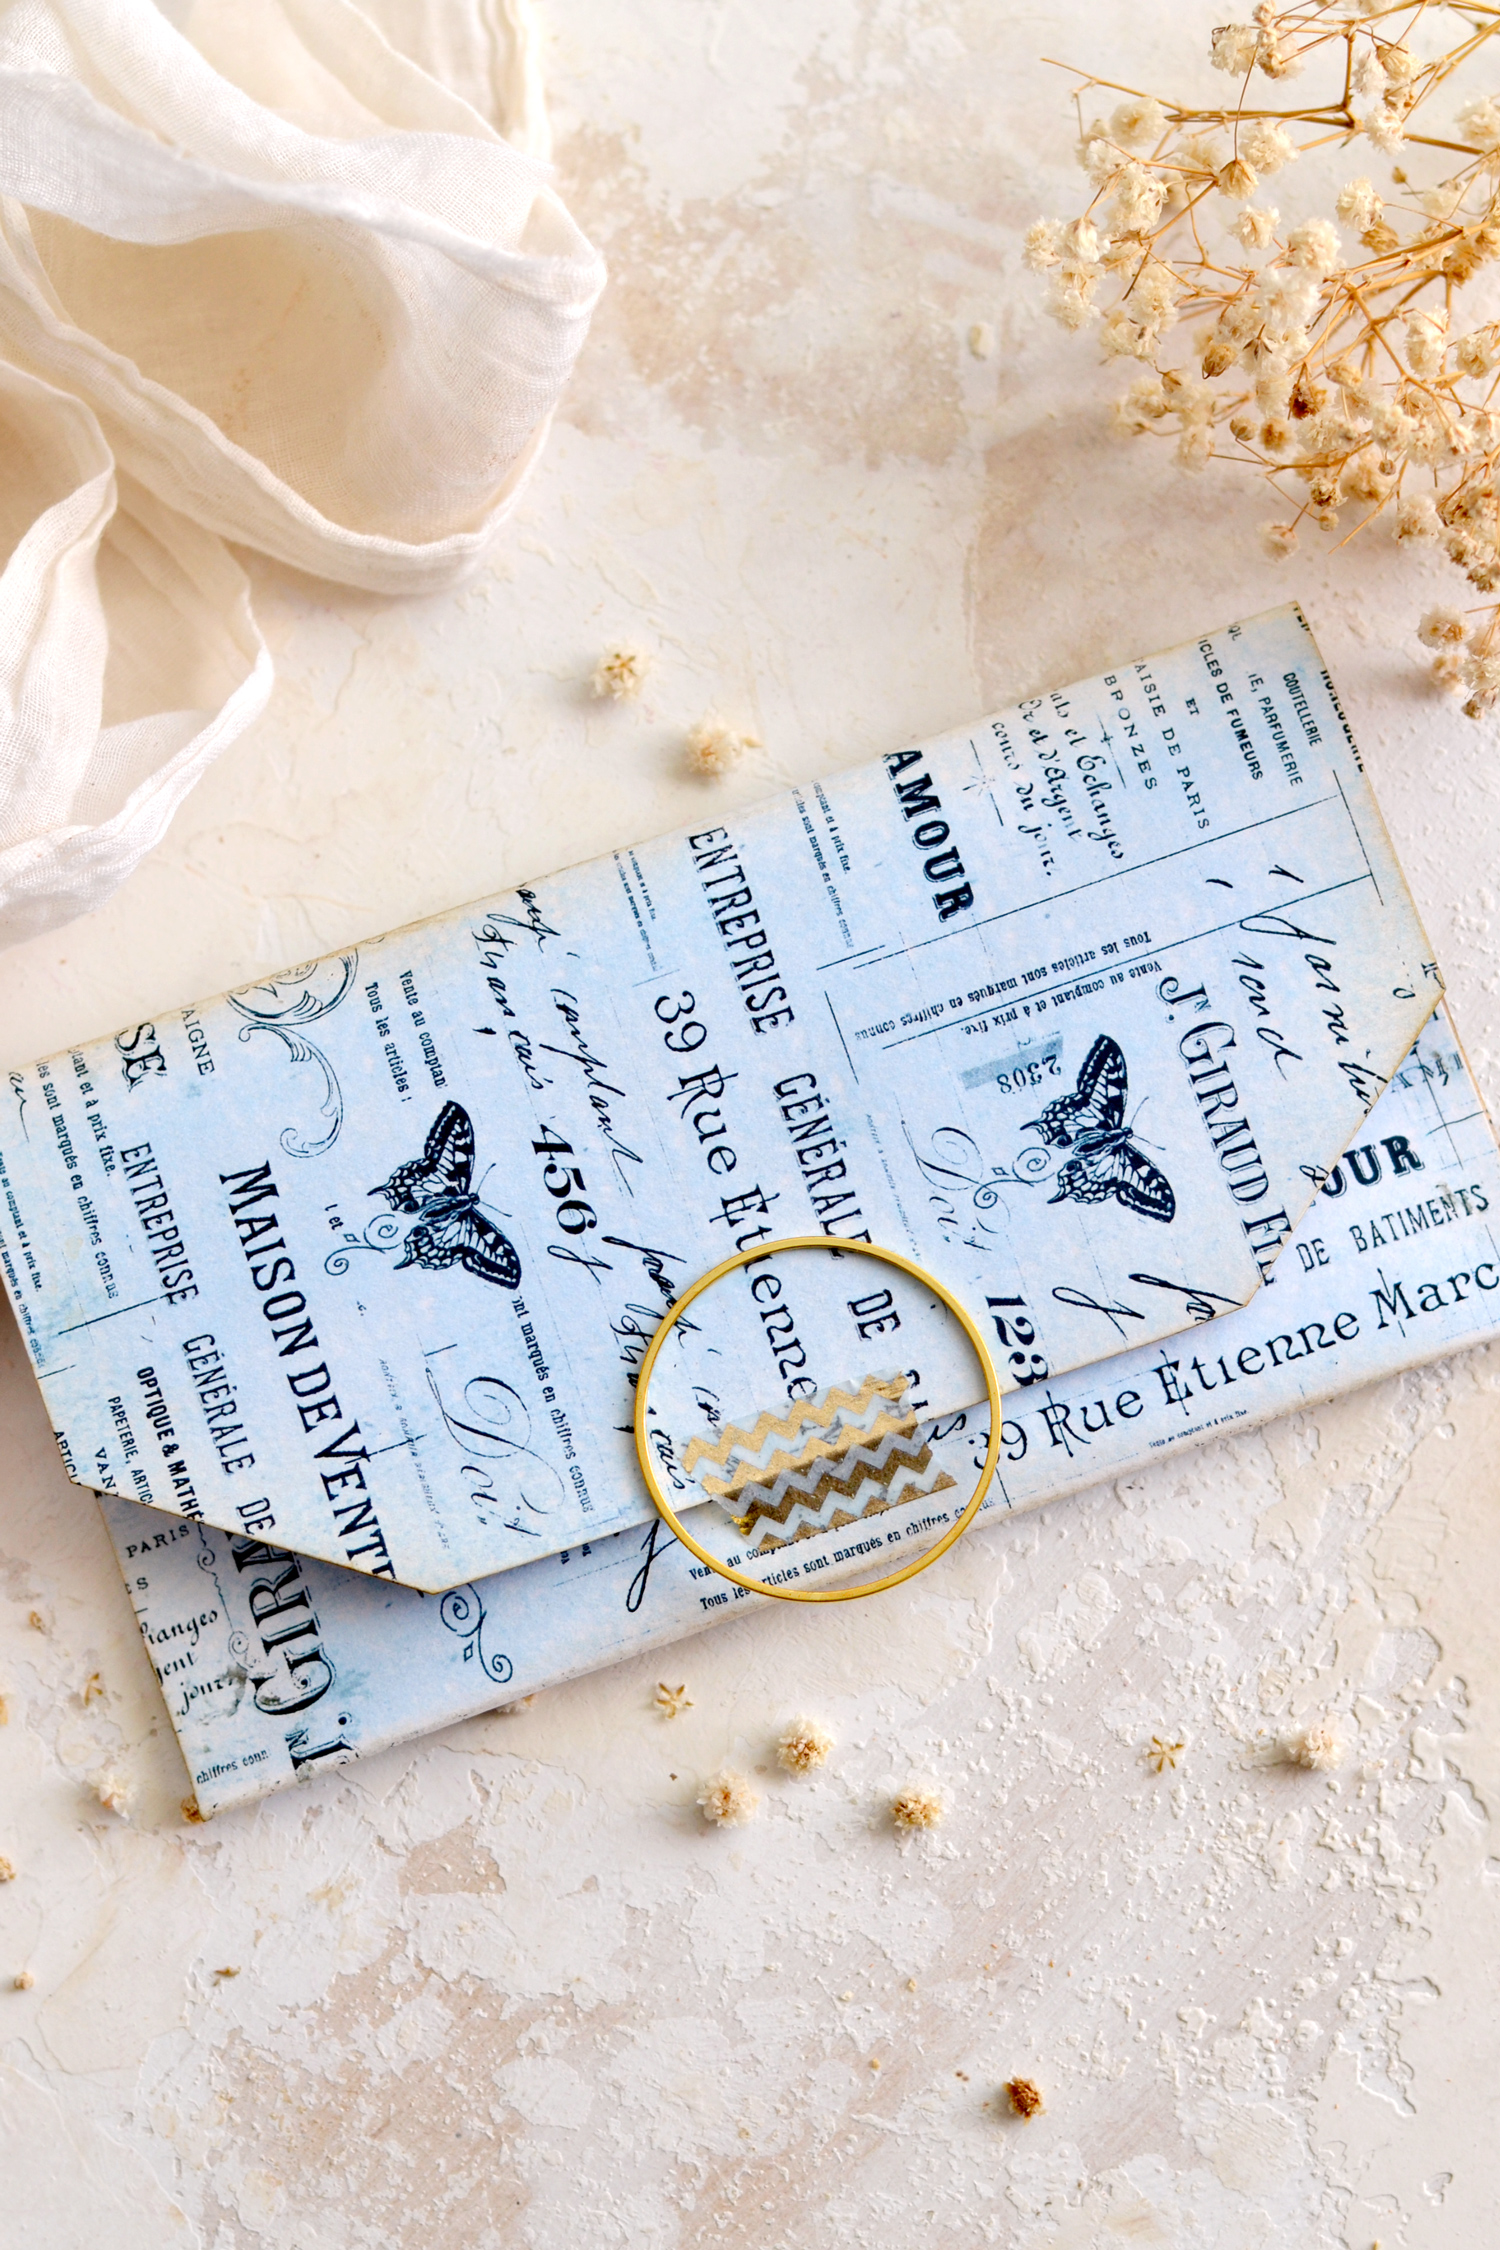
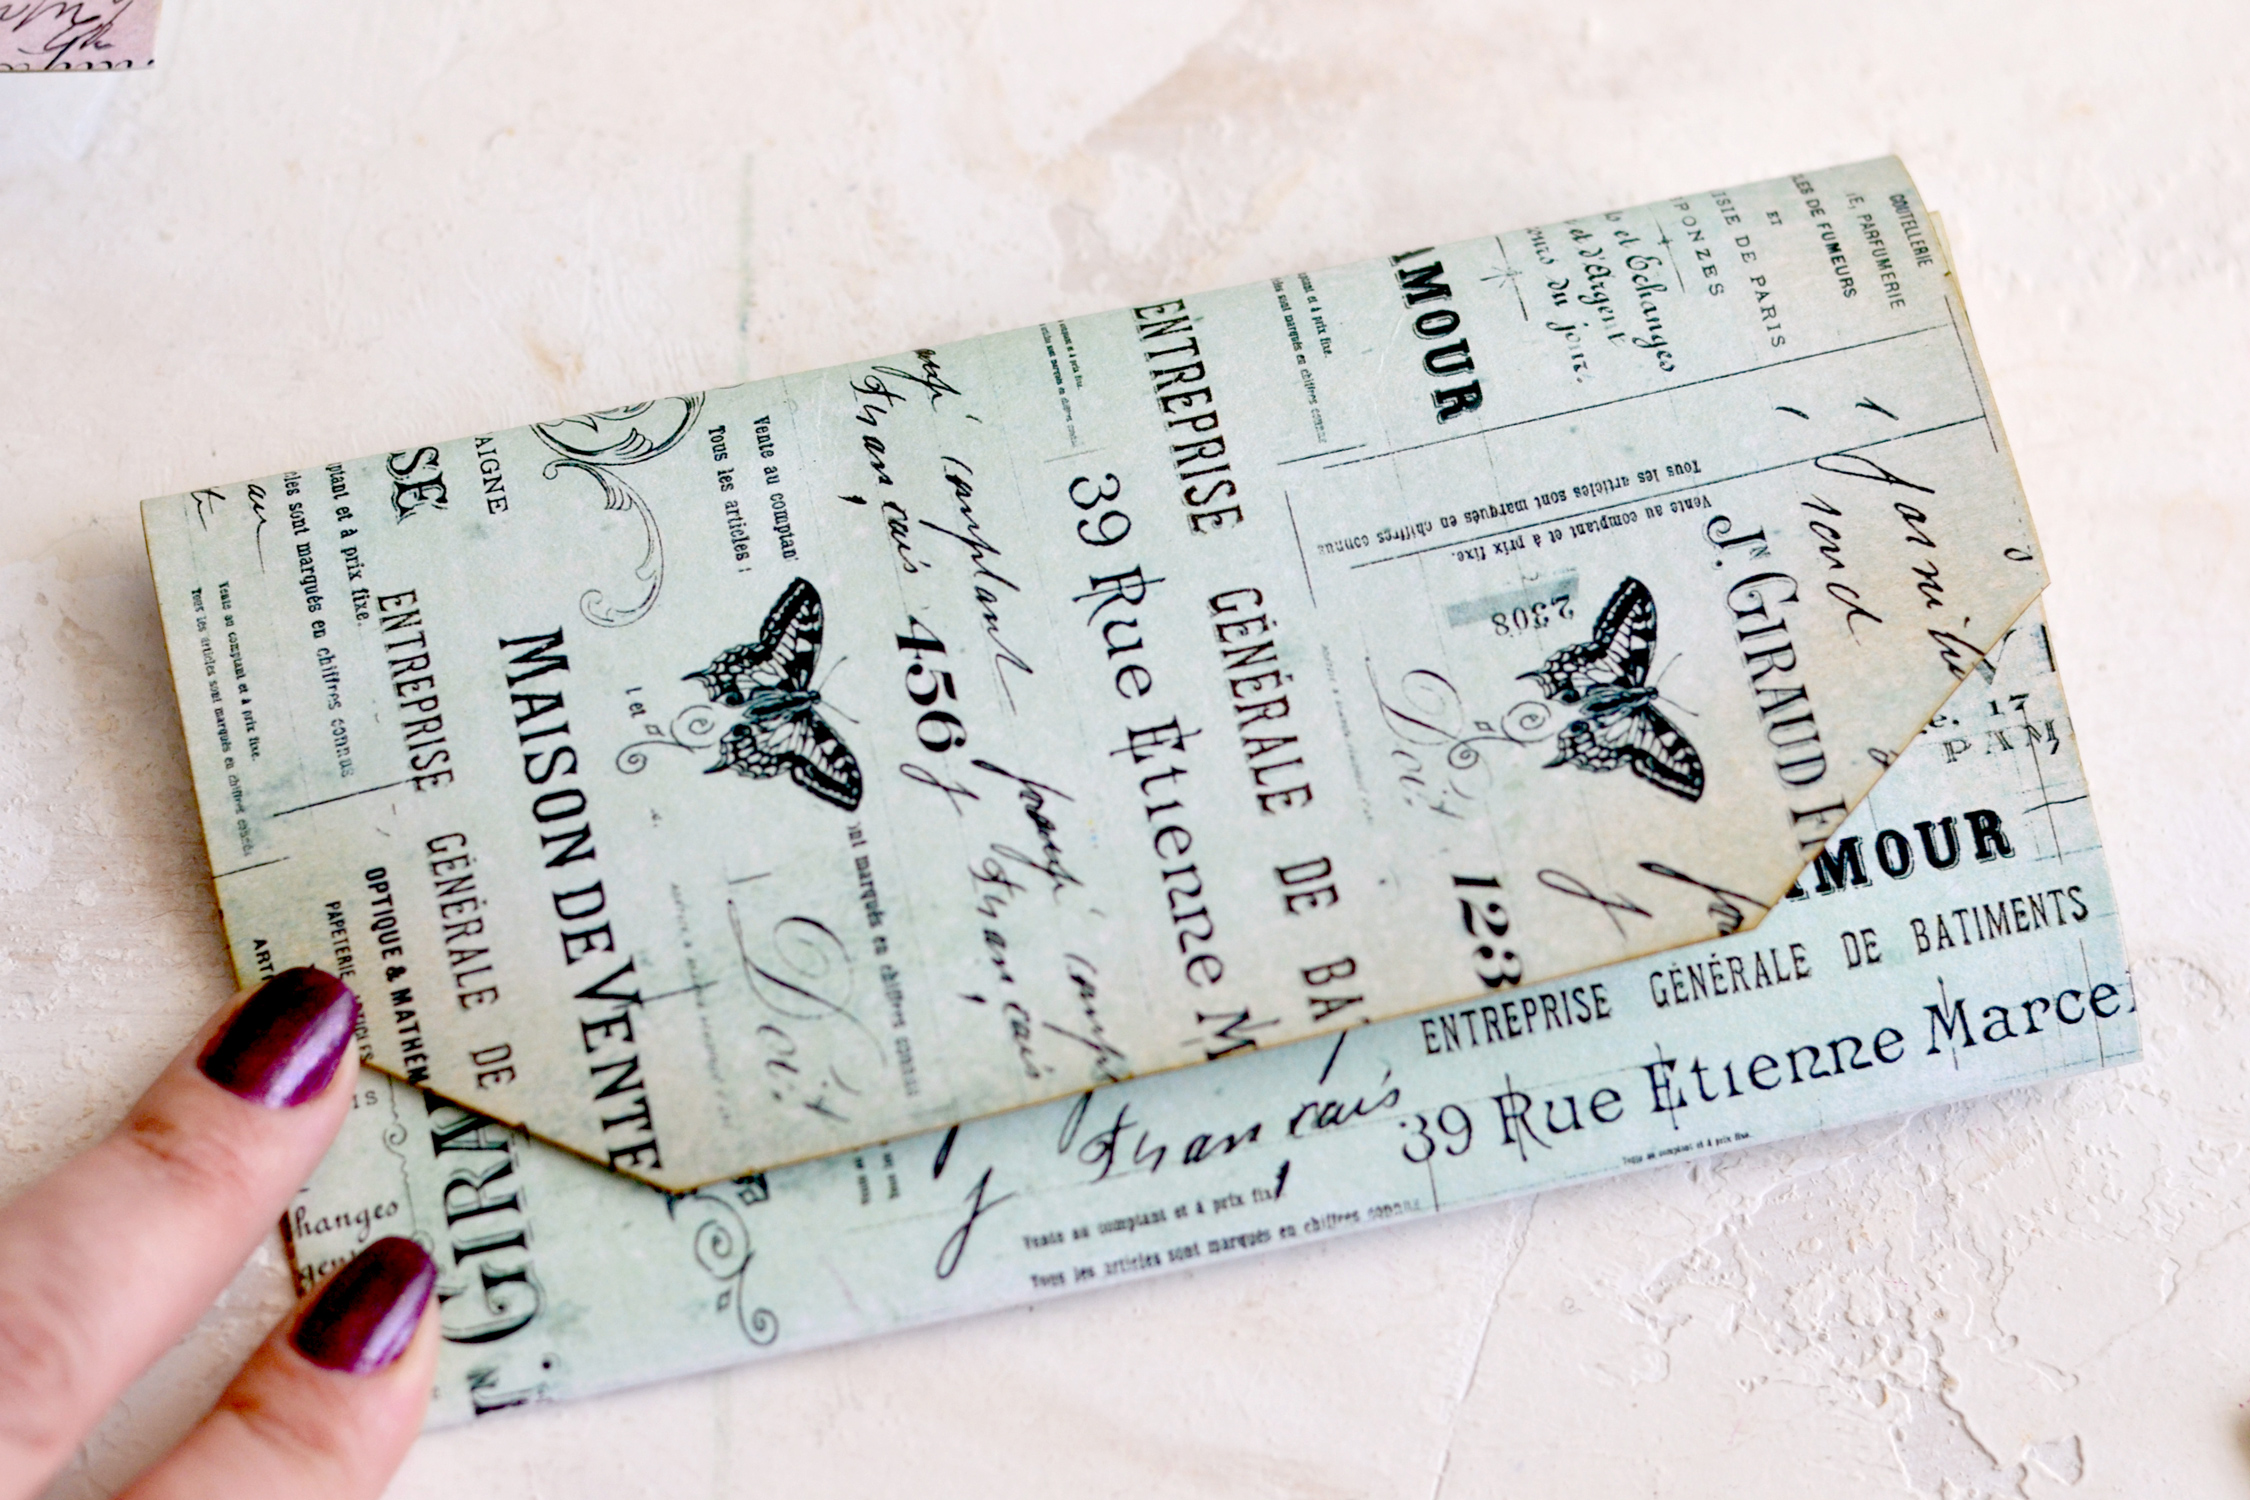
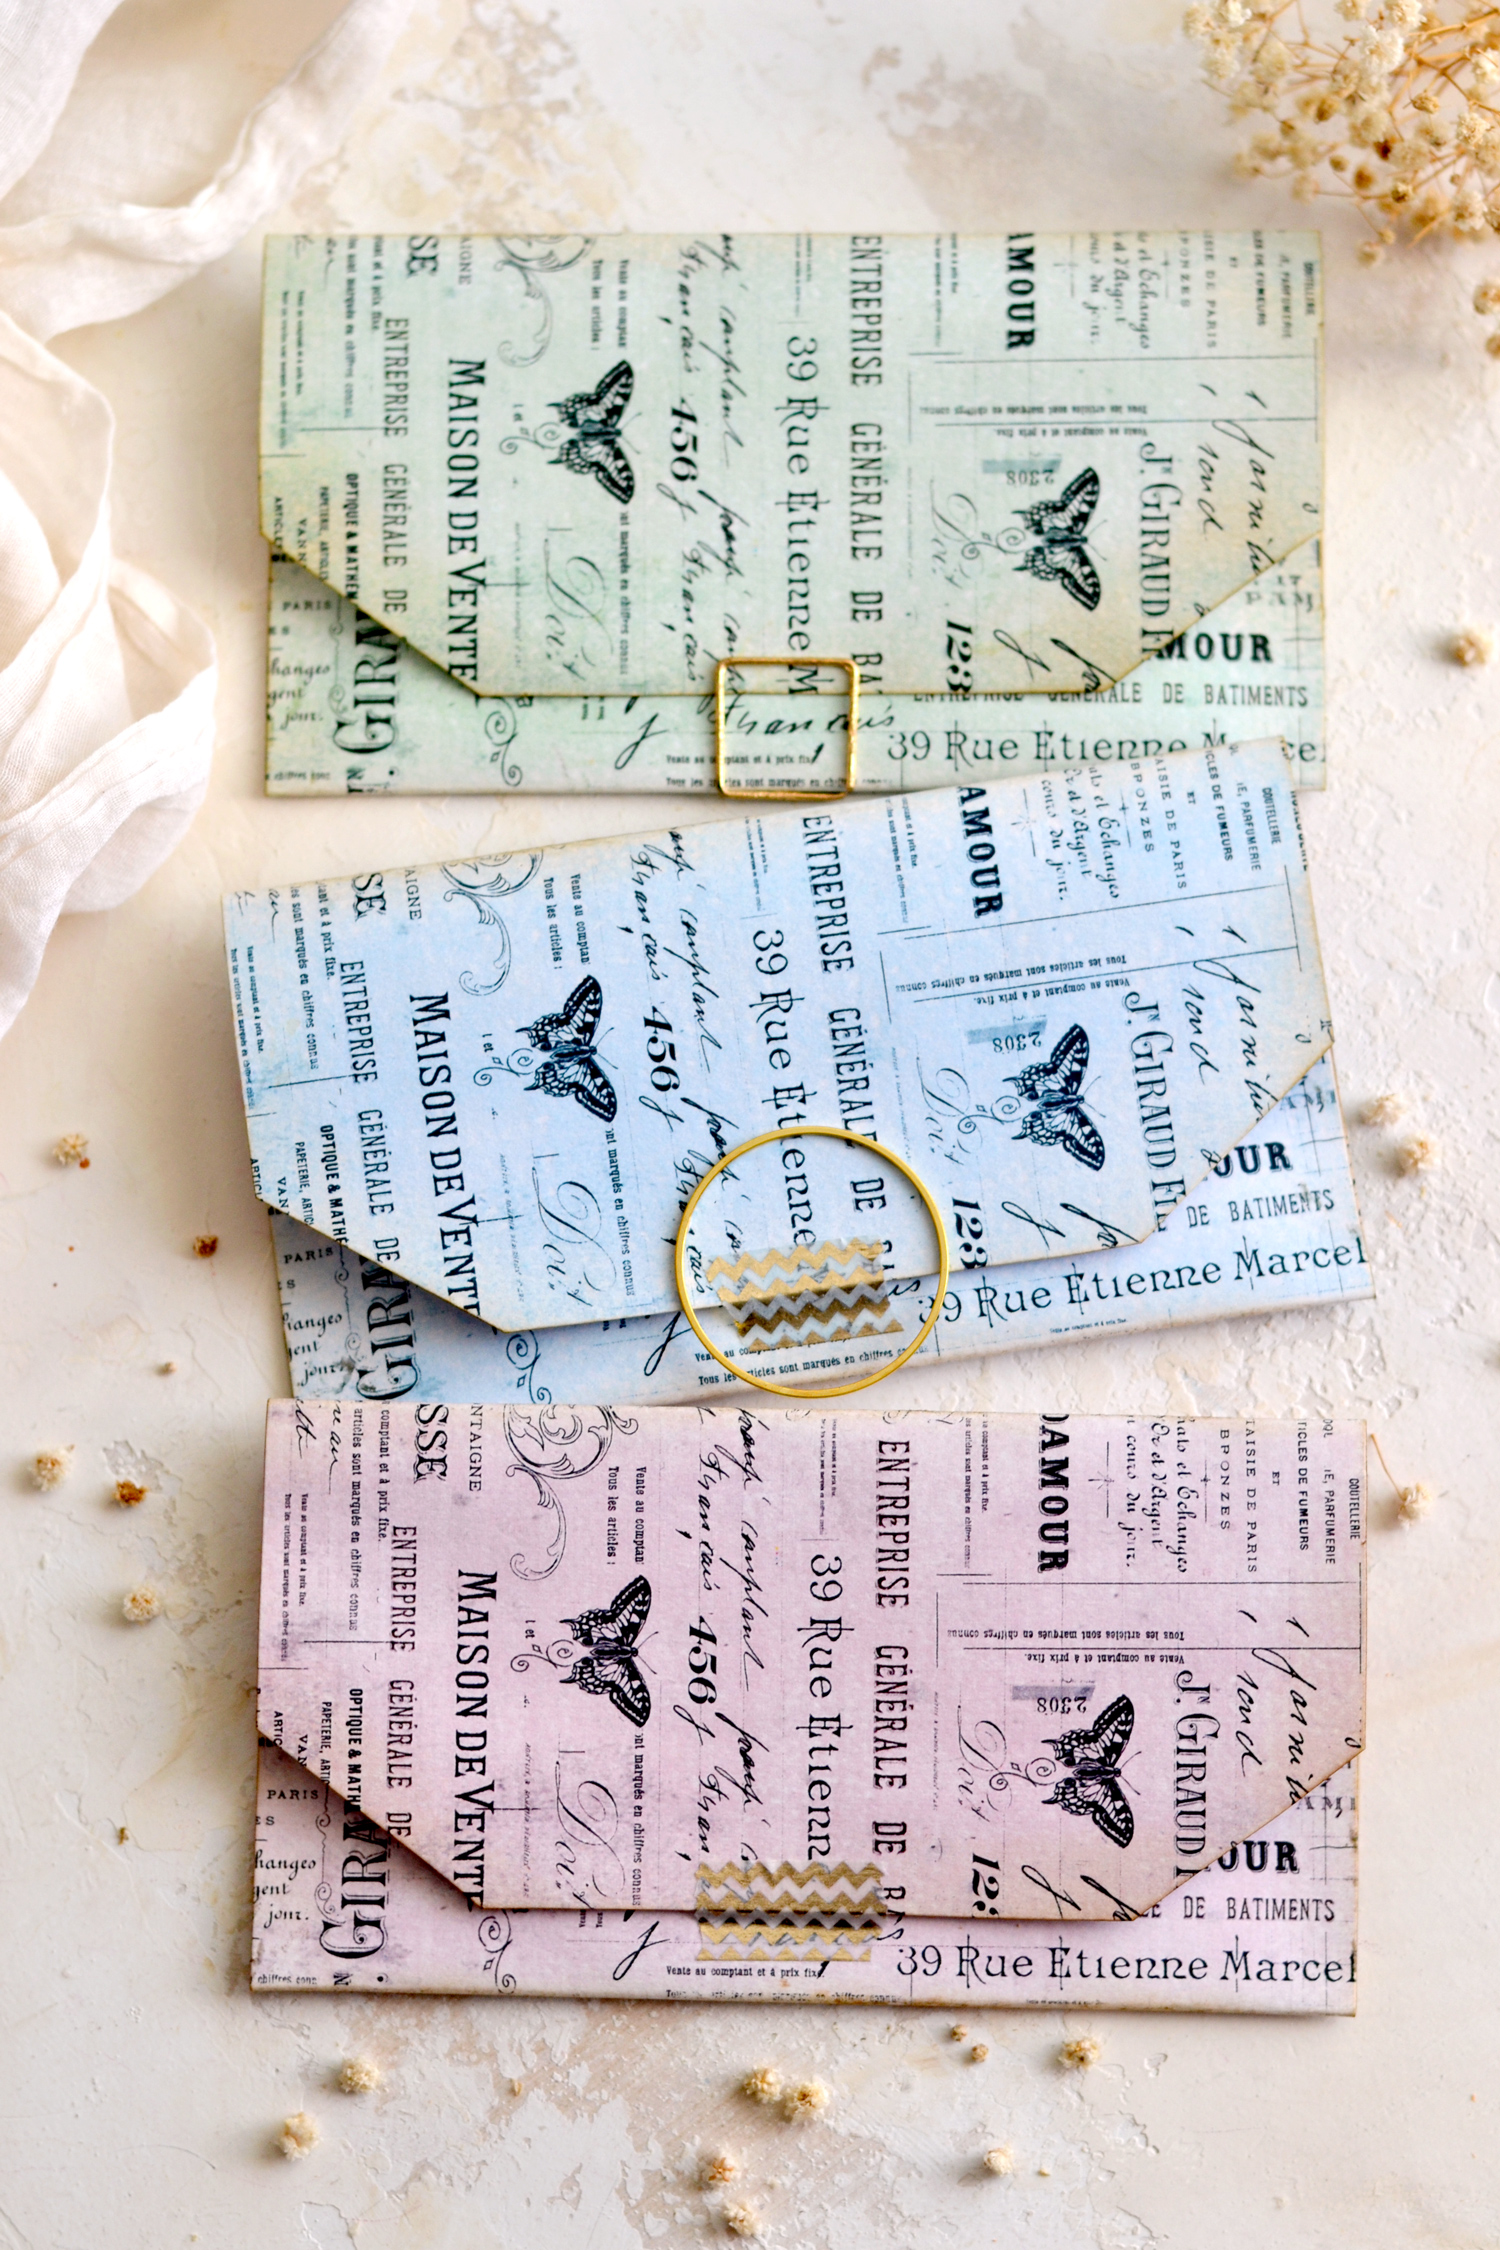
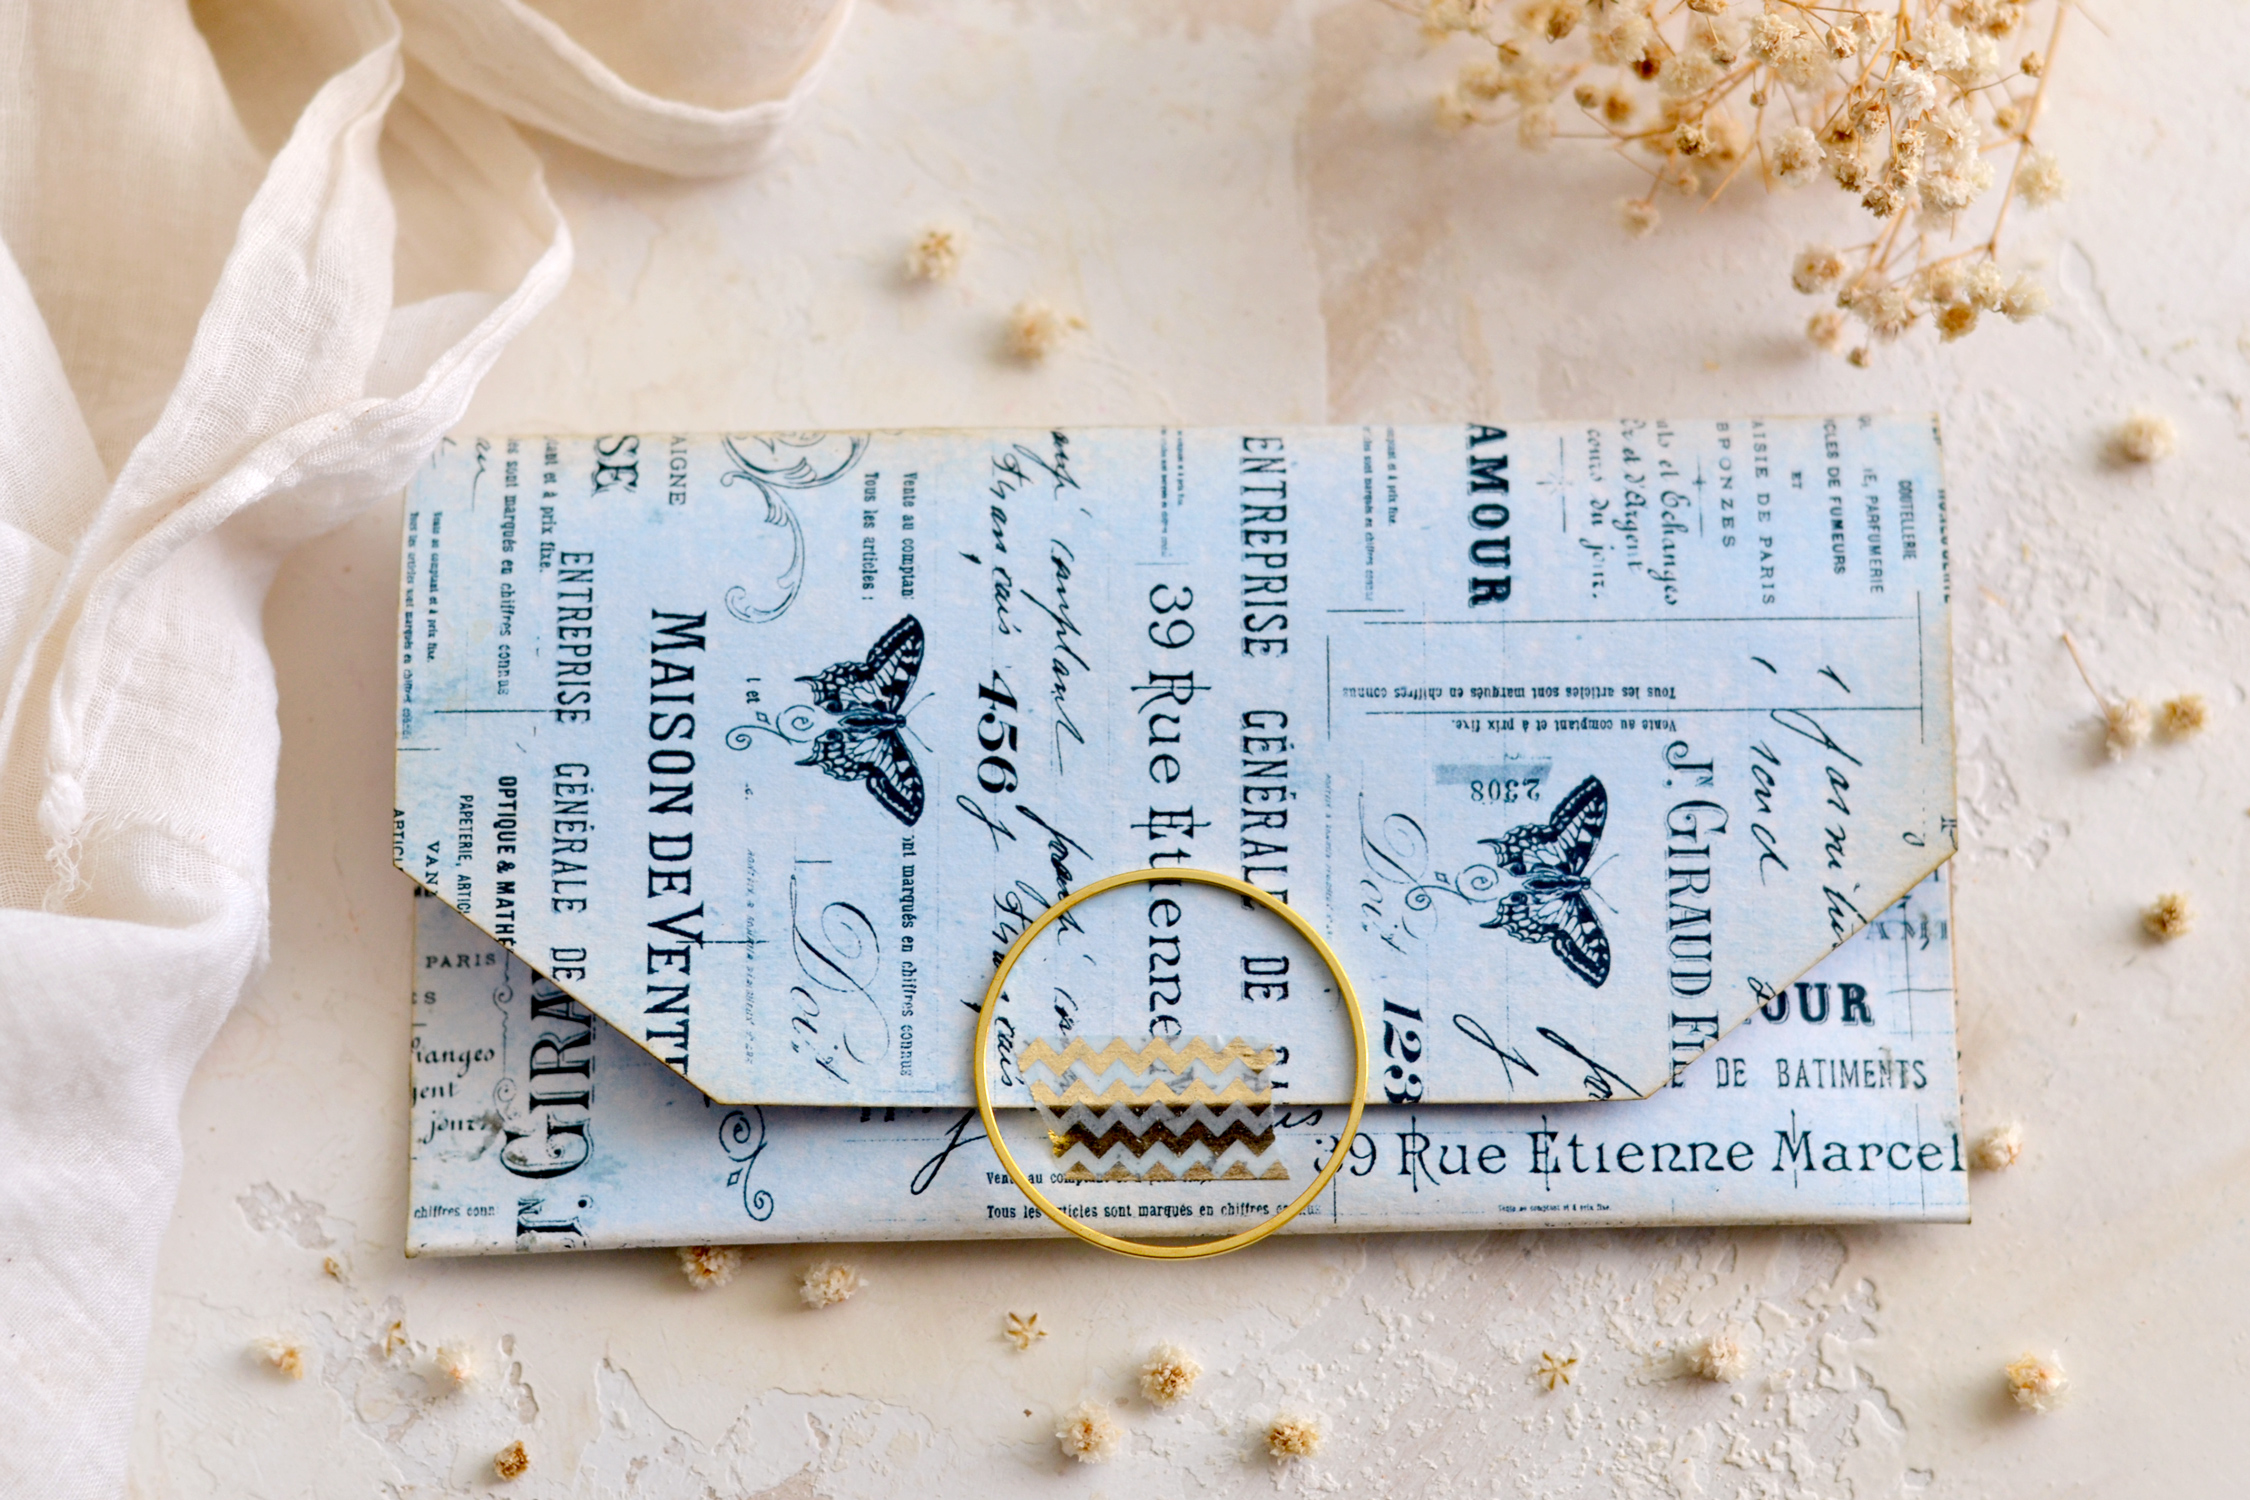
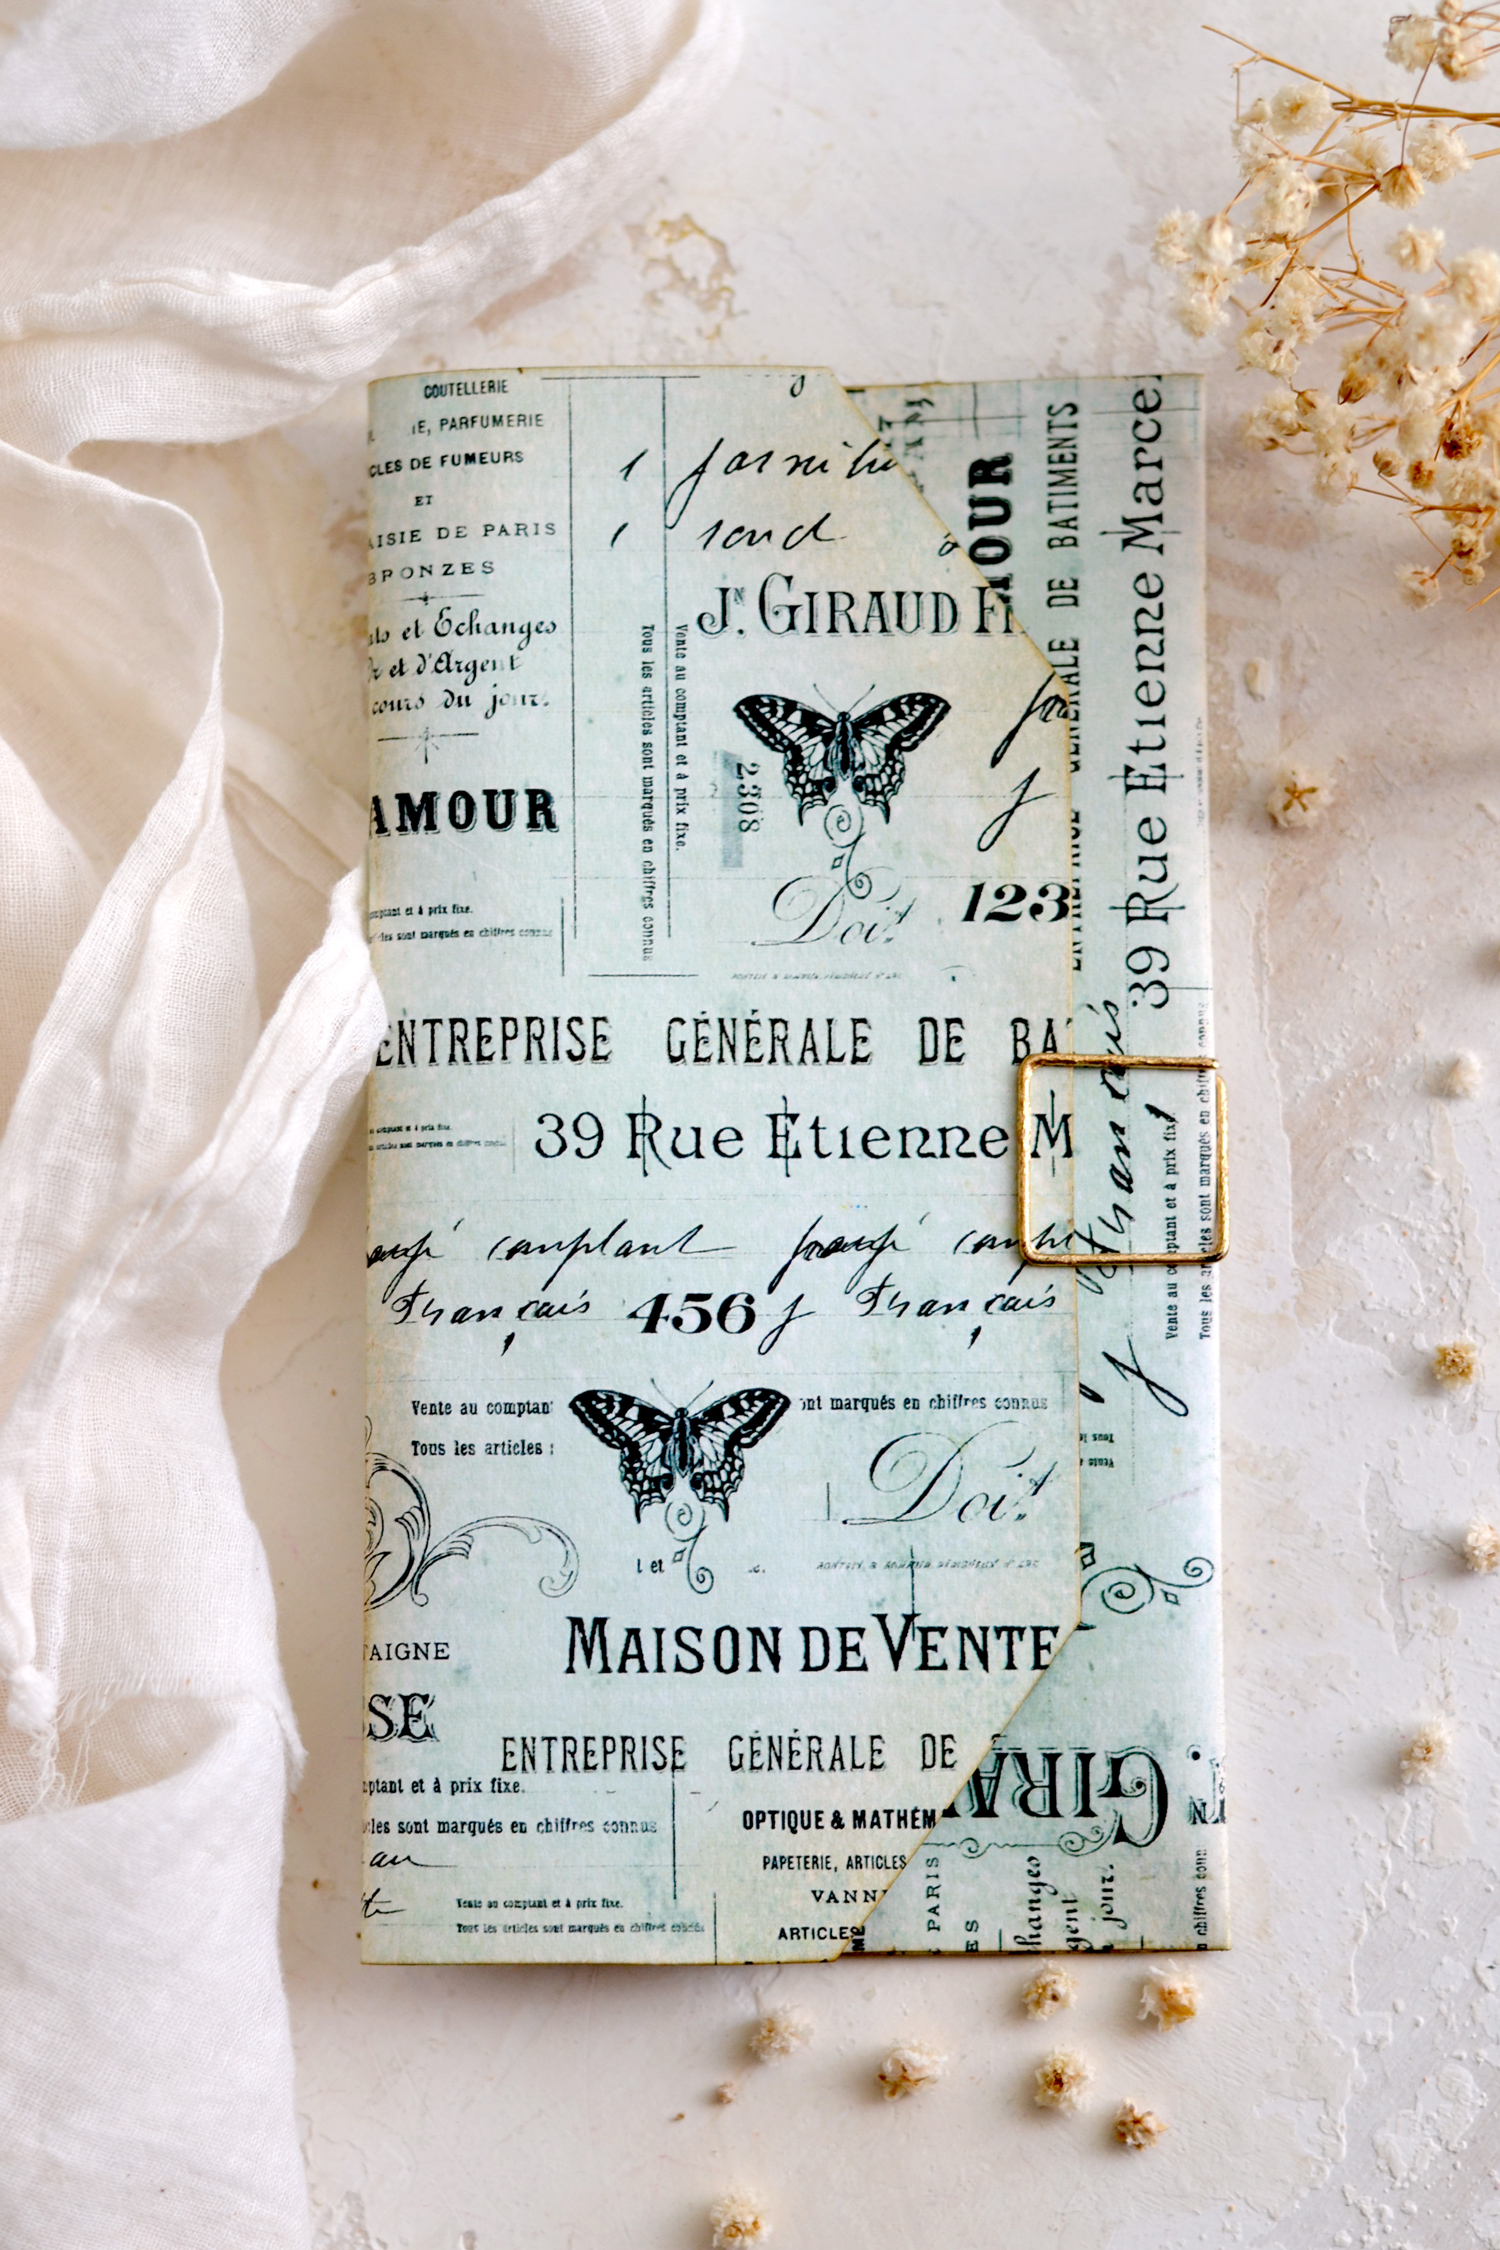
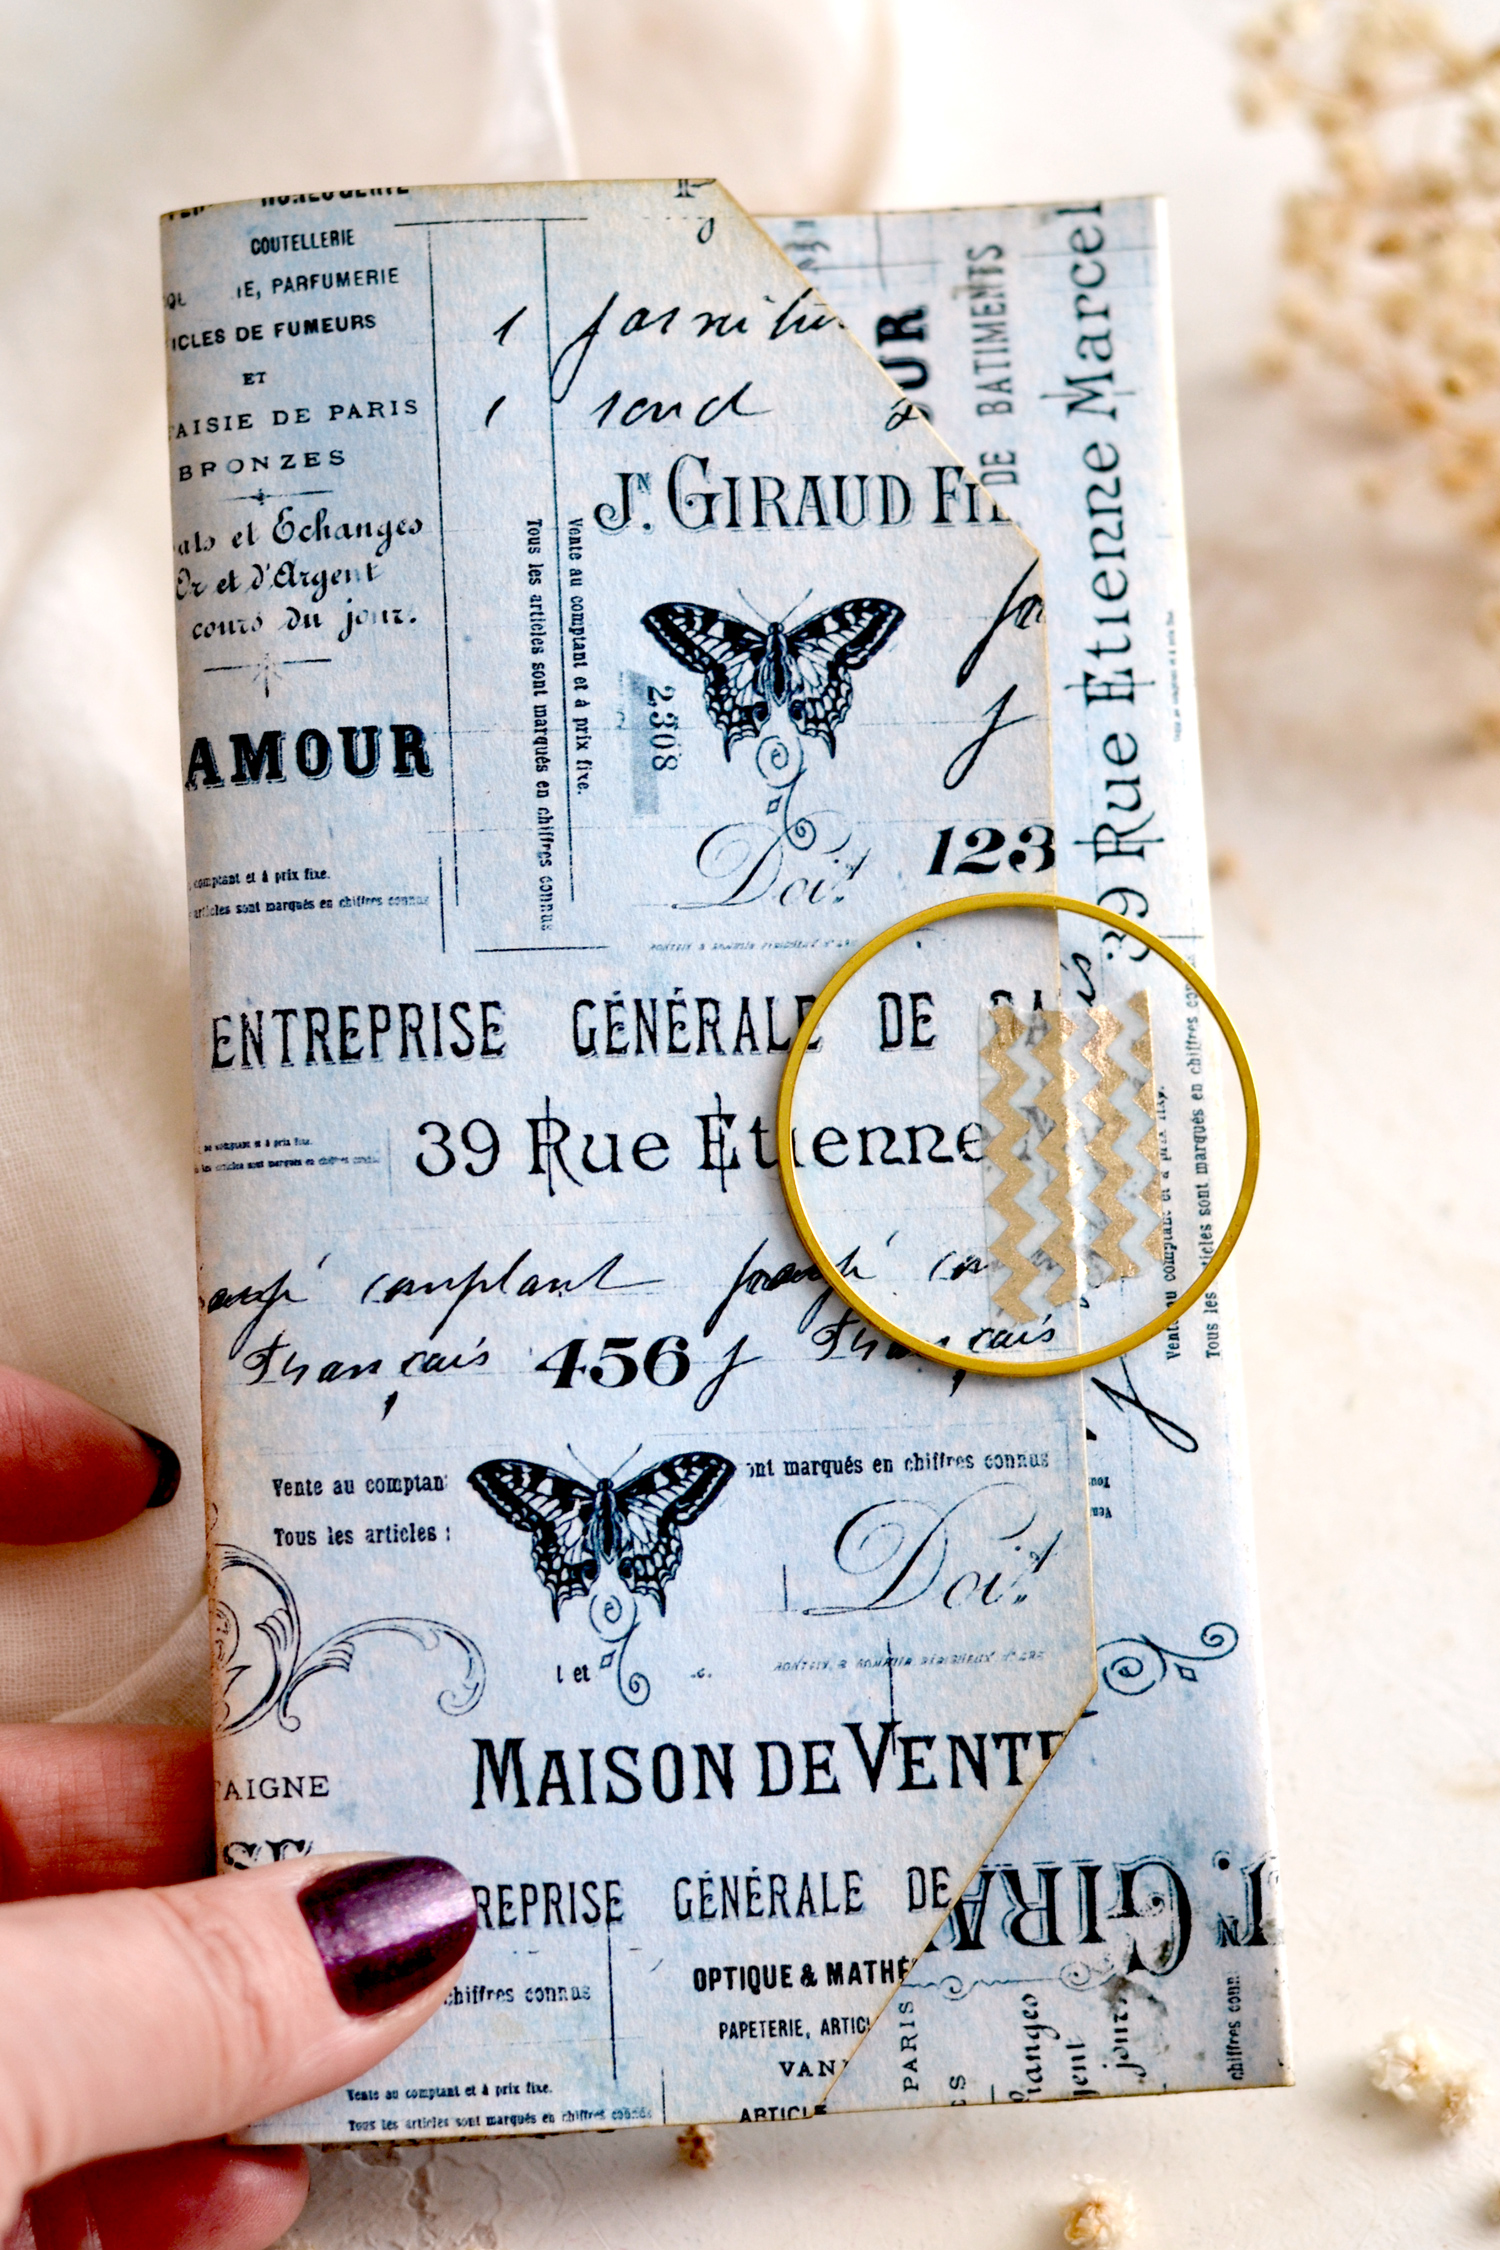
You can choose to further embellish these beauties as you want, I used a square paper clip to hold the green one in place, a little bit of washi on the pink one and a small gold circle on the blue one.
Can you guess which one turned out to be my favorite? If your answer is blue … it’s the correct one! I’m not sure if it is the color or the gold circle that I glued on top … maybe it was a mix of these two, but this one really stole the show for me! As you can see, I also added some washi tape with gold accents – this added a little bit more charm but also had a practical role because the clutches don’t stay closed on their own.
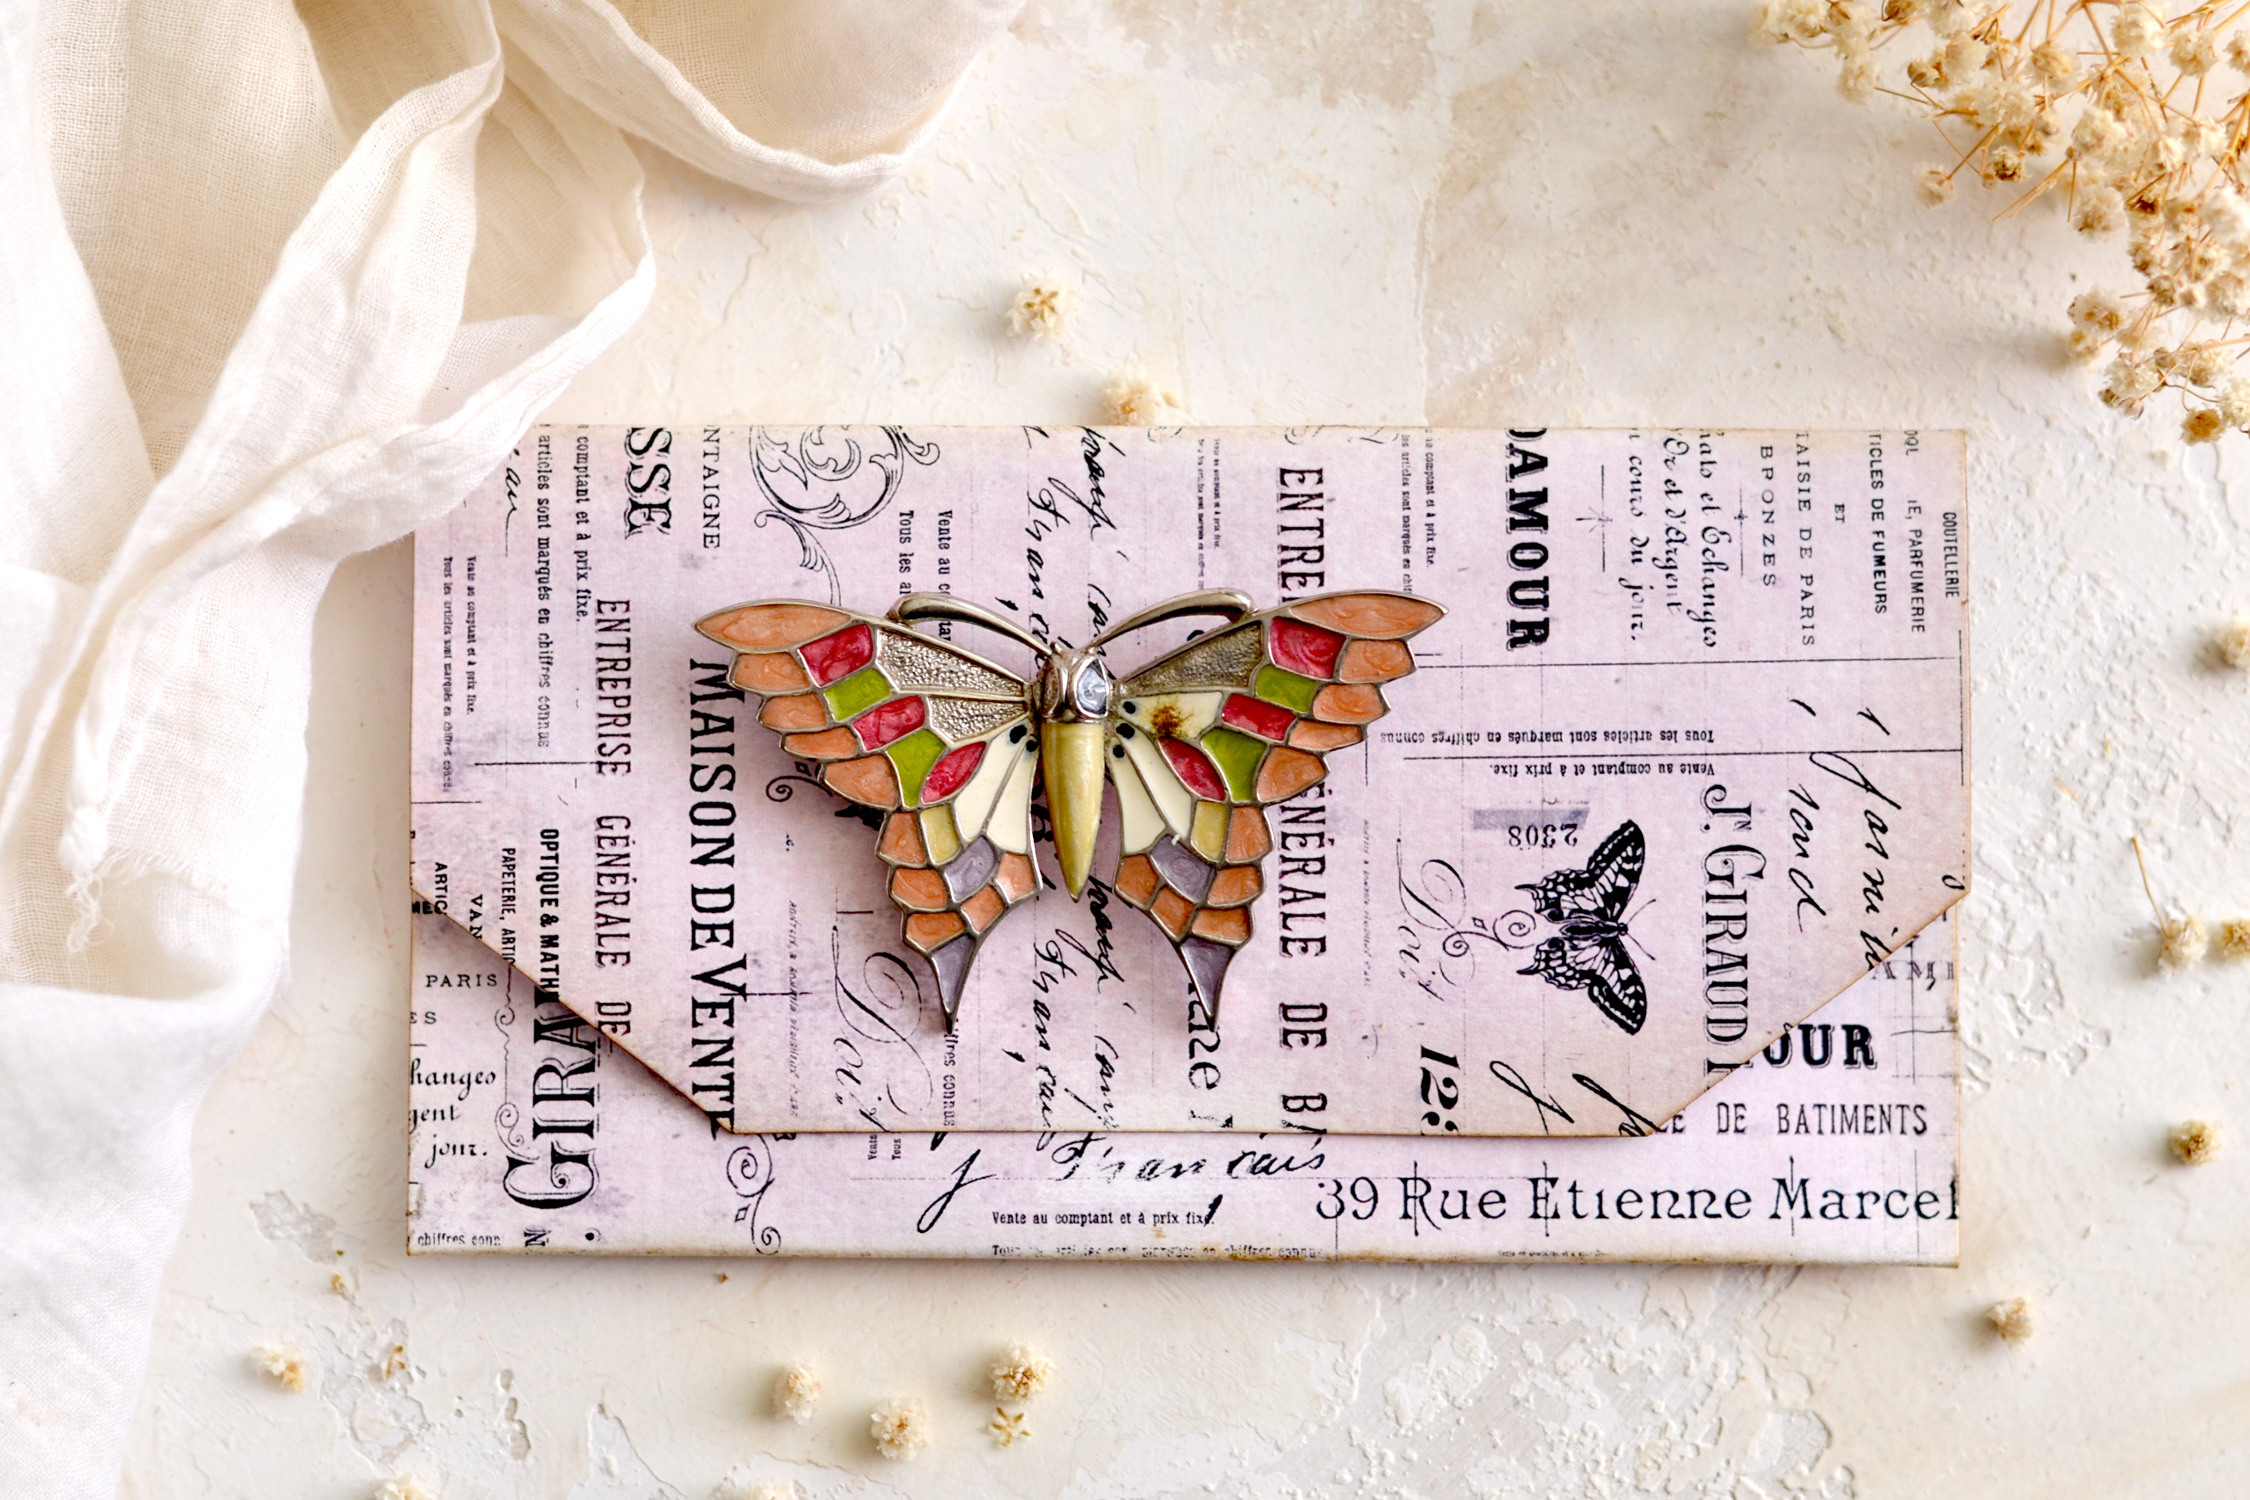
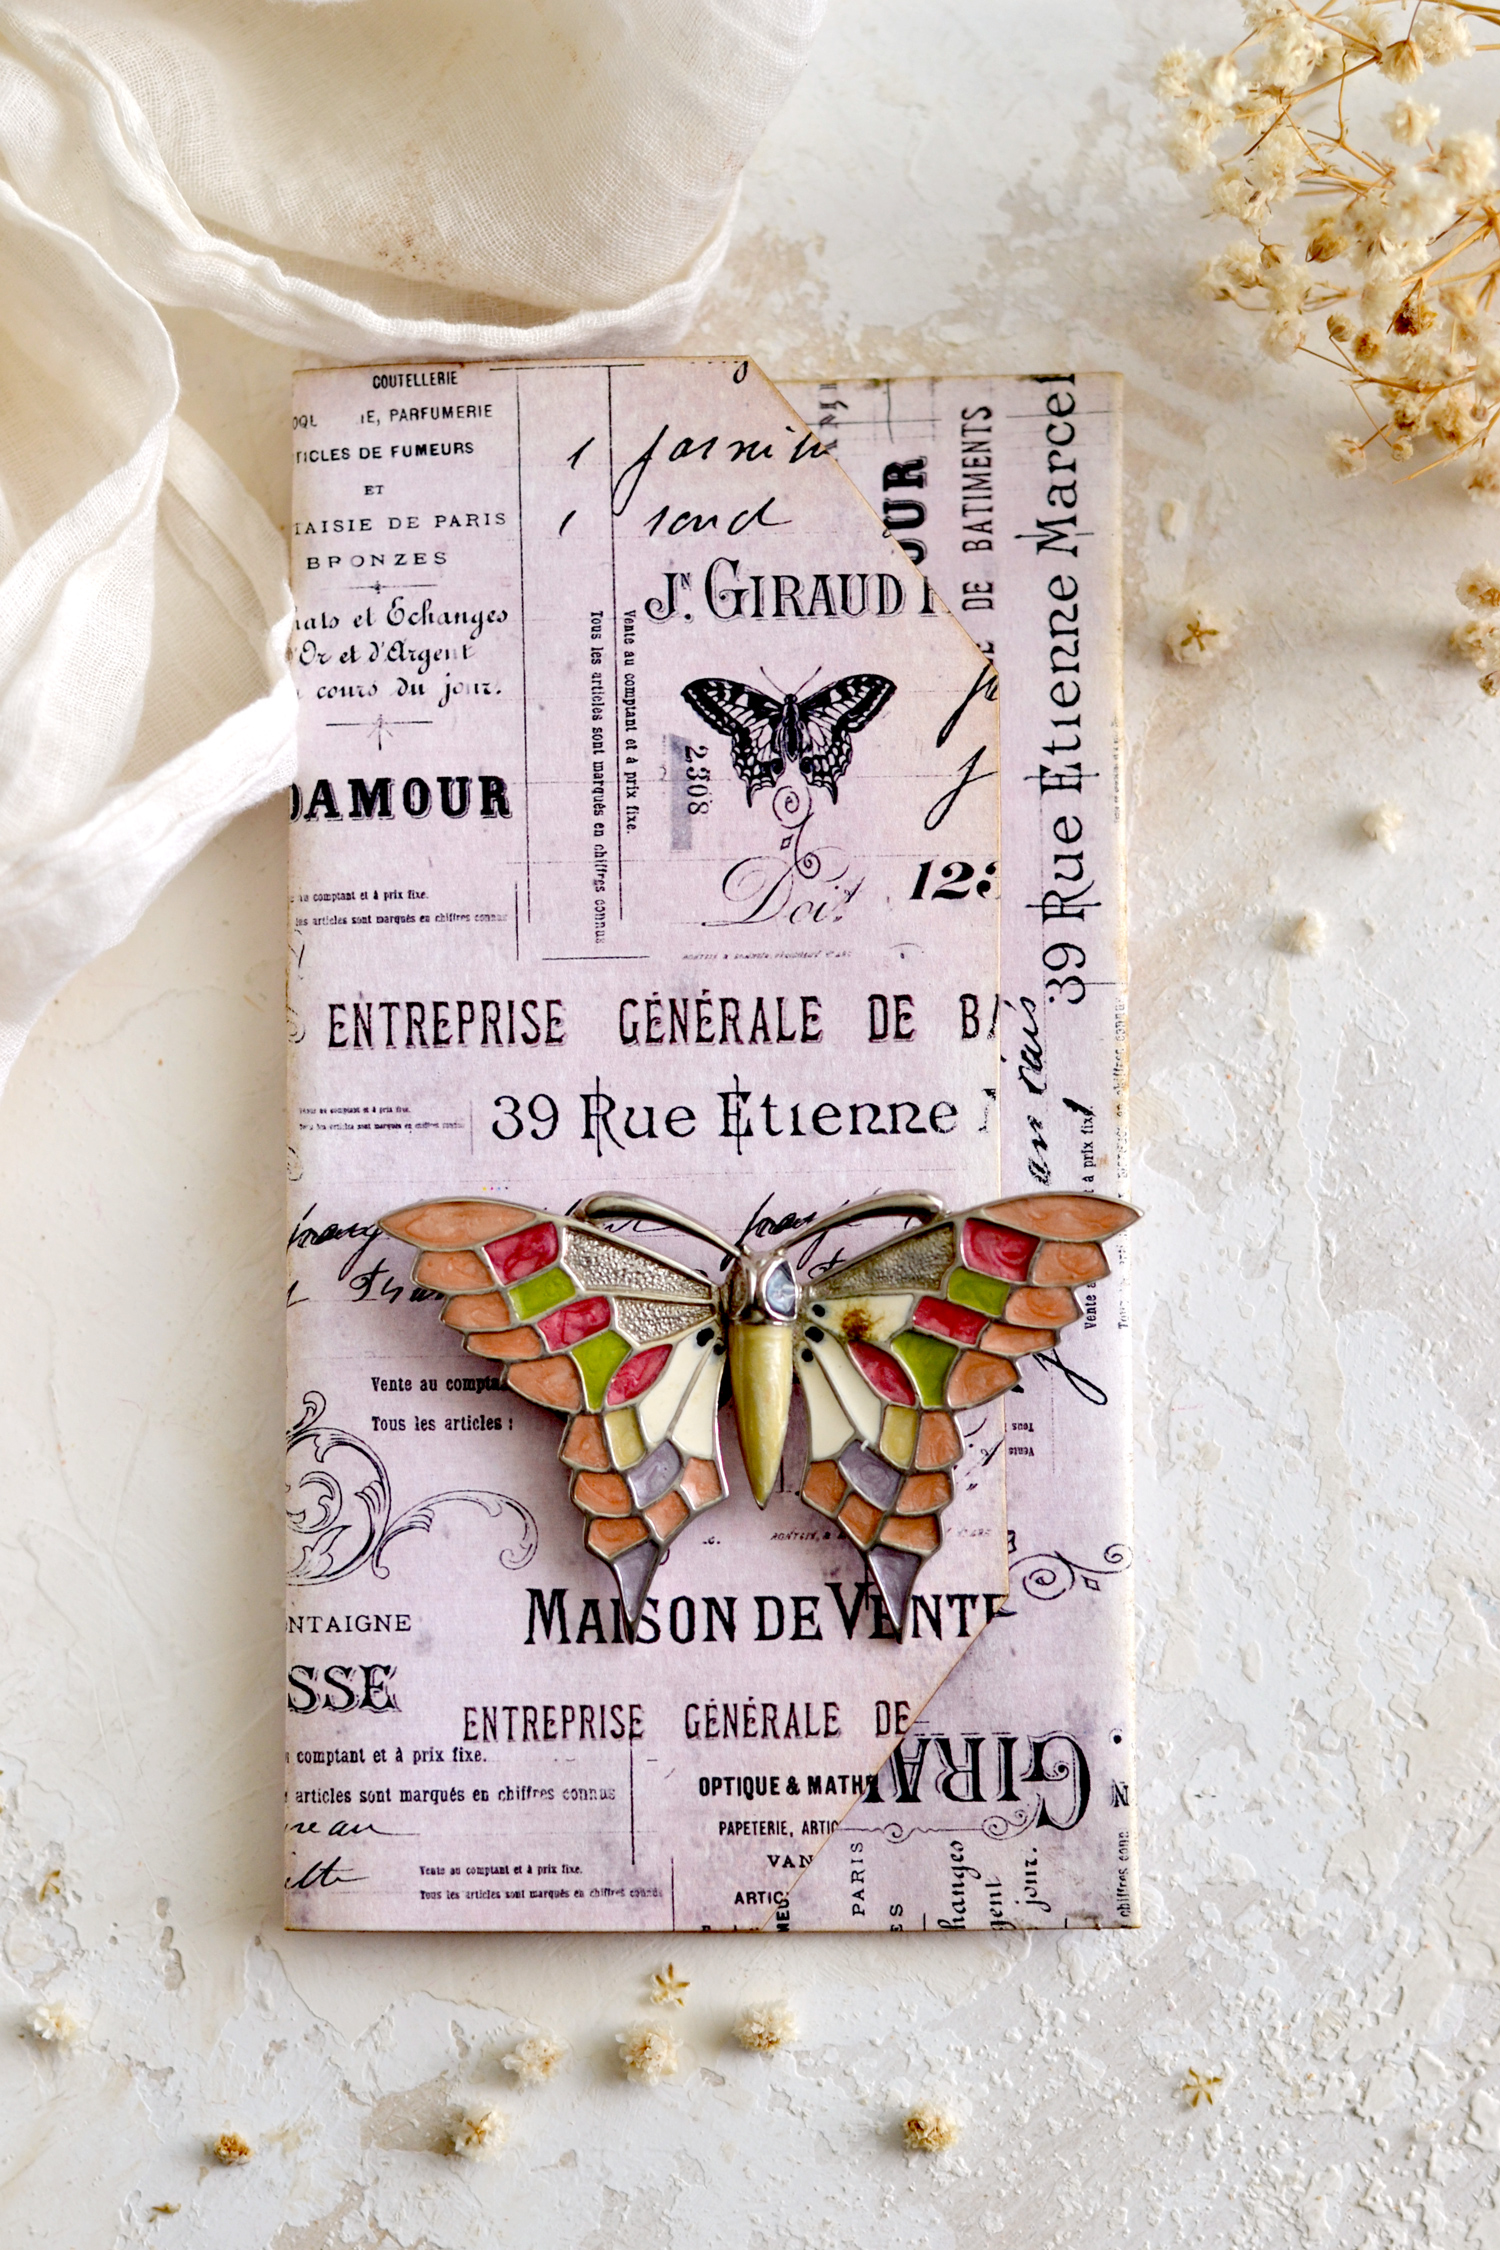
One thing that I would suggest while making these is to only use your bone folder to score on top of the dashed line that will help you make the first fold. Don’t use the bone folder to score or fold the other two folds and don’t press all the way through while actually making these two folds. Why? Because you might end up with more of an envelope-looking finished piece than a clutch. I did that here just so you can see the difference with the pink clutch, as you can see the edges don’t have too much dimension and are more flat.
But I did add a gorgeous vintage butterfly brooch to even the odds a little bit. And after that, this pink beauty might have moved to the top of my preferences!
You can choose other ways to further embellish your beautiful clutches, get as creative as you want and personalize them as you like! As you can see, the upside-down writing from the lower part of our printable makes sense now, the writing is positioned correctly after folding and gluing everything together!
Don’t forget that you can use two printables that have the same color to get a clutch that has that specific color both on the outside and the inside. Or you can mix things up and use two different colors, as I did to create clutches that have the inside different from the outside.
Also, feel free to use the black-and-white French ephemera printable to make a black-and-white clutch or use coffee, tea or even some of this avocado dye to dye the paper before using it.
The lovely French ephemera vintage clutches in pastels can be used horizontally because this is how regular clutches are usually used. But of course, you can also use them vertically because creative people like you and me like to spice things up and go outside the rules from time to time.
I wanted to keep things relatively simple to make the clutches, that’s why I decided to use this quick no-sew technique that only uses glue to assemble them. But if you are feeling adventurous and want to take these to a whole new level of chicness, you can definitely use your sewing machine instead!
These beauties can be used inside your junk journals or can be turned into tres chic junk journal covers. If you are planning on using them as covers, simply skip the gluing part! If you want to make them bigger or smaller, you can – simply use the same idea starting from a rectangle and create all the sizes that you want!
P.S. If you want to make them more durable, you can brush a matte gel medium on top and let it dry. Then you can apply a layer of gel medium on the back, let it dry again, and only then start gluing them.
These adorable paper clutches can also be used to hold all sorts of small things from your purse, atelier or home, all in a stylish way! I love it when we can combine practicality with aesthetics, so you can make many of these to help you organize scrap pieces of ephemera, stickers, buttons, paper clips, lace or other embellishments that you have around.
Not to mention they can be turned into unique gifts for family and friends, just add a small present or a card (even a handwritten letter) inside and you’ll have an adorable gift ready to bring joy to someone you love!
Happy crafting,
Diana / Dreams Factory



Karen Bright says
I love this idea! It would be a great addition to a junk journal, or even a cute insert in a small folio. Thanks so much for the great tips (and the fabulous collage paper!!)
Karen Watson says
Have fun creating these pretty clutches Karen!
SusanIrene says
Thank you Diana. I am going to try printing on muslin and see how this works. these are so cute and perfect to put tea bags in for little gifts.
Karen Watson says
That’s such a great idea Susan!