DIY Paper Collage Strips
Hello Graphics Fairy friends! I’m Diana from Dreams Factory and I’m happy to be here again to share another DIY project with you! Today I will show you how to make these gorgeous Vintage French DIY Paper Collage Strips with beautifully gilded edges! You can have so much fun with these and experiment on your own terms, you will see that you’ll have many options when it comes to cutting, folding and further embellishing them as you want!
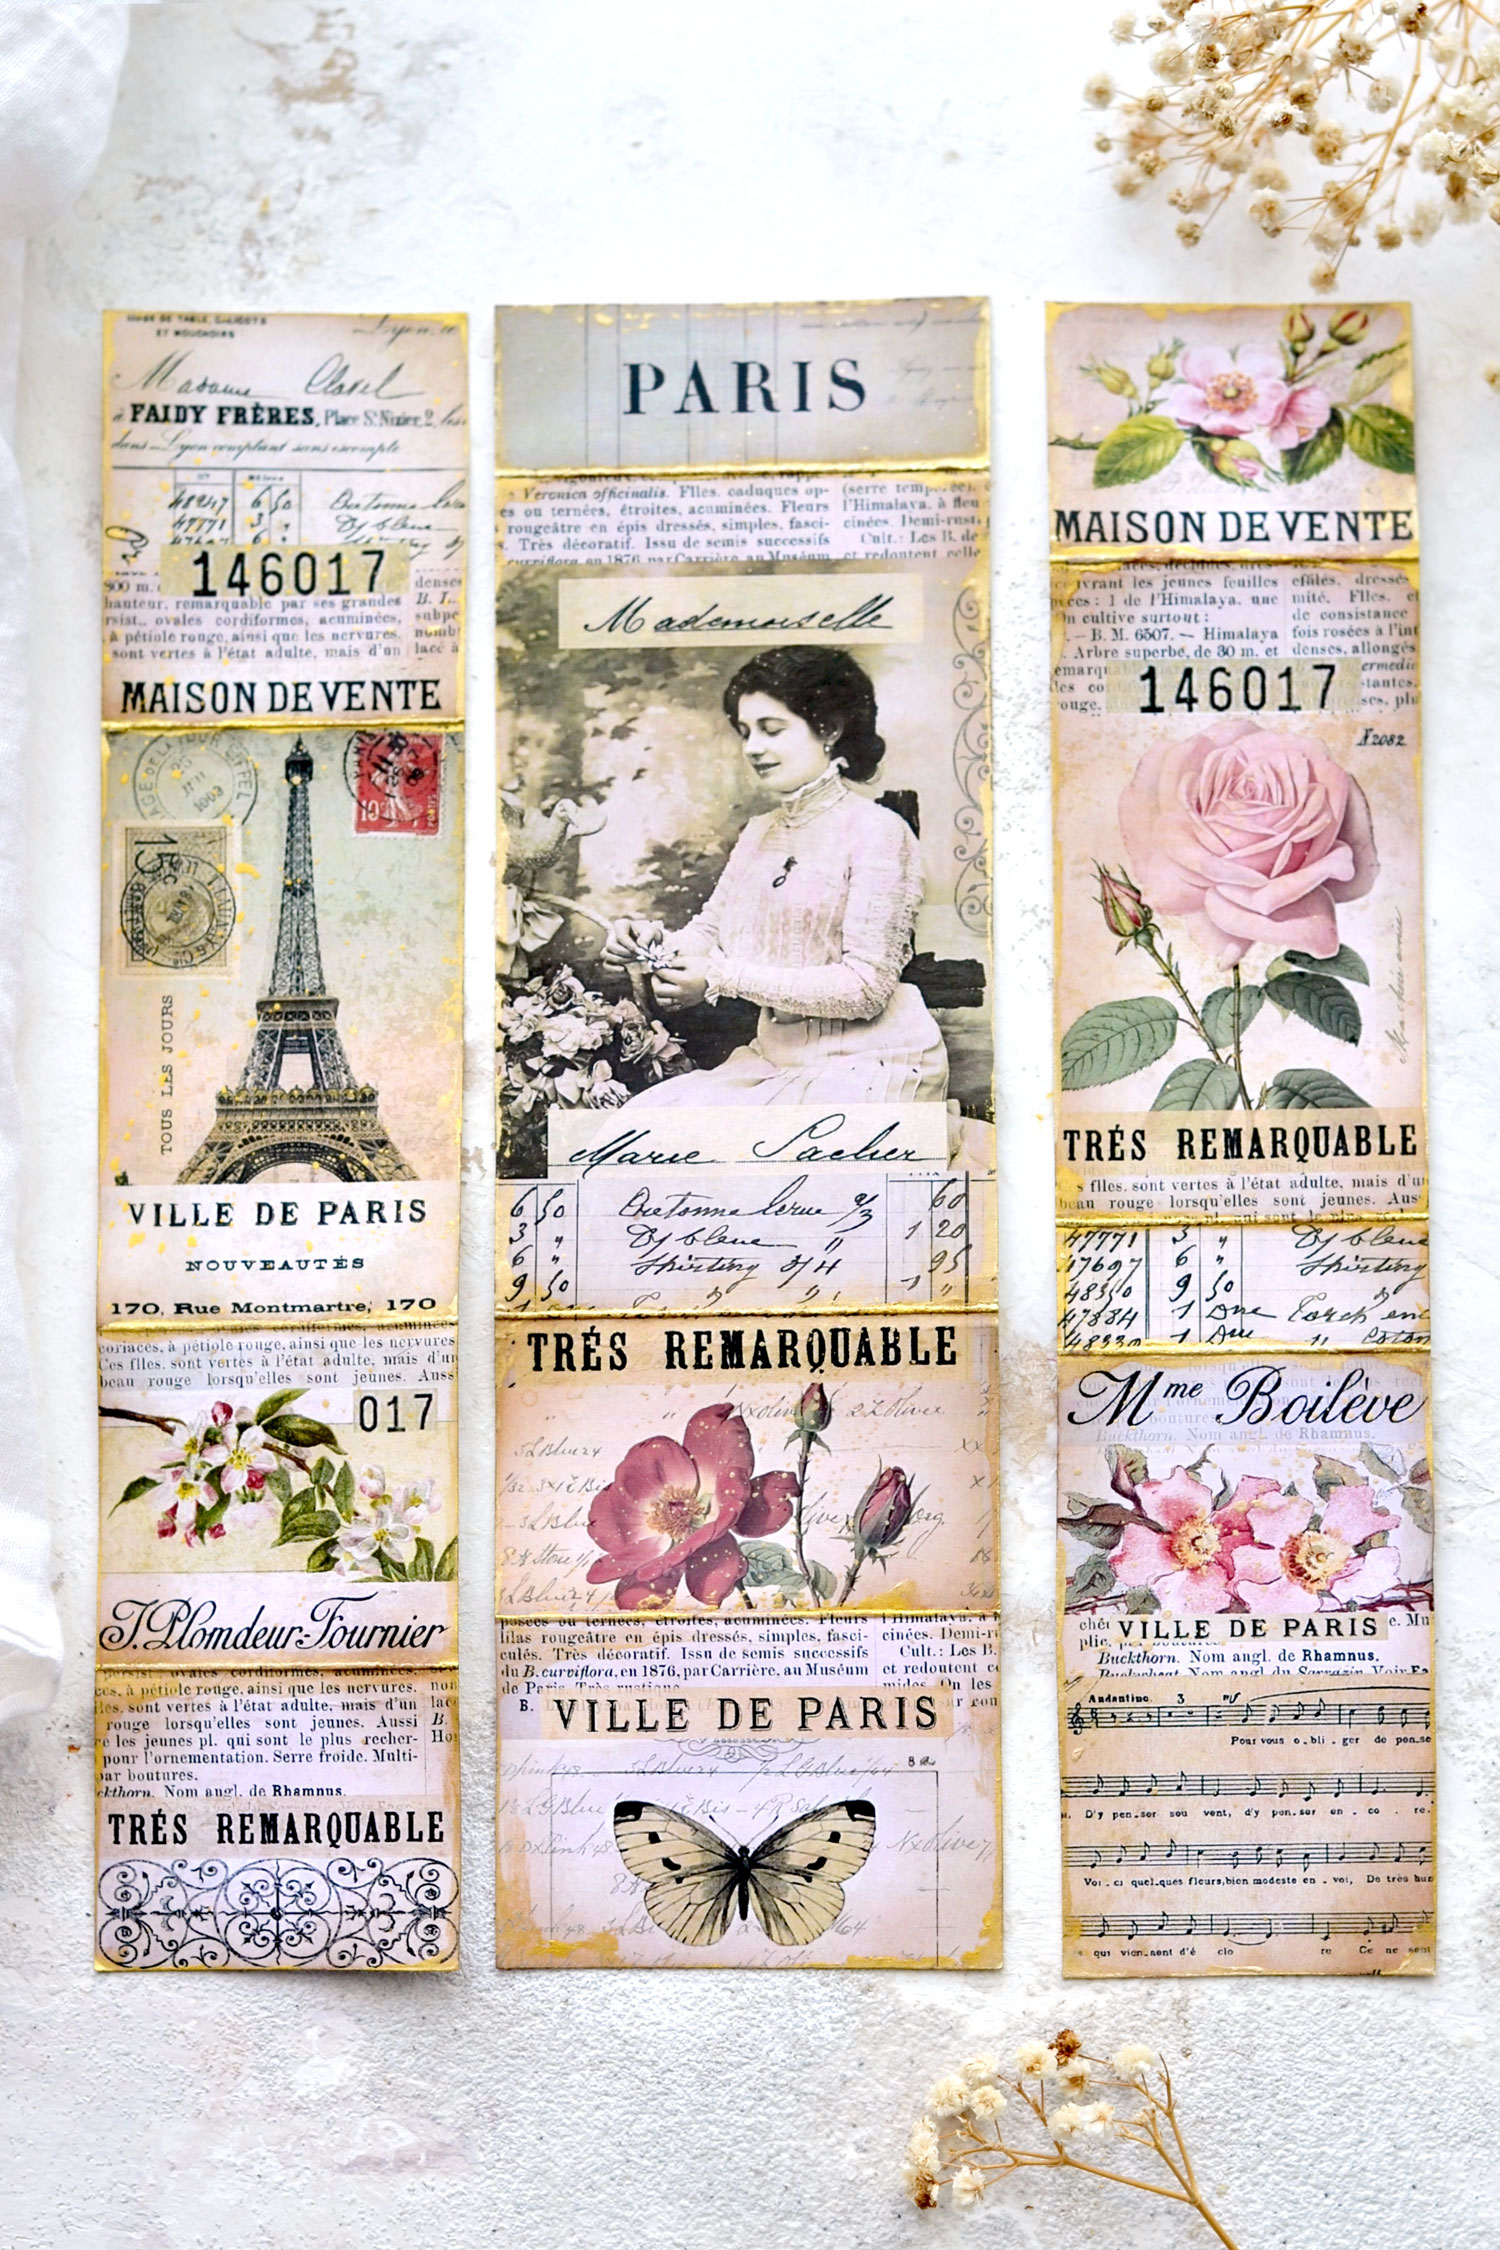
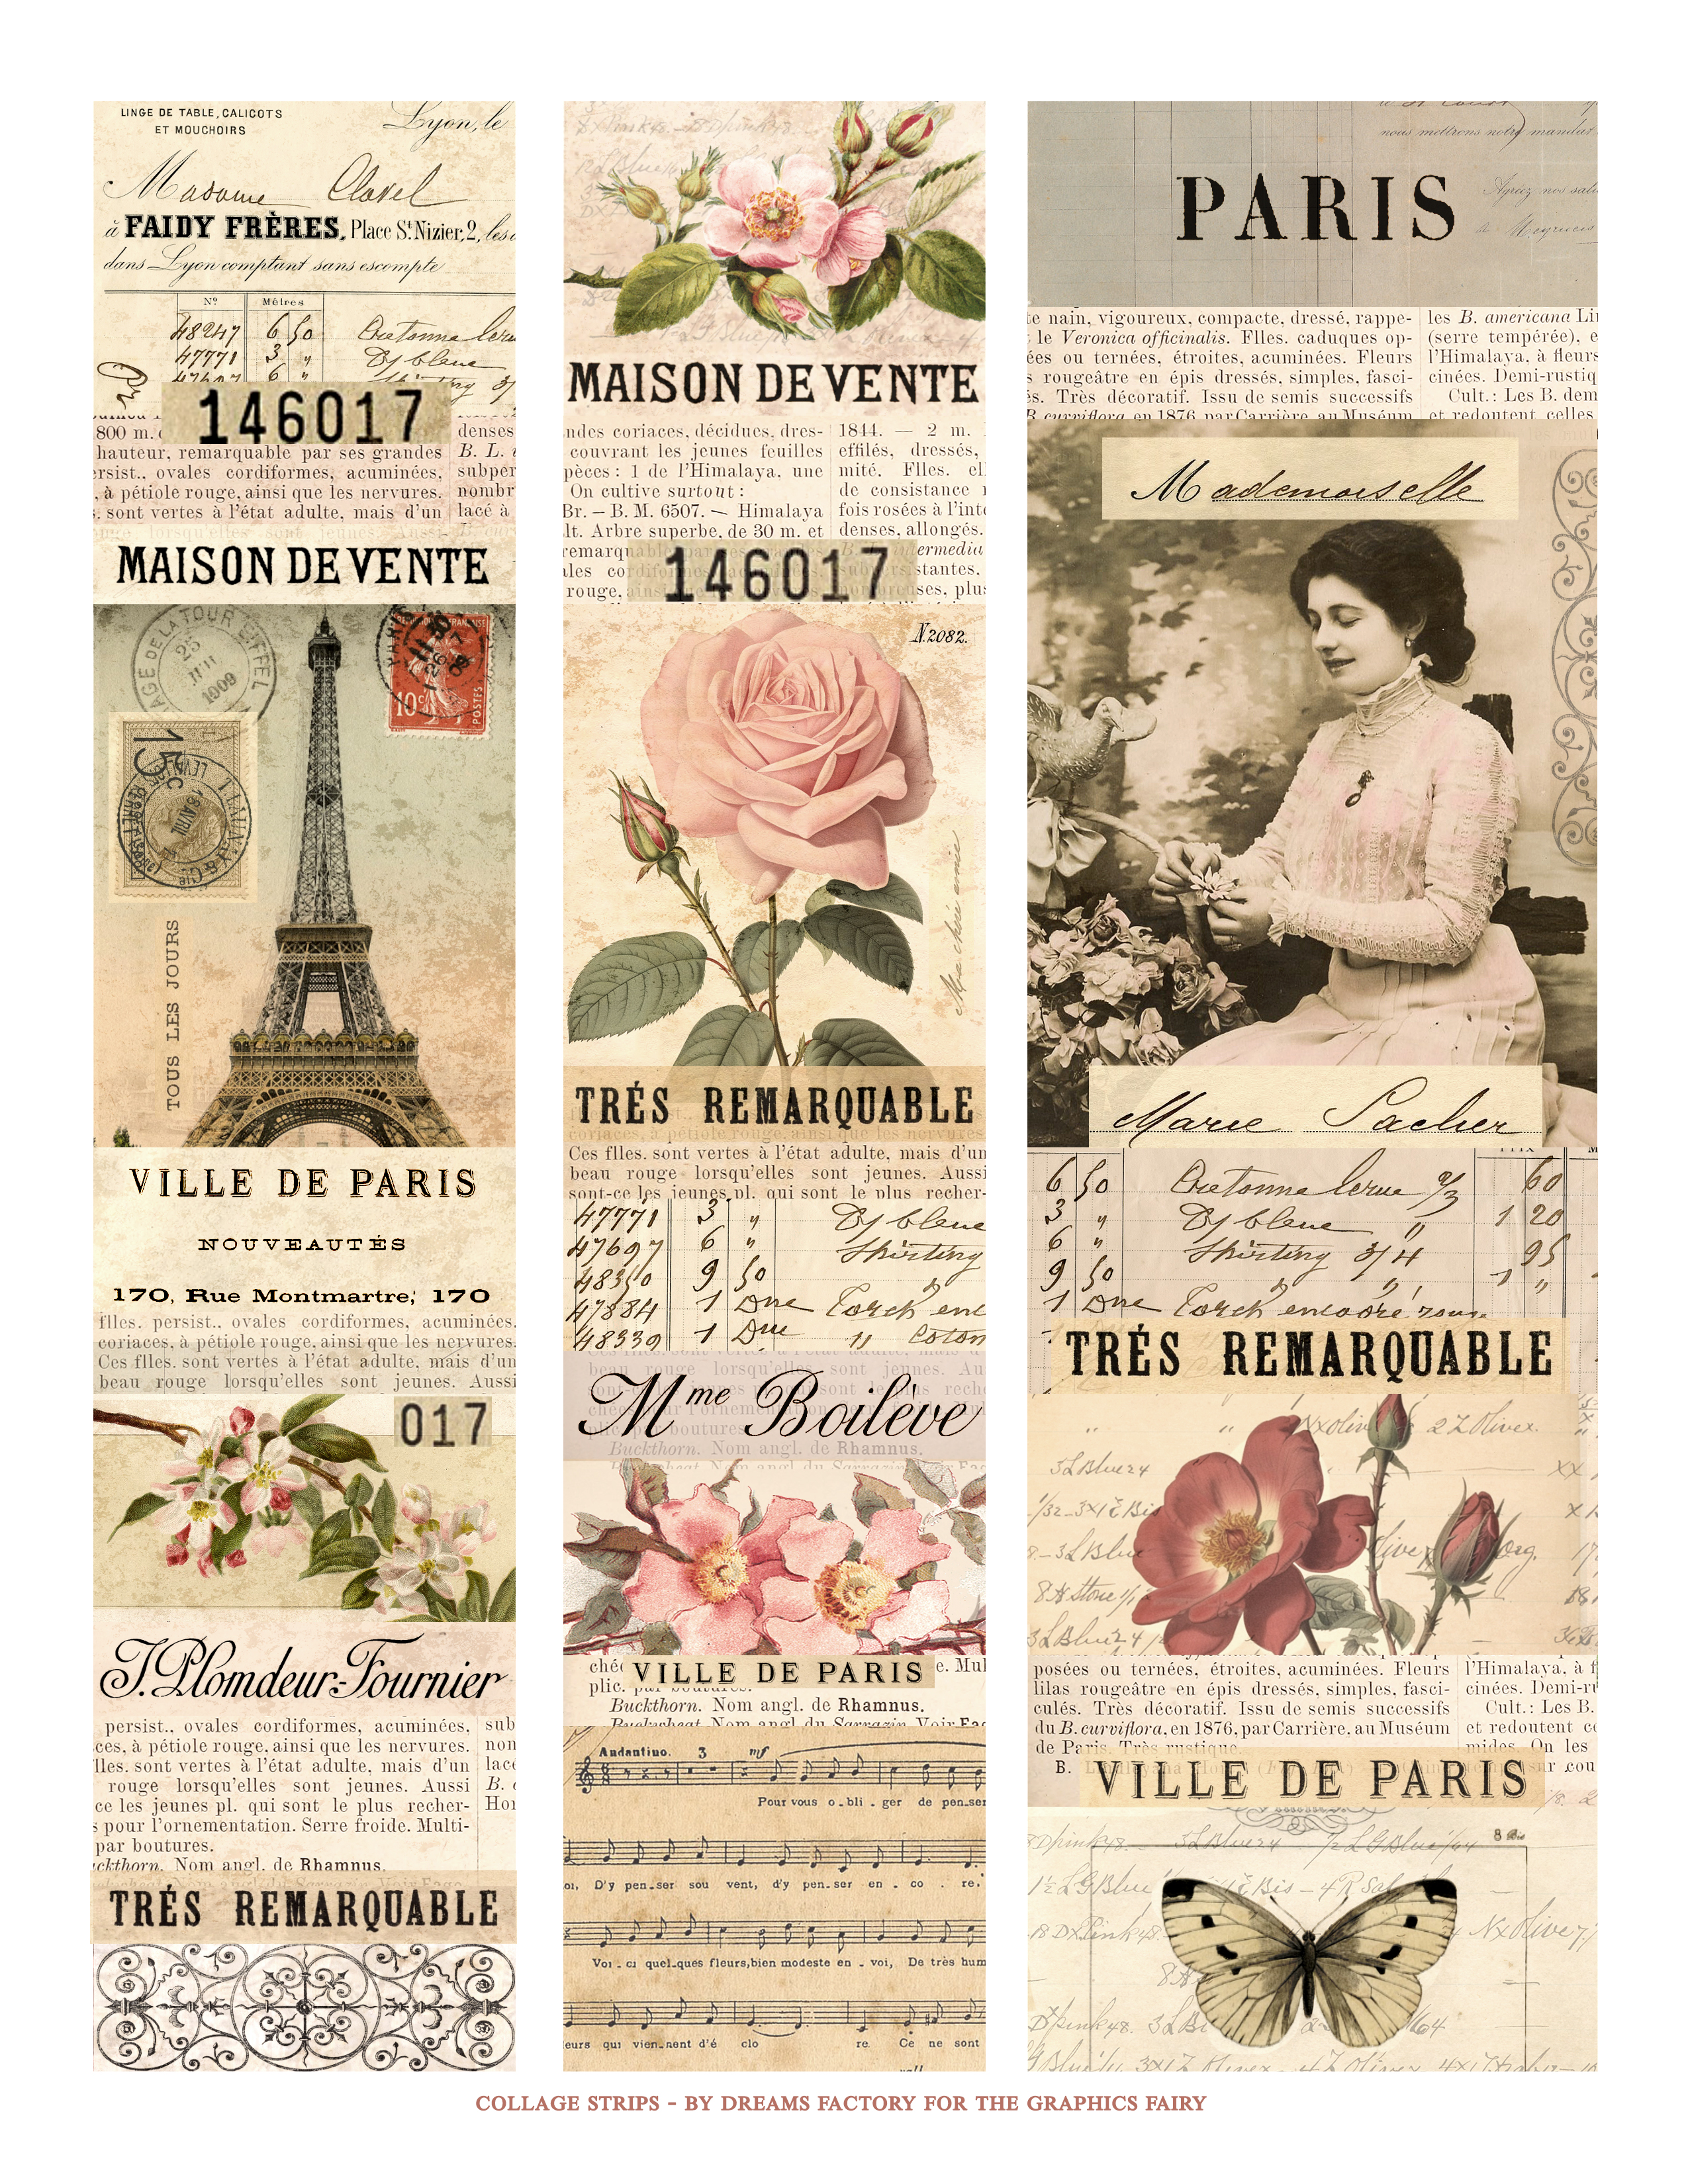
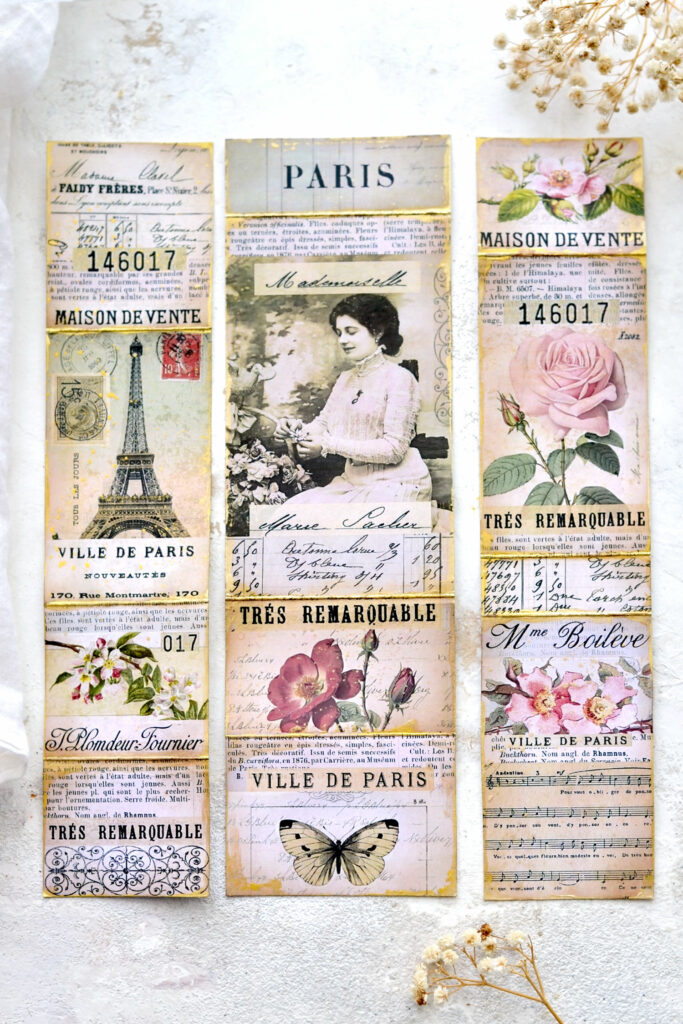
The collage strips have a beautiful vintage and Frenchified vibe, I included a few of my favorite French ephemera images to create the designs. You’ll find French ephemera cutouts, Eiffel Tower images, vintage flowers, handwritten elements, French invoices, stamps, butterflies, sheet music and other lovely embellishments. I would say that la pièce de résistance is this super chic vintage lady who looks so elegant and charming!
Here is the printable that I created for you, you can save it on your computer and print it as many times as you want! I would actually suggest working in larger batches, this way you’ll have these beauties ready for when in need!
Free Printable:
—-> Click HERE to Download the Full Size Printable PDF <—-
Supply List for DIY Paper Collage Strips:
- white cardstock paper or regular paper
- home printer
- scissors
- bone folder
- mini distress inks
- blending tool with foams
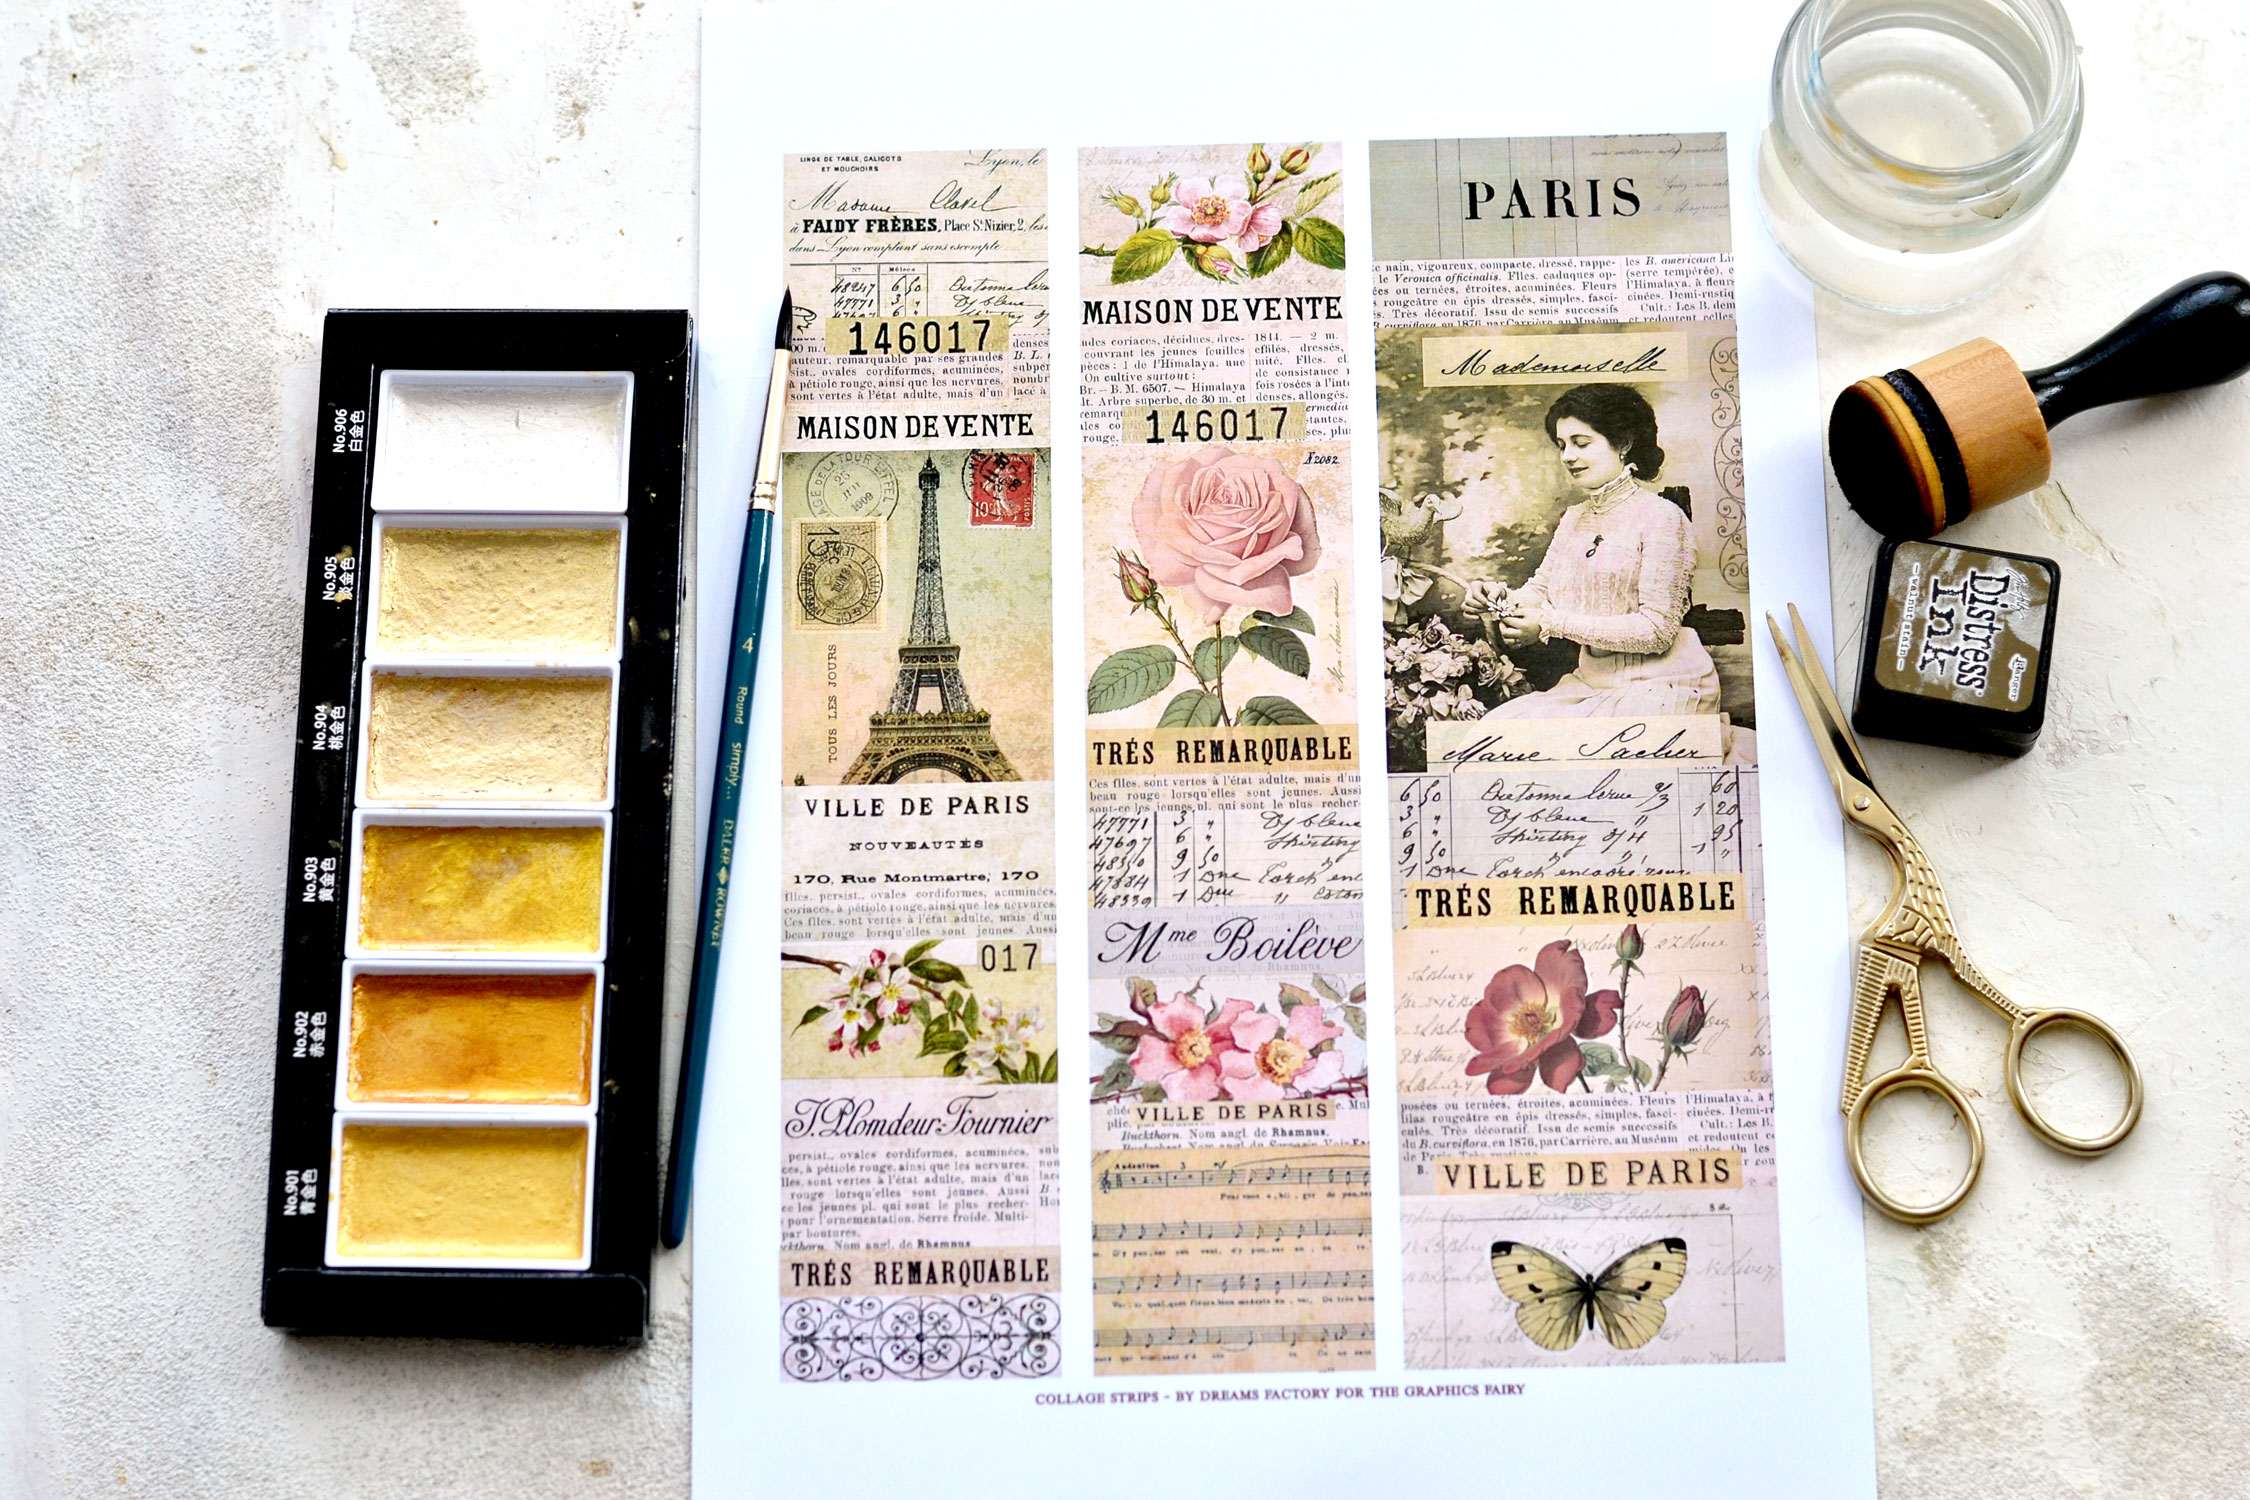
- gold watercolors – I used my favorite Kuretake Gansai Tambi Starry Colors
- small round brush
- plastic sheet (to protect your working surface)
- gourd pins and crinkle ribbon (optional, to create tags)
TUTORIAL:
Start by printing the collage strips on cardstock paper. If you want, you can also use regular printing paper or even sticker paper if you prefer to turn these into super chic stickers.
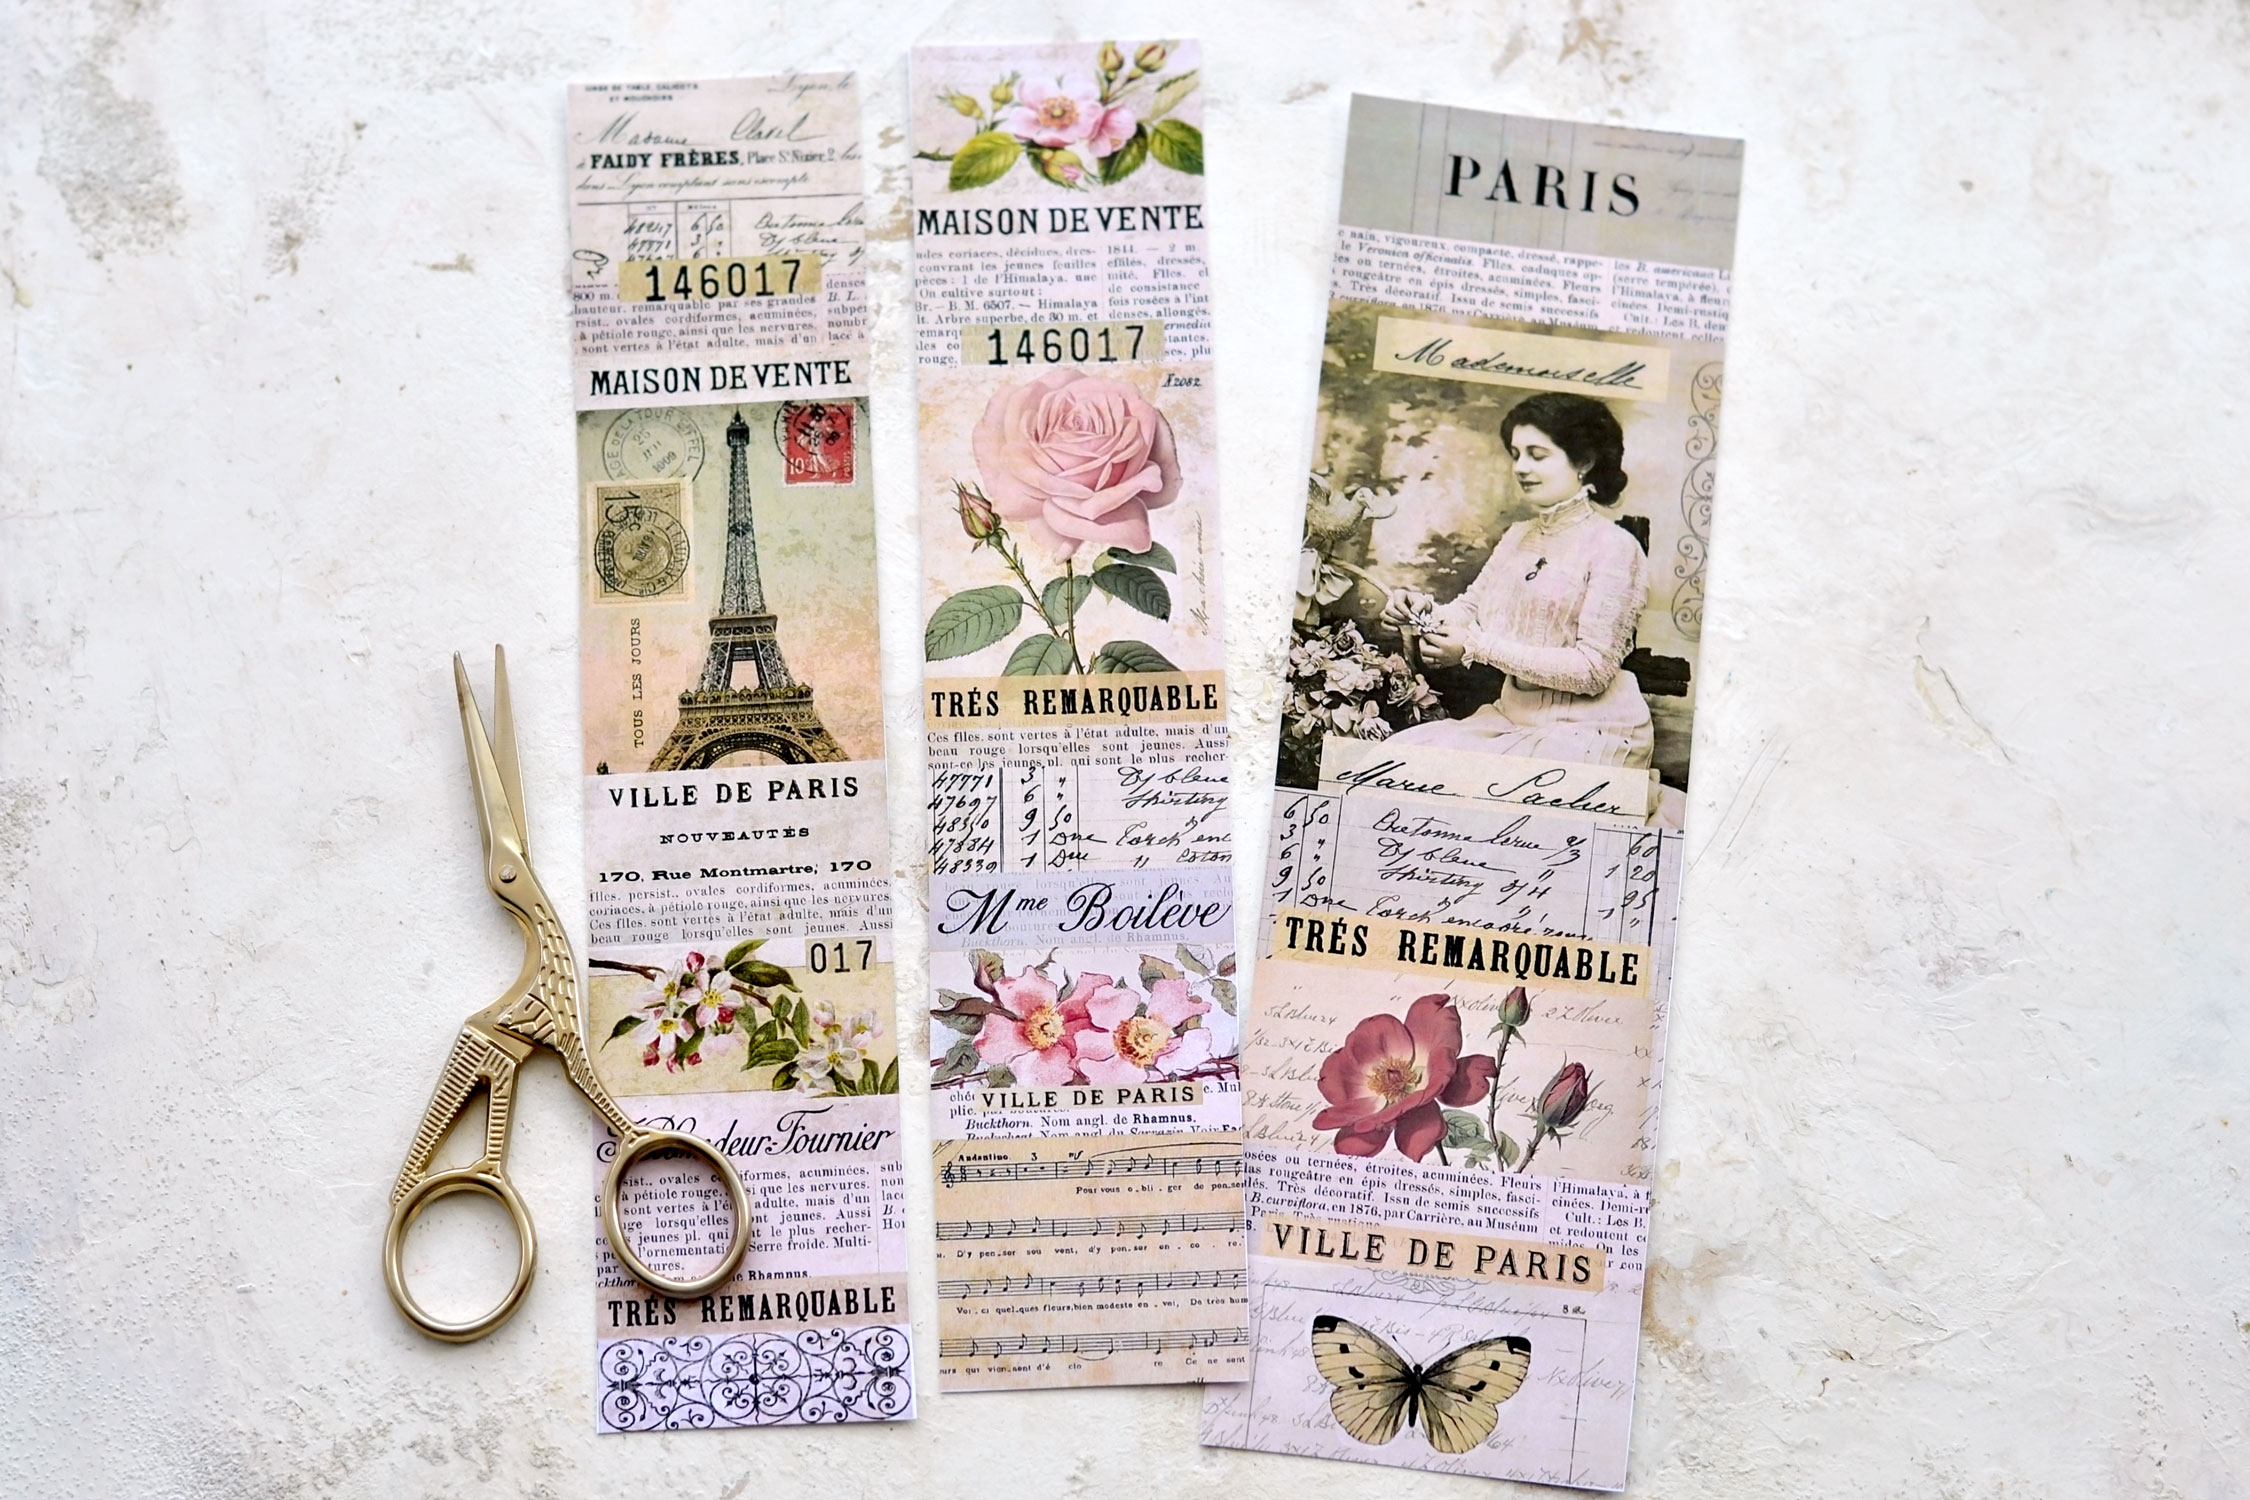
Use your scissors to cut each vertical strip.
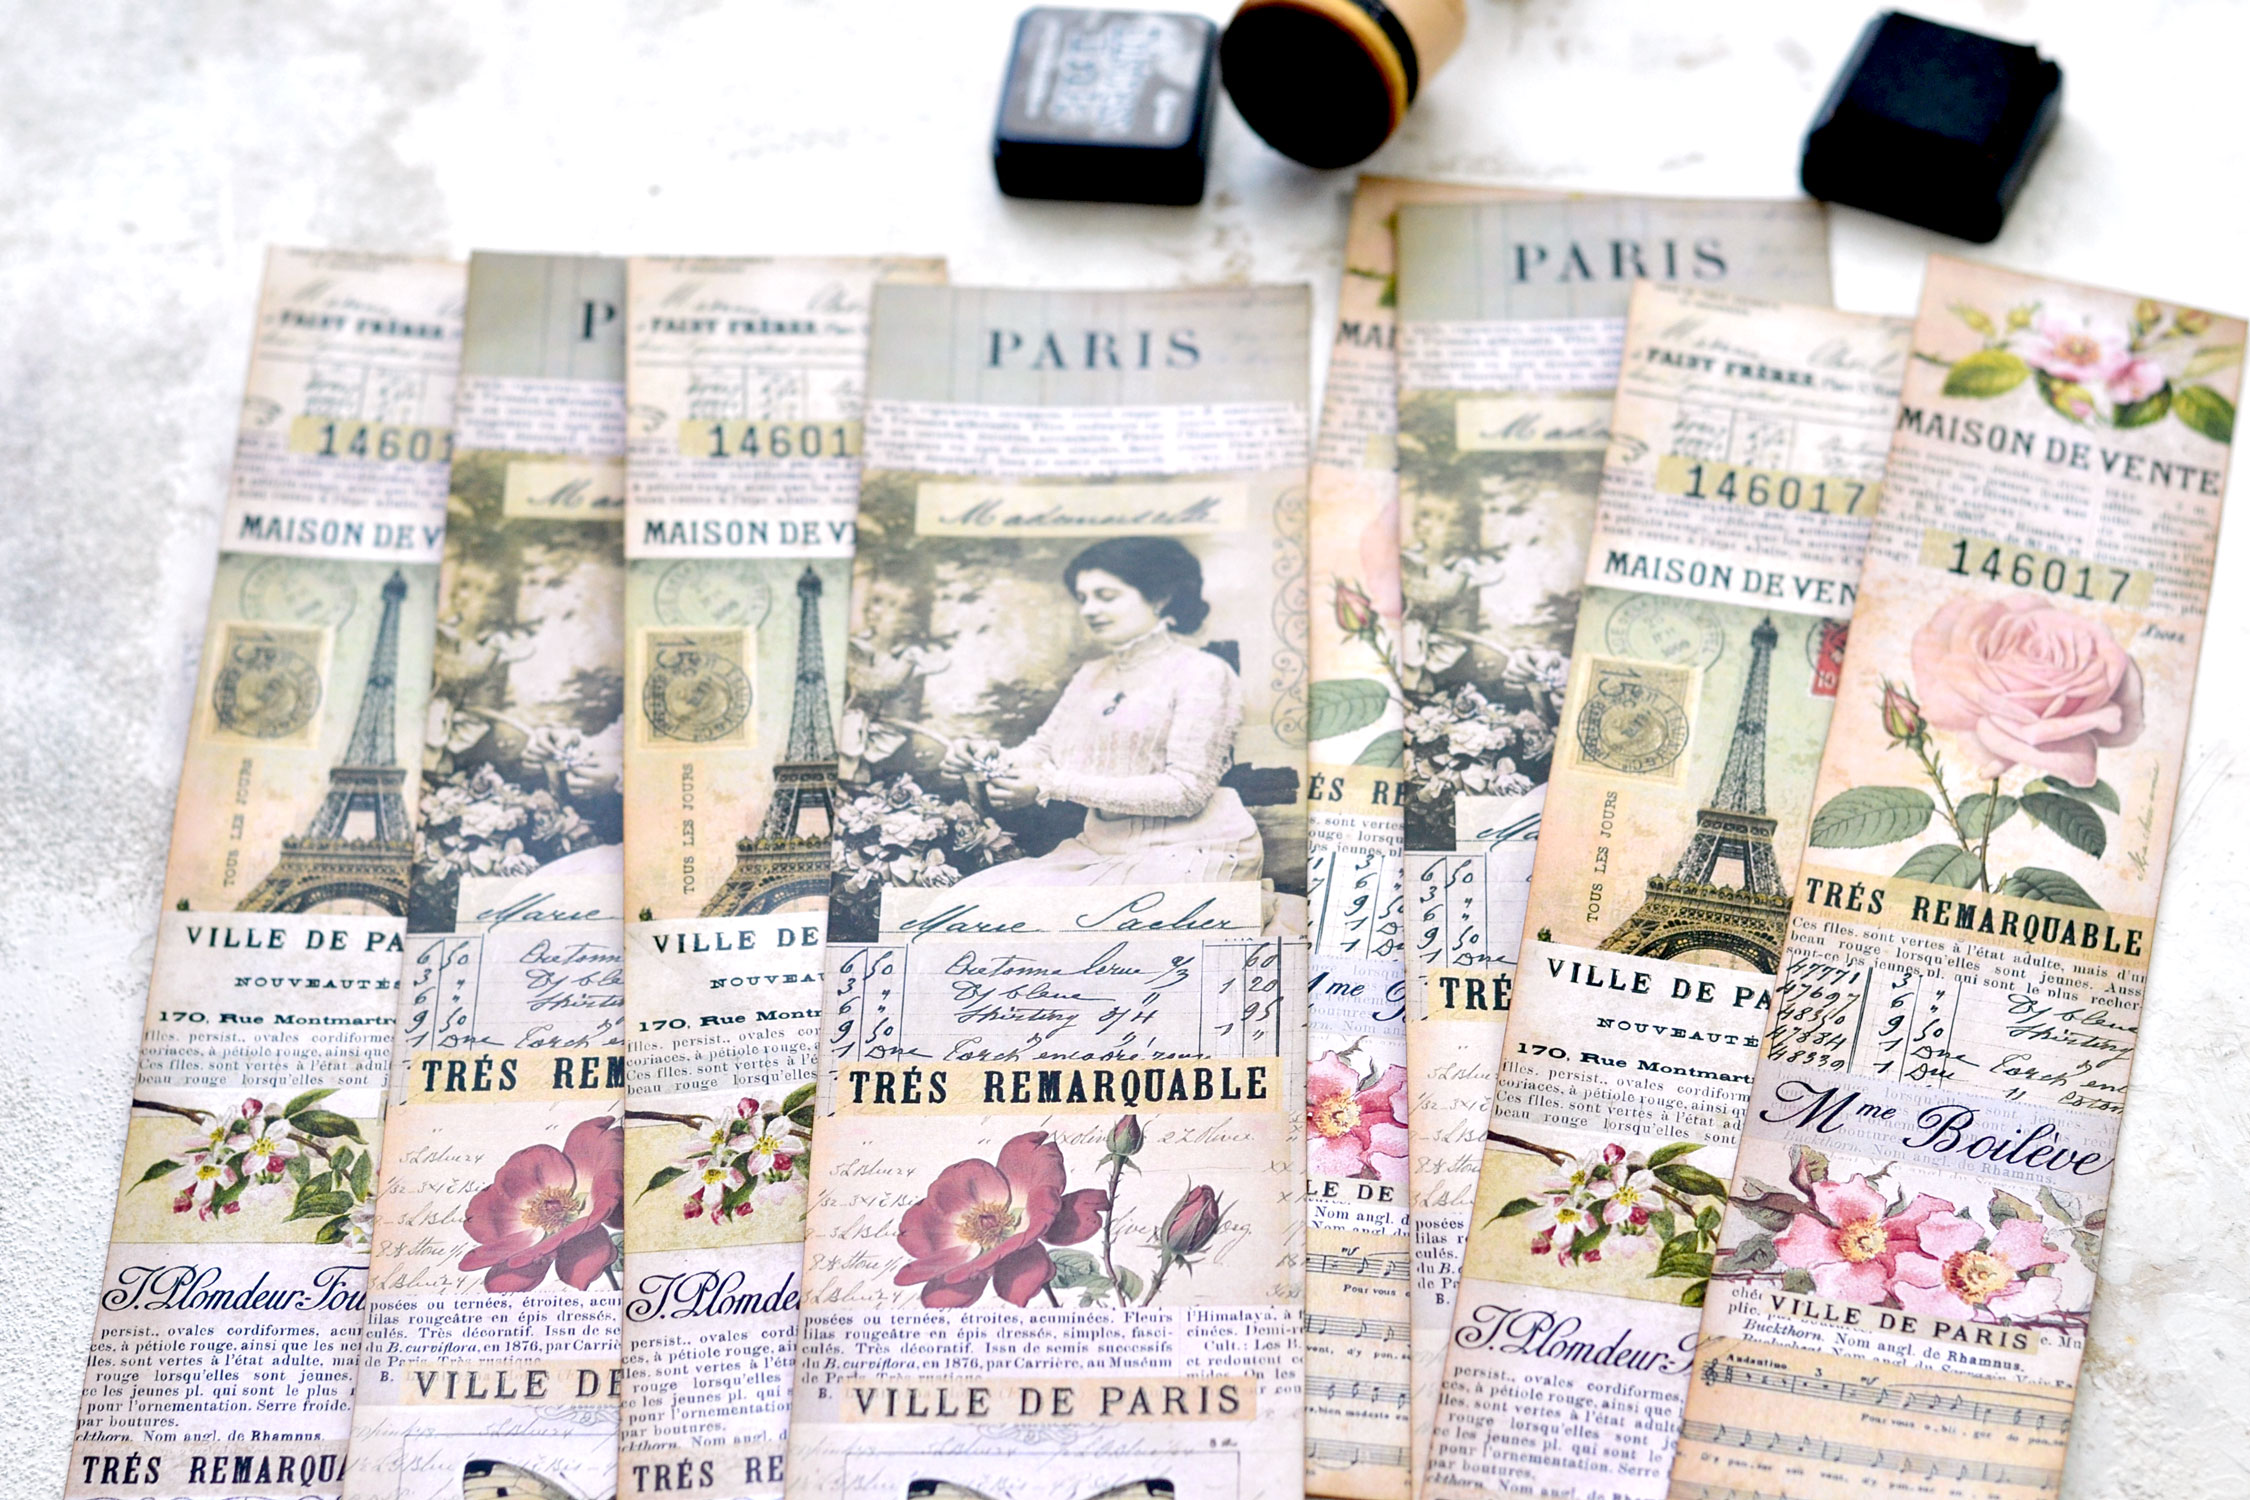
Print and cut as many printables as you want, these beauties can be used everywhere, so it would be great to have them ready for when in need.
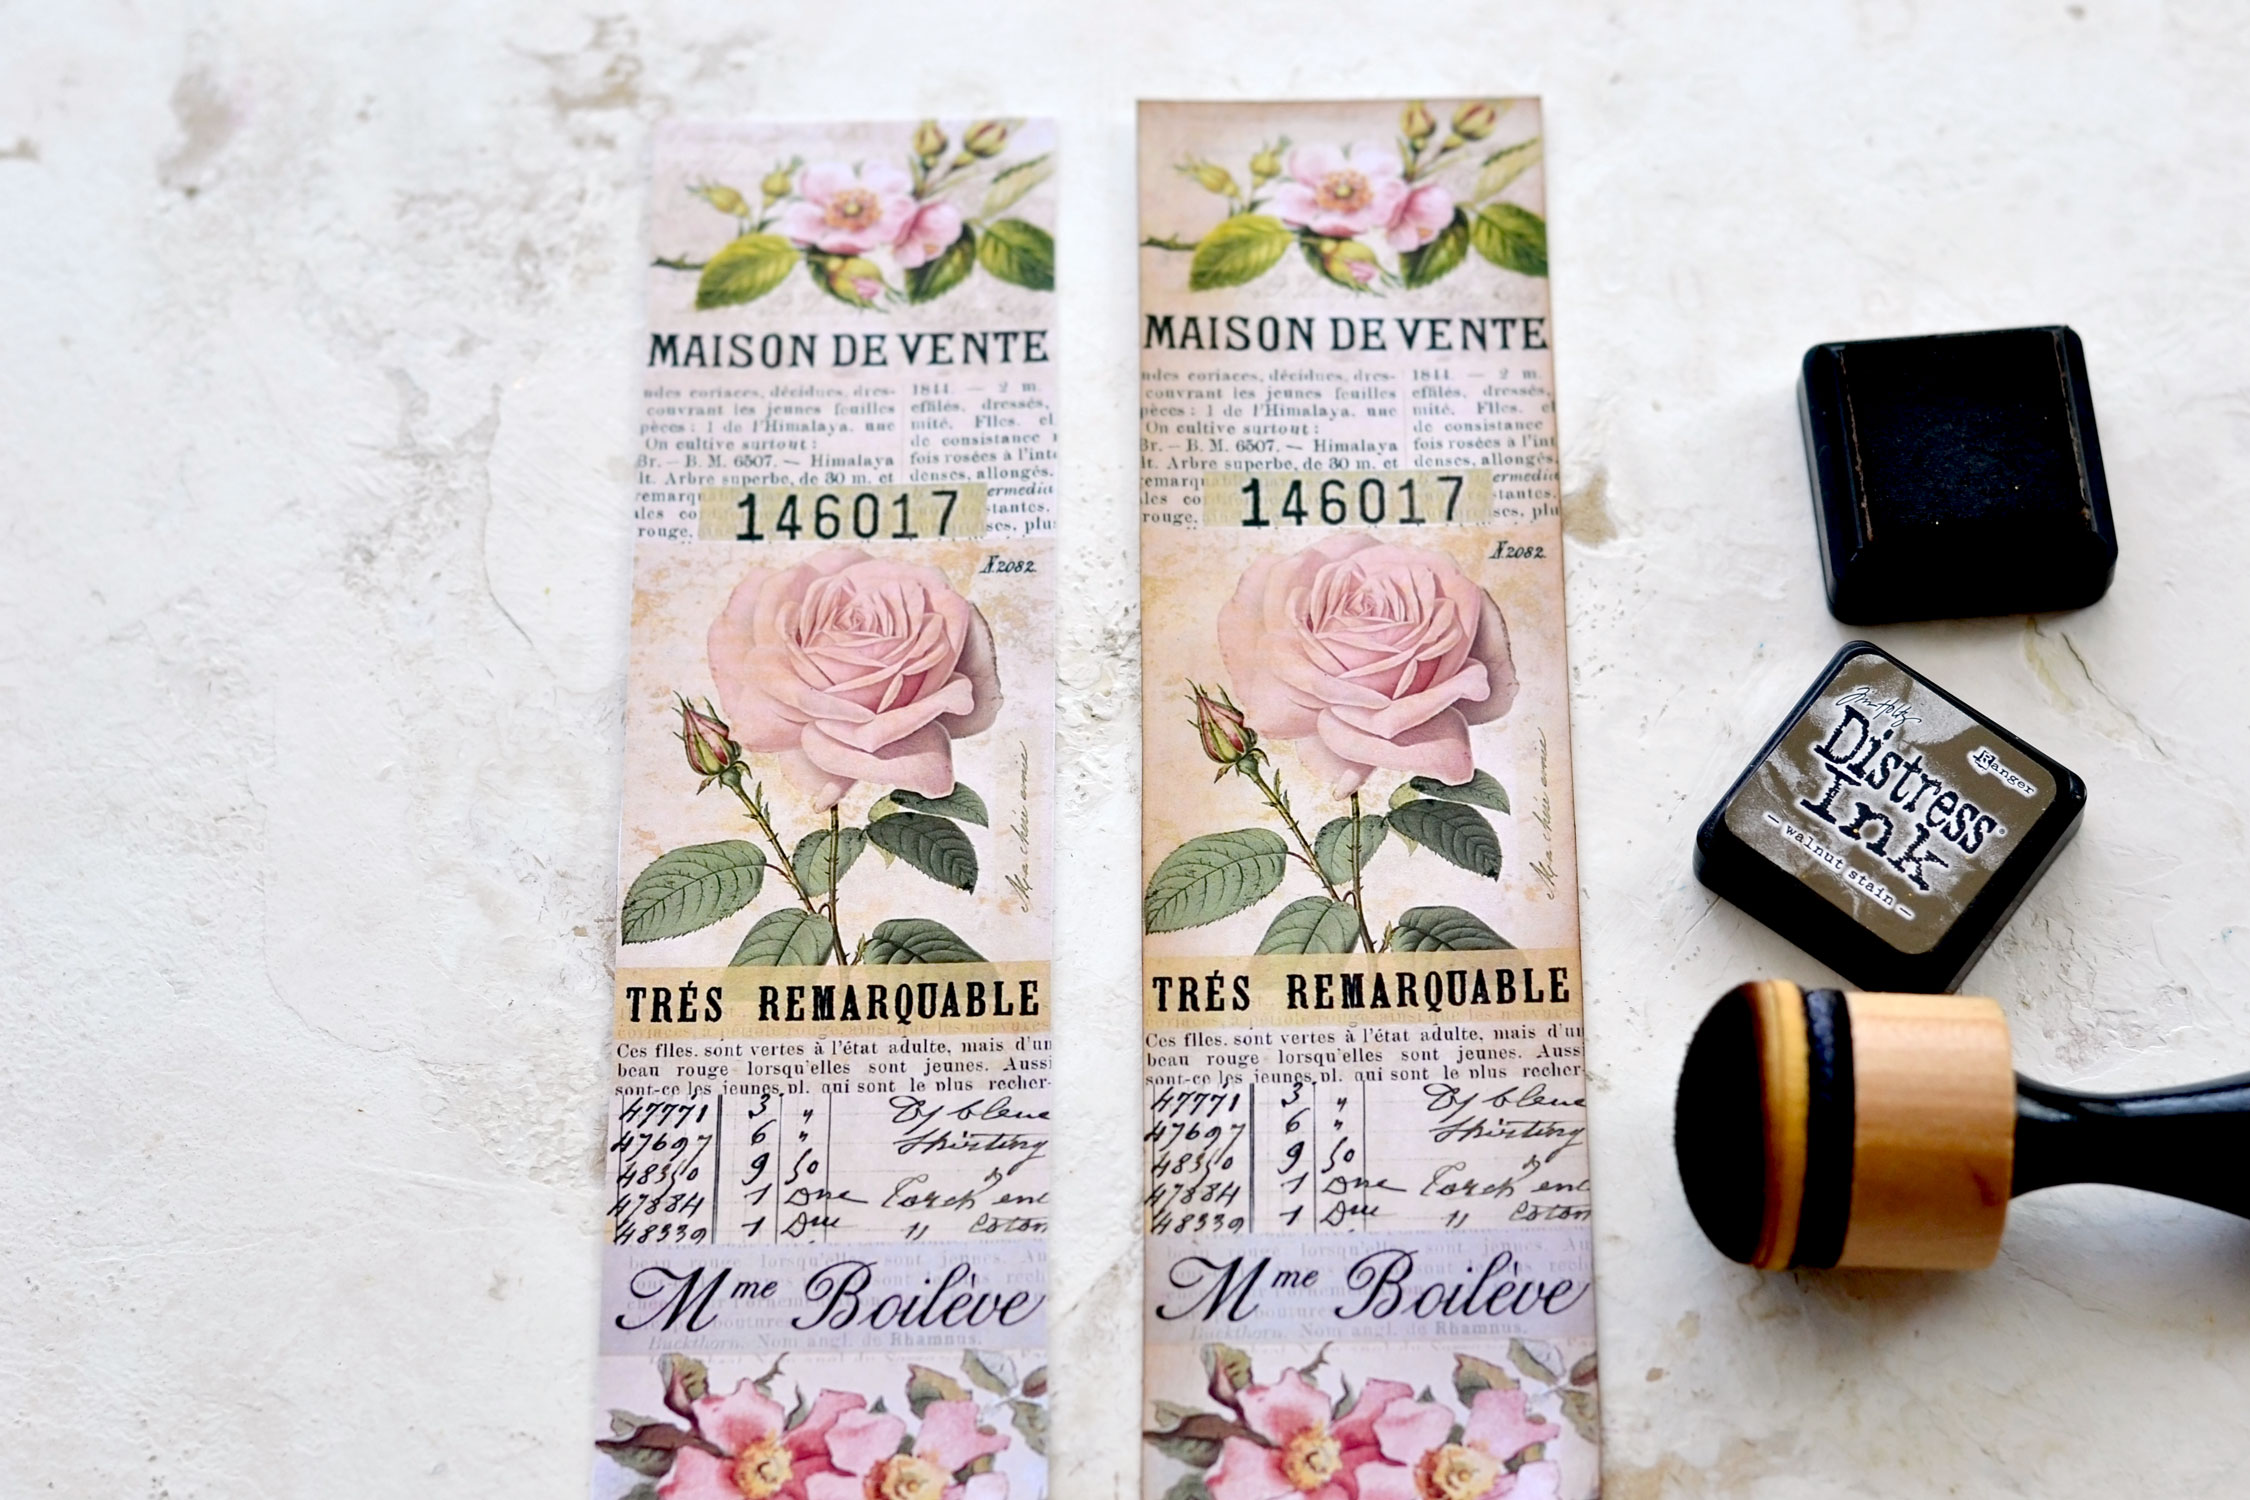
Distress each strip using your favorite brown – I usually love using Walnut Stain mini distress ink to get this vignette looking effect on the edges. If you prefer, you can also use colored distress inks, maybe you have a specific color in mind for a color-coordinated project.
You can see a side-by-side comparison before and after distressing the paper, it really amazes me how a little bit of distress ink can instantly give the paper that lovely vintage appearance that we all love!
Proceed to distress all the other strips.
Now it’s time to decide what would you like to do with your strips: You have three options:
- you can keep the strips as they are
- you can cut the strips into smaller pieces
- you can fold the strips into smaller segments
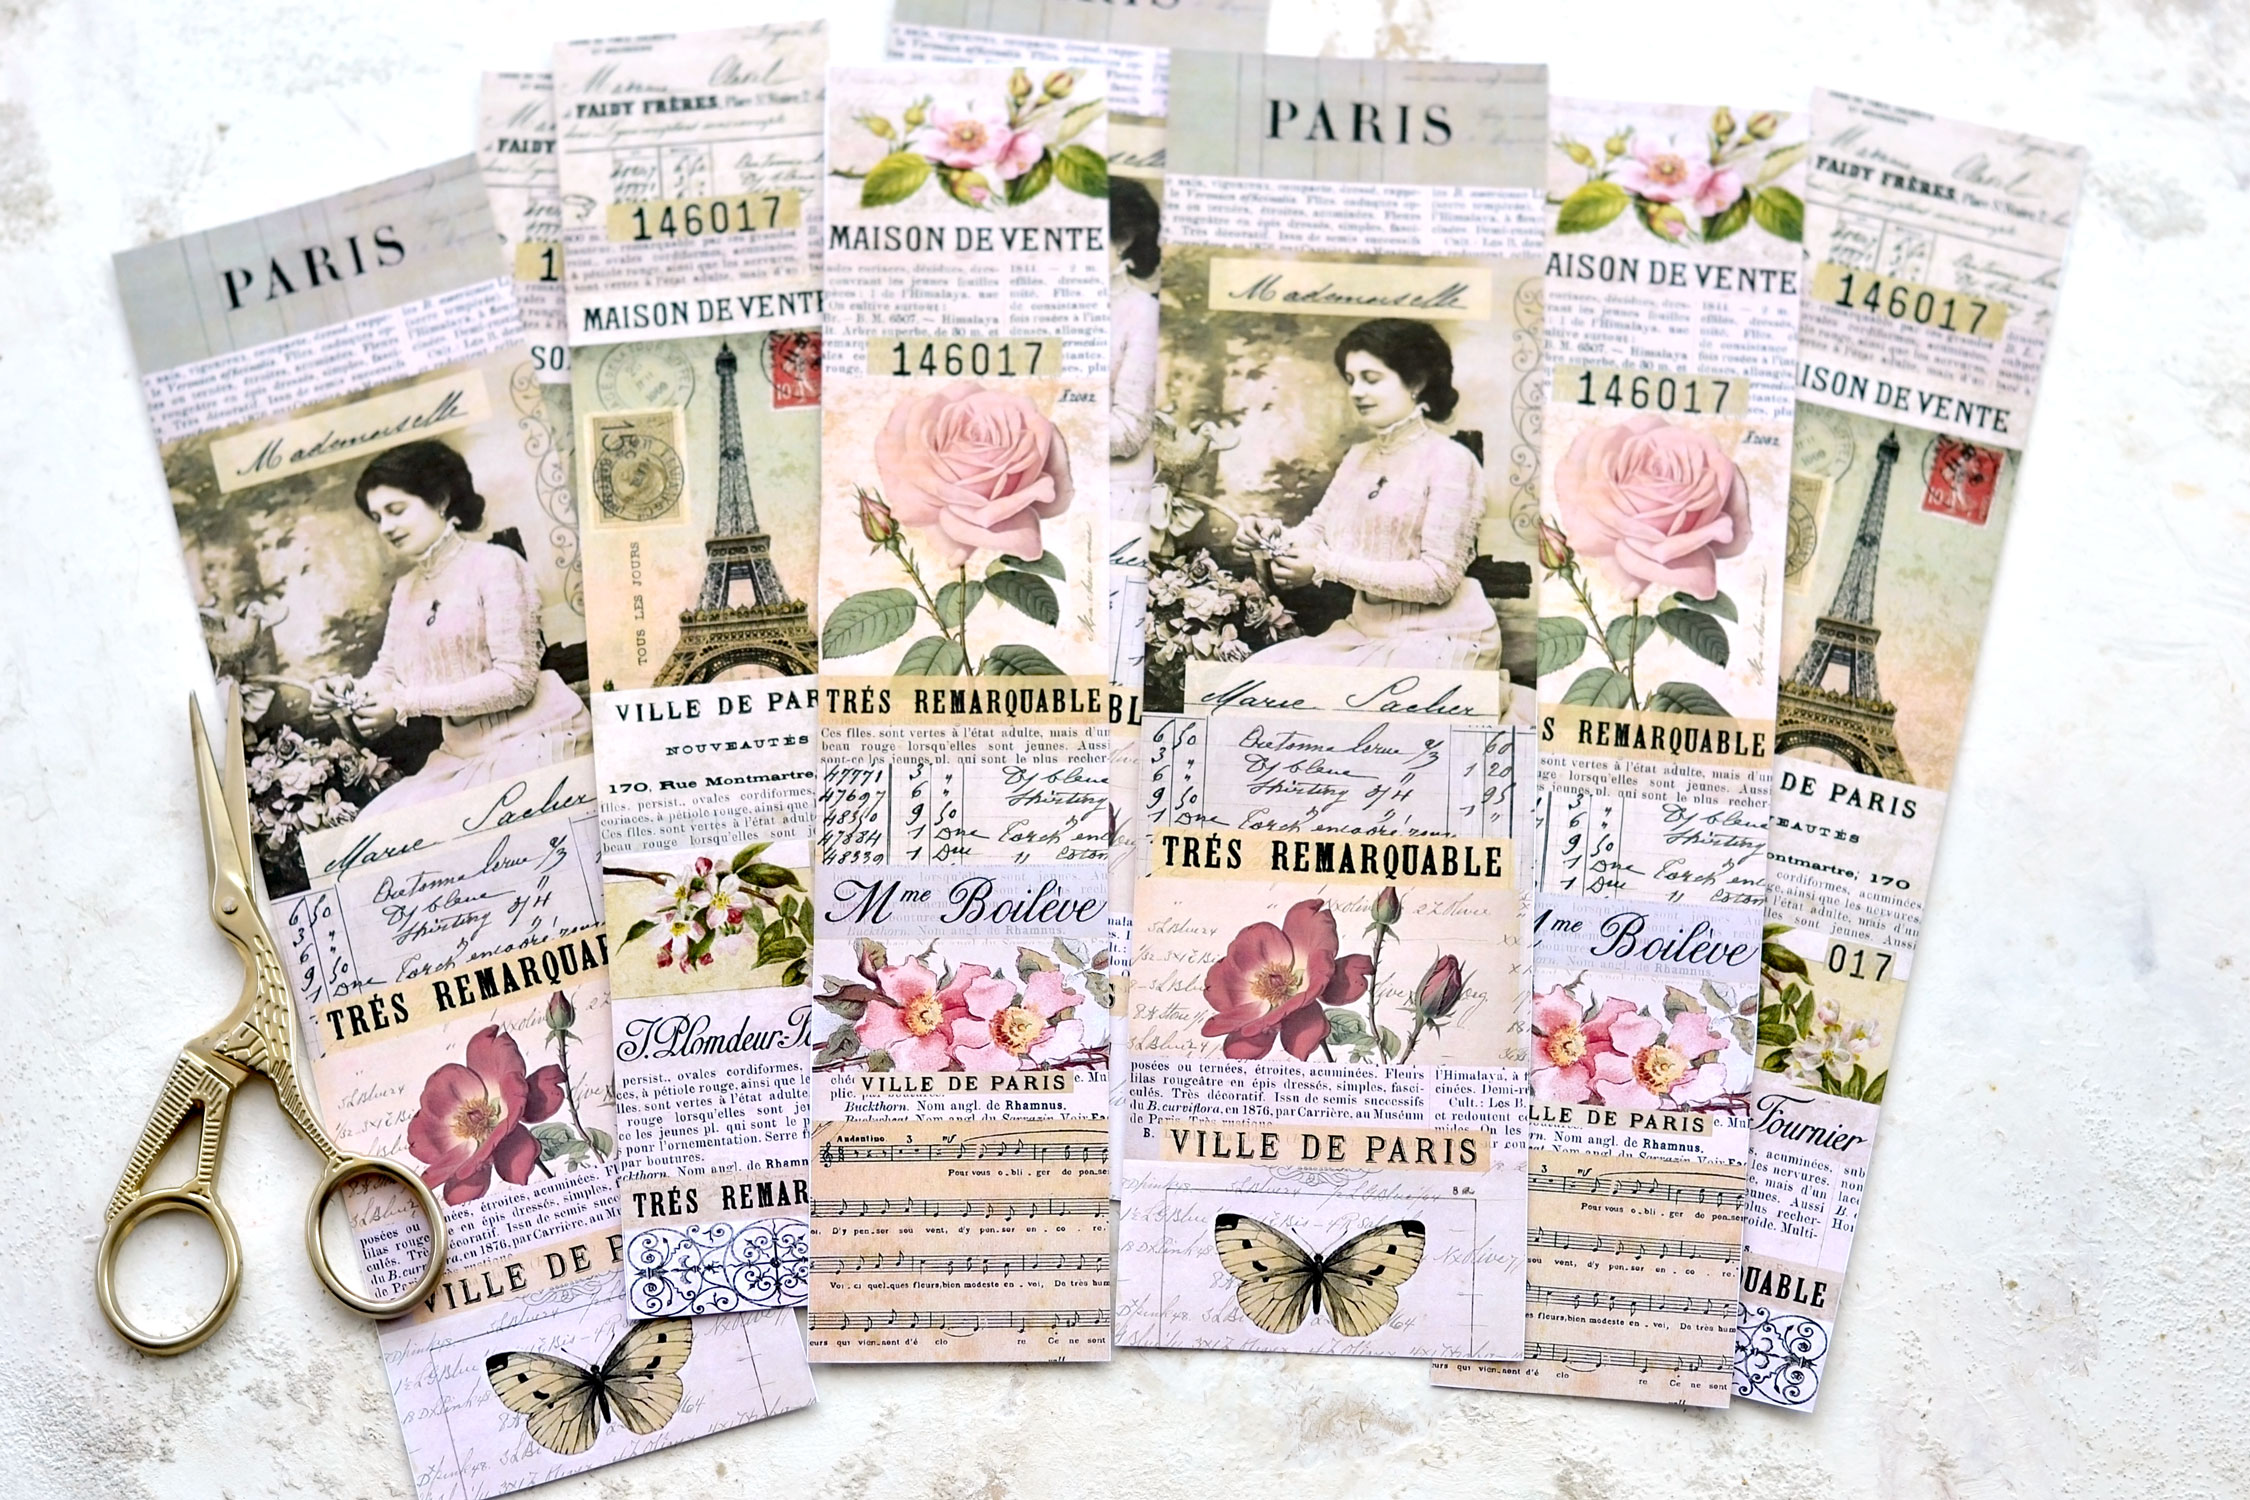
Since I printed a few copies I’ve decided to do a little bit of everything, just to see how each version would look and then decide which I love the most.
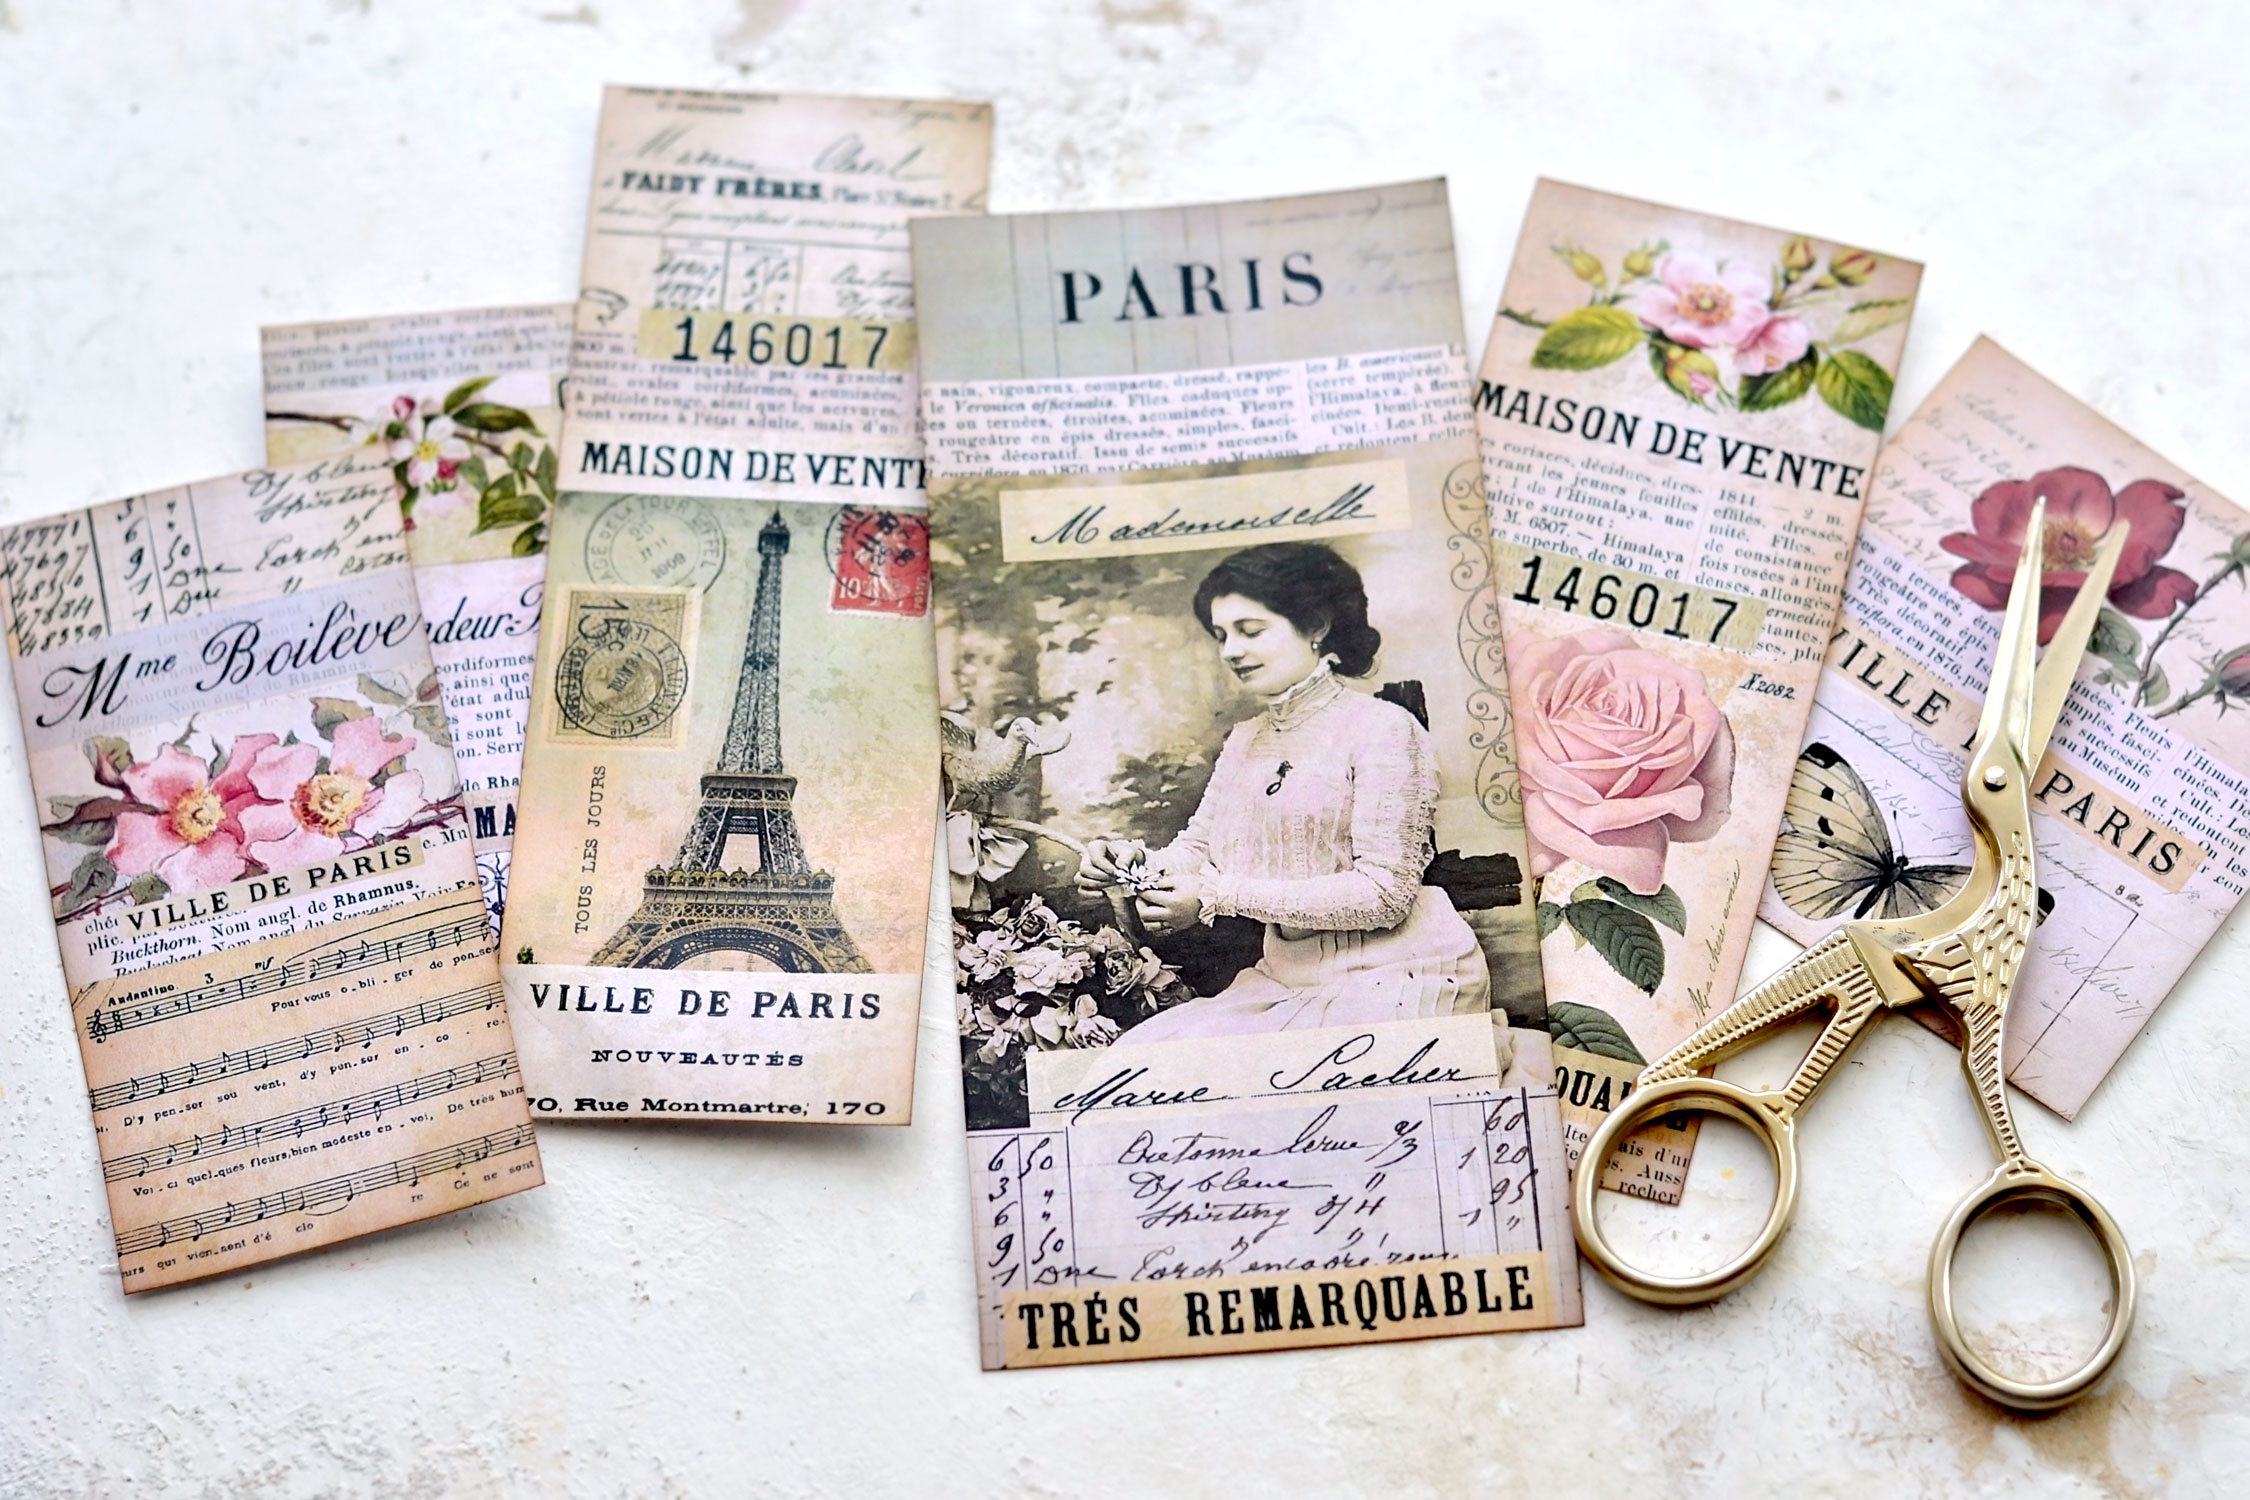
I started by cutting the strips from one of the printables into smaller sections. Because there are so many segments in one strip, you can further decide which segments to keep together.
You can see below how I cut mine, but of course, you can try a different approach with yours, depending on your preferences.
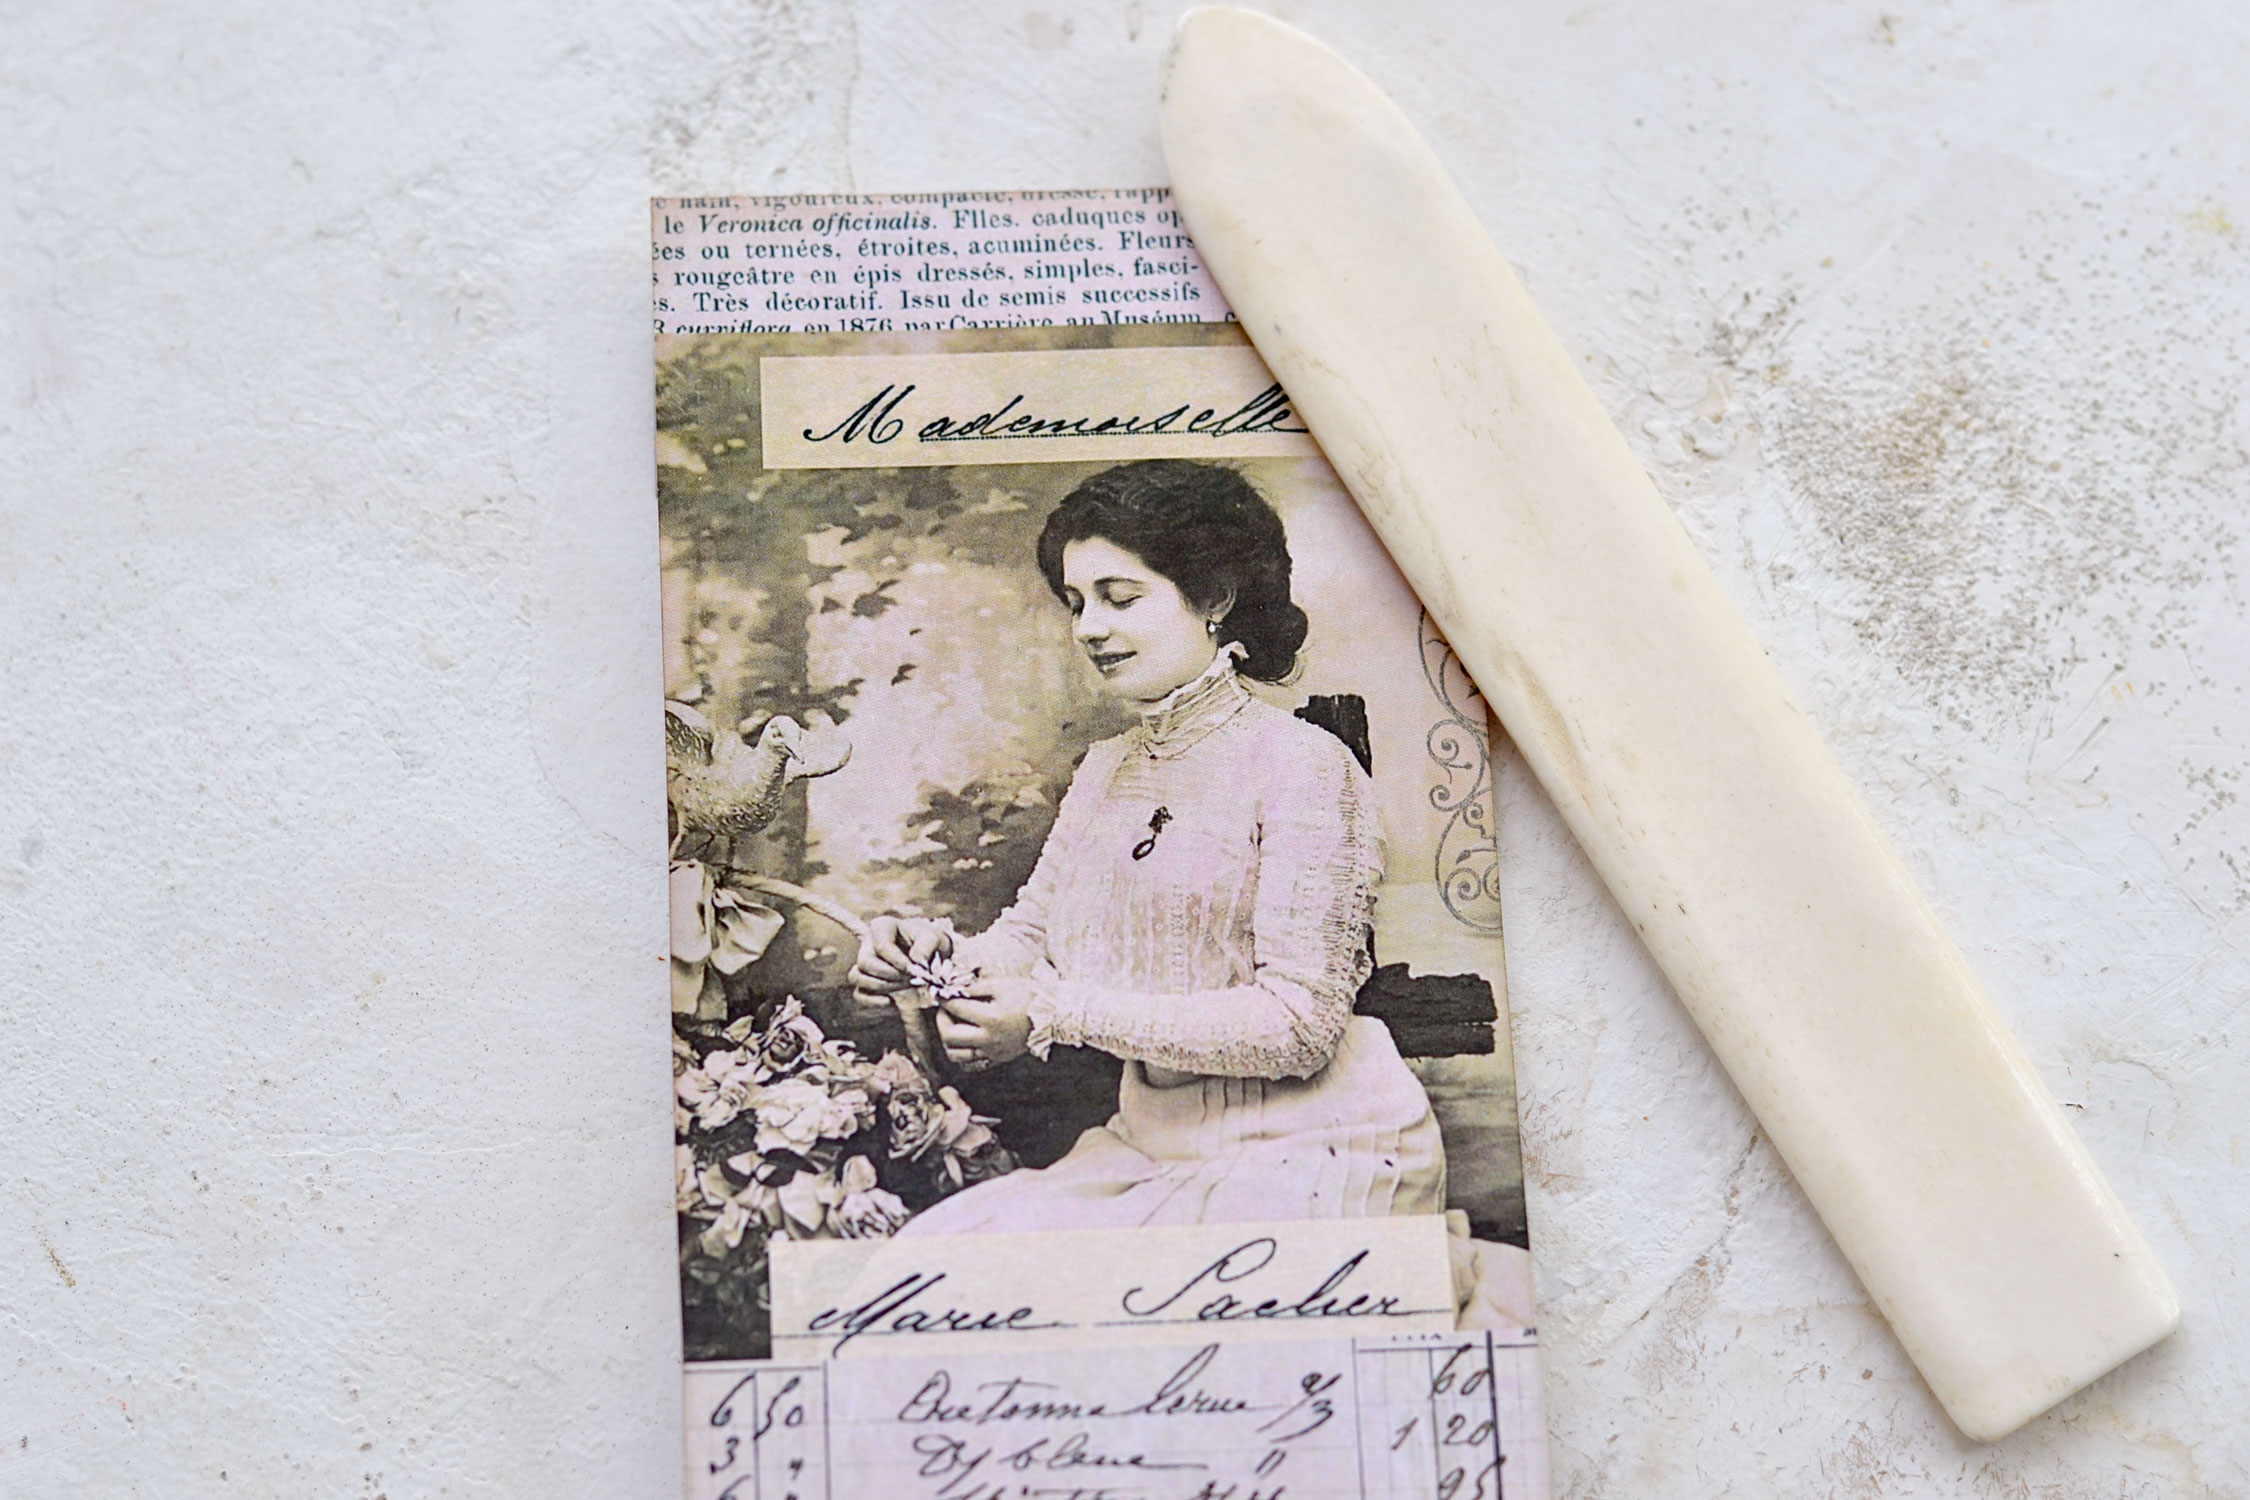
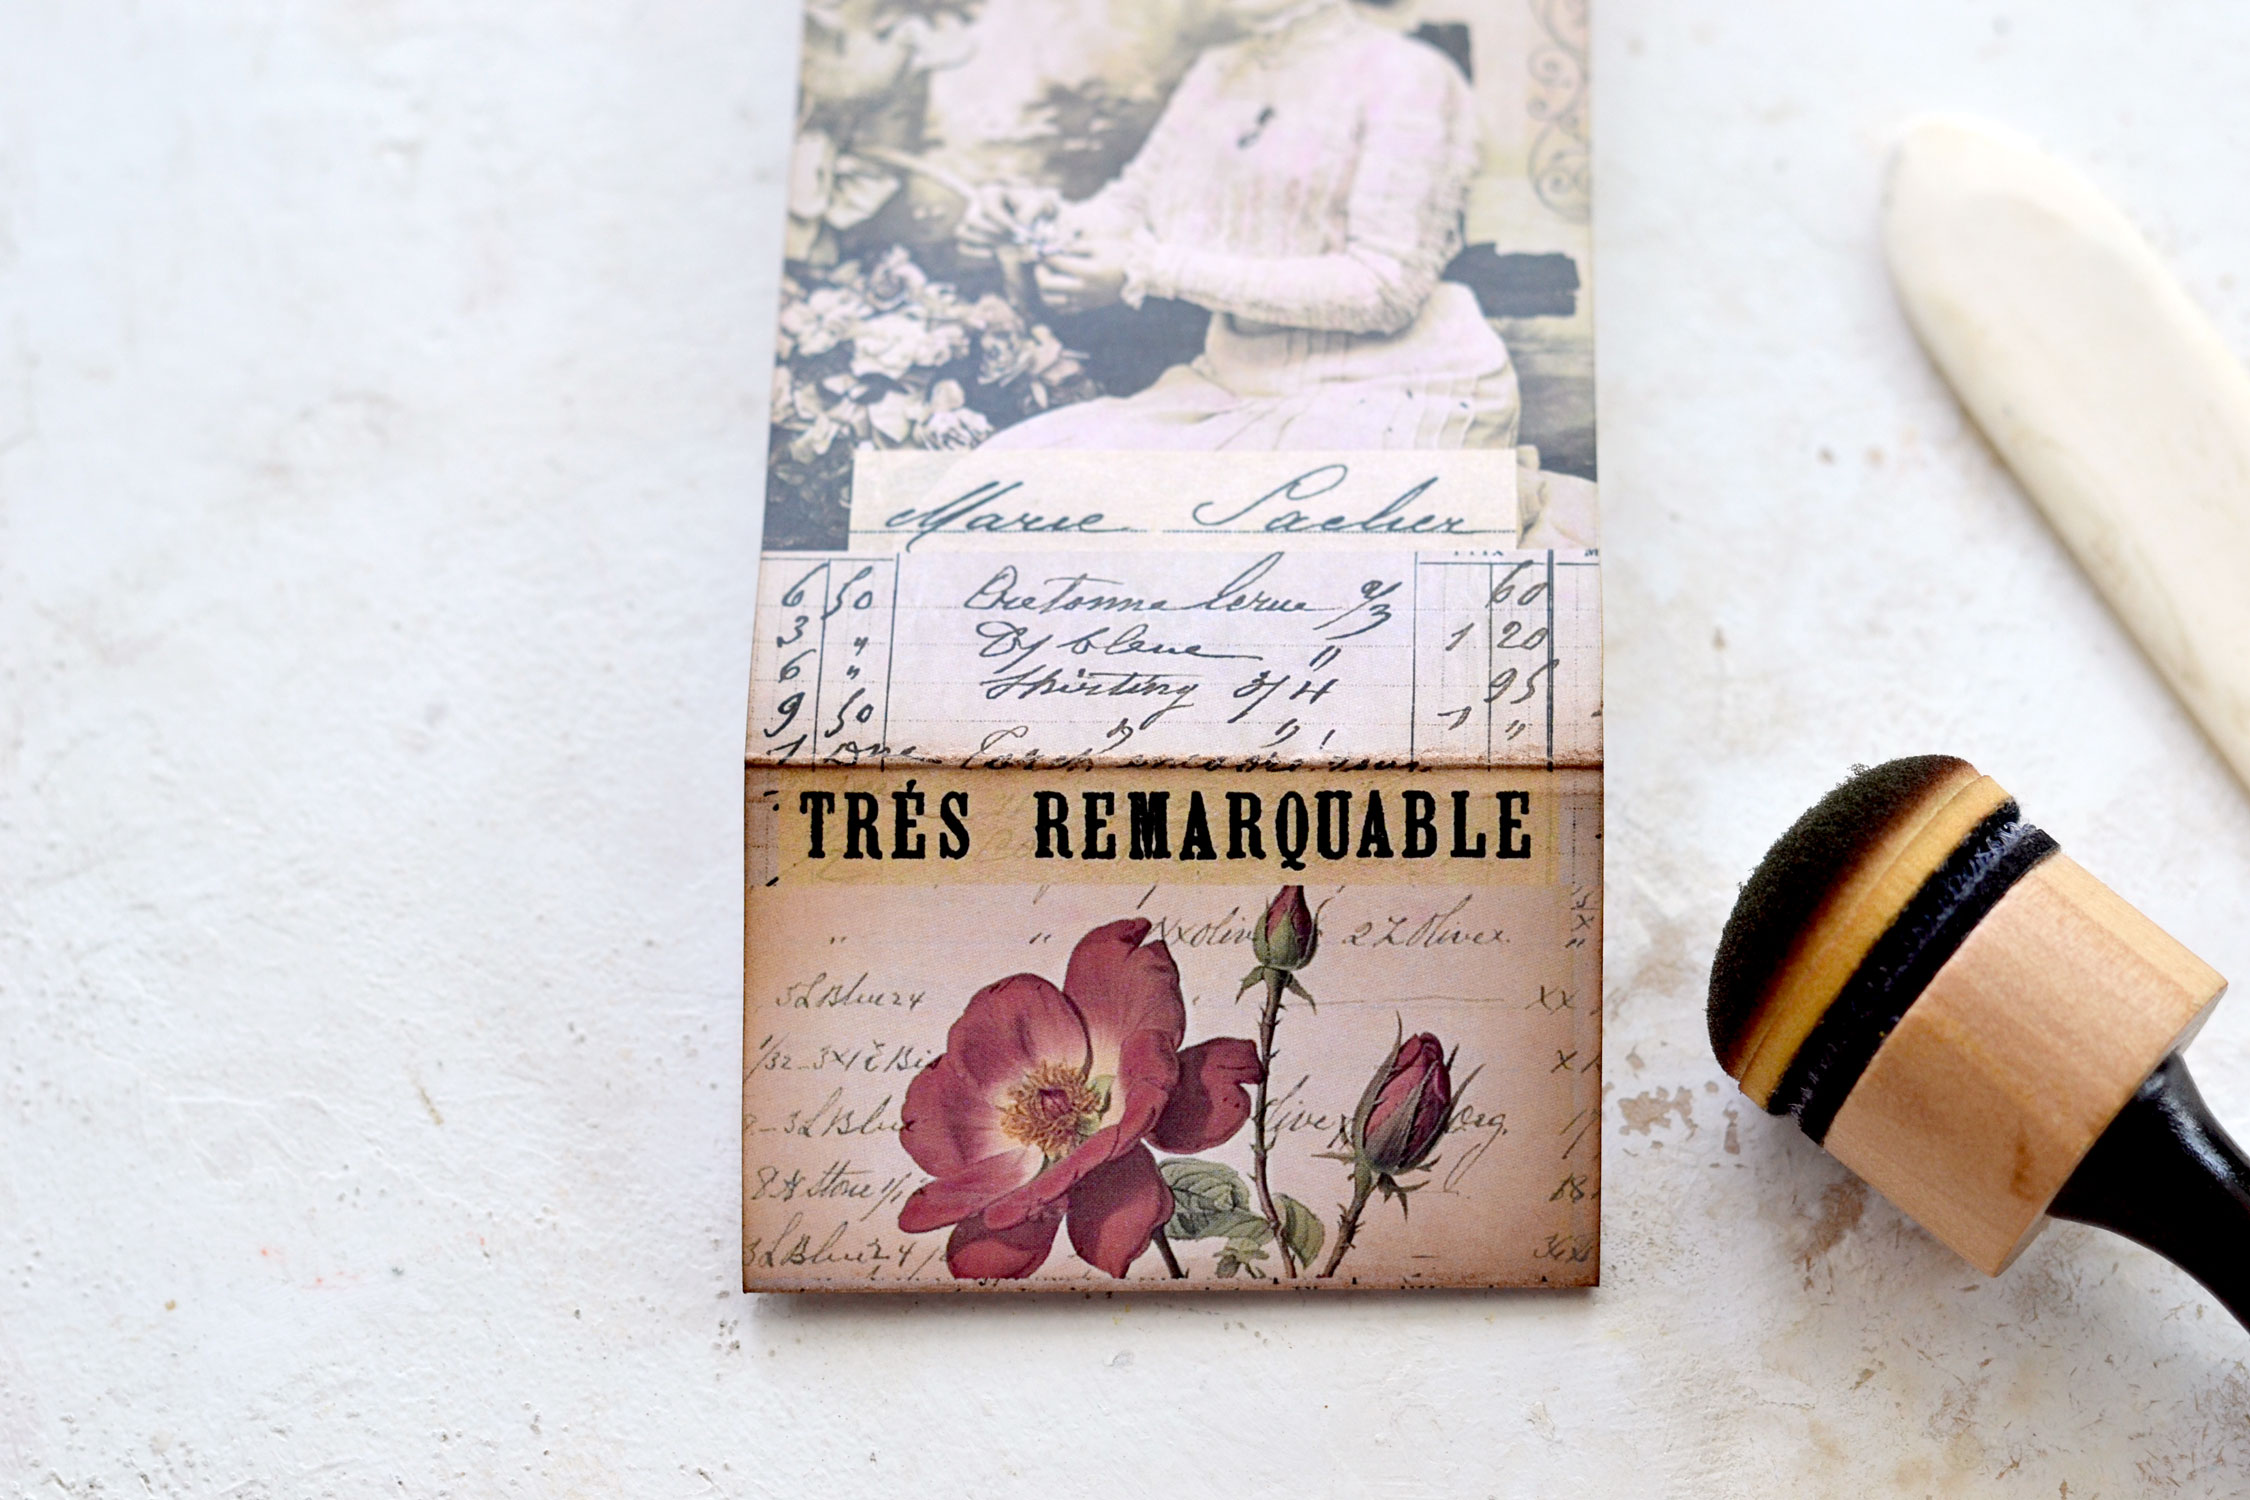
For our next version, I’ve decided to use a bone folder to fold each strip into smaller segments. Depending on how heavy your cardstock is, folding it with your hands and without using a bone folder will create different results. Mine was quite heavy and I preferred to use the bone folder just to make sure I can control how it folds. I used my fingers to partially fold the paper, then I placed it on my table and pressed with my bone folder all along the creases.
You can fold as many segments as you want and then you can use distress ink to distress these new segments all around the edges. 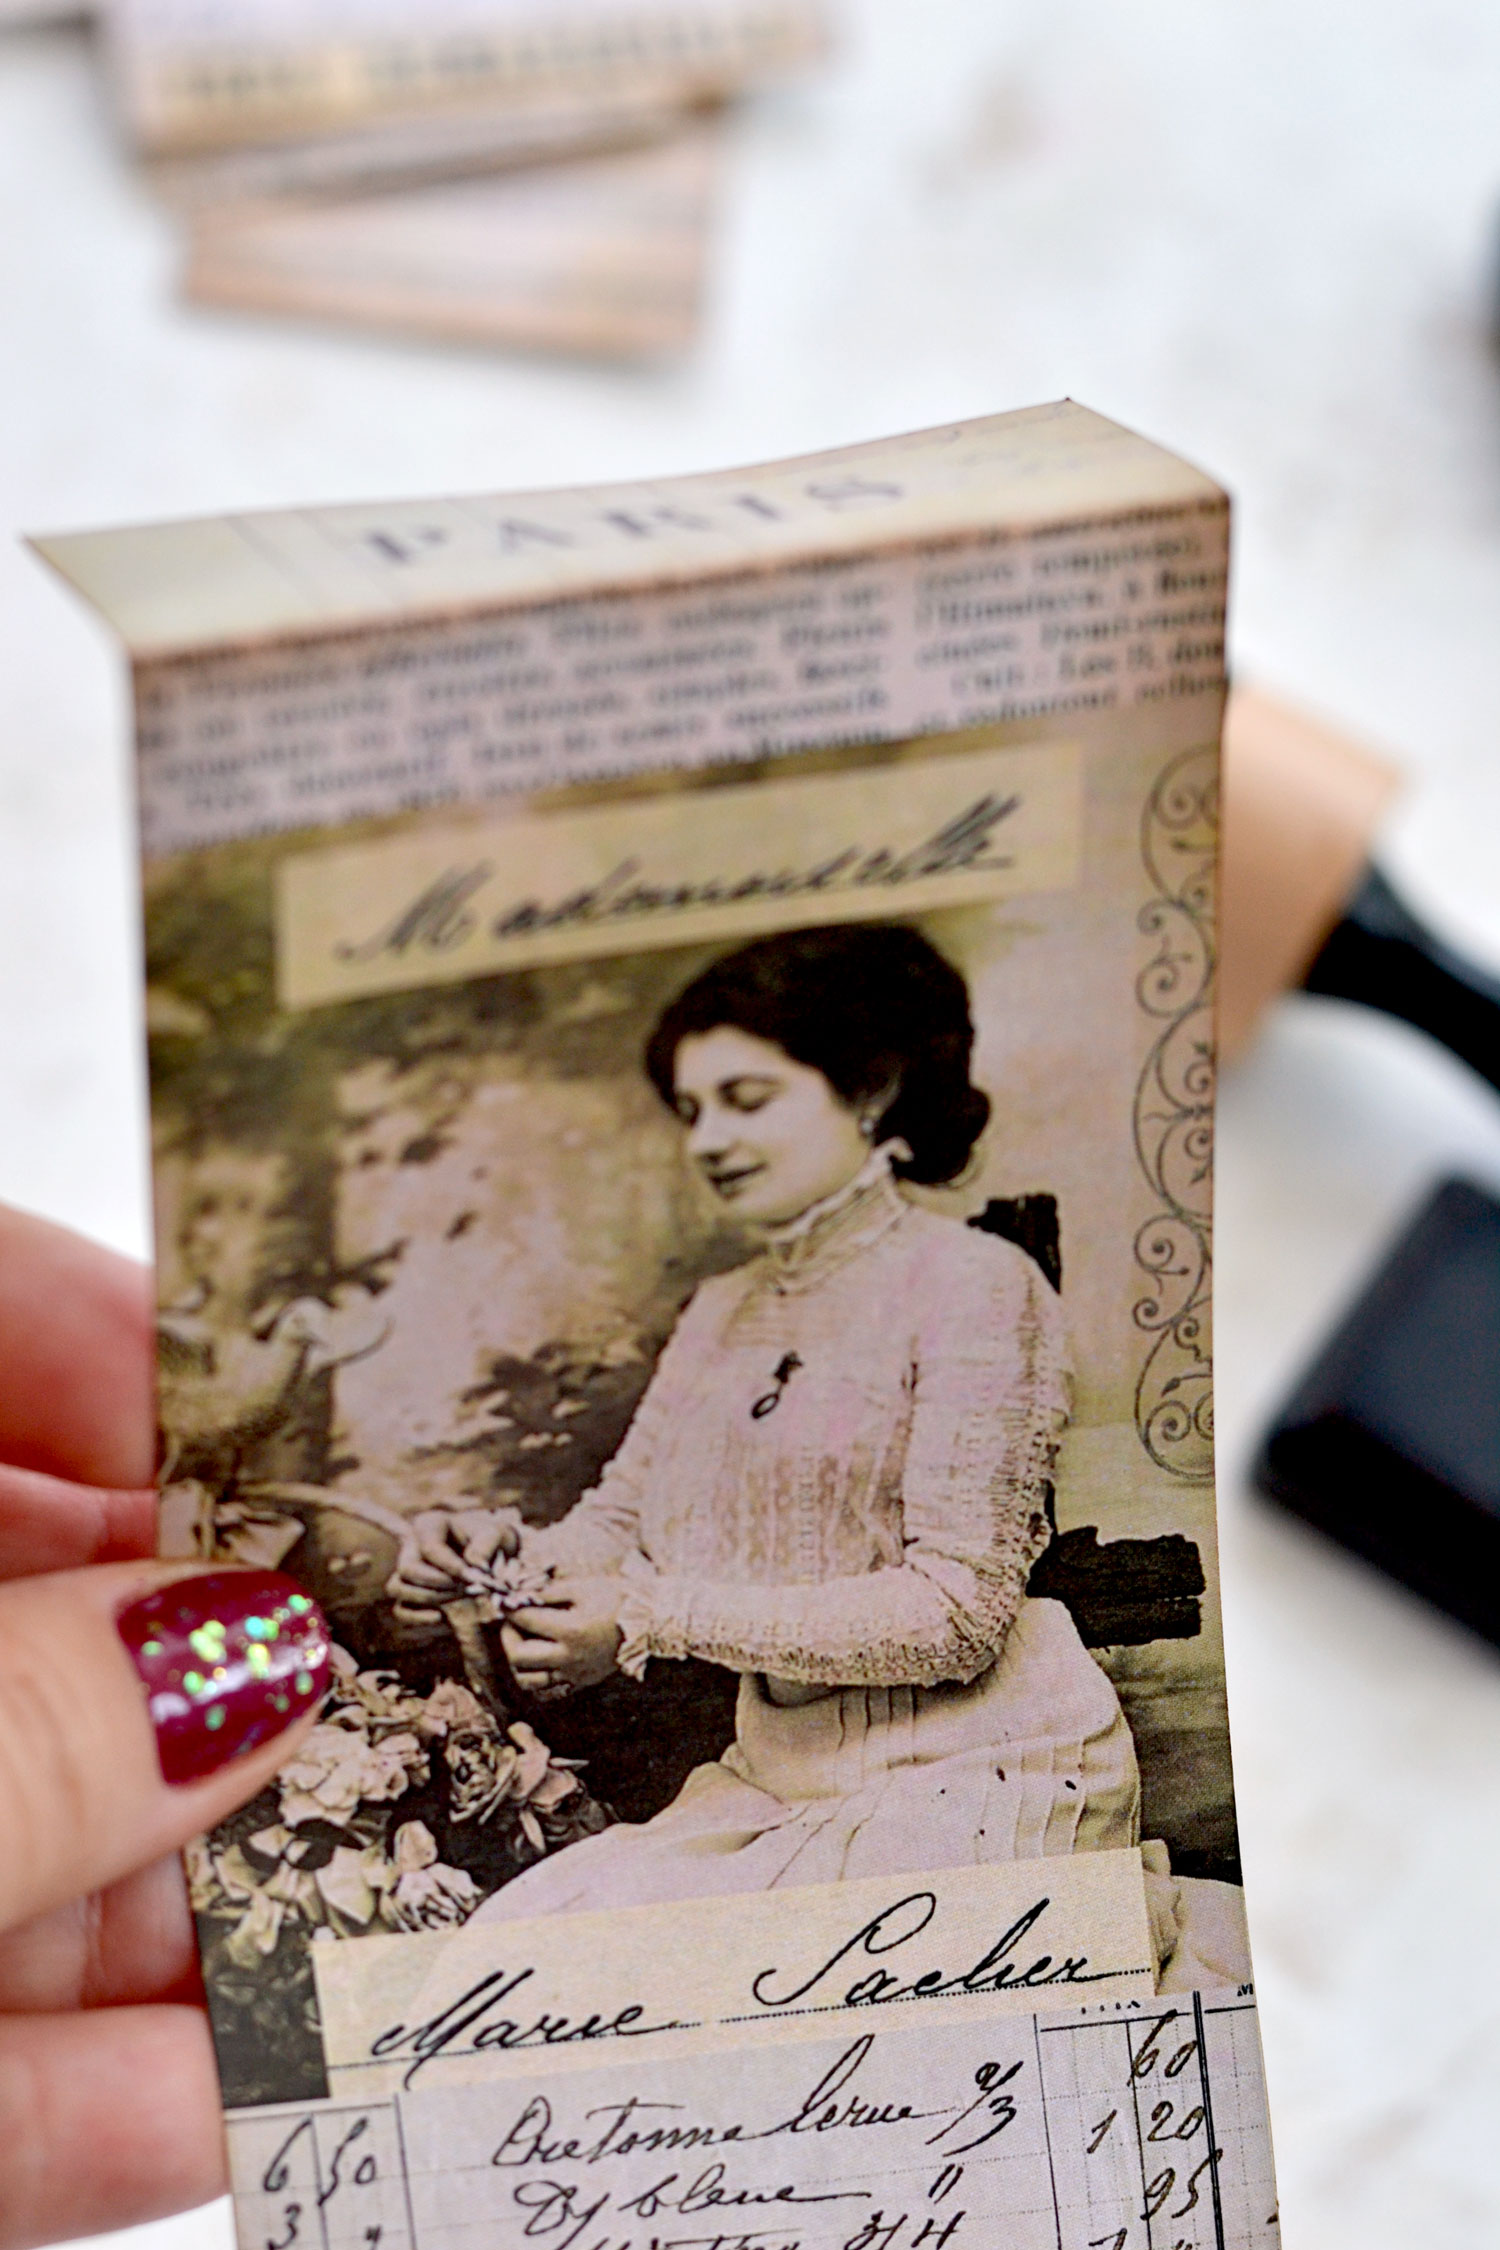
It would be best to fold the segments while distressing them to make sure you cover all their edges and then you can unfold them.
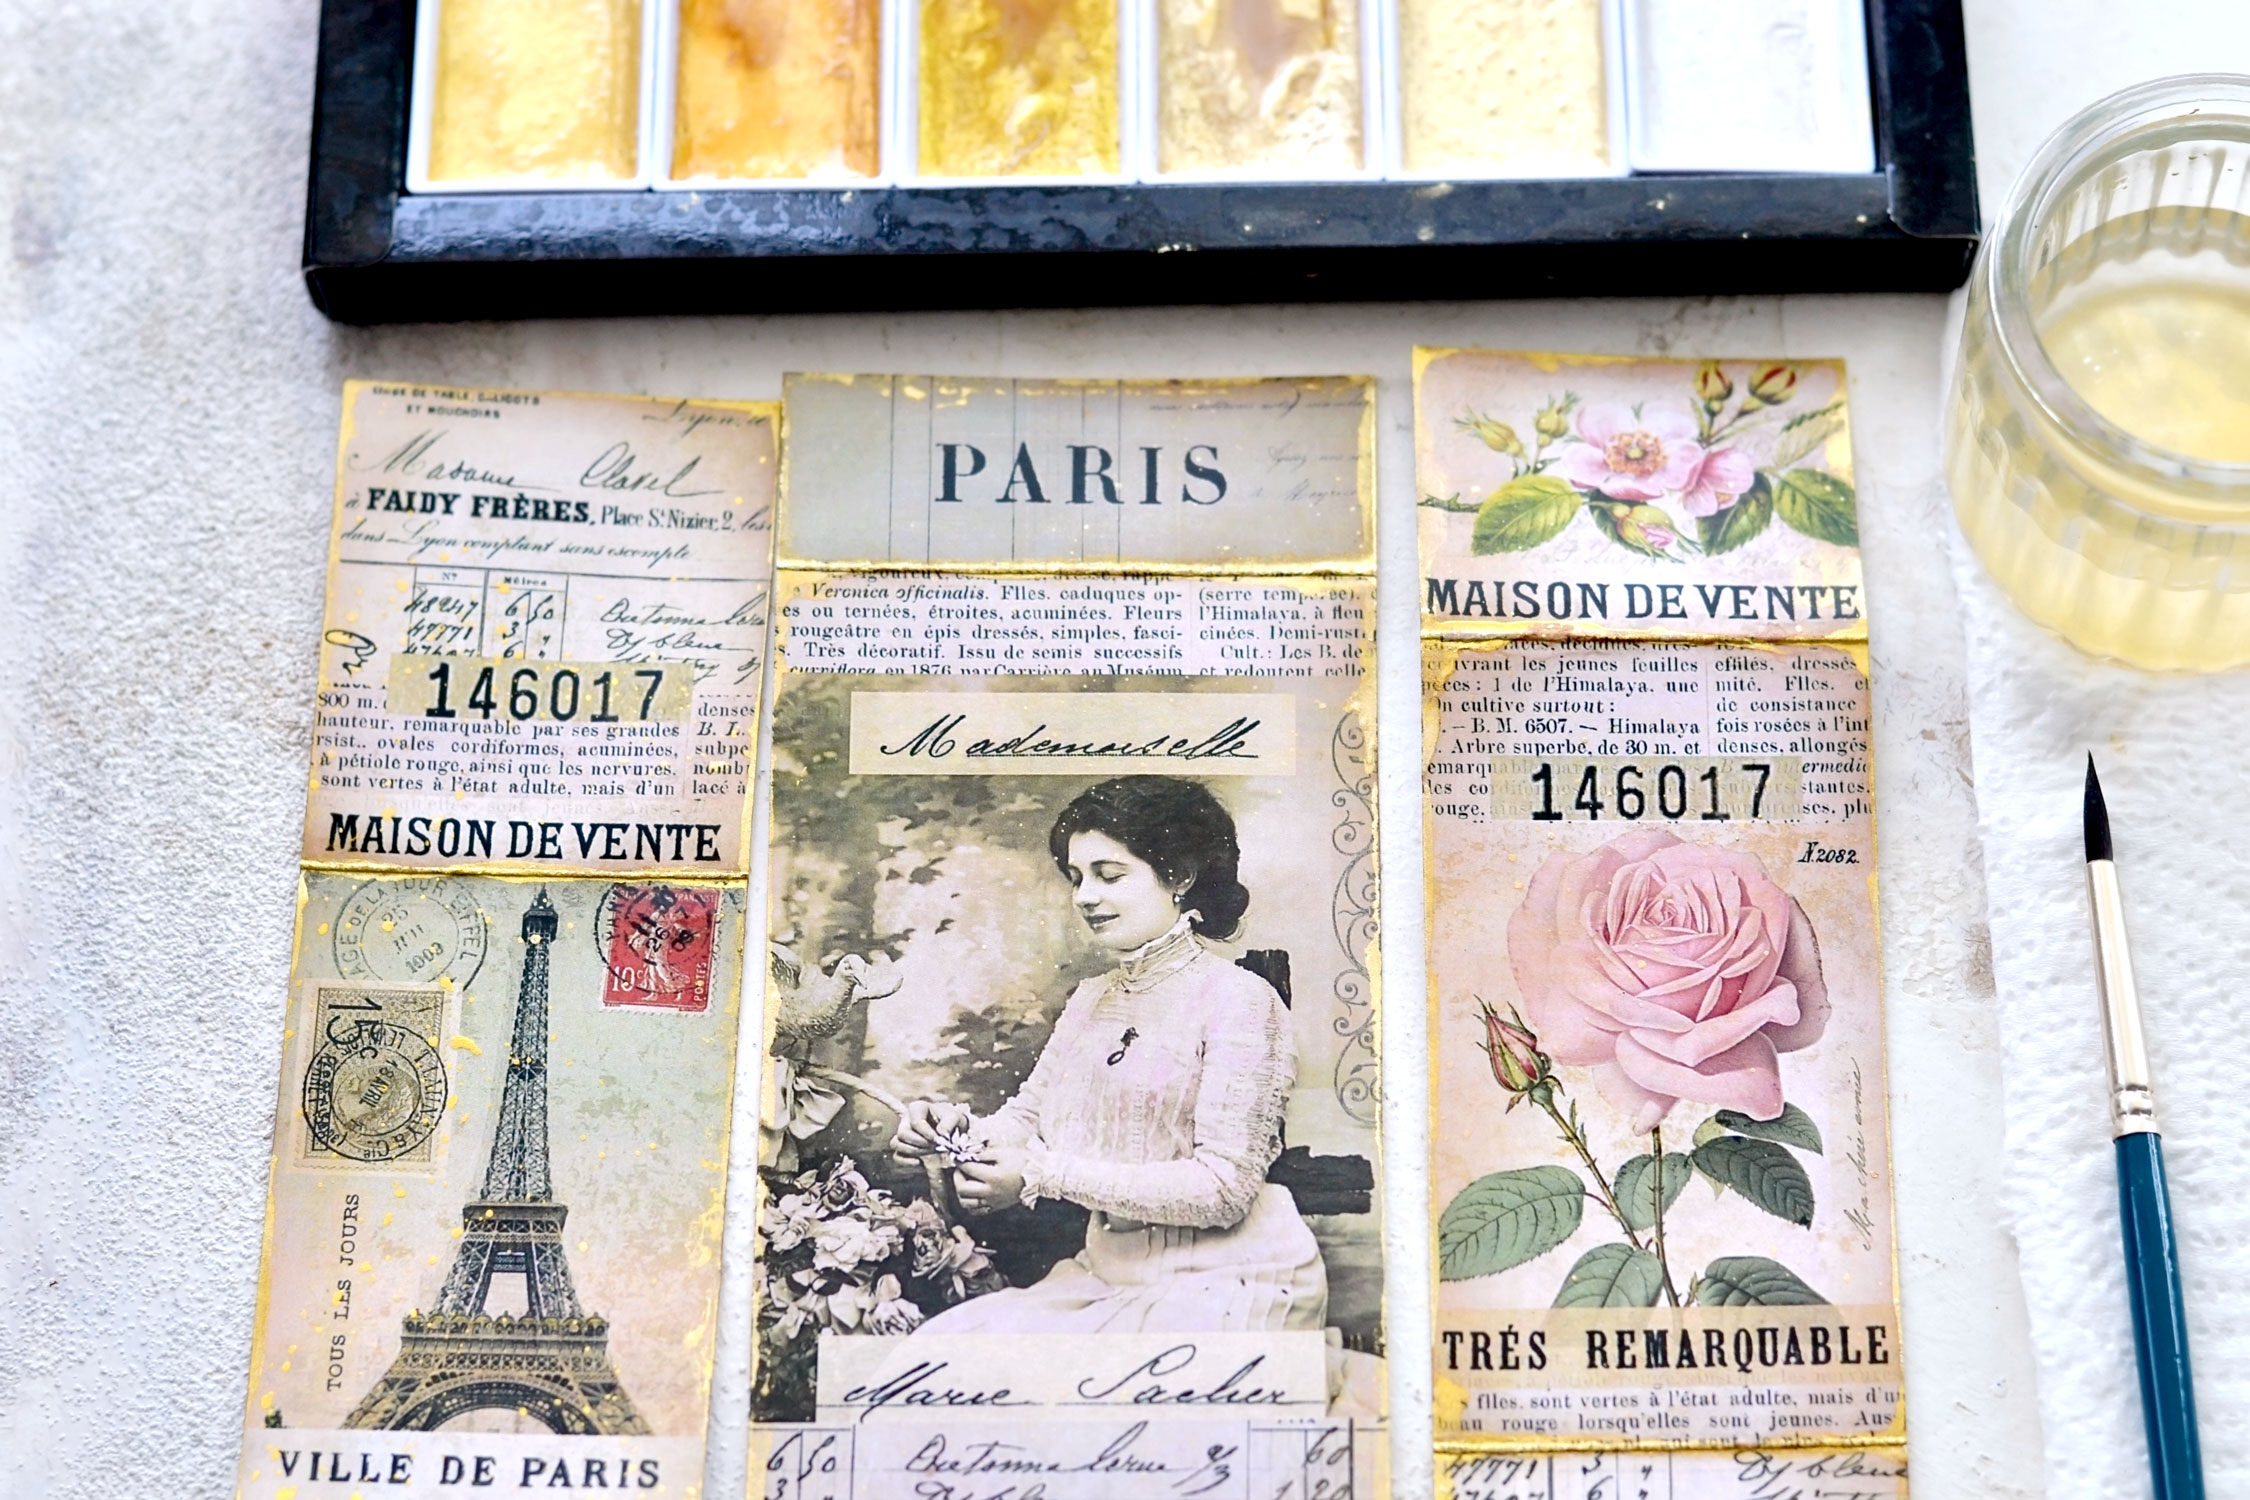
Moving on to adding some gold touches, which is always one of my favorite parts! I used my favorite gold watercolors Kuretake Gansai Tambi Starry Colors and I started by using a small spray bottle with water to spritz the paint and wake up the colors. I love using this lovely gold color palette and I chose two different shades of gold – if you have this exact palette I used the two in the middle – No. 903 and No. 904. I used a small round brush and only a small amount of paint to go all around the edges and added irregular gilded strokes. I painted while folding each segment (for the folded version of the strips), I just love how the paint interacted with all these folded areas! And then I unfolded them and placed them on my table so they can dry.
If you want, you can also add some watercolor splashes here and there. Just pick up some water and paint on your brush, then use the index finger from the other hand to tap on your brush while you are keeping on top of the paper with your hand. You can make a few tests before on a scrap piece of paper so you can get an idea of how much water and paint to use – these two, along with the size of your brush will determine the size of your splashes. Because my brush was quite small, I was able to get really small splashes that looked like a fine mist of gold! Be careful though because this step can get quite messy and you might end up with small gold splashes on everything around you. Please don’t ask me how I know that … hehe.
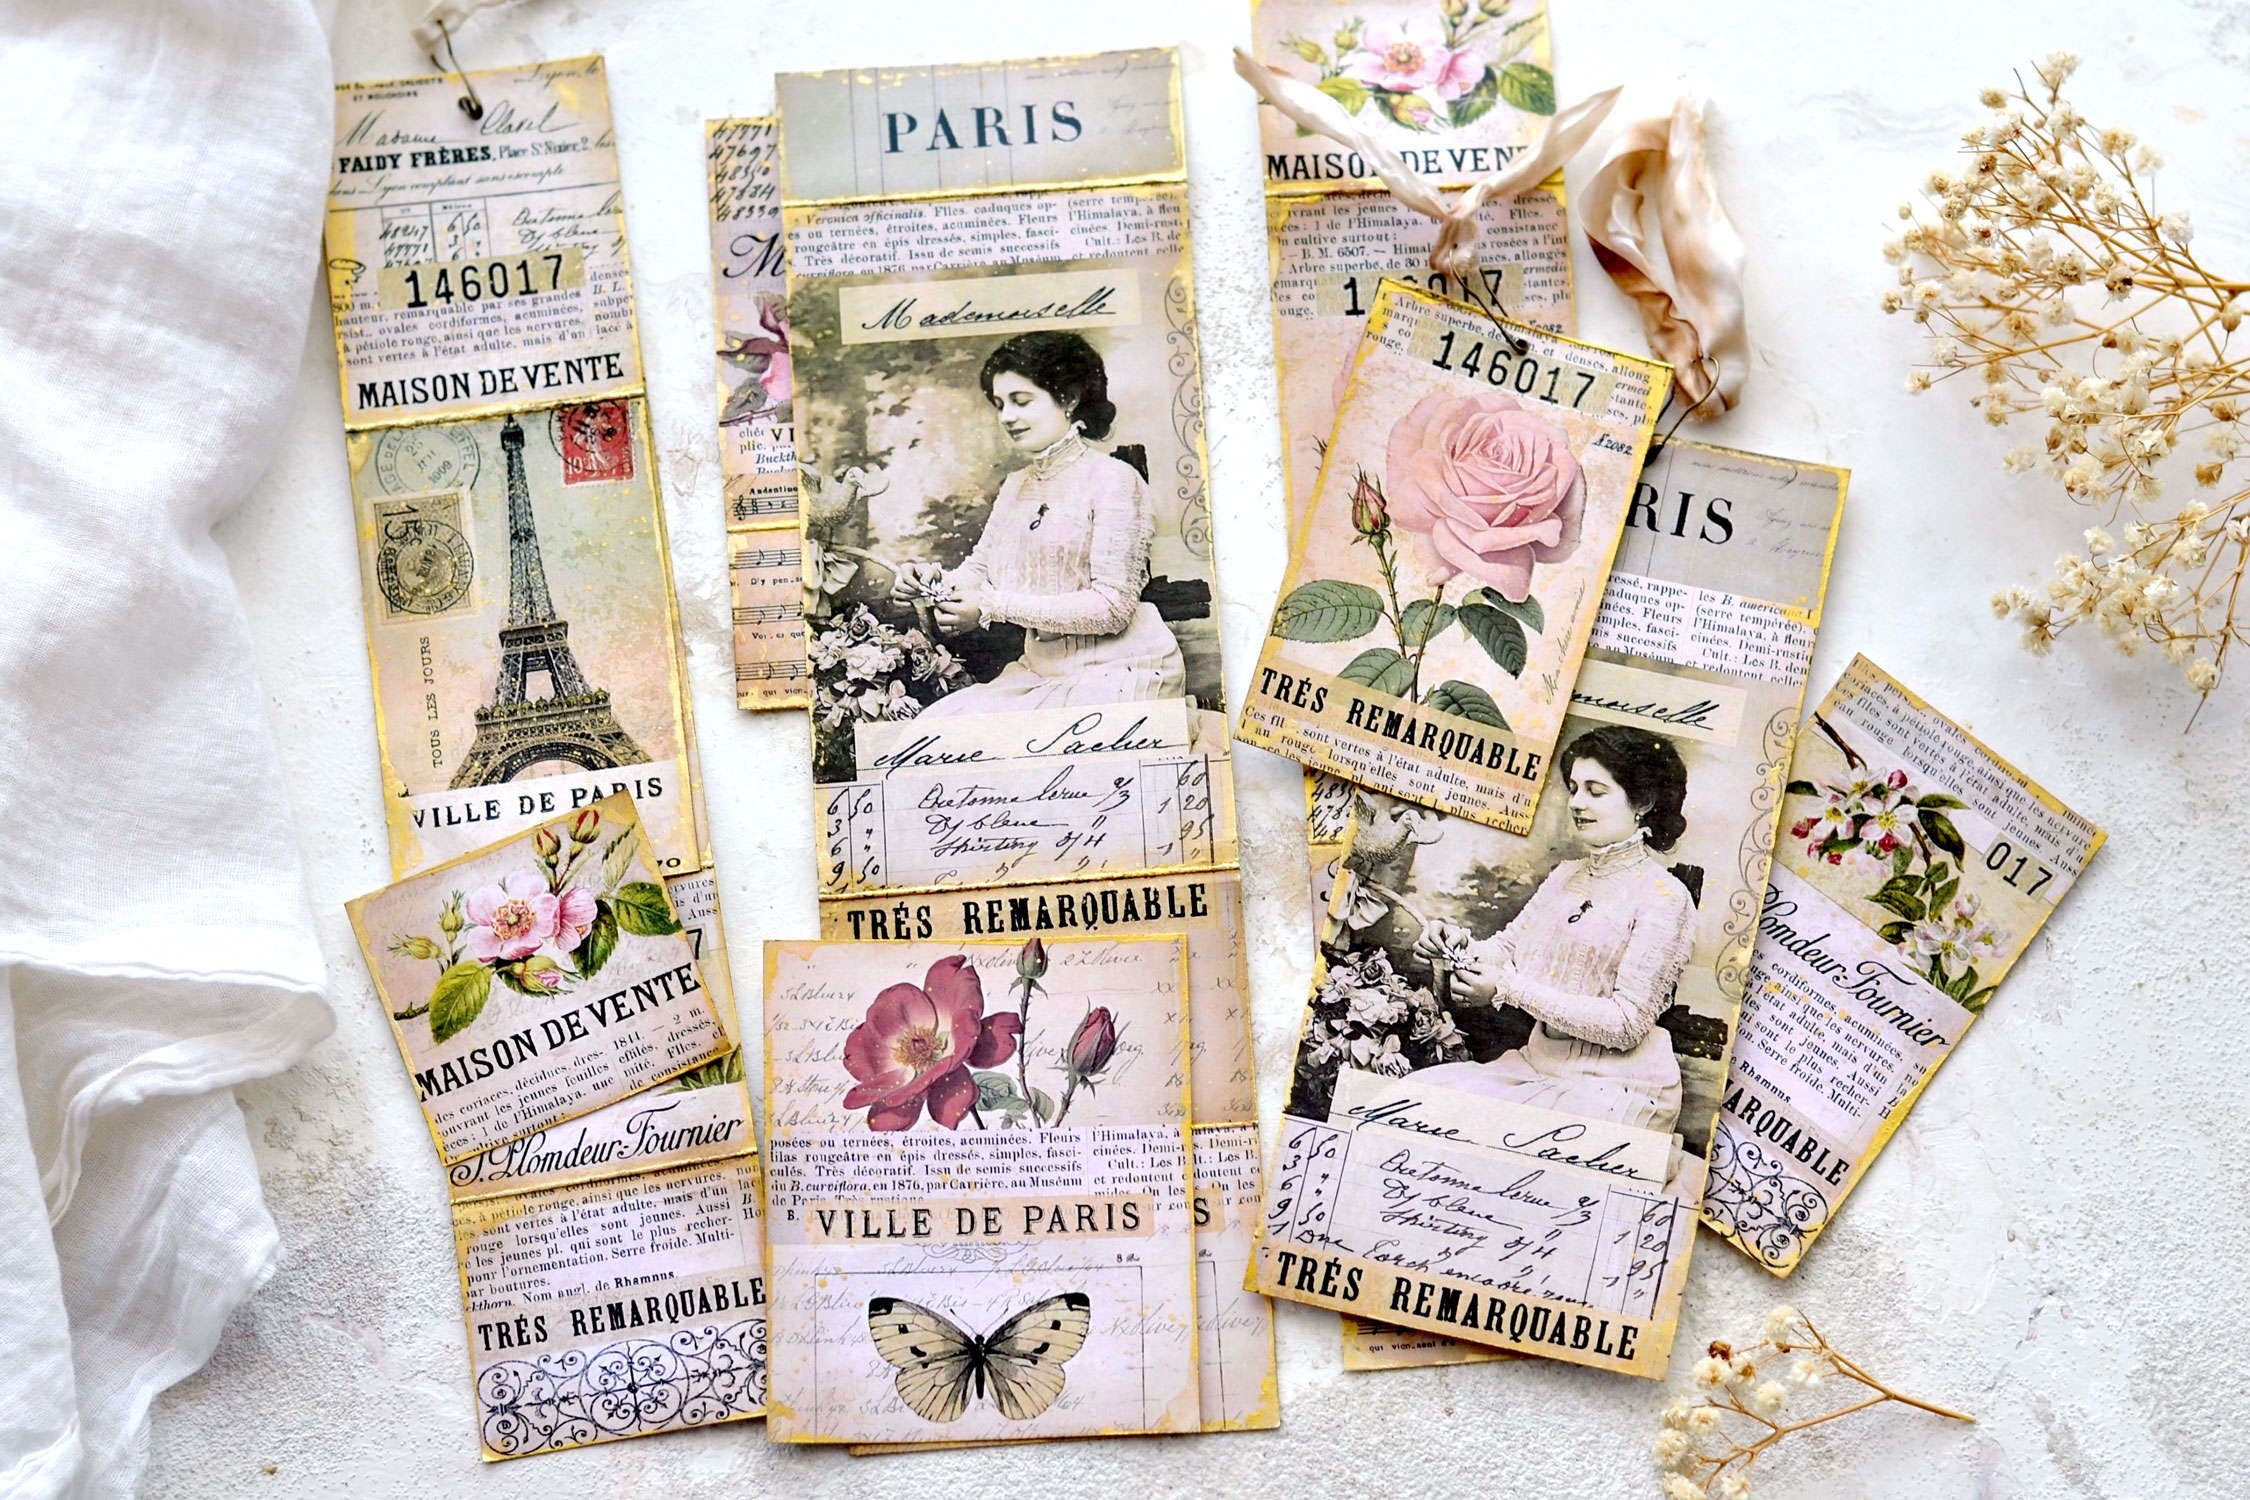
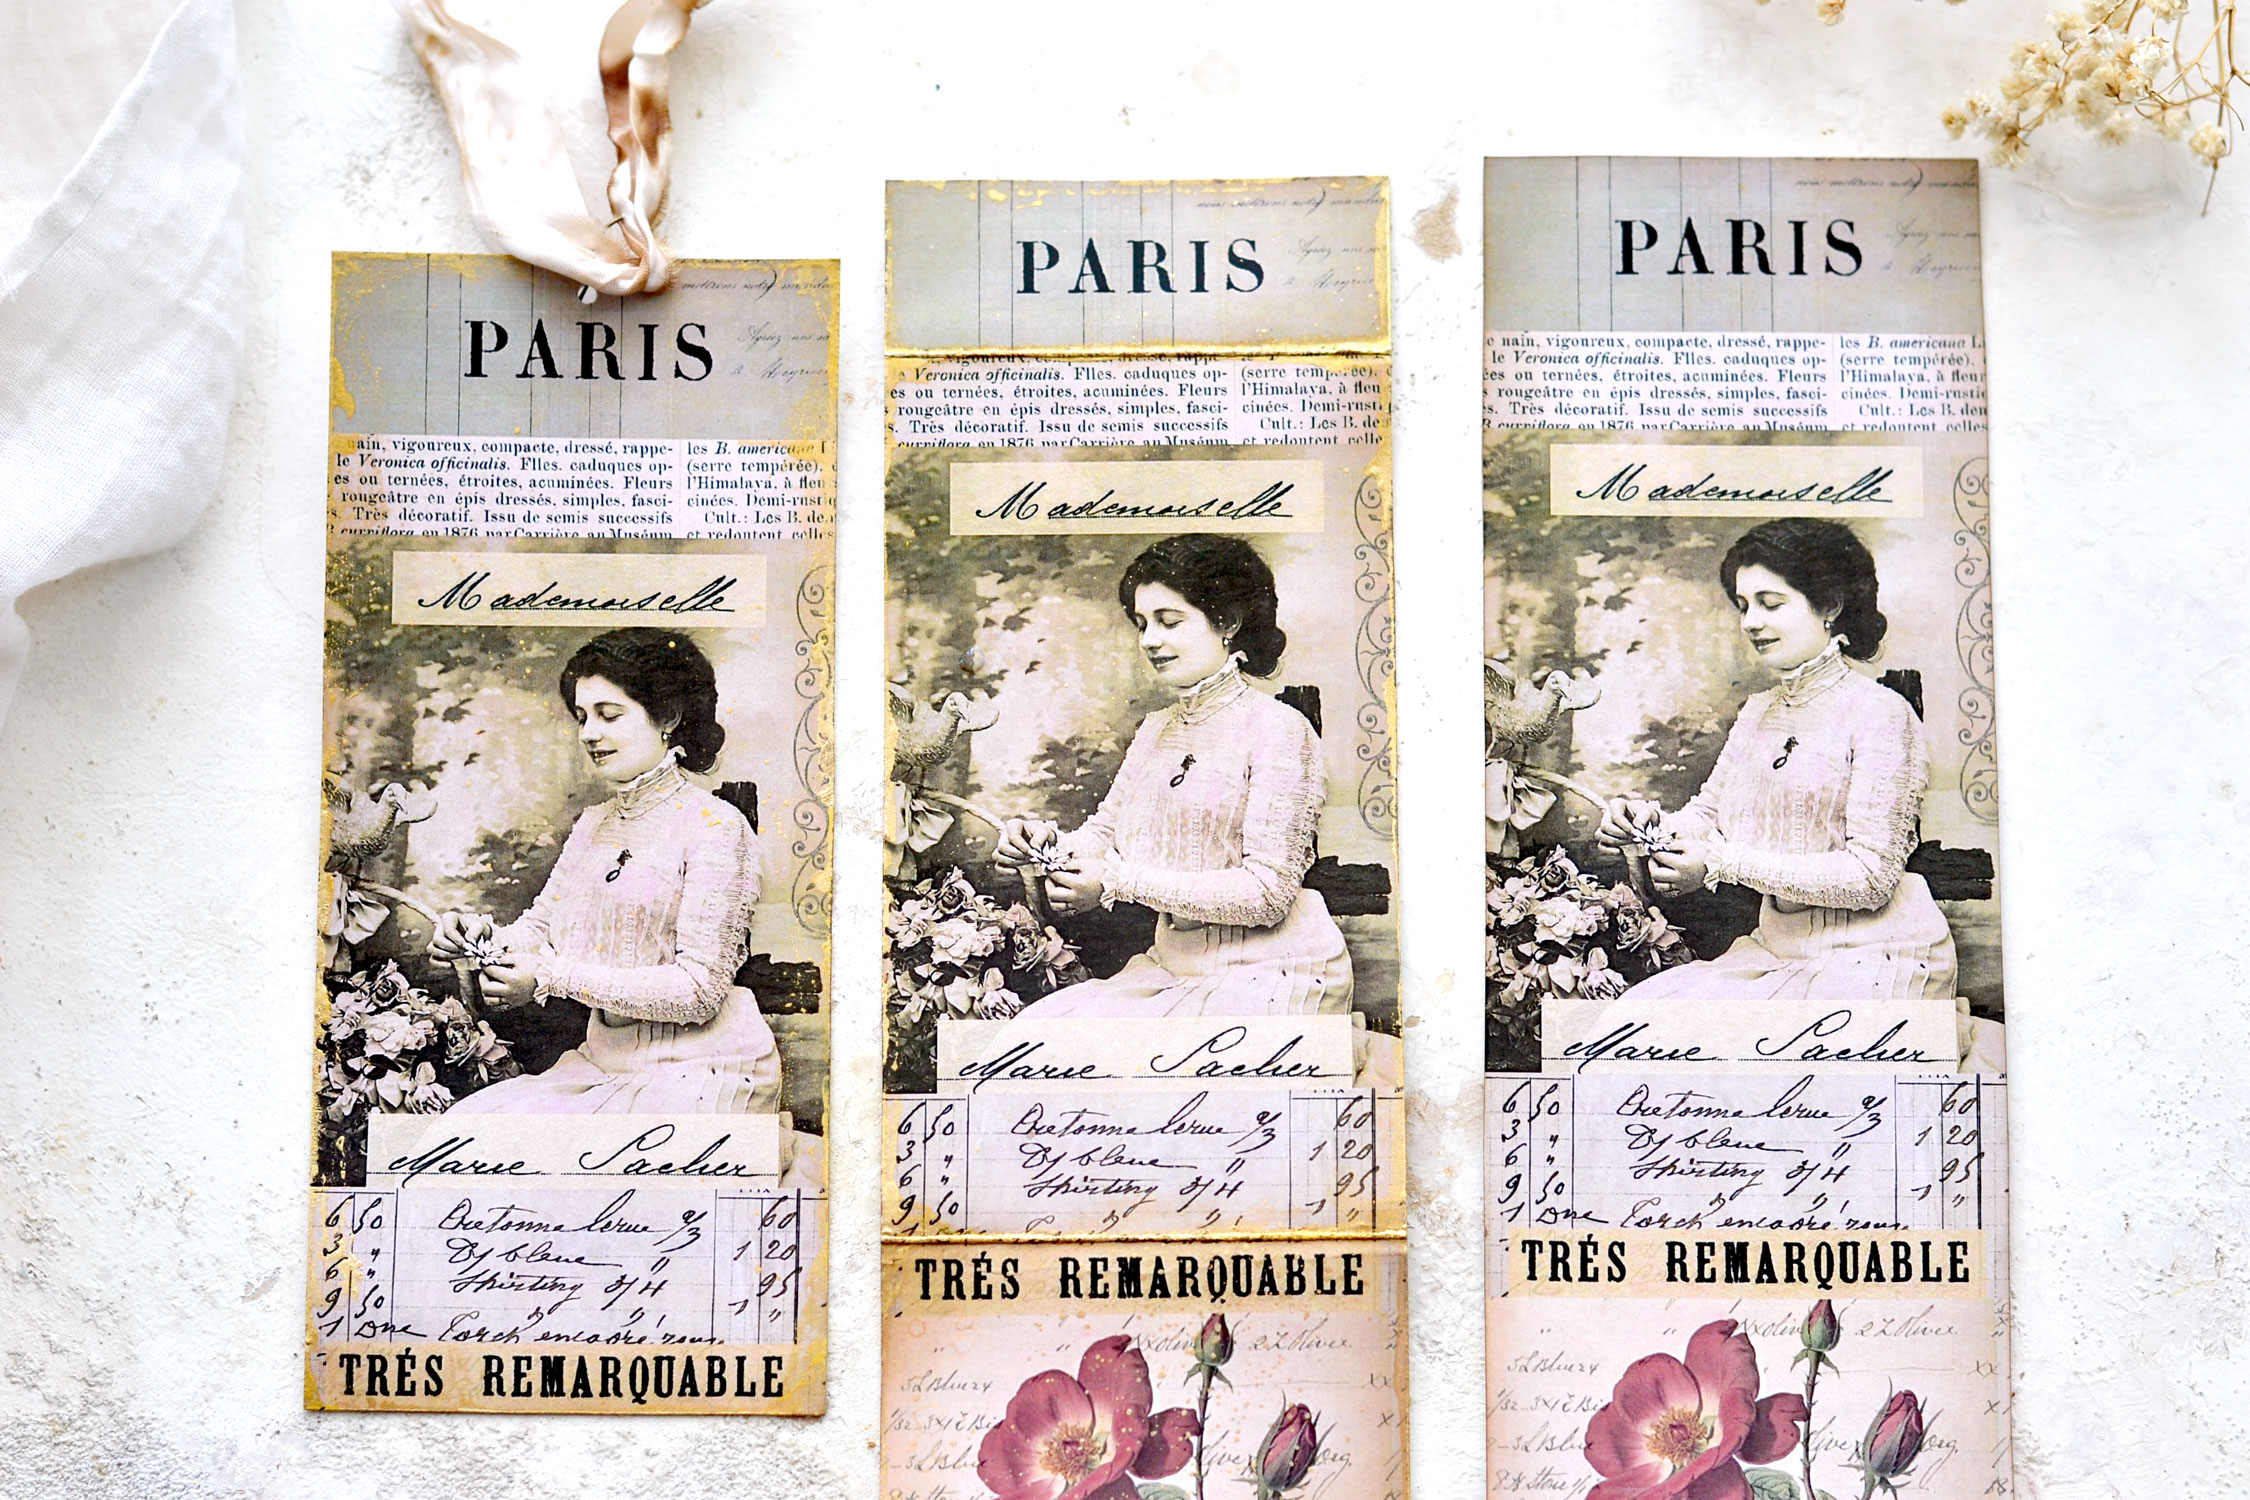
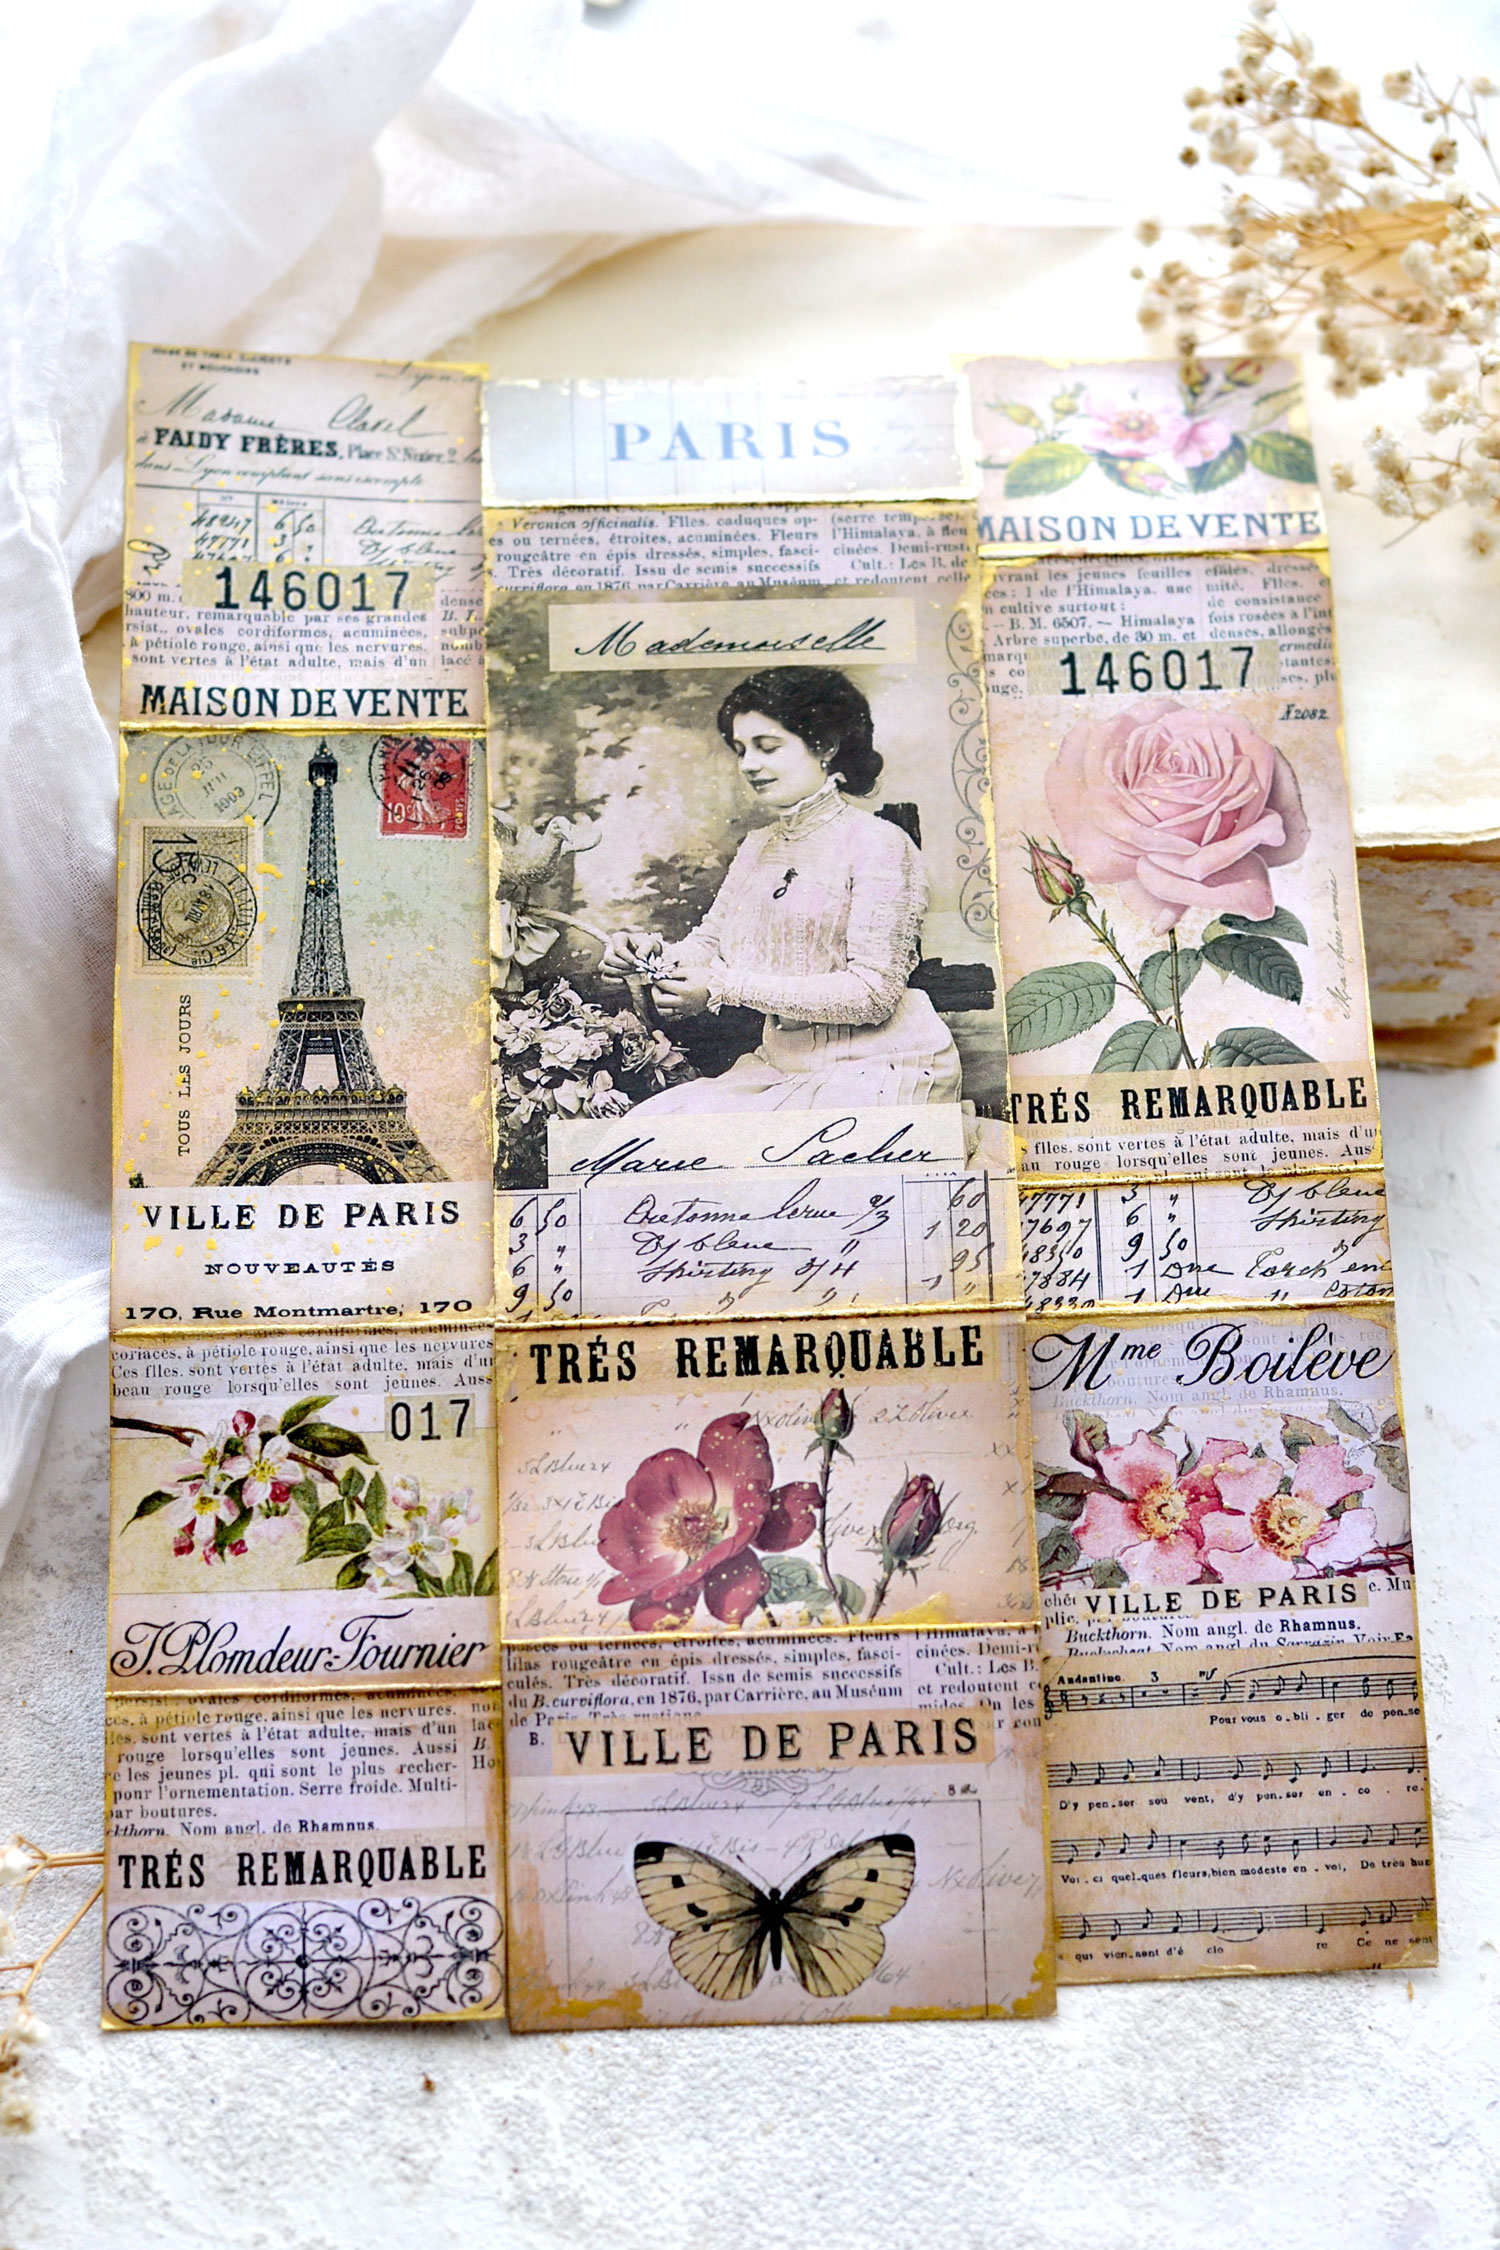
You can go ahead to add some gold to the already cut segments too, below you can see a small side-by-side comparison of the three versions that I created.
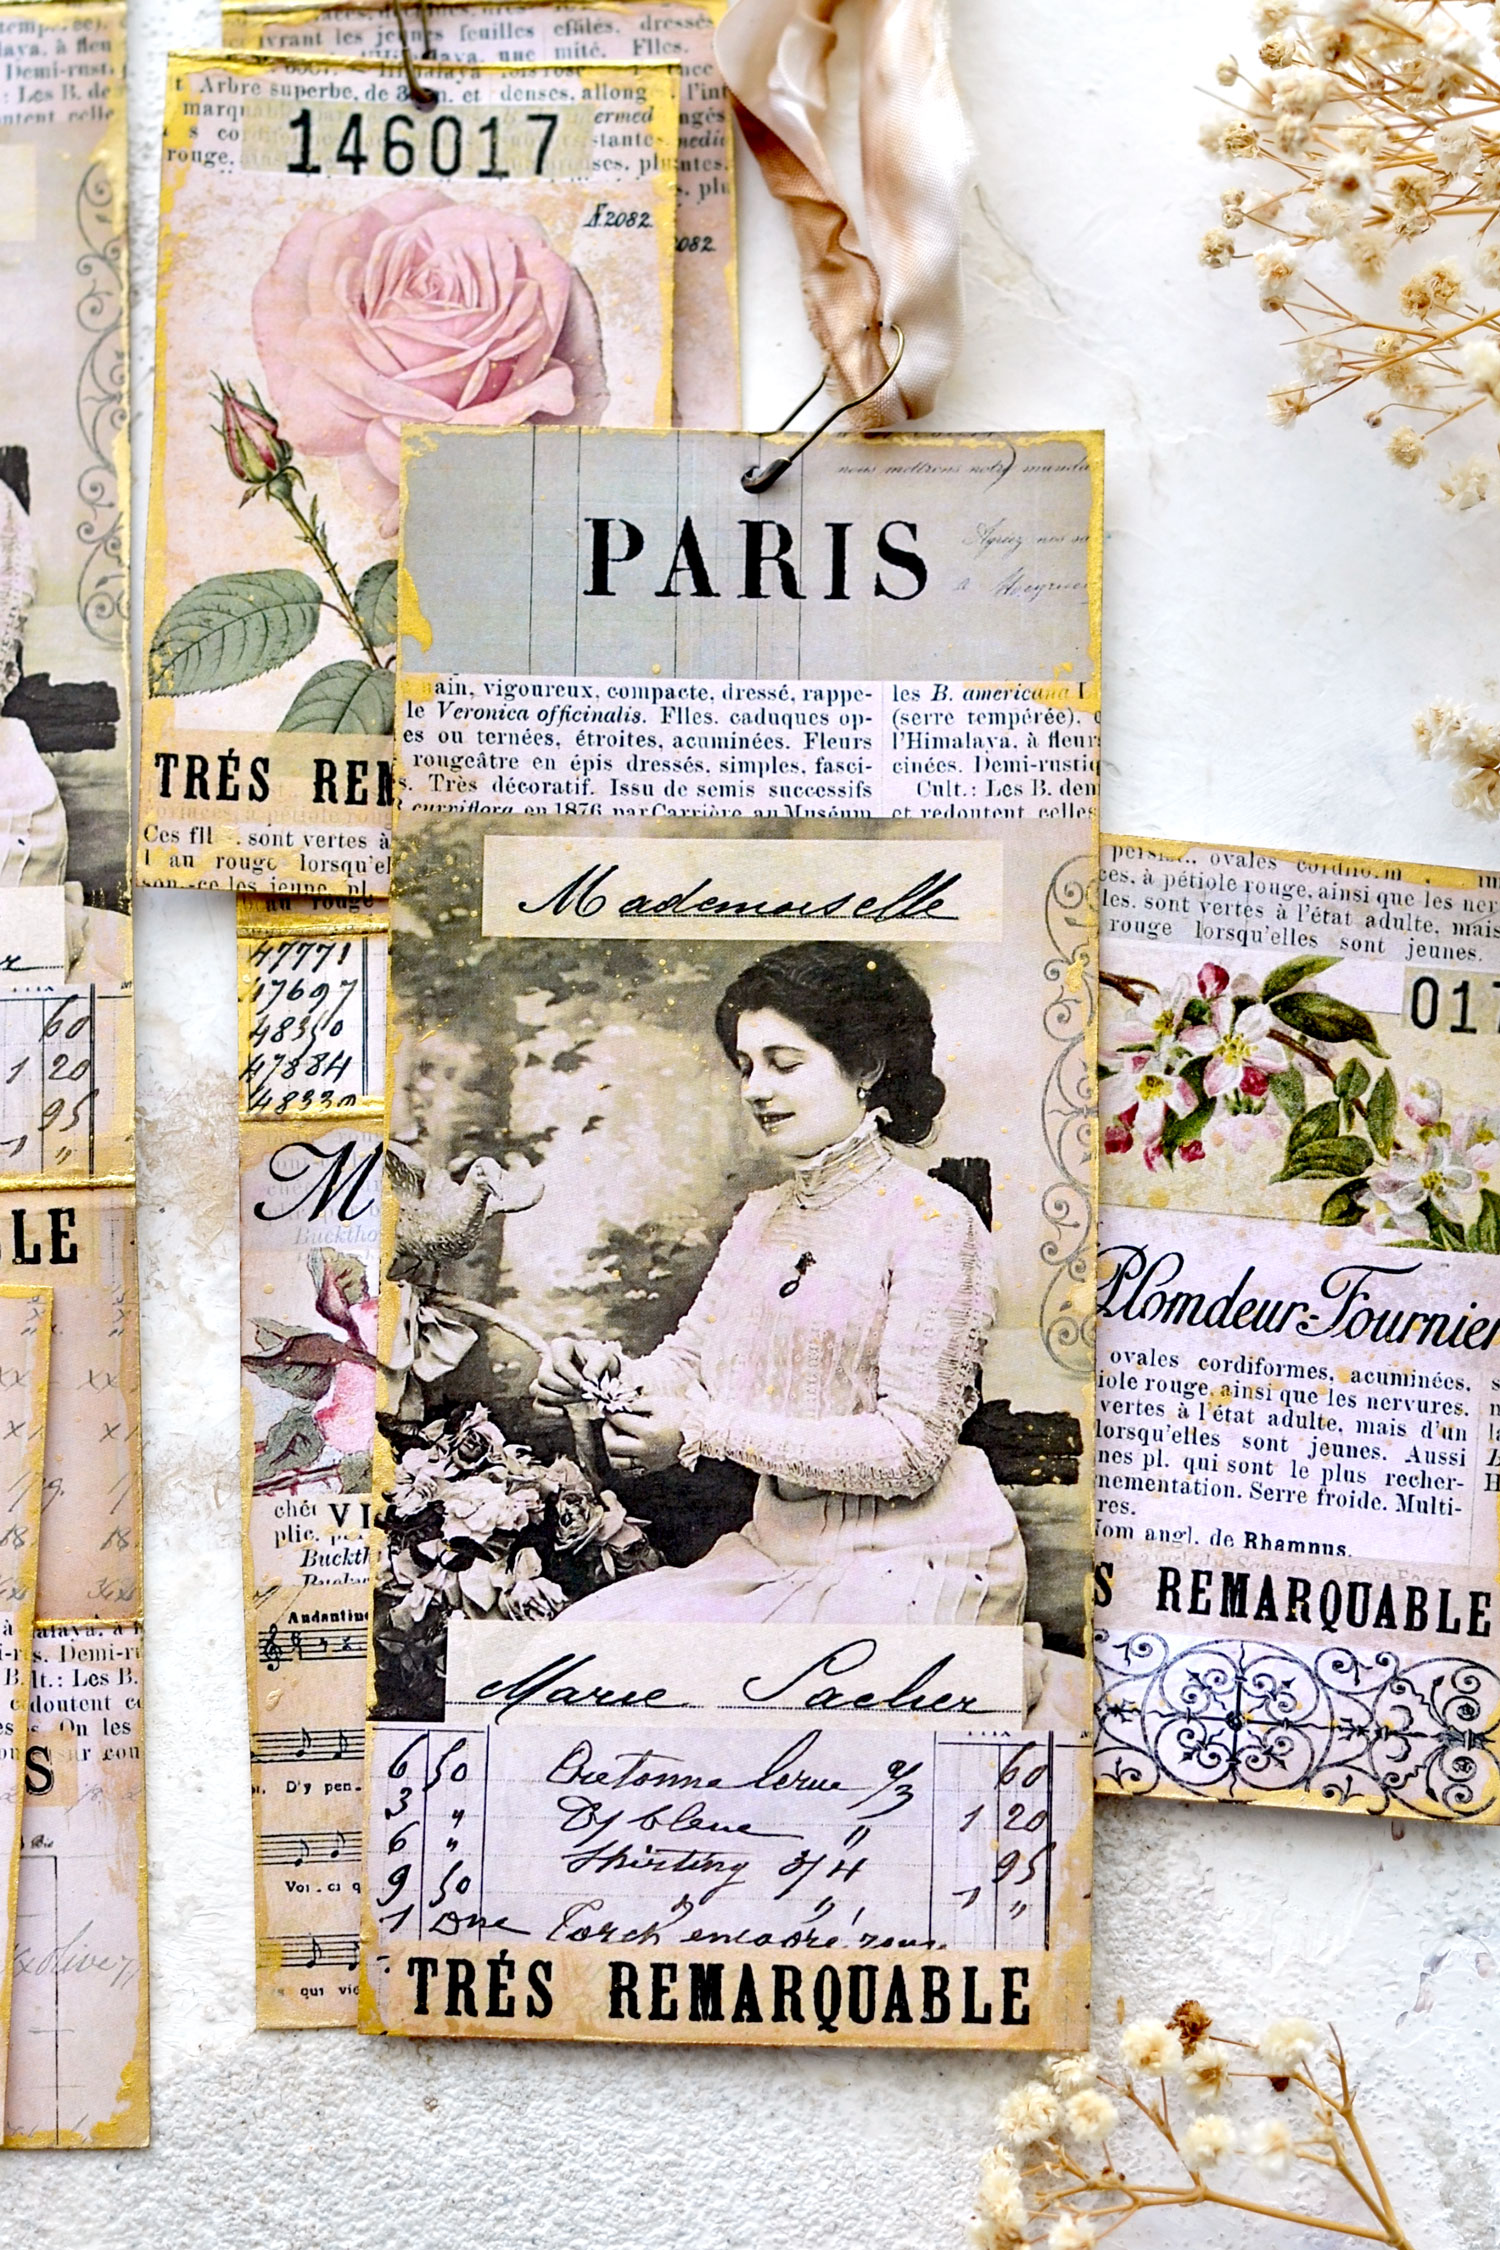
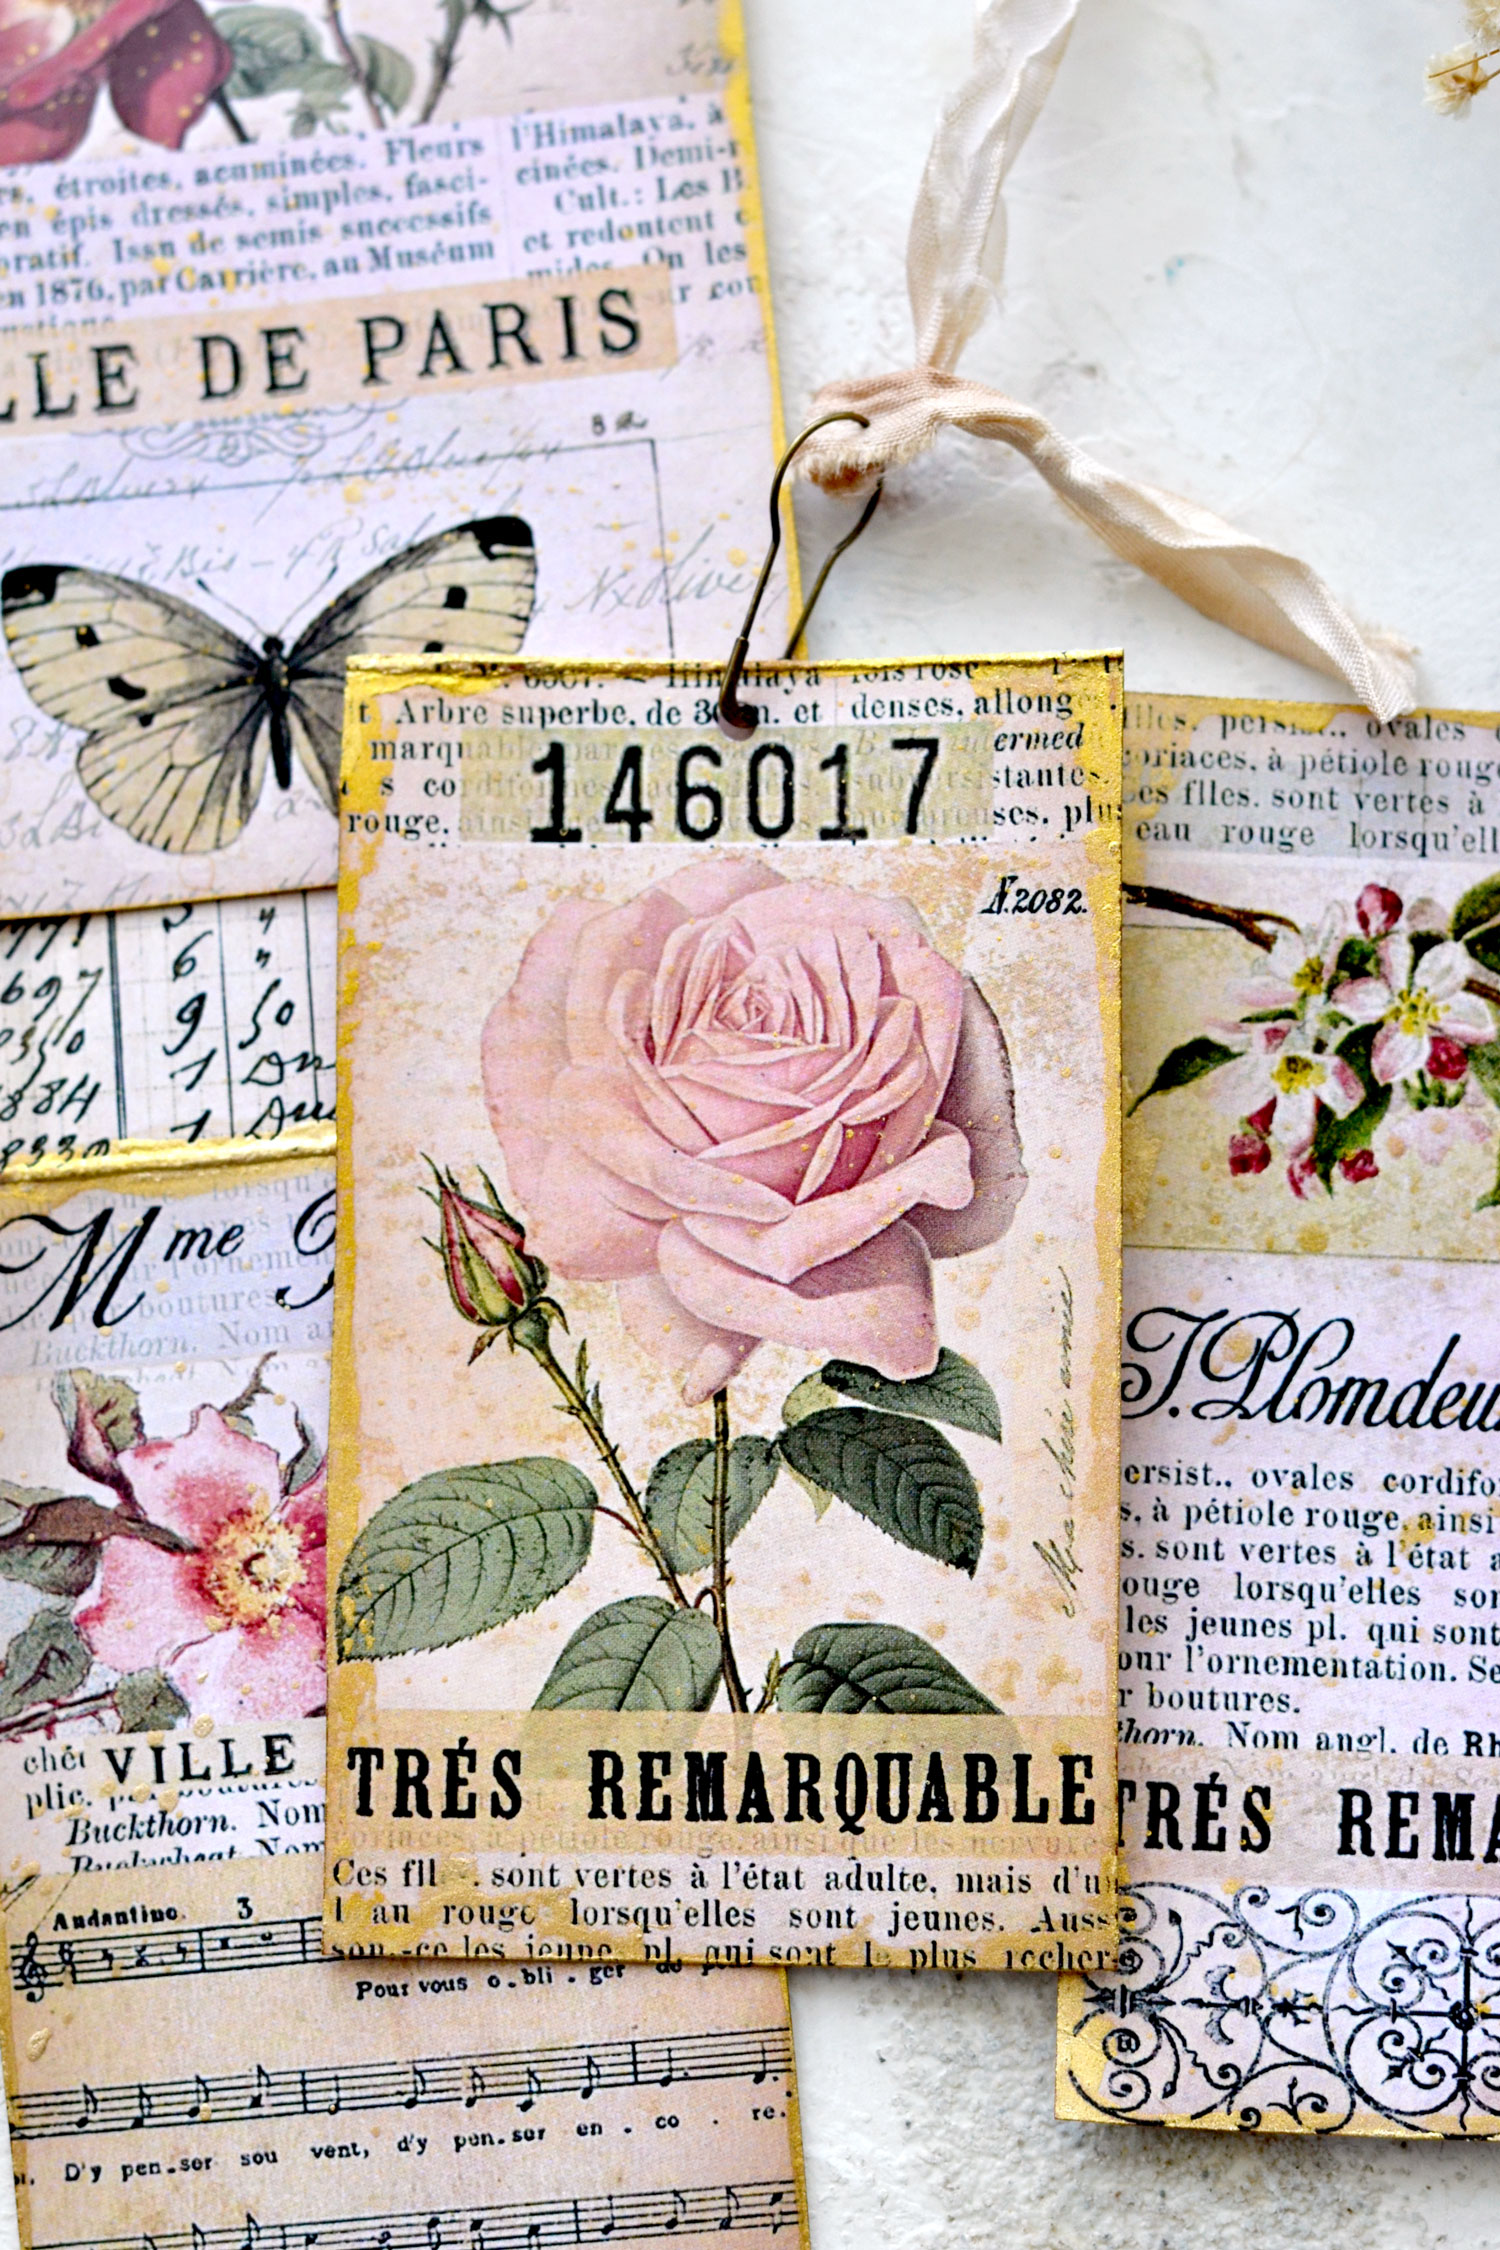
The first one on the left is the already cut collage to which I added a little bit of gold on the edges. I really loved how this one turned out so I just made a hole and added some crinkle ribbon using a gourd pin to turn it into a super chic tag!
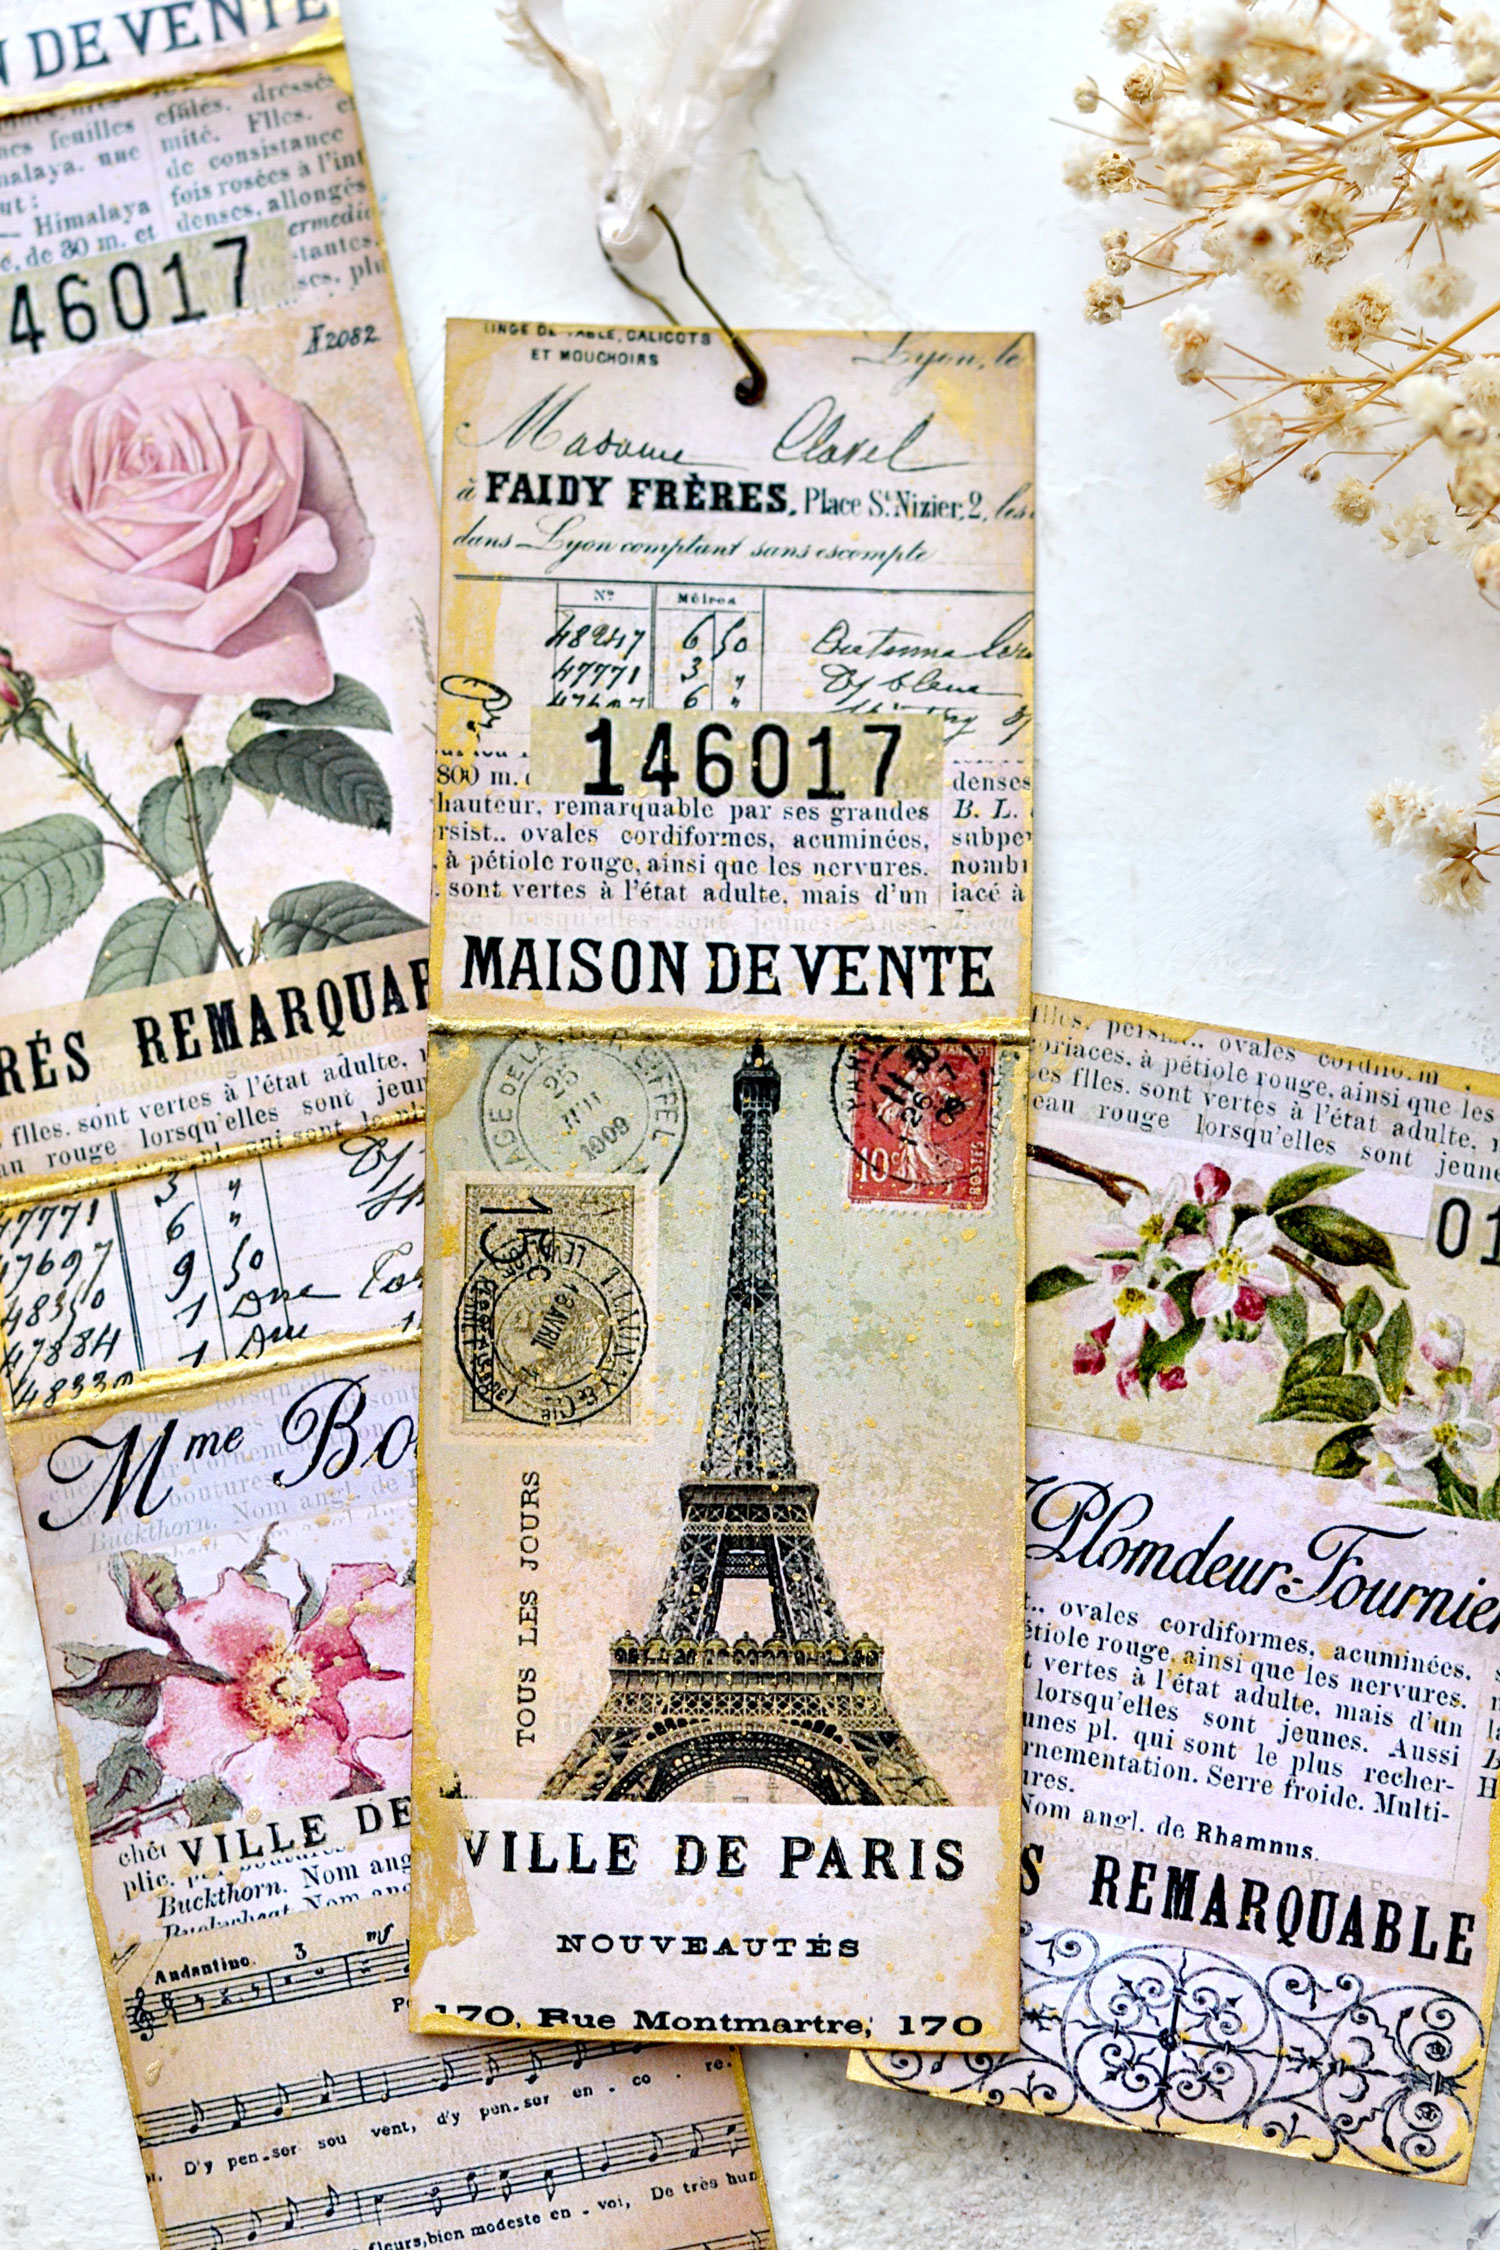
In the middle, you can see the collage strip that I folded (without cutting) into smaller segments and added the gold to. I actually loved this gilded version better because some of the gold sipped into the folded paper and it gave it even more charm and dimension. You can then use the folds as guidance to tear or cut this collage into smaller segments afterward.
And on the right, we have a simple version that is only distressed but is super charming nonetheless. You can keep this one as it is and decide if you want to further embellish it depending on your needs … and your inspiration for the moment.
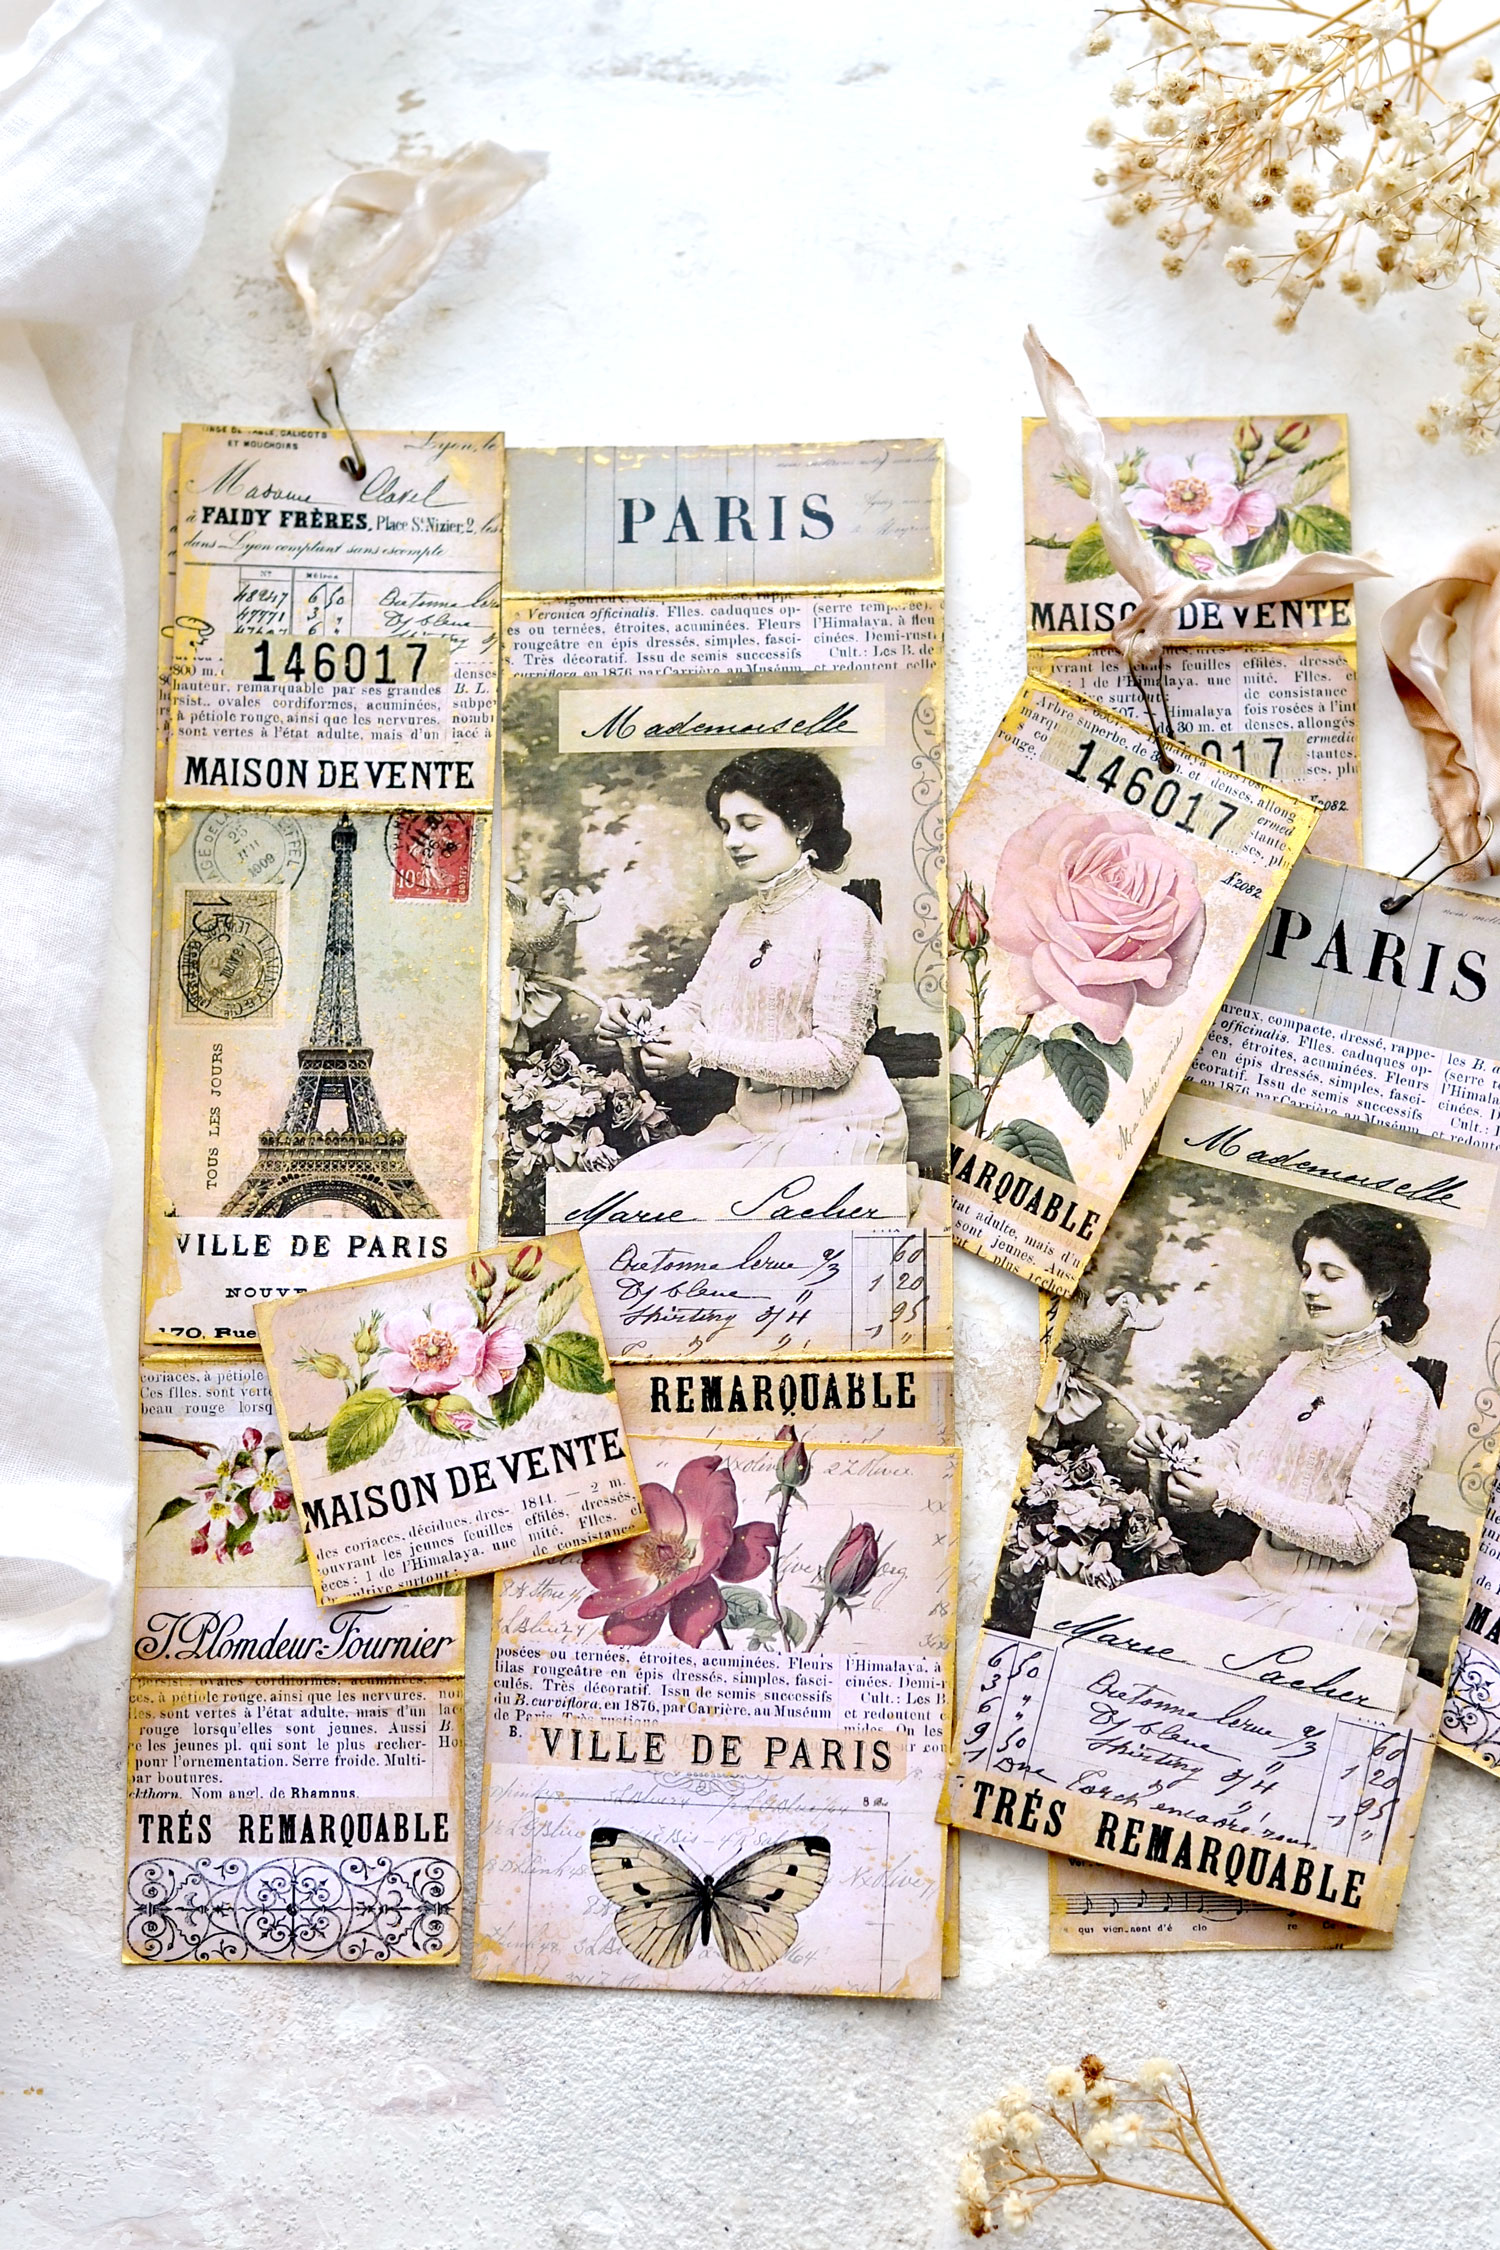
Your super chic Vintage French Collage Strips are now ready, you’ll have a mix of everything that can be used on so many of your creative projects!
You can use scrap pieces of lace or gauze, gold washi tape, gold foil or even some gold glitter if you want to further embellish these beauties.
They have quite a neutral vibe, so they can be taken in any direction, depending on your preferences and how you are planning on using them.
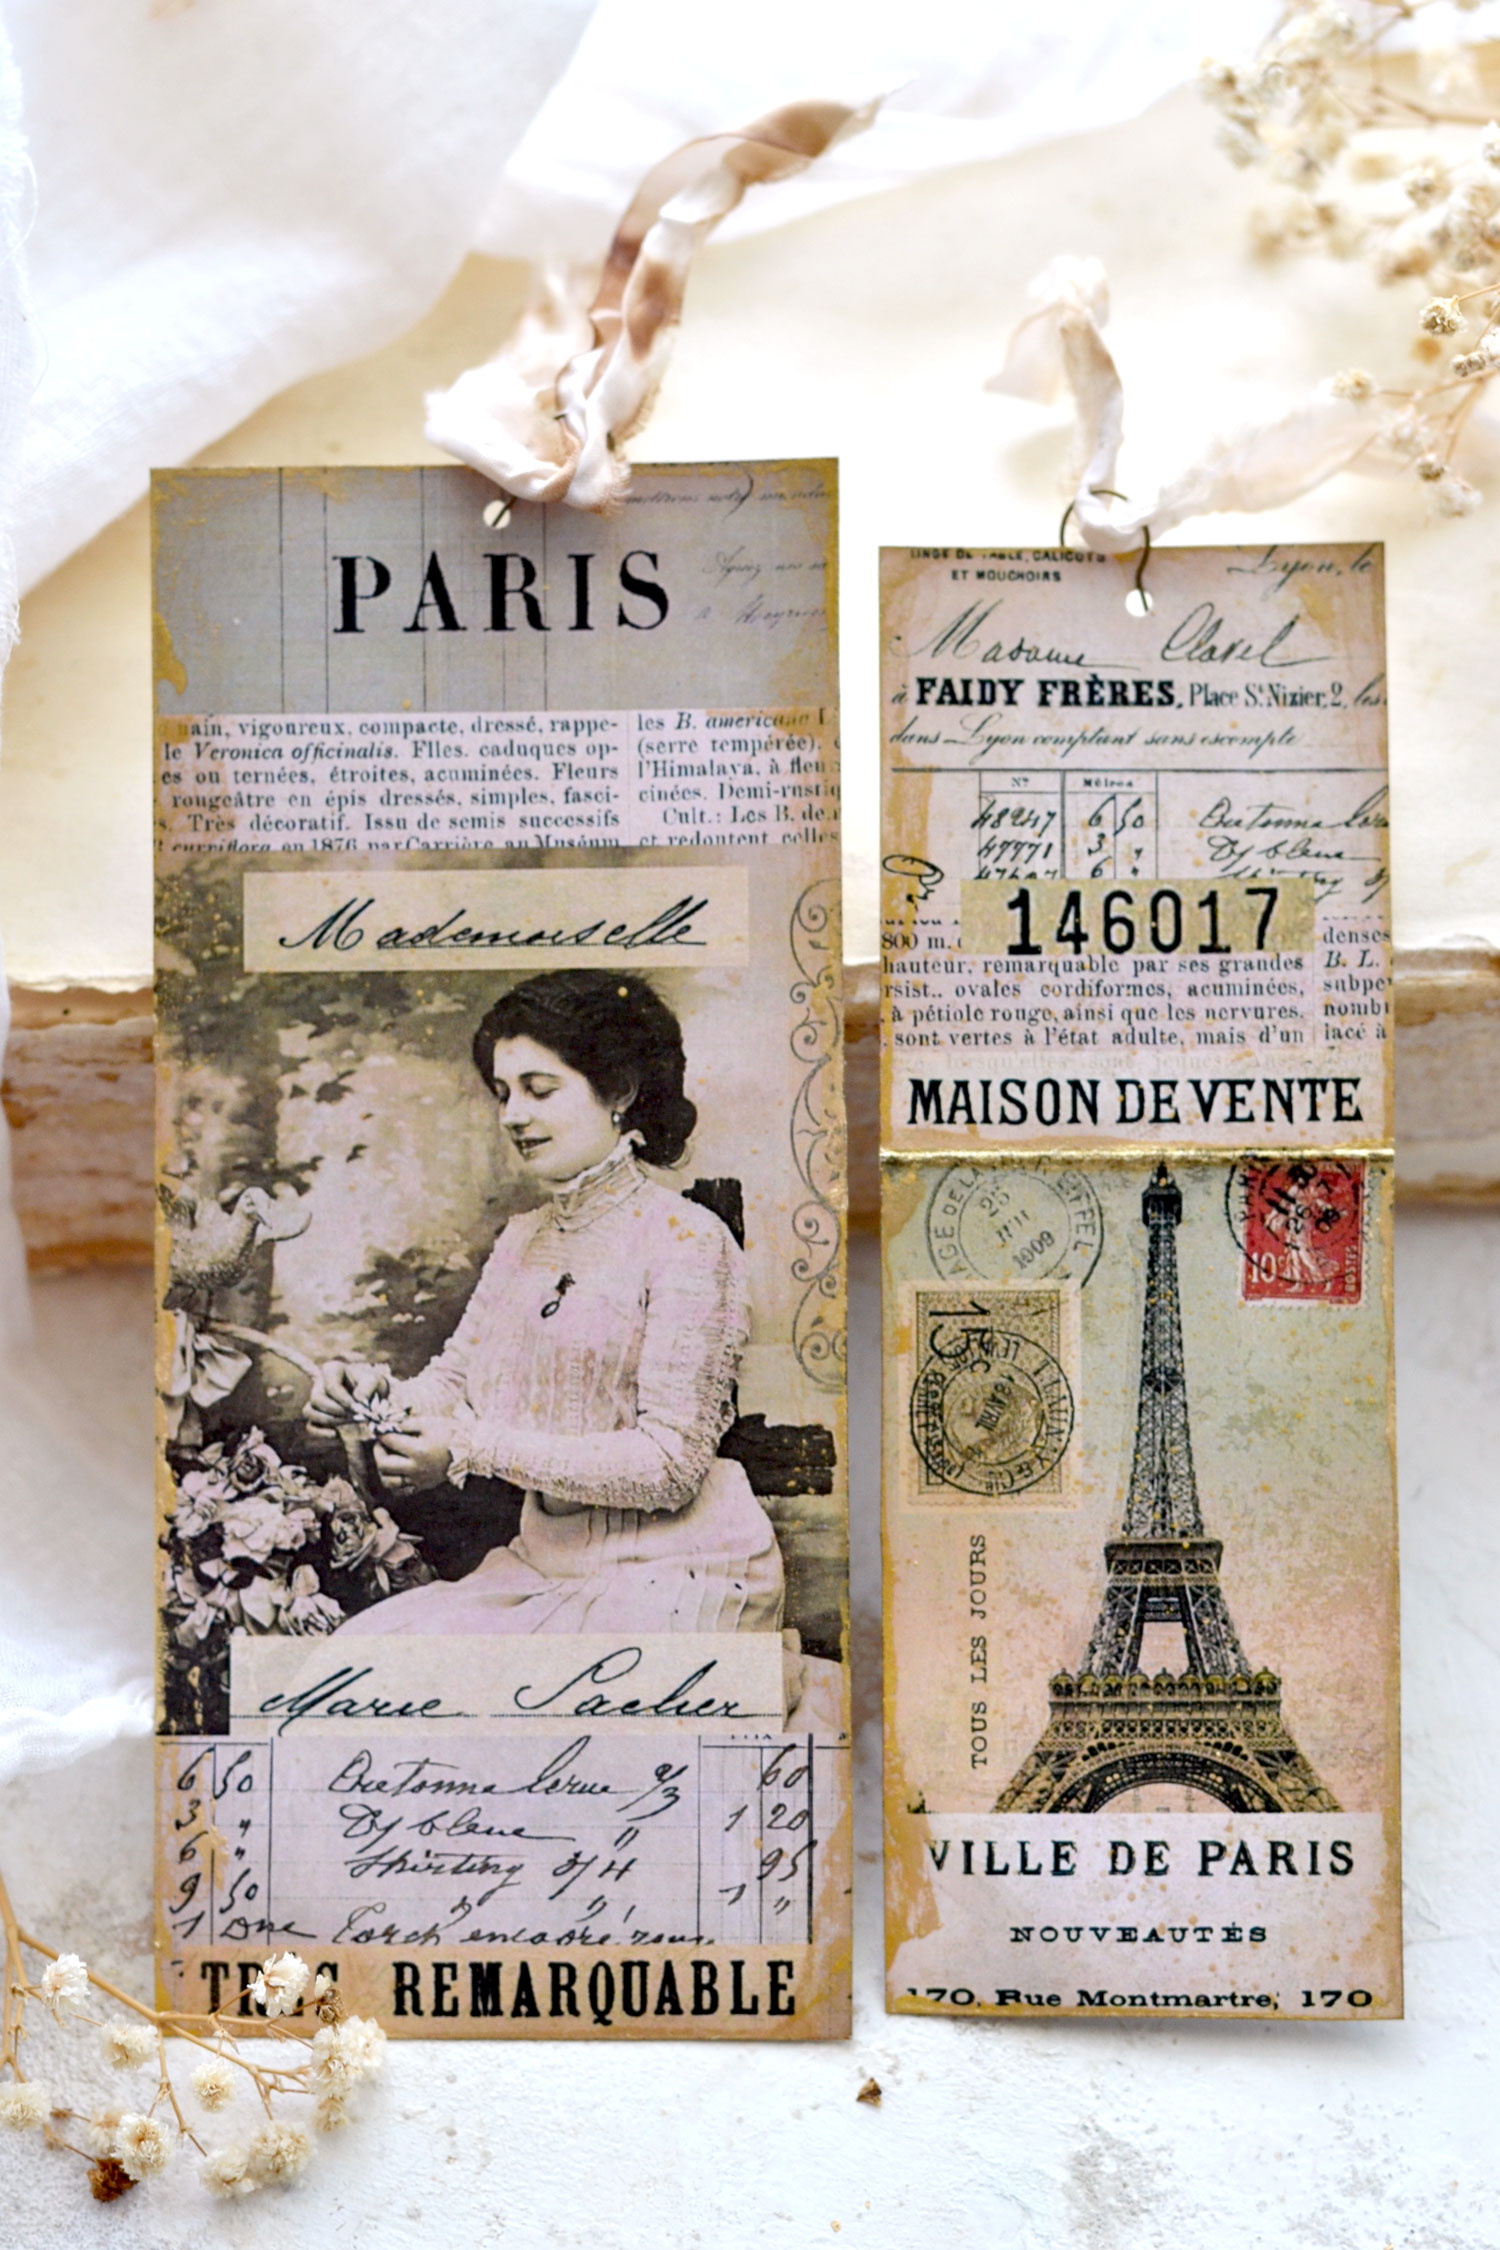
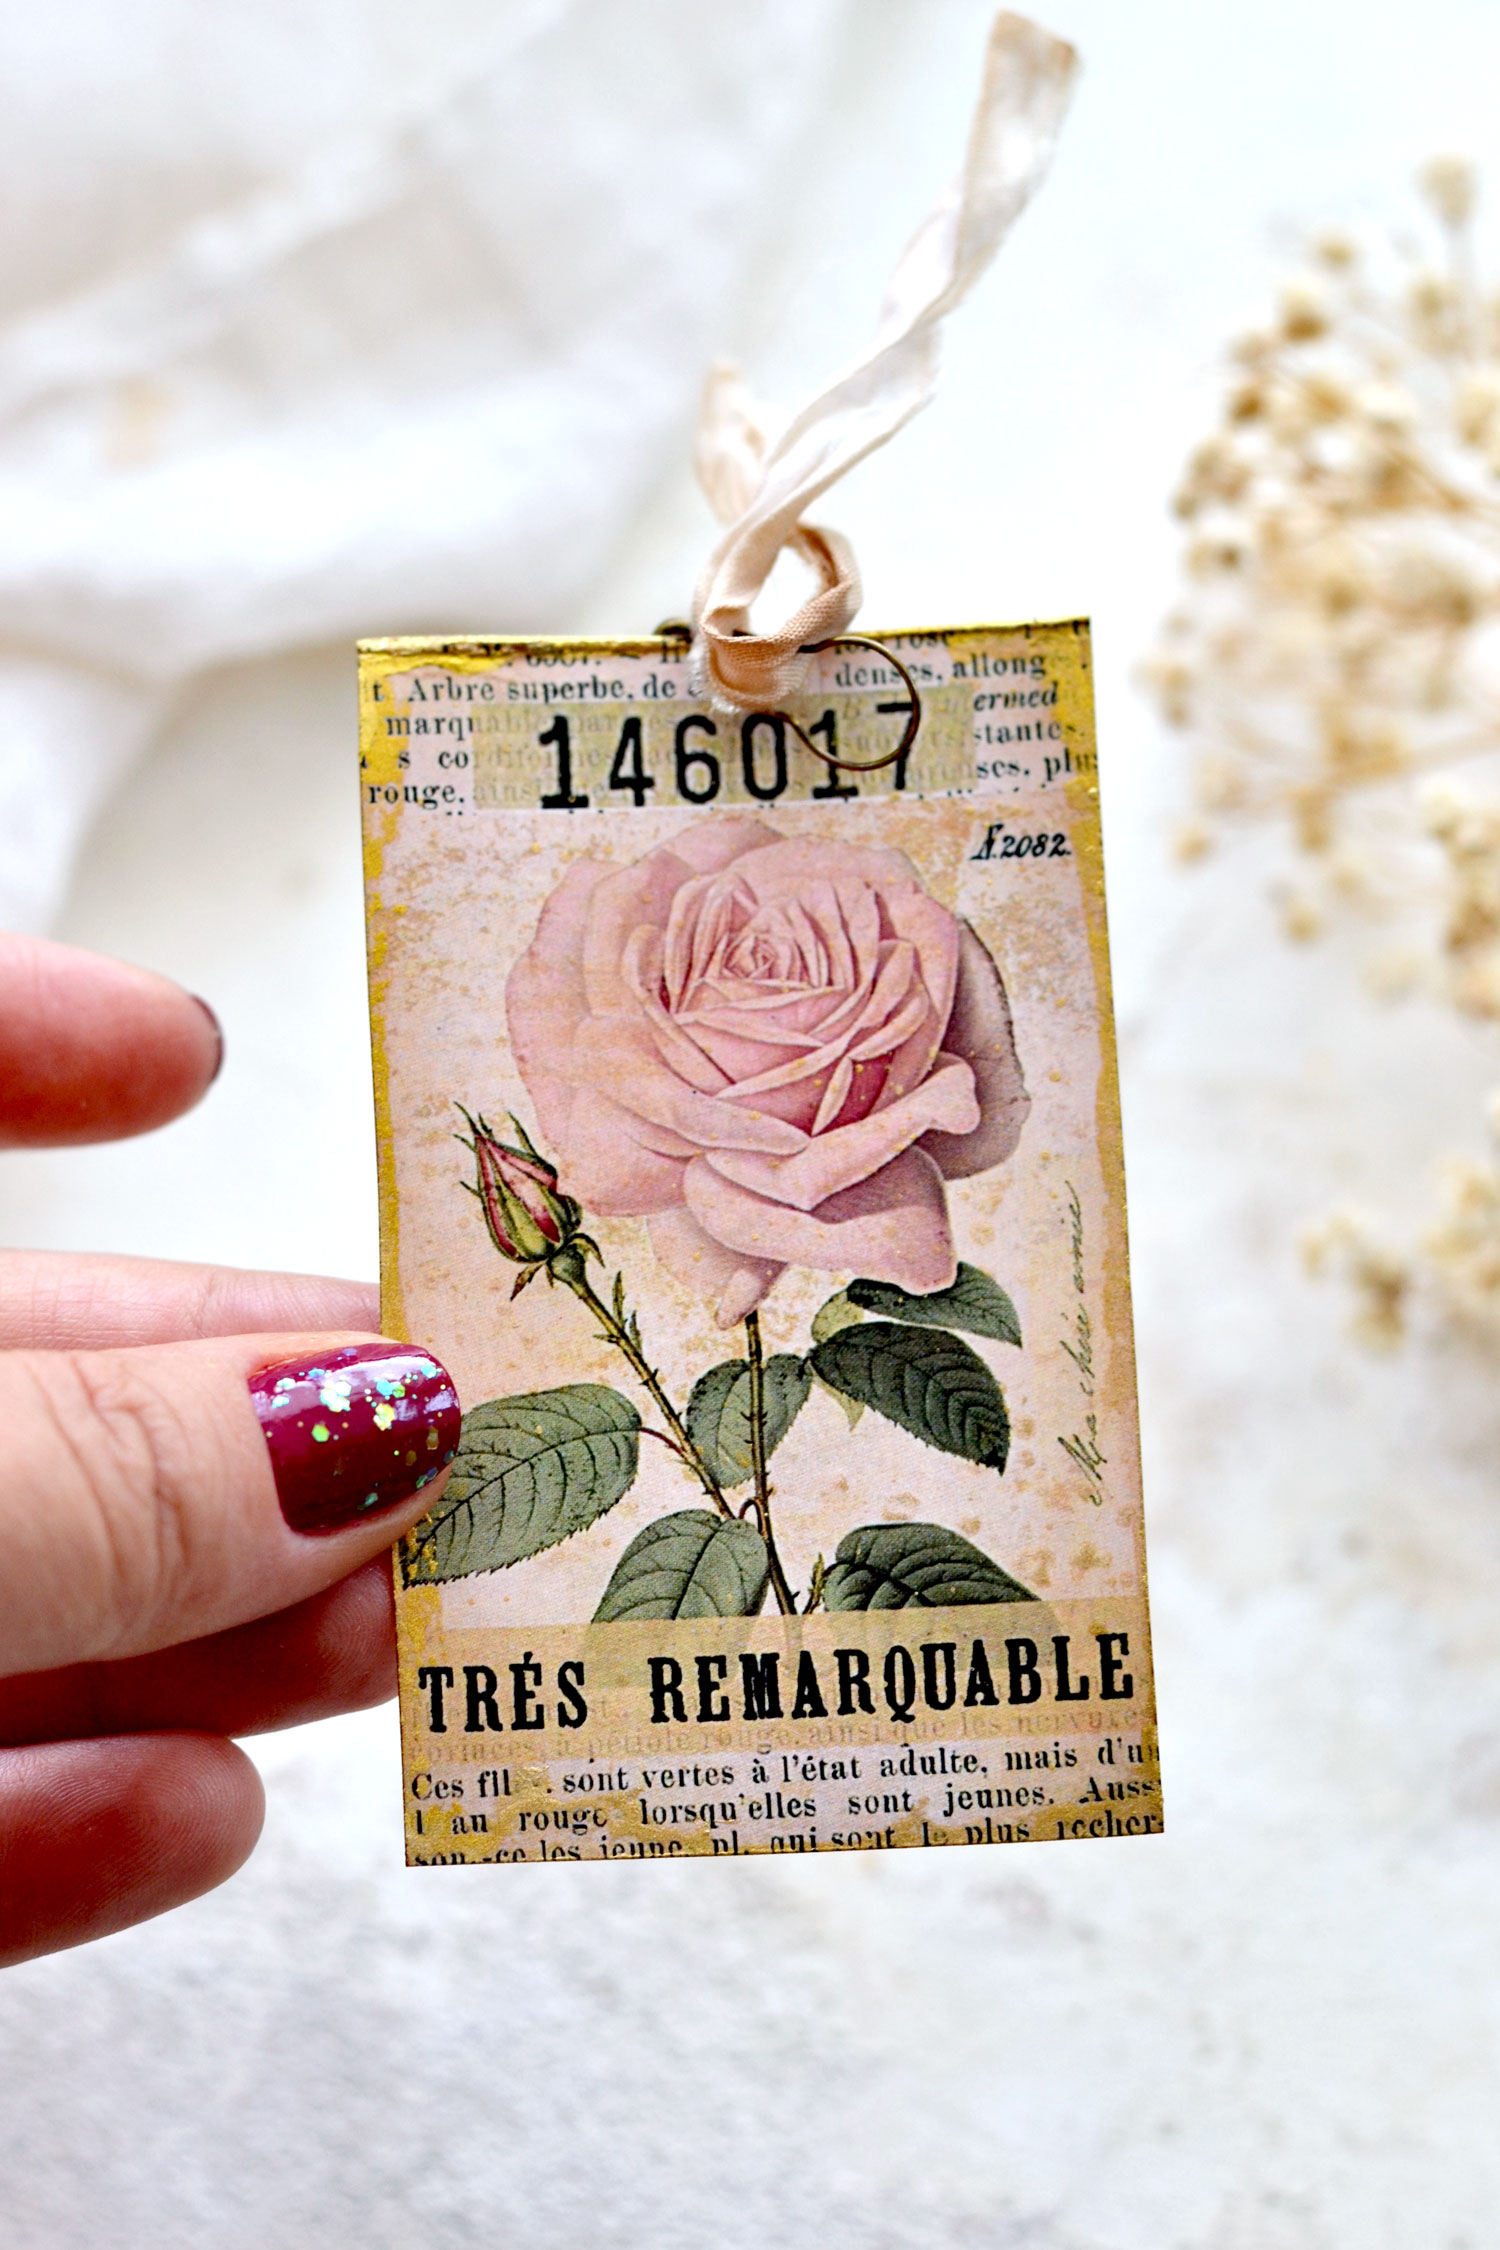
I love the idea of using them as French ephemera tags! Even if you decide to use a segment that has different folded sections, they will add so much charm and uniqueness to the final piece! This Eiffel Tower collage tag surrounded by a mist of rainy gold looks astonishing if you ask me!
These beauties will look amazing in any junk journal, no matter if you decide to use them as individual tags or add them as multiple segments. The tags will perfectly beautify your junk journal pages, you can leave the ribbon to hang outside to add more dimension to your amazingly finished pieces!
You can also use the longer strips inside the pages of your junk journal as bookmarks or you could glue them the create unique pockets. But I’m totally envisioning these on a gorgeously decorated cover too, I think they would add that touch of chicness without too much effort on our part!
If you don’t have gold watercolors, feel free to improvise and use what you have around. You can use gold acrylic paint, gold foil, gold wax, gold markers or even some gold nail polish, the sky is the limit.
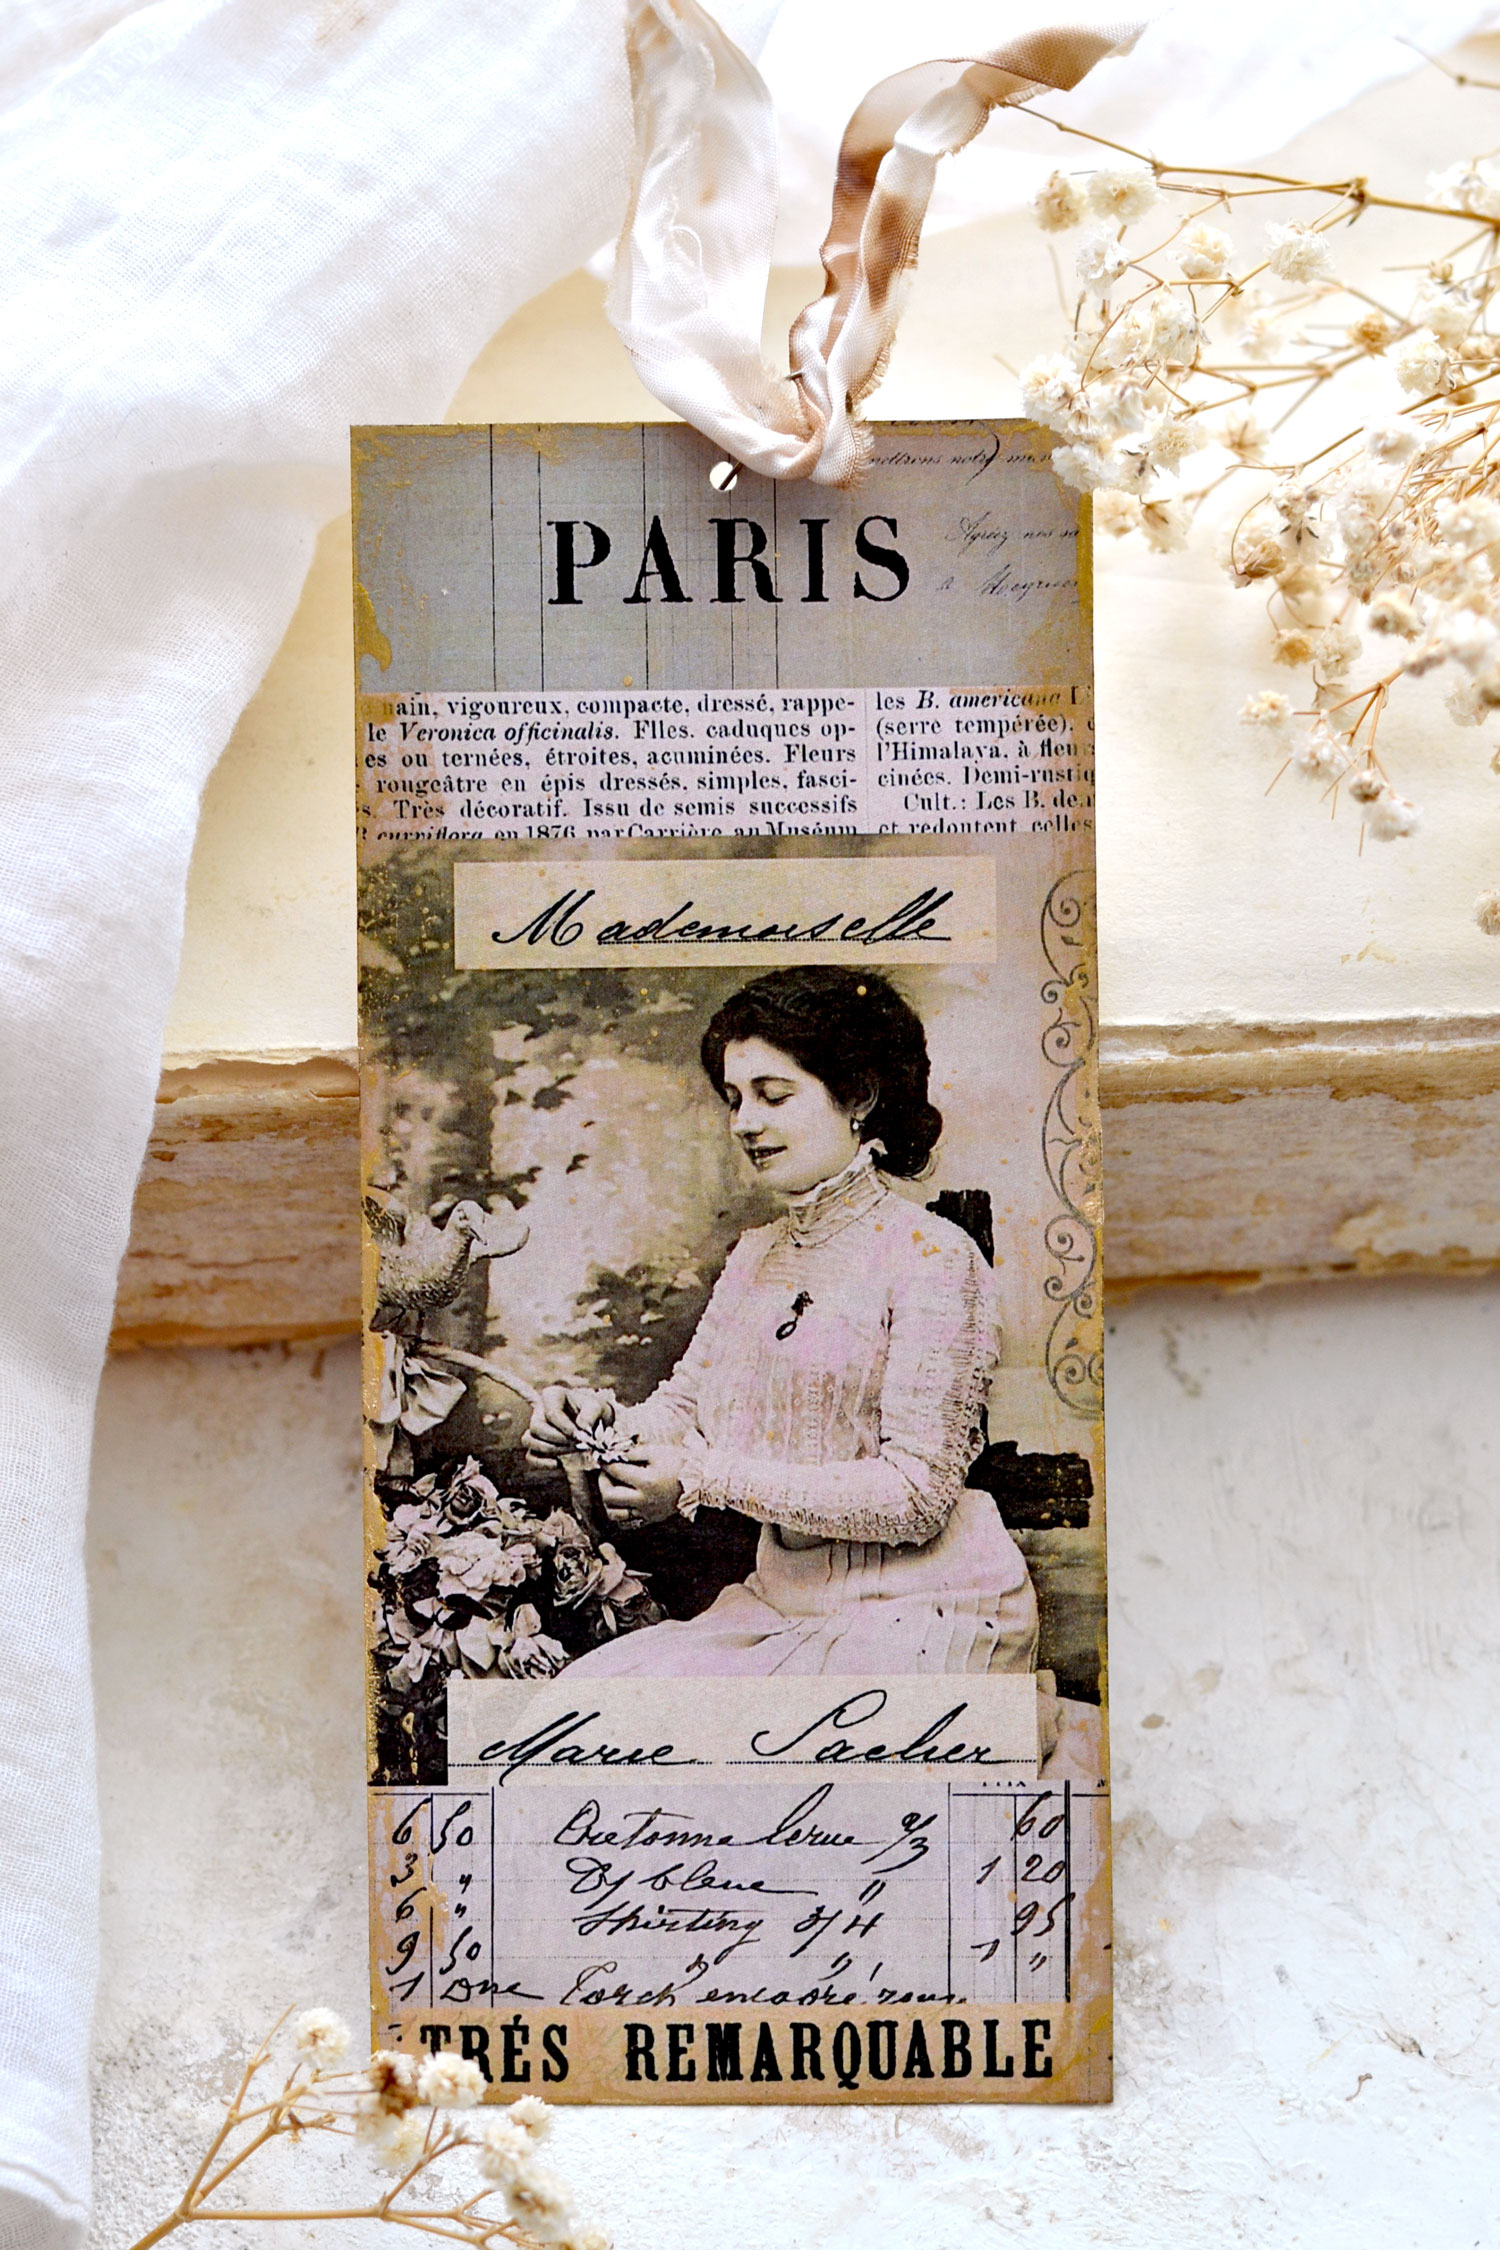
The French ephemera collage tag with this vintage lady turned out to be my favorite, I feel like all the elements look perfect together! We have a gorgeously collaged design with French ephemera cutouts, French invoices and other small embellishments, along with some perfectly imperfect gilded edges! Not to mention the small piece of crinkle ribbon and the gourd pin that adds so much charm and character to the final piece! So charming and elegant, don’t you think?
I hope you will love this project and decide to give it a try, have as many of these beauties ready for when in need!
You might also like my Beautiful Floral Journal Tag Project HERE.
Happy crafting,
Diana / Dreams Factory



Dayle says
I love all your wonderful instructions…I just found you and have spent the last 2 hours not creating but just watching. I have printed out the pocket tags and the wonderful french strips.
Thank you again for your wonderful ideas.
Karen Watson says
I’m so happy that you enjoyed Diana’s project Dayle! Have fun creating with these lovely Strips!
Connie Pruitt says
Beautiful! Thank you!
Karen Watson says
Have fun making these pretty pieces Connie!
Rebecca says
Thank you for sharing these prints, and the tutorial. I appreciate both, and your generosity.
Karen Watson says
I hope you make Diana’s pretty flower stickers Rebecca!
MarieS says
Absolutely gorgeous,Diana.Thank you so much for sharing.
Karen Watson says
I’m glad you enjoyed Diana’s lovely tutorial Marie!
Diane Fallon says
These ephemera strips are lovely. I am going to print them several times, cut them up and make a masterboard for journaling.
Thank you for sharing.
Diane
Karen Watson says
I’m glad you enjoyed these Diane. That sounds like a great idea!
Maxine Diffey says
Thank you sooooo much, these are gorgeous
Blessings
Maxine
Karen Watson says
I’m glad you enjoyed Diana’s lovely project Maxine!
Lisa says
Just beautiful Diana – thank you so much for sharing this project.
Karen Watson says
Have fun making Diana’s pretty collage strips Lisa!