DIY Candy Wrappers
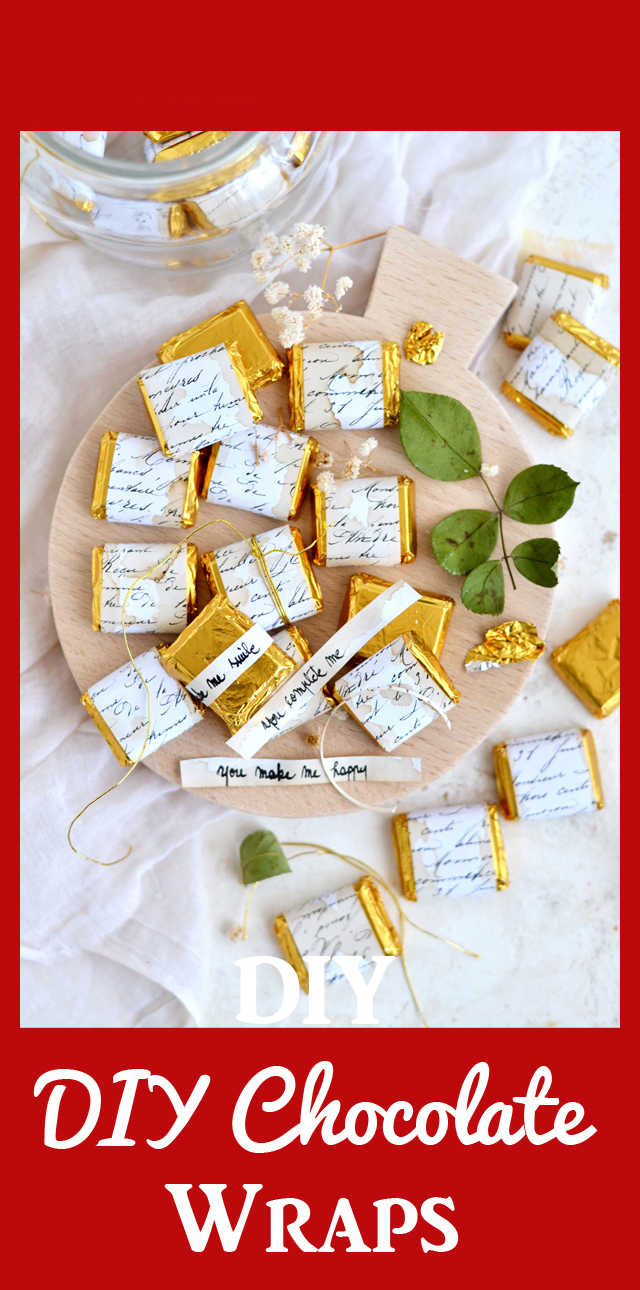
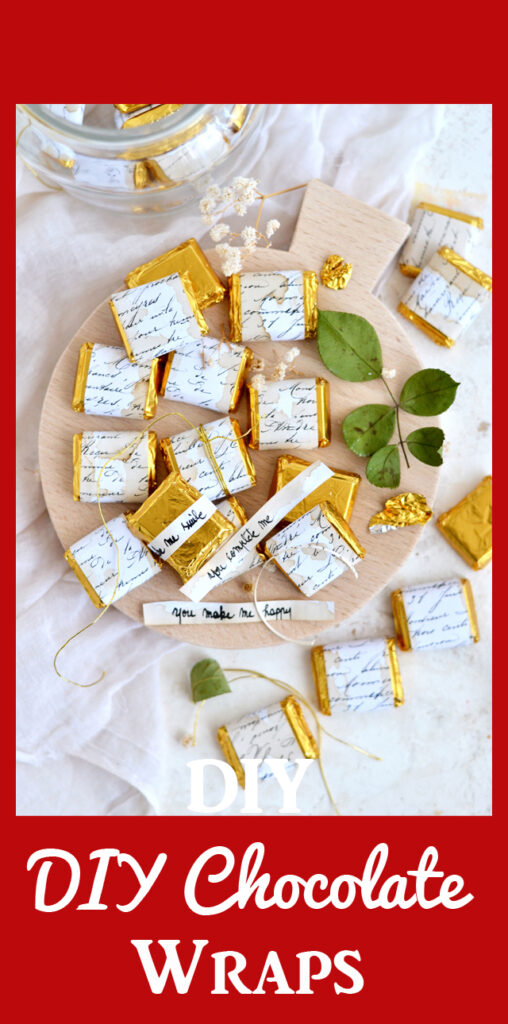
Hello, Graphics Fairy friends! I’m Diana from Dreams Factory and I’m ready to share this sweet little project with you – DIY Candy Wrappers with secret messages inside! I know this sounds a little bit different than usual, because of all the chocolate involved, but I’m pretty sure you won’t have any problem with that! This is a fun idea for Valentine’s Day or nice for Christmas as they make great stocking stuffers. Great for party or wedding favors too.
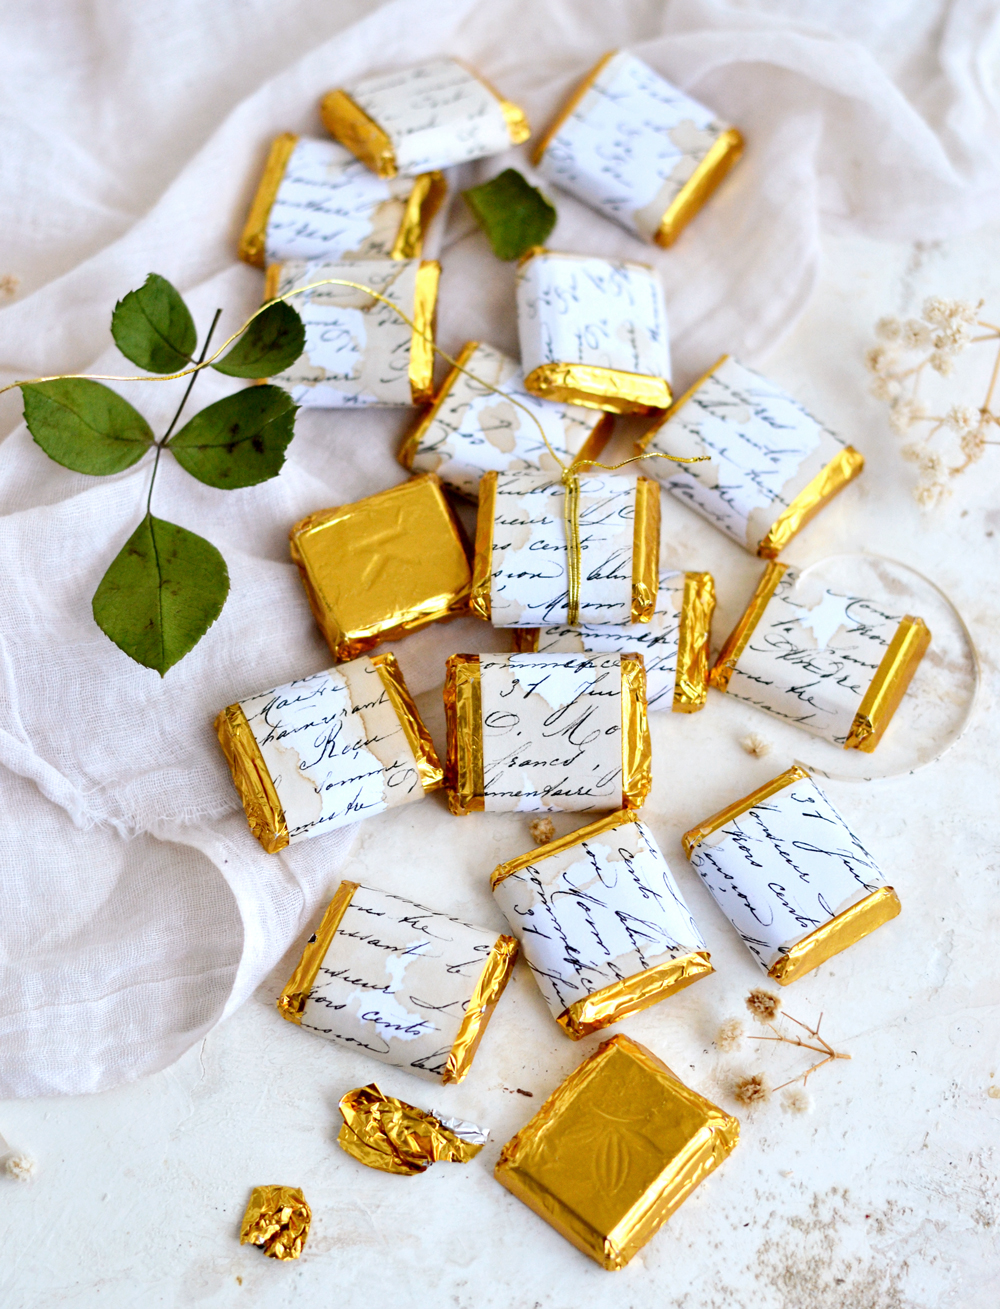
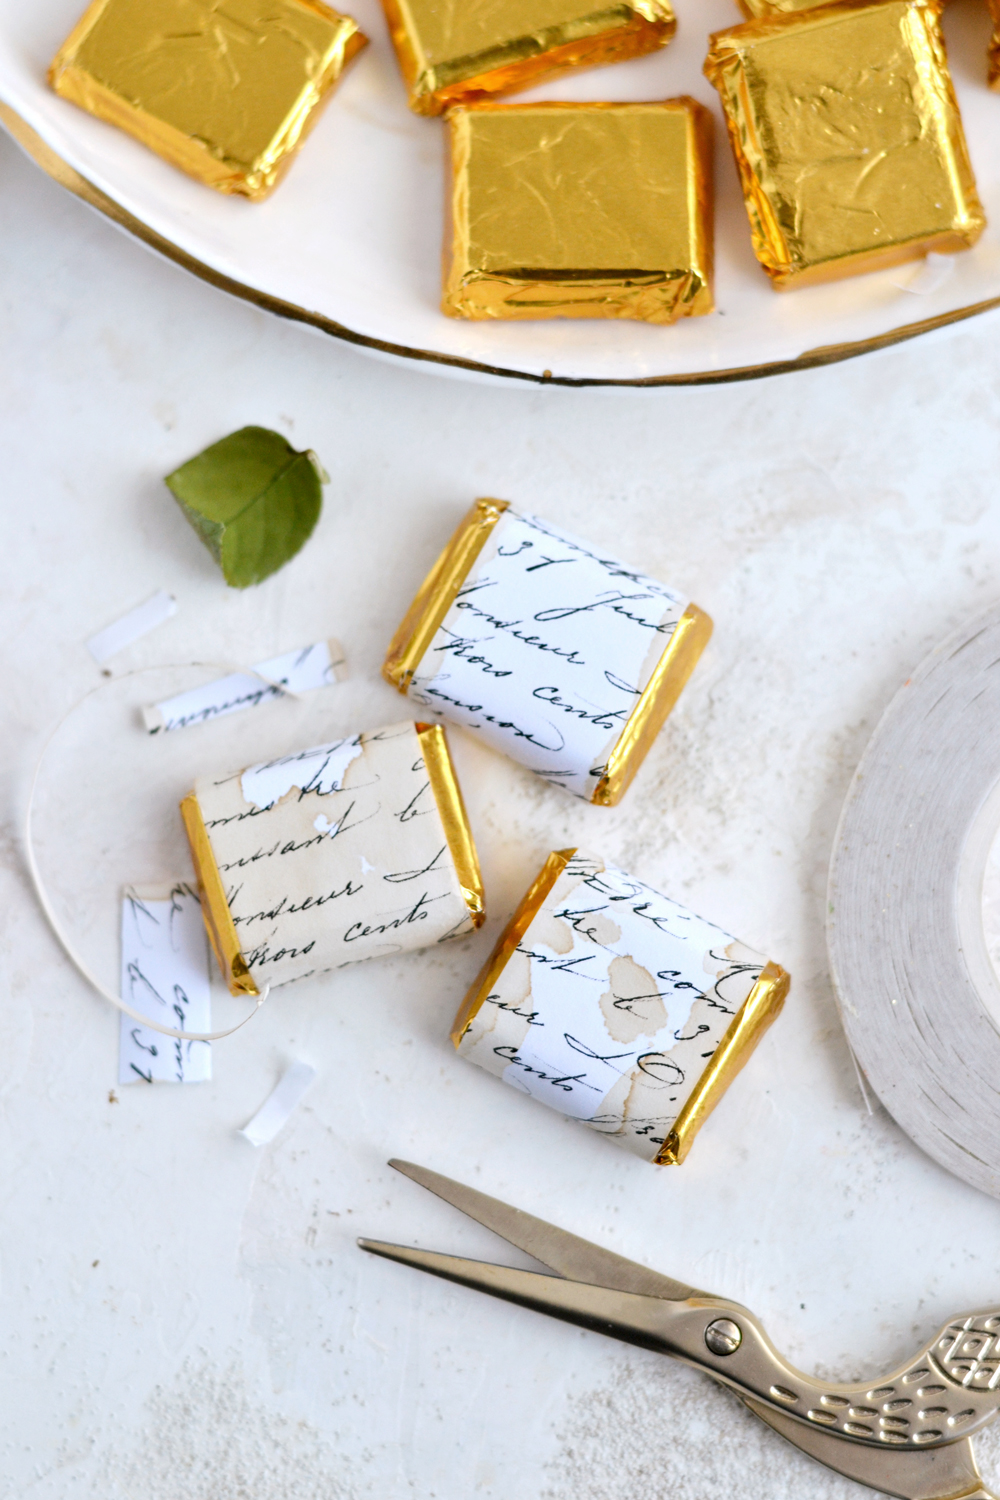
These gorgeous mini DIY Script Chocolate Wrappers can be easily adapted to one’s needs and will help you create the most amazing gifts for Christmas or other special occasions, all with minimal efforts. To keep things more natural, I decided to use coffee to lightly distress the script wrappers. I would say it was a great idea, this coffee infused French script paper really completed the whole stylish look, while also adding a subtle coffee fragrance.
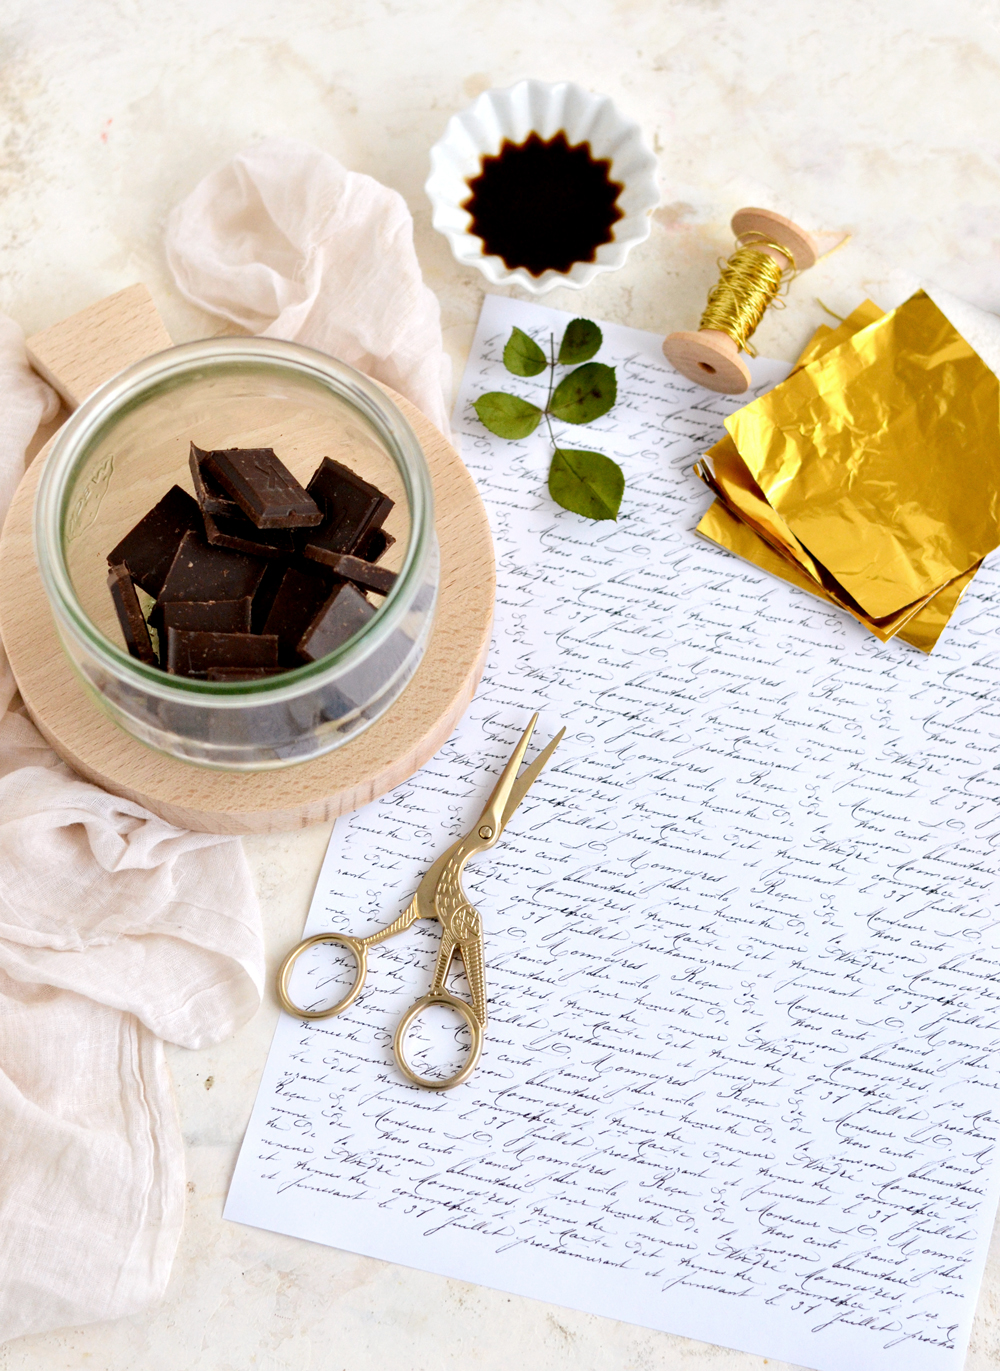
To get things started we will obviously need some … chocolate! Because we try to avoid sugar in our home as much as possible, I only had two 70% dark chocolate bars that we usually use for snacking. They worked perfectly, I just snapped them into rectangular bite size pieces and placed them in a jar first. If you would prefer to use already wrapped mini chocolates, please do that instead! You can use any type of chocolate that you want, in any size.
As for the metallic foil chocolate wrappers – these can be usually found online or in bakeware stores. I had some gold foil wrappers I bought a while ago that were patiently waiting for a project like this! These metallic wrappers are really beautiful and can be purchased in different colors too. If you don’t have these specific metallic chocolate wrappers (sometimes found as candy wrappers), you can easily cut to size and use regular aluminum foil. This will take everything on the silver side of things, but your final gifts will be beautiful nonetheless!
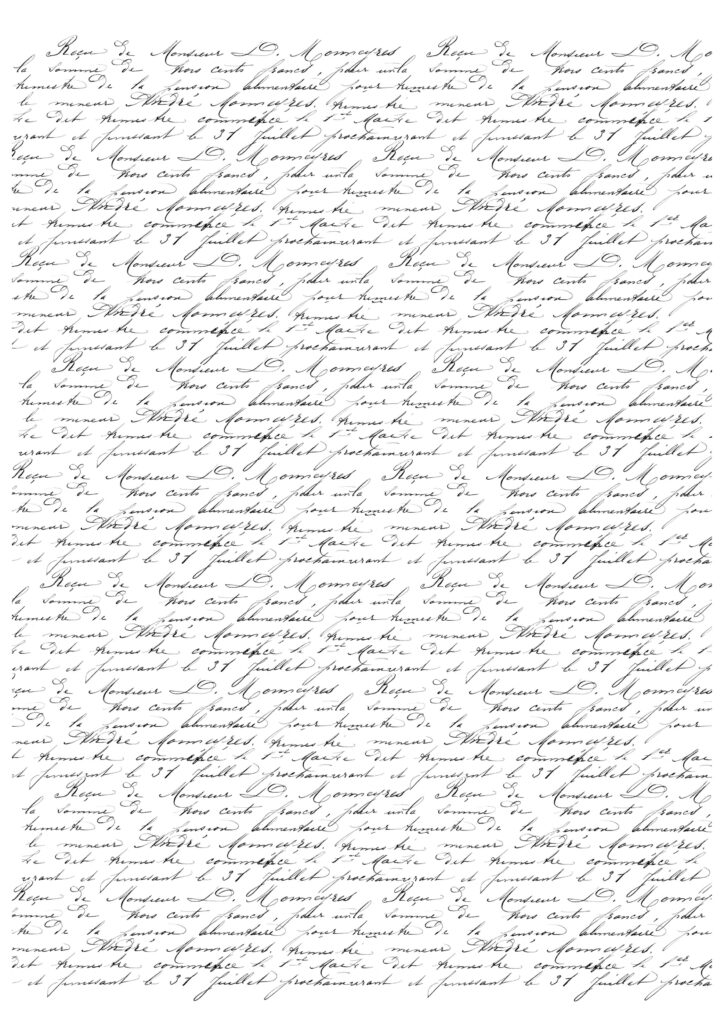
I used this beautiful and stylish handwritten French script graphic to design a full page printable that you can use as you please. You’ll need to save this image on your computer first, I’ll show you in a second how easy it is to actually adapt it to your chocolate, no matter how big or small that is!
Free Printable DIY Candy Wrappers
—-> CLICK HERE TO DOWNLOAD THE FULL SIZE PRINTABLE PDF <—-
DIY Candy Wrappers Supplies:
- French script printable
- cardstock or regular paper (I used regular)
- Home printer
- scissors
- chocolate bars snapped into mini bite size pieces OR already wrapped mini chocolates
- coffee + a small bowl
- gold foil chocolate wrappers (cut and use regular aluminum foil if you don’t have chocolate wrappers)
- pocket binders (or a silicon mat, a plastic sheets or a non absorbent material) to protect your working surface
- paper towels
- non toxic white glue or double sided tape
- gold wire string, gold wire cord, gold twine or what you have
- calligraphy pen and calligraphy ink OR any other writing instrument
1. Start by making a cup of coffee first. You will only need 2-3 tablespoons of this magical liquid, so you can drink and enjoy the rest of it while making the project
Snap your chocolate into bite size pieces, print your French script printable, gather all the other supplies and let’s get started!
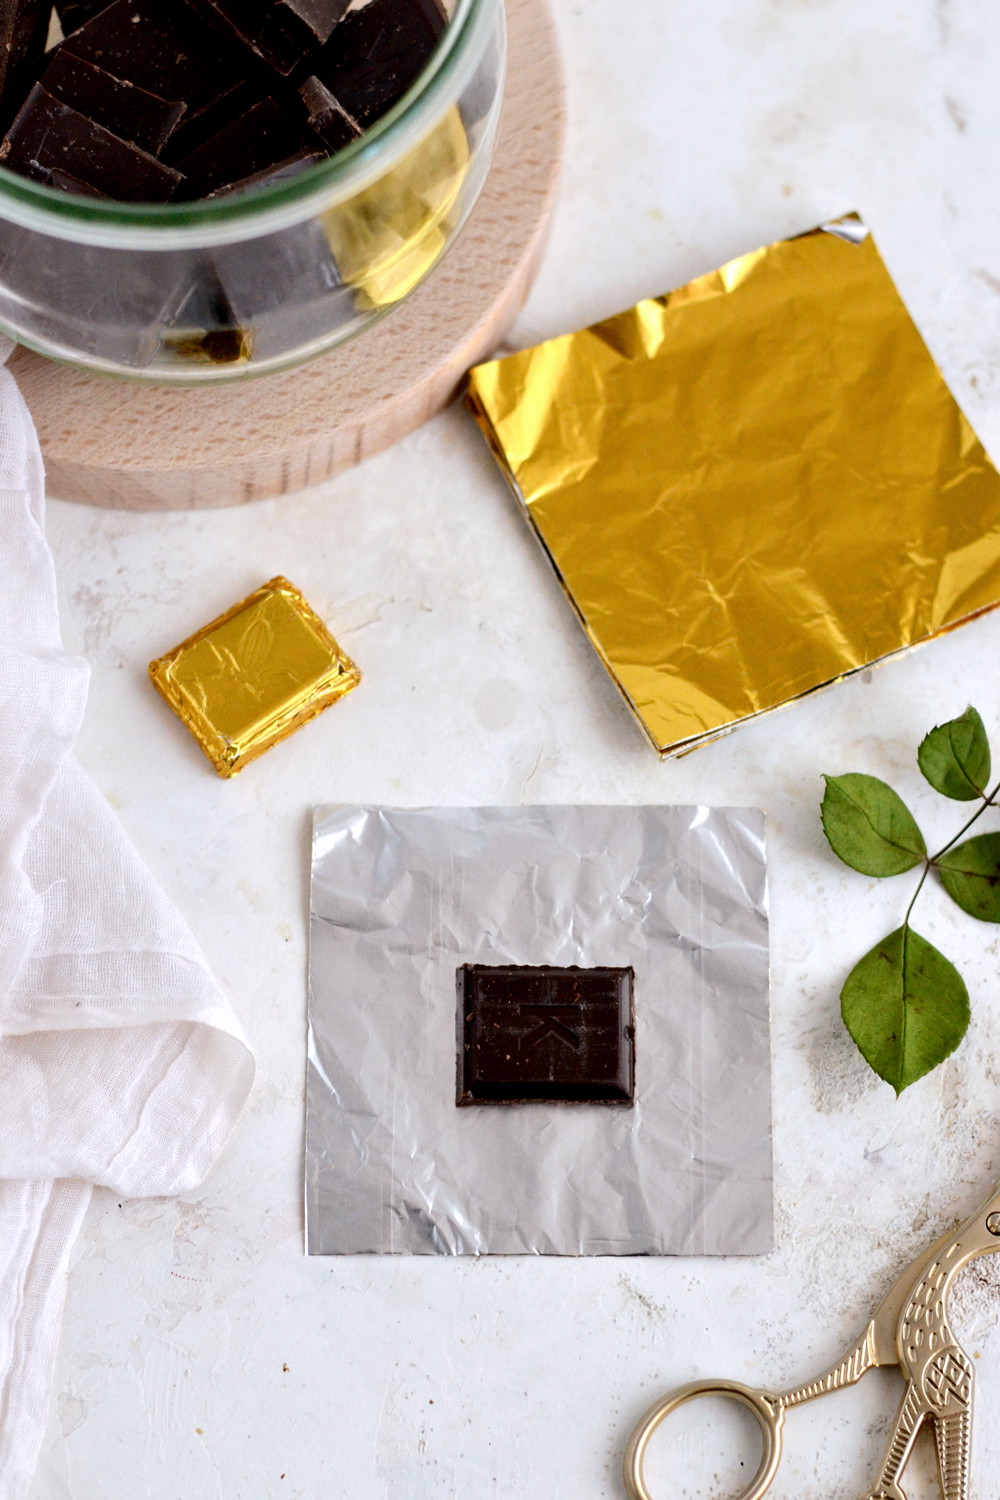
2. Take each bite size chocolate piece and place it in the middle of your gold foil chocolate wrapper.
You can skip this step if you are using already wrapped small chocolate pieces.
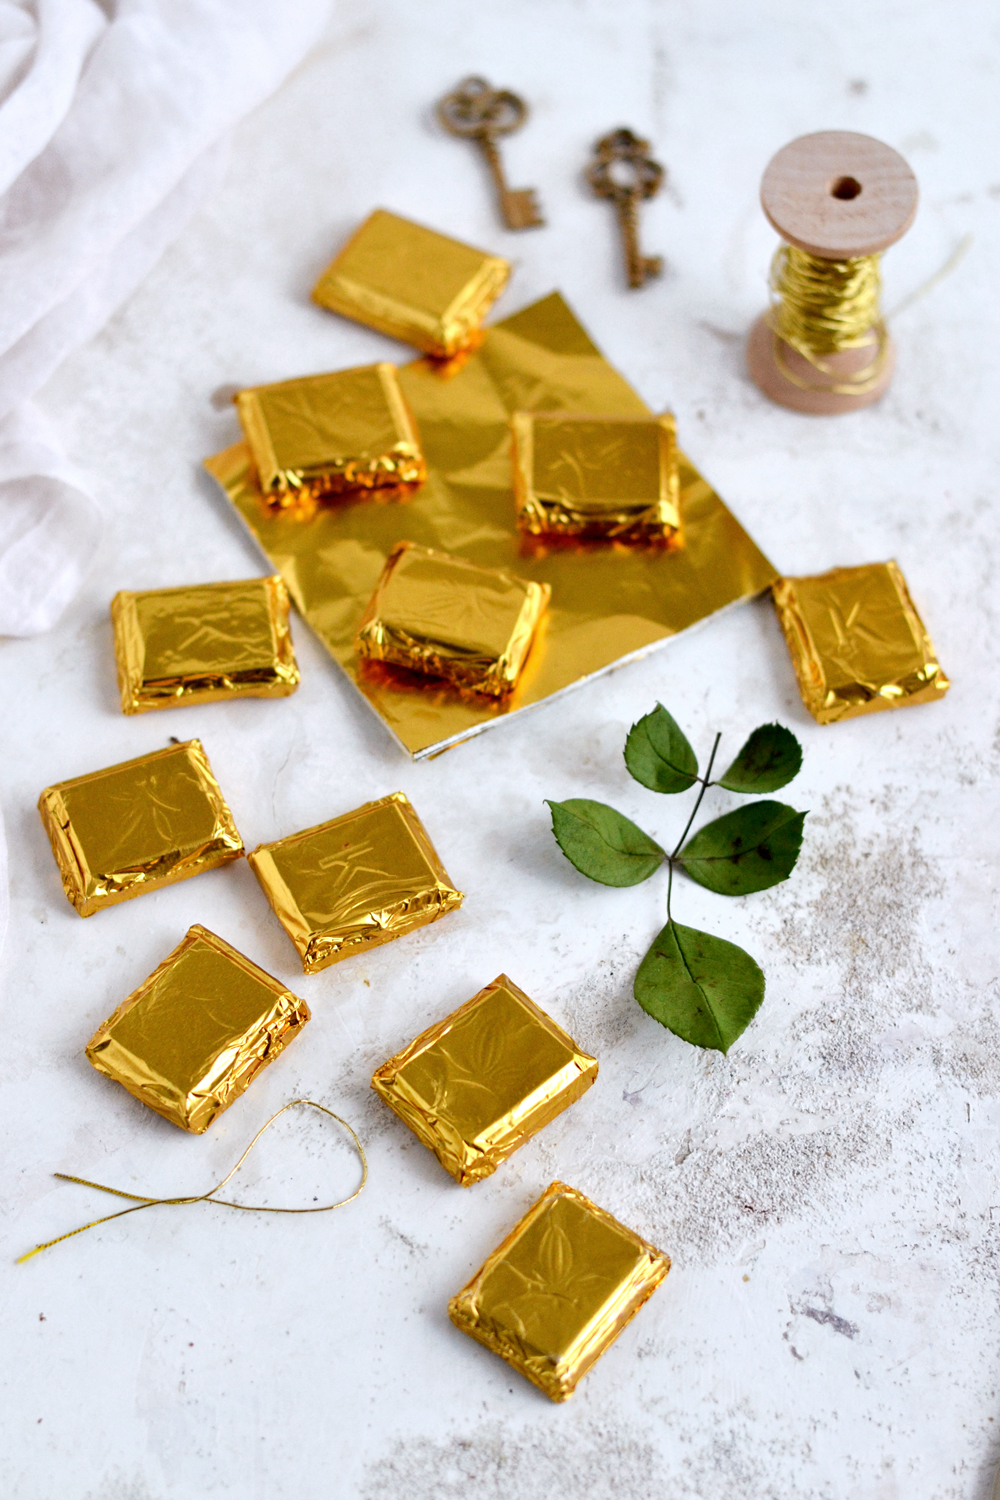
3. Wrap each piece of chocolate as well as you can by folding the left – right sides in, then the top and the bottom. These don’t have to be perfect! Metallic chocolate wrappers are quite forgiving and can be easily beautified simply by gently pressing all over the edges afterwards.
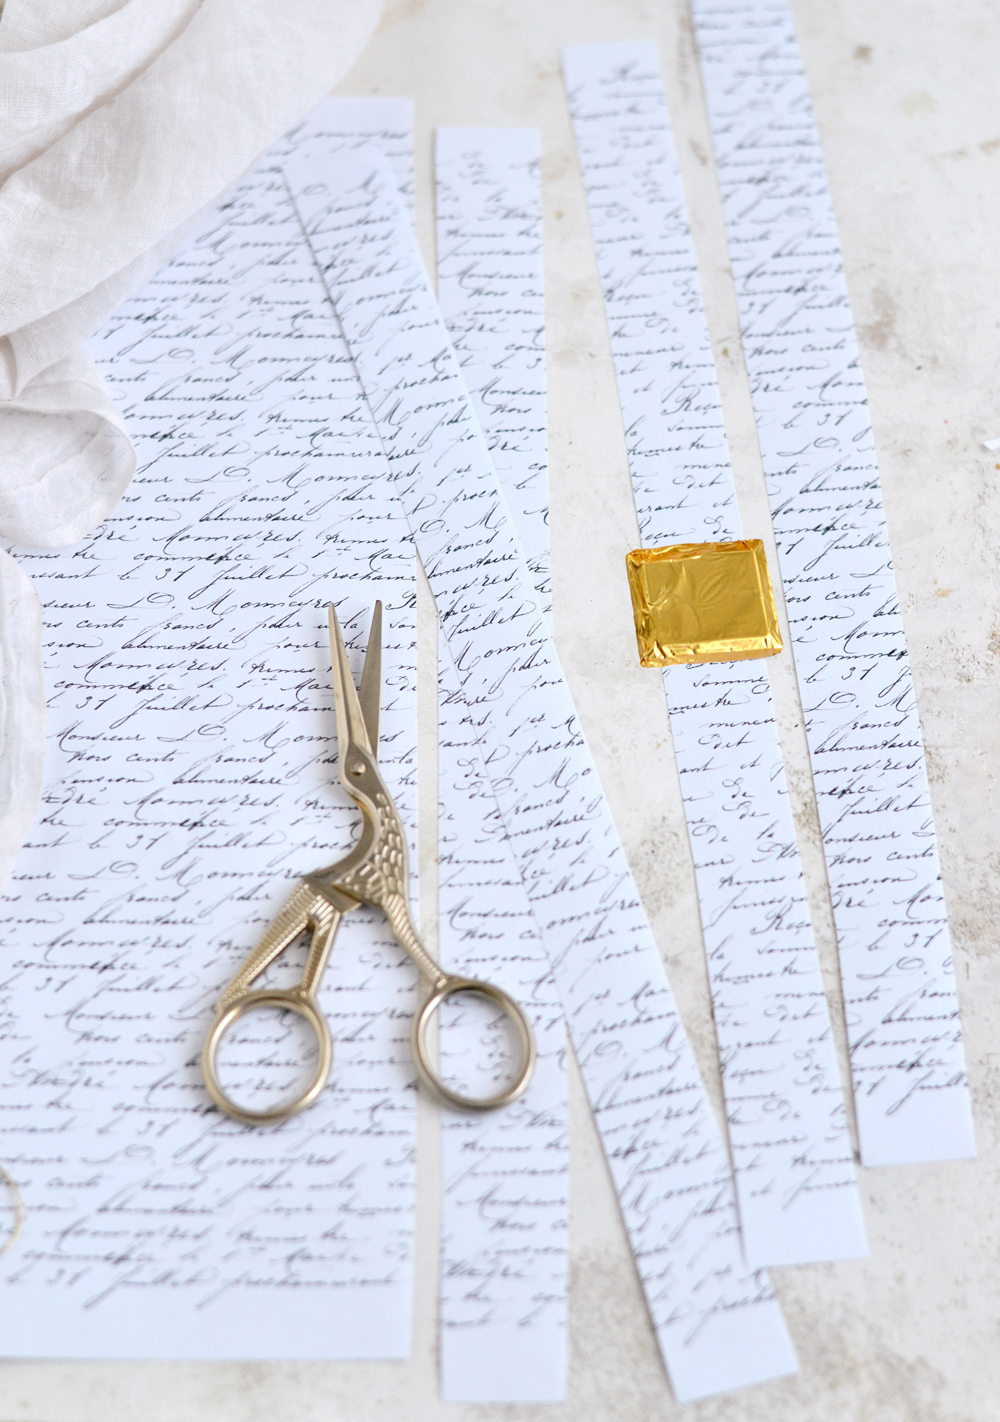
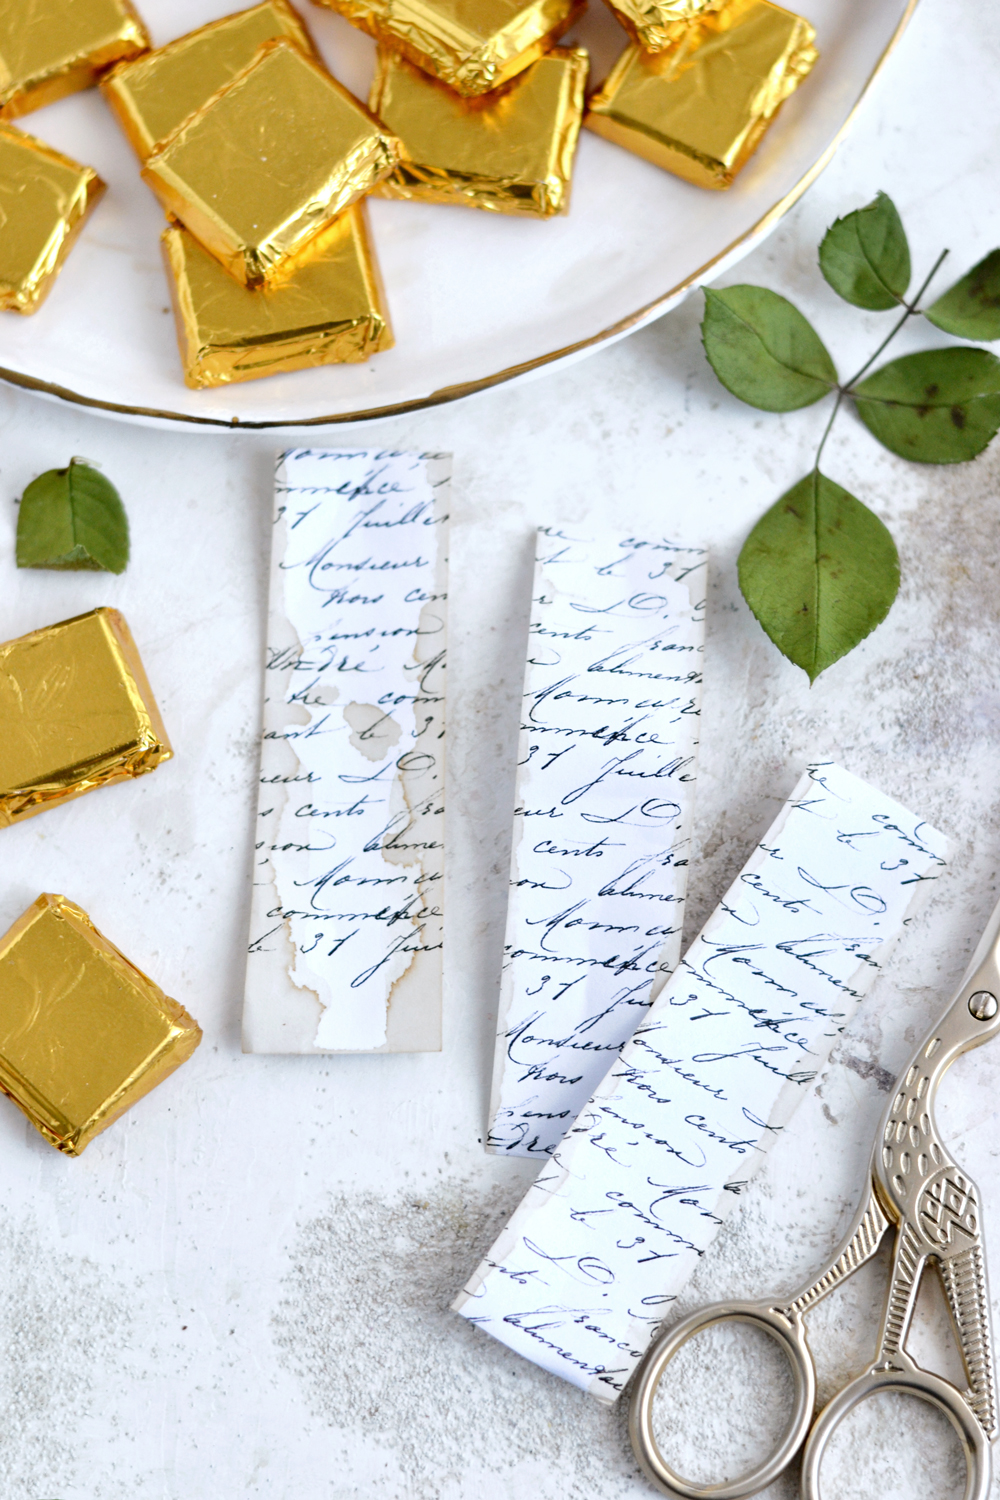
4. This is the moment when you’ll need to determine the size of your DIY Candy Wrappers. You can do that simply by placing one piece of chocolate on top of your full page free printable to determine the size you’ll need – the width of the paper needs to be a little bit smaller than the chocolate’s width. Then measure and cut vertical strips accordingly.
I have to confess I haven’t used a ruler to measure or to mark any lines on the strips, I just went ahead and cut the first vertical strip, then the second and so on – I got 8 long vertical strips. These turned out OK-ish even without measuring, but if you want to be more precise, you can follow the standard procedure! You could also use a trimming board, if you have one – or if you can find it, I have no idea where mine is!
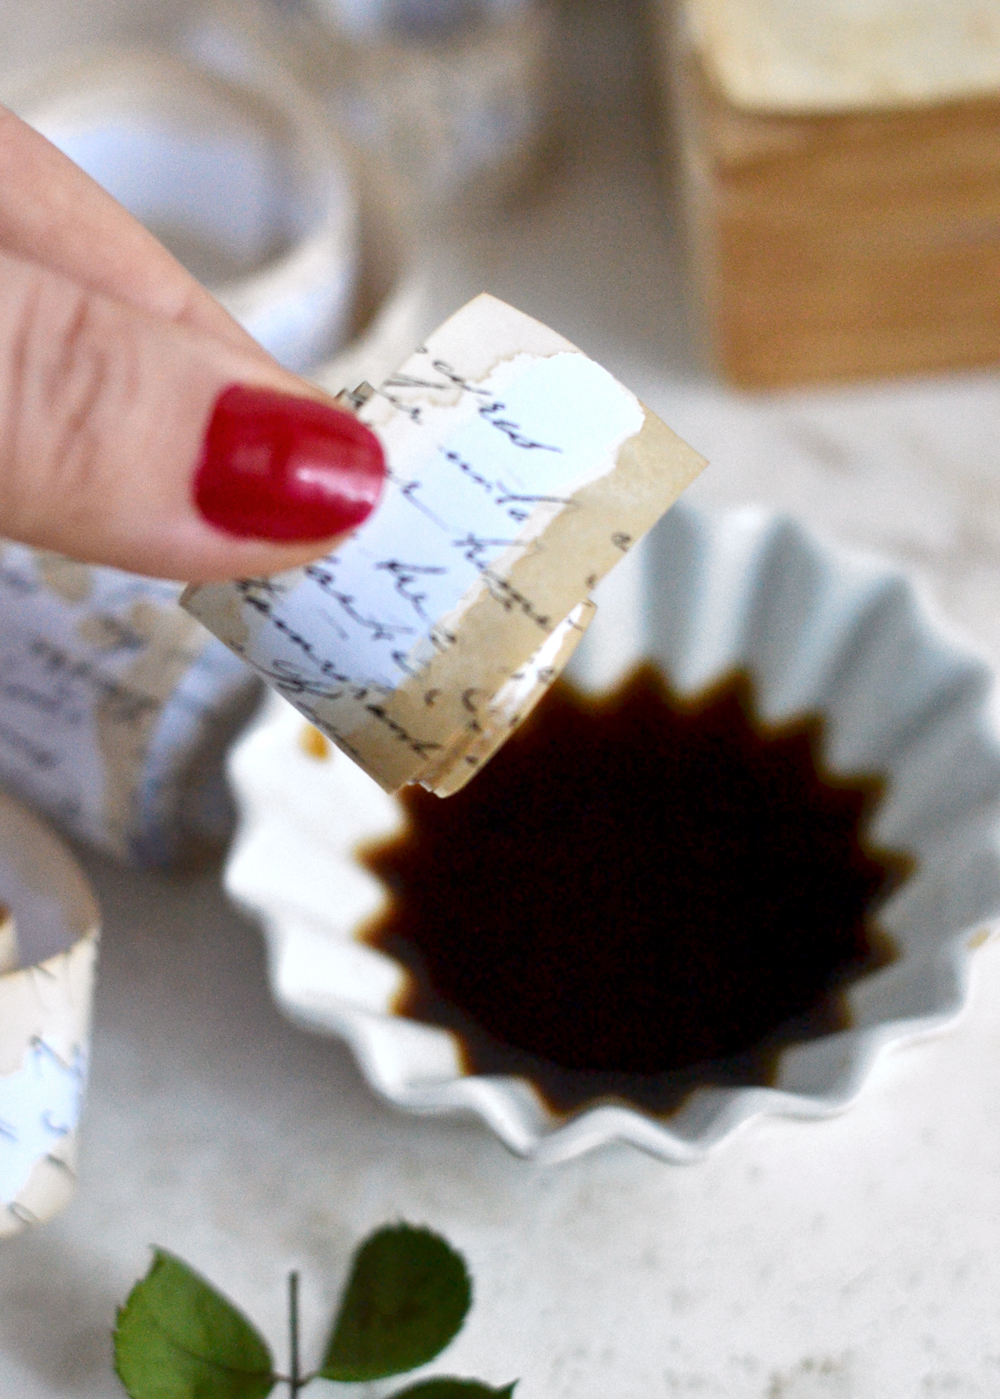
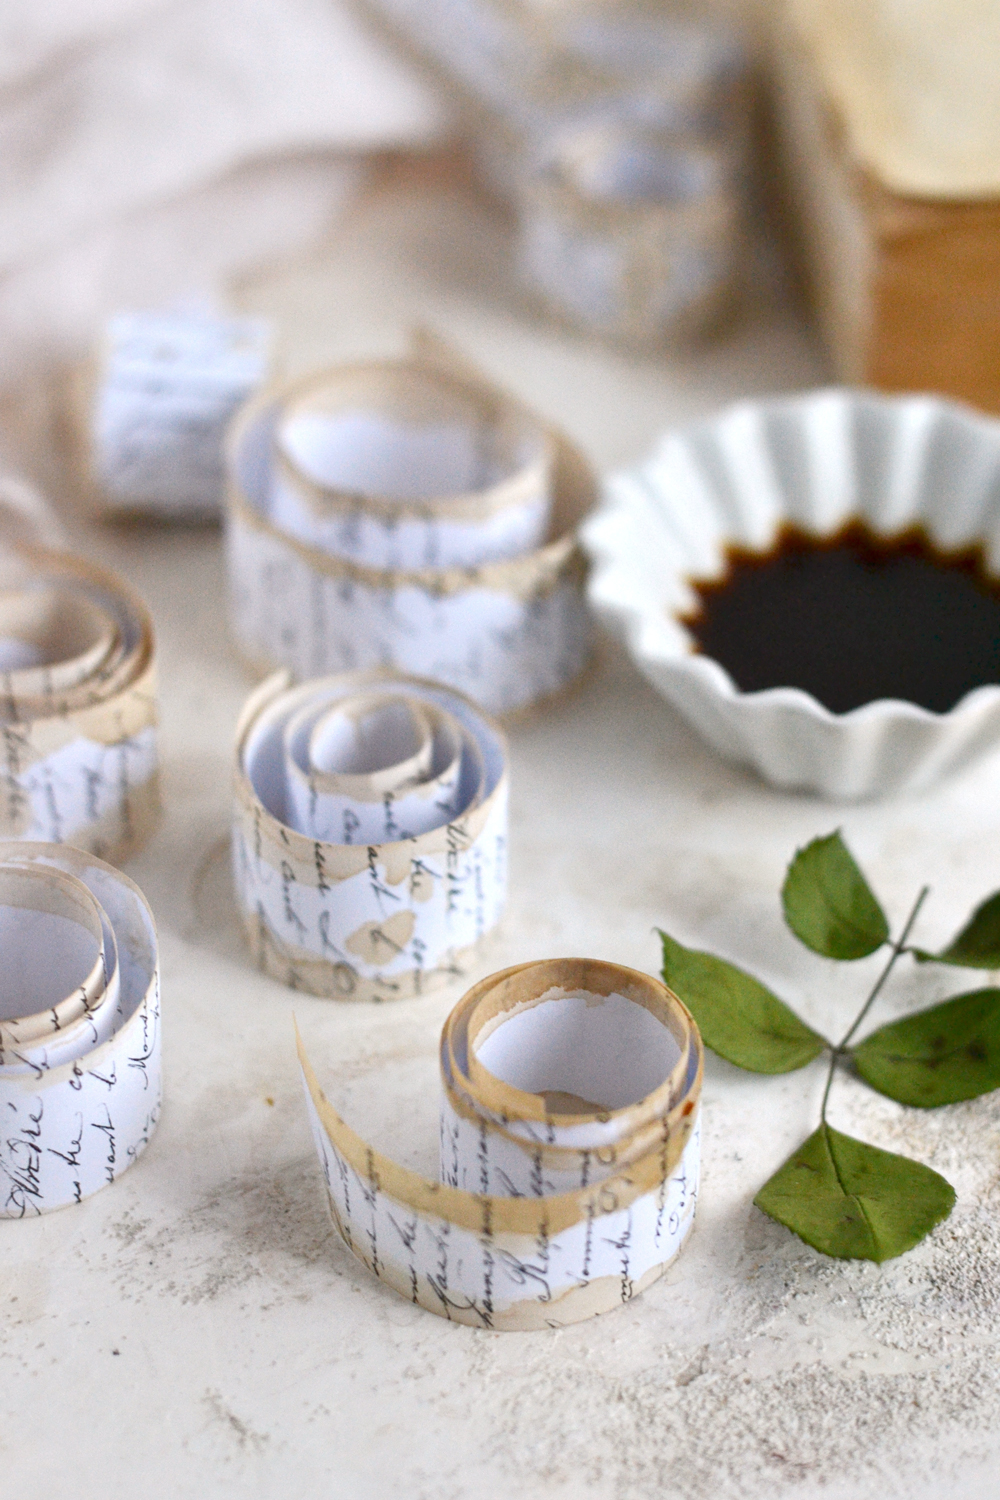
5. When it comes to distressing the paper, I just rolled each strip of paper into a mini scroll, then quickly dipped both of its rolled edges into the coffee. I placed them on my table without unrolling them.
6. After a few minutes I flipped them over so that the coffee drips would create more interesting effects, then I just let them air dry on my table. This way I was able to get an almost organic coffee design on my paper, without actually doing too much work! So simple and beautiful!
If you want to completely stain your paper with coffee, you can totally do that too! Just submerge it into the coffee, let it dry, then dip the edges again, to distress them even more. Just experiment and see what you get!
P.S. Don’t forget to protect your working surface before engaging into any of these coffee staining activities!
7. After the coffee stained paper has dried, measure and cut each long vertical strip into several smaller pieces – each of the smaller paper pieces will need to completely wrap around a bite size chocolate, while slightly overlapping. I got 3 final DIY Candy Wrappers from each of the 8 long vertical strips, so that was a total of 24 final individual script wrappers.
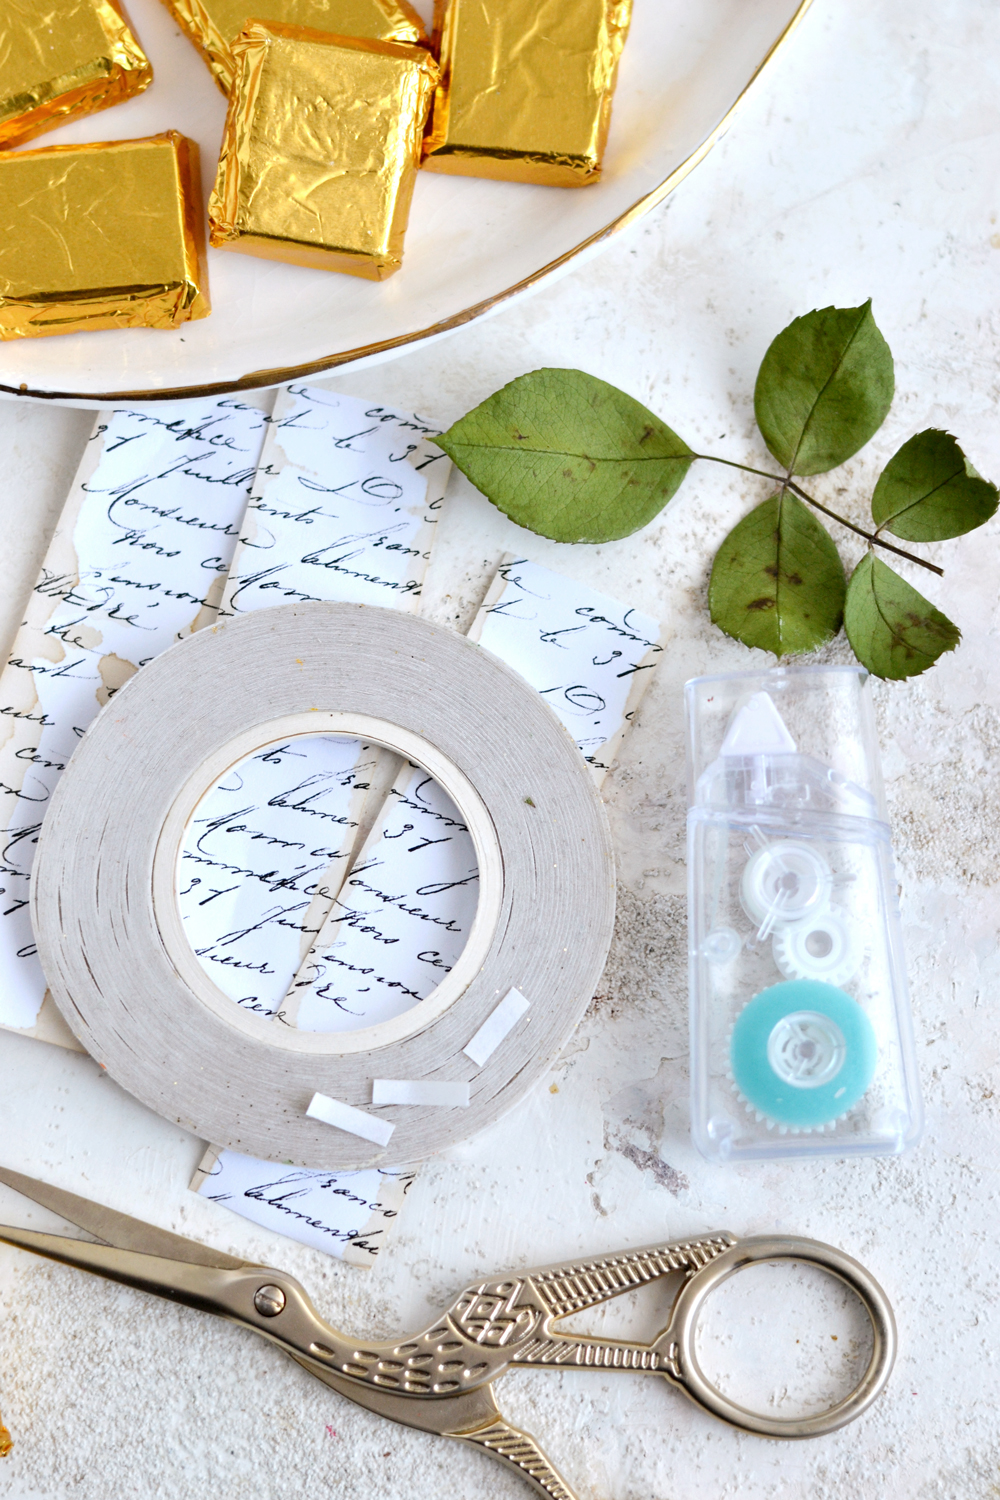
8. I decided to go with double sided tape to hold the overlapping paper together.
I only applied the tape on the paper, while overlapping it on the back, and not on the gold foil. You might need to make some more trims and small adjustments here and there, but remember, these don’t have to be perfect!
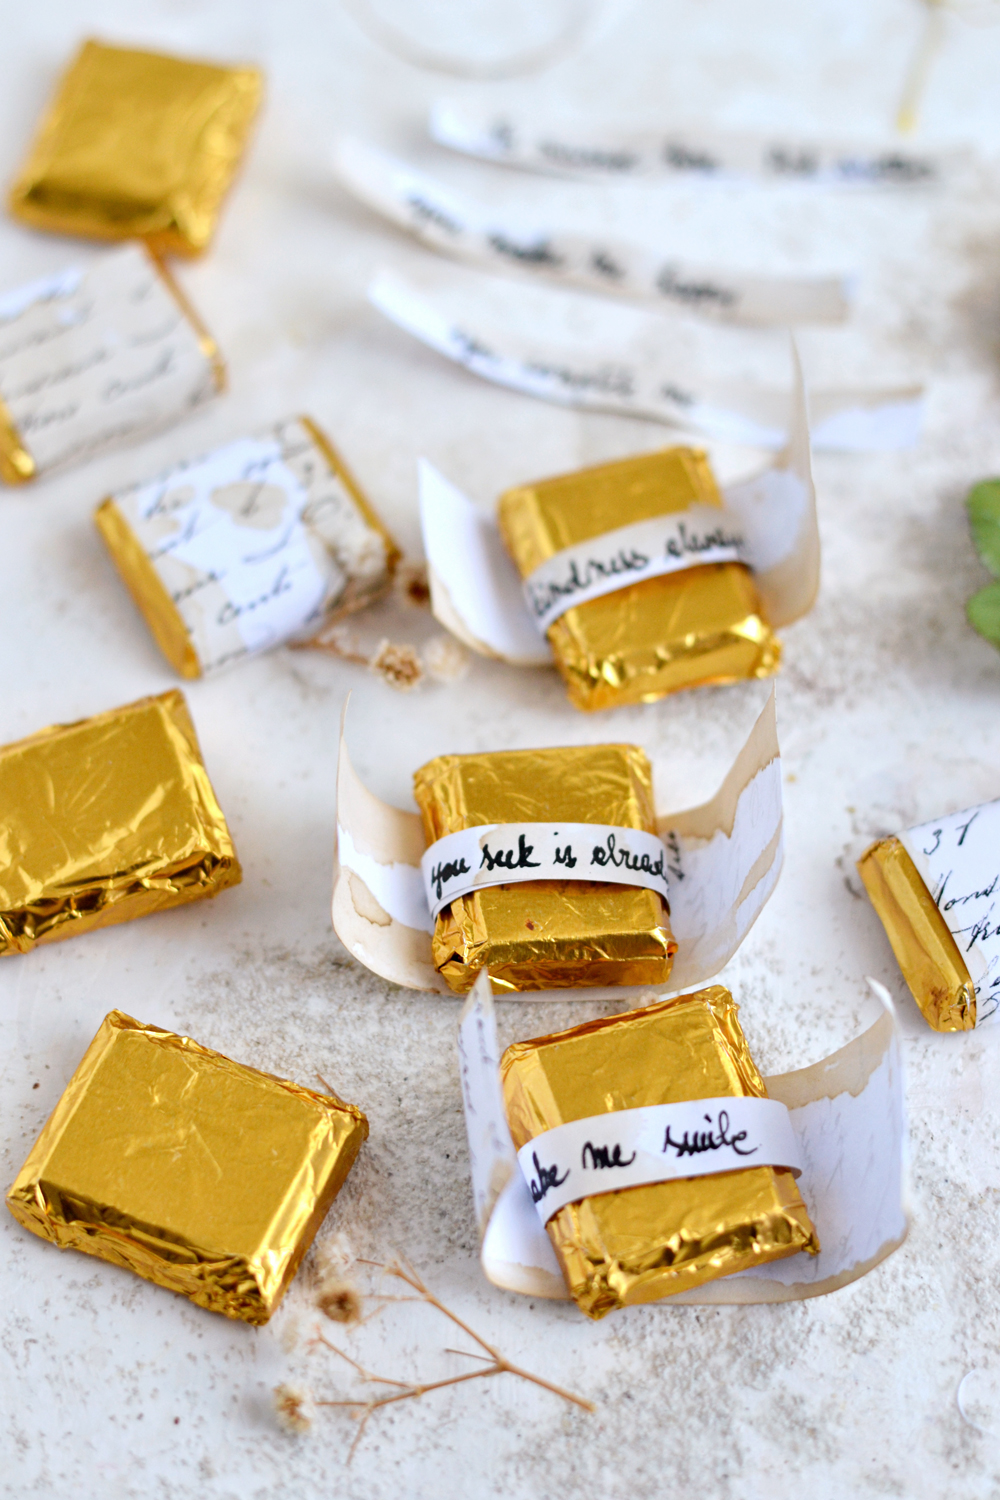
9. After finishing these first 3 pieces, I had this crazy idea of trying to add some sort of a message inside. Something like a fortune chocolate, if you wish! OK, is that even a thing, or did I just invent it right now?
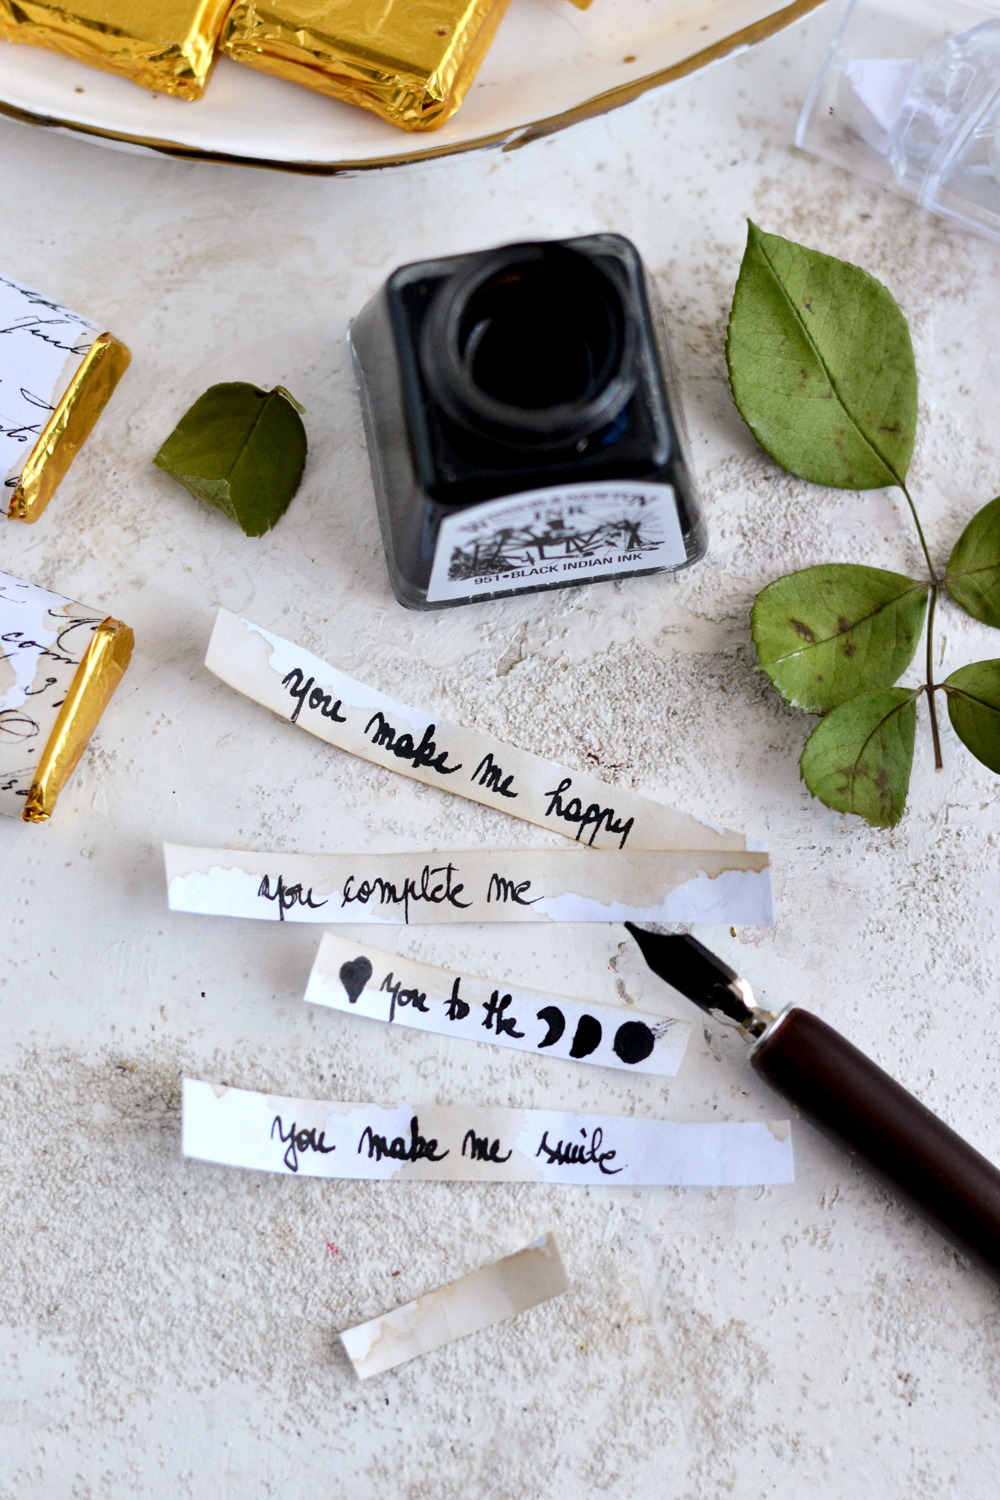
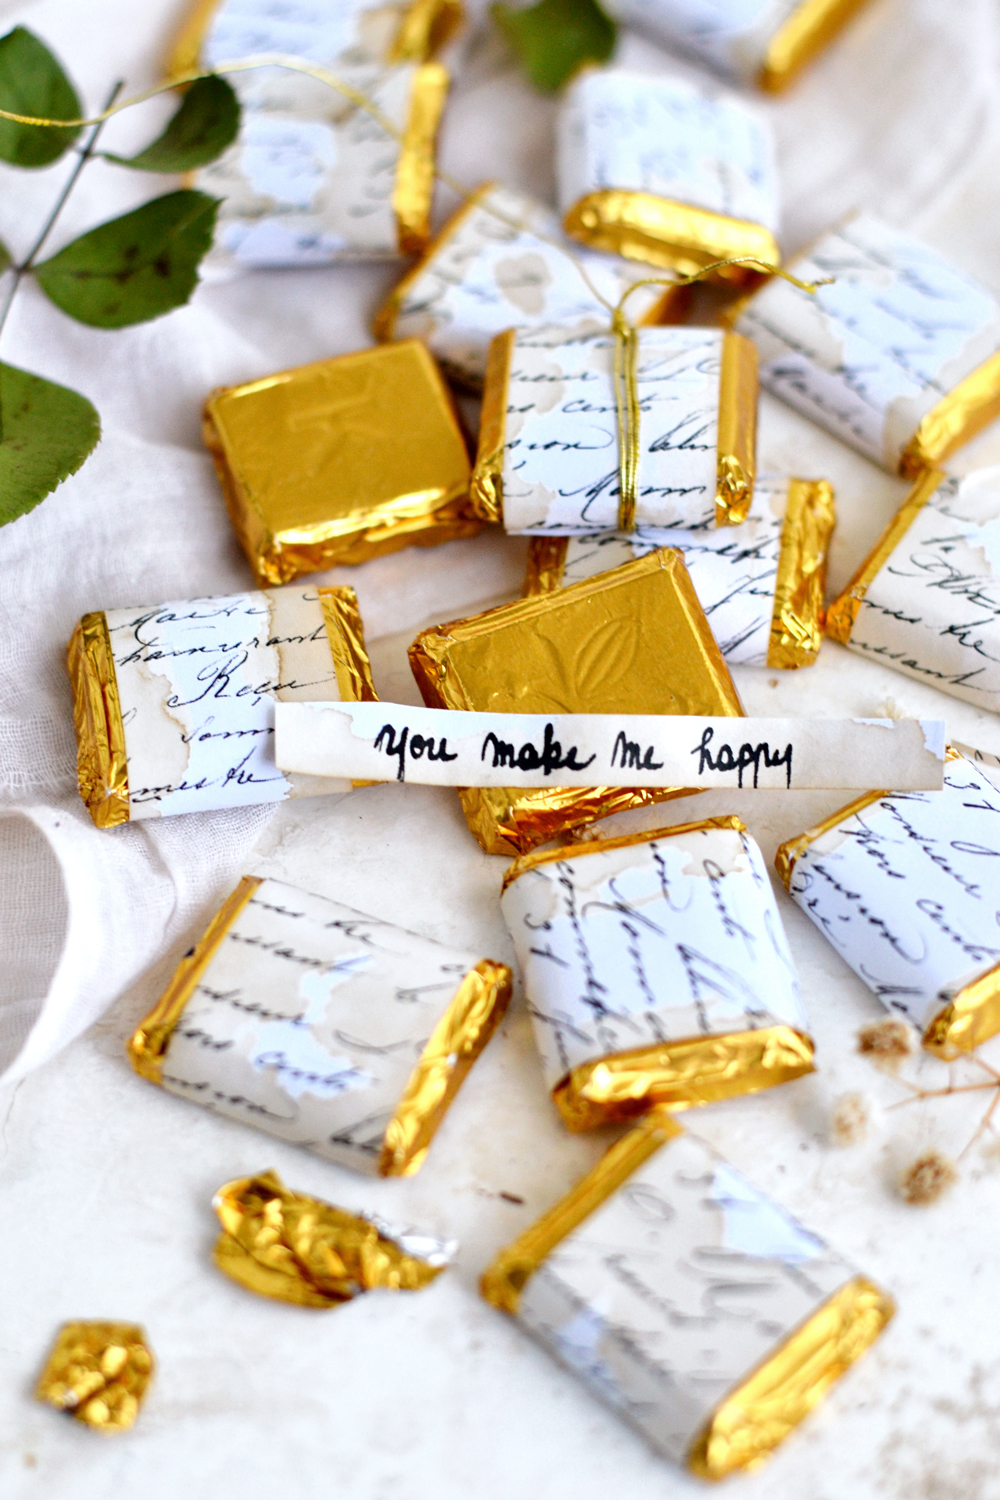
So I cut some of the smaller strips into even smaller vertical pieces and wrote a few messages on top. I used my calligraphy pen and some black Indian ink, and even though I’m not happy with how my handwriting usually looks, I simply loved the handmade feel I managed to add. You can use other writing tools too.
This is the part when you can get really creative – don’t you just ADORE these parts? You can go with more general messages or simply personalize the heck out of these beauties! Just try to think who the beneficiary will be and go as wild as you want!
Go with love messages…
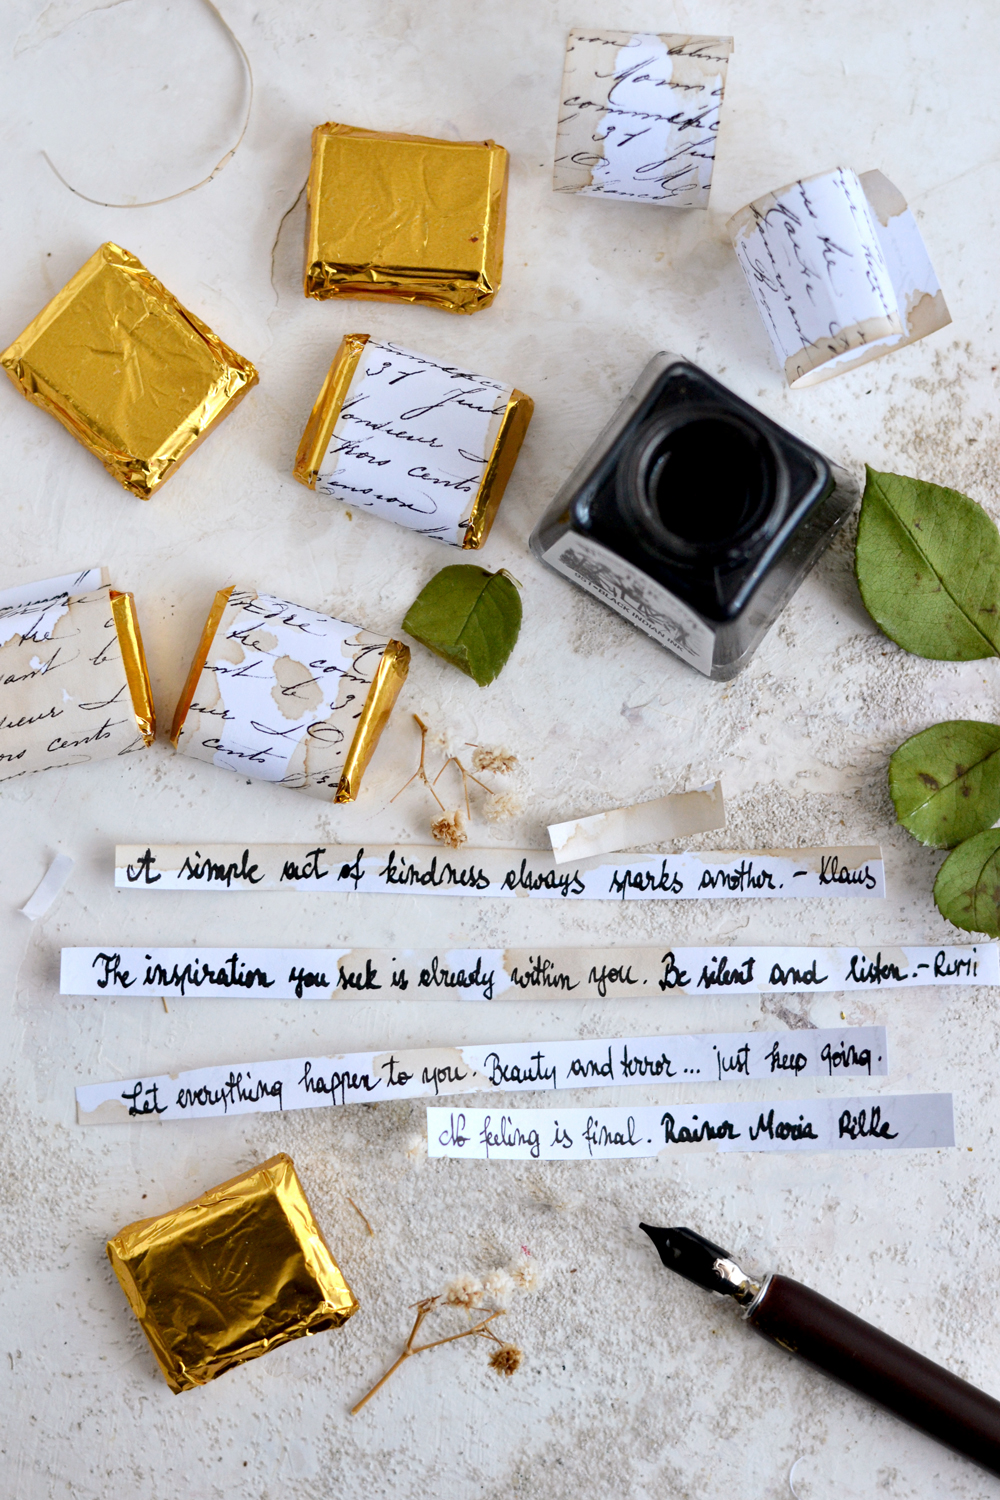
Your favorite quotes…
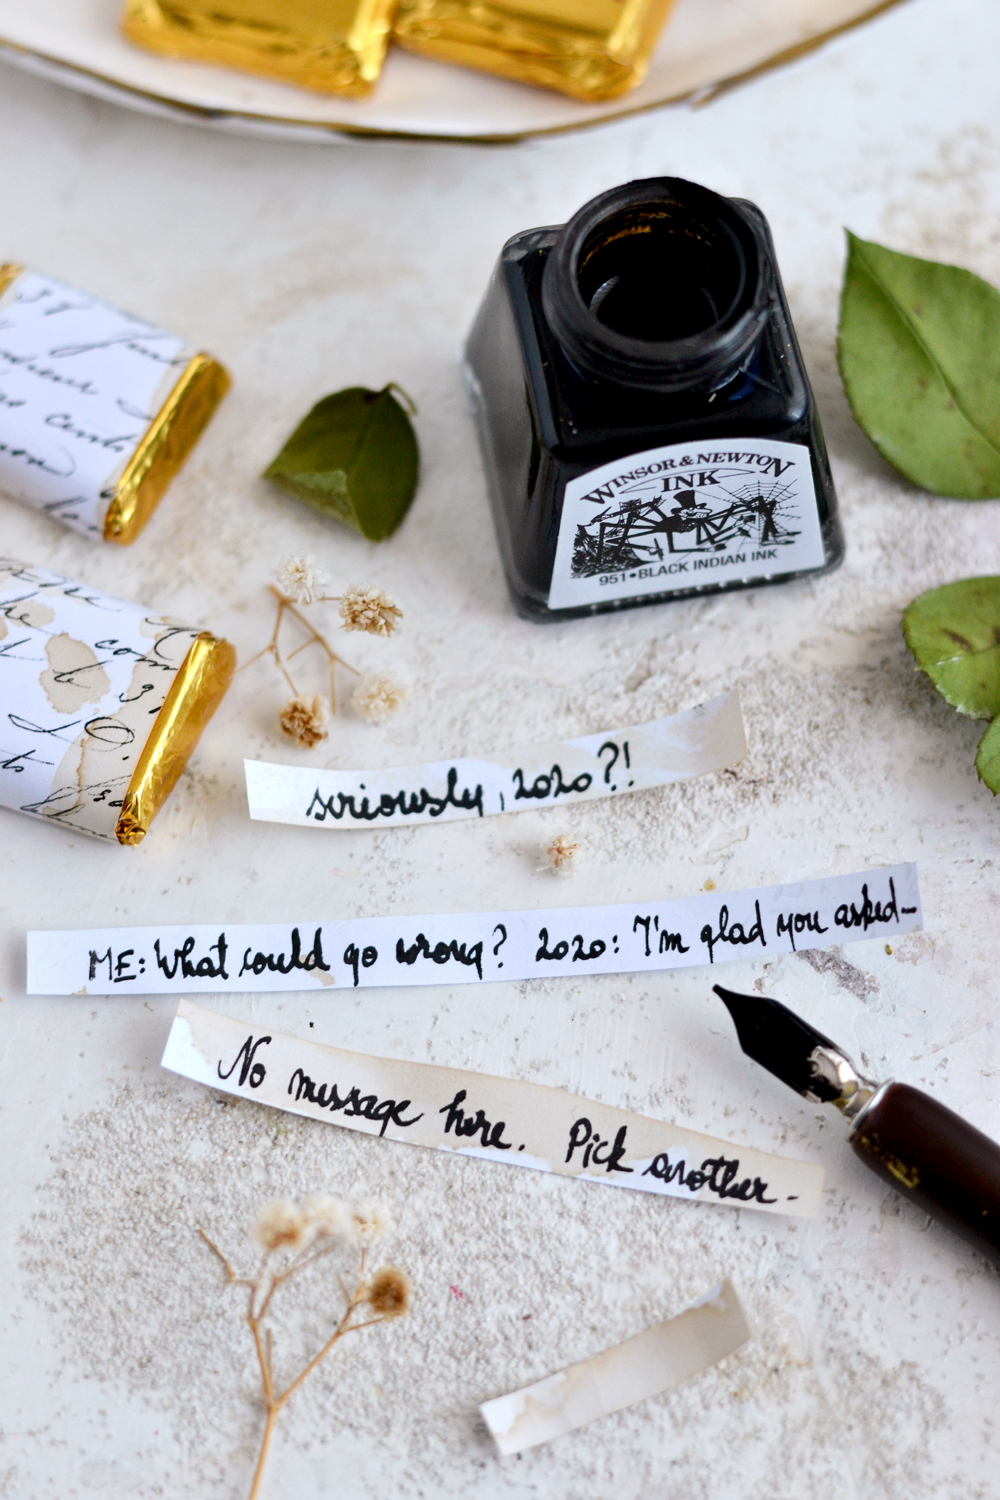
And to mix things up, I decided I needed a few funny messages too! It’s important to keep our sense of humor, especially that life is not always on the brighter side of things.
If you are feeling uninspired and simply have no idea what to write, try to think of connection points or things that both you and the receiver shared at one time. Thoughtful, full of love messages are always a good starting point, no matter who the recipient is. You can also write lyrics from your favorite songs, beautiful moments from past years, excerpts from love letters, funny adventures, quotes, jokes, lottery numbers, even ‘dares’ – like kiss me under the mistletoe.
Just wrap the handwritten messages around the gold foil after writing them, then add the DIY Candy Wrappers and finish everything with a little bit of double sided tape, as mentioned before, to hold everything in place.
You could even make each person in your life a specific jar, or one for the whole family, or a group of friends, this way you’ll be able to target each message (and feeling) accordingly! You can add more golden details like twine or thin thread wire and you can choose to leave some of the messages out in the open, so that the person receiving this gift will get an idea of what’s inside. Or you can hide the secret messages completely and let the receiver have a total surprise!
Either way, I would say that this project really has it all! It has good taste – literally because it’s delicious and figuratively because this French script looks simply gorgeous -, a subtle coffee fragrance, a little bit of gold shine and all these thoughtful secret messages inside.
I’m really hoping you will give this DIY Candy Wrappers project a try and I’m really curious about the other messages you are already envisioning for them. You may also like Halloween Party Candy Cups HERE.
Happy crafting,
Diana / Dreams Factory


Shea McNaughton says
What a darling stocking stuffer these could be! And writing with the ink pen and India ink looks so much better than using a “modern” pen! I need to dig mine out of wherever it’s been hiding in my craft room. Thank you for such a fun, useful and creative idea! Love all the images, you wrote and photographed this project beautifully!
graphicsfairy says
Thank you so much Shea! I am so glad it inspired you and thank you for the kind words!