DIY Handmade Signs
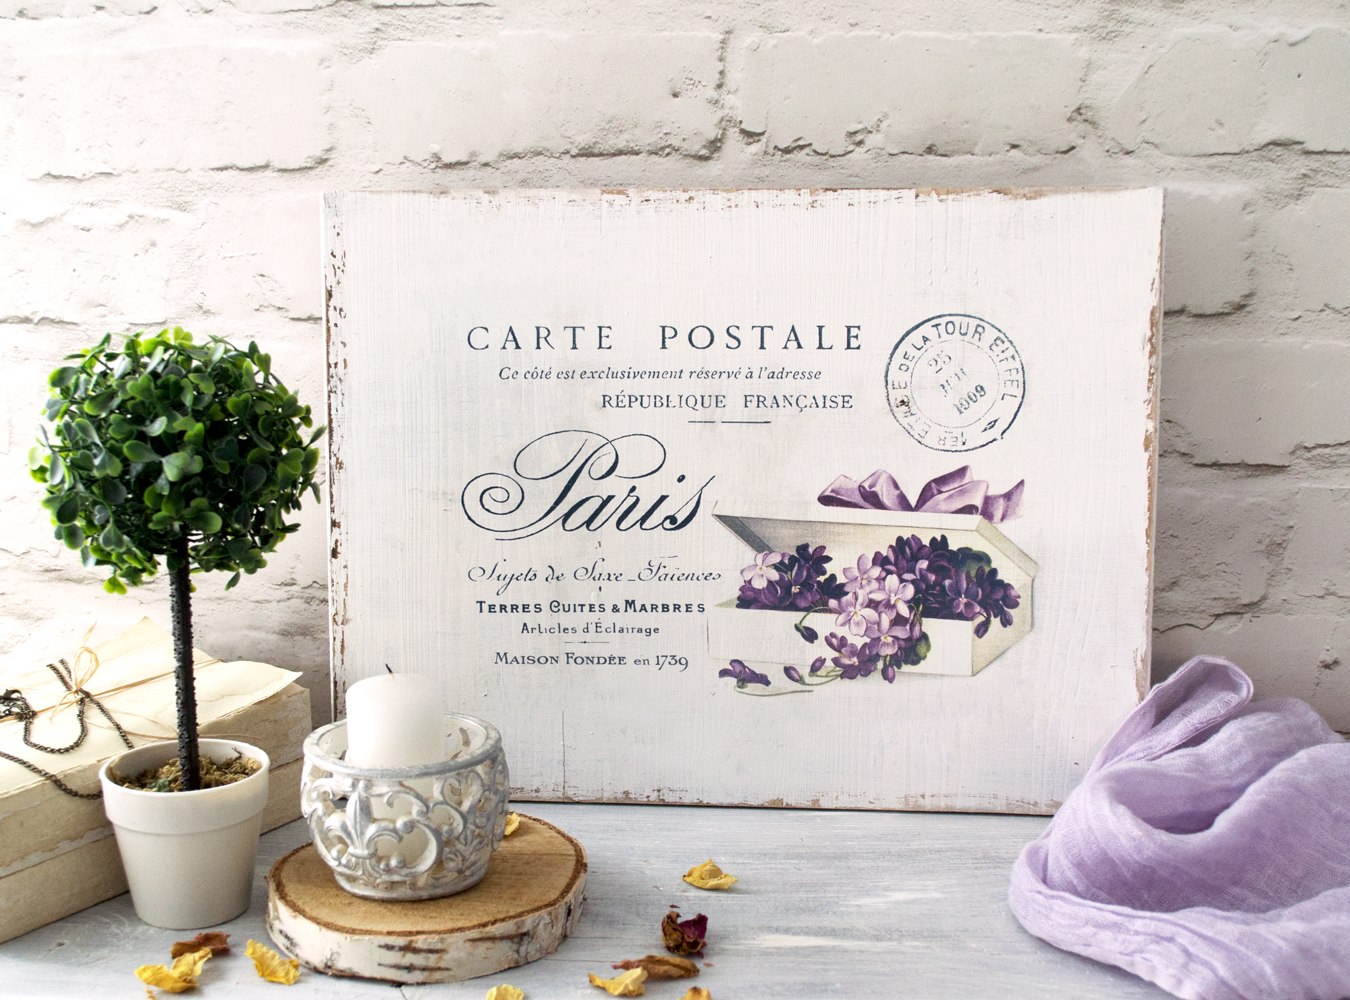
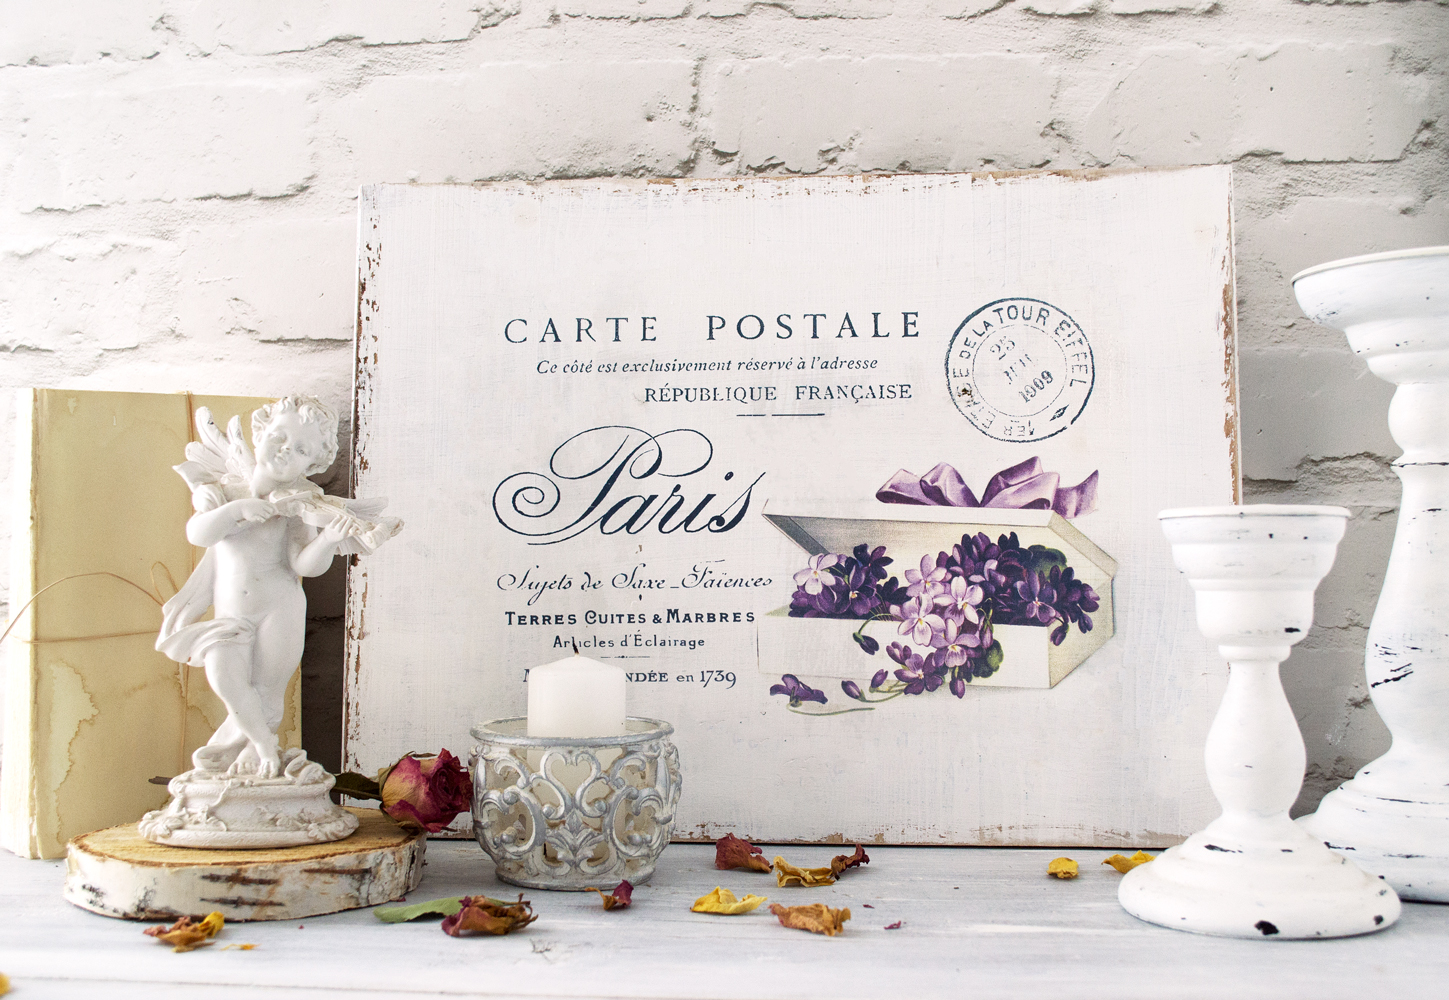
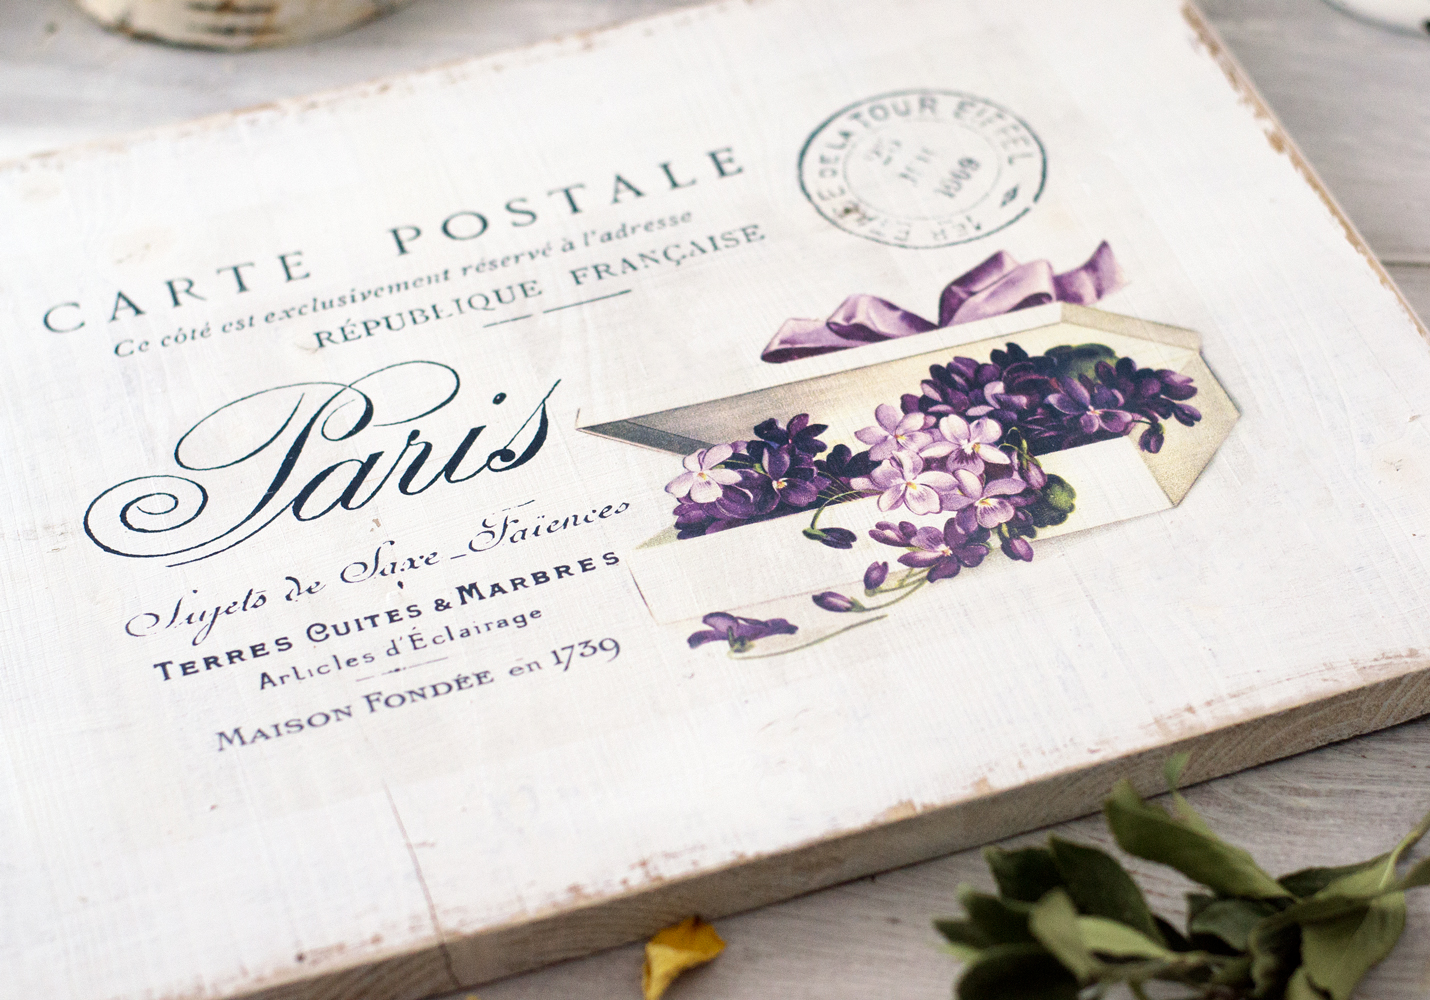
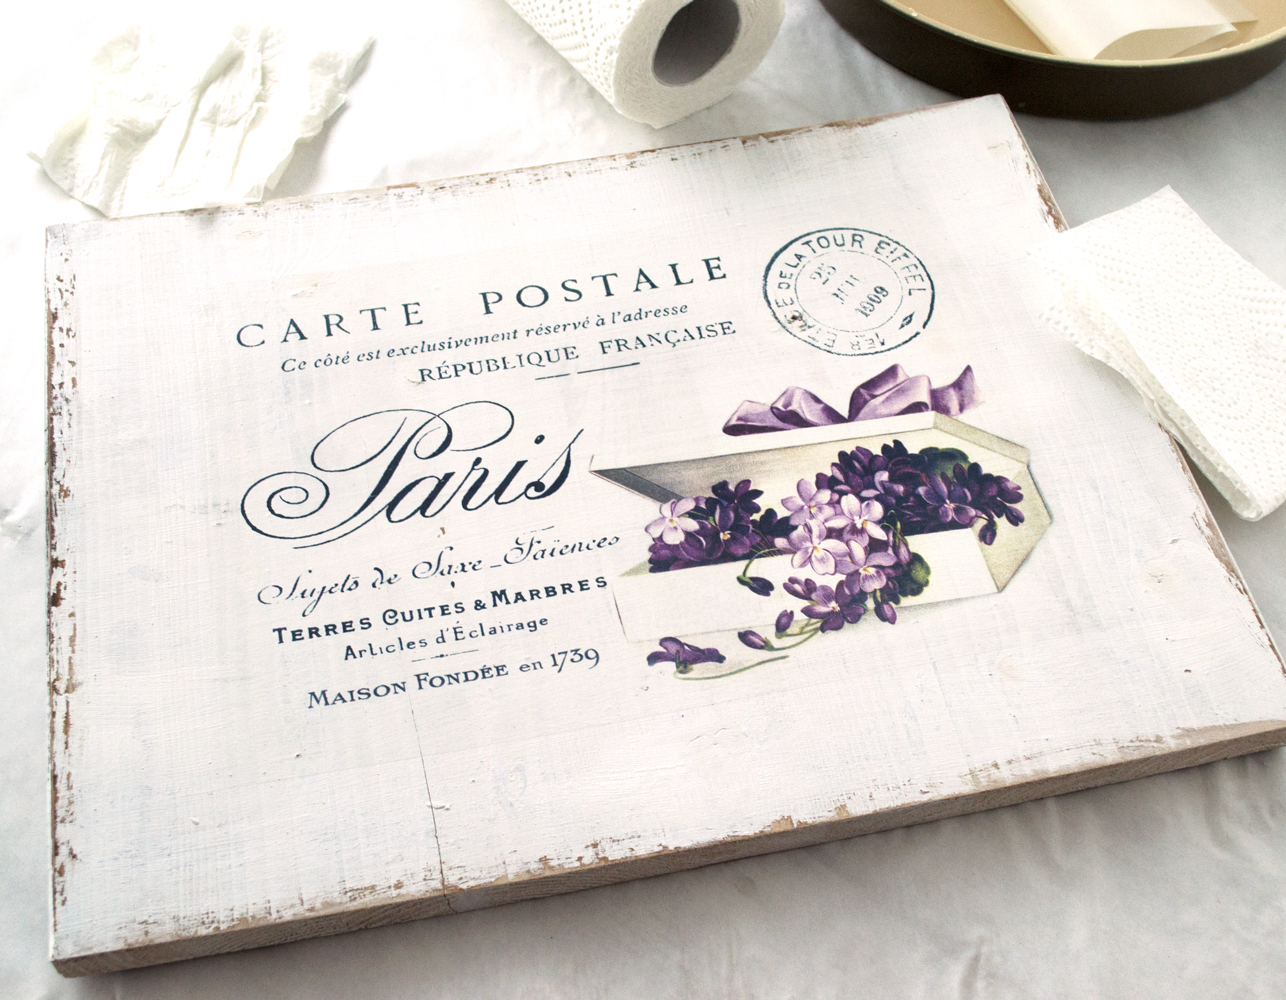
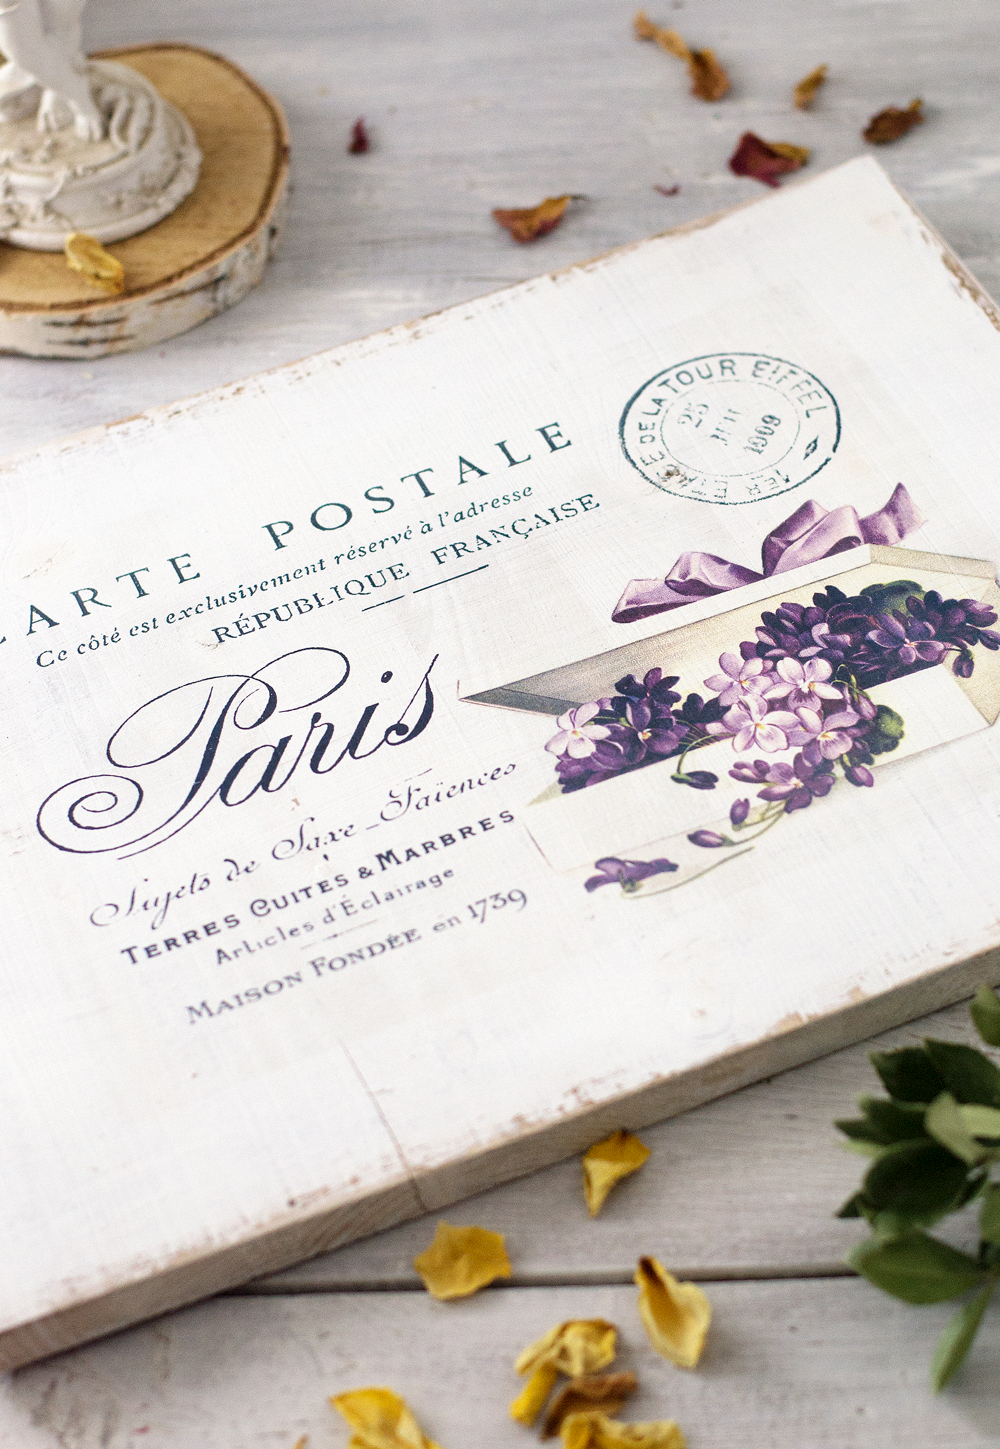
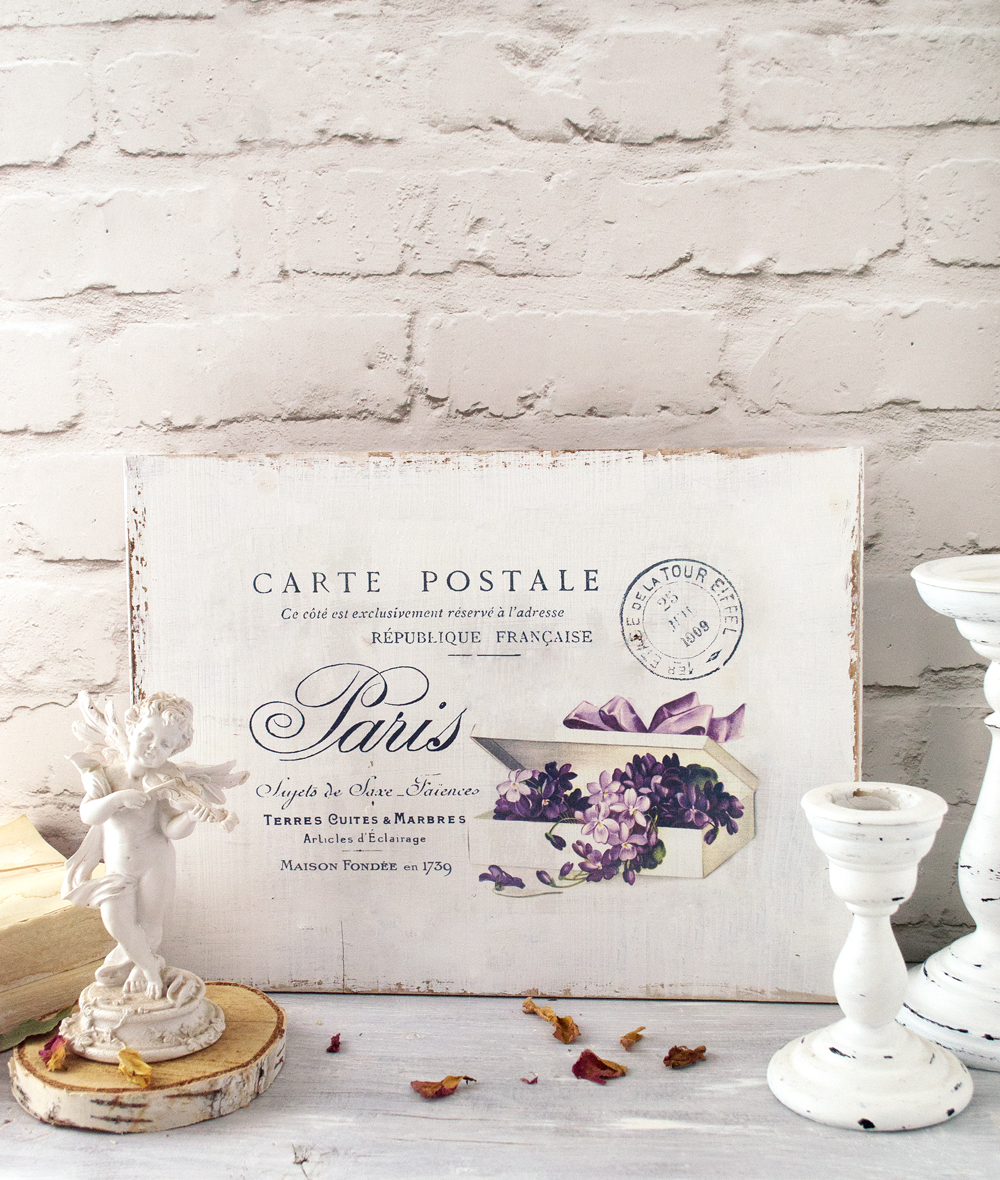
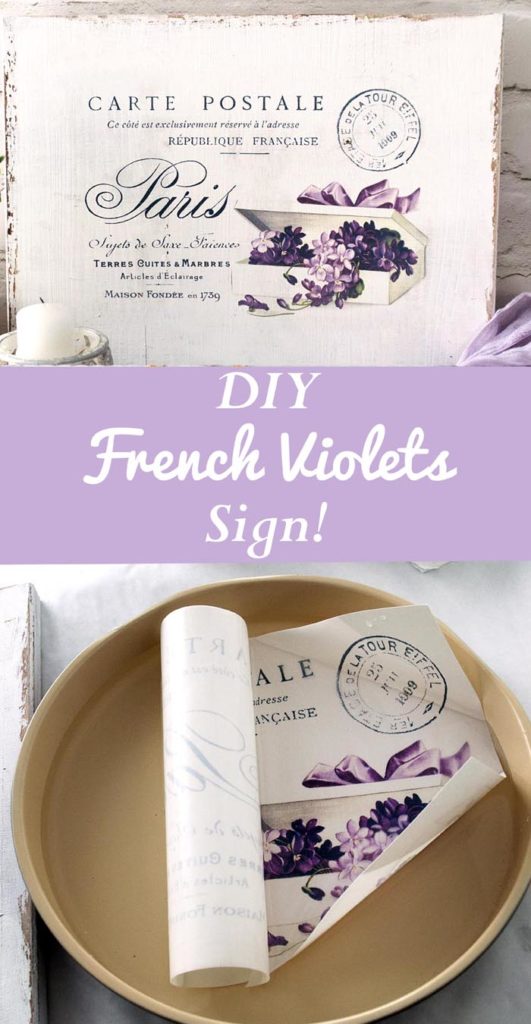
Hello, hello! Diana from Dreams Factory here with a beautiful DIY Handmade Signs project! Today we will create another chic project that will help you beautifully decorate your home… a Shabby French postcard sign with fancy Violets.
This project has just the right amount of chicness and when I created the design, I had a few of my favorite things in mind:
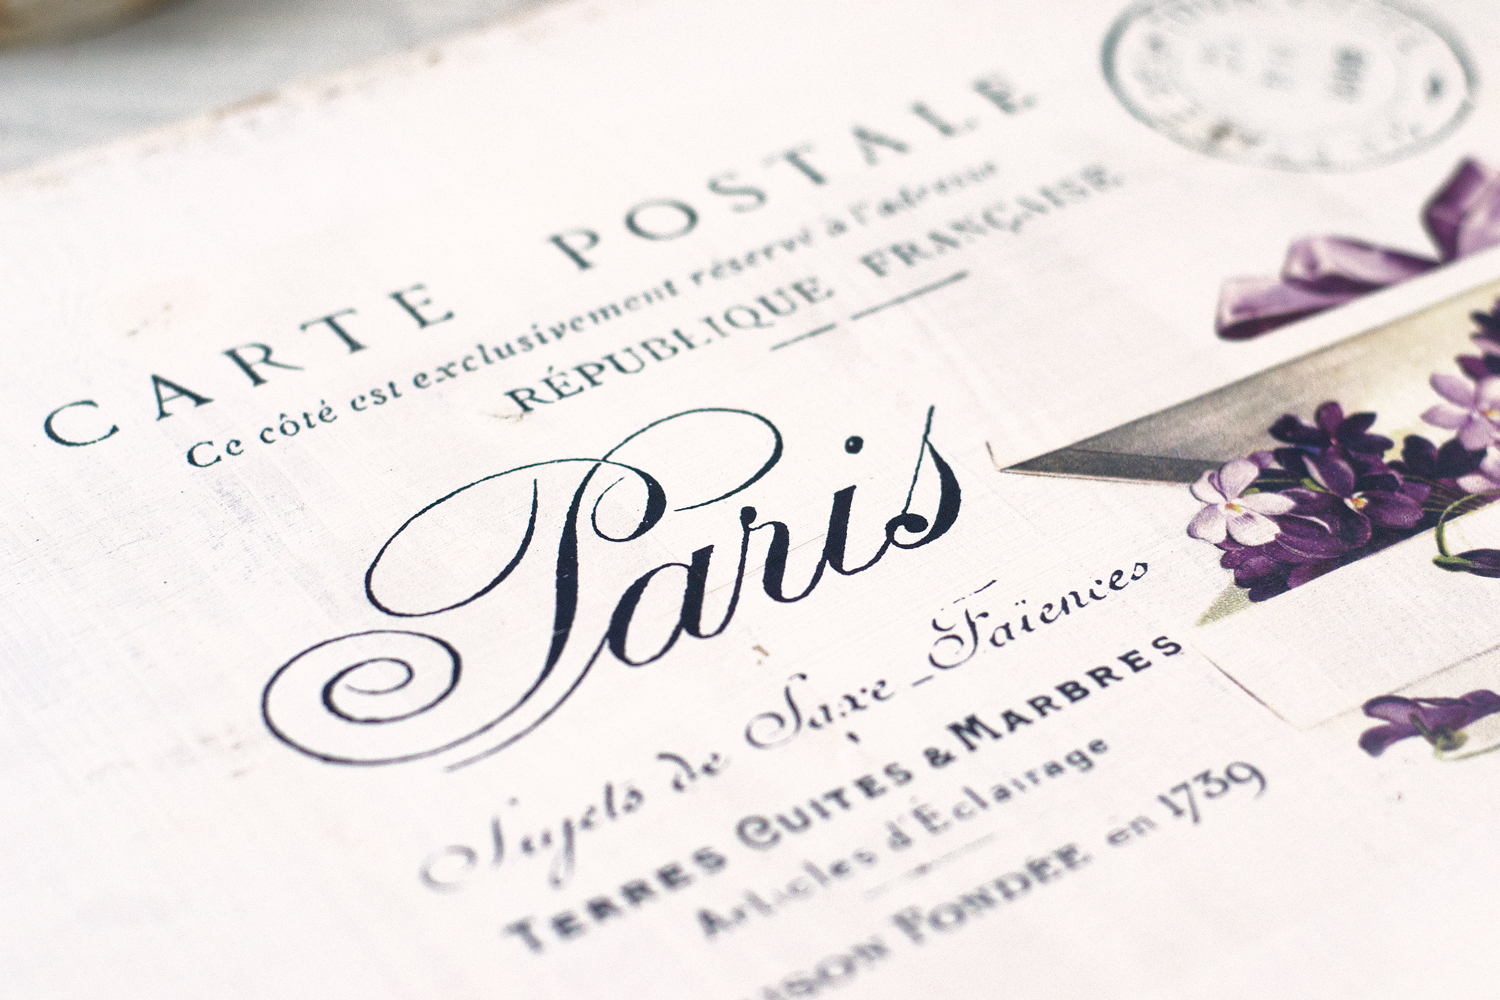
- the idea of a French postcard – a ‘Carte Postale’ with an Eiffel Tour stamp
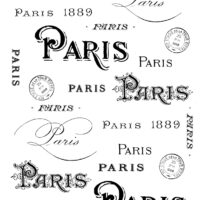
- a beautiful handwritten ‘Paris’ font lettering and some other amazing French ephemera graphics
- a spectacular fancy box with violets, perfect for spring (or any other season) – our pop of color
Painting and distressing your handmade sign is one pretty big and important part too, because it will help us create on our sign that Shabby time worn distressed look that we all love!
And speaking of painting and distressing, I’m assuming you already know how to do that from my other projects, right? Righttt?
It’s quite a simple procedure that only requires two contrasting color paints, some candle wax and sandpaper to create some truly unique and original decorative pieces.
If you are not familiar with the whole process, please check this Distressed Clipboard Frame project for instructions and step by step pictures on how to do the painting and distressing part.
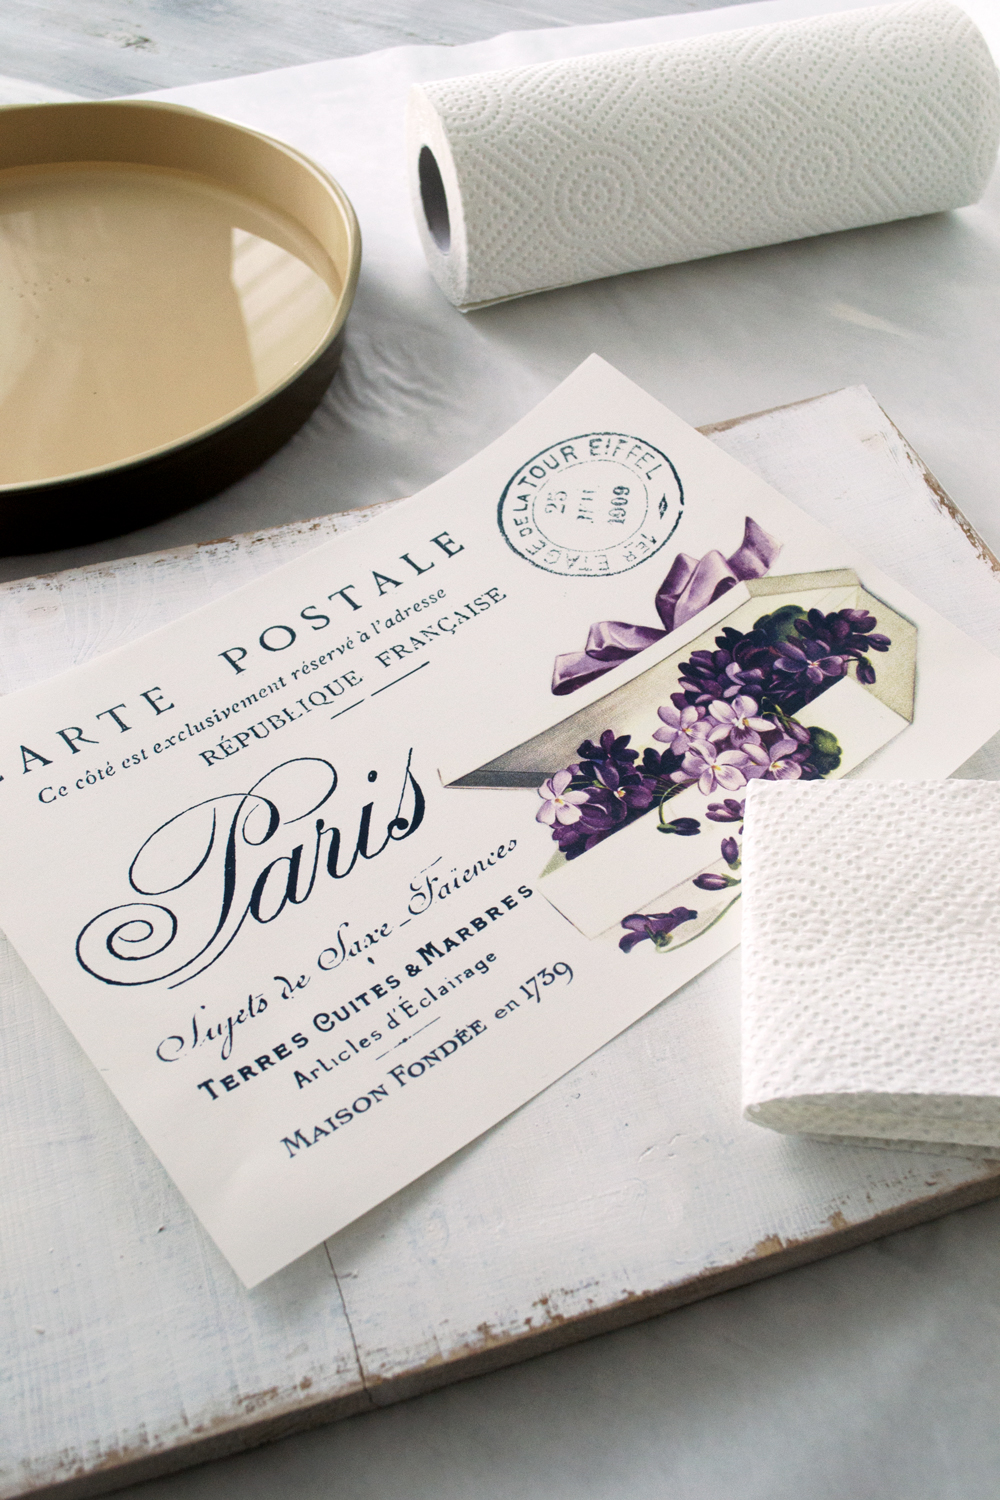
Waterslide decal paper was (again) my choice for transferring the image for this project, I’m just obsessed with this magic paper and with what it can do! And when it comes to this type of image transfer, I’m assuming you are familiar with it, too. Because you have already tried my DIY French Farmhouse Tray project where I showed you how to actually used it, right? Rightttt?
NOTE: If you are having a hard time finding this type of paper, you can find on The Graphics Fairy other ways of transferring an image –> Easy Image Transfer Methods for DIY projects.
And here is the lovely French Postcard with fancy violets printable that you can download for this project (or any other projects)!
 —-> Click HERE to Download the Full Size Printable PDF <—-
Supplies for Handmade Signs:
I. for painting and distressing – click and check this project for instructions
- a painted and distressed 11.8 x 15.7 inches wood board (Metric Version 30 x 40 cm )
- brown acrylic paint
- white acrylic paint
- brushes
- candle wax
- sandpaper
II. for transferring the image – click and check this project for instructions
- printer
- paper towel
- Waterslide Decal Paper for Laser Printers or Waterslide Decal Paper for Inkjet Printers
- matte finish spray
- free printable – French postcard with fancy violets
~~~~~
A few things to consider when transferring the image:
- Make sure the wood signs is completely dry before applying the waterslide decal paper.
- After printing the design on the waterslide decal paper, you can choose to cut it into several smaller pieces and gradually apply them on the wood sign by ‘reconstructing’ the image.
OR
You can choose to apply the whole design in one piece, like I did.
3. Don’t worry / panic if the decal paper curls when adding it to the water, that happens sometimes with a larger piece.
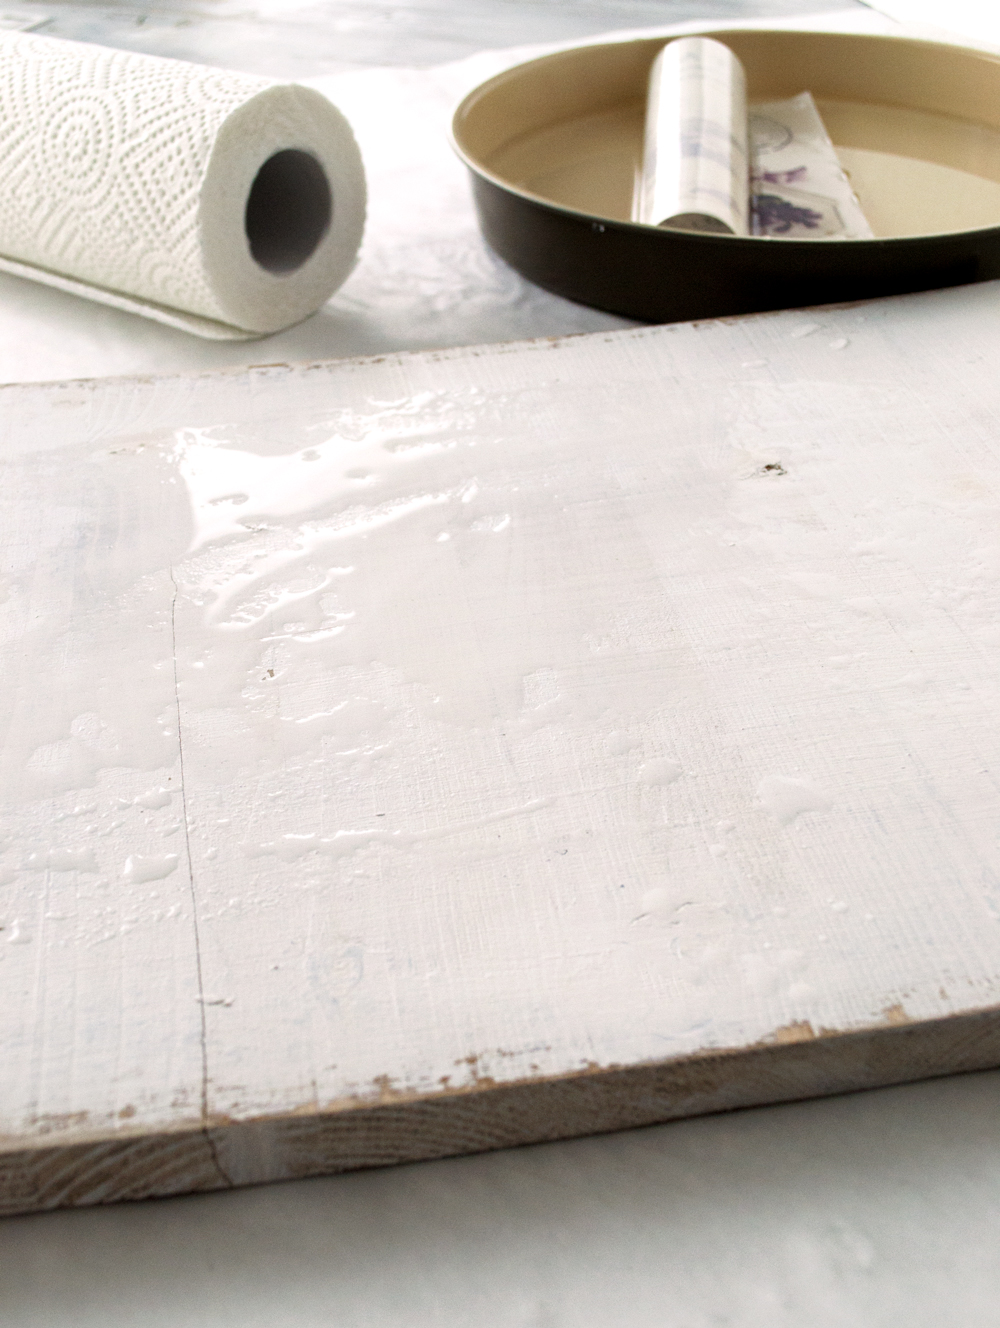
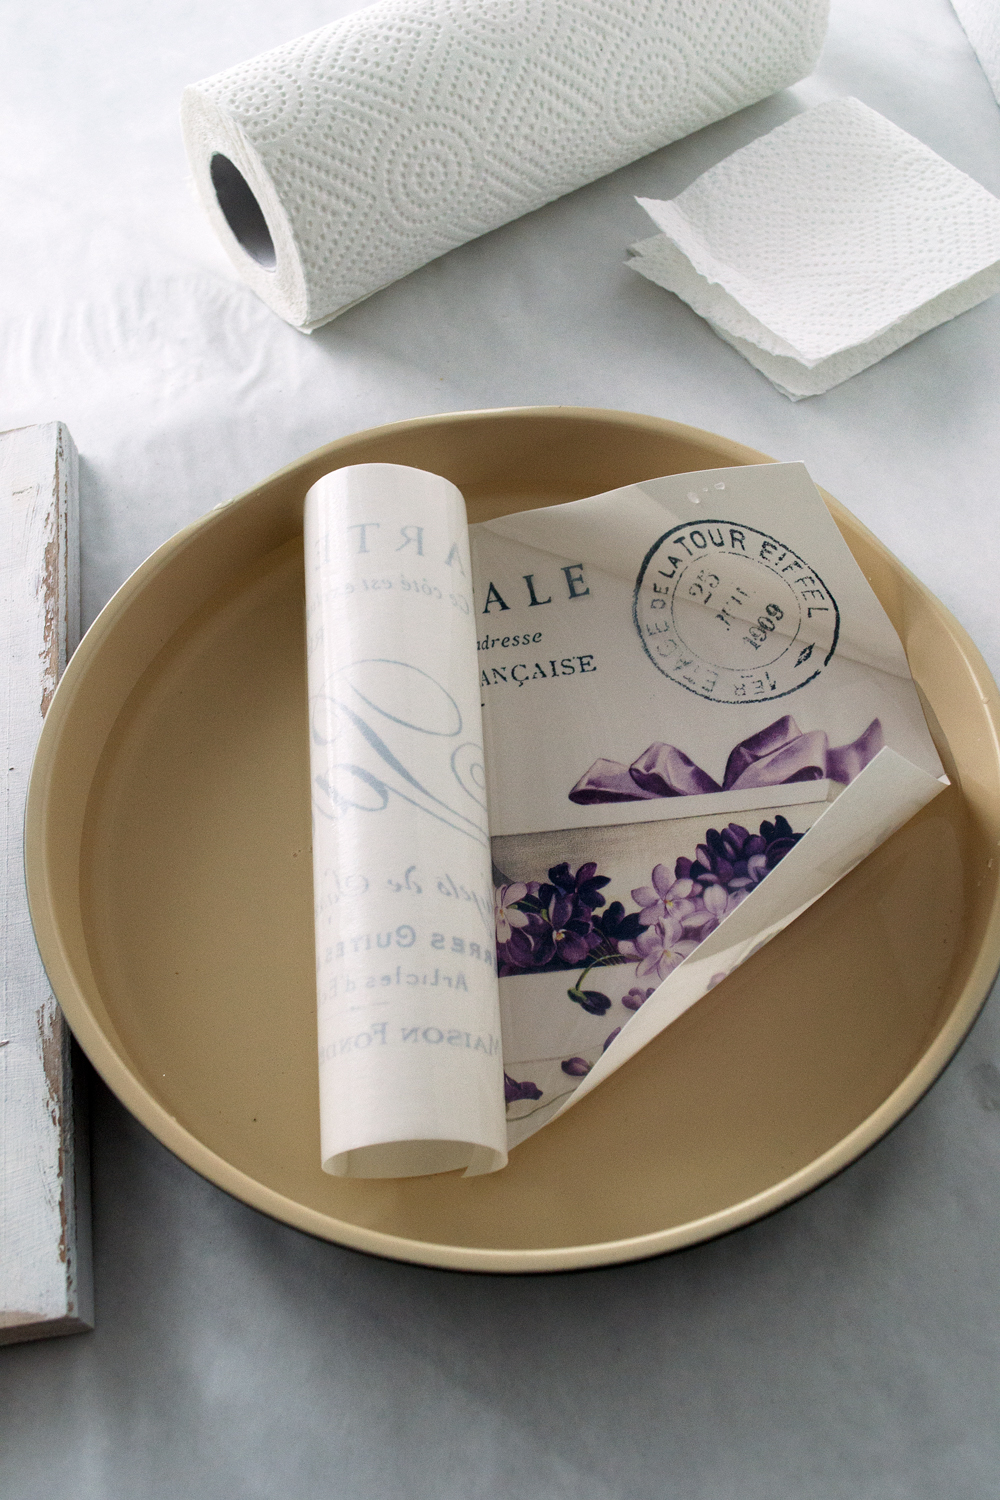 4. Add plenty of water on the surface of the wood sign (using your hand) before actually applying the waterslide decal paper. The extra water will help you handle, center and position the waterslide decal paper!
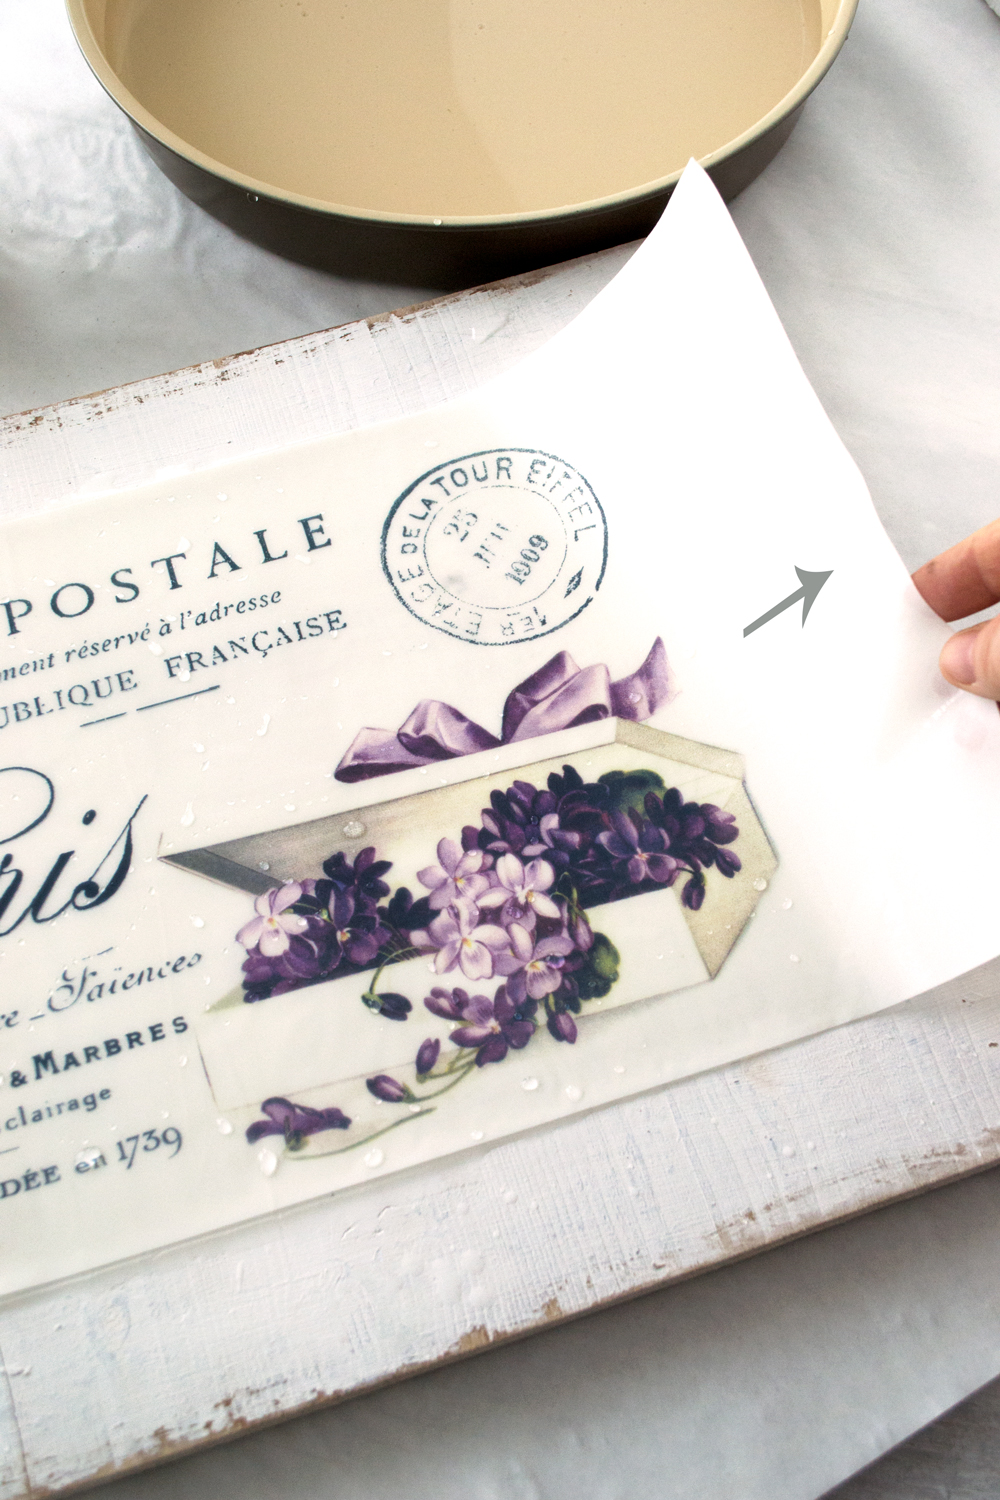
5. When applying the decal paper, try to position and keep it with your left hand on the wood sign, while slowly removing the white paper underneath by sliding it to the right.
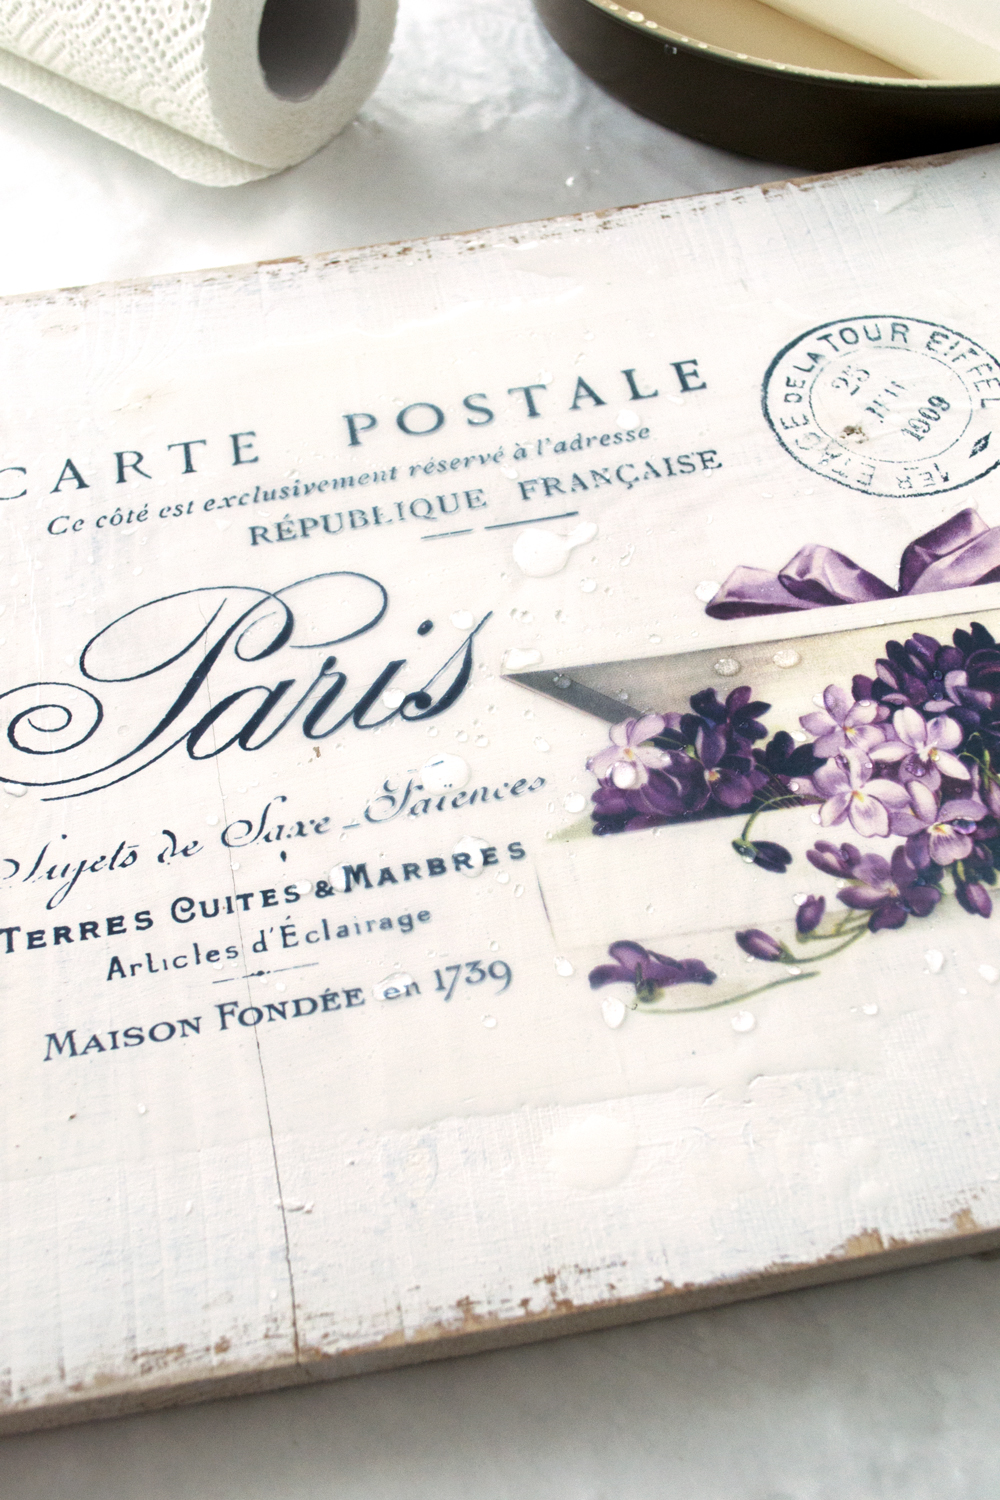
6. Remember that extra water from earlier? Now it will help us easily move the large design on the wood sign until fully centered and perfectly placed.
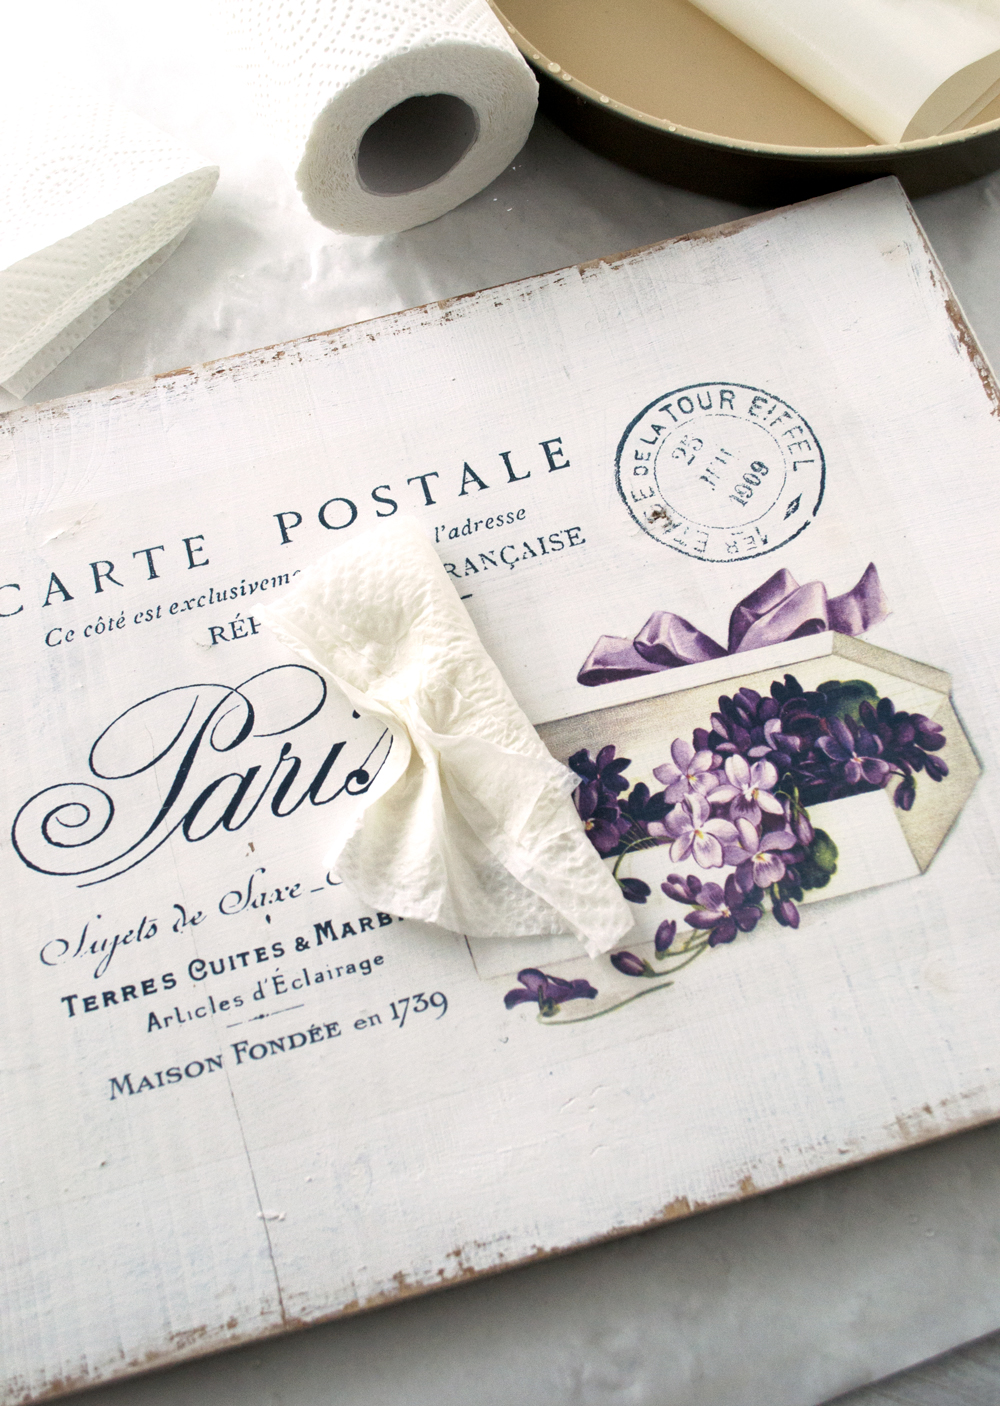
7. Again, keep the design in place with one hand and use the other hand to wipe off all the water. Start from the middle of the design and using paper towels, move towards the edges until all the water and the air bubbles are removed.
7. Let everything dry completely (even for a few hours) before applying the sealer – I usually use a matte finish spray and I apply it outdoors (you need a well ventilated area). I love how the waterslide decal sort of blends in with the surface of the wood after using the spray and you can hardly see its edges afterwards.
But this time I actually skipped this step. Even though I was constantly dreaming about spring while making this sign, my well ventilated area outside turned completely white … because it started to snow!
So now my DIY Handmade Sign will have plenty of time to dry…until spring fully claims its rights!
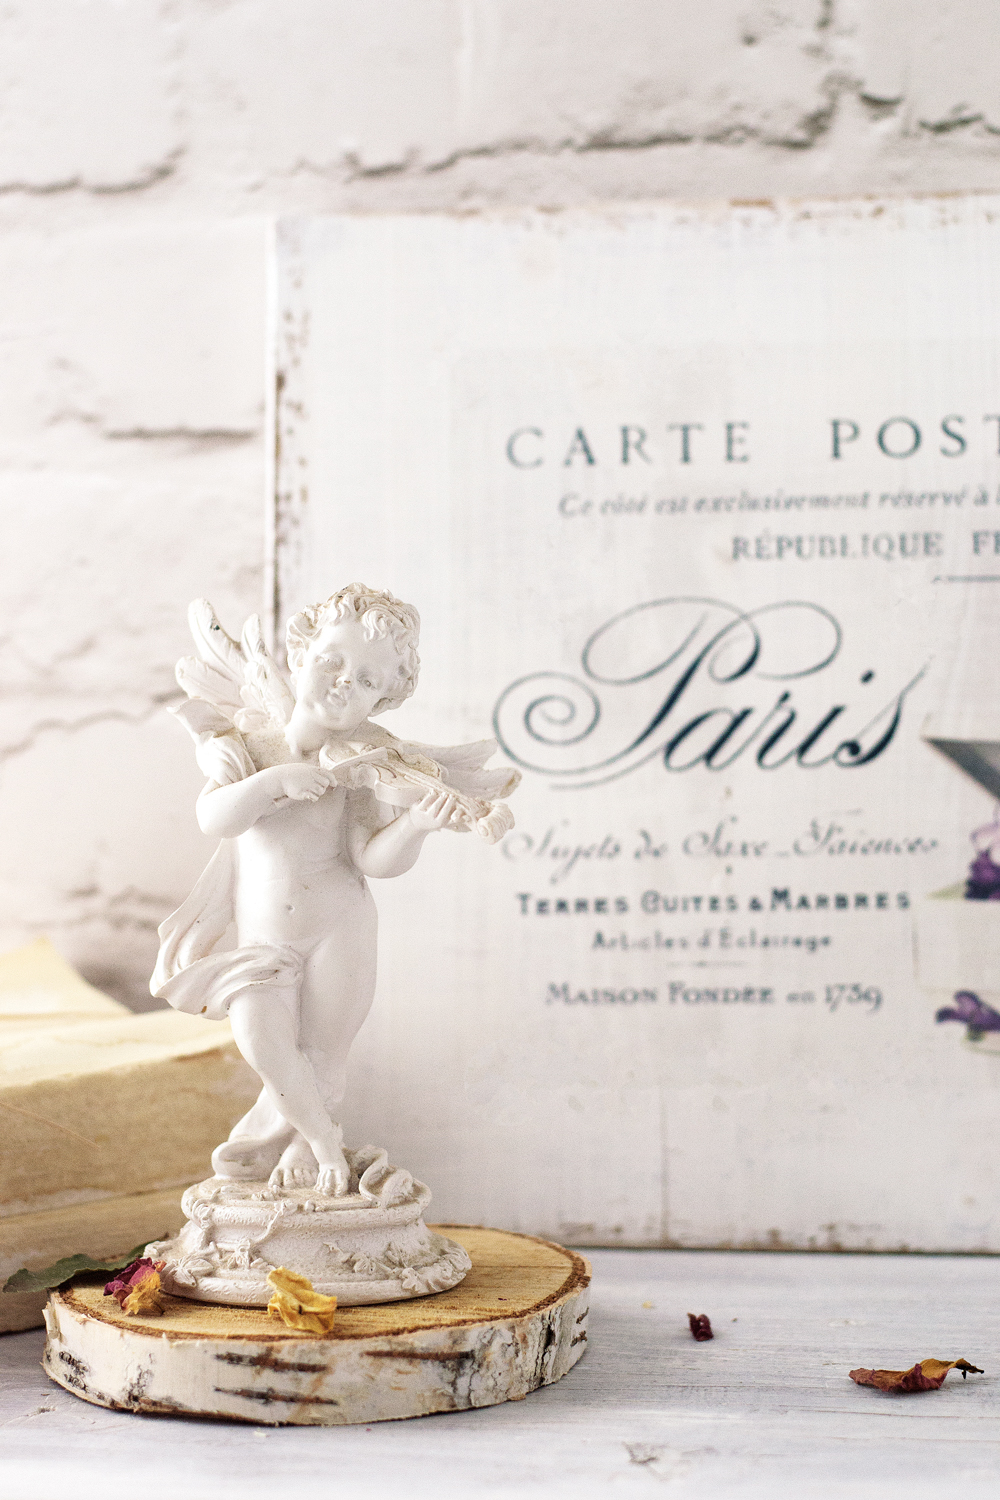
As always, you can use this handmade wood sign in your home, by incorporating it into several (smaller or larger) vignettes or adding it to your wall gallery (by simply adding a hanger on the back), it might just be the perfect addition. And if you want to give it a unique spin, turn it into the most amazing French tray by simply adding some rustic pull handles!
But let’s not forget our friends, this sign (or the tray) will make such an AMAZING gift any time of year!
Hope you like this project and decide to give it a try! Don’t forget to pin it for later and share it with your friends. Of course you could create your own designs to use with the Waterslide decal and make custom signs too, you could also opt to stain inside of painting yours!
You can visit my blog for more DIY projects –> Dreams Factory
Have fun creating,
Diana




Shelley says
I tried the watercolor paper and cannot get it to go through my printer. Am I doing something wrong? I bought KodiK 20 Preium waterslide transparent / clear paper for inkjet printers.
HELP!!
Karen Watson says
Hi Shelley, I would try emailing the company that makes your paper to ask for specific instructions that will work with your printer. There are so many types of papers and brands of printers, which I’m afraid makes it difficult for us to trouble shoot for you. But the paper manufacturer should be able to help.
Linda Dann says
I absolutely adore this graphic. I have a tray that is perfect for this project. I got the recommended Blingasm waterslide paper for inkjet, followed all of the instructions, applied my decal (after having given it 3 coats of spray as advised), did the soak and slide and within a couple of minutes it had all curled and come off the tray. What a disappointment. Not your doing, yours is beautiful and an inspiration, but what is with decal this paper?
graphicsfairy says
Hi Linda,
I am so sorry it didn’t work for you. I checked with Diana, the creator of this beautiful project and she said that the decal paper she lists on her post gets great reviews on Amazon and she has had great success with. You could possibly contact the Manufacturer of the paper you used and maybe they can give you additional tips? Good luck 🙂
Bev Wilson says
Lovely Freebie – thank you!
Makes me think of Spring.
bev. 🙂
Karen Watson says
Spring will be here soon Bev!
Ann says
Help! Searching every where and can’t find where I can print an image backwards for transferring it onto my project. Any ideas?
Karen Watson says
Hi Ann, we have a post for that here https://thegraphicsfairy.com/how-to-reverse-images-for-transfers/ I hope that helps!