DIY Spring Postcards
Hello Graphics Fairy friends, I’m Diana from Dreams Factory and I’m happy to be here once again to share another DIY project with you! Today I will show you how to make these absolutely gorgeous DIY Spring Postcards! We will be using gold watercolors a little bit differently, I will show you a cool trick on how to easily create a lovely gold metallic vignette effect on the edges. A touch of distress ink will give the paper even more of a vintage vibe, along with scrap pieces of gauze and some gourd pins that will add dimension to our postcards.
The truth is these colorful vintage postcards are really beautiful on their own, if you want, you can just use them as they are, they will still look amazing! So you can decide if you want to just print and have them ready in 5 minutes or if you want to go that extra mile to add some embellishments!
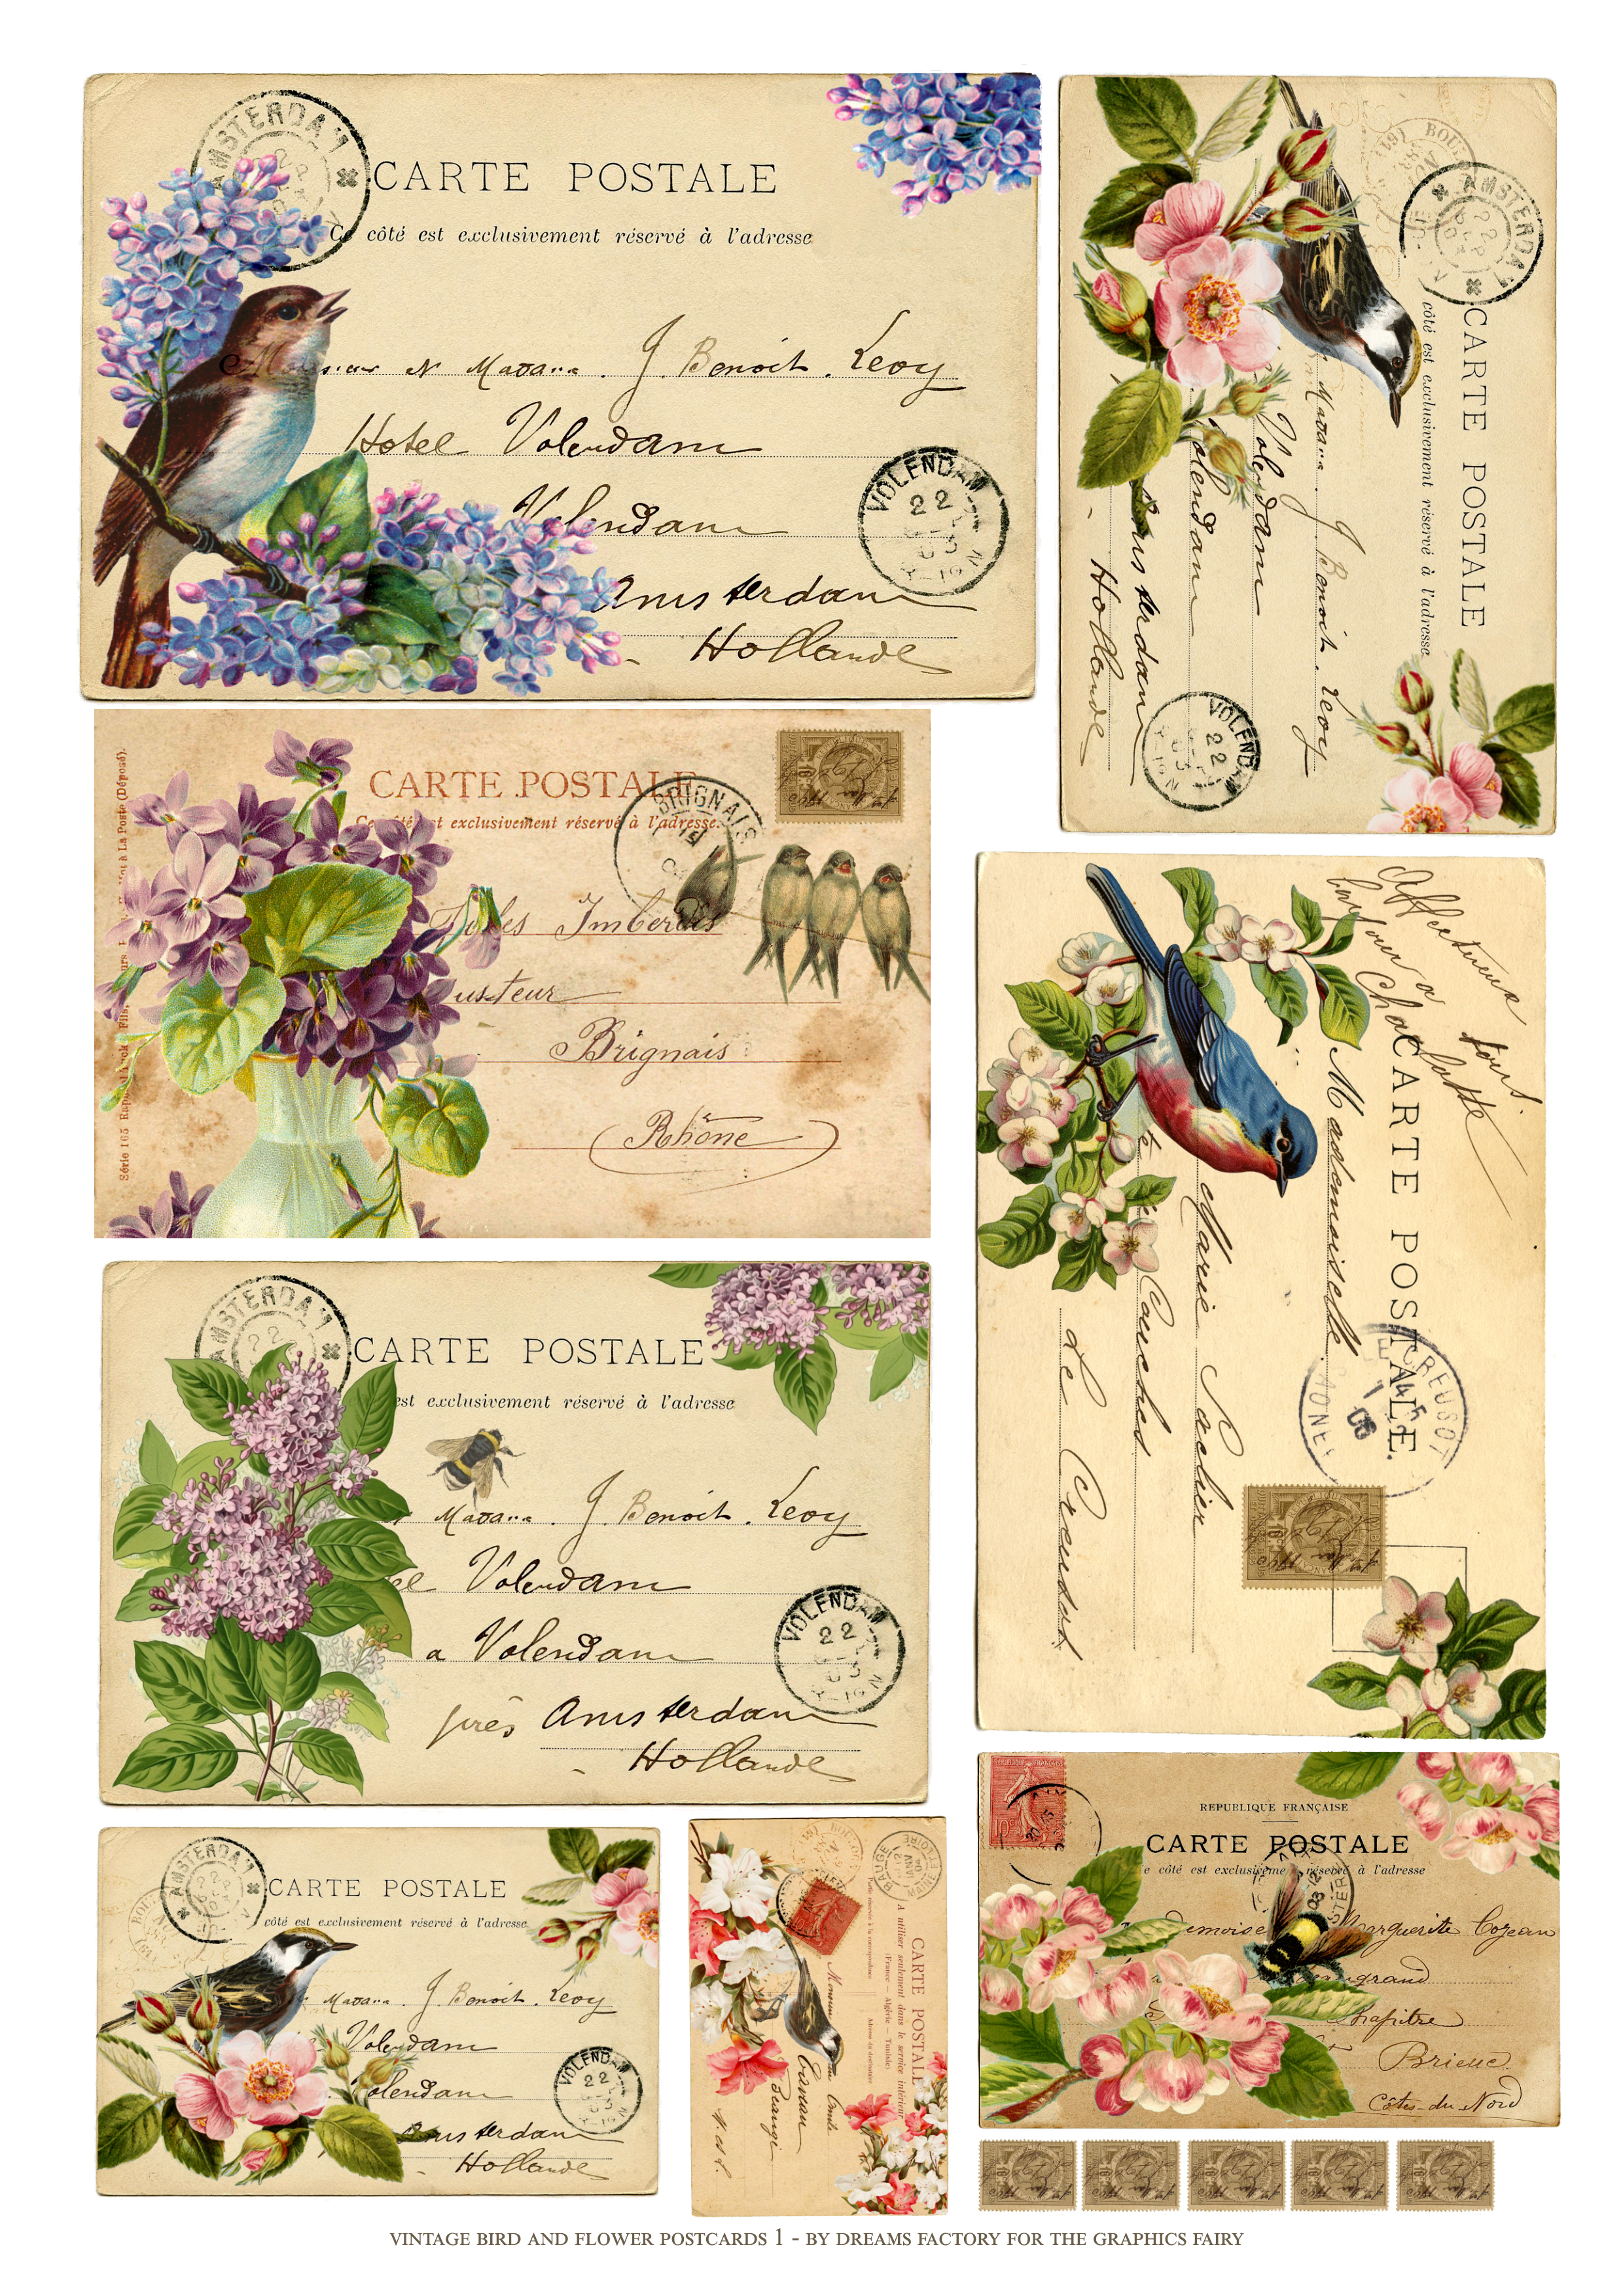
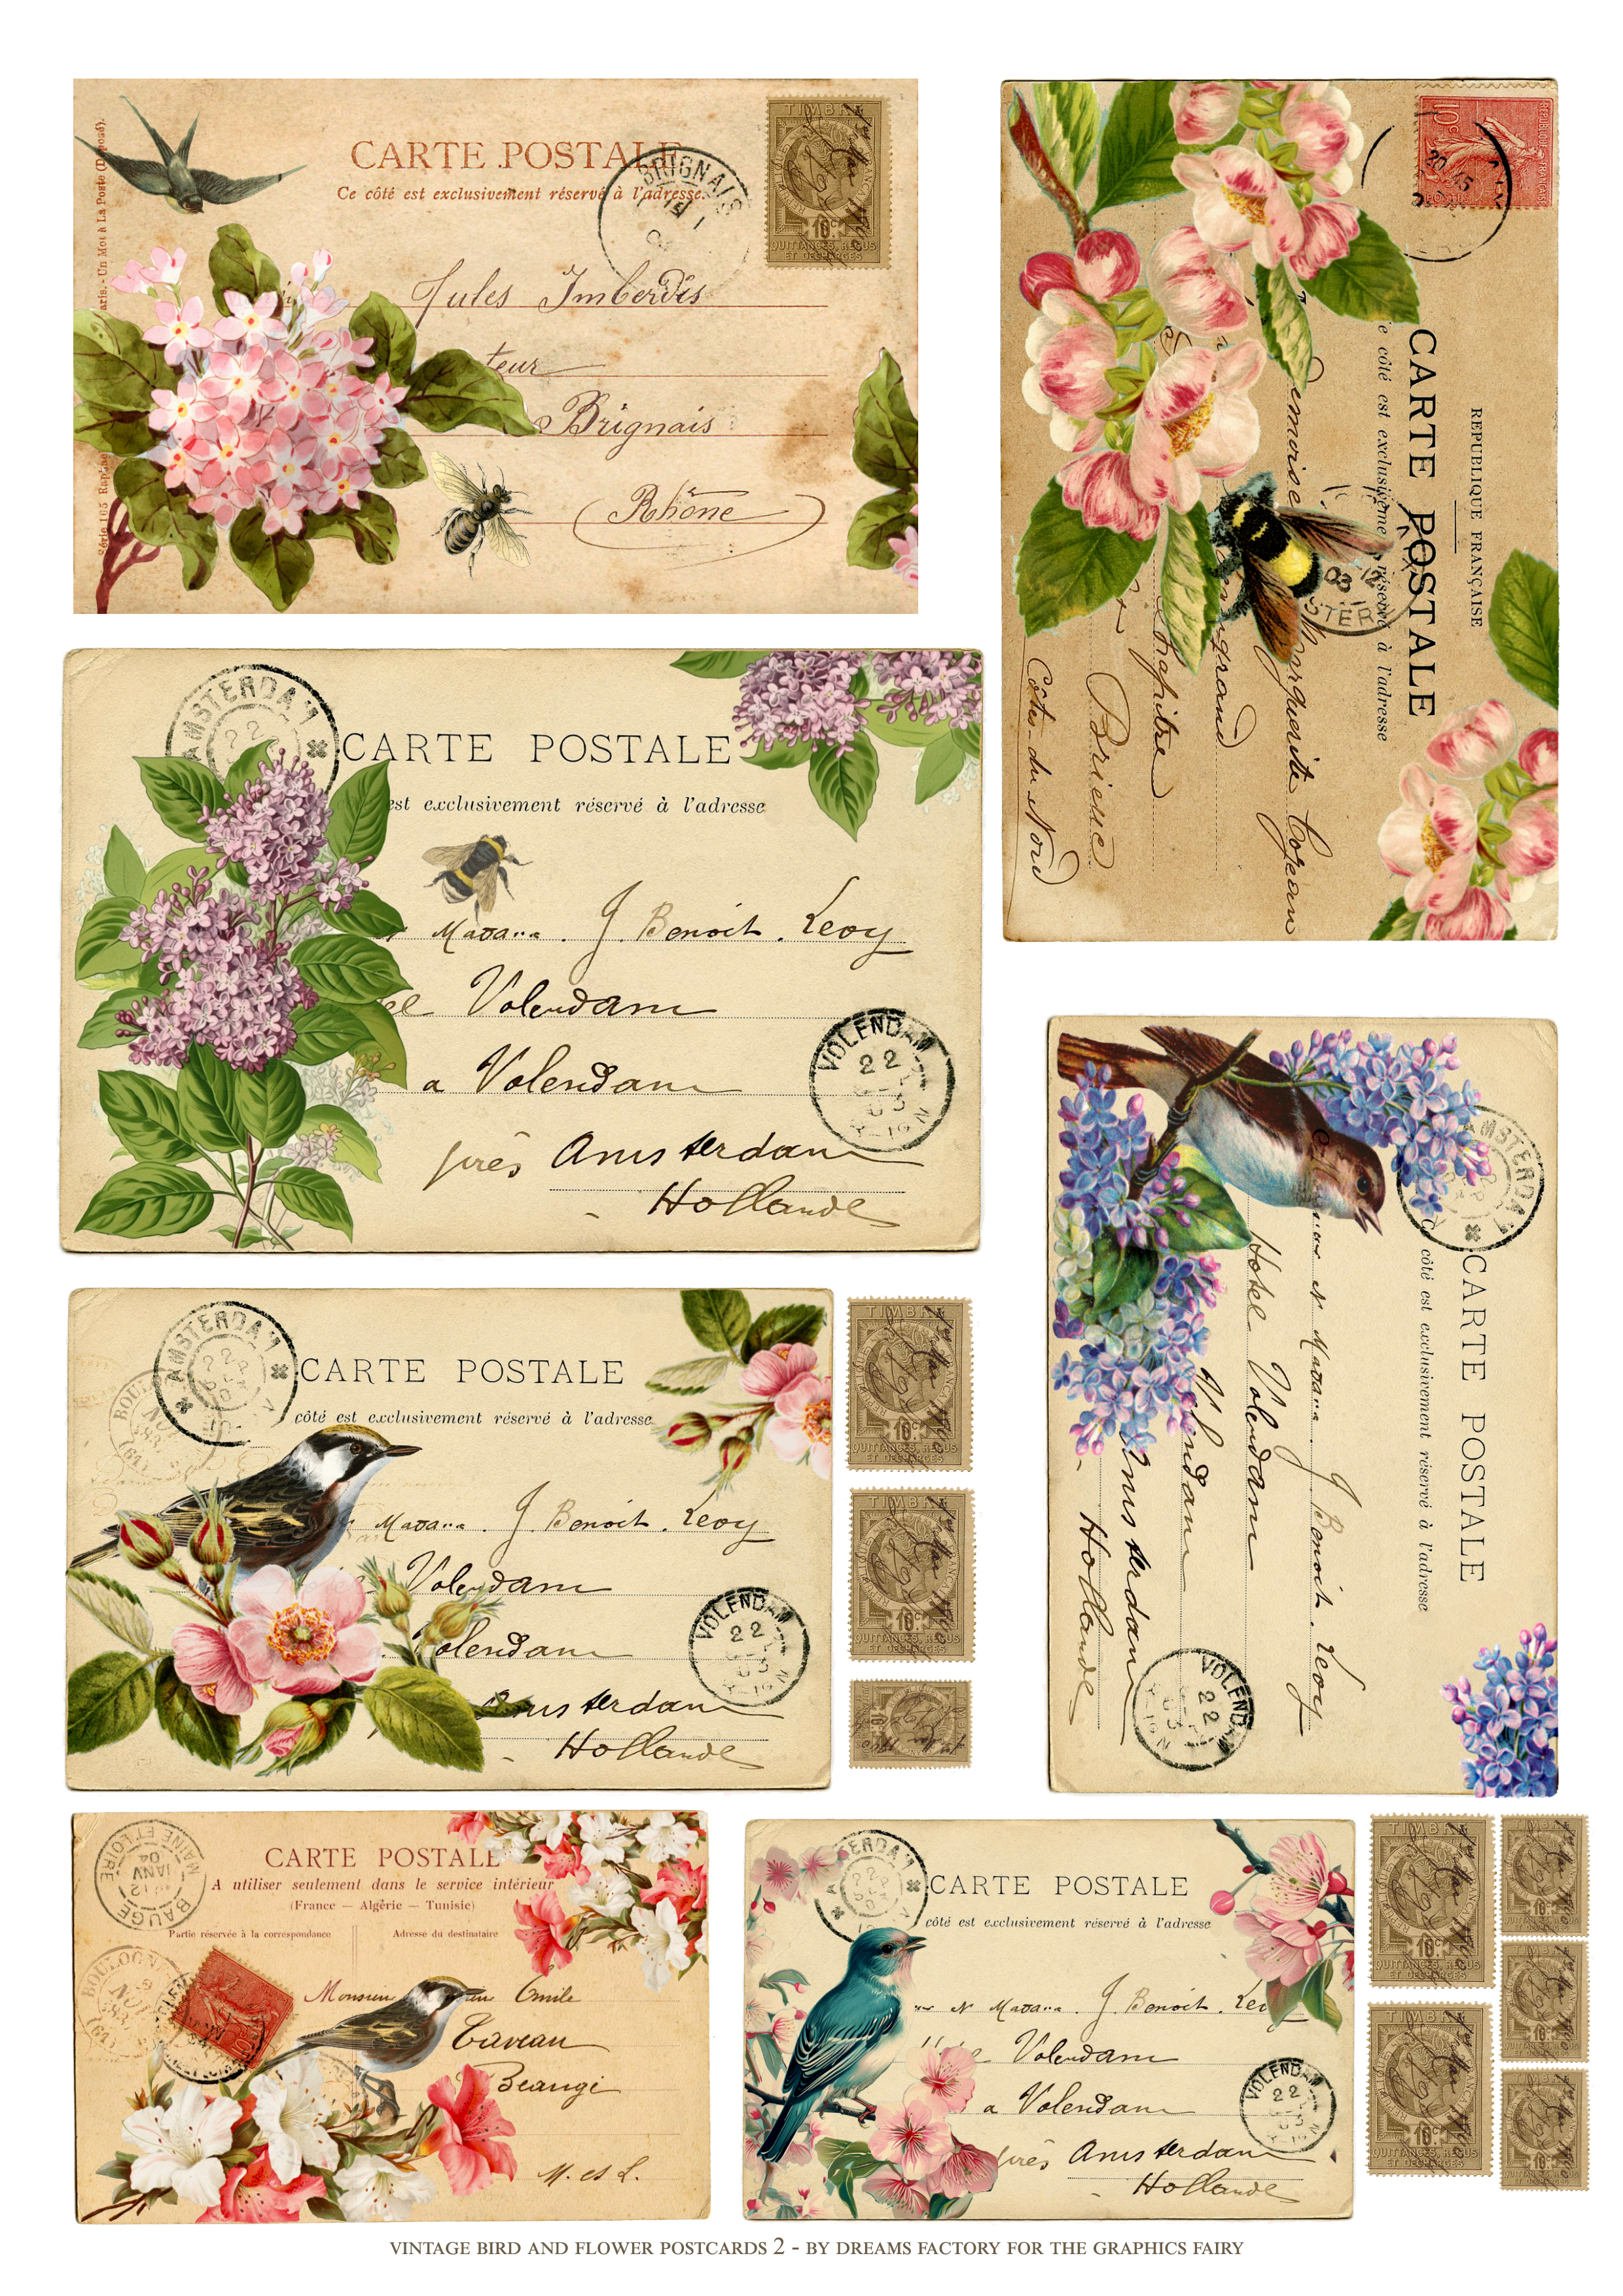
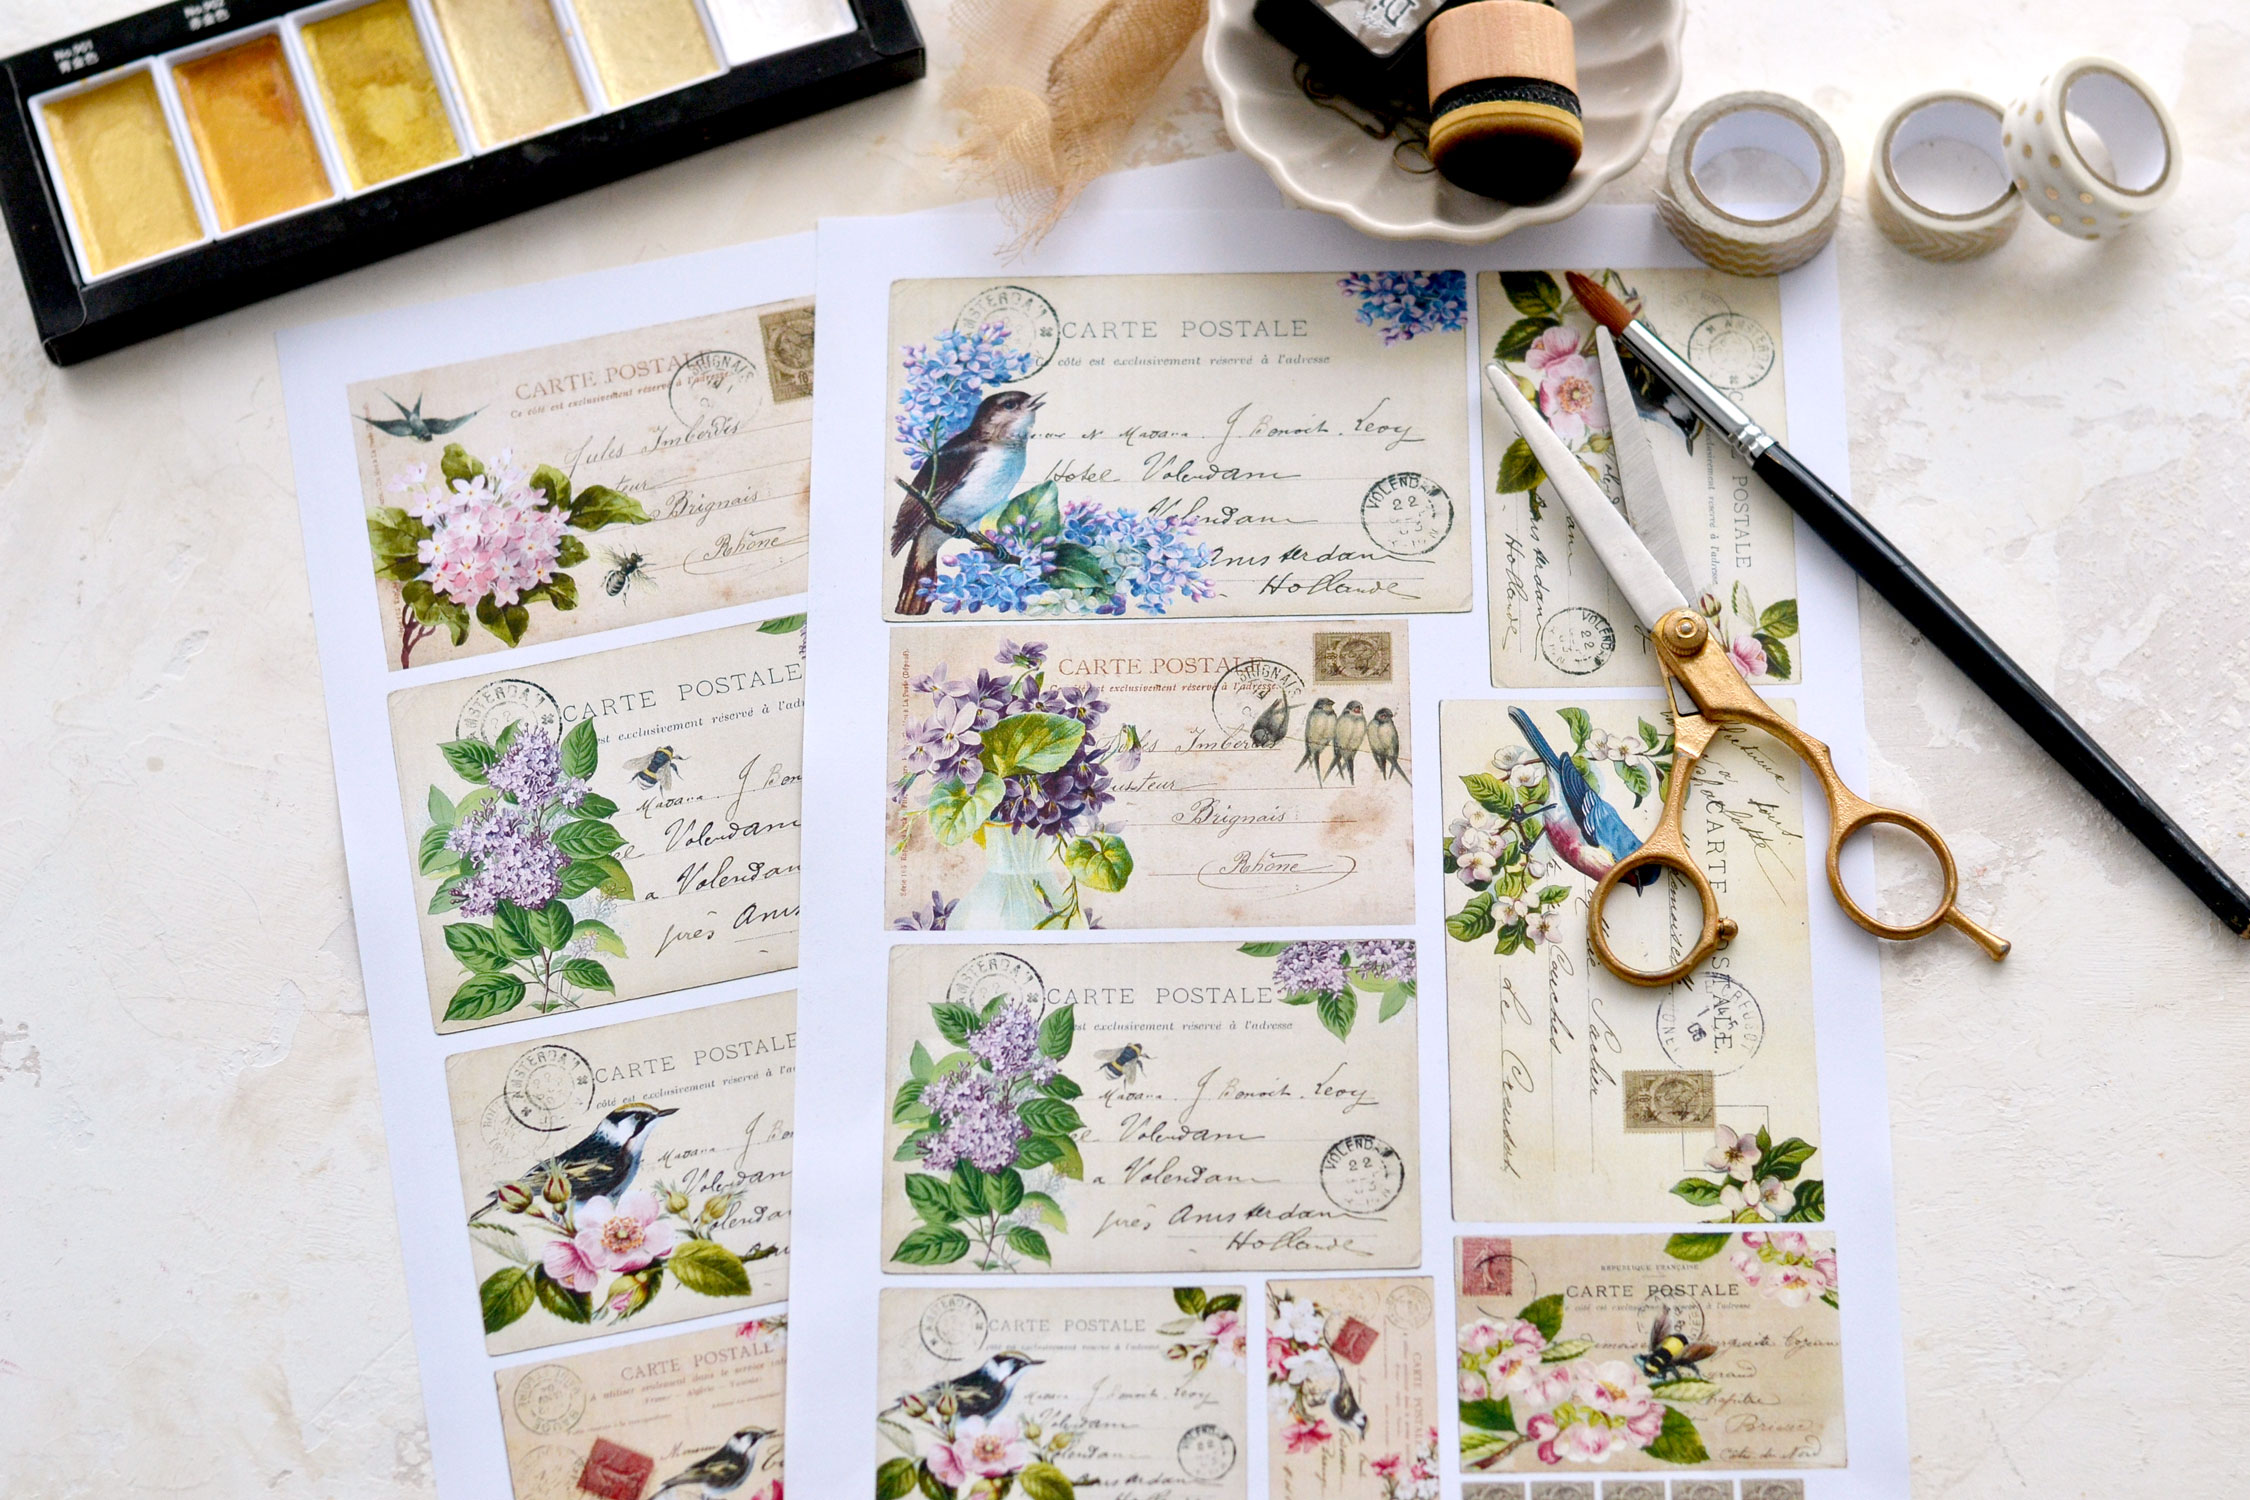
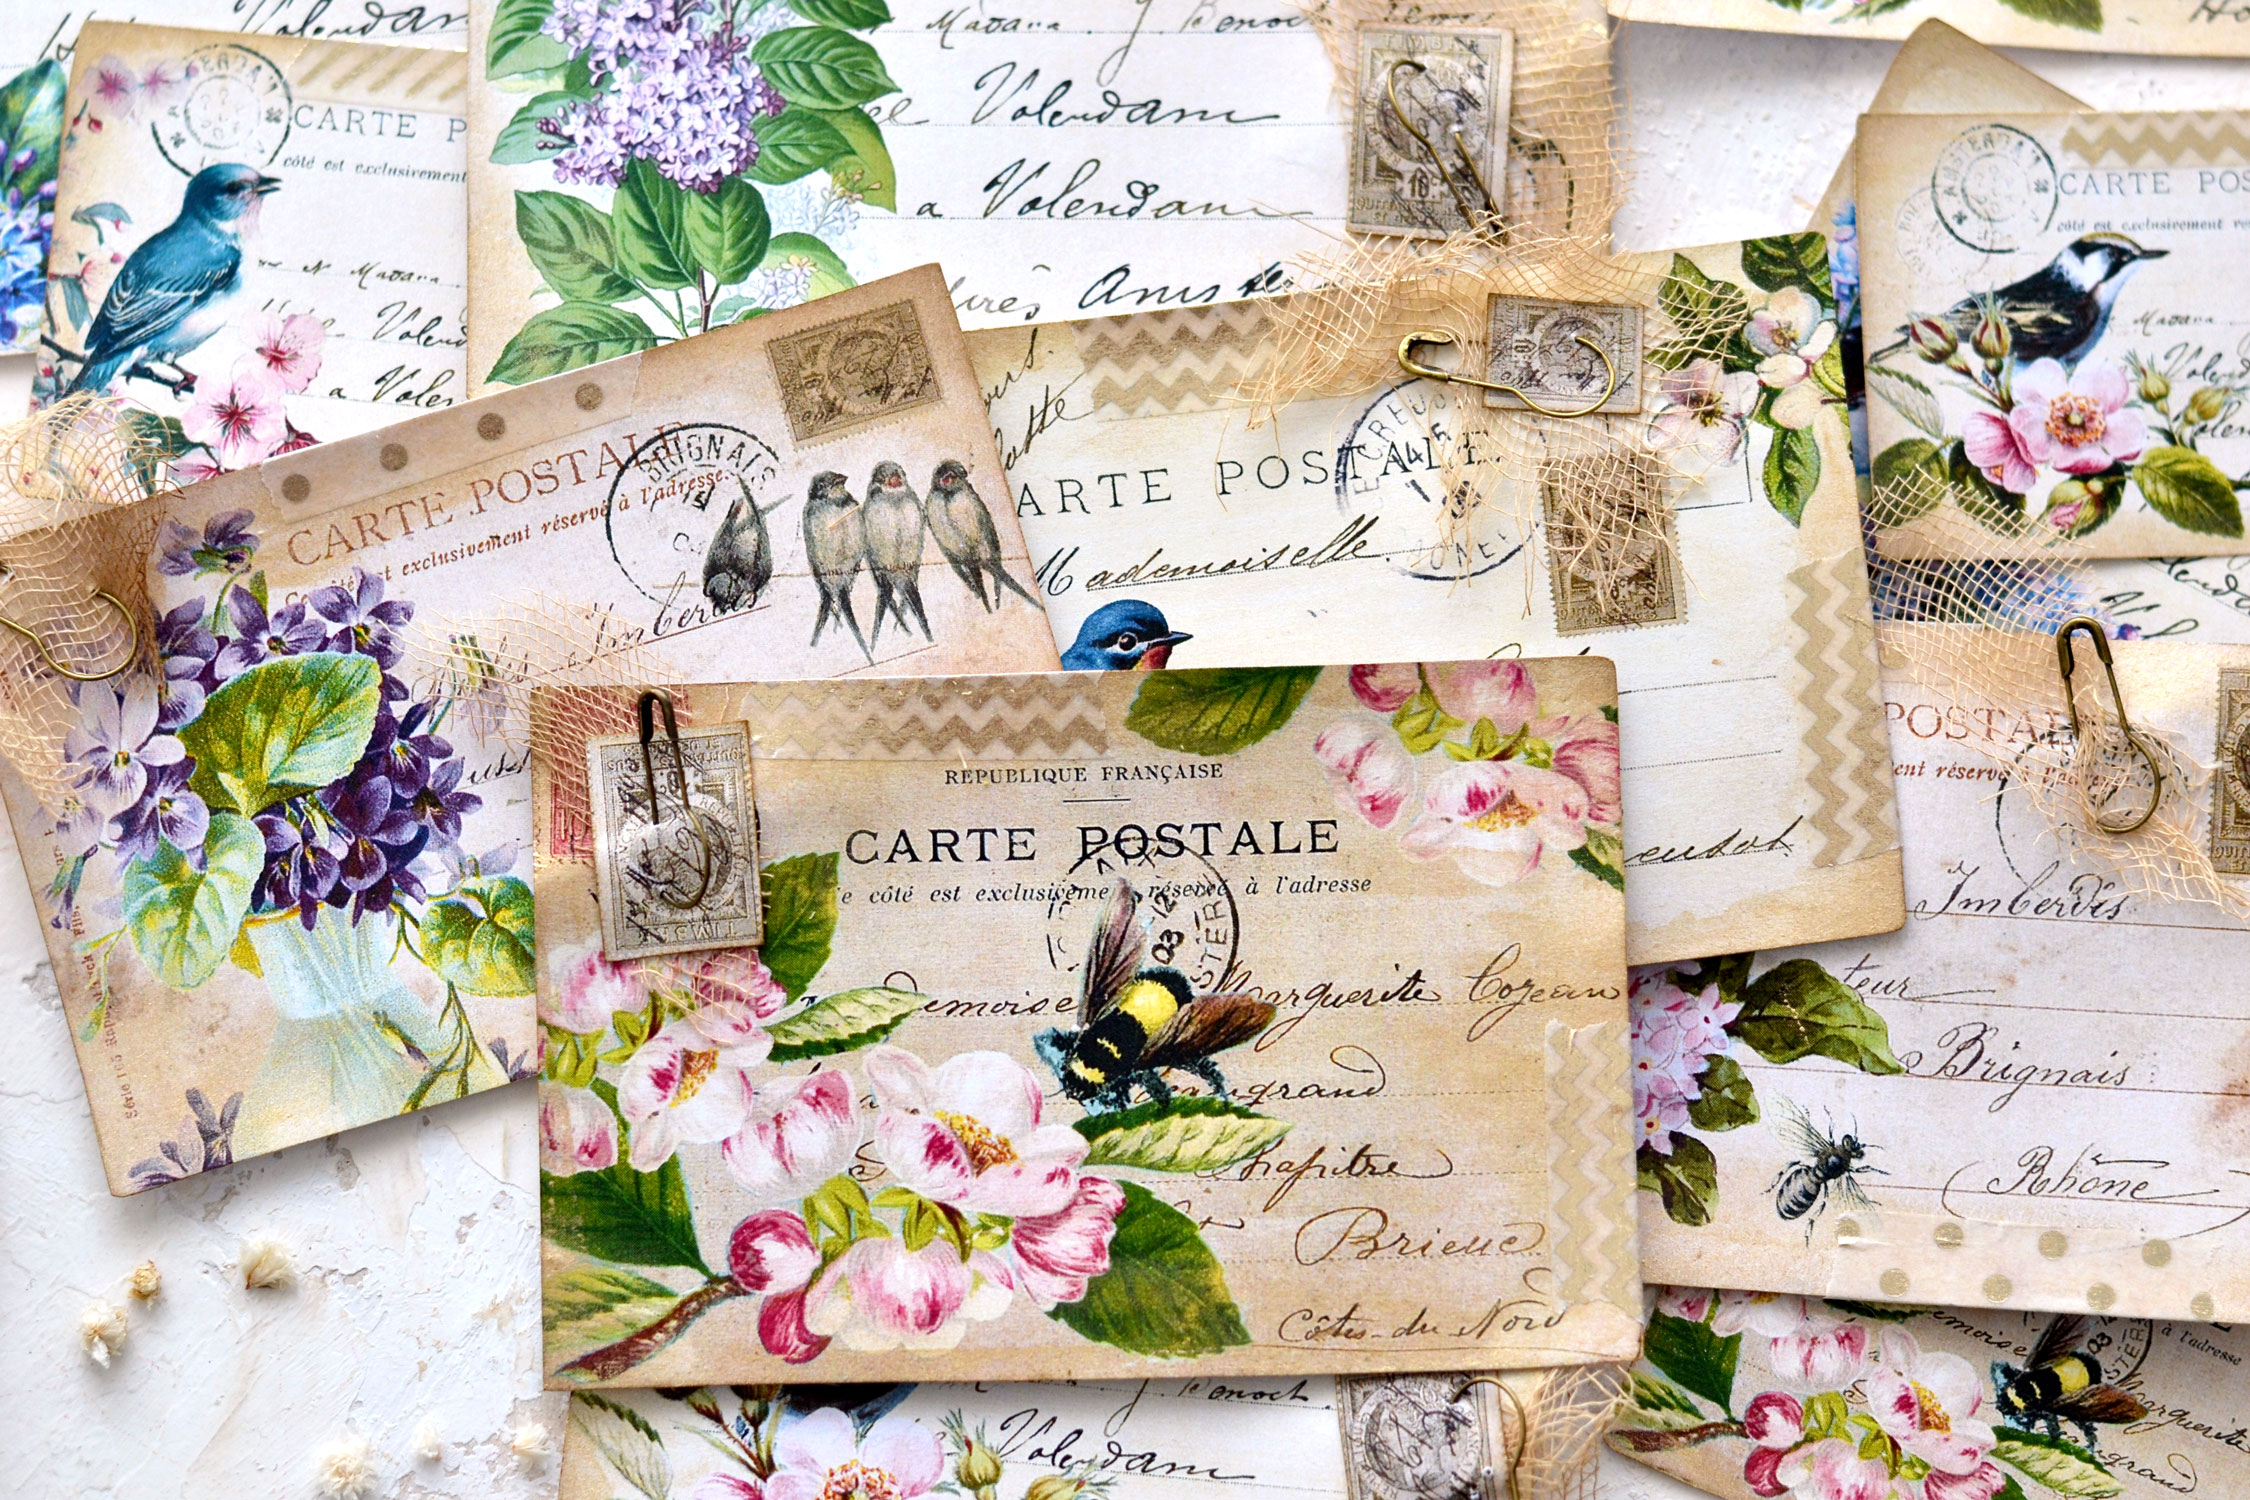
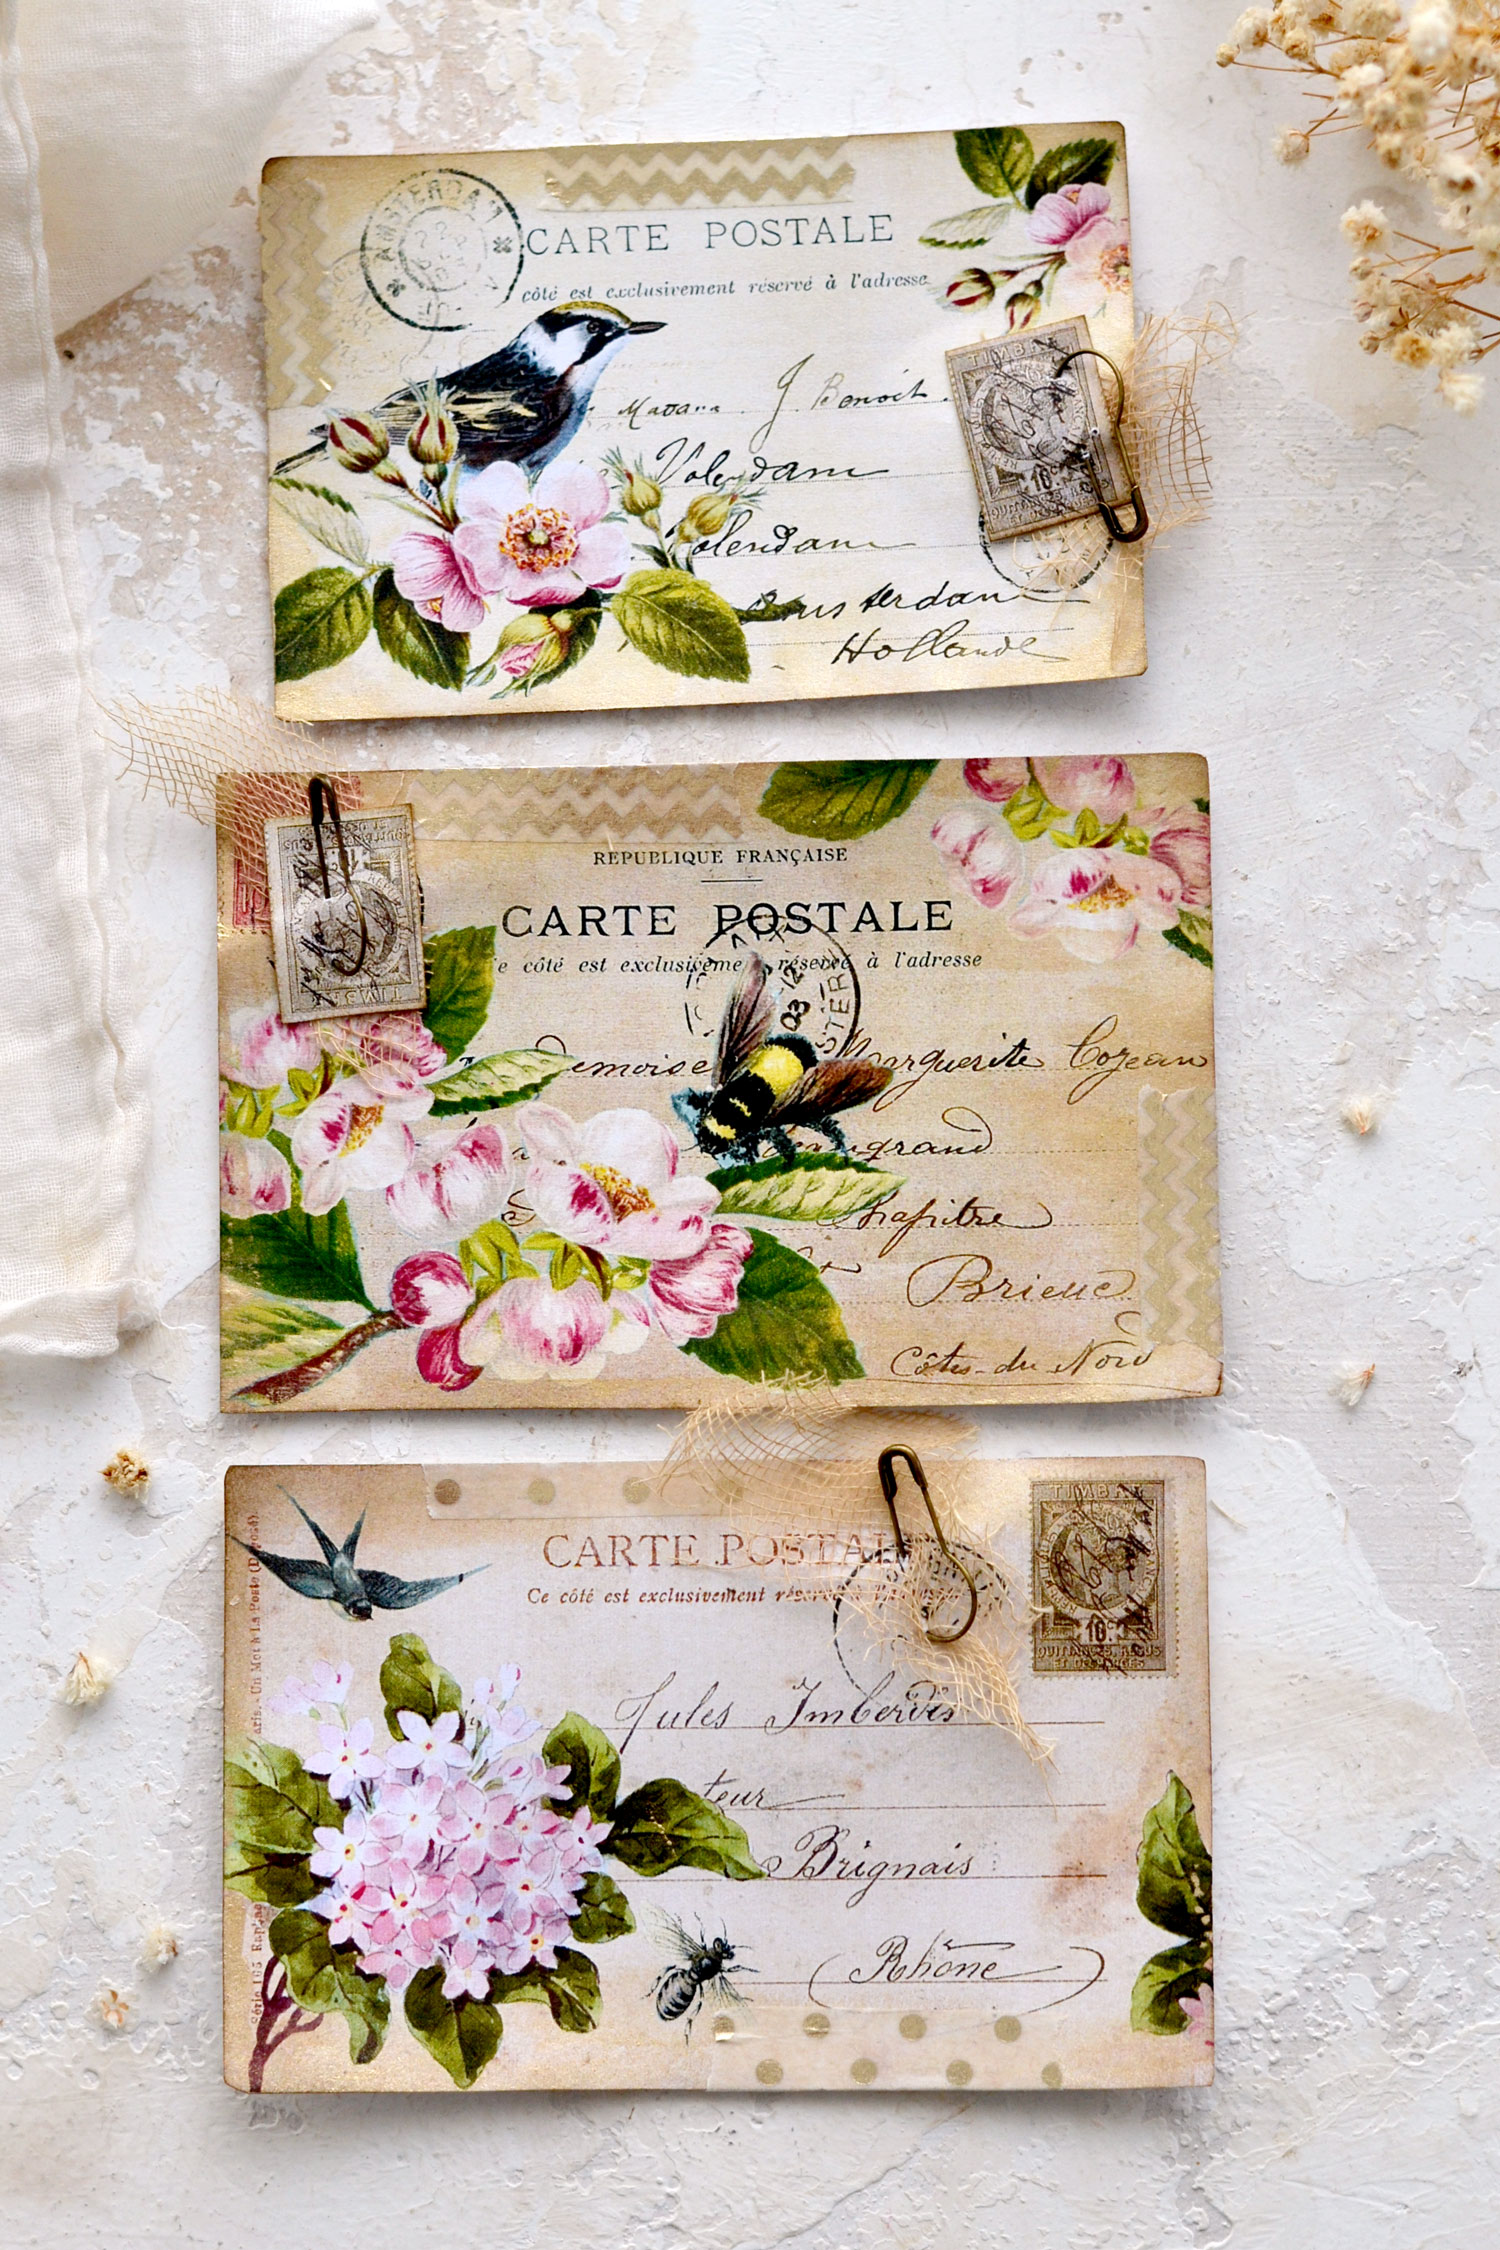
I created 2 printables for this project, you can save them on your computer and print them as many times as you want! You will find colorful lilacs, wild roses, different blossoms, hydrangeas and some adorable birds that will quickly turn these beauties into your favorites! I also included a few separate postage stamps in more of a neutral color that you can use with the postcards if you want!
Free Printables:
—-> Click HERE to Download the Full Size Printable PDF – version 1 <—-
—-> Click HERE to Download the Full Size Printable PDF – version 2 <—-
Supply List:
- white cardstock paper or regular paper
- home printer
- scissors
- mini distress inks
- blending tool with foams
- gold watercolors – I used my favorite Kuretake Gansai Tambi Starry Colors
- round brush
- gourd pins – gold or bronze
- scrap pieces of gauze or cheesecloth
- gold accents washi tape
- plastic sheet (to protect your working surface)
Tutorial for DIY Spring Postcards:
Start by printing the postcard printables on regular paper or cardstock – I went with cardstock. Cut each postcard trying to completely remove any white excess paper around the edges. You can slightly round the corners if you want to remove those sharp corners and give the paper a softer appearance. Don’t worry about making them perfect, they don’t have to be!
Use a plastic sheet to protect your working surface, then add a few spritzes of water to your gold watercolors to wake them up.
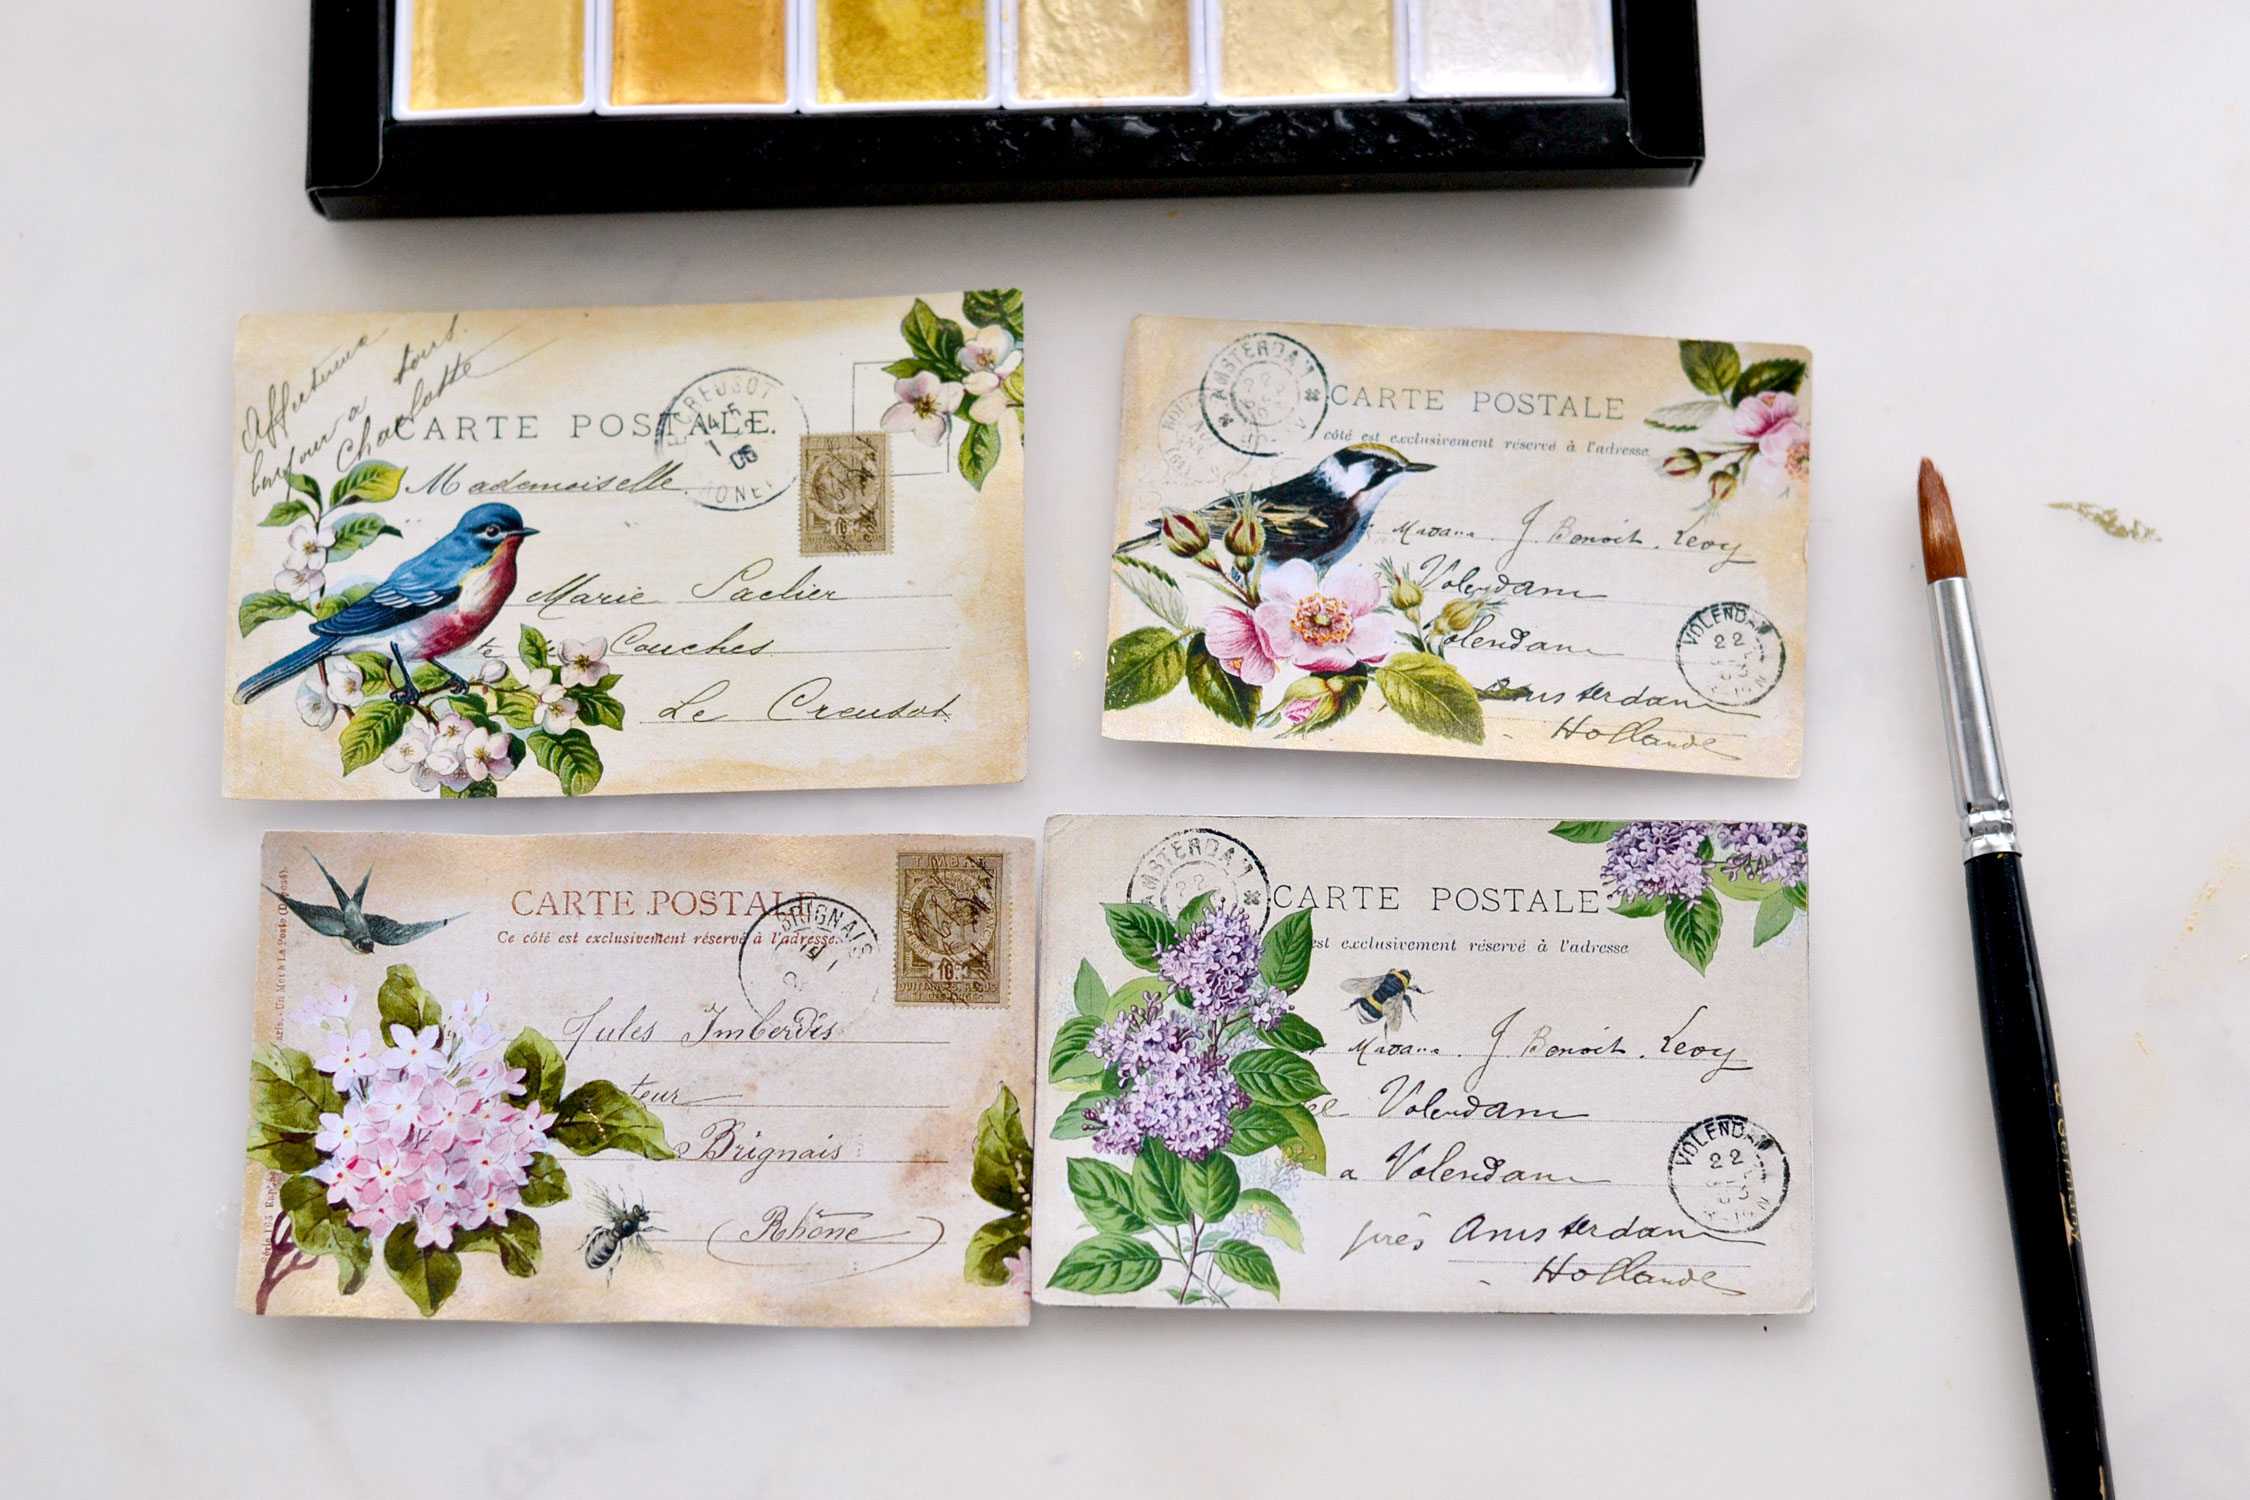
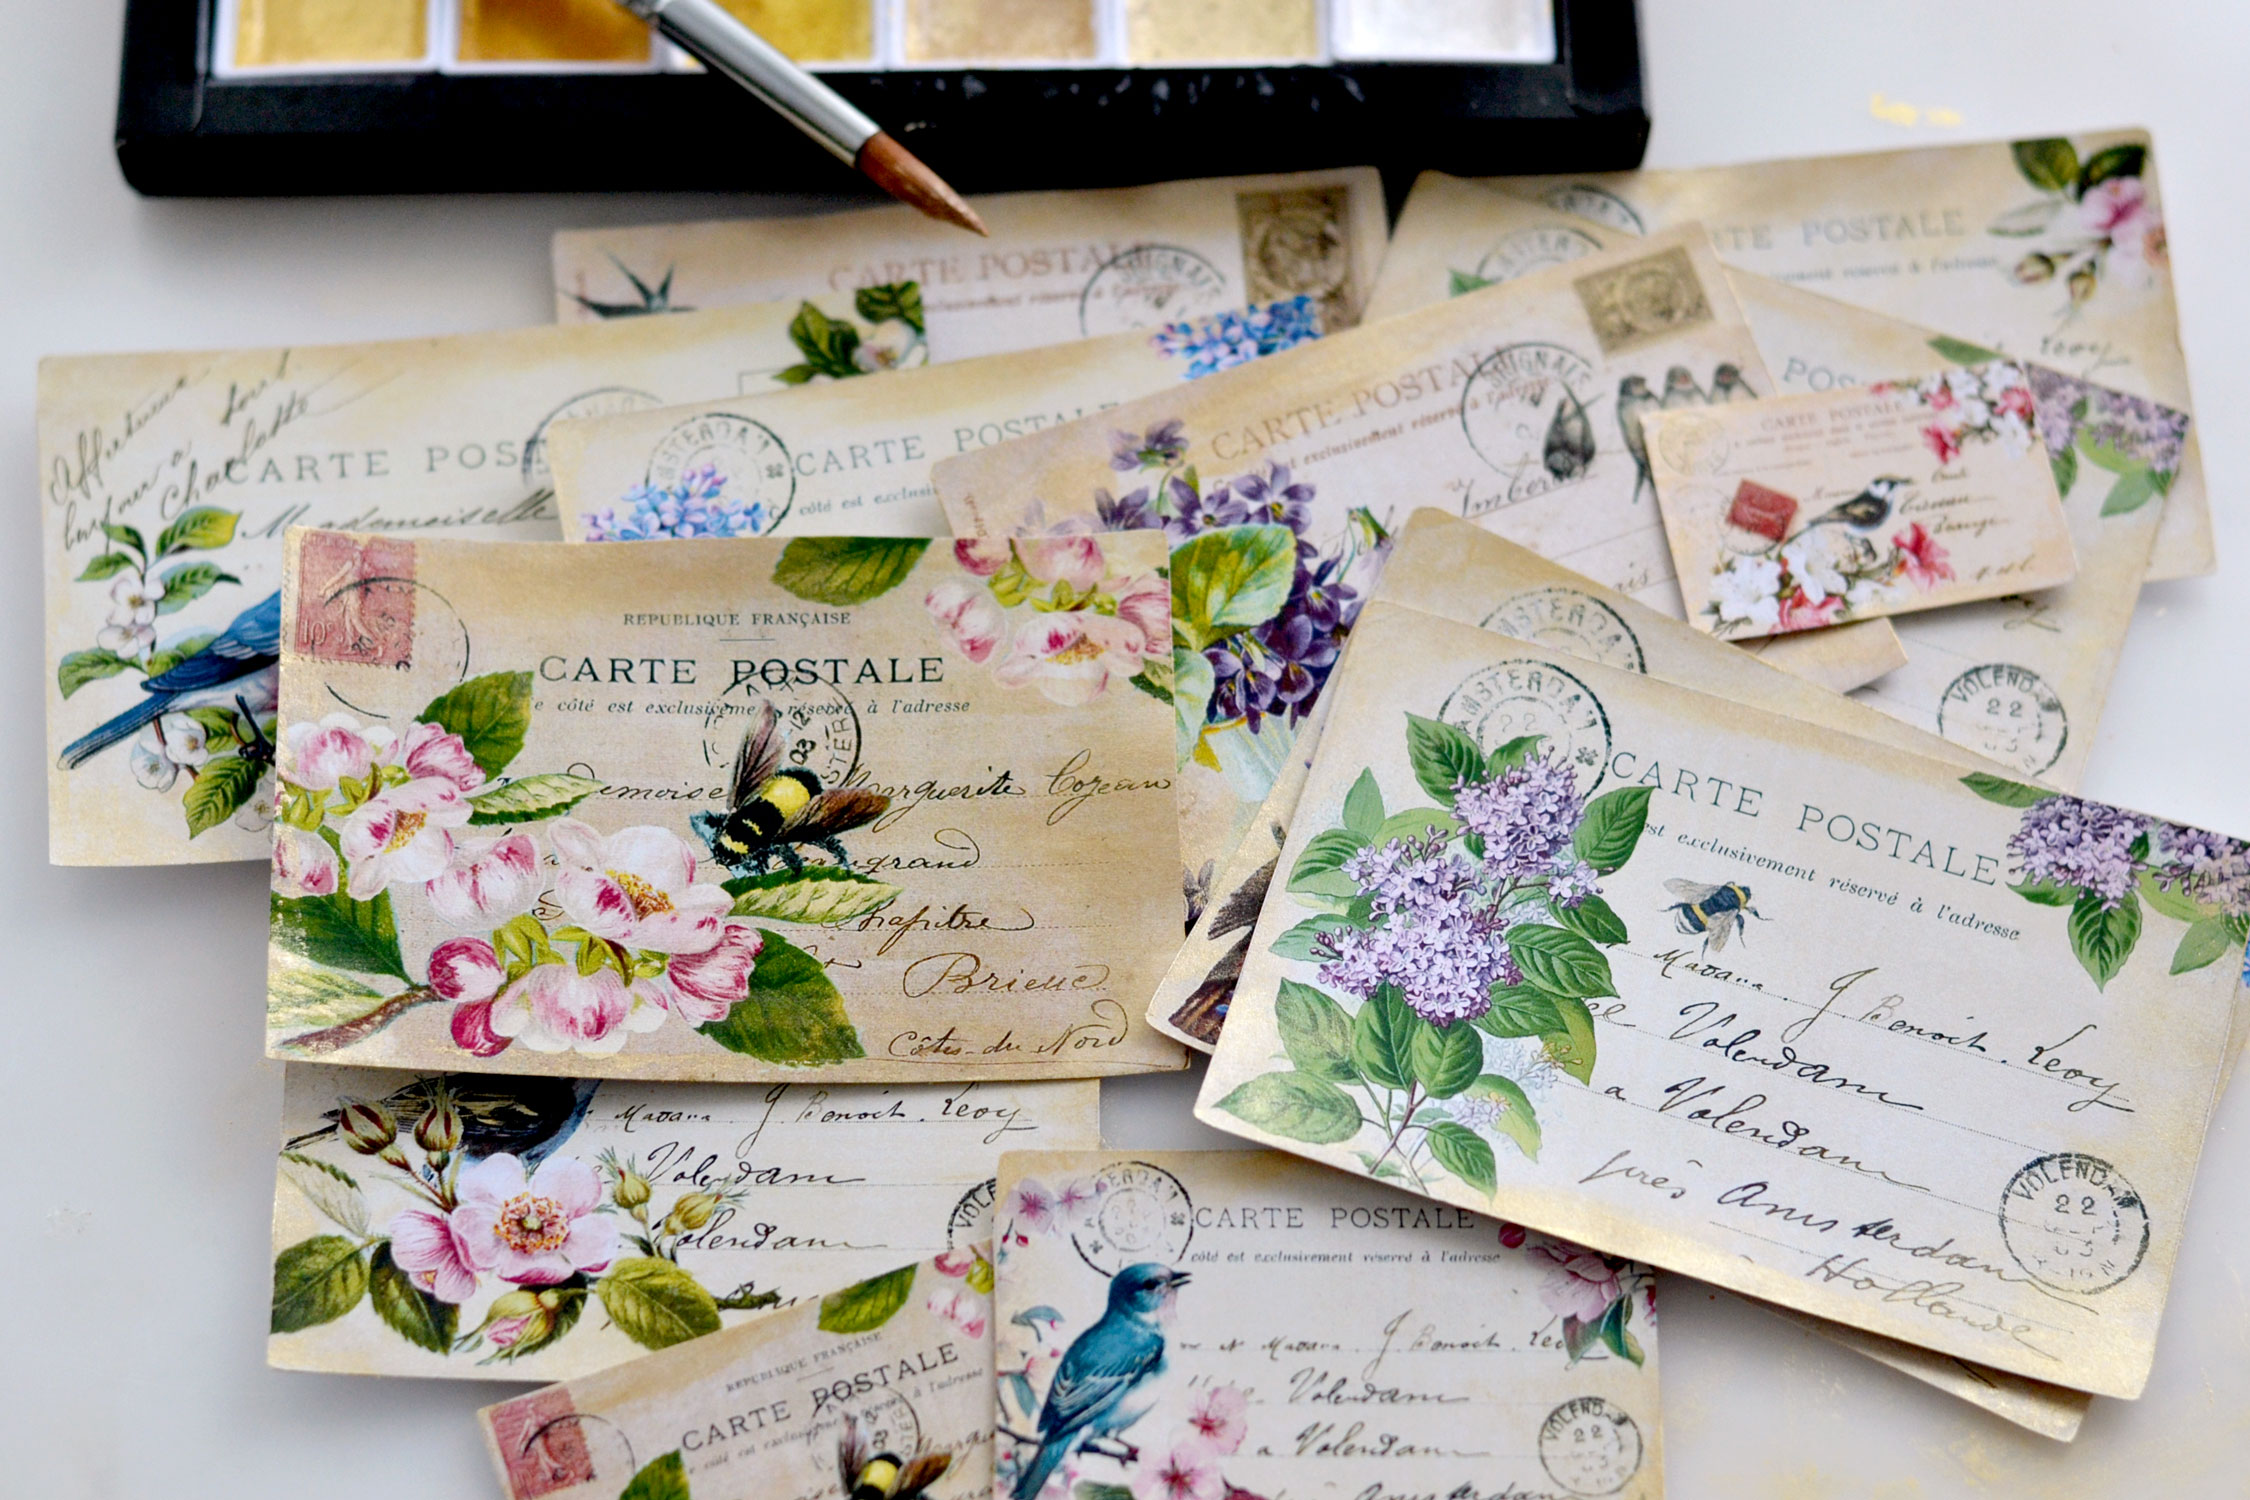
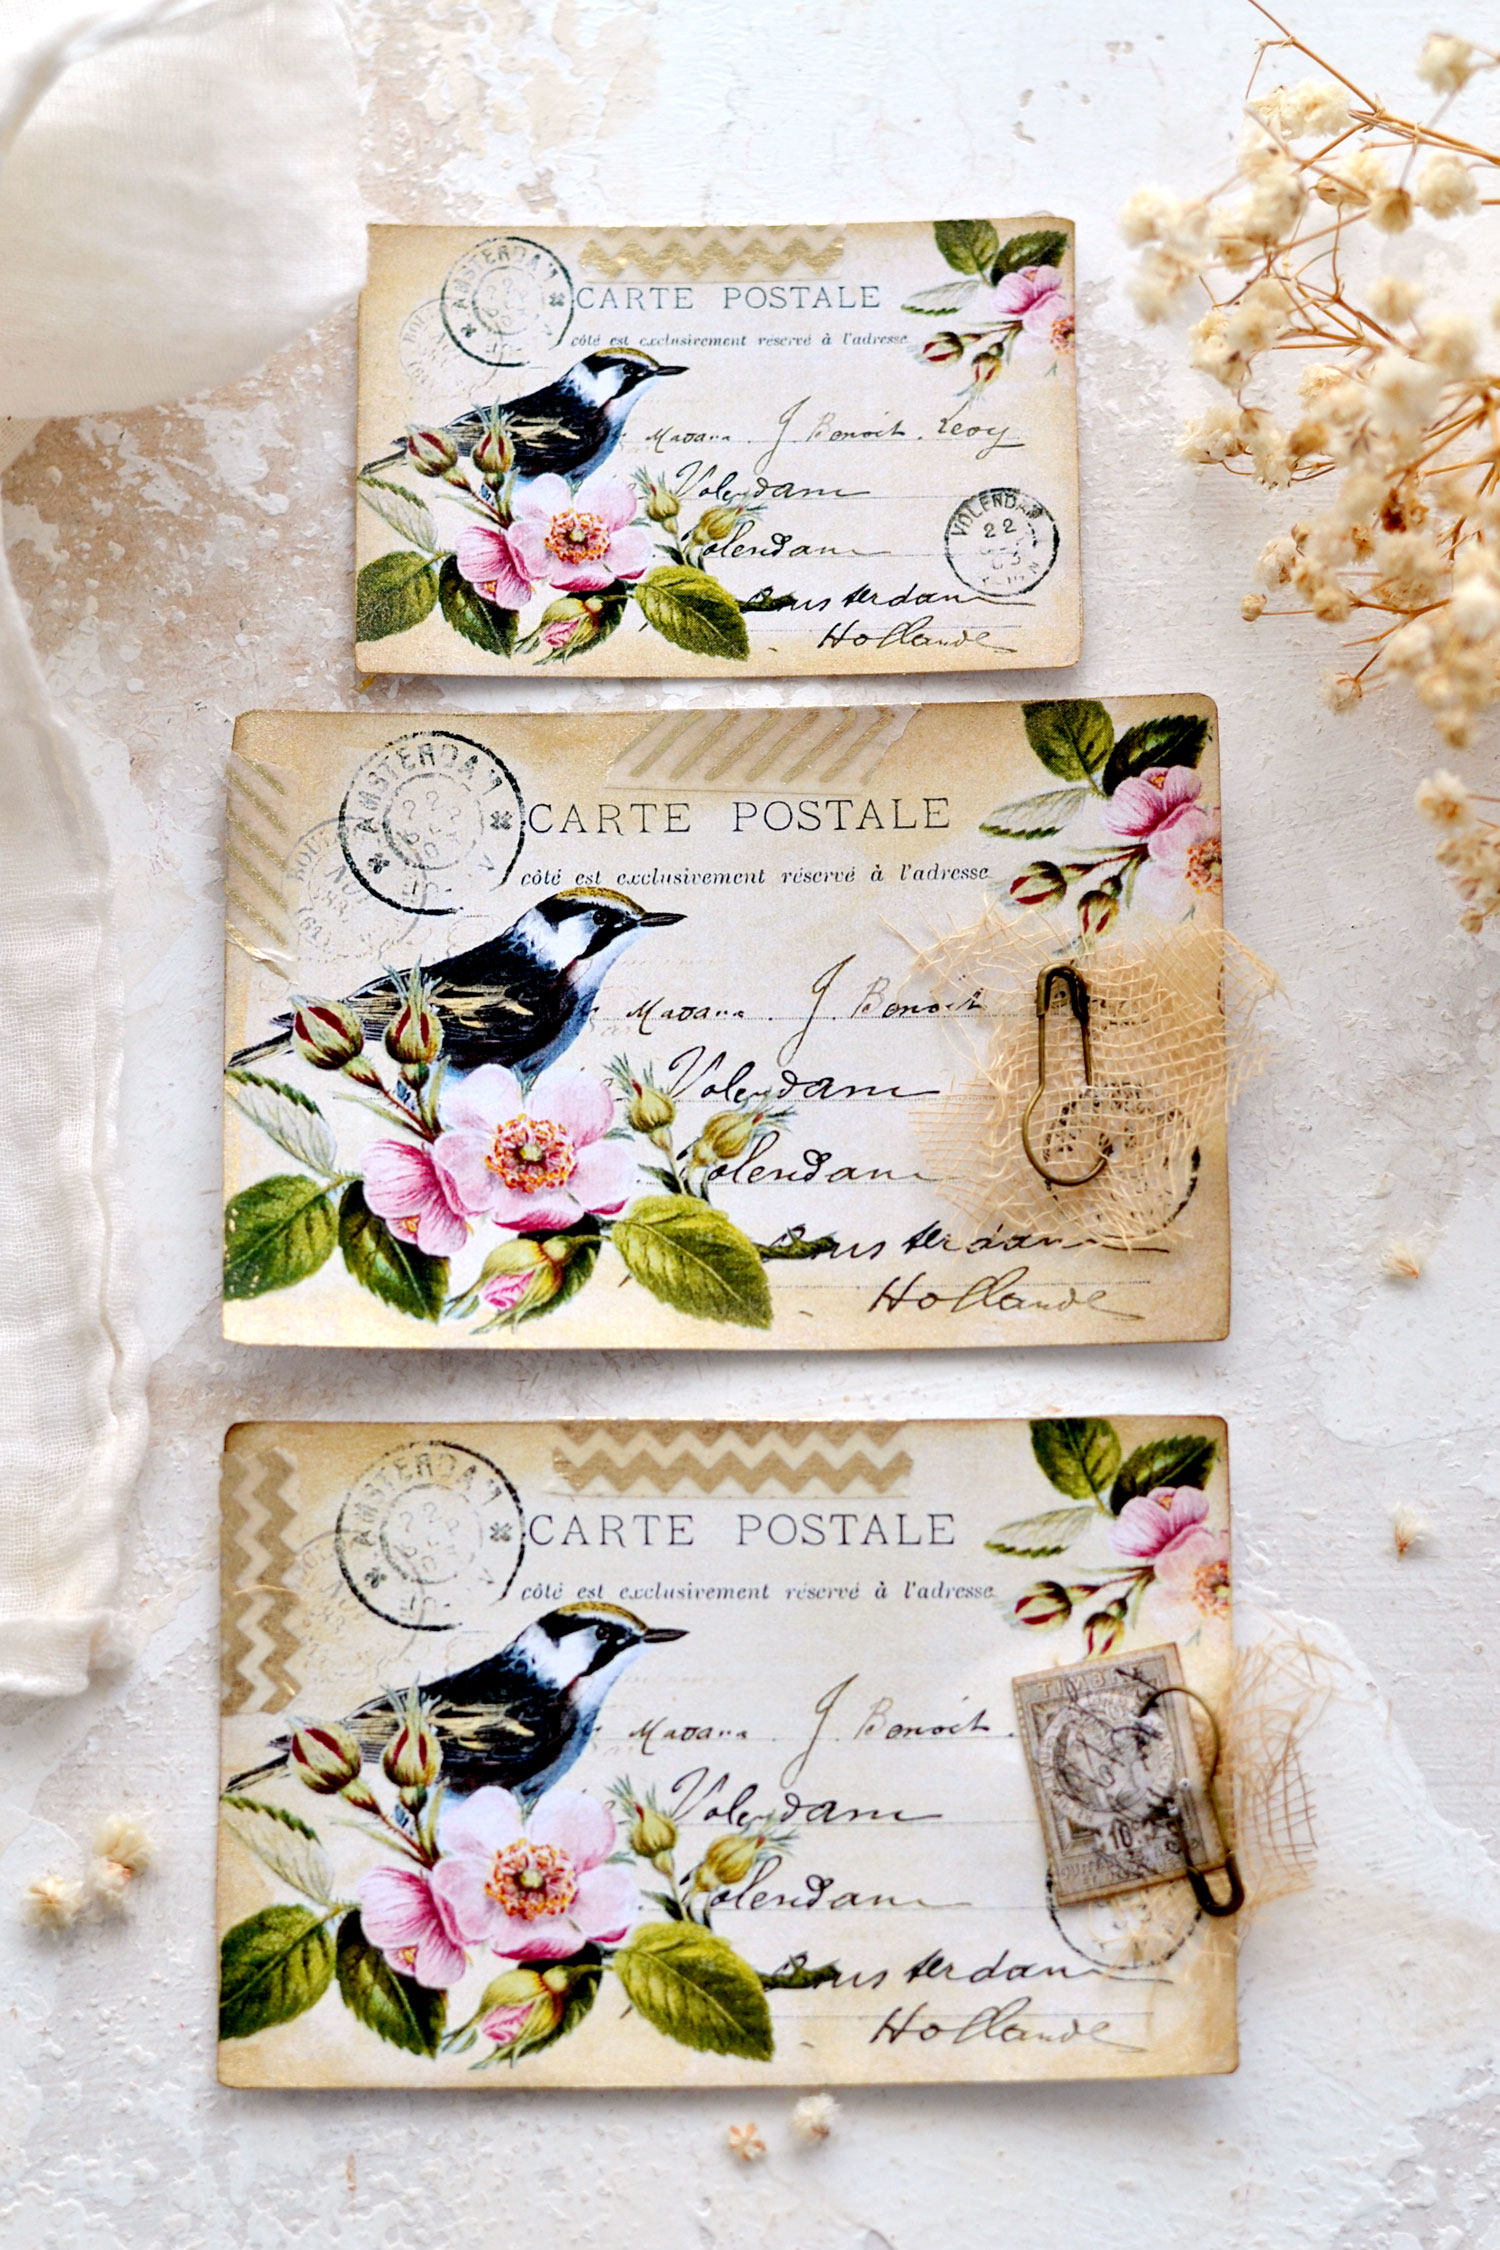
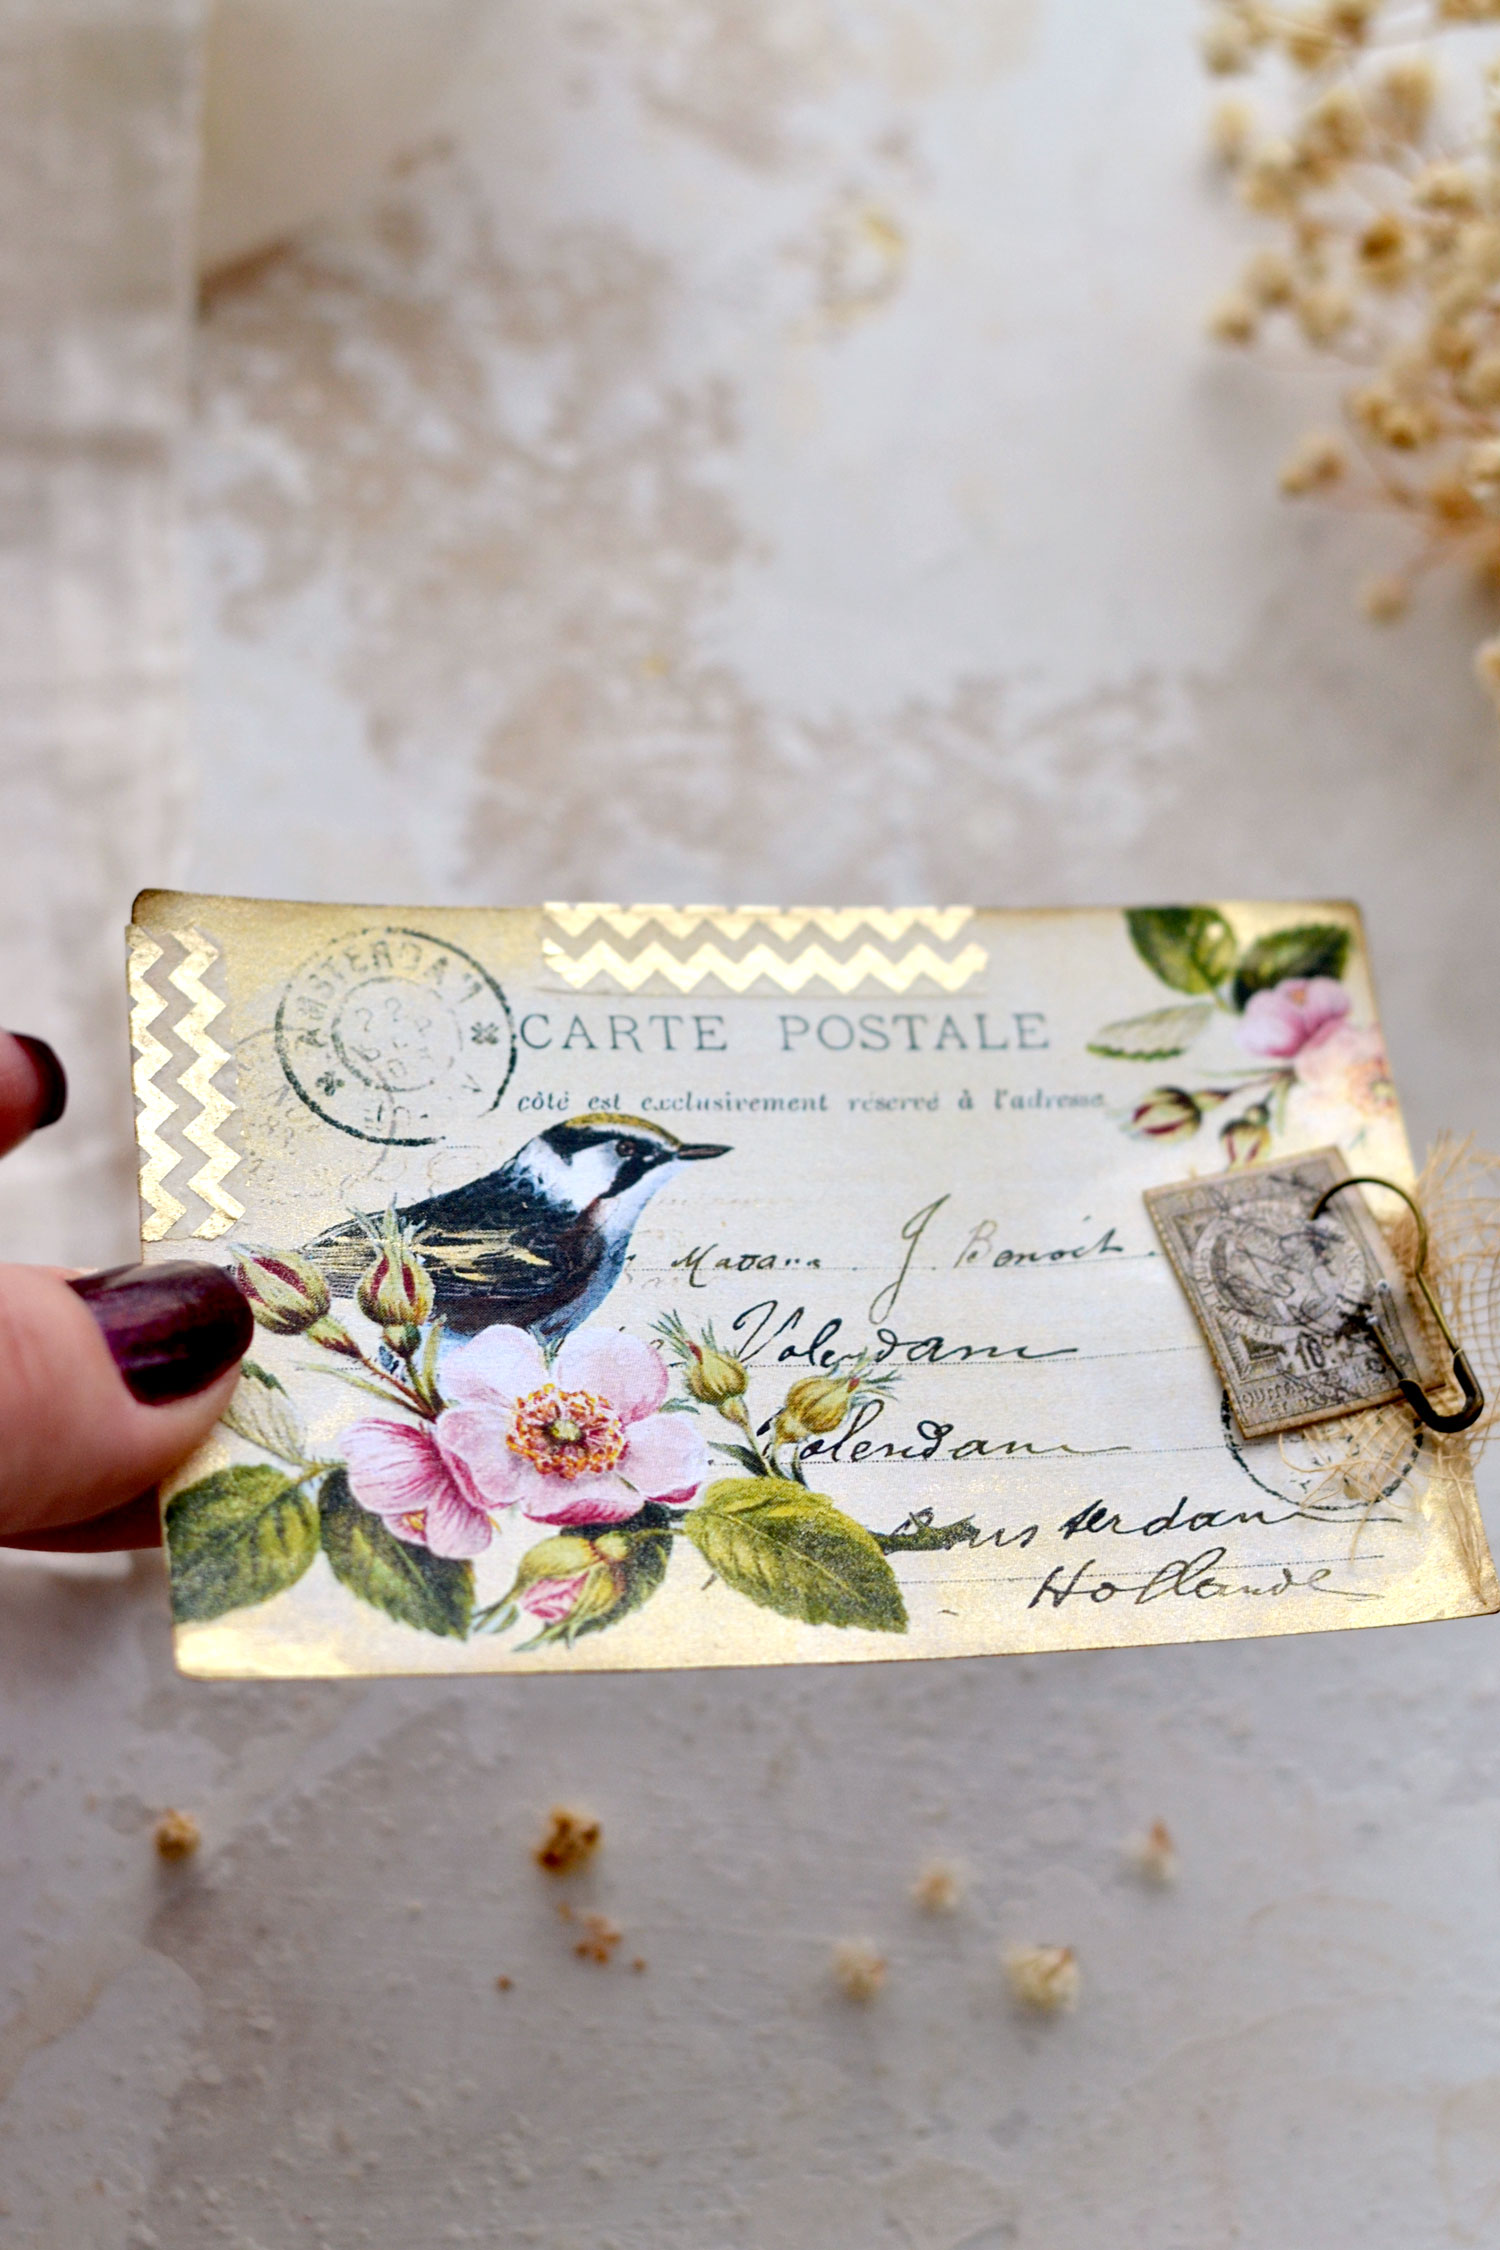
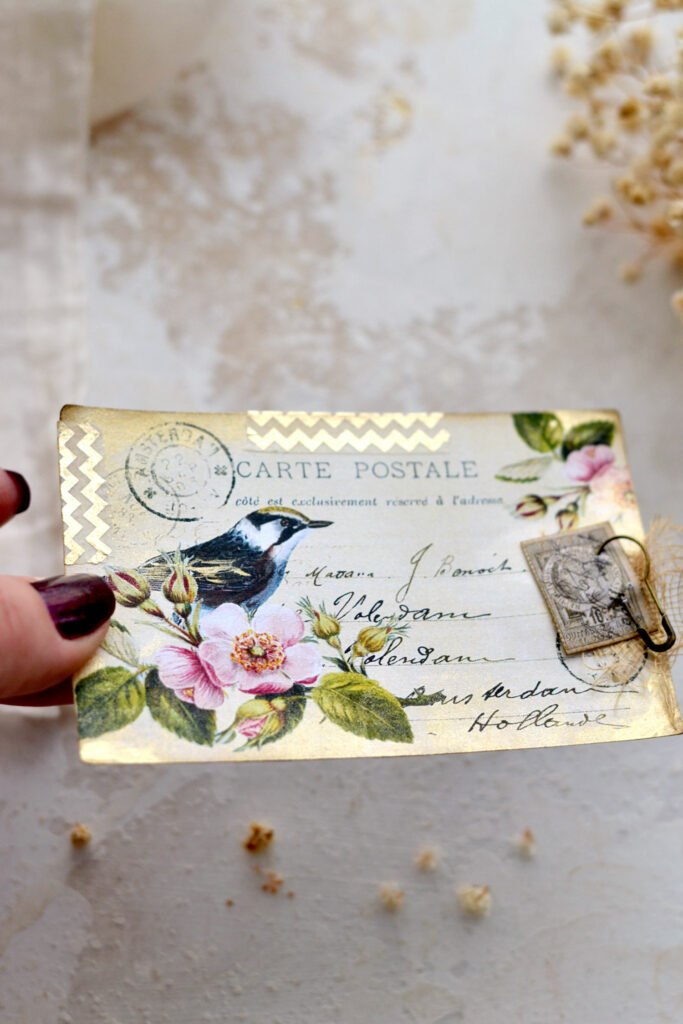
Use a round brush to pick some of this lovely gold paint and go all over the edges following a straight imaginary line. And then, here comes my favorite trick for creating a softly distressed gold effect on the edges – while the paint is still wet, use your finger to lightly disperse the paint! Insist on the corners to create that lovely vignette effect and add more paint if you need to. Depending on how much water and paint you have on your brush, you will create a more or less visible gilded edge! I love involving my fingers at this stage, you will be amazed at how soft, almost ethereal the edges will look! You can add more paint to create a more visible effect, just keep in mind that the paper might warp a little bit on the edges. But a little bit of warping might not actually be a bad thing, it will help you remove the newness in the paper and it will give it more of that vintage vibe that we all love!
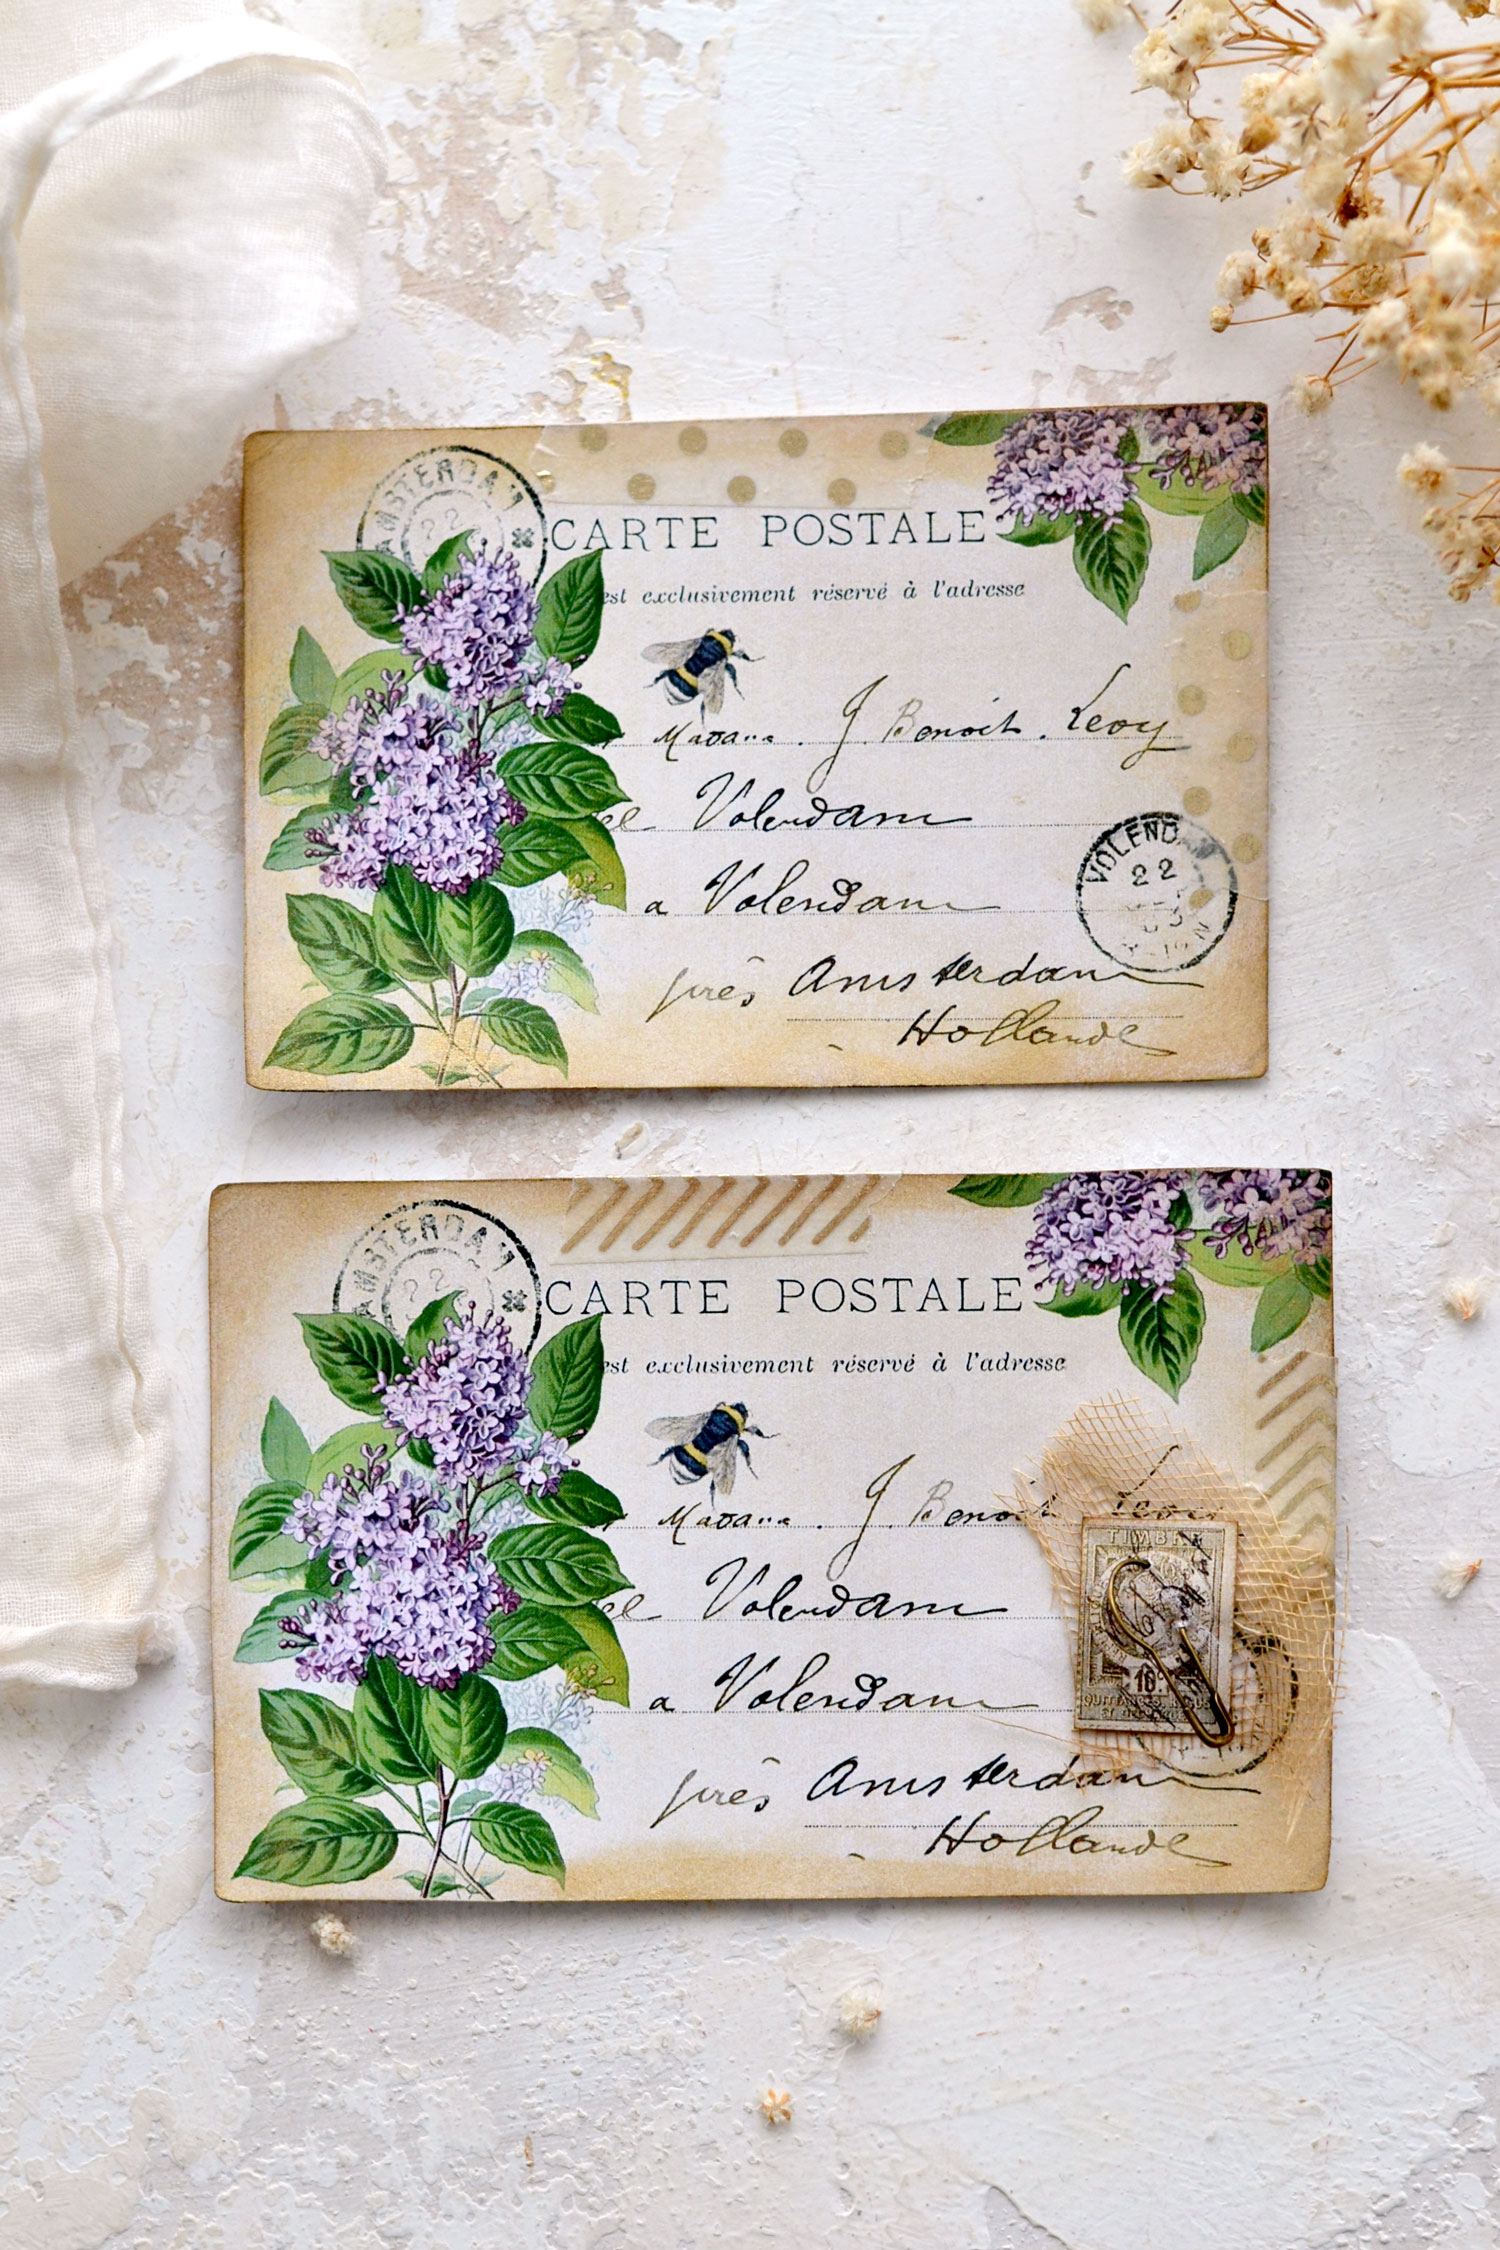
P.S. I kept the bottom right lilac postcard paint-free at this stage just so you can see what a difference a little bit of gold paint can make!
Again, just keep in mind that depending on how much gold watercolor paint you add, the gilded effect will be more or less visible.
If you don’t have any gold watercolor paint in your craft stash supplies, you can use gold wax by following the same steps! Even some gold or pearlescent eyeshadow makeup will work, just improvise and adapt to what you have around!
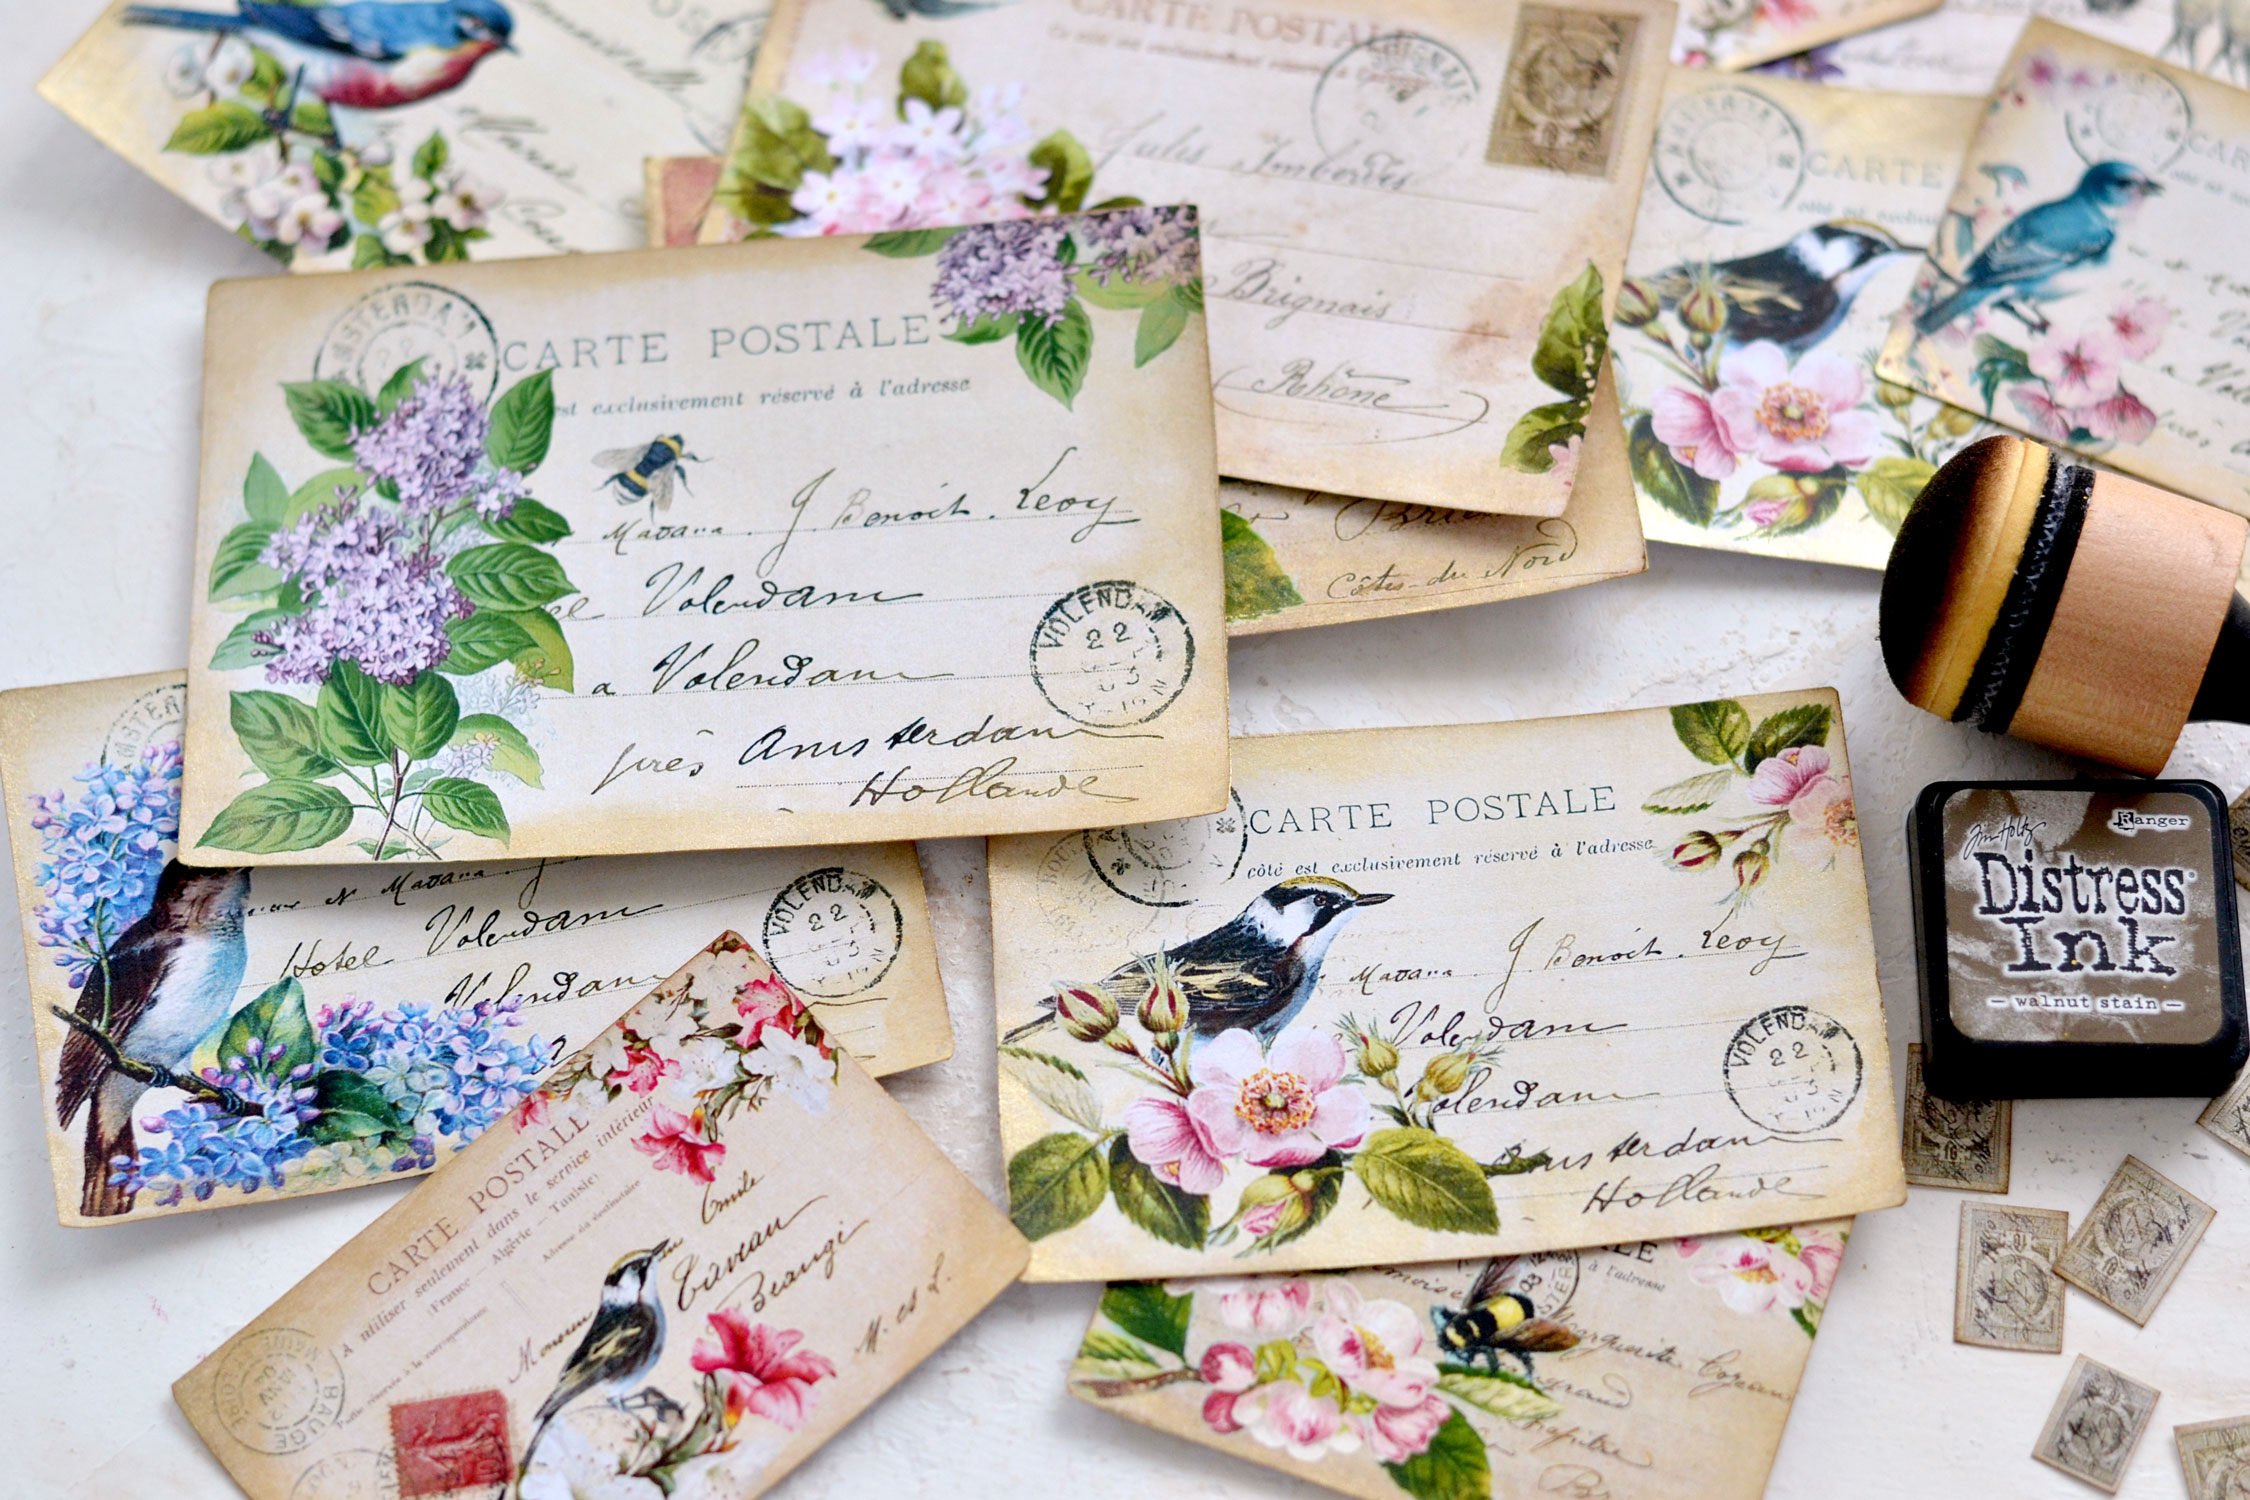
The paint will dry fairly quickly so you can now move to further distress the edges if you want. I used Walnut Stain distress ink and quickly went all around the edges to accentuate even more that lovely vignette effect.
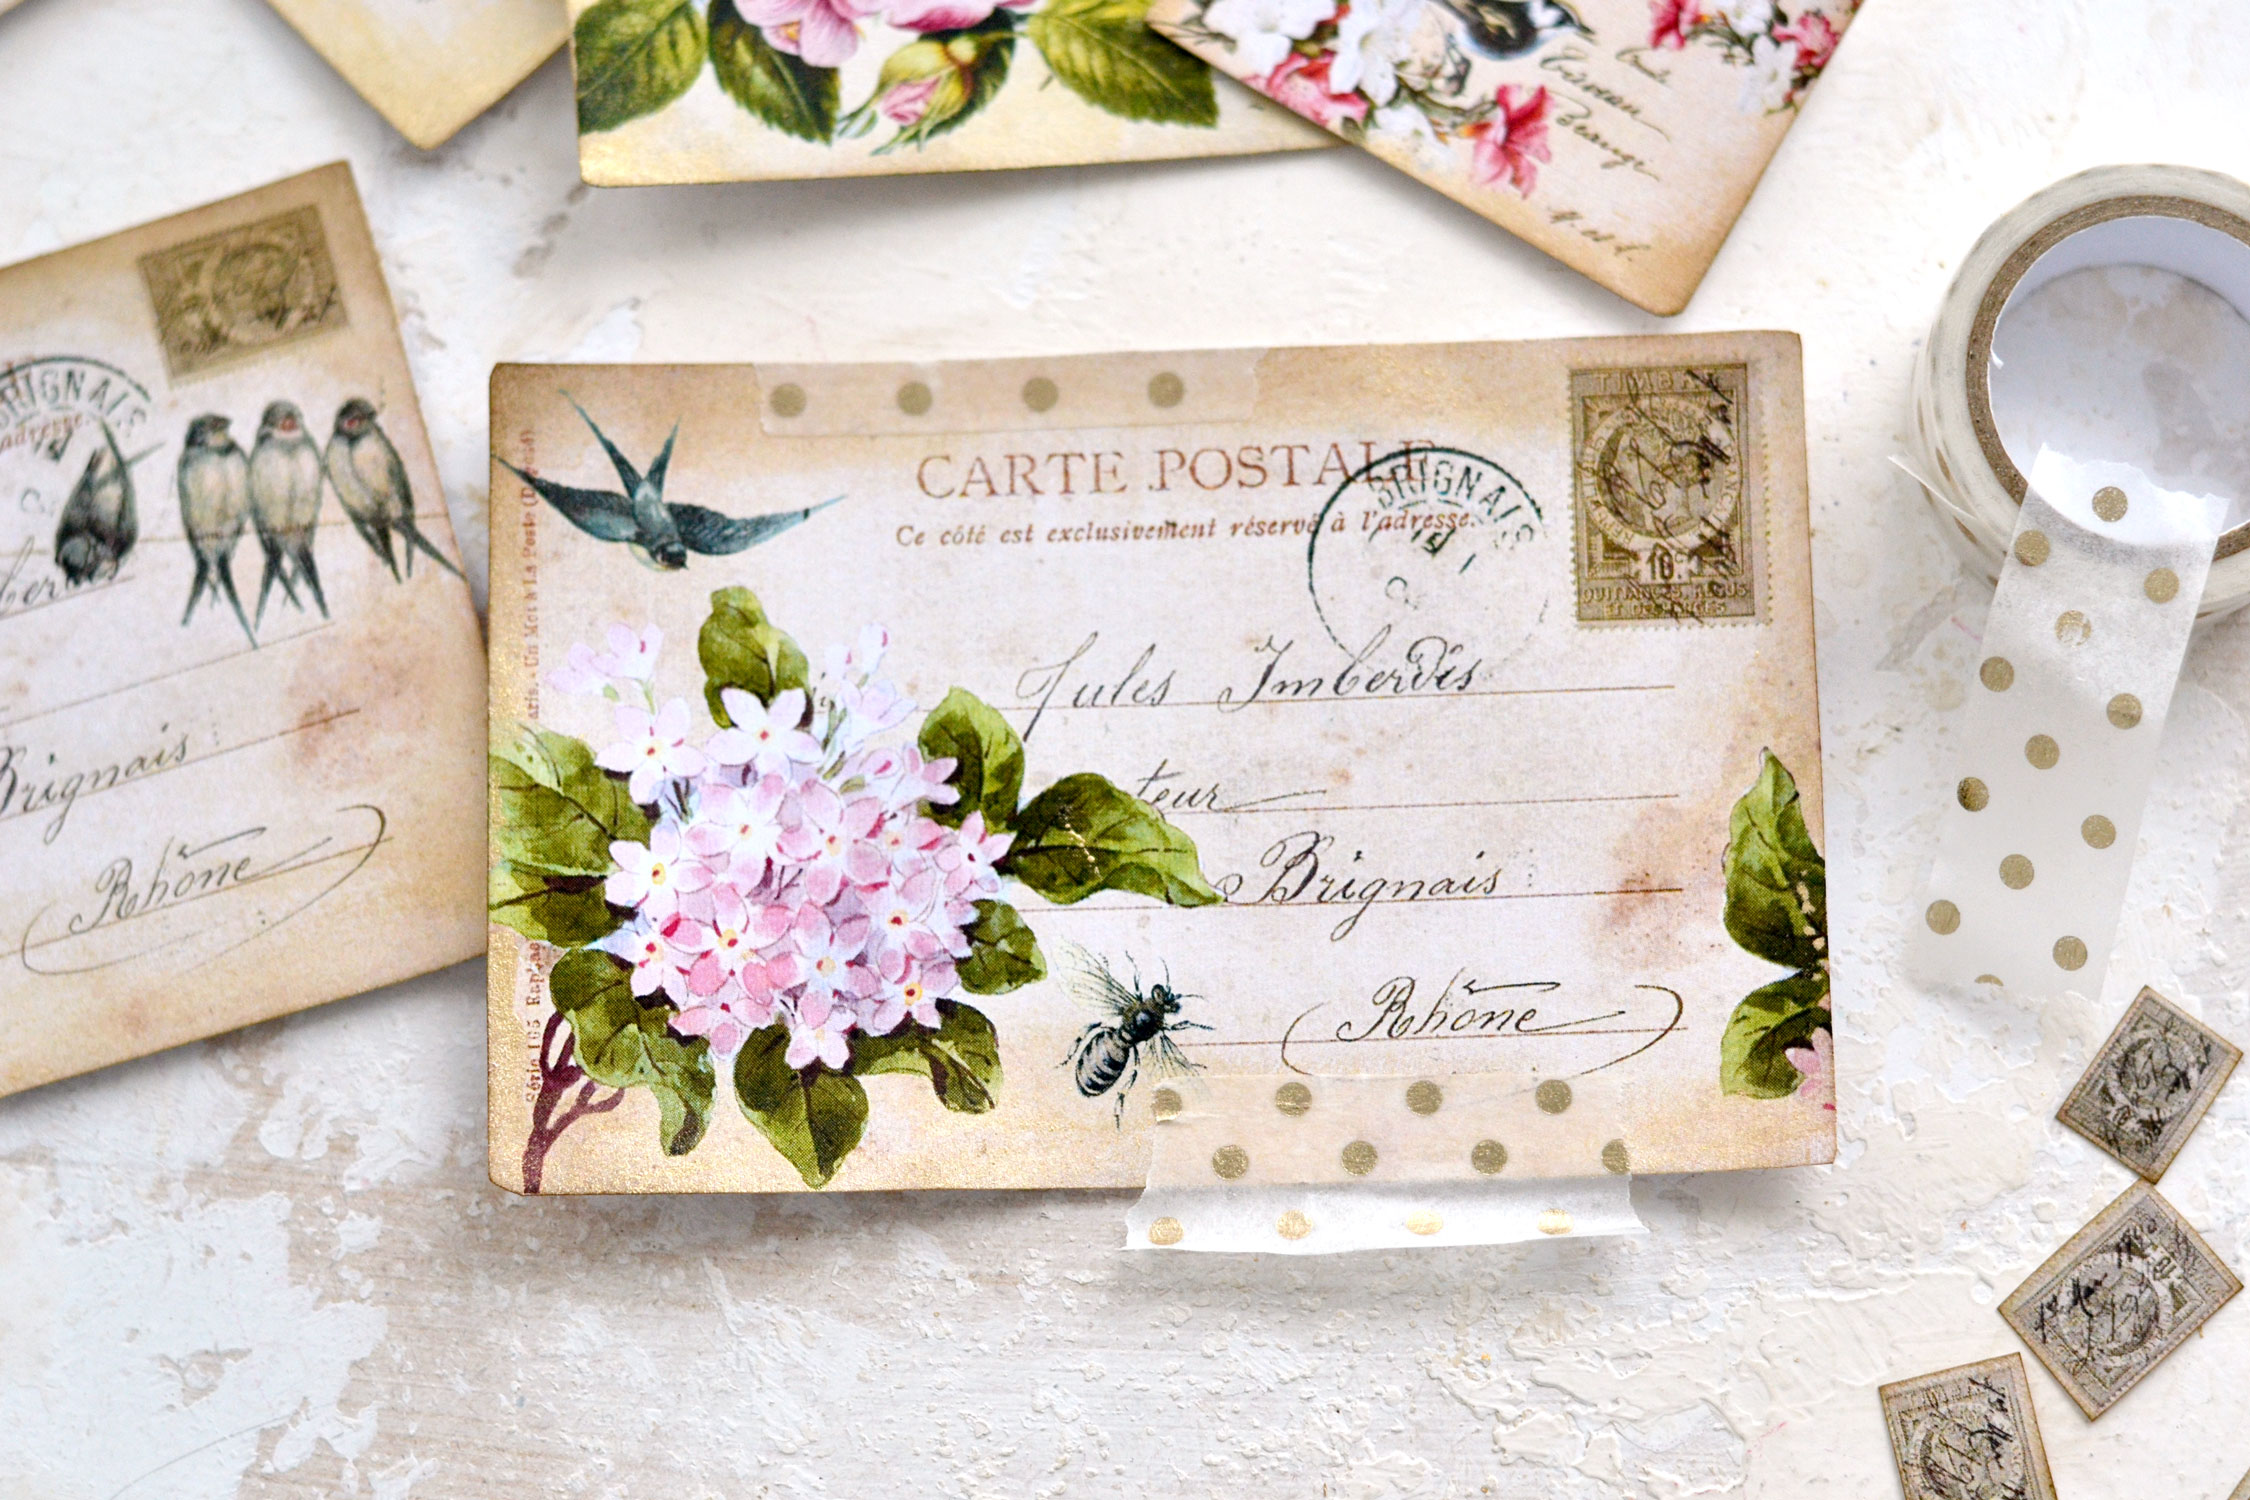
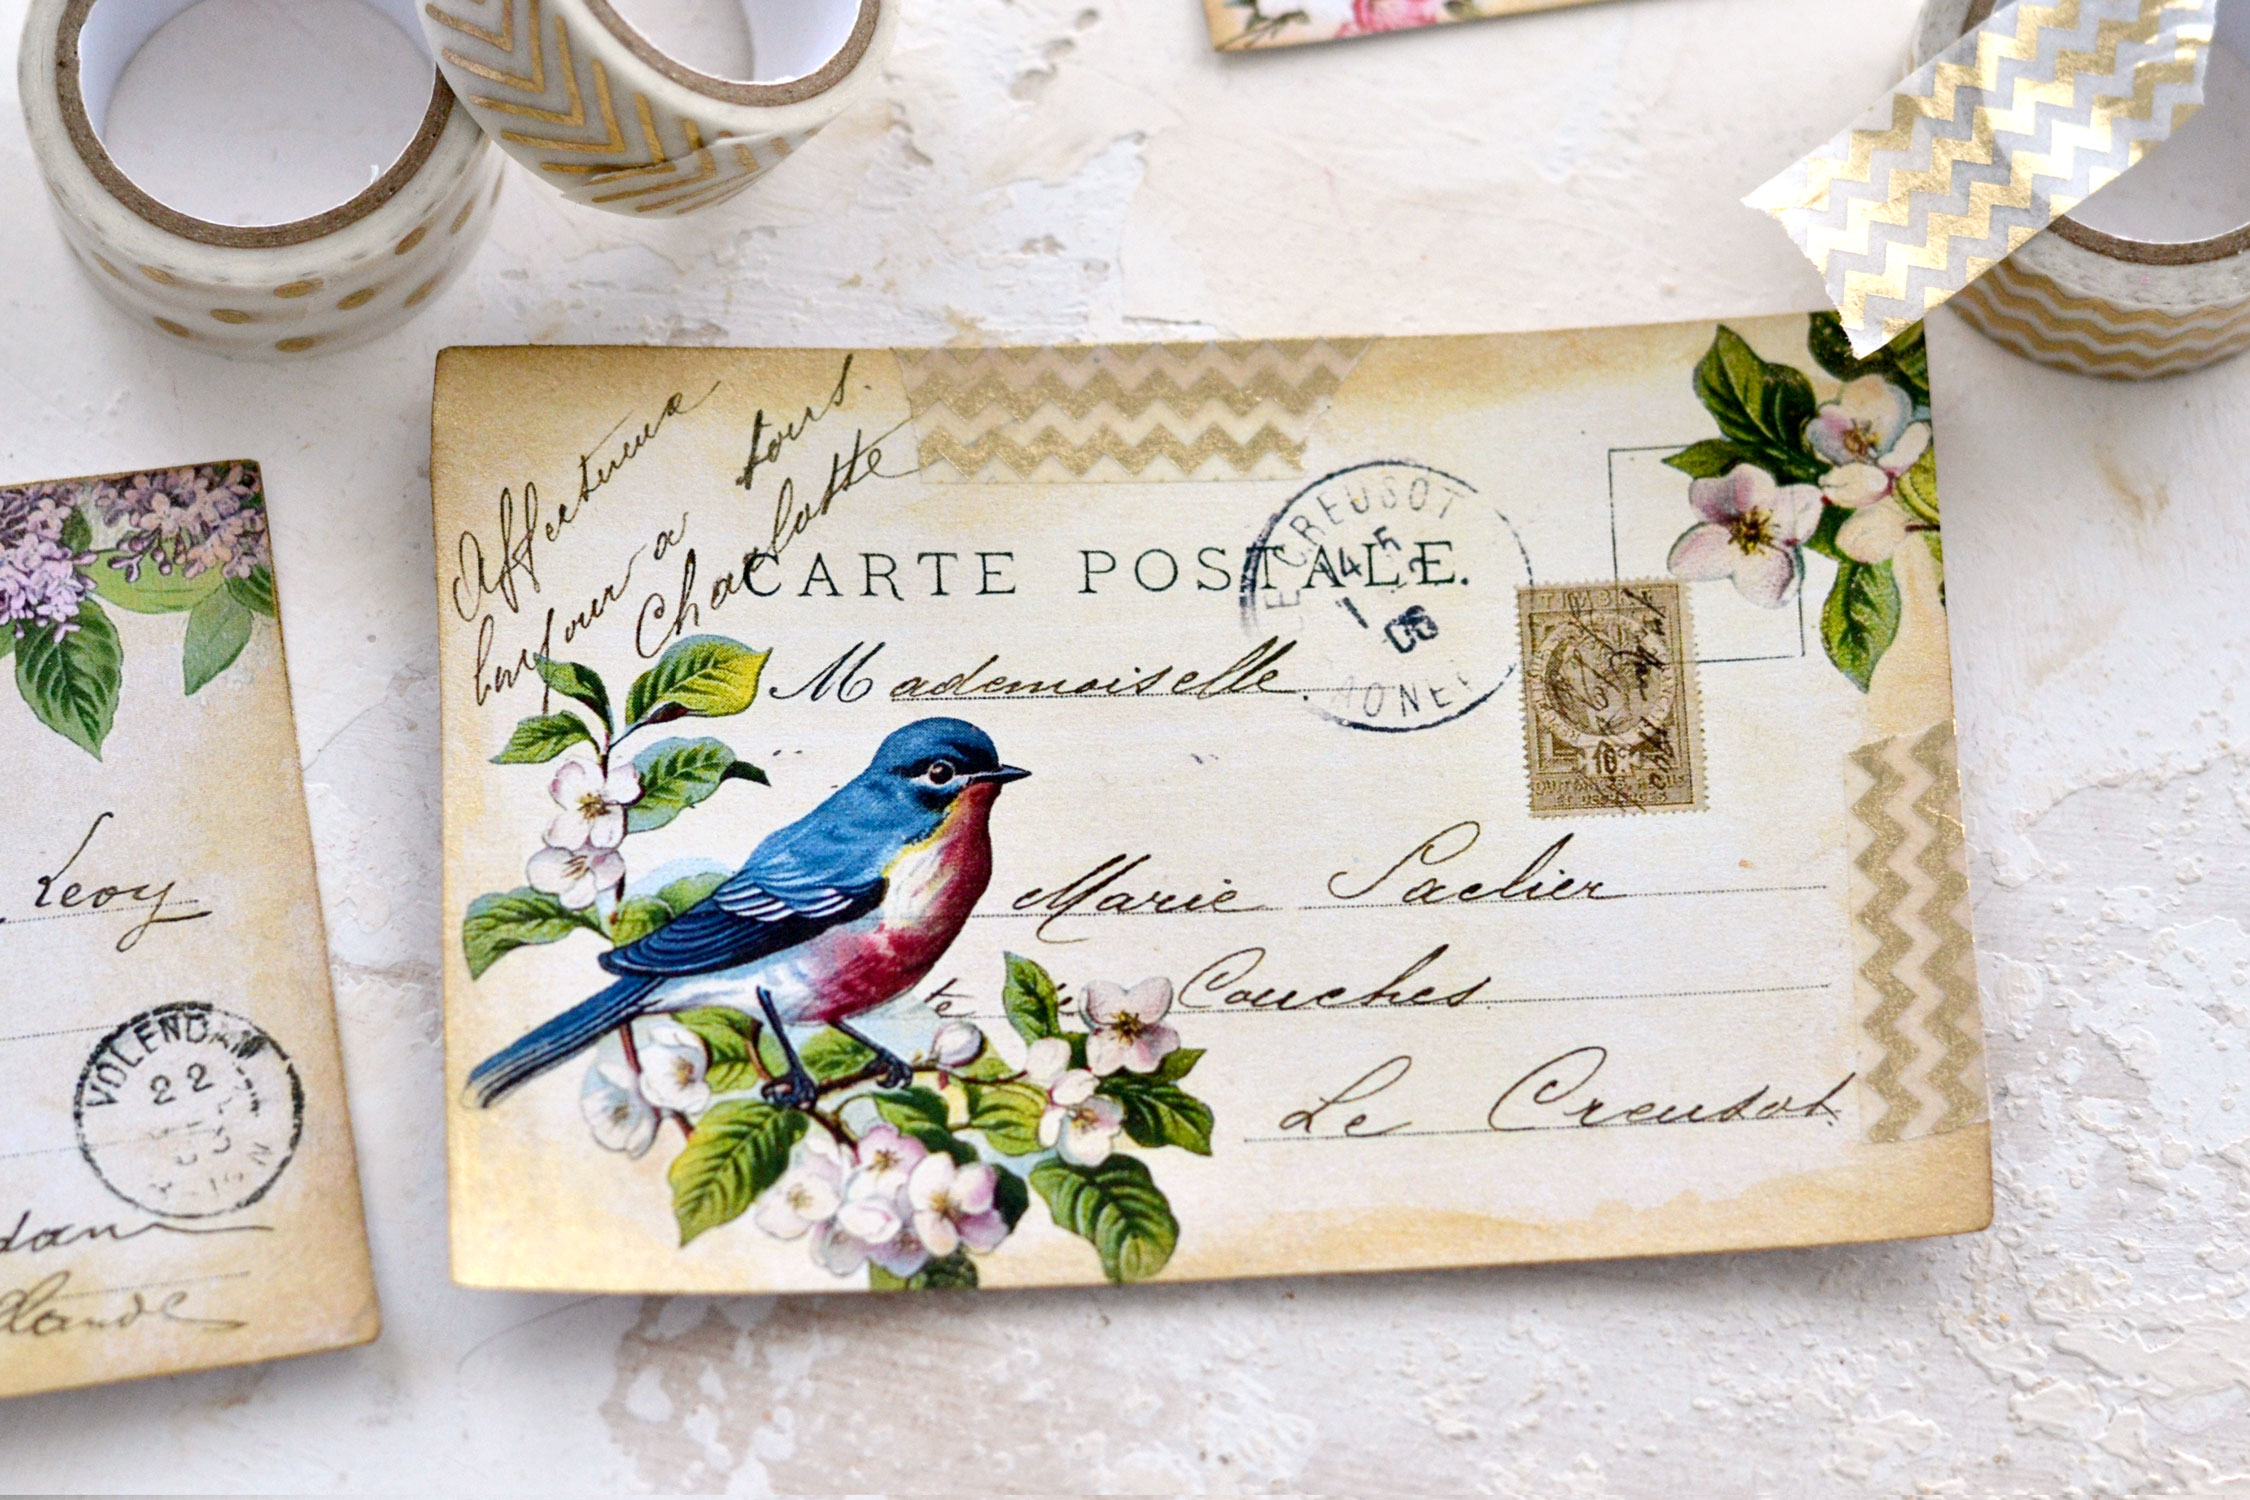
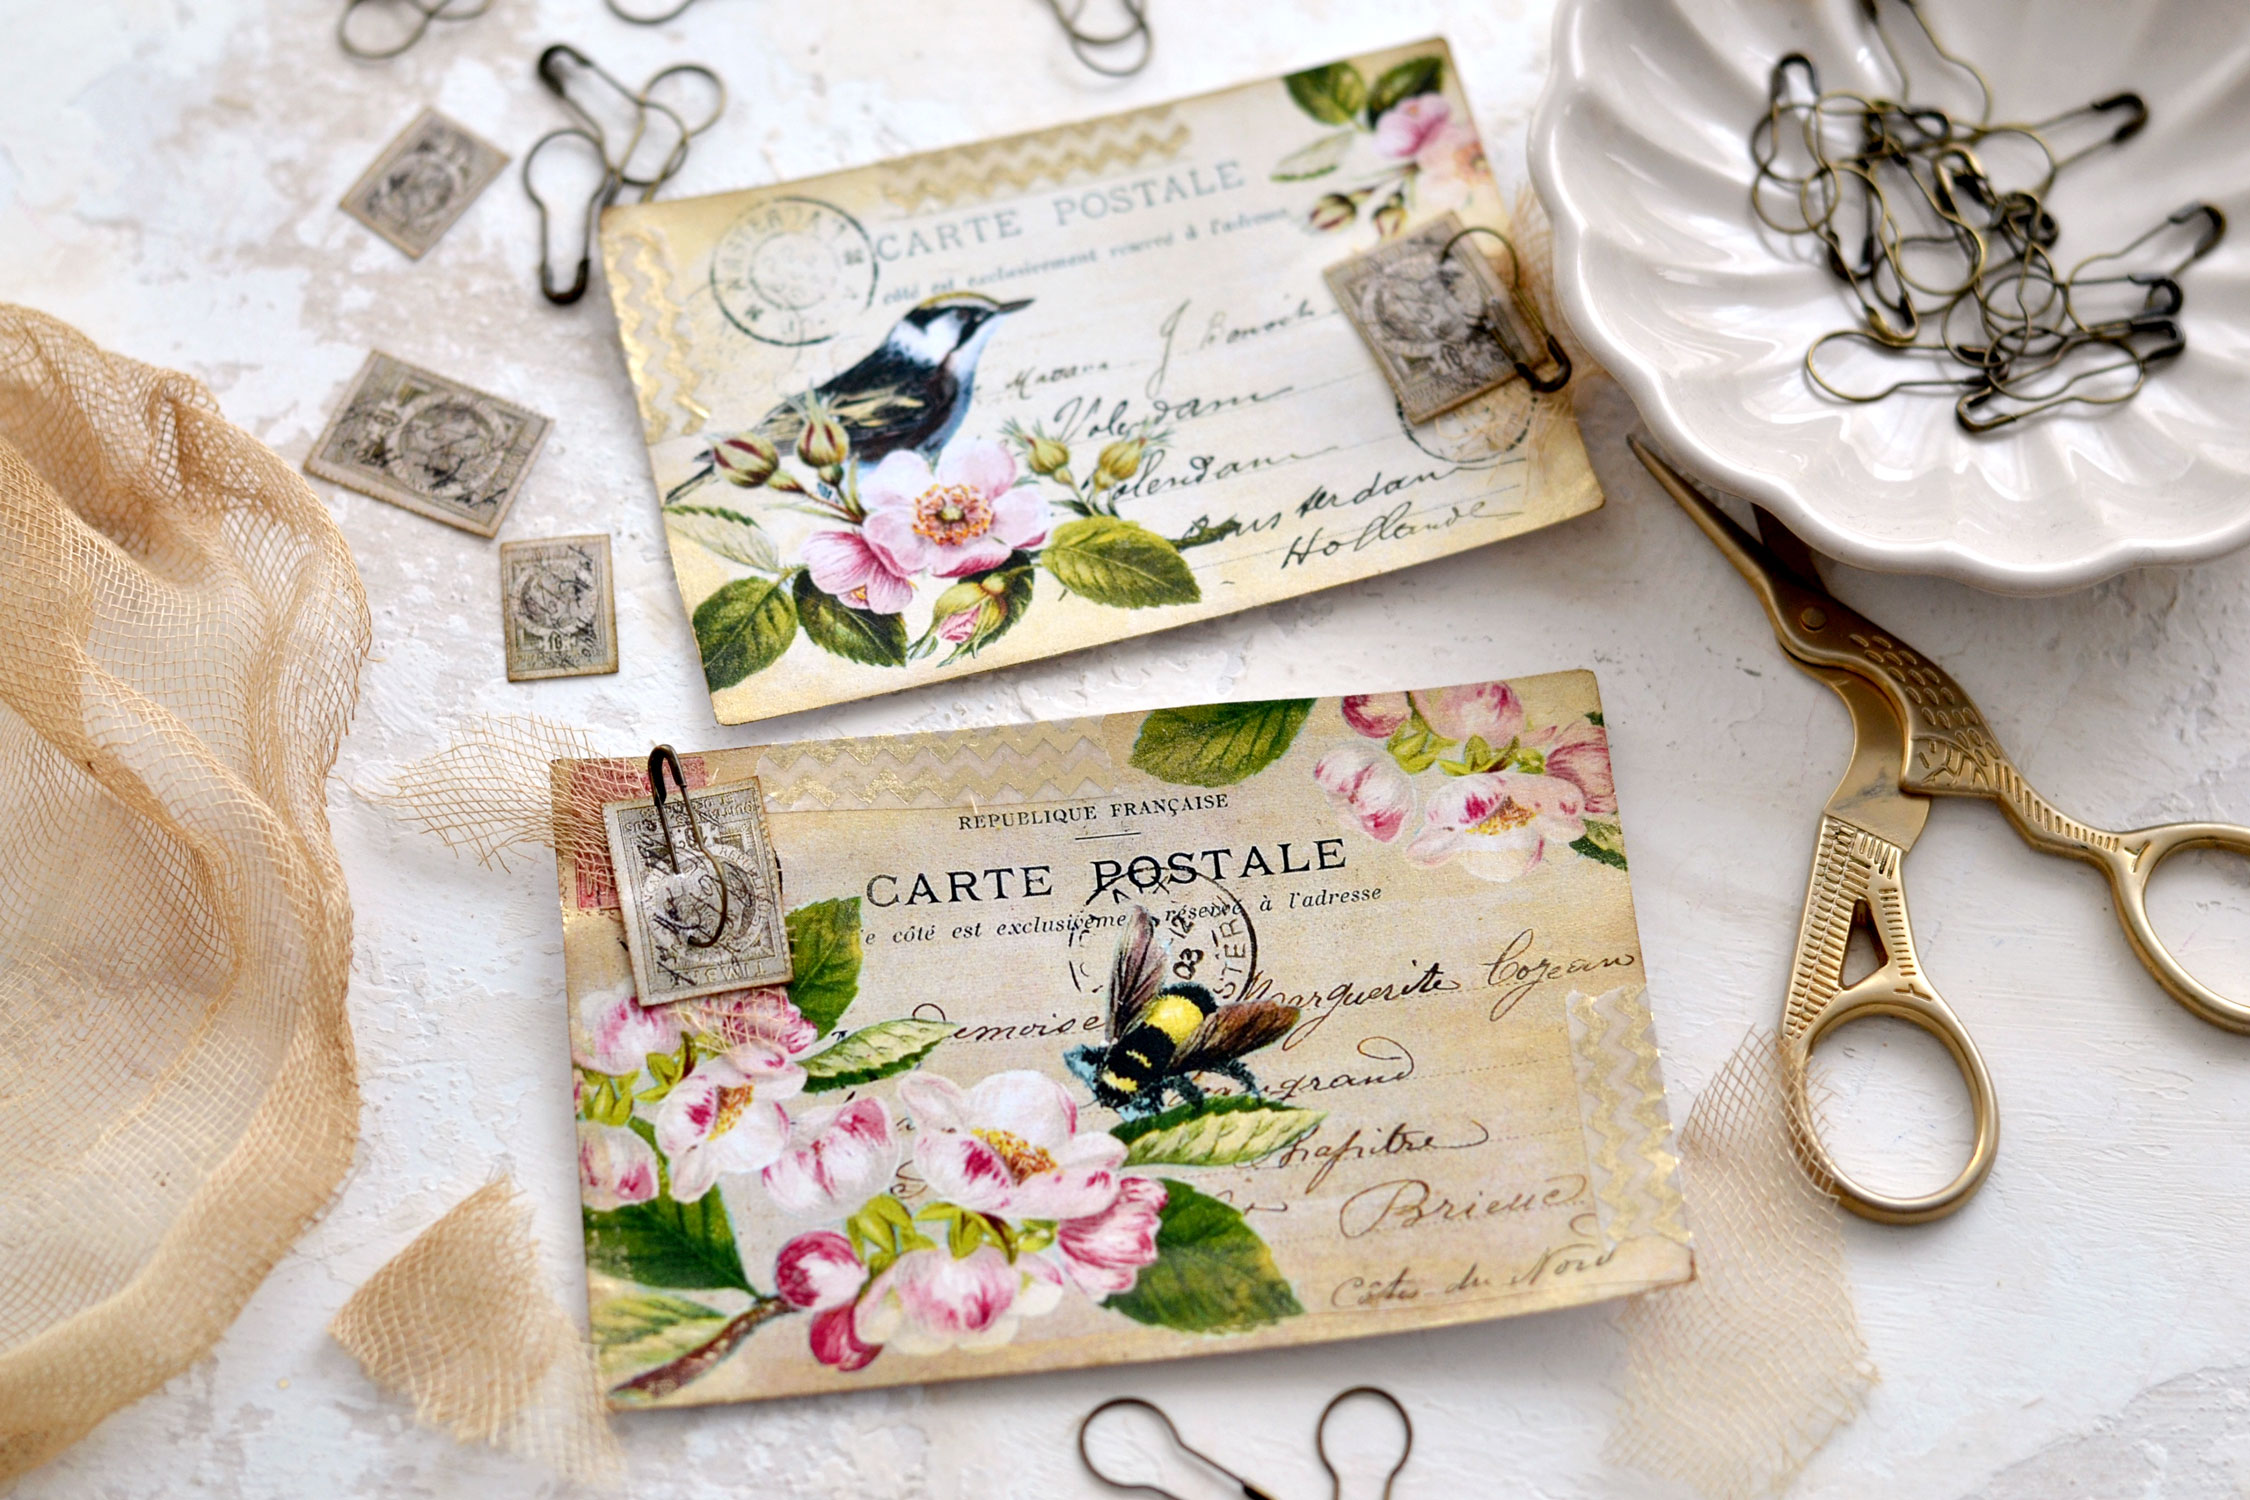
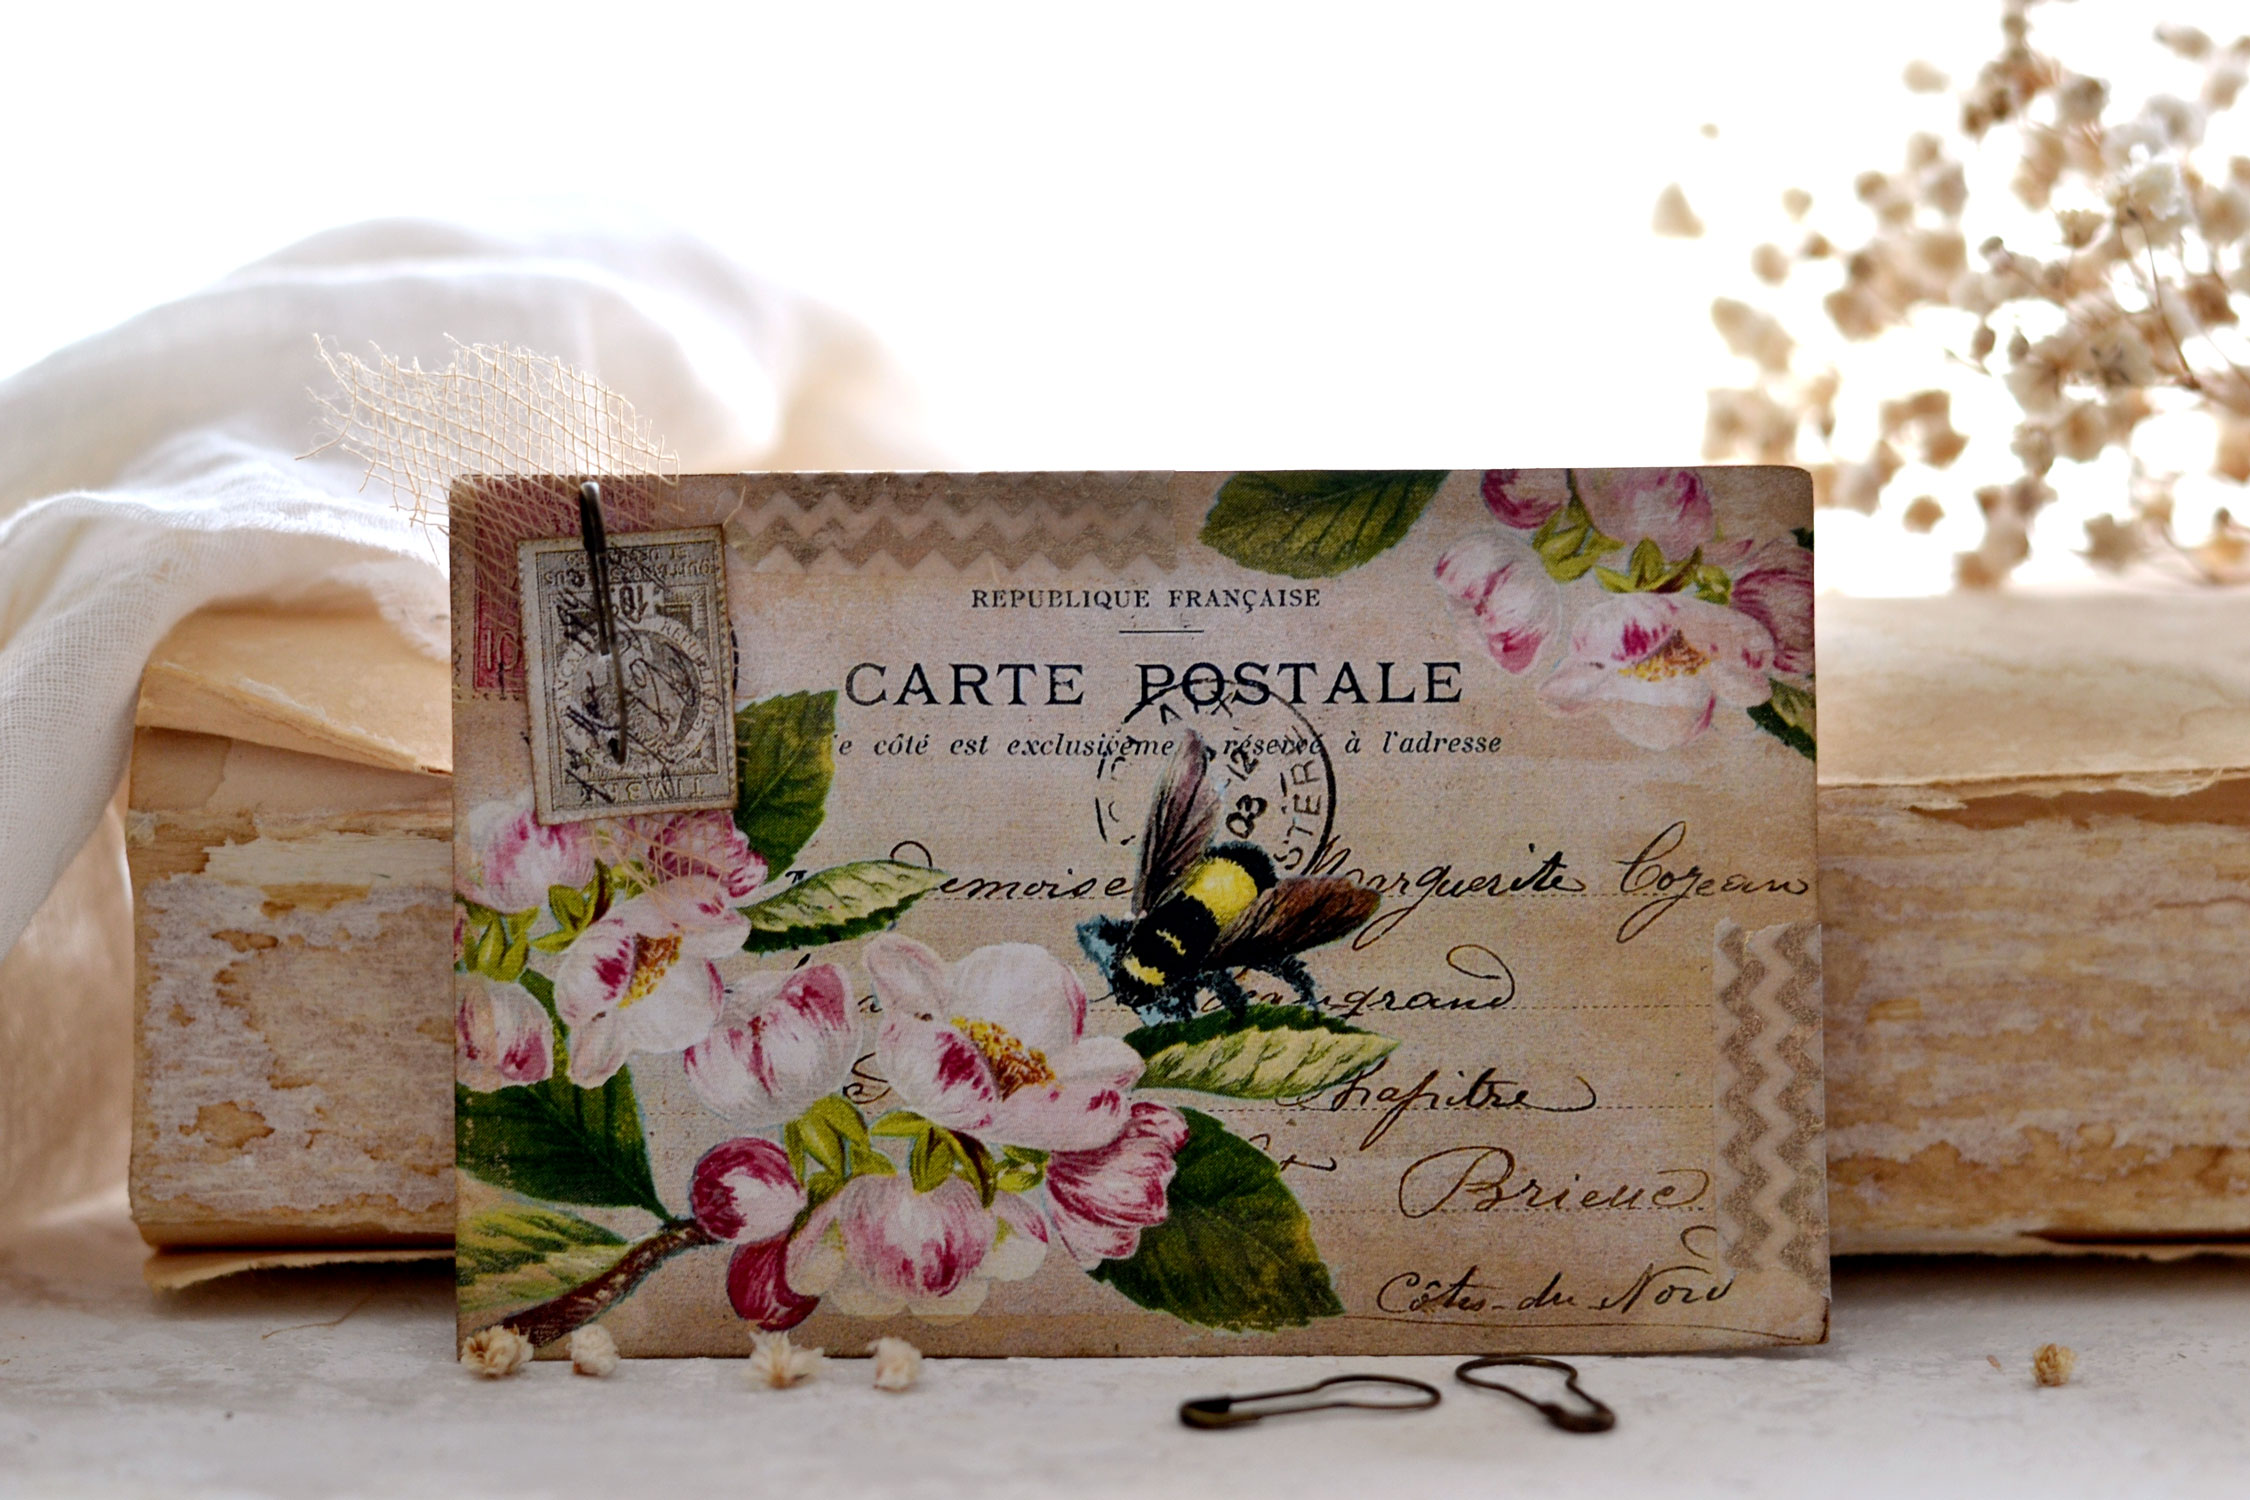
Next, you can use a little bit of gold accent washi tape to further embellish these lovely postcards if you want. Just tear some washi and apply it on the areas where there isn’t too much writing, we still want to be able to see the design. Depending on the size of your washi, you can decide how much you want it to be visible and then you can just fold it and glue it to the back.
Again, don’t worry about making these perfect, the more torn the washi, the better!
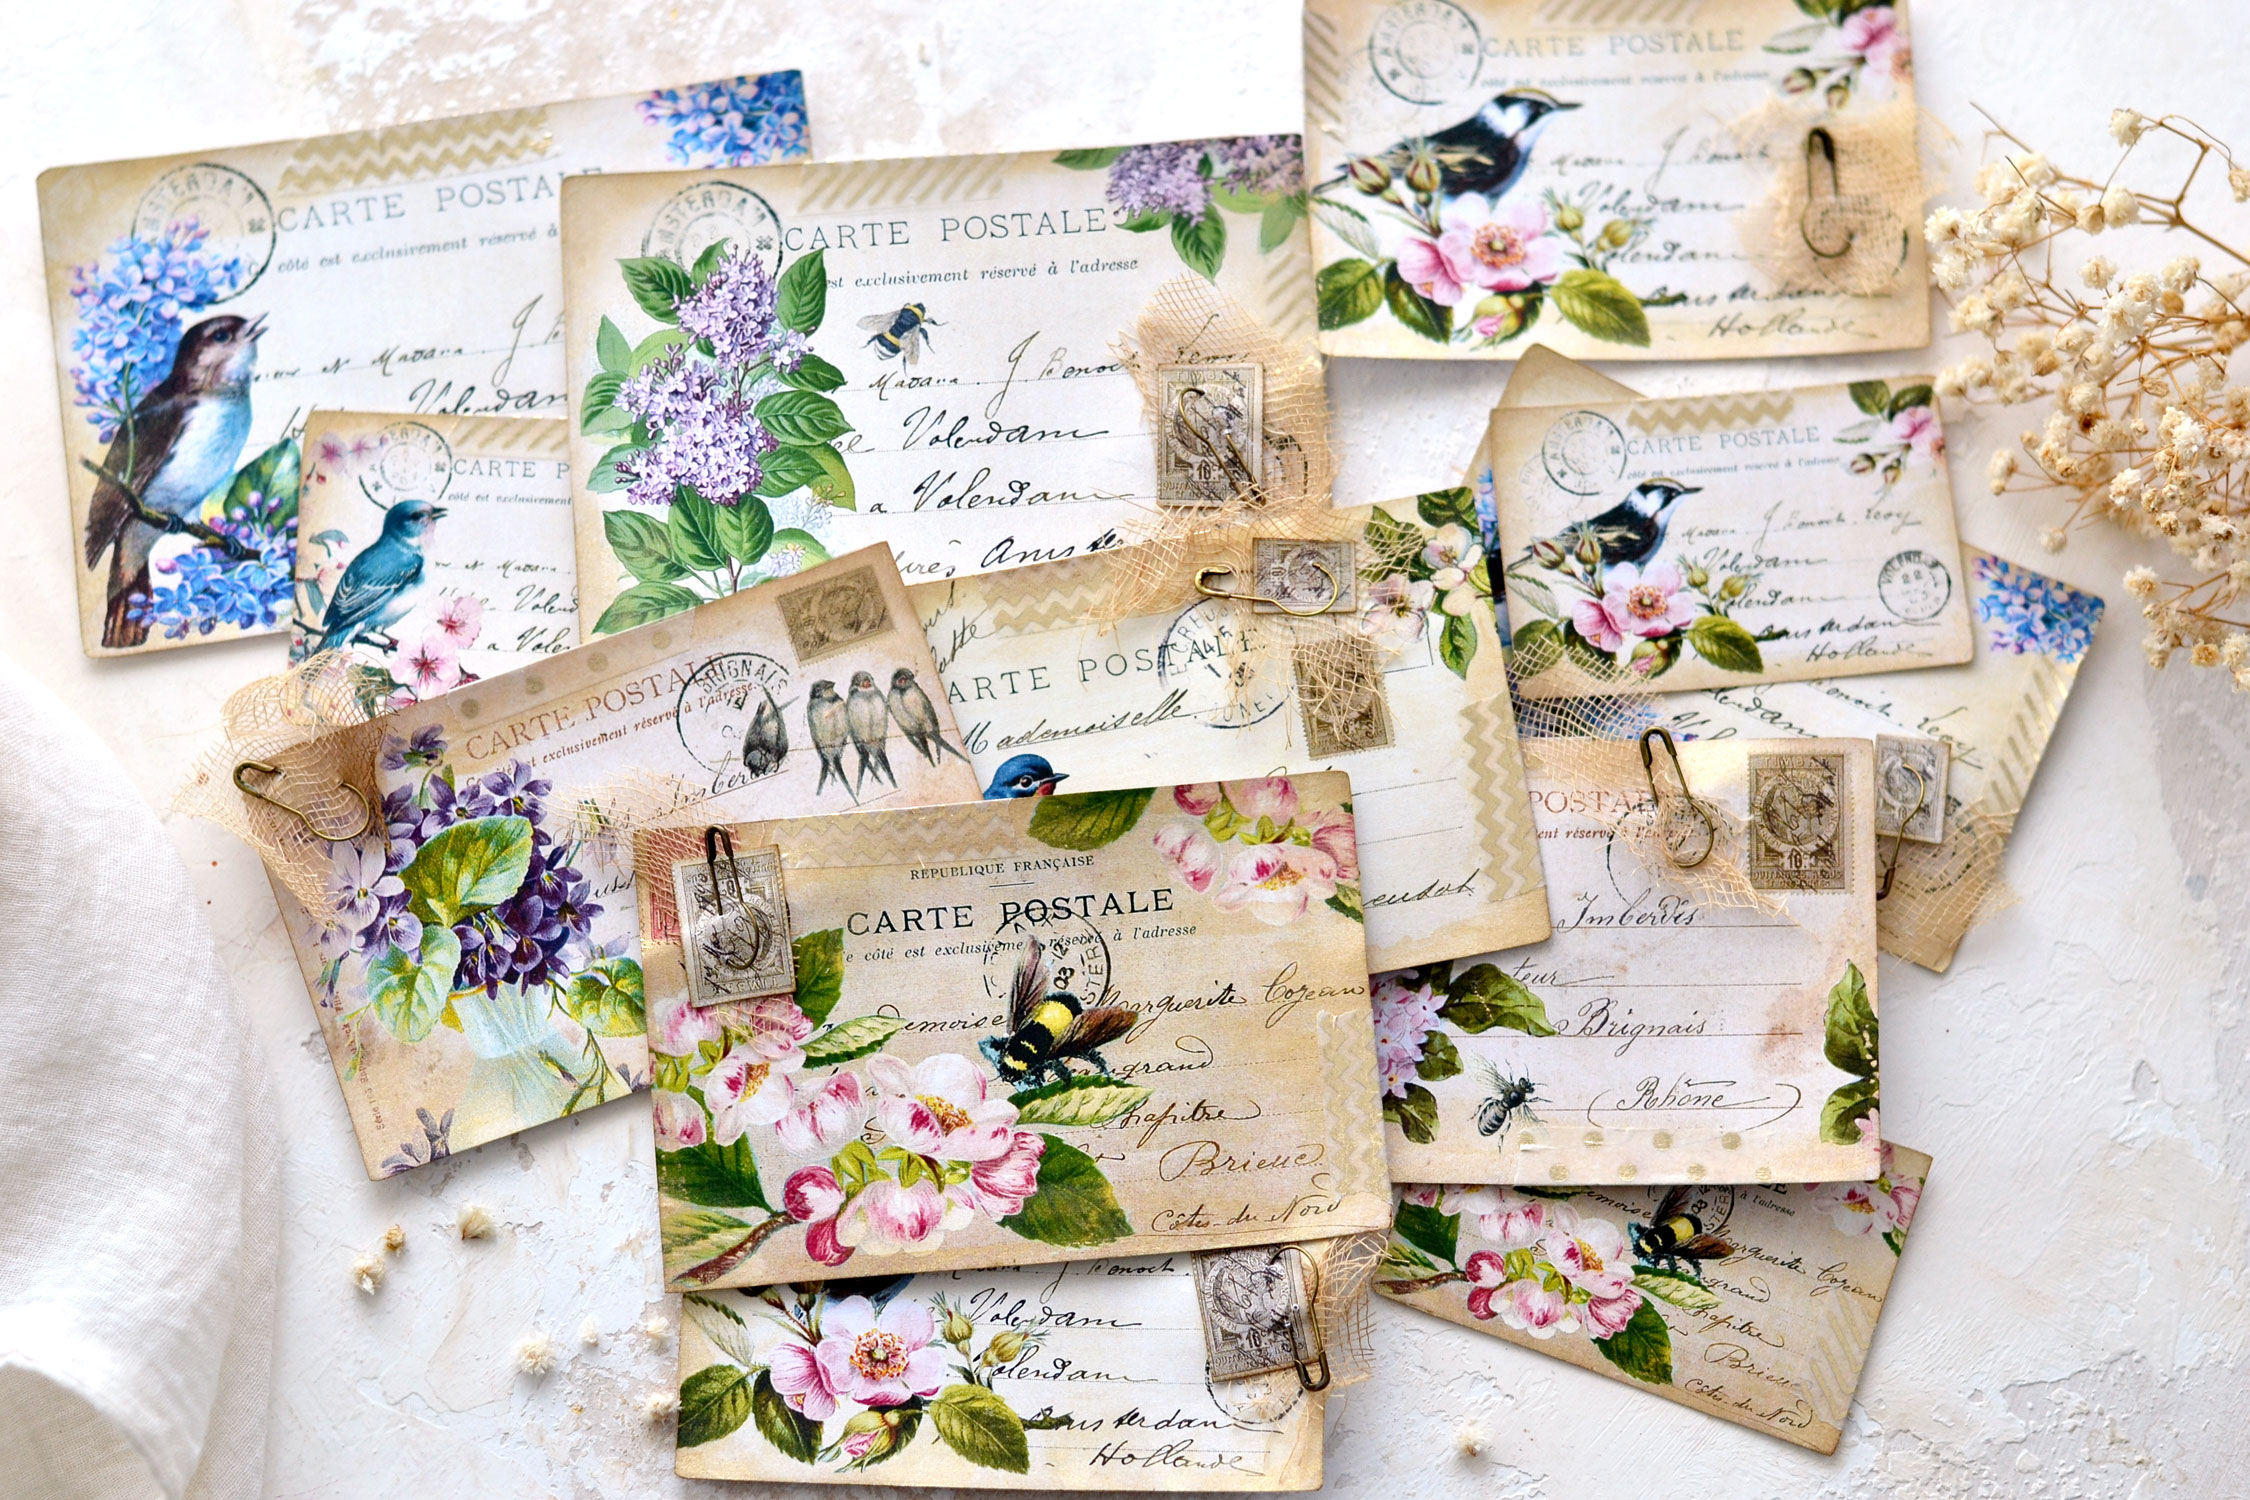
As a final step, you can choose to glue the postage stamps on top of the postcards or you can use gourd pins to actually pin them to the paper! I love using gourd pins as small embellishments so I’ve decided to use them here along with some scrap pieces of coffee-dyed gauze. It will be a little bit trickier to pin the stamps at first, so you can pre-punch small holes if you want. The paper will warp again while adding these small embellishments this way, but I think these small folds will add even more character to the final pieces!
It’s really amazing how a little bit of distressing can completely change the look of these postcards, it’s almost like their colors are instantly brought to life!
Of course, you don’t have to add embellishments to all the postcards, you can keep a few simple if you prefer. You can also just add the gourd pins with some gauze, it’s up to you how much you want to further embellish these beauties!
If you don’t have gauze, you can use cheesecloth or other scrap pieces of fabric that you have around. I love using neutral colors while choosing my scrap pieces of fabric and then I use coffee to dye them because I feel like they are so much easier to mix and match with all sorts of designs, no matter their color.
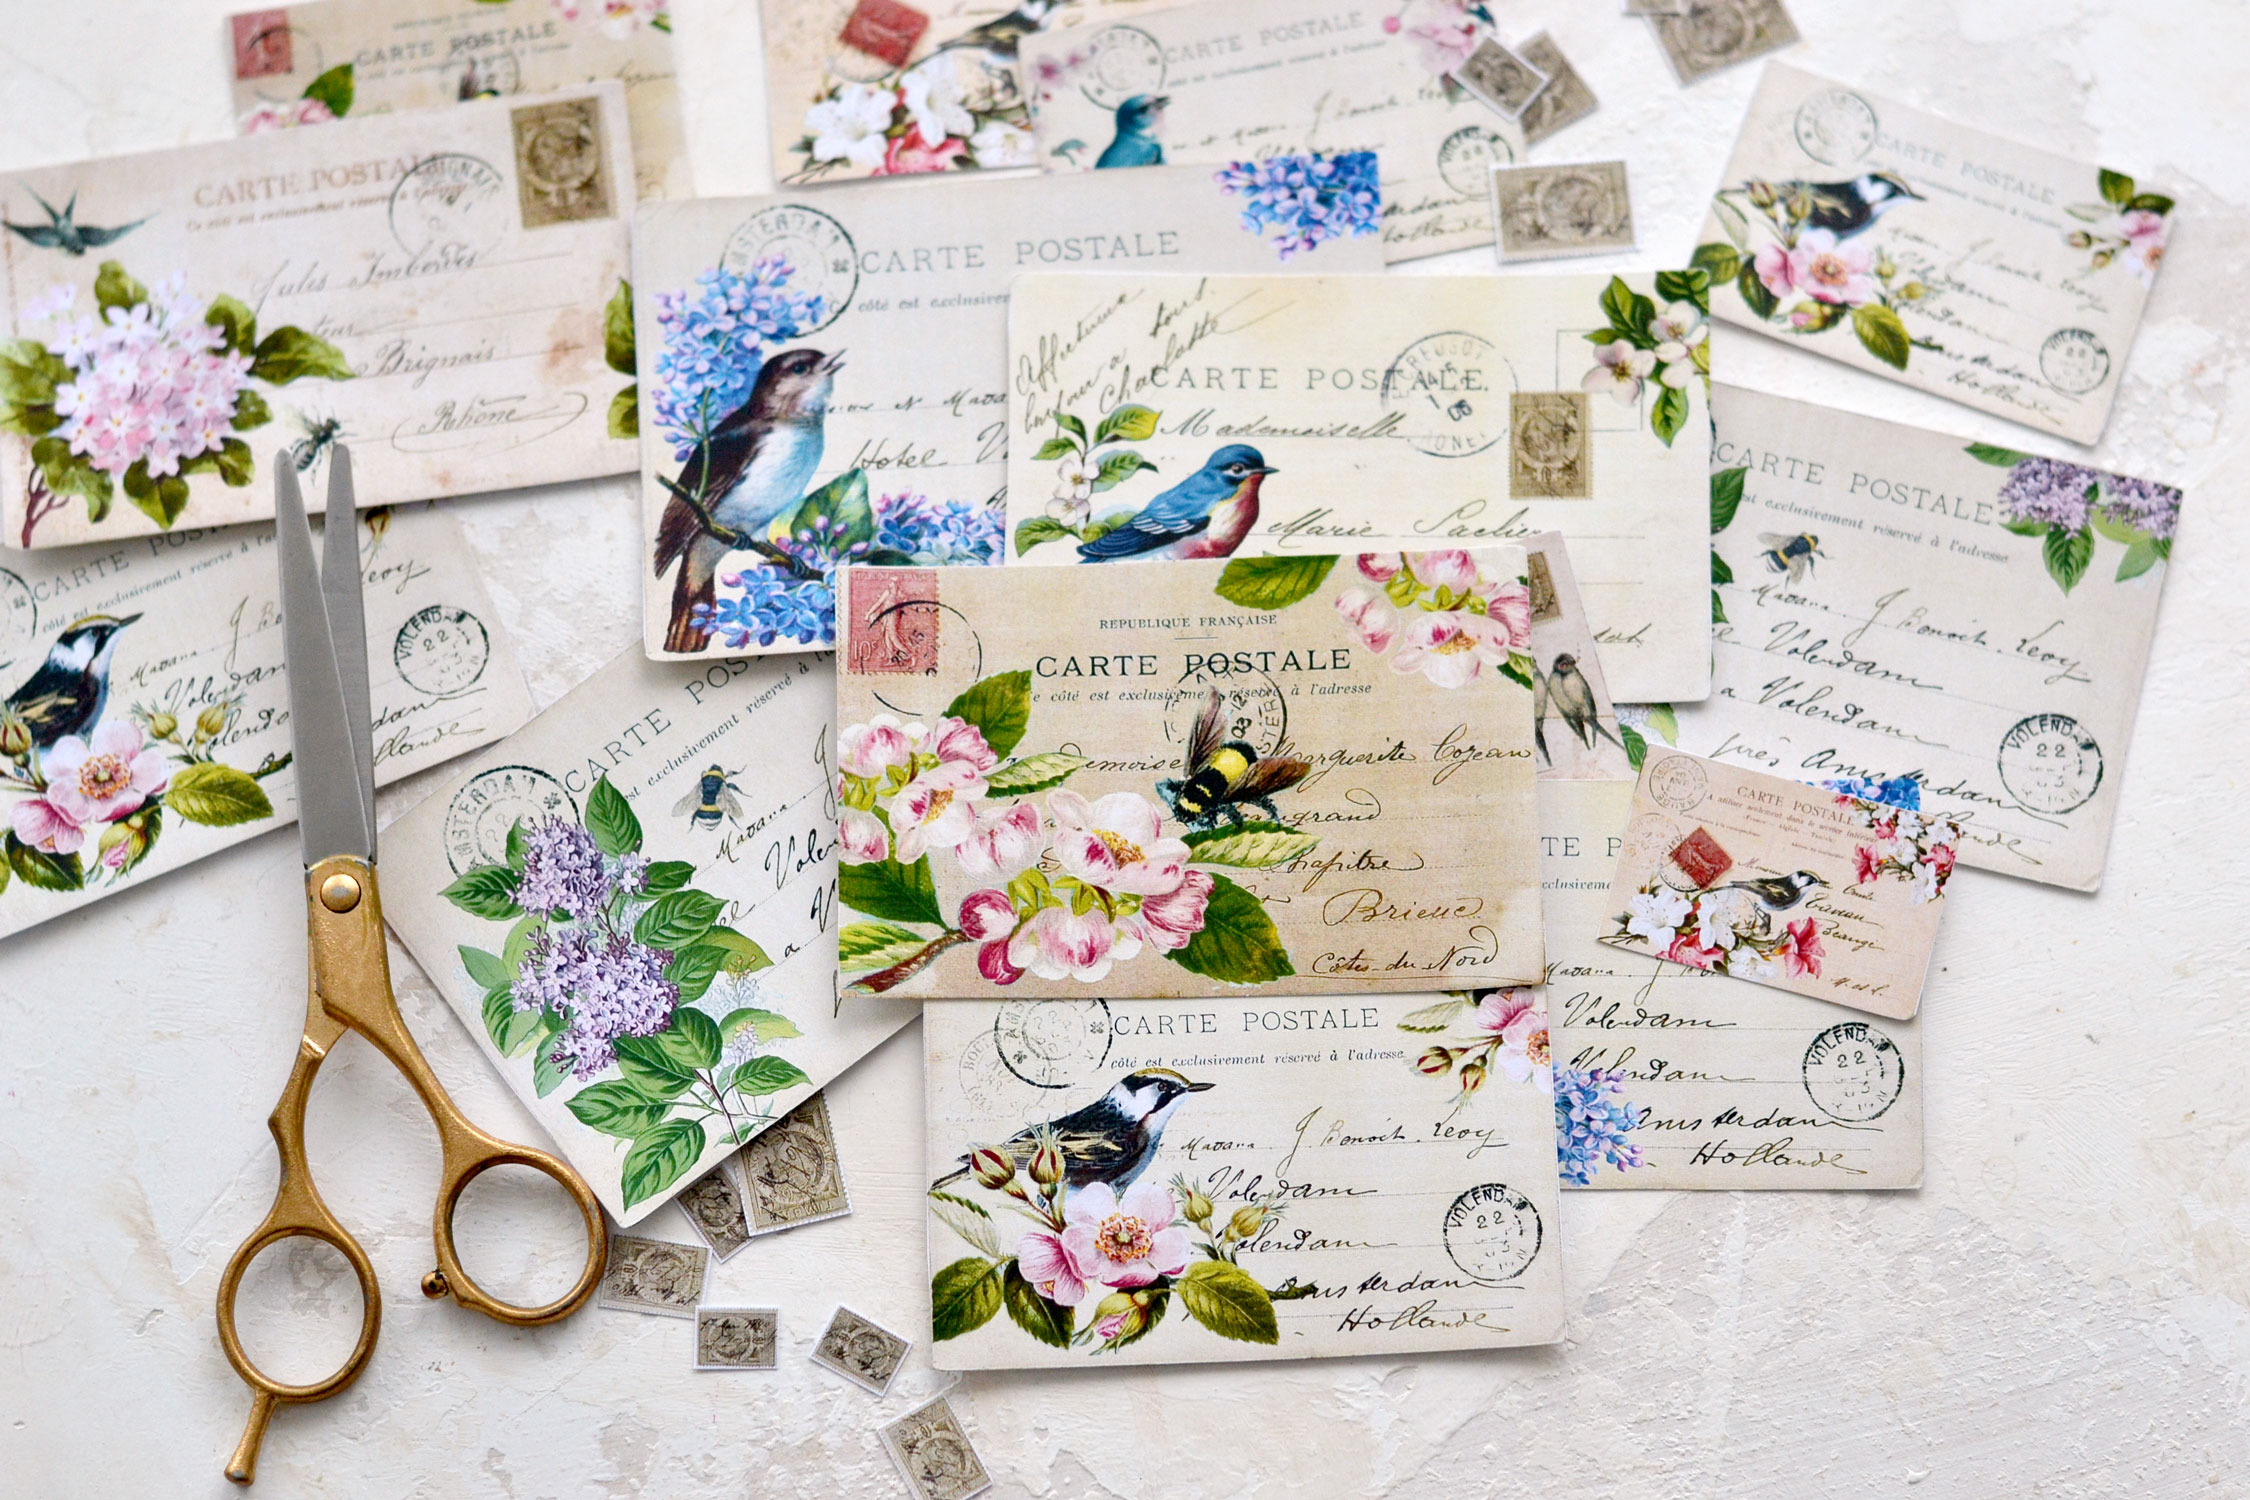
You can have these beauties ready in no time and then you can find unique ways of including them in all sorts of creative projects! These vintage postcards can be used for spring, Easter or summer projects but I love how they are almost universal and can be used for more general projects too!
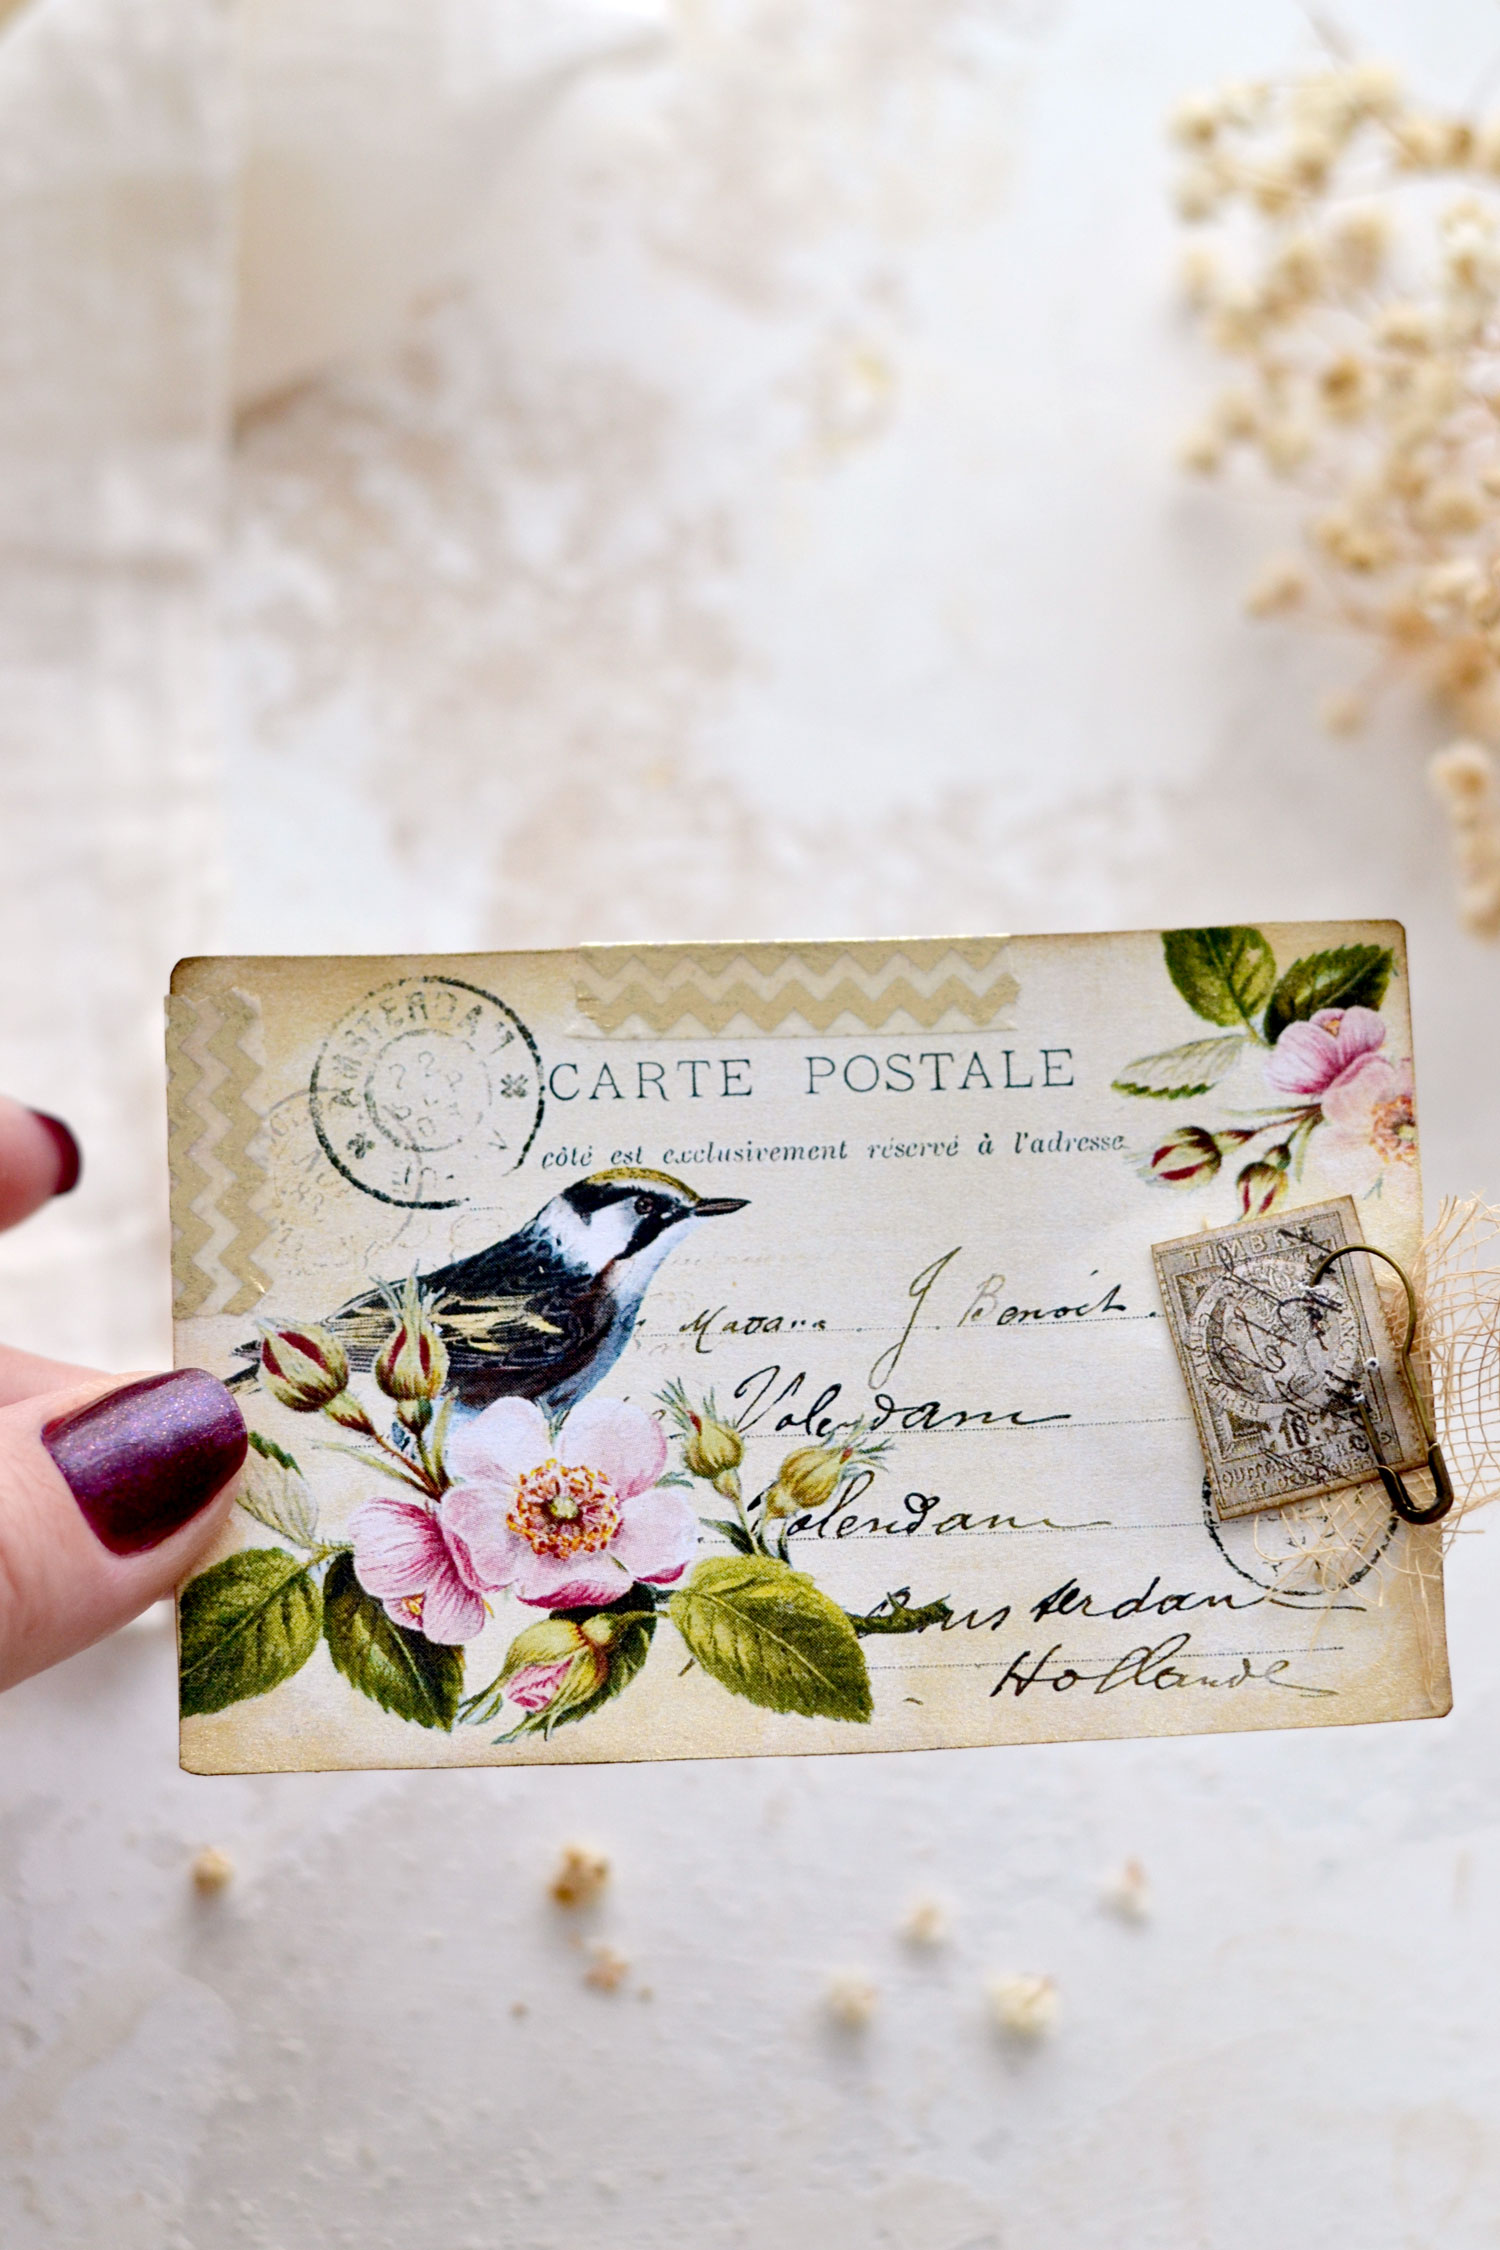
The gold touches will add so much charm to your postcards, you will see that they will be more or less visible, depending on how you hold them in your hand!
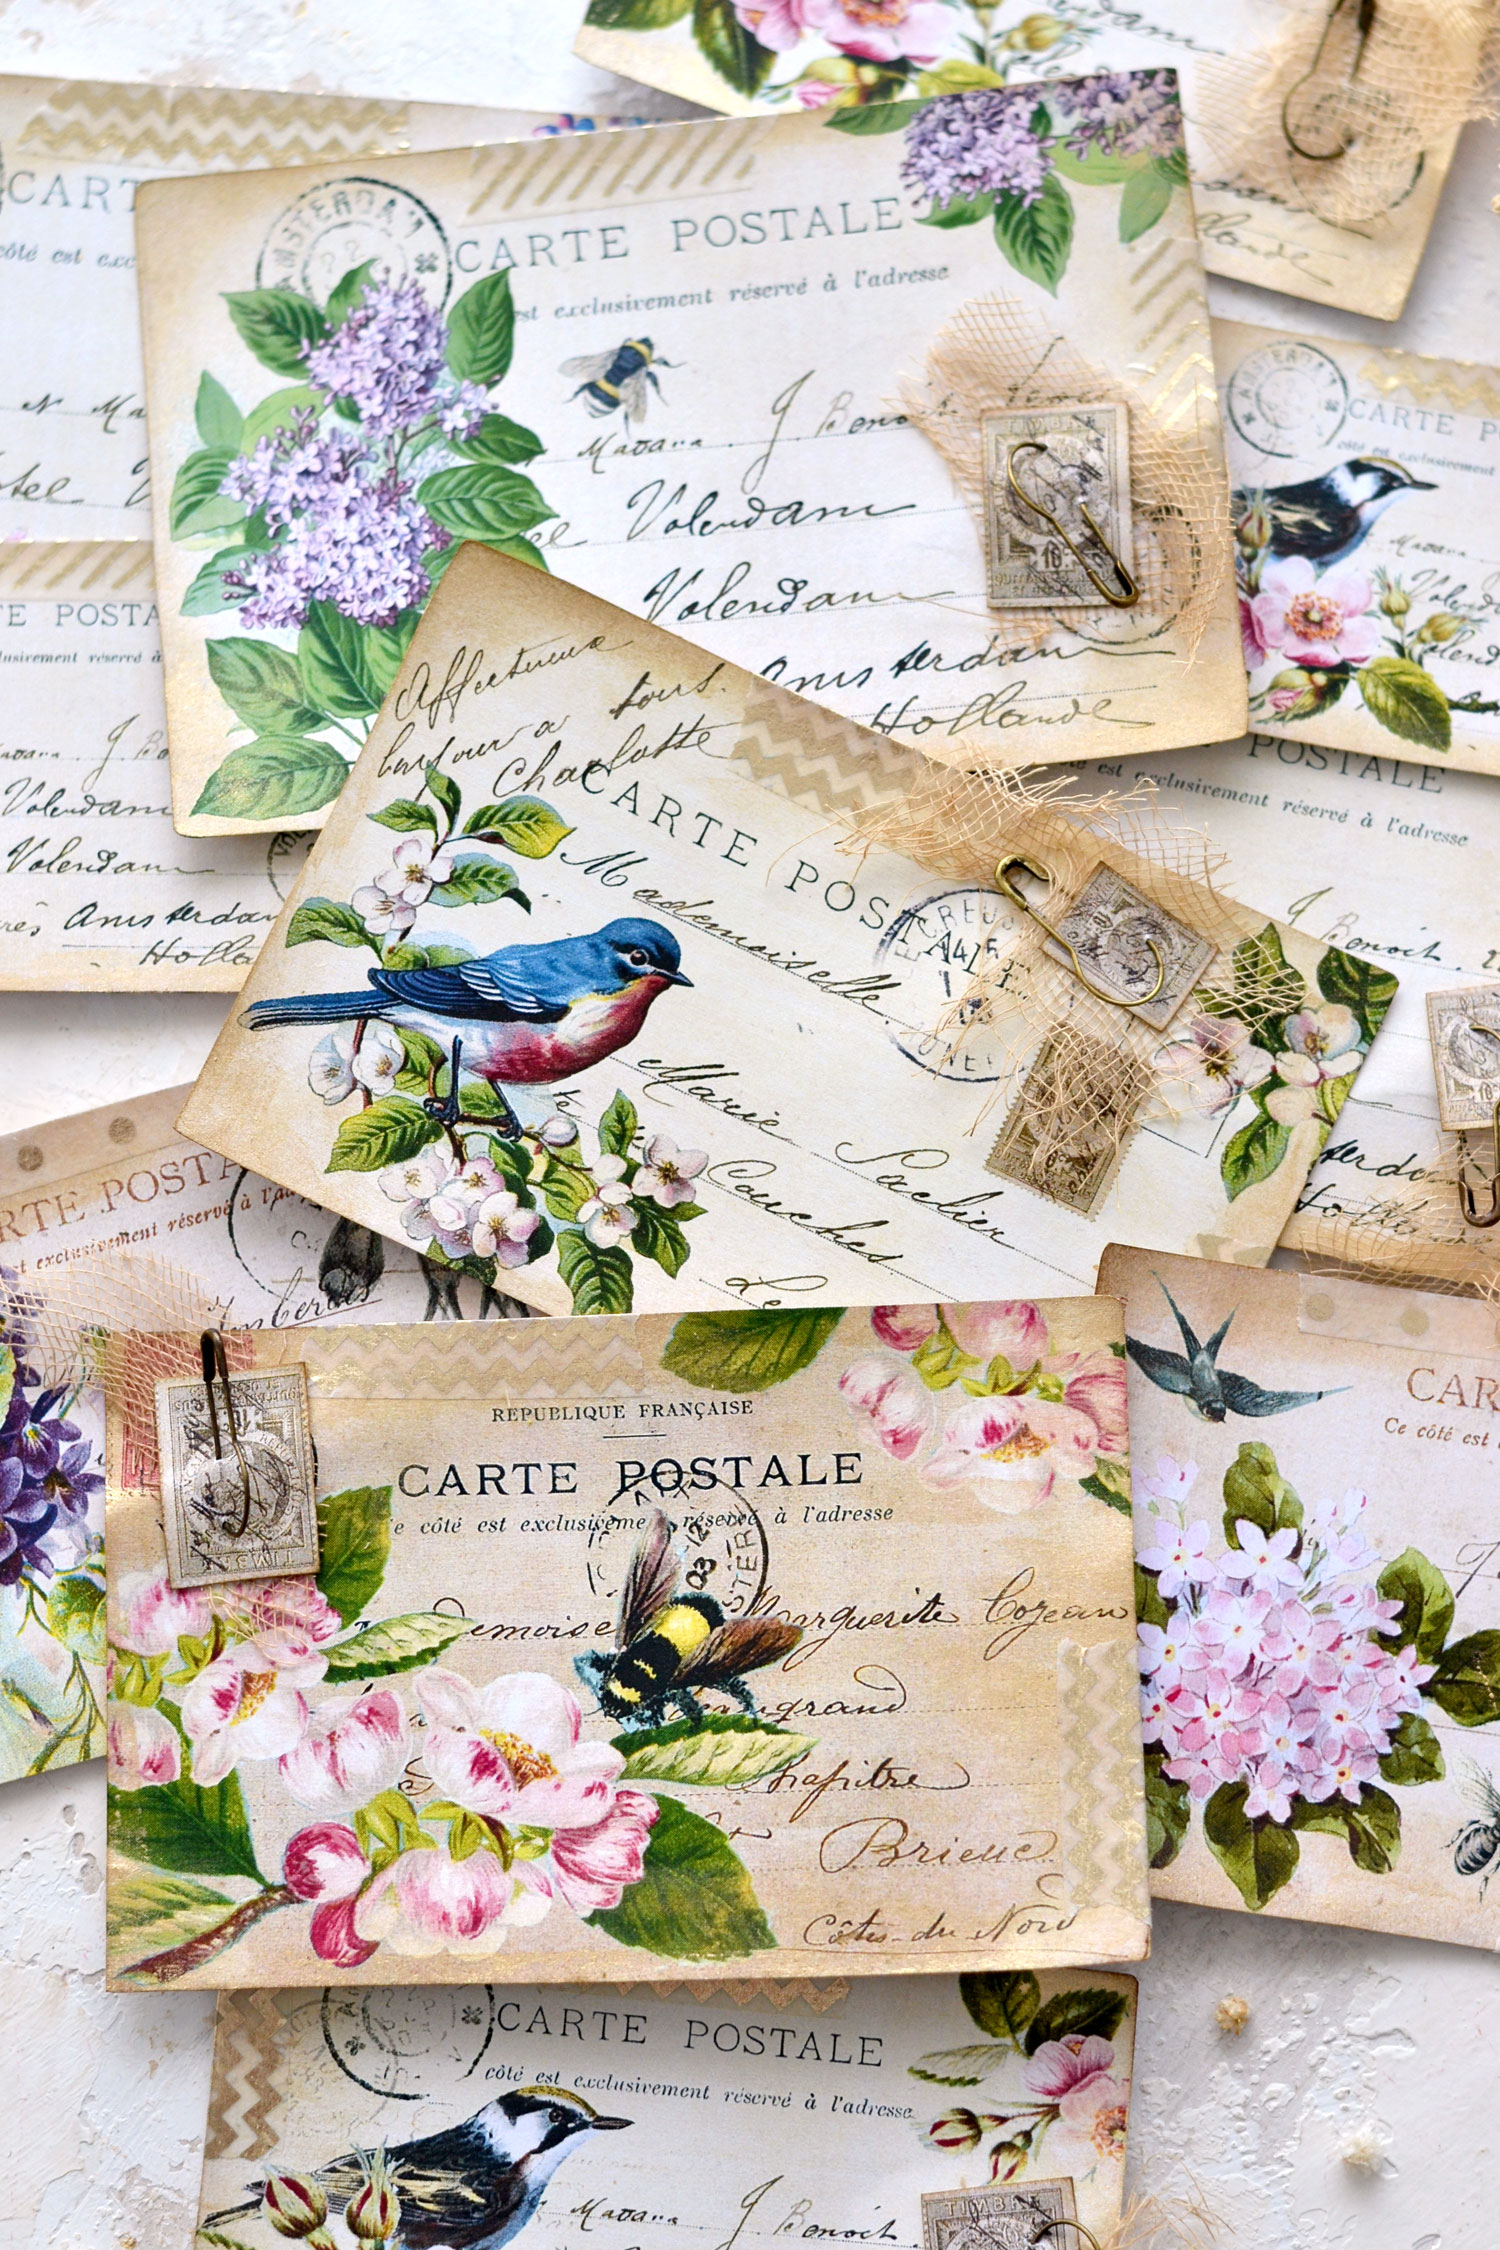
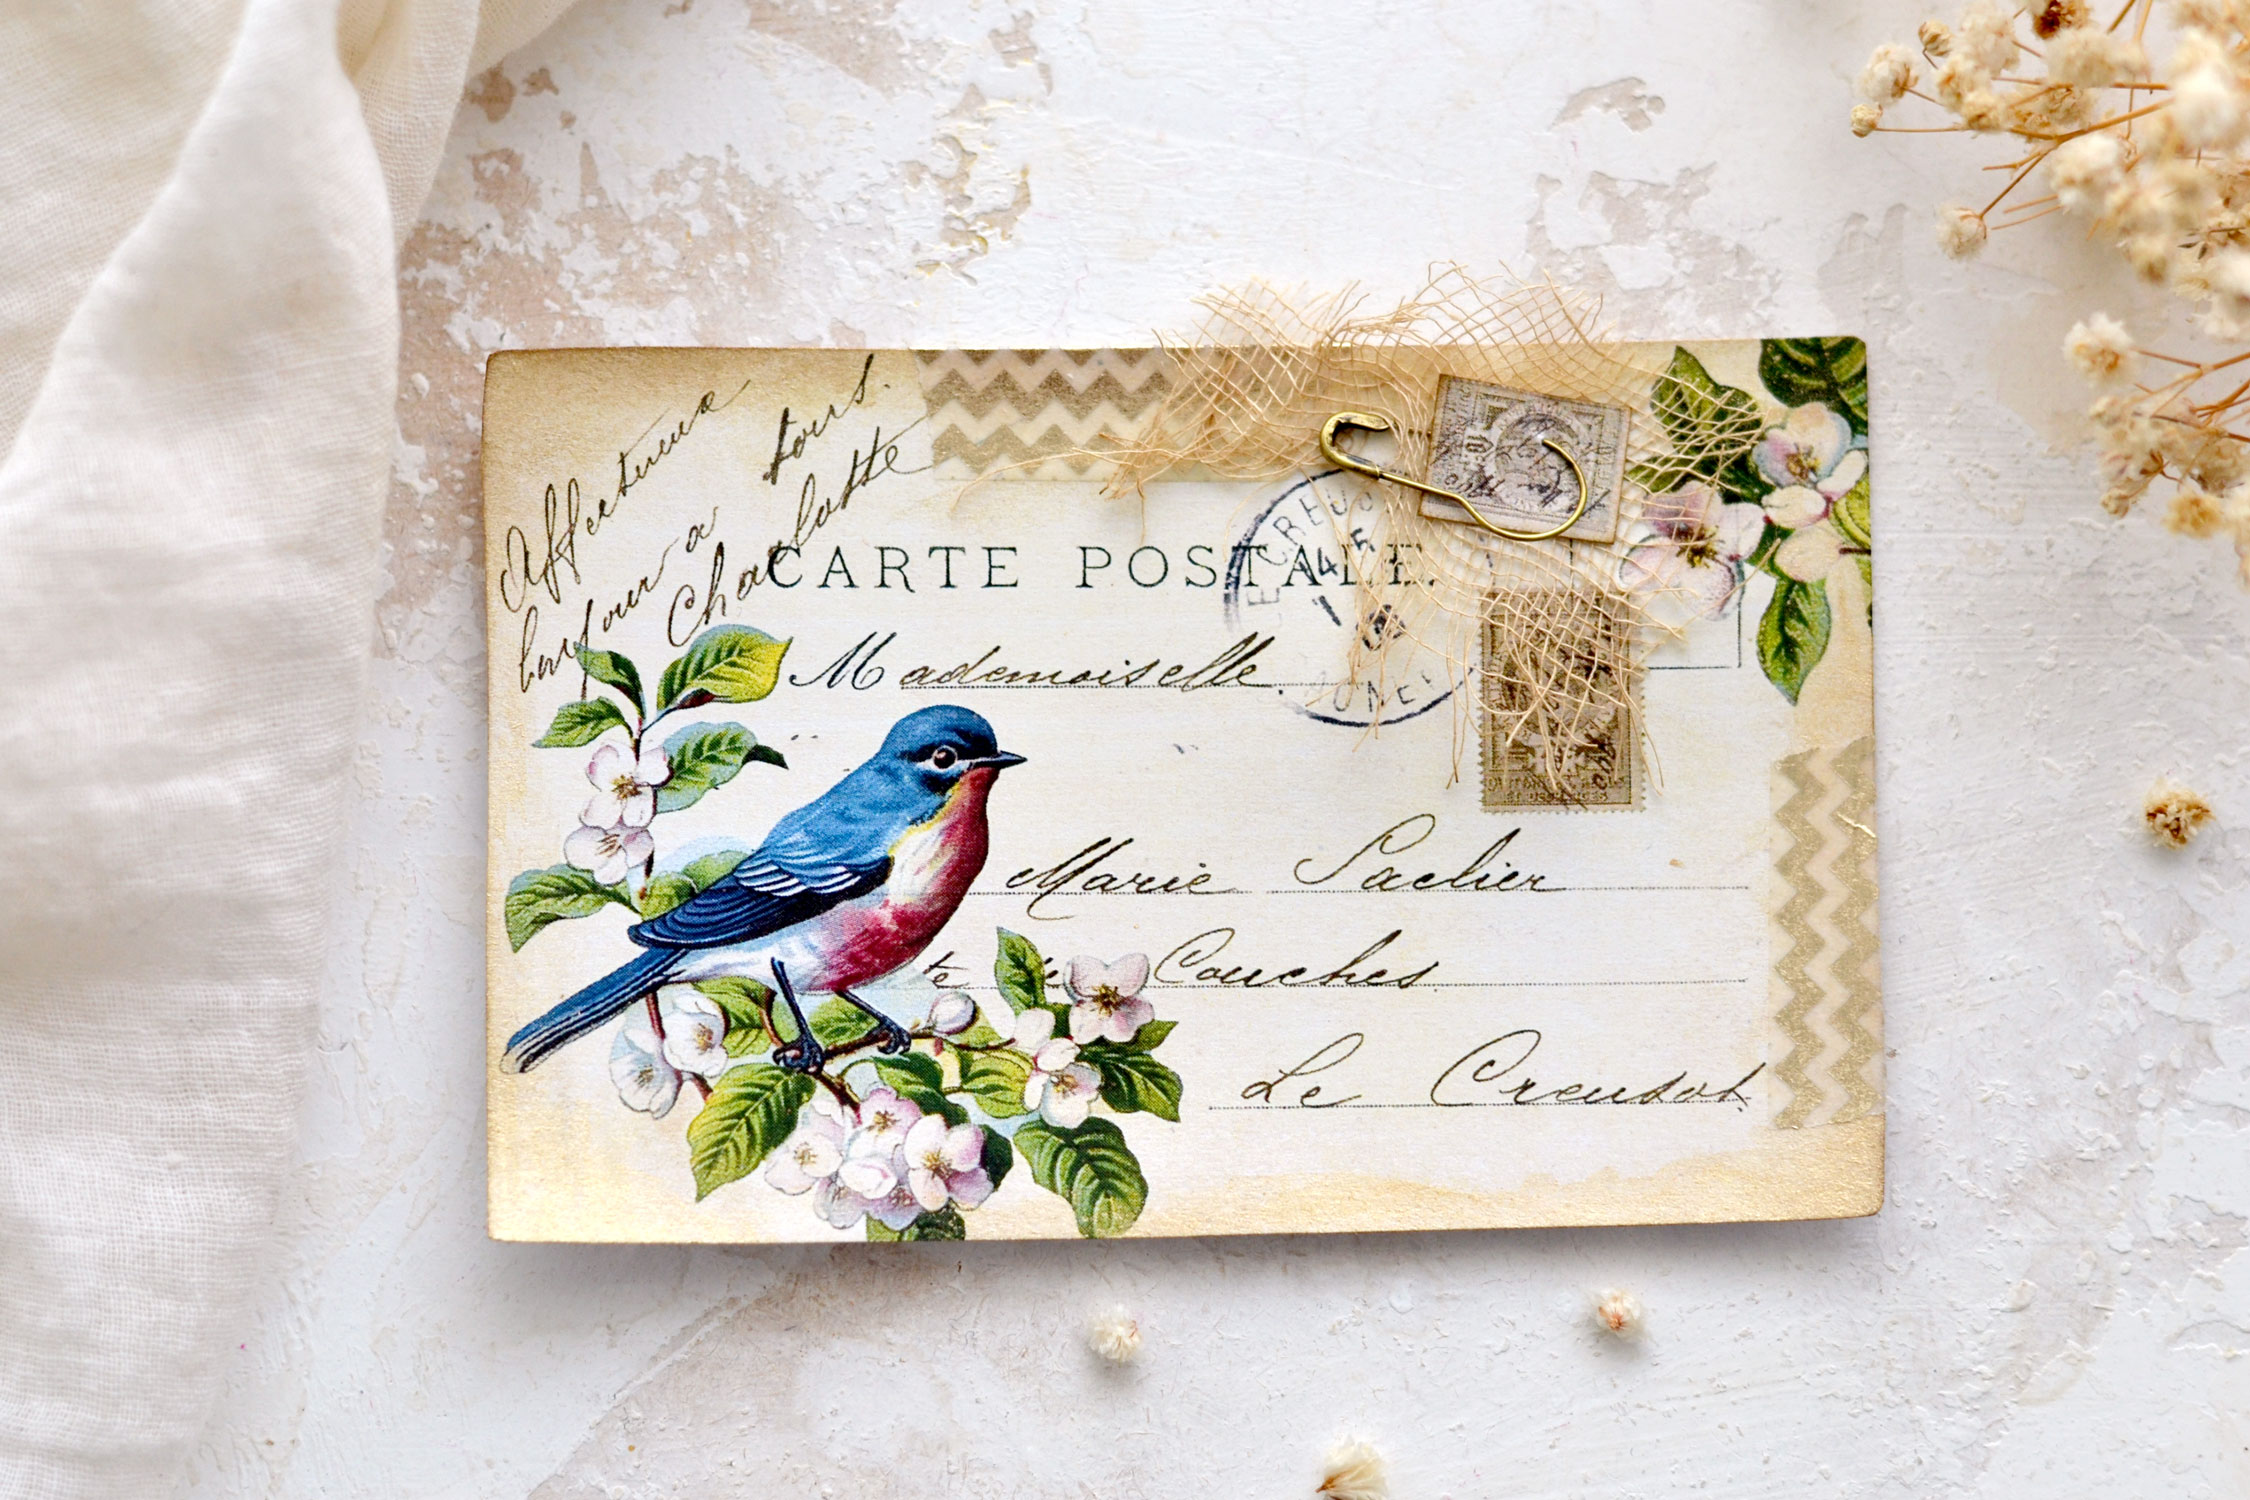
Each design is pretty unique and has its charm, I’m really curious if you picked your favorite already! This blue bird with soft pink blossoms was one of my favorites!
But I also loved this one with pink blossoms and this gorgeous bee! If you want, you can use your watercolor to add some gold accents on top of your design, for example, you could add some gold on the bee’s yellow stripes to make them glow even more!
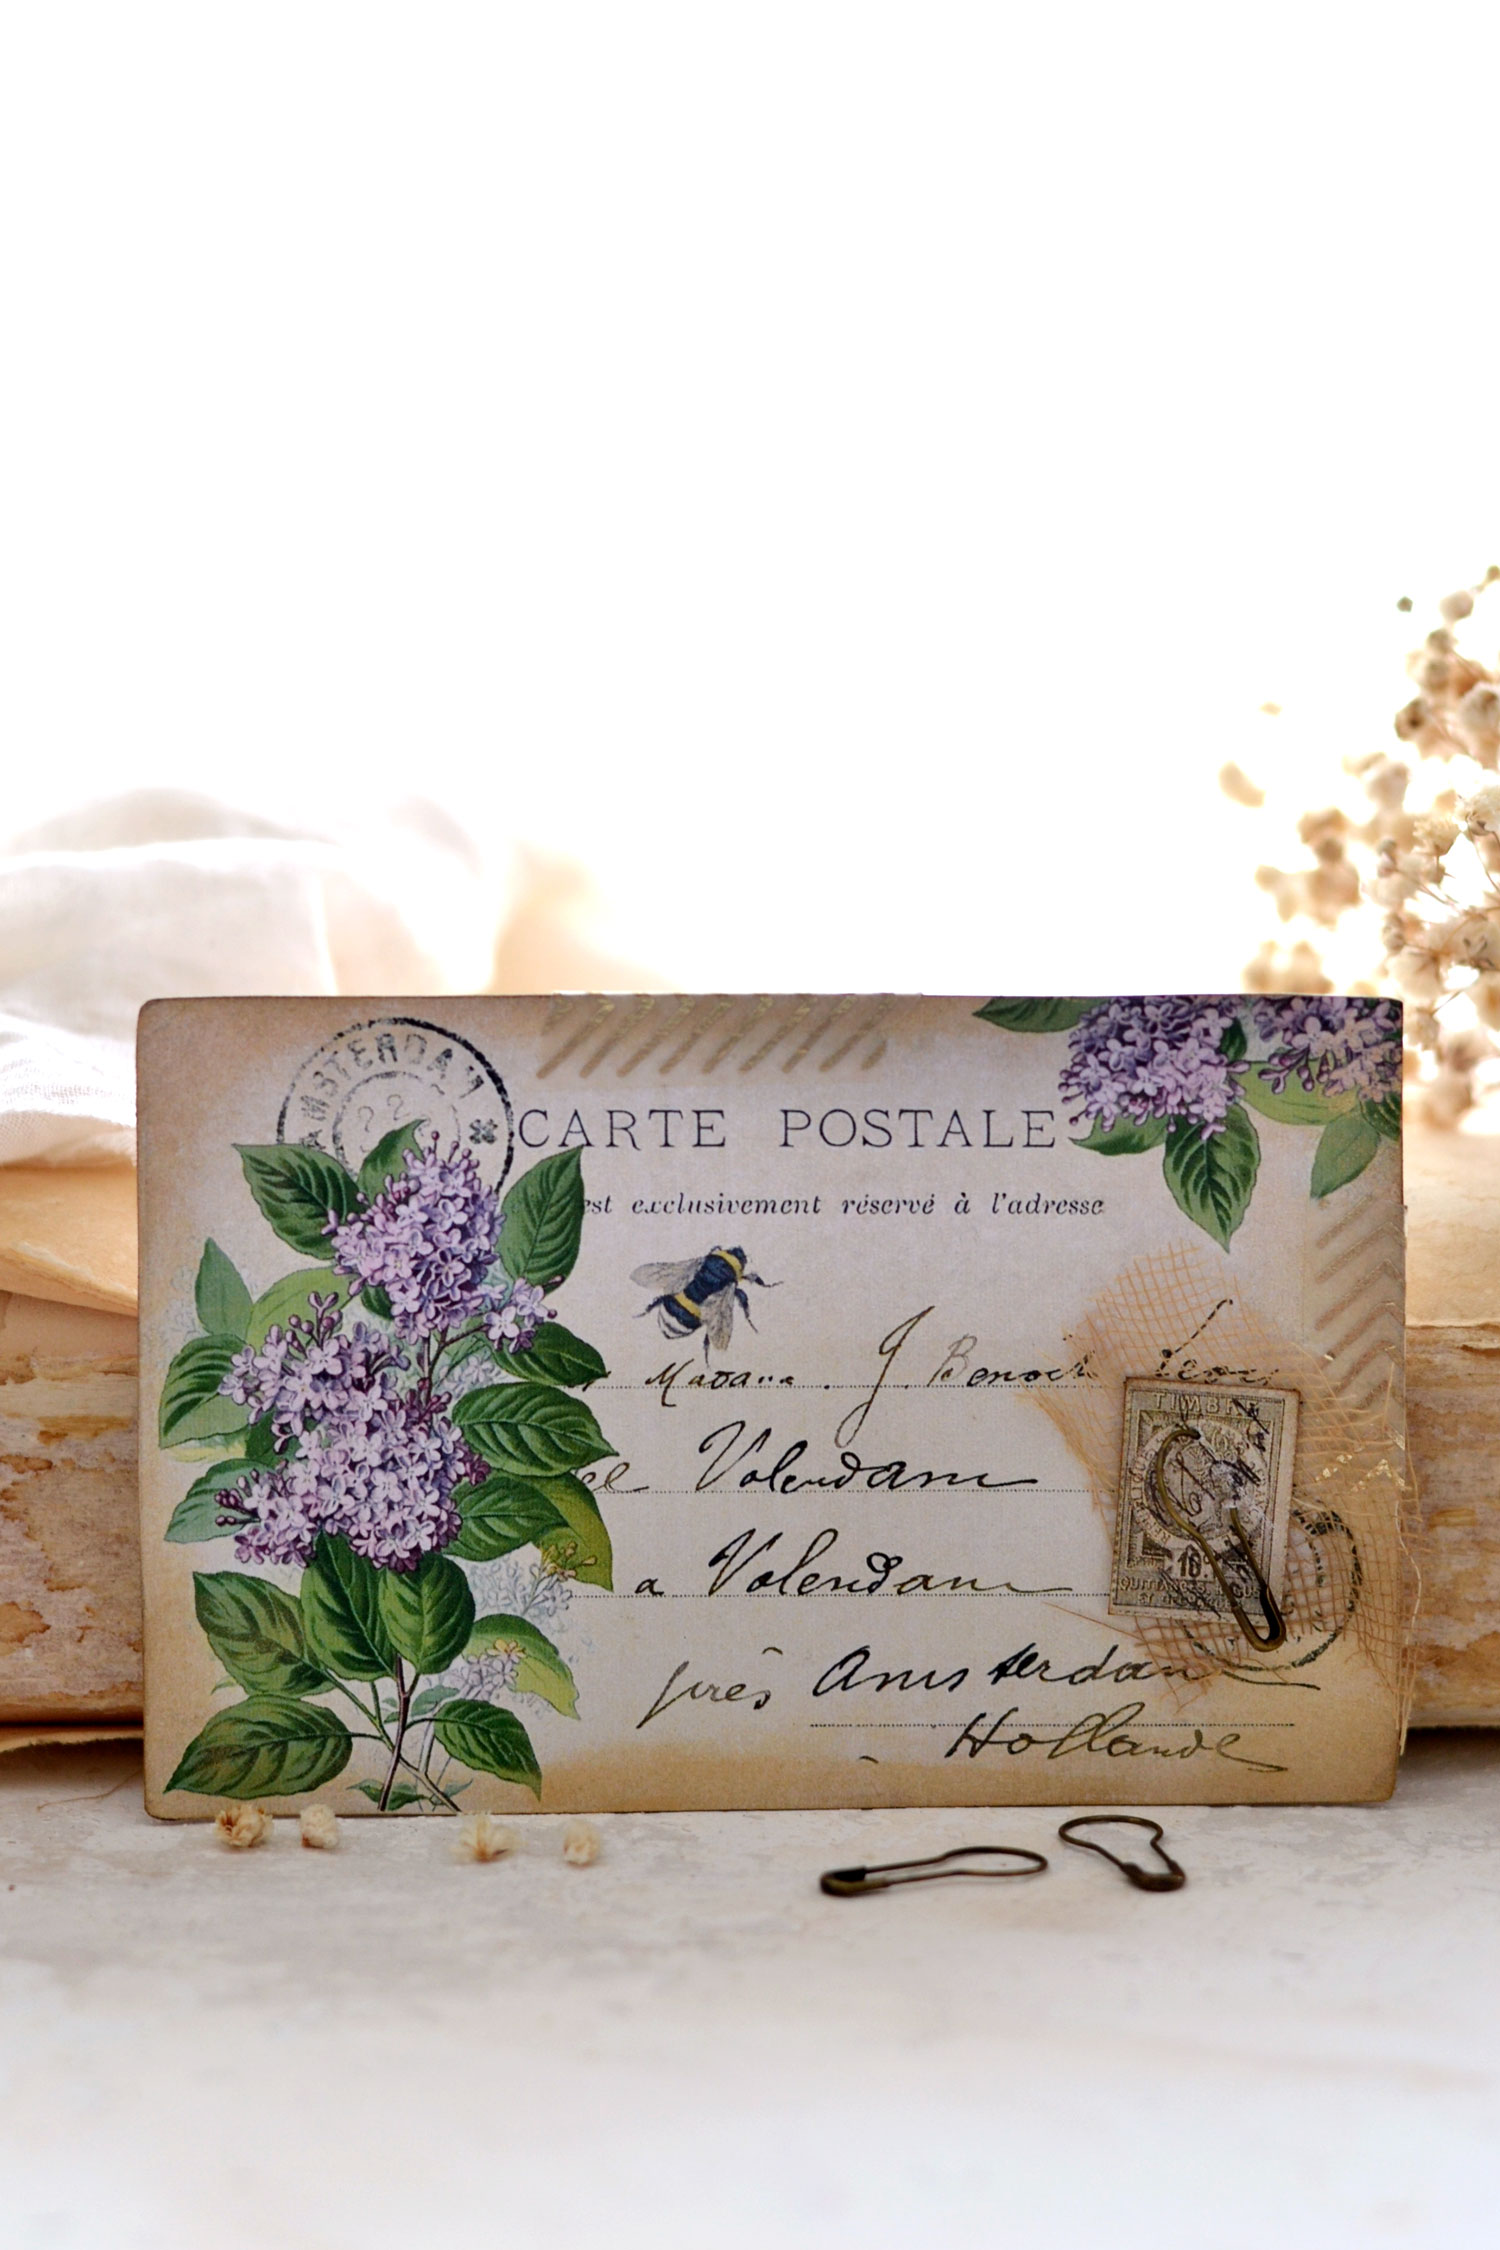
If I had to pick just one favorite, I would probably go with the vintage lilac postcard because lilac is my all-time favorite flower, it has always been close to my heart!
That’s it for today, I hope you will love this project and decide to give it a try, these gorgeous vintage postcards will instantly beautify your junk journals but can be easily turned into tags to decorate gifts in a truly unique way! You can also use them as mini signs in your home, they will instantly bring a soft touch of color and lots of charm!
 You might also like the Spring themed Mini Postcard Printable HERE.
Happy crafting,
Diana / Dreams Factory


Cynthia Murphy says
Thank you. I just printed the beautiful postcards and will start crafting.
Cindy Murphy
Karen Watson says
Happy Crafting Cindy!
Maureena says
I can’t wait to start these. Girls night in, you are in for a treat!
THANK YOU!!
Karen Watson says
Yay! That sounds like such a fun night Maureena!
vivian says
those are so beautiful, I am more of a fall gal but these really tempted me.
thank you.
vivian
Karen Watson says
Have fun making Diana’s pretty cards Vivian!