Christmas Luminaries DIY
Hello, creative friends! I’m Diana, from Dreams Factory and I’m really happy to be here again, sharing my Christmas Luminaries DIY! With Christmas coming up before we know it there are always one million other things to do! I envisioned this project to be something that wouldn’t take too much of your time but will fill your heart with joy while creating and using it. I just love luminaries at this time of year as they create such awesome Christmas lights for my holiday decor.
So I give you … this magical project…
You will be amazed to see how all the ‘magic ingredients’ used in this project will help you create some stunning metallic and glowing effects, because the luminaries will practically change their appearance under your eyes throughout the day … and night.
You will be able to enjoy the totally different ‘phases’ of the luminaries, depending on how much light you have in your home during the day and the playful glowing stars that create such enchanting reflections during the night.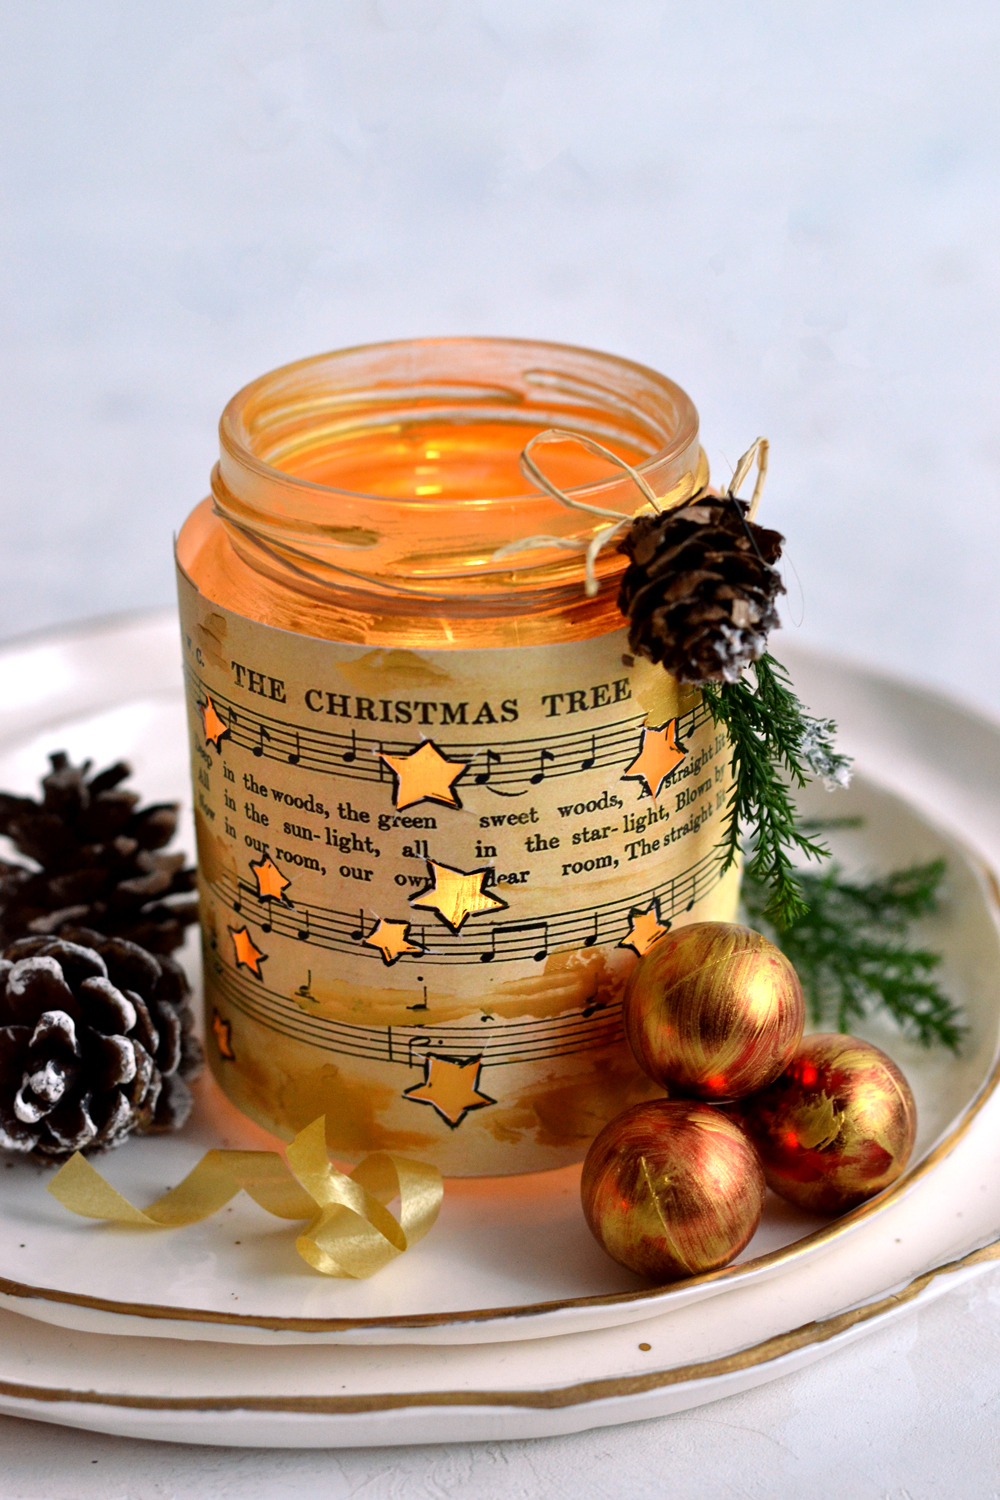
I used a lovely vintage sheet music as my starting point for the printable and I made quite a few changes to it! I turn it into a ‘landscape’ format so it would easily wrap around the jars, then I added lots of different sized cute little stars … to match the snowy days ahead.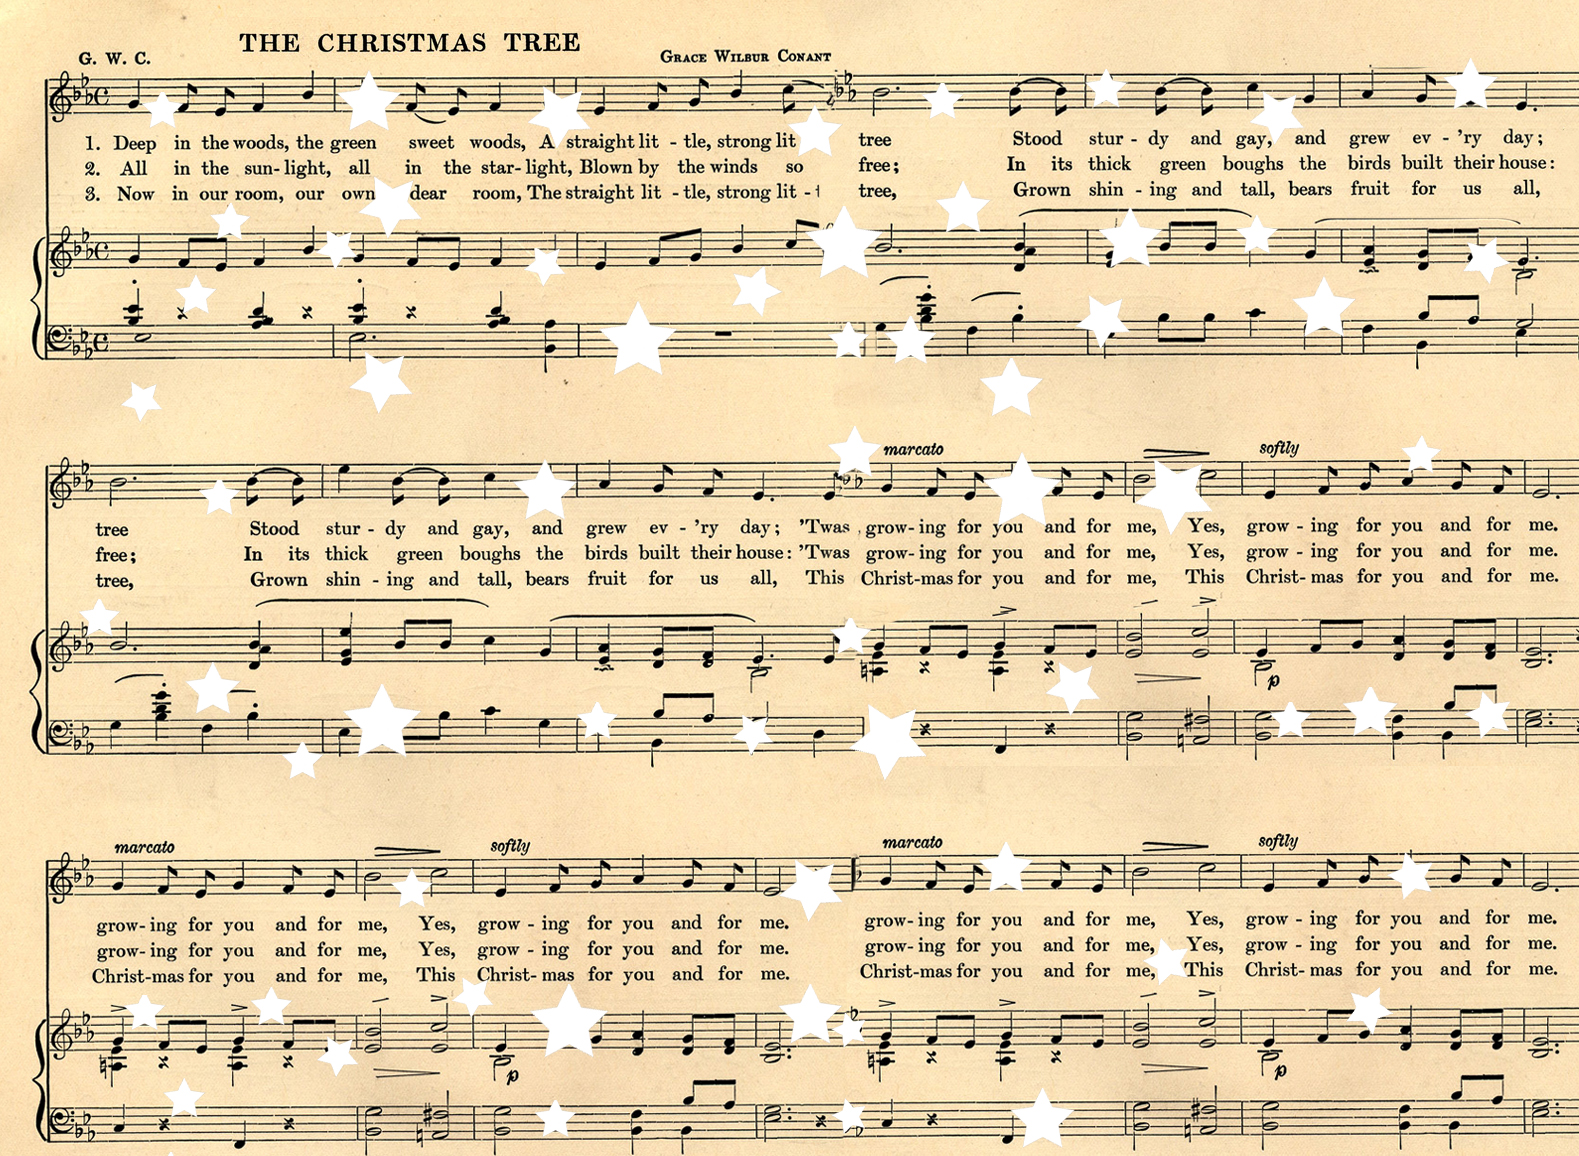
—-> Click HERE to Download the Full Size Printable PDF <—-
Supplies for DIY Christmas Luminaries:
- jars in different sizes (new or recycled)
- cardstock paper
- scissors
- ink or laserjet printer
- regular tape OR double sided tape OR a glue gun
- gold acrylic paint
- brushes
- small sharp scissors (I used a cuticle scissors) OR an X-Acto (craft) knife – to cut the stars
- a self healing cutting mat (if using the craft knife)
- a black pen or marker (to highlight the stars)
For decorating:
- a glue gun
- small greenery clippings
- jute twine or white twine or natural Raffia
- small pine cones
- small red marbles, faux cranberries (dry brushed with gold paint)
- small Christmas tree ornaments
- other small Christmasy embellishments
For using:
- tealight candles (For safety reasons we recommend Flameless LED Candles)
Please don’t be intimidated by the long list of supplies or by the instructions, these Christmas Luminaries DIY are actually quite easy to make.
Let’s get started!
Easy Step by Step Tutorial:
1. Gather your supplies and print your sheet music. Depending on the sizes of your jars and how many luminaries you are planning to make, print one or more printables. Just to give you a starting point, I used two printables to decorate three jars.
2. Use your scissors to remove the white excess paper from the margins so you will only have a beautiful vintage sheet music with stars.
3. Measure the height of one of the jars to determine how much you will need to cut horizontally. Because we are not completely gluing the paper, but wrapping it around the jars, you will have to find the ‘perfect’ cylinder shape that looks the most appealing on your jar, leaving a small part of the jar uncovered on top (for decorating). Make a mark and cut to size using the lines of the staff as your horizontal guide when possible.
For our vertical cut, wrap your jar in the paper cylinder again and if the margins are overlapping too much, cut them so you will only have about 0.4 Inch (1 cm) extra paper. Follow the same steps for all the jars you plan on decorating.
4. Use your small scissors or your craft knife to cut out all the paper from the interior of the stars. Don’t worry if the stars are not perfect, this is a handmade project after all. Even though it might look like a tedious work at first, I actually had fun cutting all these little stars! And when you will see the final results, you will agree with me that it was a time well spent!
>>>DIY Glowing Stars Luminaries PDF<<<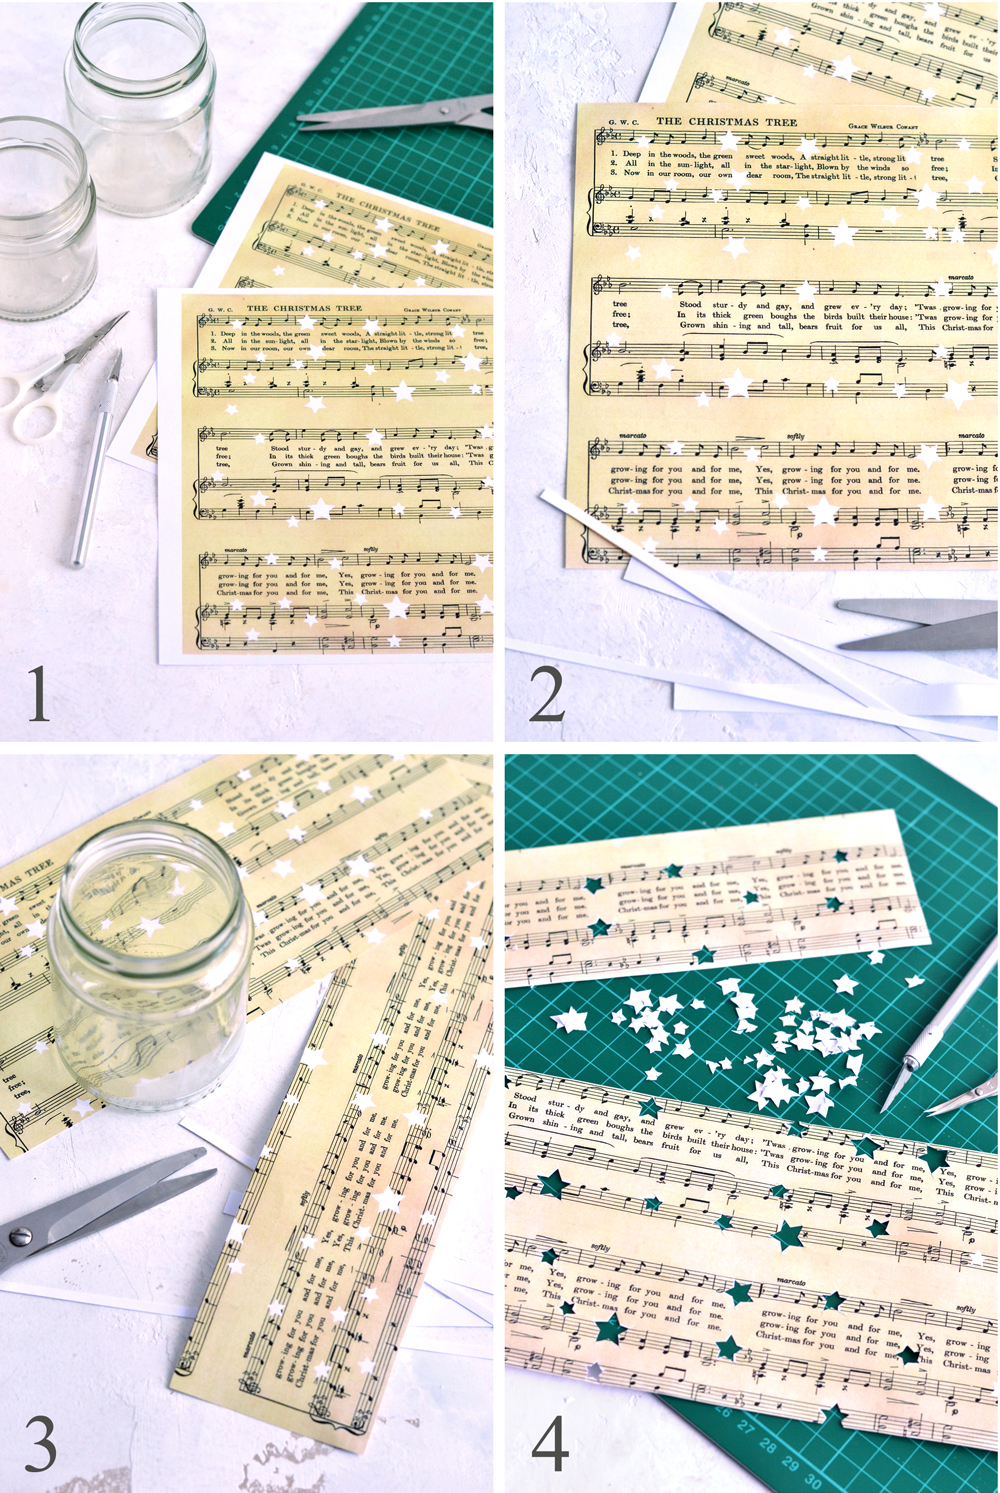
5. Paint your jars using gold acrylic paint. We don’t want to completely cover the glass, but more to give it a nice translucent metallic look, so you will only need a small amount of paint.
6. You can add some more gold paint on the paper too, just apply it here and there using a brush or a painting knife for more accentuated metallic highlights.
7. Put a piece of paper under your cut to size sheets and using a black marker or a pen, trace the shape of each star, creating a black border. Again, don’t worry if the stars are not ‘perfect’, they will look amazing on the jars afterwards.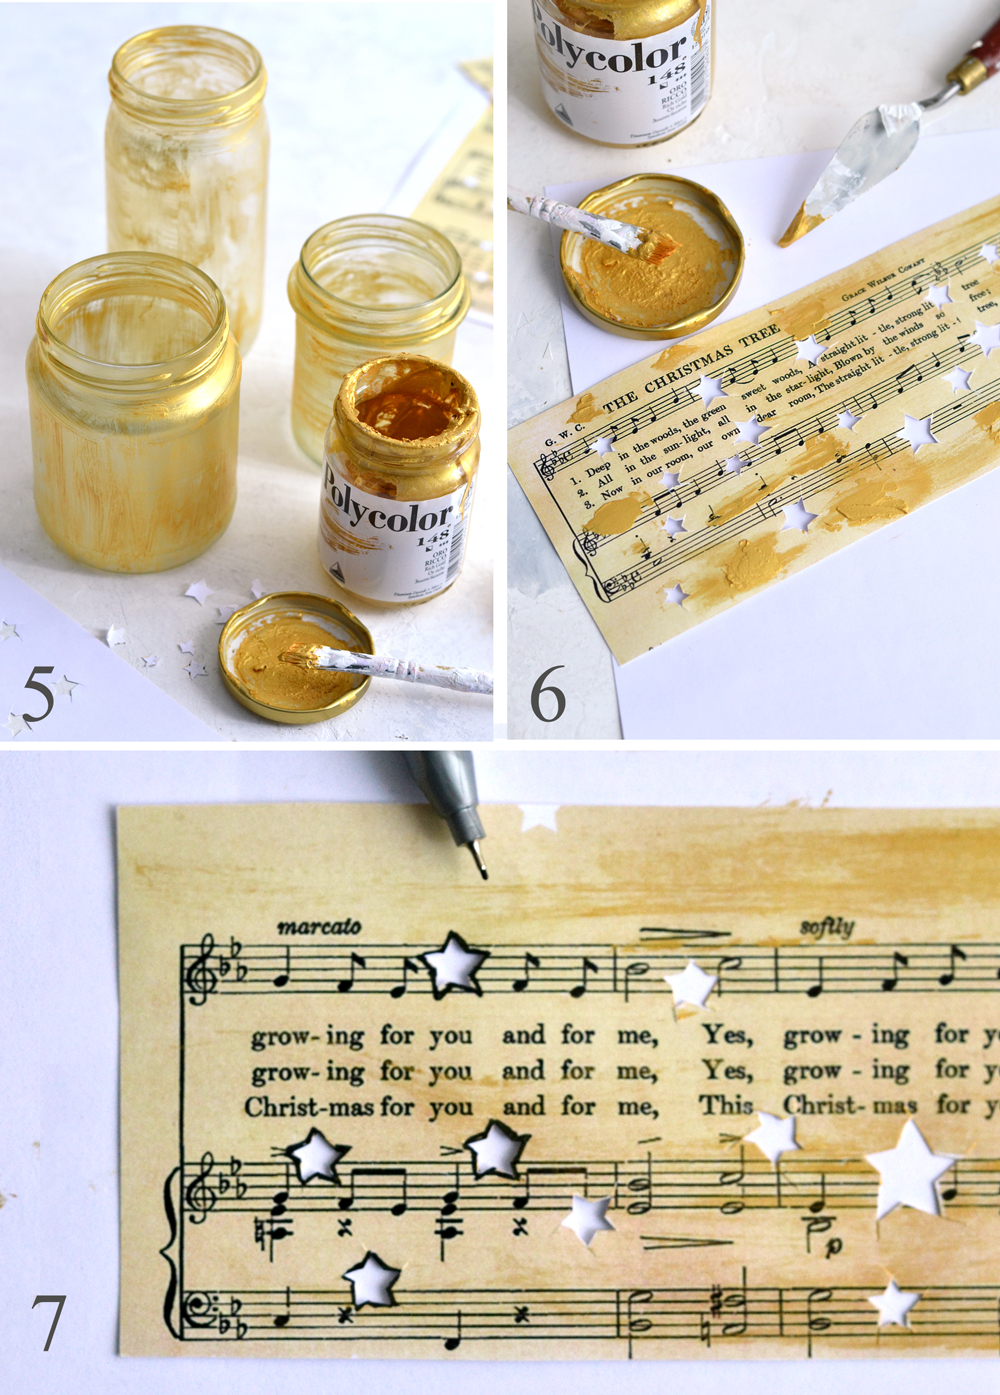
8. After the paint has dried, wrap the paper sheet around its corresponding jar and secure one of its margins directly on the jar. I used regular duct tape and I applied several horizontal small pieces that I placed on the jar and over the paper – this way the paper will hold on place and will not move or slip from the jar afterwards. You could also use a glue gun or double sided tape.
9. Now overlap the other margin of paper and secure it again with duct tape on top of the paper or with a glue gun/double sided tape underneath. Try not to leave too much excess paper while overlapping, especially if you have some stars there.
10. Follow the same steps for all the jars and then take a short break just to admire your work! This is a must! 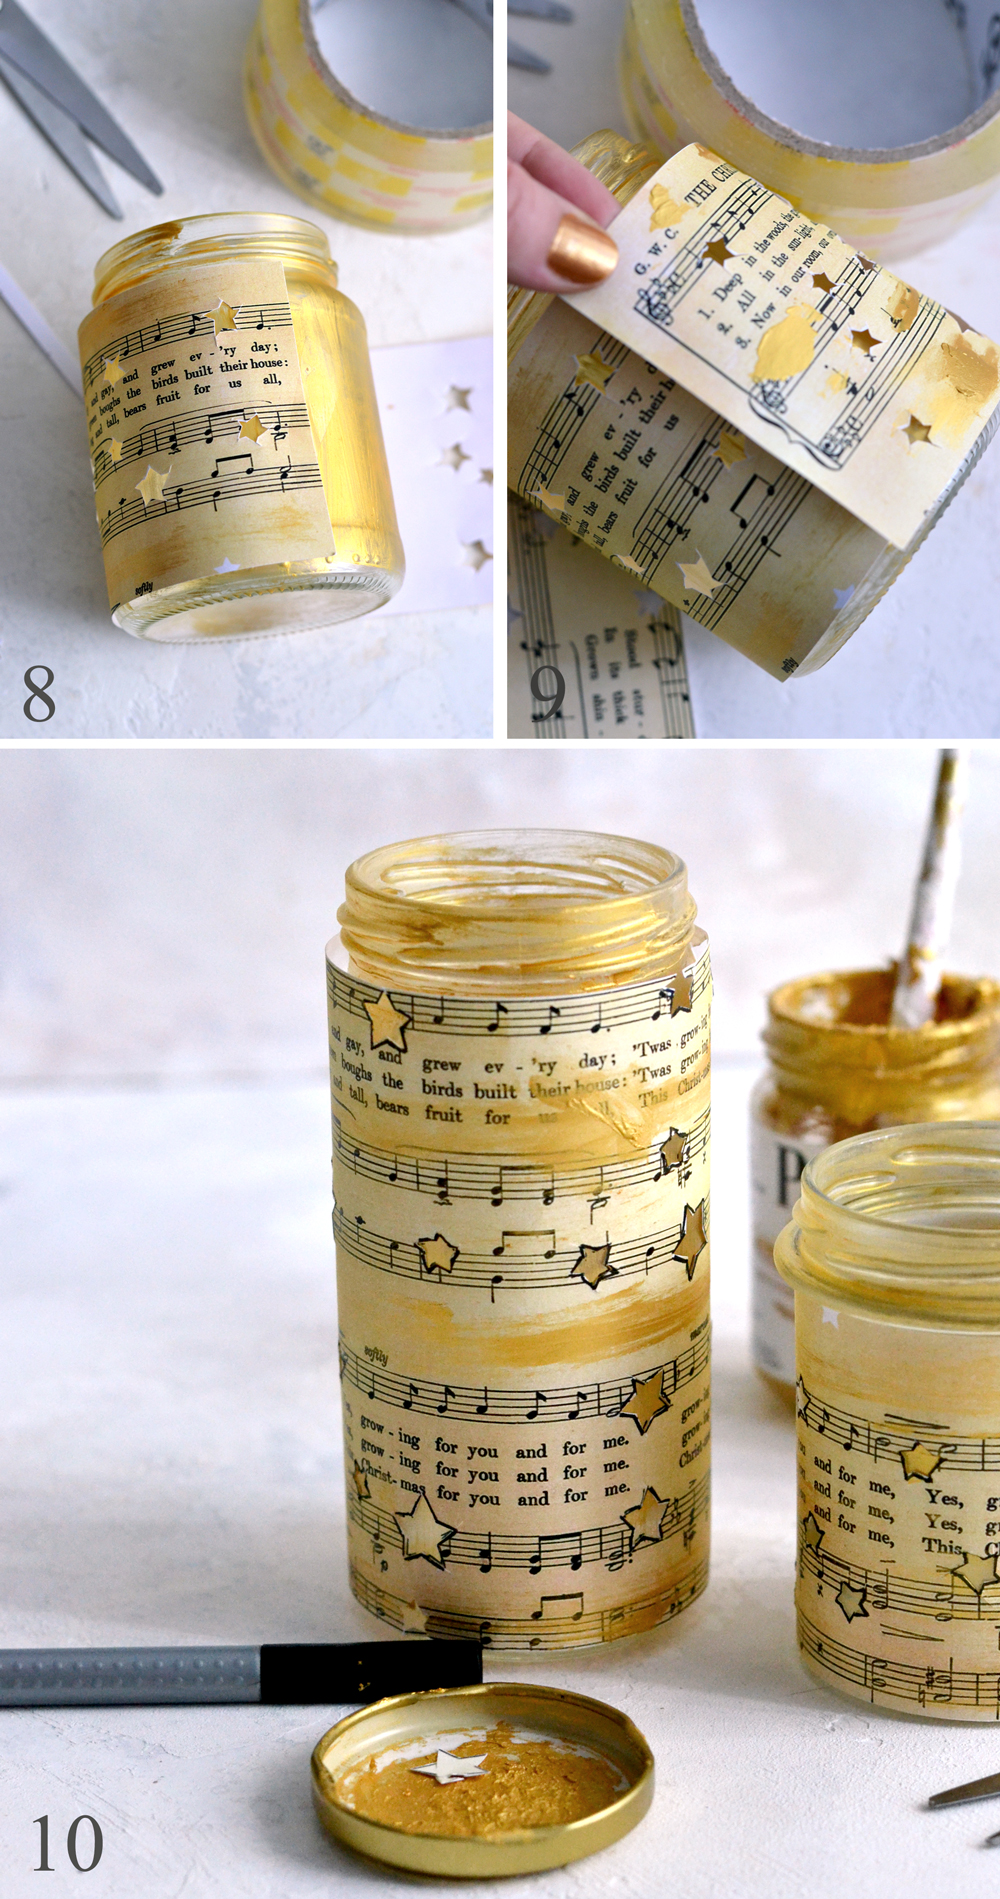
Now let’s move to the next chapter of this story – the luminaries need just a little bit more magic! Try working in ‘layers’ and use whatever you have on hand to further embellish them.
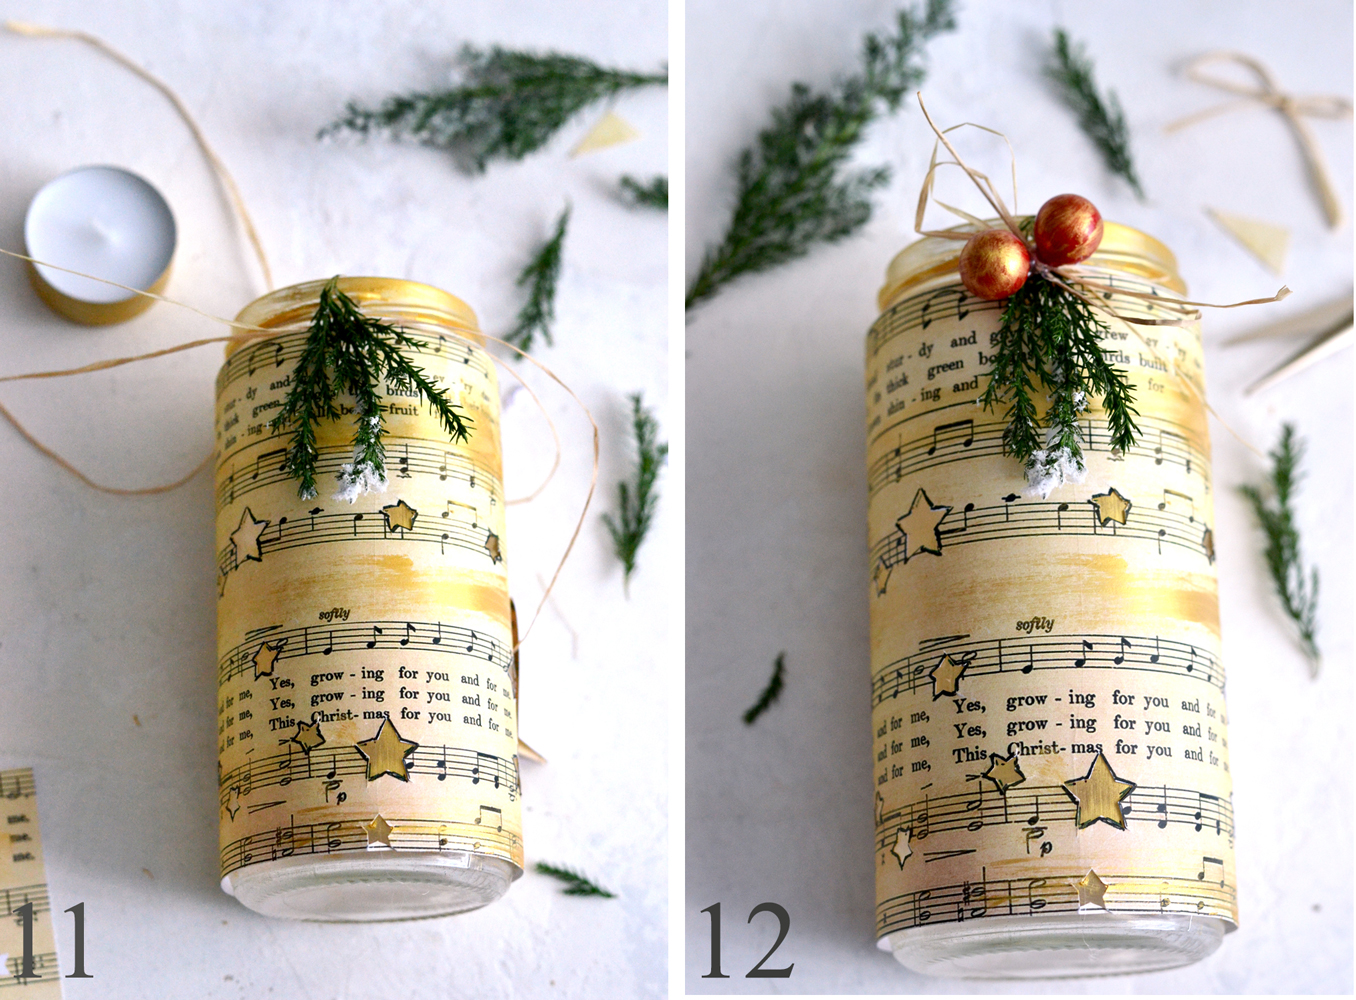
11. I wrapped some Raffia ribbon around the neck of the jars, I tied a knot, then I used my hot glue gun to add some greenery on top of that knot.
12. I hot glued a small Raffia bow on top of the small pieces of greenery and some small red marbles, as faux berries, that I previously dry brushed with some of that chic metallic gold paint. You could add a couple of pine cones too!
This is the part when you can get really creative and turn these beauties into spectacular home decor items for Christmas! You could also swap out the twine for decorative ribbon or sprinkle glitter on the outside of the jar too.
Your lovely lights are now ready to fill your homes with joy! 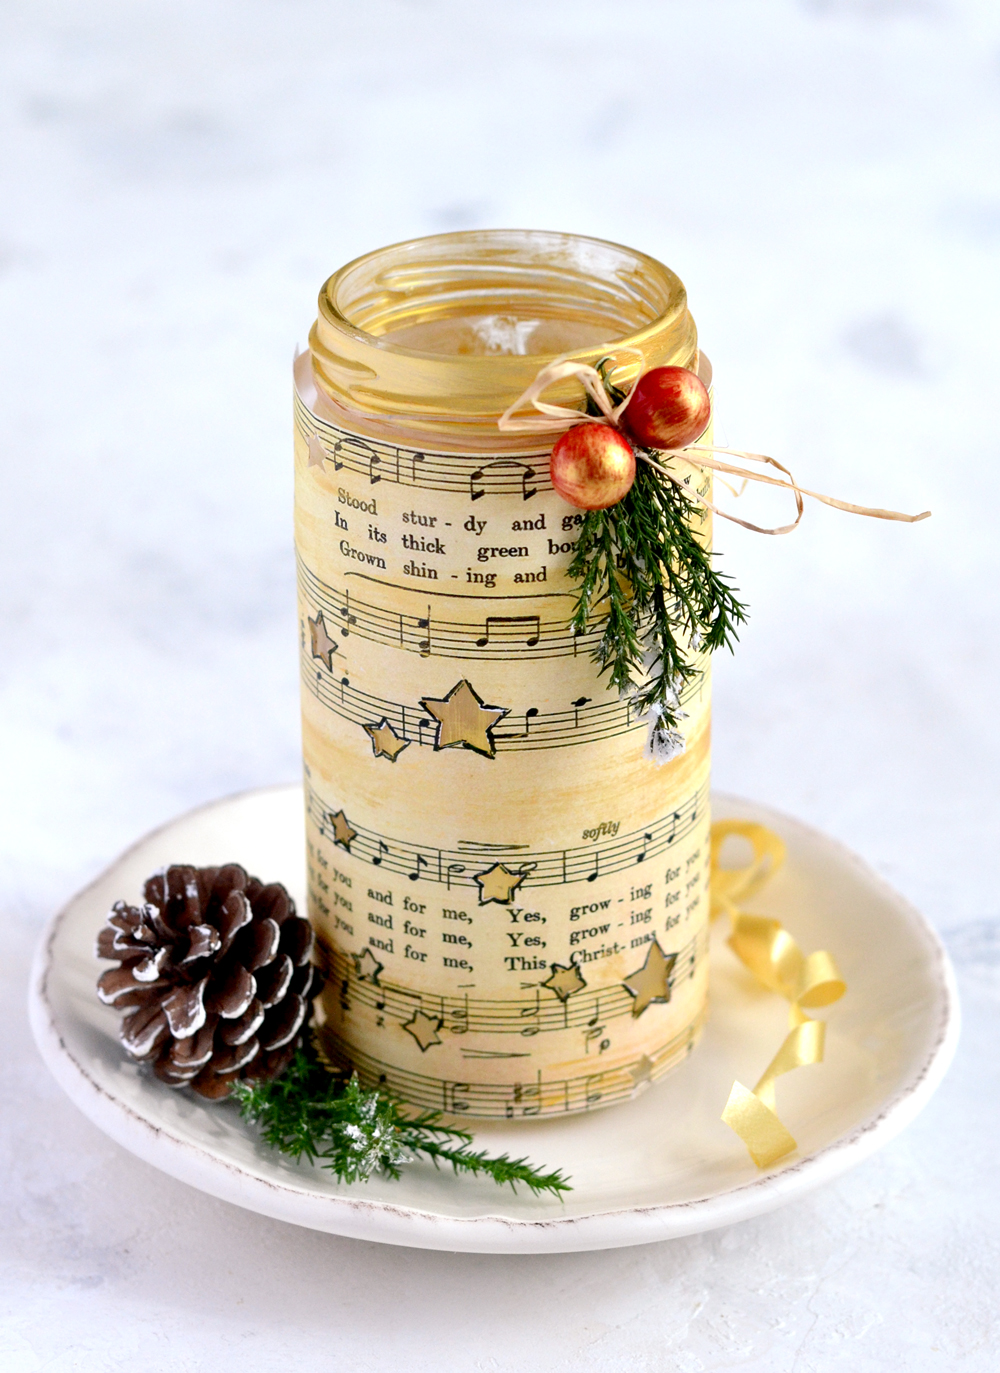
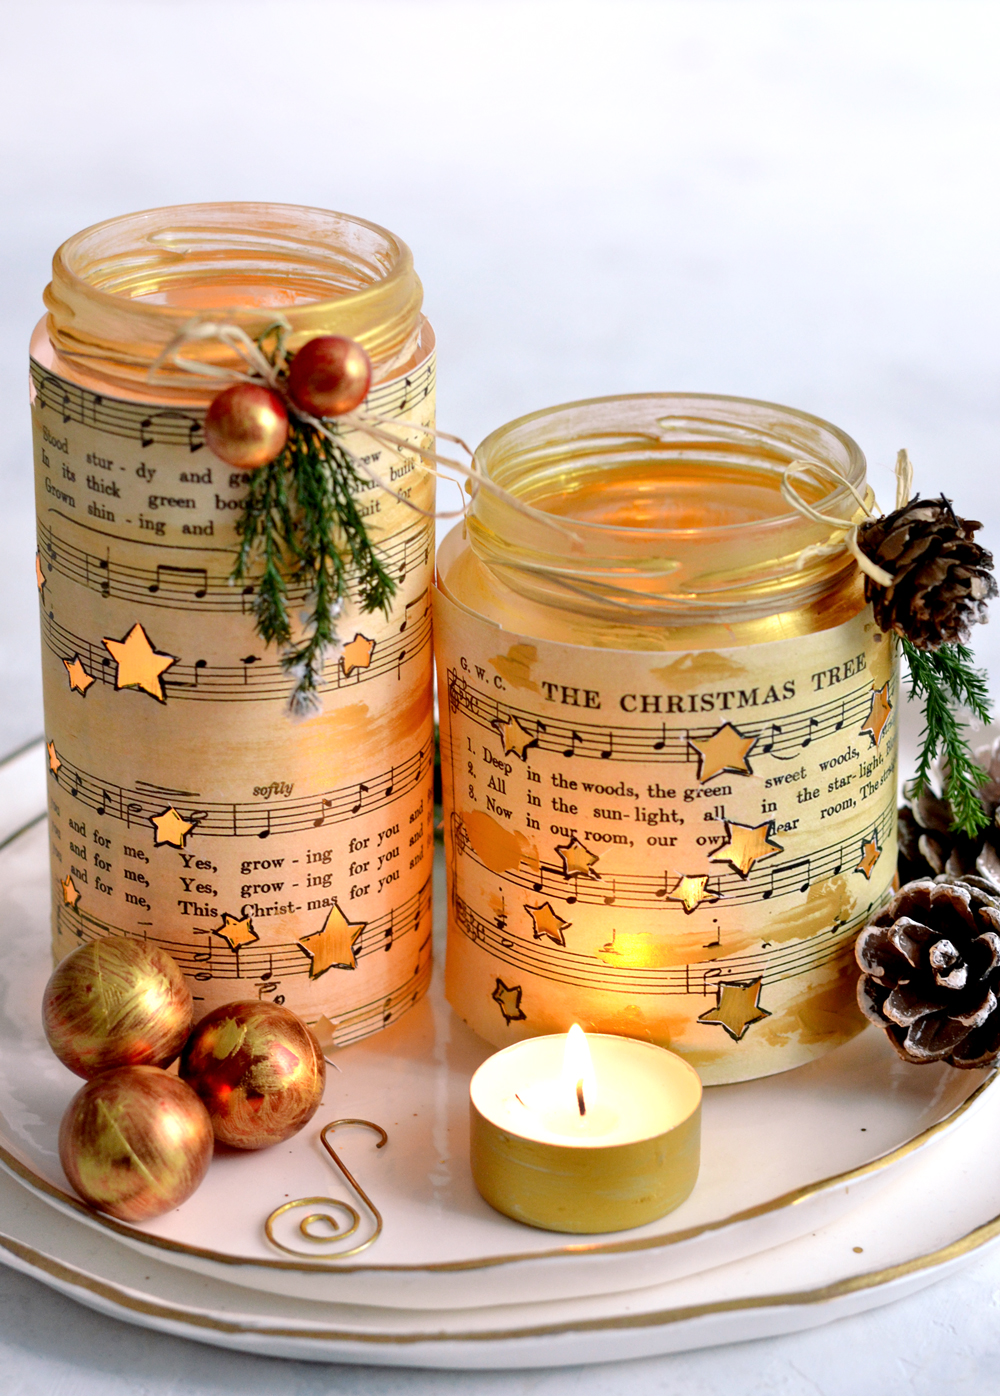
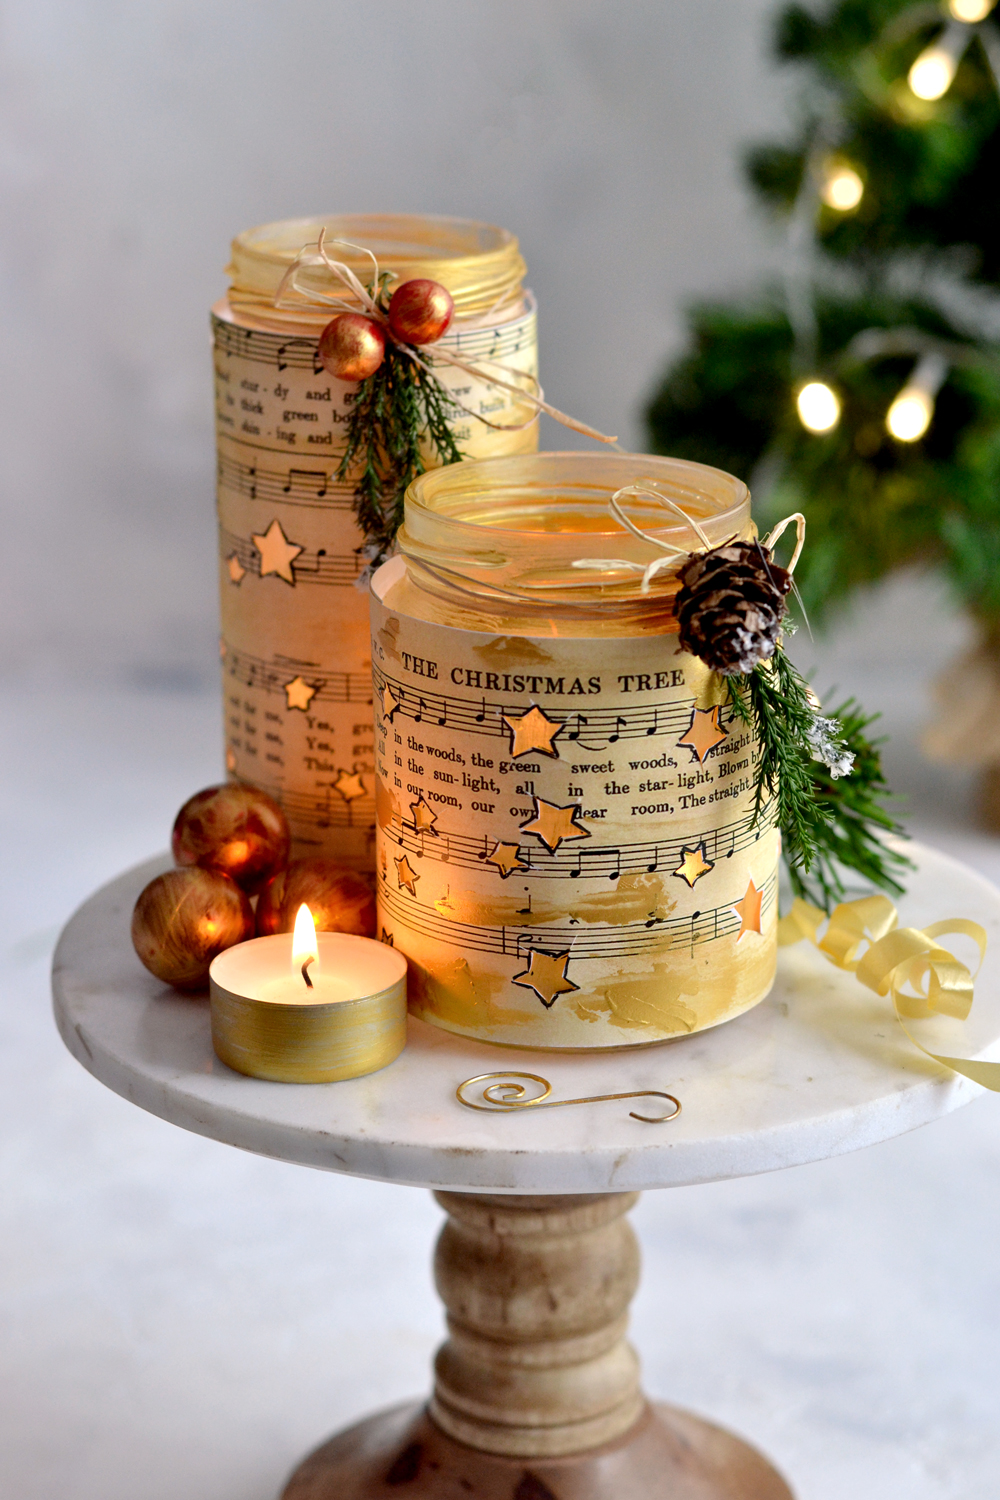
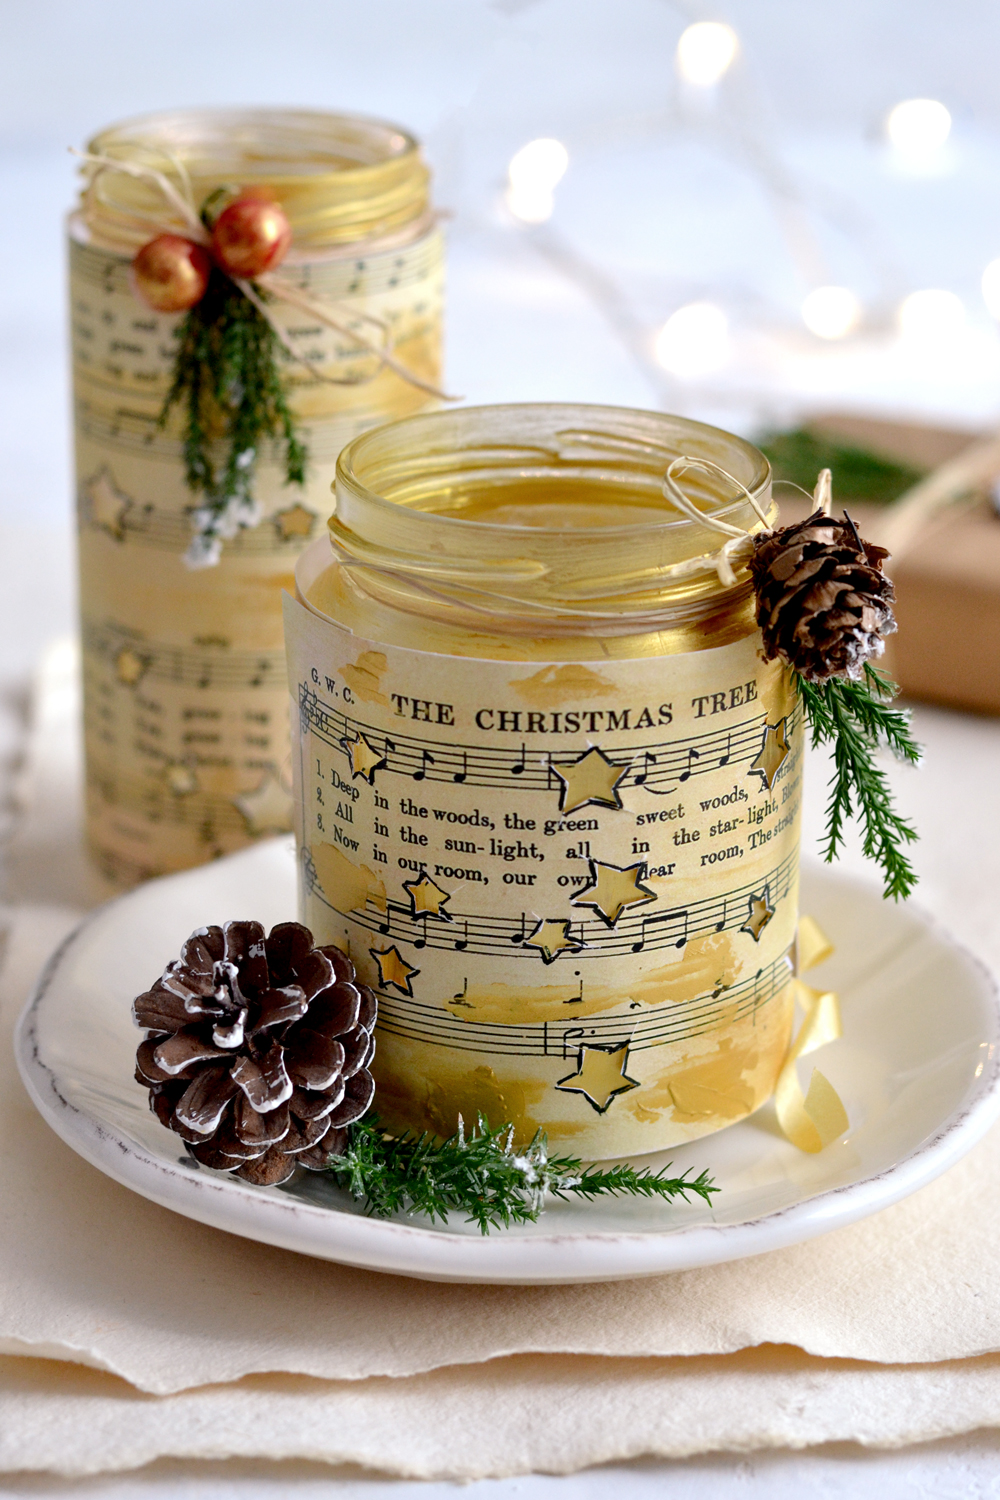
Don’t you just love their simple, yet sophisticated look? The gold somehow manages to take them to the next level, making them even more elegant! And because of their cylindrical shape, you will see how natural light that you have in your home during the day will create beautiful metallic highlights when touching the gold paint. Simply wonderful!
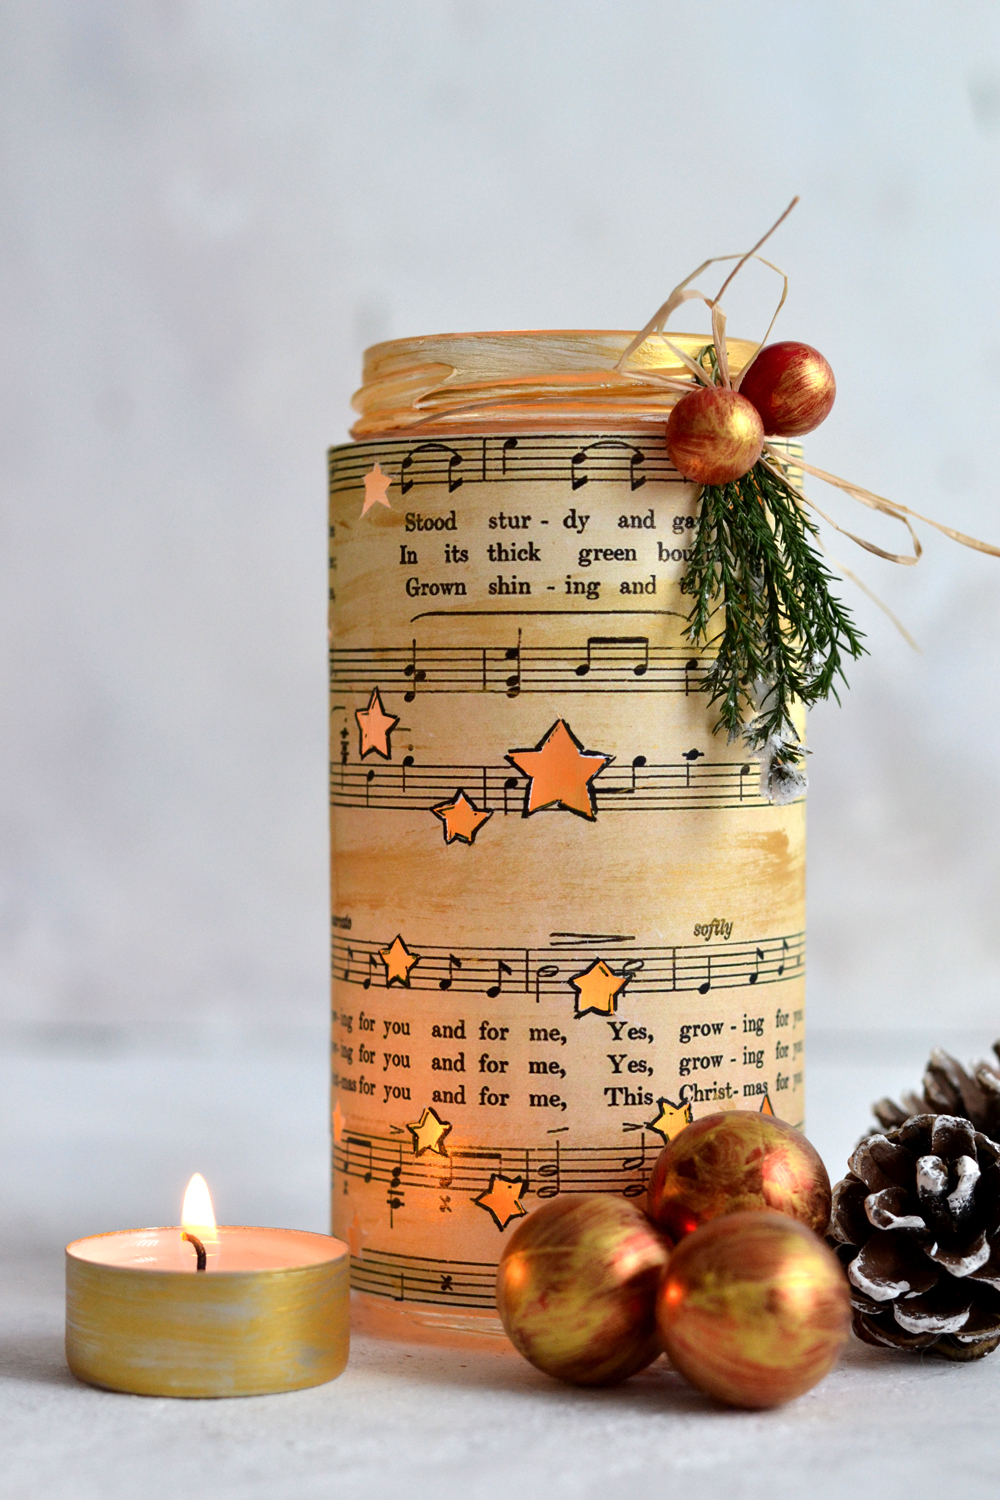
And when you add a tealight inside the jars you will get an almost completely different look! New metallic highlights, accents and shades are brought to life and the stars will start to glow and sparkle! How amazing is that!?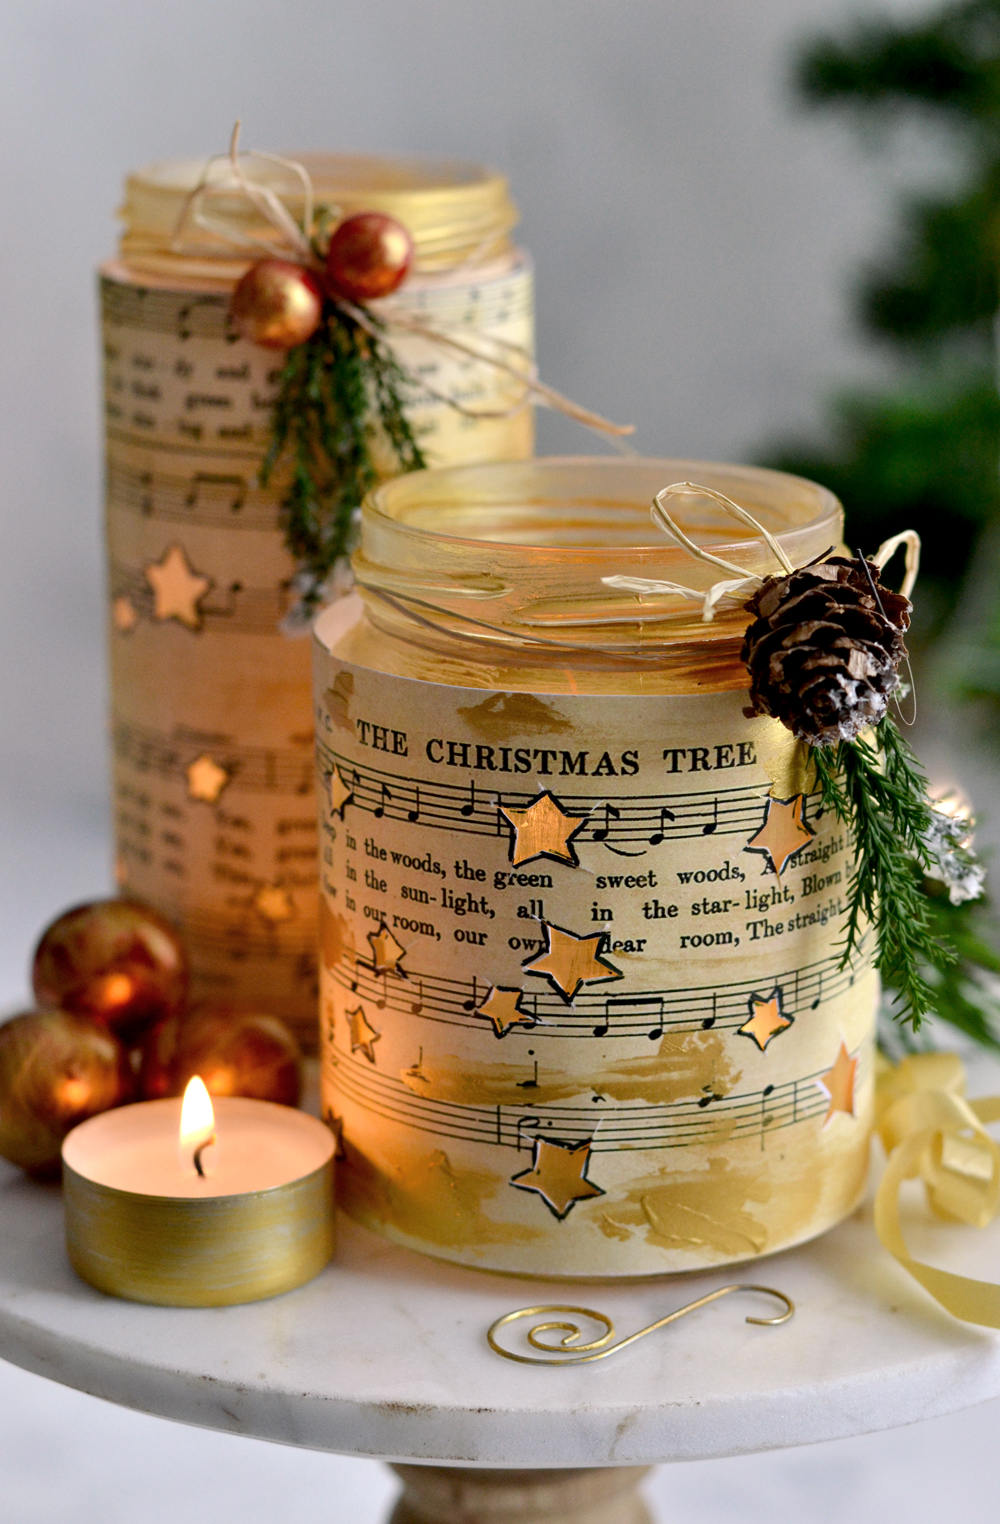
As the day goes by and the night slowly settles in, you will get more and more stunning effects. All these sparkling little stars will bring so much warmth to winter nights, especially around Christmas!
And as it turns out, watching the stars sparkle can be quite relaxing too! Especially while cozying up under a blanket… and sipping your favorite tea latte!
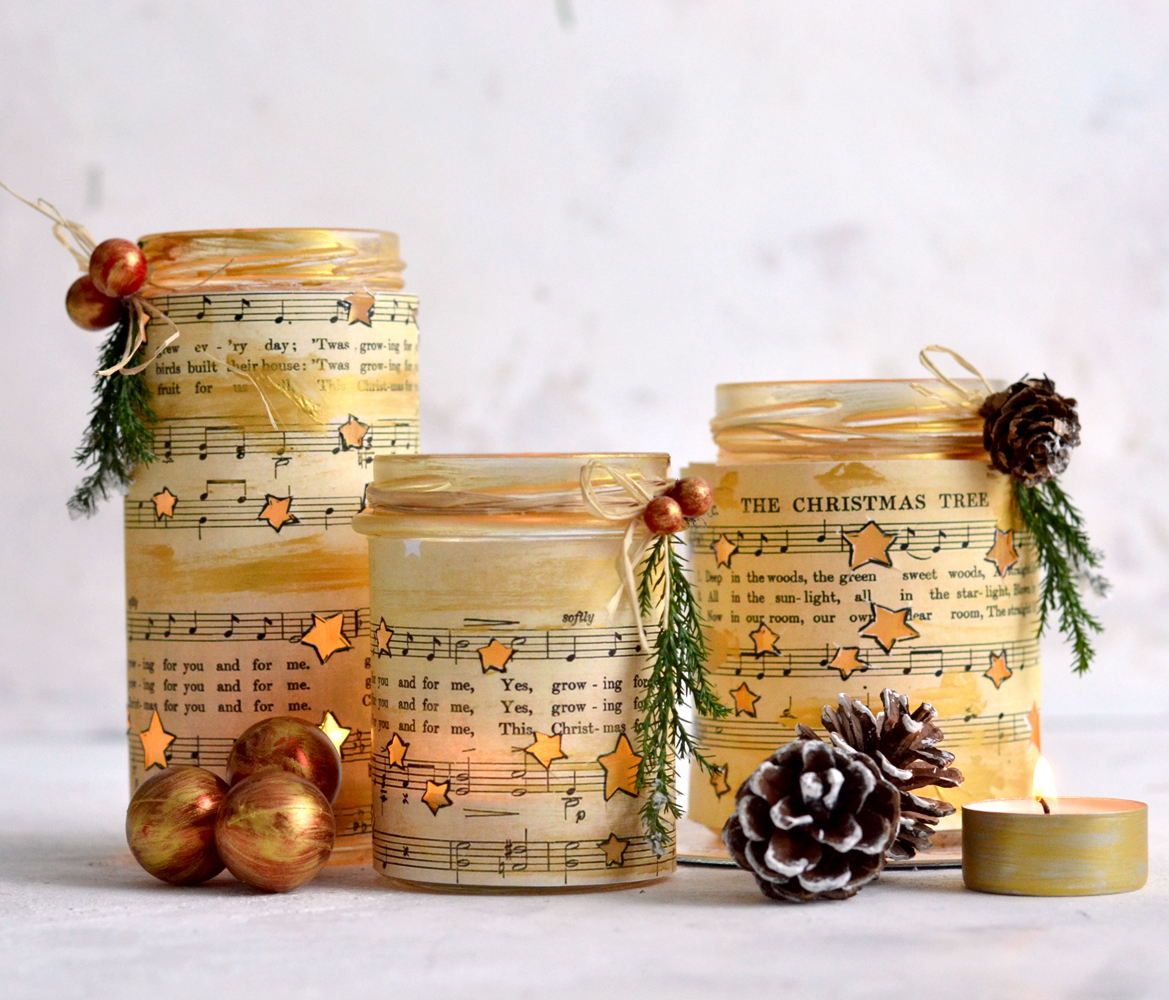 The DIY Christmas Luminaries can be used on their own, but you can definitely put your creativity to work again and mix things up a little bit. Use trays, ceramic plates or cake stands to create visually appealing vignettes, perfect for decorating your home for the holidays! Add highlights using more of that gold acrylic paint on other Christmas related items to match the whole concept. You can even paint the metal cup of the tealights with gold and add them to your vignettes, there are endless possibilities here!
You have plenty of time to make this magical project for Christmas, I really hope you will give these Christmas Luminaries DIY a try! You might also enjoy my Vintage Christmas Paper Cones HERE or my DIY Vintage Gold Gift Tags HERE.
Happy holidays!
Diana – Dreams Factory



FG says
What an utterly charming Christmas carol. I am saving off the song, whether or not I do the project. : -) And talk about the written beauty of poetical words: the words chosen make the candle beautiful, just capturing the attention with a glimpse of woods and trees. Love it.
Karen Watson says
Hi FG, yes feel free to use the ephemera however you like!
Binder says
Question – has anyone had any issue with smoke from the candle settling inside the jar? Thank You
Karen Watson says
I would definitely recommend using flameless LED Tealight candles. I’ve linked some in the supply list. They look so real, give off a wonderful glow and you do not have to worry about fire or smoke.
Cathy V says
Love this, will make them next Christmas but will also use the same idea with different themes!
graphicsfairy says
So glad you like them Cathy 🙂
Bonnie says
Thank you, Graphic Fairy, for a wonderfully inspiring site. Each week is a delight.
Merry Christmas and wishes for a creative new year.
graphicsfairy says
Thanks so much bonnie, Happy New Year to you and I hope your Christmas was wonderful!
Dorothy says
These are absolutely gorgeous! Even though I don’t have time to make them before Christmas this year, I’ll make them before New Years. Thank you!
graphicsfairy says
Thanks Dorothy, I hope you enjoy making them, Happy New Year!
Ardith says
Diana, these are lovely, thank you for sharing them along with the printable and instructions. Merry Christmas to everyone here at Graphics Fairy. Cheers, Ardith
graphicsfairy says
Thank you Ardith, Merry Christmas!