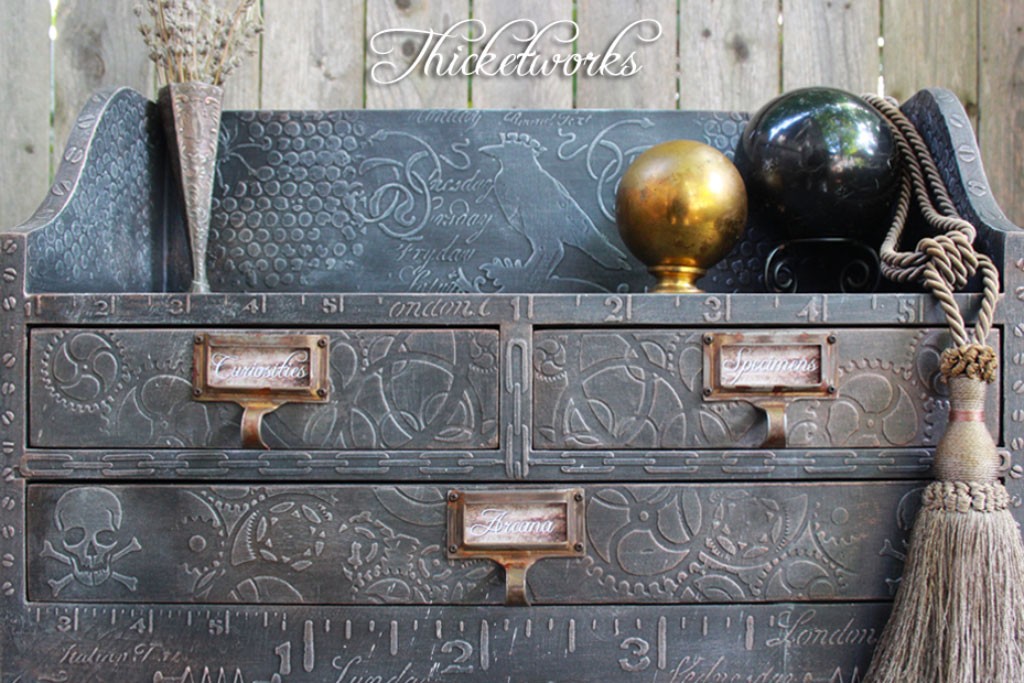
Hey there, it’s Heather from Thicketworks…here with a new home decor project – a DIY Steampunk Pirate Chest!
The awesome folks at Heirloom Traditions Paint have provided the products for this project, and have sponsored this post.
Fall always signals intense colors, darker palettes, and layers of things: clothes, leaves, steampunk finishes…ok – so maybe not that last item.
But, this project is right at home in an autumn themed table-scape. It can enliven your Halloween Decor – It’s a natural fit for Fall.
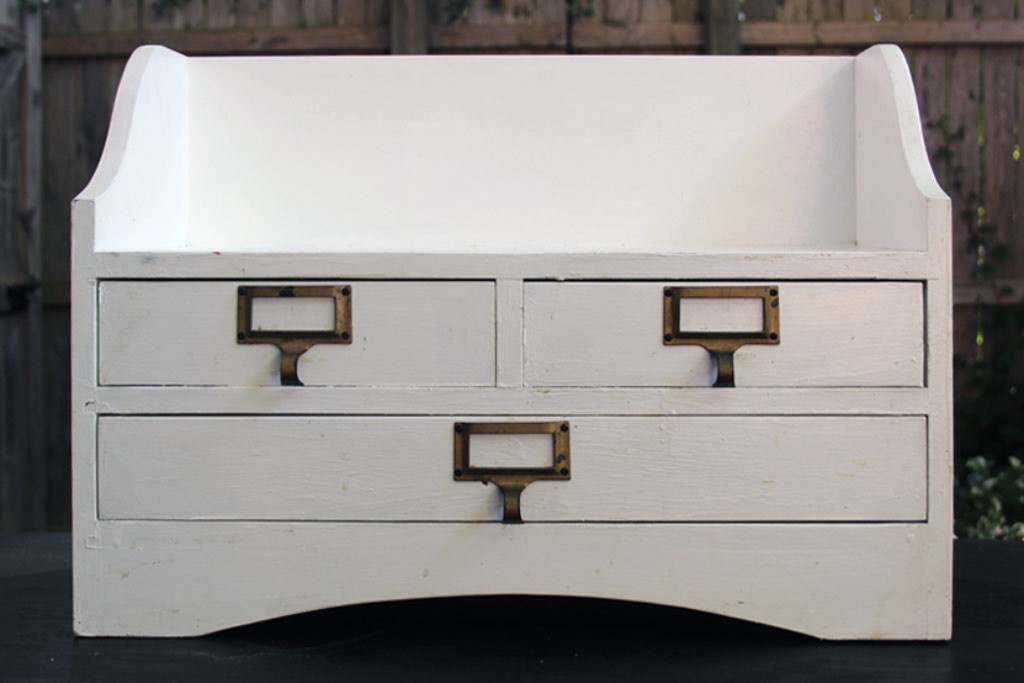
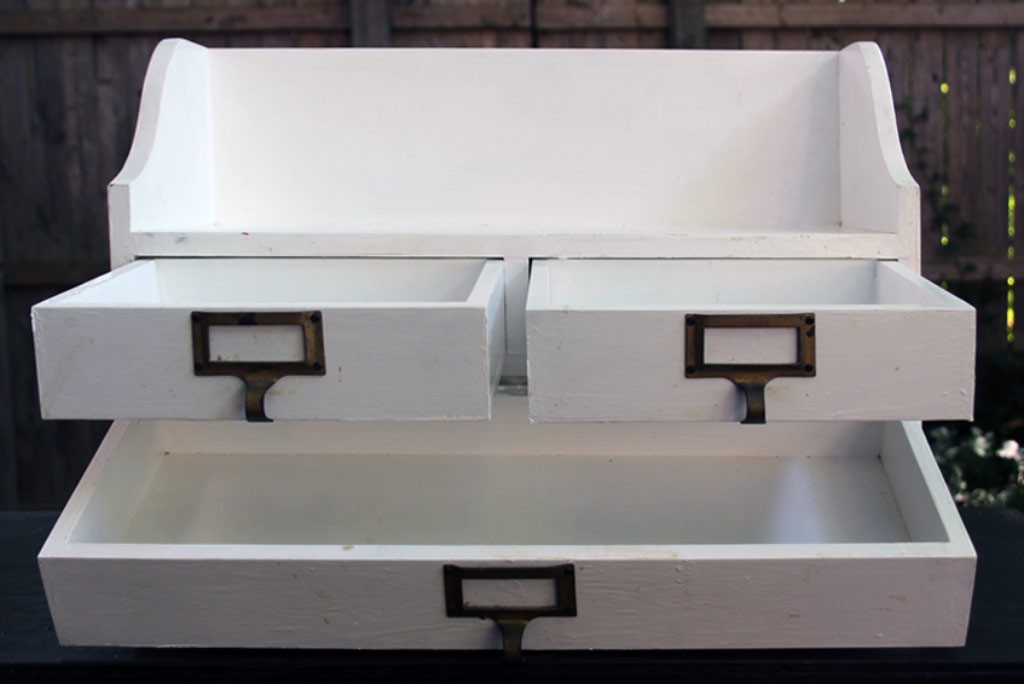
Picked this little guy up at the thrift store. He was coated in lumpy latex (ugh) and his drawers were stuck because of it. (No latex on drawers – if it’s not a law, it ought to be!)
Aside from that, the construction was solid, and those drawer pulls alone were worth the price of admission.
A few simple materials, and we’re on our way to this Steampunk Transformation:
- A work surface that can take a few drips of paint without ruining your day
- A Screwdriver
- 220 Grit Sandpaper
- Optional: electric sander
- A damp rag
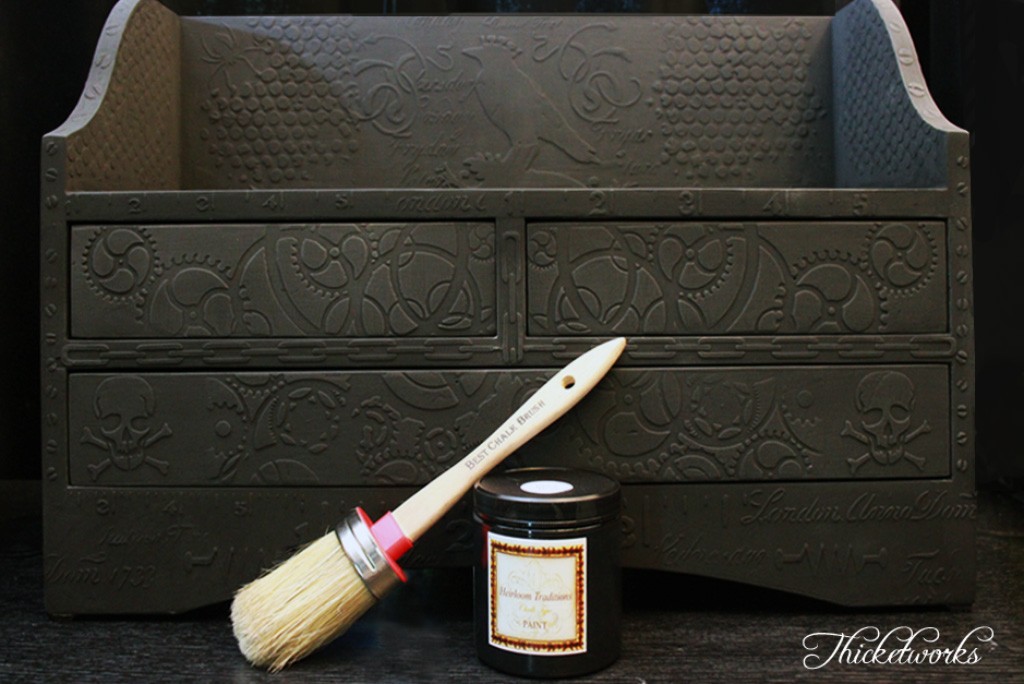
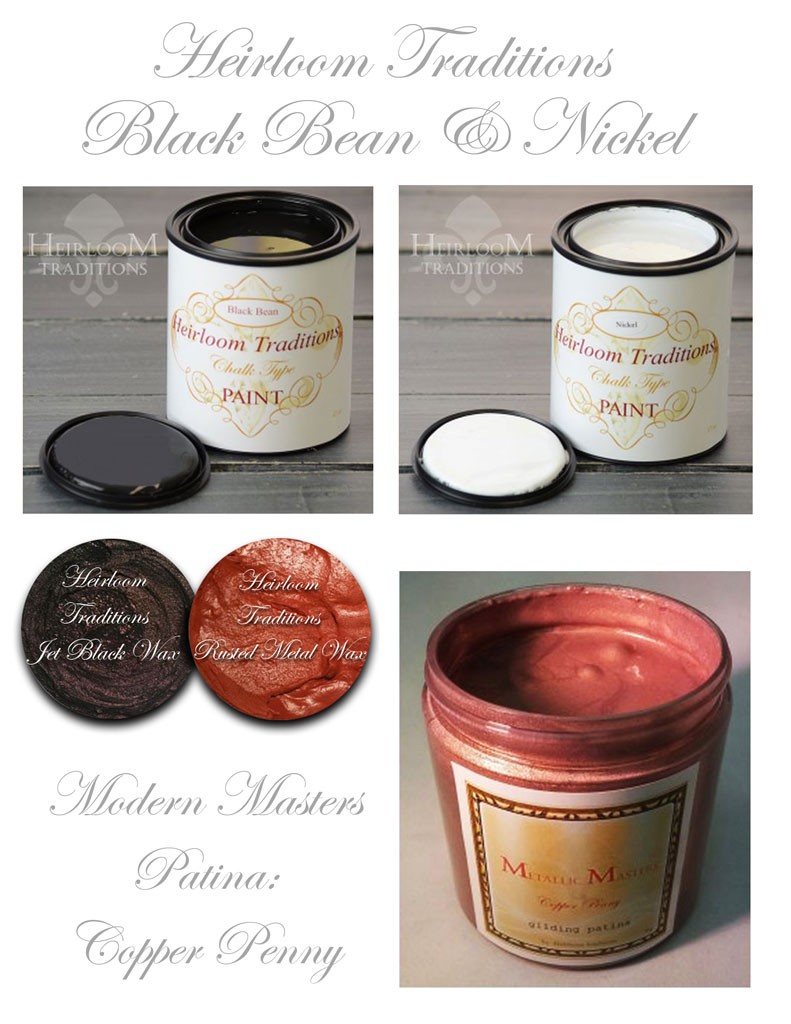
- Heirloom Traditions Chalk Type Paint in Black Bean
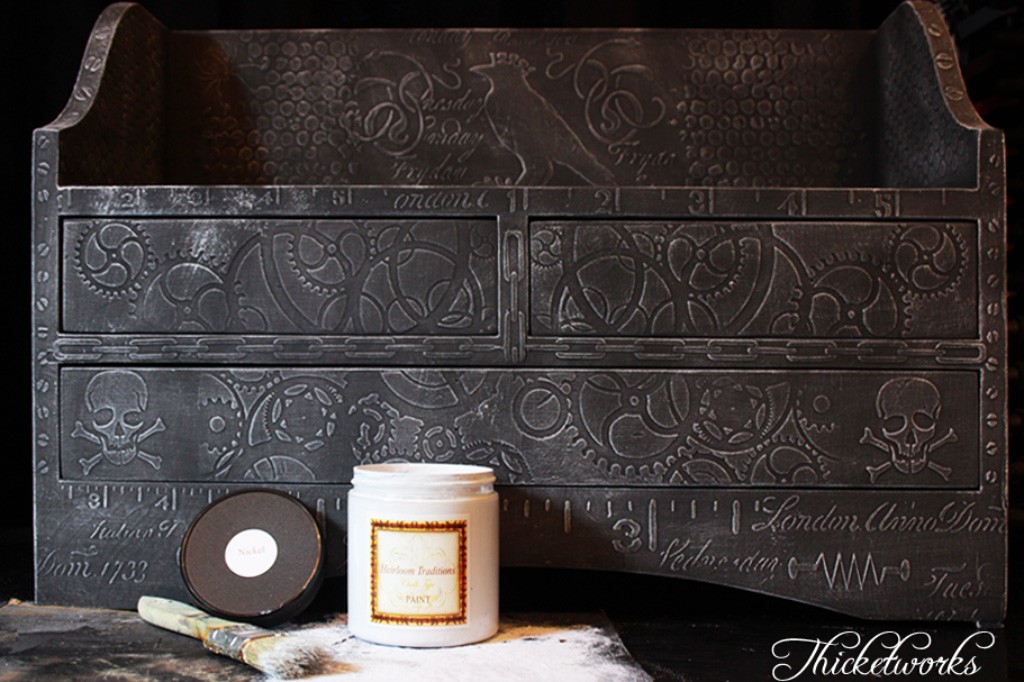
- Heirloom Traditions Chalk Type Paint in Nickel
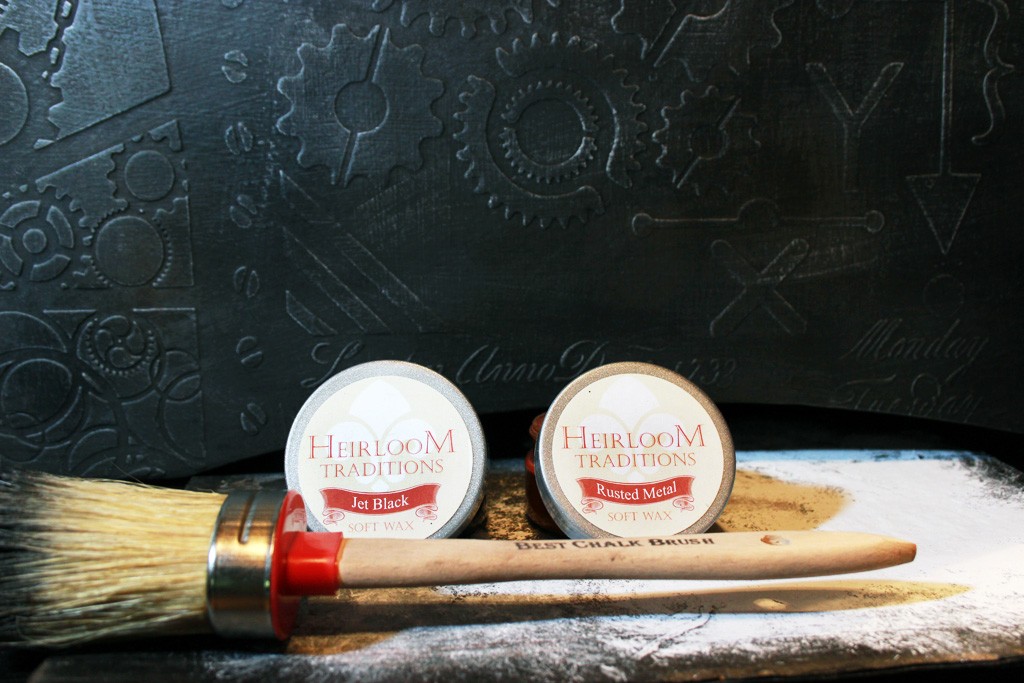
- Heirloom Traditions Jet Black Wax
- Heirloom Traditions Rusted Metal Wax
- Medium Oval Paint & Wax Brush (Best Chalk Brush)
- Rags made from old white T-Shirts for buffing the waxes
- Heirloom Traditions Metallic Masters Gilding Patina in Copper Penny
- Sea Sponge
- Heirloom Traditions 1Gel Transfer Medium & Decoupage
- Ordinary small paint brush, for the 1Gel application
- Joint Compound for texture stenciling (from the hardware store)
- Palette Knife
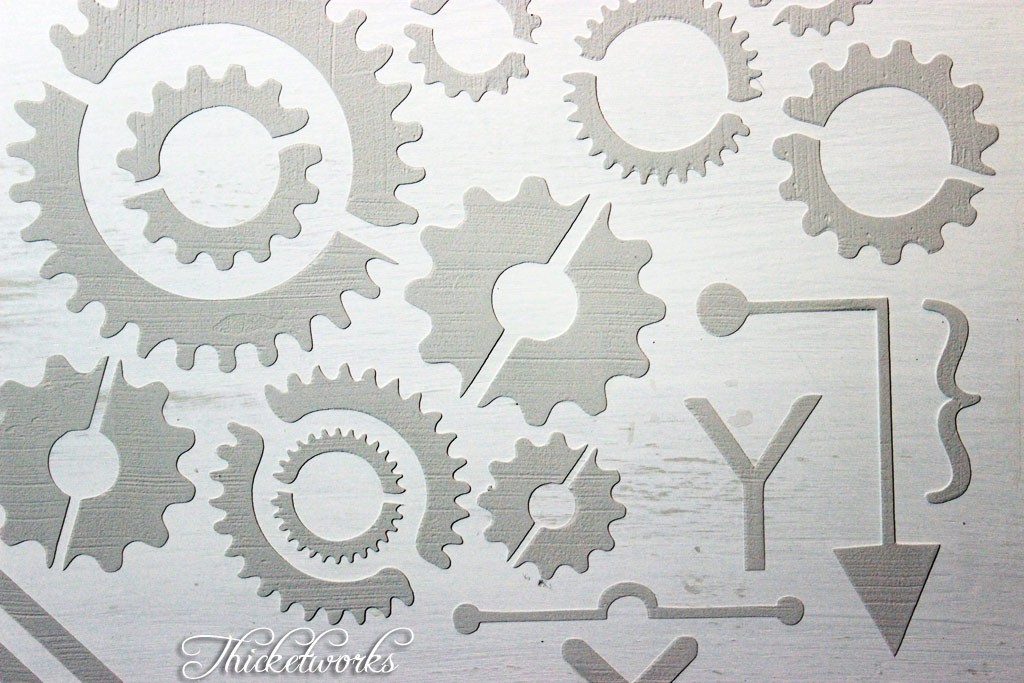
- Stencils (I designed and cut the stencils for this project using my eclips by Sizzix)
- Light Adhesive Spray Glue
- Emery Sponge Block for smoothing the surface of the Joint Compound
- Chip Brush for dry brush technique
- Optional: Scrapbook Paper for lining drawers
- Aleene’s Tacky Glue, for gluing in the Scrapbook Paper
1) Begin by sanding the surface in order to smooth out any less-than-perfect previous paint jobs. This will create ‘tooth’ for the stenciled motifs to adhere to. If using an electric sander, wear eye protection and a dust mask, pretty please!
2) Wipe down with a damp rag in order to remove any remaining dust and grime.
3) Create your design with stencils. Easier said than done, I know. Just experiment, have fun and try different configurations until you’re smiling.
For a design this complex, consisting of multiple stencils, I recommend lightly adhering the stencils to the furniture surface with a dusting of spray adhesive and working in sections – just to keep things tidy.
4) Spread an even(ish) coat of Joint Compound through the stencils. A large palette knife is a great choice for this step. The goal is a fairly even coat about 1/16th of an inch thick. It won’t be perfect – and that’s ok.
5) Carefully remove each stencil and wash it off as you go. For a project this complex, plan on working in stages: one stencil motif added – allow it to cure, work on a different surface – move back and forth and around the design until all areas have been completed. The final stage of texture in this project represents two relaxed afternoons of stencil / cure, repeat. Tedious, but if you want good results, it’s worth it.
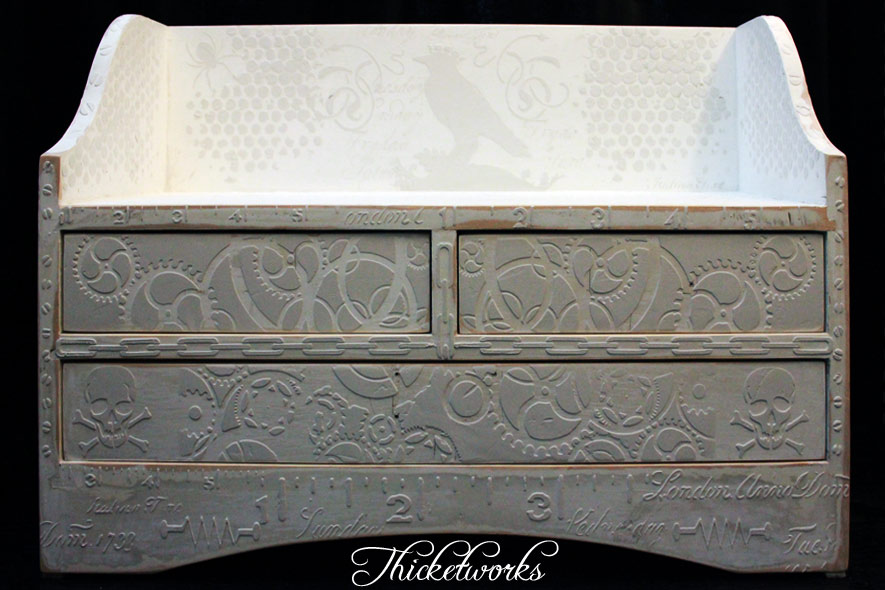
Once you’ve added all your motifs, the surface will look something like this:
6) When the final stenciled motif has cured, gently smooth the surface of all the patterns using an emery sponge block. This is best done out of doors – an amazing amount of dust will be created! I use a dust mask, so should you. Be gentle: the material is quite fragile at this stage. Don’t worry though – it gets tough once we seal it with paint.
The surface will be more uniform (but still not perfect) once you’ve smoothed it out:
7) Once you’ve wiped down the surface to remove all dust, cover the item with two coats of Heirloom Traditions Chalk Type Paint in Black Bean. Allow to dry thoroughly. (A heat gun can help with this process, if you’re impatient like me!) Once coated with paint, the raised textures are plenty durable for everyday handling.
8) Now, grab a chip brush and Heirloom Traditions Chalk Type Paint in Nickel. Dry brush the top surface of your stenciled motifs with the lightest possible touch of this contrasting paint. This really brings out the texture! It’s so satisfying to watch your carefully stenciled patterns take on definition…A few splatters of white here and there help disguise imperfections add character.
9) Once the dry brushed surface is completely dry, it’s time to add Heirloom Traditions Waxes in Rusted Metal & Jet Black. Using your Heirloom Traditions Best Chalk Brush, pounce the colors randomly across the surface, taking care to push them deeply into the debossed areas here and there.
10) While the wax is still moist, buff the surface with the white T-Shirt rags. Make sure to leave some of the wax lodged in the crevices, for a grungy/aged surface! The goal is to create subtle but distinct areas that are darker (Jet Black Wax) or rusty (Rusted Metal Wax).
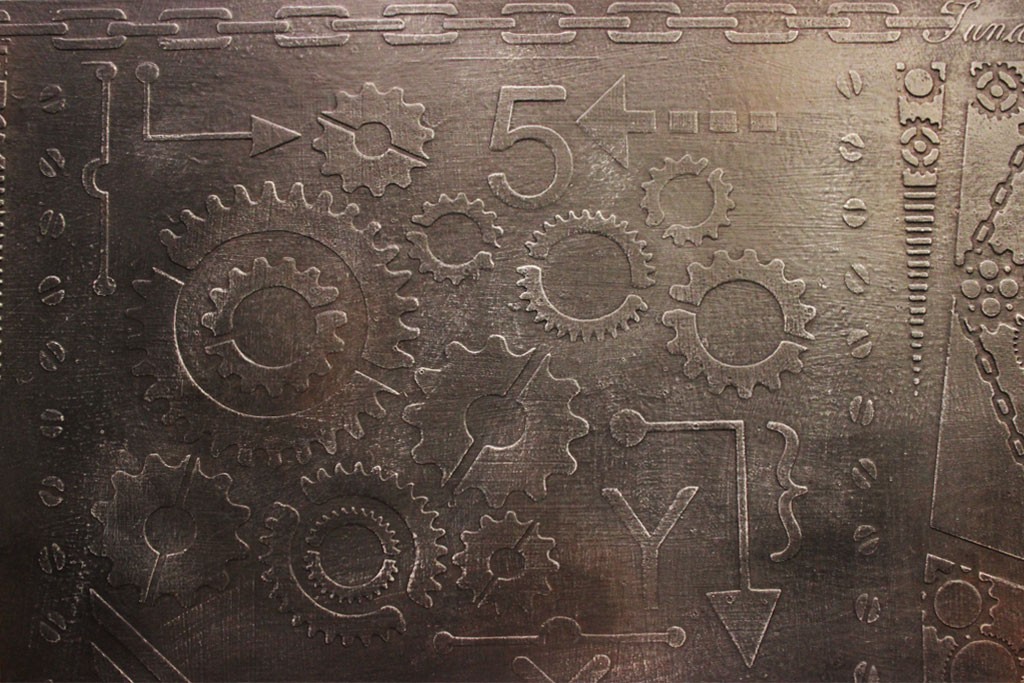
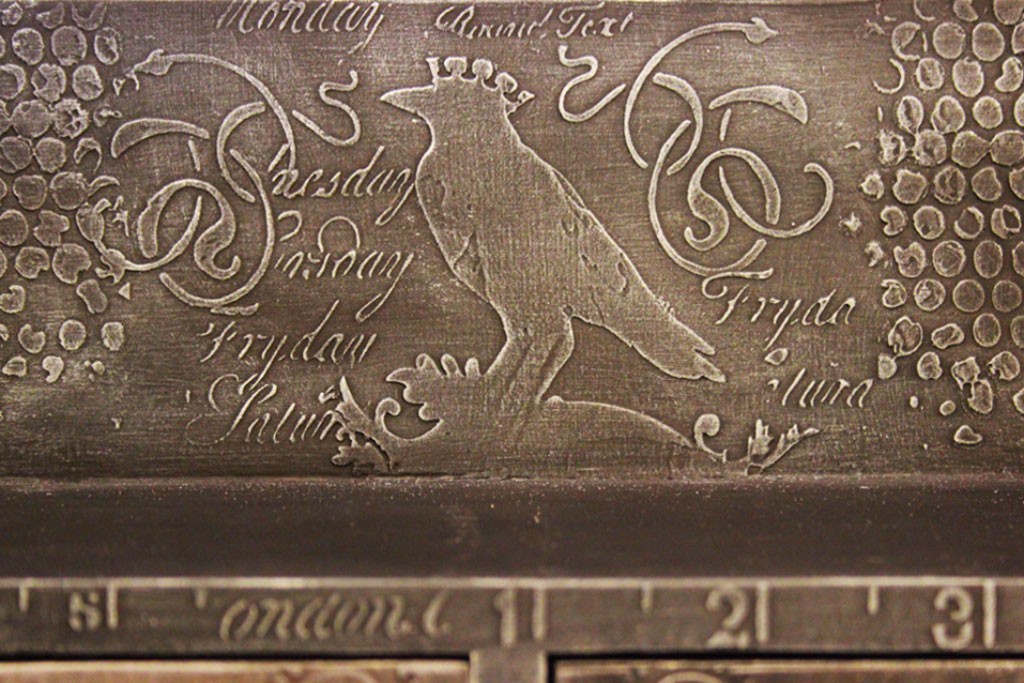
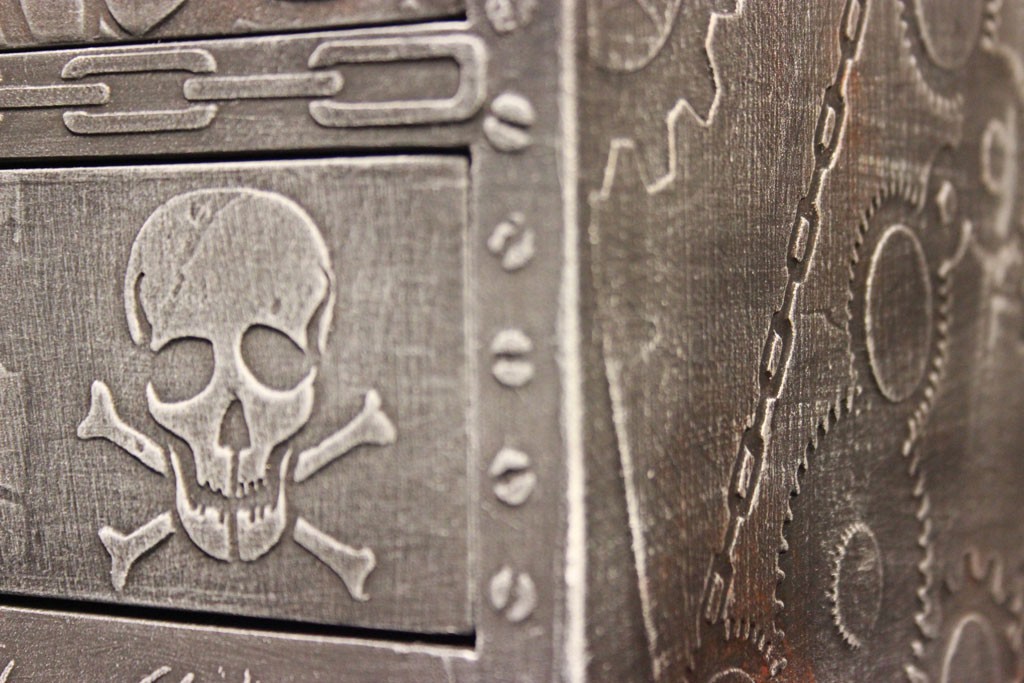
I love the variations that this finish creates:
The depth of finish is just yummy!
11) If desired, touch up the surfaces again with a bit of white dry brushing, to highlight the design edges.
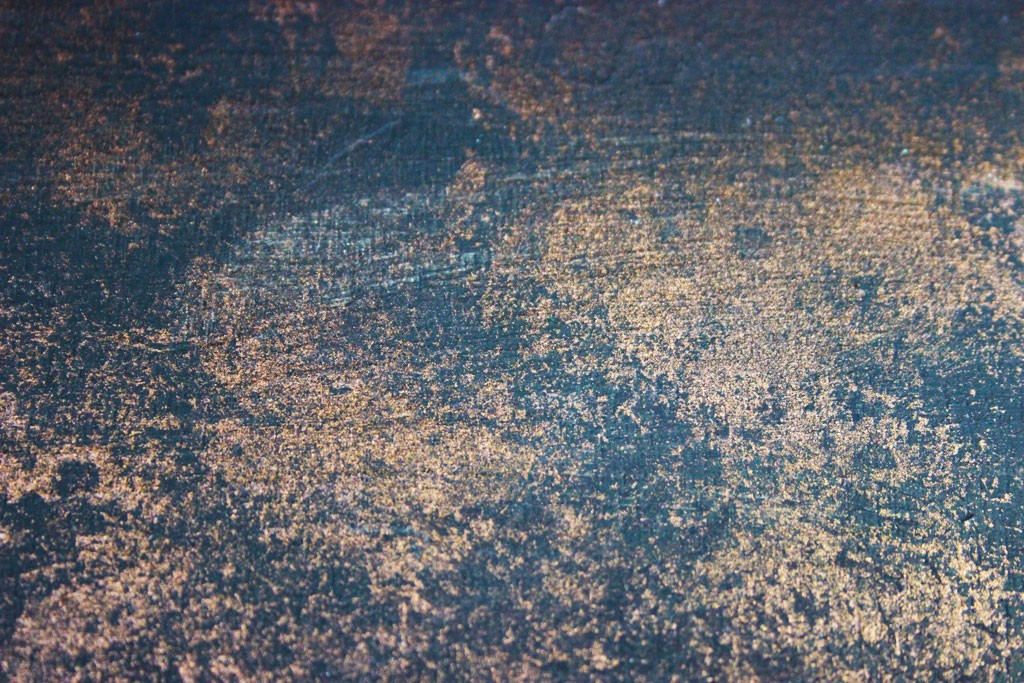
12) To give the drawer interiors some interest, grab a sea sponge and try layering Heirloom Traditions Metallic Masters Gilding Patina in Copper Penny over the base color Black Bean for a rich finish.
Optional: Line the drawer bottoms with your favorite scrapbook paper. Glue down with Aleene’s Tacky Glue.
13) For this project I very sparingly applied the Copper Penny to the edges of the drawers and some of random surface details with a chip brush.
14) Allow the piece to cure overnight, then give the entire surface a durable clear coat with Heirloom Traditions 1Gel Transfer Medium & Decoupage. I love the finish that this leaves – satin, no harsh gloss. It also dries very quickly, which I love, being the impatient thing that I am.
15) Re-attach the hardware, add some fun drawer labels, and style your new conversation piece any way you like!
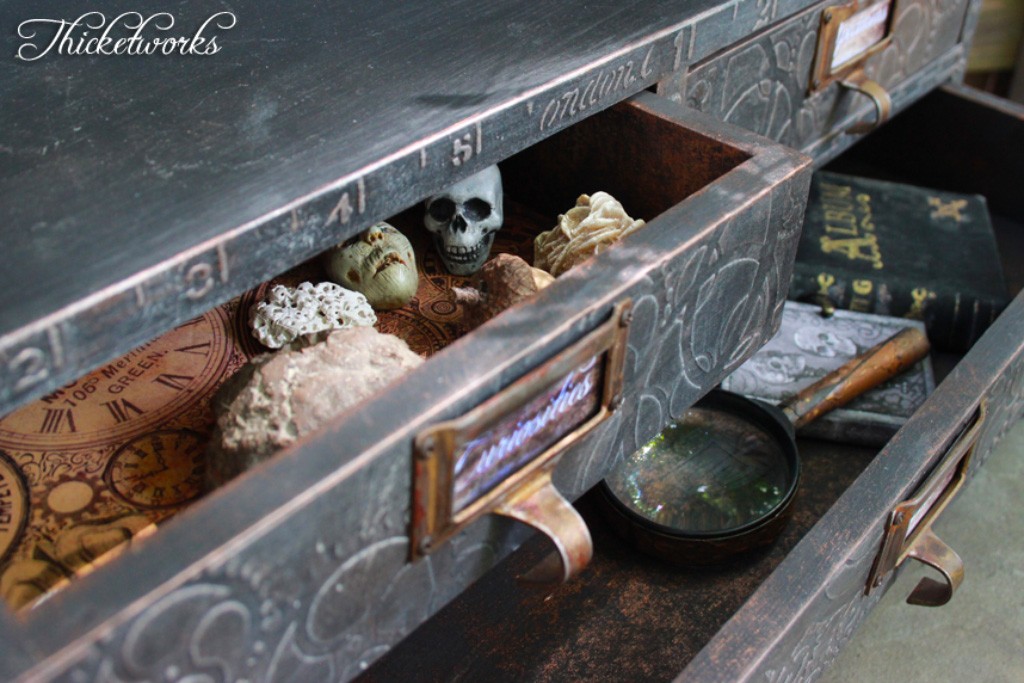
I tucked a few surprises in the drawers!
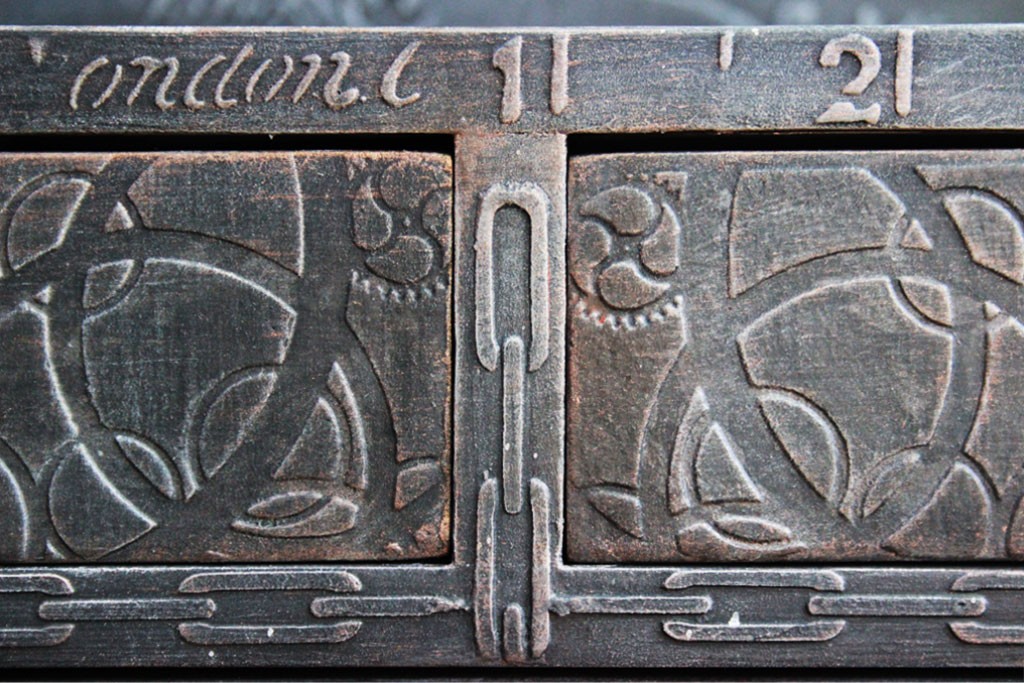
A final glimpse of the detail you can achieve with this technique:
For more information on Heirloom Traditions Products, please visit www.heirloomtraditionspaint.com
*Full Disclosure: Heirloom Traditions supplied their products to be used in this project, and they sponsored this post – however, I supplied the elbow grease, rescued furniture, design concept, and opinions! All of which reflect my own point of view, regardless of affiliation…
I had an absolute blast designing / creating this Steampunk Chest…I hope you are inspired to create your own Autumn Steampunk project, so you can have as much fun as I had!
For more surprisingly odd sophisticated finishes from humble materials, stop by Thicketworks to look around. You’re always welcome there!
Take Care,
Heather



Tracey says
This piece is adorable…..I know you are antsy to break out the fall decor/projects!!!
graphicsfairy says
Thanks Tracey! Fall decor is so fun 🙂
Heather Summers says
Hi Heather!
Great idea for spicing up boring whte storage pieces!!
In this tutorial, you’ve used Joint Compound to create the raised stenciling. However, in other tutorials, you’ve used the Venitian Plaster Medium. Are the two interchangeable like that, or does one hold up better than the other, or provide a different look or finish?
Thanks so much!
Heather
Heather Tracy says
Hi Heather! This project was created before I had discovered the joys of Venetian Texture Medium :). Joint Compound will ALWAYS be one of my favorite tools, and it holds up beautifully. The exceptional quality of Venetian TM is the fact that it can be mixed with any water based paint, and you can control the density of the resulting ‘paste’. For a tabletop, VTM would always be my first choice – it’s ultra durable and the pigment is embedded into the medium. For most other jobs, JC is a fine alternative. Hope this helps!
Cheri Hins says
What a clever idea. Thank you for sharing the directions.
Heather says
Hi Cheri – you’ll be surprised how simple (if time consuming) this technique is. Thanks for your kind words. Hope you try it out!
Linda K says
Love, love this project. What a total transformation. It really encourages me. Thanks.
Heather Tracy says
Hi Linda, if you’re encouraged, then I’m a happy girl! Thanks for your kind words.
Mato says
What a great project. Thank you for the info on Eclips stencil cutter. I had no idea this machine existed.
Also the fact you used joint compound for the relieve creation is useful info too.
Thanks again.
Heather Tracy says
Hey Mato, the eclips is one of those luxuries I can’t live without. Joint compound rules!
Julie @ follow your heart woodworking says
That’s just amazing how you transformed that chest with the textured designs!
Heather Tracy says
Thanks, Julie! I hope you give it a try.