DIY Vellum Paper Technique
DIY Vellum Paper. The translucent look and distinctive feel of vellum….is it possible to recreate it with common materials? Let’s find out! Hey there, my Graphics Fairy Friends! It’s Heather from Thicketworks. A recent project required that I find a way to transform ordinary printer paper into ‘Vintage’ manuscript paper. Yes, I could have reached for commercially available vellum, but exploring ways that we can enrich the qualities of ordinary materials is one of my passions. So, while pondering why vellum appeals to the senses, I began to consider ways to imbue modern paper with that deliciously mysterious ‘see through’ quality that we associate with vellum.
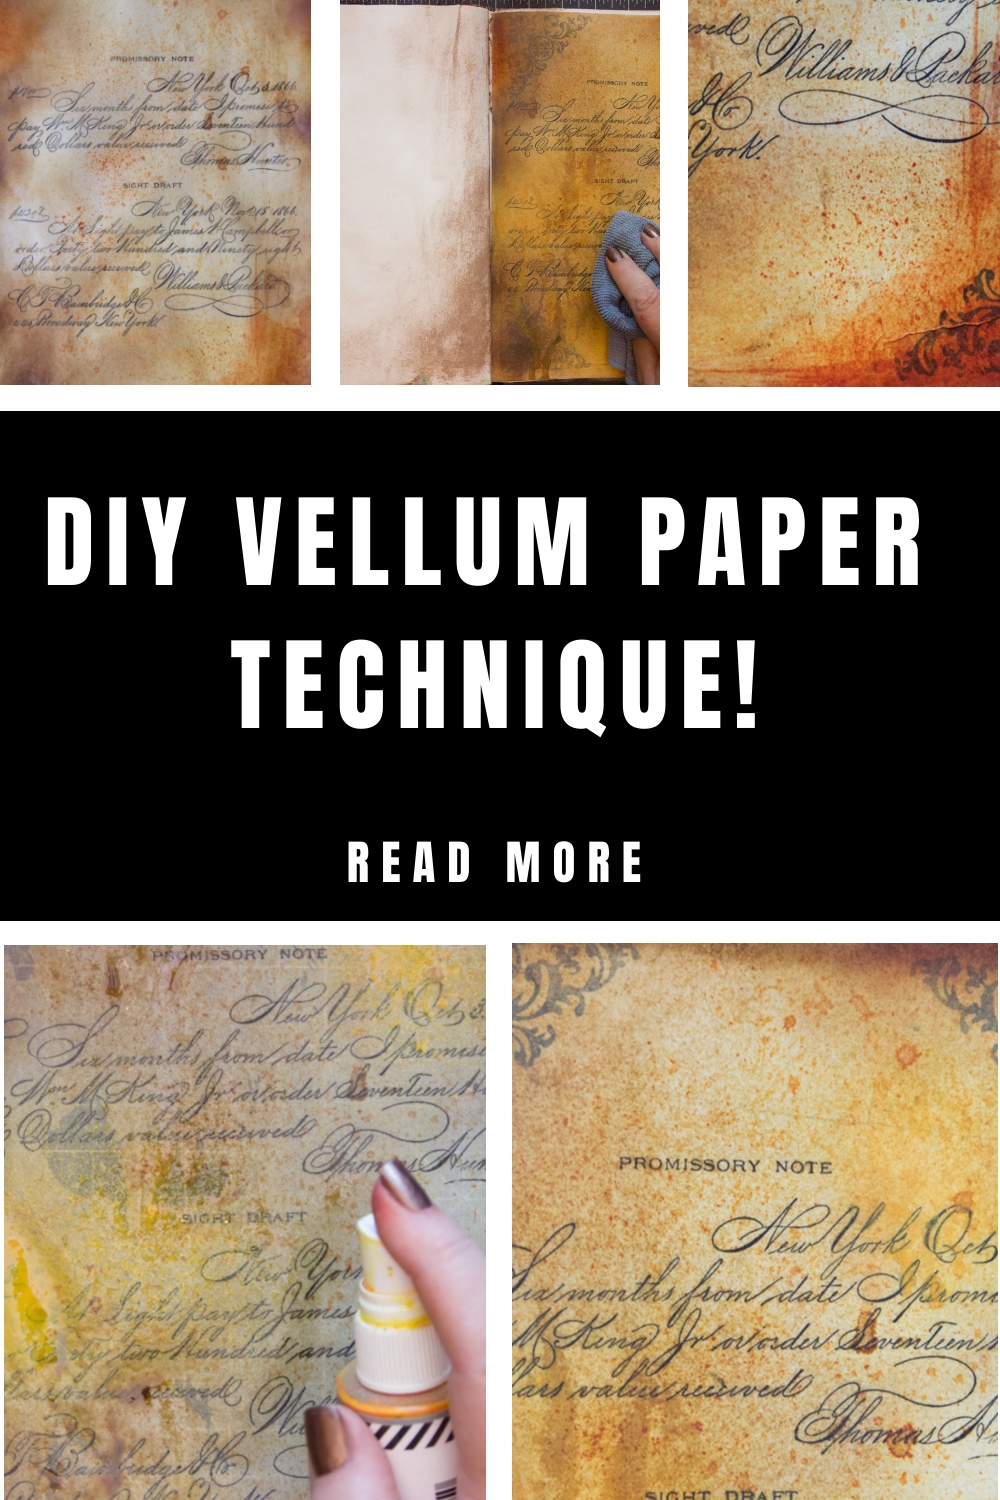
The result is a DIY Vellum Technique that holds promise for many different applications.
So, let’s see how simple it is to achieve, shall we?
Graphics Fairy Source Image: Spencerian Writing Sample
If you would like to experiment with this technique, you’ll need a few things.
DIY Vellum Paper Supplies:
- Ordinary printer paper, printed with your favorite Graphics Fairy Text or Image. (I used an Ink Jet Print for this demo)
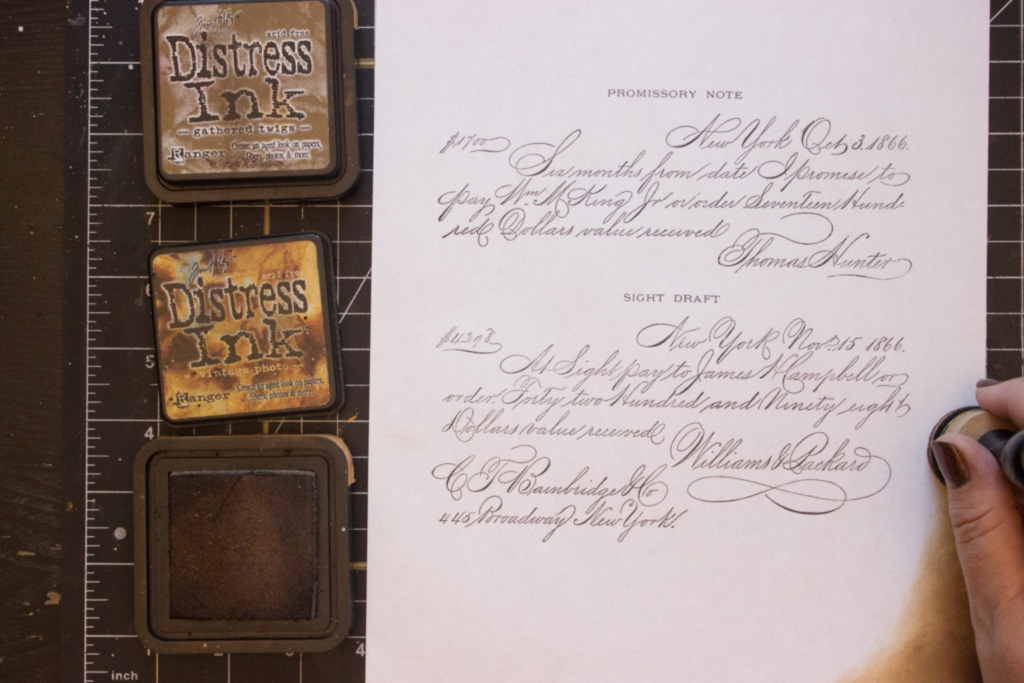
- Distress Ink: Vintage Photo
- Distress Ink: Gathered Twigs
- A Heat Tool
- A Spray Bottle of water
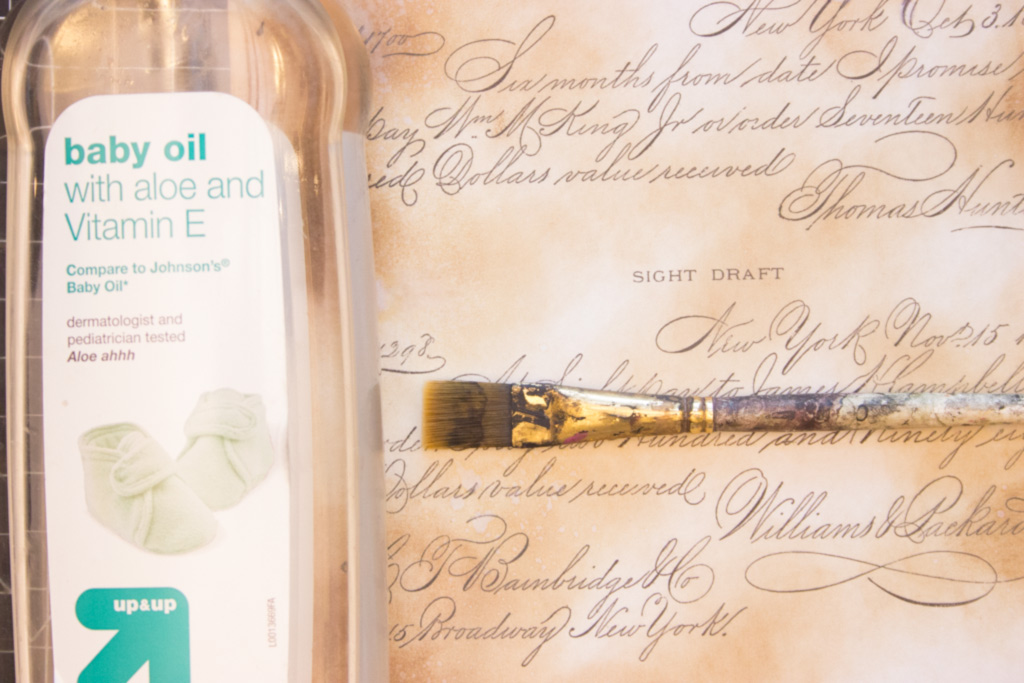
- Baby Oil (other oils will work, as well, but the pleasant scent and lightness of Baby Oil makes it my first choice)
- An ordinary paint brush
- An absorbent cloth
- Optional:
- Distress Stain: Rusty Hinge
- Color Shine Spray Inks
- Jet Black Archival Ink
- Stamps: Ornate Corners
- Aleene’s Original “Tacky” Glue
How to Create DIY Vellum:
- Begin by printing your chosen image or text onto regular printer paper. Either Inkjet or Laser copies will work.
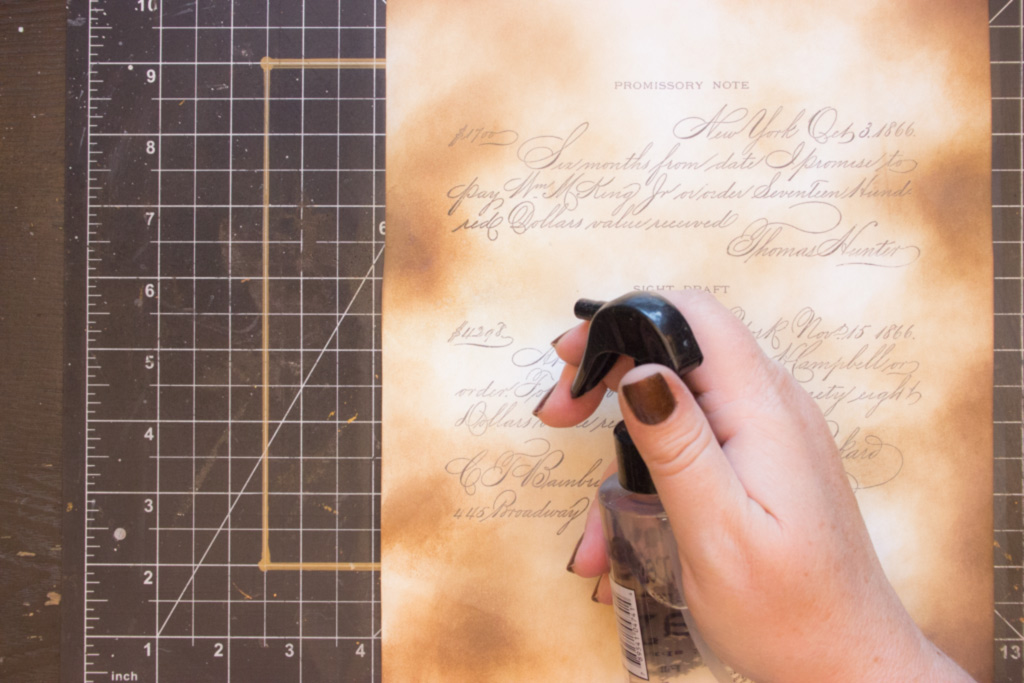
- Once the printed ink is dry, blend Distress Inks onto the surface, adding depth and history to the page.
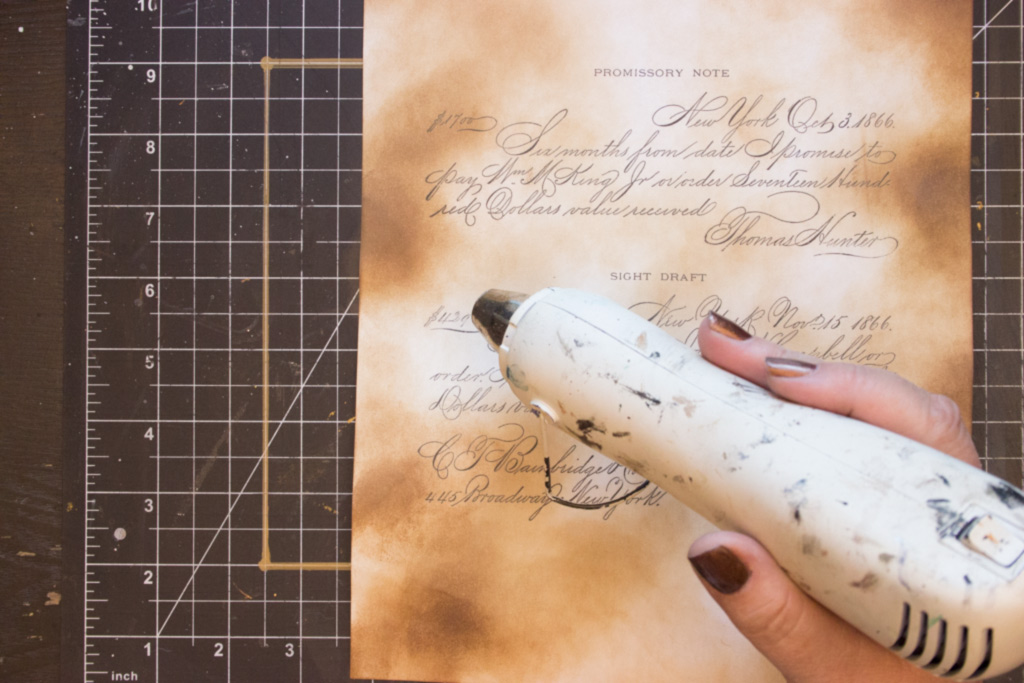
- Dry the ink with a heat tool.
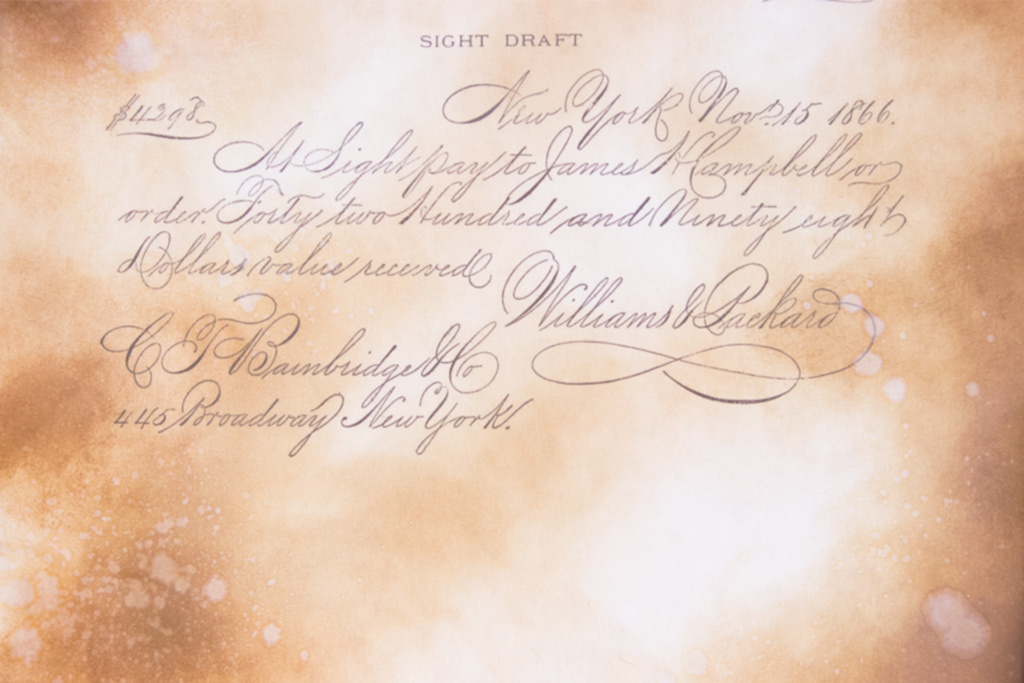
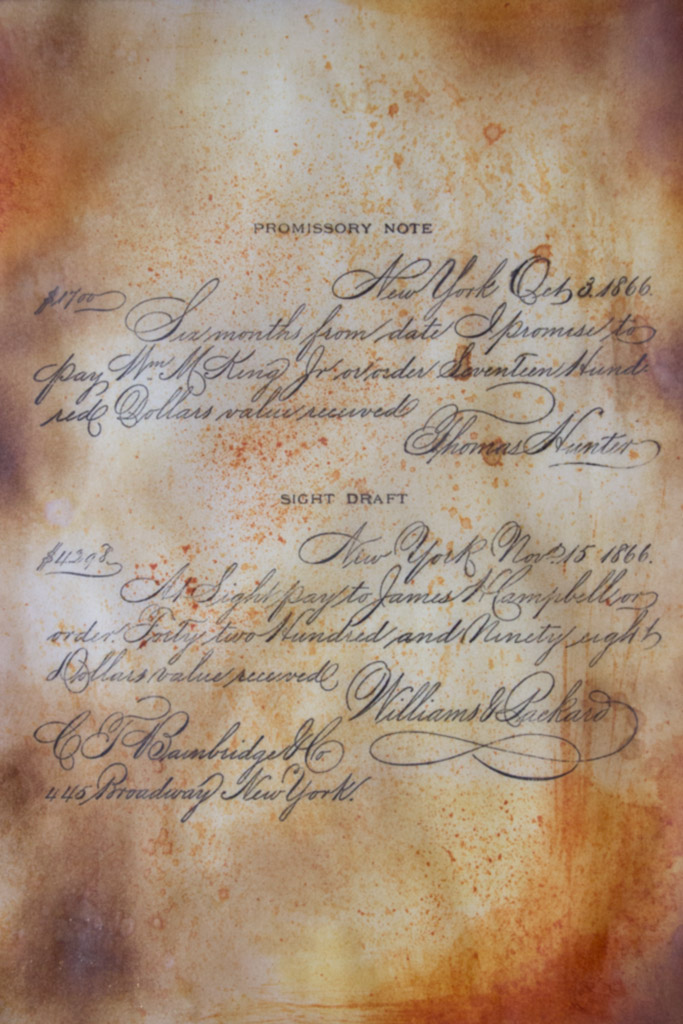
Add splatters of water over the blended inks – this will result in unevenly ‘bleached’ areas that increase the feeling of history and age.
The result will be something like this:
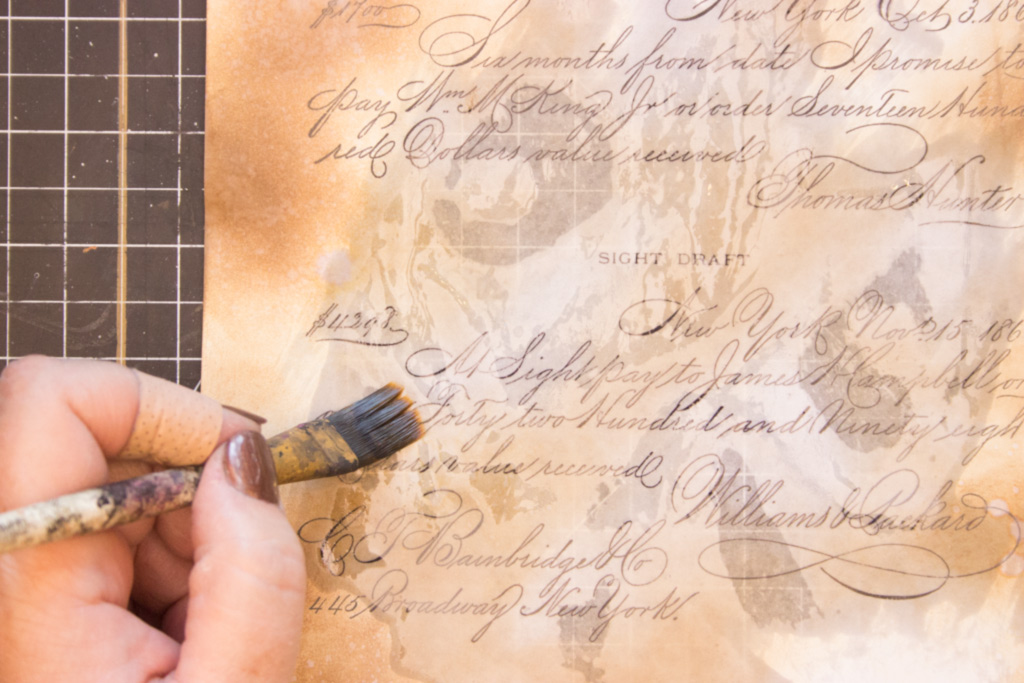
Next, use a paintbrush to apply a generous layer of regular Baby Oil over the surface of the paper.
Make sure to work on a surface that can be easily cleaned of oily residue, like this cutting mat.
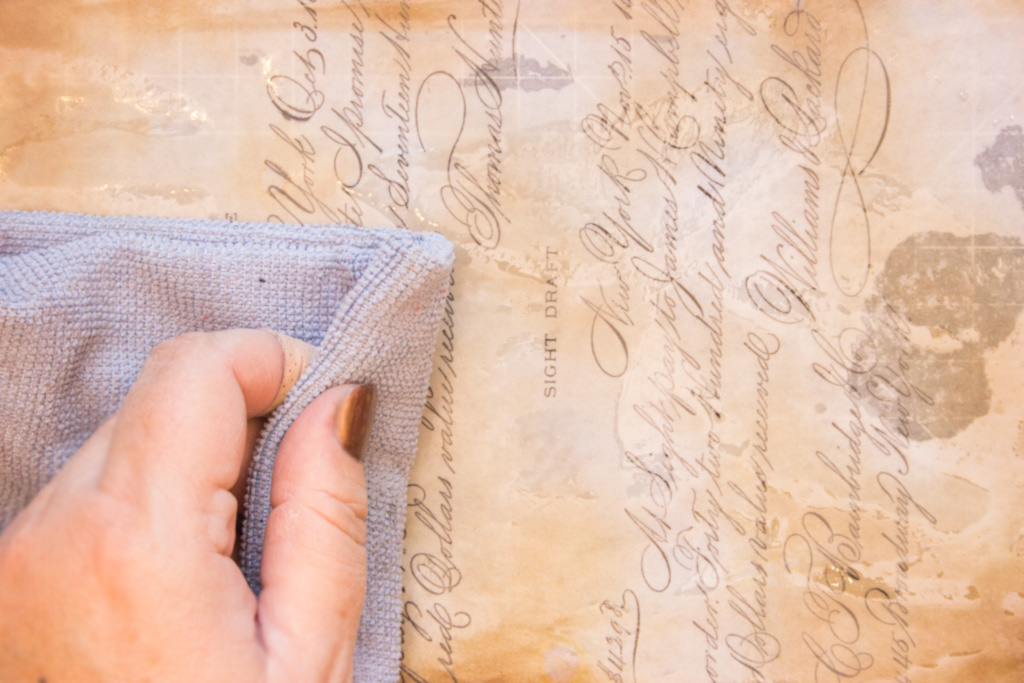
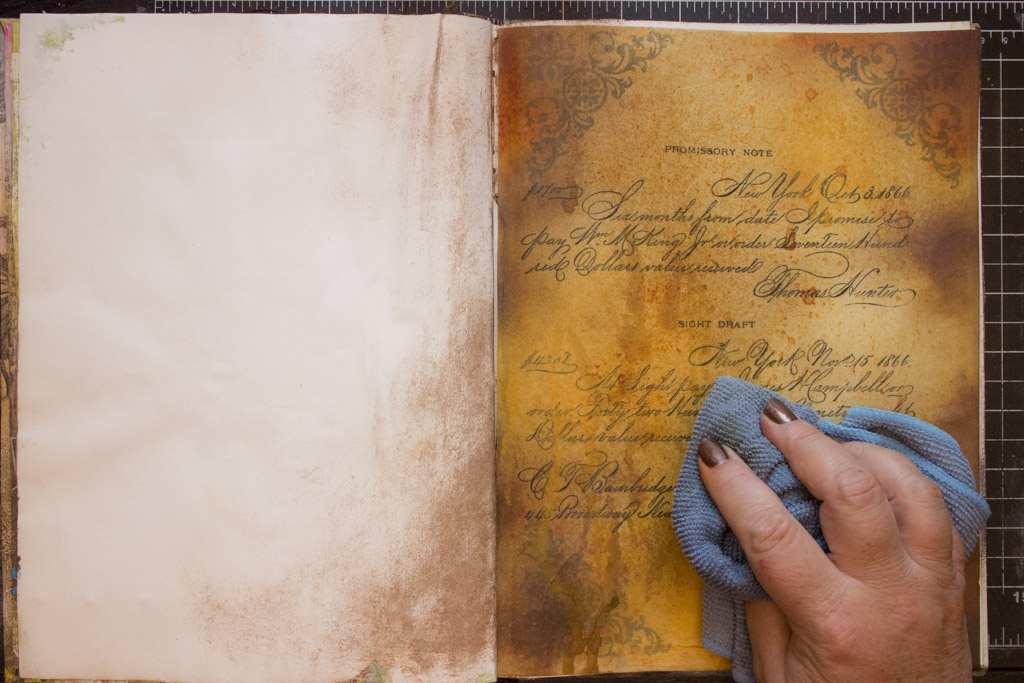
Use a soft cloth to wipe away the excess oil from the front and back of the paper.
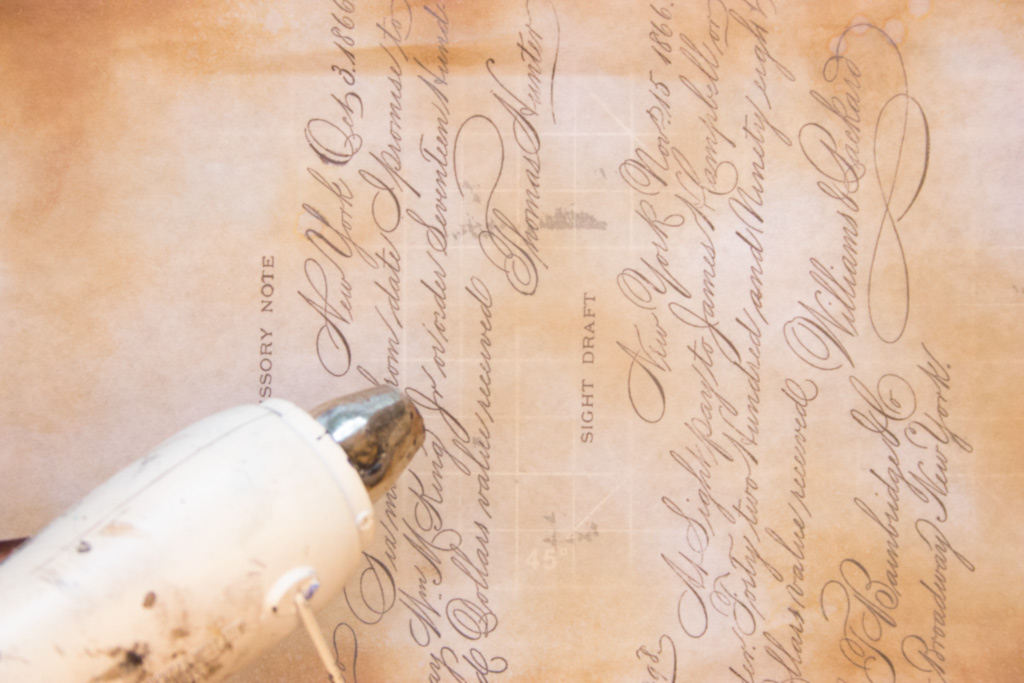
You can choose to use a heat tool to speed up evaporation of the remaining surface moisture.
Once the paper is dry, and you no longer feel an oily surface, you can incorporate it into your project!
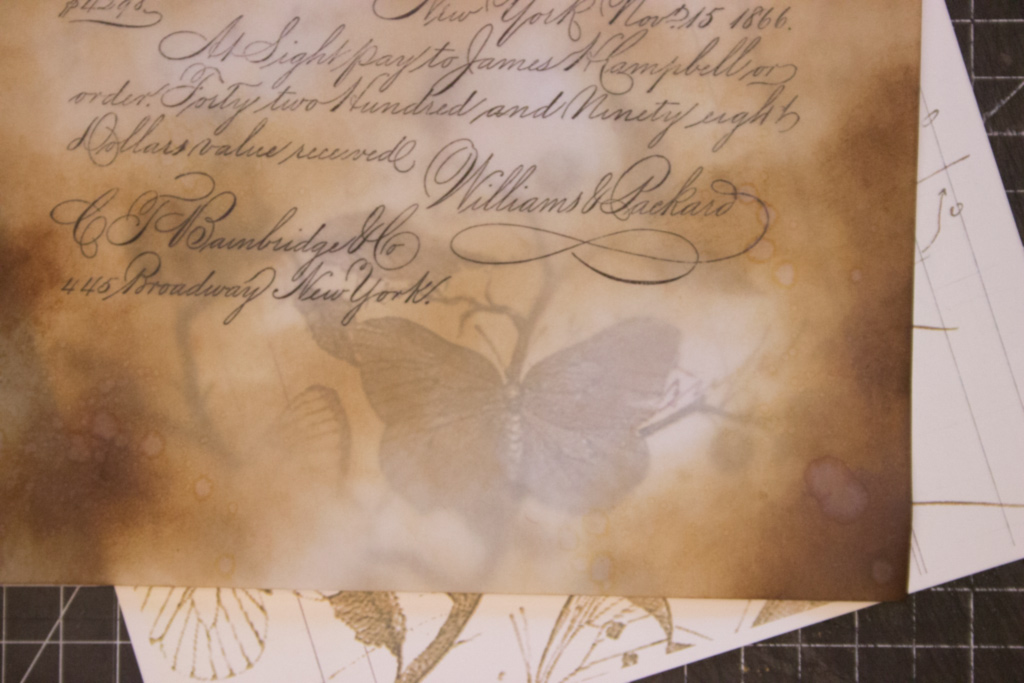
Here, I’m admiring the translucency of the finished DIY Vellum by placing it over a printed image.
Loving the way that the underlying image is softly filtered by the now-ancient feeling ‘vellum’.
What about adding other media or adhesives? Will they work with the ‘oily’ paper?
Oh, yeah.
You can work with the DIY Vellum ‘as-is’, or you can add even MORE distressing. The surface is surprisingly receptive.
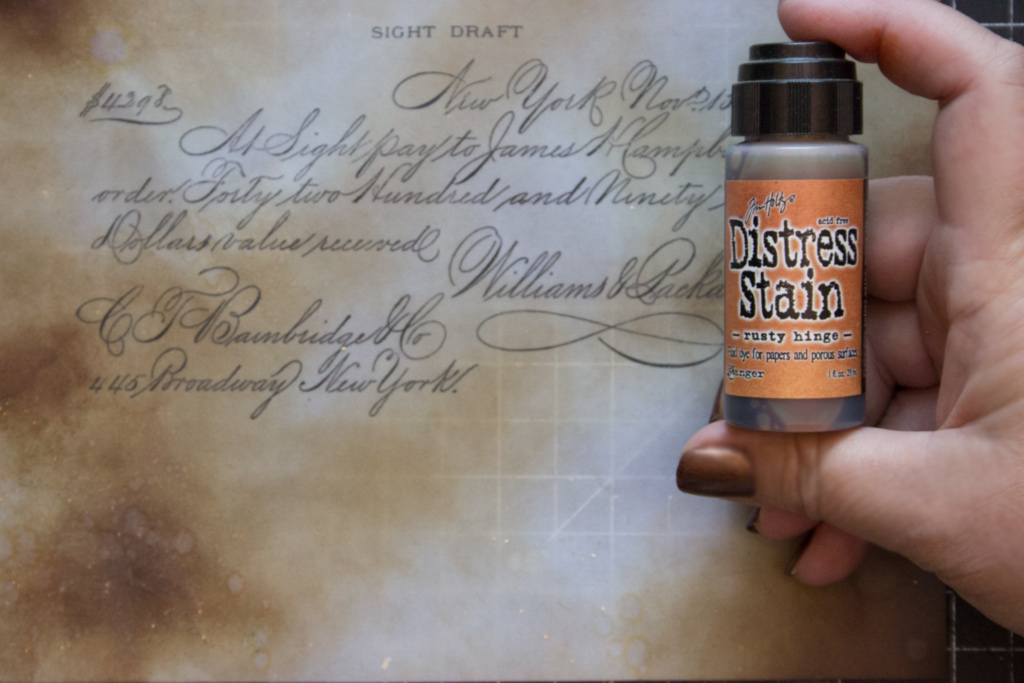
I was looking for a pretty intense effect, so reached for Distress Stain.
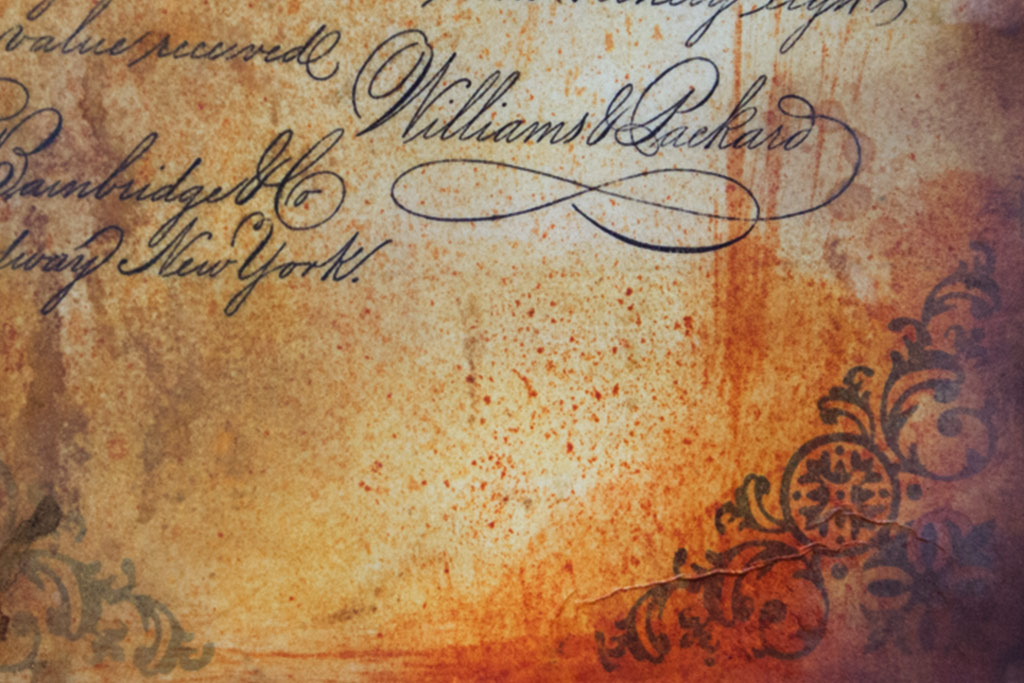
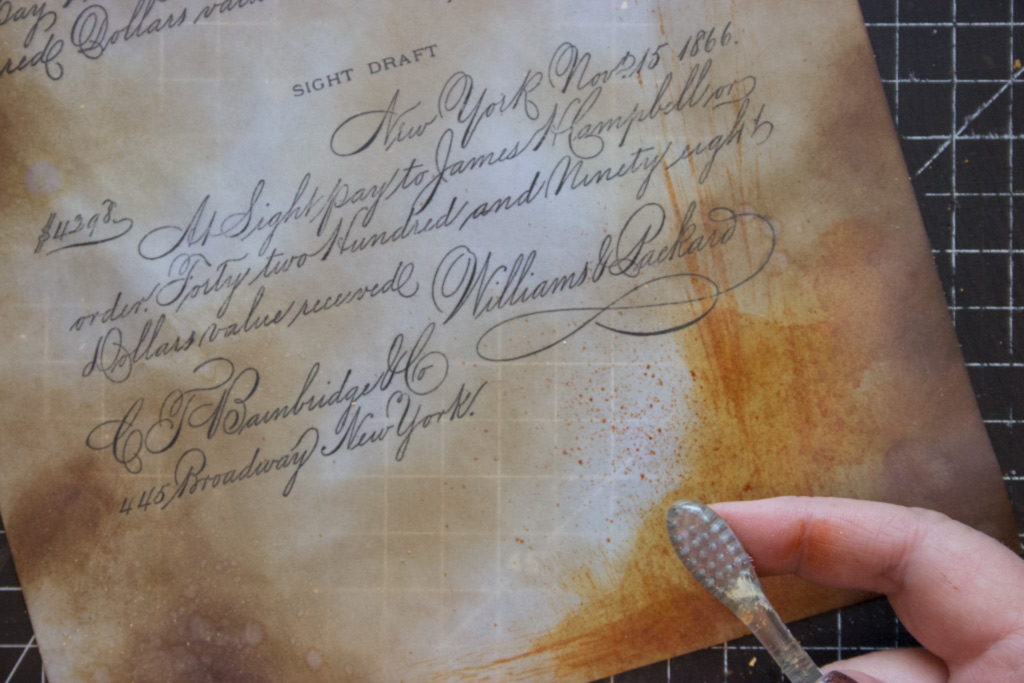
By scrubbing the surface and flicking stain with an old toothbrush, the Distress Stain gives even more soul to the DIY Vellum.
The results so far:
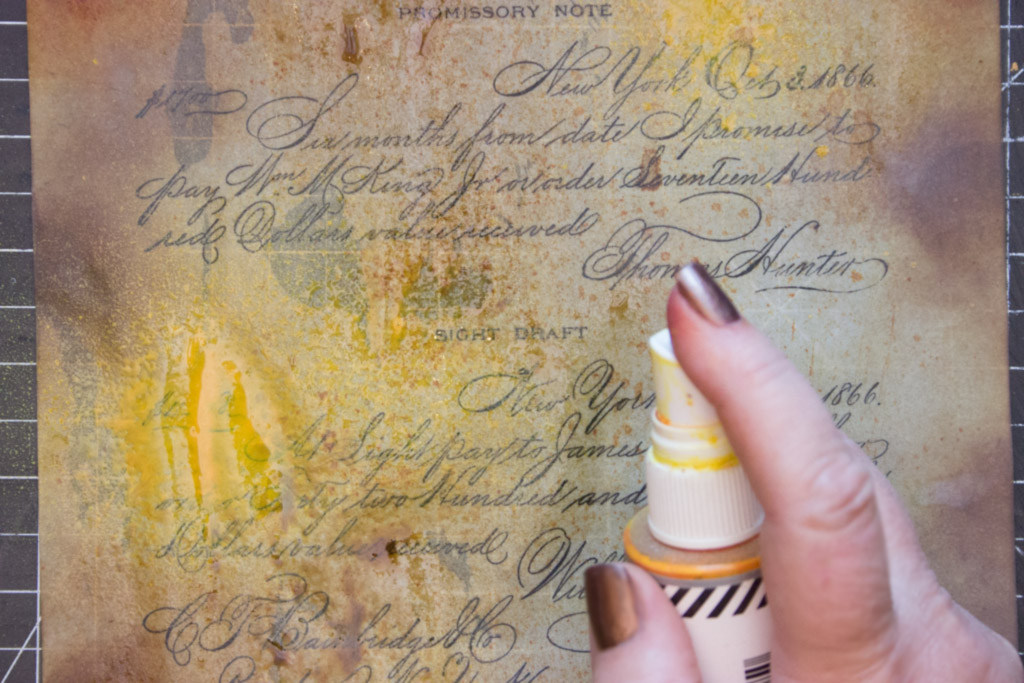
To bring just a touch of sparkle and light to the surface, you can add Spray Ink, like this Color Shine.
Once the surface is dry, you can adhere the DIY Vellum over other imagery for mysterious depth.
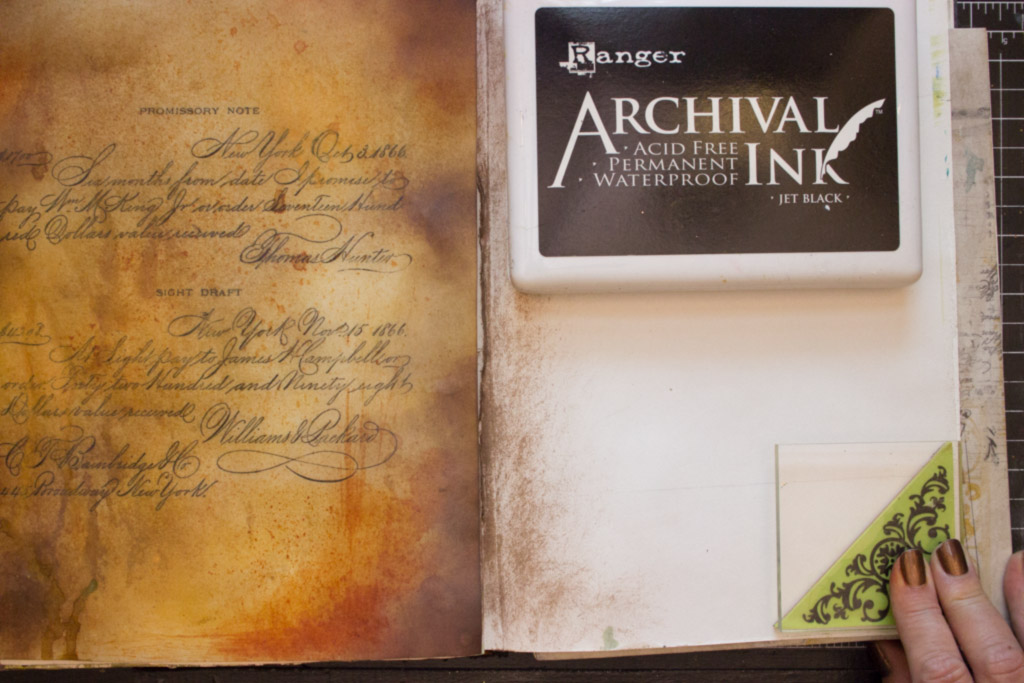
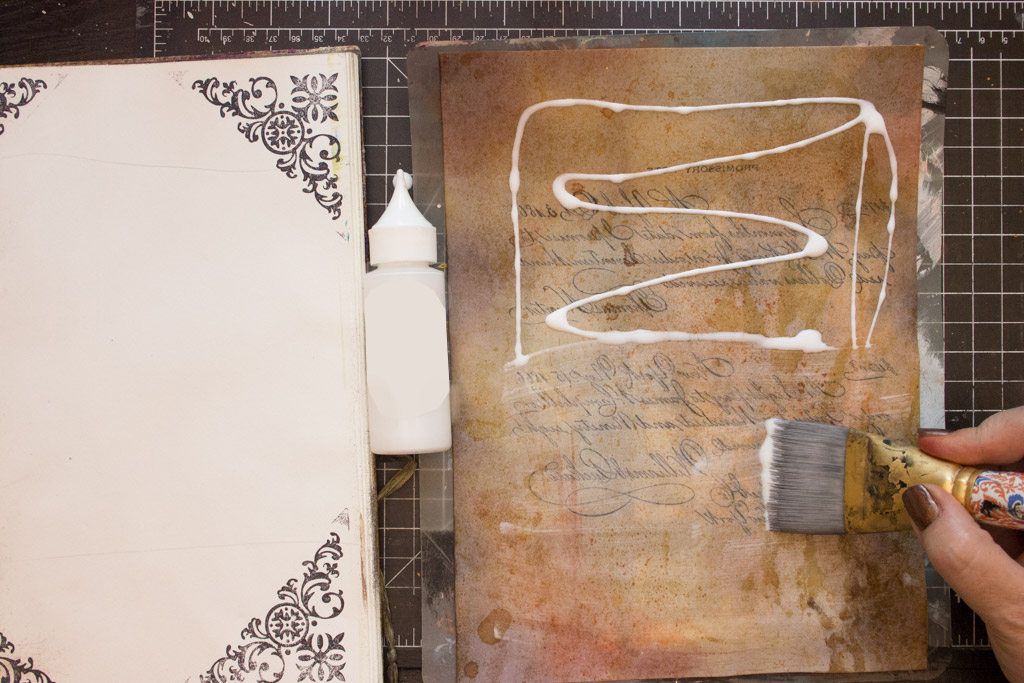
Here, I’m preparing an Art Journal Page by stamping corner embellishments with Archival Ink.
A layer of thinned Tacky Glue applied to the back of the DIY Vellum sheet, then smoothed with a brush:
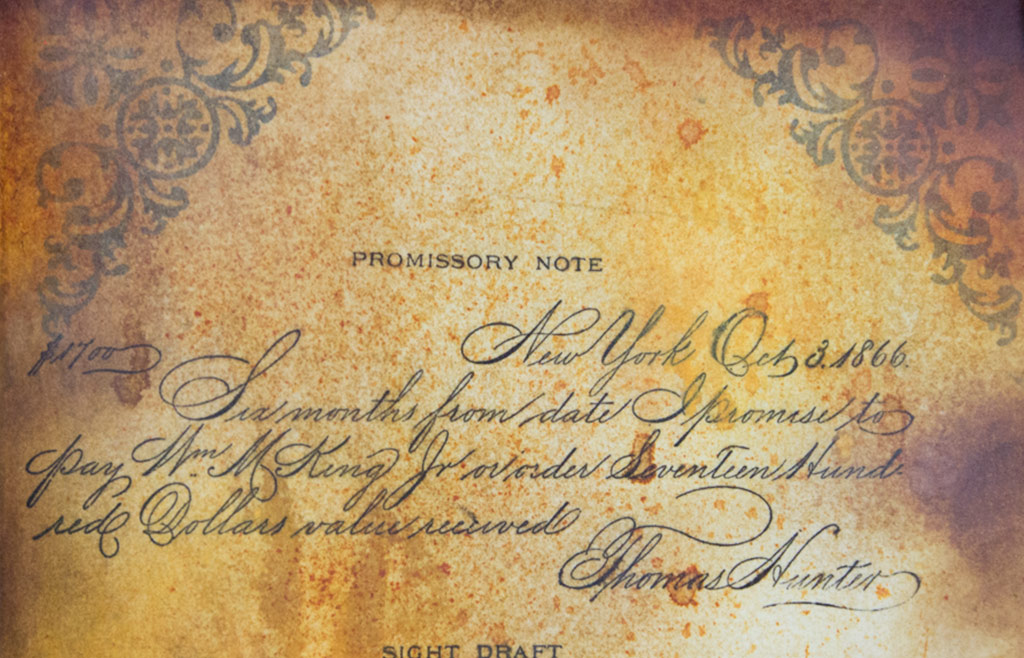
Once the DIY Vellum has been adhered onto the page below, you can see the stamped corner embellishments ‘shining through’.
The effect is subtle, slightly romantic, and and elegantly aged.
The underlying motif shows through the transparent layers of Distress Inks and Stain, even where the pigments are most intense.
I’m sure you can imagine many uses for this DIY Vellum Paper technique – soft overlays that preserve precious photos, ancient labels, distinctive party invitations…the applications are limitless. As always, it was exciting to develop this technique, and even MORE fun to share it with you here… Thank you for visiting The Graphics Fairy today!
For more unorthodox crafting techniques, visit Thicketworks!
Heather
Our students have SO much fun in the Mixed Media for Beginners online course…



Debbie Harper says
Thank you so much for this tutorial. It looks like it’s going to be fun to do.
Karen Watson says
I’m glad you enjoyed it Debbie! Have fun playing with this technique! 😊
Shelley says
How timely that I have come across this! I have just used the last of a patterned vellum that is no longer available, but I think I can get close to it using this technique. If I emboss it with gold ink and embossing powder I might even get the foiled effect of the original. Thanks!!!
graphicsfairy says
That is wonderful Shelley, good luck and enjoy!
Teri S. says
Oh my goodness Heather! Absolutely gorgeous! And this tutorial uses everything I have, except for Distress Stain. I love the romanticism of what you’ve created. Thanks you so much!
graphicsfairy says
It is our pleasure Teri 🙂
Dianne Worley says
This looks like a fun project. The vellum means you can layer to add depth. Thanks for sharing.
Heather Tracy says
Hi Dianne! Exactly, my friend. And we know: it’s ALL about the layers! xox
Rupa says
Heather, I love this project as you know I just love vellum. You have truly made my day by showing how to create our own vellum as that was a dream of mine for a long time! Never knew this simple technique till now, the possibilities are endless. Can we use pigment ink to stamp and do the same I wonder…Thank you so much for all you do for us so generously!! PS: My comments from 9/21 are not showing up here even though I checked several times by closing/re-opening my browser etc. I was excited to be the first one to comment that day but no show 🙁
Heather Tracy says
Hi Rupa! Darn it, I wish we could pin down why your comments sometimes don’t take…that is so frustrating, my friend. It pleases me no end that you can use this one – it was SO exciting to create the method, and I’m filled with ideas about how to incorporate DIY Vellum into projects!
Yes, pigment ink will be fine. Just make sure that they dry thoroughly – you can even heat emboss the surface! Thank you for your persistence and for being such a source of encouragement and good cheer! xox
Rupa says
Oh yeah, persistence and tenacity are my middle names lol! I am not a quitter for most good things….love you and GF too much to quit on you sweet ladies :).
Heather Tracy says
Yay! And we are oh-so-GLAD, Rupa! xox
Kimberly S says
OMG!! That is so cool! I cannot wait to try this technique
Heather Tracy says
Yay! It is SO cool looking in person, Kimberly. You are gonna love it. xox
Dorthe Hansen says
Thank you again, Heather, this is magic, and so wonderful looking- how I wonder do you come up with all these amazing ideas , thank you sweet you !! <3
Heather Tracy says
It IS a bit magical, isn’t it? I’m so pleased that it appeals to you… I can imagine this technique showing up in one of your lovely pieces. Thank you for stopping by, my friend. xox
Linda Knox says
What a great technique. Thanks for sharing.
Heather Tracy says
Hi Linda! I’m glad you like it, my friend. My mind is racing with all the creative possibilities…xox
Debra Young says
Oh how lovely and easy! Thanks for sharing this technique!!!
Heather Tracy says
Yay! Glad you found it helpful, Debra. We like ’em lovely and easy, my friend. Yep. xox
Ann says
This is an awesome technique. One of the things I like about it – in addition to the beauty of the finished page – is that it is inexpensive and uses supplies that we already have.
I tried it with an old, already aged, dictionary page and ran it through the printer using a black and white line drawing.
I regret that I didn’t take a photo before I made the greeting card and sent it.
Heather Tracy says
Oh, I love the sound of your dictionary page, Ann! I’ll definitely be using this on a variety of papers from now on, too. Thank you for stopping by, and for sharing such a cool idea! xox
Jan Krassner says
April, thank you for sharing this. I love manipulating and transforming paper. I once used a special vellum, and dyed it in coffee. It had a wonderful strong coffee smell. I used it on some “Let’s Have Coffee” greeting cards. I had some left over in a plastic envelope, and it still smelled of coffee, at least, a year later.
Heather Tracy says
Oh, coffee dying is so fun, Jan! I’ve bound several books with coffee stained papers, and I can’t resist that aroma. Paper is so full of possibilities! xox
Kathy says
well…………this is just the neatest effect.
I’m doing a Victorian calendar for the month of February. This will be great.
Kathy S…….
Heather Tracy says
Victorian images on vellum for your calendar? Super cool, Kathy! It will be gorgeous, I’m sure. xox
April Rogers says
Oh my….. I LOVE it! Thanks so much for sharing this.
I am going to try it soon.
XO April
Heather Tracy says
Hi April – Yay! I’m glad you love it, too…I’d love to see what you cook up with it, my friend! xox
Daphne says
Amazing! Love it and thanks so much for explaining the technique!!!
Heather Tracy says
Hi Daphne! This one was SO fun to play with. Thank YOU for stopping by, my friend! xox
Cynthia Murphy says
Heather, I can’t wait to try this. Thanks for sharing!
Heather Tracy says
Yay! You will love it as much as I do, Cynthia! Woo hoo! xox