DIY Vellum Paper Technique
DIY Vellum Paper. The translucent look and distinctive feel of vellum….is it possible to recreate it with common materials? Let’s find out! Hey there, my Graphics Fairy Friends! It’s Heather from Thicketworks. A recent project required that I find a way to transform ordinary printer paper into ‘Vintage’ manuscript paper. Yes, I could have reached for commercially available vellum, but exploring ways that we can enrich the qualities of ordinary materials is one of my passions. So, while pondering why vellum appeals to the senses, I began to consider ways to imbue modern paper with that deliciously mysterious ‘see through’ quality that we associate with vellum.
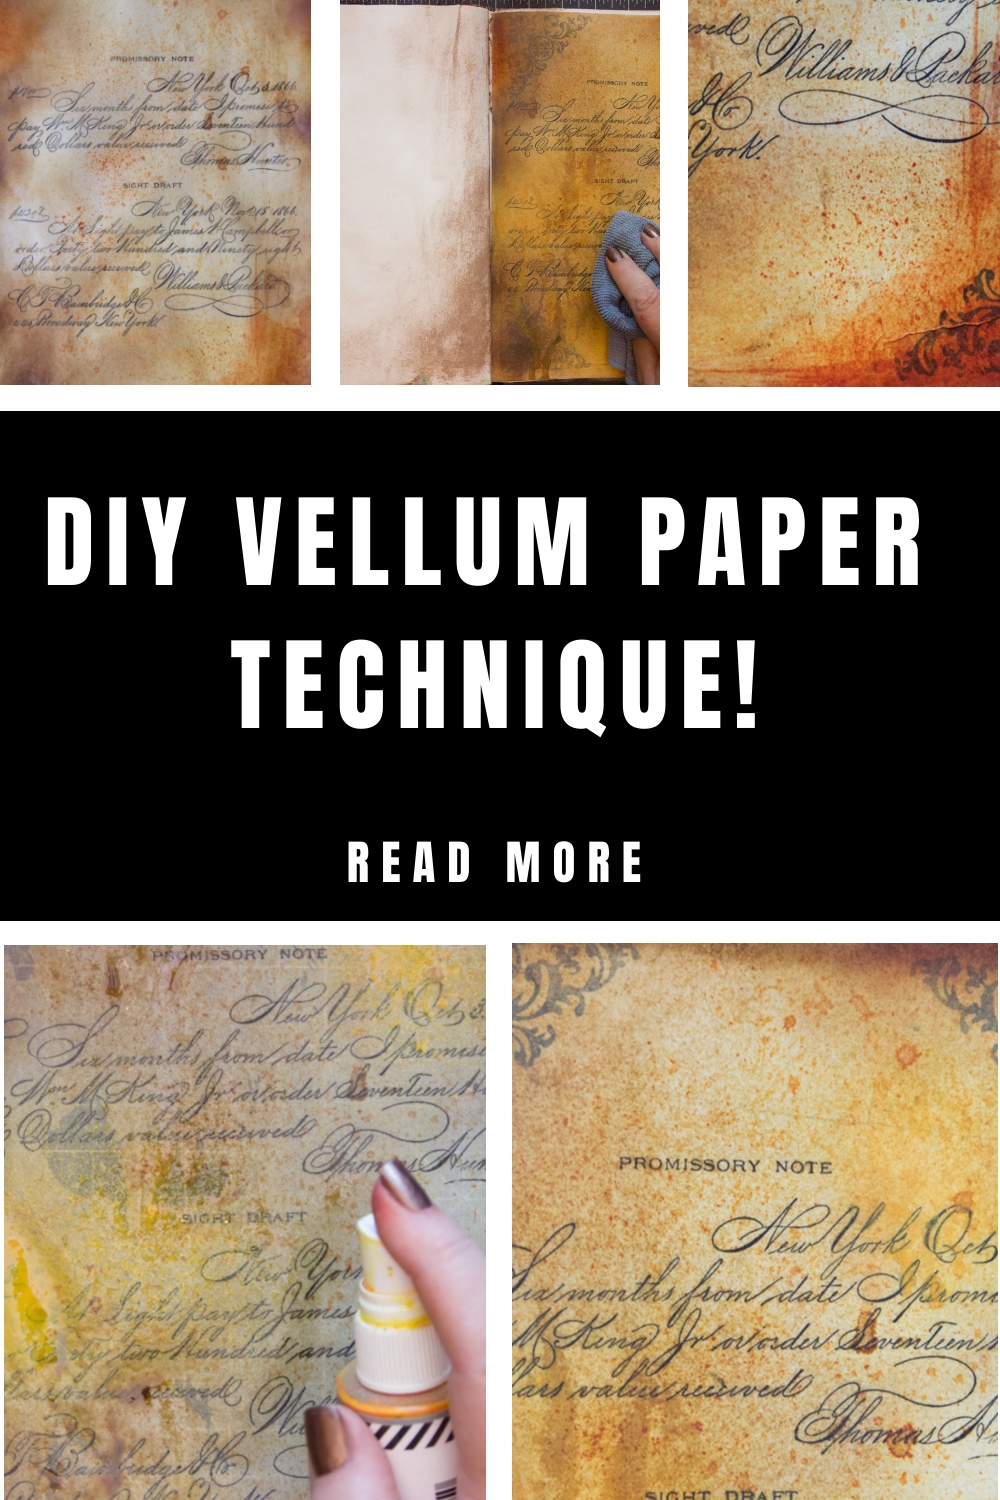
The result is a DIY Vellum Technique that holds promise for many different applications.
So, let’s see how simple it is to achieve, shall we?
Graphics Fairy Source Image: Spencerian Writing Sample
If you would like to experiment with this technique, you’ll need a few things.
DIY Vellum Paper Supplies:
- Ordinary printer paper, printed with your favorite Graphics Fairy Text or Image. (I used an Ink Jet Print for this demo)
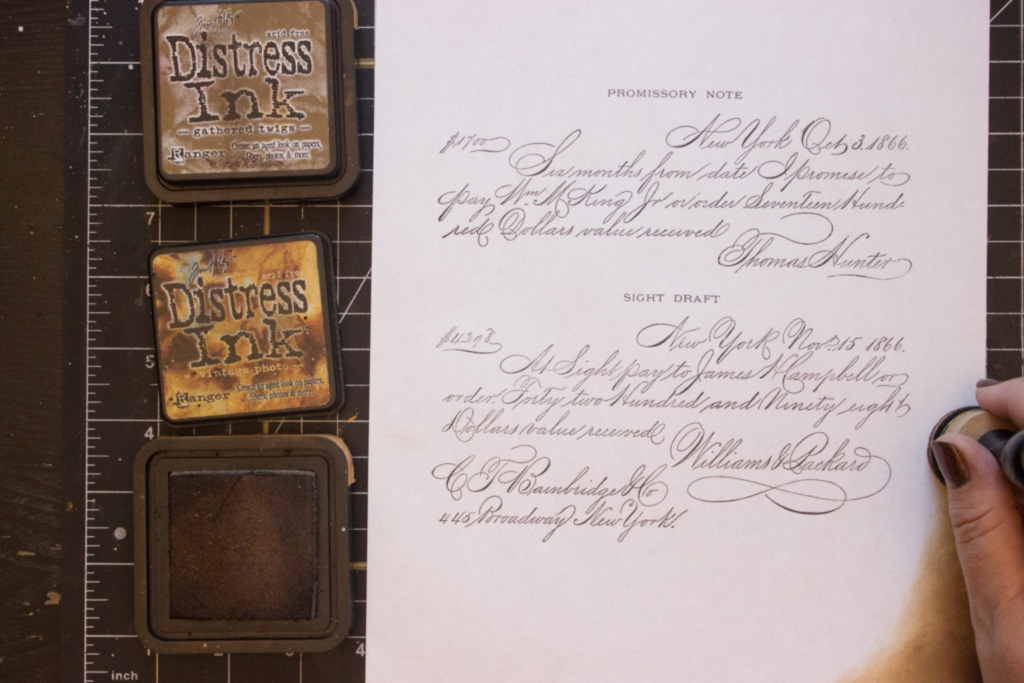
- Distress Ink: Vintage Photo
- Distress Ink: Gathered Twigs
- A Heat Tool
- A Spray Bottle of water
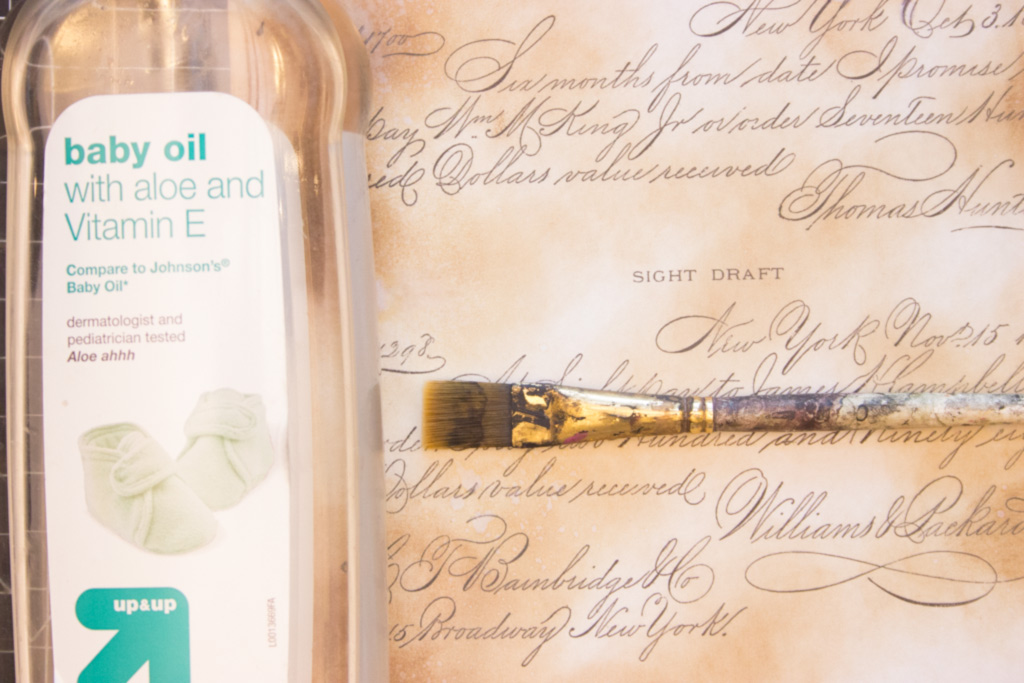
- Baby Oil (other oils will work, as well, but the pleasant scent and lightness of Baby Oil makes it my first choice)
- An ordinary paint brush
- An absorbent cloth
- Optional:
- Distress Stain: Rusty Hinge
- Color Shine Spray Inks
- Jet Black Archival Ink
- Stamps: Ornate Corners
- Aleene’s Original “Tacky” Glue
How to Create DIY Vellum:
- Begin by printing your chosen image or text onto regular printer paper. Either Inkjet or Laser copies will work.
- Once the printed ink is dry, blend Distress Inks onto the surface, adding depth and history to the page.
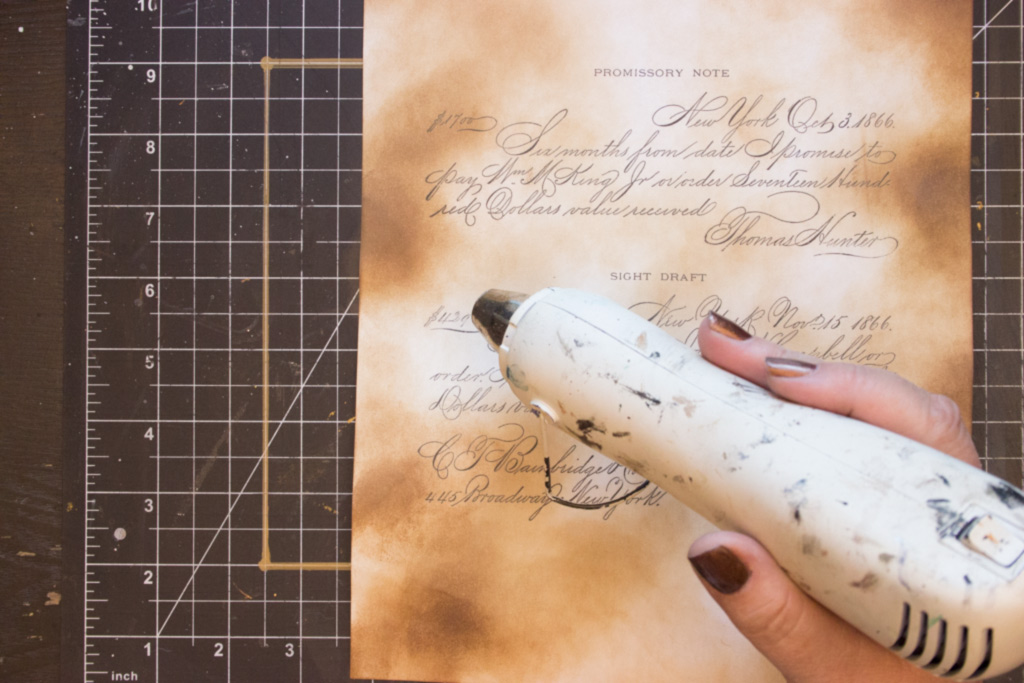
- Dry the ink with a heat tool.
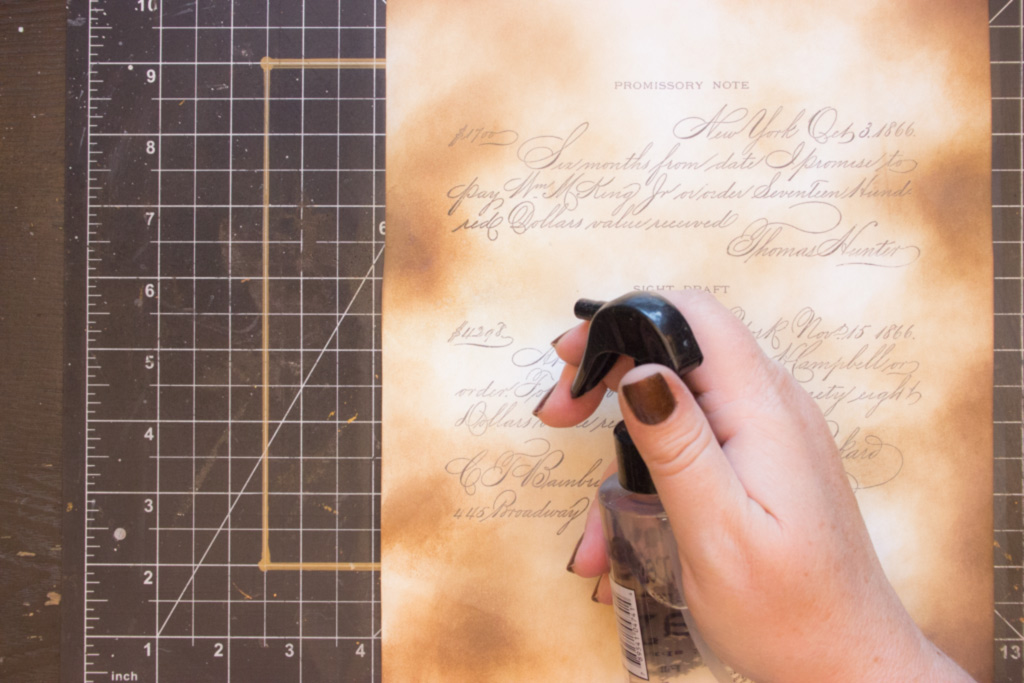
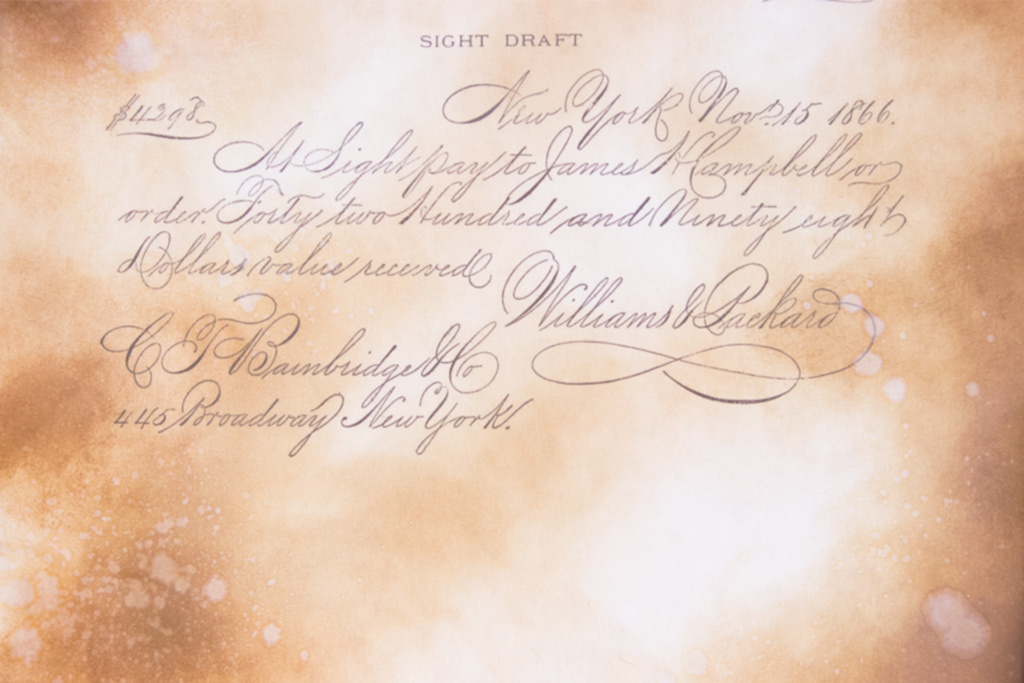
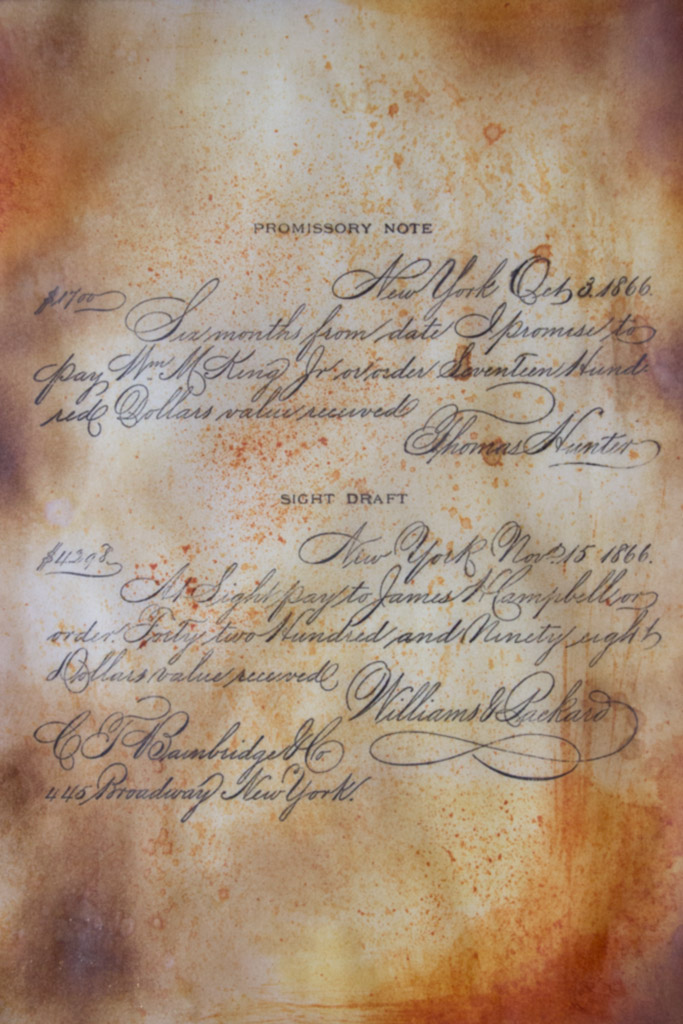
Add splatters of water over the blended inks – this will result in unevenly ‘bleached’ areas that increase the feeling of history and age.
The result will be something like this:
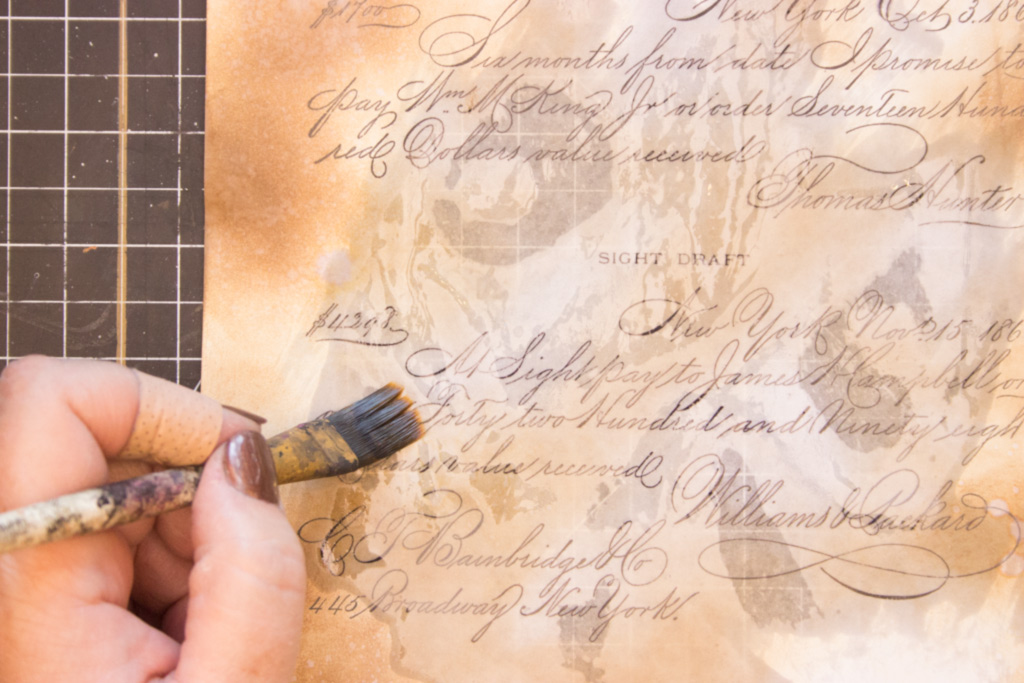
Next, use a paintbrush to apply a generous layer of regular Baby Oil over the surface of the paper.
Make sure to work on a surface that can be easily cleaned of oily residue, like this cutting mat.
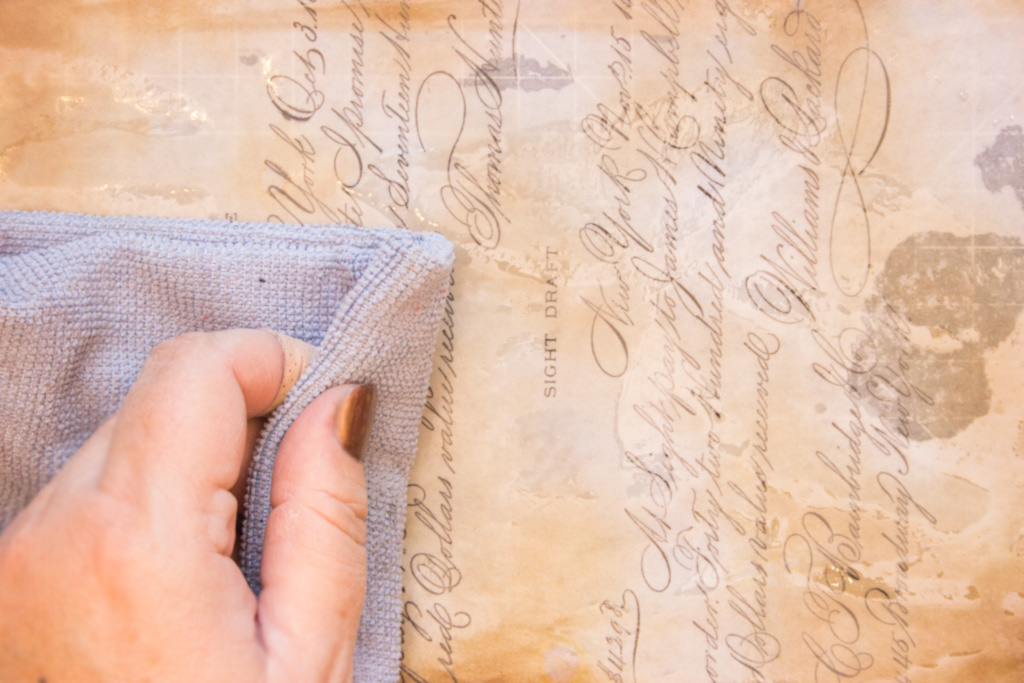
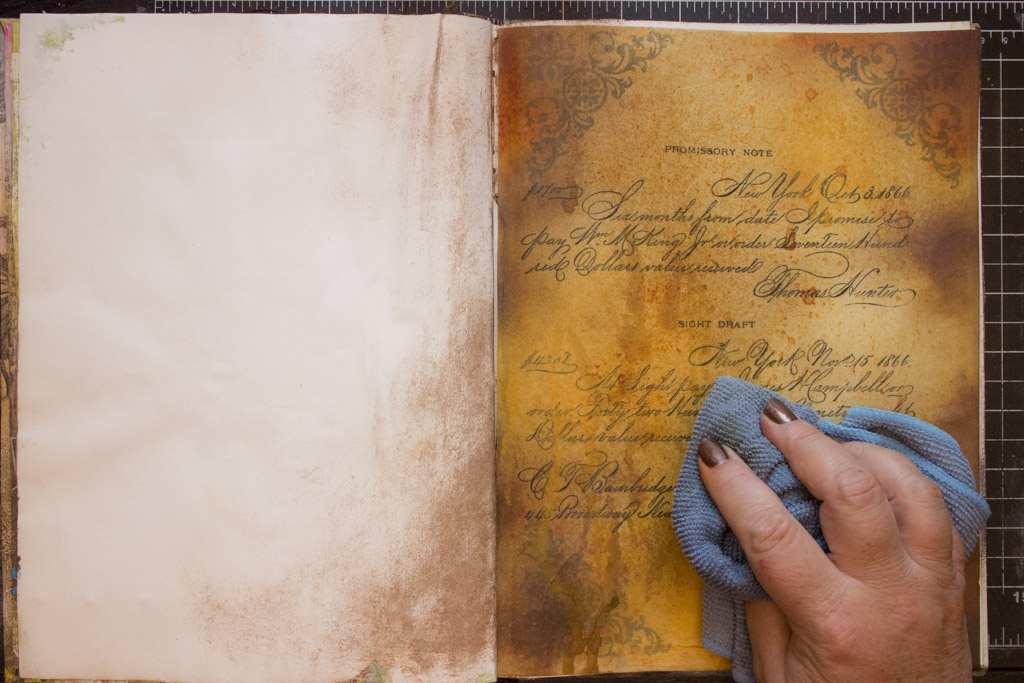
Use a soft cloth to wipe away the excess oil from the front and back of the paper.
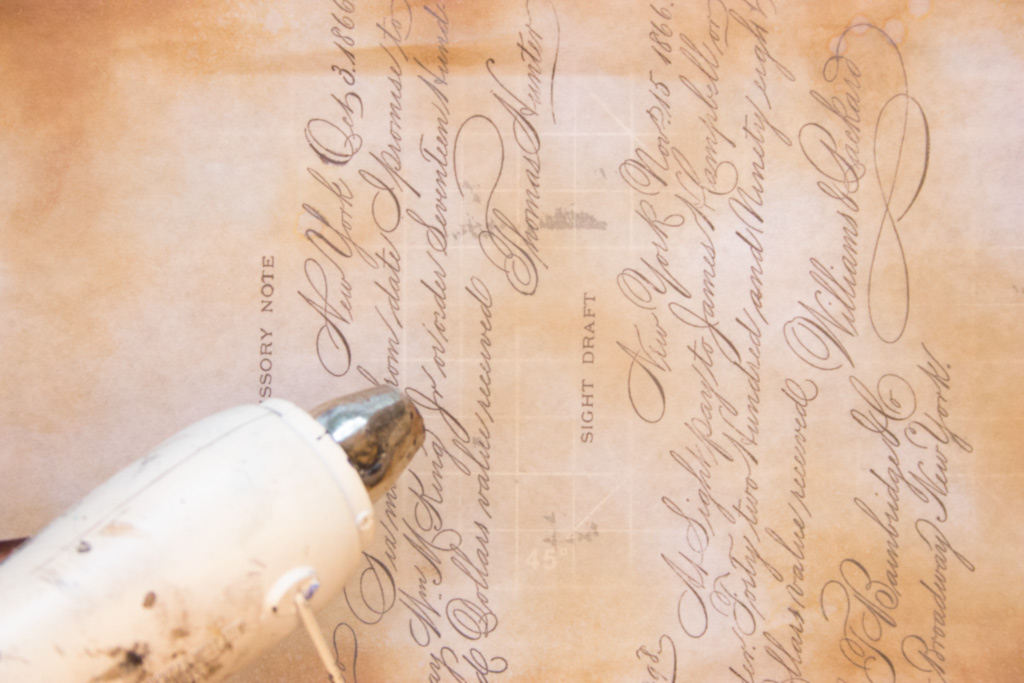
You can choose to use a heat tool to speed up evaporation of the remaining surface moisture.
Once the paper is dry, and you no longer feel an oily surface, you can incorporate it into your project!
Here, I’m admiring the translucency of the finished DIY Vellum by placing it over a printed image.
Loving the way that the underlying image is softly filtered by the now-ancient feeling ‘vellum’.
What about adding other media or adhesives? Will they work with the ‘oily’ paper?
Oh, yeah.
You can work with the DIY Vellum ‘as-is’, or you can add even MORE distressing. The surface is surprisingly receptive.
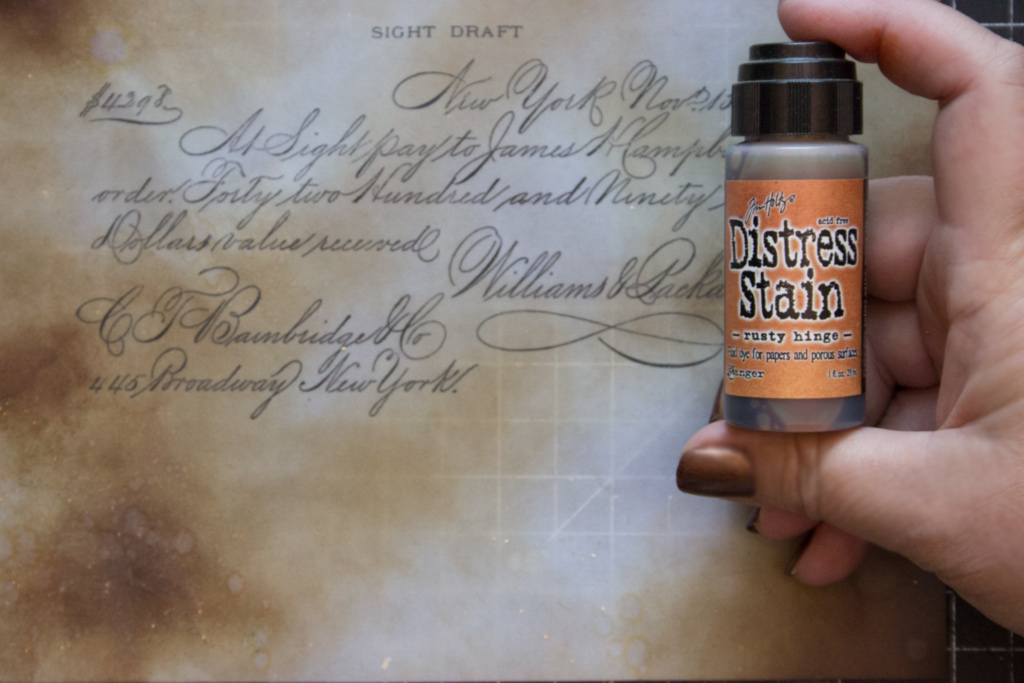
I was looking for a pretty intense effect, so reached for Distress Stain.
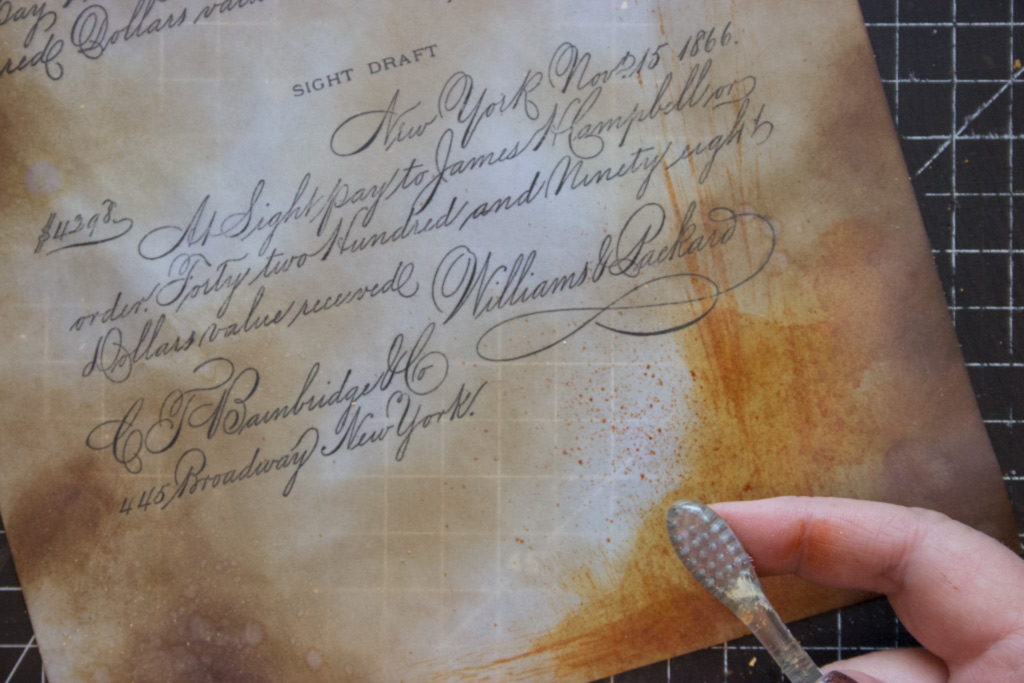
By scrubbing the surface and flicking stain with an old toothbrush, the Distress Stain gives even more soul to the DIY Vellum.
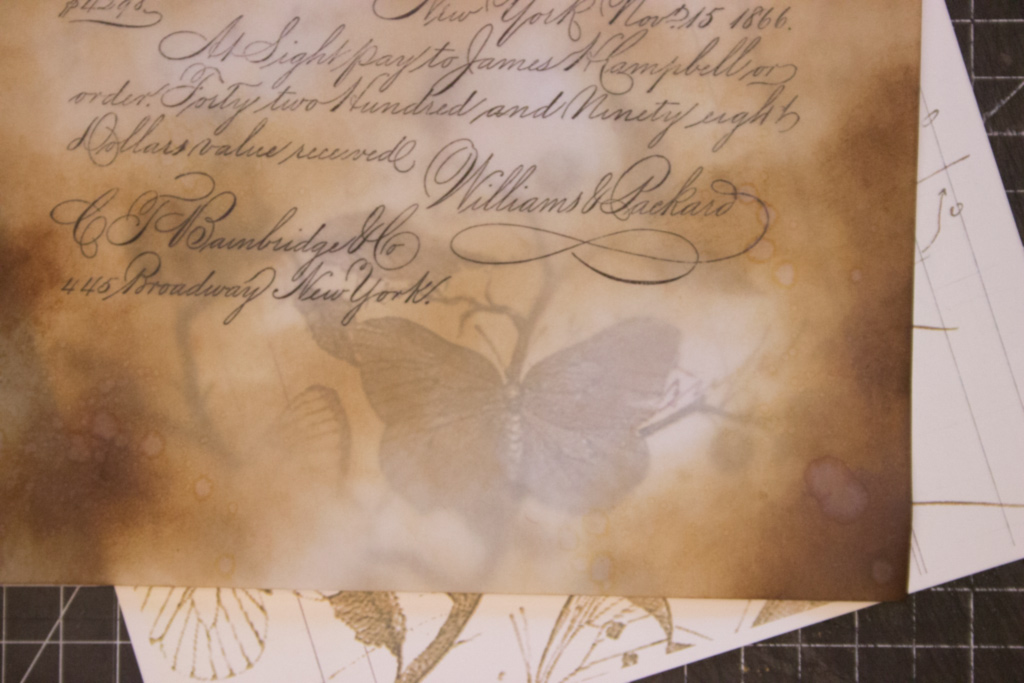
The results so far:
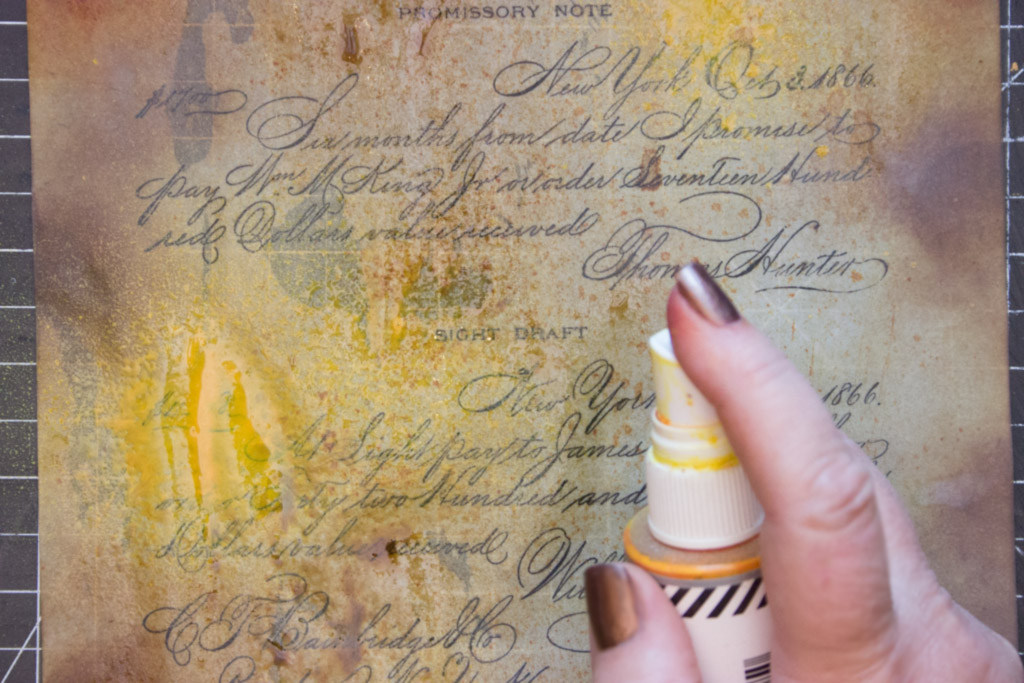
To bring just a touch of sparkle and light to the surface, you can add Spray Ink, like this Color Shine.
Once the surface is dry, you can adhere the DIY Vellum over other imagery for mysterious depth.
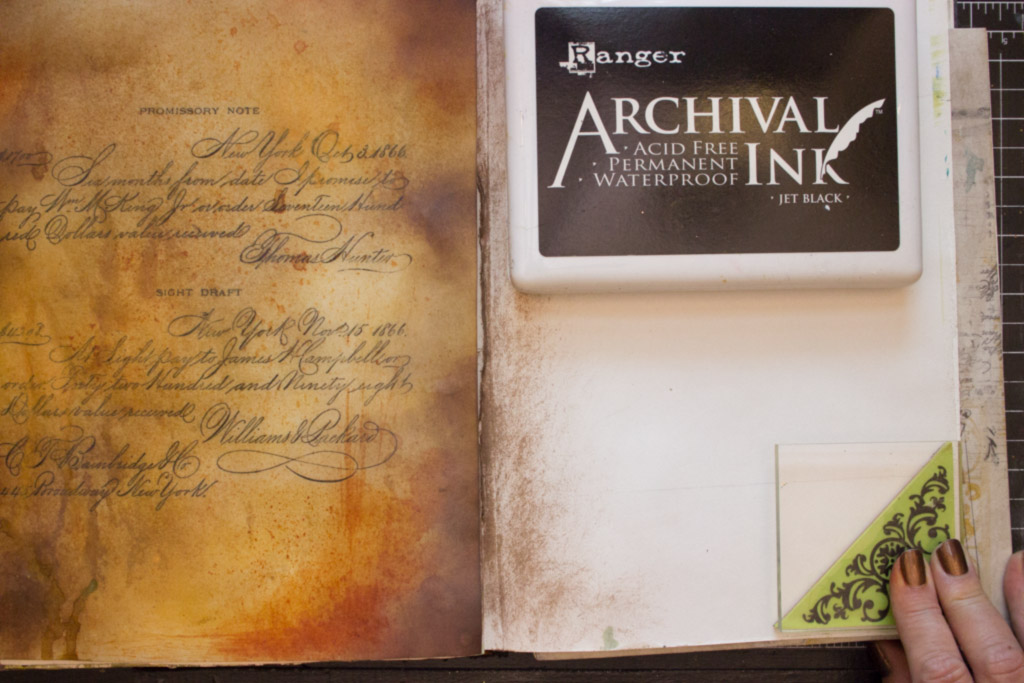
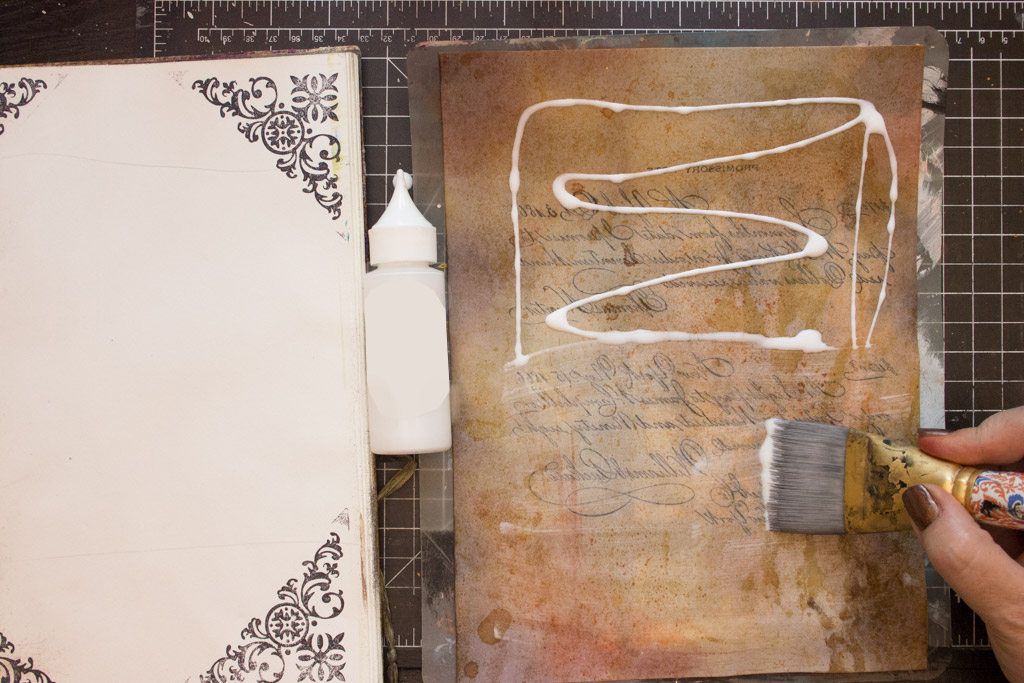
Here, I’m preparing an Art Journal Page by stamping corner embellishments with Archival Ink.
A layer of thinned Tacky Glue applied to the back of the DIY Vellum sheet, then smoothed with a brush:
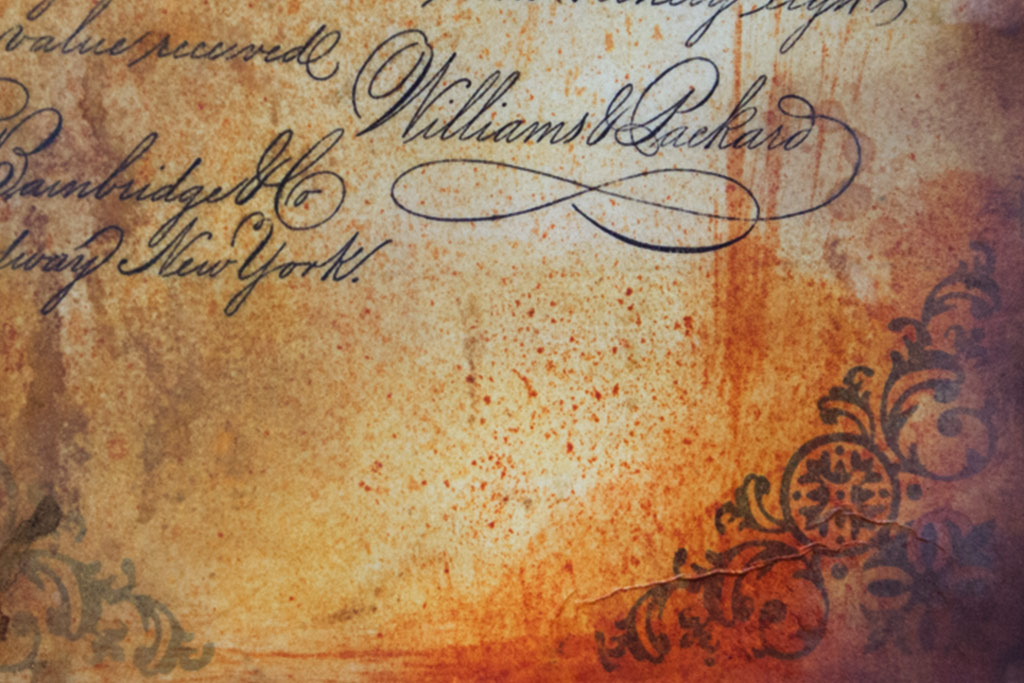
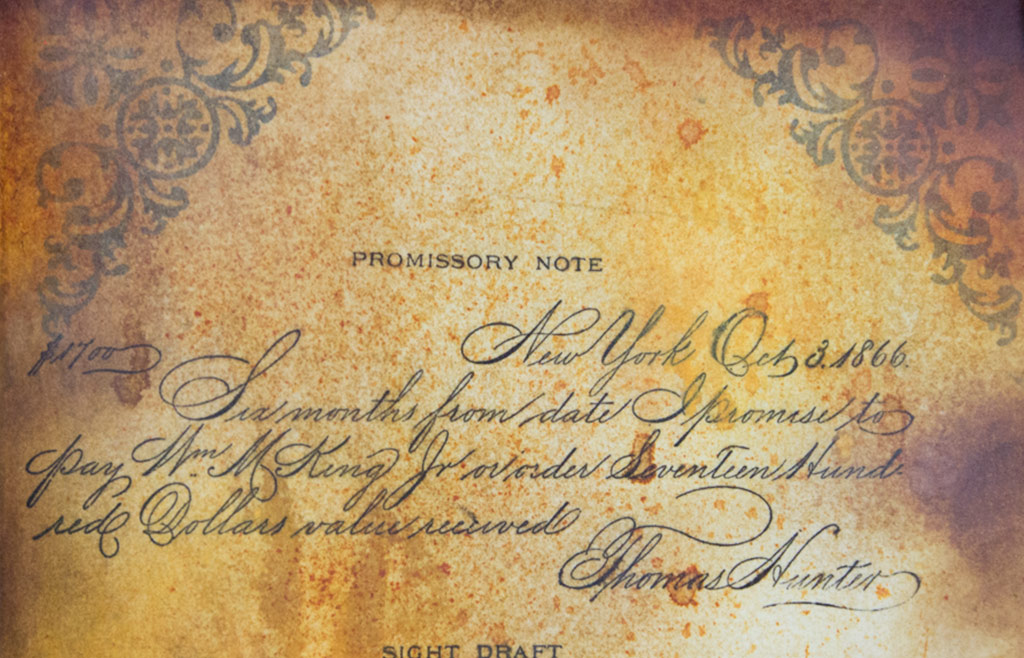
Once the DIY Vellum has been adhered onto the page below, you can see the stamped corner embellishments ‘shining through’.
The effect is subtle, slightly romantic, and and elegantly aged.
The underlying motif shows through the transparent layers of Distress Inks and Stain, even where the pigments are most intense.
I’m sure you can imagine many uses for this DIY Vellum Paper technique – soft overlays that preserve precious photos, ancient labels, distinctive party invitations…the applications are limitless. As always, it was exciting to develop this technique, and even MORE fun to share it with you here… Thank you for visiting The Graphics Fairy today!
For more unorthodox crafting techniques, visit Thicketworks!
Heather
Our students have SO much fun in the Mixed Media for Beginners online course…



G'ma Pat says
Thank you so much for this article. I discovered the oil method of making vellum quite by accident some time ago when I laid some typing paper in a puddle of oil my (lucky not to be ex) husband didn’t clean up on the counter. I did not know however that you could decorate the page before oiling it – I thought it would run. And it makes such a difference in the finished product. Thanks again, and keep these projects coming.
Karen Watson says
Sometimes those little accidents can show us new ways of doing things! Have fun trying this technique Pat!
Janet MacDonald says
Your method for making faux vellum is inspired! Thank you so much for sharing this, Heather! I love the project you showed using this ingenious method!
Karen Watson says
I’m so glad you enjoyed Heather’s wonderful technique Janet! Have fun trying this out!
Debbie Paltridge says
Awesome!!
I tried this technique a few months back, and found that my page ‘thickened up’ (lost its transparency)a bit after a few weeks.
I brushed each side with a watered down waterbased varnish, and found that this restored the translucency (even more than original) perfectly.
Karen Watson says
That’s great to know Debbie, thanks for sharing that tip! 😊