Painted Tin Can Crafts
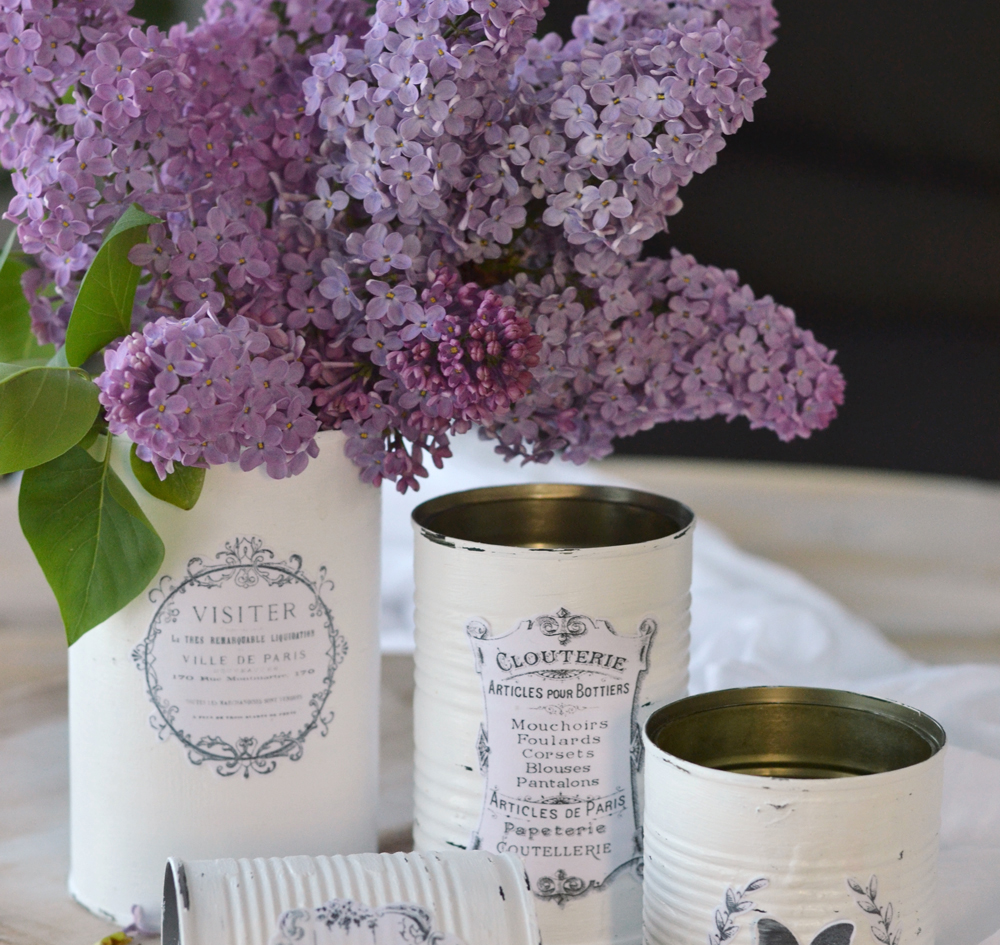
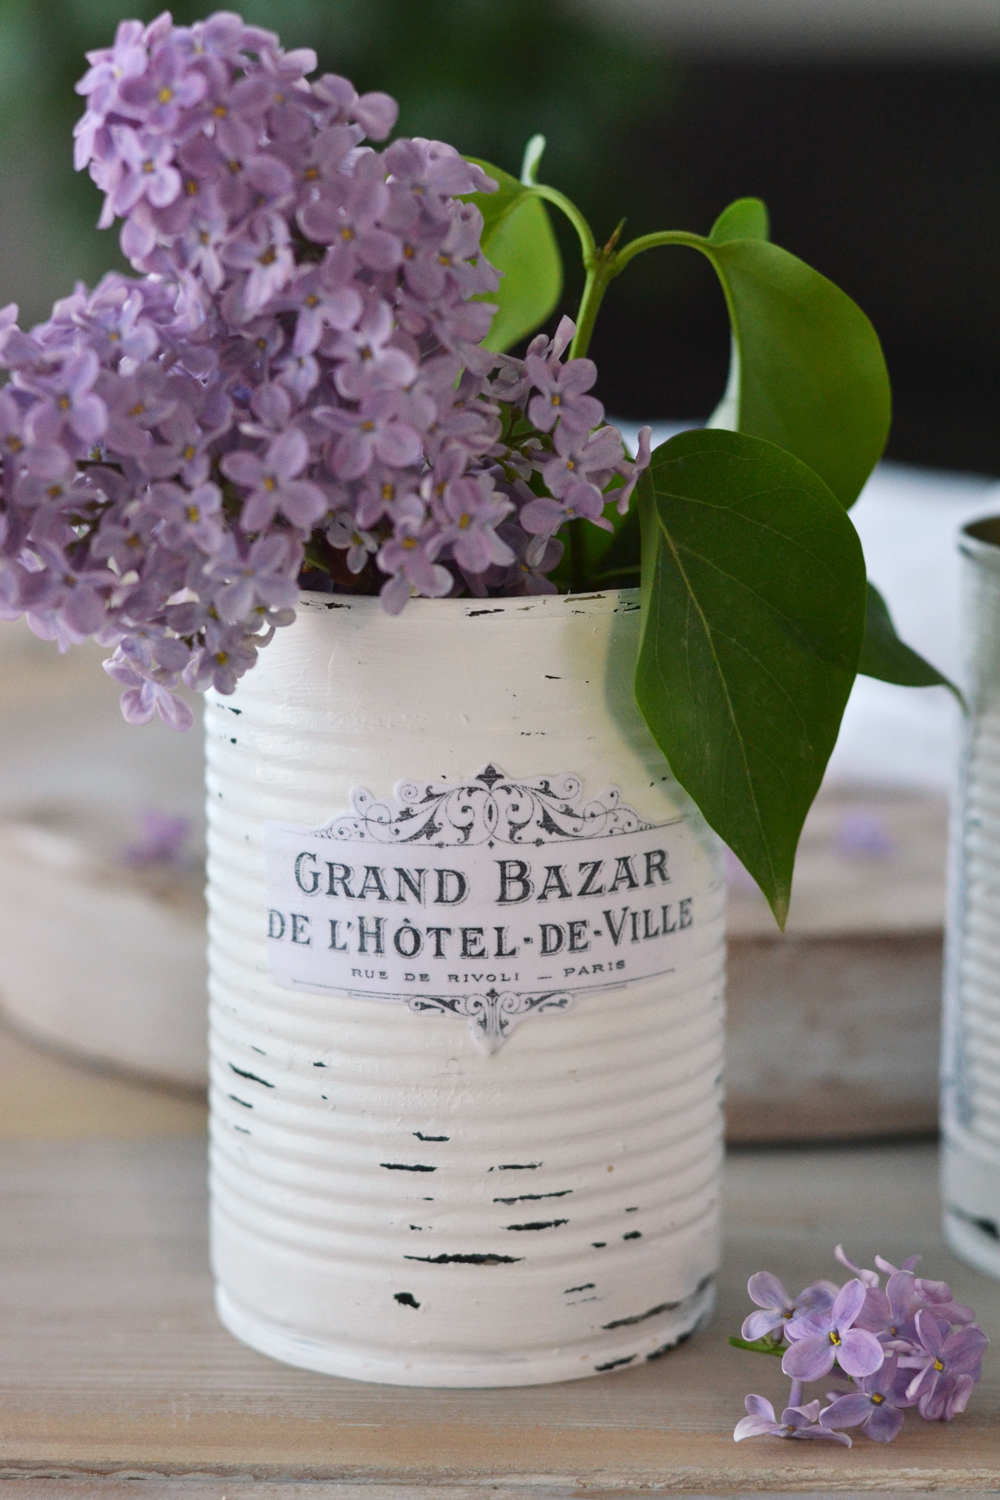
Hello Graphics Fairy friends! Diana from Dreams Factory here, with a new DIY project… Painted Tin Can Crafts! The weather is warming up, everything is finally green and colorful and full of life, so today I thought it would be fun to make some Vintage French Recycled Tin Cans … to match all this spring-ish vibe!
I love the idea of recycling old objects and turning them into new decorative pieces for our home.
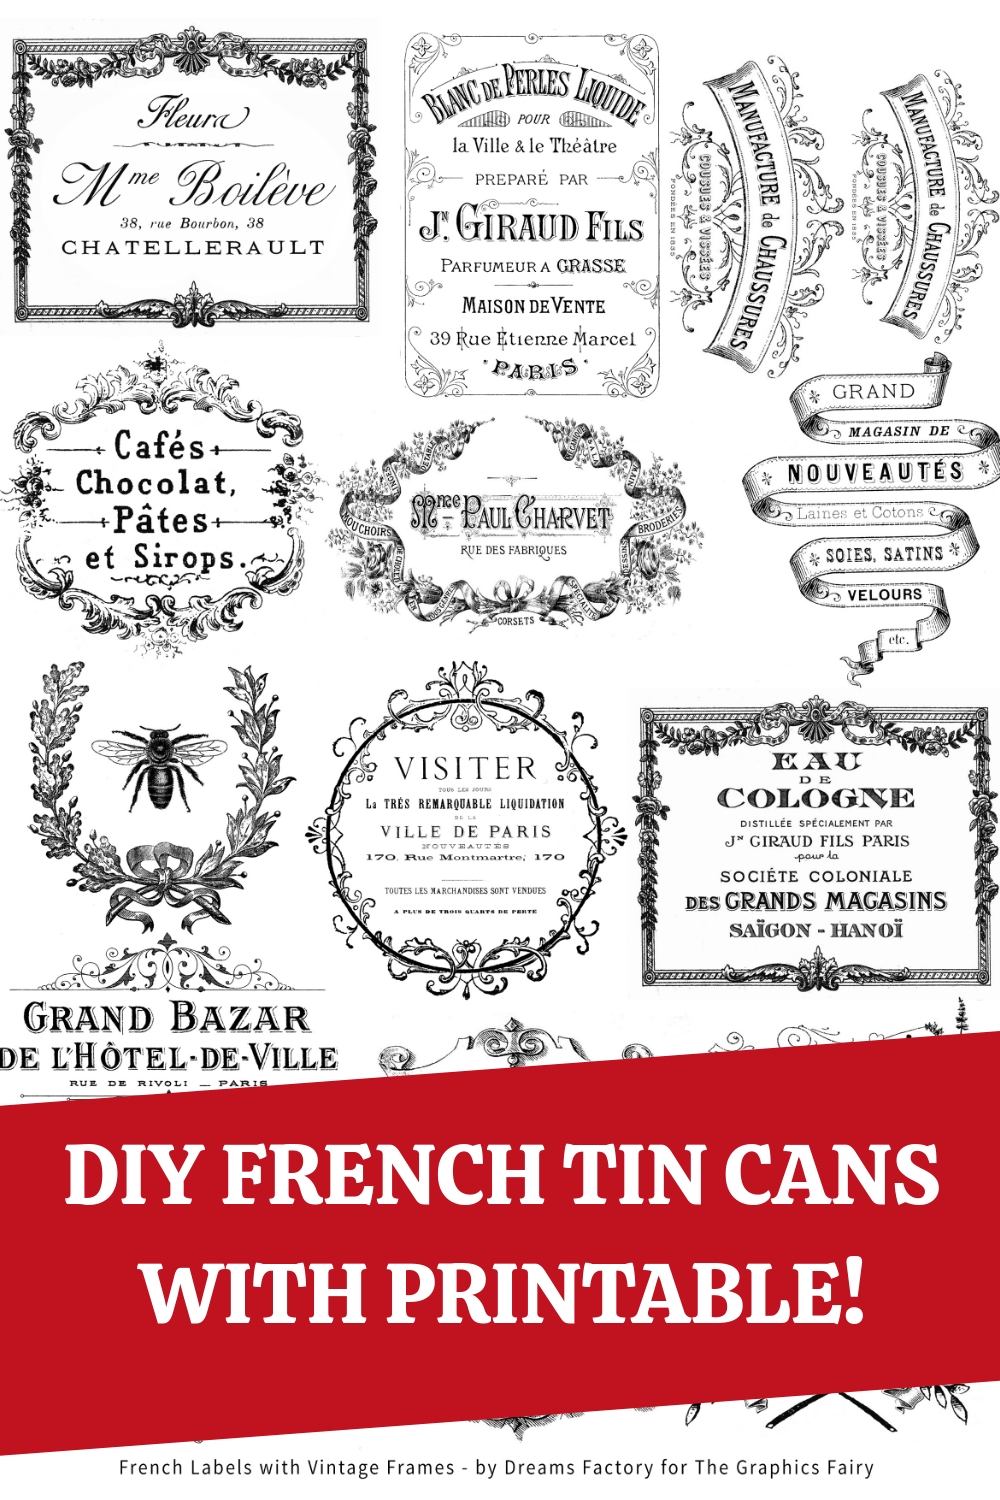
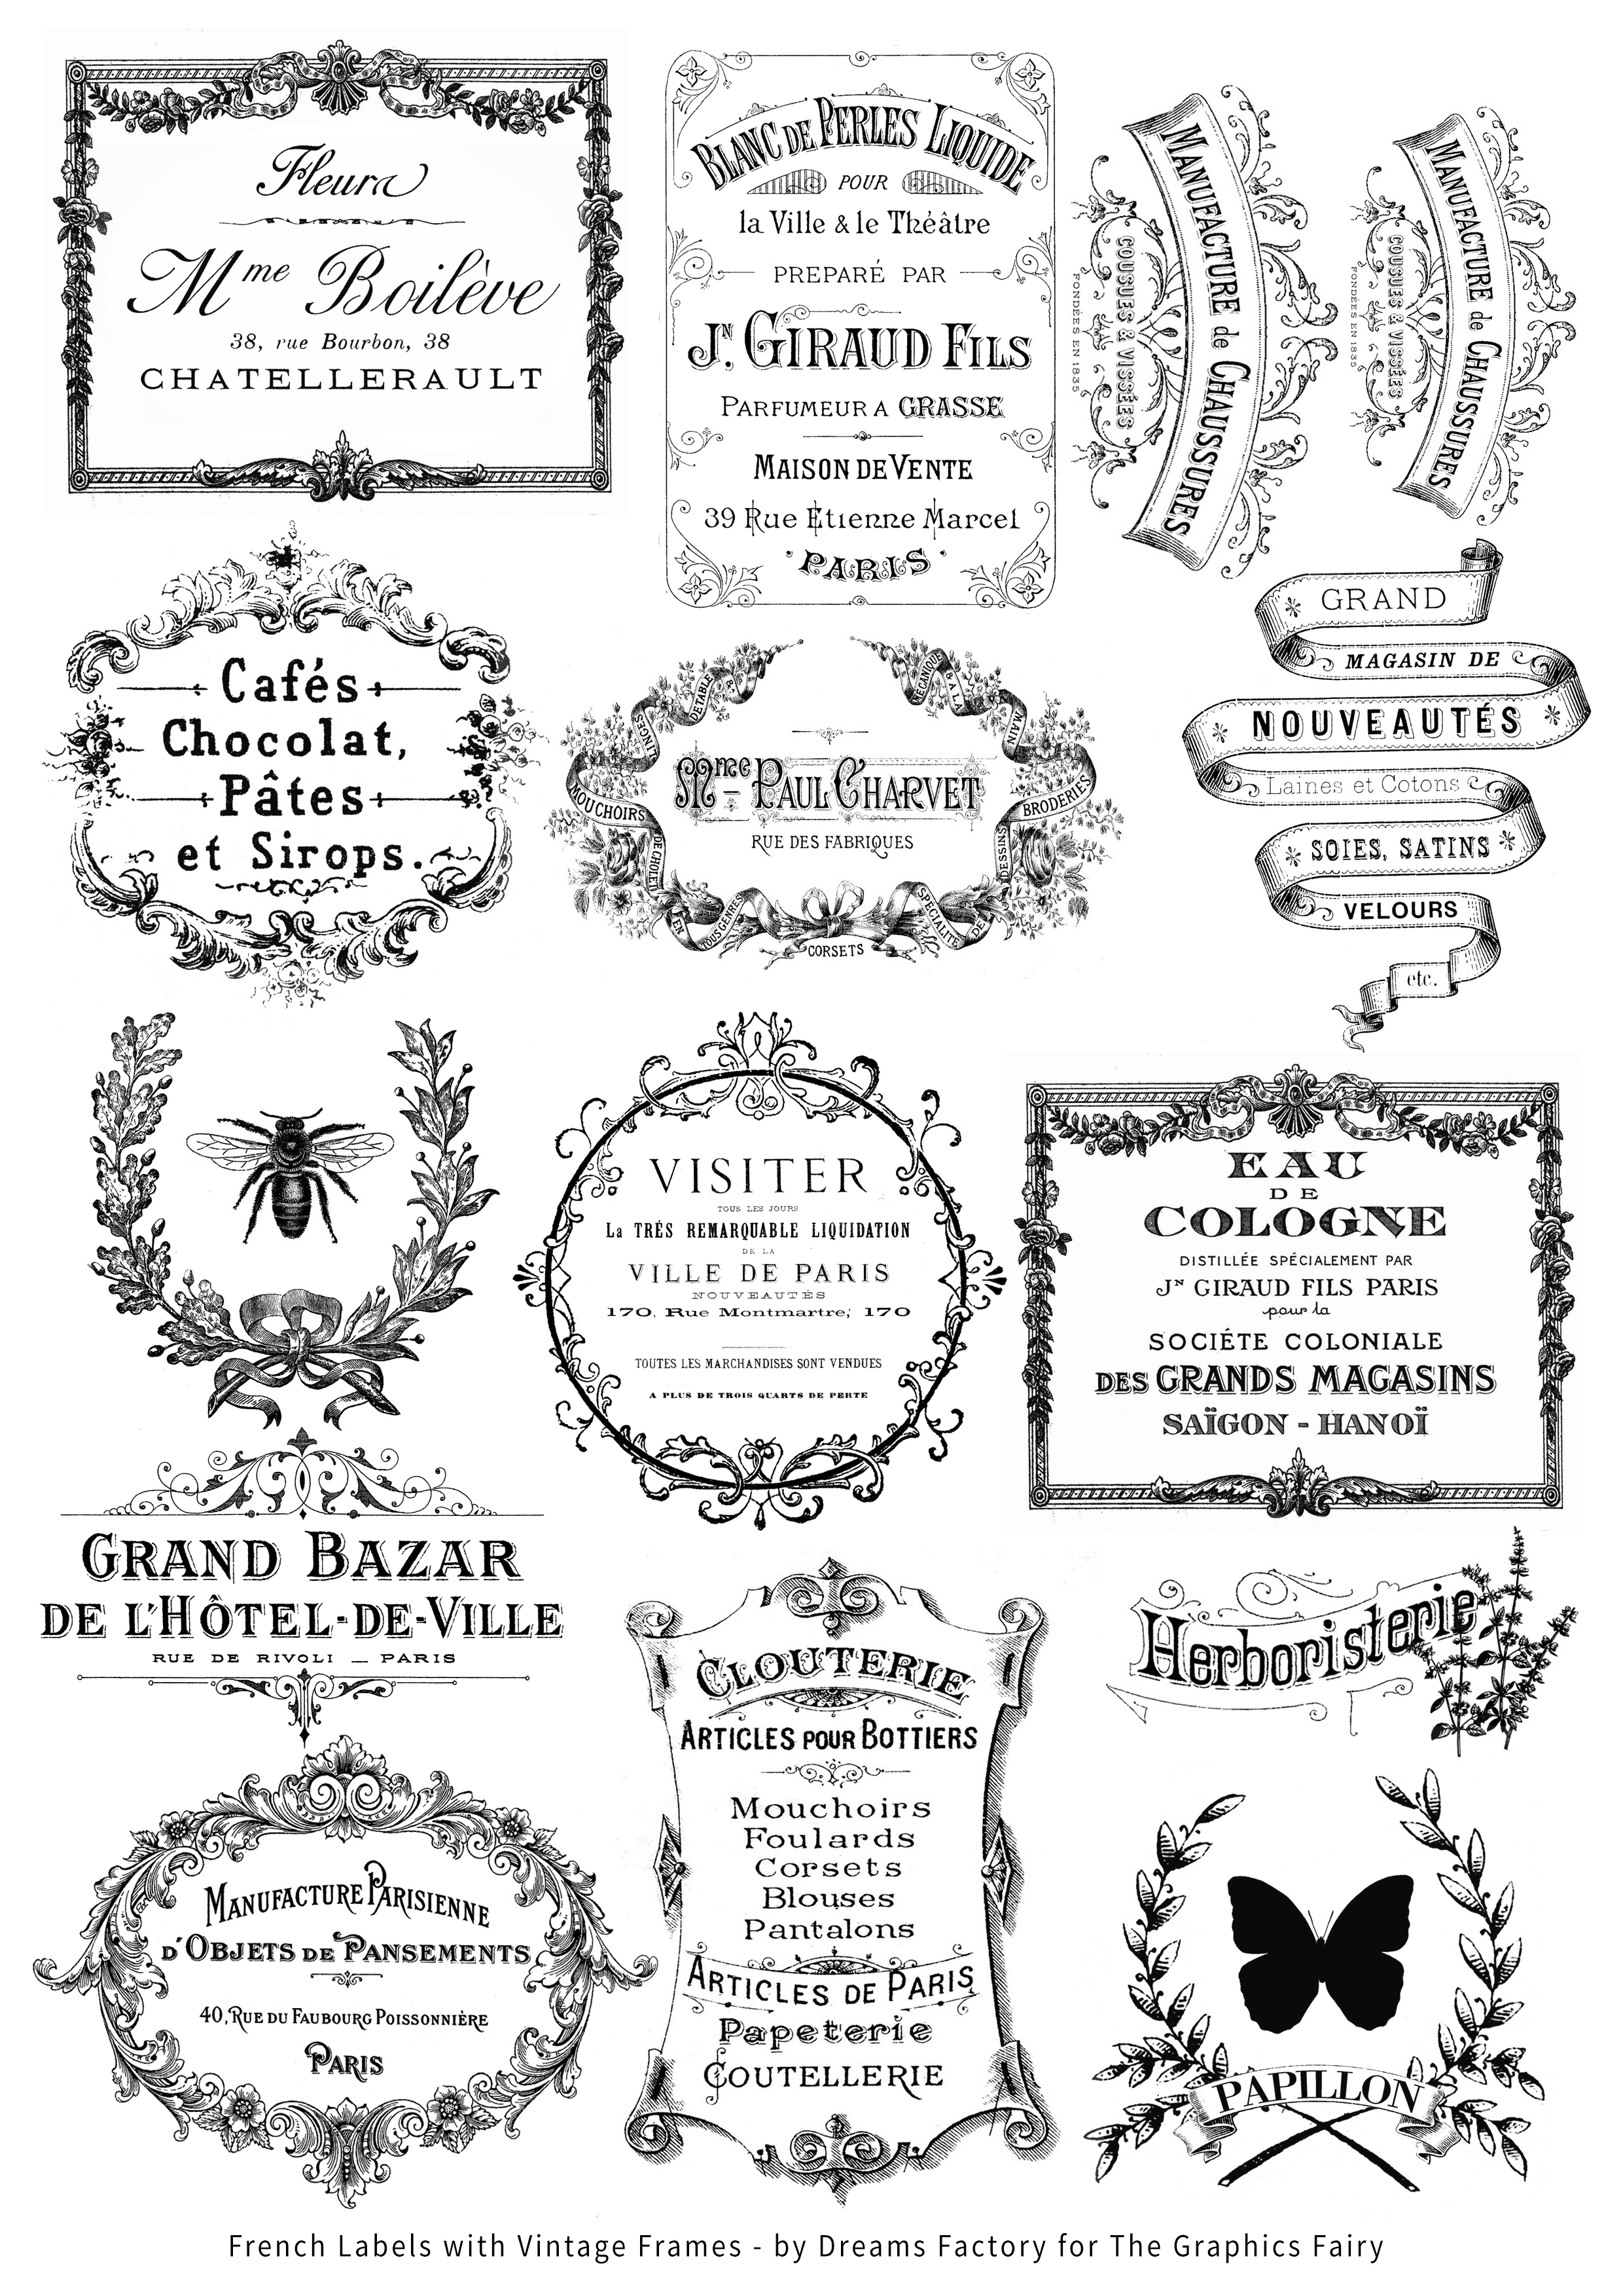
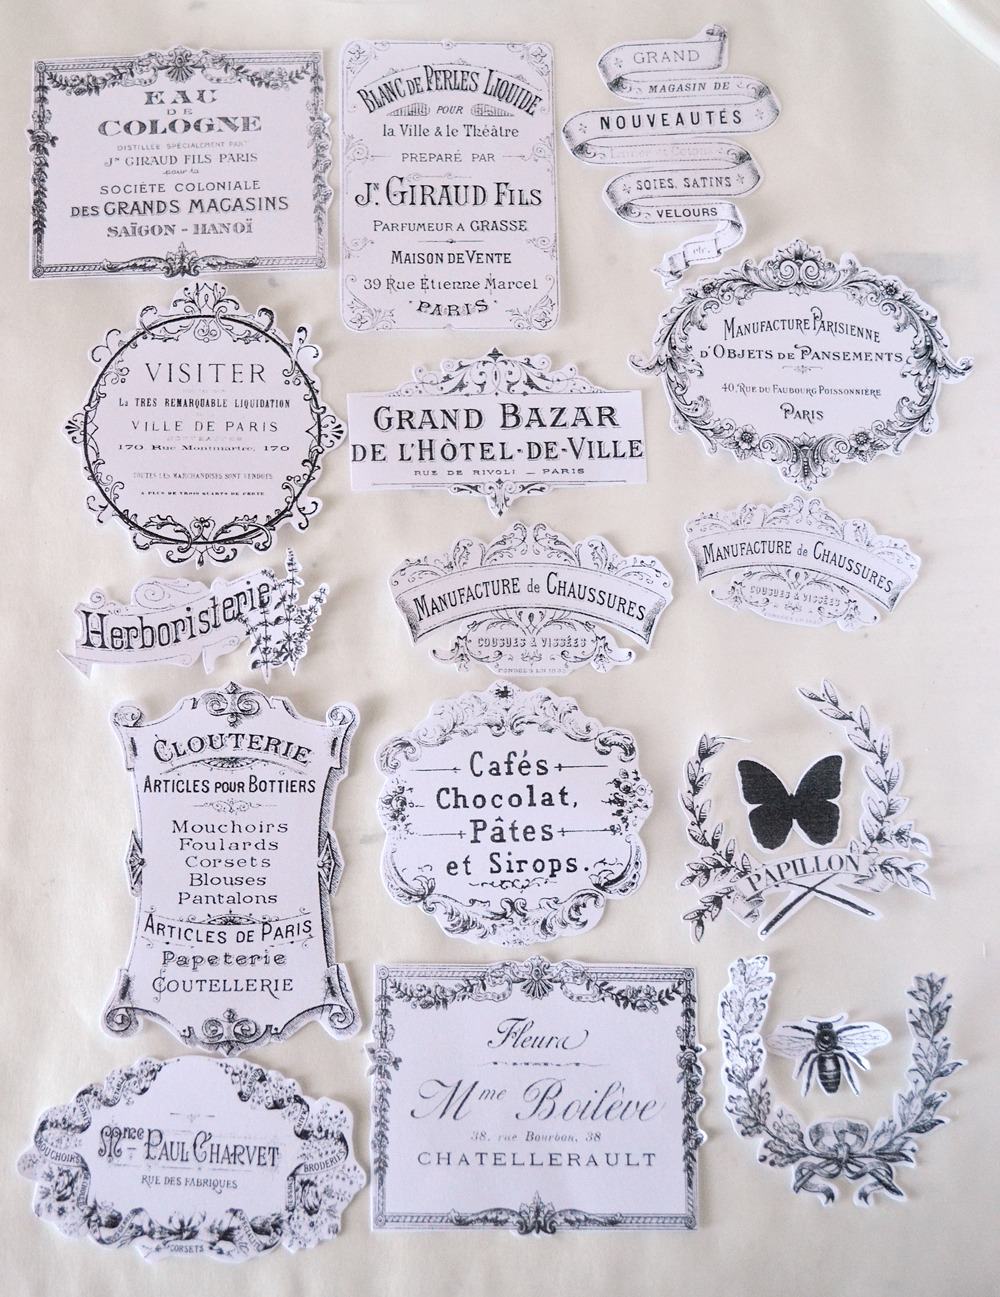
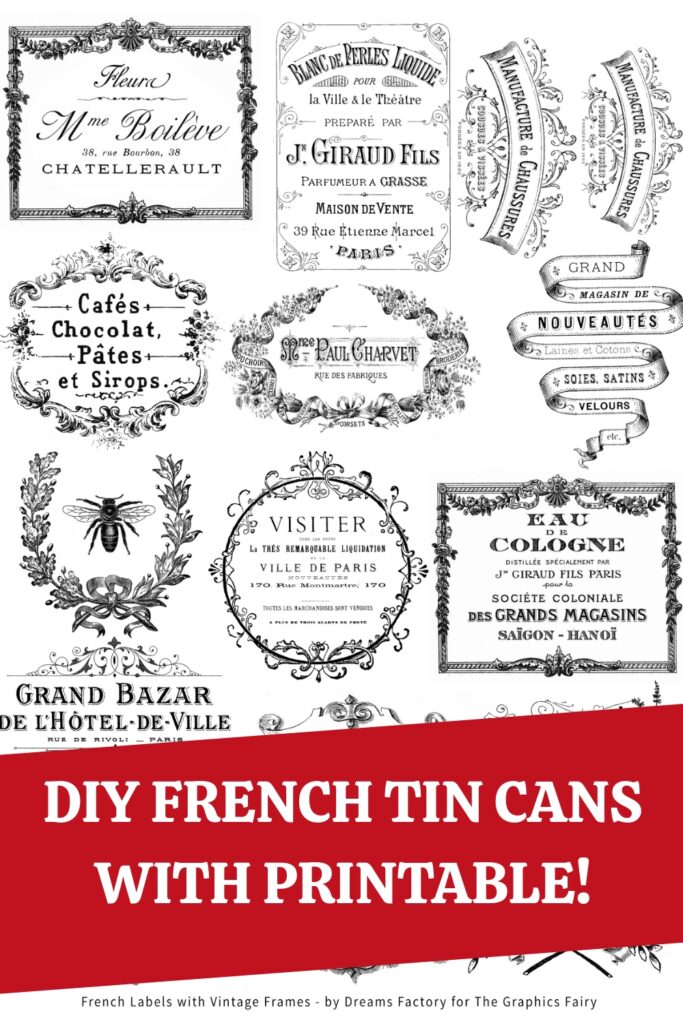
And I’ve created a lovely Free Printable for you so that you can print out these pretty Labels and pick the ones that you like for your beautiful, upcycled craft!
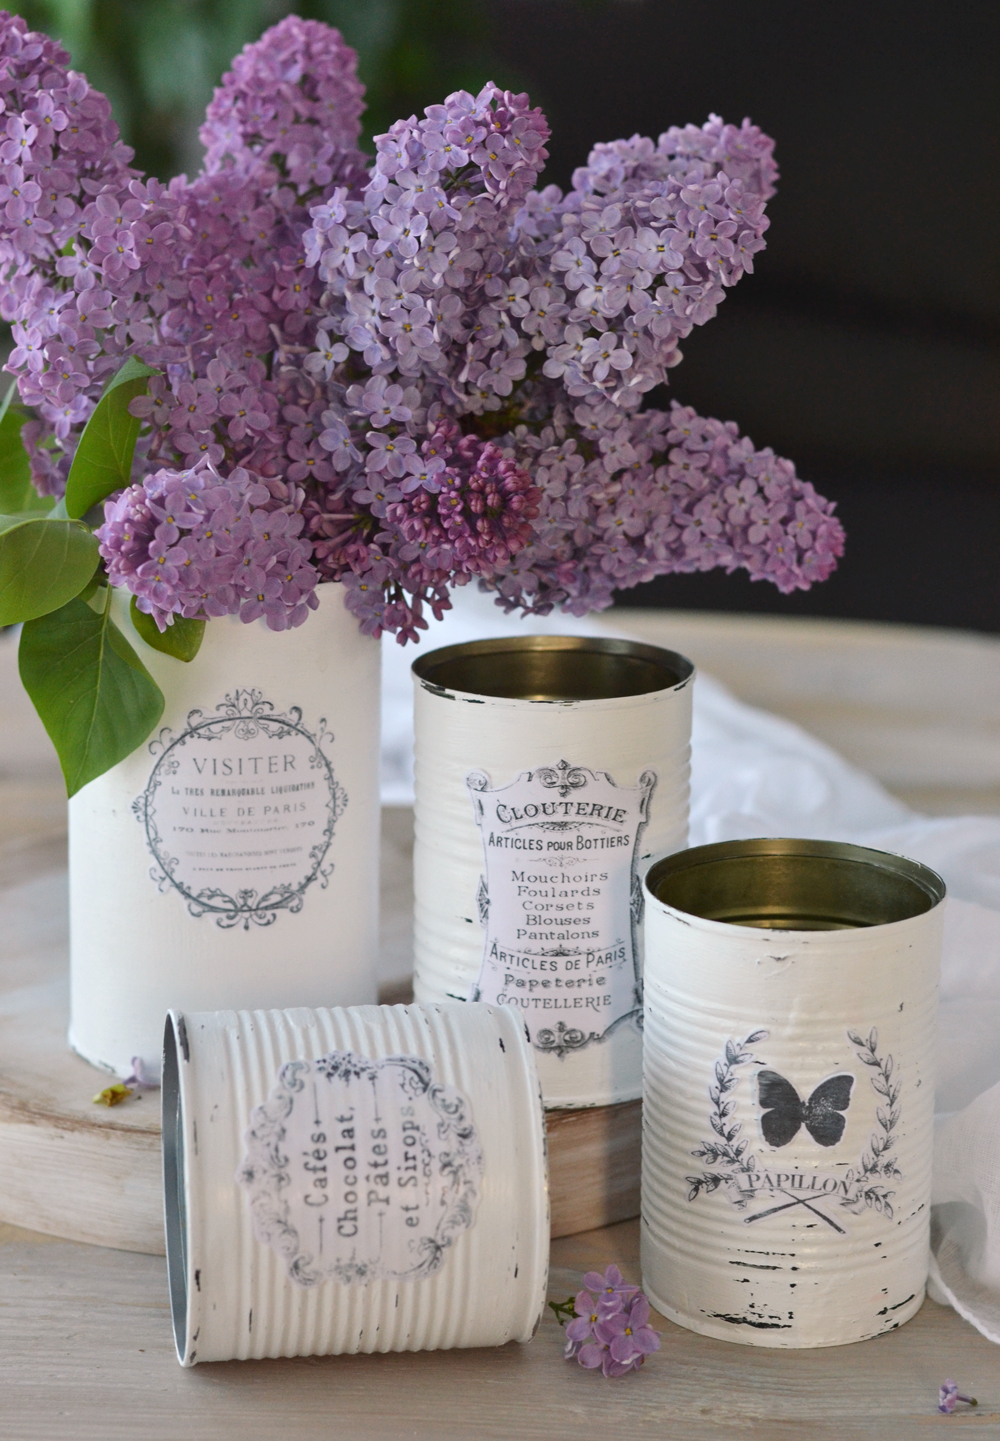
These Vintage French Recycled Tin Cans will bring a little bit of nature indoors, because they will make the most adorable vases for fresh seasonal flowers … or planters for your aromatic herbs.
I would say their primarily role would be for holding plants, but I’m sure you’ll find so many other uses for them, in different areas and rooms in your home – chic containers for your kitchen utensils, for makeup brushes, for pencils and paint brushes, these are just a few ideas. Of course you can also use them outdoors, there are so many possibilities when it comes to using such beauties!
For this project I envisioned some French labels with beautiful vintage frames, so I used some French images that already had vintage frames or other interesting features. But I also created some new ones combining different amazing graphics from The Graphics Fairy. 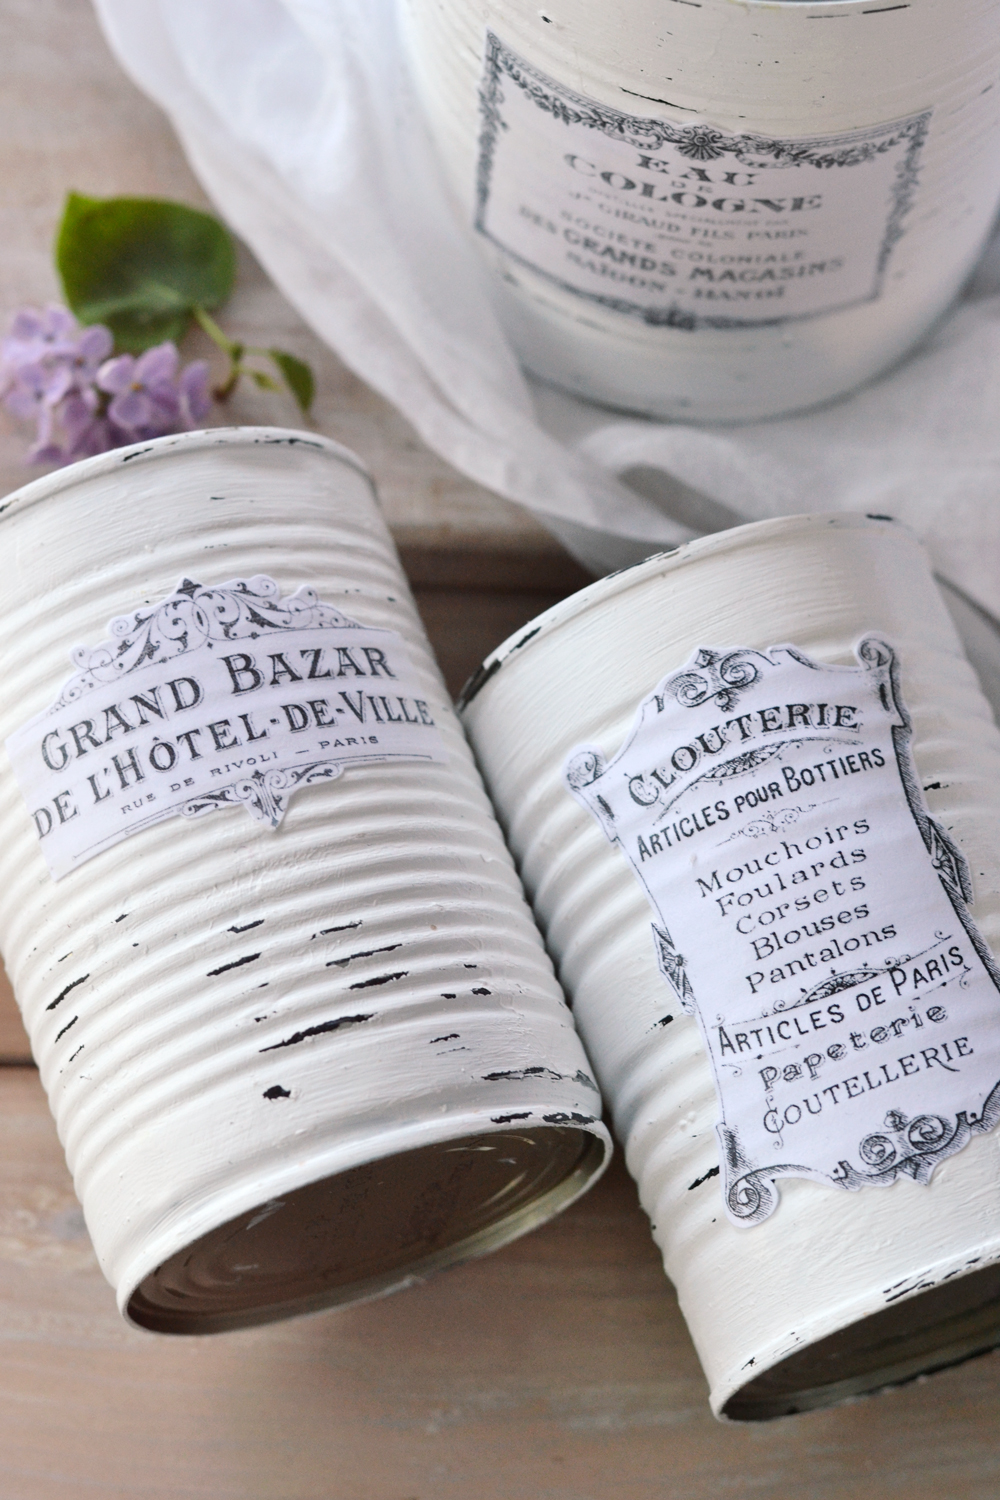
The details found on some of these are just stunning!
—-> Click HERE to Download the Full Size Printable PDF <—-
Supplies for Painted Tin Can Crafts:
- tin cans in different sizes
- white milk paint OR acrylic paint OR chalk paint
- black milk paint OR acrylic paint OR chalk paint
- brushes
- 120 or 180 grit sand paper
- candle wax
- Mod Podge
- scissors
- cardstock paper
- ink or laserjet printer
- Vintage French labels
OPTIONAL:
- matte finish spray
- disposable plates
PHASE 1 – PAINTING AND DISTRESSING THE TIN CANS
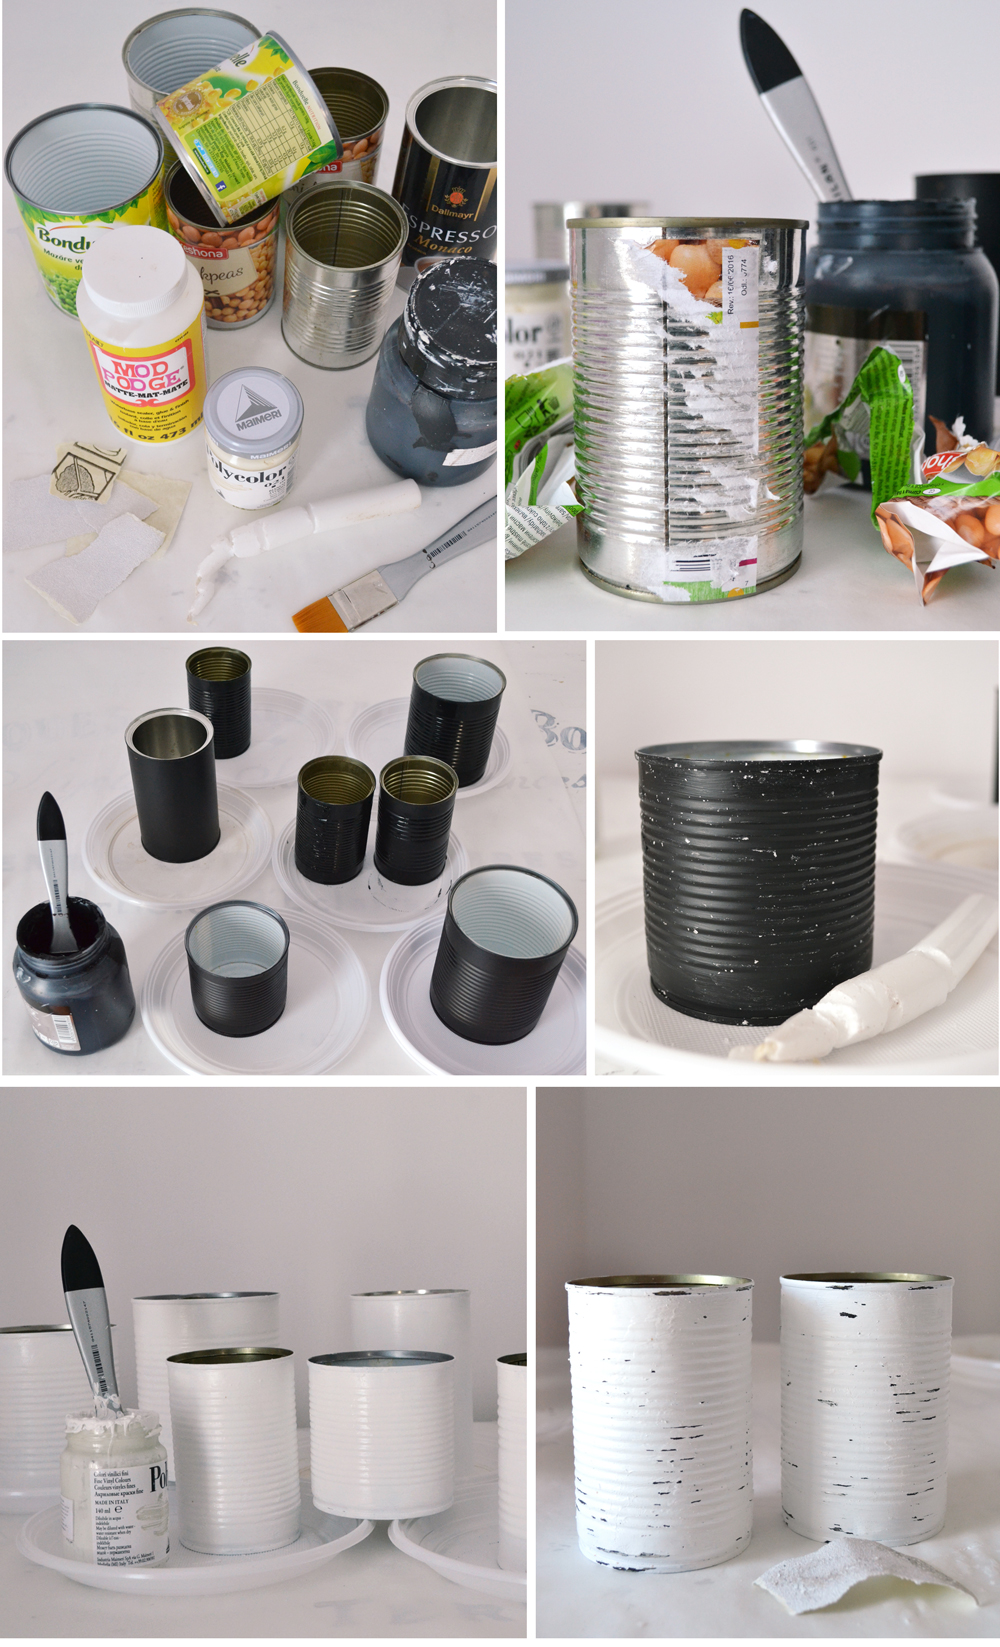
For painting and distressing the cans I used the same technique I usually use on my decorations, so I’m assuming you are familiar with it by now – 2 contrasting colors and some candle wax will help you get a beautiful aged look! And depending on how you plan on using the cans, you can choose your colors accordingly.
I usually go for white and black (or white and brown) as my two contrasting colors but you can try any other colors that you love or ones you find more appropriate for your home decor and color scheme. Just remember you need them to be different so you can get that chippy aged look after distressing the painted objects.
Just a quick note before starting your painted tin can crafts… try choosing cans in different sizes – different heights and different diameters will help you create dimensional vignettes afterwards.
Remove the labels from the cans as much as you can, but don’t worry if there are some pieces of paper left on your cans, they will only add character to the whole distressed concept -> photos 1-2
Start by painting the cans black and let them dry completely -> photo 3
Rub some candle wax here and there (especially on the edges) and paint the cans white ->photos 4-5
Let them dry completely and distress them using sandpaper -> photo 6
Disposable plates came in handy through out the whole process, you can use them as well to protect your working surface.
You can paint them on different moments of the day, just leave them dry completely between each phase. Waiting for them to dry can be a little bit time consuming, but the whole process can be quite therapeutic if you love painting.
NOTE: If you need more details about painting and distressing, you can also check this similar tutorial I did a while ago.
PHASE 2 – CUTTING THE LABELS
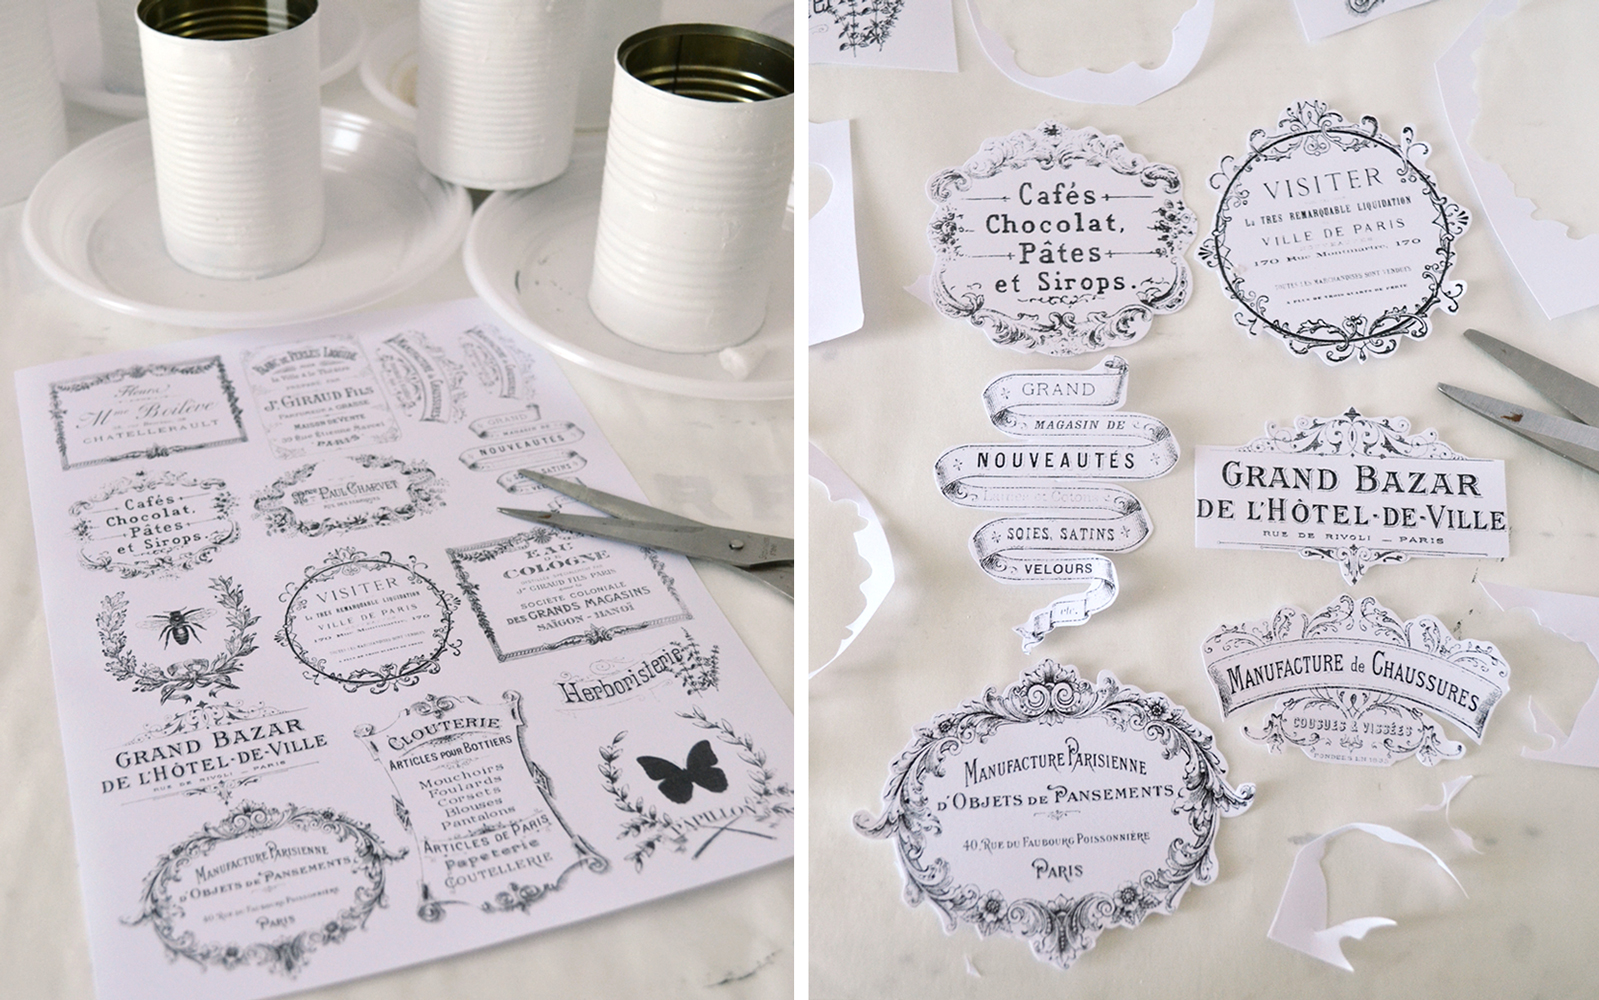
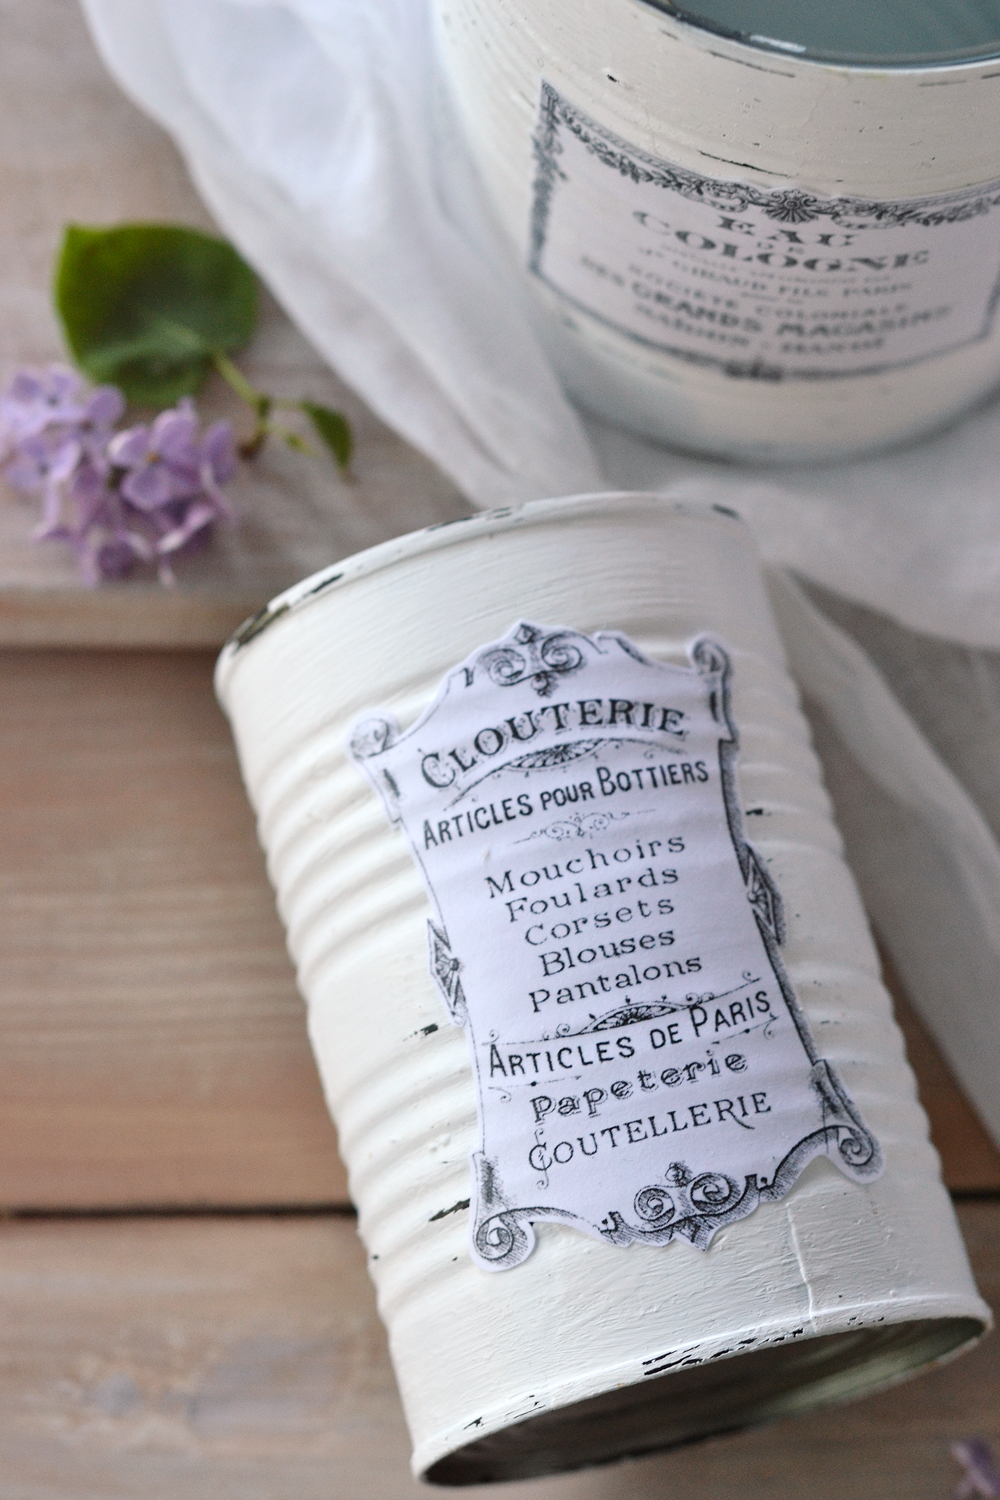
While your cans are drying you can print and cut the French labels with vintage frames.
Roughly cut each piece at first and then …
… armed with scissors, attack the more intricate details!
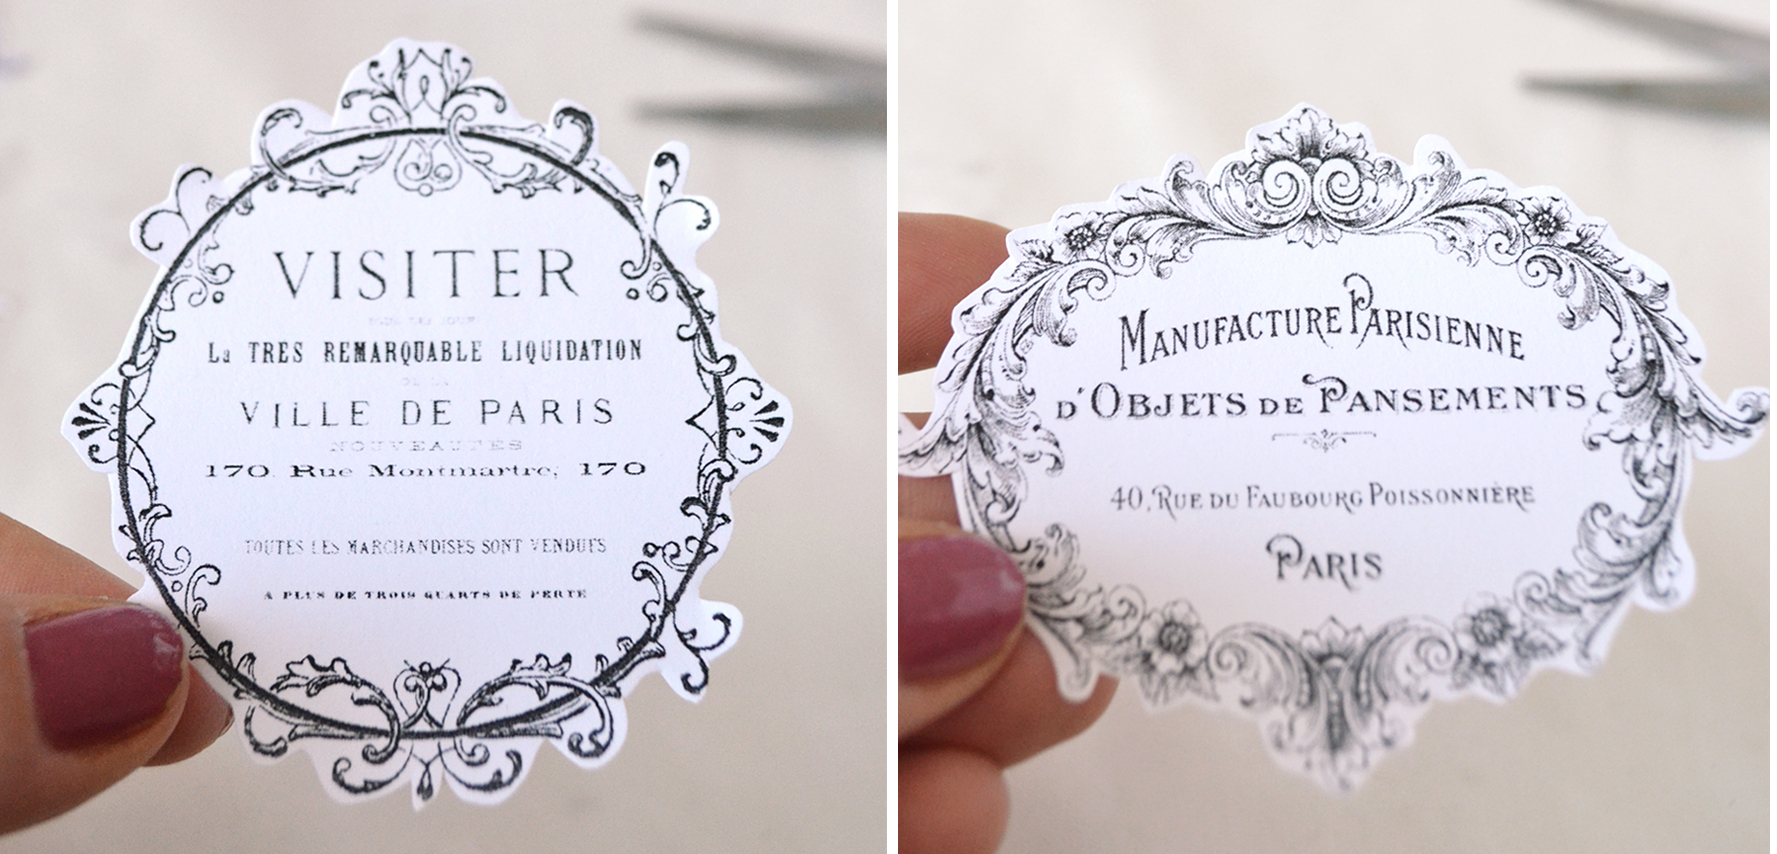
Cut as close as you can to the printed frames with circular, rounded moves and avoid blunt cuts. Try to create a small paper contour if the details are too small, one that would follow the frame’s shape and would complement and highlight its appearance.
You are looking for something like this …
And here are all the stunning French labels with vintage frames after cutting them! I told you the details on some of these are truly spectacular!
NOTE:
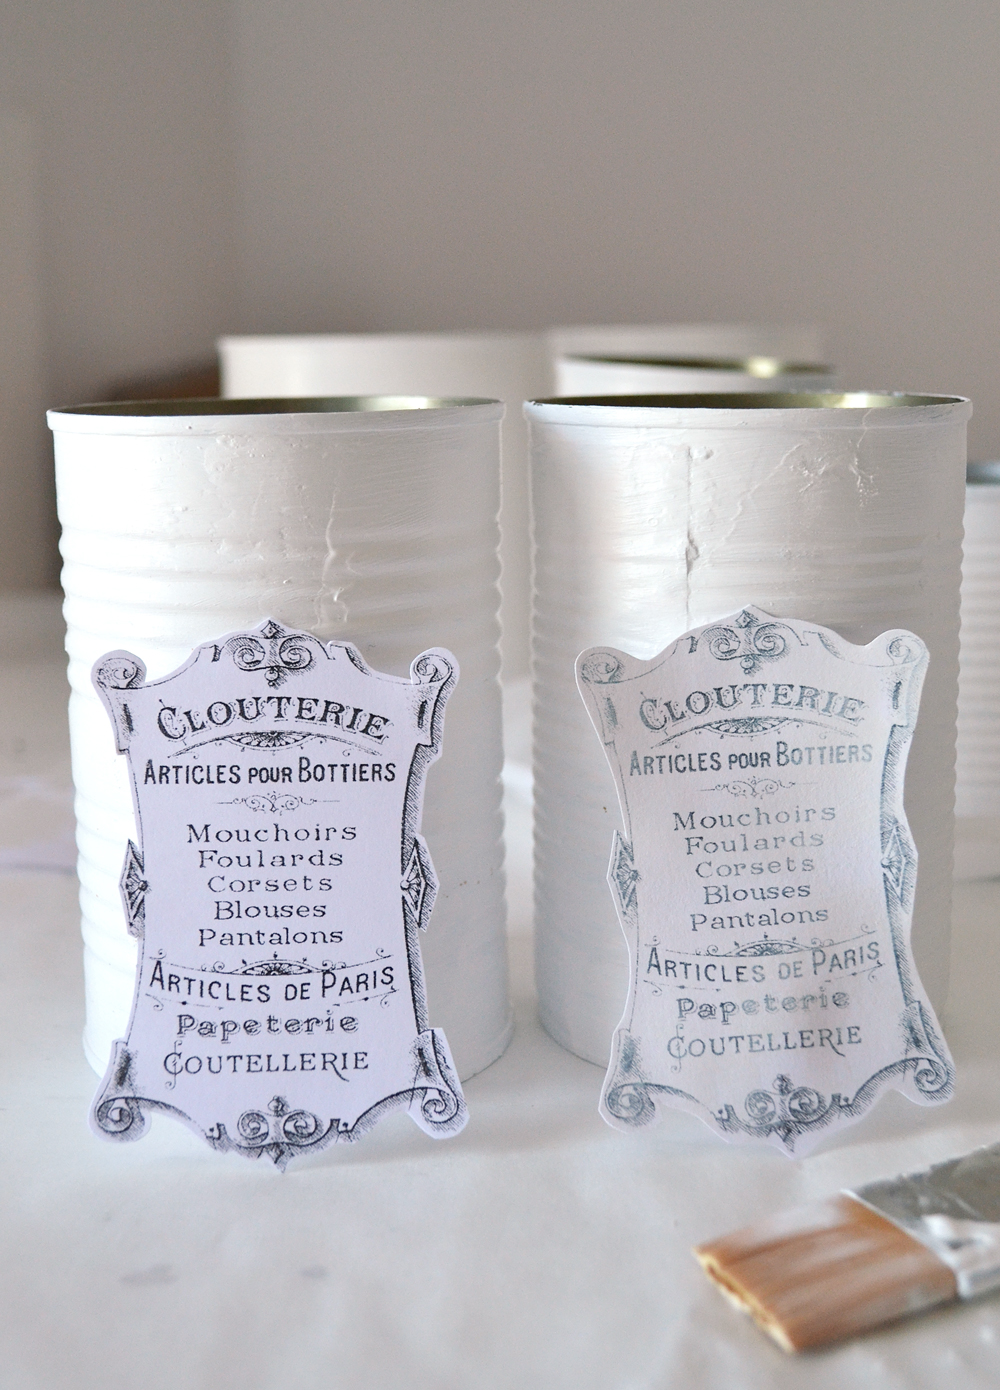
If you feel like the paper you used to print the labels is too bright, you can use a brush and some white paint to tone it down a little.
In the image below you can see an example of that
– the label from the left is a simple just printed label (this will pop much better on you cans)
– the label from the right is dry brushed with just a tiny amount of white paint (this will sort of blend in more)
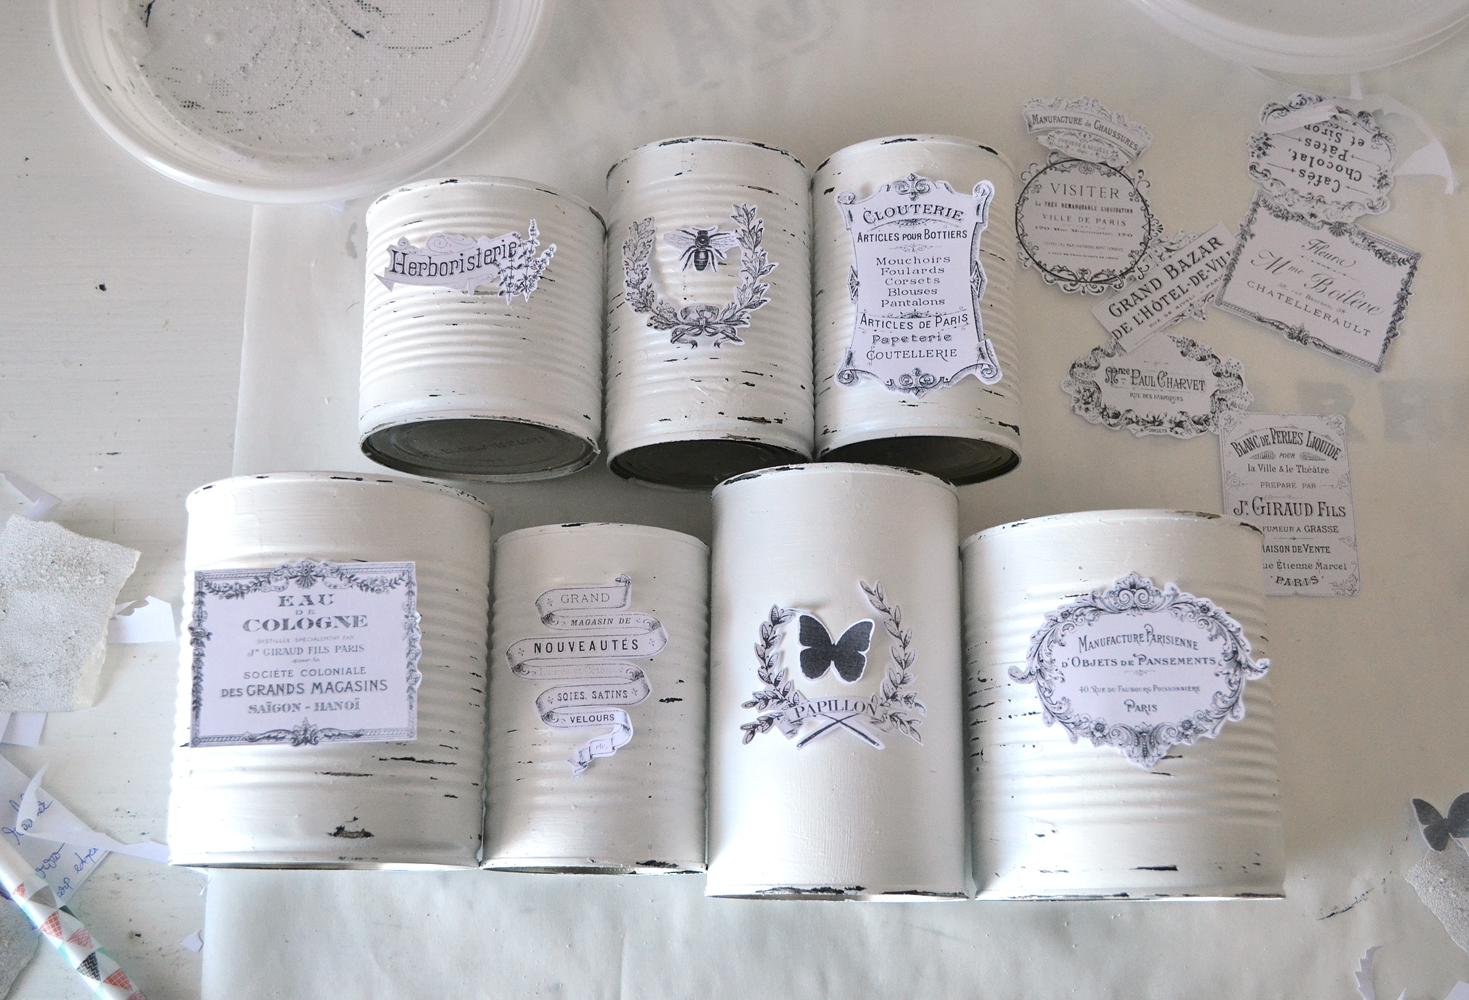
Arrange all your beautifully distressed cans on the table and try to decide which label to use on each one.
This will be the hardest part of the whole process, trust me!
TIPS AND TRICKS
To make things easier, if you just can’t decide (I usually have this problem) … here is an idea for you! Why not double decorate them? Follow the steps below to glue one label on one side of a can and then rotate the can and simply decorate the other side too!
Big dilemmas have such simple solutions sometimes!
PHASE 3 – GLUING THE LABELS
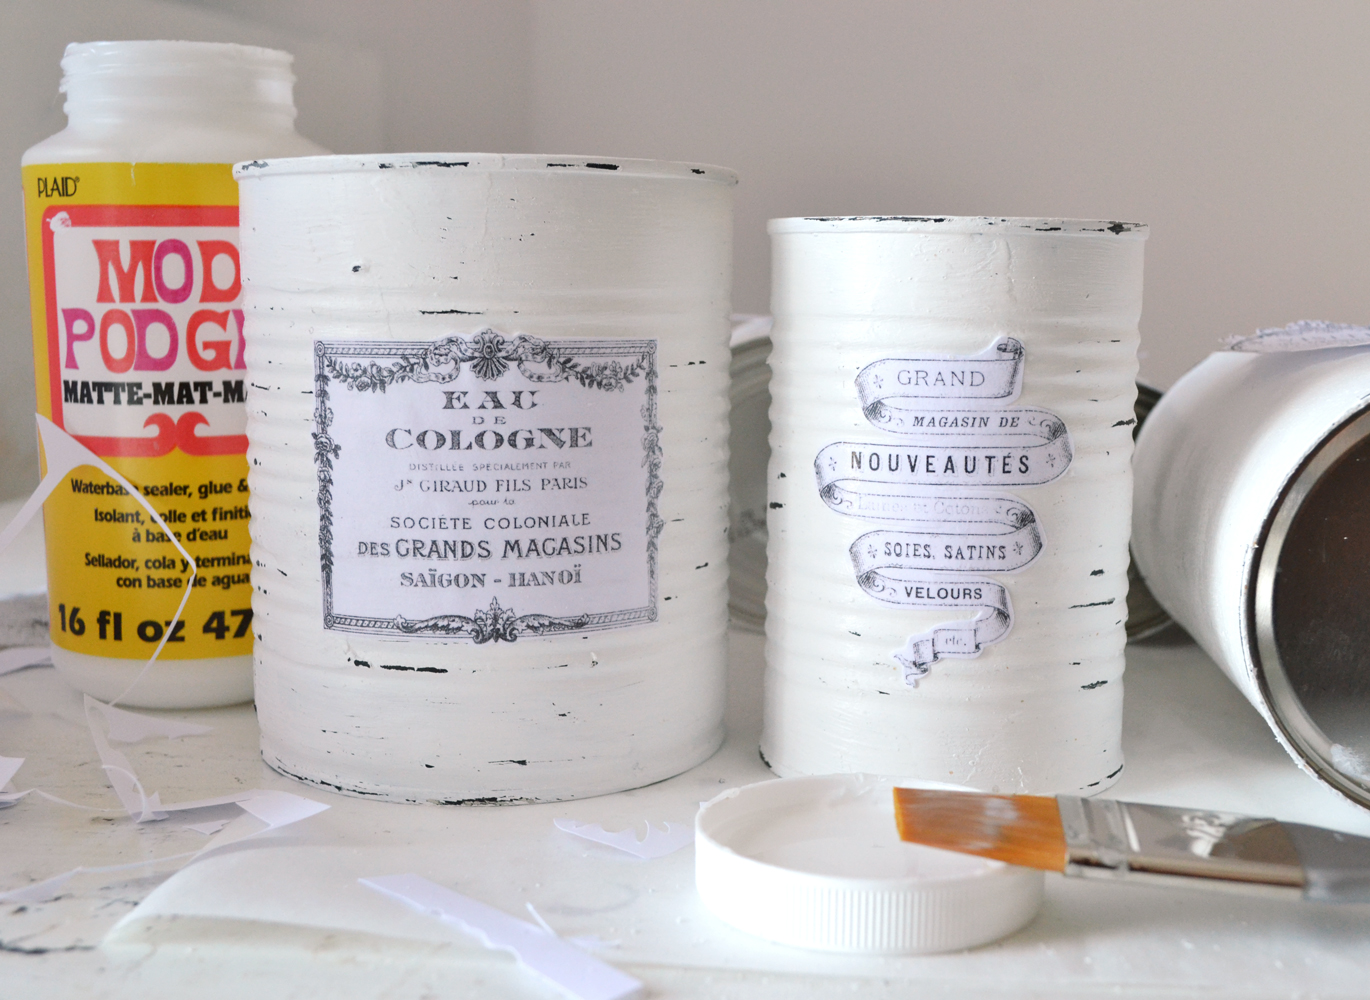
Use some Mod Podge and start gluing your labels on the cans.
After gluing one label, go with your thumb or index finger and starting from the middle apply some pressure following the lines of the cans. This will make your label completely adhere to the can.
Then apply a layer of Mod Modge on top of the label and let it dry completely.
Follow the same steps for all the labels!
To seal your work, you can use a matte finish spray to protect both the surface of the cans and the labels. I’m planning on using the containers indoors, so I skipped this step completely.
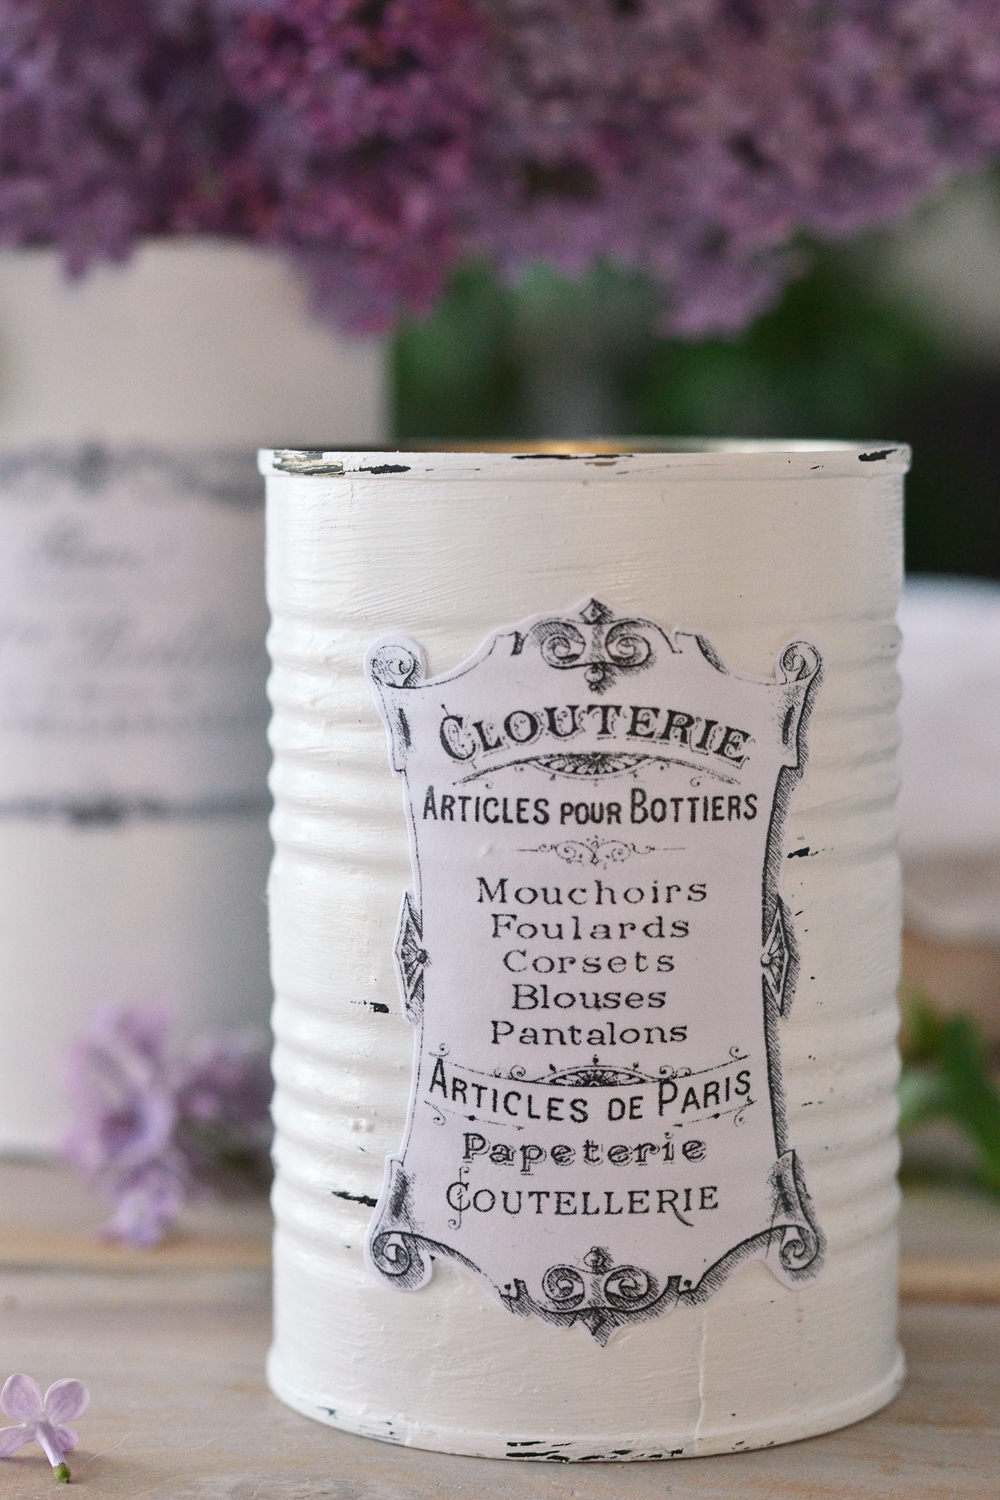
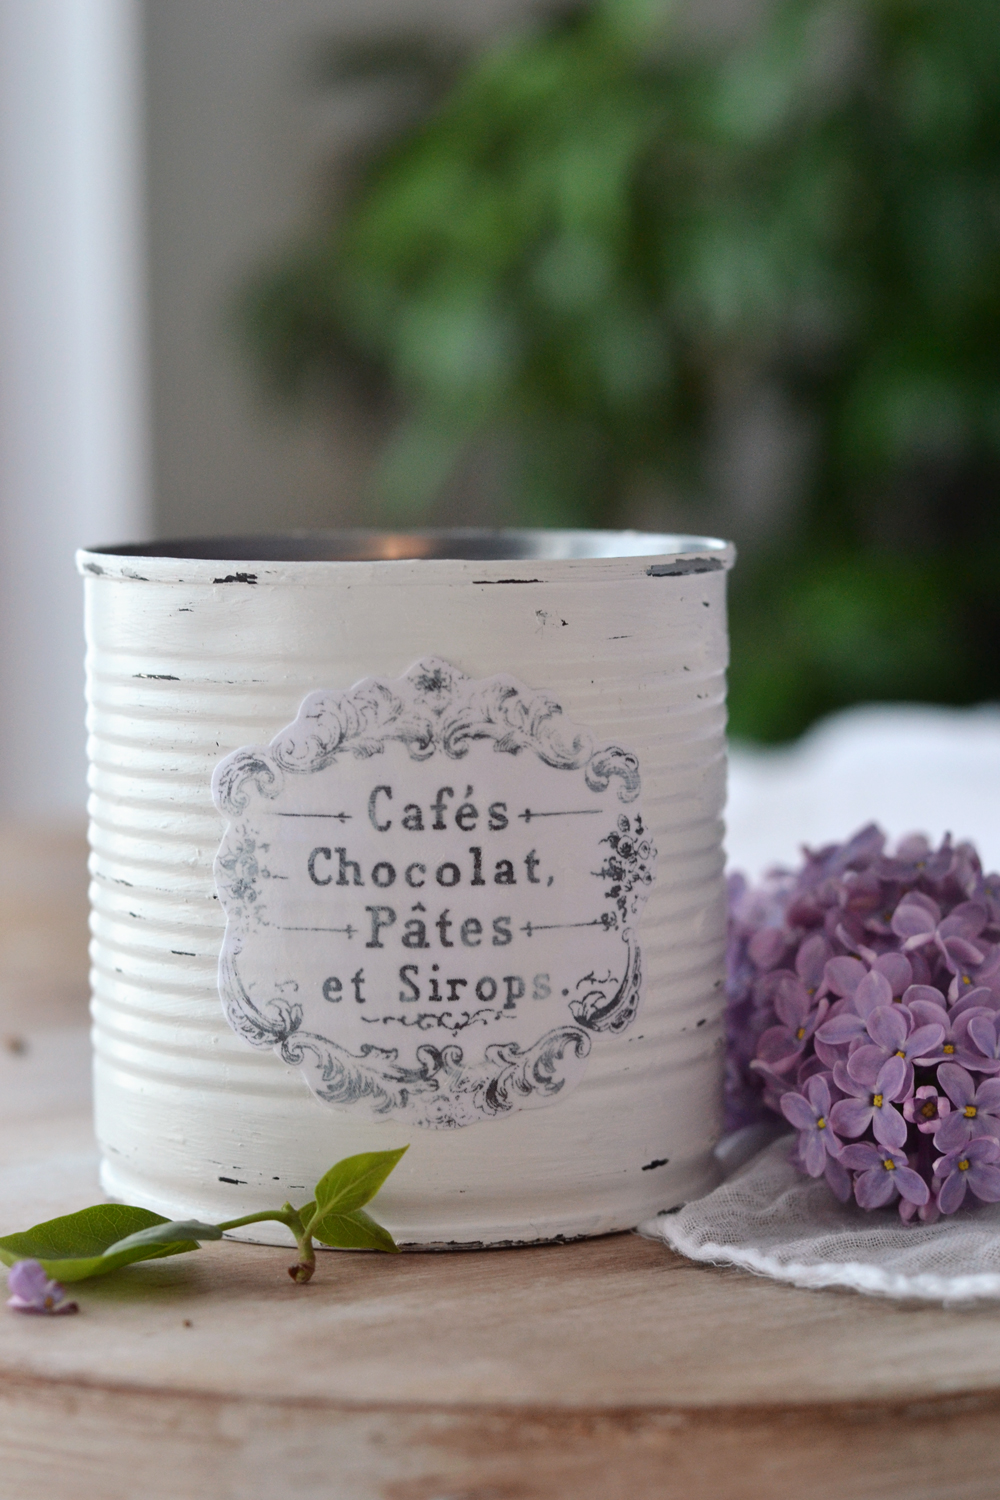
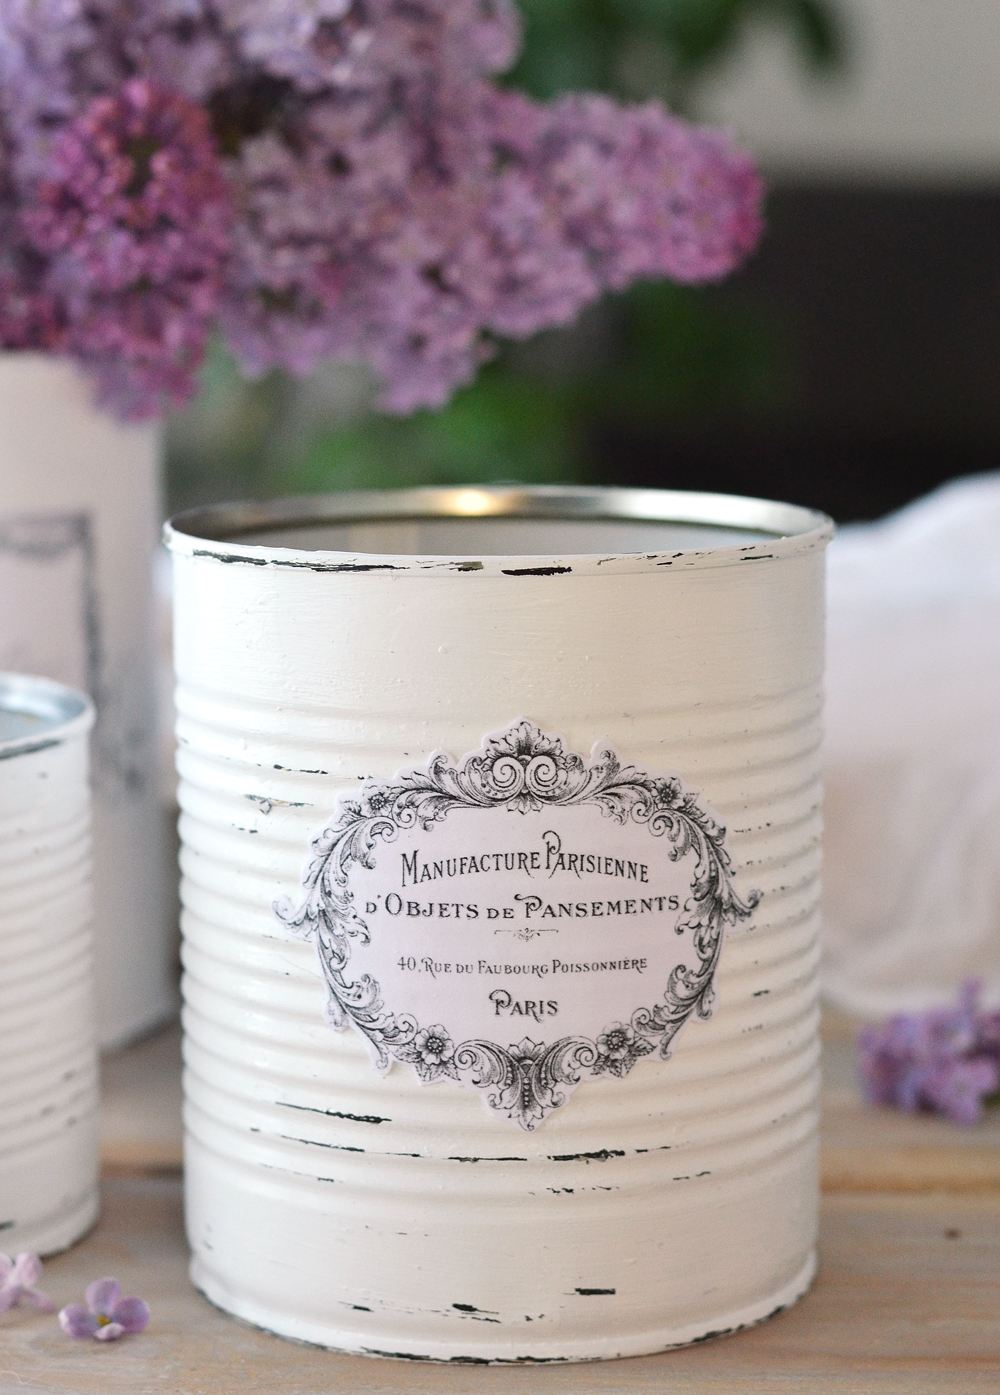
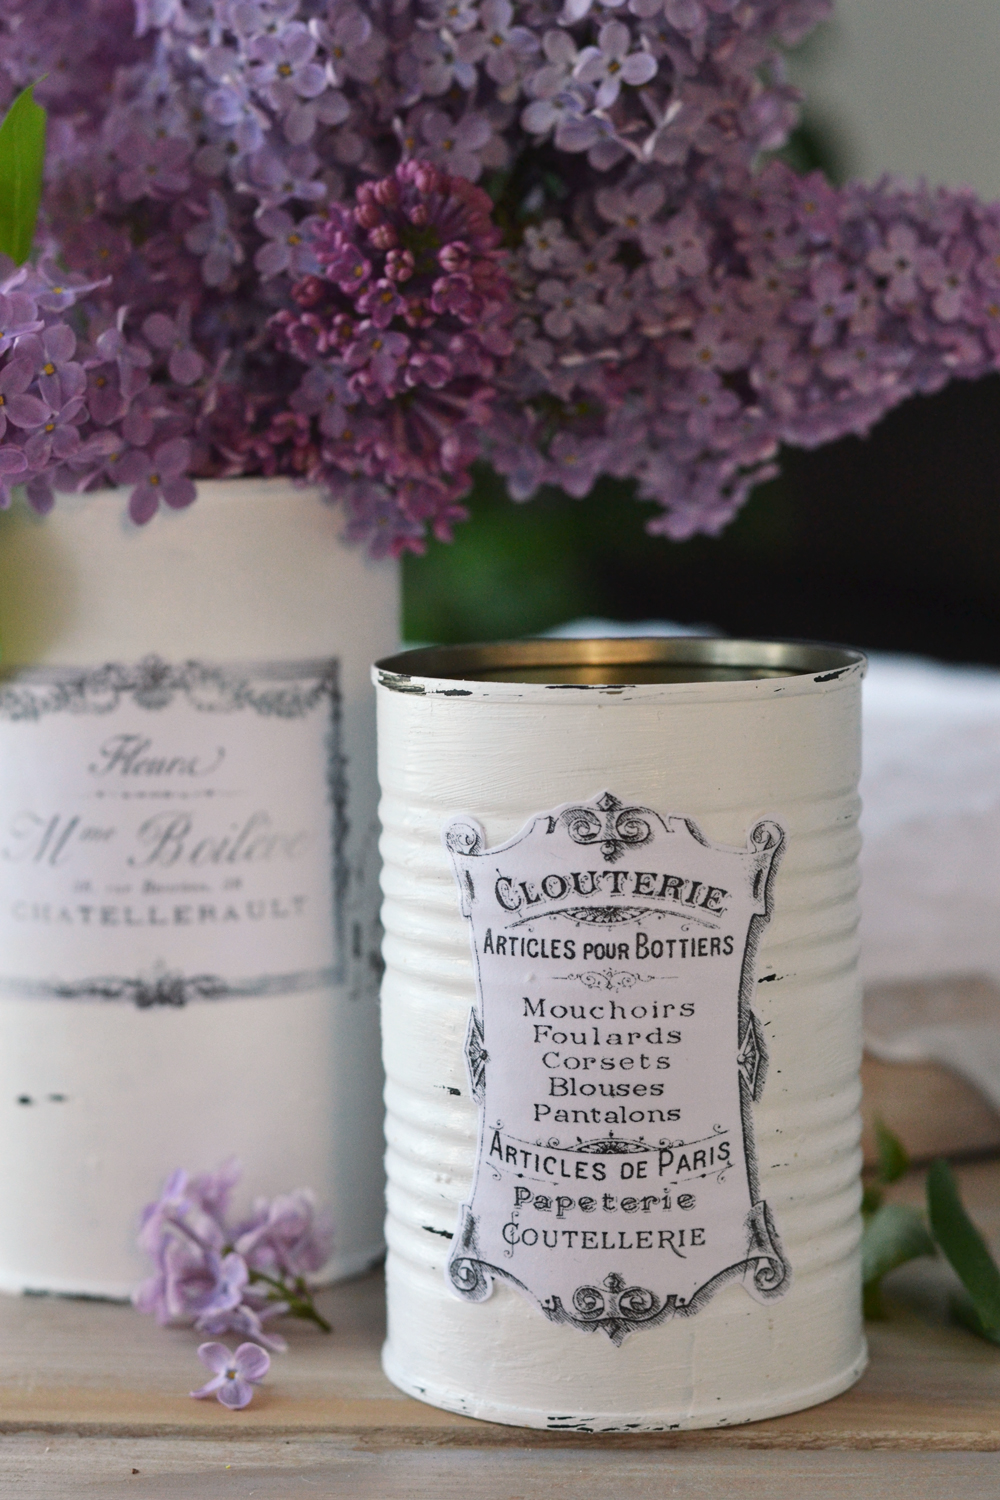
Now sit back and admire your new French Painted Tin Can Crafts! Not bad for a recycled project, with minimal costs, don’t you think?
If I would have to choose a favorite, I wouldn’t be able to pick just one!
I love how chic and high-end they look and how their painted and distressed look go so well with the French labels with vintage borders!
I know I usually recommend working in larger batches when making some of my projects, so I would strongly suggest doing that here too. These Recycled Tin Cans are definitely no exception to that ‘rule’!
Beside the many uses you can find for these in your home, it’s always a great idea to have some of these ready to be gifted to friends and family members. 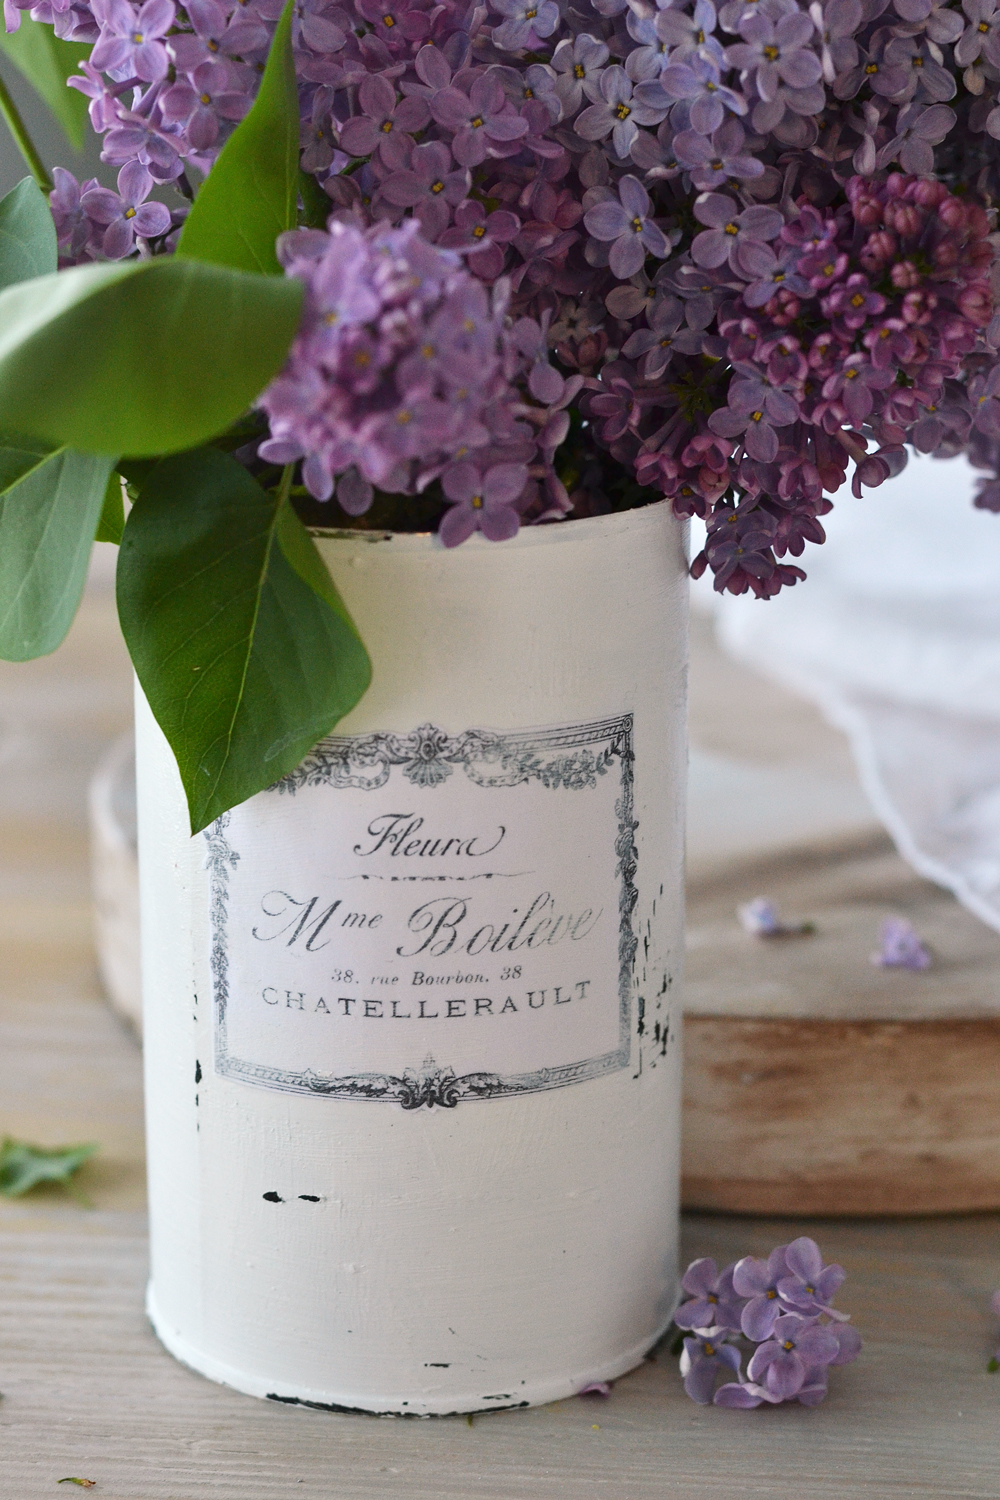
With Mother’s Day is just around the corner, you could make some of these and gift them filled with flowers!
But then again, why wait for special occasions for making something pretty for someone dear to you? Just give them as gifts next time you visit your friends, they will sure be impressed by your DIY super powers! 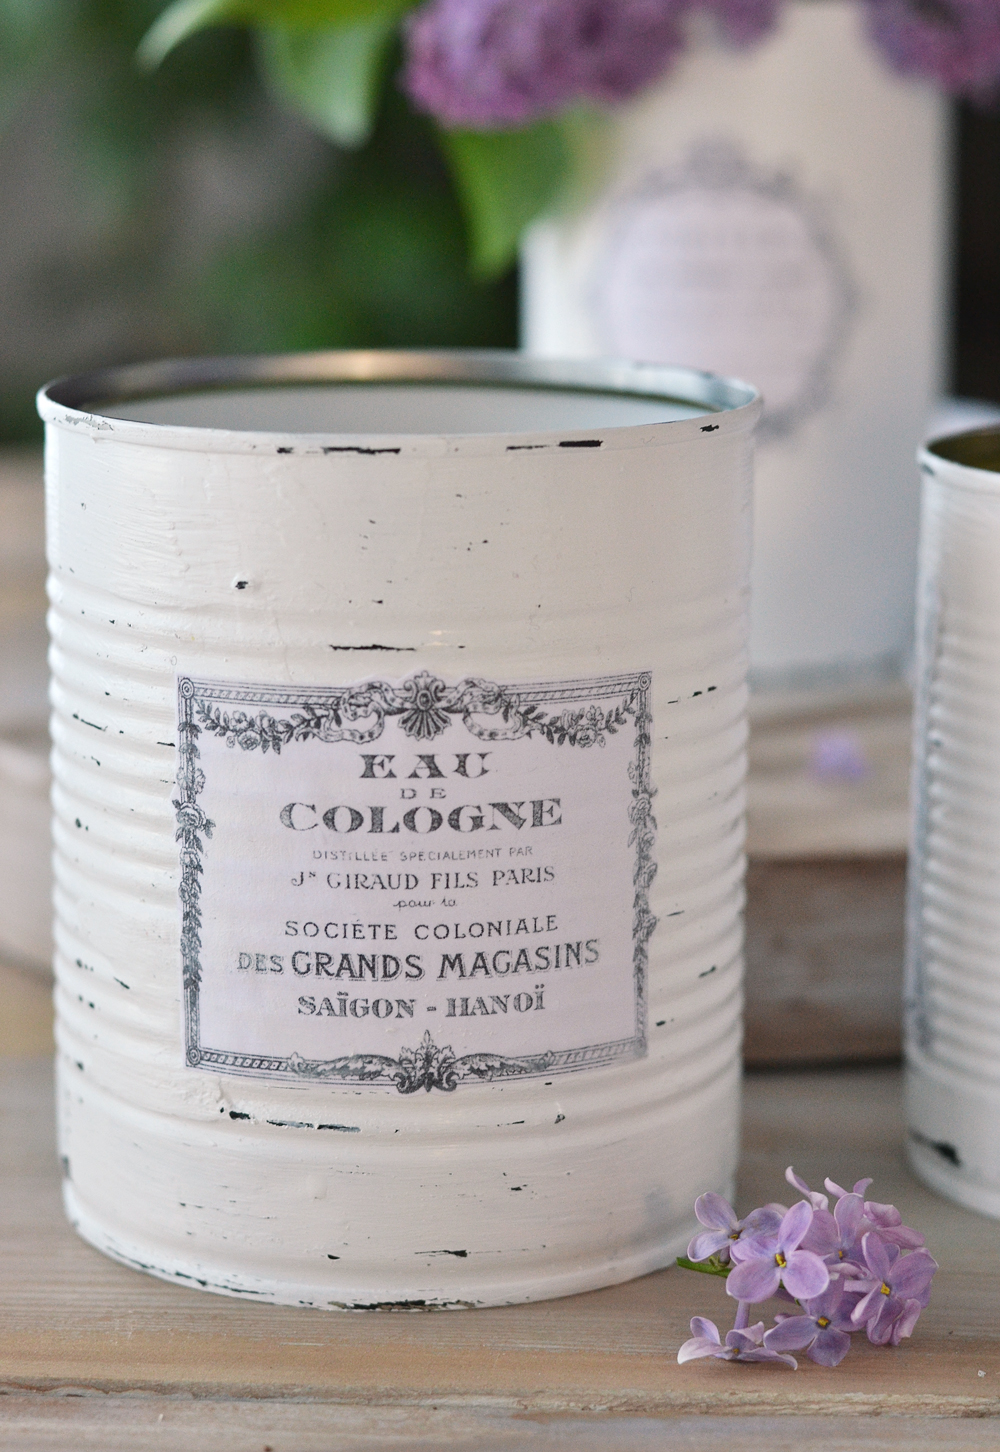
Download the beautiful French labels and get your painting and distressing groove on! Make these beautiful Painted tin Can Crafts, would love to know how would you use them!
You might also like my Aged French Terracotta Pots Project HERE.
Don’t forget to smile (and check my blog for other similar projects),
Diana



Cris Bricídio says
Adorei seu trabalho! Obrigada por compartilhar! Parabéns!!!!!!
Karen Watson says
I’m glad you enjoyed it Cris!
Denise Soloko says
What a beautiful project!
I’m looking forward to making this and filling it with flowers to give to a friend.
Thank you so much for all of your ideas.
Karen Watson says
That is a lovely idea Denise!
CONNIE HINDMARSH says
I’M CONFUSED BY THE CANDLE WAX. WHERE DO YOU GET THE WAX AND HOW DO YOU APPLY IT? THANKS.
Karen Watson says
Hi Connie, you just rub a candle onto the can. No need to melt it or anything. If you look closely you can see a white taper candle in the photos that Diana used. Just rub the sides of the candle onto the can and that will add a light layer of wax to it. You’ll want to use a cheap candle as you won’t be able to use it as a candle anymore afterwards.
Lilian says
YOU’RE THE BEST!!!! THANKS FOR THE INSPIRATION!!
graphicsfairy says
Thanks so much Lilian!
Penny Willoughby says
I saw a tip once where they painted the paper with matching paint before printing on it. I haven’t tried it but I bet it works.
graphicsfairy says
Thanks for sharing Penny, let us know if you give it a try 🙂
Simona says
Very lovely
graphicsfairy says
Thank you 🙂
Fran says
These french labels are gorgeous and I can’t wait to start my project, but of course I have no cans as I dumped them all last week,typical…
I download my labels from my iphone 5se to my WiFi printer here in the UK and have no probs whatsoever , I do hope the previous problem can be sorted as these are too good to miss.
Love this site and a big thank you for all the freebies.
Lynda says
I a m wondering if there is a general problem with this site for downloading the “free blog pintables?” I continually have difficulty downloading and printing any of the freebies listed on this site. I refresh the page, I have even restarted my laptop and started all over again. I love this site however there is no point to me to continue to subscribe if there are restrictions to downloading and printing “free blog pintables” While I certainly appreciate all the work put into this site, I fail to understand why I cannot print. I might add this problem does not happen on other sites I use. I am thinking that a paid membership is required but then again the word free continually appears
Lena Gustafsson says
Thank you so so much! The tin cans and labels were really beautiful! Thanks again for all the free images you give us. 🙂