DIY Watercolor Stickers
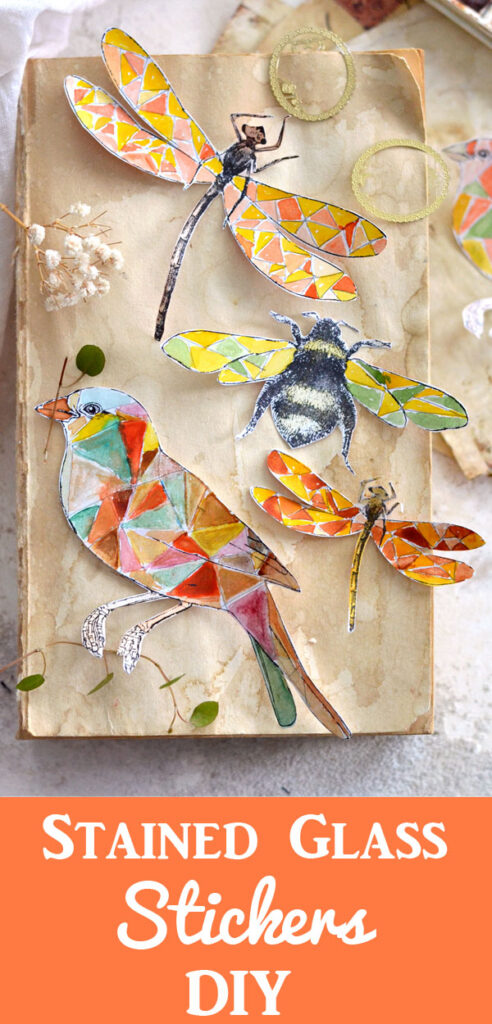
Hello Graphics Fairy friends! I’m Diana from Dreams Factory and I’m so happy to share another lovely paper project with you! Today is again, all about experimenting, I will be sharing how to make these beautiful DIY Watercolor Stickers with a Faux Stained Glass Vintage theme! And yes, we get to play with our Watercolors today.
We will be using some springy images for our diy watercolor stickers and we will be drawing geometrical shapes to create the base for our stained glass effect. It’s a really fun technique that will let you experiment with the geometrical shapes that you are drawing, but also with the different color schemes that you are envisioning.
It might also be a great opportunity to learn more about yourself regarding the colors that you prefer. For example, I learned that I’m more drawn to the warmer side of the color palette because I mostly picked up reds, greens, yellows, oranges and browns while watercoloring the geometrical shapes. I did a few cooler ones – blue and purple with some red – but I loved the warmer ones more. I would suggest not thinking too much about the colors you want, just go with the flow and see what you are mostly drawn to pick up with your brush. A little bit of intuitive painting, if you wish
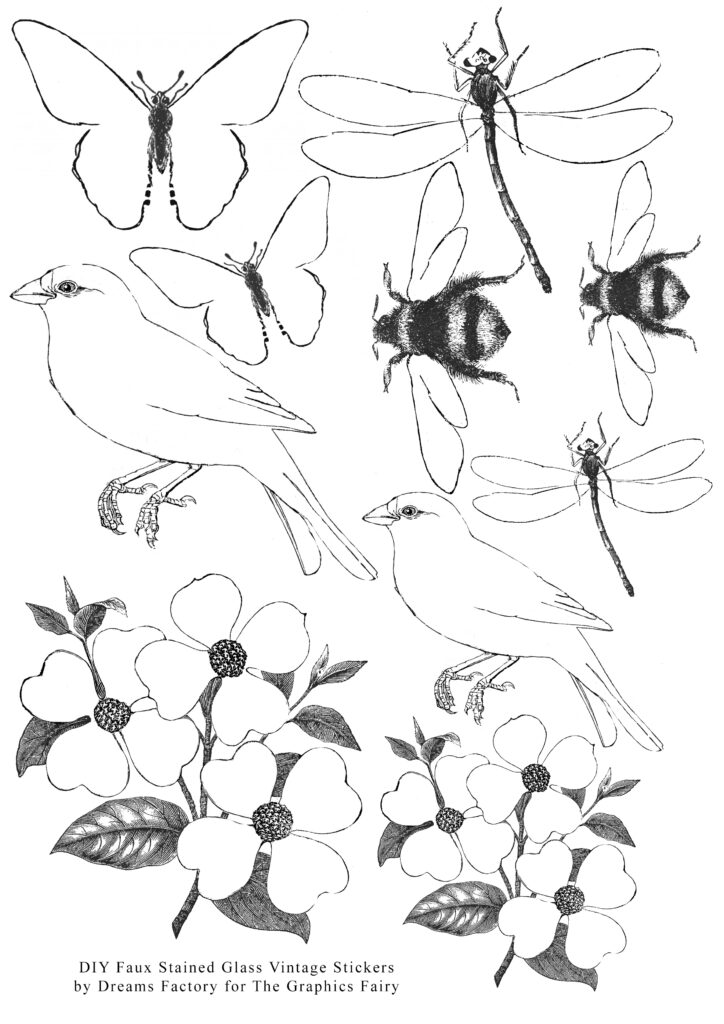
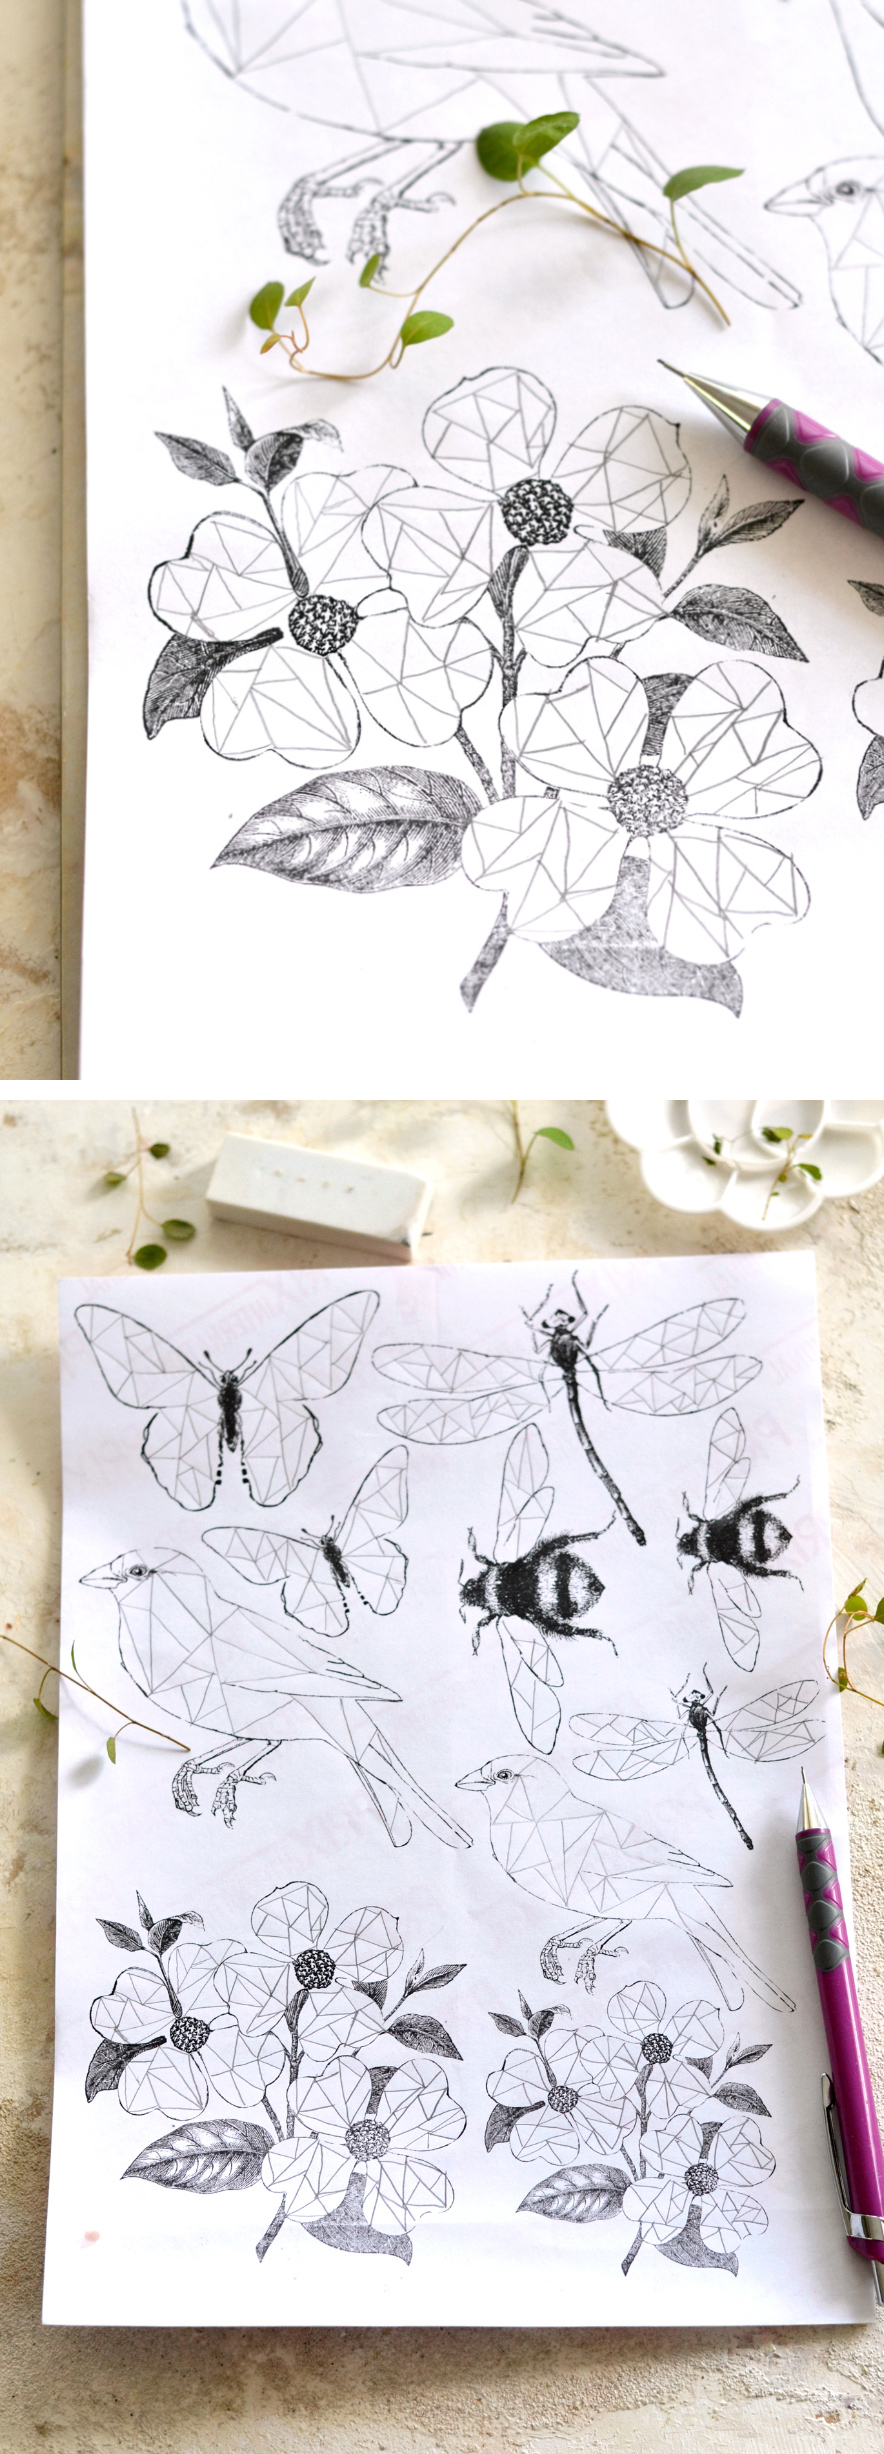
I created the printable using dragonflies, bees, butterflies, birds and dogwood flowers, some beautiful images that can be used on springy, summery, even all year long projects. If you check the initial images you can see that I altered them quite a bit to get them to the final form that I needed for this project, but I really loved how they all turned out.
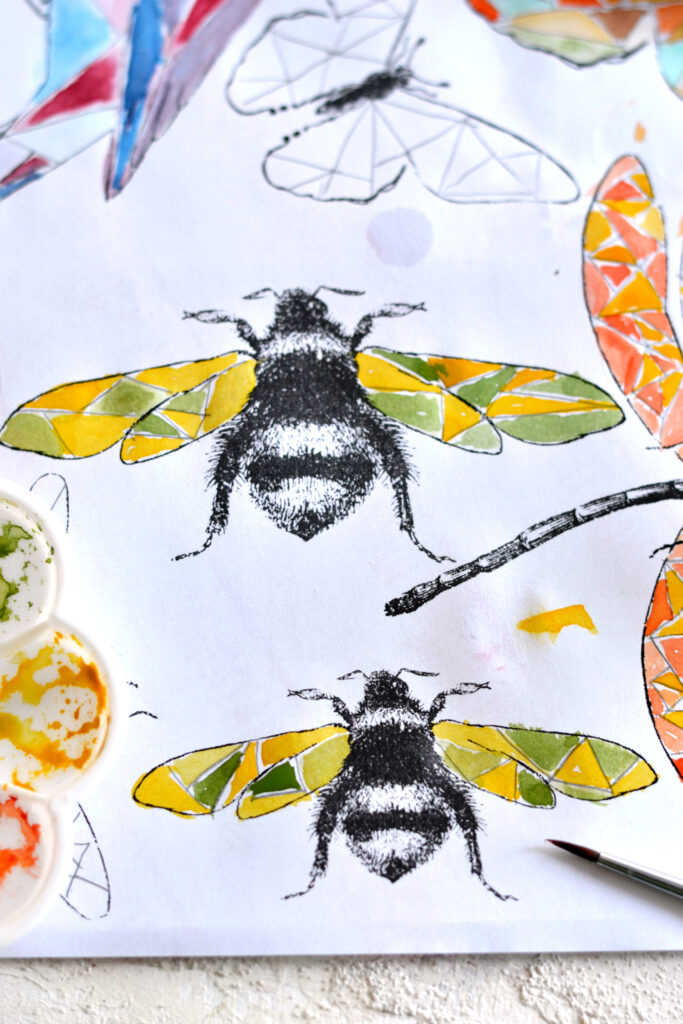
Fun fact: If you look really close to the bee images you might be noticing that my bees have quite some large wings. I deliberately created this effect to have a larger surface to work on and decided to call my bees ‘super bees’!
Free Printable DIY Watercolor Stickers
—-> Click HERE to Download the Full Size Printable PDF <—-
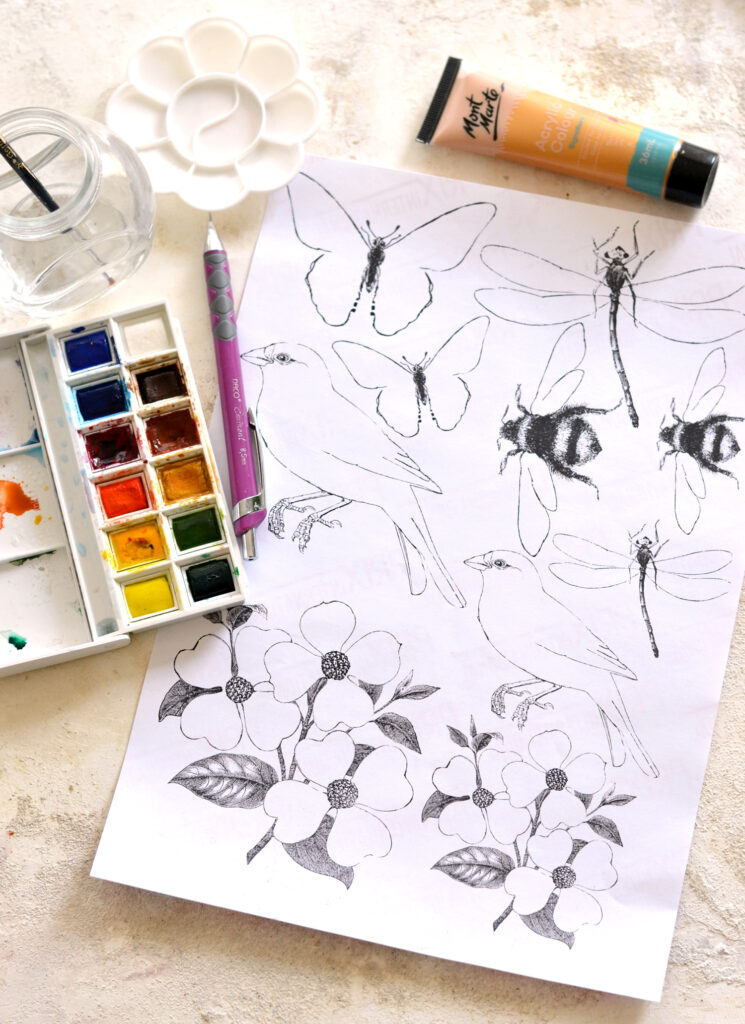
DIY Watercolor Stickers Supplies:
- sticker paper (regular or cardstock will also work)
- Home printer
- mechanical pencil + eraser (or use a masking fluid marker)
- manicure scissors or other small detail scissors
- watercolors (I used the Winsor & Newton Cotman pocket box watercolors)
- a small round brush
- palette for mixing the paint (or a small porcelain plate) and a recycled jar for water
- pocket binders (or a silicon mat, a plastic sheets or a non absorbent material) to protect your working surface
- paper towels
- water bottle
- gold acrylic paint (optional, to create highlights)
Drawing the geometric shapes
To basic idea of drawing the geometric shapes and creating the base for our stained glass effect is actually about creating triangles in any sizes and forms! You will see that even if you start with a few basic lines or create any other geometric shape with an angle, once you start drawing and cut that shape in half, thirds or quarters with a few additional lines, you will be left with a triangle! The more lines you add, the more triangles you will create. It’s really simple drawing process once you get the hang of it and I really encourage you not to think too much about it. You could make a few tests on some scrap pieces of paper first, but just start drawing and see where each geometric shape and line will take you to!
Print the printable that I created for you on sticker paper and use a heavy book or a magazine (like I did) underneath it to create a completely flat base to work on.
The drawings that I’m showing below are just to give you some starting point ideas, you don’t have to follow the exact same ‘lines’.
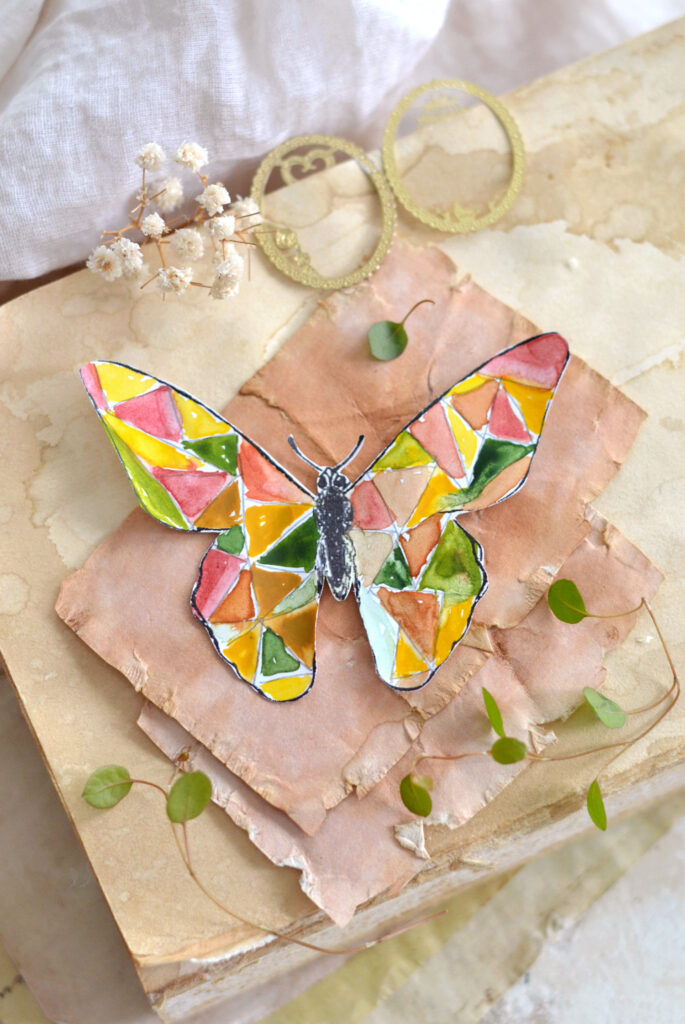
1-5. To make things easier, I highlighted the lines that I gradually drew. I started with a a few zig zag lines (going from the top down) on the left wing of the butterfly and just went from there. When you reach the edges of the images, try to see that section of the image as one of the sides of your triangle, no matter how straight or curvy that edge is.
6. When you are finished with the first wing, you can move to the second wing. You don’t have to draw the exact same lines or create the exact same shapes on the other wing (unless you specifically want to create a perfect symmetry), now that you are familiar with the concept, things will be really easy!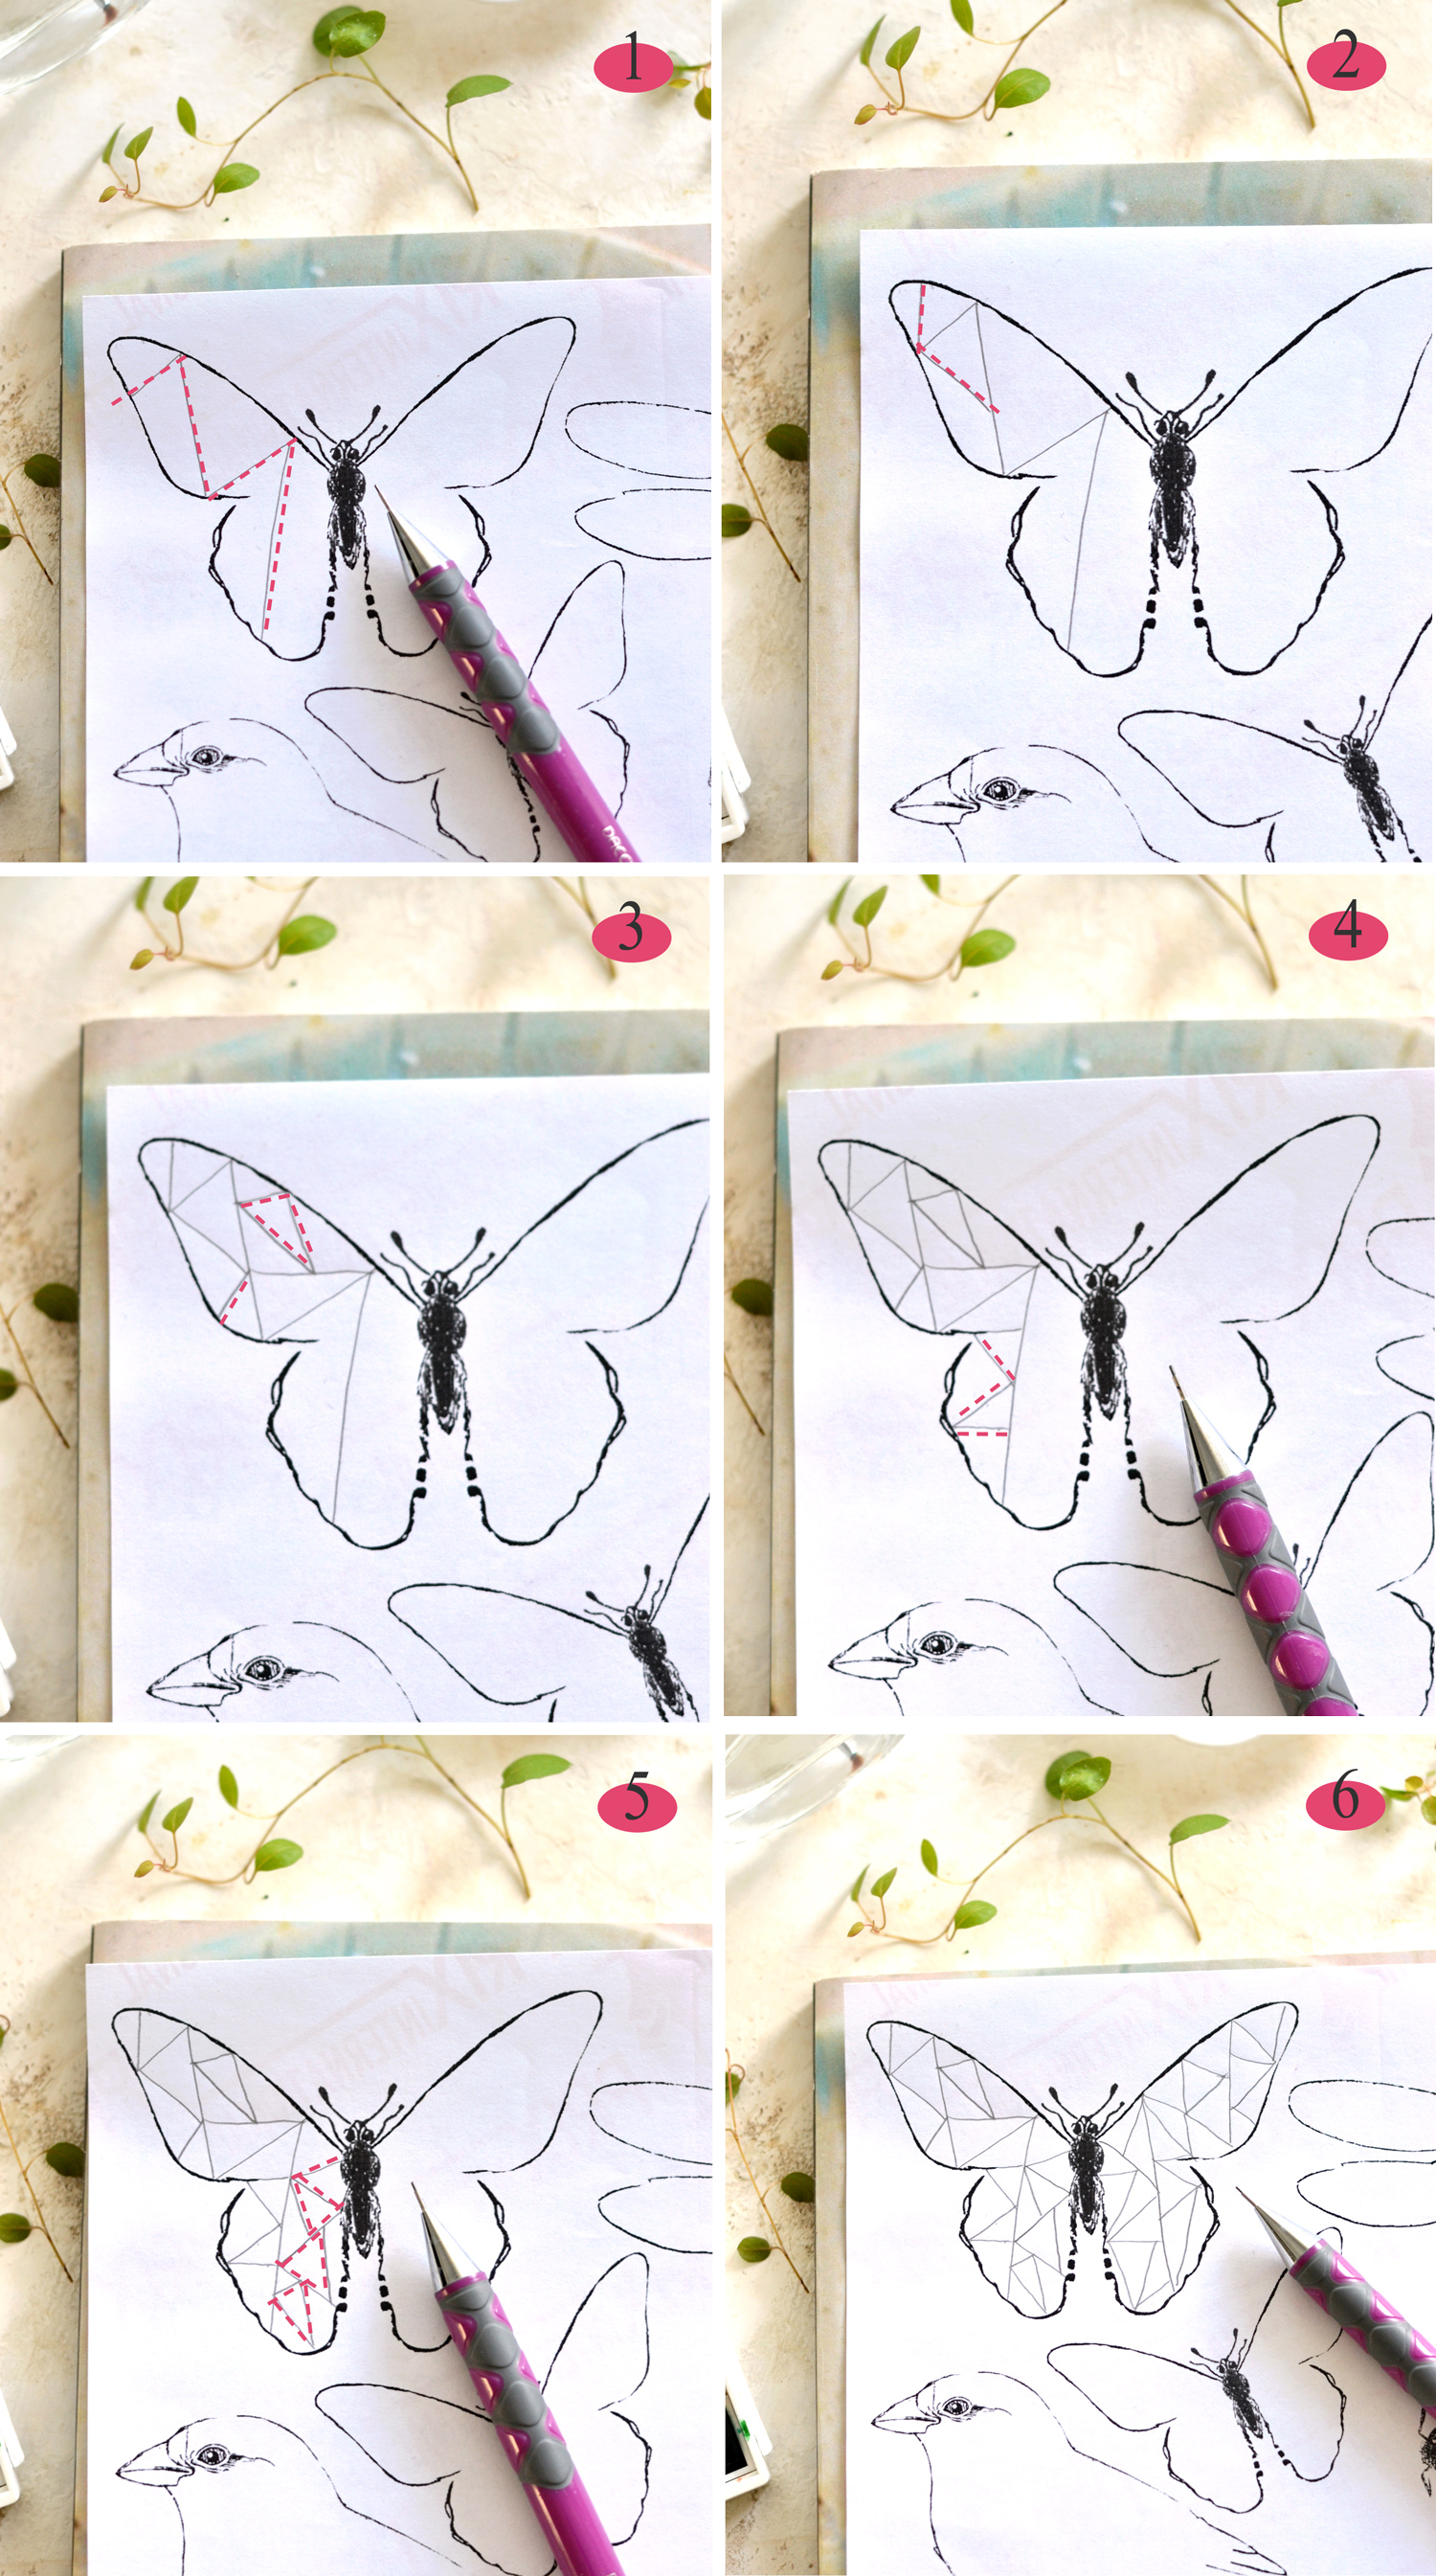
As you can see, this process is so much fun and can become quite addictive … or at least it was for me! You can use a mechanical pencil, like I did, to create a more neutral look on your lines, but you could also use black, white, even colored pencils if you want to. If you have a masking fluid pen around, use it instead to create the lines, then rub to remove it after you are finished coloring.
Depending on the size of the image and the surface you are creating the geometric shapes onto, you can control the final stained glass effect that you will be drawing. If you want to create a larger stained glass effect, just draw fewer and larger triangles. If you want to create a smaller, more intricate, stained glass effect, just draw more smaller triangles. Don’t stress too much if you can’t squeeze any triangle in some place (especially on the edges), odd shapes are perfectly fine here and there.
Draw the geometric base for our faux stained glass effect on all the images following the same steps. Use an eraser if you are not happy with some of the lines while trying to construct the shapes.
In the end, you will be left with quite a few unique beauties!
Coloring the geometric shapes
For the next super exciting step with our diy watercolor stickers, we will be choosing our colors! Again, you can be intentional about choosing specific colors or you can just go with the flow and choose what you ‘feel’. A small color palette (or a small plate) could come in handy for mixing and diluting your watercolor paint and a small brush is a must, especially if you created really small geometric shapes.
In terms of actually painting the triangles (and the other odd shapes here and there) I wanted to create a small white space all around each shape. For this, you need to be careful not to paint all the way to the edges of each triangle. Also, I didn’t wanted my colors to bleed into each other, that’s why I was careful not to ‘fill’ the triangles with too much color. That was my overall intention, but I didn’t really mind small ‘accidents’ of color mixings. As a quick tip, if you want to stop a color from bleeding, you can use a Q-tip to pick some of the color or water from the paper, let it dry a bit, then try again.
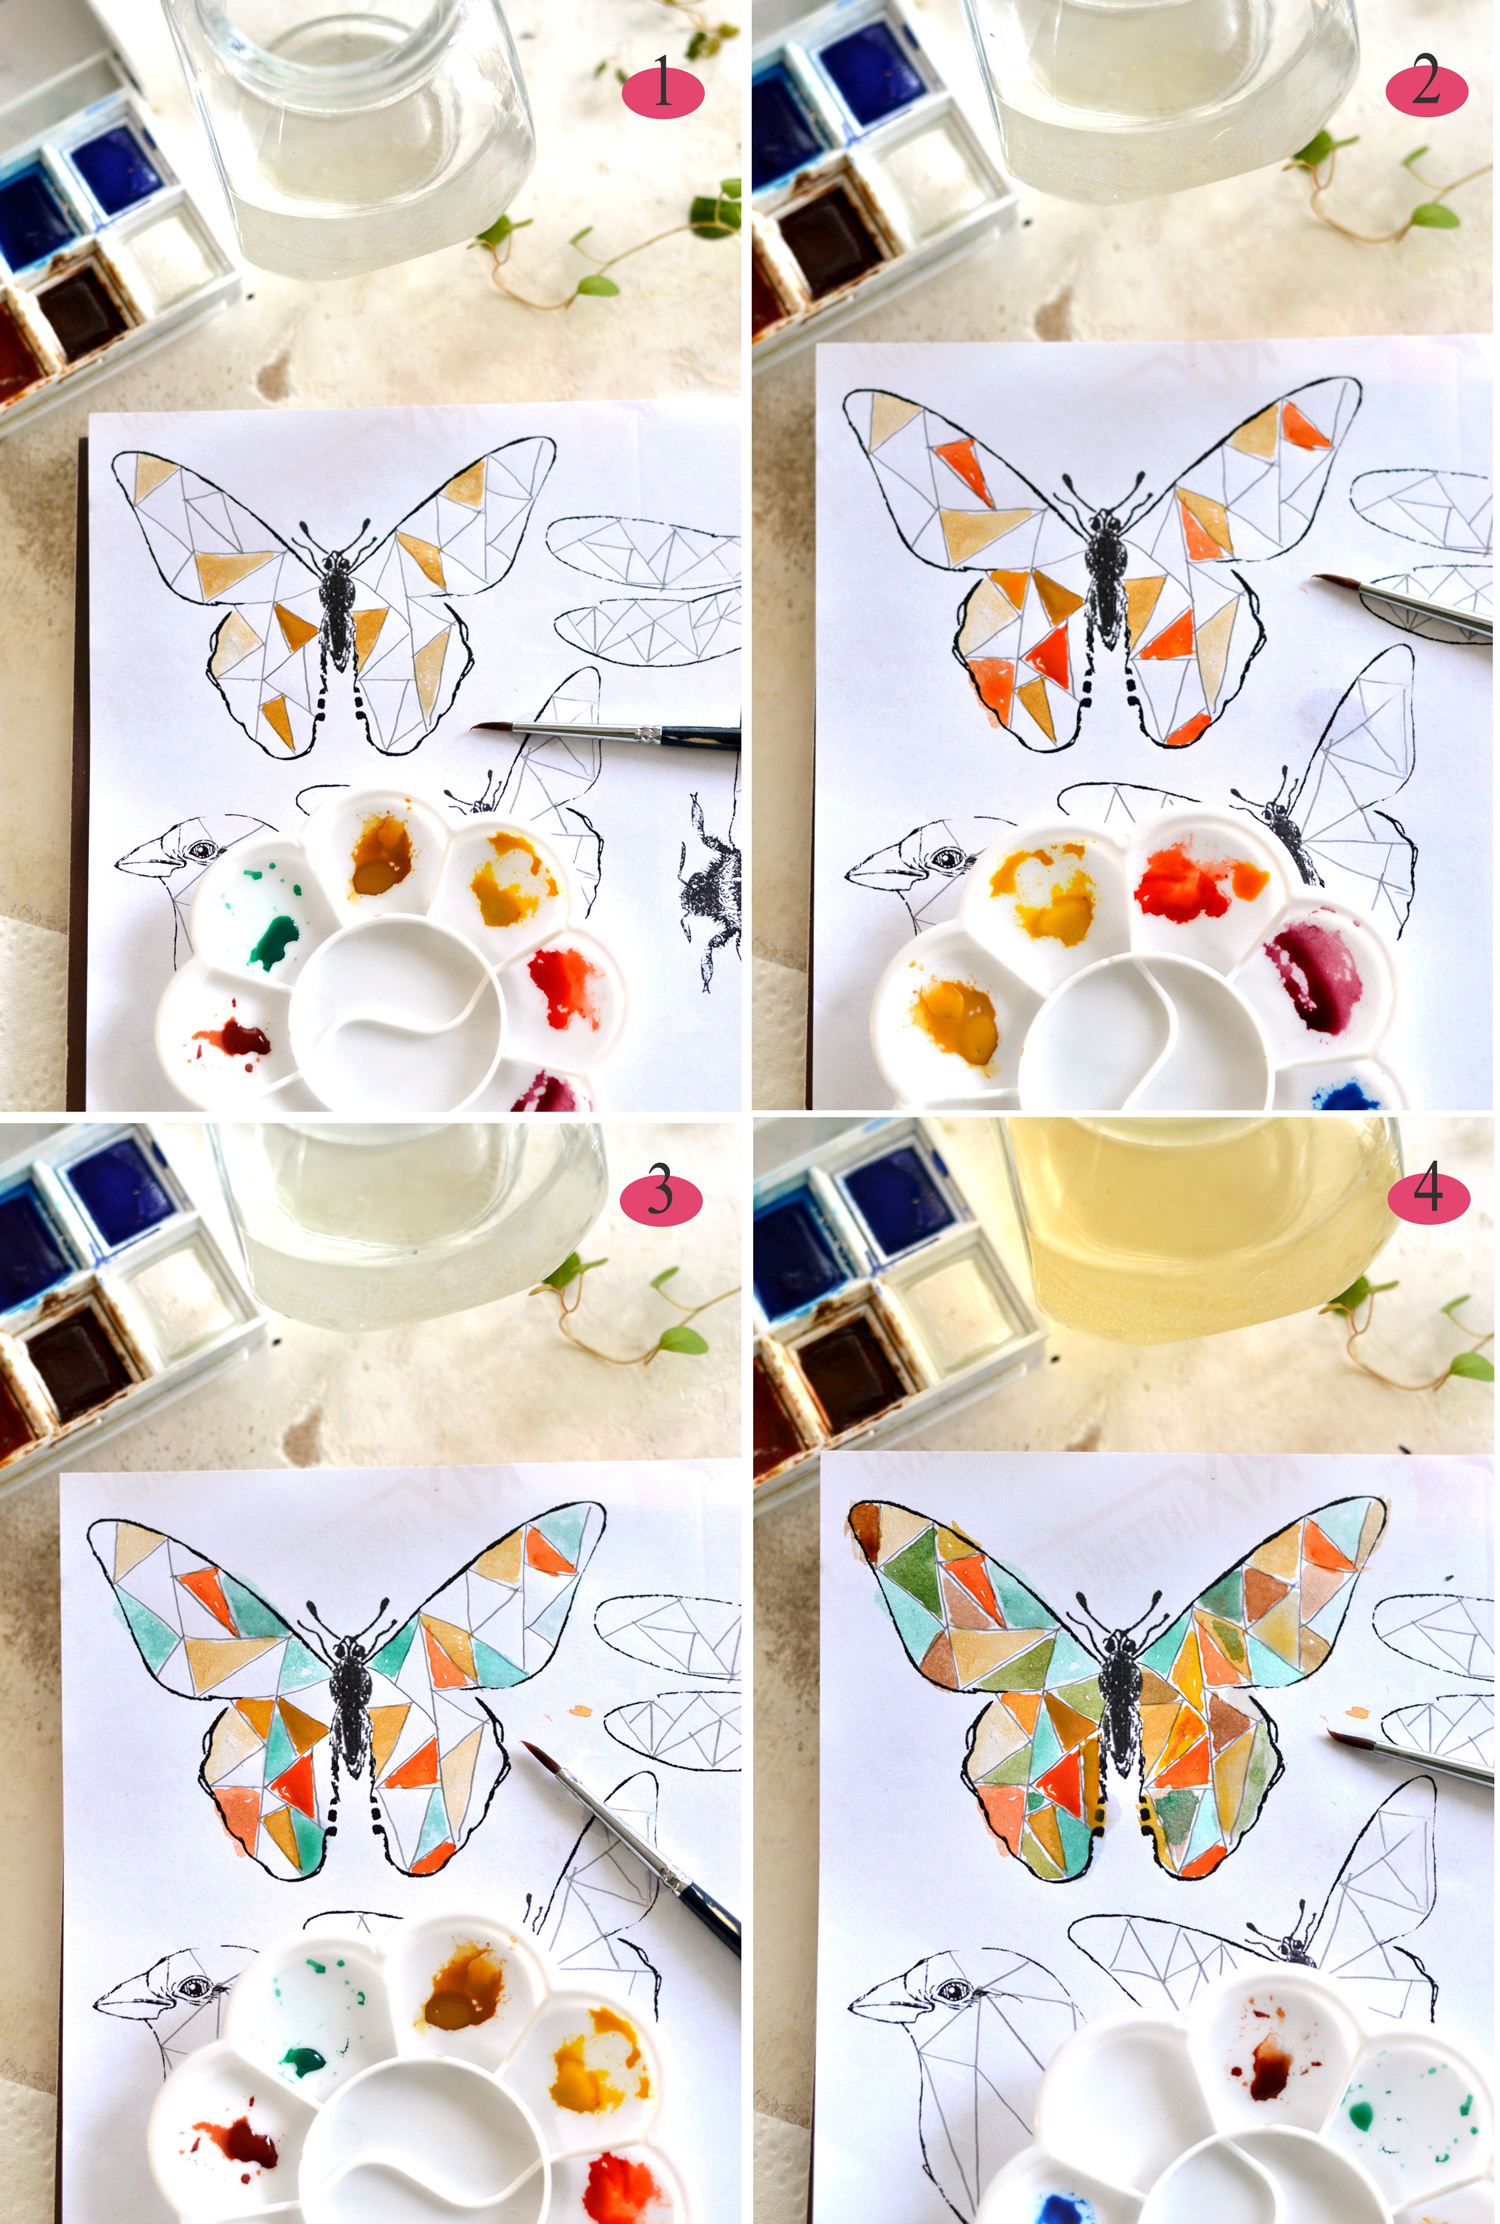
1. I started with yellow ochre watercolors and I painted some of the triangles using variations of the same color (simply using more or less water).
2. Then I went in with some orange for a few of the triangles.
3. I painted some of the triangles in a more vivid green.
4. Then I chose a more vintage green and some brown to paint the remaining white triangles here and there. If you are left with white triangles, just use a diluted variation of one of the colors used before.
How fun is that?!
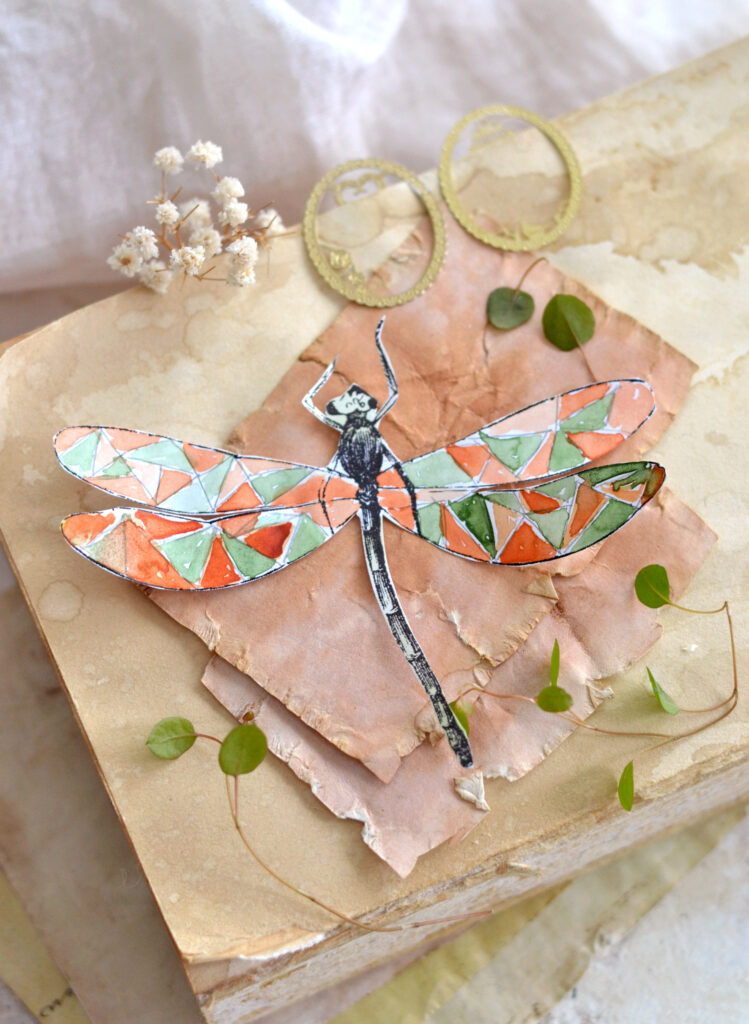
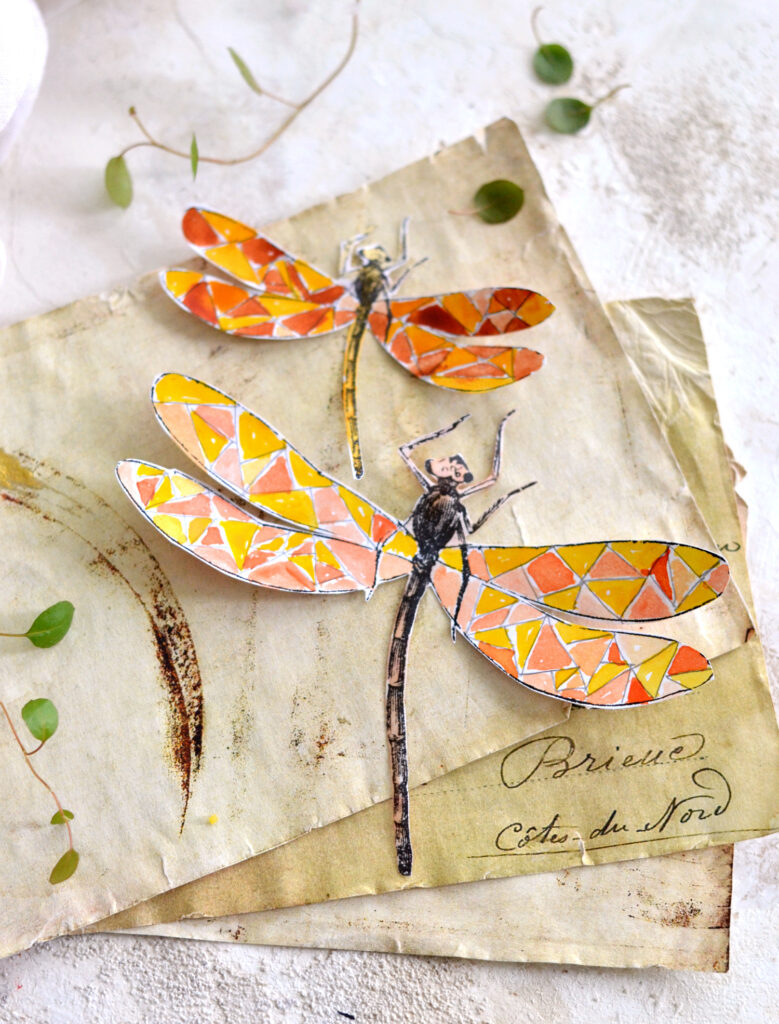
You can choose several colors or just go with one or two colors. For this gorgeous dragonfly I went with yellow and orange.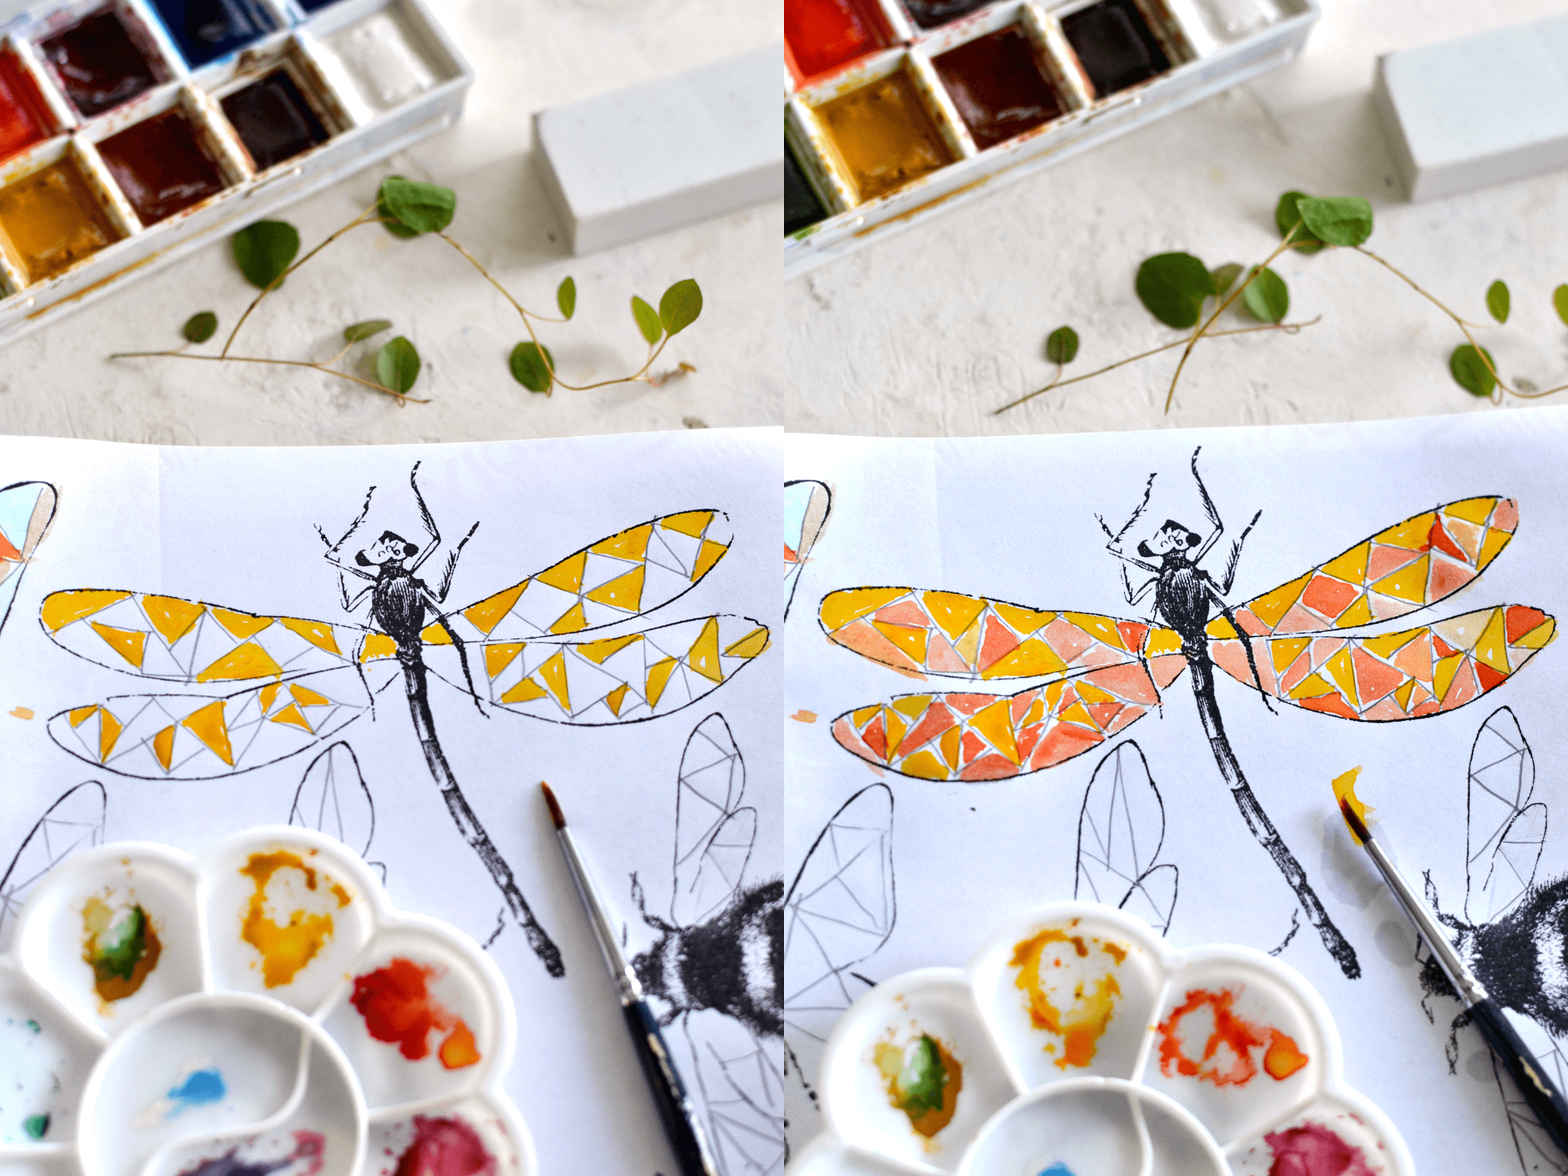
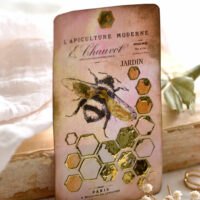
And for my super bees with extra large wings I chose yellow ochre and vintage green. I really LOVED how they turned out!
You can also paint the body of each insect or the flower stems with one of the colors used on the wings, if you want to give the whole image a more cohesive look.
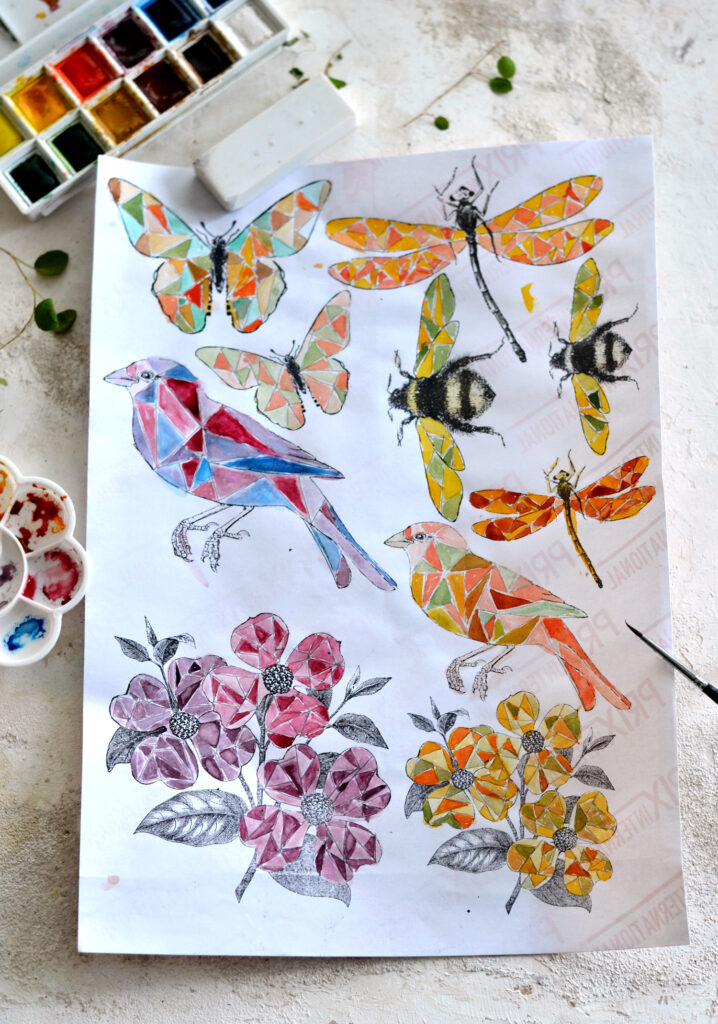
Here you can see all my gorgeous DIY Faux Stained Glass Stickers, both the warmer and colder colors that I chose. Now that your paint is dry, it would be the perfect time to erase the mechanical pencil lines that we created earlier (or rub to remove the masking fluid), if you want to only keep the watercolors. I decided not to erase the lines because I loved how they all looked together.
Use small scissors to cut your simply amazing stickers, trying to keep as much of the intricate design. The insects might loose a leg or two to your scissors, but that’s ok, they don’t have to be perfect!
I’m really loving the uniqueness of each faux stained glass effect I managed to get, with all it’s perfectly imperfect details!
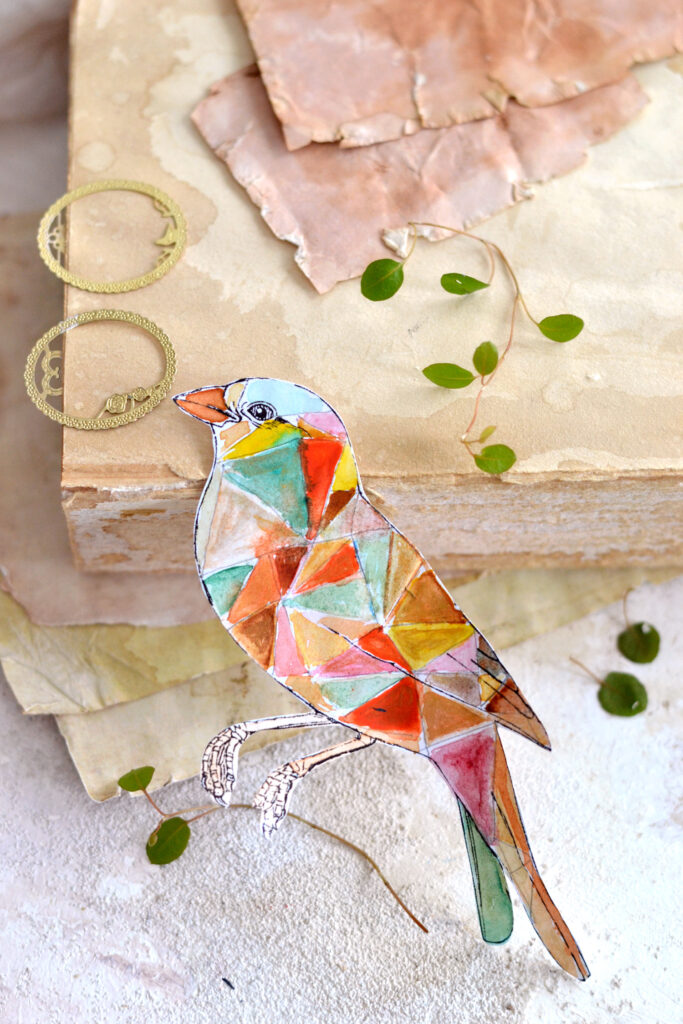
I actually enjoyed the whole process so much I decided to print another copy of the free printable and made another batch on regular paper! This bird turned out to be one of my favorites, even if it had the most bleeds and ‘imperfections’. Here I also used a small amount of highly diluted gold acrylic paint and went over some of the already colored triangles, here and there. This will slightly alter the intensity of the initial color, but will add more depth to your faux stained glass effect and will create a perfect and subtle shimmering, depending on the lighting.
If you are choosing regular paper or cardstock instead of sticker paper, you will also need some Mod Podge or other paper glue to adhere them afterwards.
You can use the stickers to create tags, cards, you can use them to embellish gifts or flower bouquets, you can even include them in your junk or art journal. Or why not, use them to decorate different home decor objects around your home, there are endless possibilities here.
As a final tip, just remember that watercolors can always be activated with a little bit of water! That might be helpful if you want to maybe create a small decorative ‘bleeding’ effect (intentional this time) around the edges – after sticking the stained glass stickers on some tags, for example.
Can’t wait to hear your thoughts on these beautiful DIY Watercolor Stickers! And of course, I really hope you’ll love them and decide to give them a try! 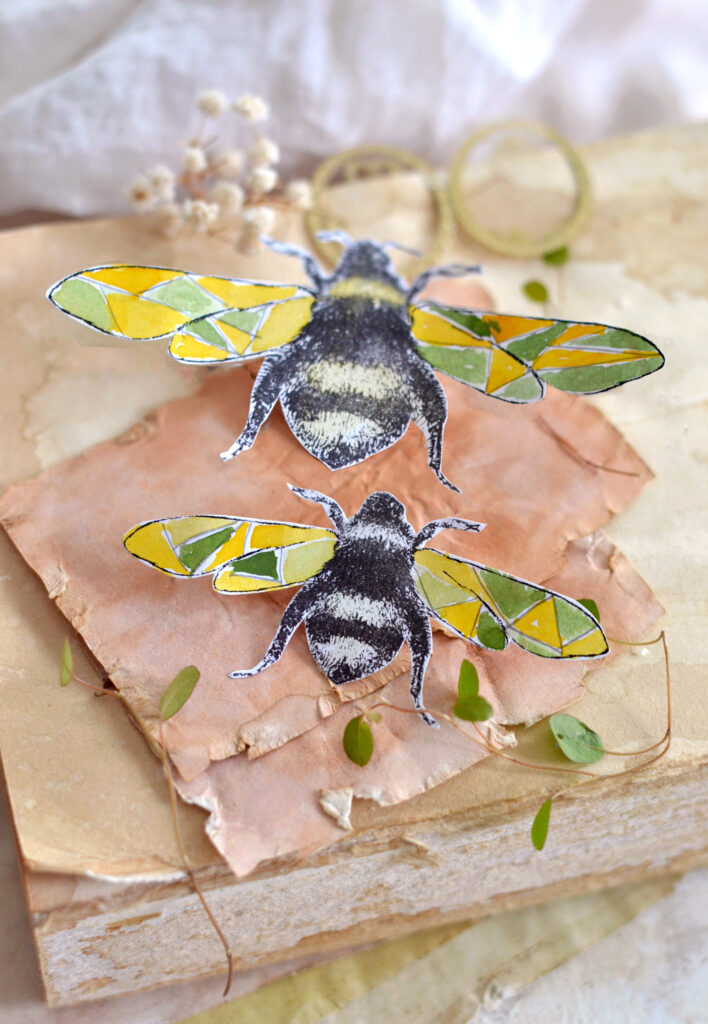
You may also check How to Make Stickers HERE.
Happy crafting,
Diana | Dreams Factory


Denise Soloko says
I love your work.
I just found your site recently and am enjoying reading your emails and seeing your work.
Karen Watson says
Thank you so much Denise! I’m glad you’re enjoying it! ☺️