DIY Western Themed Table
Today I’m sharing another fabulous DIY project submitted by another fabulously talented reader! This one was submitted by Kimberly Desabrais from Kimber Creations. Kimberly re-purposed an old table to create this wonderful masculine looking furniture piece! Wouldn’t this look great as a nightstand in a boys room?!! Or maybe for Dad in his Man cave!
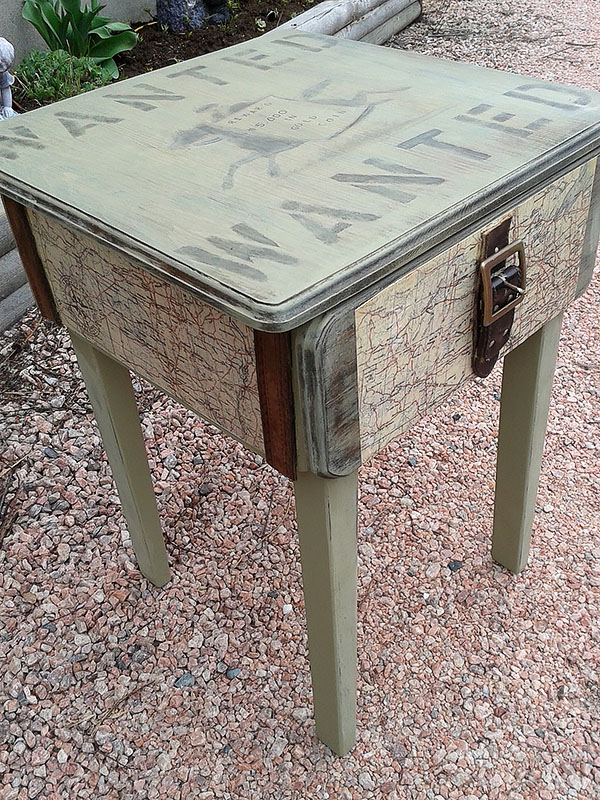
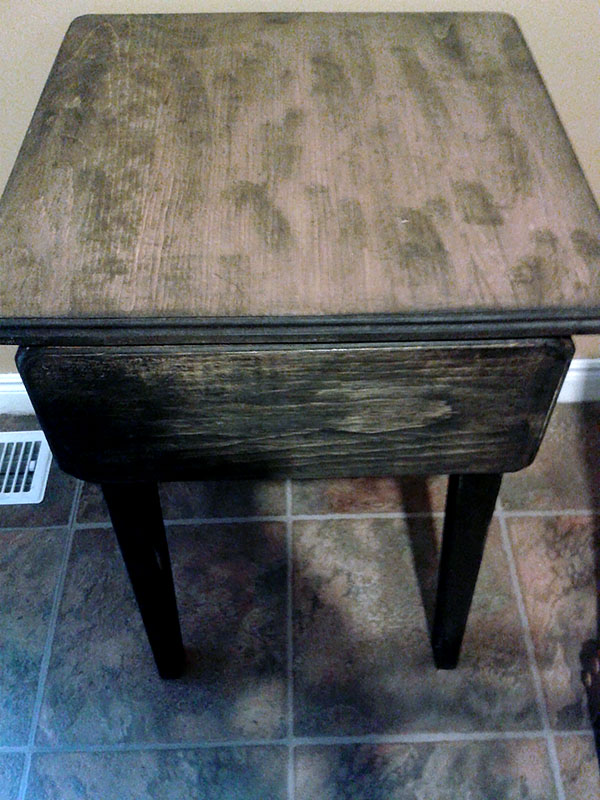
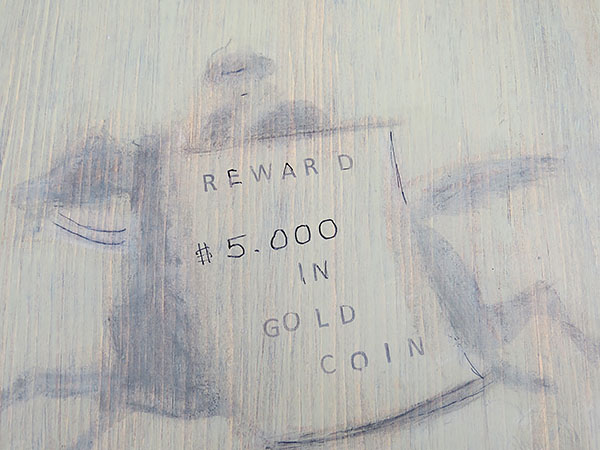
Here’s what Kimberly had to say about this project… “I found this homemade table at a garage sale for $15. It had been stained and painted black. I thought it had that old barn wood look and new immediately the direction I was going to go with this piece. Direction…Old West! My first step would of course be to find the right image to transfer onto my table top and seeing as I am a huge Graphics Fairy fan I headed to her website to see what I could find. Luckily for me she had just added this fun loving cowboy to her many great designs! So I printed it and began! I wanted this cowboy to be running from the law, yet taunting the authorities in a fun way with his very own REWARD sign. Don’t know what he is running from but he seems to be enjoying the ride.”
Supplies:
1) Scrapbook Map Paper
2) Thrift shop leather belt
3) Antique Horse and Rider Label Image
4) Cactus colored Chalk type Paint
5) a Chartpack Blender pen
6) Scrapbook Checkered Pattered Paper
7) Mod Podge
8) Construction Adhesive (E6000 would probably work!)
9) Rustic Table
Before photo of the table.
Steps:
Step 1) The table top was dry brushed slightly in cactus chalk paint leaving most of the barn wood look to show through.
Step 2) I transferred the Graphics Fairy image using a blender pen then darkened it slightly by dabbing most of the paint off my brush and wiping the paint into the image, until it was blended just enough to look faded and aged.
Step 3) I then painted the WANTED sign and filled in the black note with a REWARD of 5,000 in GOLD COIN
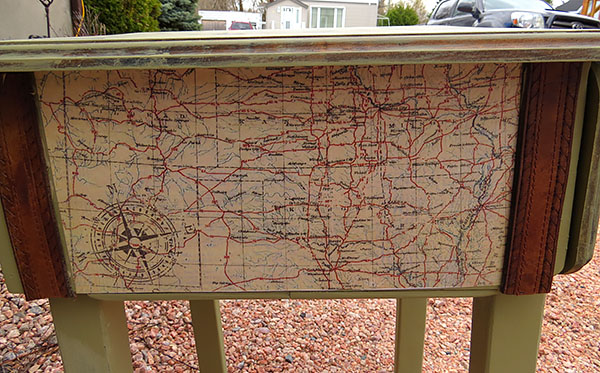
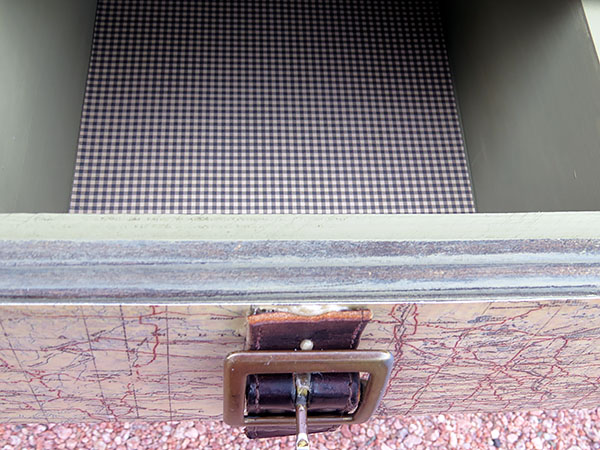
Step 4) I found some mid western scrap book map paper in my stock and decoupaged it to the sides of the table and drawer front.
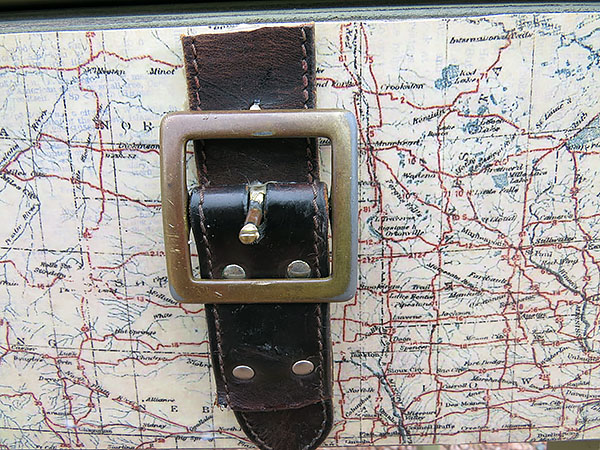
Step 5) I used some worn out thrift store belts to edge the map. I liked the option of using the belt buckle as a drawer pull, so I used construction adhesive to apply the belt and buckle…..great stuff!
Step 6) The rest of the table was then painted with chalk type paint, in a Cactus color and the table legs slightly distressed. I finished off by lining the inside of the drawer with a checker patterned paper and VOILA! I loved my finished product. Hope you do as well.
——————————————————————————————–
Thanks so much for submitting this wonderful project Kimberly! Be sure and visit Kimberly on her blog at Kimber Creations to see more of her painted furniture projects!
*************************************************************************************************************************
