Dog Christmas Card Ideas
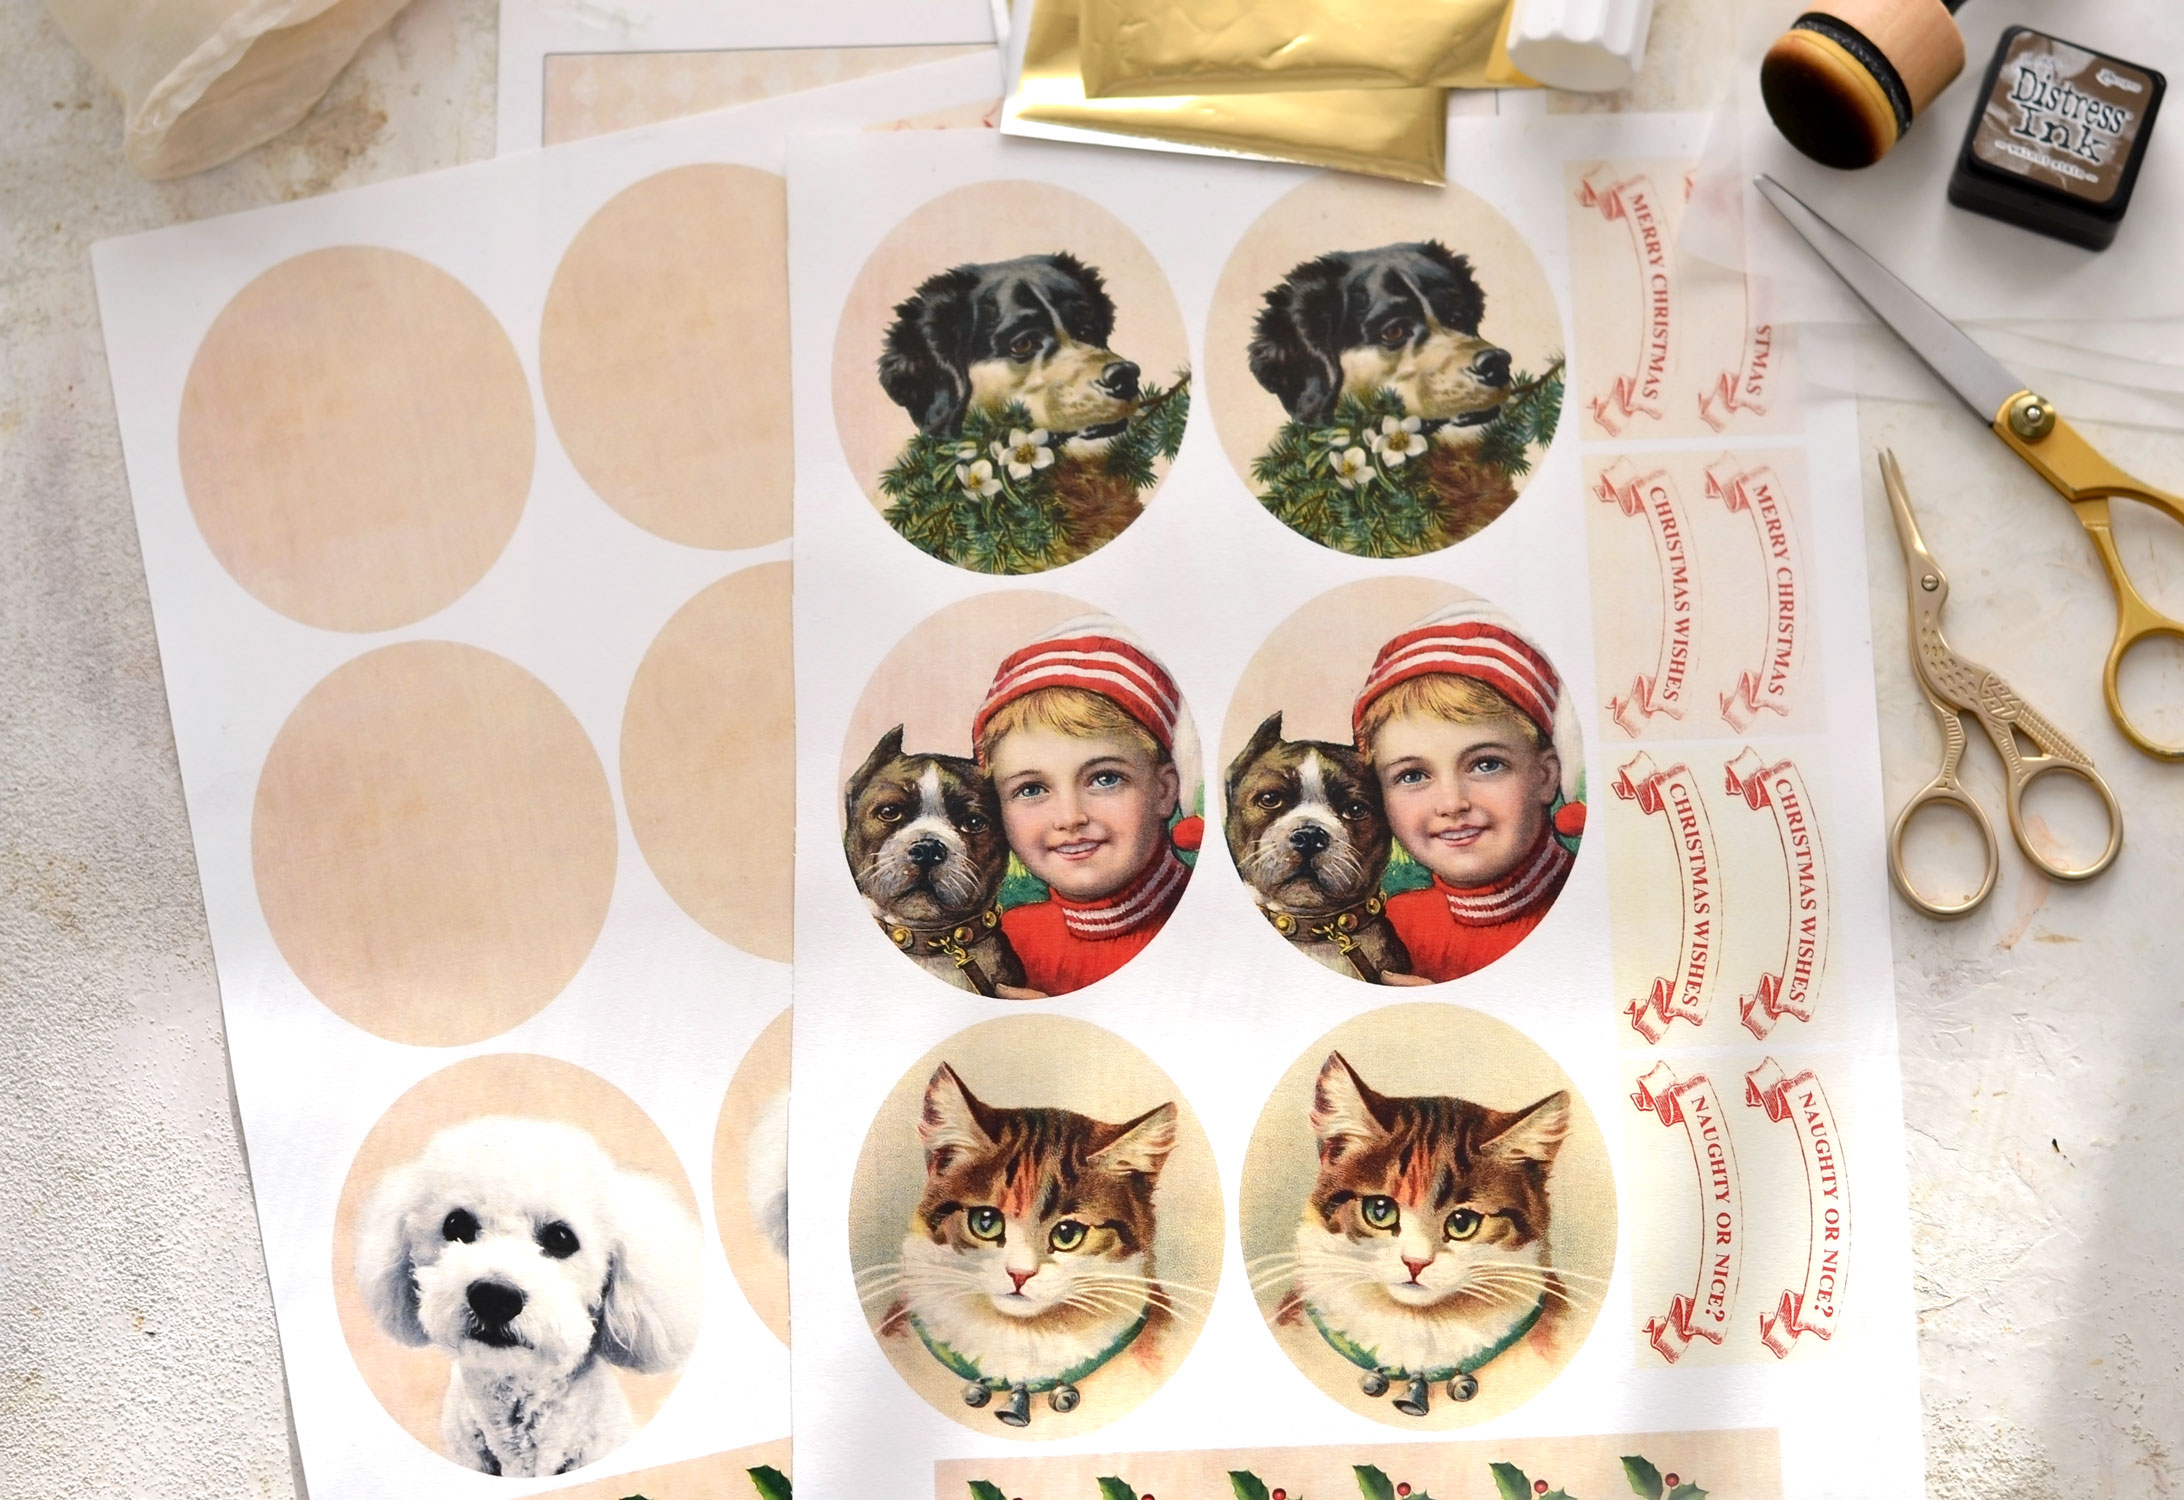
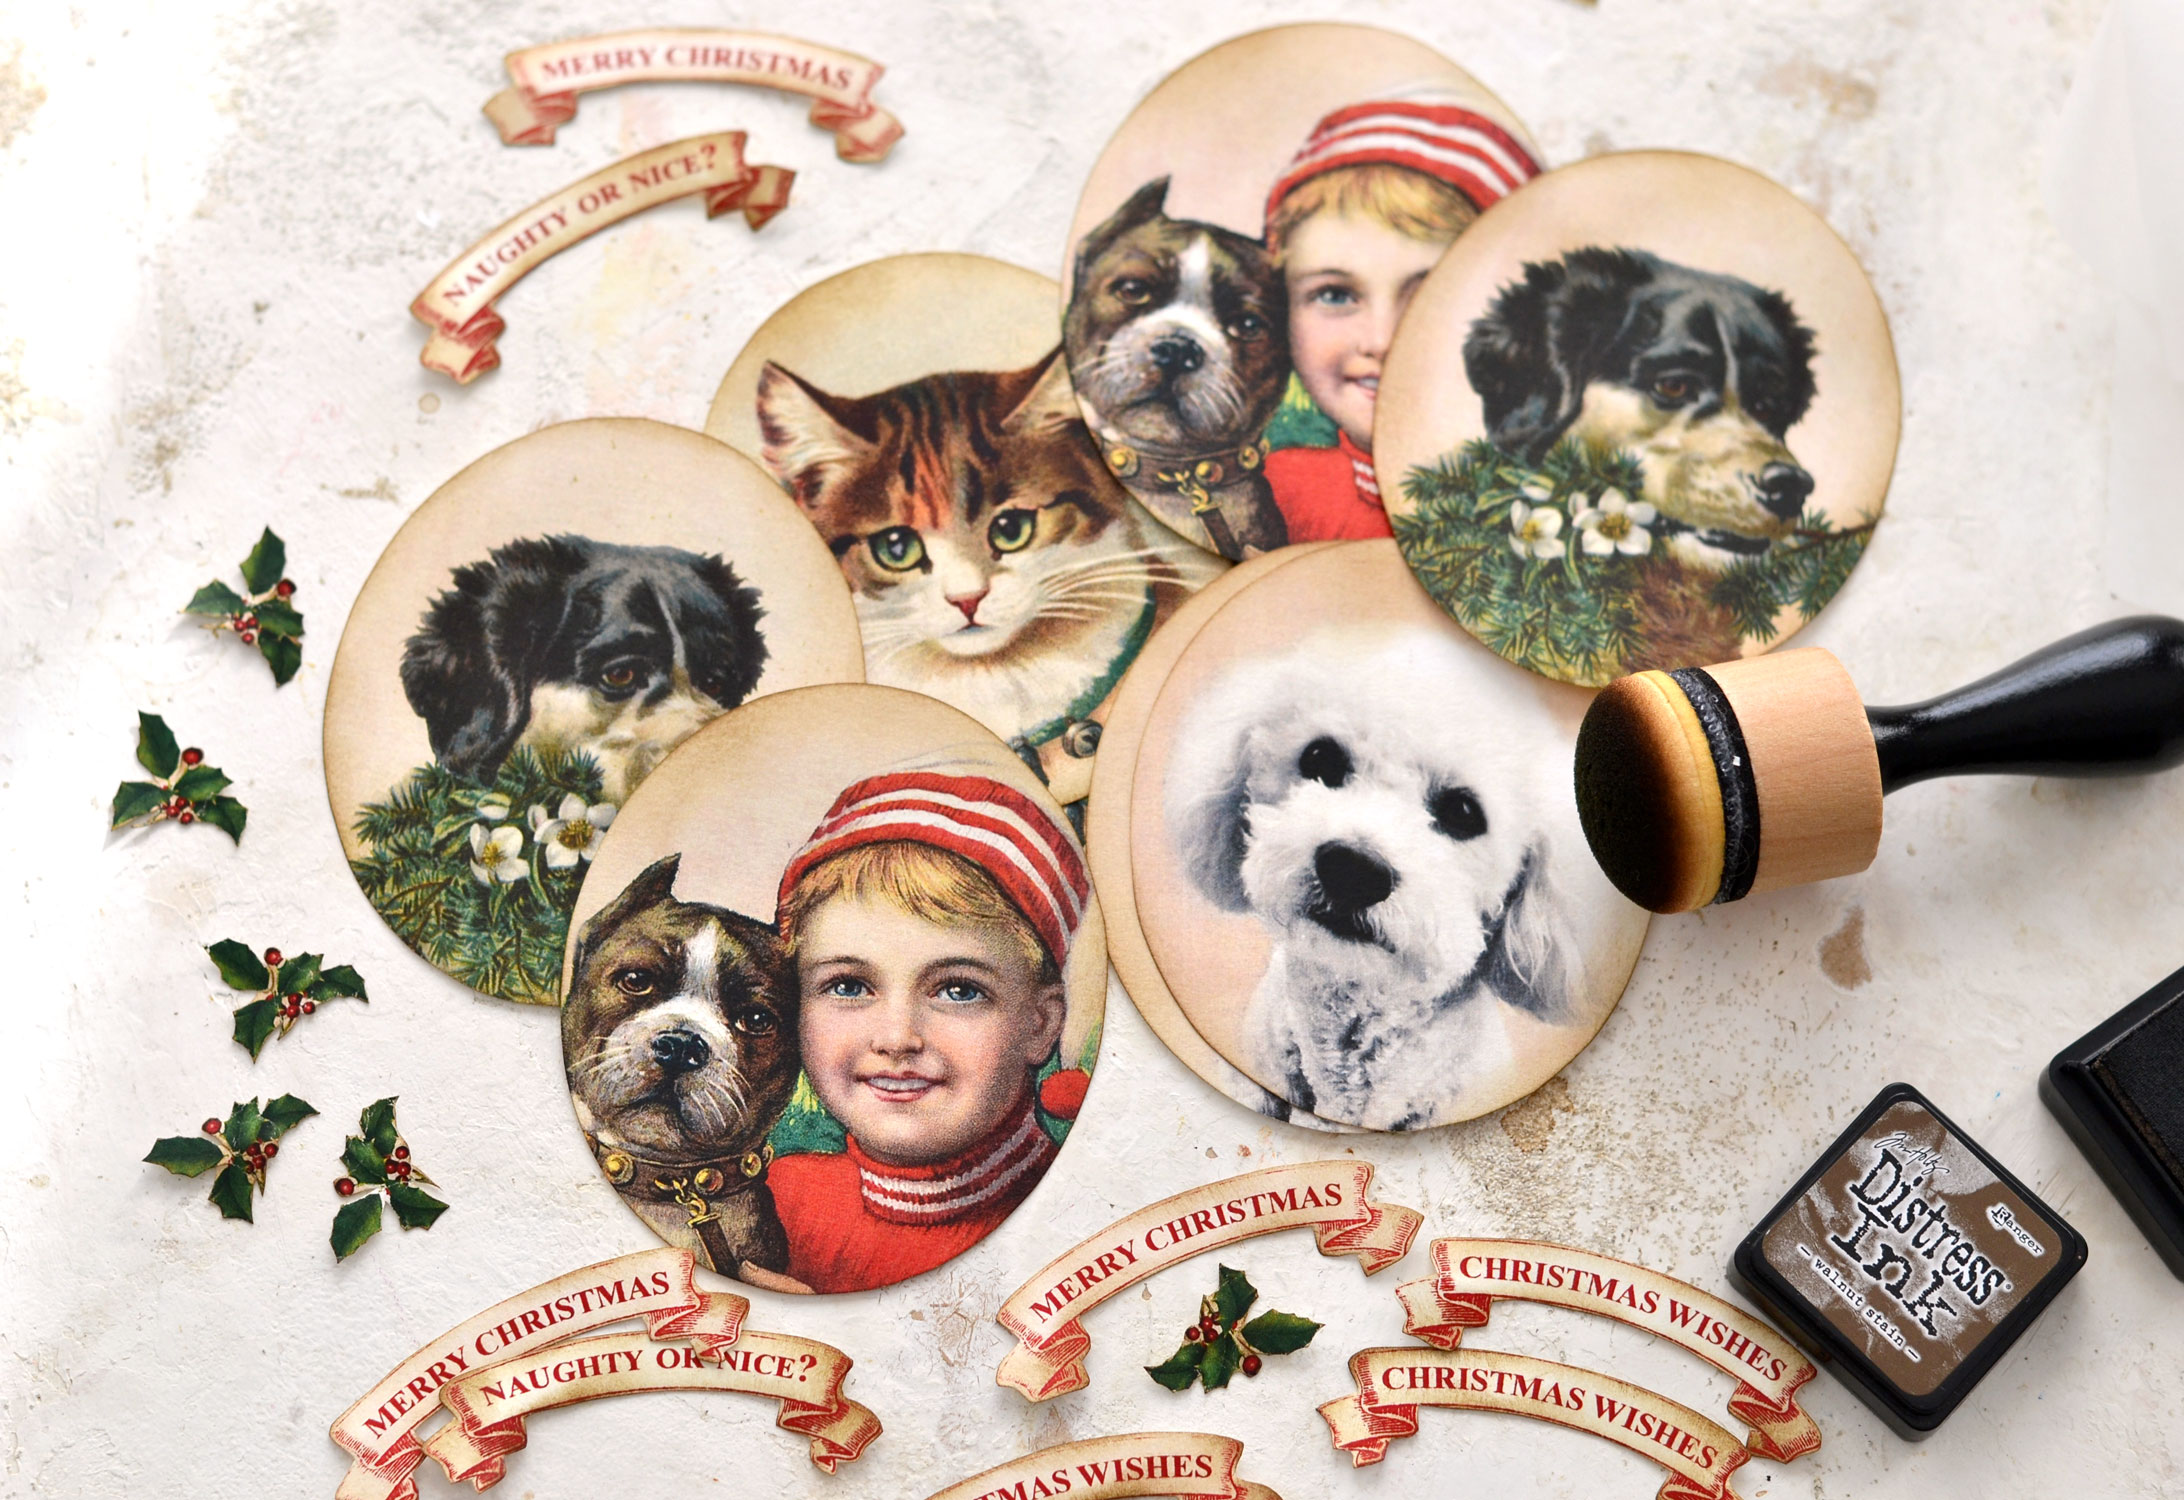
Hello Graphics Fairy friends! Diana from Dreams Factory here, ready to share another DIY project with you … a few absolutely beautiful Dog Christmas Card Ideas! Can you believe it’s December already? We will be making some lovely vintage holiday cards with chic gold touches. The printable that I’ve created for you includes a few gorgeous dog images with a vintage vibe, greeting ribbon banners and holly embellishments – all your dog loving friends will absolutely adore these beauties!
I couldn’t forget all of you who also love cats, so I’ve slipped a few cat images in the printable. You know, everyone should be happy for the holidays!
To make things more exciting, I’m also sharing a few tips on how you can further personalize things as you want and make these cards using your own pet photo! How amazing is that?! You will find a printable with vintage blank medallions that can be used for that purpose!
The cards are really beautiful and so easy to make, you will only need a handful of supplies to finish them in no time!
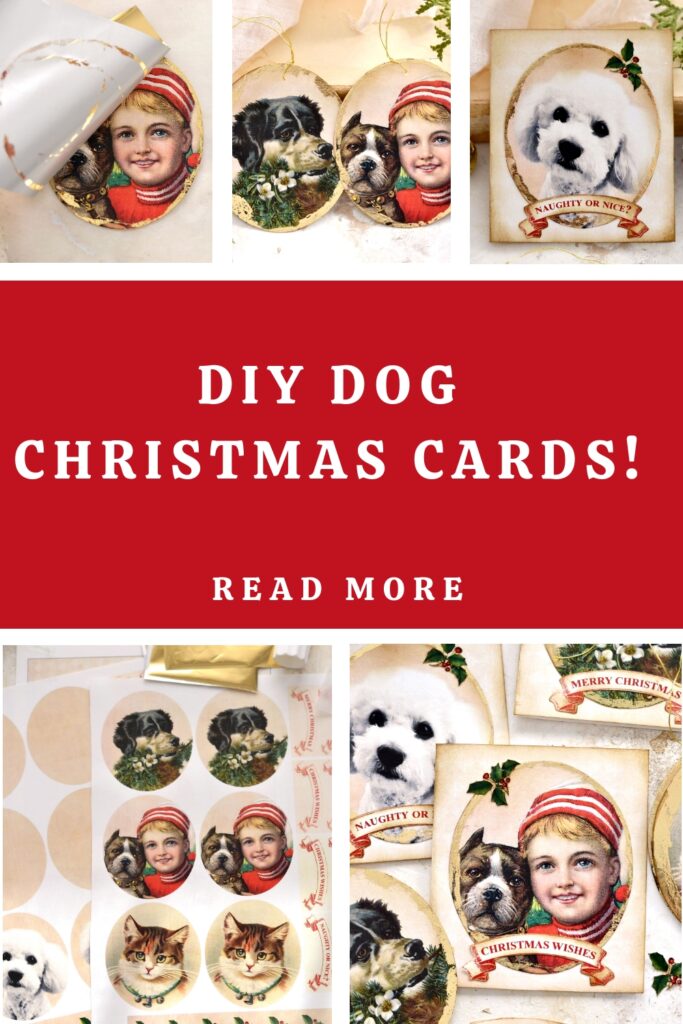
Here are the adorable printables that I’ve created for you, you’ll need to save them on your computer first. I just love the boy with the Santa hat and sweater and his cute pup! If you don’t want to use them as cards they would also make lovely holiday decorations.
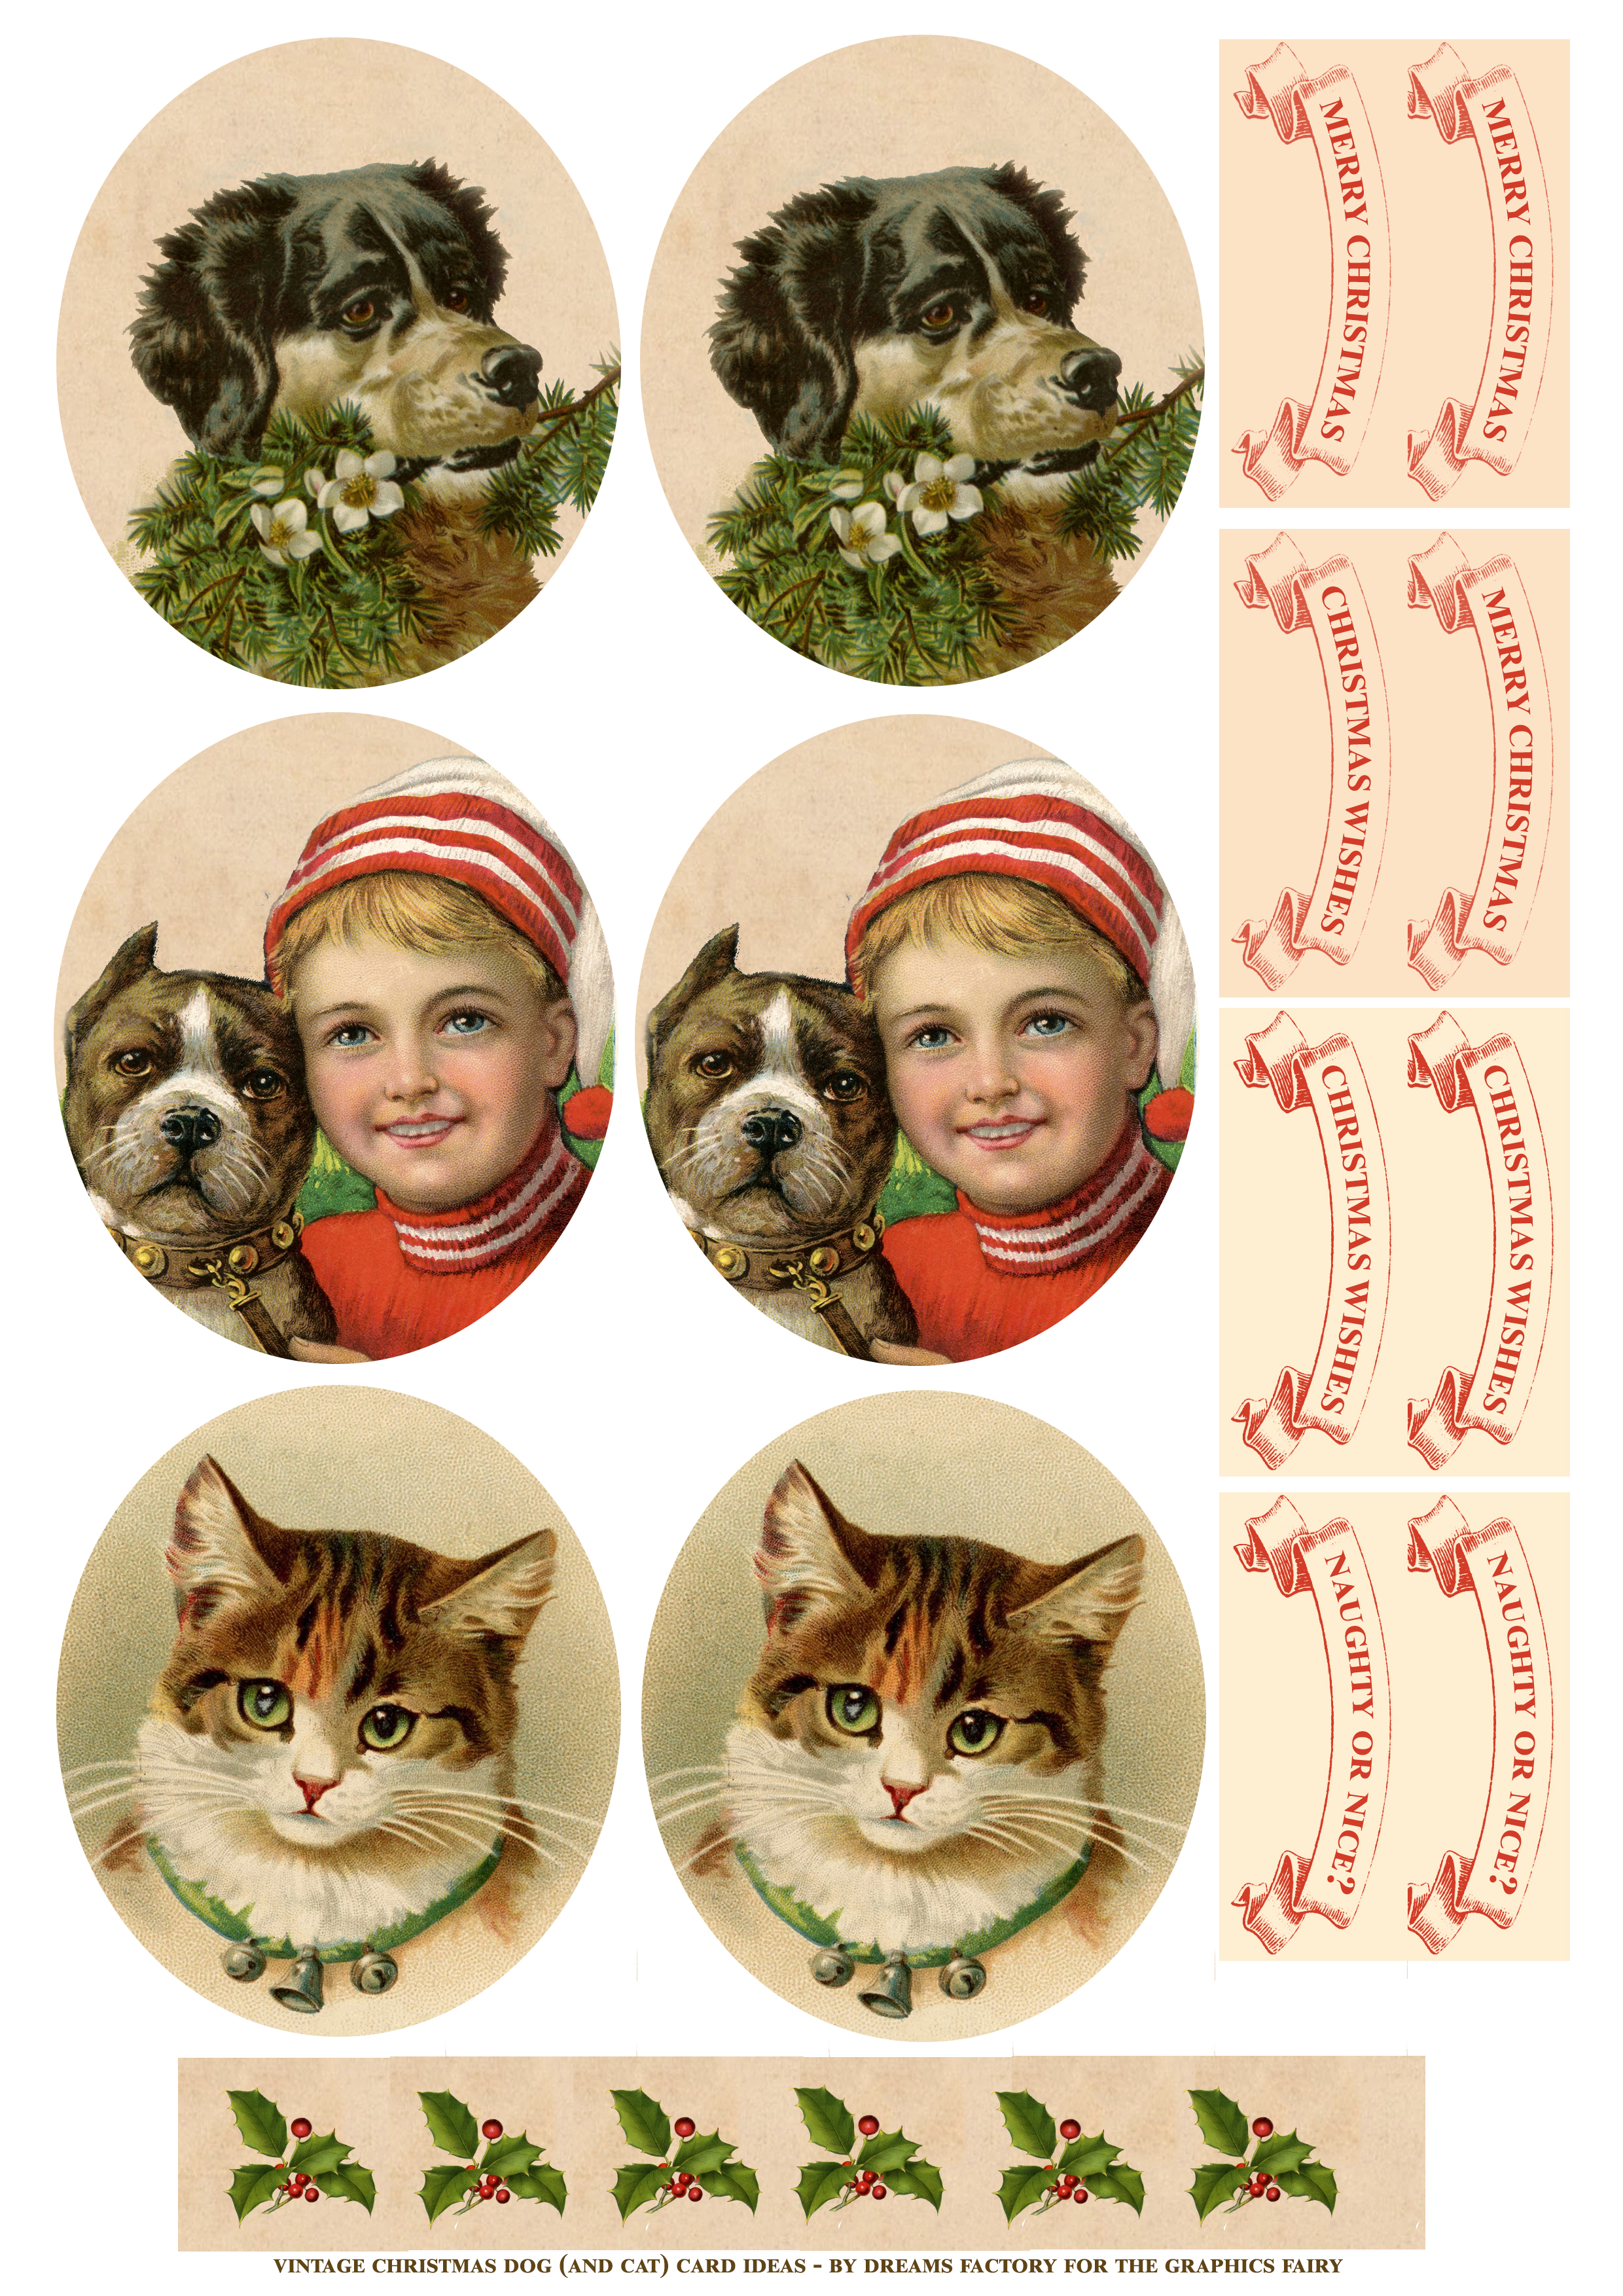
—> Click HERE to Download the Full Size Printable PDF – the vintage medallions <—
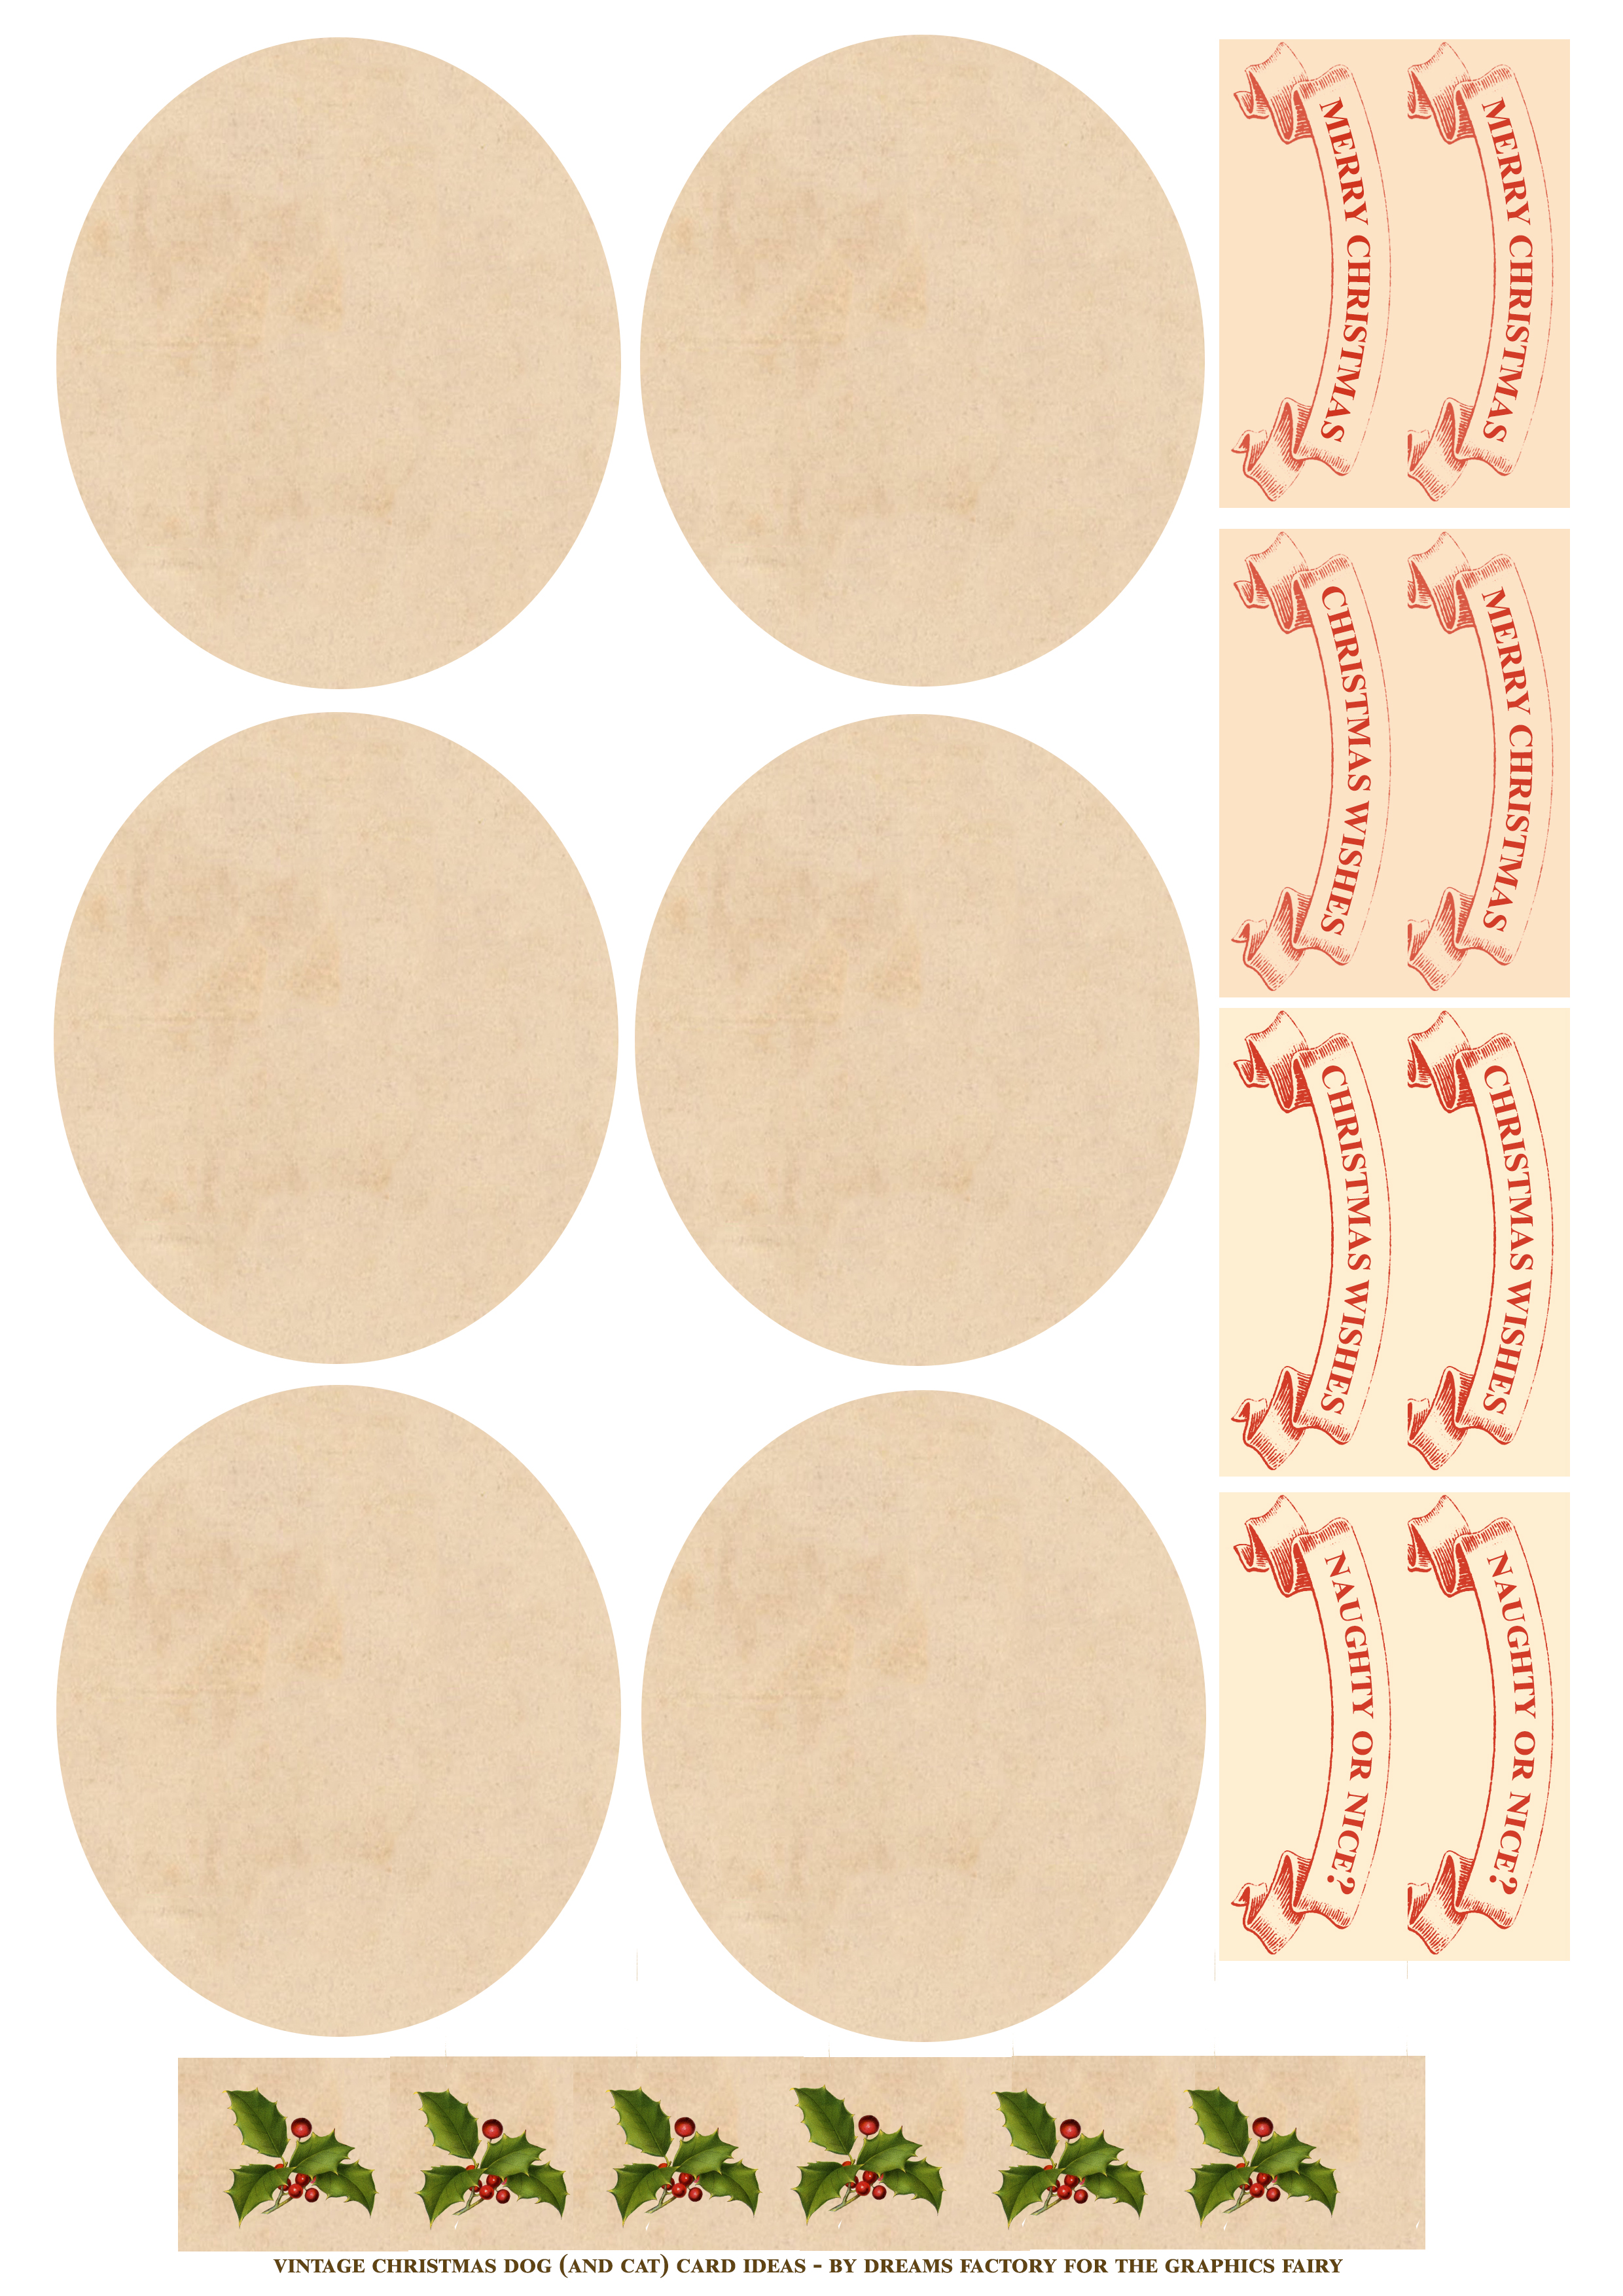
—> Click HERE to Download the Full Size Printable PDF – the blank medallions <—
—> Click HERE to Download the Full Size Printable PDF – the blank medallions <—
Dog Christmas Card Ideas Supplies:
- cardstock paper – for printing all the printables
- home printer
- scissors
- paper trimmer (optional)
- bone folder or a scoring board
- glue stick – preferably UHU or Staedtler
- gold foil
- mini distress inks
- blending tool with foams
- parchment paper – to protect our surface while gluing
Before we jump right in, let’s talk a little bit about how you can personalize the cards with your own pet photo.
You have two options:
1. You can use an editing program like Photoshop, Canva or Picmonkey to add your dog’s image on top of the blank medallions that I’ve shared. This is quite a simple job and if you know your way around any of these programs, the whole operation shouldn’t take more than a few minutes. You could also ask a friend to do this for you!
2. You can print the blank medallions and the photos of your dog separately, then use the medallions as templates to cut the photos of your dog.
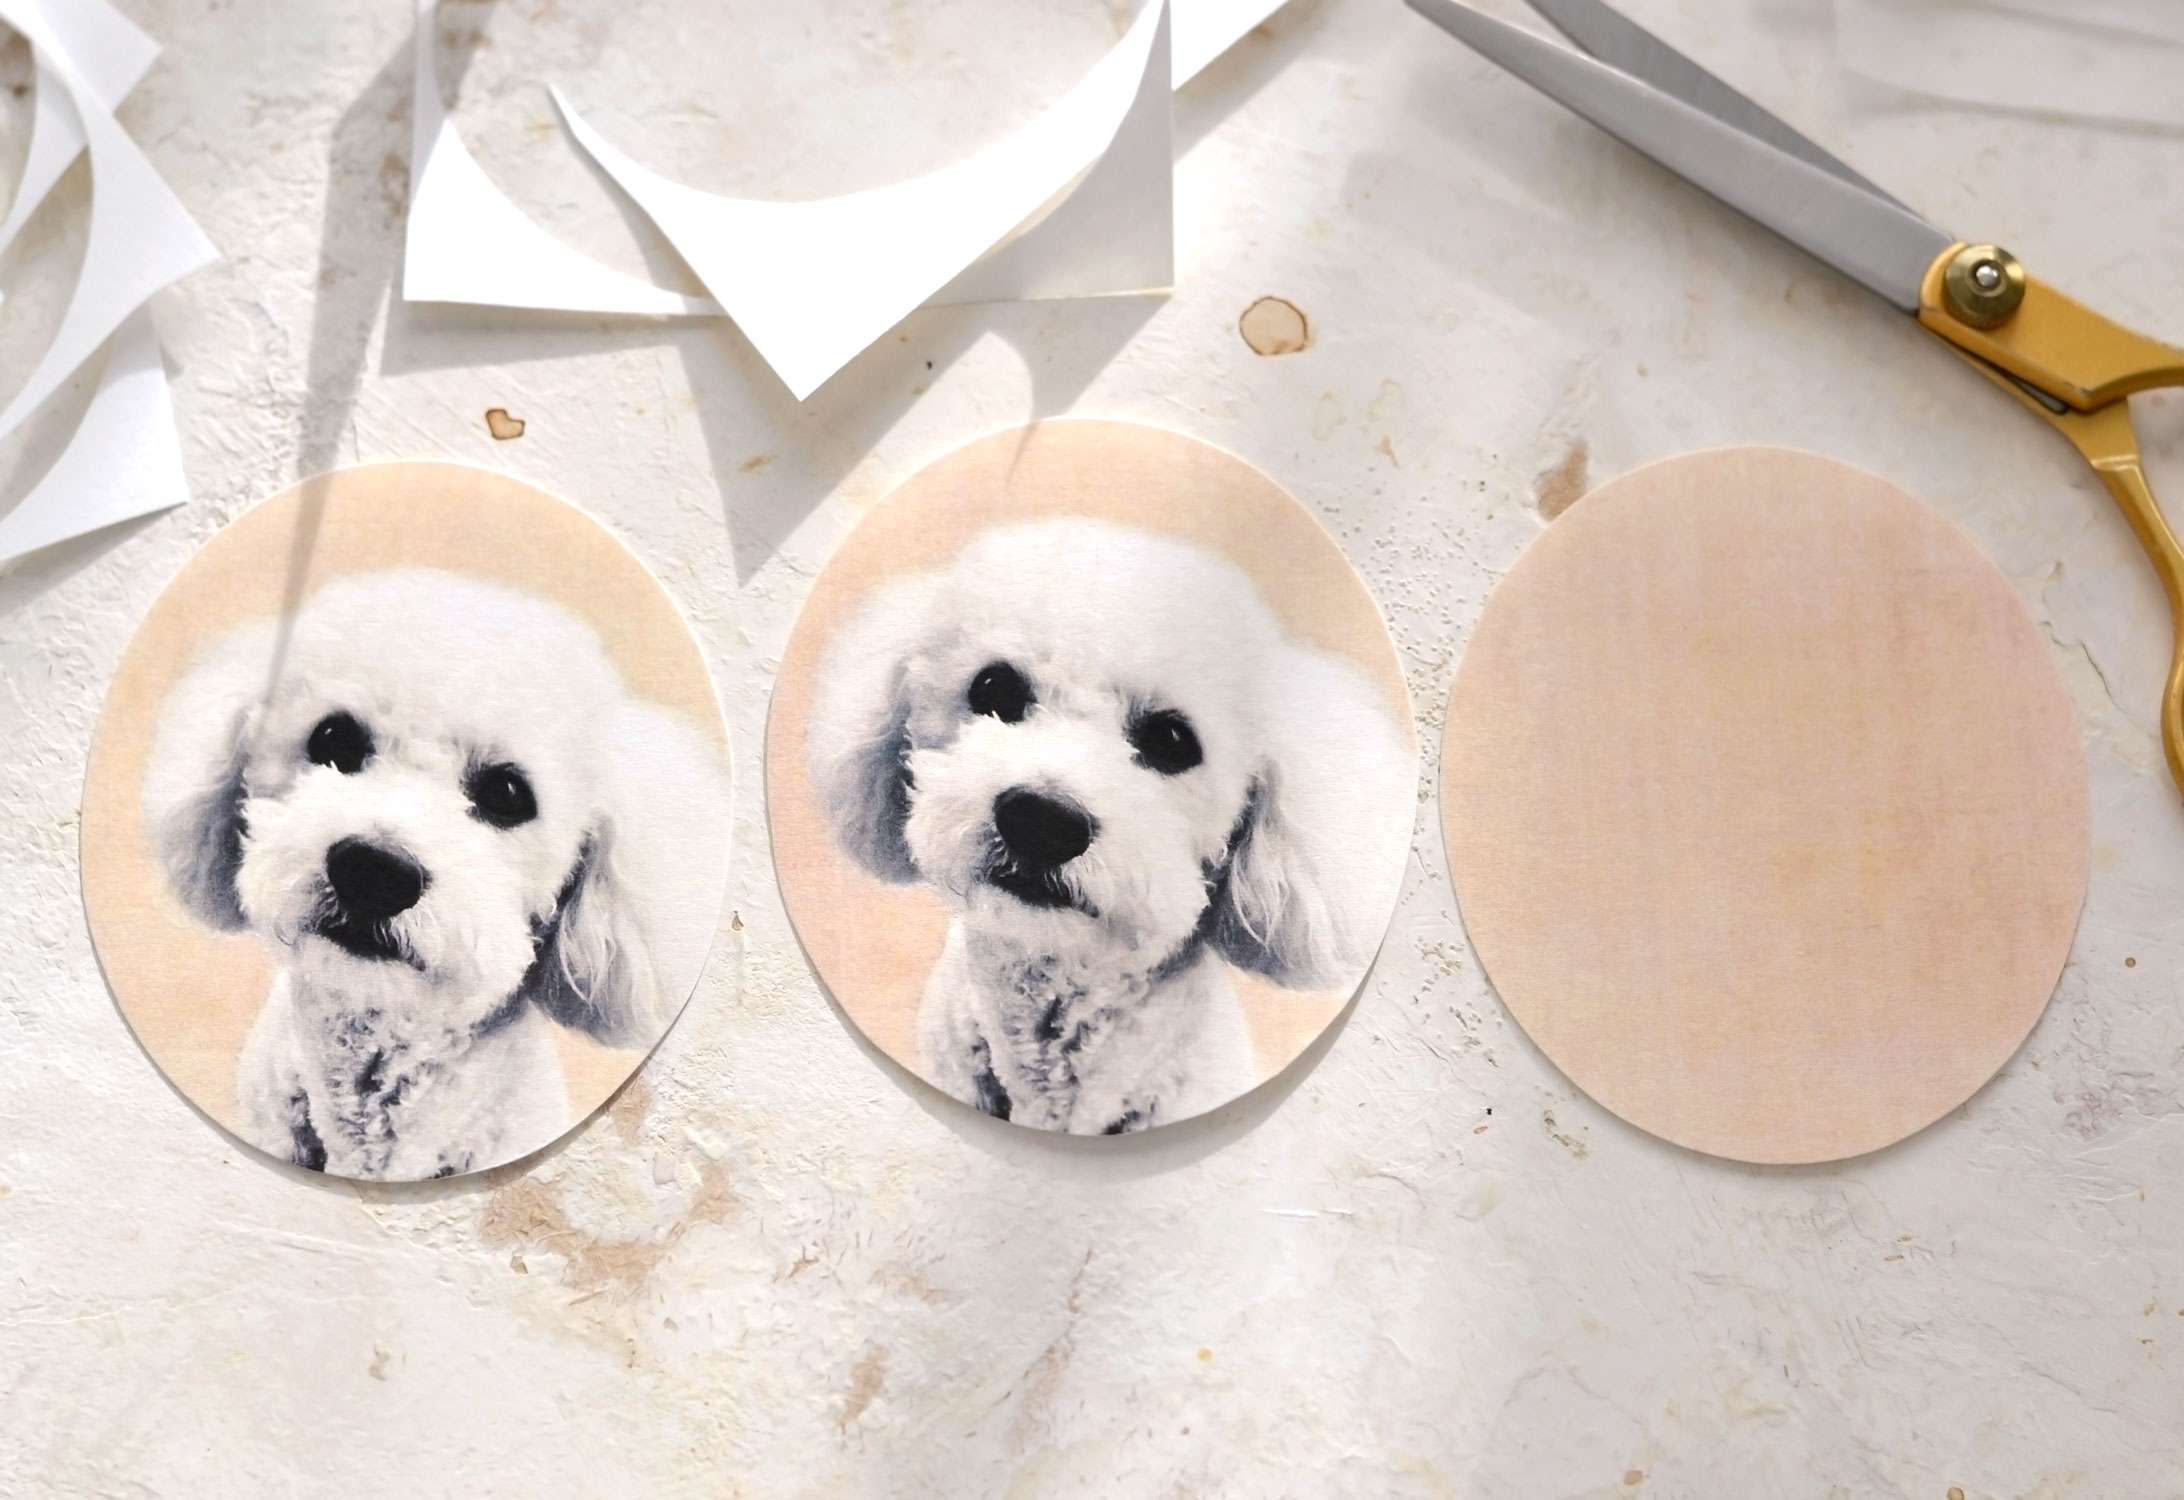
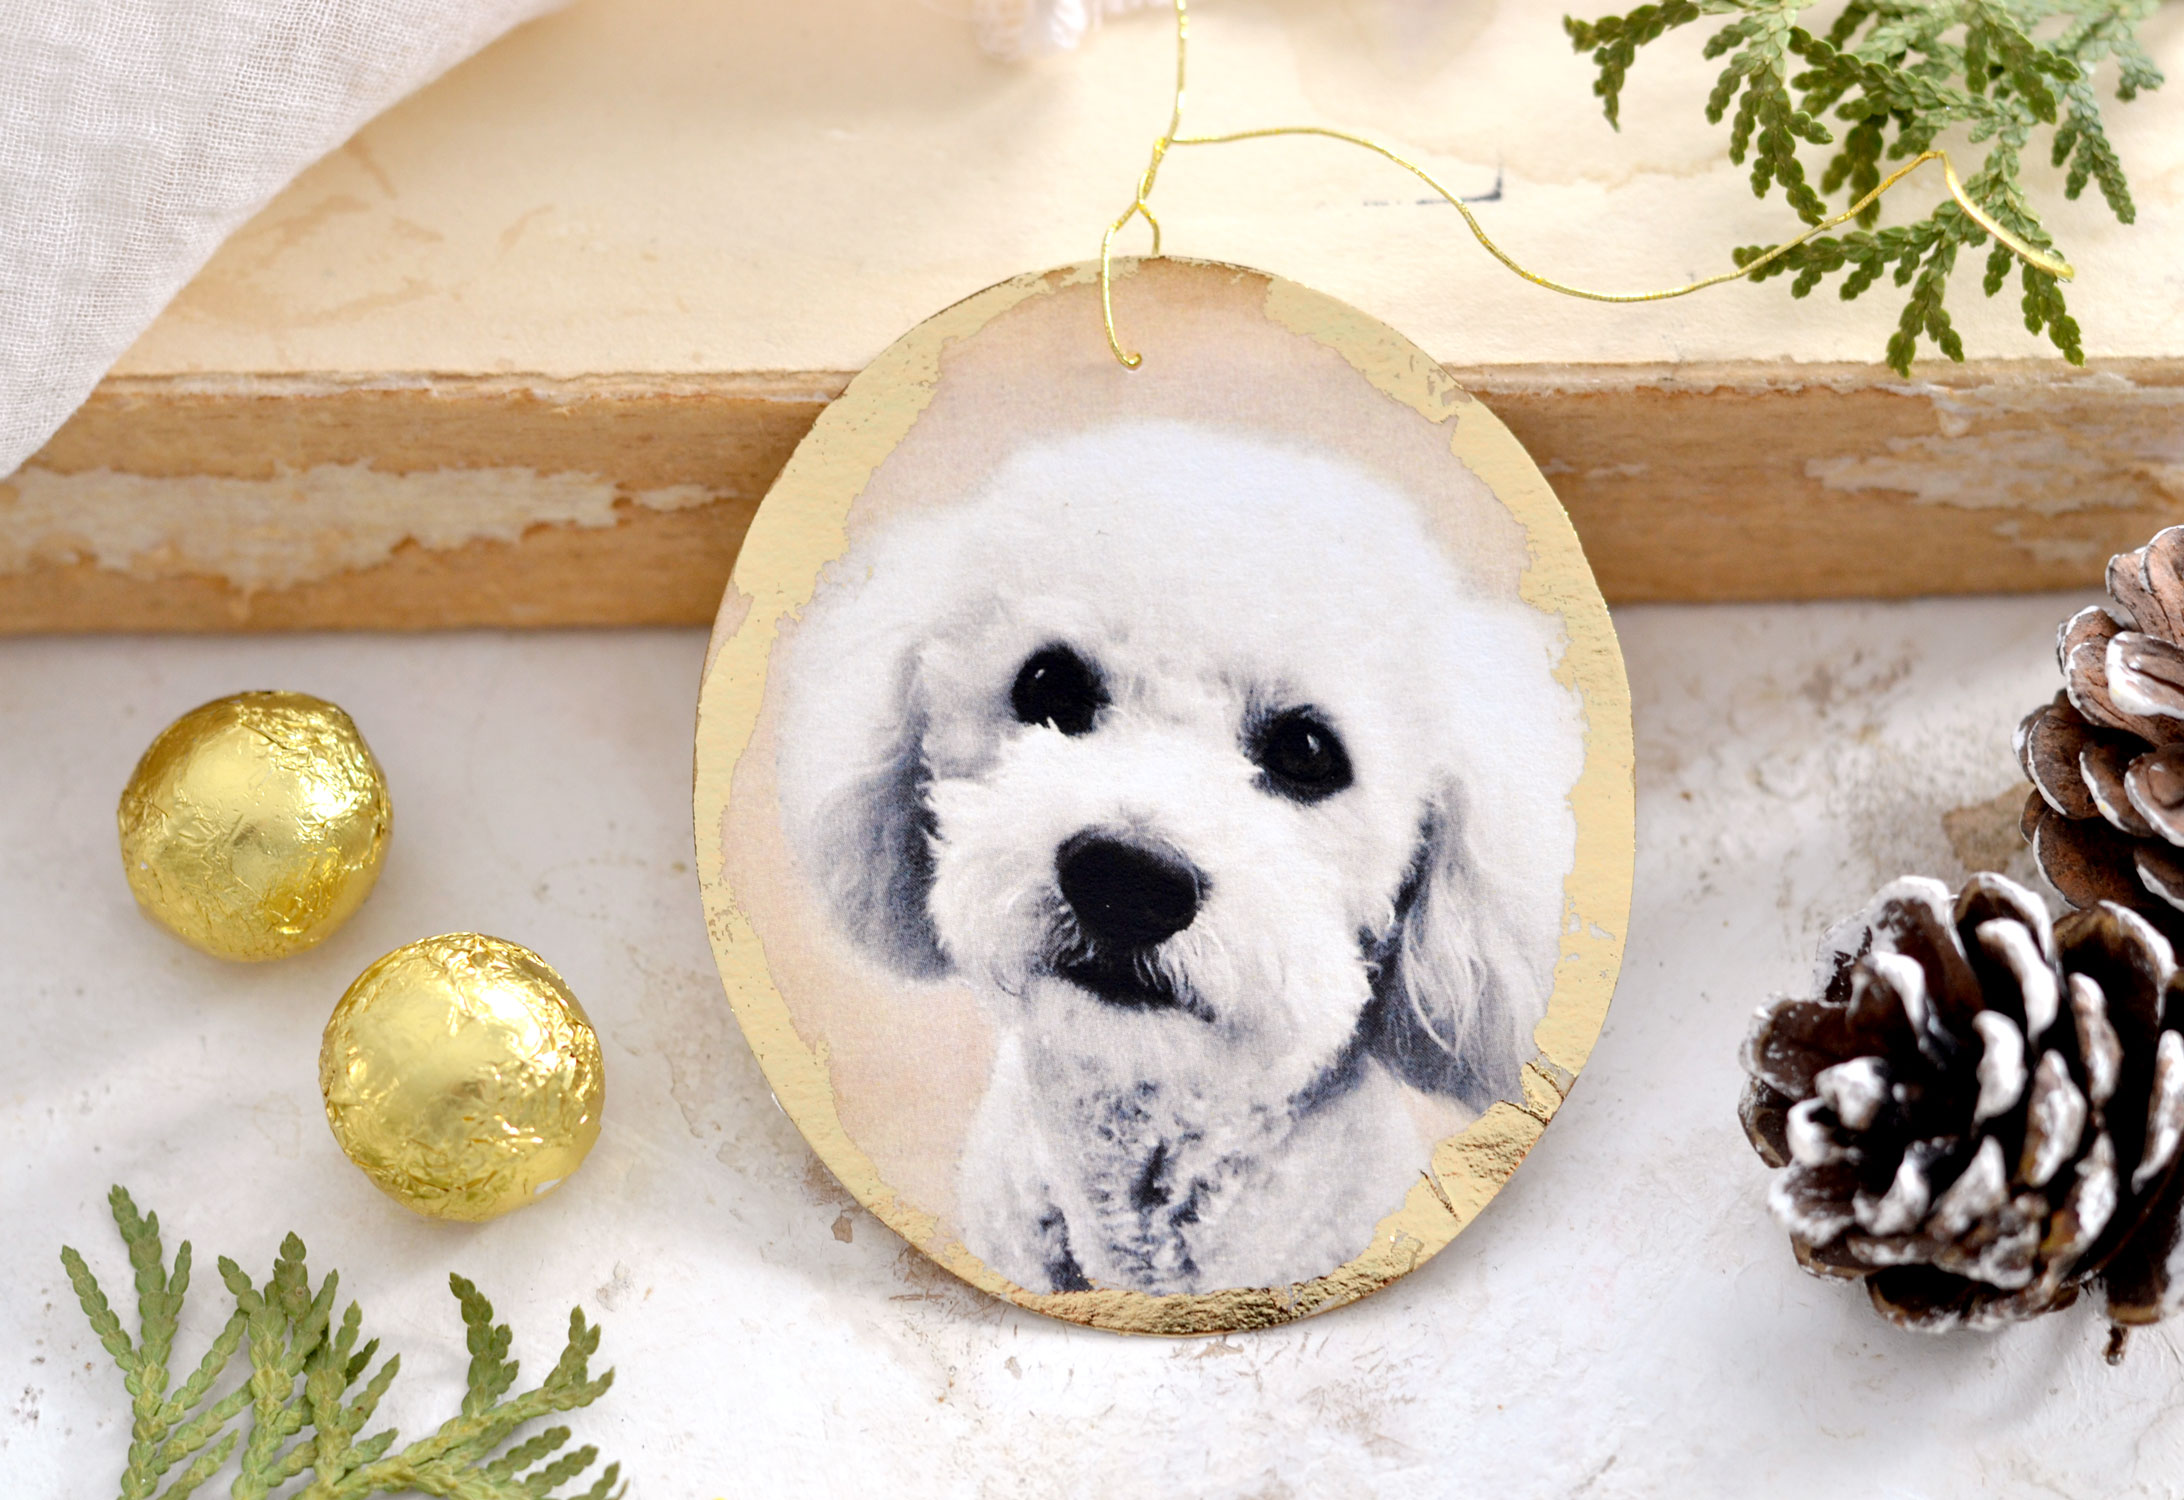
I used Photoshop to add the photo of our precious little dog Puf (as in Poof) on top of the medallions, I really loved how they turned out!
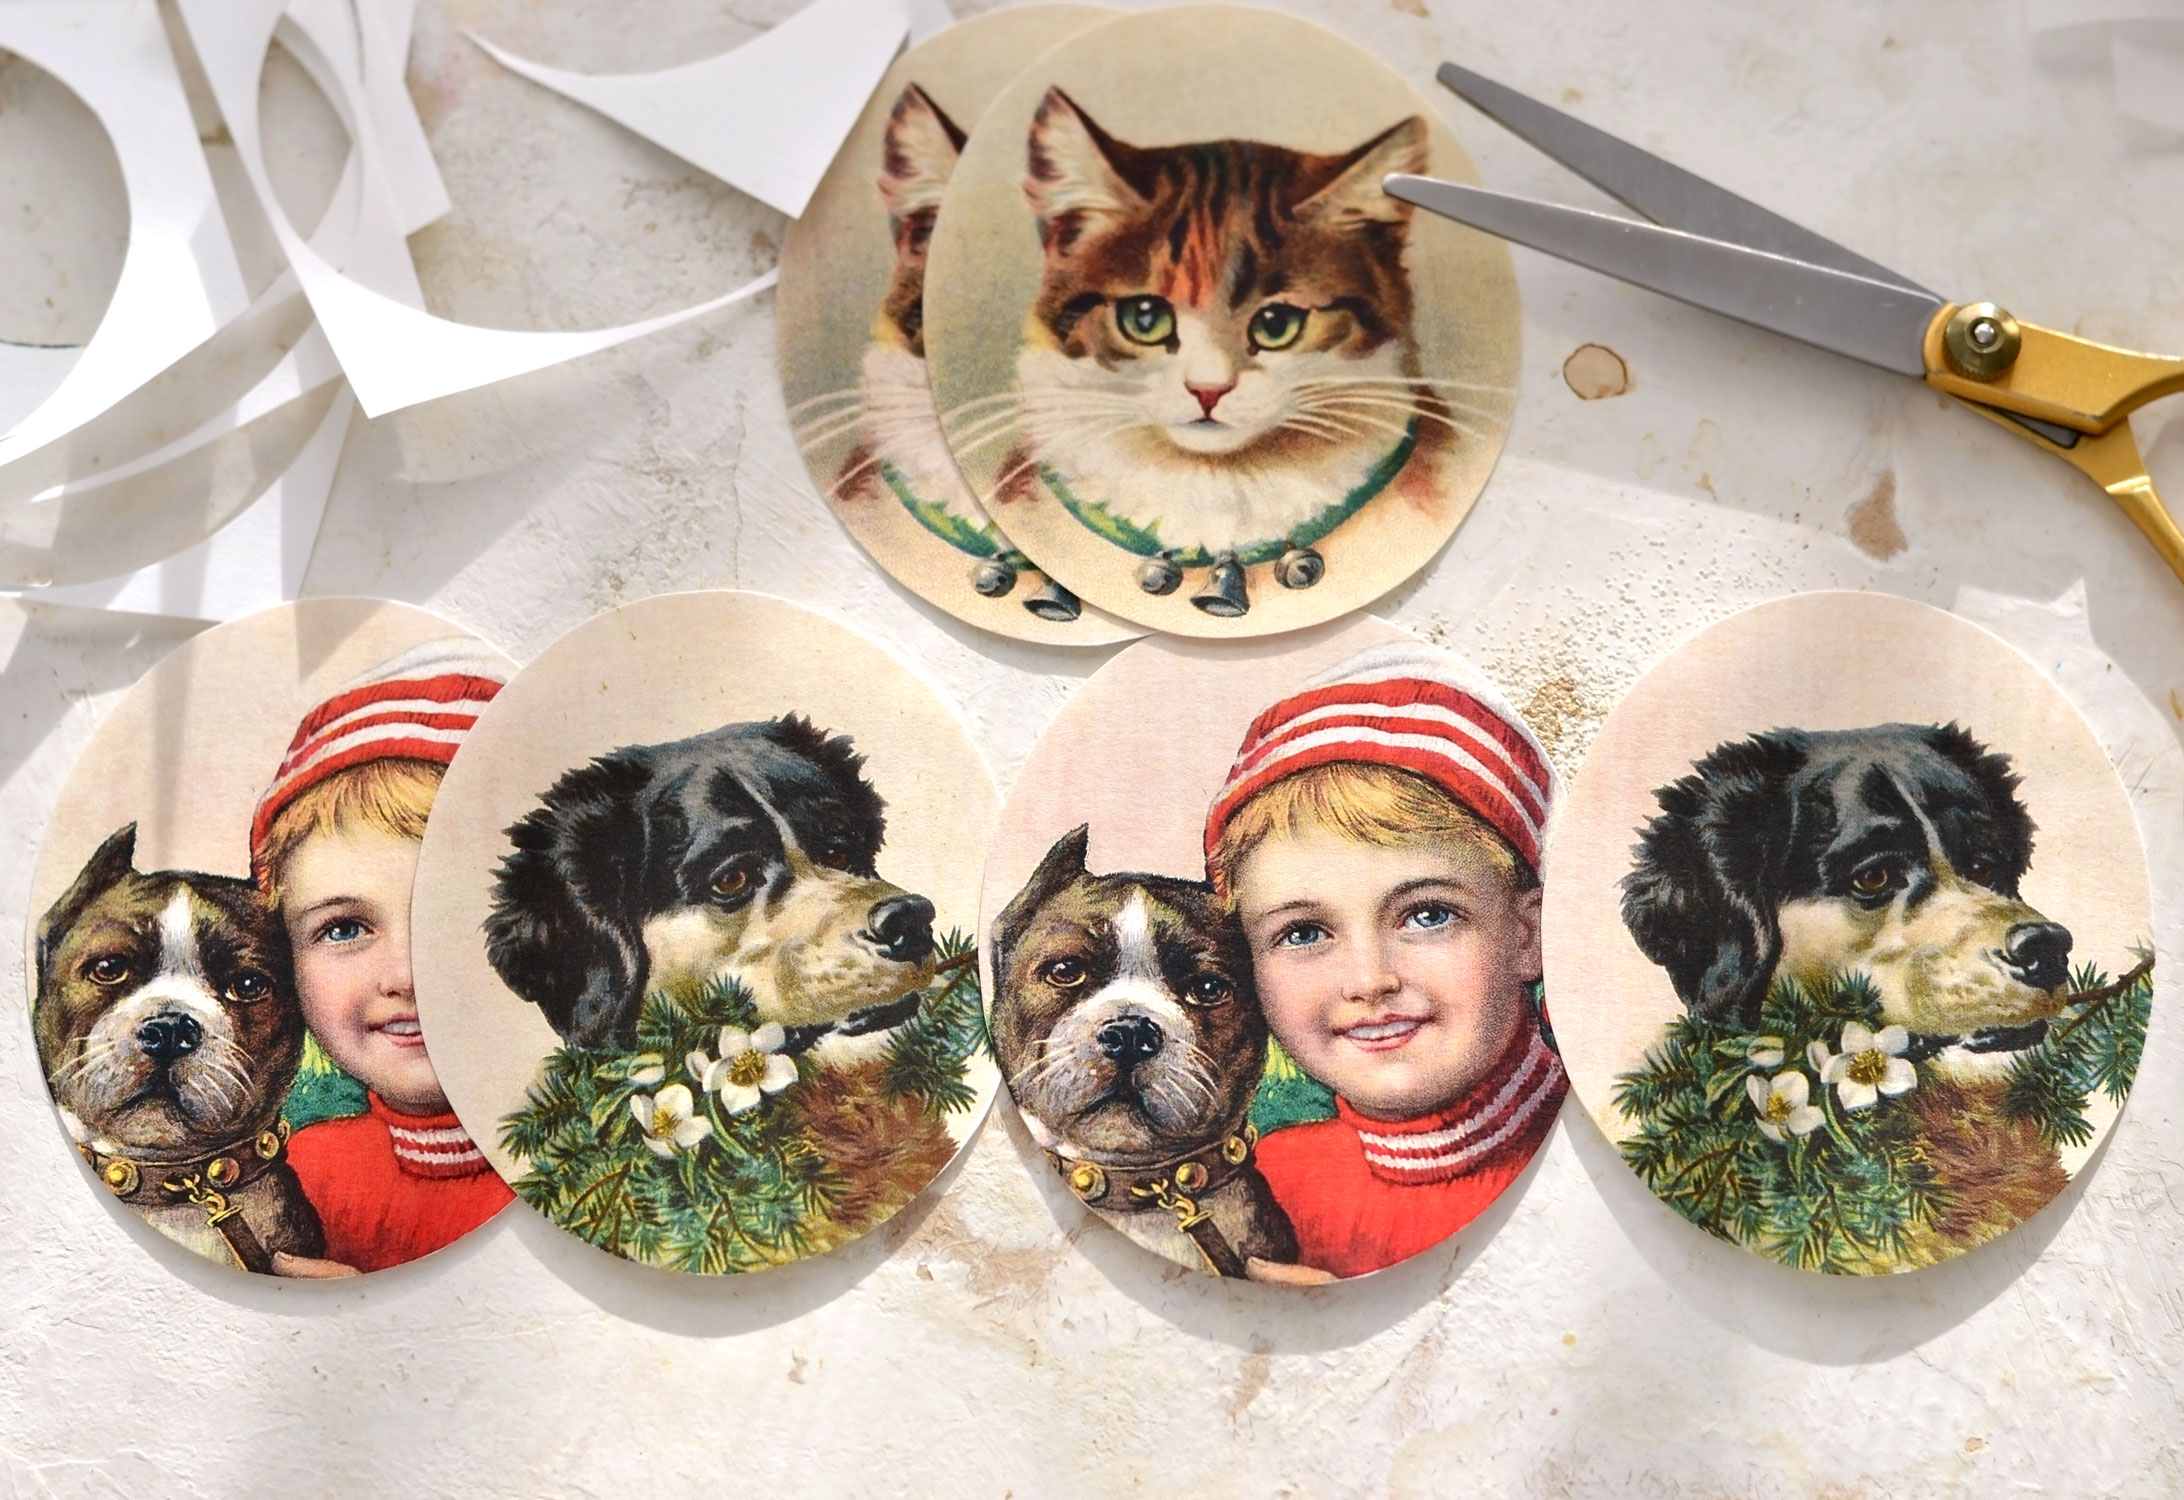
To make the vintage cards with the images that I’ve provided simply cut the corresponding images.
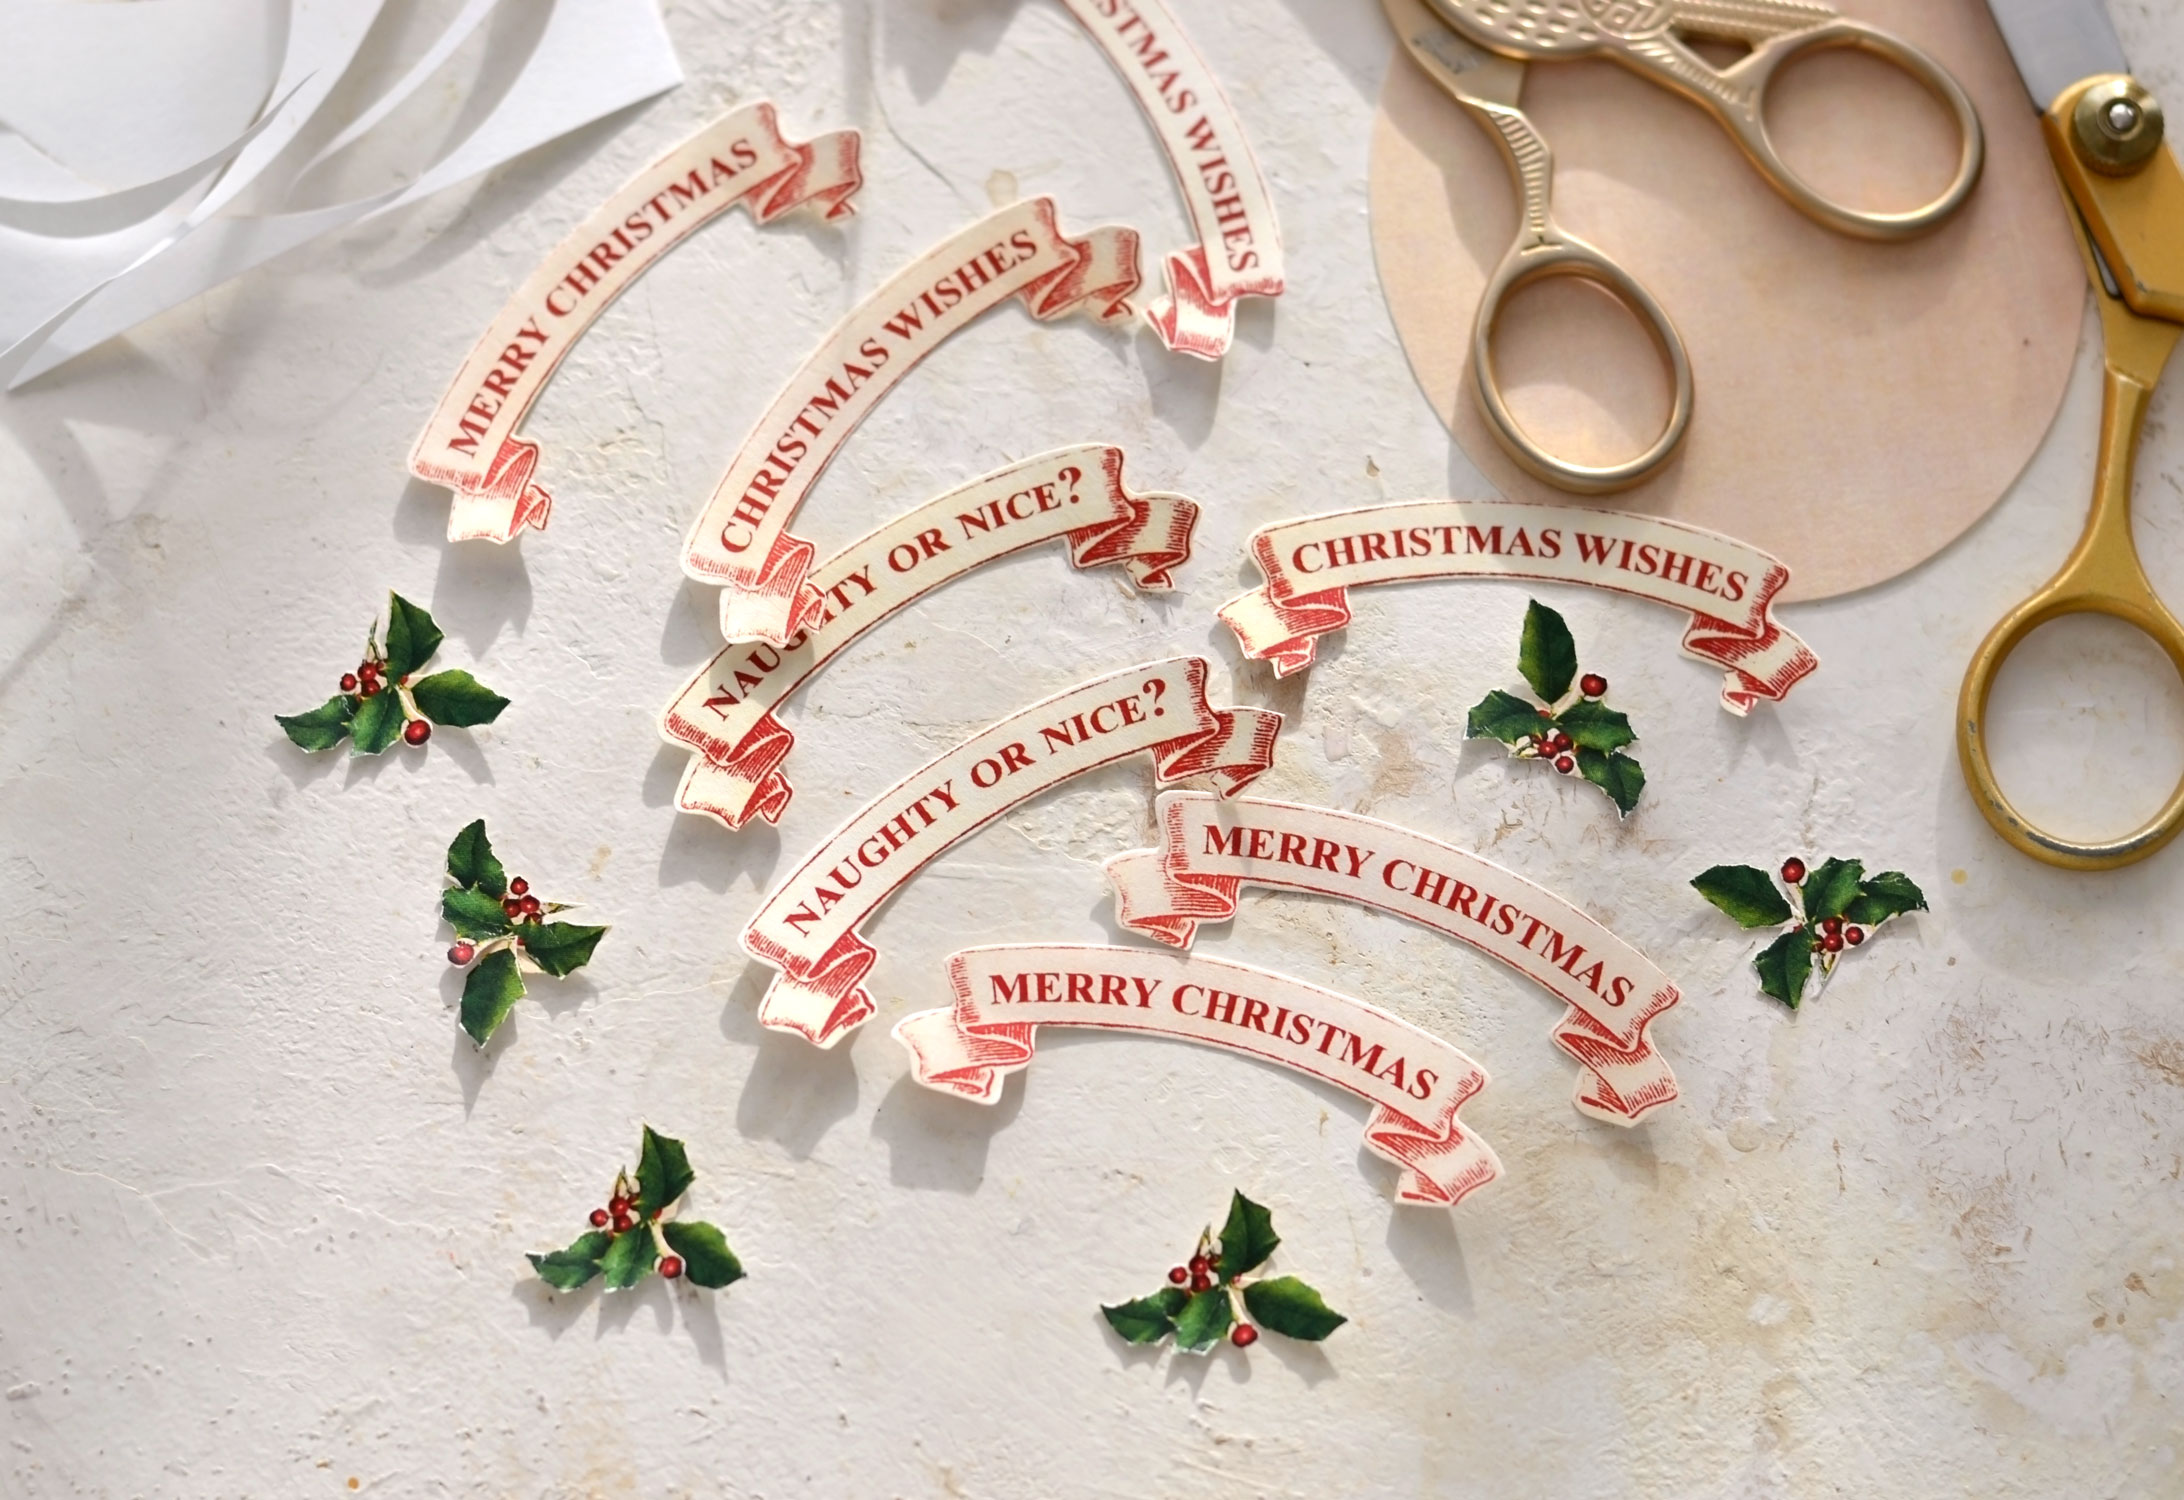
Use regular scissors to roughly cut the embellishments, then use a smaller one to cut the ribbon banner greetings and the holly embellishments. I’ve added a vintage background behind these images so we don’t have any white areas after cutting them. This way they will look more vintage!
As you can see, I’ve decided to cut the medallions with the vintage dogs and cats, but I’ve also cut a few with our dog. I used a blending tool to distress all the elements from the printable – the images, the banners and the holly.
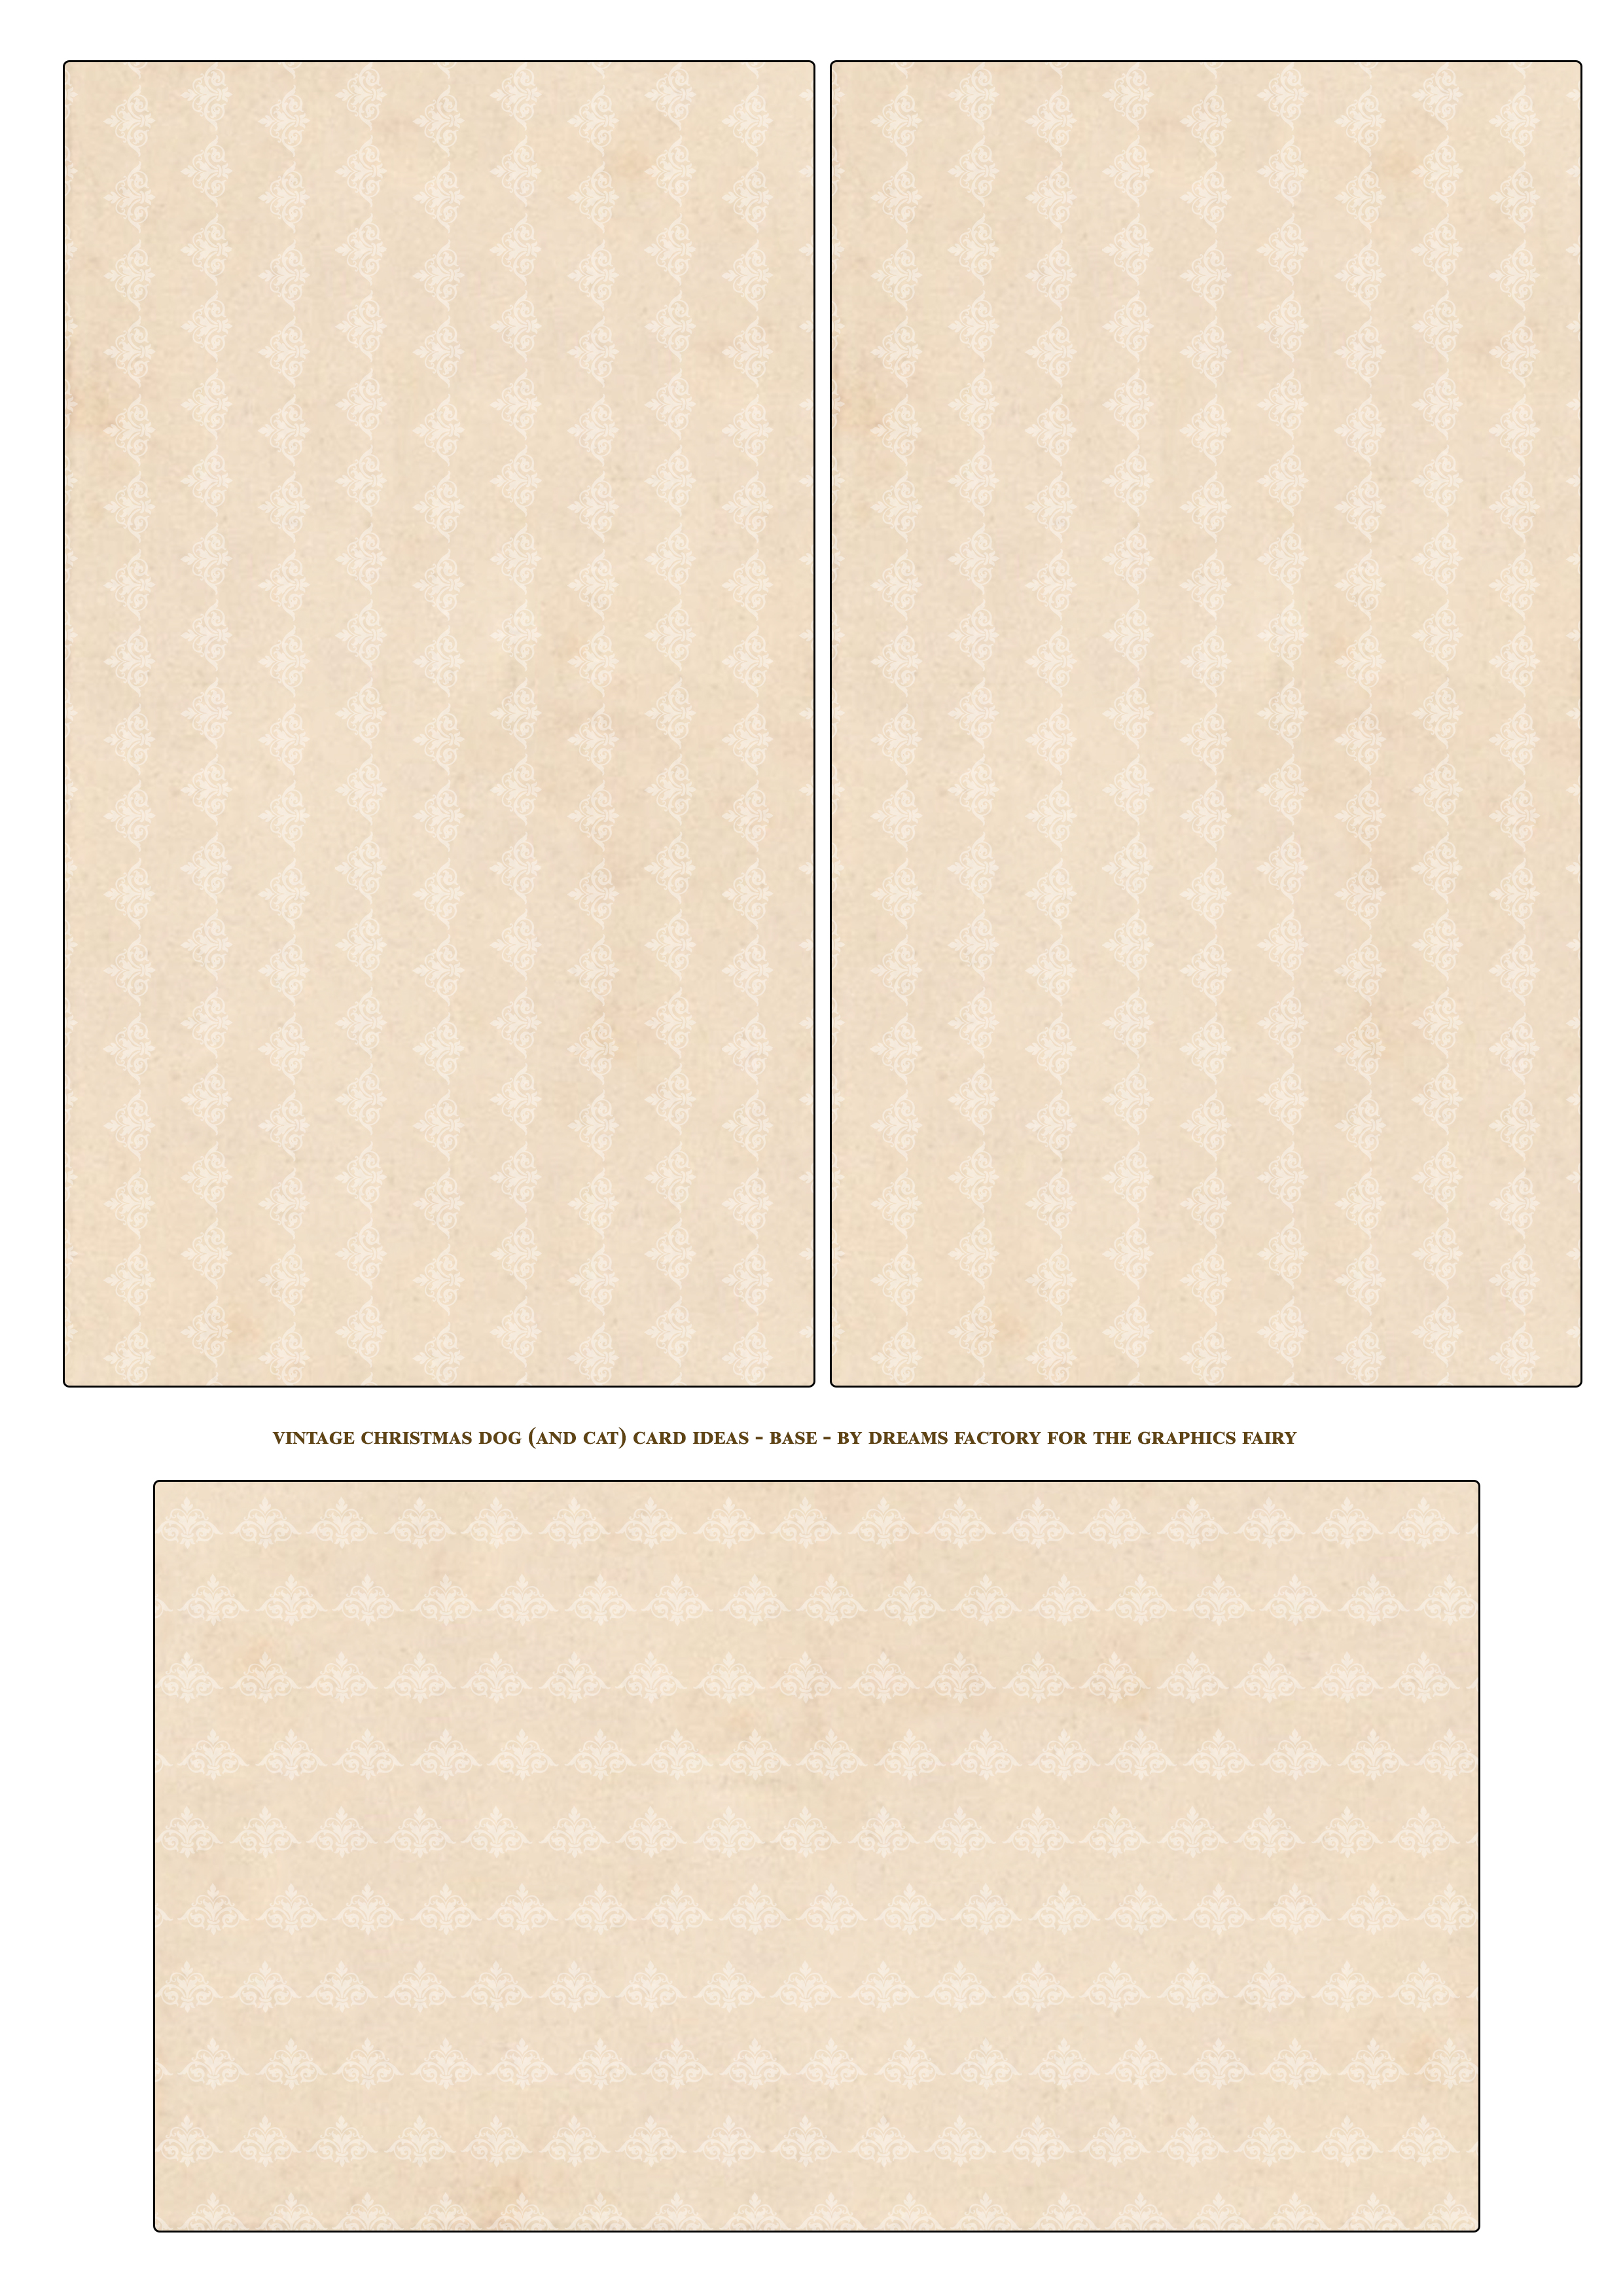
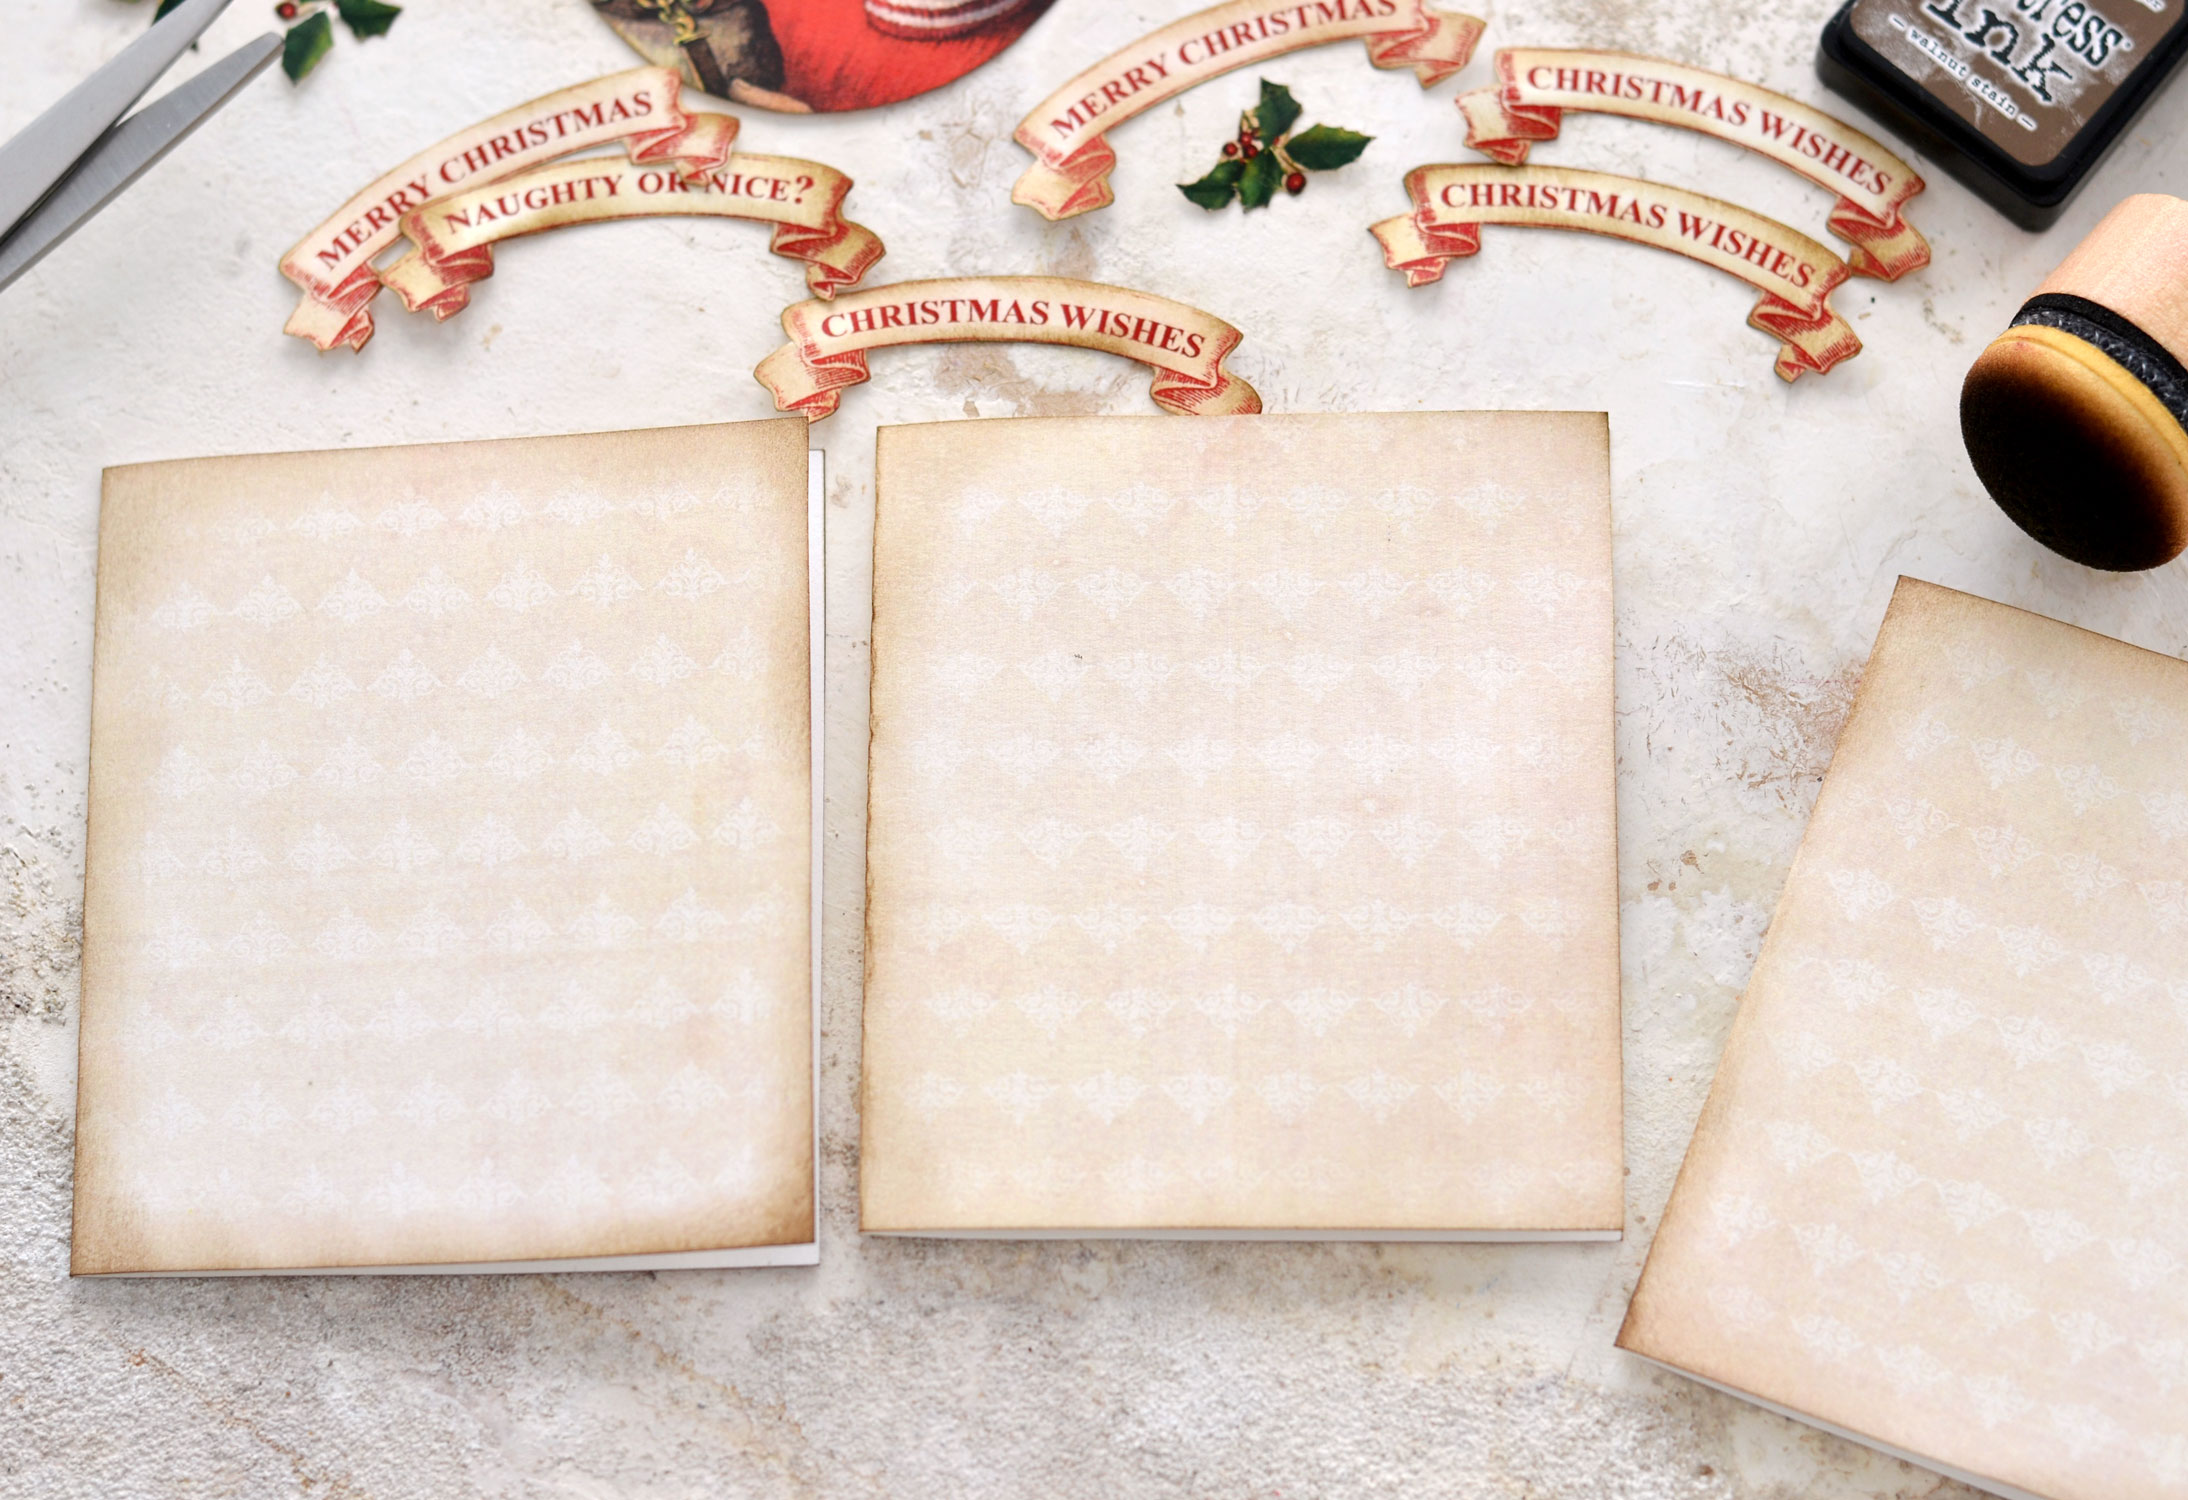
Cut the card bases using your scissors or use a trimming board.
Fold them in half using a bone folder or a scoring board, then use some more of that indispensable distress ink to age the edges. I like to distress the card bases on both sides after folding them.
I’ve decided to use gold foil to make some gorgeous gilded edges. I really love using this technique because you get perfectly imperfect edges that add so much charm to this whole vintage look!
You would usually need a special glue to adhere the gold foil to paper, but I’ve had great results with the UHU stick glue and the one from Staedtler. This might work more or less with other glues, just give them a try for the sake of experimenting.
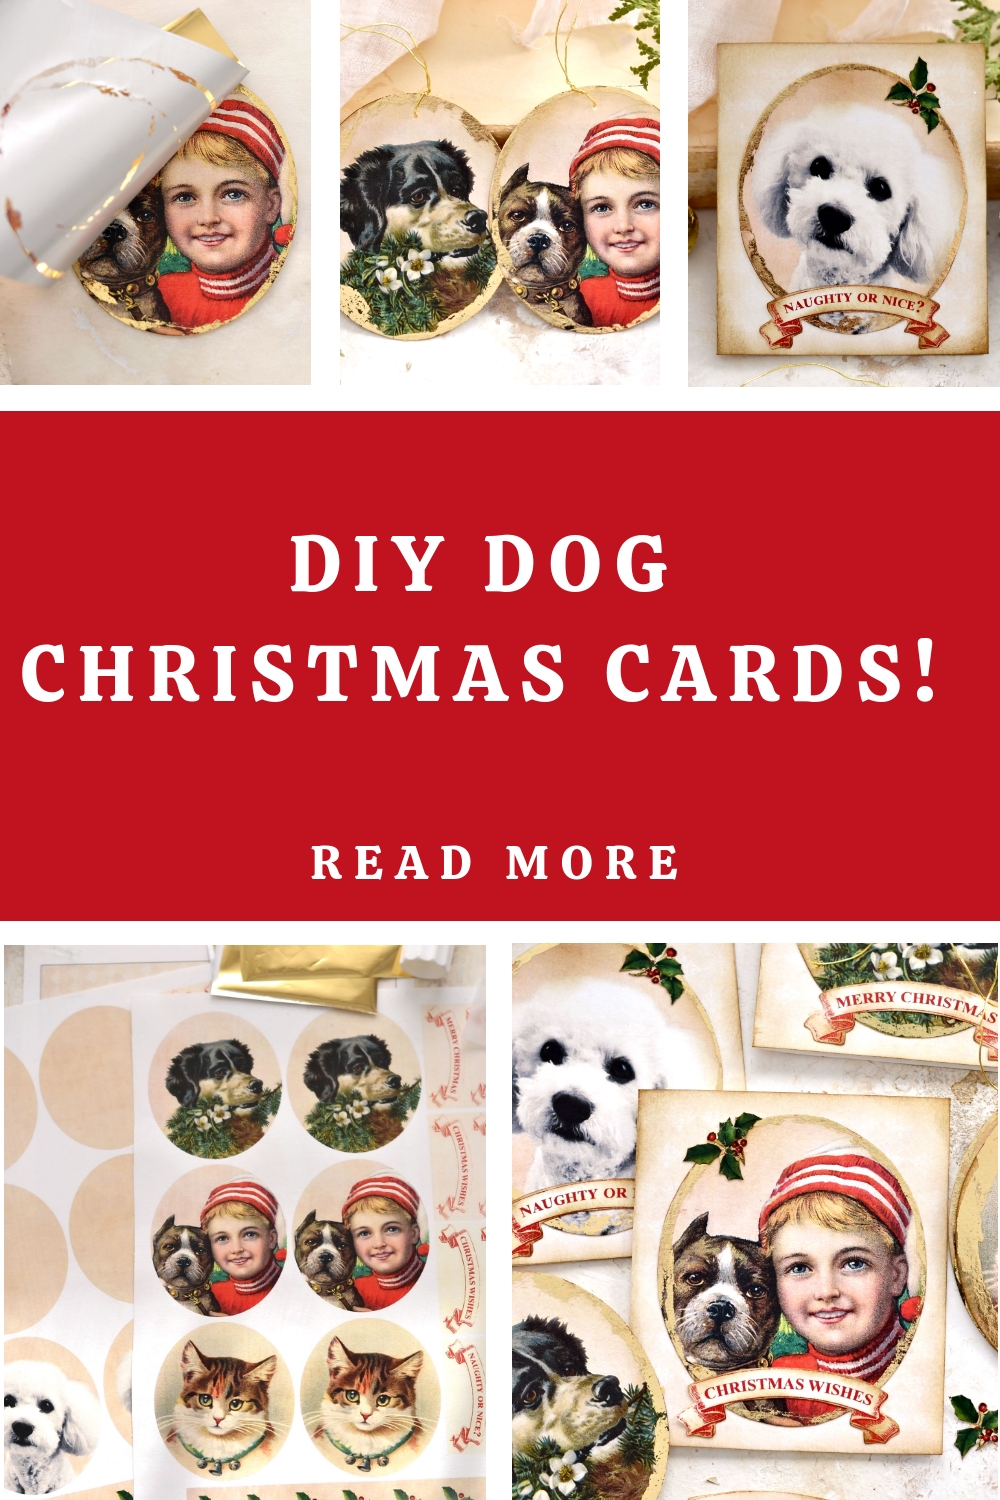
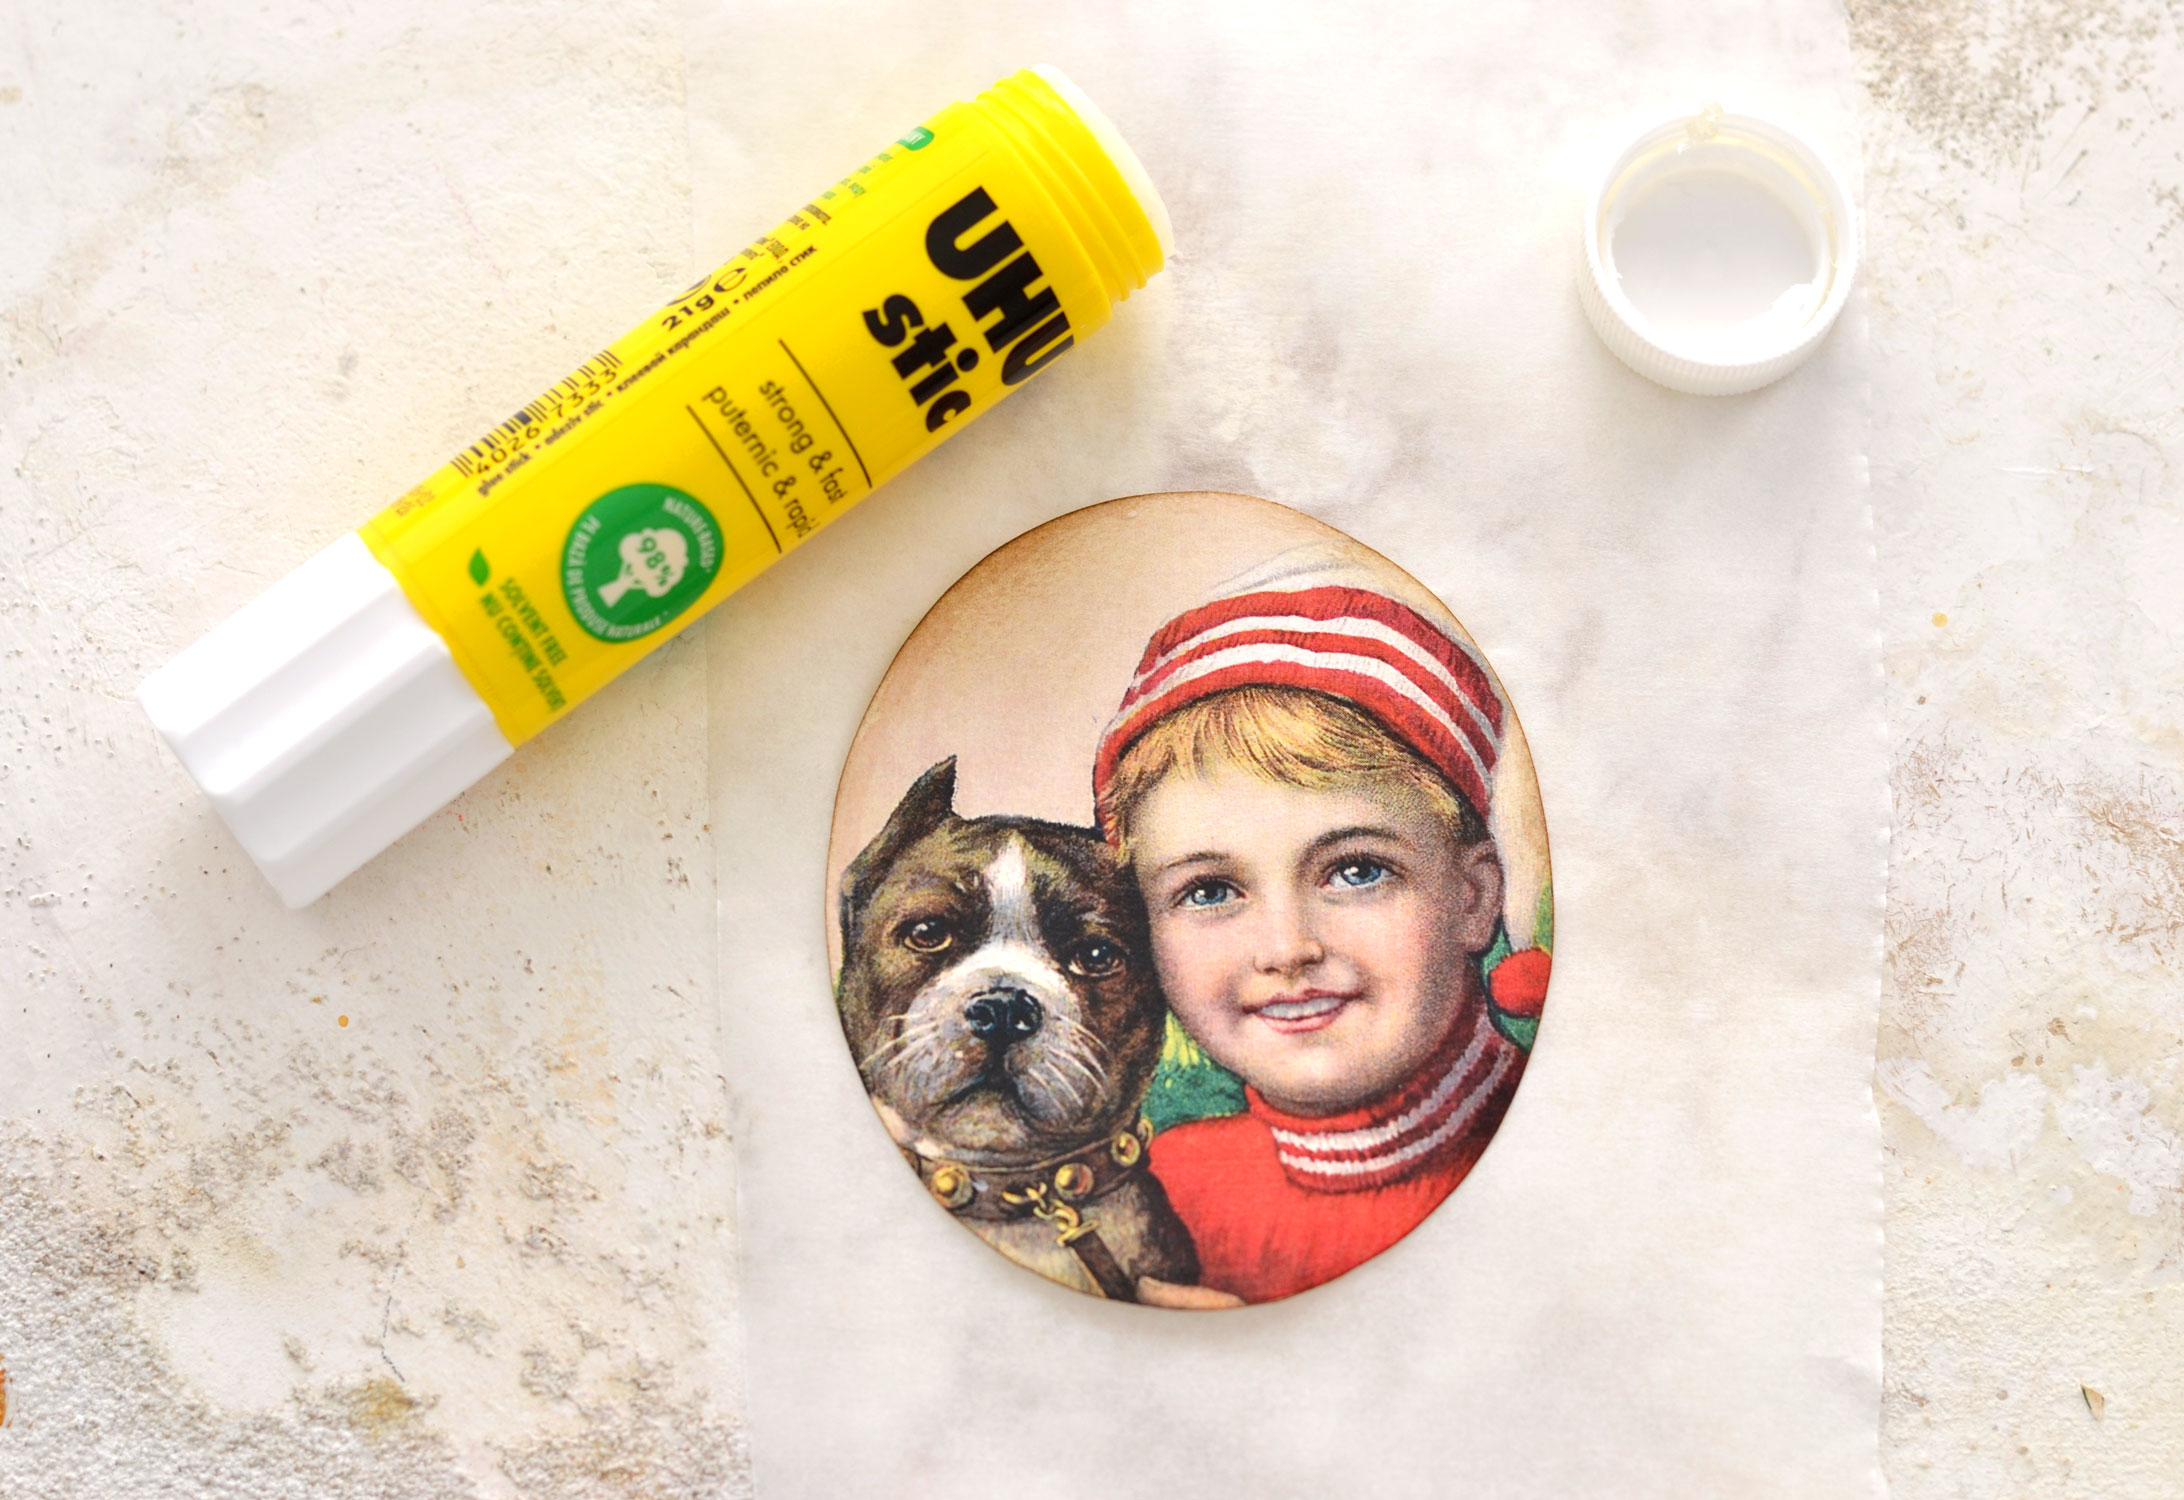
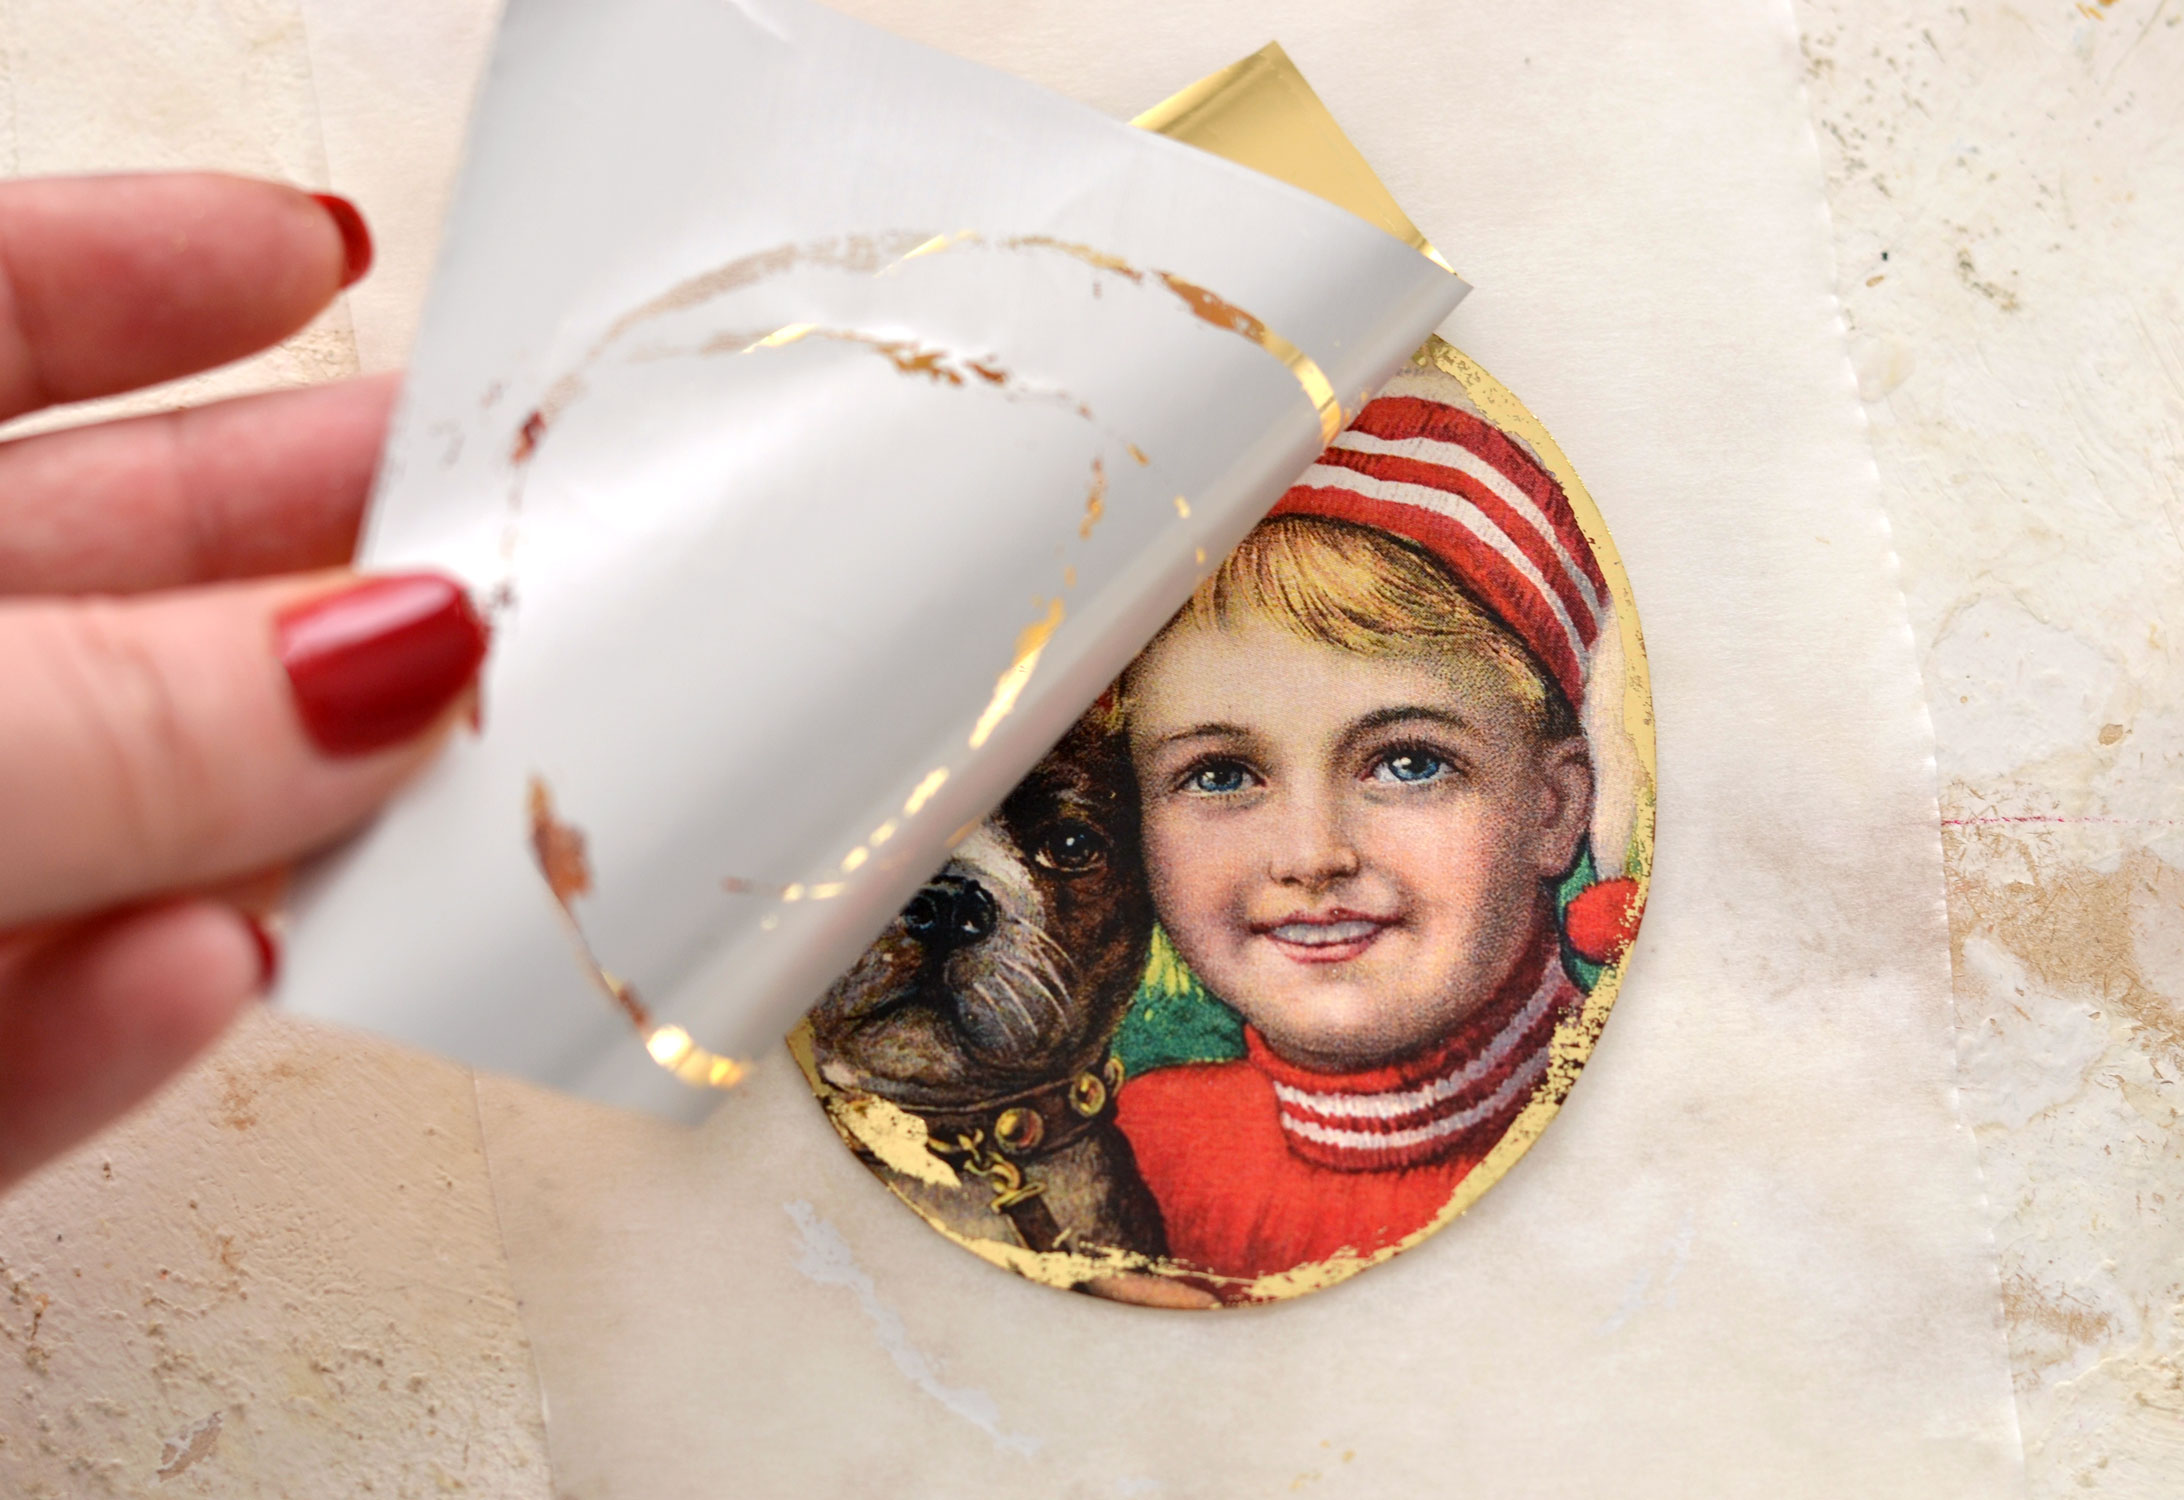
The method is really simple, just place the vintage medallions on a piece of parchment paper first. Tilt your stick glue, then go all over the edges.
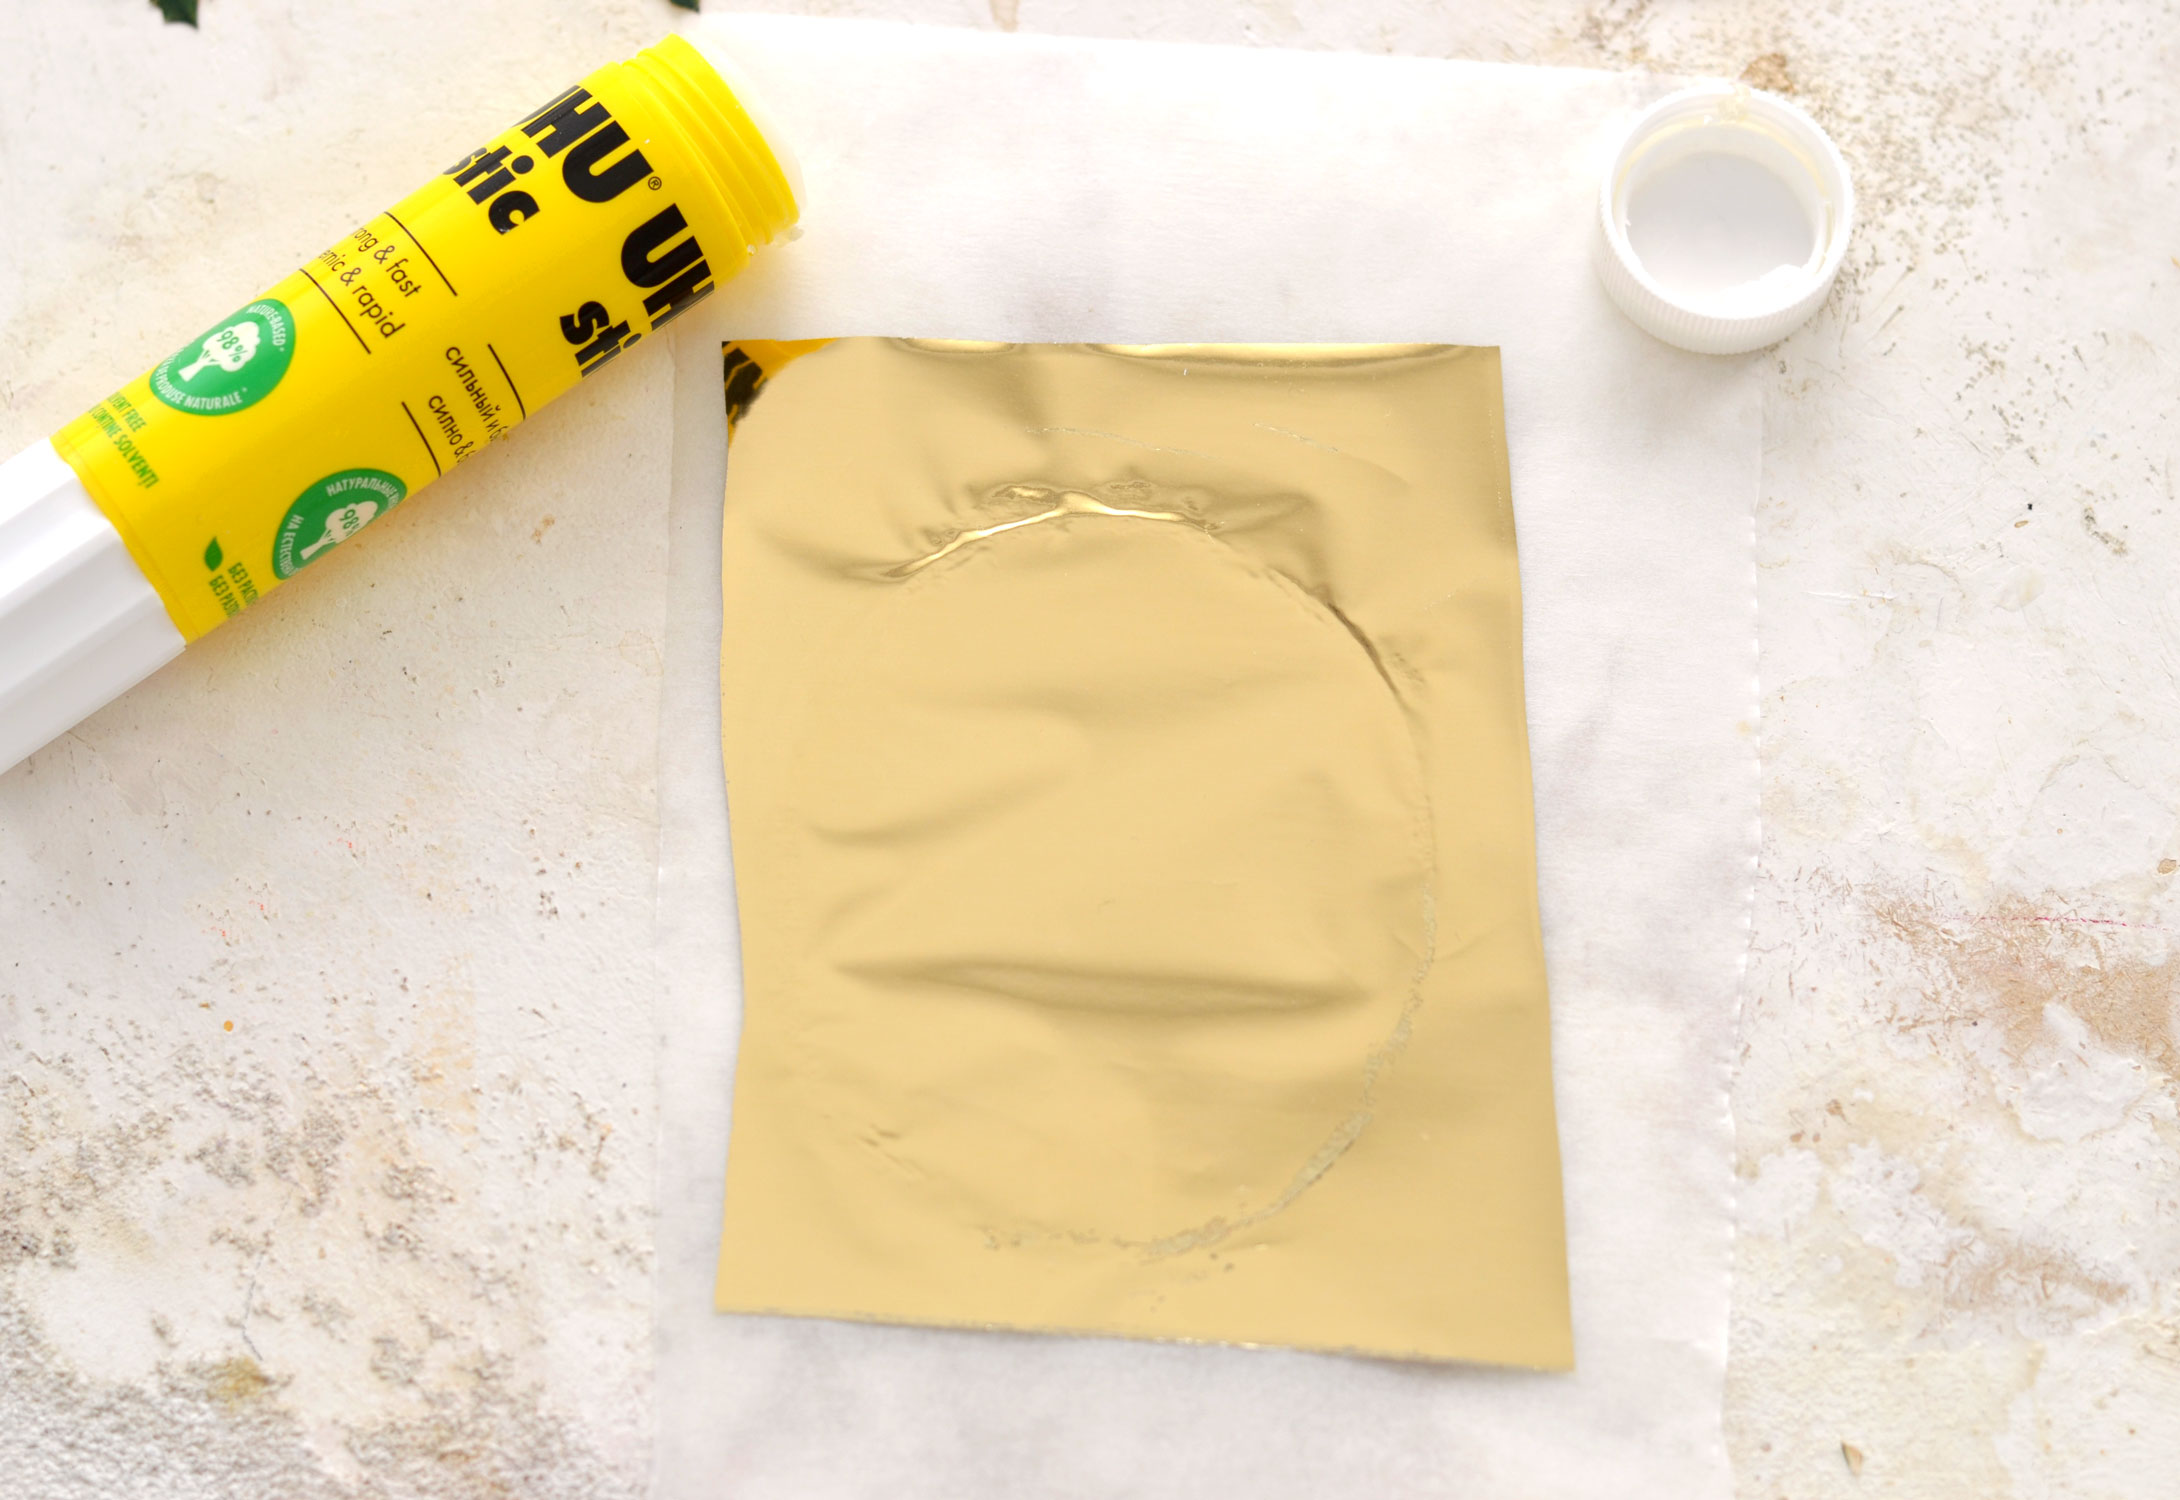
Immediately add the gold foil on top and press it with your fingers. Leave it for about 30 seconds – 1 minute to give the glue underneath the chance to dry.
The gold foil will only adhere to the areas where you applied the glue, if you missed some spots, go in again with another layer of glue and some more foil!
Remove the gold foil and watch the magic happen! You should be left with a thin layer of perfectly imperfect shiny gold on the edges!
Use the same technique to add gold to all the medallions.
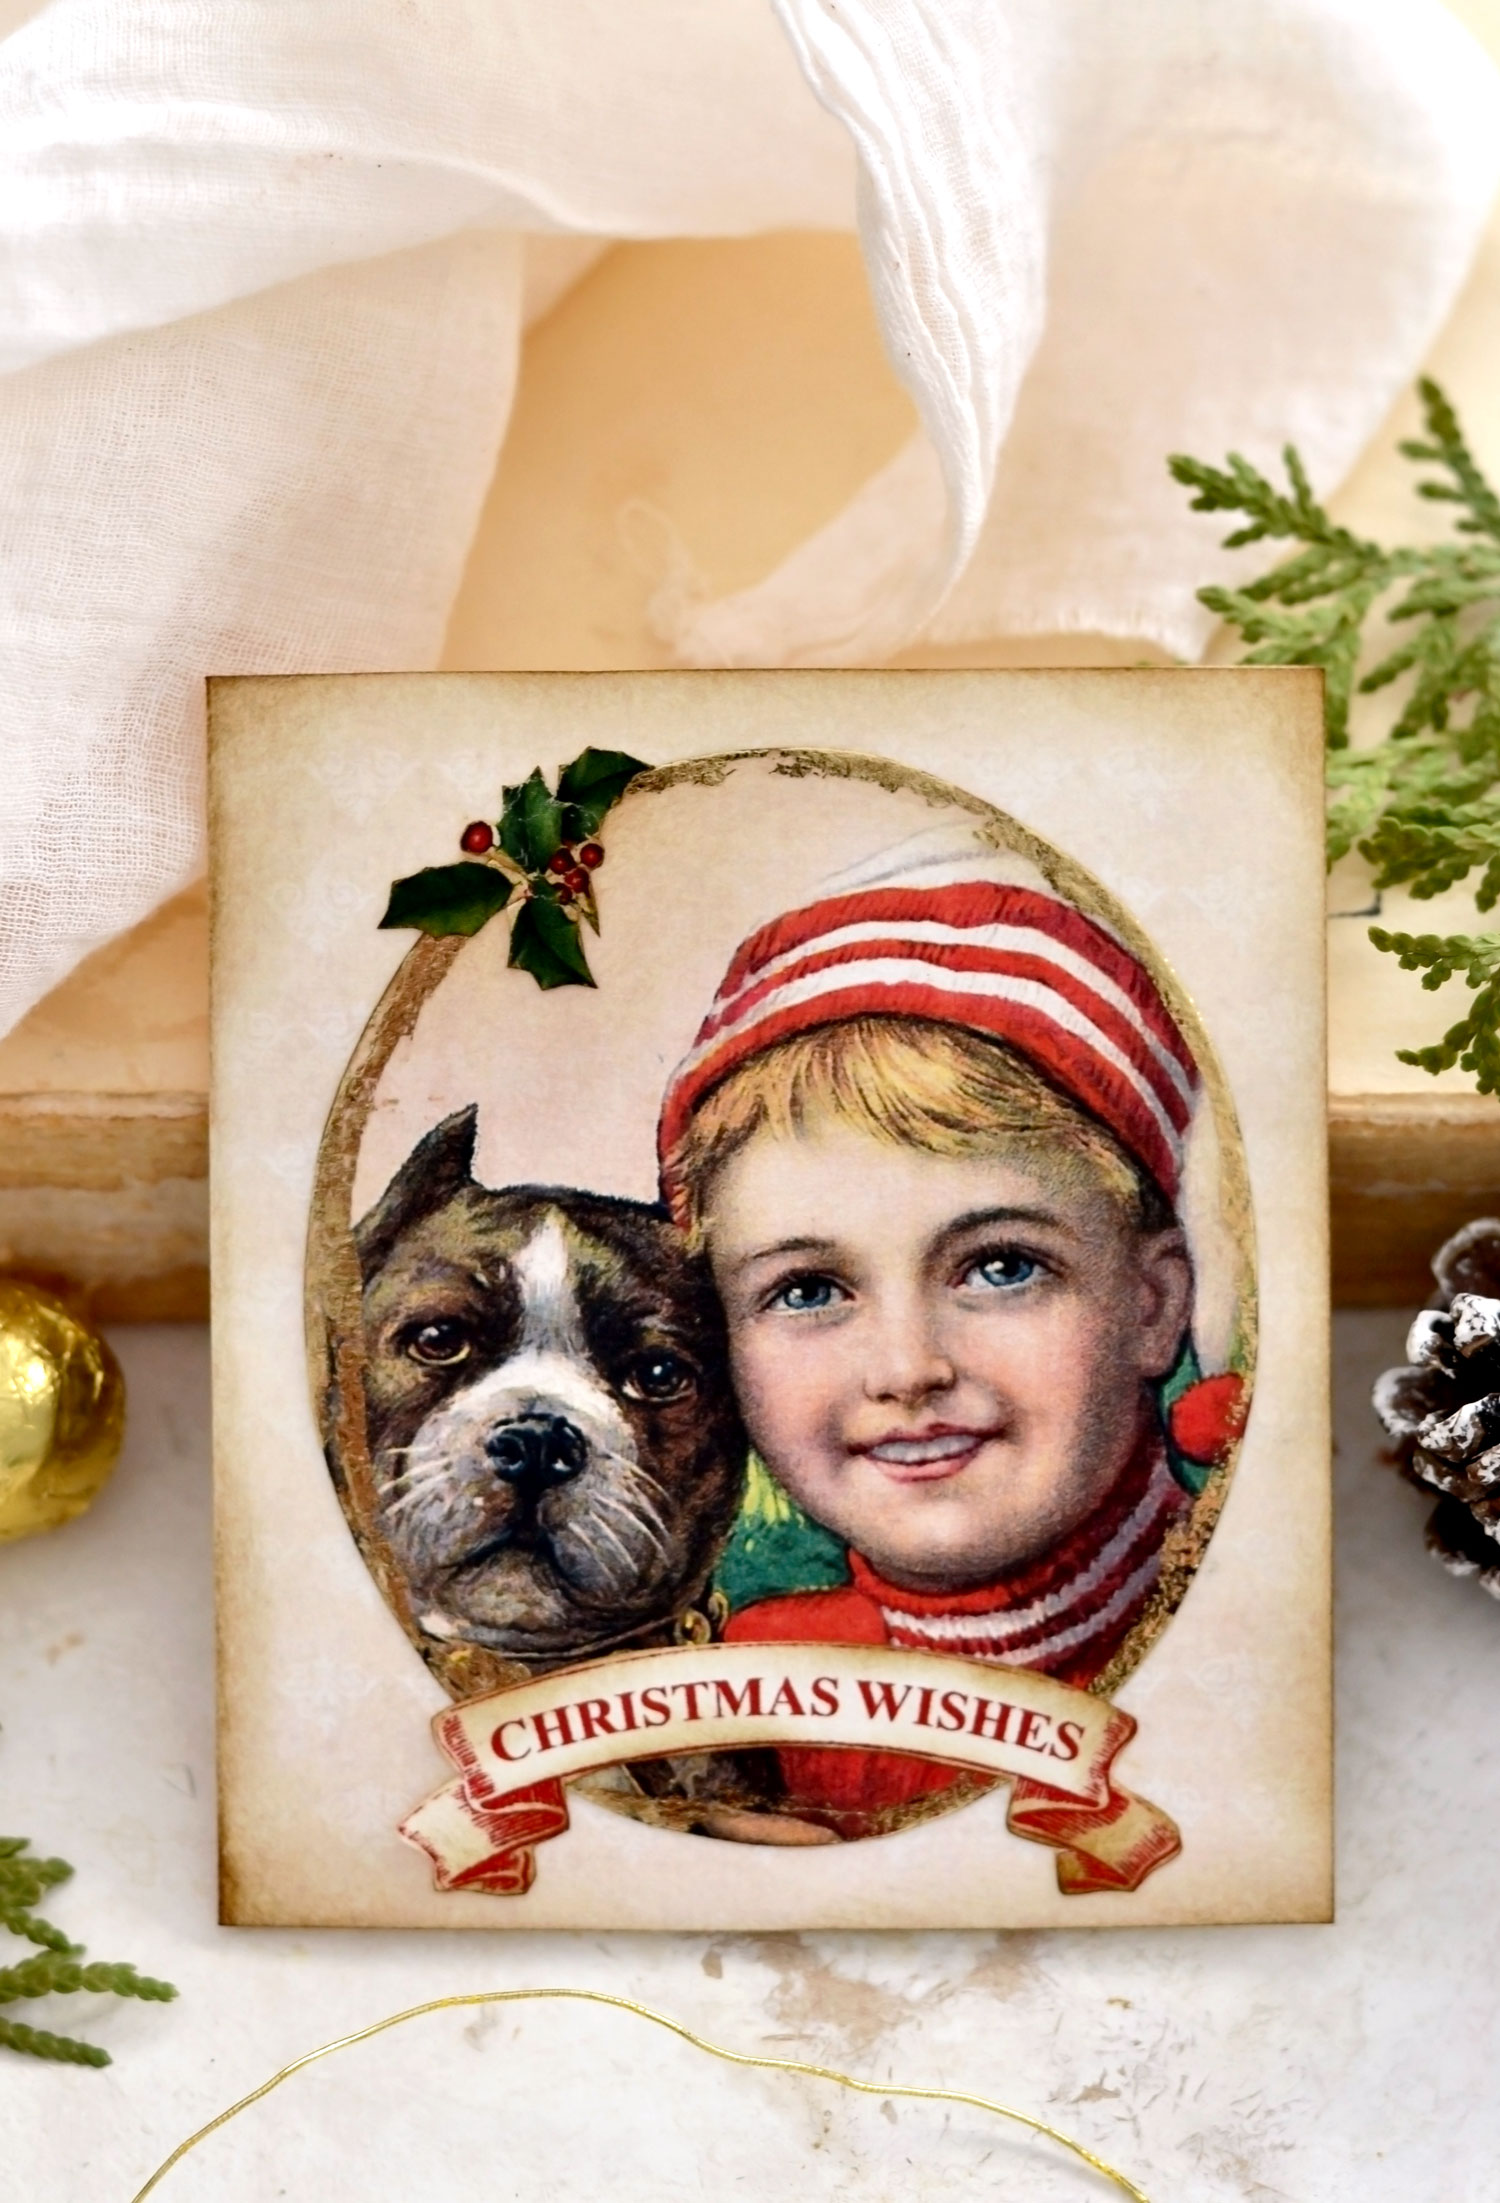
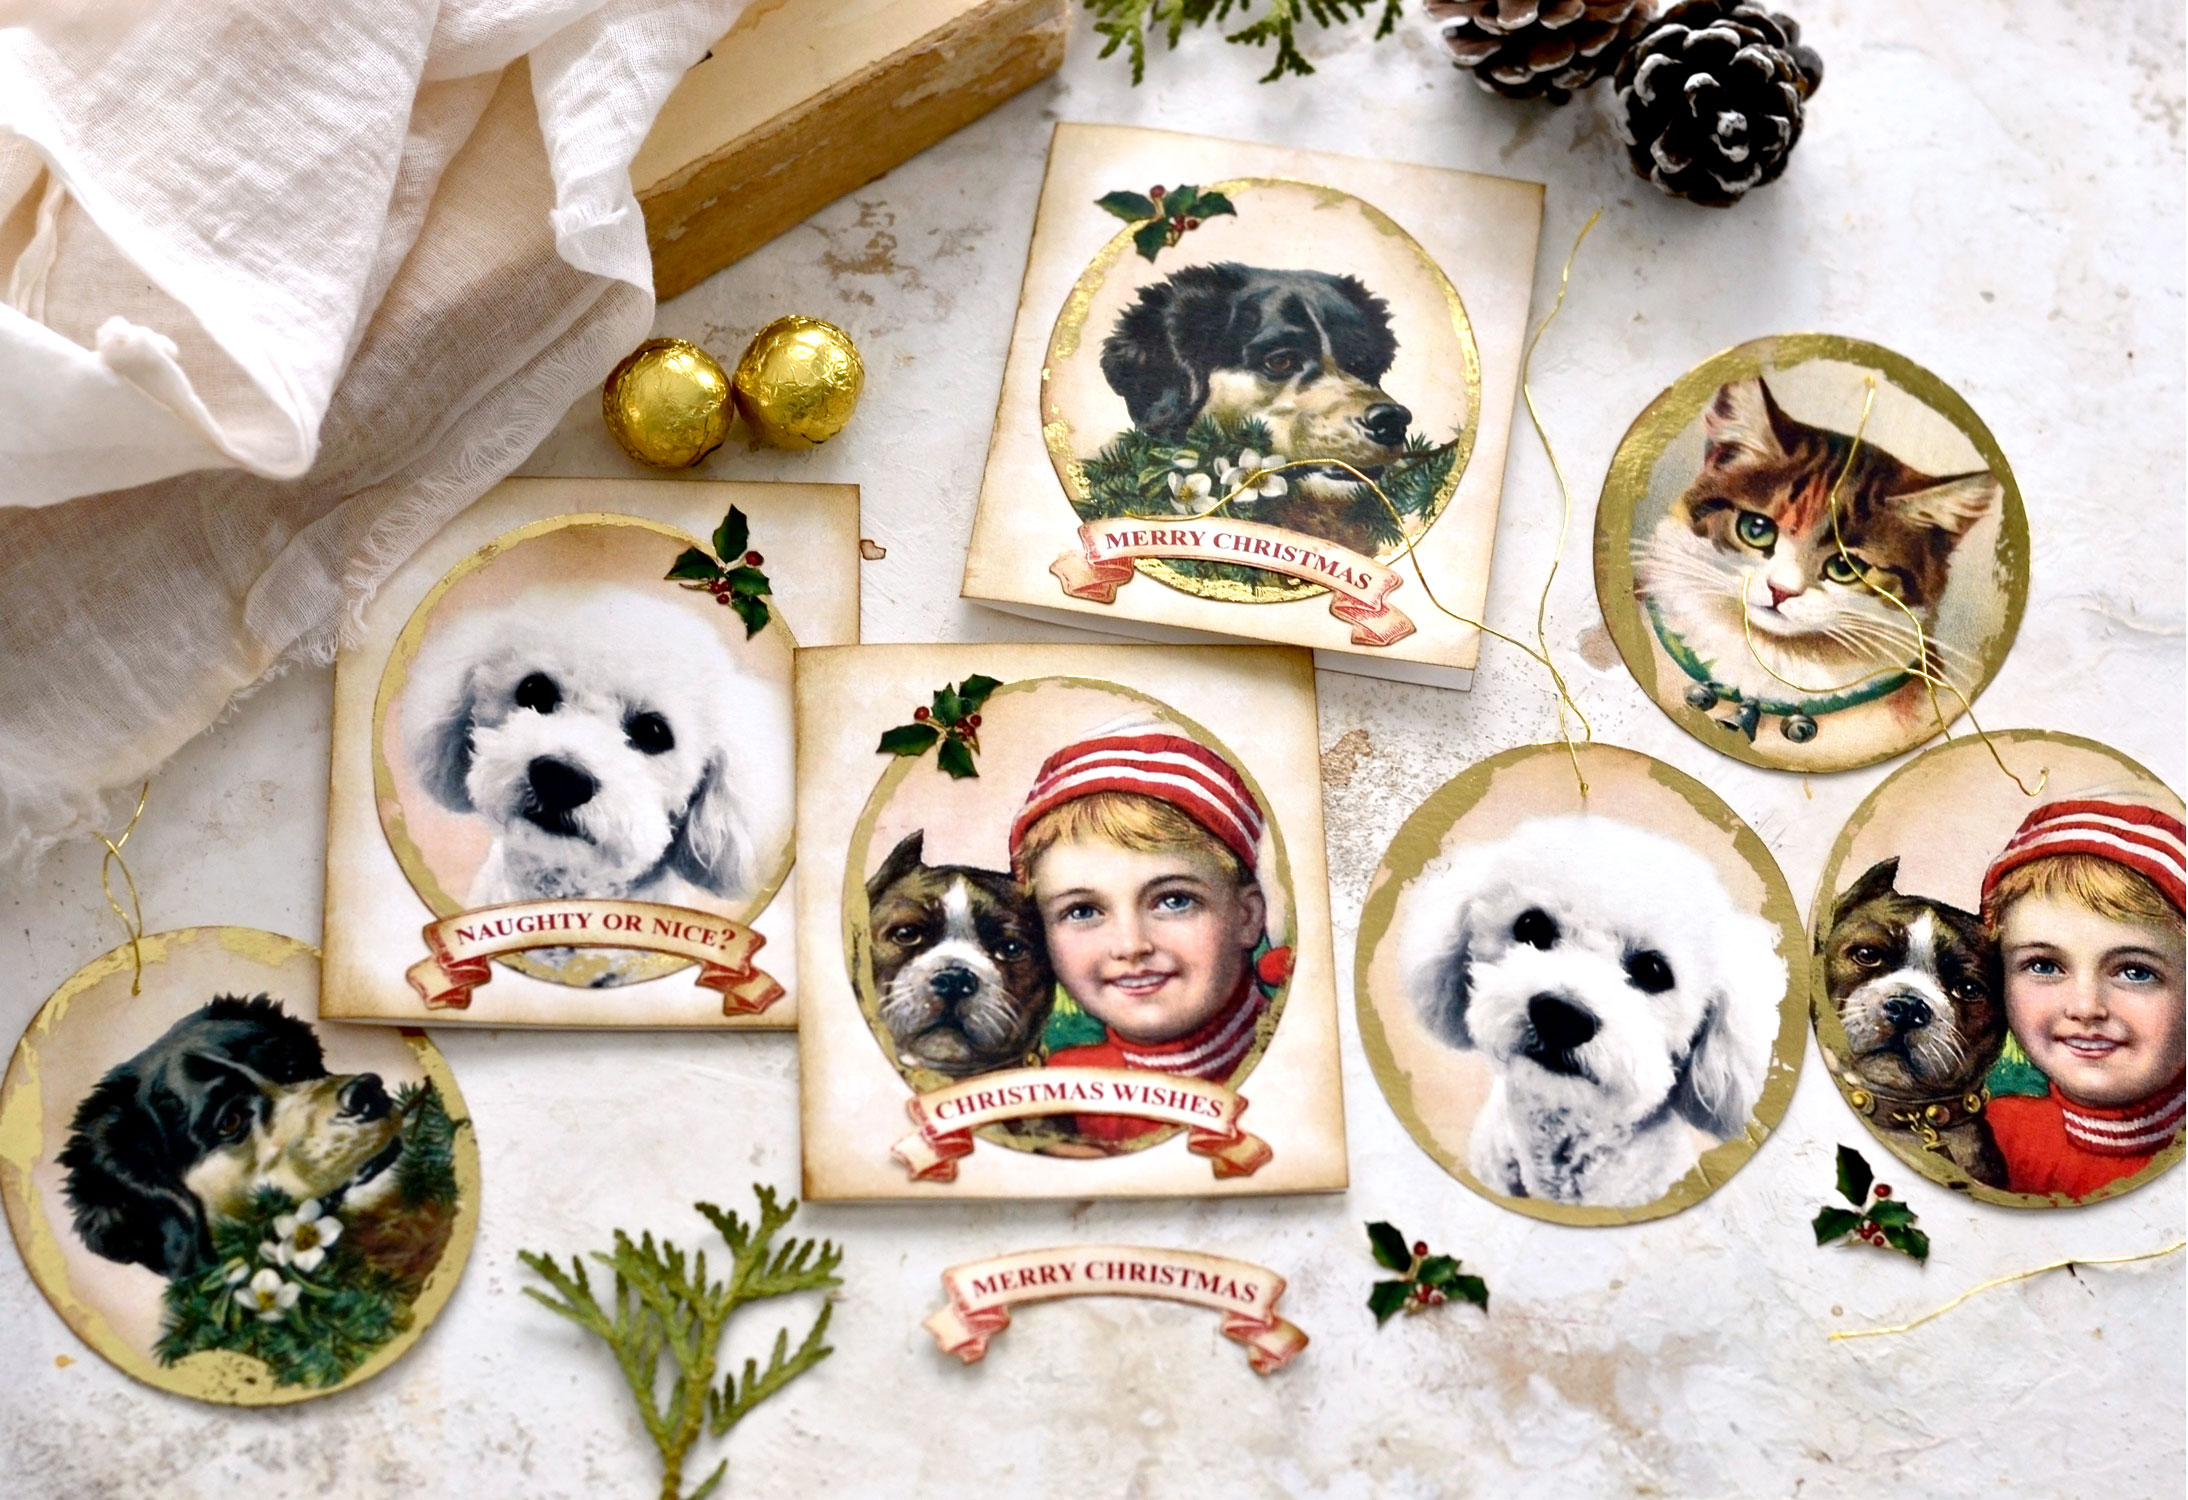
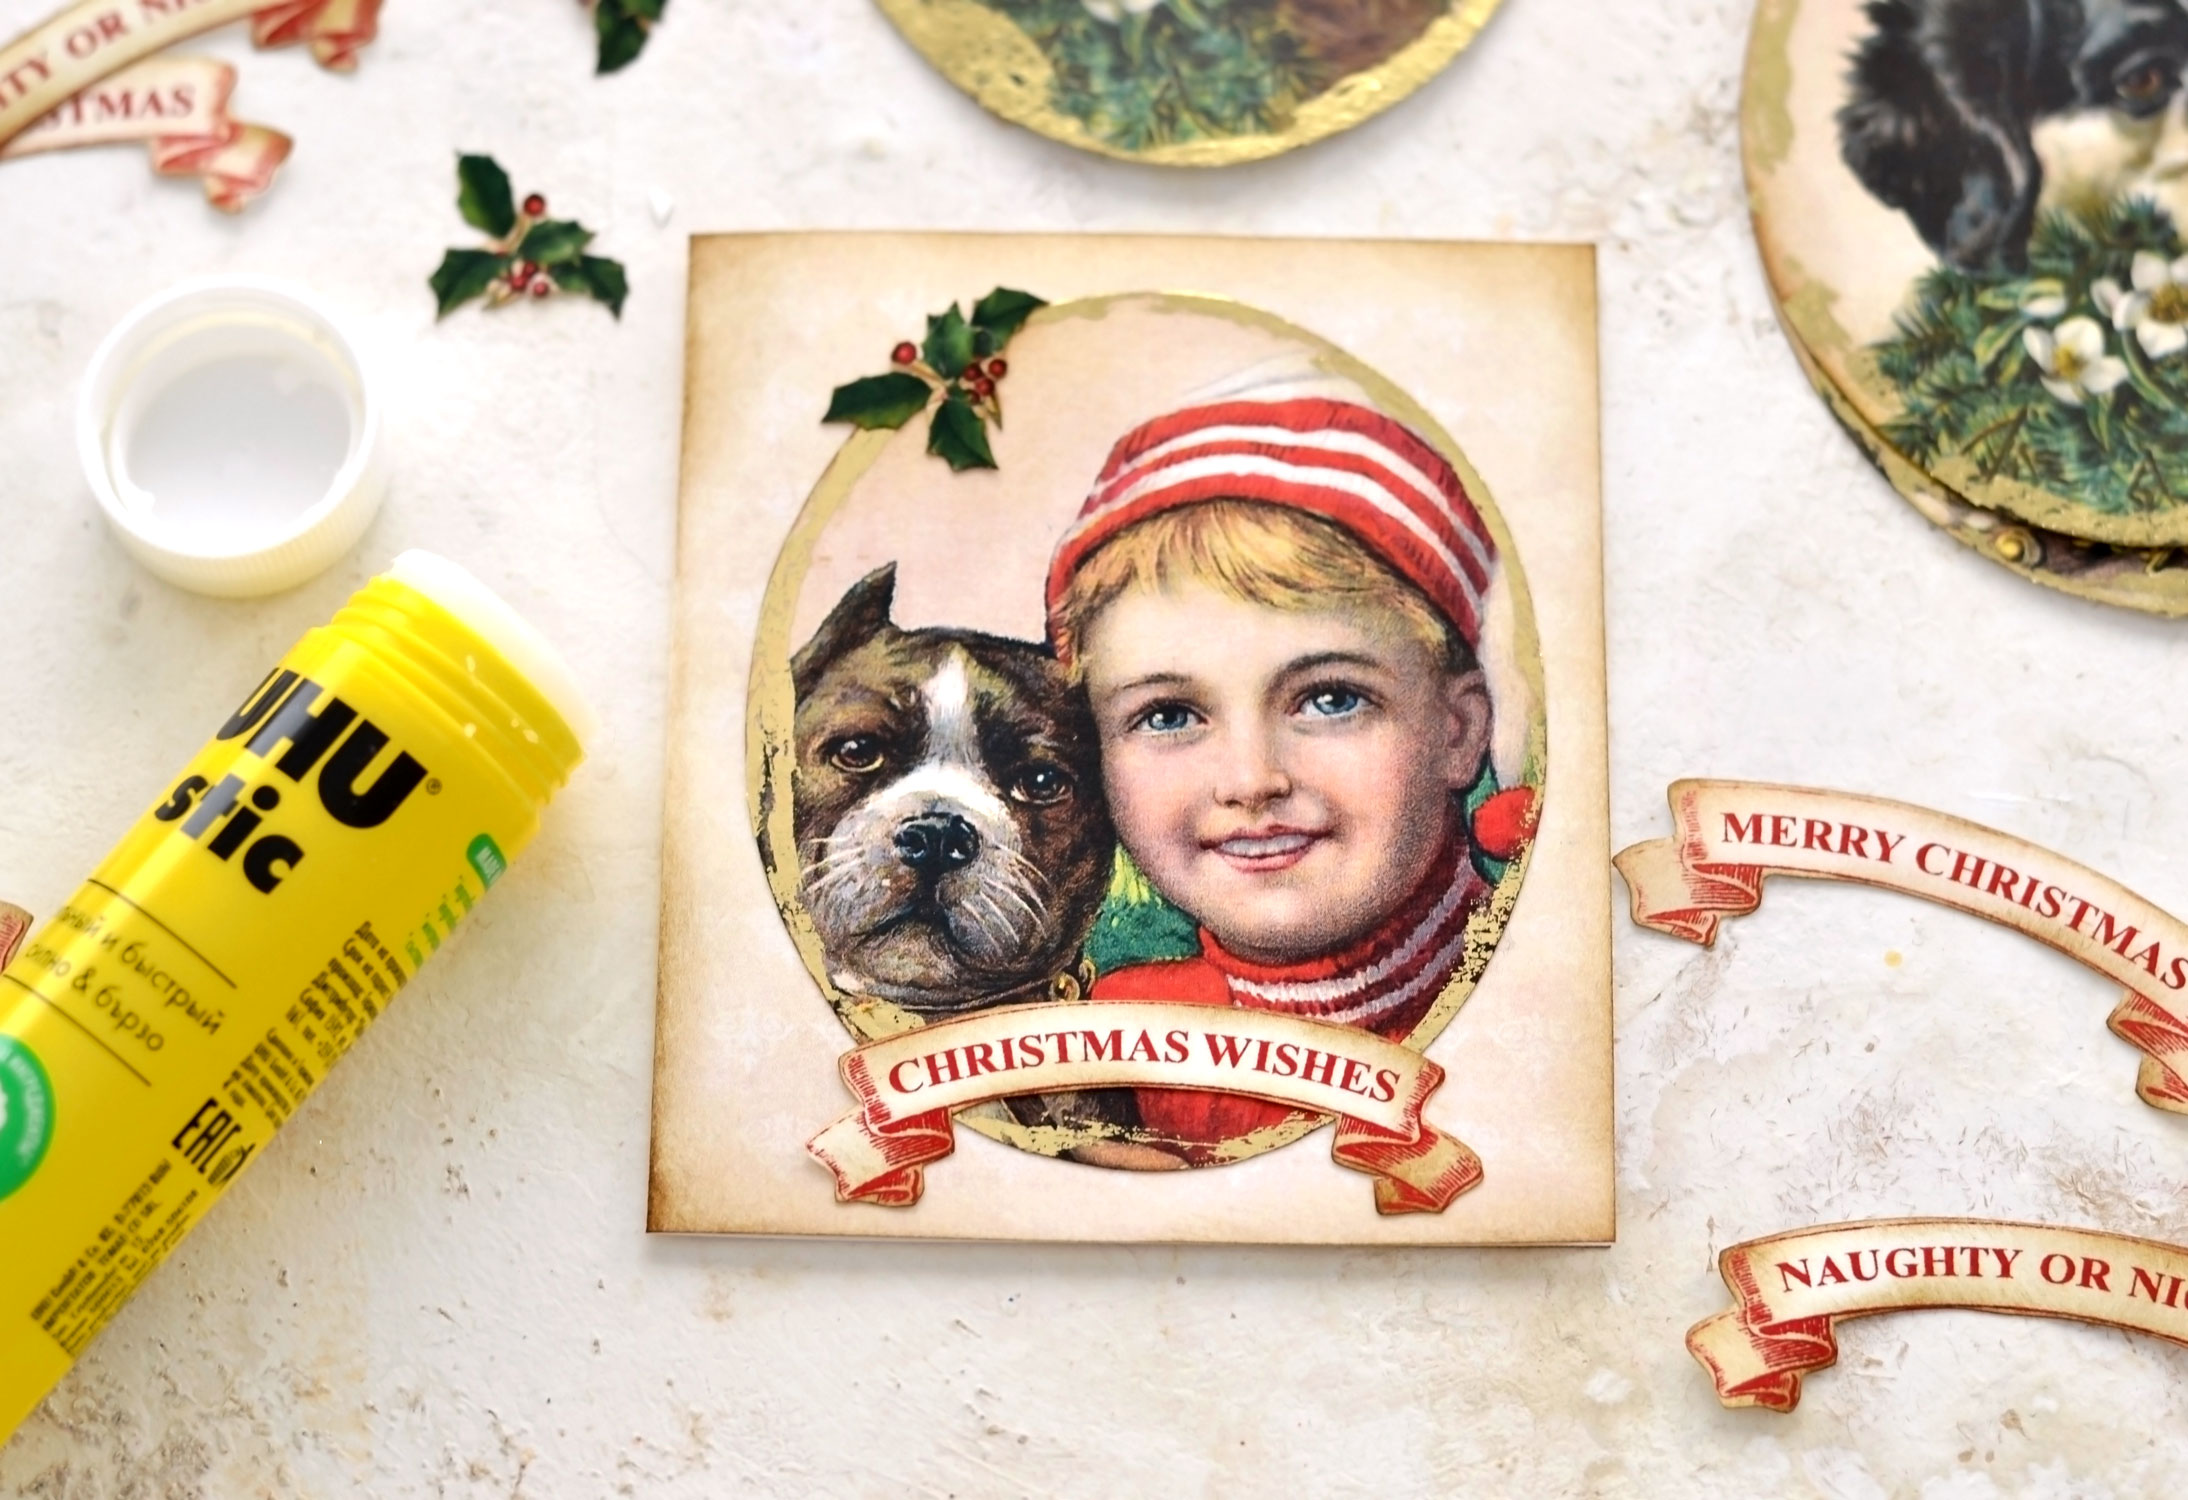
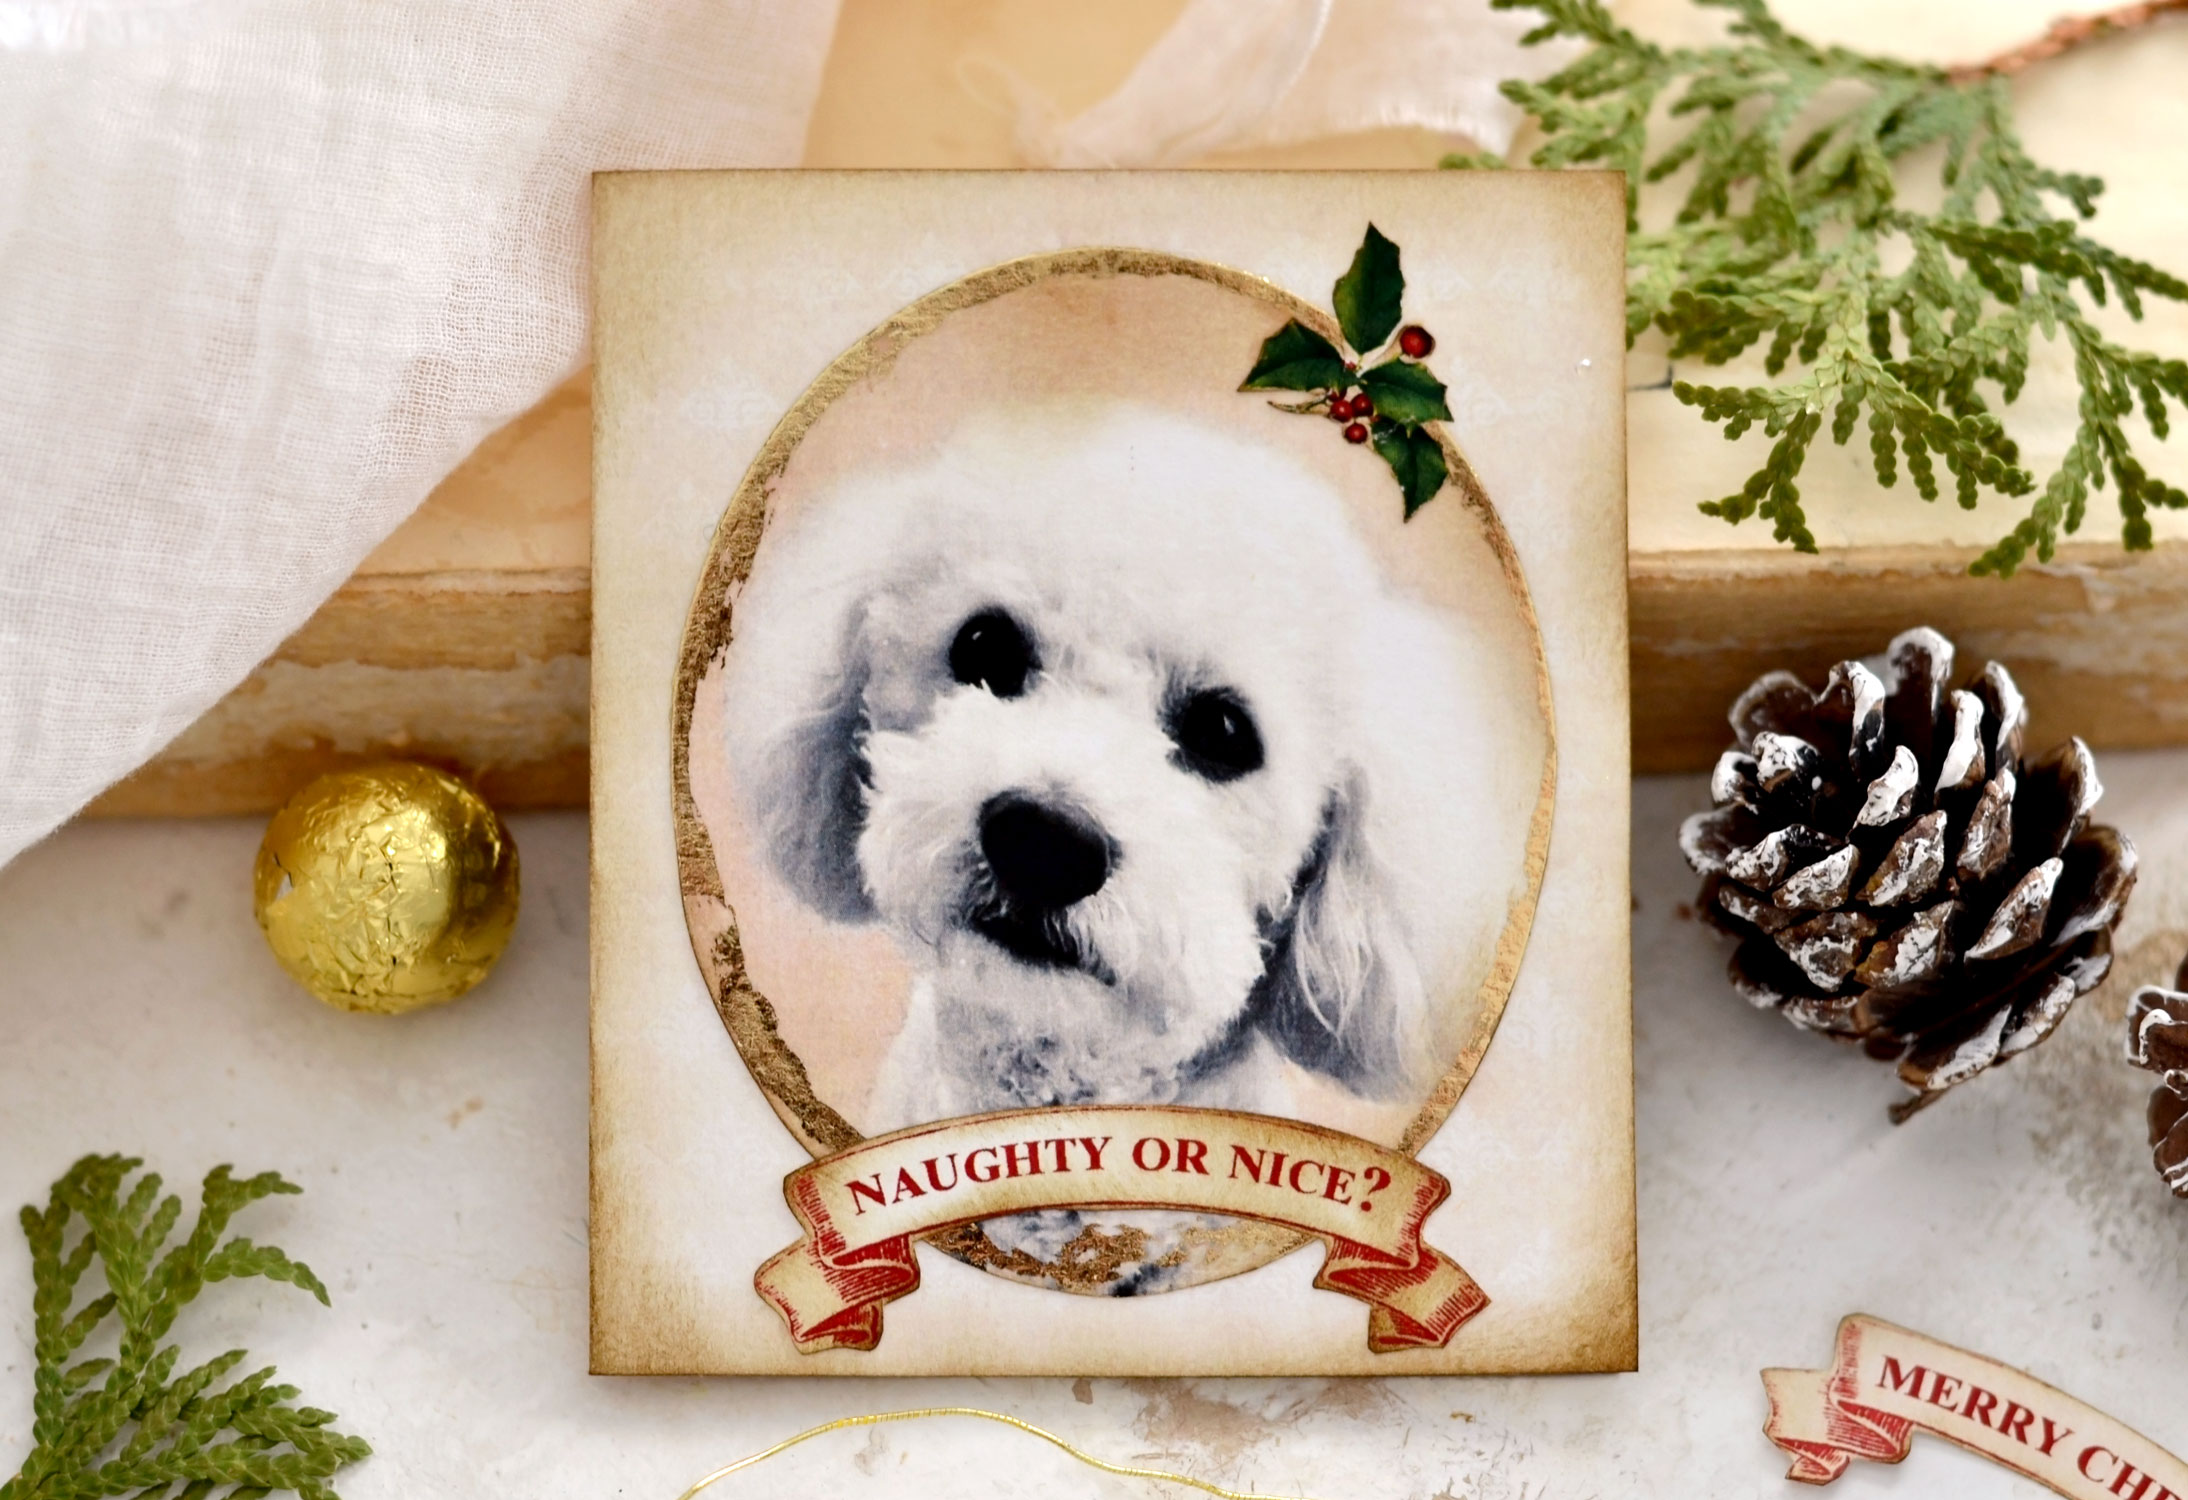
To assemble the cards simply glue a medallion on top of the card base, then add the ribbon banner and the holly on top.
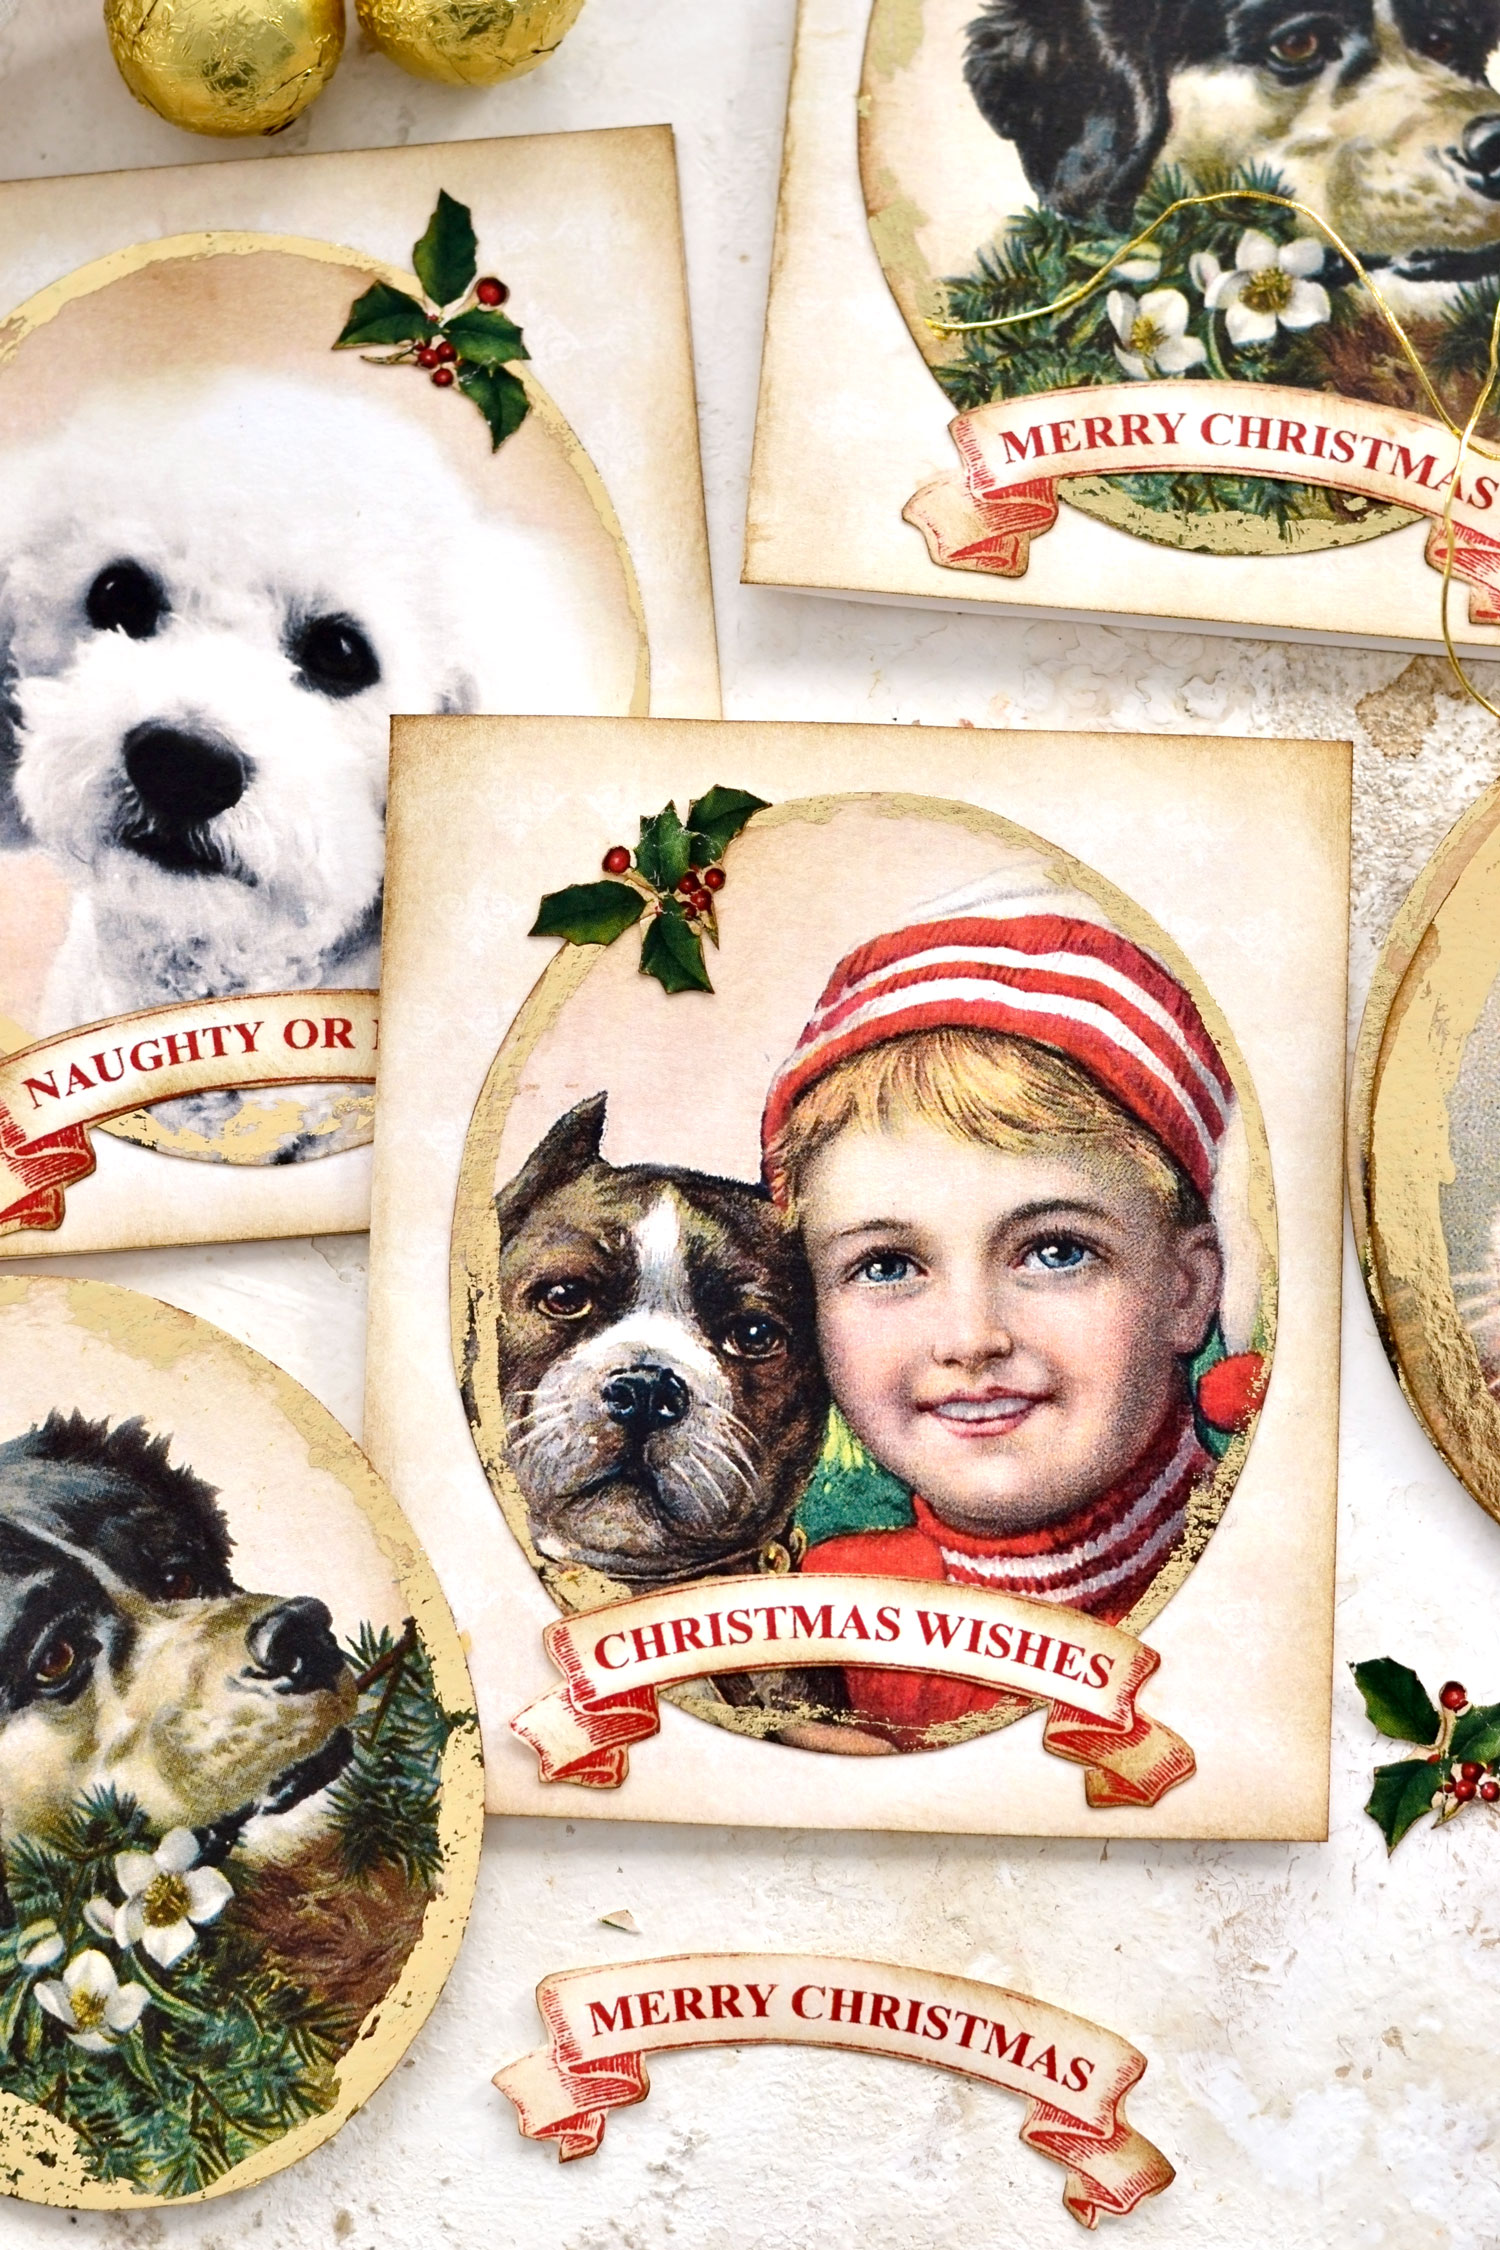
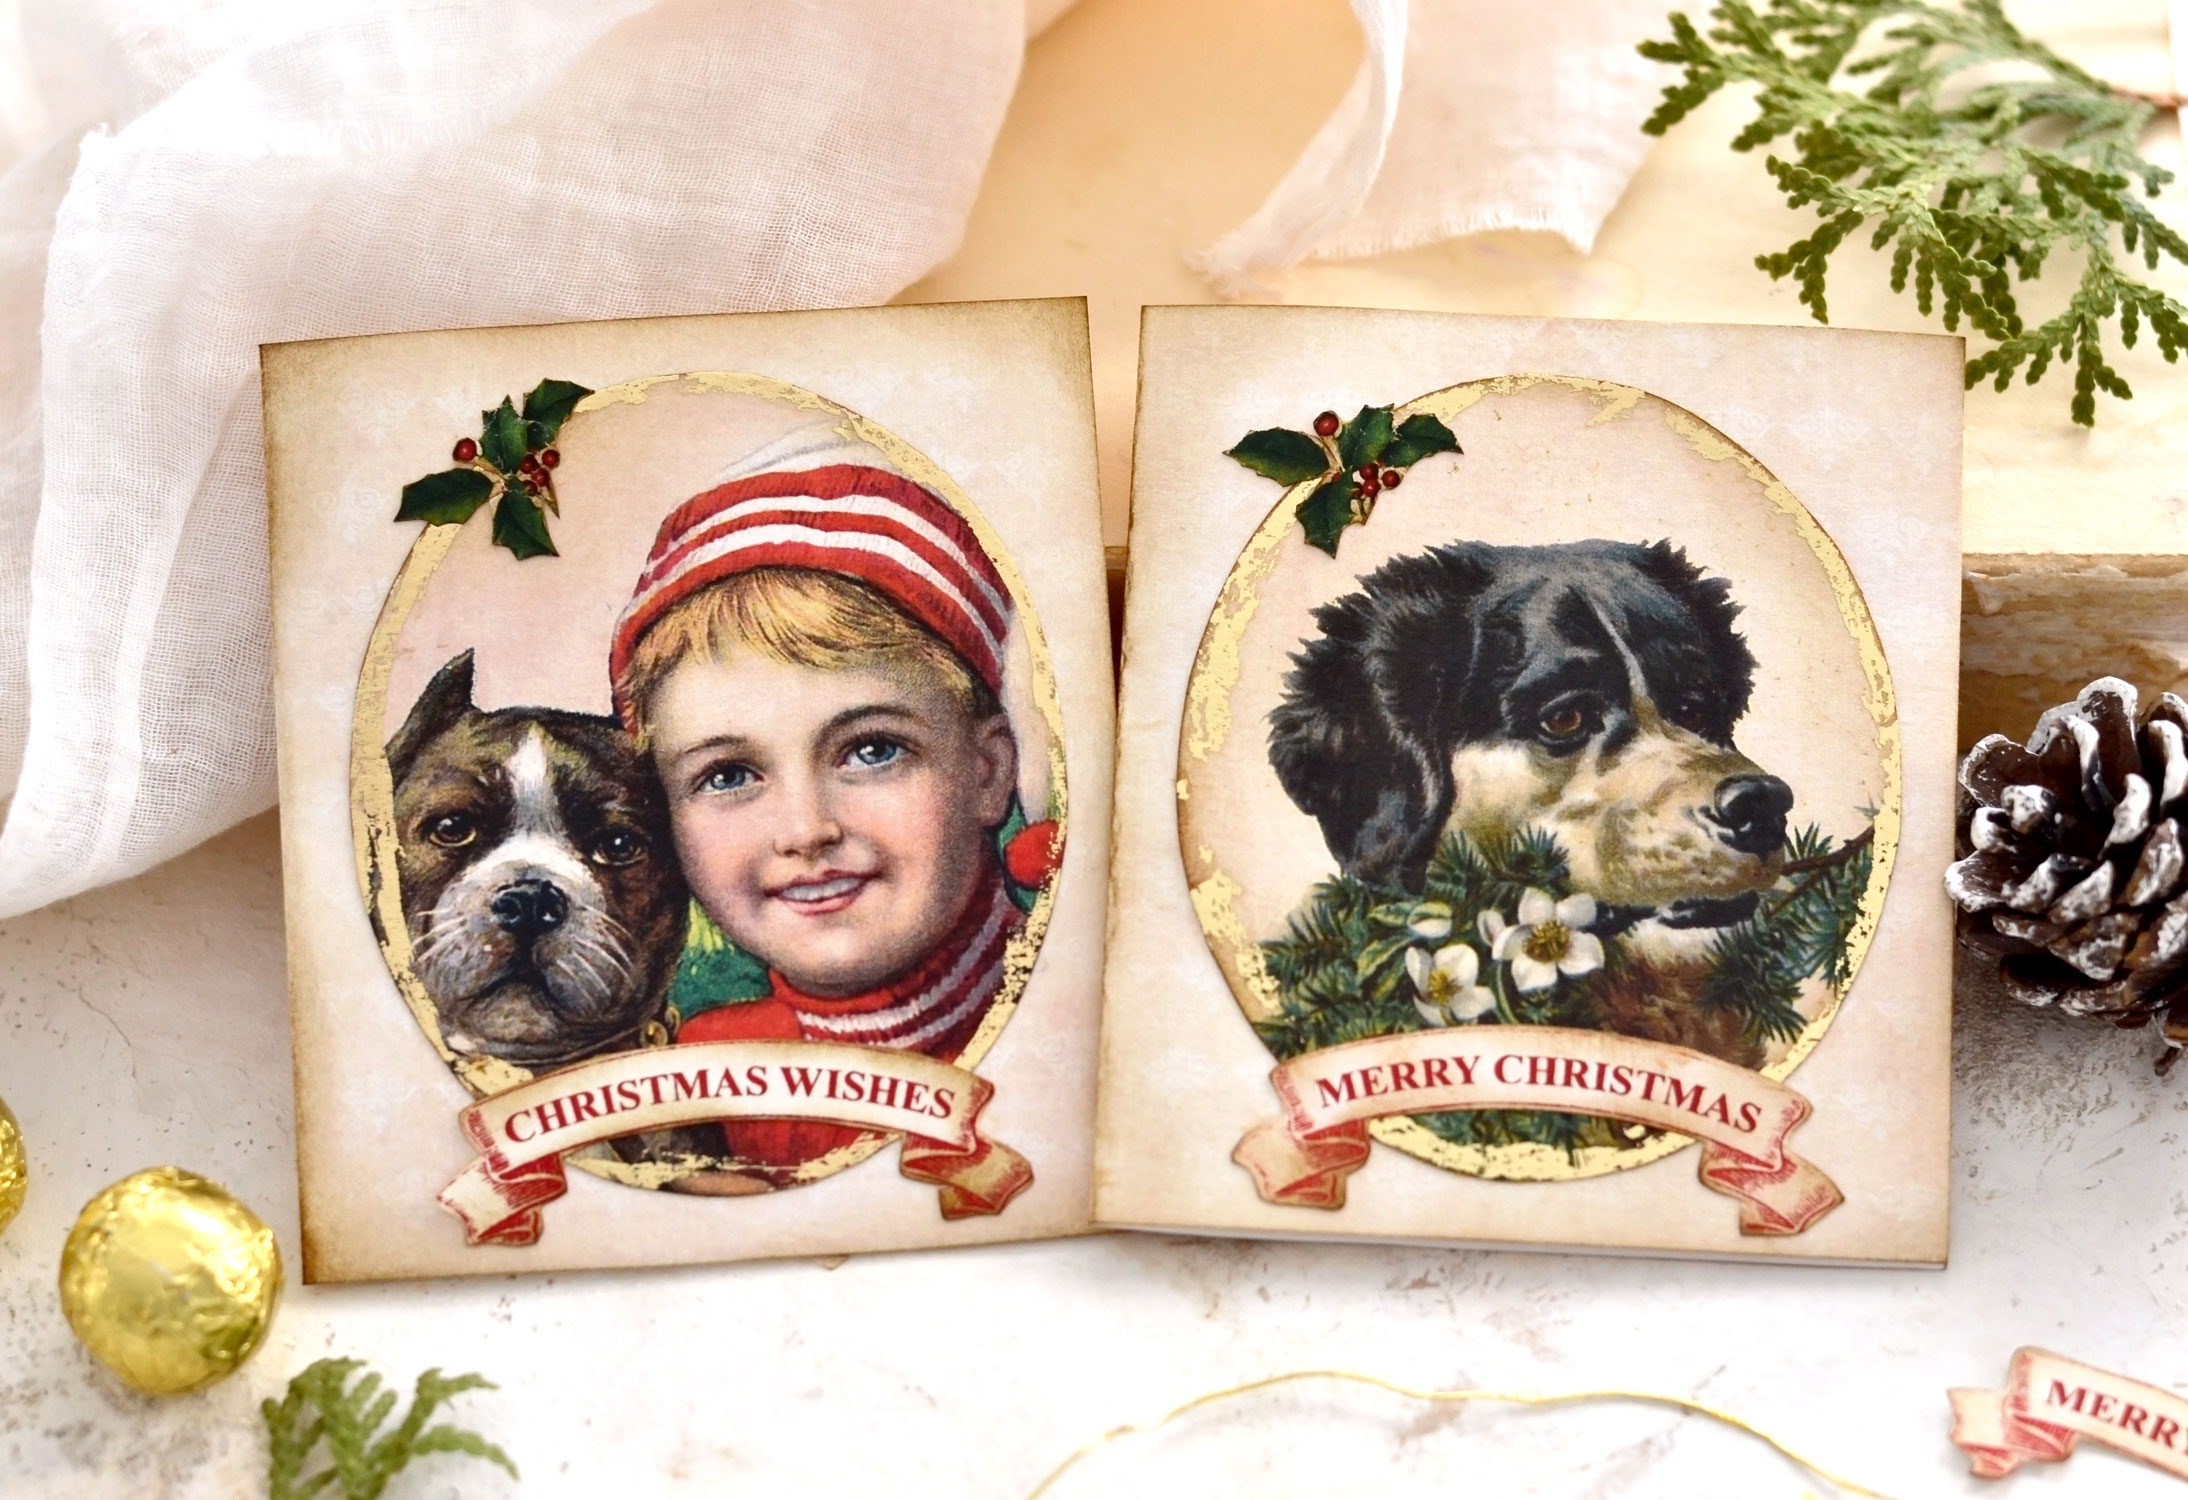
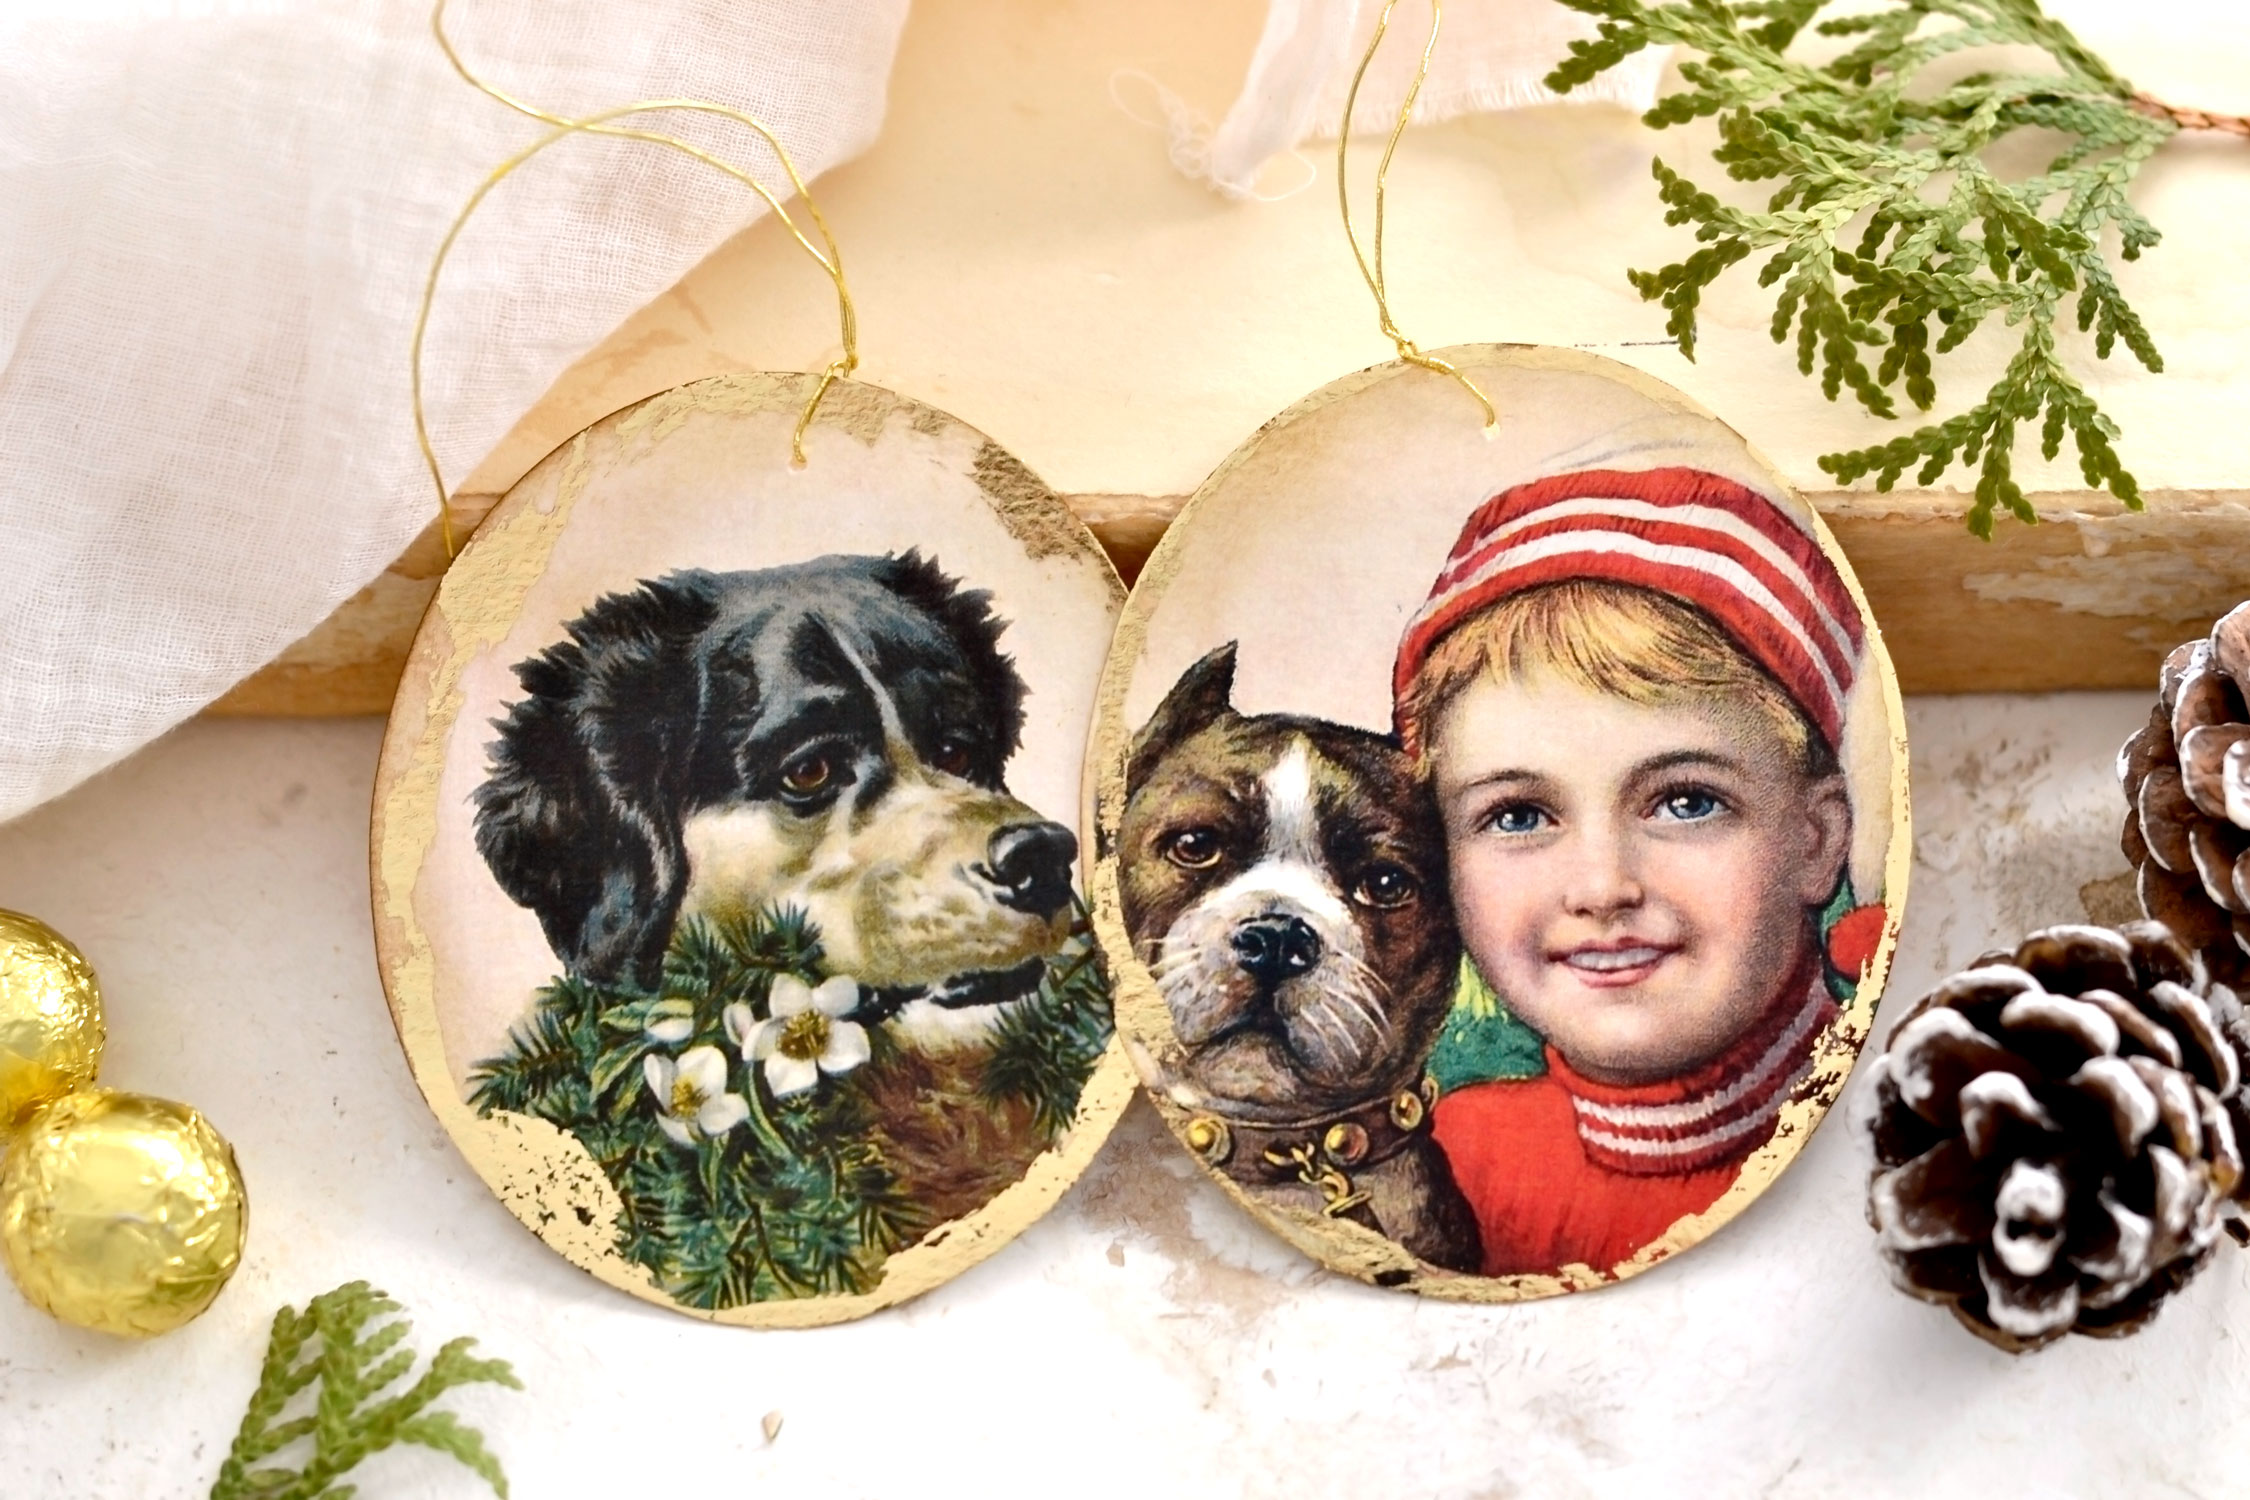
The Christmas Dog Cards turned out really beautiful, this boy with a dog image is one of my favorites! Or is it a dog with a boy, considering that dogs are our stars today? Happy Howlidays!
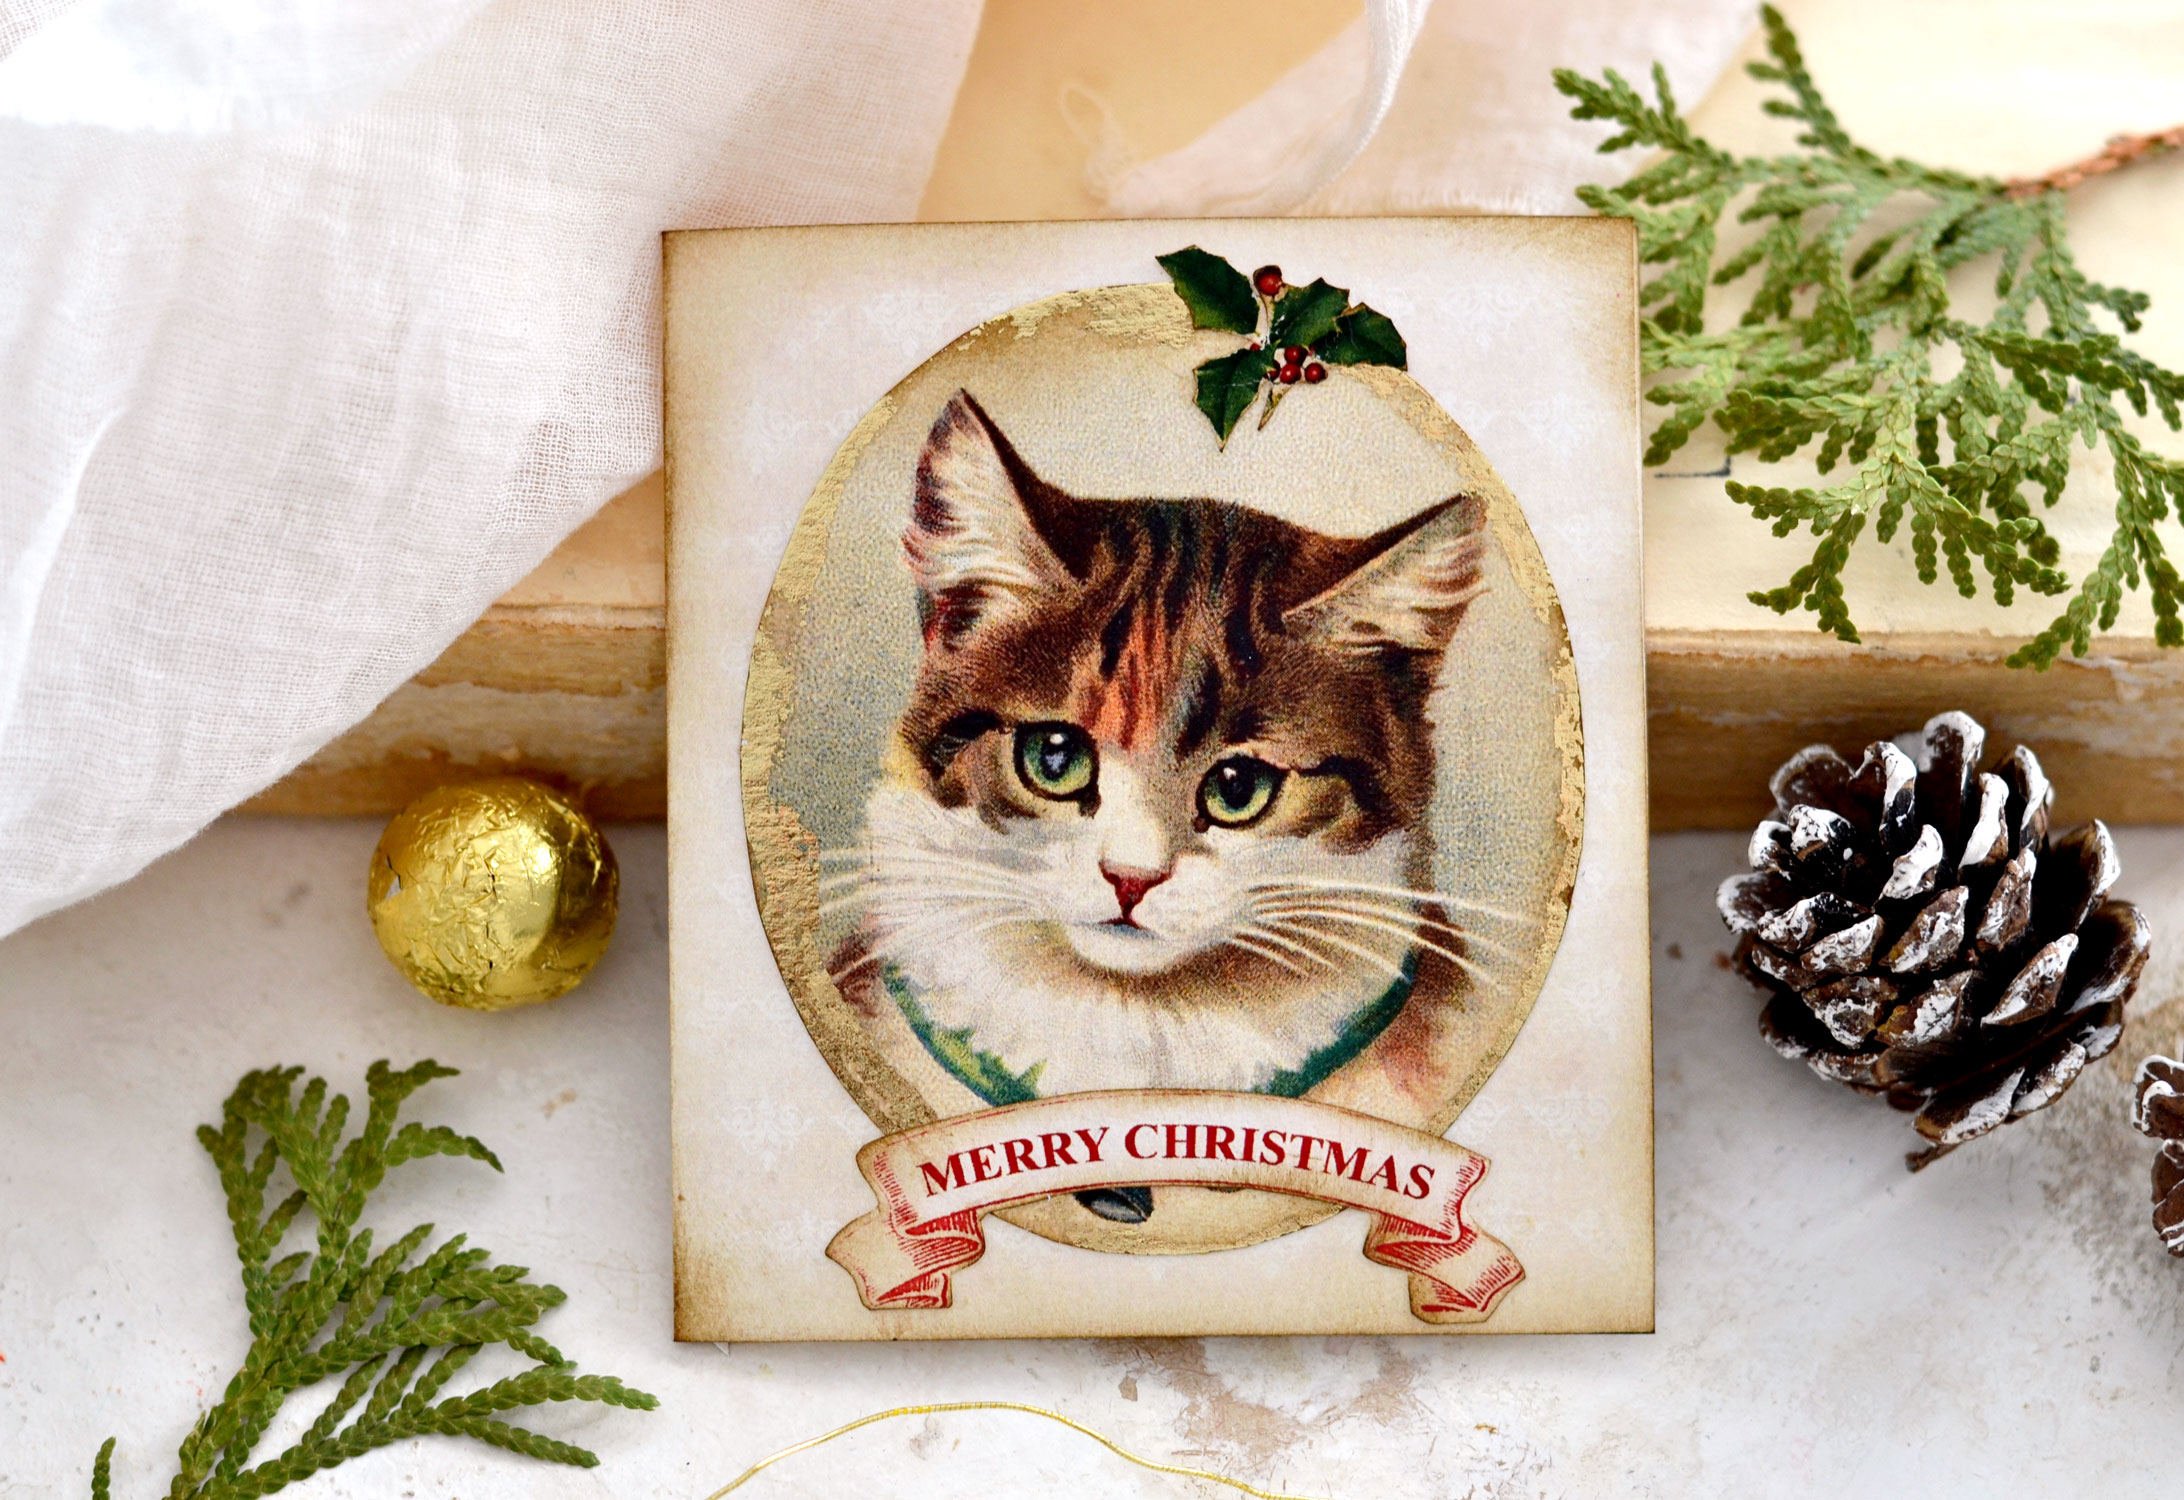
Or maybe you love this Christmas Cat Card more?
If you are making a Holiday Photos card with a picture of your own good boy well … that’s another discussion. But I’m pretty sure those will be your favorites!
This is a photo of our dog from a few years back, this furry bundle of joy is now 11! He is making our lives much more beautiful and we love him like crazy, but don’t be fooled by his adorable face, the ‘Naughty or Nice’ banner is not there by accident! But I guess that’s part of the whole package, right? You could arrange a special photo shoot with your pet and add in costumes or props, or even a family shot with matching outfits, to use in your cards.
You can also use the medallions as Christmas decorations or Ornaments for your Christmas Tree. Or as gift tags, you can include them in seasonal vignettes for your home or just tuck them in your junk journals.
I love the power gold foil has and how it can bring so much charm to these beauties! A little bit of metallic foil can really transform them in just a few minutes, without too much effort on our part! The gilded edges look amazing anywhere!
If you don’t have gold foil you can use gold acrylic paint or gold watercolors to decorate the edges. You can even use glitter or even metallic nail polish, just get creative and use what you have around!
Make a festive card, or two, for Christmas this year. The recipients… whether they are your friends, family, or your beloved fur baby, will absolutely love receiving these pet Christmas Cards crafts! I’m sure these will fill them with Holiday cheer.
 You might also like my Christmas Greeting Card Ideas HERE and Pop Up Christmas Card HERE for more beautiful Card making kit!
Happy crafting,
Diana | Dreams Factory



Ronda says
Thank you for sharing this really cute project. I’m new to using foil. What kind of foil are you using for this?
Karen Watson says
Hi Rhonda, the foil is linked in the supply list on the post. Just click the words “Gold Foil” in the list and it will take you to the Amazon listing. I hope that helps!
Donna Bowen says
I DIDNT SEE A DOWNLOAD FOR THE WHITE DOG!
Karen Watson says
Hi Donna, just click on the picture of the dog and then use the button on the right side of your mouse to save it. I hope that helps!
Angela says
Diana thank you for this idea and the pdf. I love the photograph of your dog
Karen Watson says
Isn’t he a cutie?! Have fun using Diana’s printables for your cards!
SUE DREES says
These are delightful! Using them on Hershey Candy Bars wrapped in Christmas paper for my daughters Kindergarten class for their Christmas party. They are going to love them. Thanks so much for sharing.
Karen Watson says
Oooh I love that idea Sue! I’m so glad you found a good use for those printables!
Connie says
thank you
Karen Watson says
You’re welcome Connie!