Dried Pressed Flowers Craft
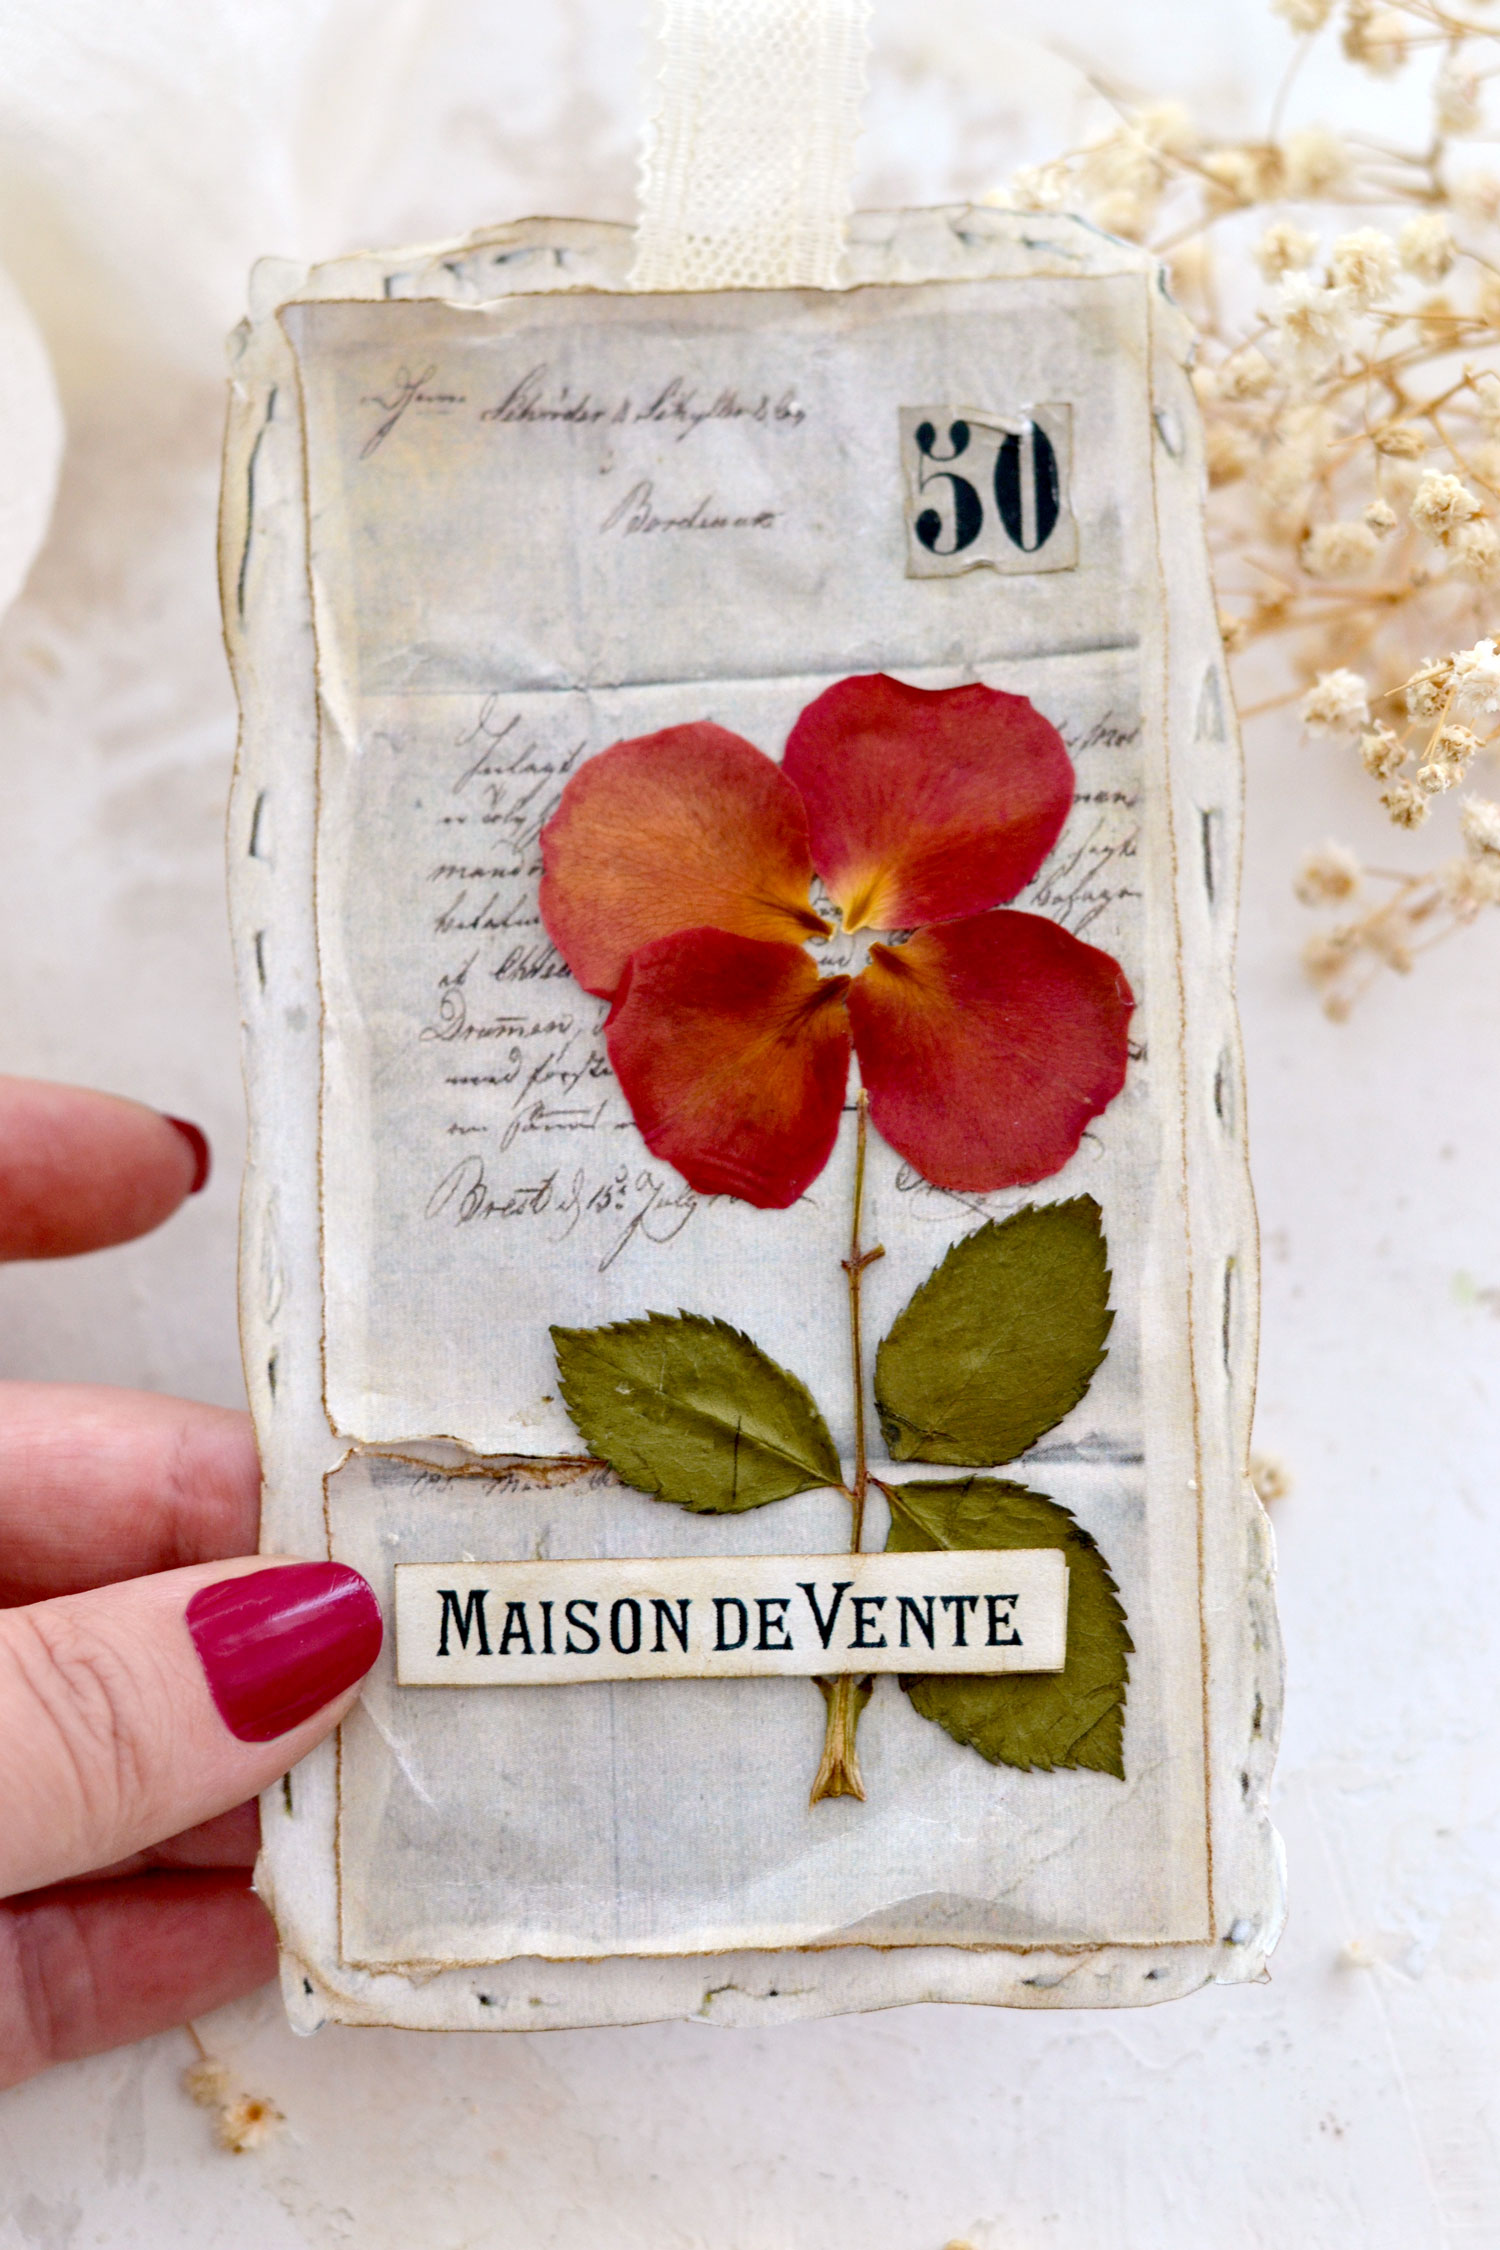
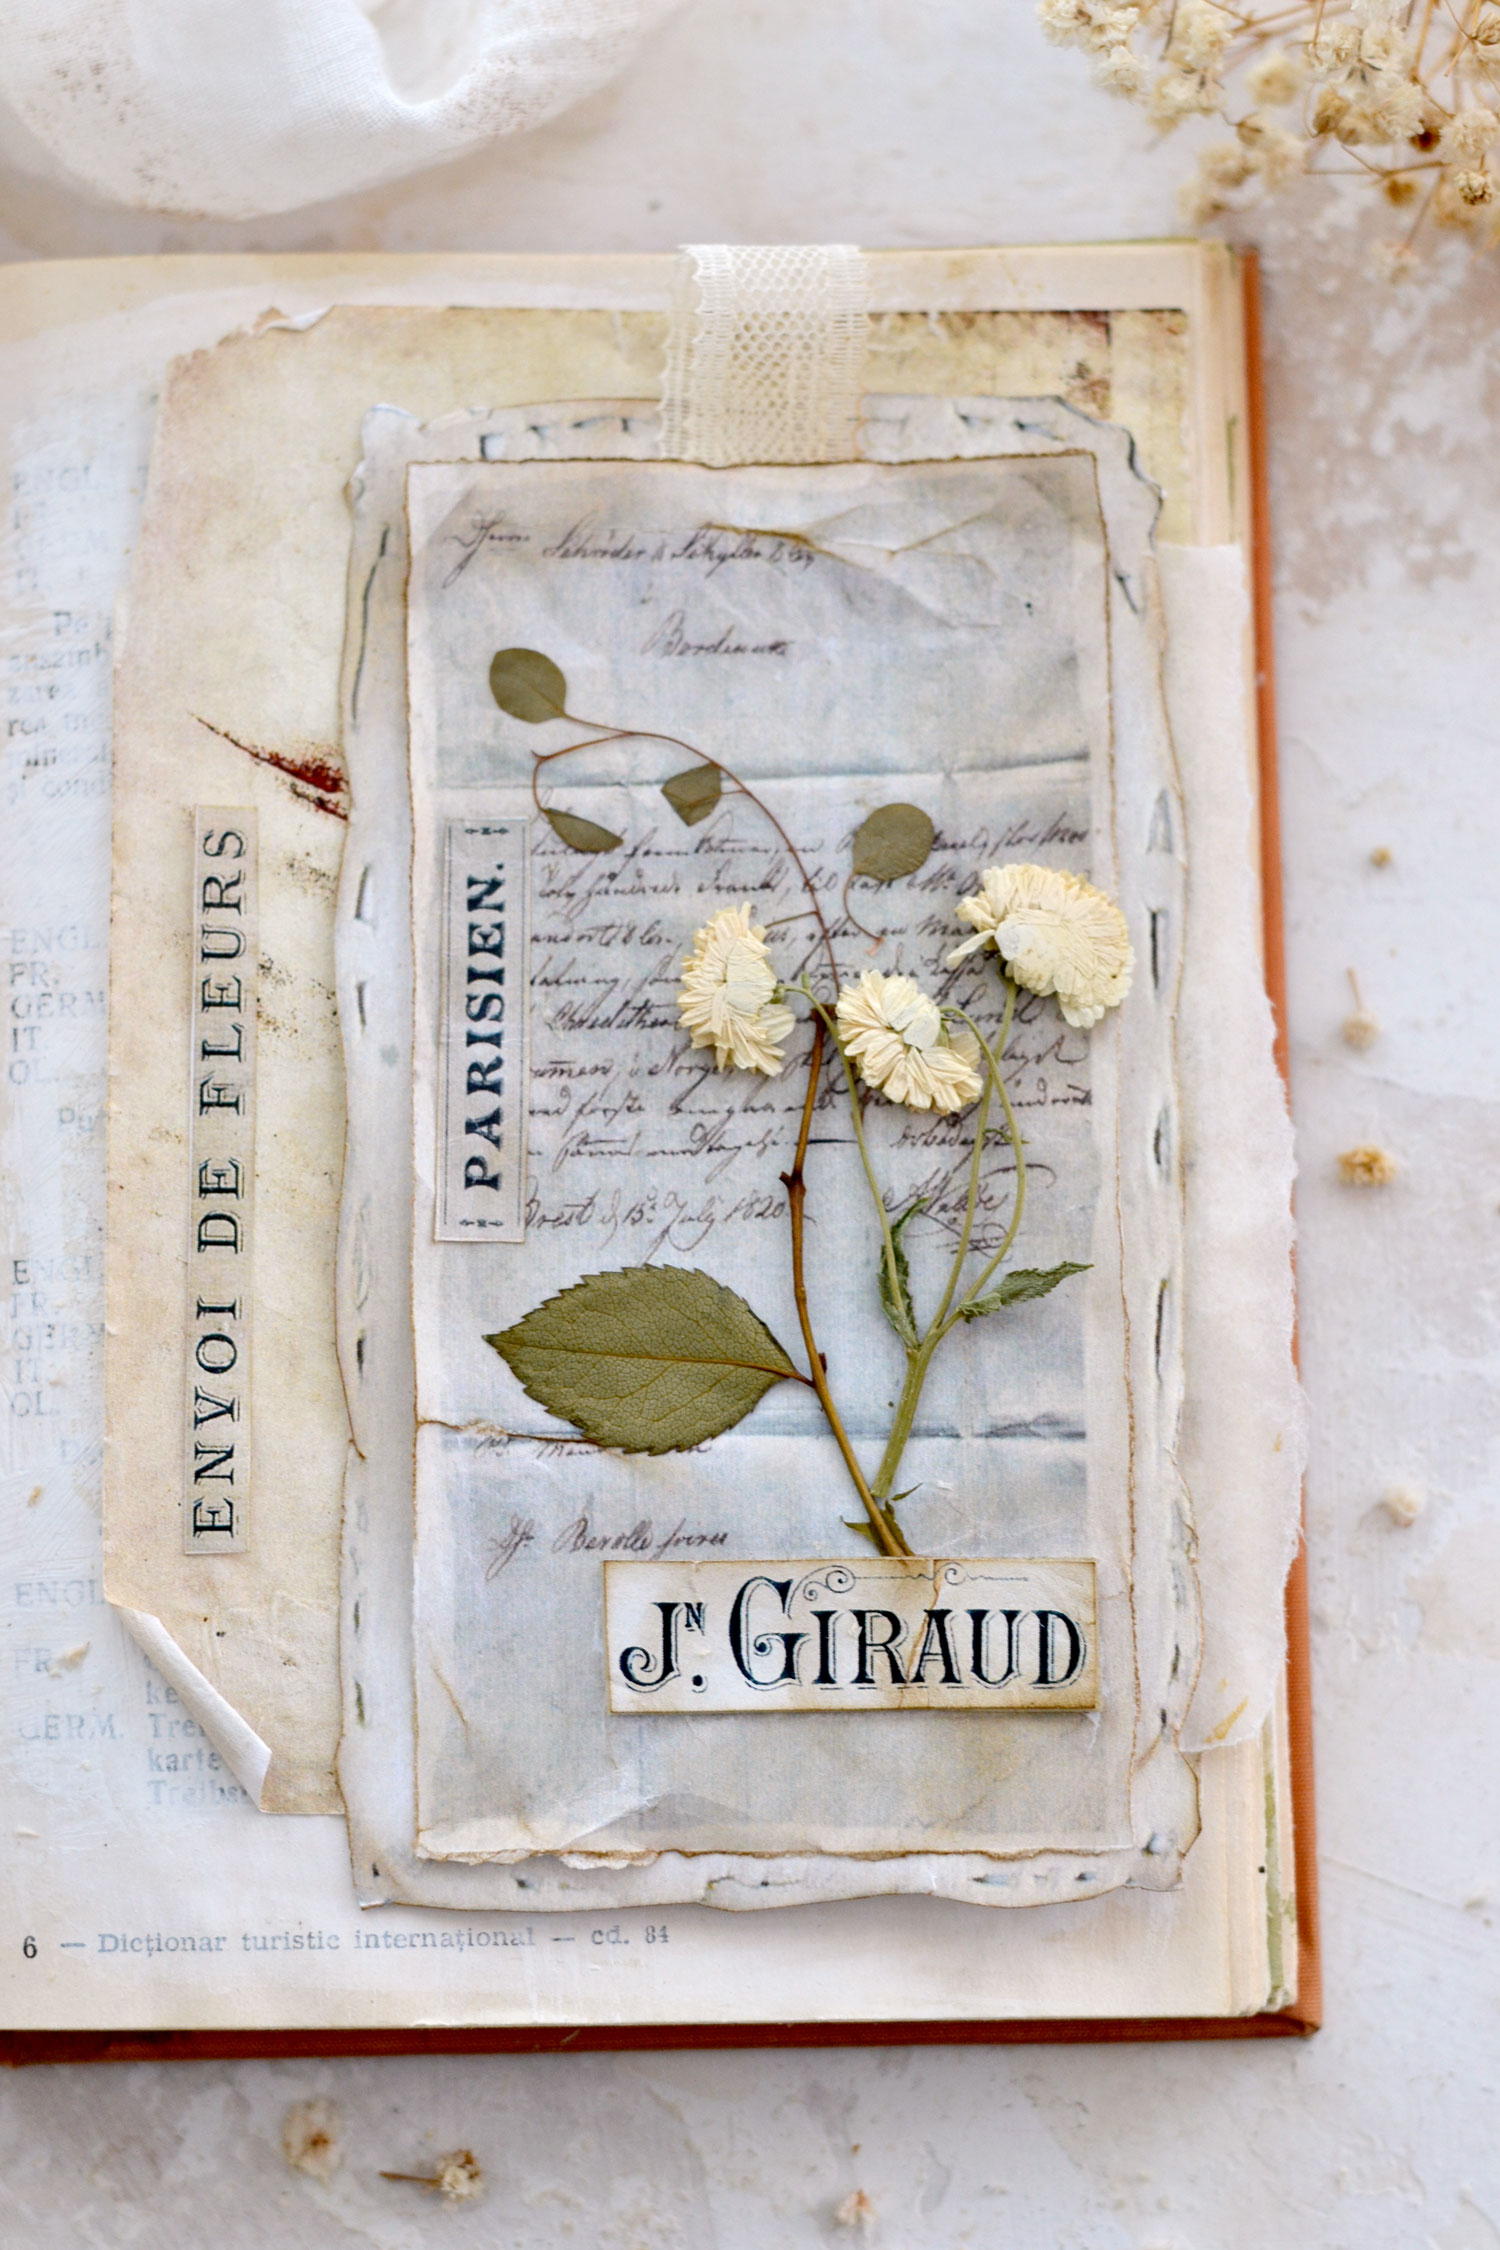
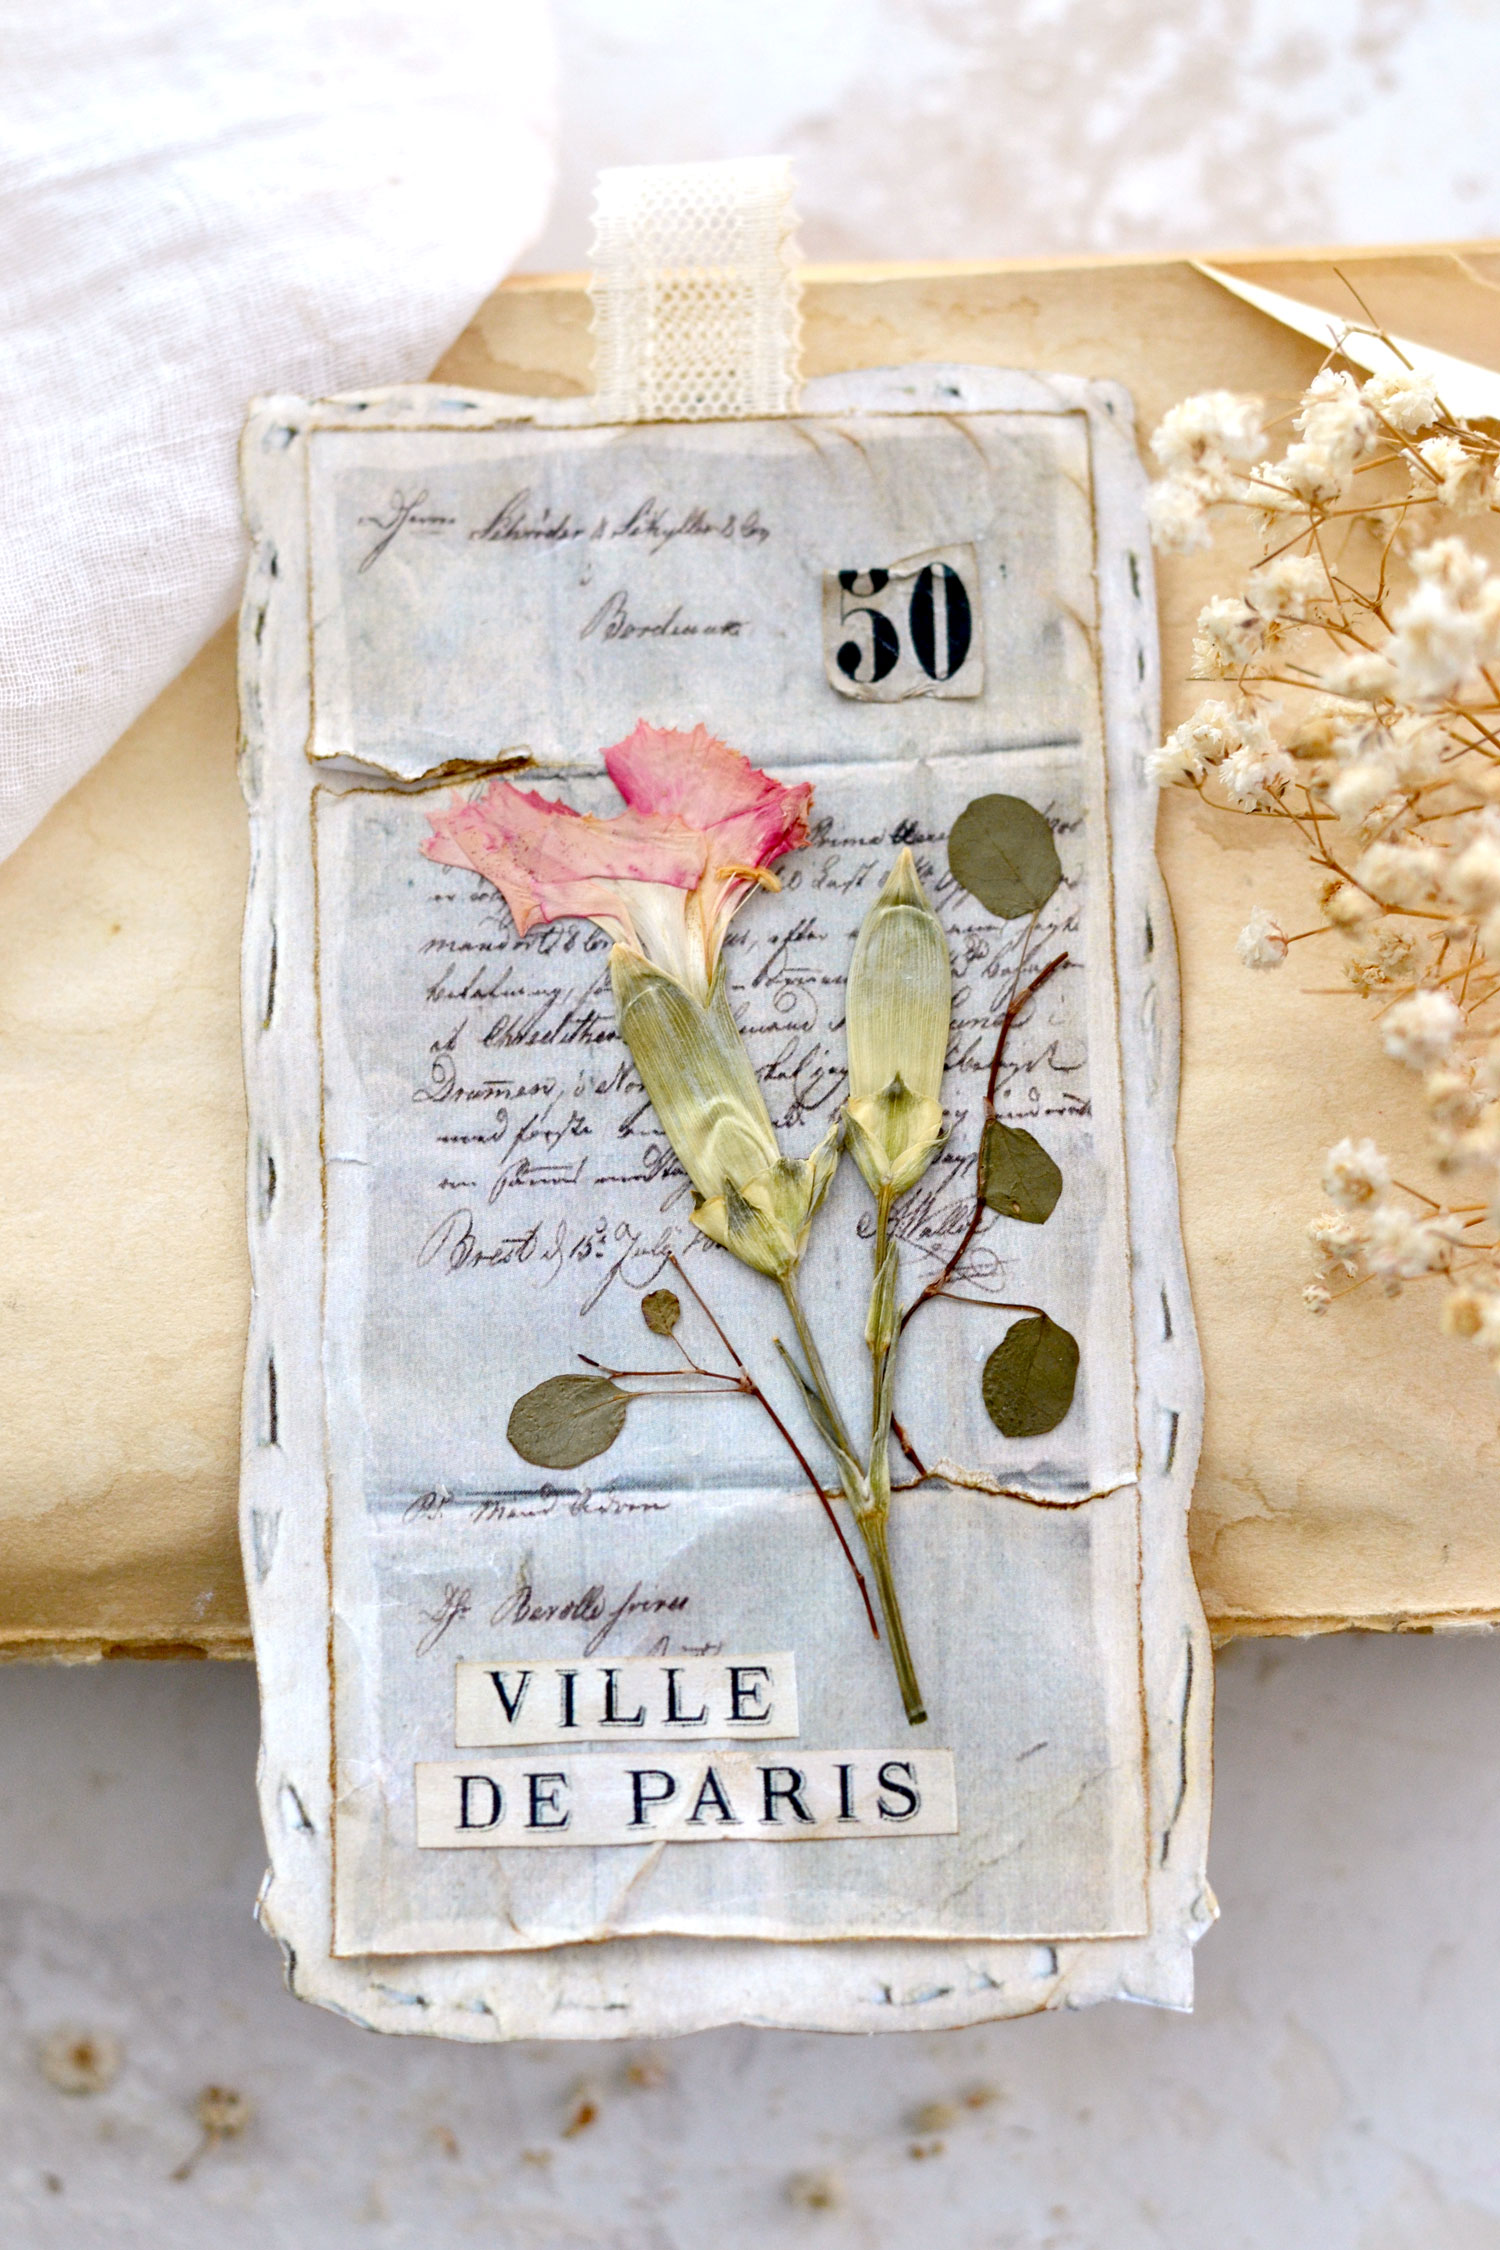
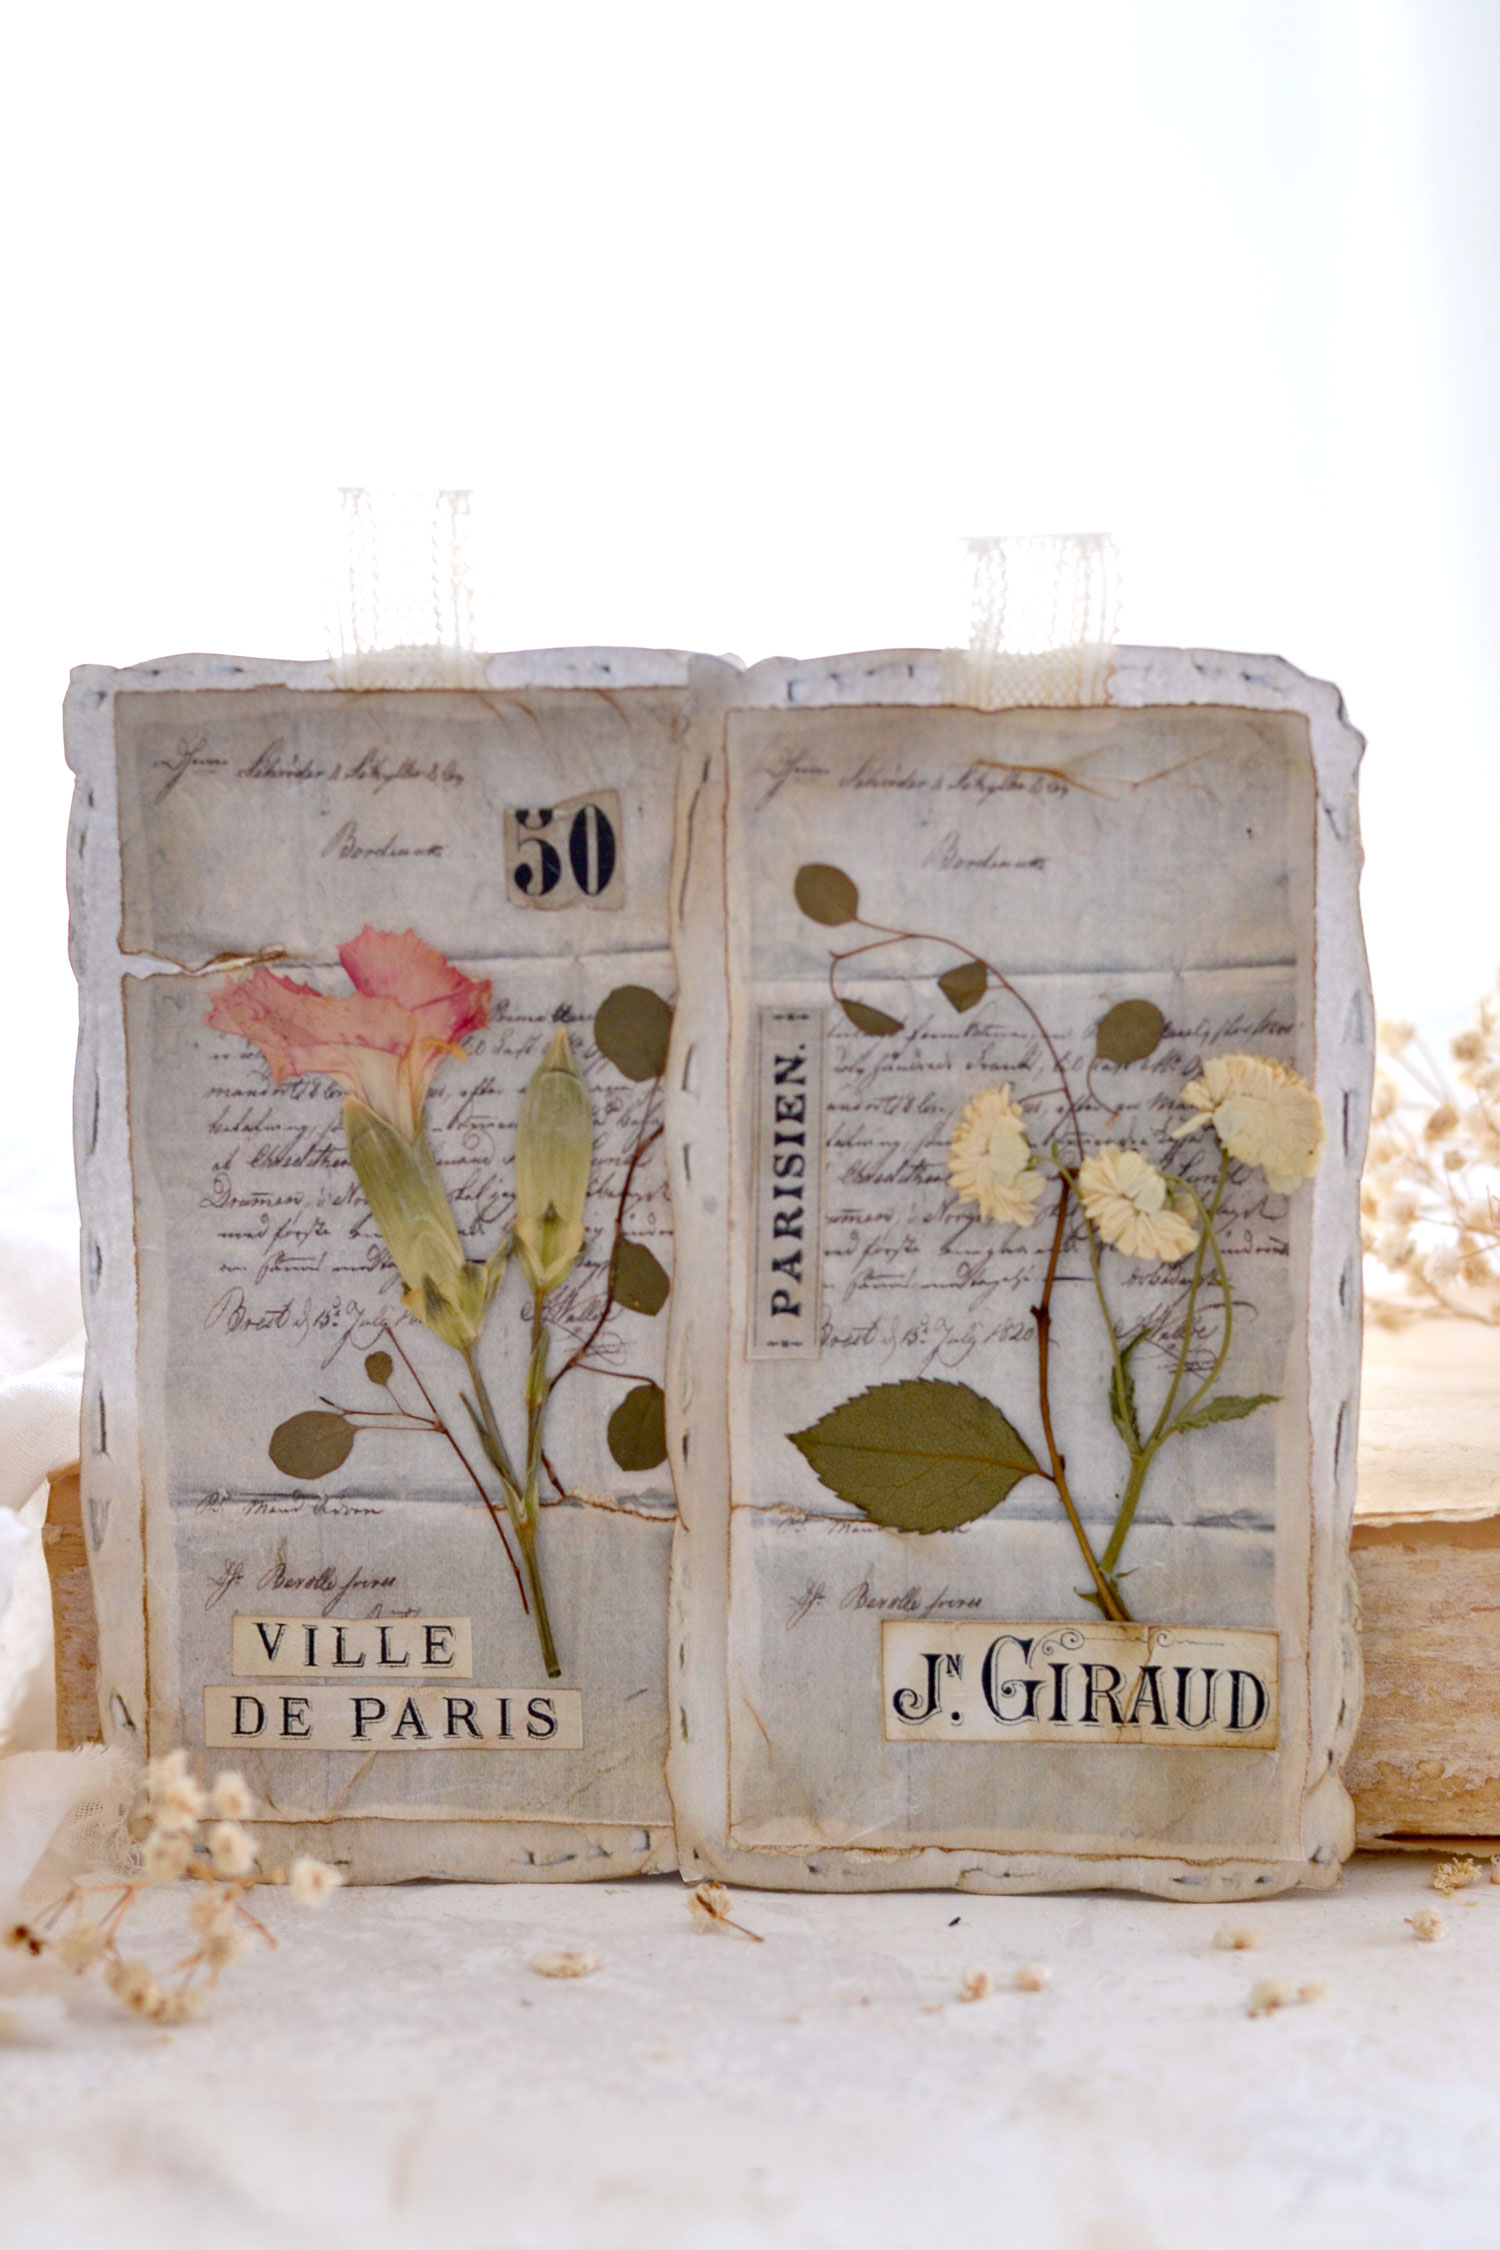
Hello Graphics Fairy friends! I’m Diana from Dreams Factory and I’m happy to be here again to share another DIY project with you! Today I will show you how to make this gorgeous French Dried Pressed Flower Craft. These handmade tags have a lovely vintage vibe, using only a handful of supplies. You will love how easy this project is and how beautiful the final results are! The best part is that you can get as creative as you want when it comes to picking the flowers, deciding on a color scheme or creating the adorable flower arrangements for your tags.
You can choose to only use a pressed flower that you love or a group of the same flowers, but you can also create arrangements using different flowers, leaves or other small parts from any other plants.
You can create the composition around a focal point flower that has bold colors or choose more of a neutral overall vibe, depending on your preferences.
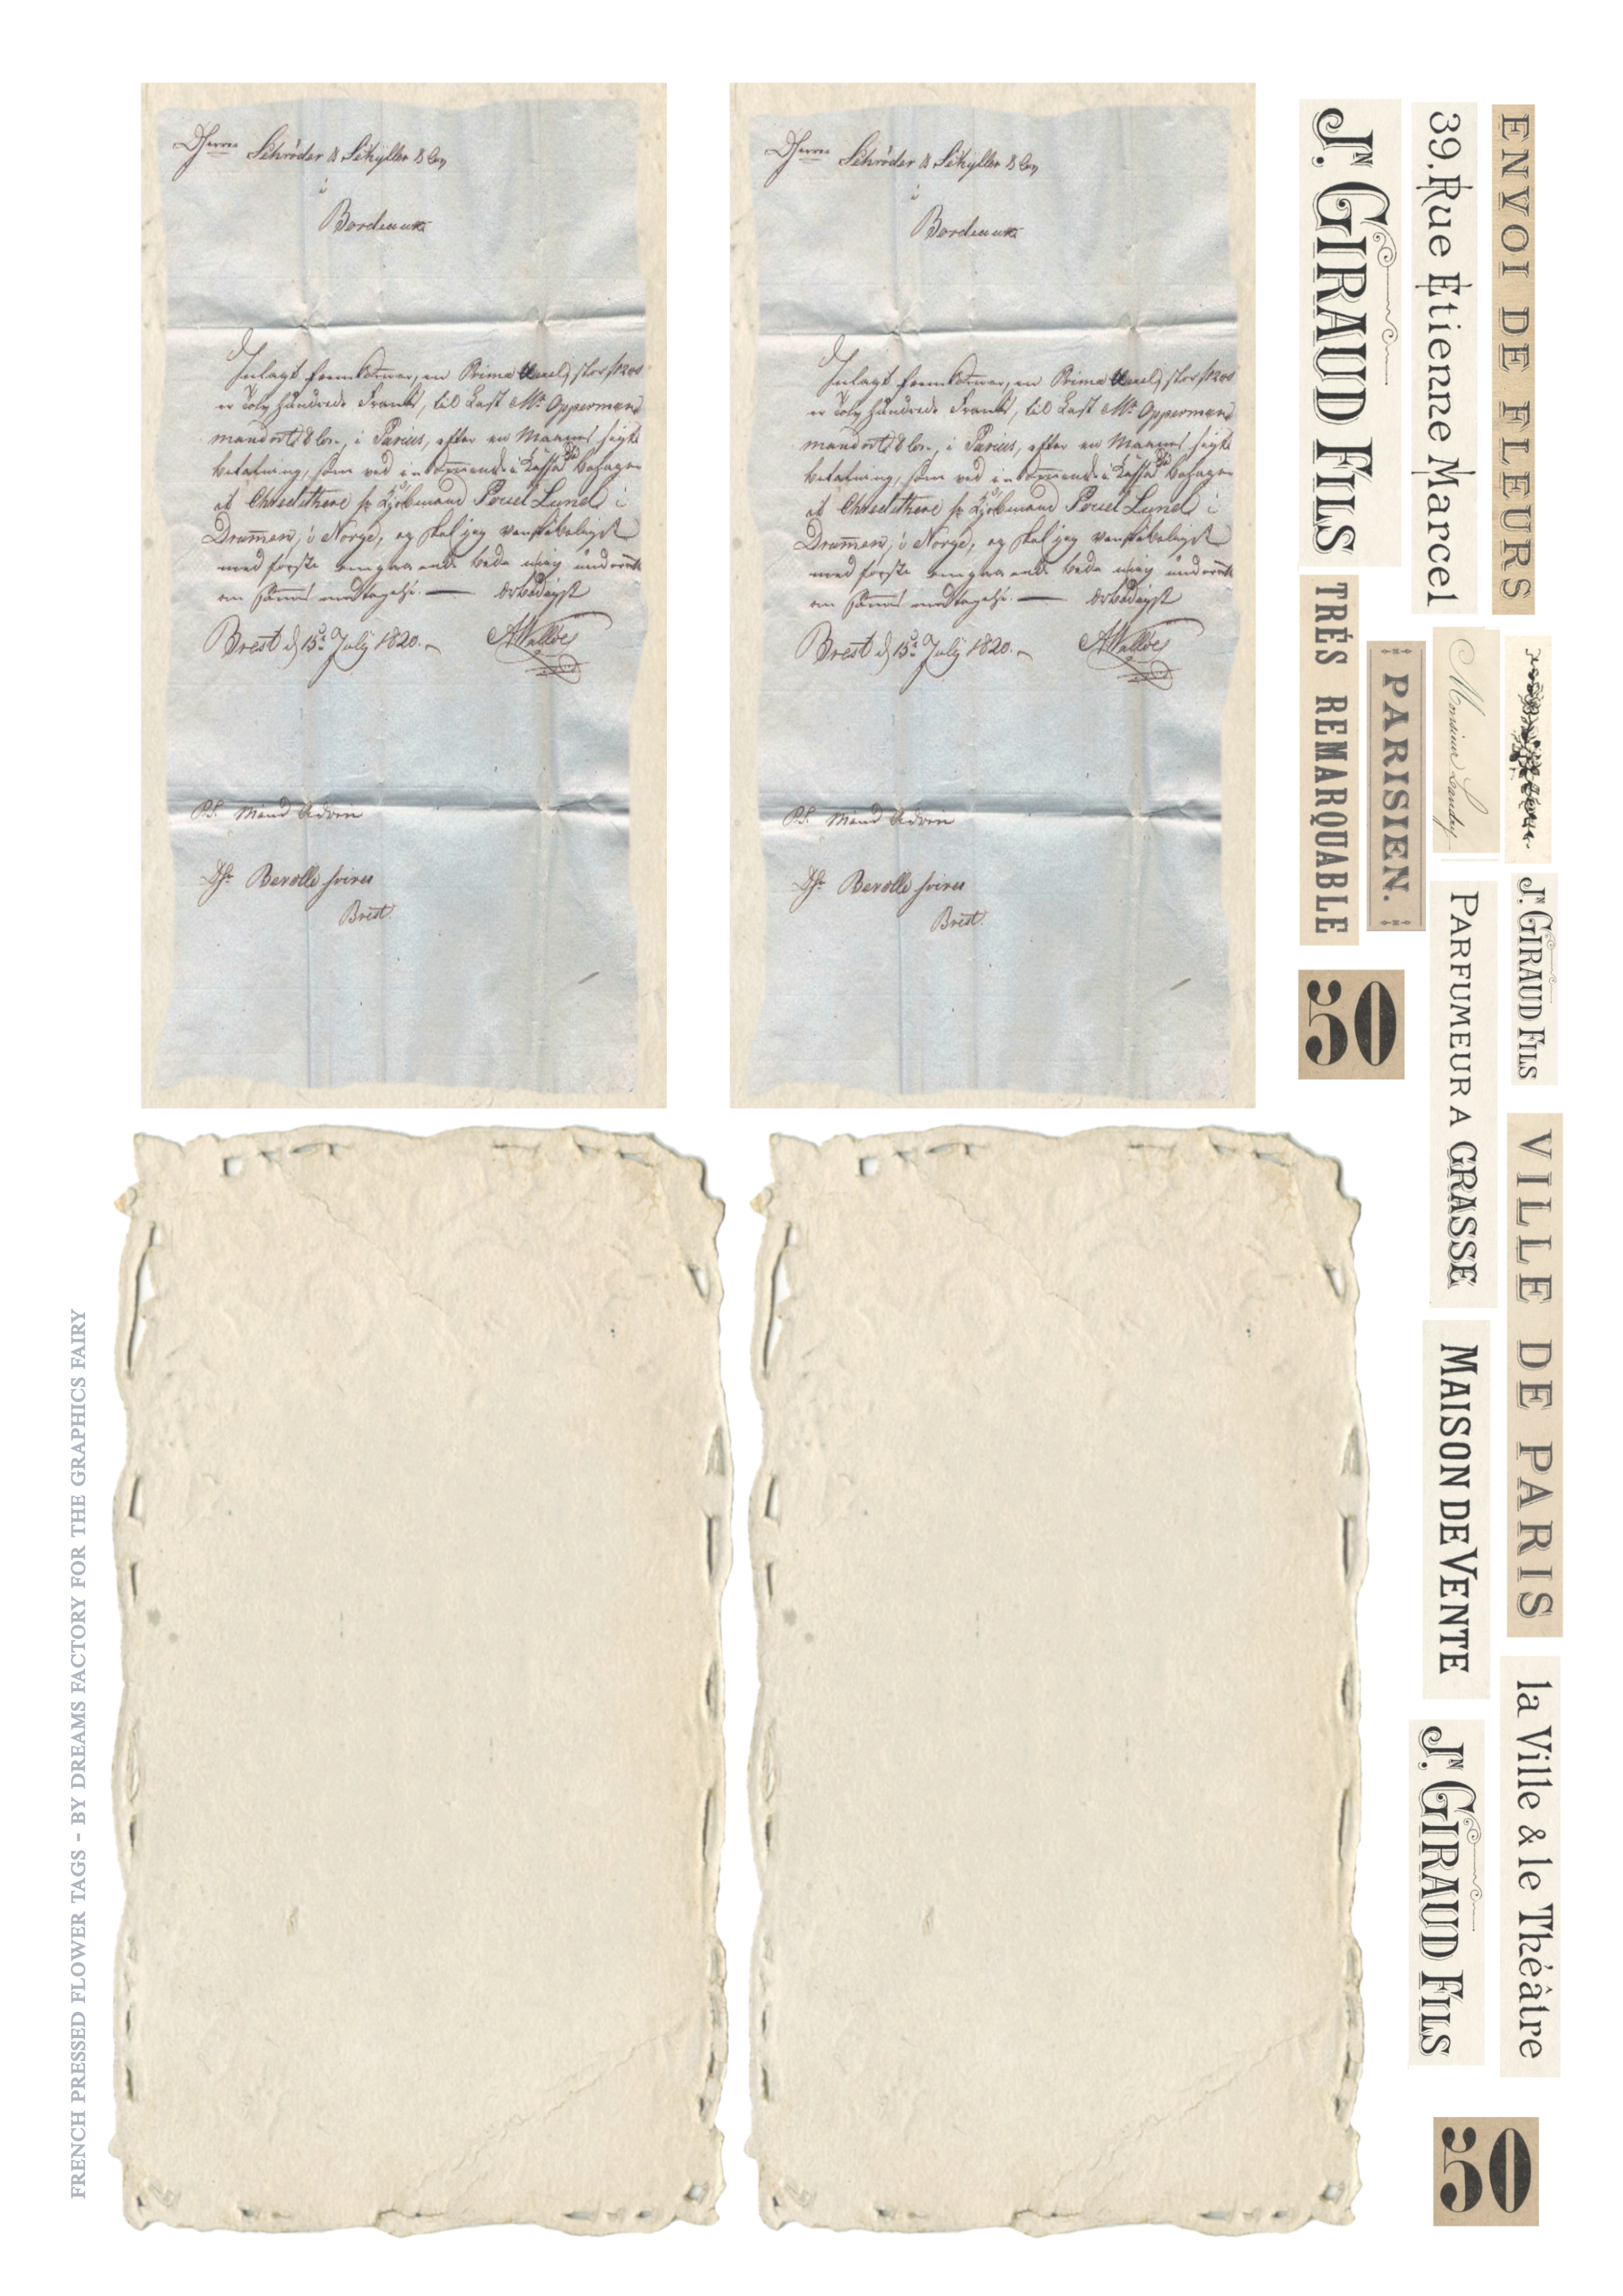
The free printable tags that I created for this project have a subtle blue French tint that will look amazing with all the flowers that you will use. I included a base with jagged edges for our tags and a top with a beautiful French ephemera letter with handwritten elements and other beautiful worn details. As a bonus, I also included a few French ephemera cutouts that will bring even more charm to these Frenchified beauties!
Free Printable:
—-> Click HERE to Download the Full Size Printable PDF <—-
Dried Pressed Flower Craft Supplies:
- pressed flowers
- white cardstock paper or regular printing paper
- home printer
- scissors
- mini distress inks
- blending tool with foams
- small brush
- craft glue
- lace or ribbon
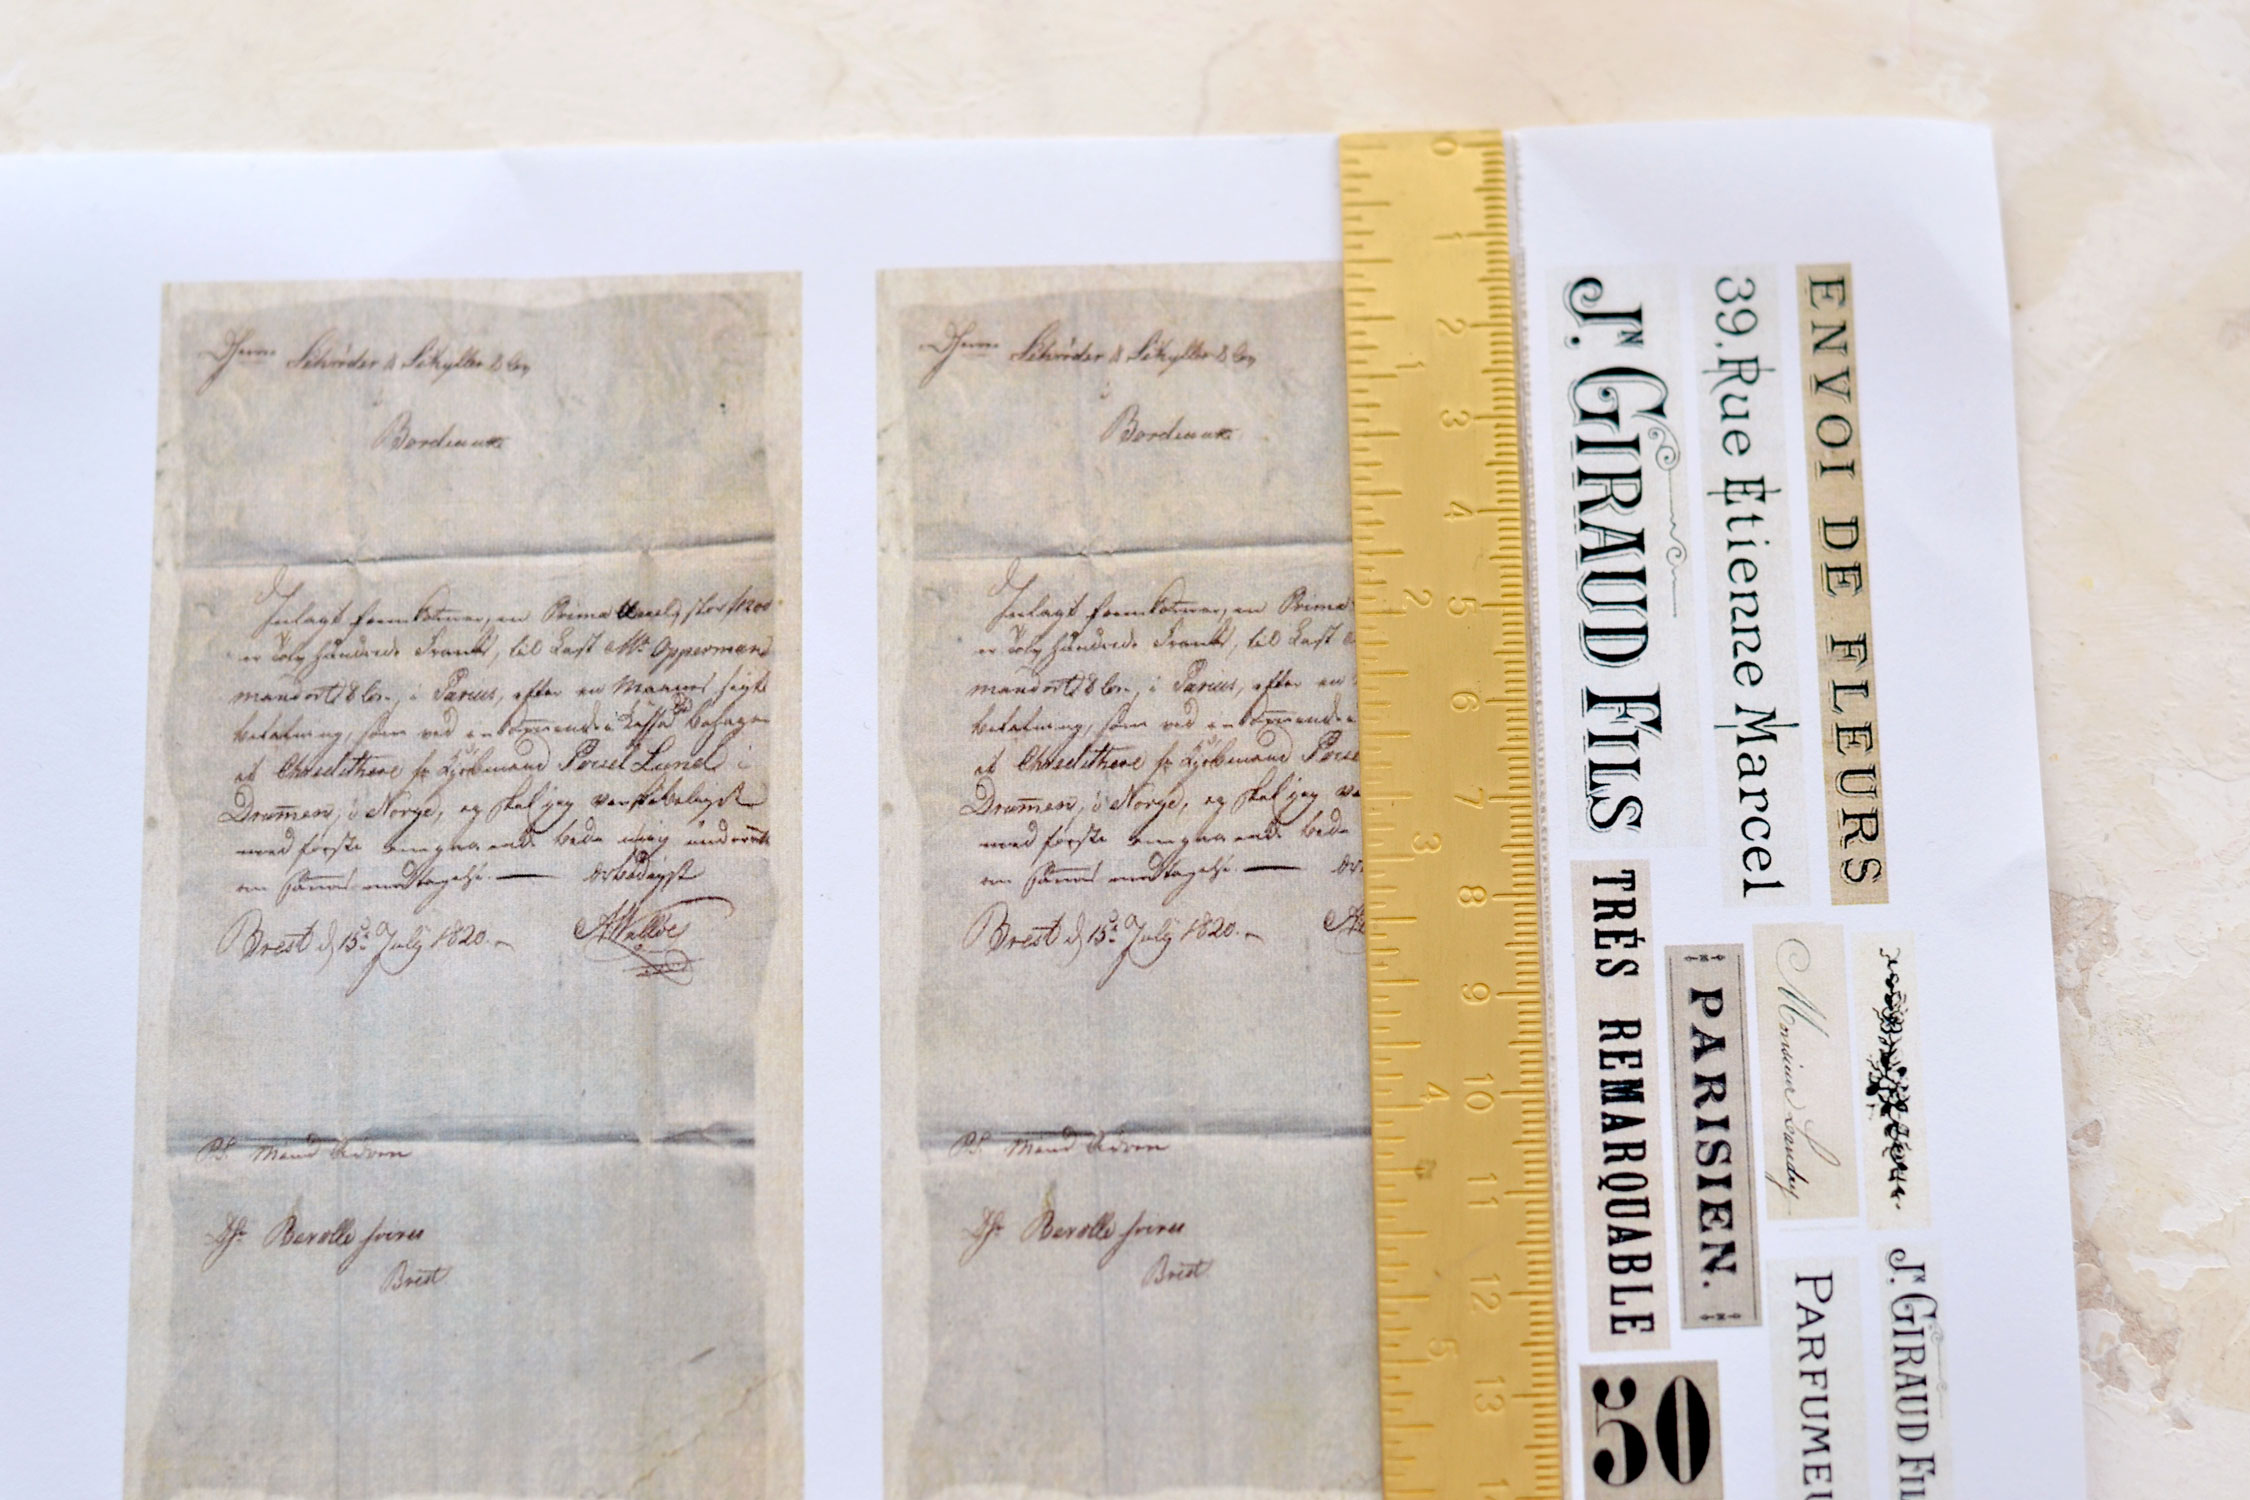
- ruler (optional, for cutting the tags)
Before we jump right in, let’s talk pressed flowers for a second! These days you can find all sorts of pressed flowers online or in craft stores, but if you prefer, you can definitely press your own! If you have a garden or even a forest close by, they can be an endless supplier of gorgeous flowers, leaves or other plants. Spring and summer are ideal for picking and pressing flowers, but all seasons can be pretty generous! You can use a wooden flower press or you can improvise and use a book with great results. I actually created this French flower press about three years ago that I still love to use! OK, I might have engaged another dozen books in this whole pressing flower process, but the truth is I love perusing through the pages and randomly finding these delicately pressed beauties!
I like to keep the pressed flowers in small recycled boxes afterward, I usually add a few pieces of parchment paper or paper towels so I can store them in layers. This way I can easily take them out of the box using one of the papers underneath without breaking them. It’s best not to overlap too many pressed flowers on the same layer, they can be quite fragile after drying and need to be handled with care!
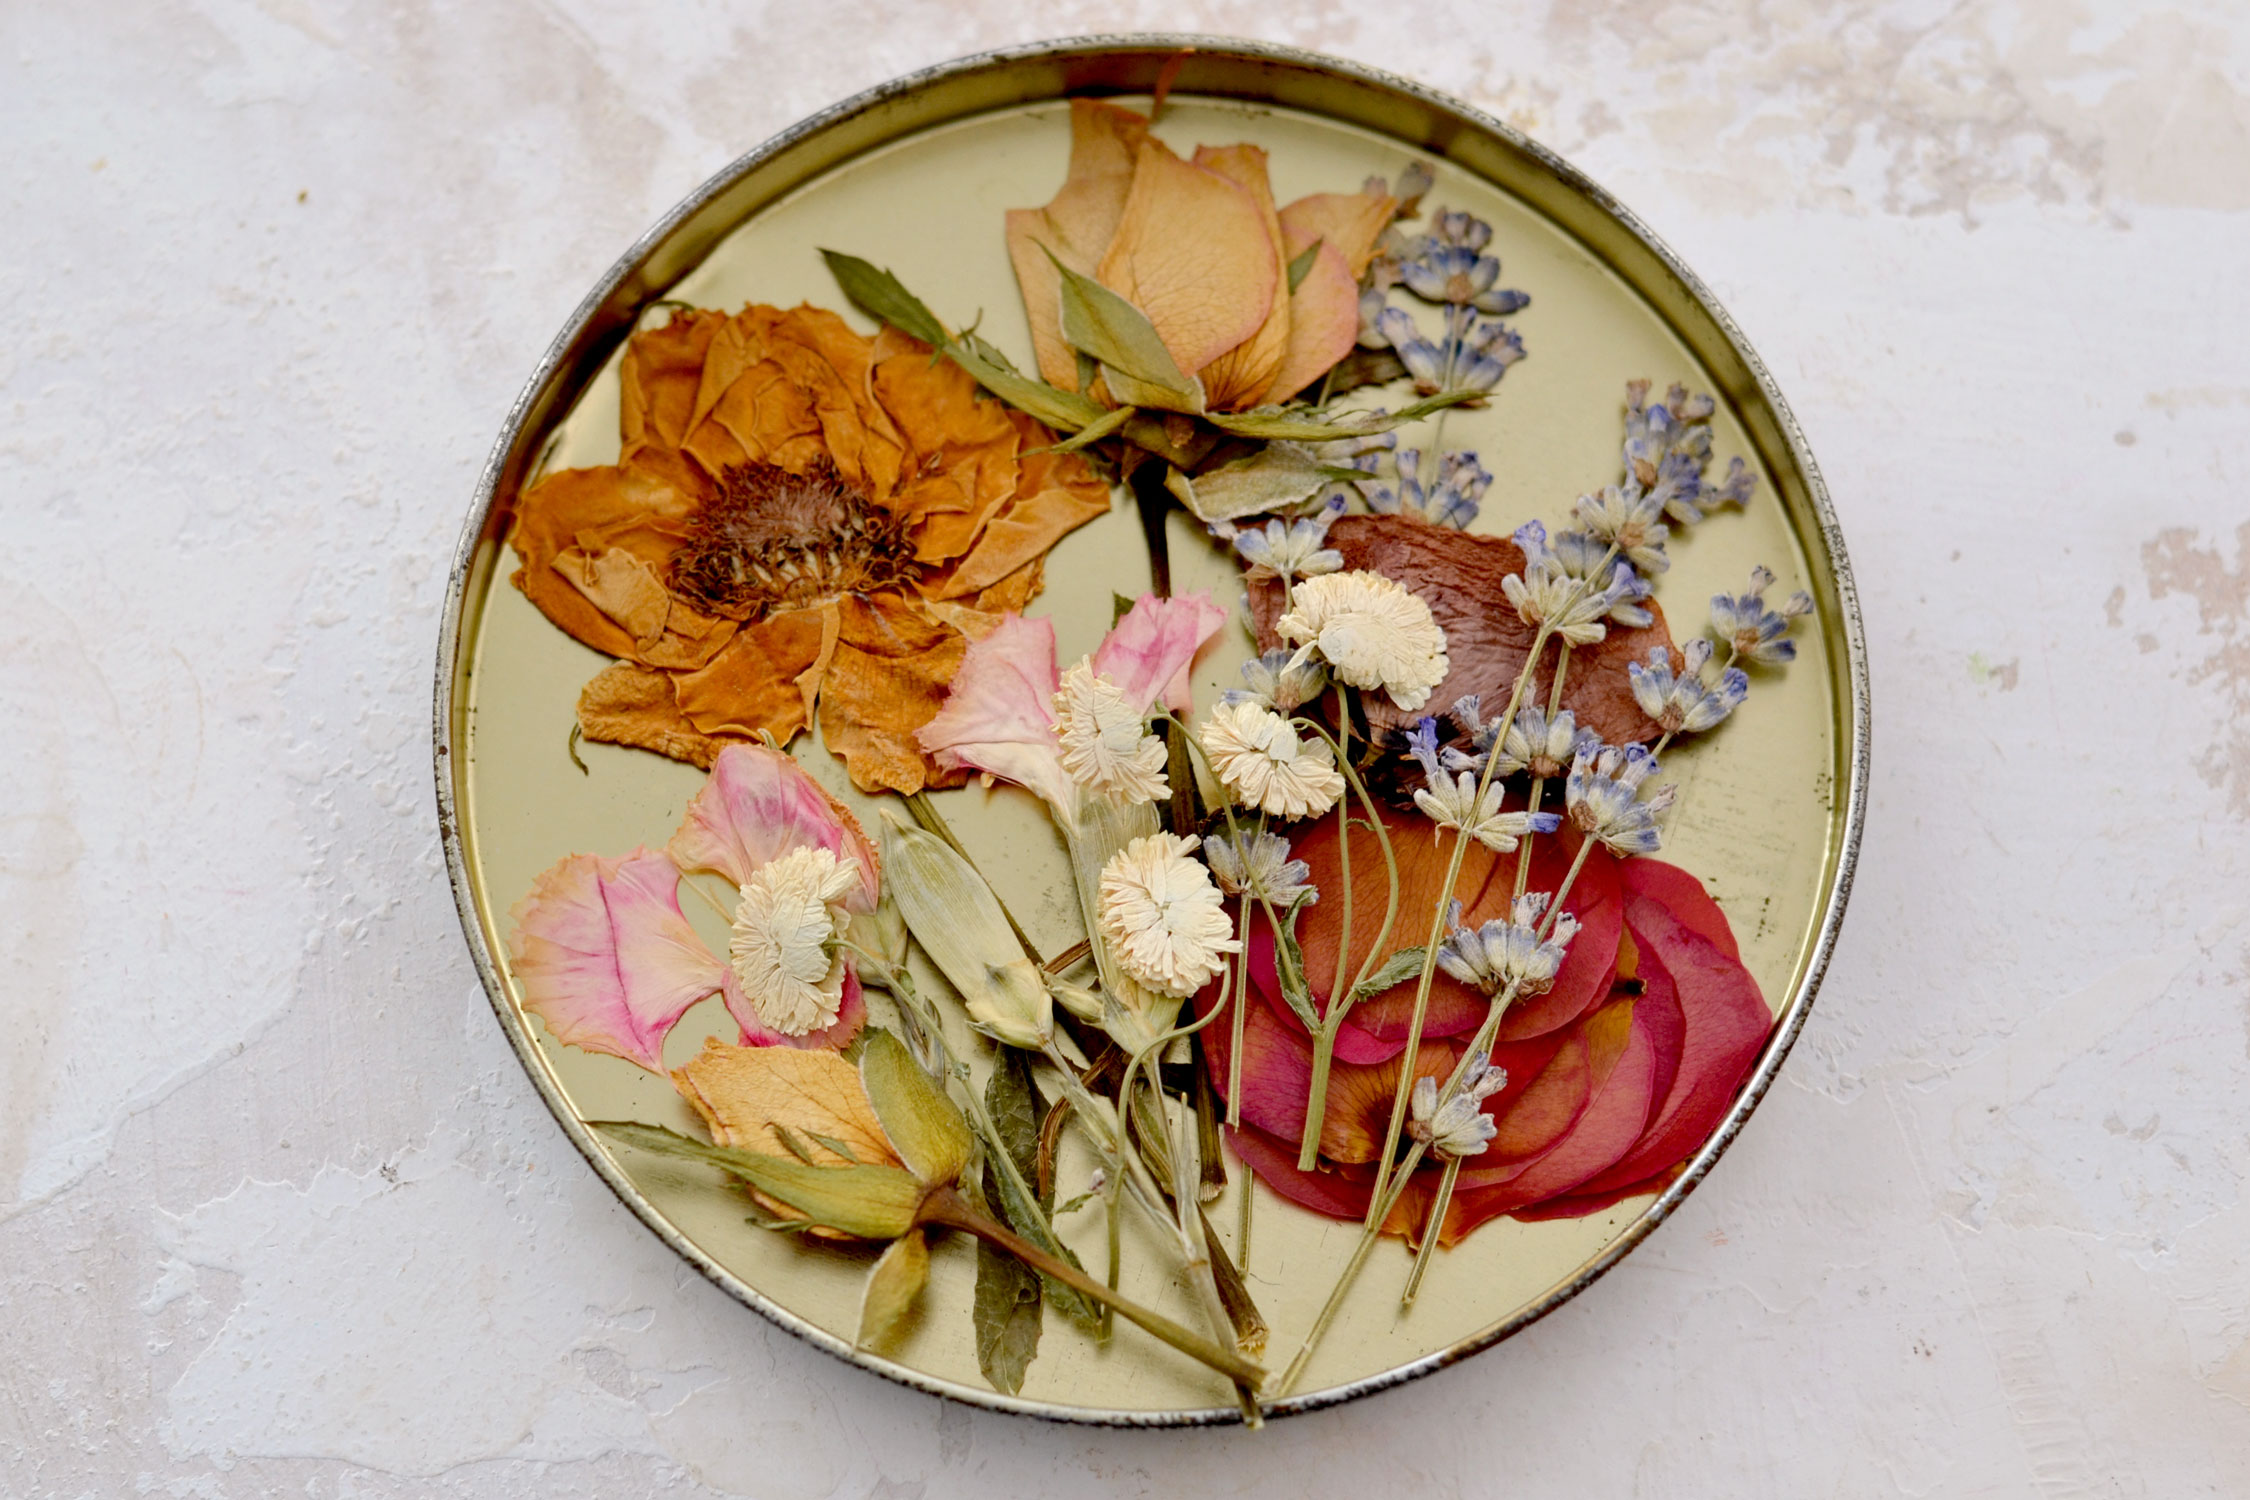
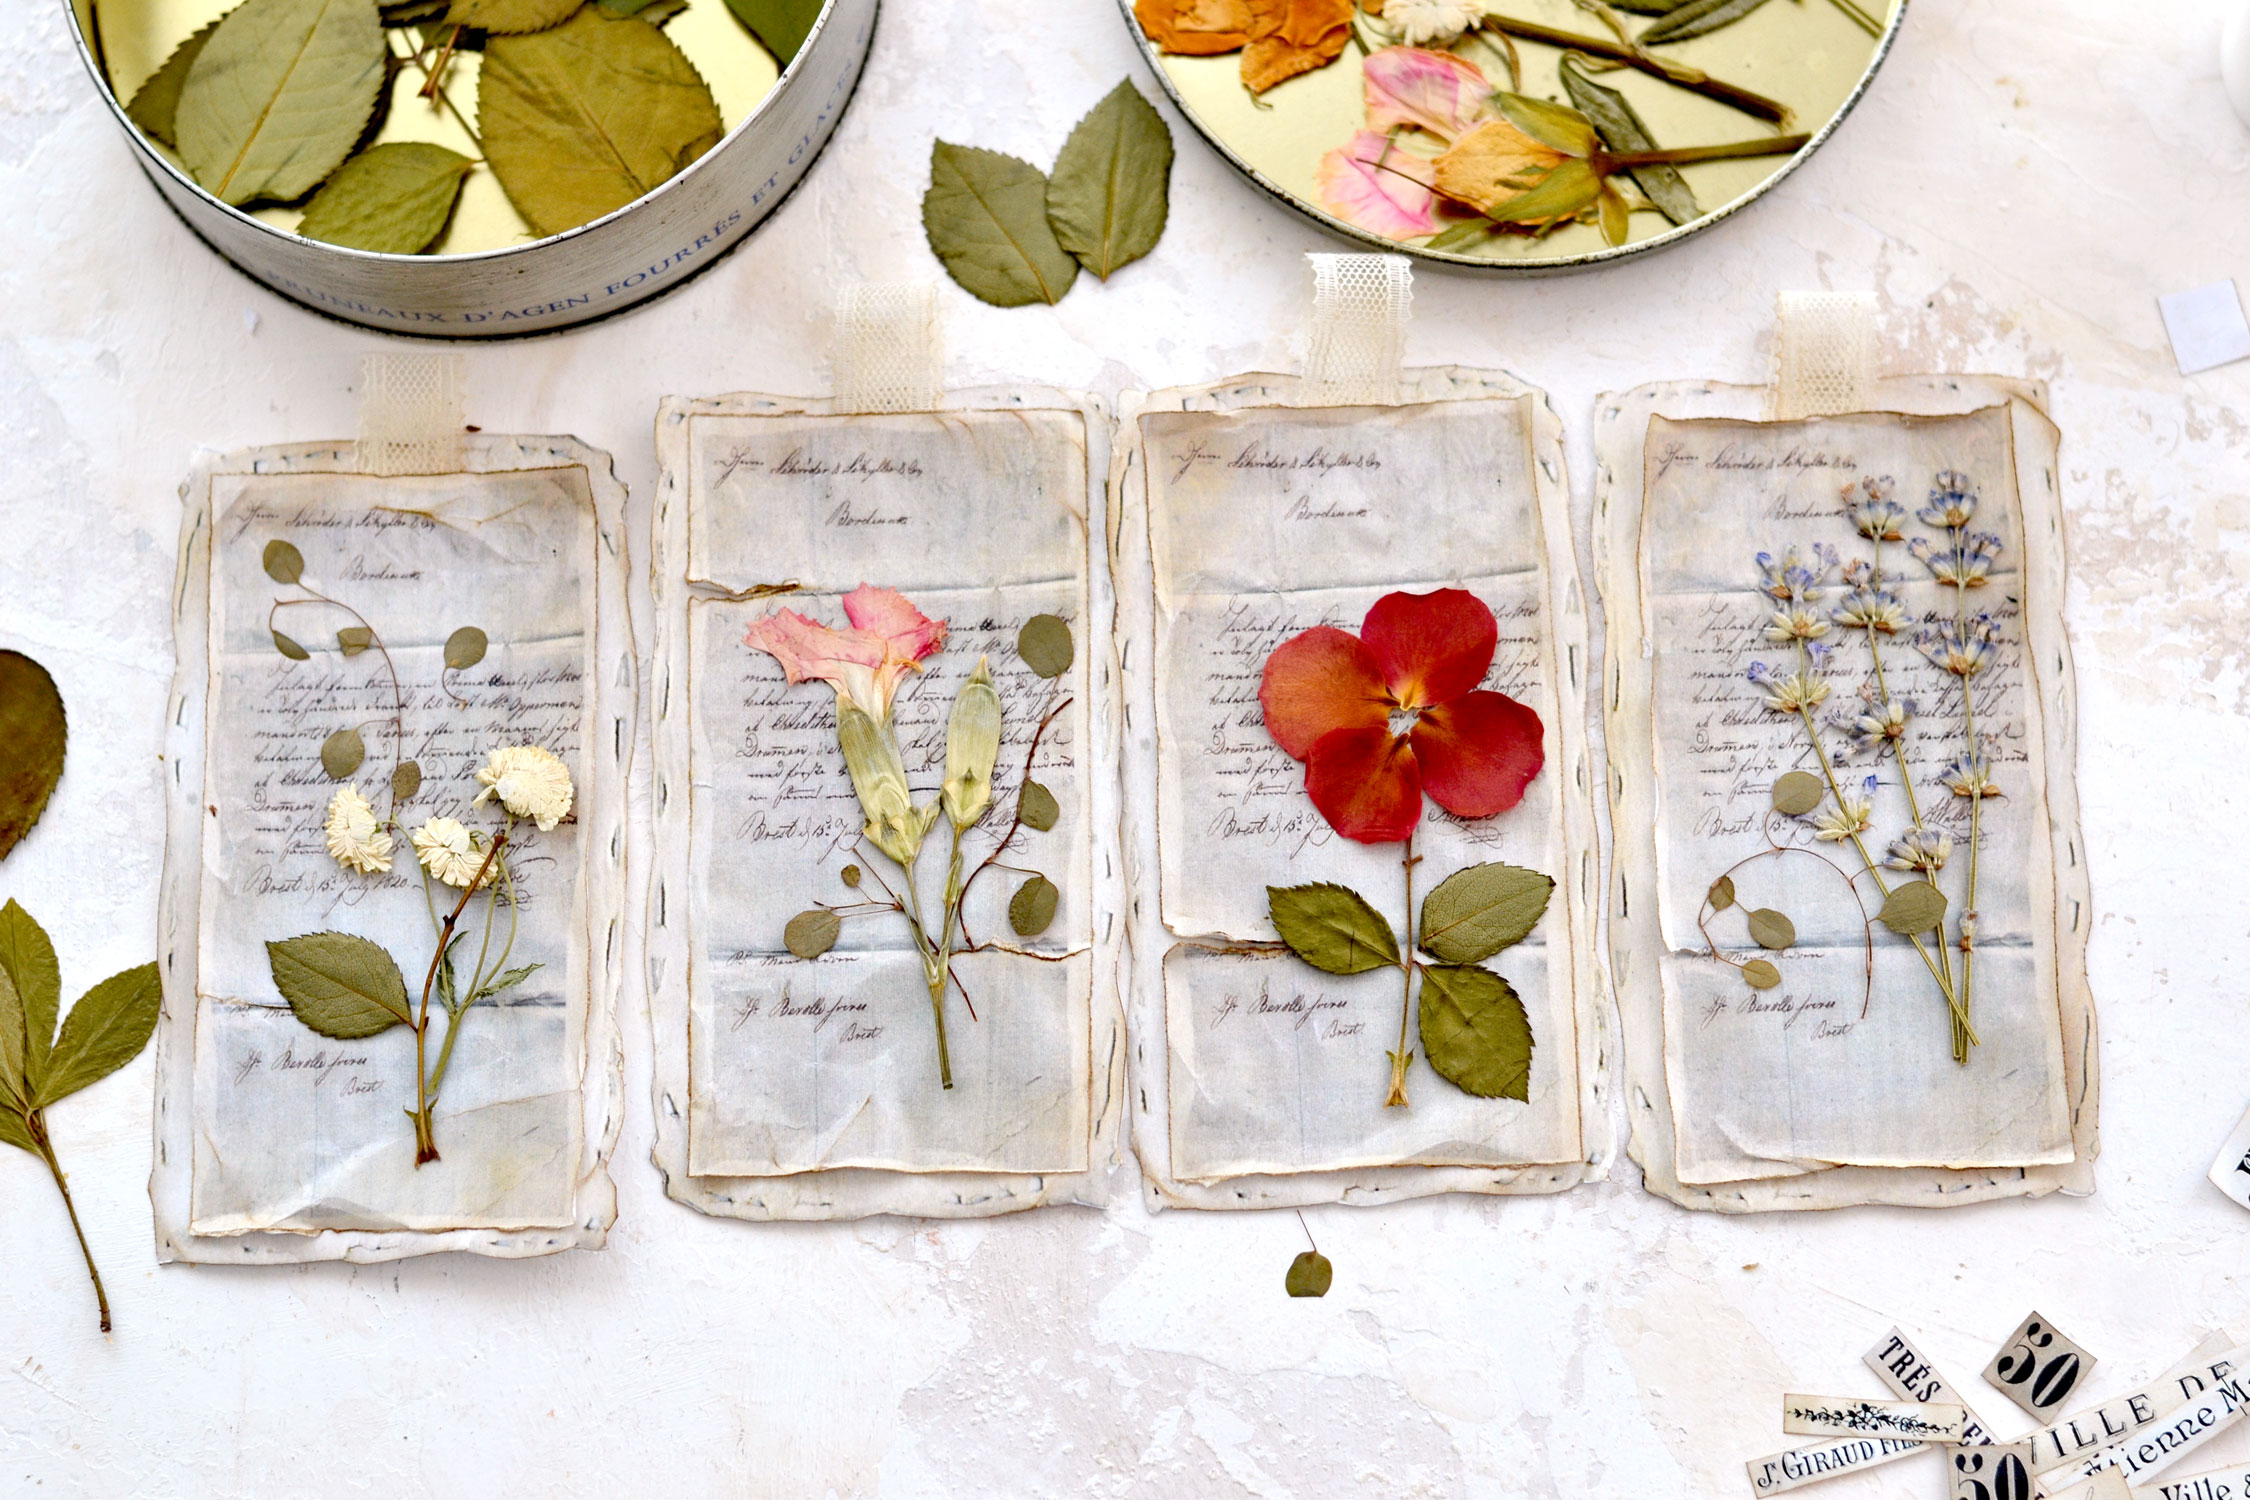
Below you can see some of the pressed flowers that I keep in this vintage metallic box. Here I have a mix of pressed yellow roses, purple lavender, pink mini carnations, individual red petal roses and some lovely small white flowers.
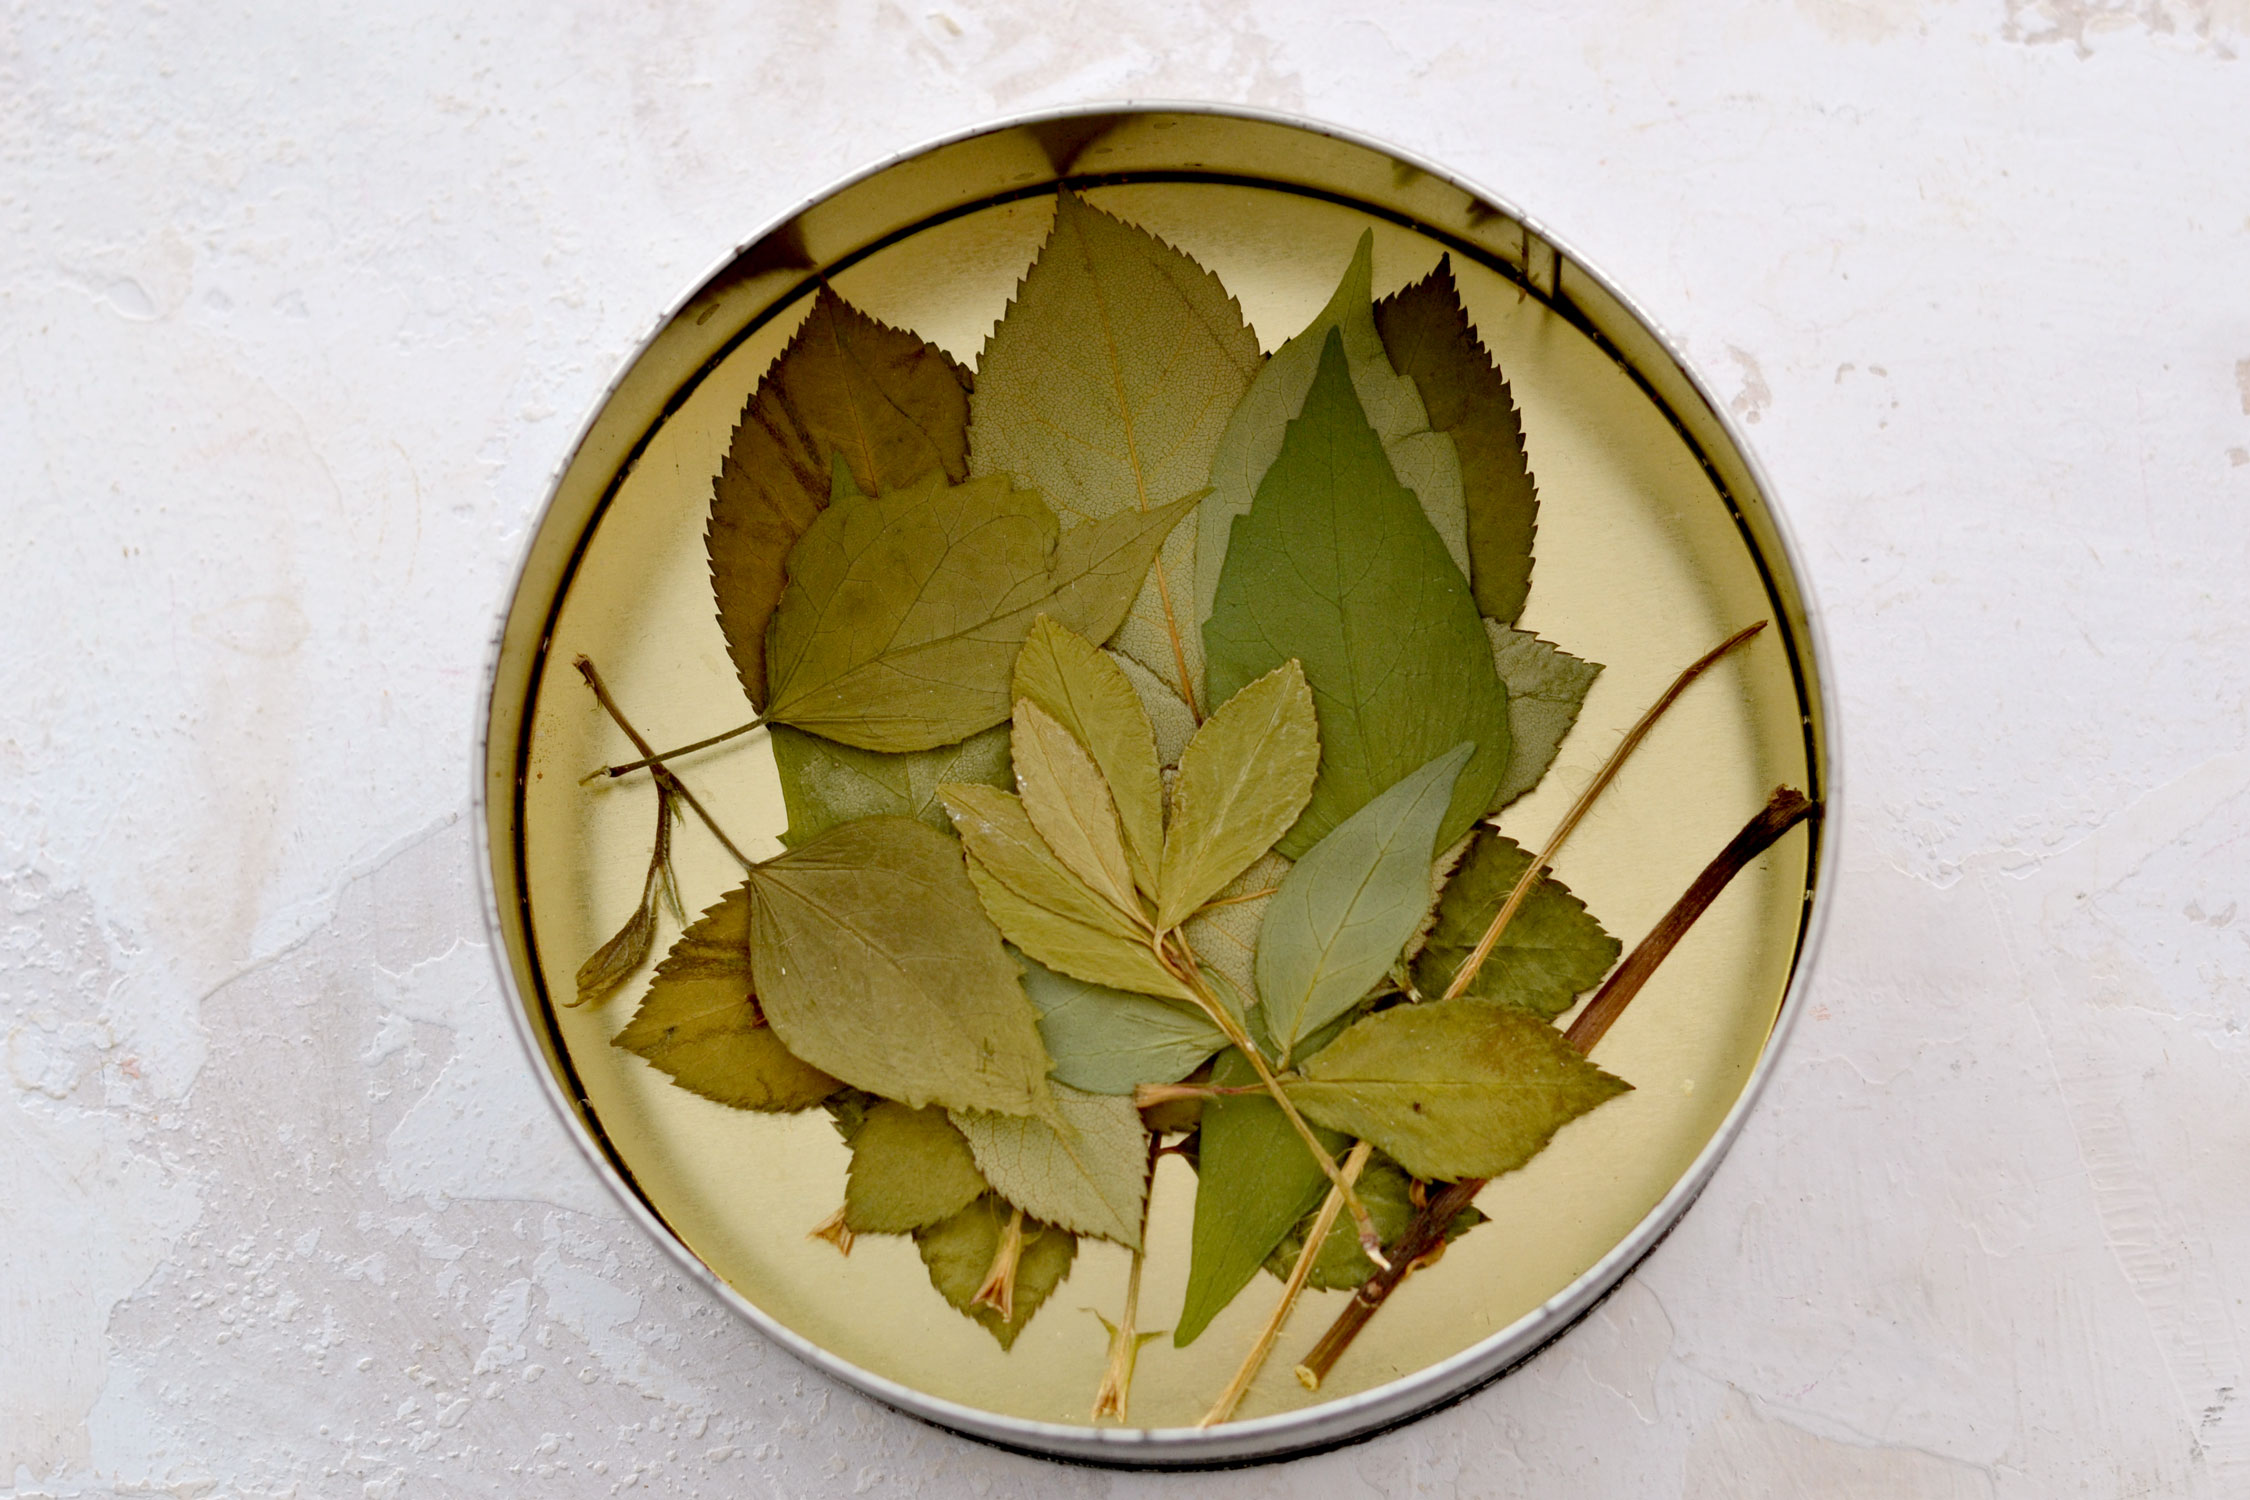
Below I have a small selection of leaves (mostly rose leaves), I like to press small groups or individual leaves to create all sorts of pressed flower and leaf arrangements. I also have a few smaller leaves – these are from a green plant that I think is called maiden’s hair, which is one of my favorites – that I included while decorating the tags.
Full Step by Step Tutorial:
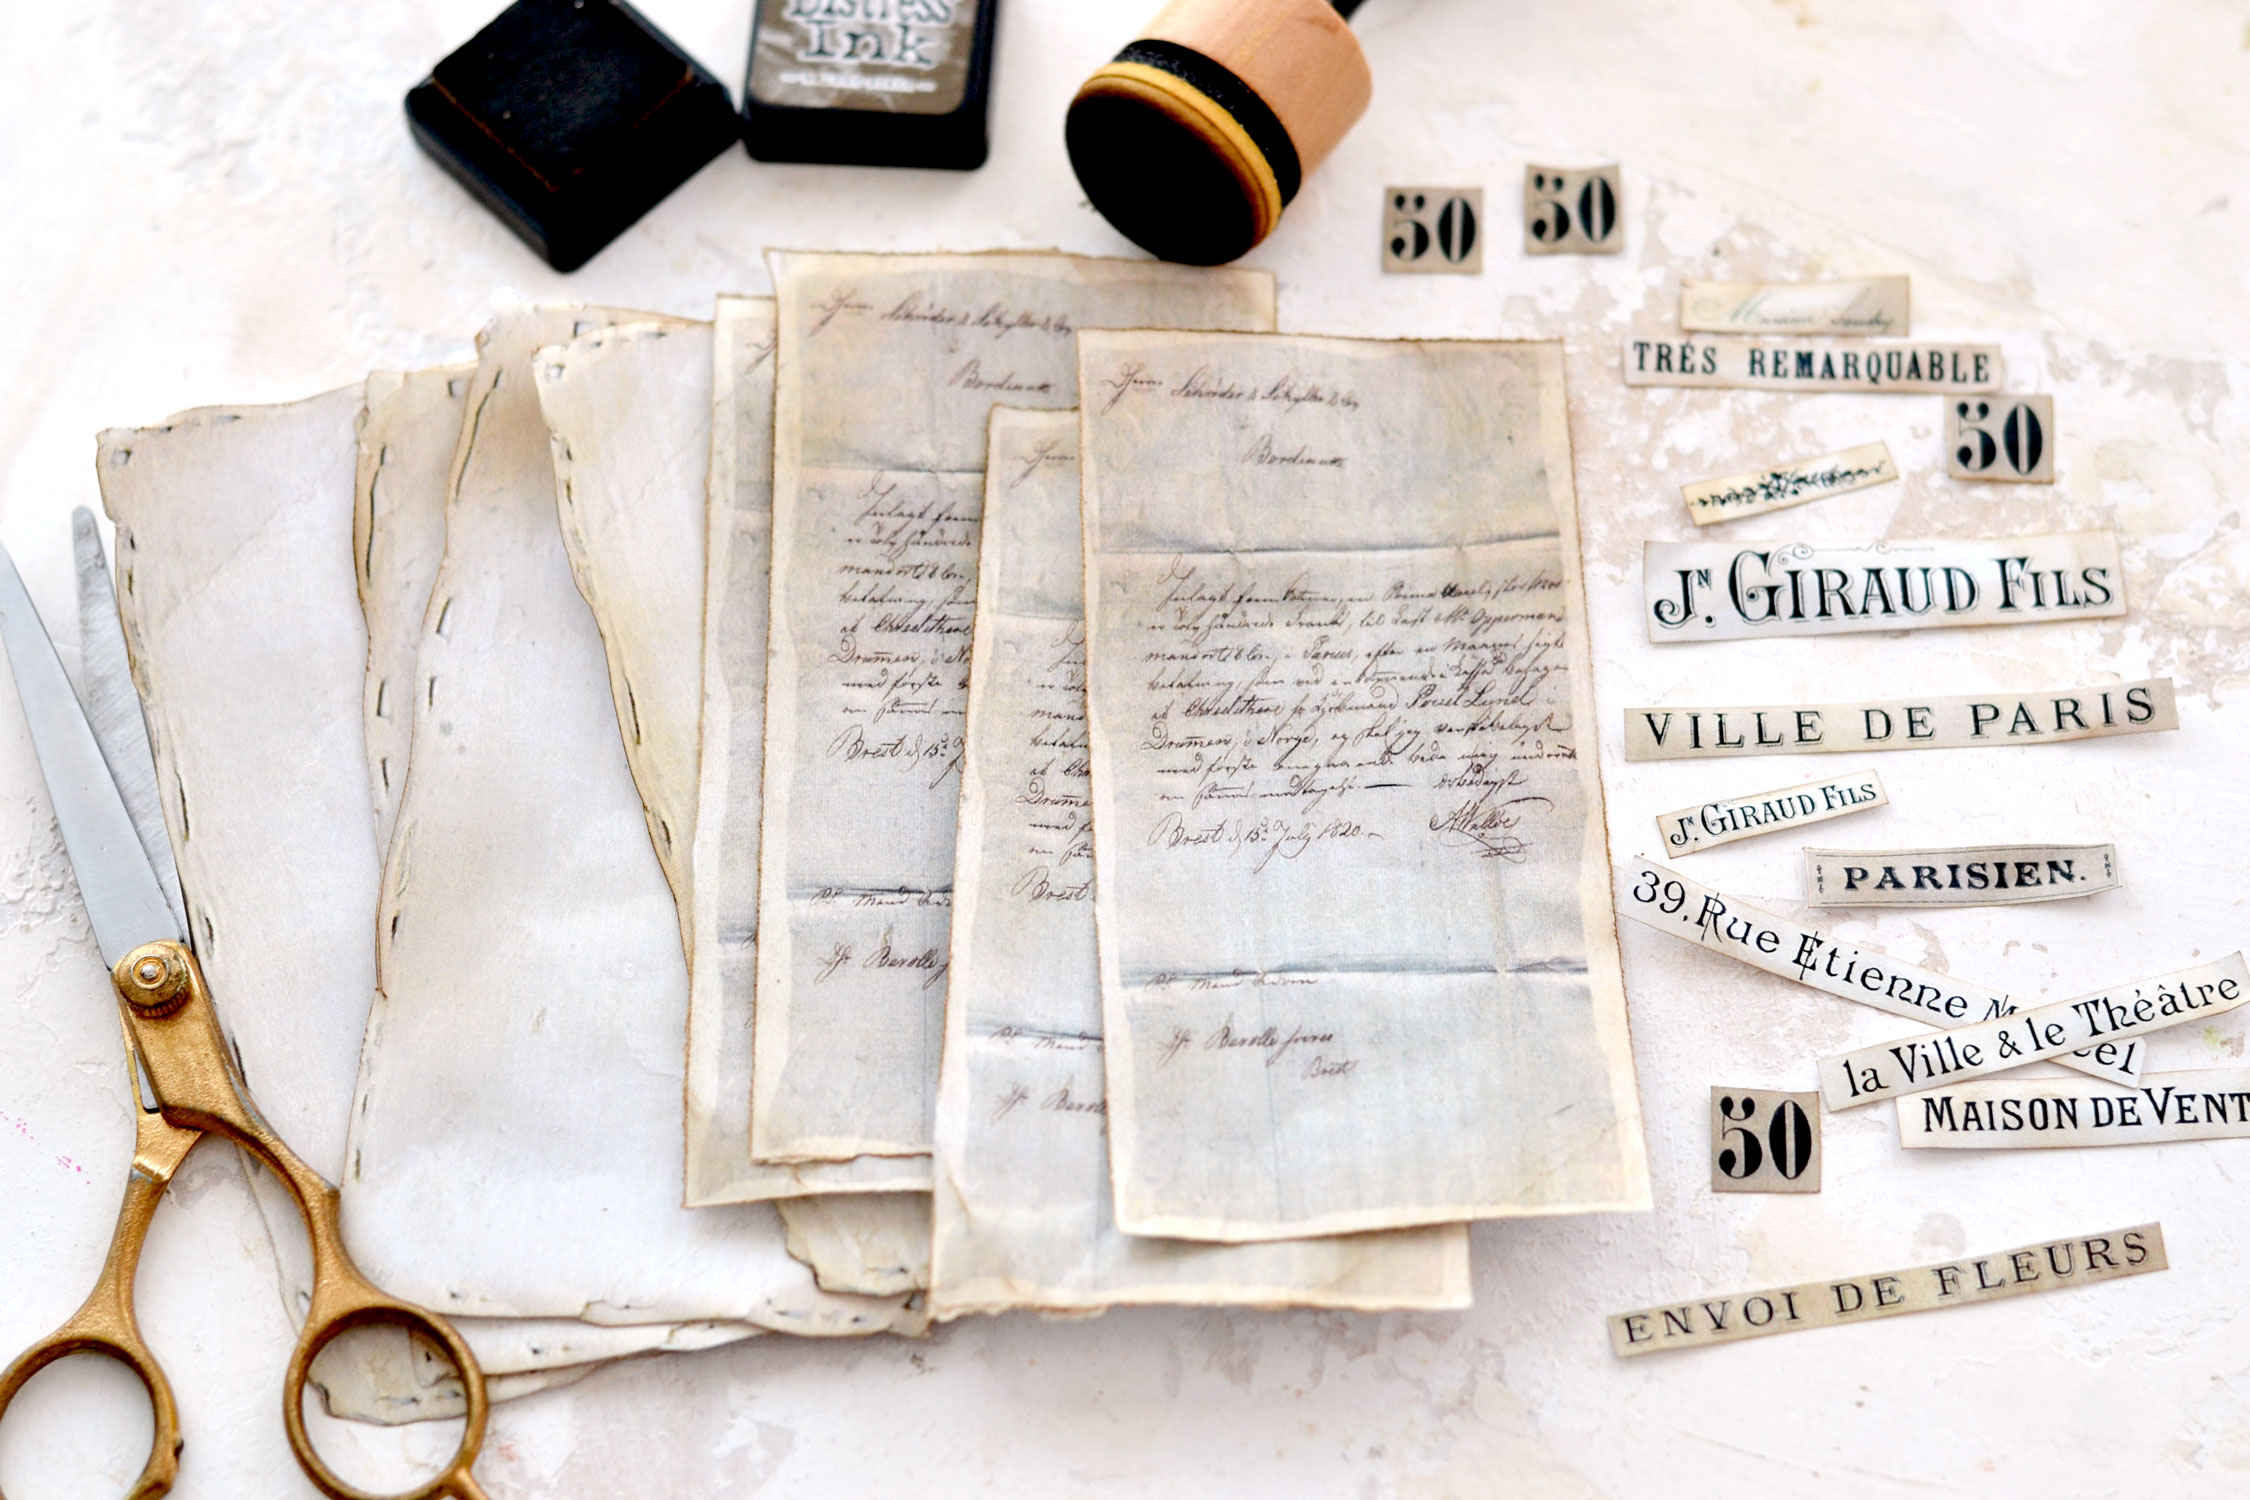
Use your scissors to cut the top tags or if you prefer, use a ruler to tear them. I like to always keep the tag on the table and then gradually tear out the edges. It’s best to tear them first, before cutting all the other elements, it will be so much easier this way.
Use your scissors to cut all the other paper elements – the base of the tags and the French ephemera cutouts, then use your preferred distress ink to age all their edges.
If you want to give the top tags even more of a vintage feel, you can fold and unfold them here and there, tear them in some places or even crumple them all around the edges to break some of the fiber in the paper. Use more distress ink to highlight some of these crinkles if you want.
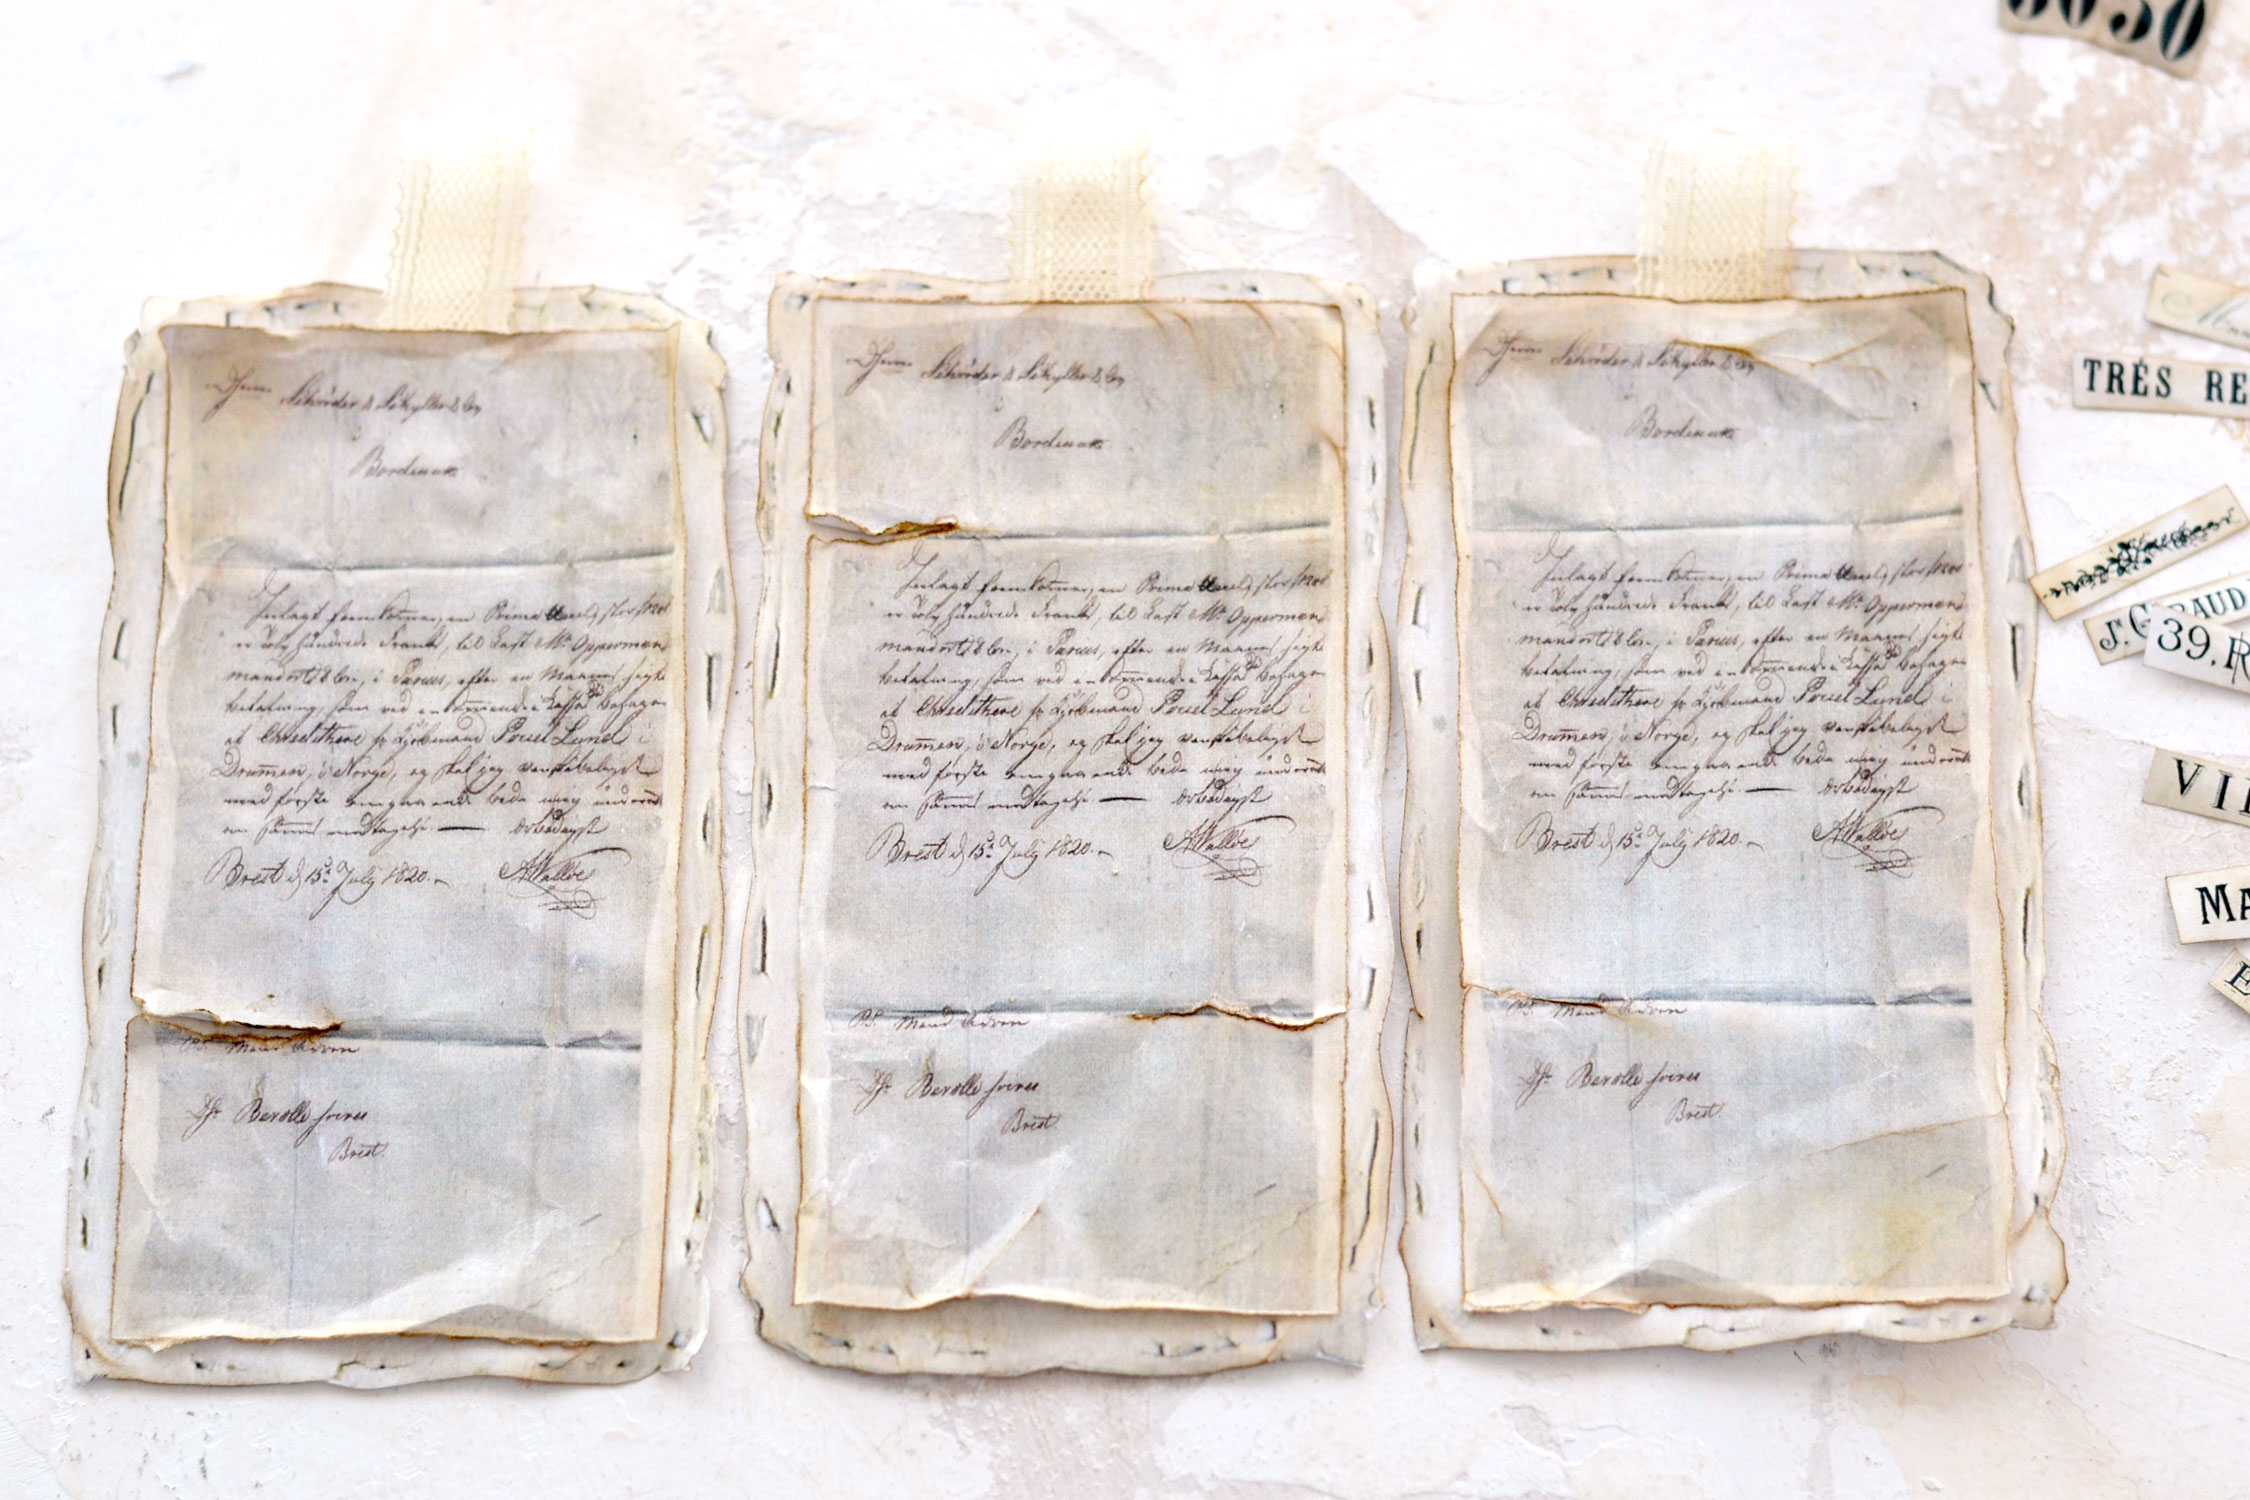
One thing that you can try is to add some glue (use a brush or a plastic bottle with a fine tip applicator) to the base tag, put some folded lace and then place the French script tag on top.
You can leave the edges unglued and perform some of the distressing techniques here, just go all over the edges and fold the paper to break its fiber and create small crinkles.
Then, simply press the edges again and decide if you want to glue them or not. Let everything dry and add some more distress ink if you need to cover some visible parts of the white paper.
Have fun while performing all these distressing steps, you’ll be able to create a beautifully aged paper that has so much charm and character! And the best part is that each tag will be truly unique!
Moving on to my favorite part, which is creating the pressed flower arrangements on the tags! I would suggest starting with deciding on the composition first, just place the pressed flowers, leaves or other small parts of various plants on the tags without gluing them while trying to create visually appealing arrangements.
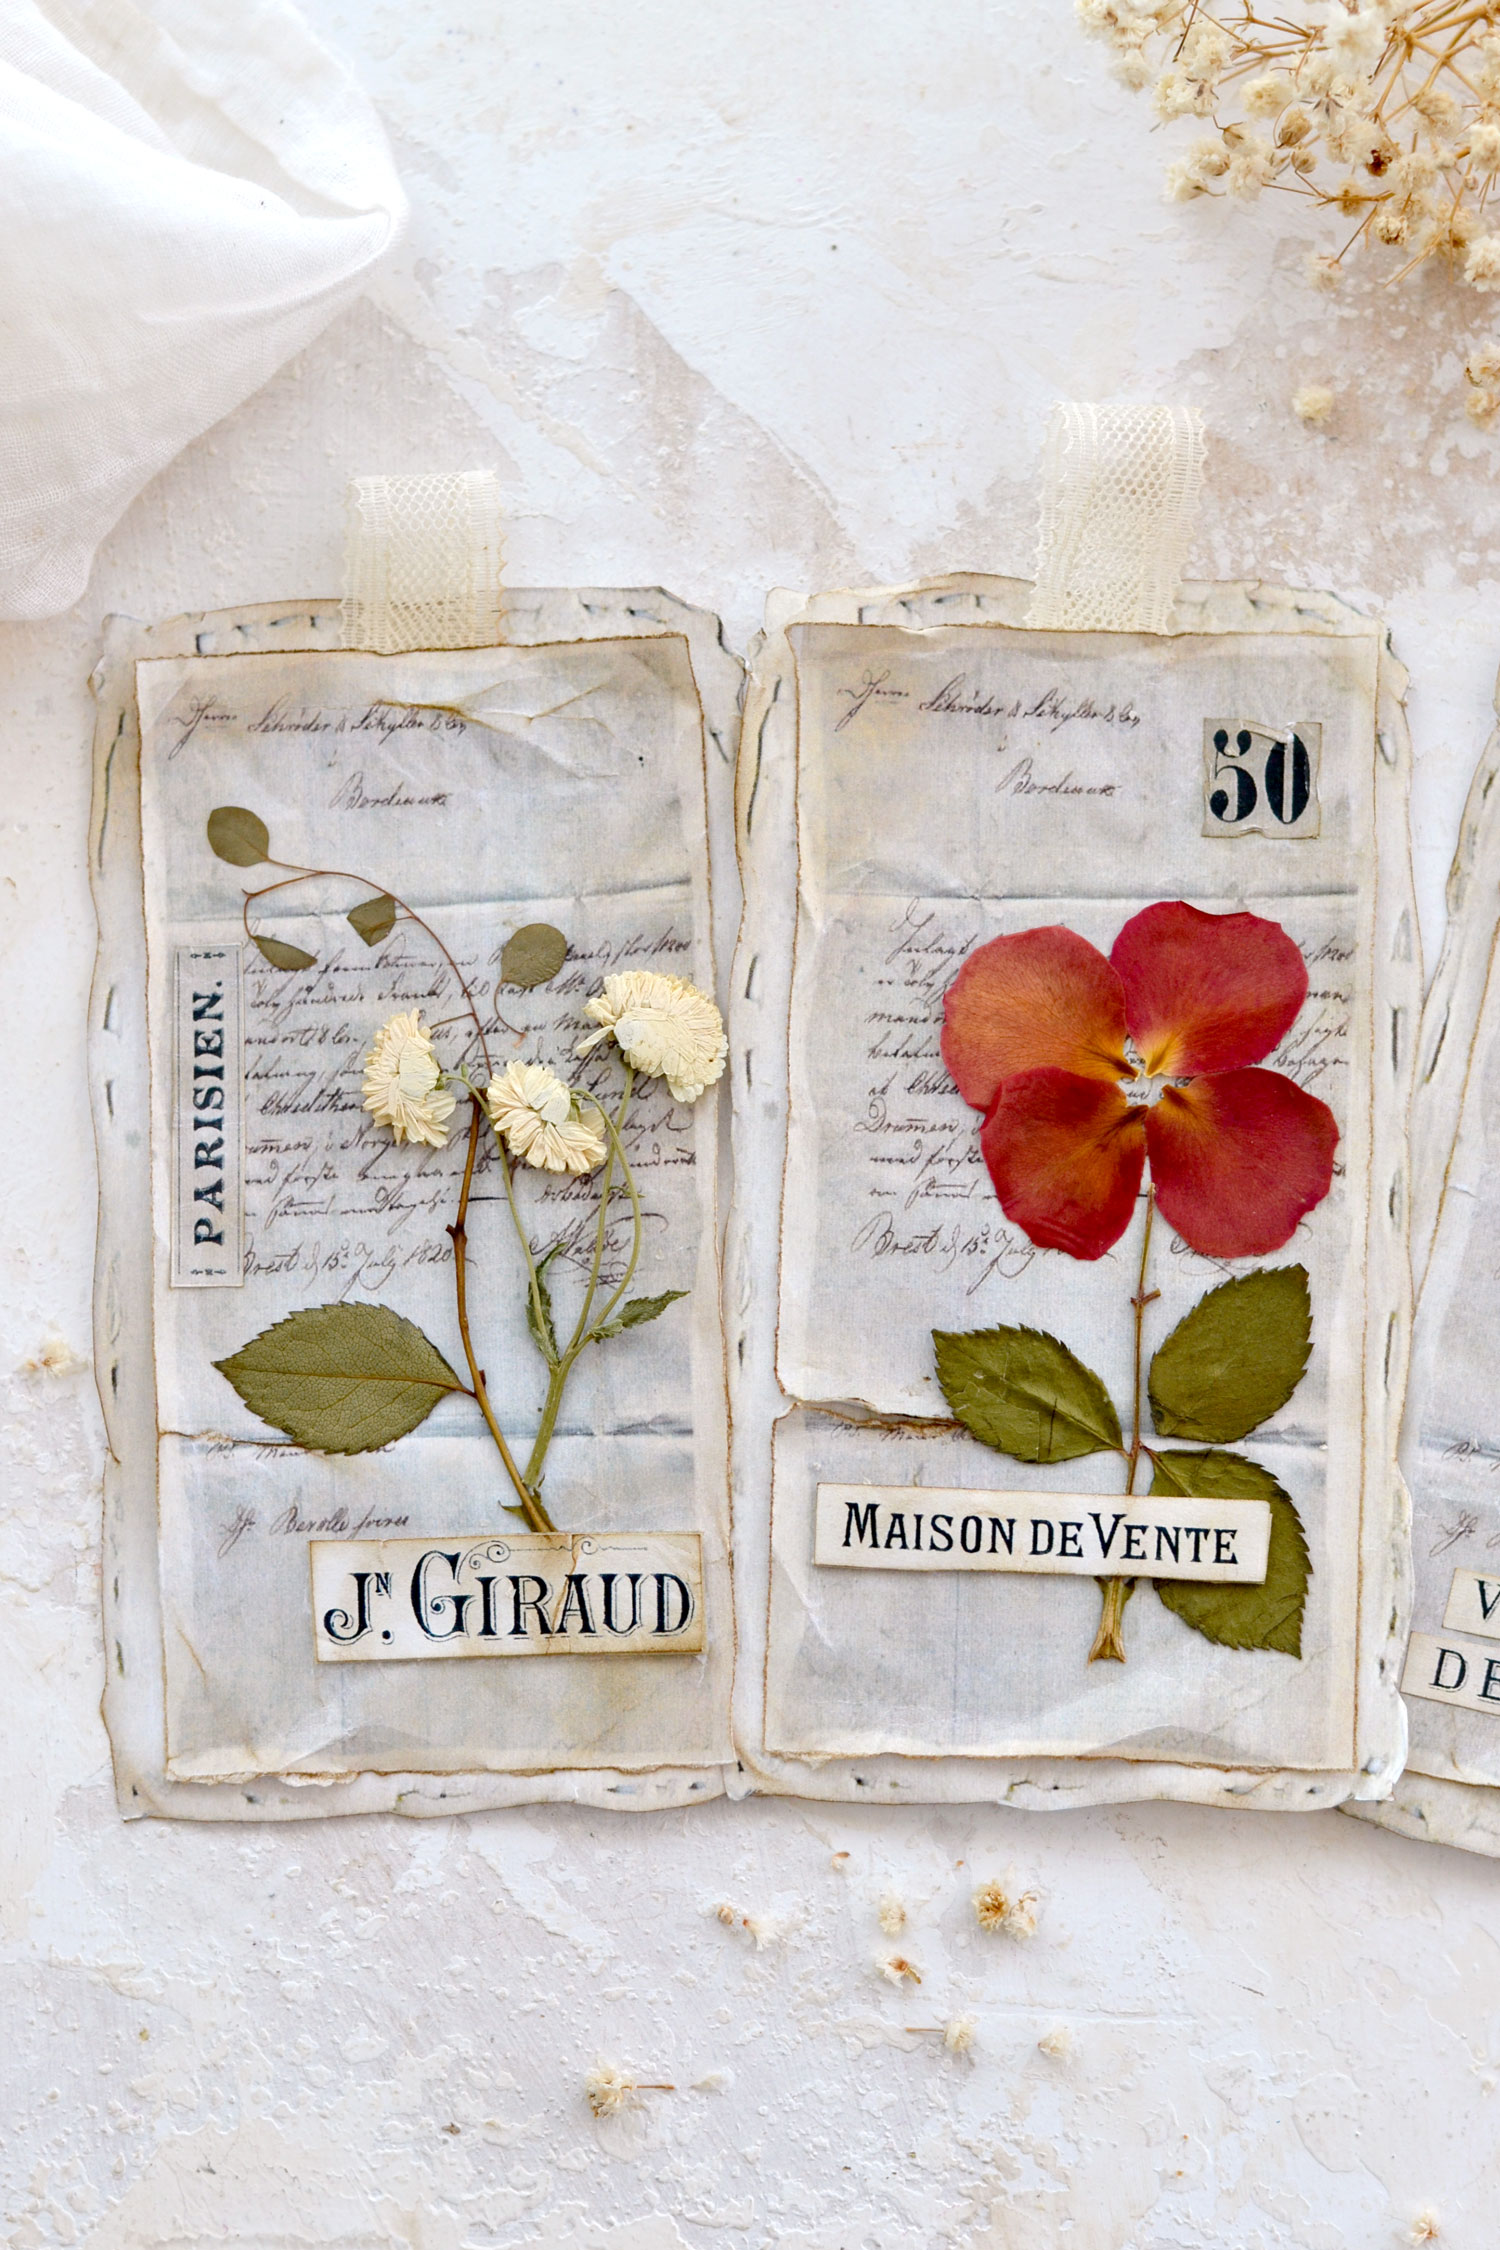
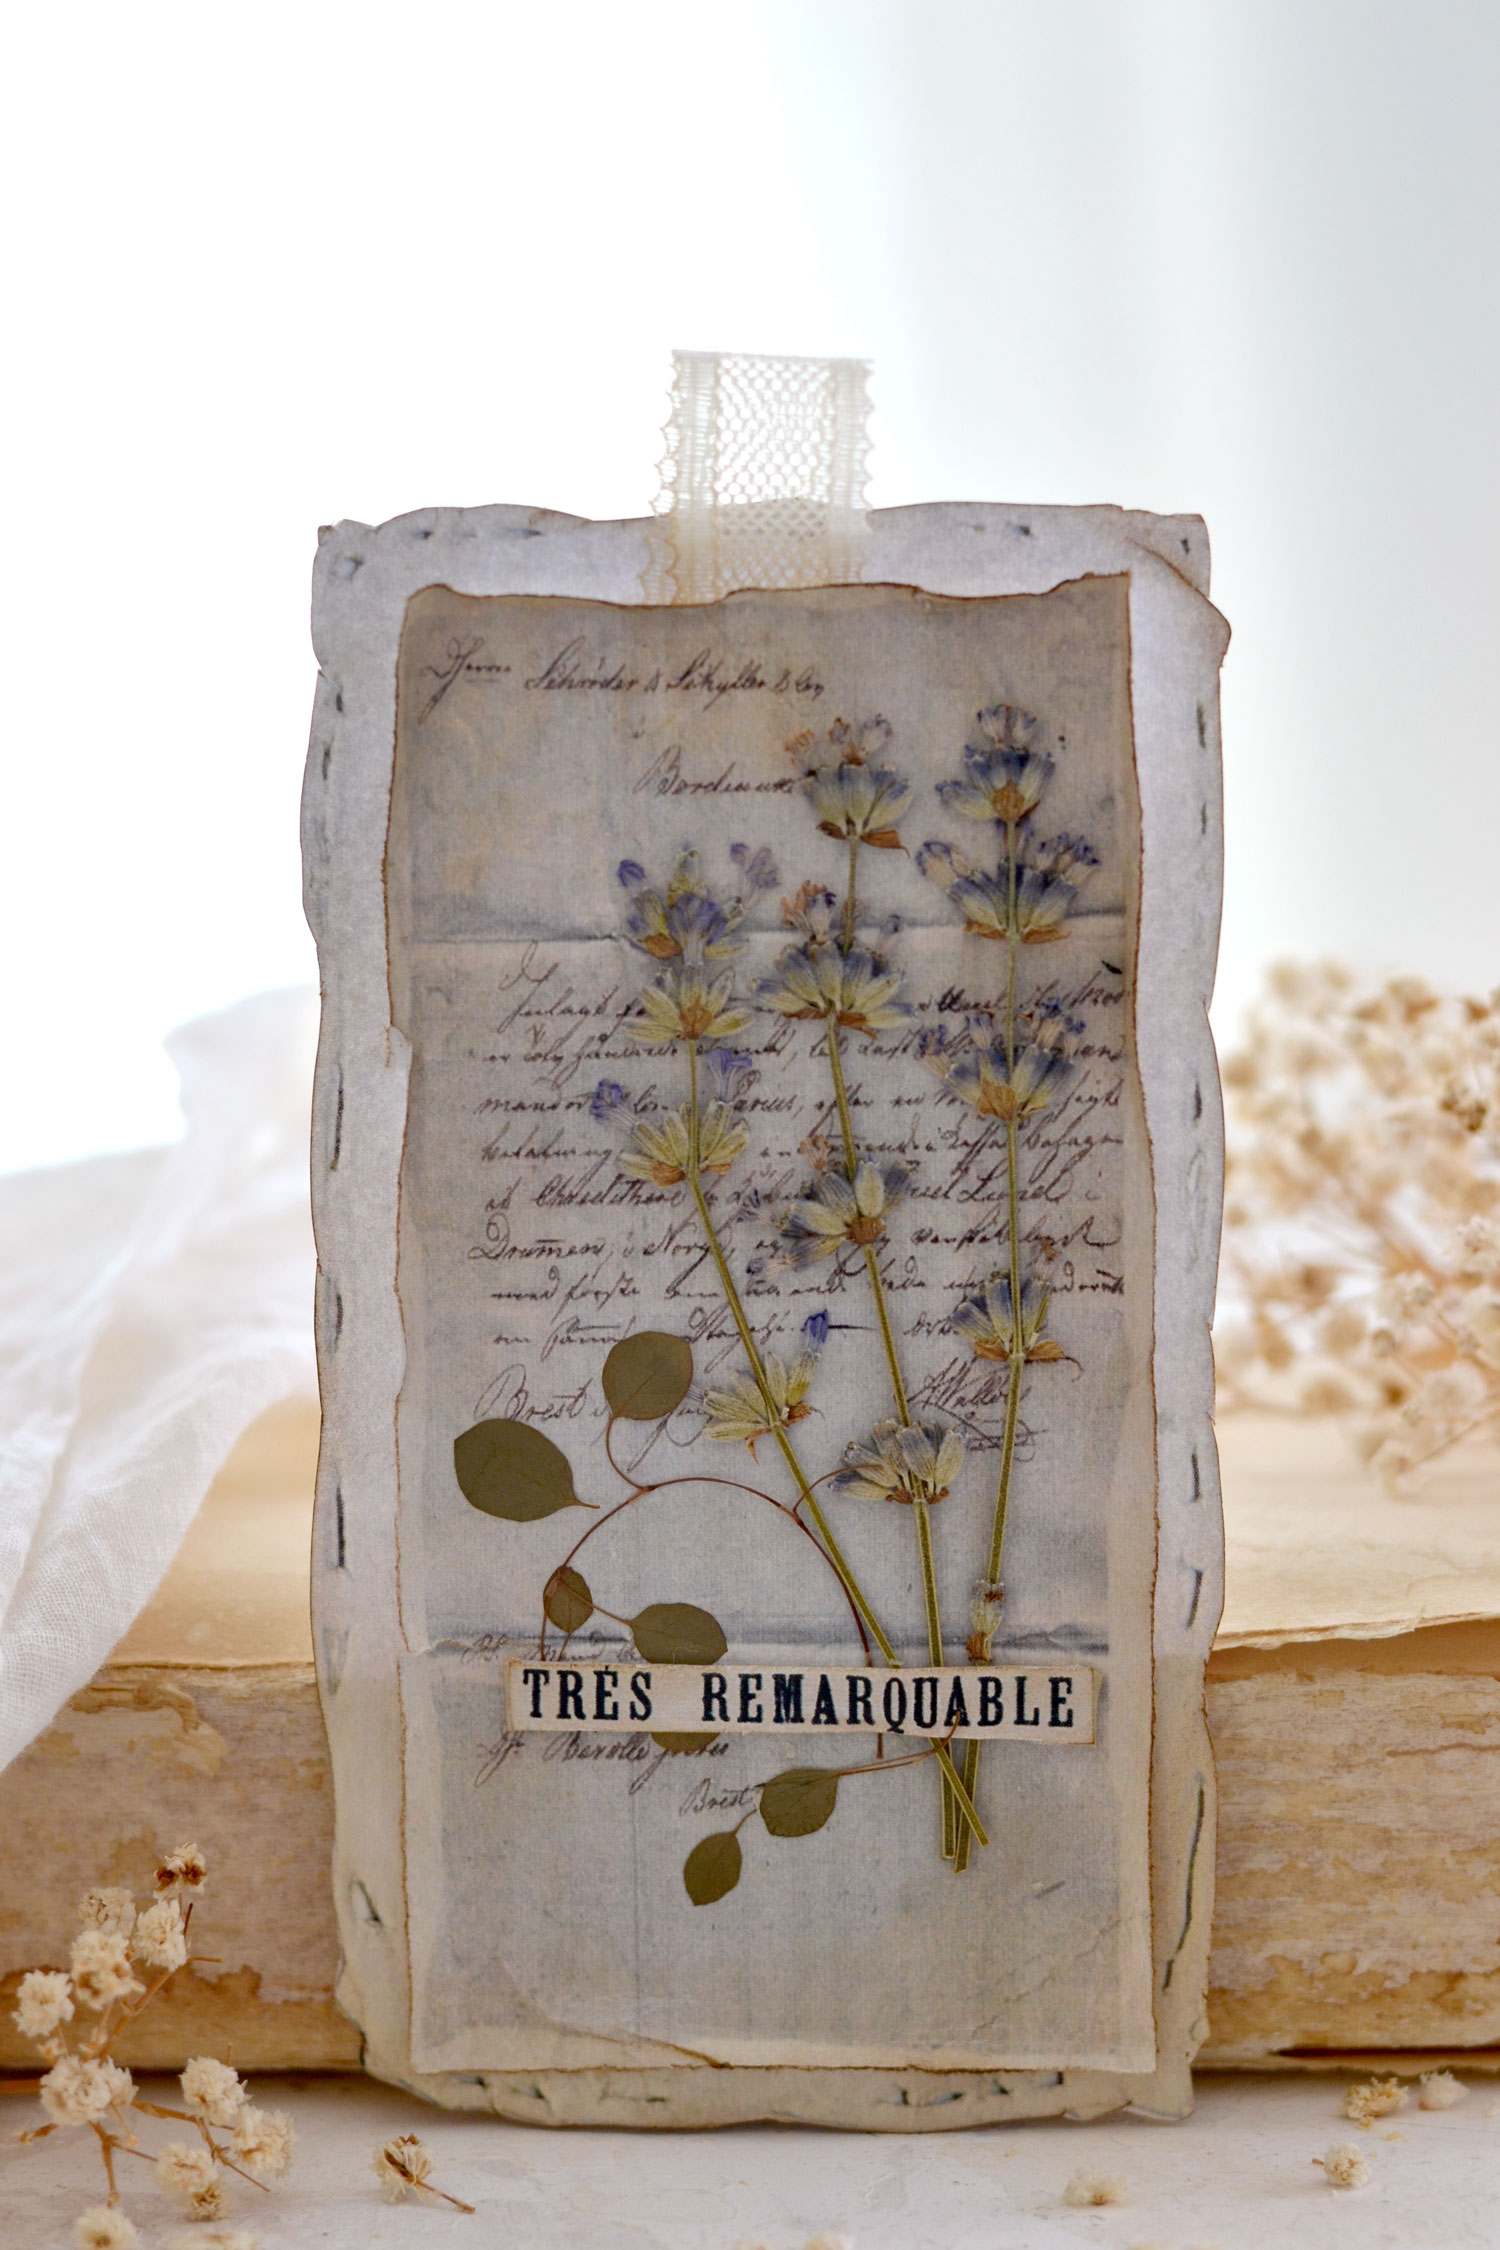
You can move things around until you get something that you truly love and when you are happy with how they look, you can start gluing them. For the lavender tag, I picked a few pressed lavender flowers and then I used a little bit of glue on their backs to adhere them to the tags. You can follow this step to adhere as many individual flowers as you want!
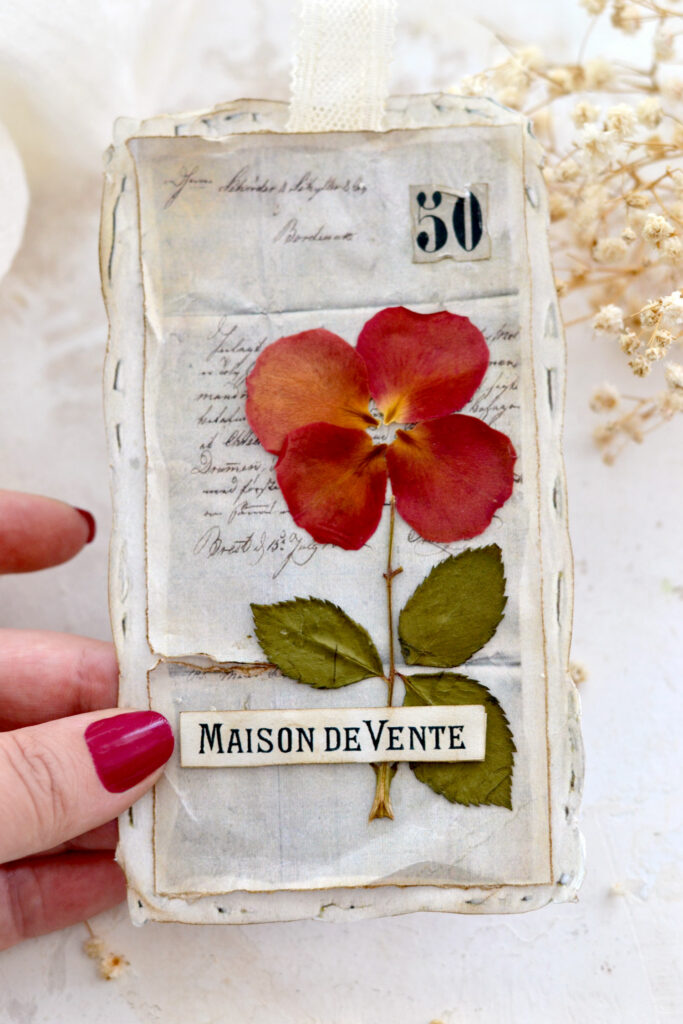
Or you can choose to create small flower compositions, using pressed flowers and leaves from your stash. And if you’re feeling adventurous, you can use individual red rose petals and some leaves to create … a brand-new type of flower!
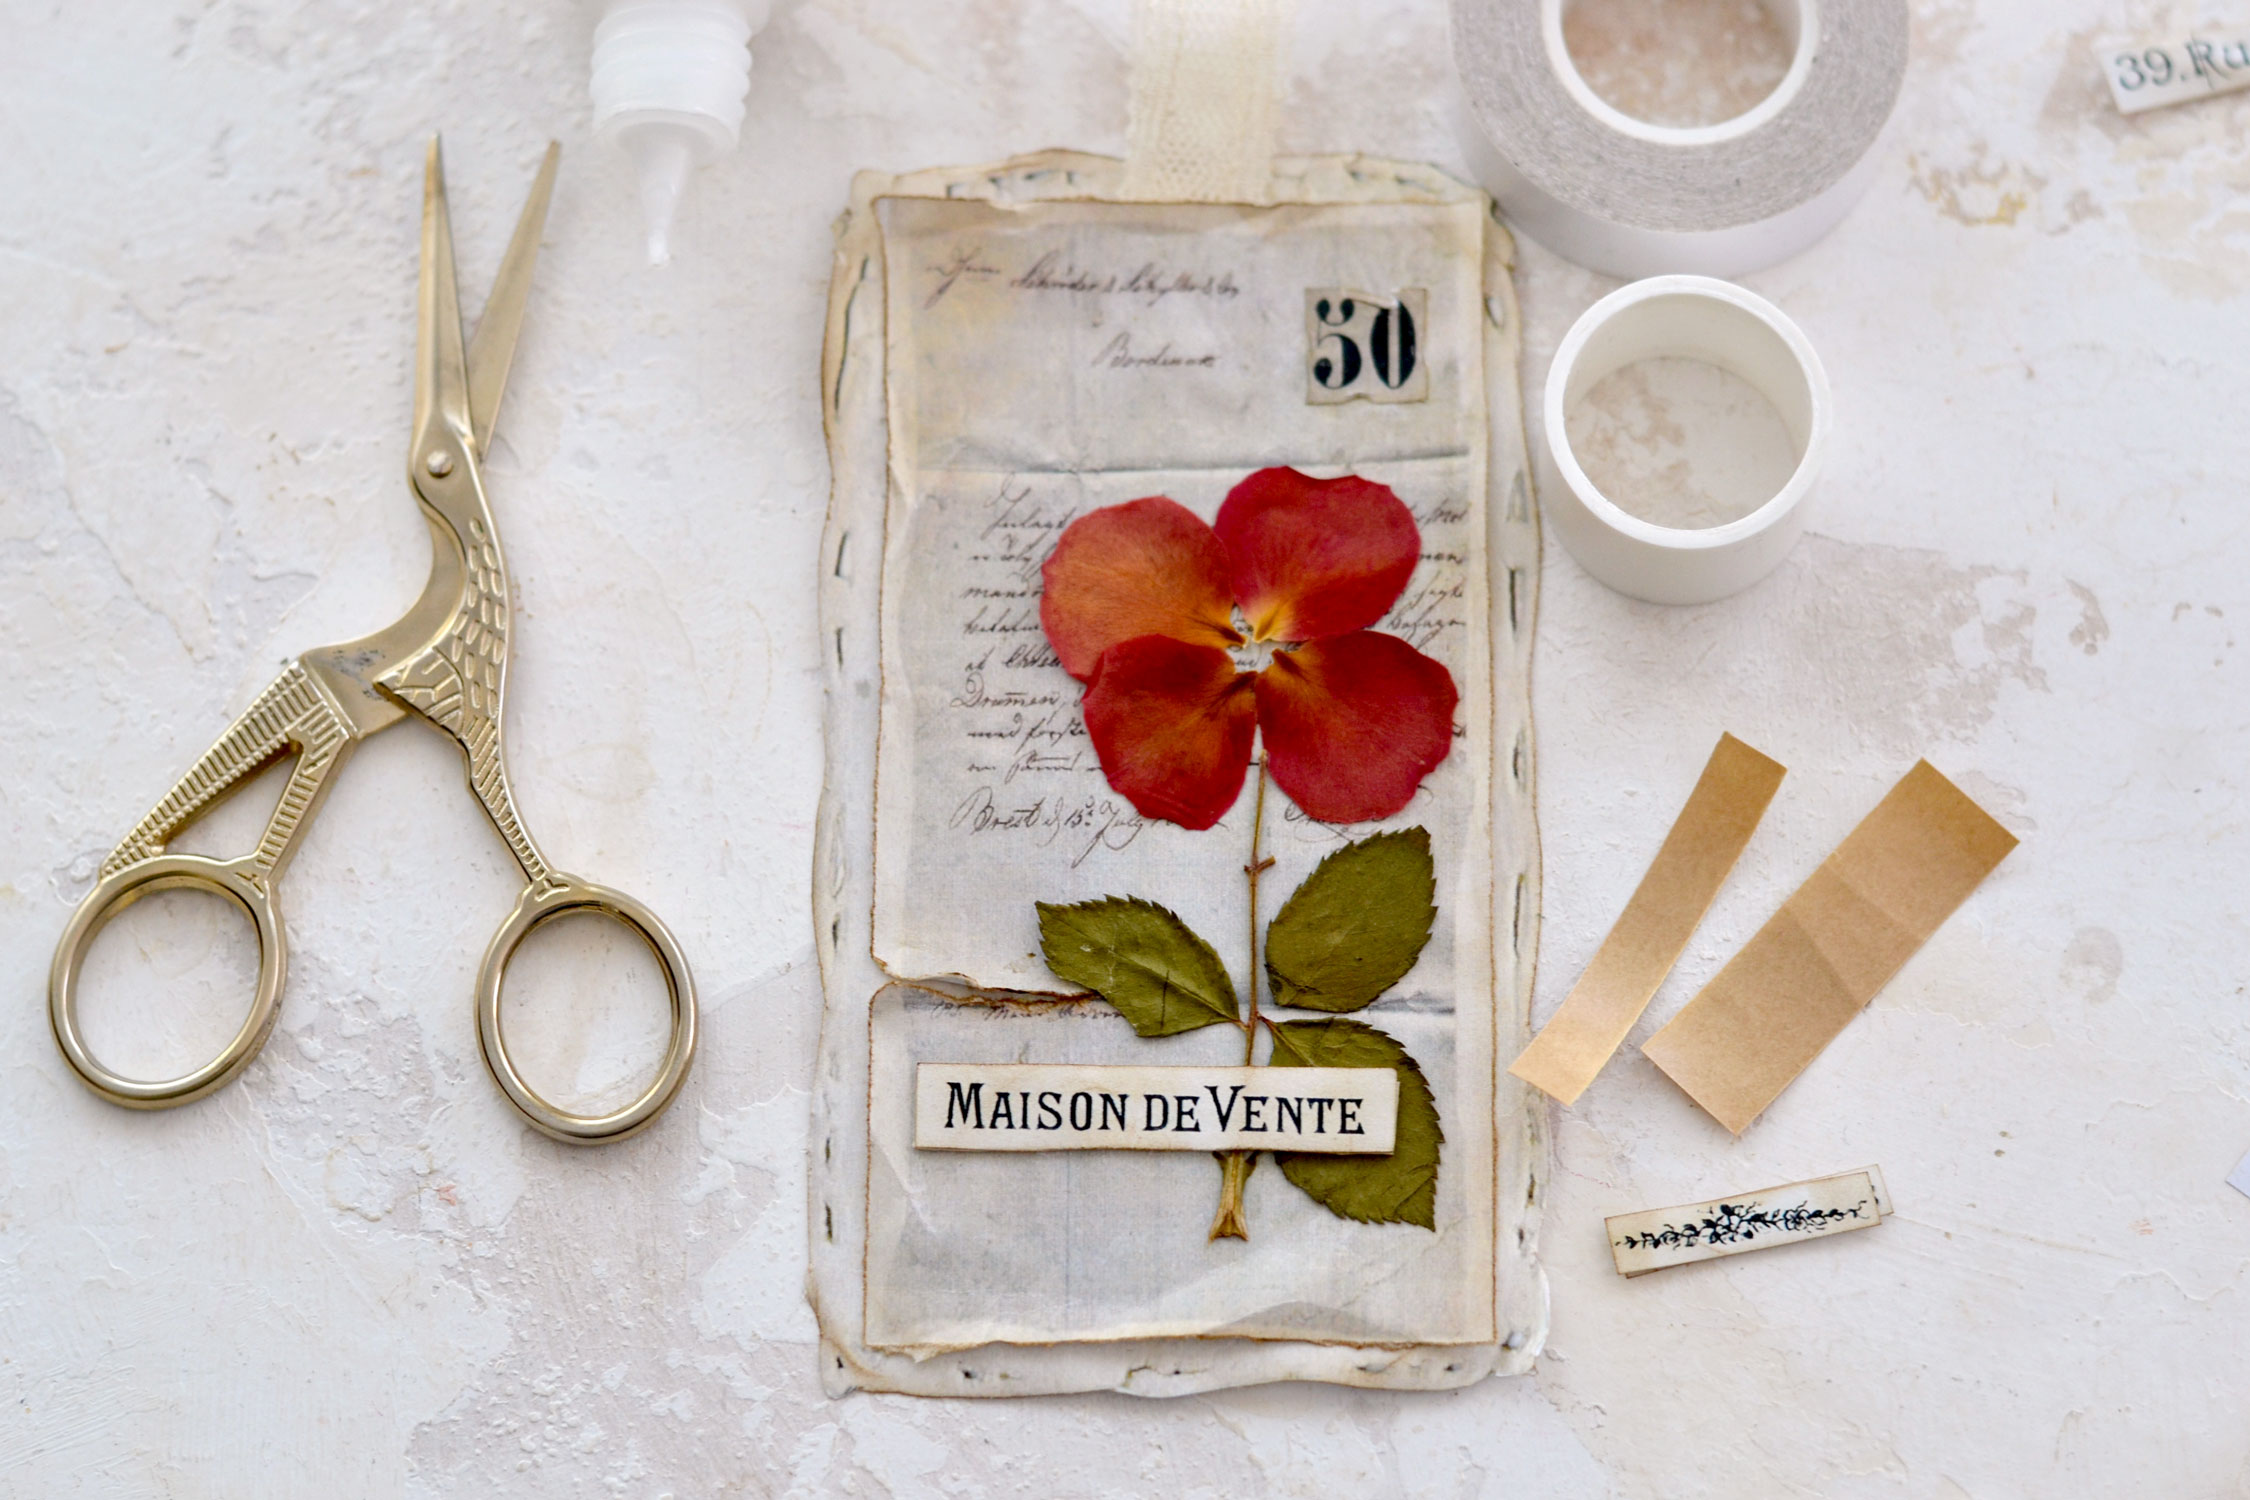
I really love how my new red-rose-that-looks-like-a-pansy turned out! As you can see, I had a small incident with one of the leaves, but I used a small part from another leaf to fix it afterward.
Next, you can use some double-sided foam tape to adhere one of the beautiful French ephemera cutouts from the free printable. This will add even more charm, but also a little bit of dimension to the tags.
Get as creative as you want with these beauties, you will see that it doesn’t really matter if you choose colored or neutral pressed flowers for your tags, they will turn out gorgeous nonetheless!
My pressed flowers, even though quite delicate, still had a little bit of volume and were easy to handle with my fingers. But for some more delicate dried flowers, you might need to use a tweezer.
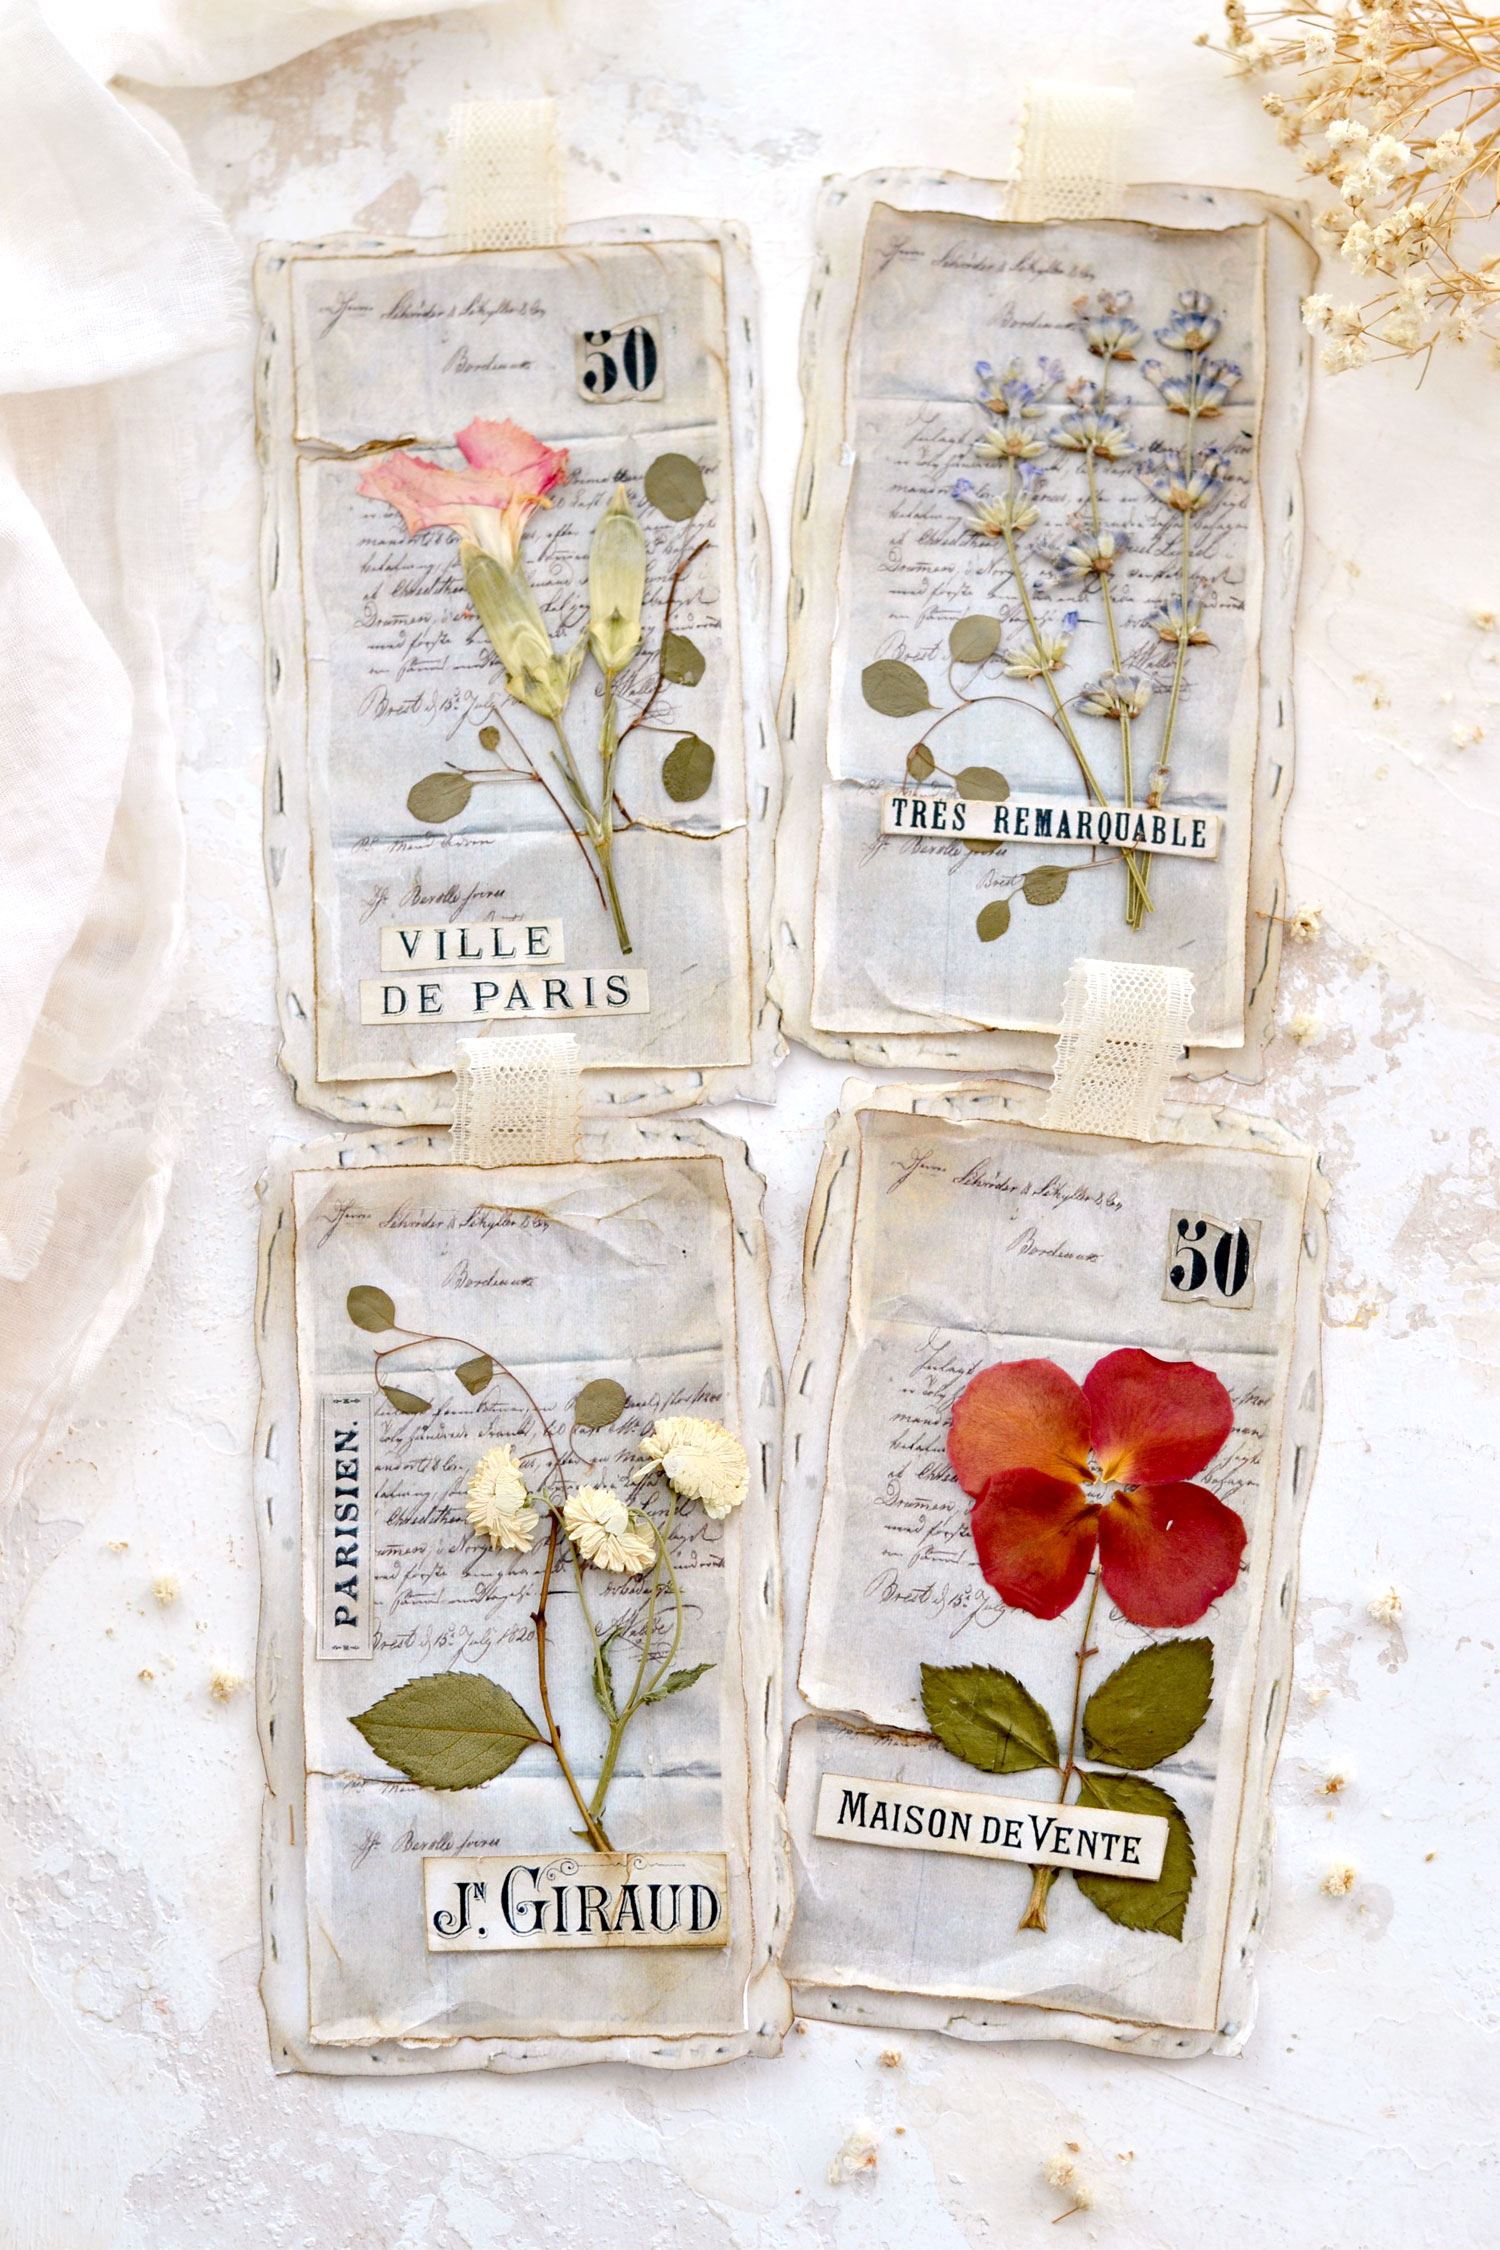
Can you believe how gorgeous they all turned out? I feel pressed flowers can give room for endless experimenting while creating something truly unique!
If you feel like further decorating the tags, you can! At this point I decided to keep things simple, I just loved their delicate, organic feel!
When it comes to using the tags, you will be able to match the colors of the flowers with specific pages in your junk journal to create a cohesive color scheme.
Or you can just keep things to a minimum when it comes to colors and choose more of a neutral vibe, I feel like these gorgeous white flowers would look simply amazing everywhere!
I forgot to mention that I used regular paper to print the tags, I feel like regular paper distresses so much better than cardstock, but if you prefer, you can definitely use the latter for your tags!
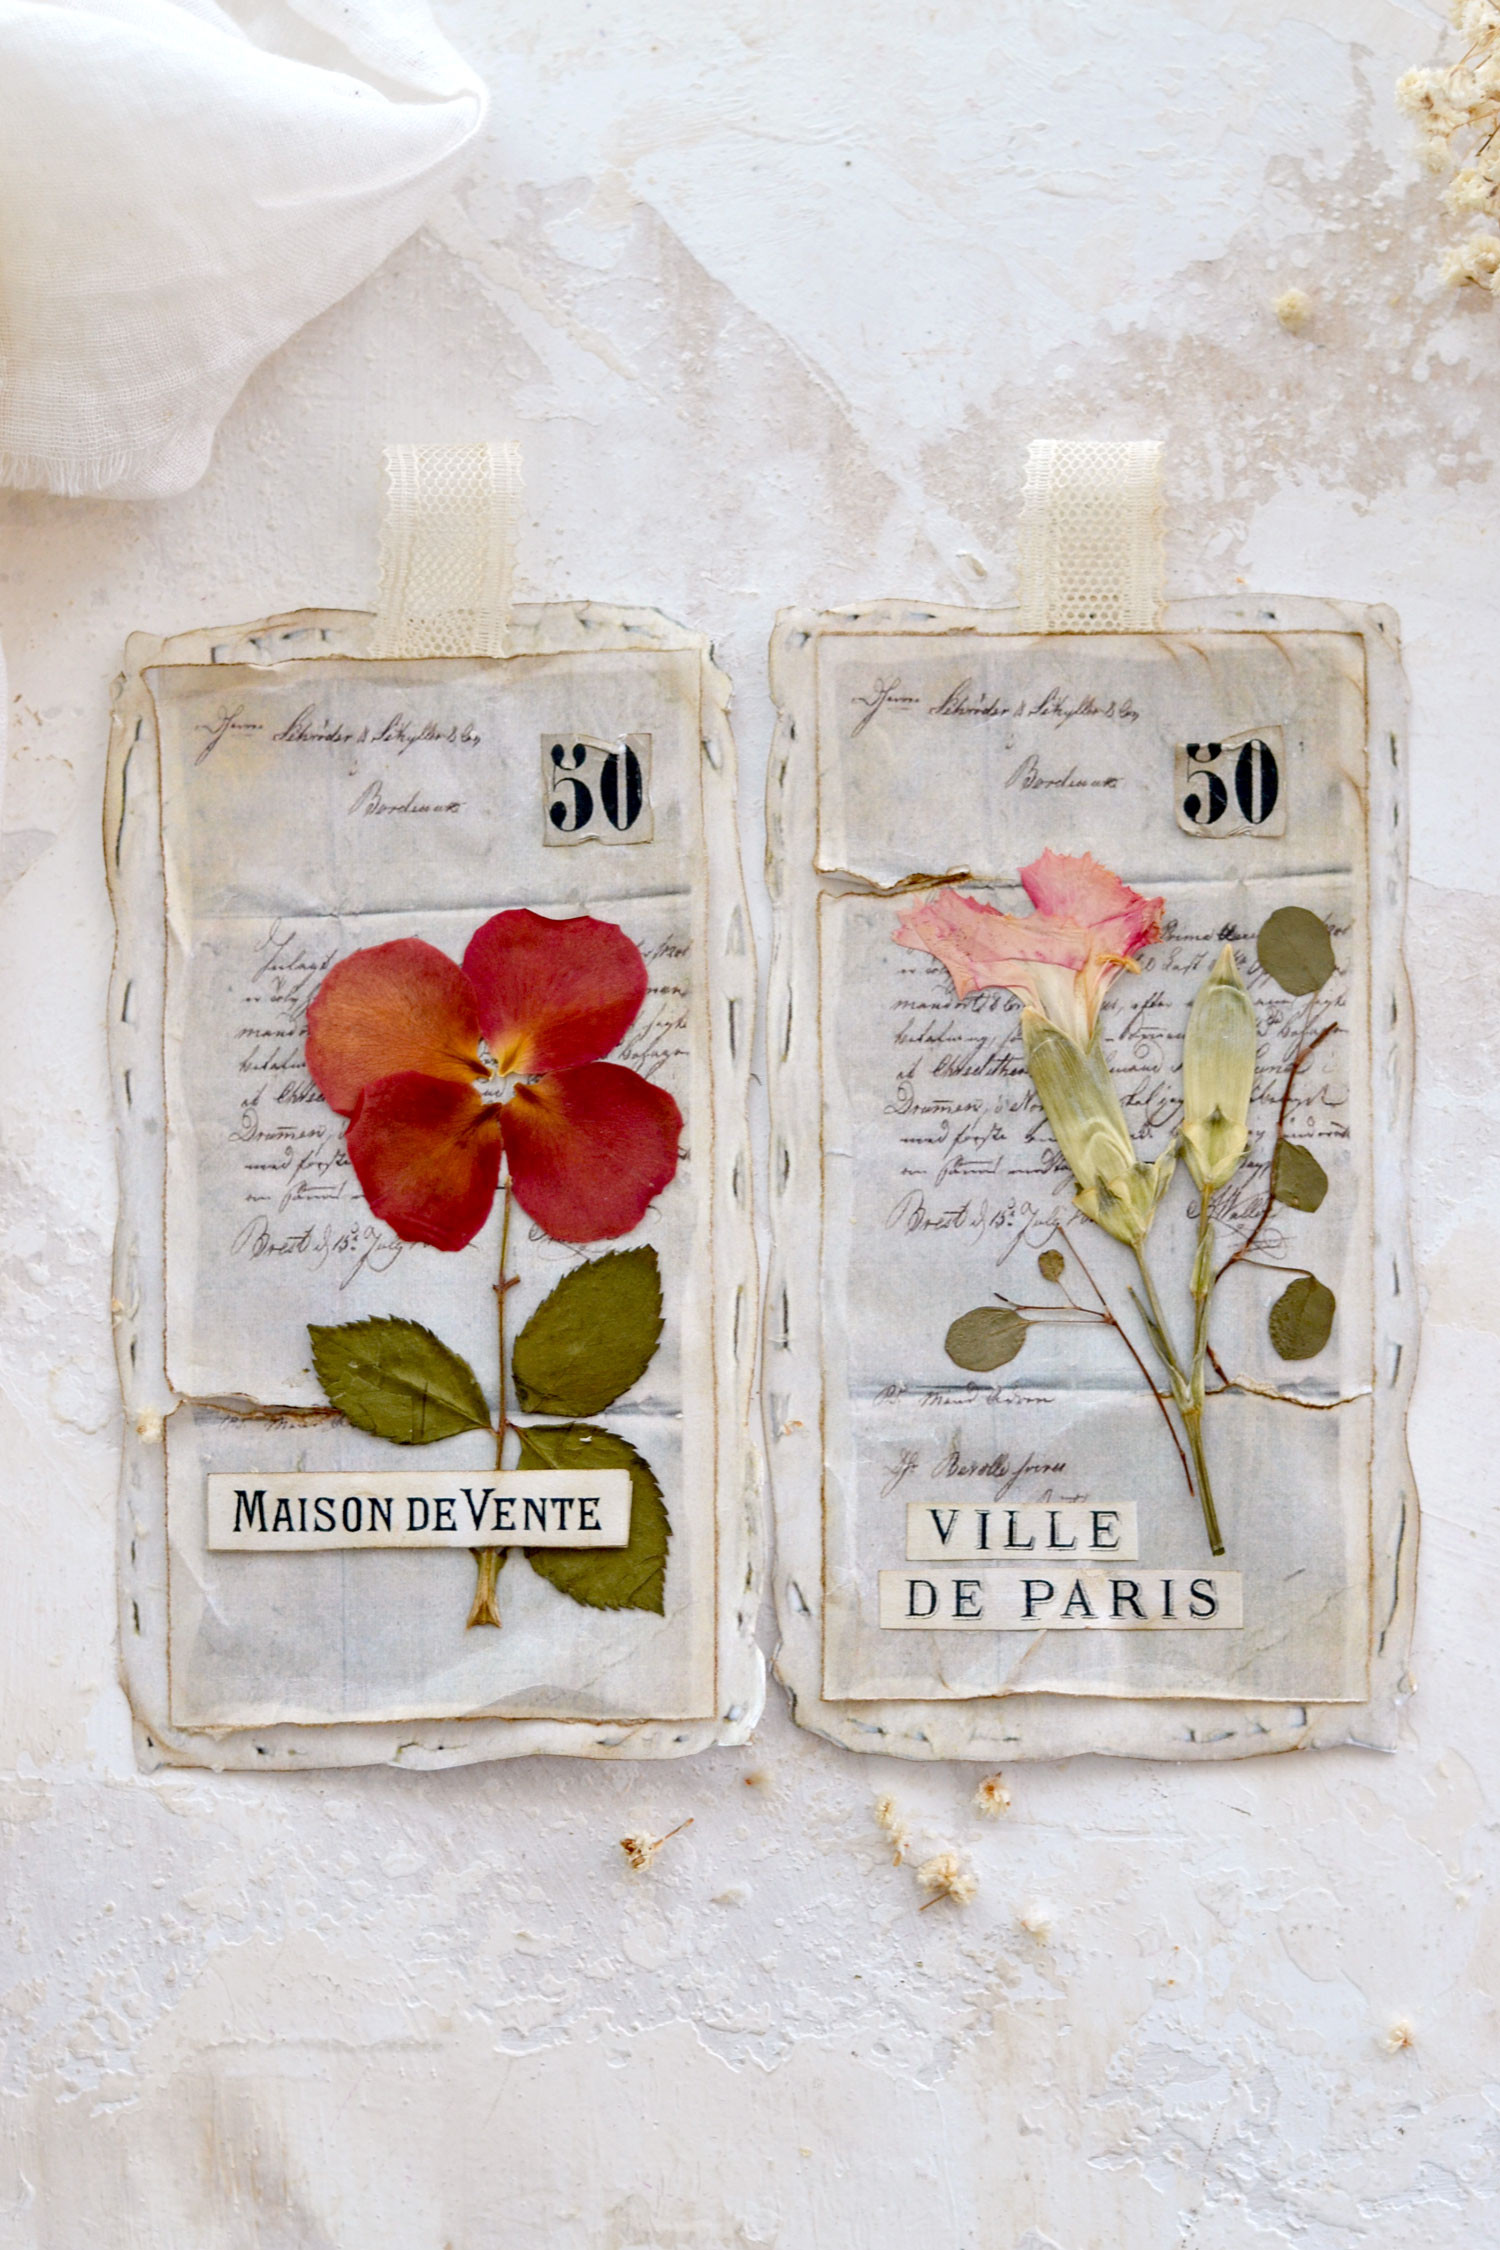
The tags would make THE perfect companion for beautifully wrapped gifts! Mom and Grandma would definitely appreciate a gift presented with a lovely tag like this for their birthdays, but I feel these are pretty universal and could perfectly complement any other special occasion too.
Our gorgeous pressed flower tags with a Frenchified vibe would also make the prettiest mini signs for your home! Just place them in strategic areas around your home or hang them by your drawers to add a touch of whimsy here and there!
As you can see, I added some maiden’s hair leaves on somef the tags as part of the composition, I feel they bring so much beauty and delicacy to the final pieces.
I made a few small changes to the initial French ephemera cutouts, I found they were a little bit too large for our tags after printing them, so I had to slightly resize them afterward.
The finished pieces will be quite delicate, just as pressed flowers usually are, so if you want, you could try spraying a thin coat of a matte acrylic spray to make them more durable. Just make a few tests on a scrap piece before, to see how they would look.
I had so much fun creating and photographing this sweet little DIY pressed flower project for you, so I hope you will love it too and decide to give it a try!
 You might also like another beautiful Pressed Flower Project HERE.
Happy crafting,
Diana | by Dreams Factory












Kathy says
Thanks so much; can’t wait to try this!
Karen Watson says
Yay! Happy crafting Kathy!
Desie Poston says
I so love this 😀 thank you for sharing. I’m not good at downloading Graphic Fairy things to print but this was soooo easy . Thanks a million ! Desie
Karen Watson says
Yay! Have fun making these pretty pieces Desie!
Lori Smanski says
oh but thank you so much. I am growing all kinds of flowers this year and plan on having so much fun pressing and putting on cards for next year. thanks so much for the step by step process. I remember using a special sand many years ago. it was messy but they came out lovely. this sounds so much easier.
Karen Watson says
I’m so glad you enjoyed Diana’s lovely project Lori. Pressed Flowers are so pretty to create with. That is wonderful that you have your own supply to press right in your garden!