Easter Card DIY
Hello Graphics Fairy friends! I’m Diana from Dreams Factory and I’m happy to be here again to share another DIY project with you! Today I will show you how to make this gorgeous Easter Cards DIY, with adorable gold touches. These colorful beauties are perfect for Easter gifting, they will instantly bring joy to anyone receiving them.
The cards have a super chic, absolutely beautiful design, but what makes them truly unique are the gold foil eggs. So I hope you are ready to make the cards but also do a little bit of Easter egg decorating! I promise the whole process is fun! Using gold foil is always so rewarding, not only when applying the foil but also when admiring your shiny pieces when finished.
Free Printable
You can find below the two printables that I created for this project.
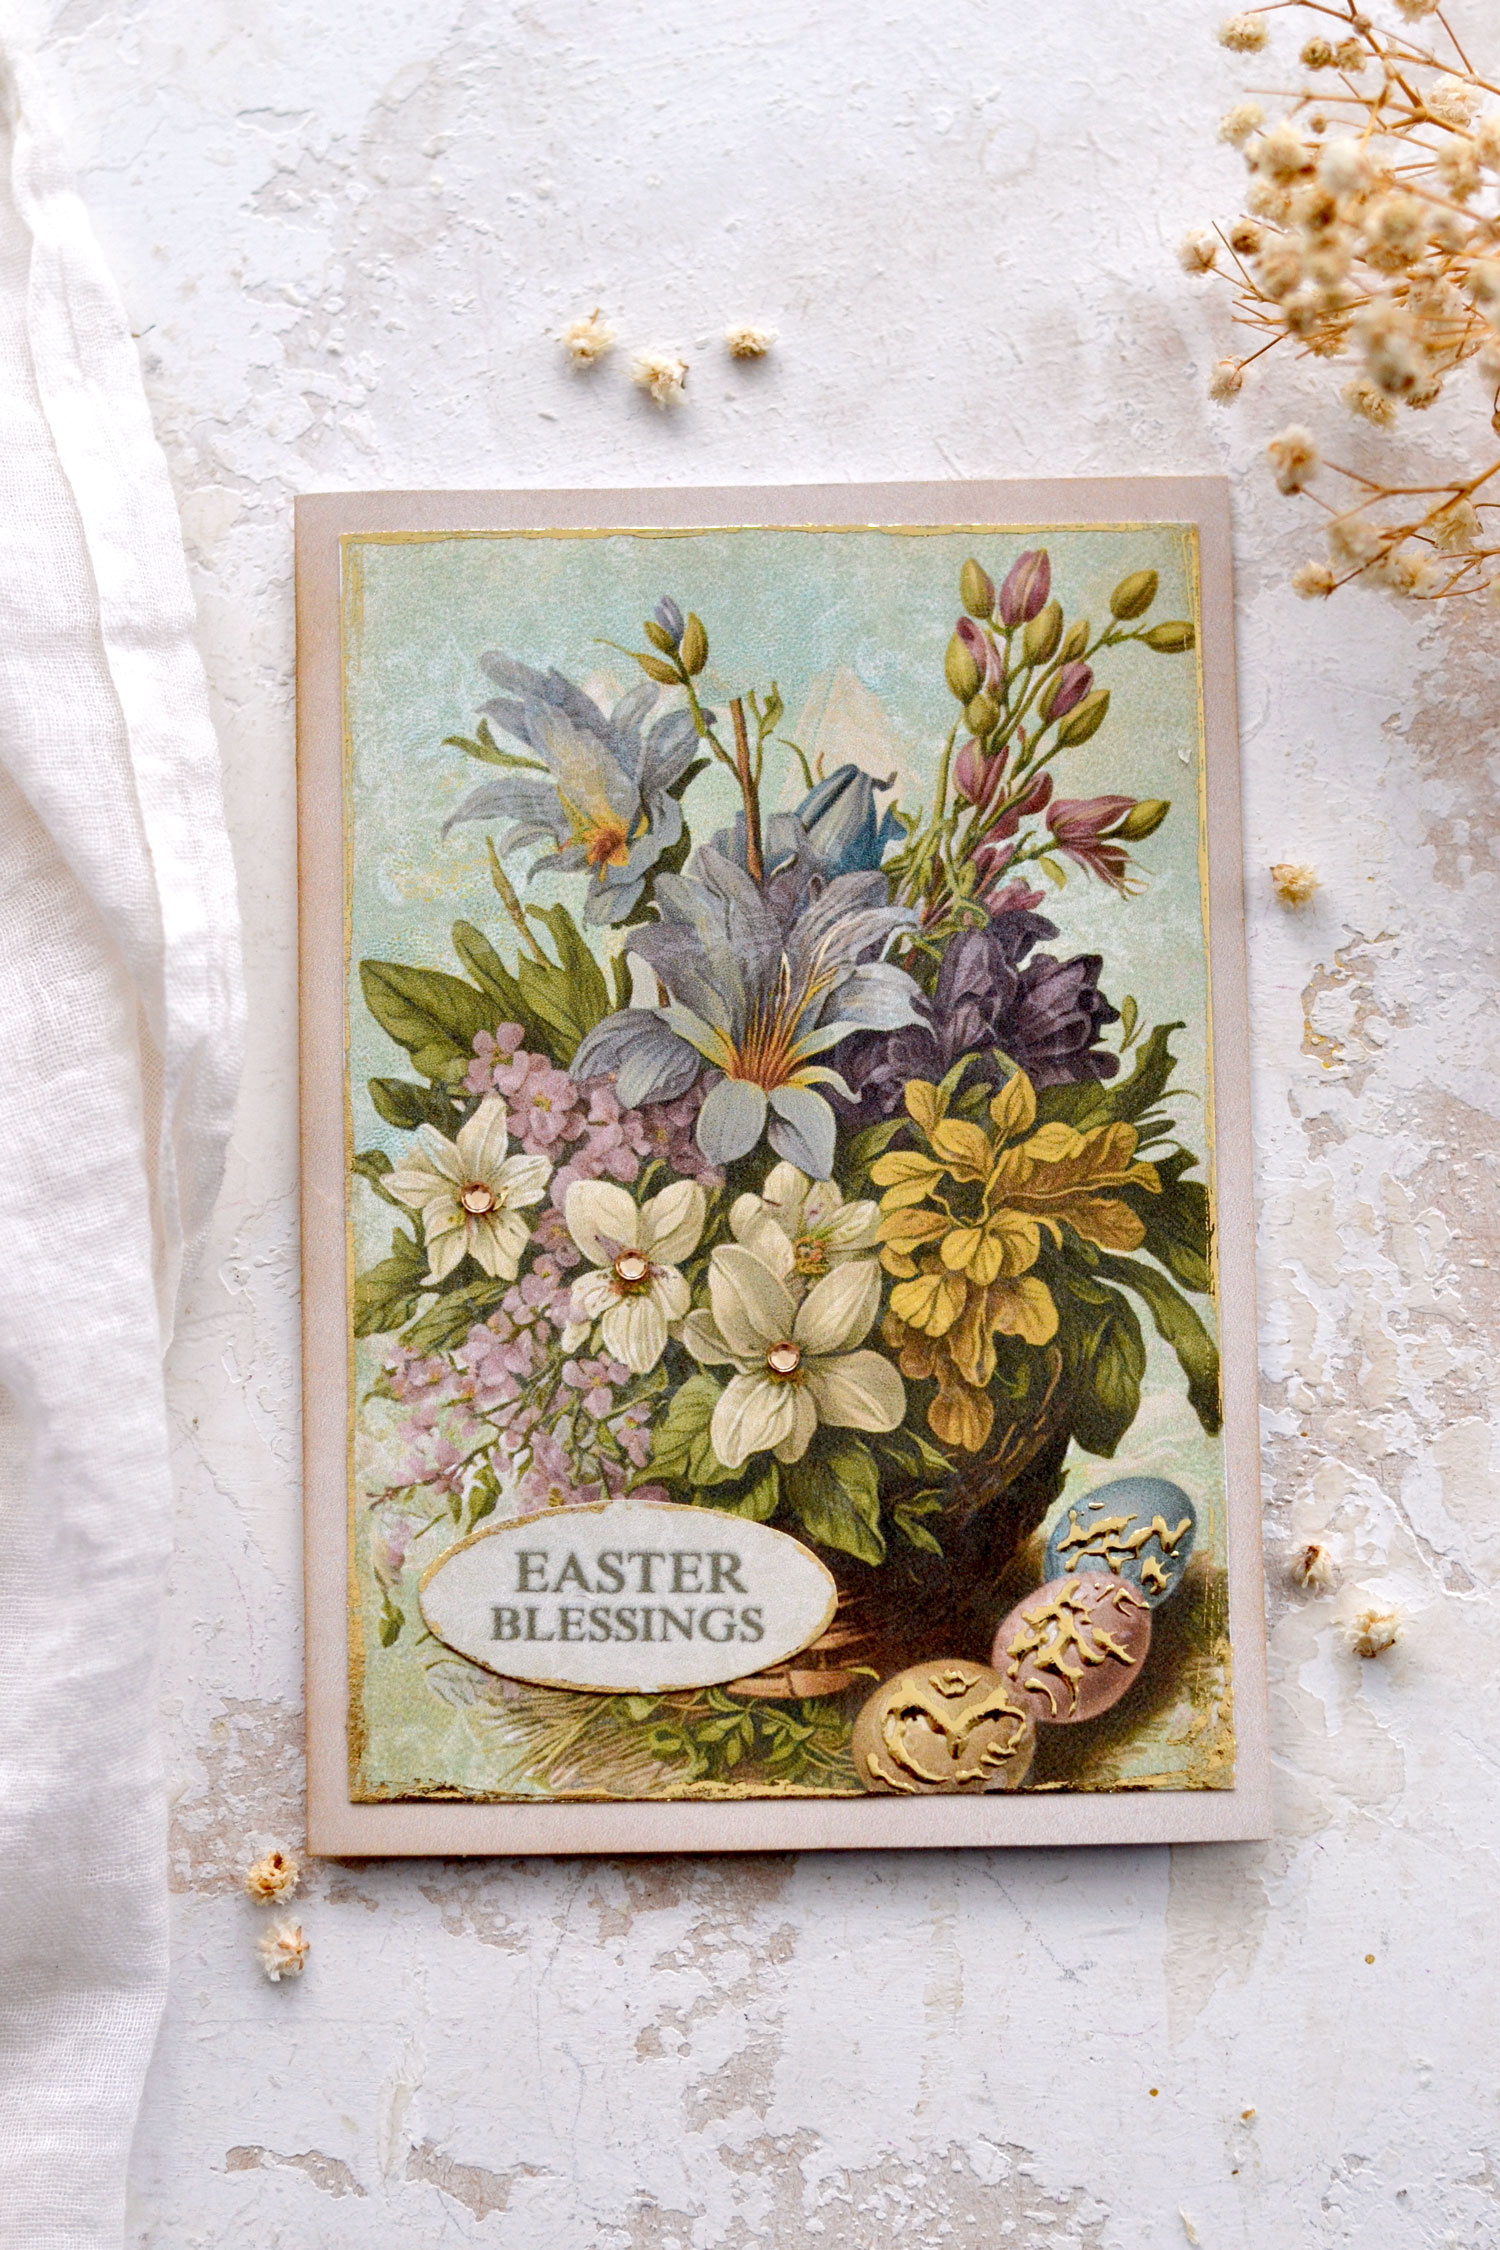
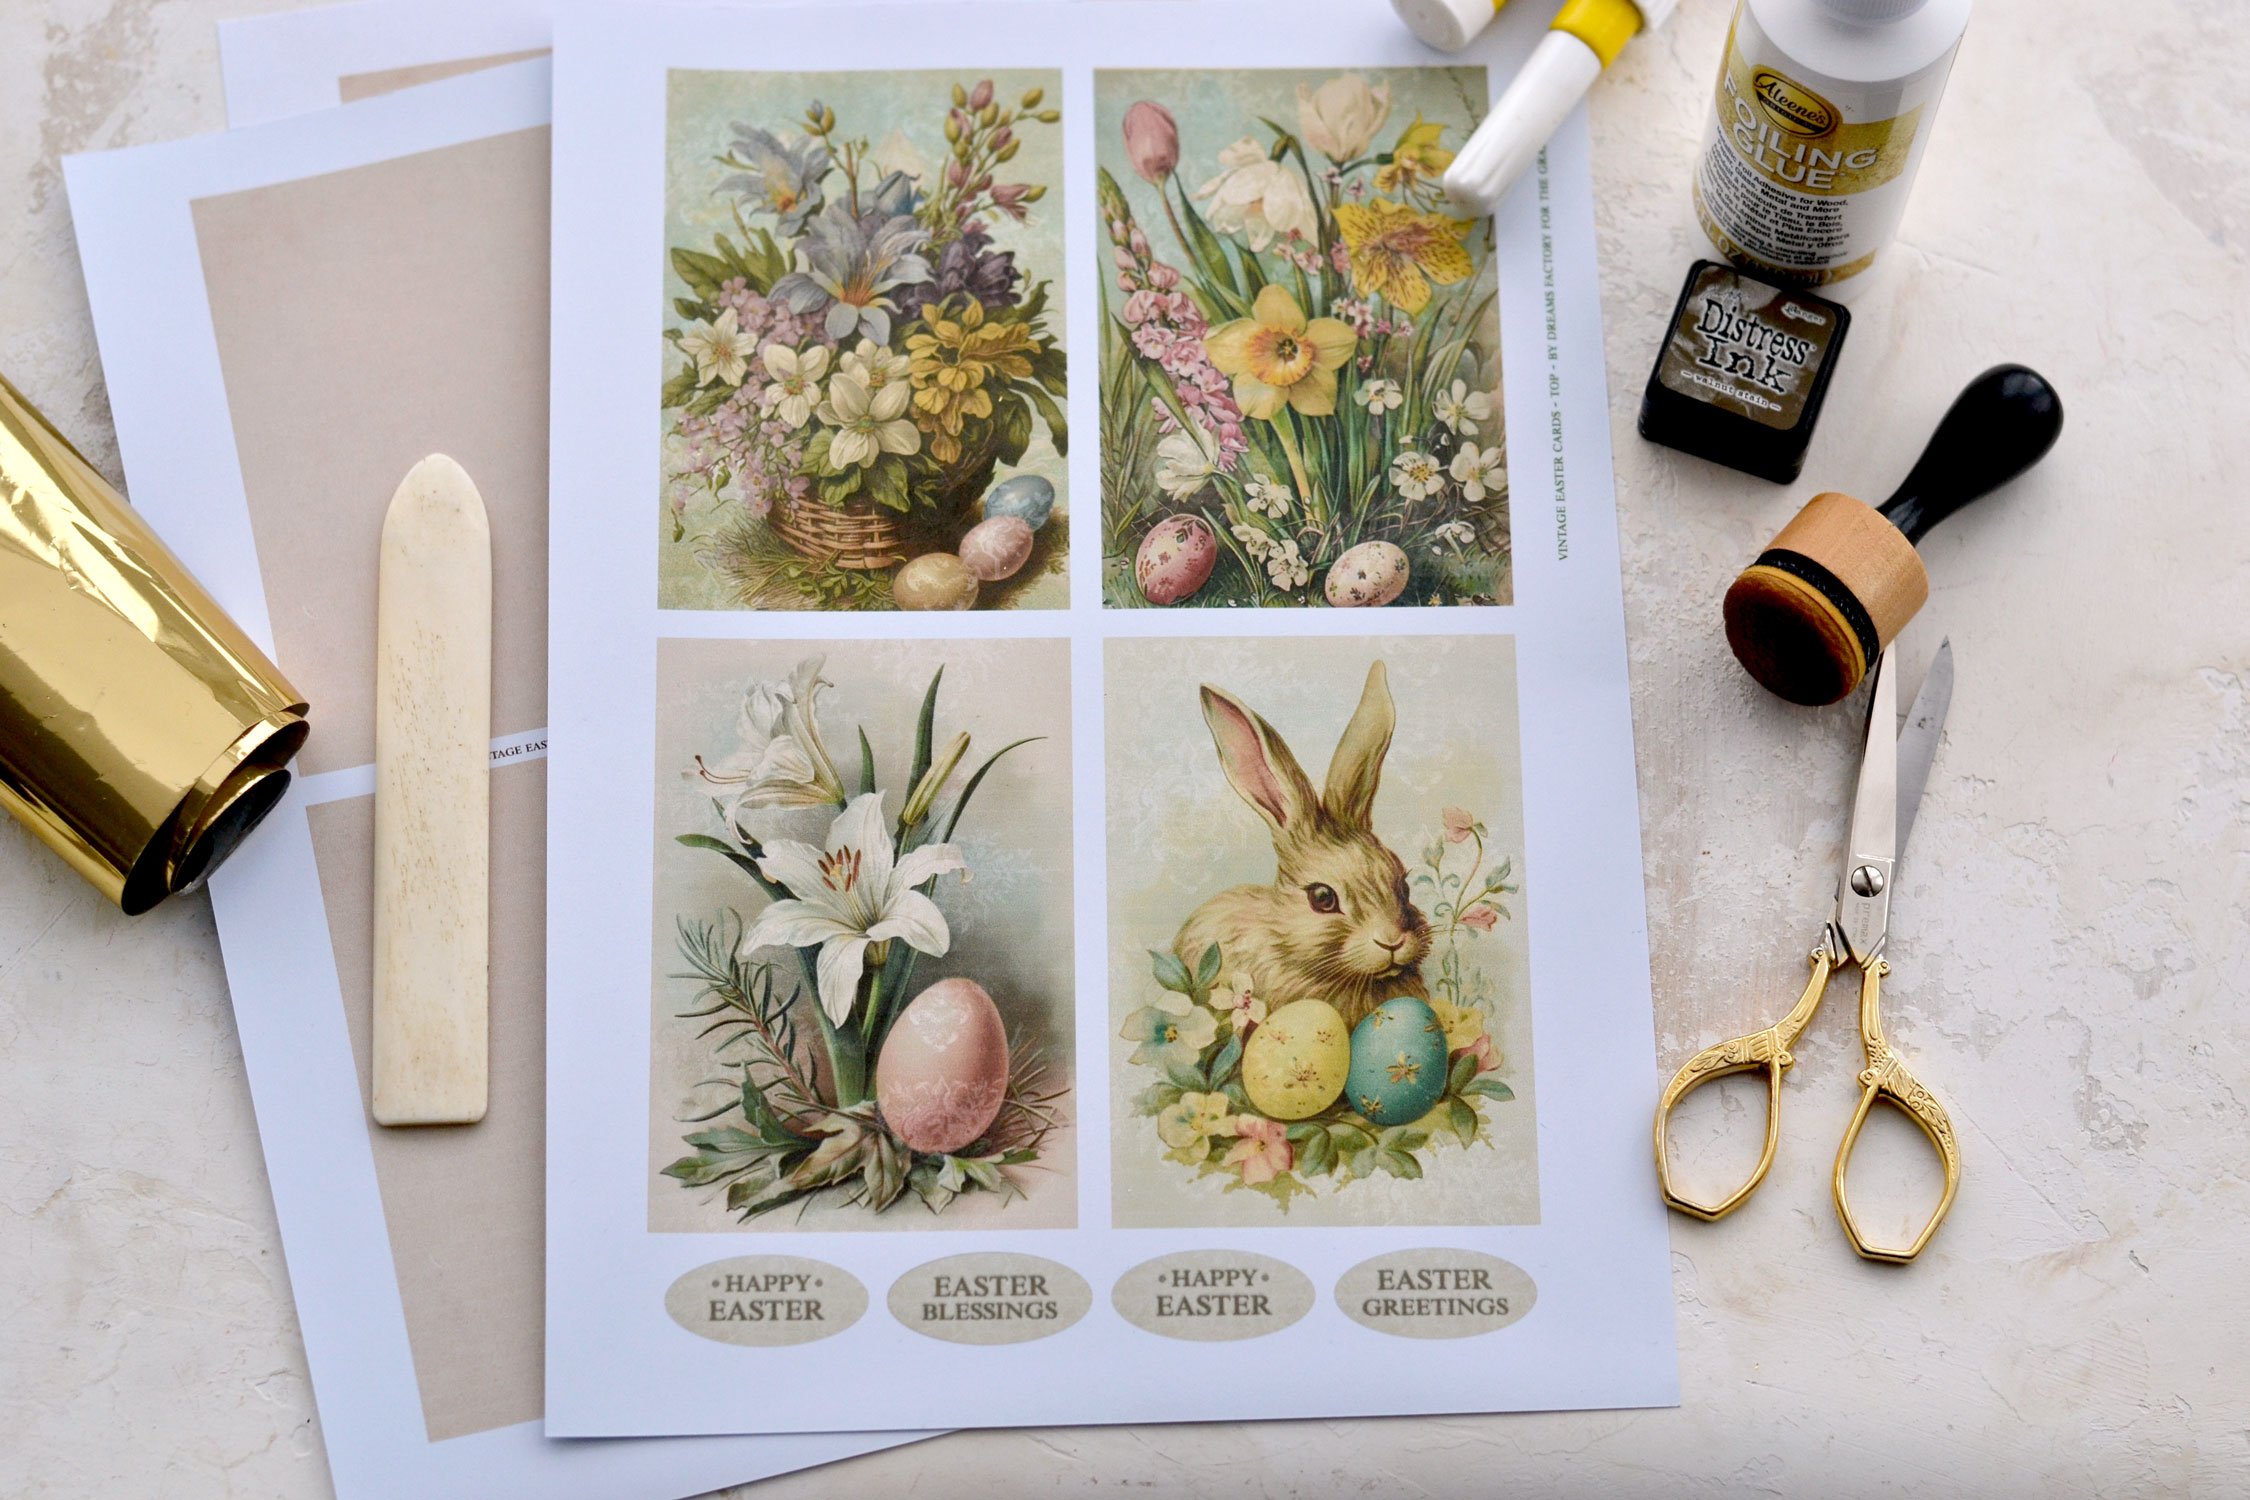
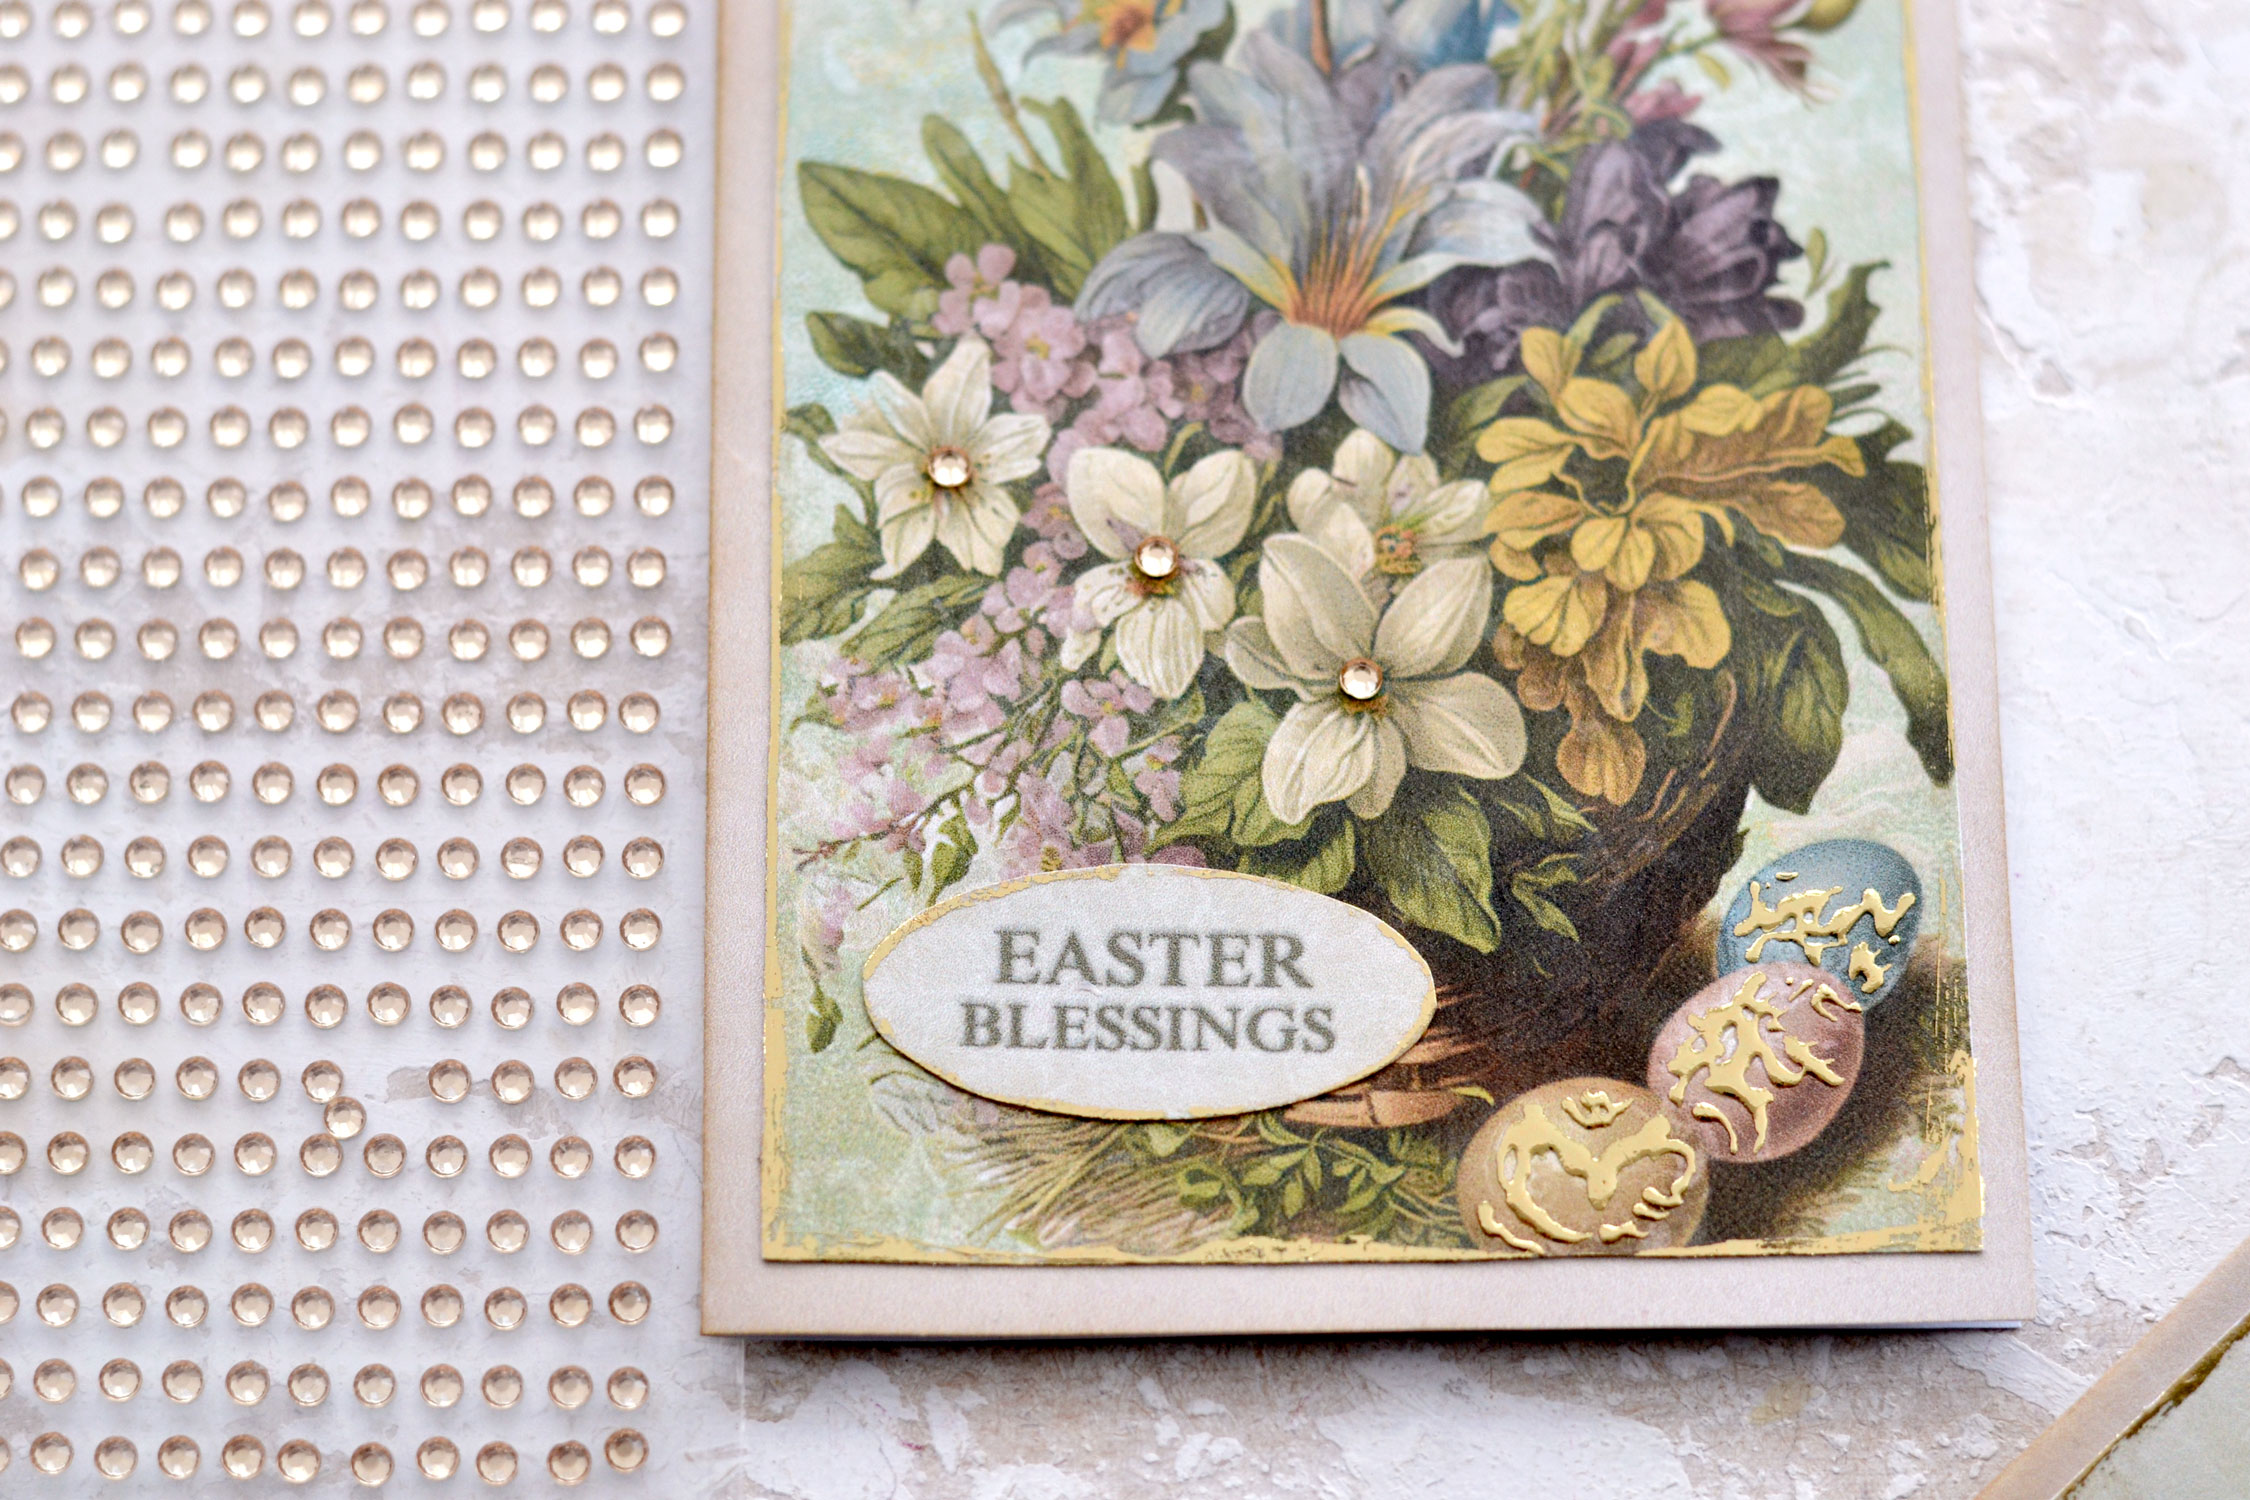
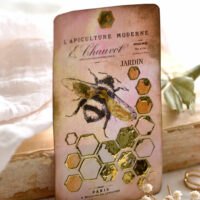
The first one includes the top of the cards with our beautiful flowers and some amazing Easter egg designs. I added a lovely vintage texture background to each of our cards to create a vintage feel and make them even more charming. I also pre-decorated the eggs that were blank with a white design that almost looks like lace. If you are in a hurry, you can keep the design as it is and just use the cards, but if you have the time, I would strongly suggest adding the gold foil on top.
You’ll also find on this printable a few oval Easter wishes embellishments that can be used to further decorate the cards.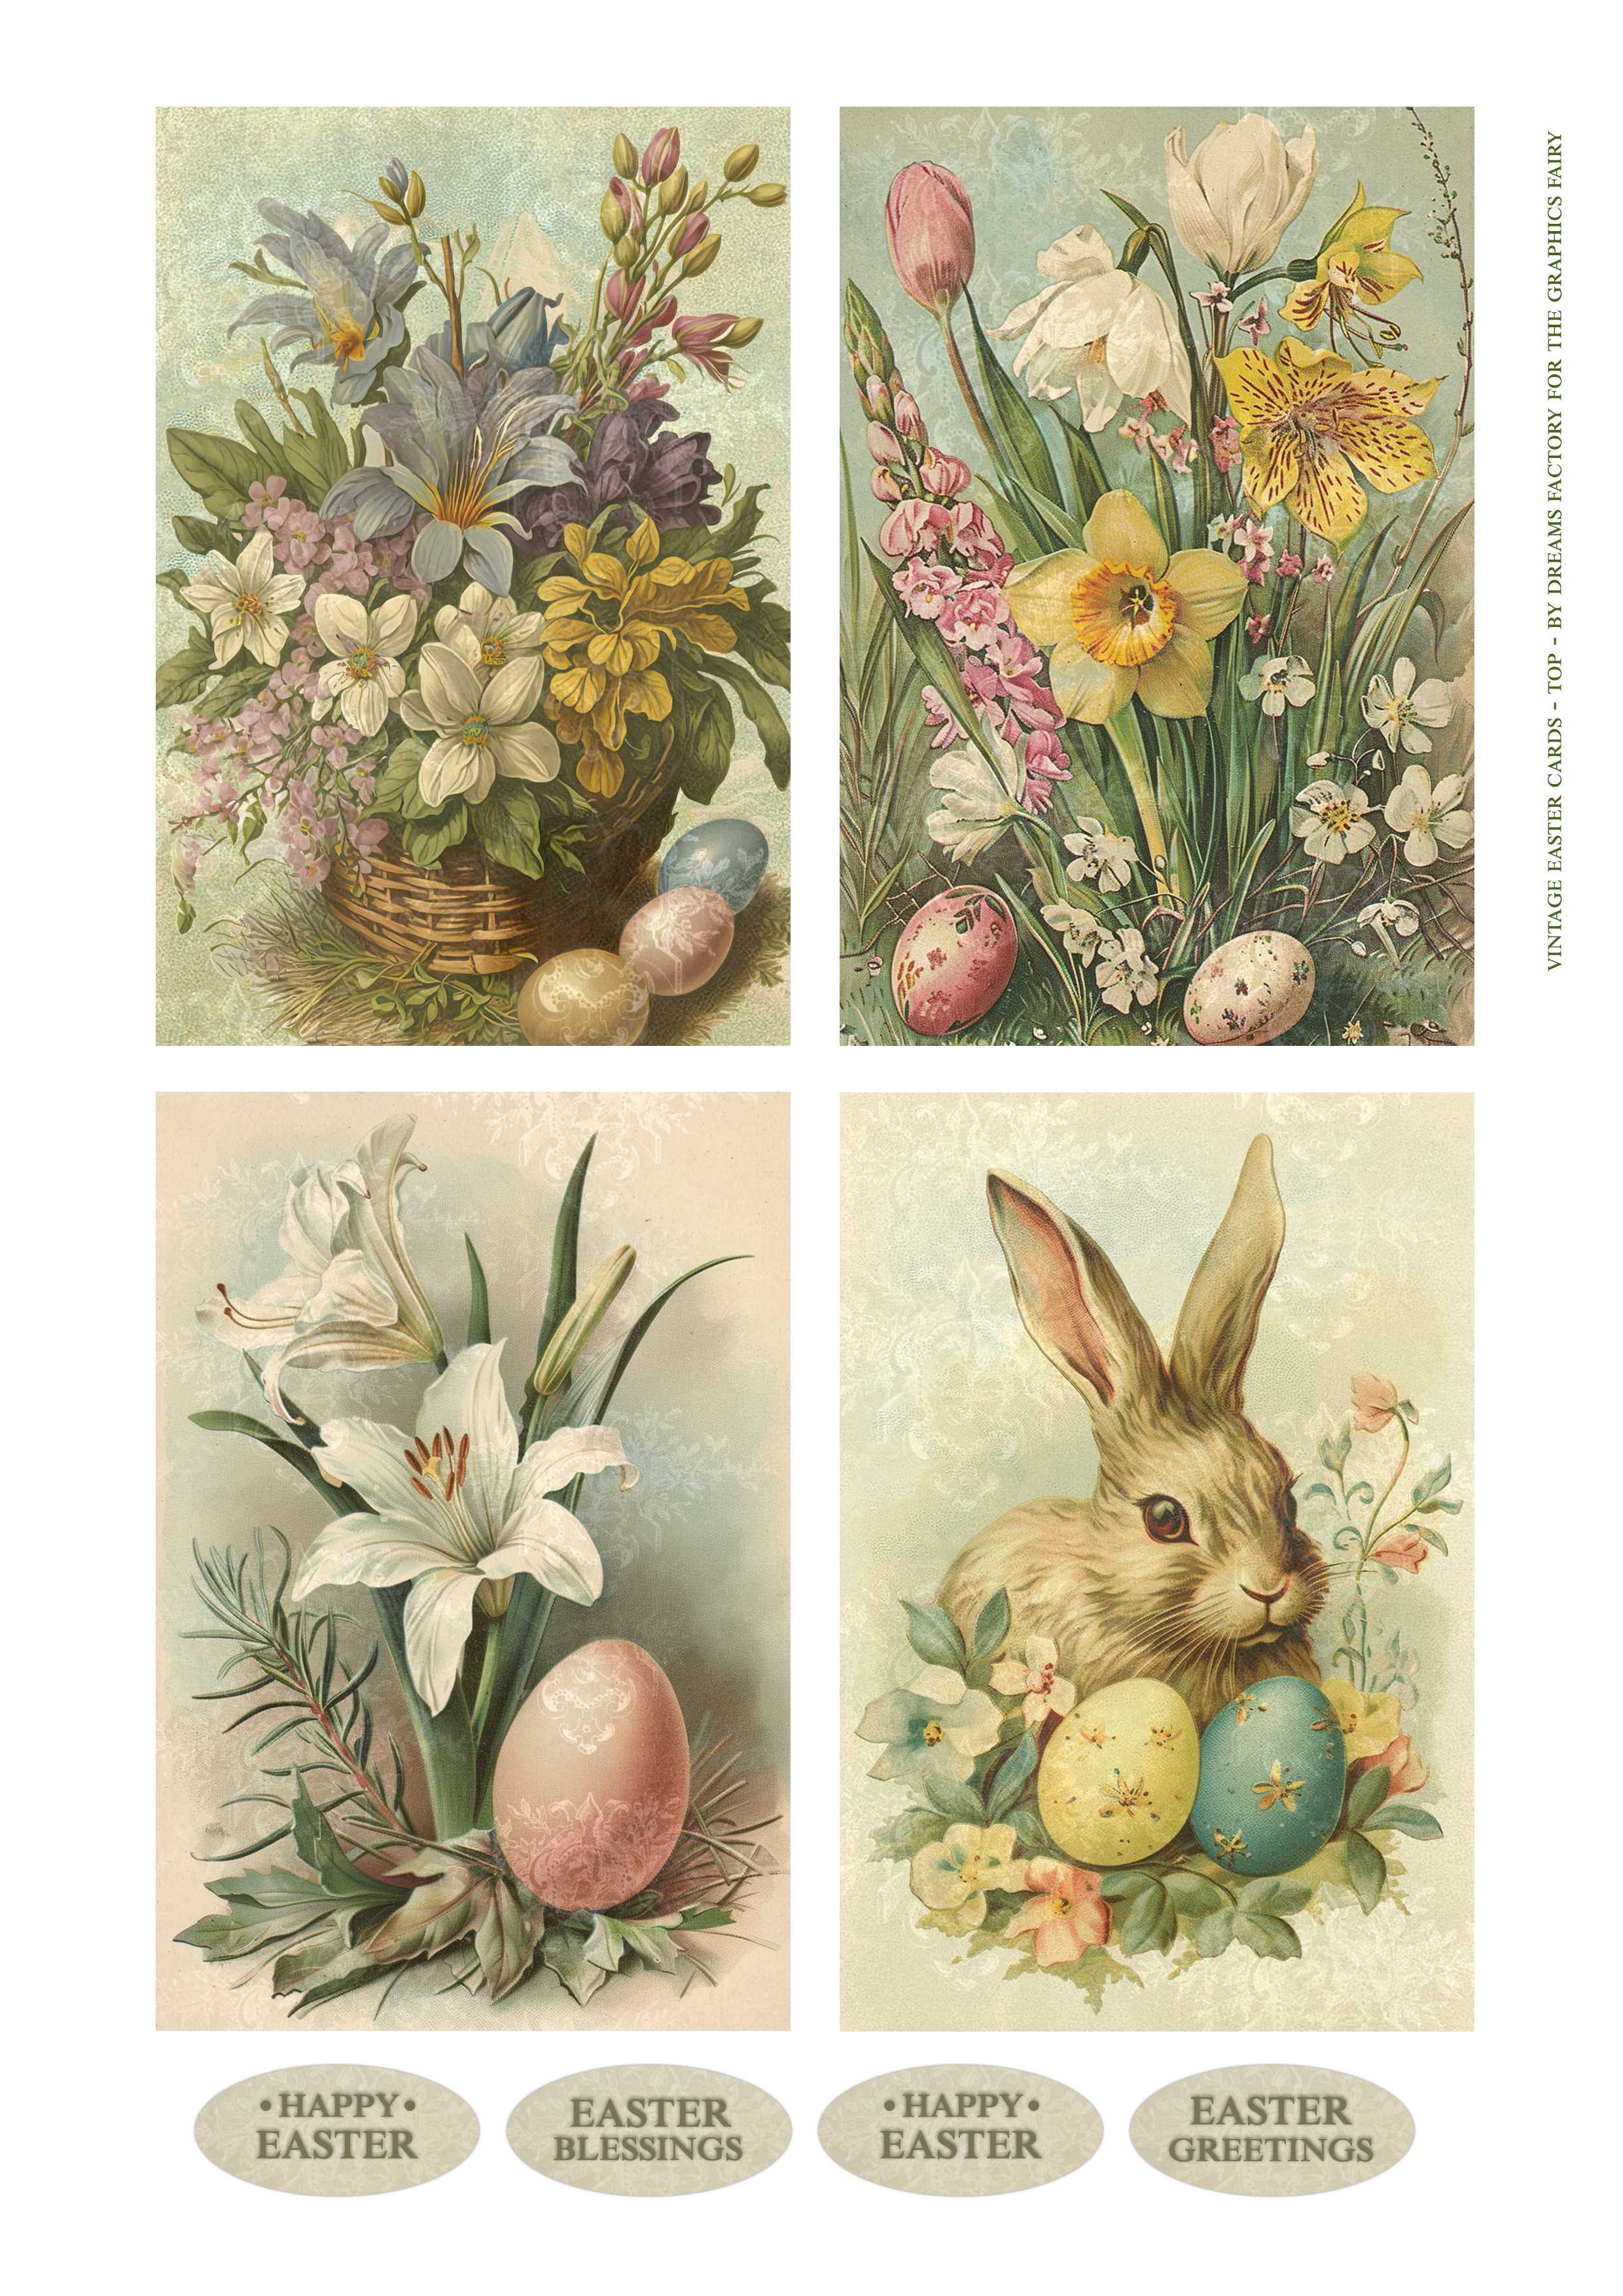
—-> Click HERE to Download the Full Size Printable PDF <—-
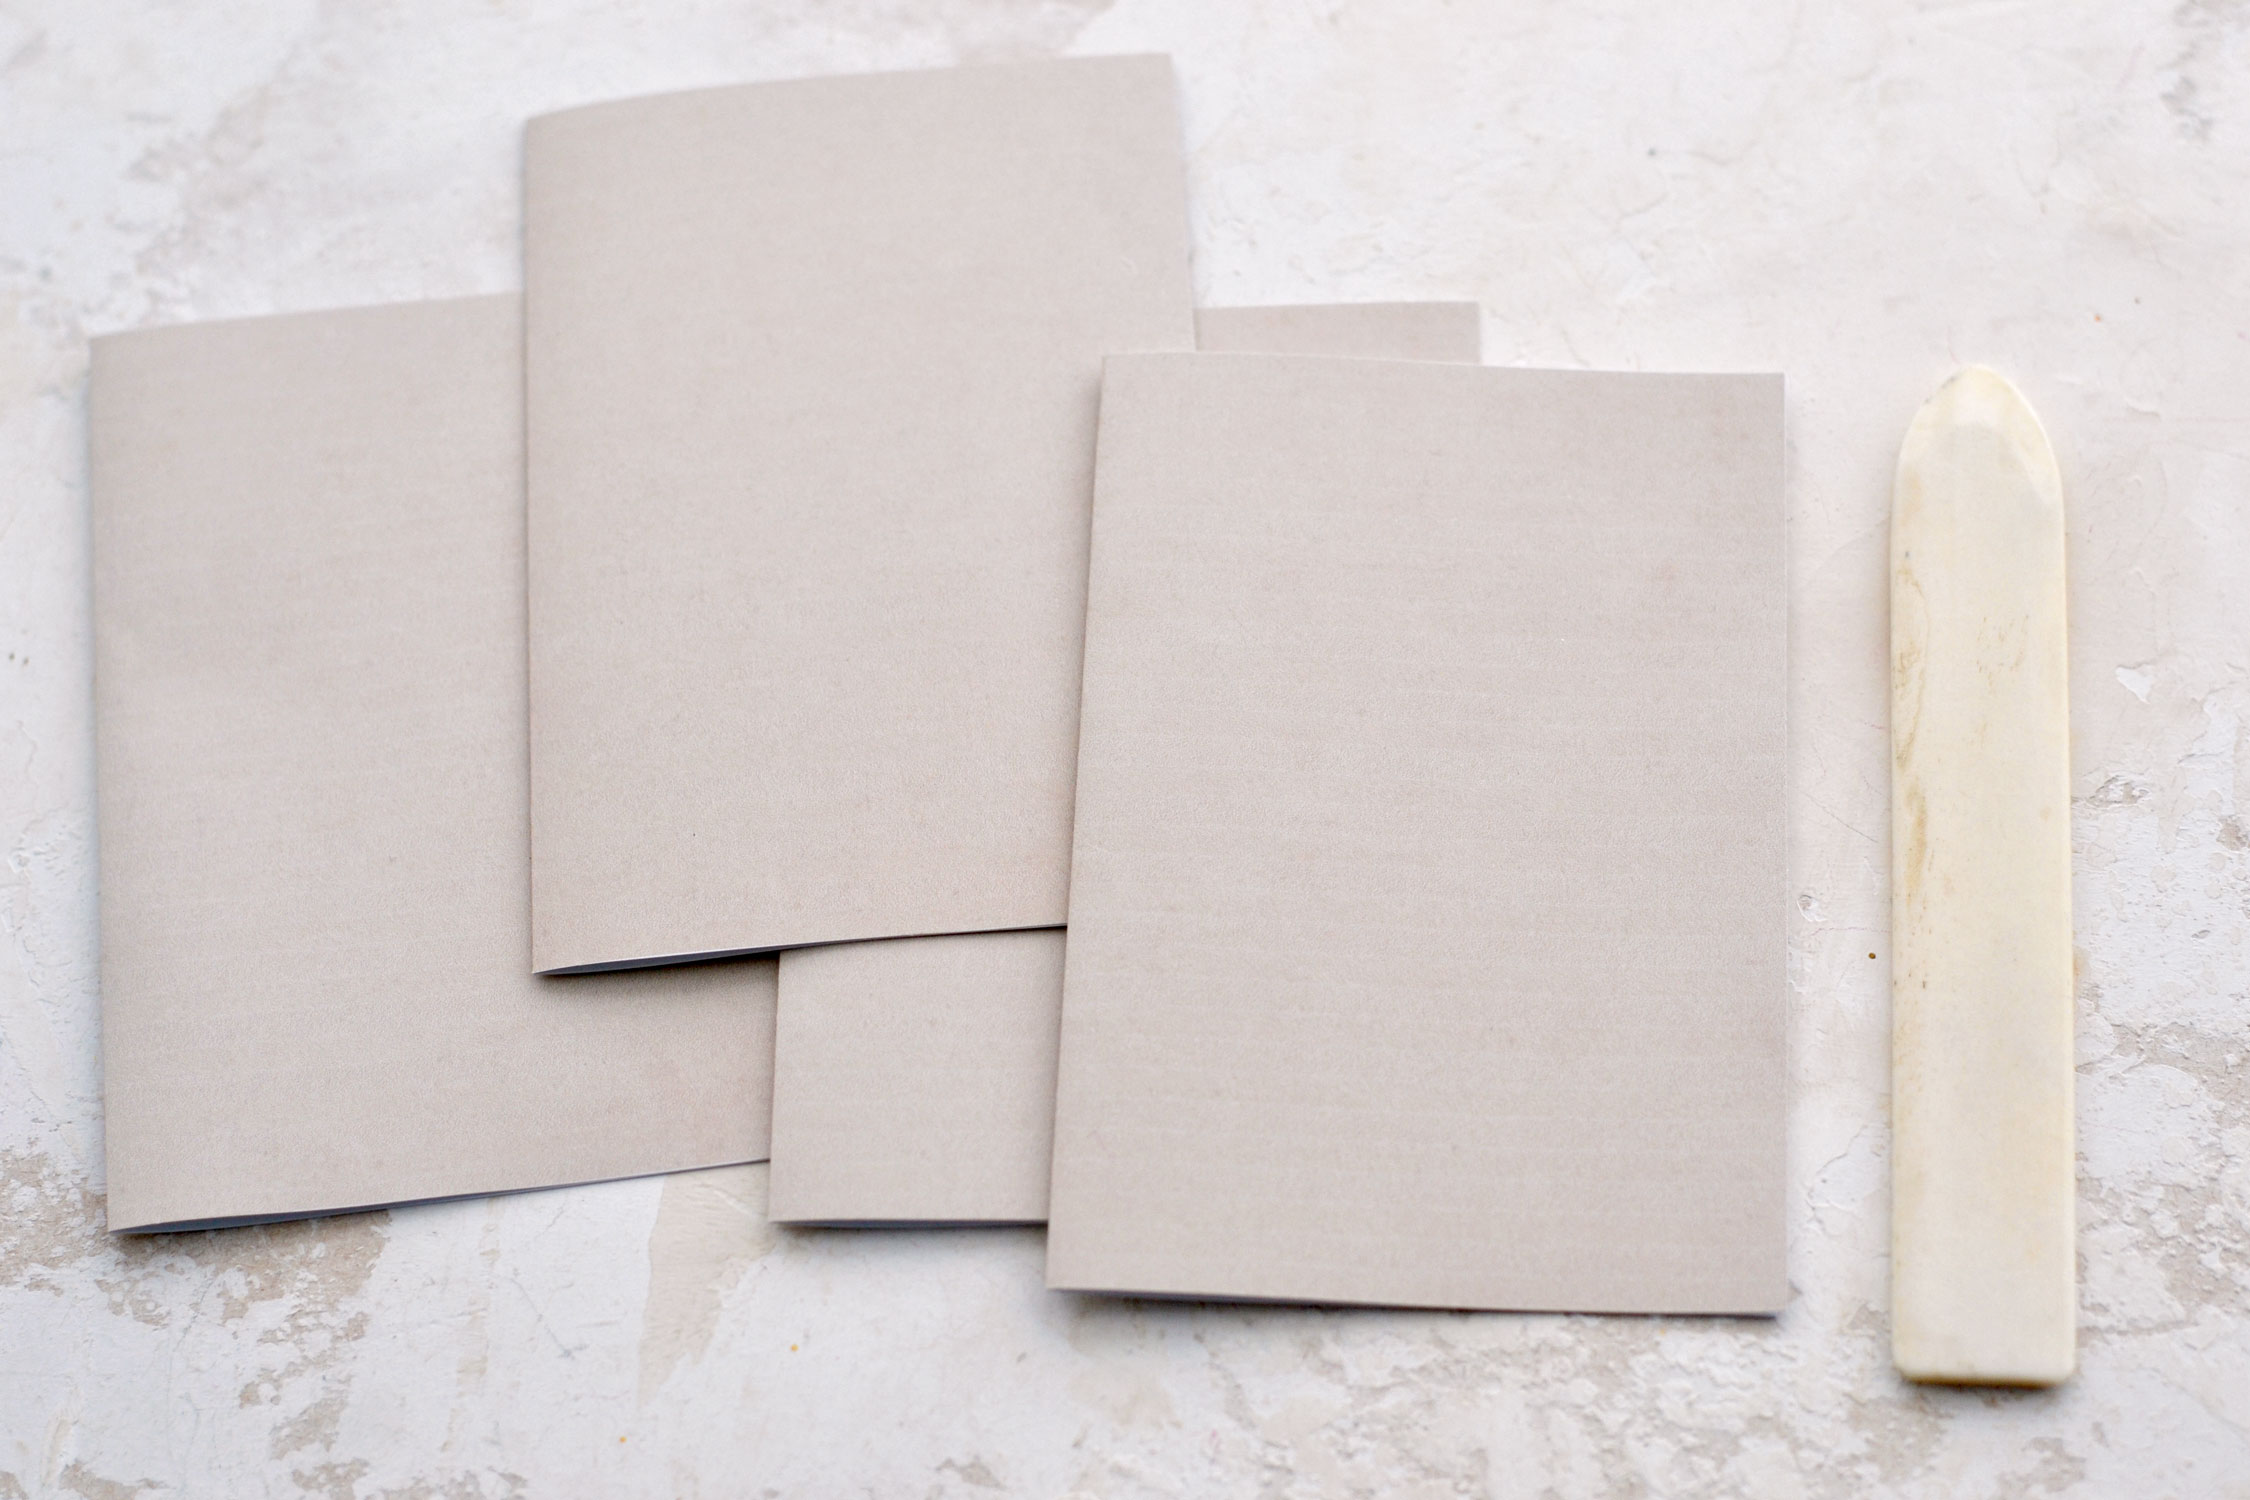
The second printable includes the card bases, just keep in mind that you’ll need to print this one twice to make all four cards.
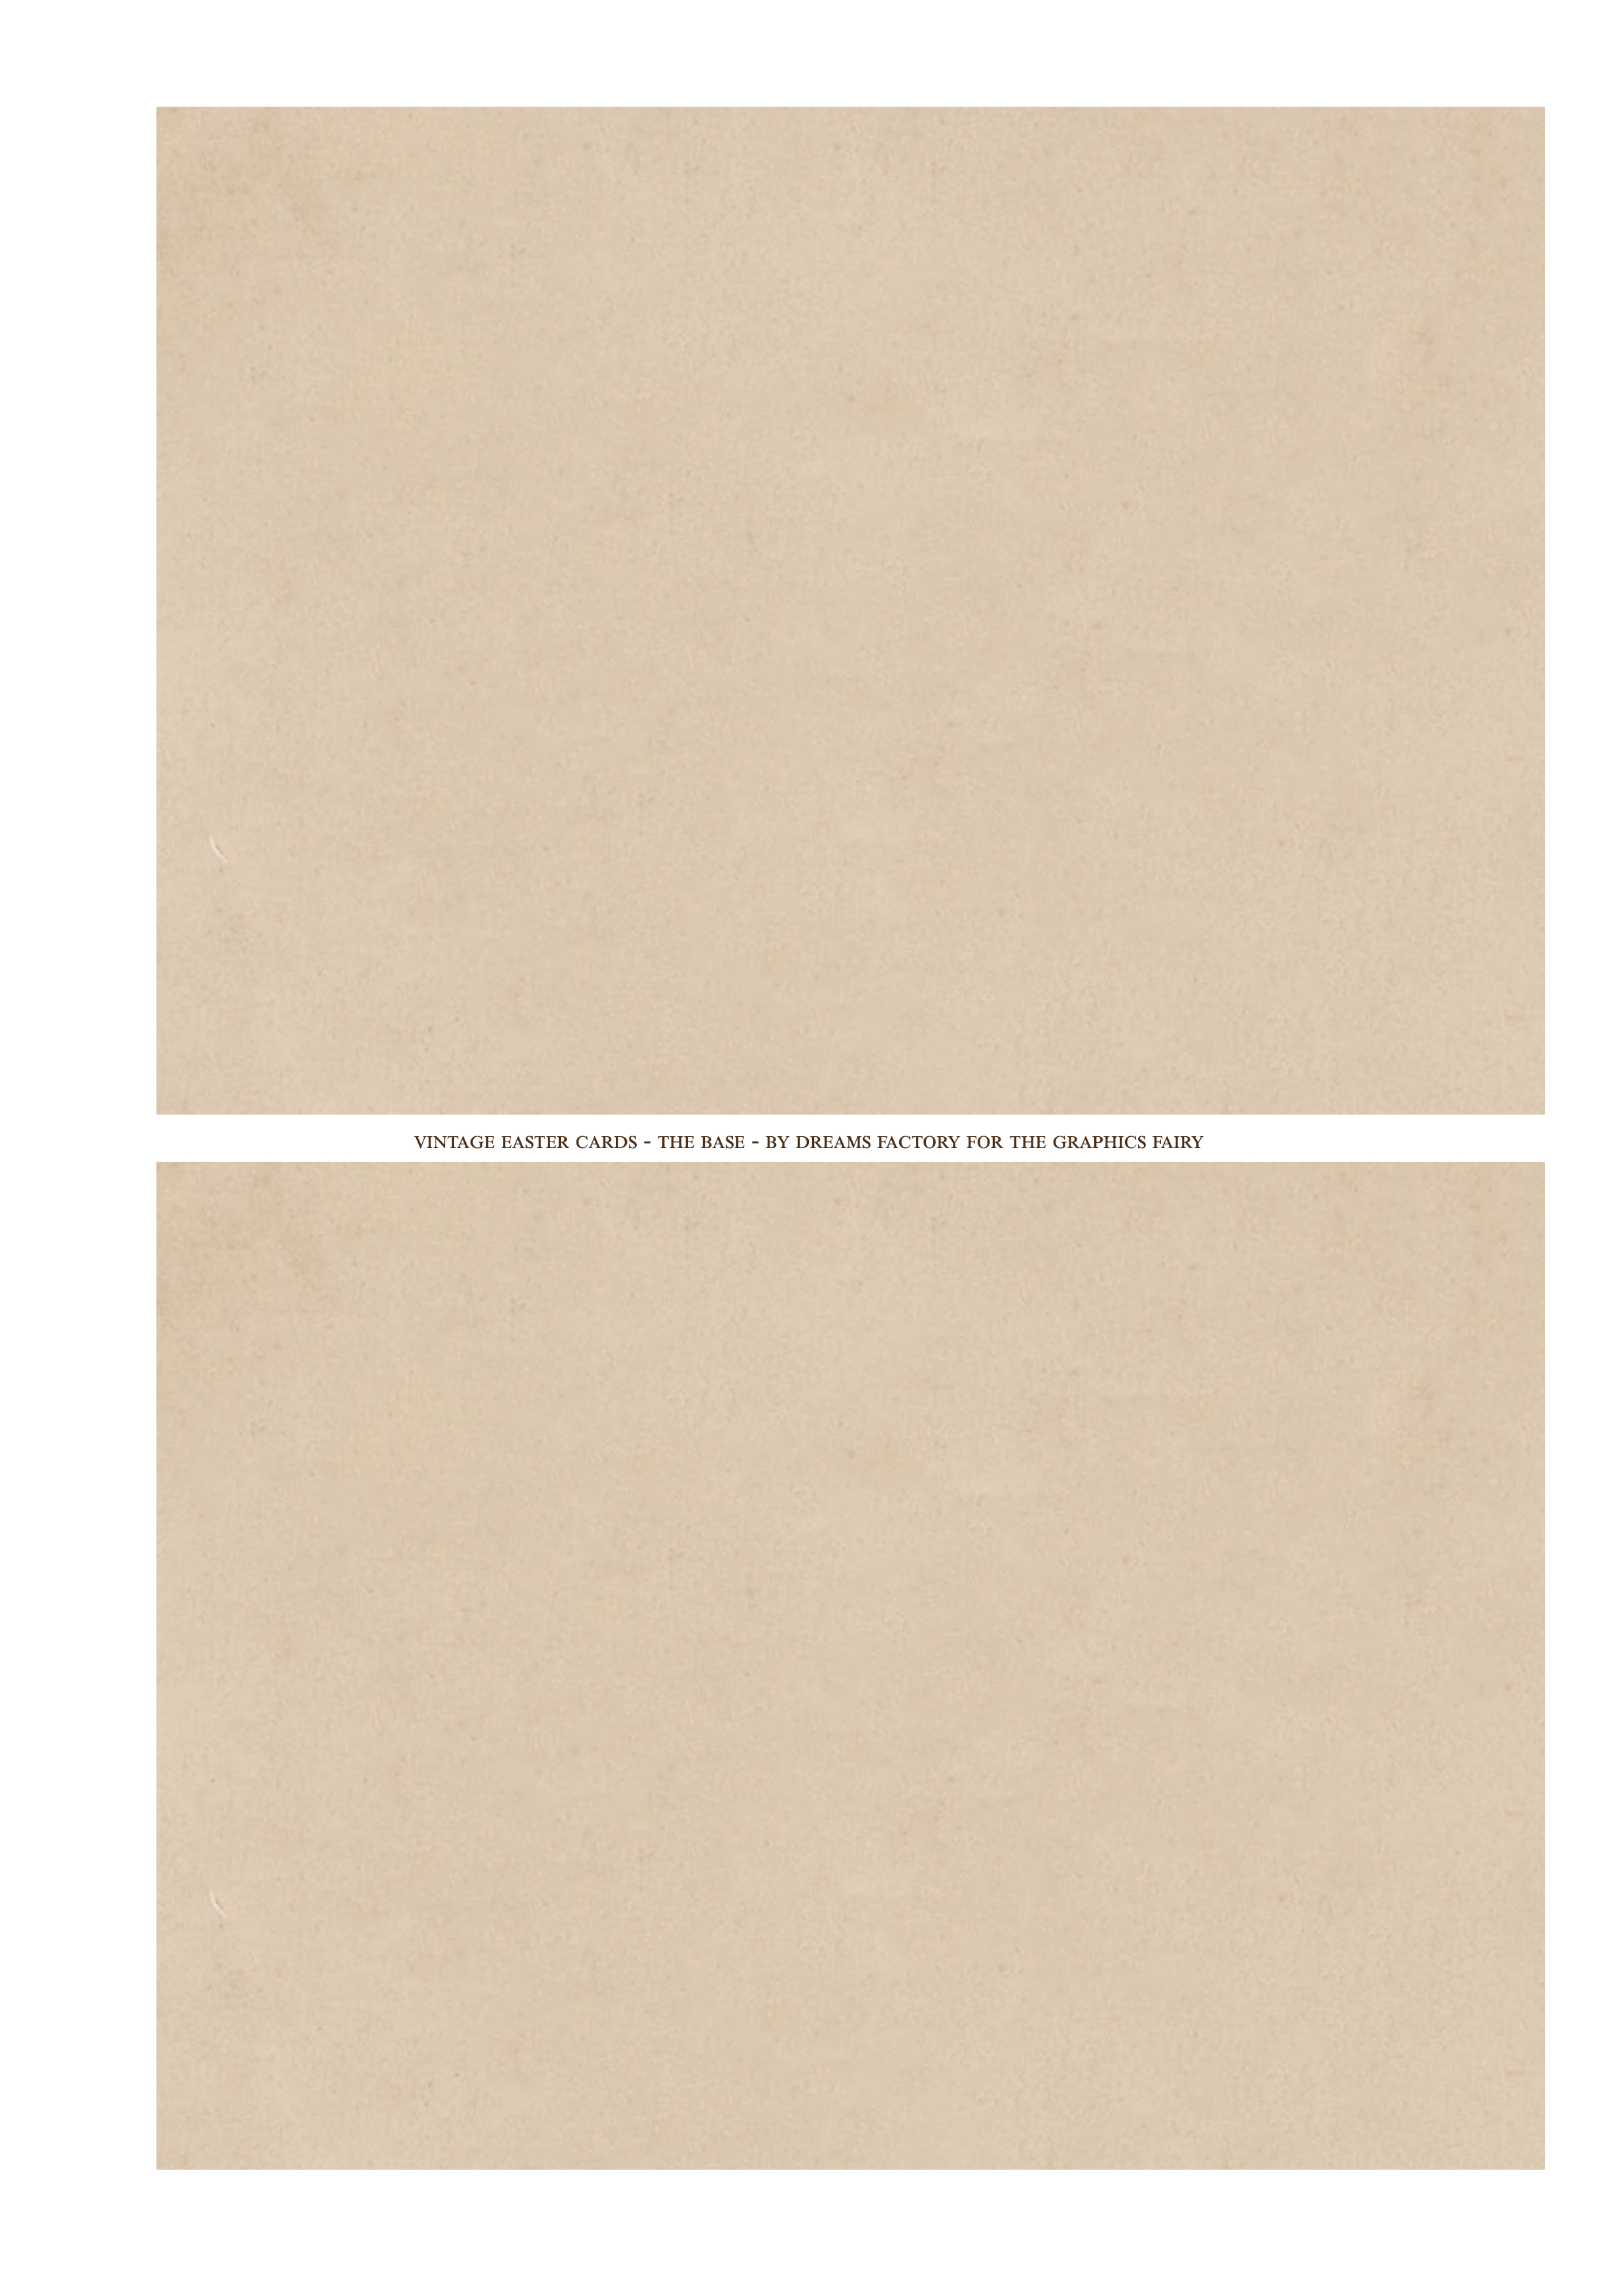
—-> Click HERE to Download the Full Size Printable PDF <—-
Easter Card DIY Supplies:
- cardstock paper
- home printer
- scissors
- bone folder
- mini distress inks
- blending tool with foams
- gold foil
- gold foil glue
- fineline glue applicator
- glue stick
- adhesive gems (optional)
Step by Step Tutorial:
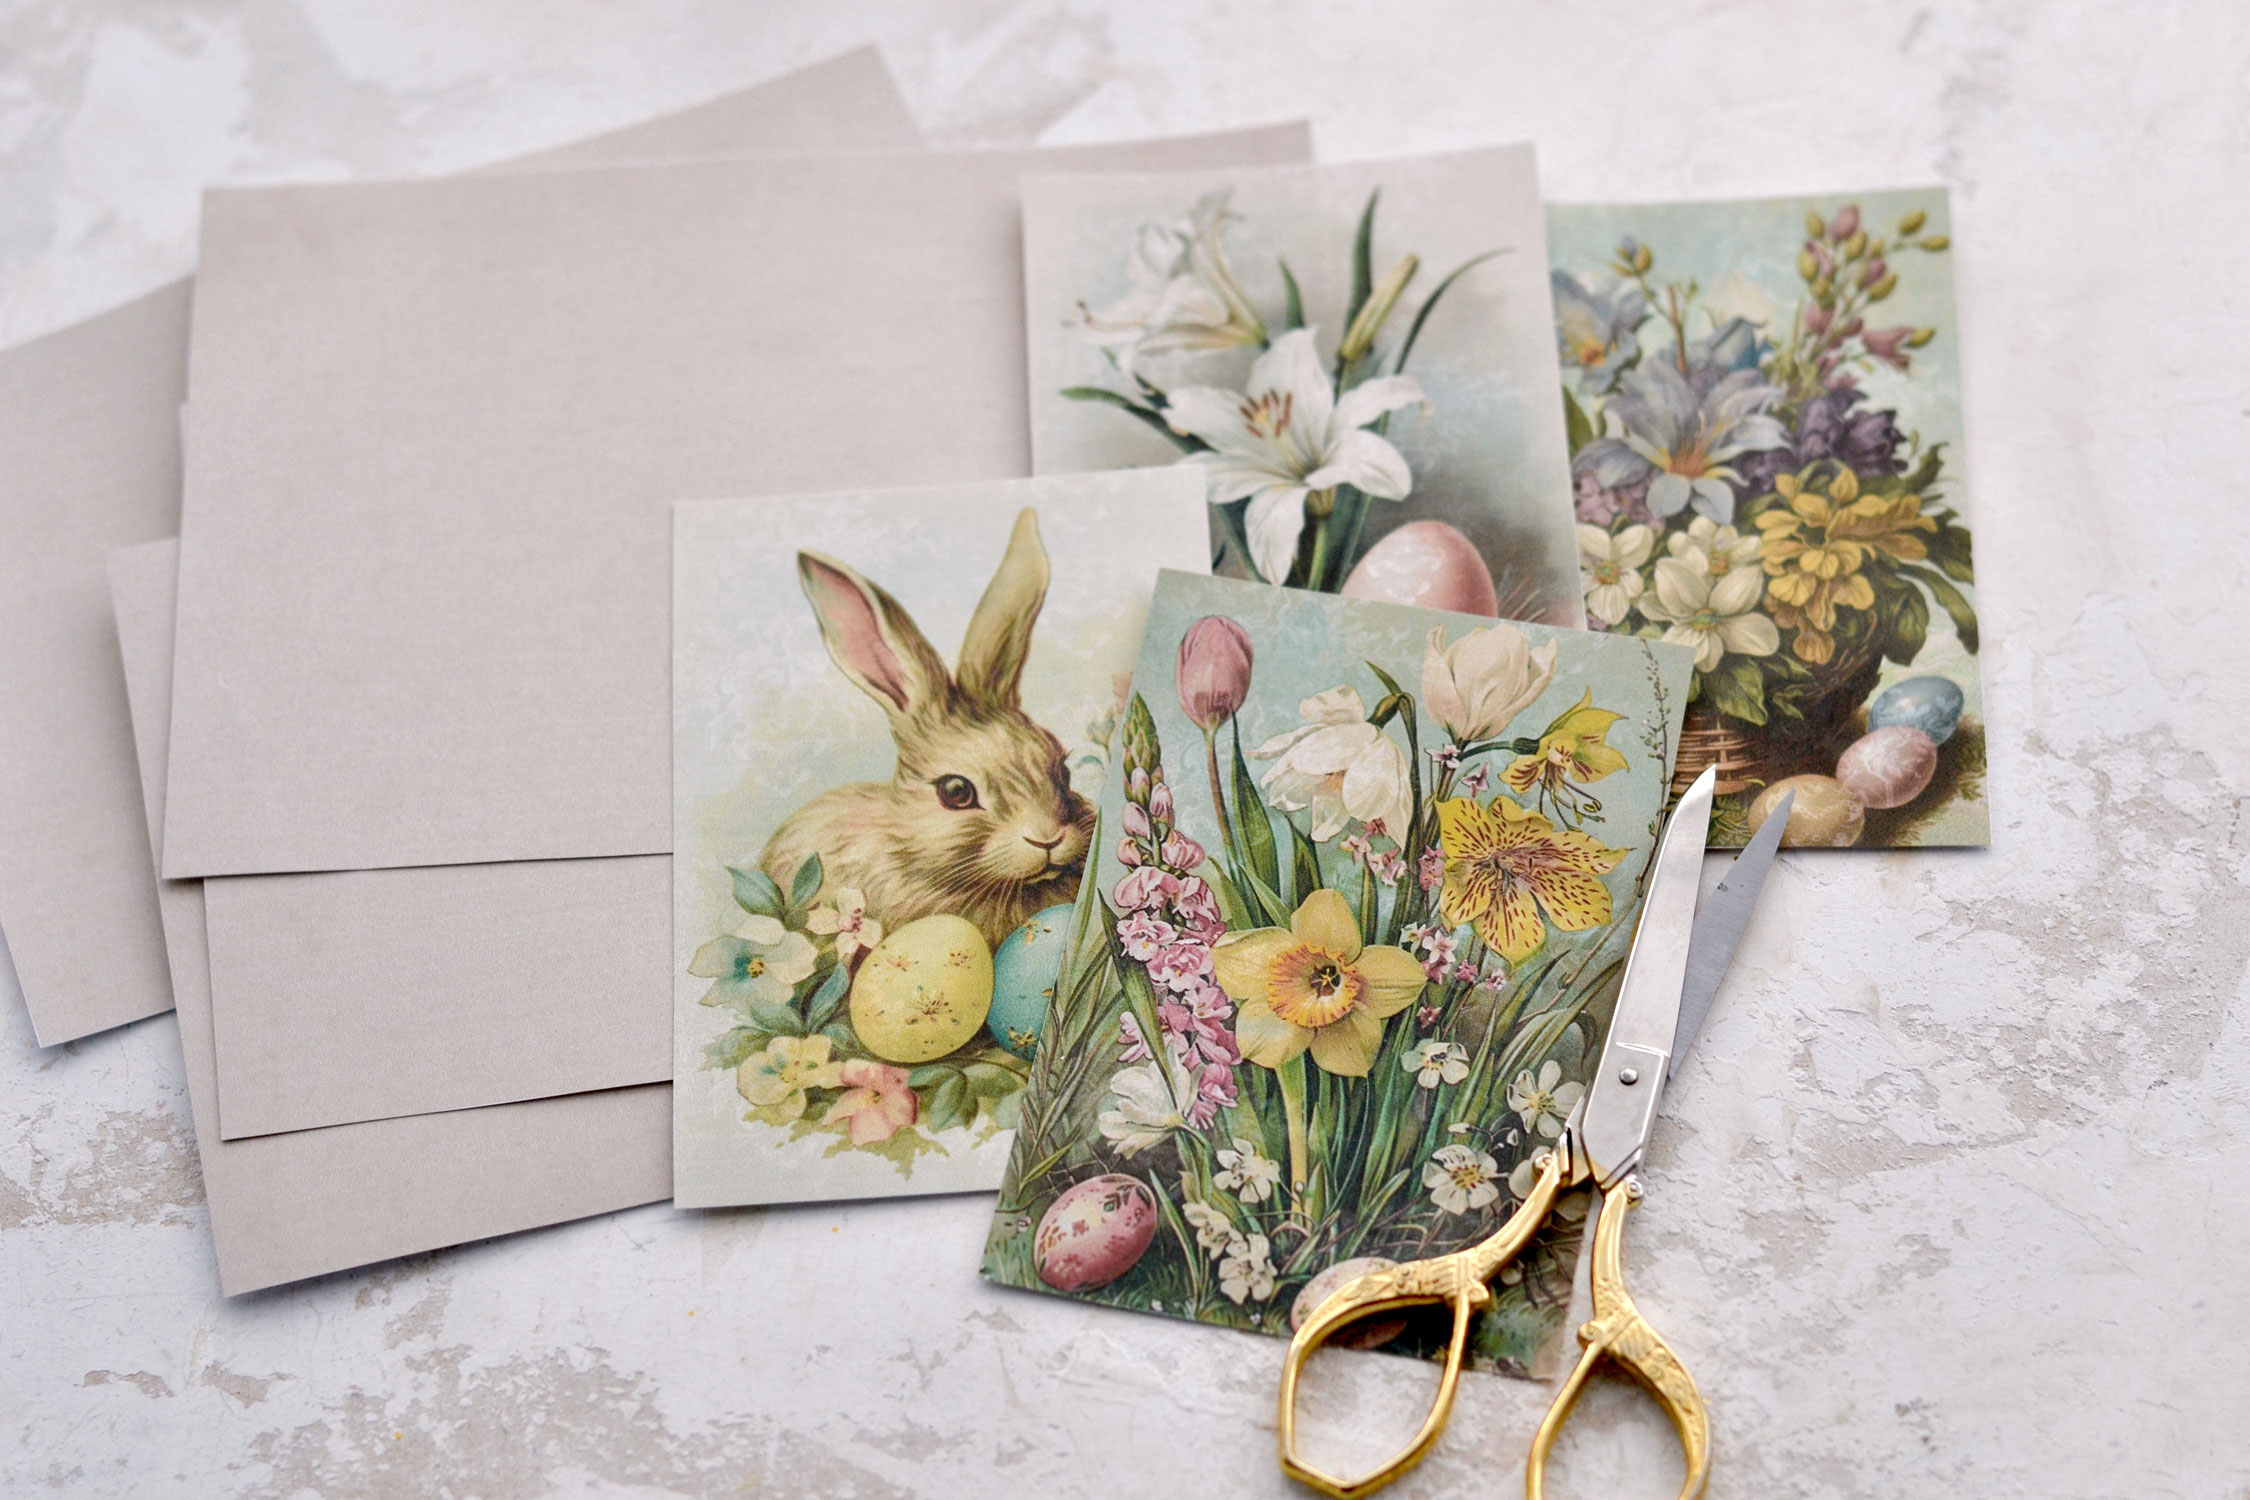
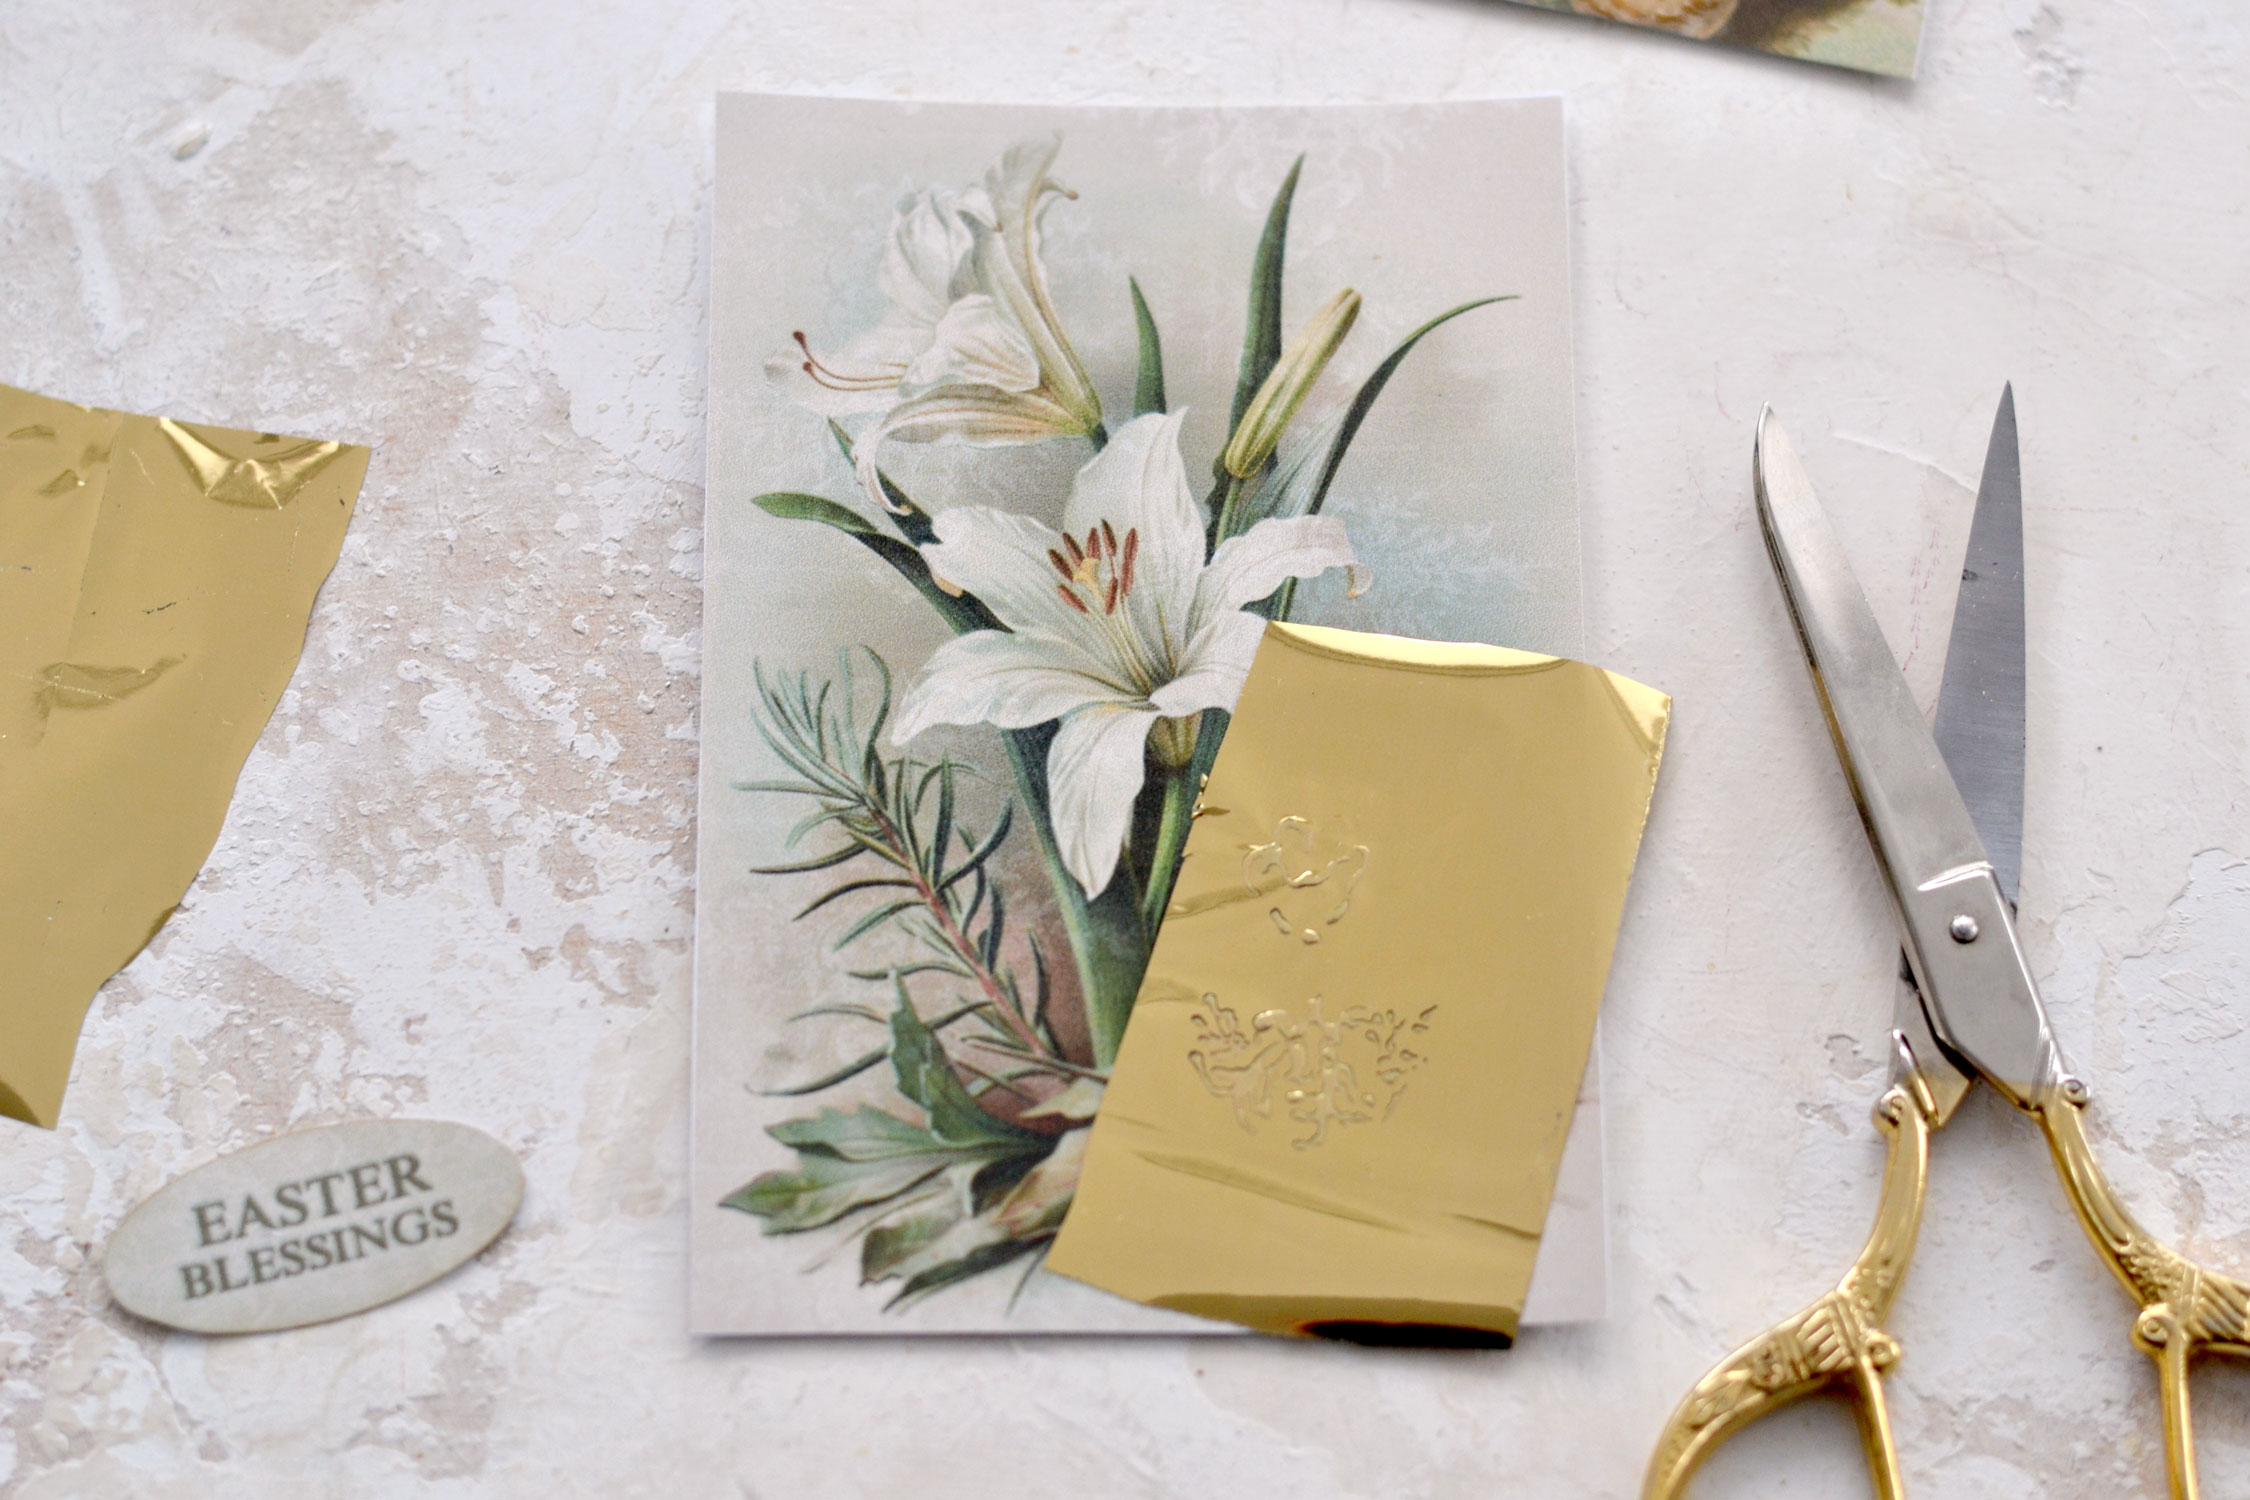
Start by cutting all your paper elements. Don’t forget about the small Easter wishes (as I did).
Partially fold the card bases and then use a bone folder to make that perfect fold line in the middle.
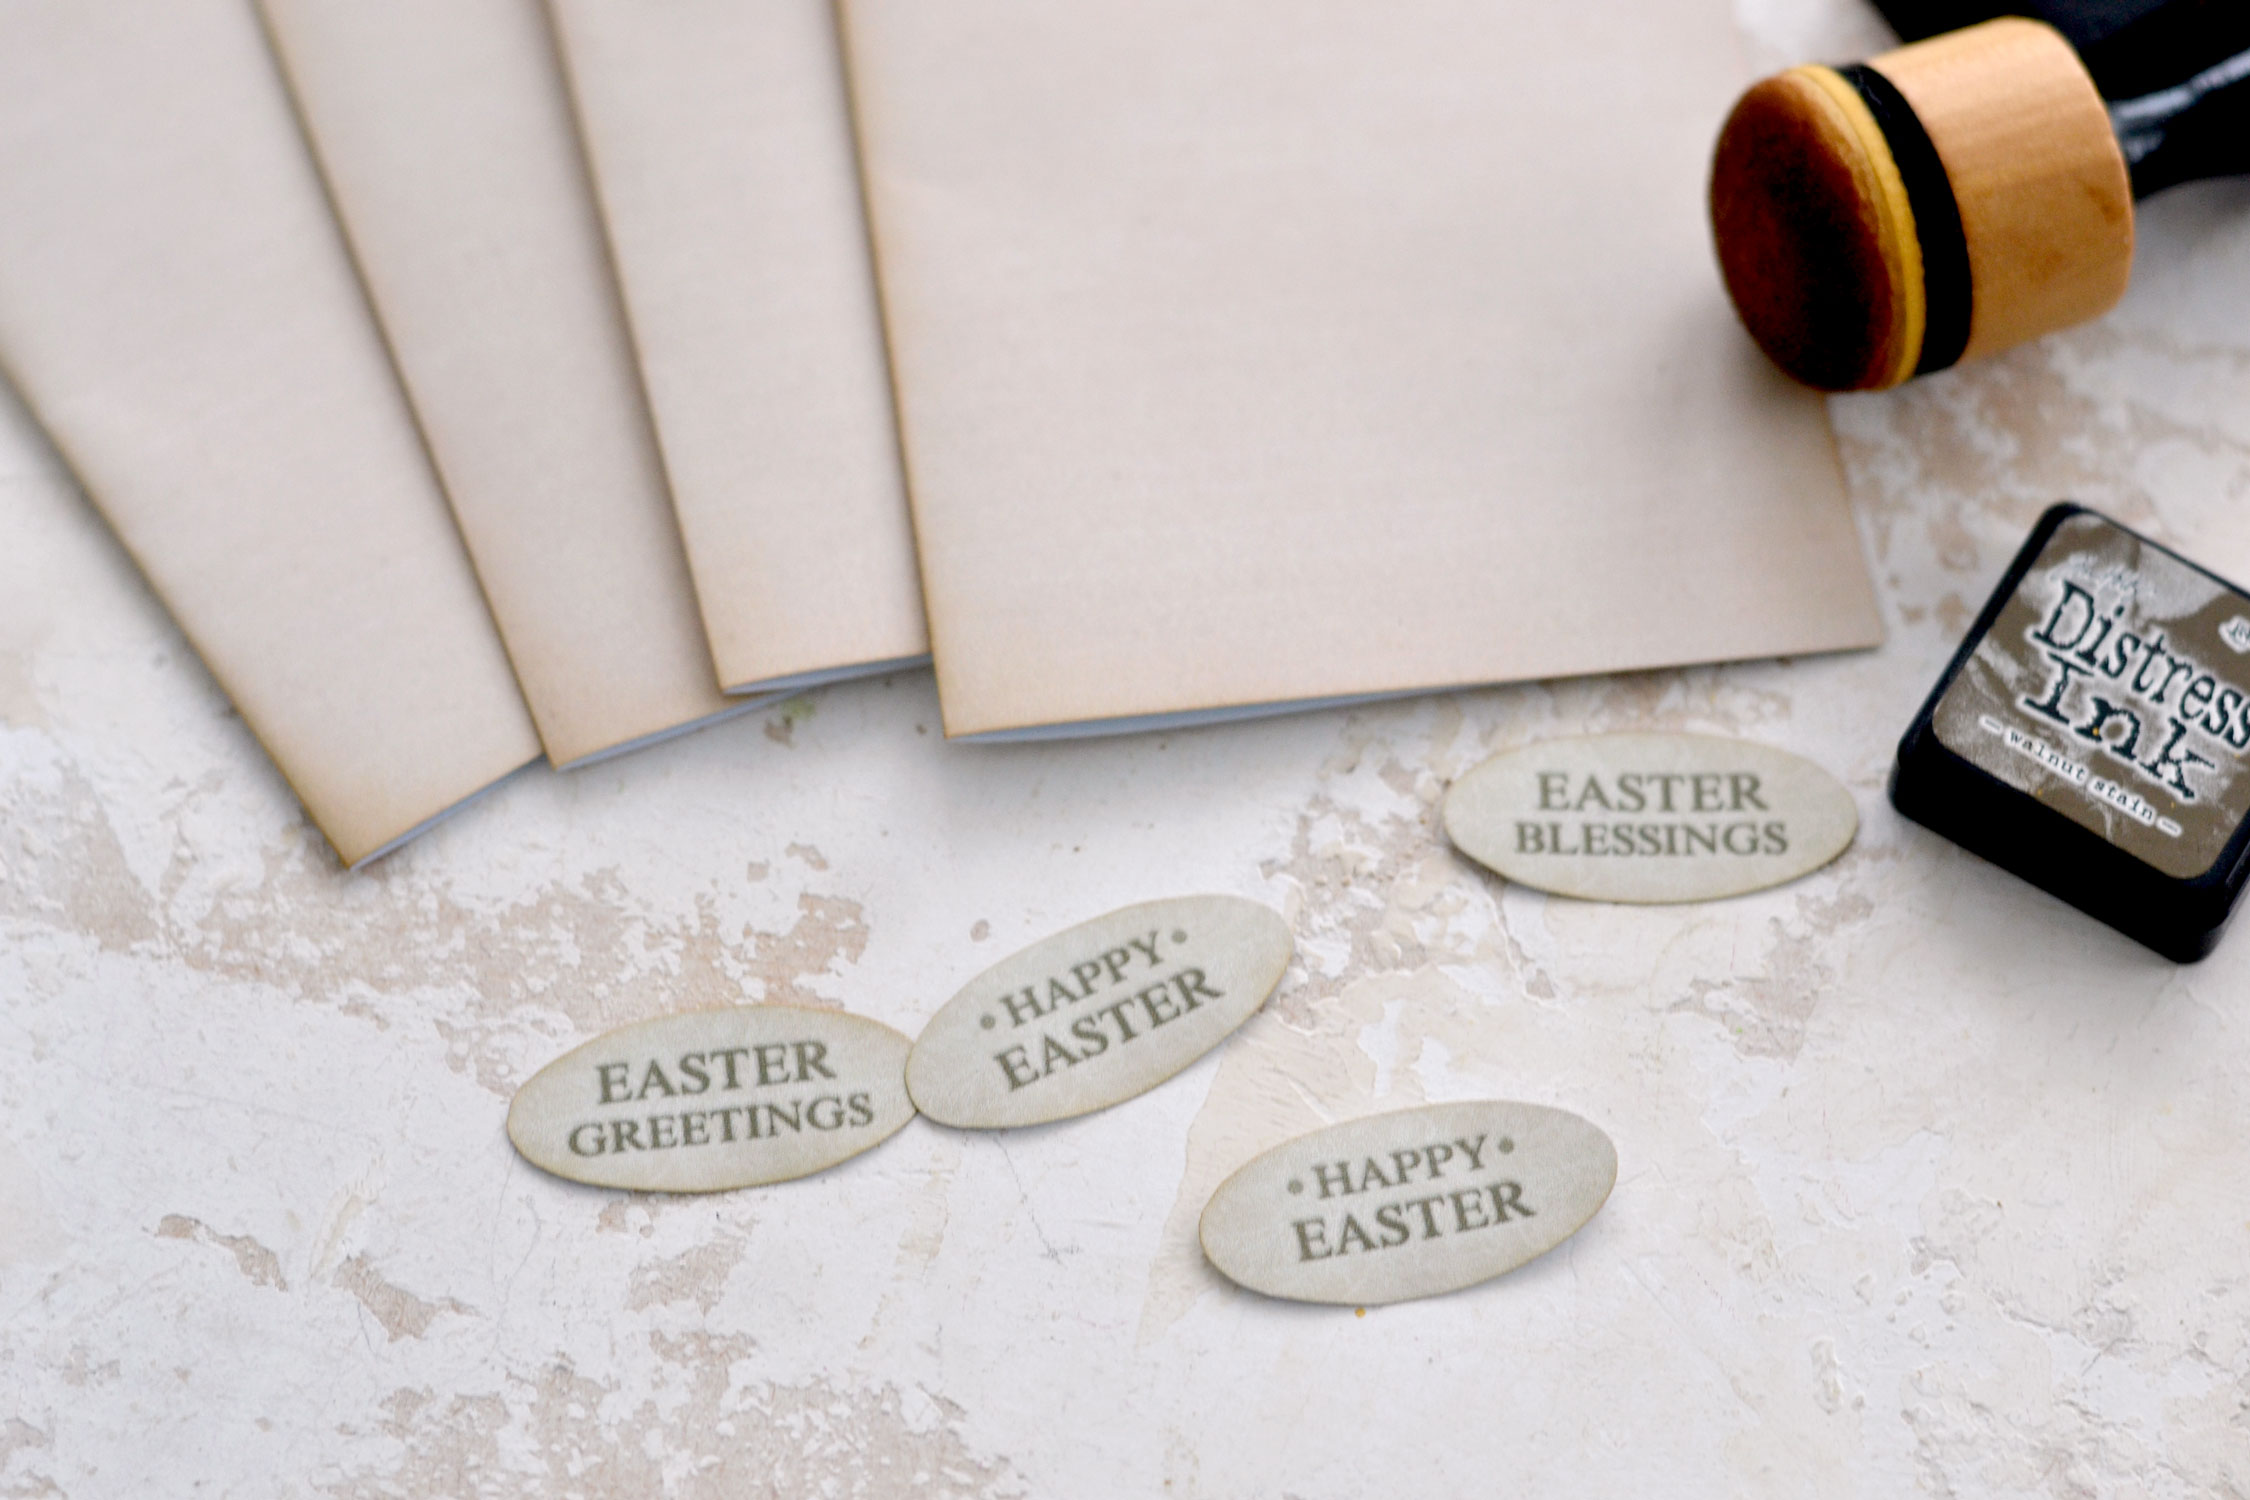
Use distress ink to give the card bases and the Easter wishes a distressed look. I went with a light distress, I only wanted to add a touch of vintage to our paper.
Moving on to the gold foil part! This is always one of my favorites, I feel gold can really take your creations to the next level.
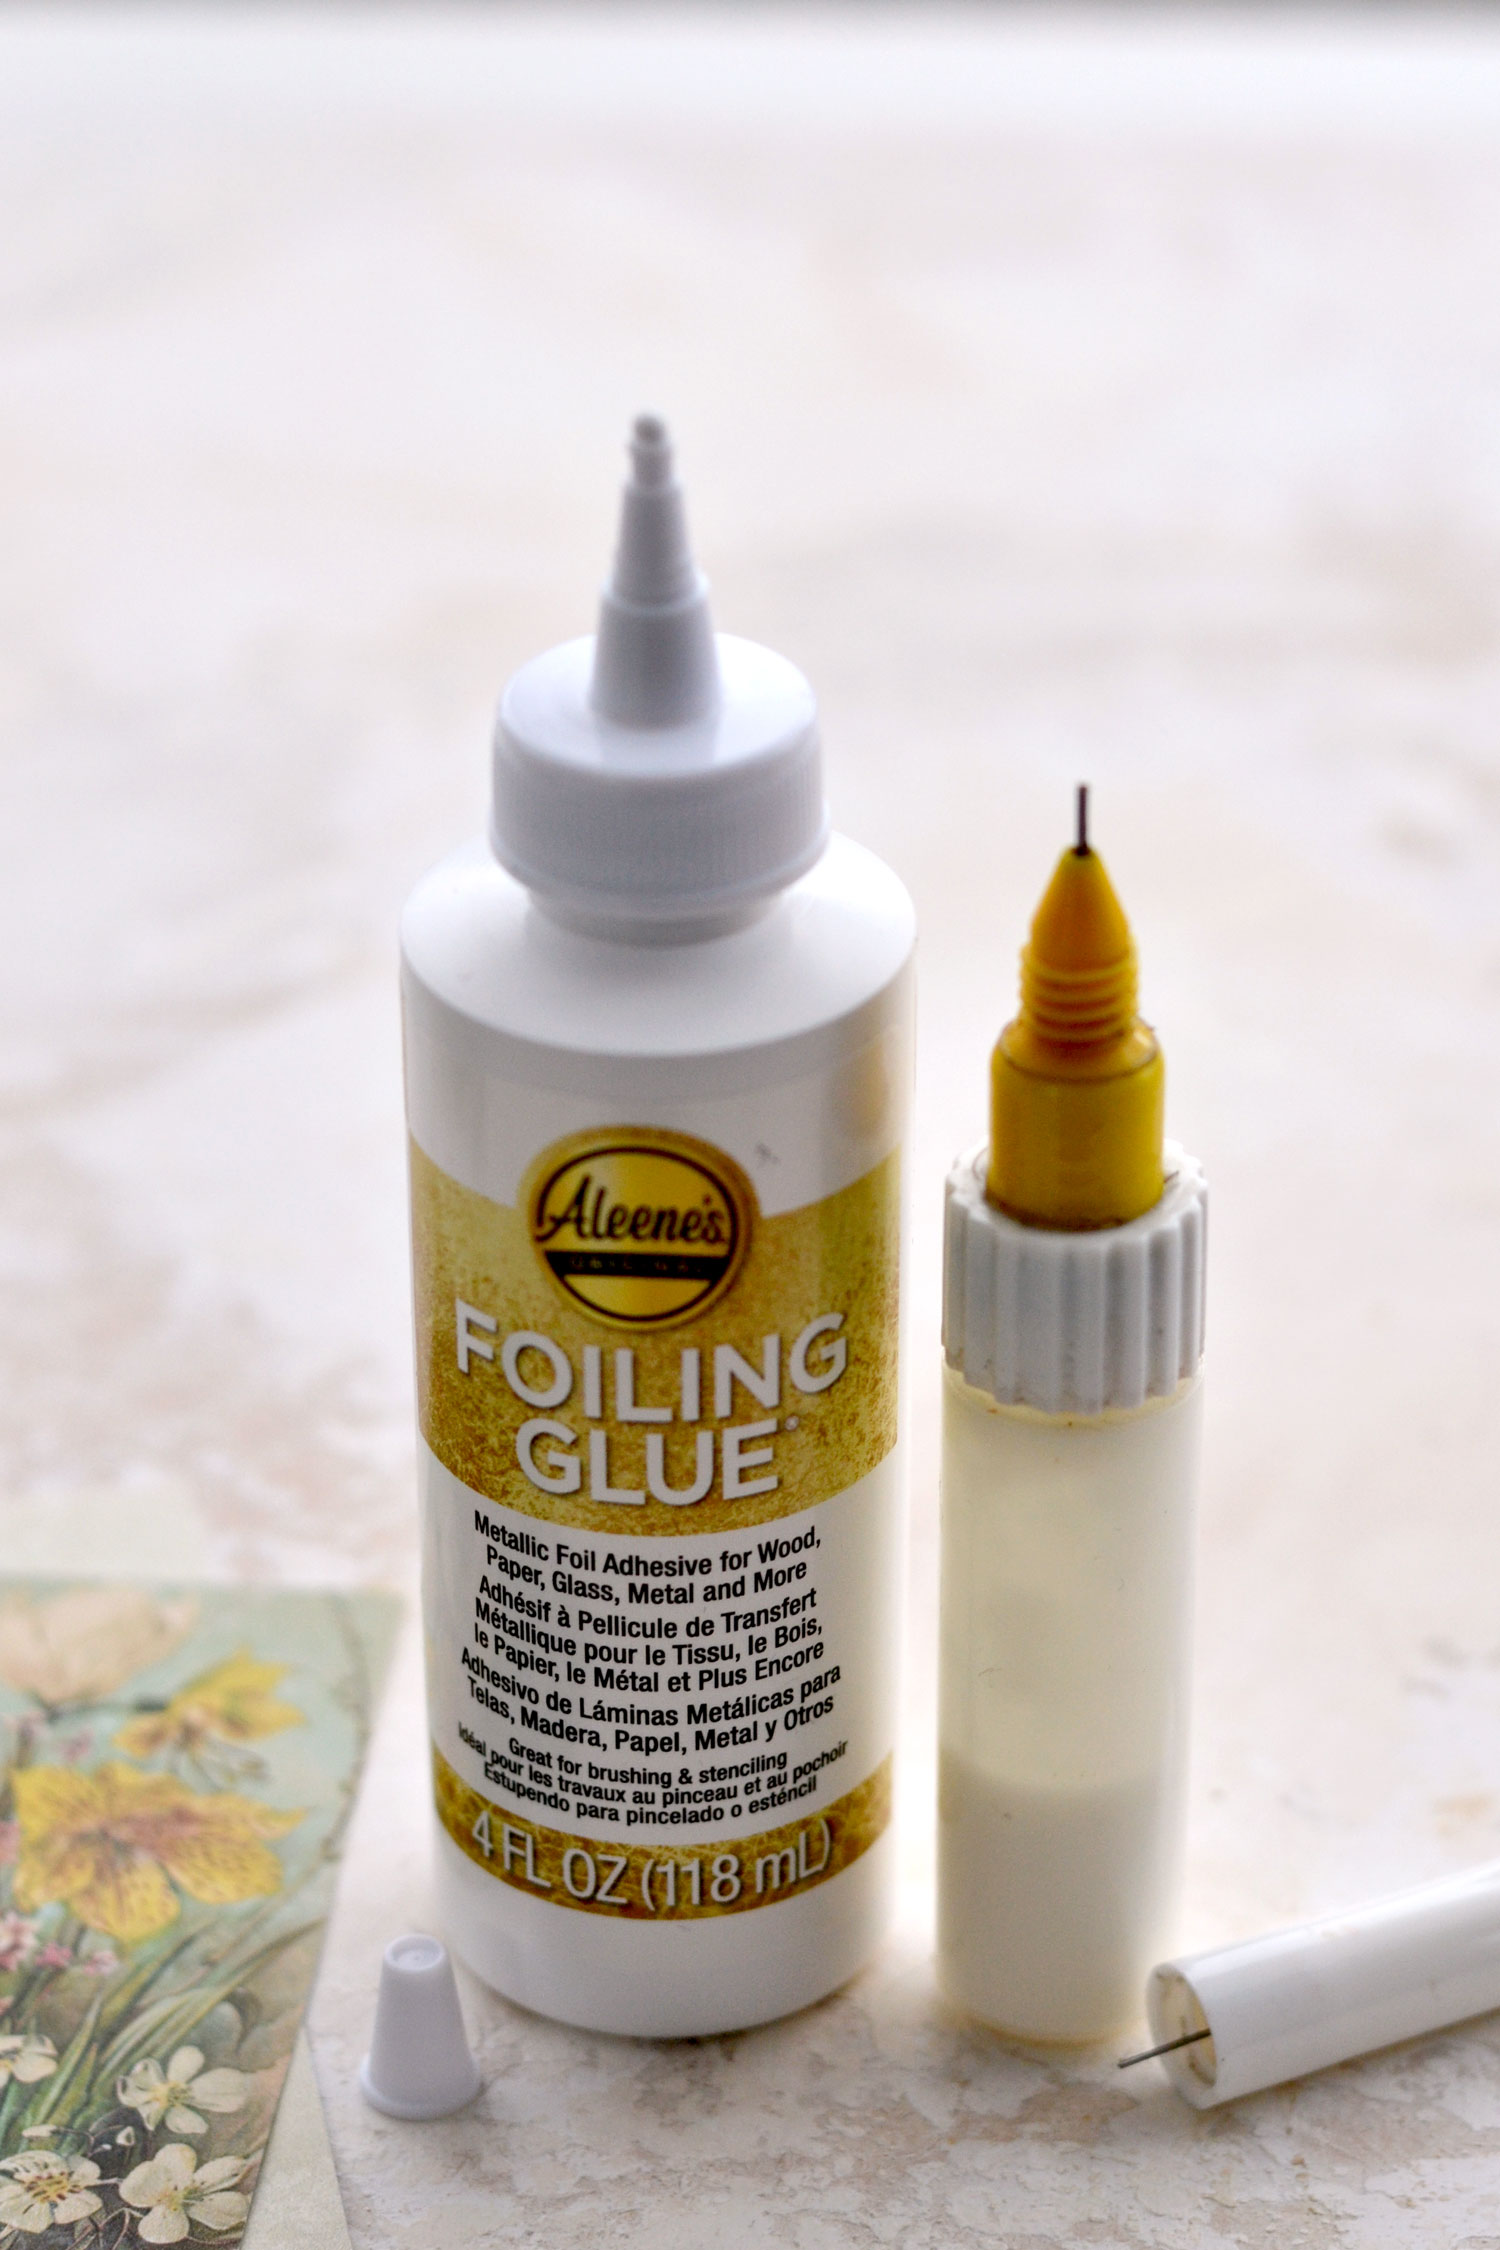
I tried a new foiling glue today, the one from Aleene’s. I think it would be a nice addition to your craft stash, especially if you love gold foiling as much as I do.
If you are wondering what makes gold foil glue special is the fact that it is white and becomes transparent and tacky after drying. Gold foil glues are always this way, their tackiness is what makes them unique.
I also used a fine-tip applicator bottle, a must-have if you want to add small gold foil details and be completely in control.
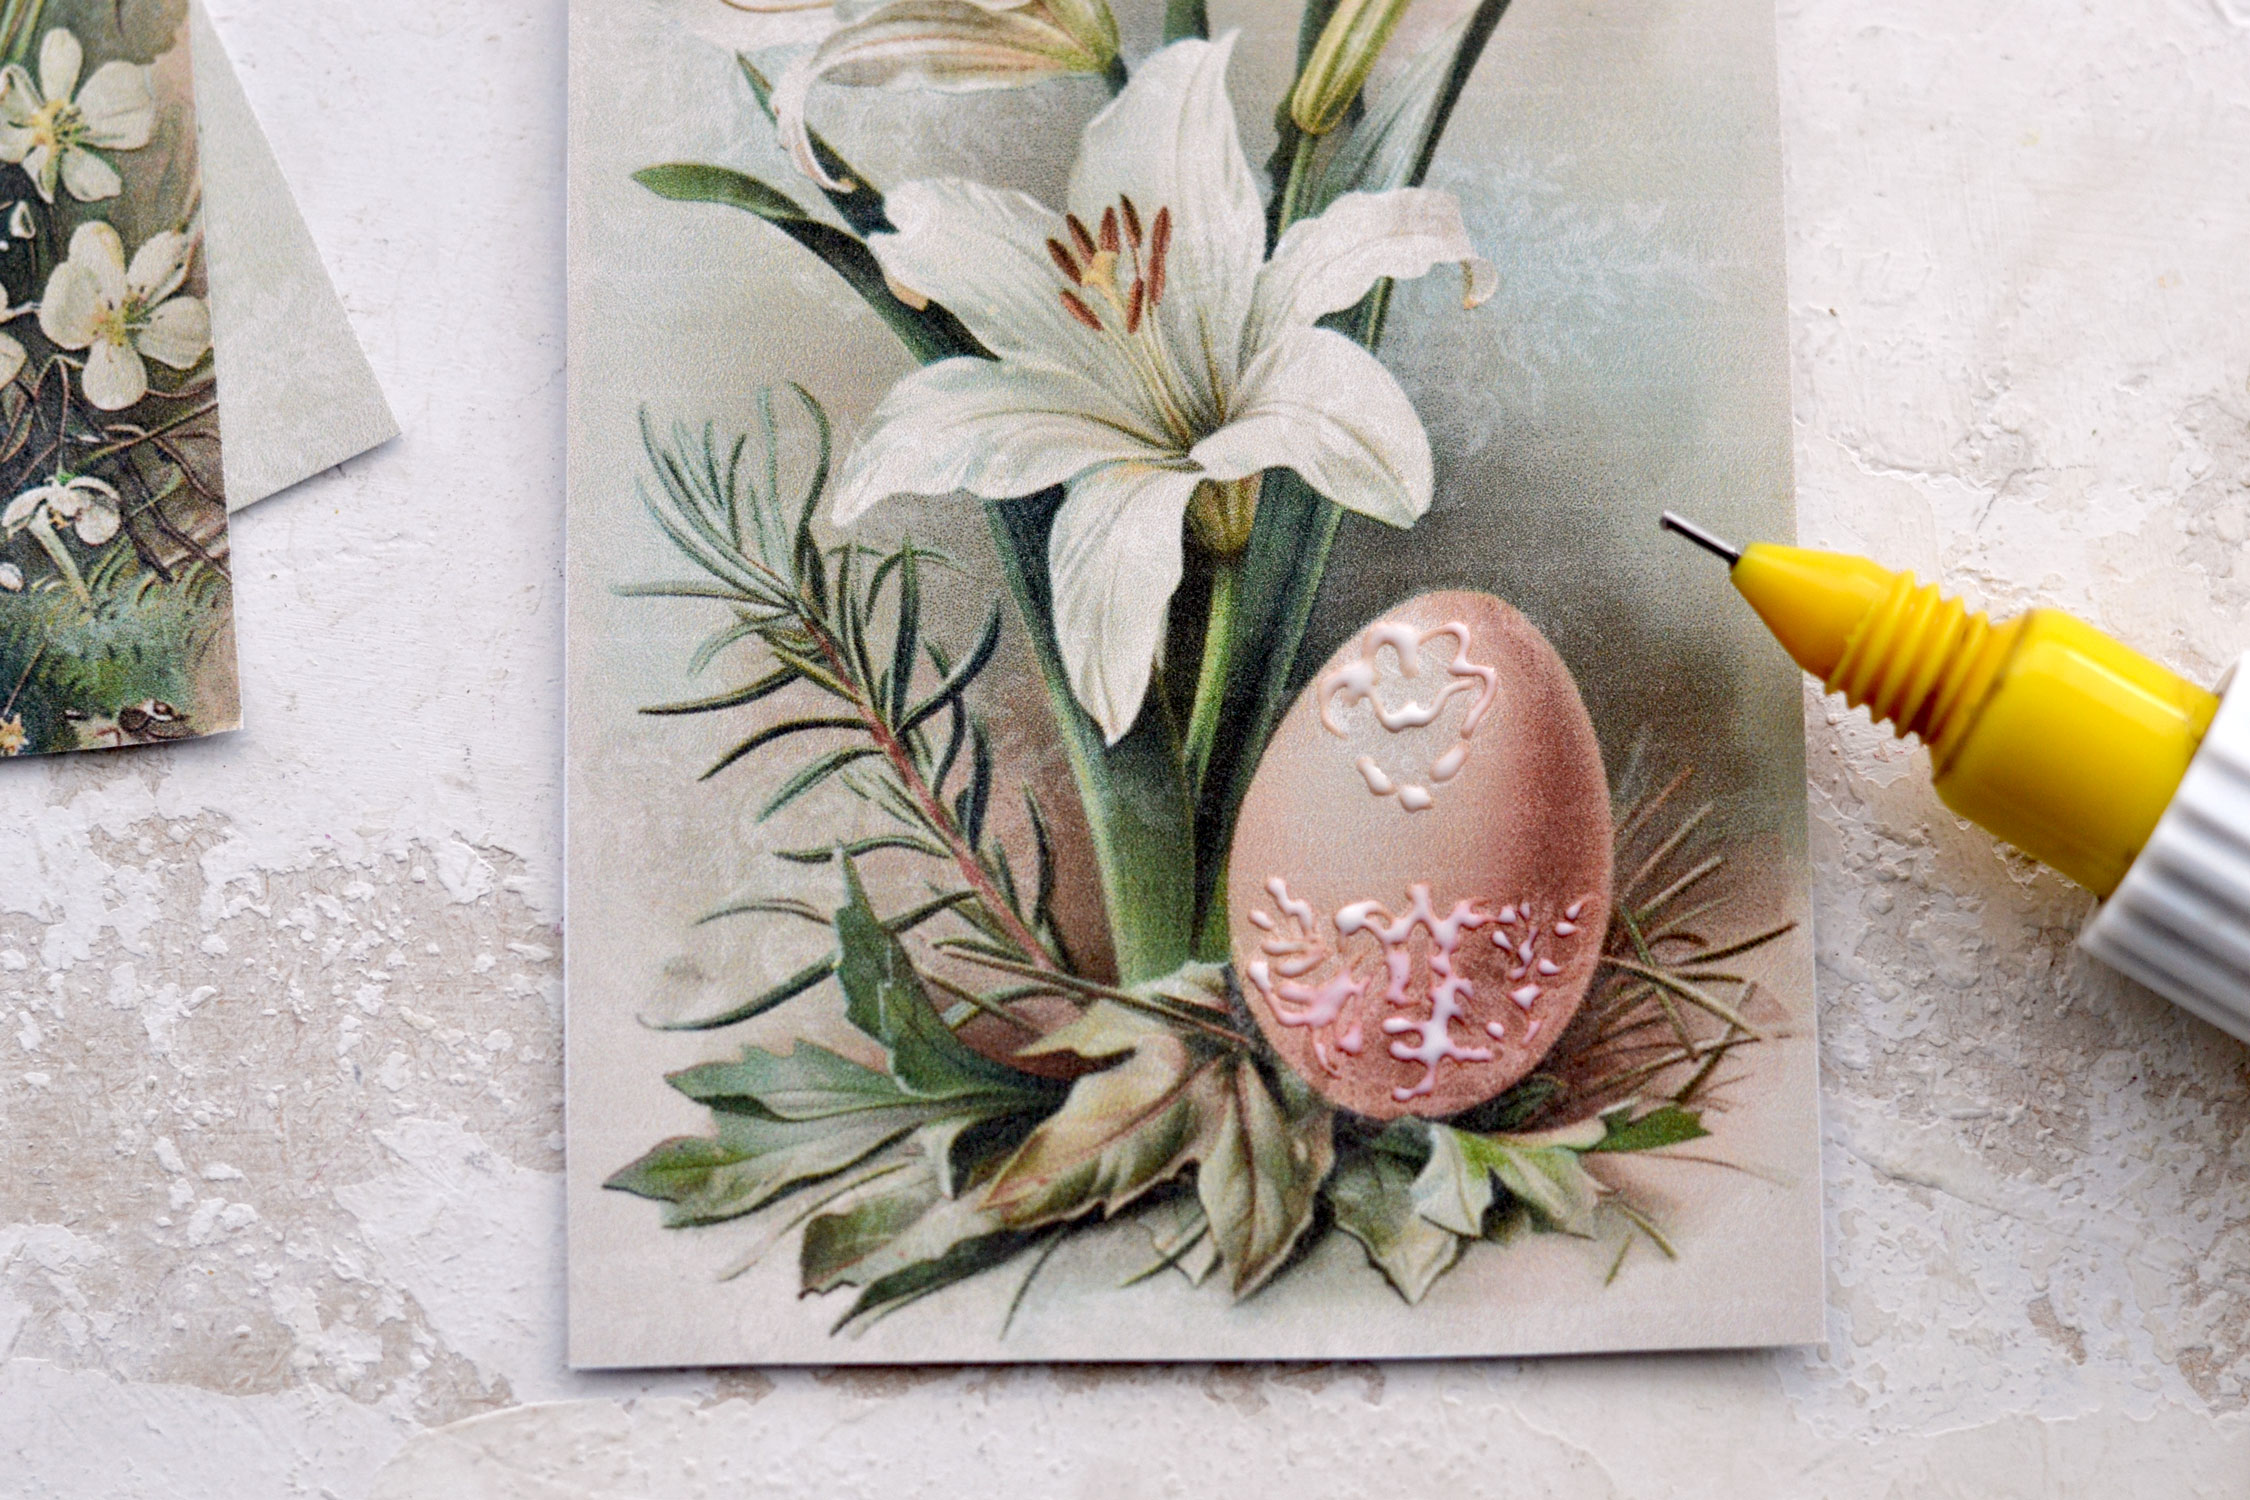
Use your fine-tip applicator with the gold foil glue to paint your design on the eggs. I started with the lily image that included he larger egg, this one was the easiest to paint with glue.
But even if it was the largest, the details of the design were quite intricate and small. So I applied the glue trying to follow the design underneath, but also improvised quite a lot. From my experience is better to add glue in smaller strokes rather than creating one large line. In this case, the final design should look good when looked at, but it doesn’t have to be exactly like the one underneath.
I then moved on to this beautiful basket with flowers image.
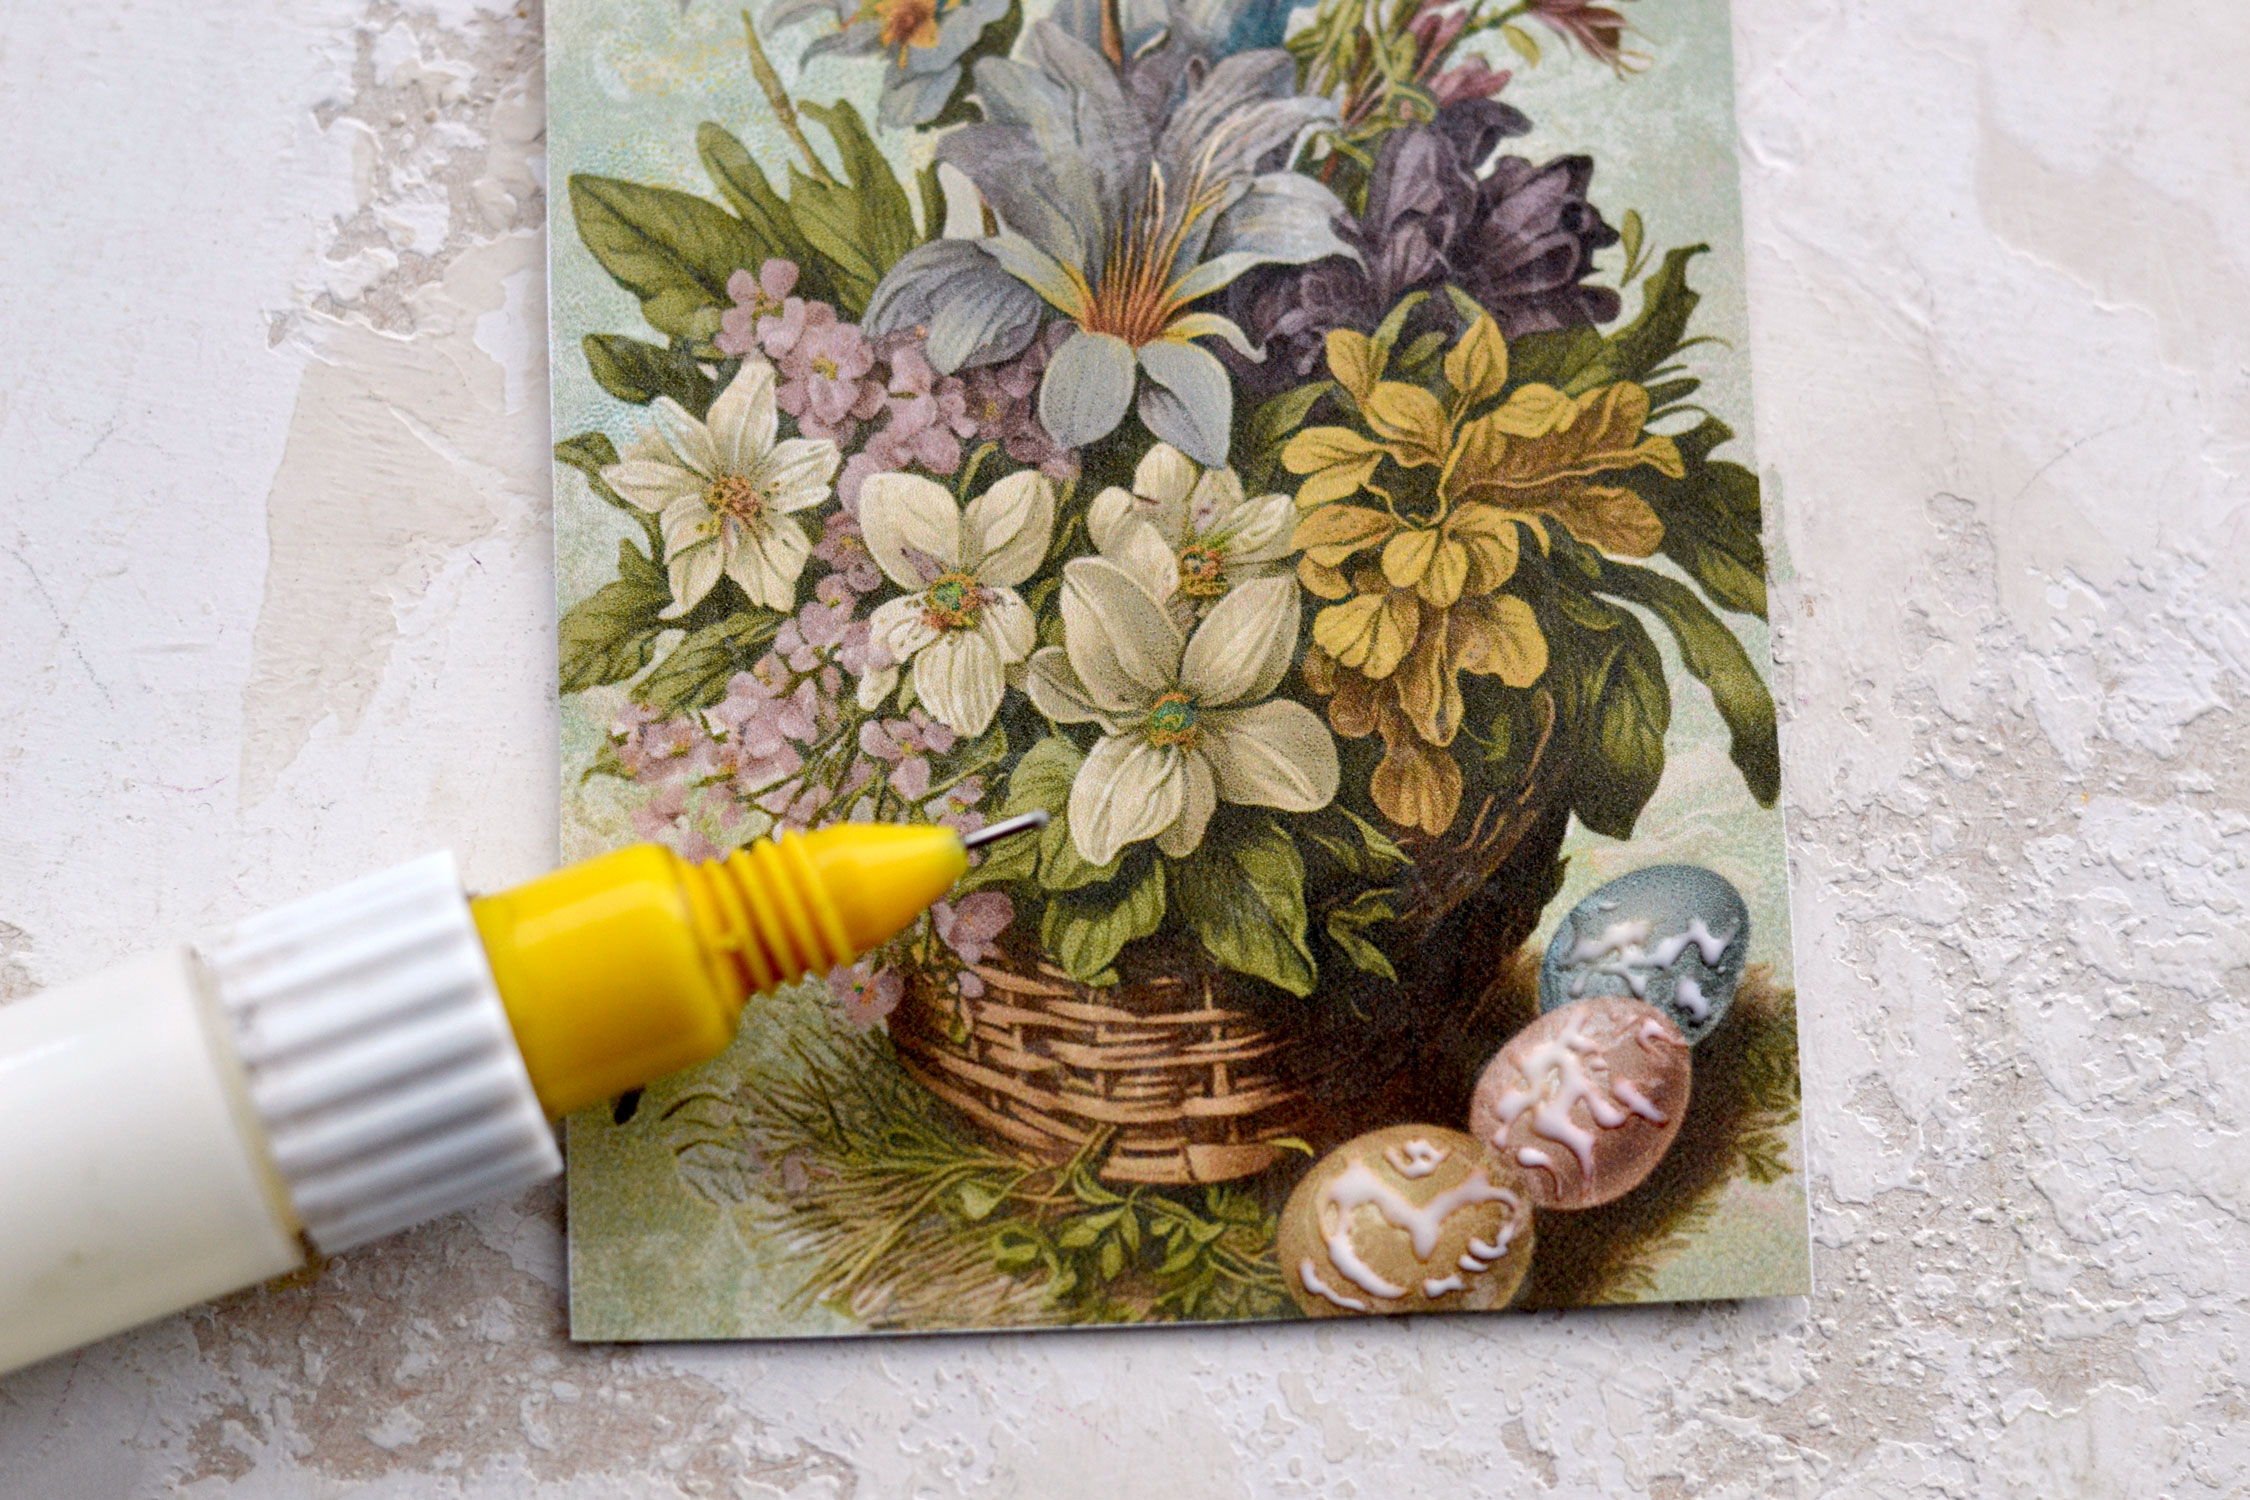
Let the glue become completely transparent before adding the gold foil on top.
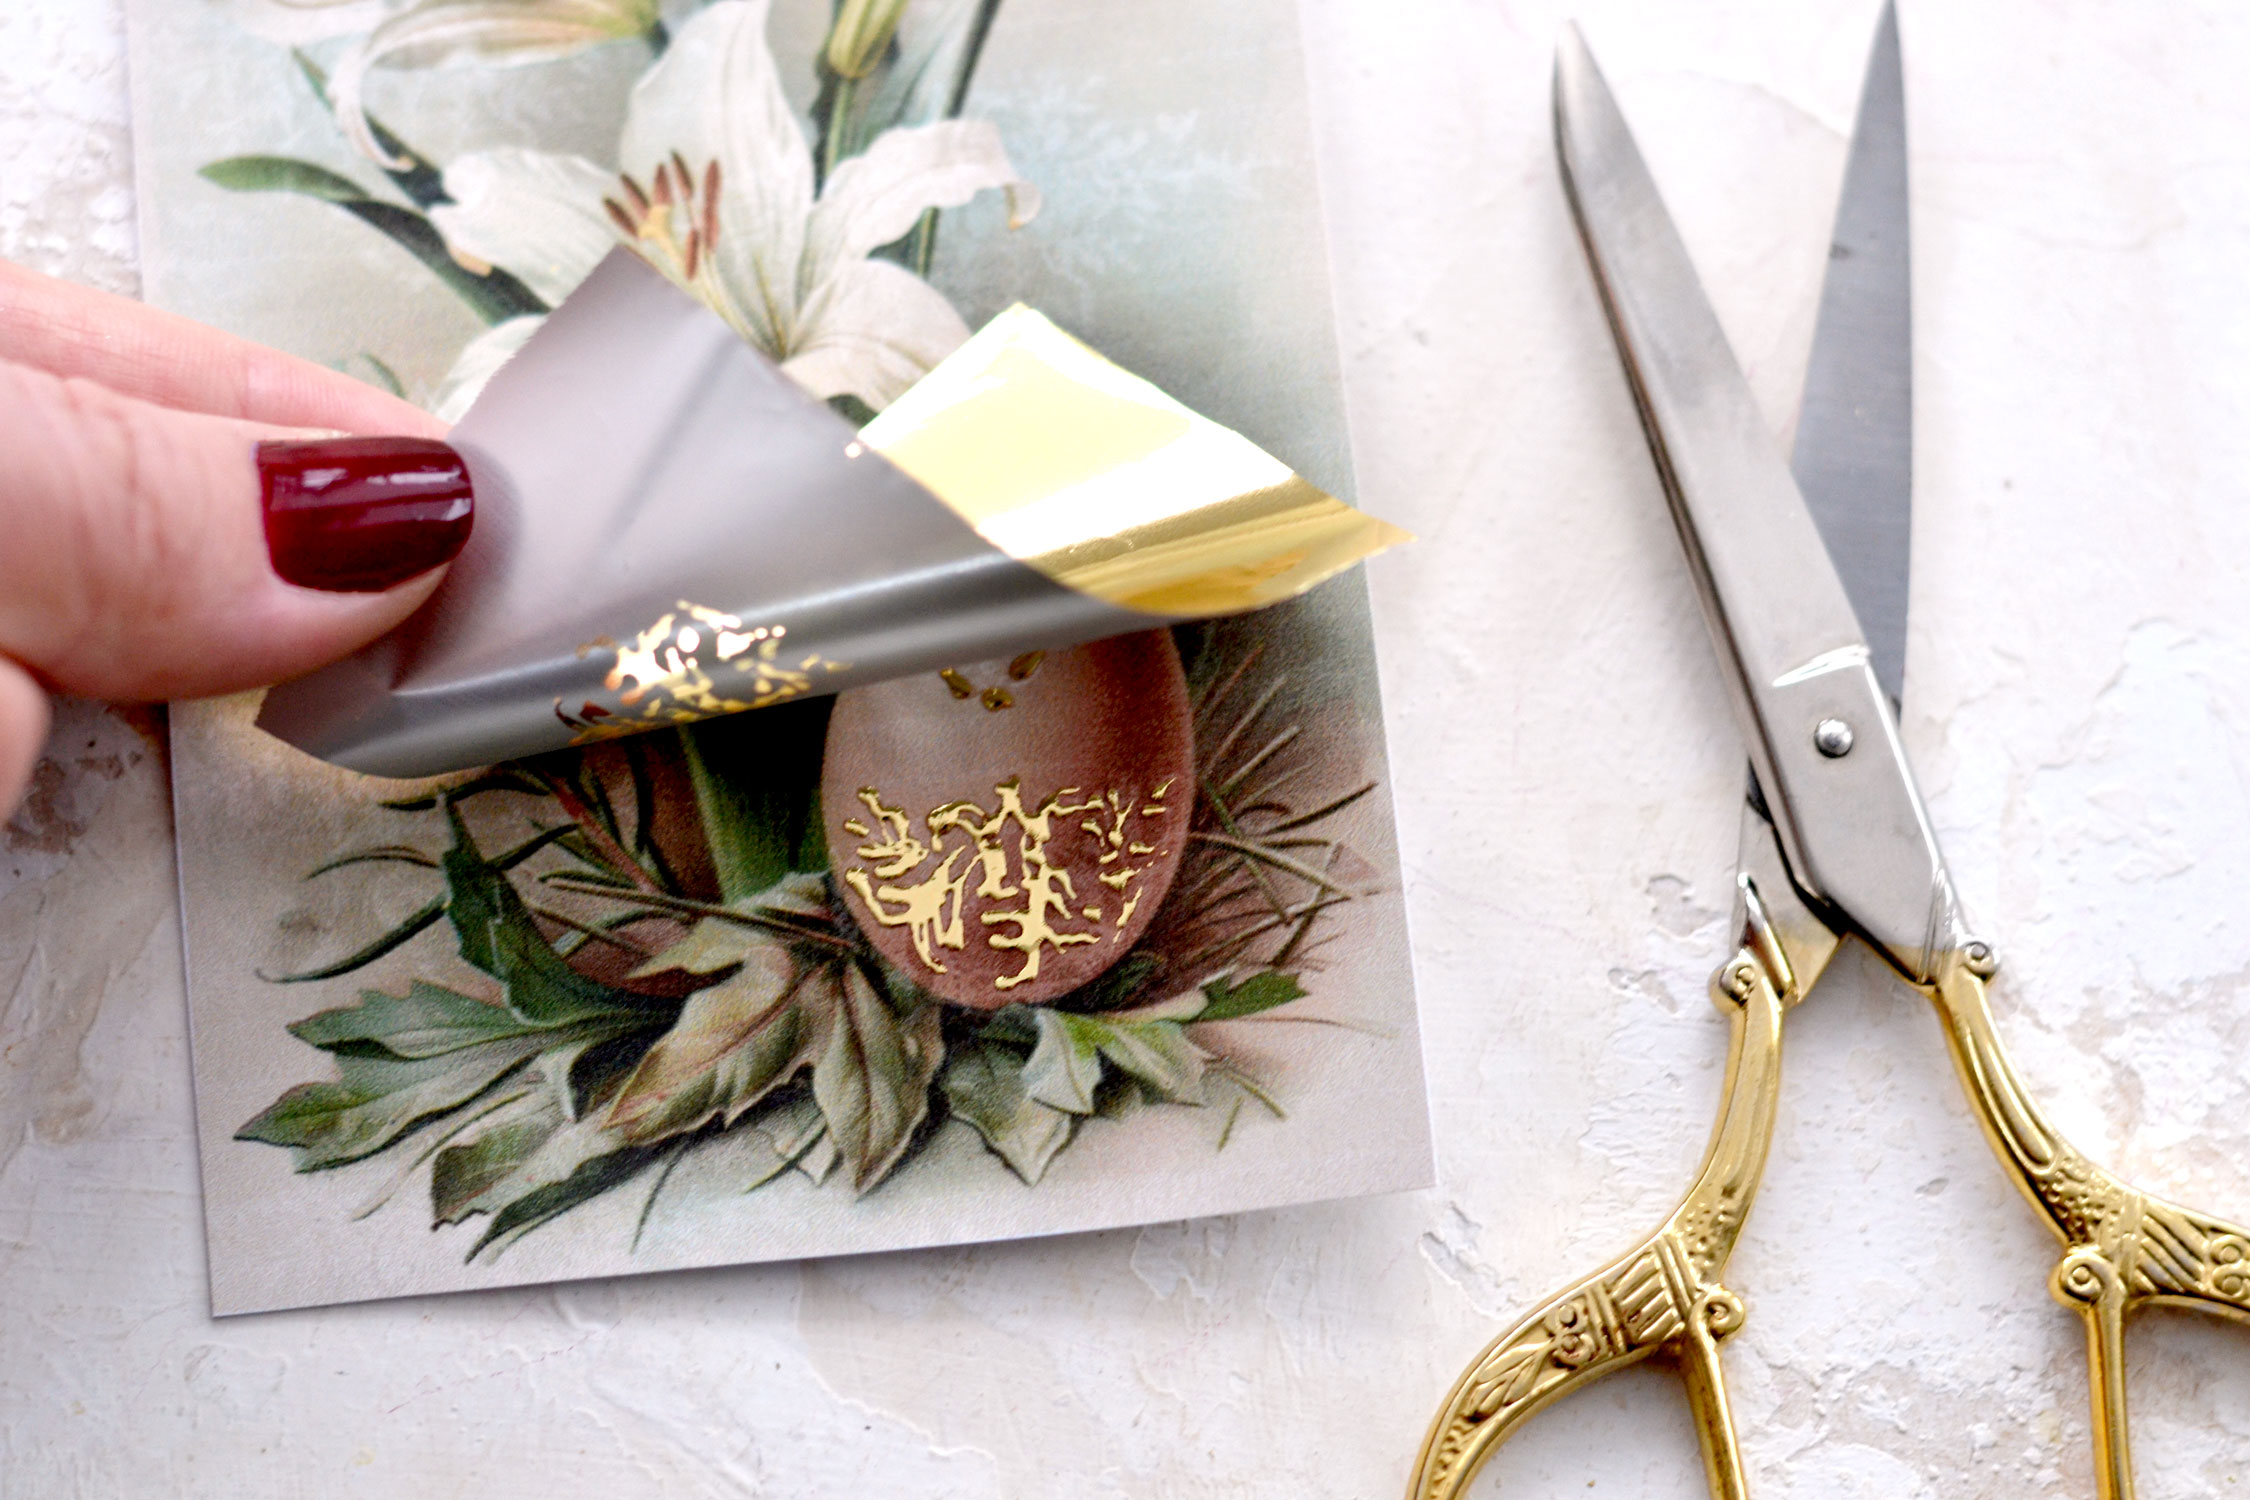
And then add the gold foil. Use the tip of your index finger to gradually press the foil on top of your design a few seconds at a time to get a good adherence.
Then simply peel the foil and admire your absolutely gorgeous gold foil design!
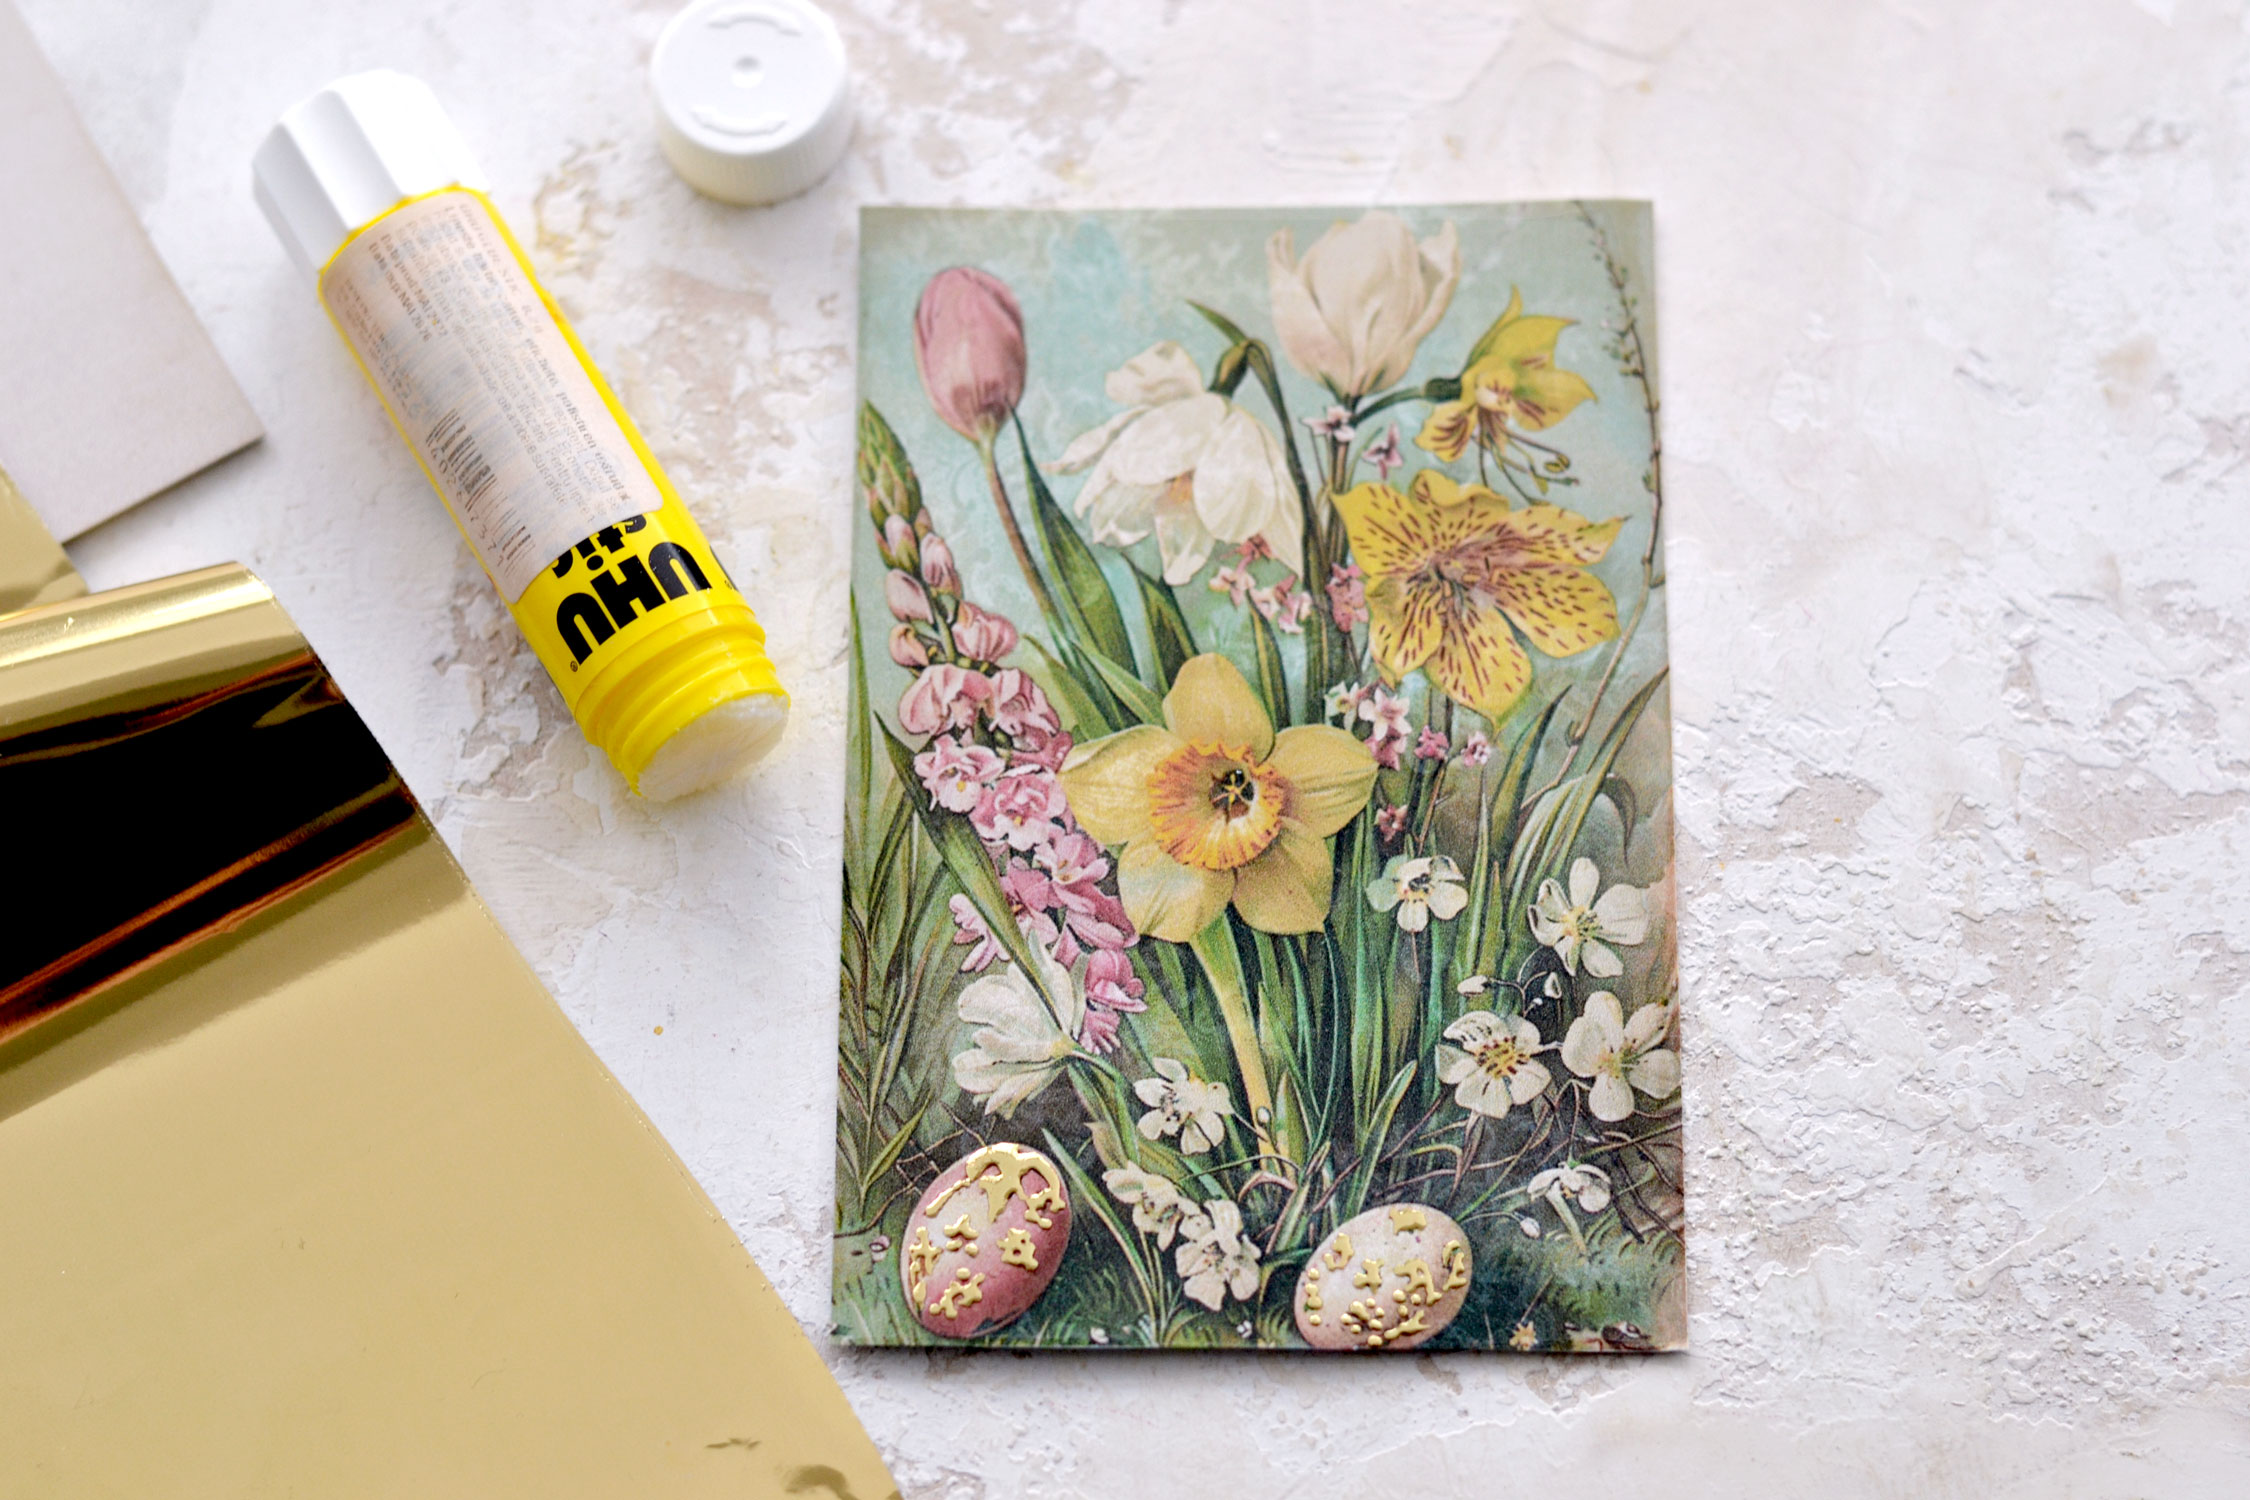
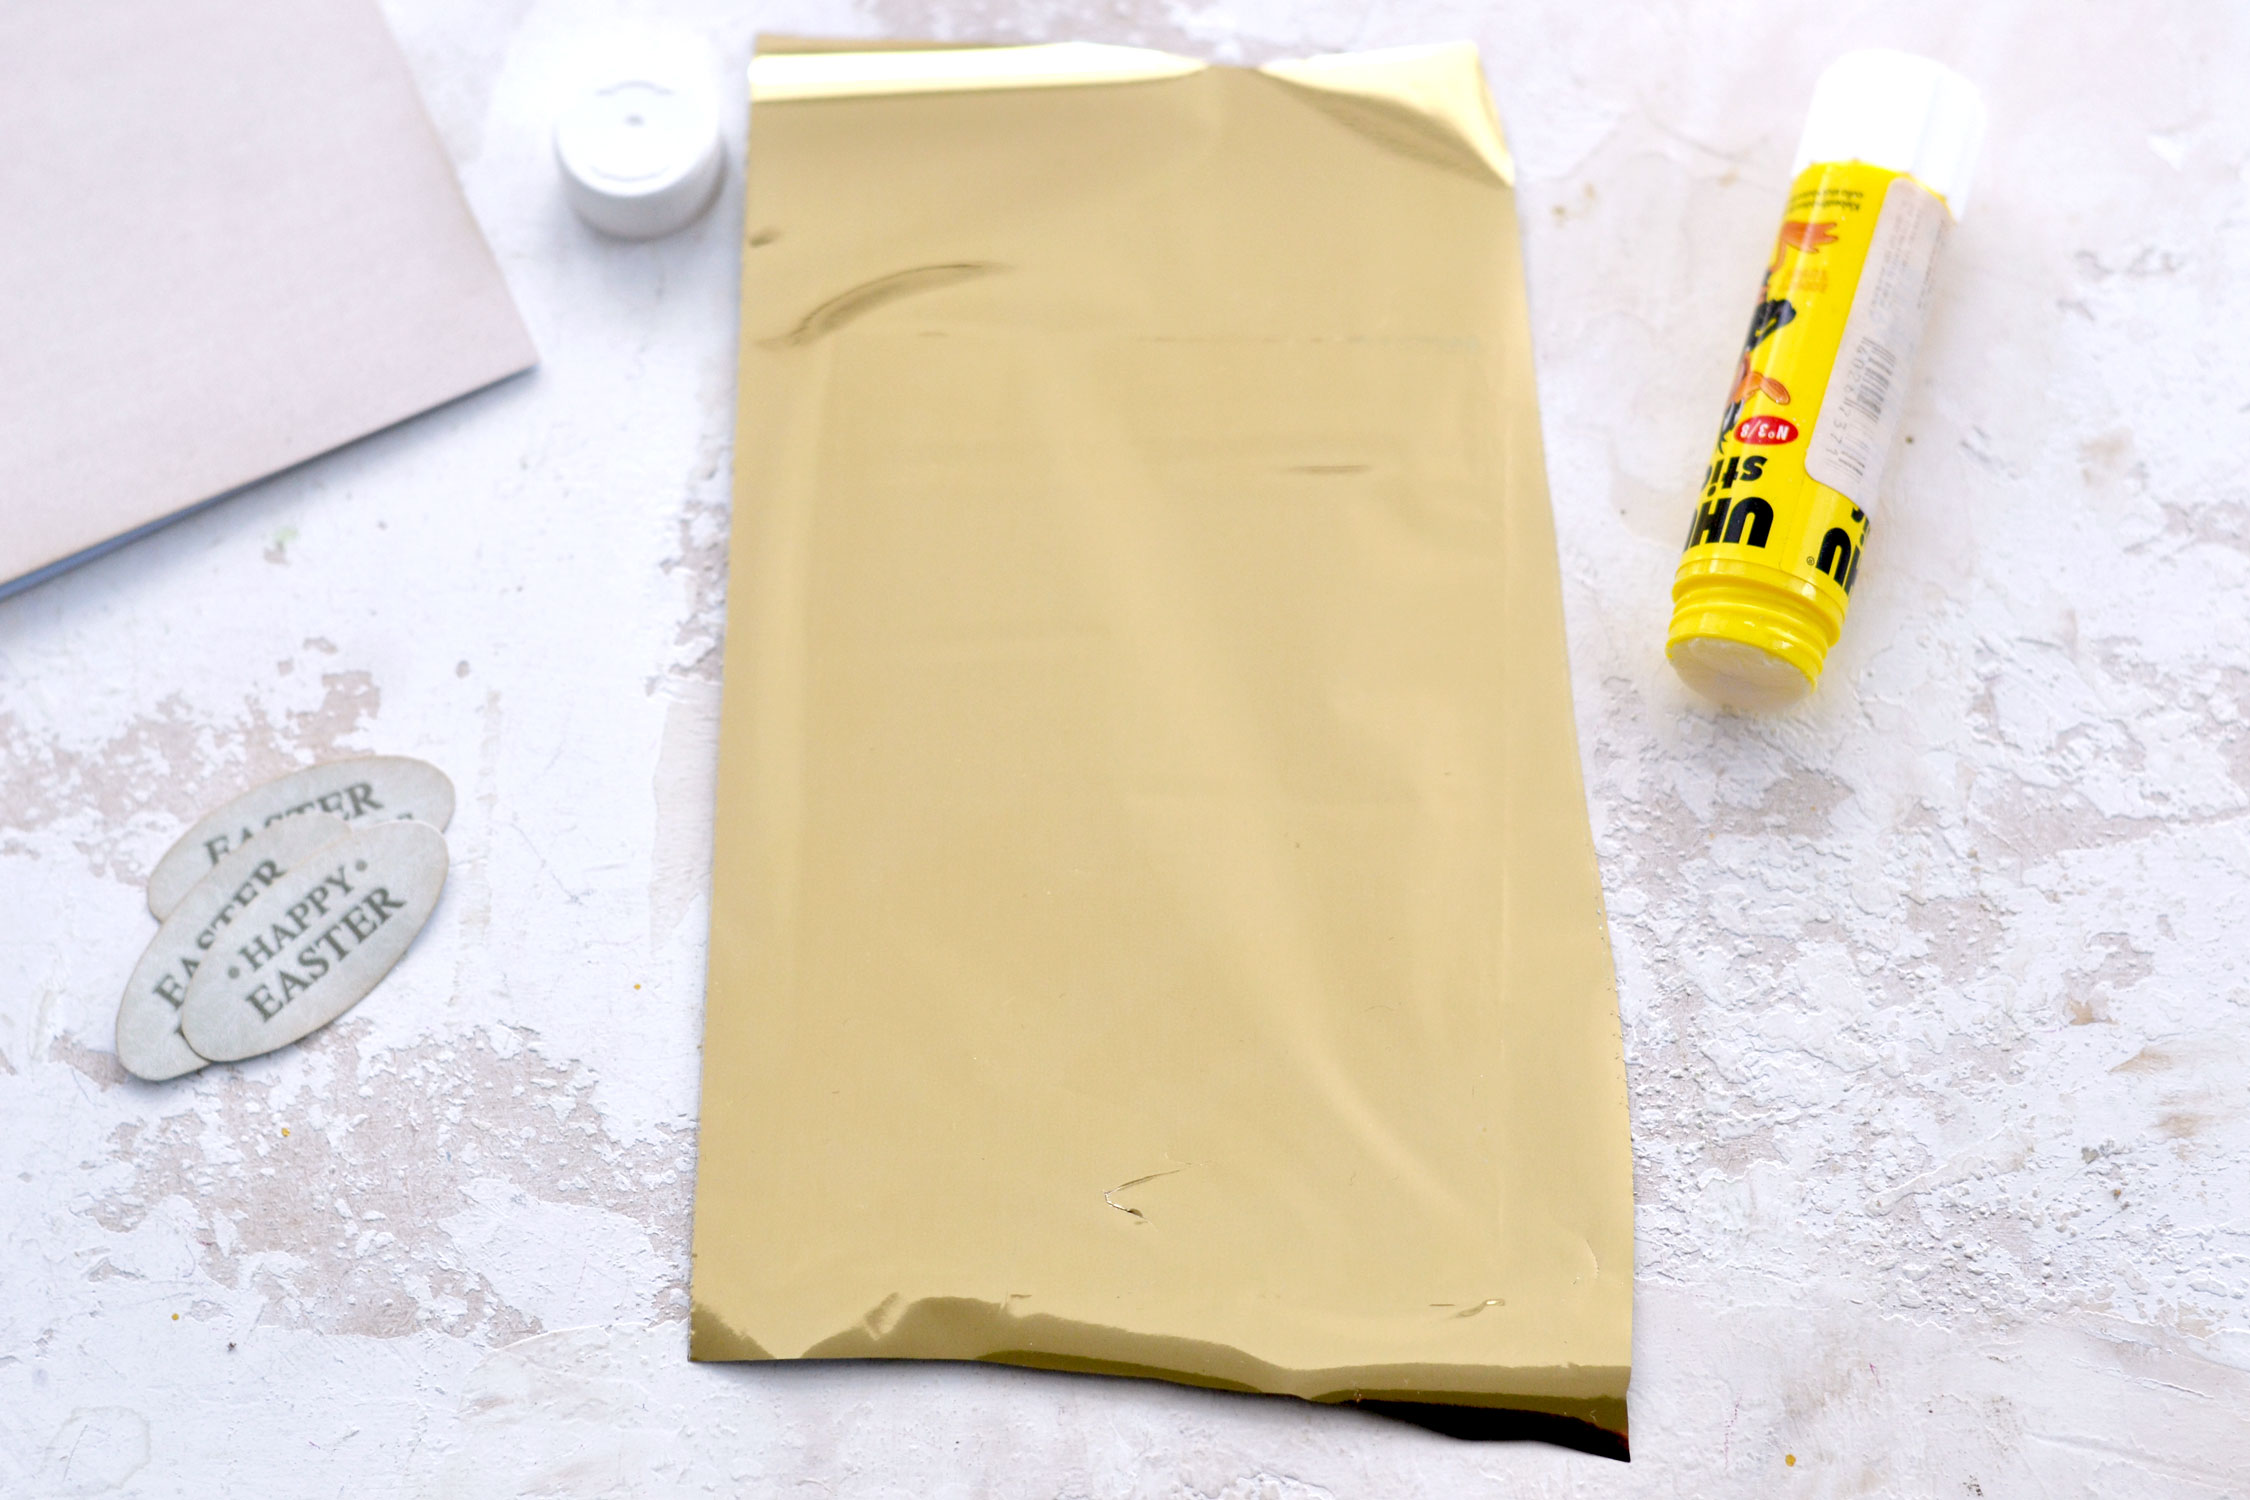
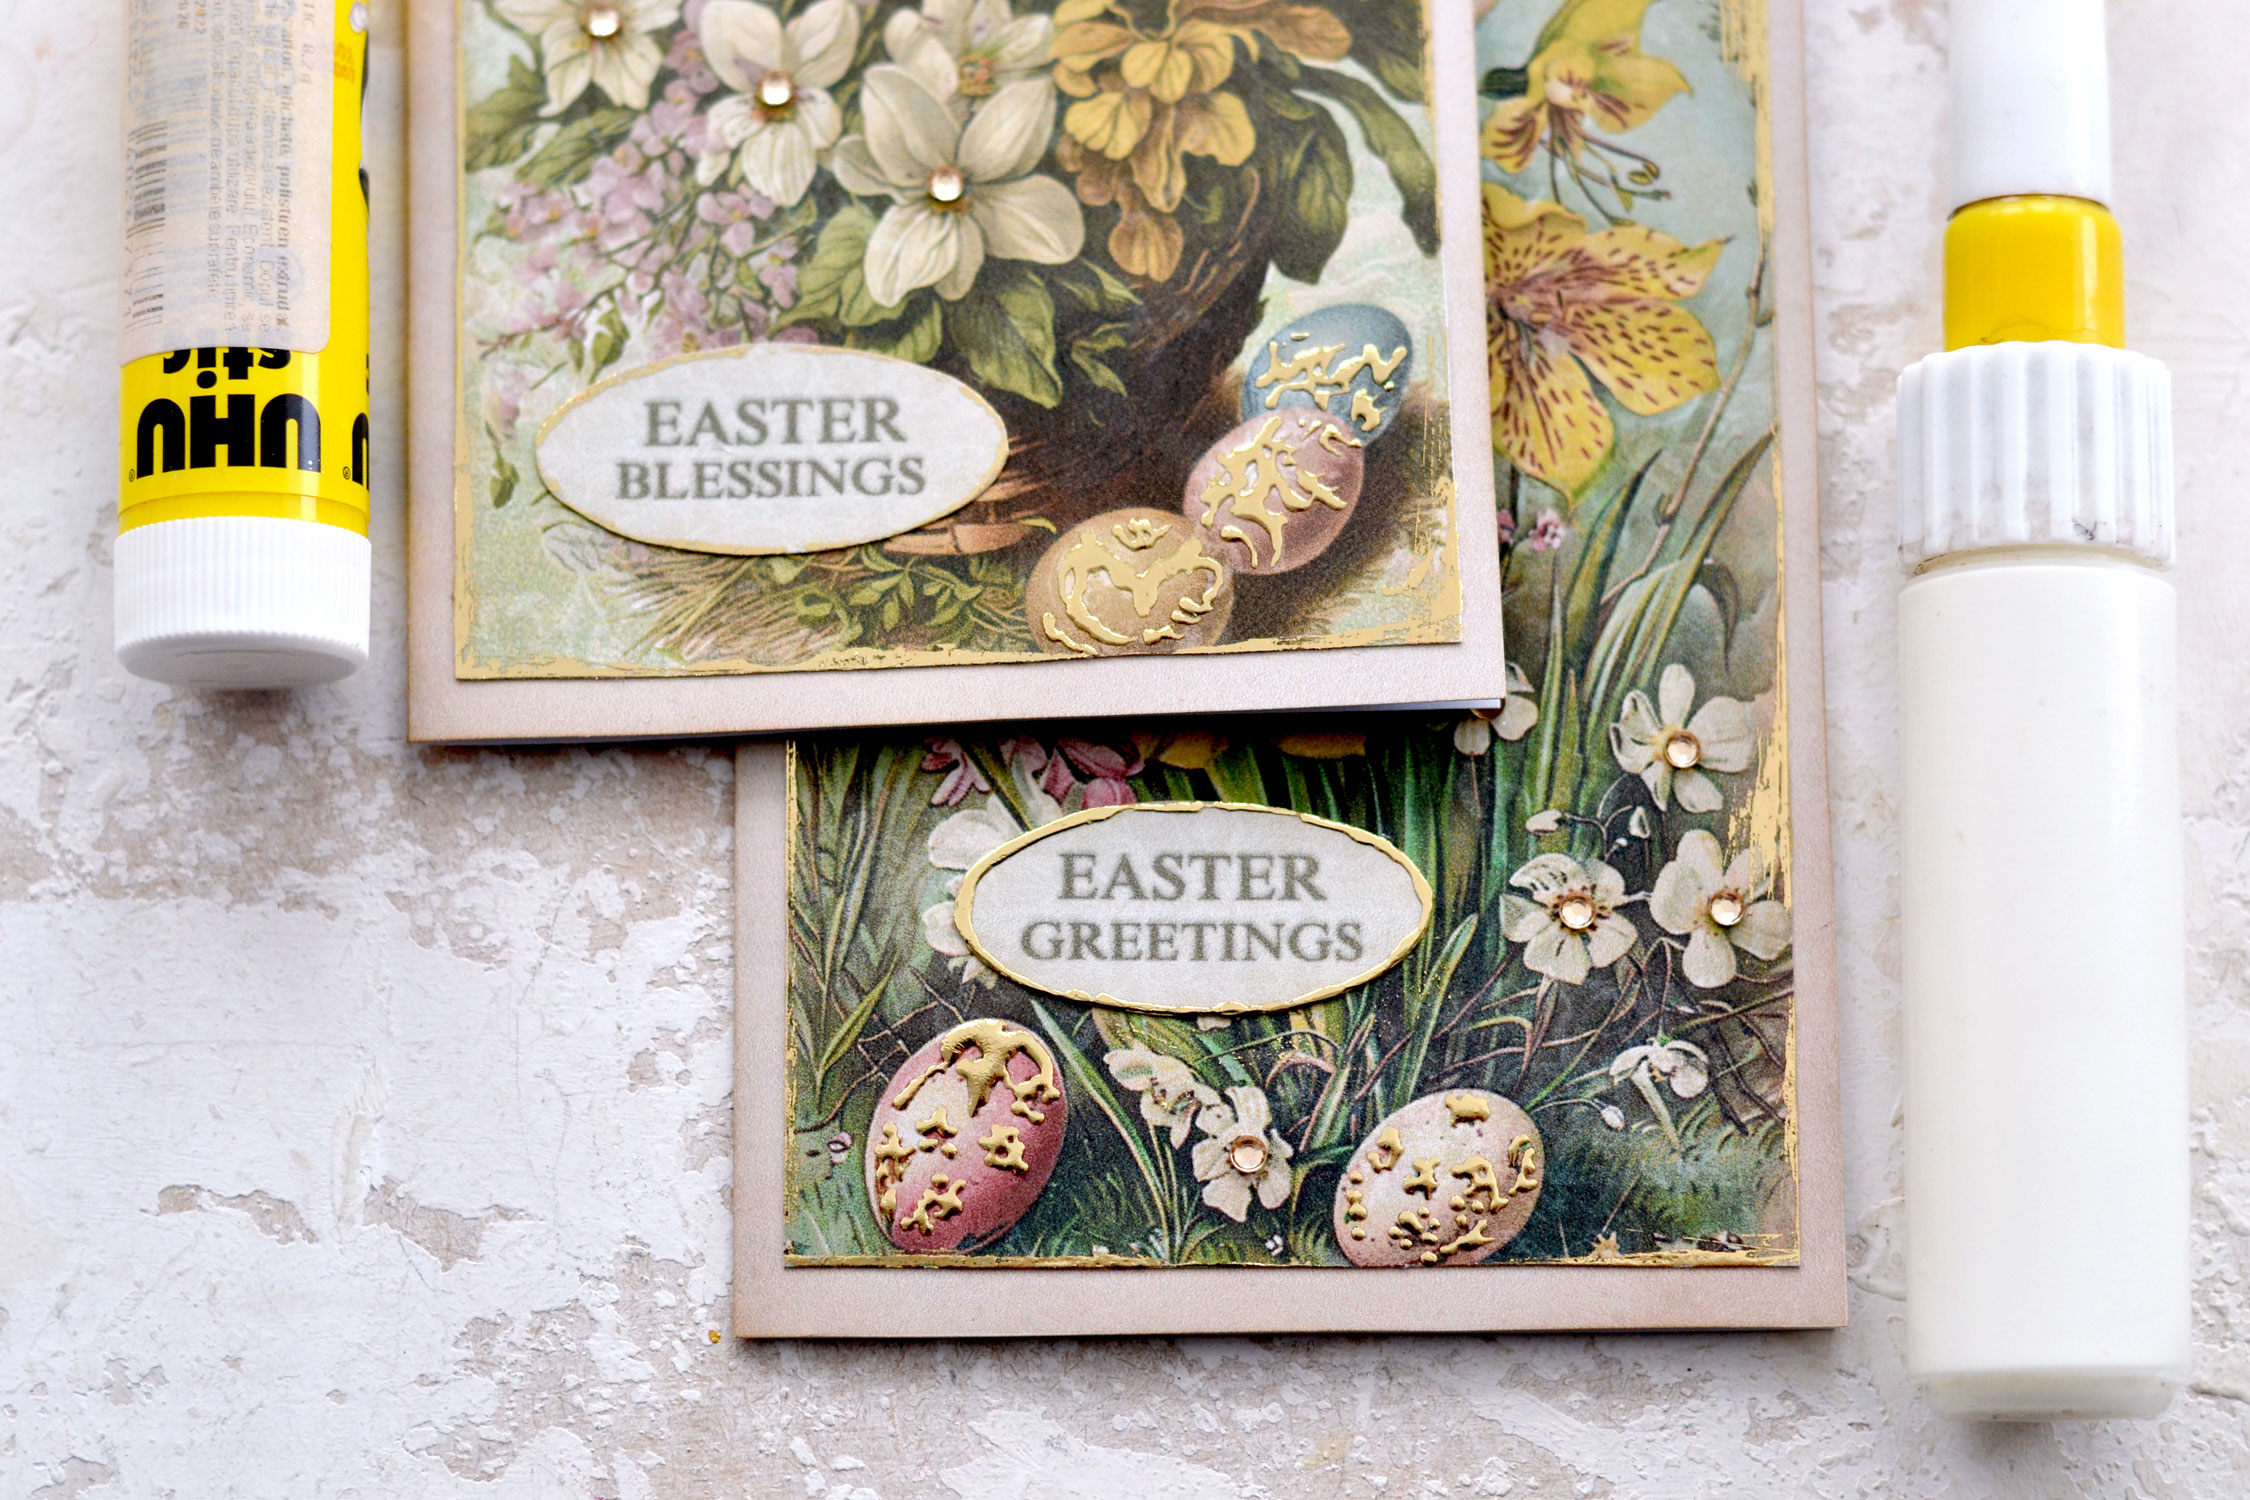
You can use a glue stick to add some gold foil all around the edges of your cards. This method will create a more distressed, not-so-perfect-looking gold effect, which I usually like to use on the edges. Not all glue sticks will work here, I’ve had great results with UHU and the one from Staedtler.
Apply a thin line of glue on the edges while holding the card in your hands, let it dry for a few seconds and then apply the gold foil on top.
Let the paper stay with the gold foil on top for a few minutes, just to make sure the glue has the chance to completely dry before peeling the foil off.
You can also use the special gold foil glue and apply it with a brush. Just let it become dry and tacky before adding the gold foil.
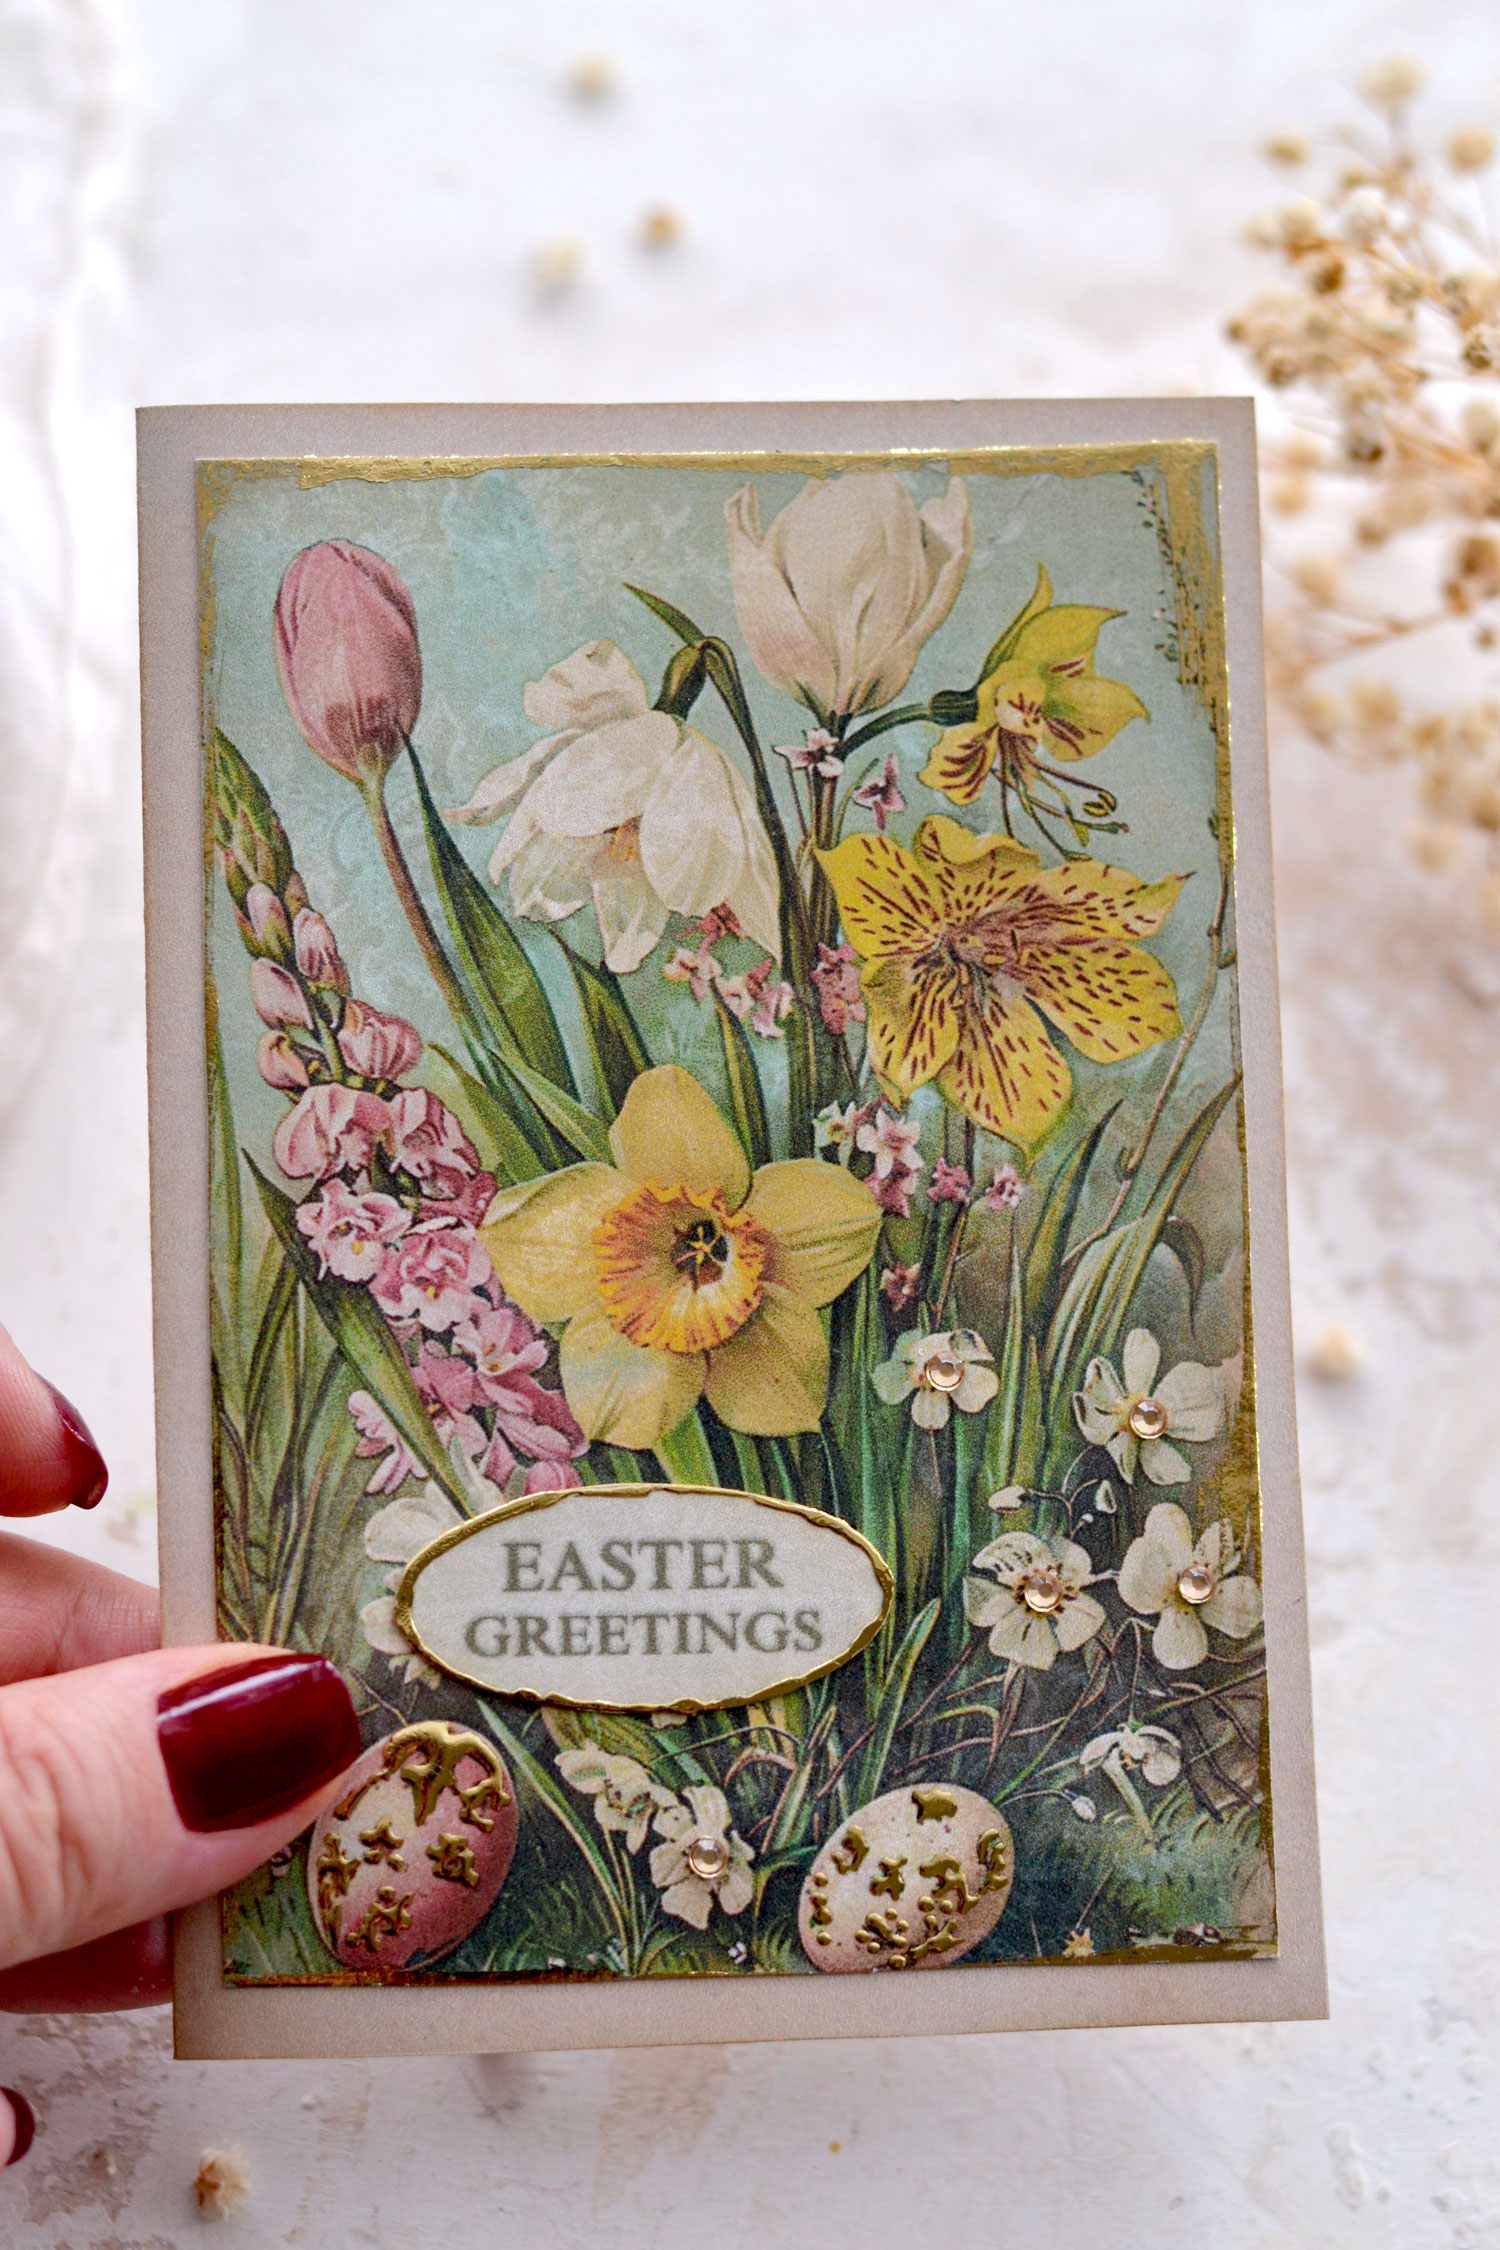
You can then move on to assembling your cards, you now have all the elements ready. Add adhesive gems in the middle of some of the flowers if you want to add more dimension to your cards. I used some light gold ones, I think they look quite fancy!
You can also use a little bit of glue around the Easter wishes ovals and then apply some gold foil if you want.
And speaking of these Easter wishes embellishments, you can also try to use the fine tip applicator to add the special gold foil glue around the edges. This will give a more dimensional feel to the finished pieces, you can find below a side-by-side comparison of the two.
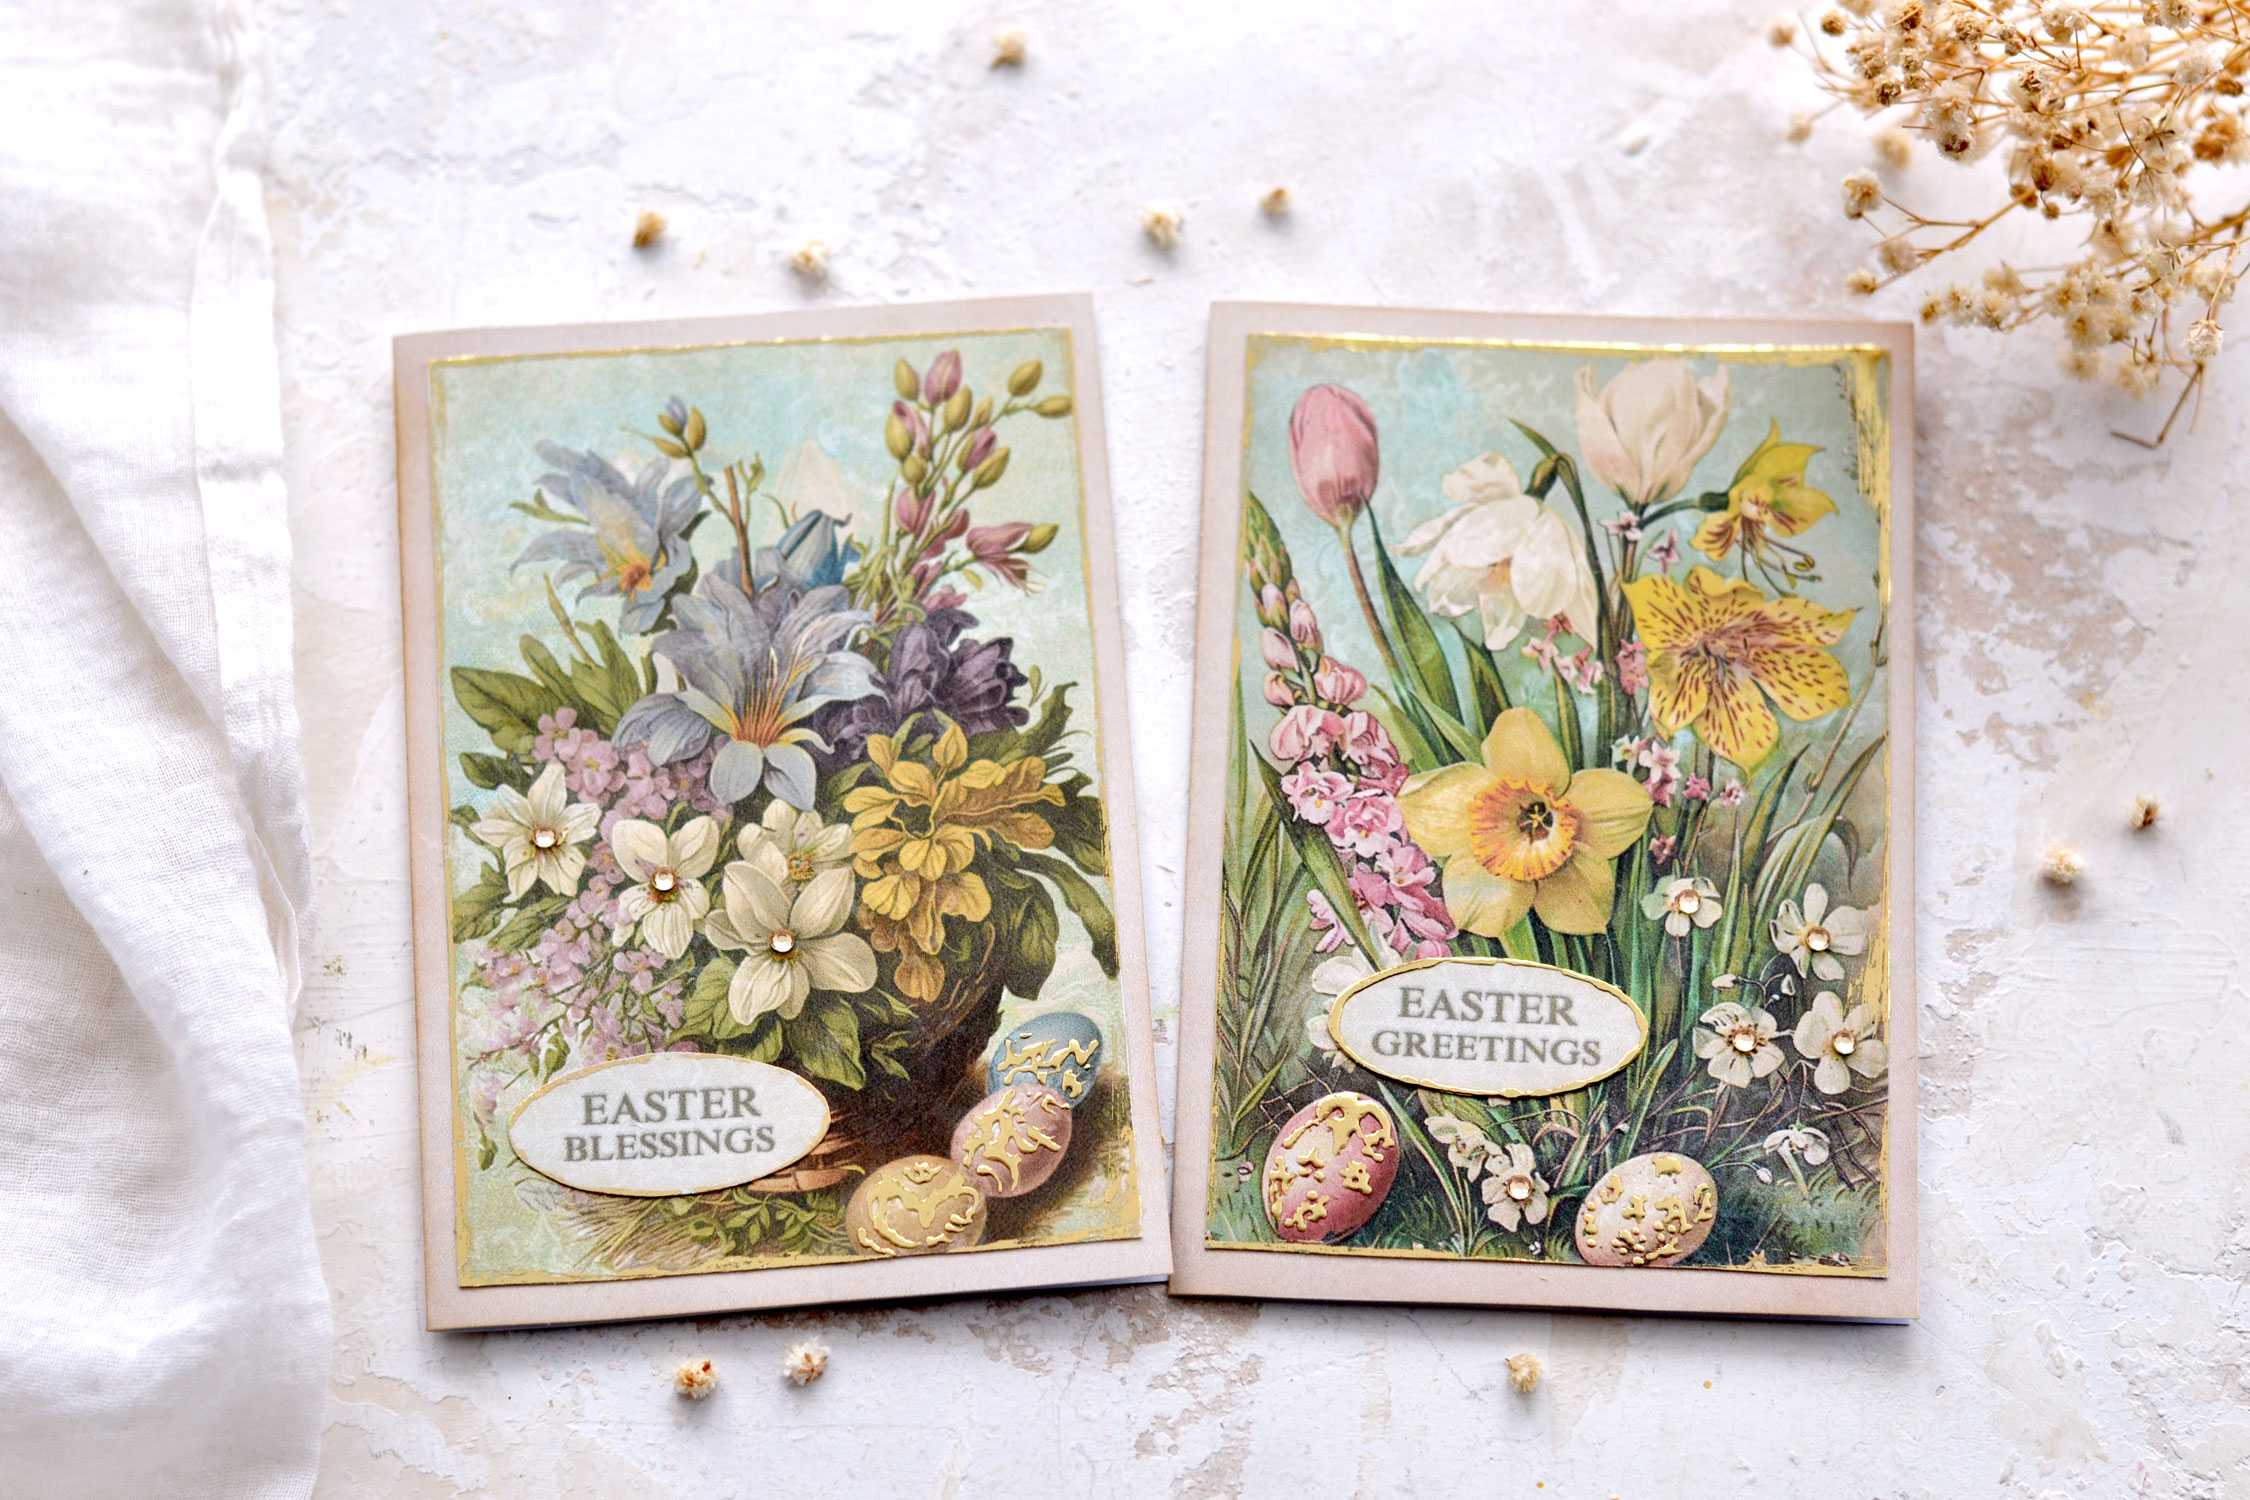
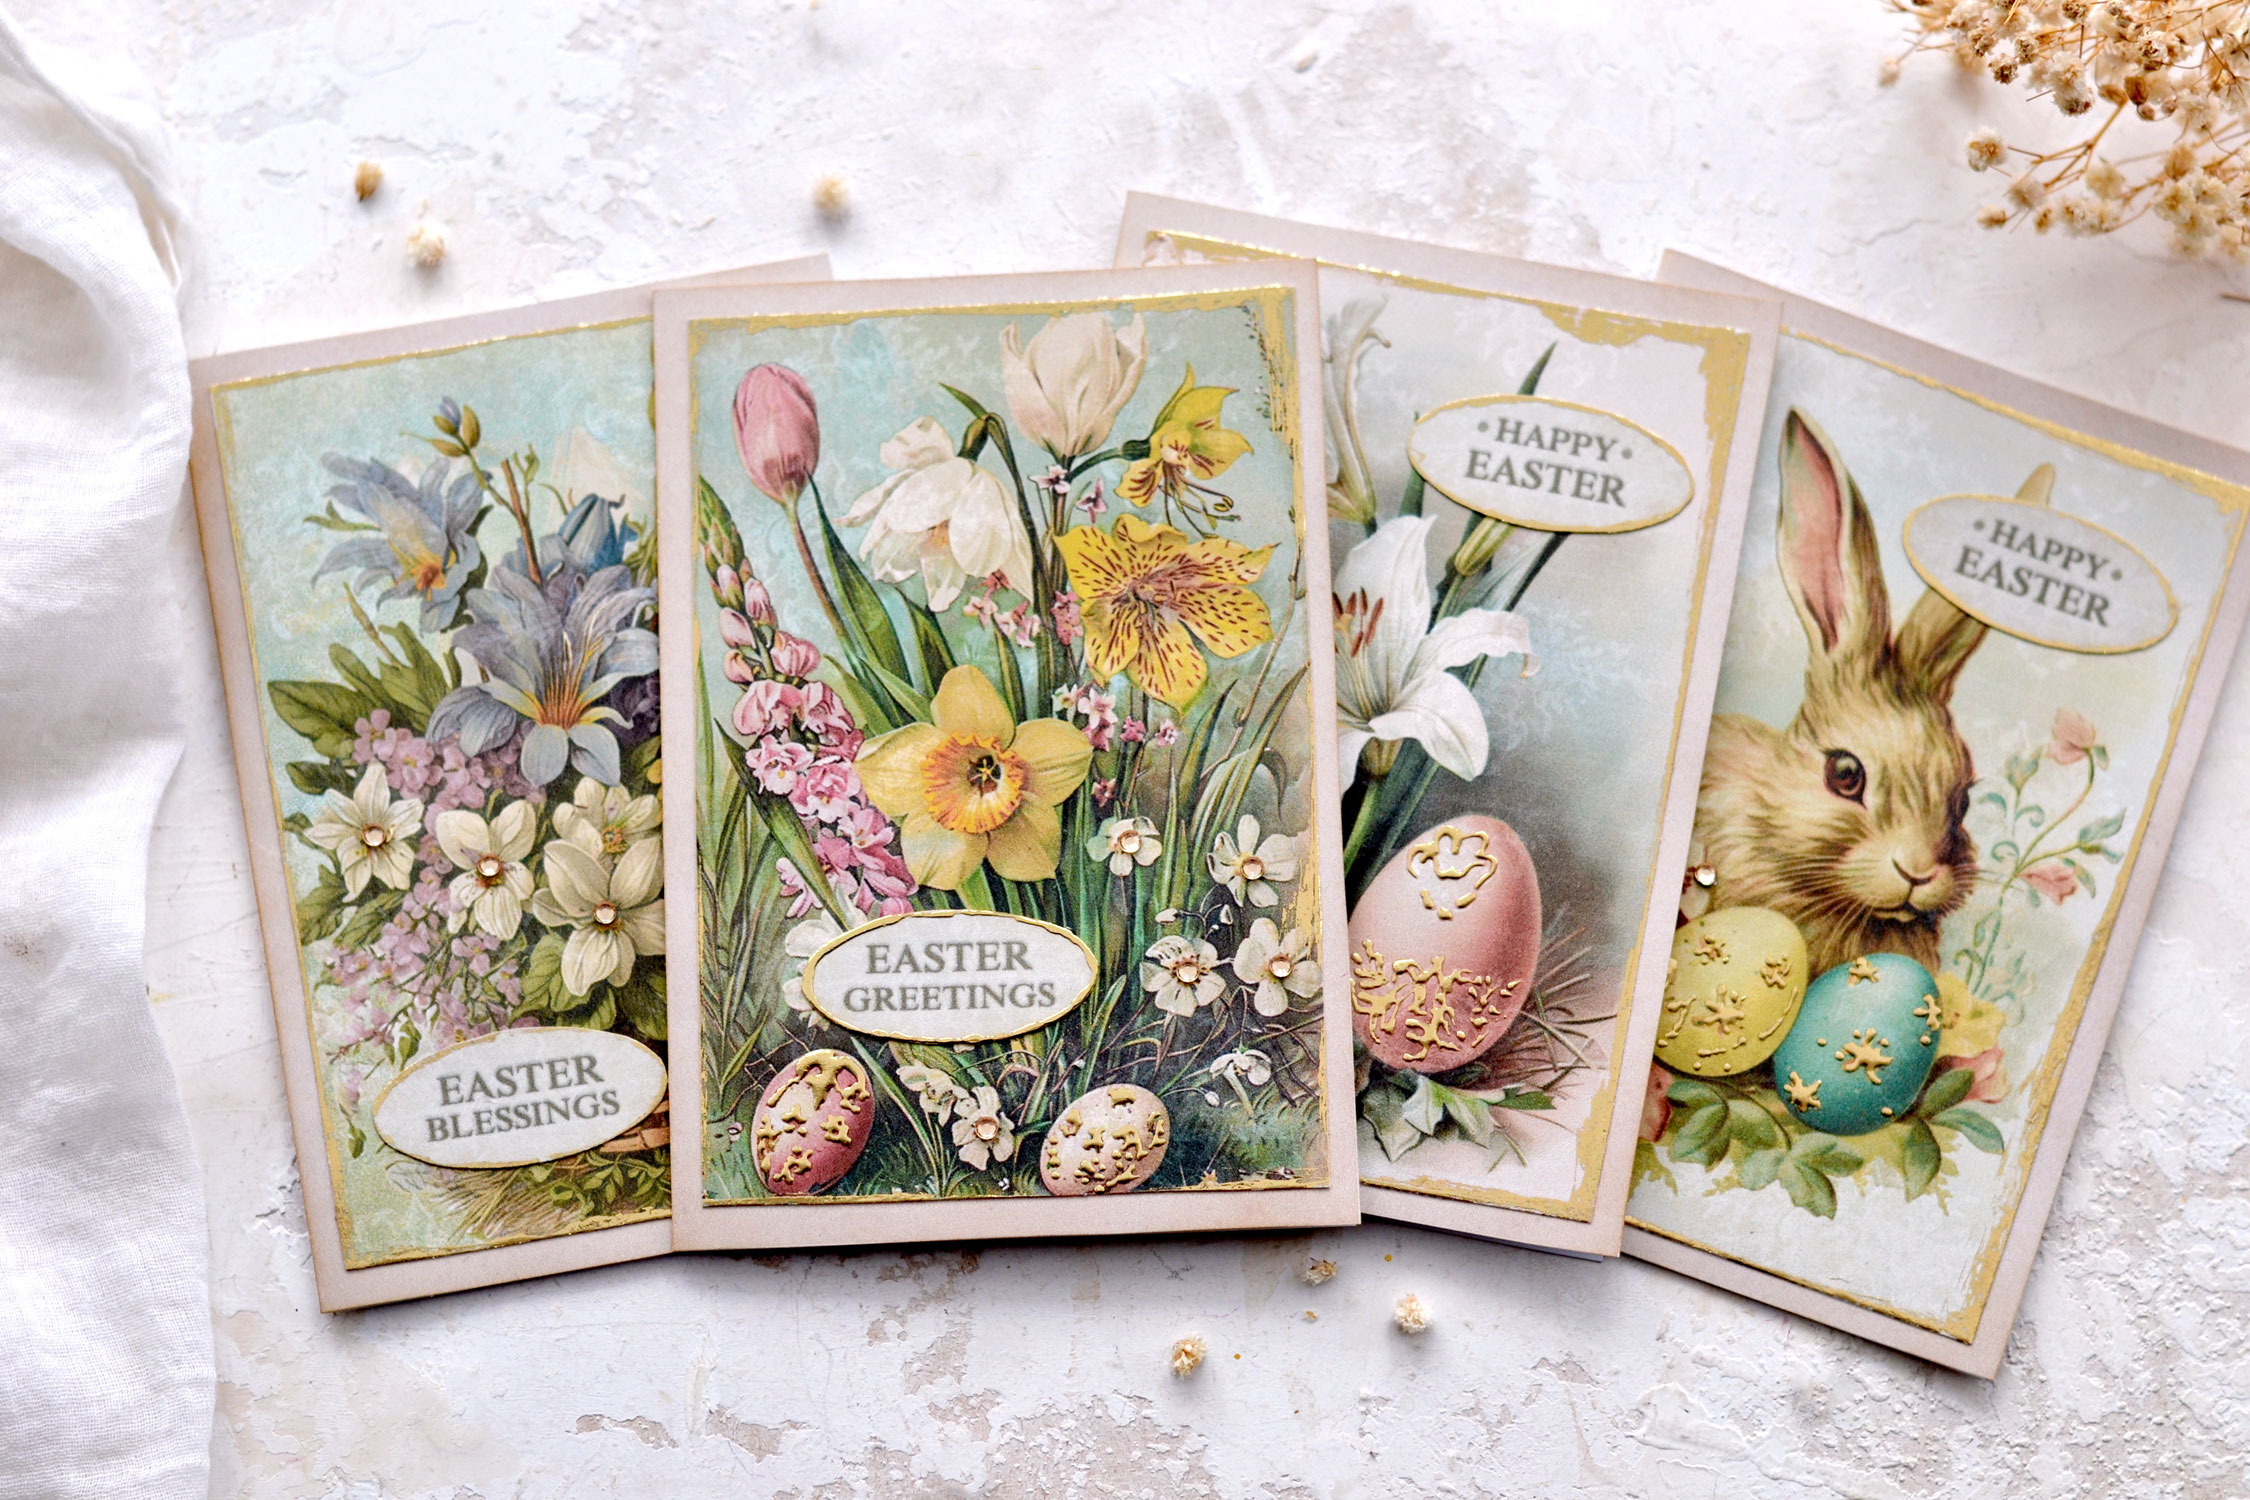
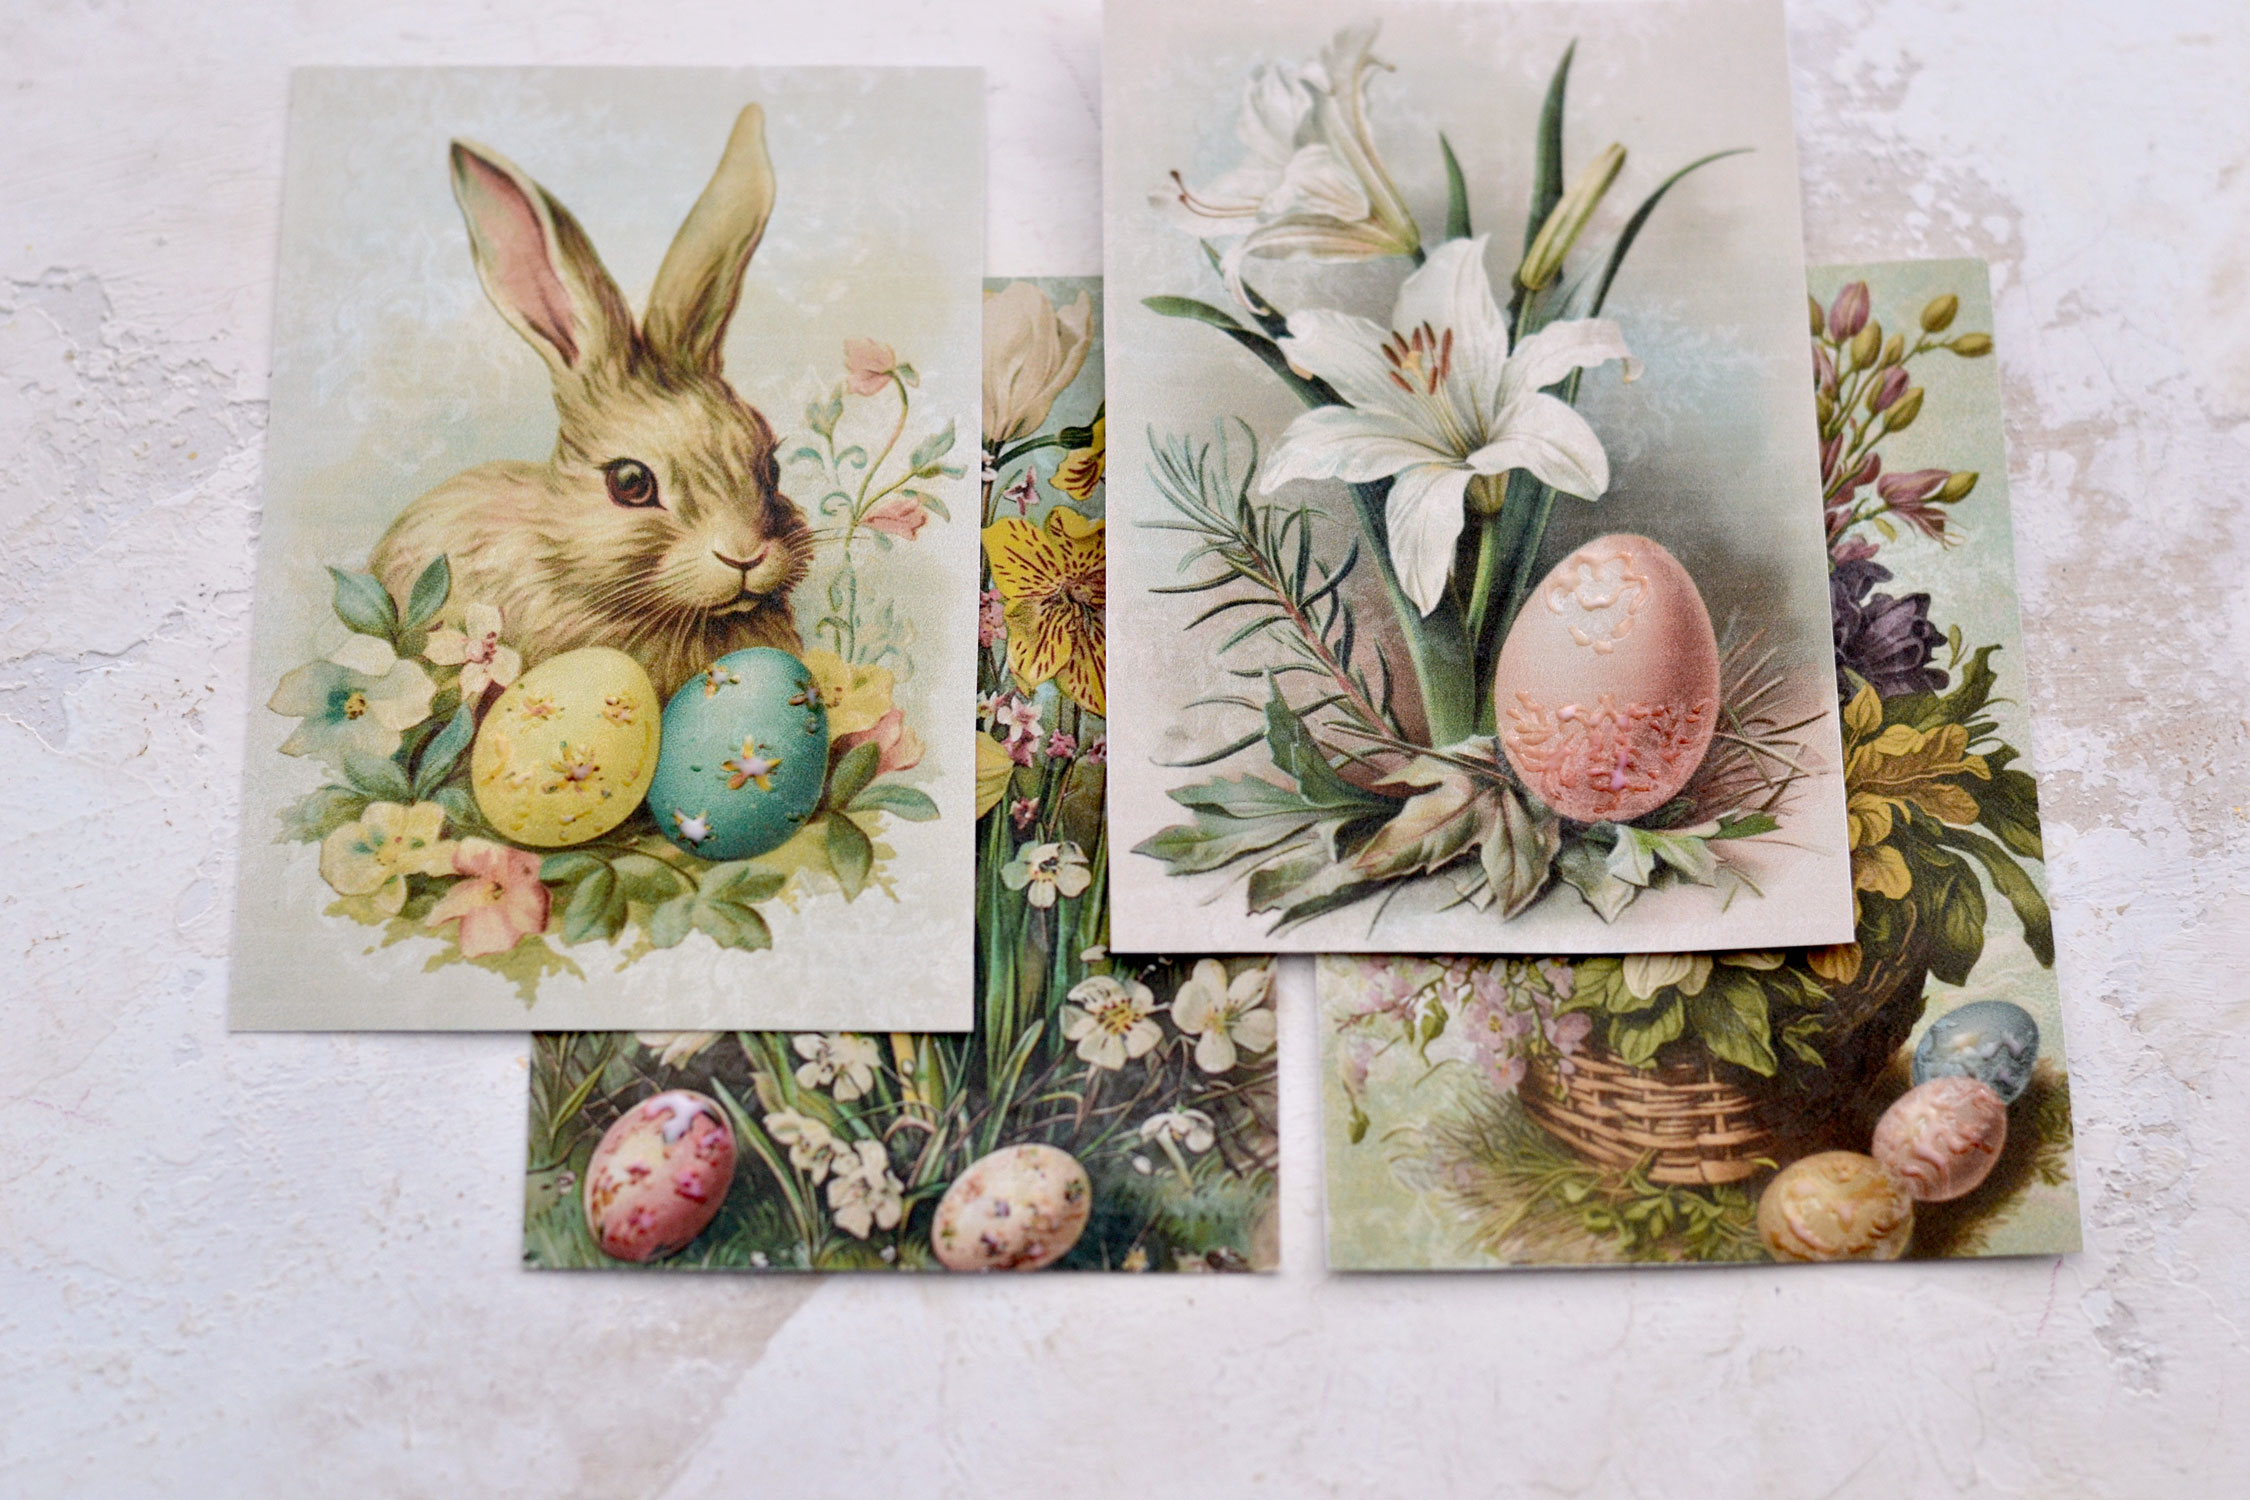
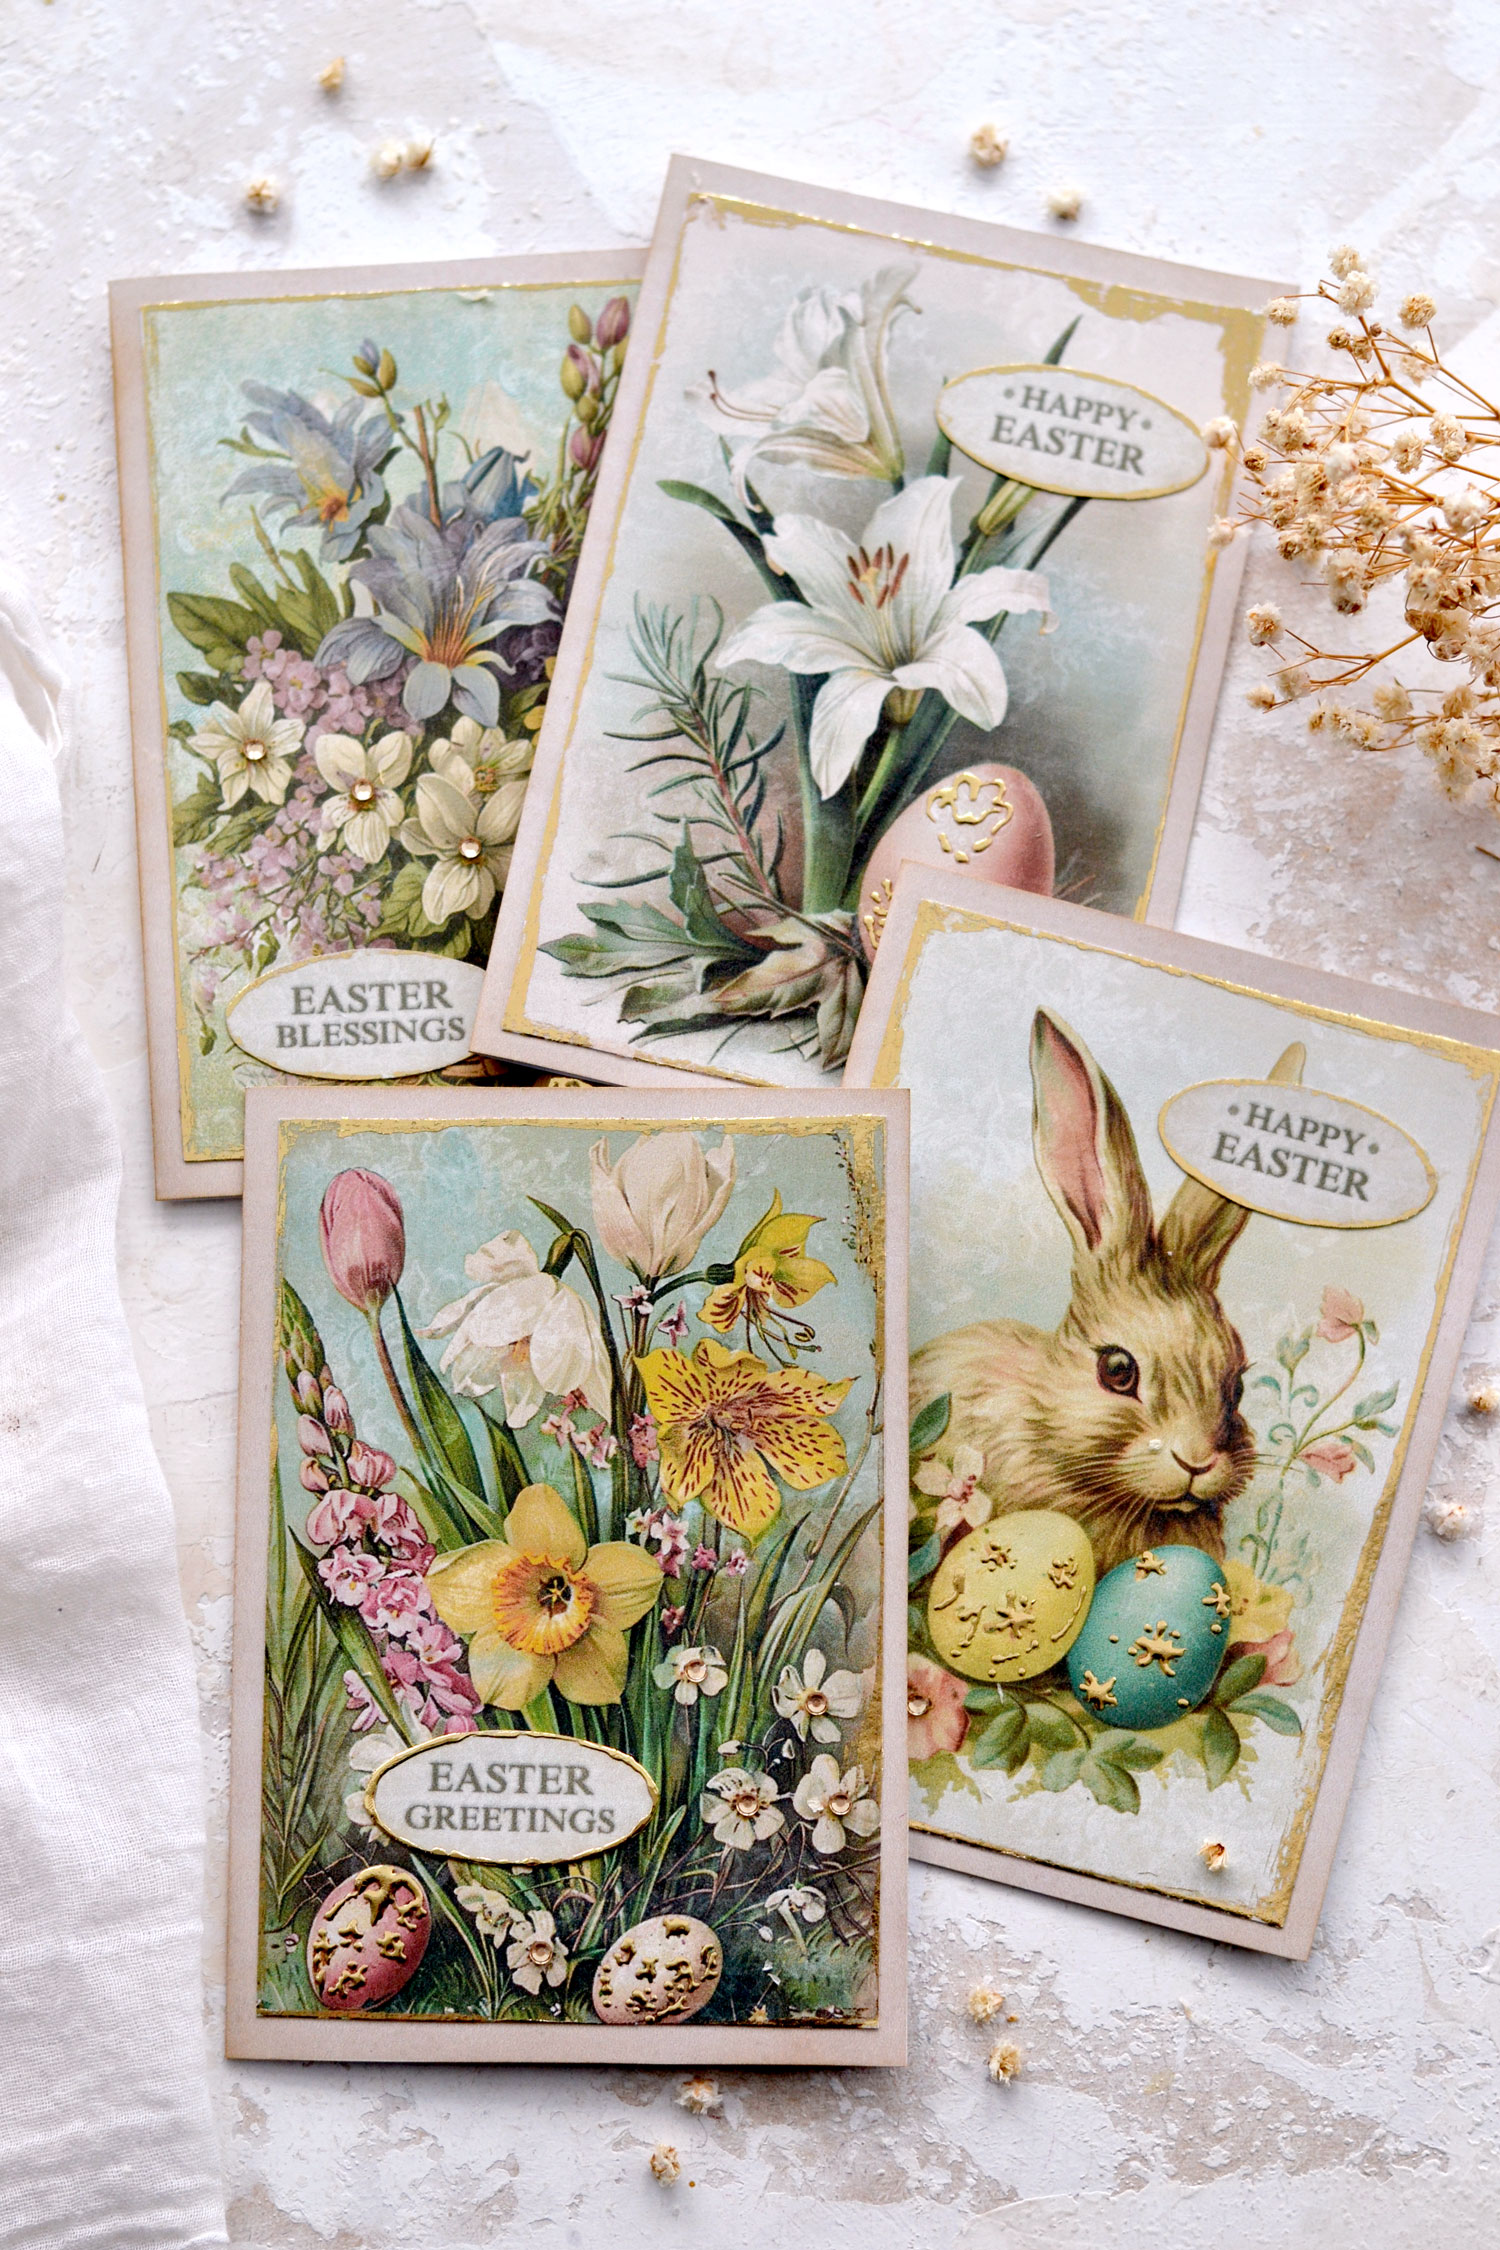
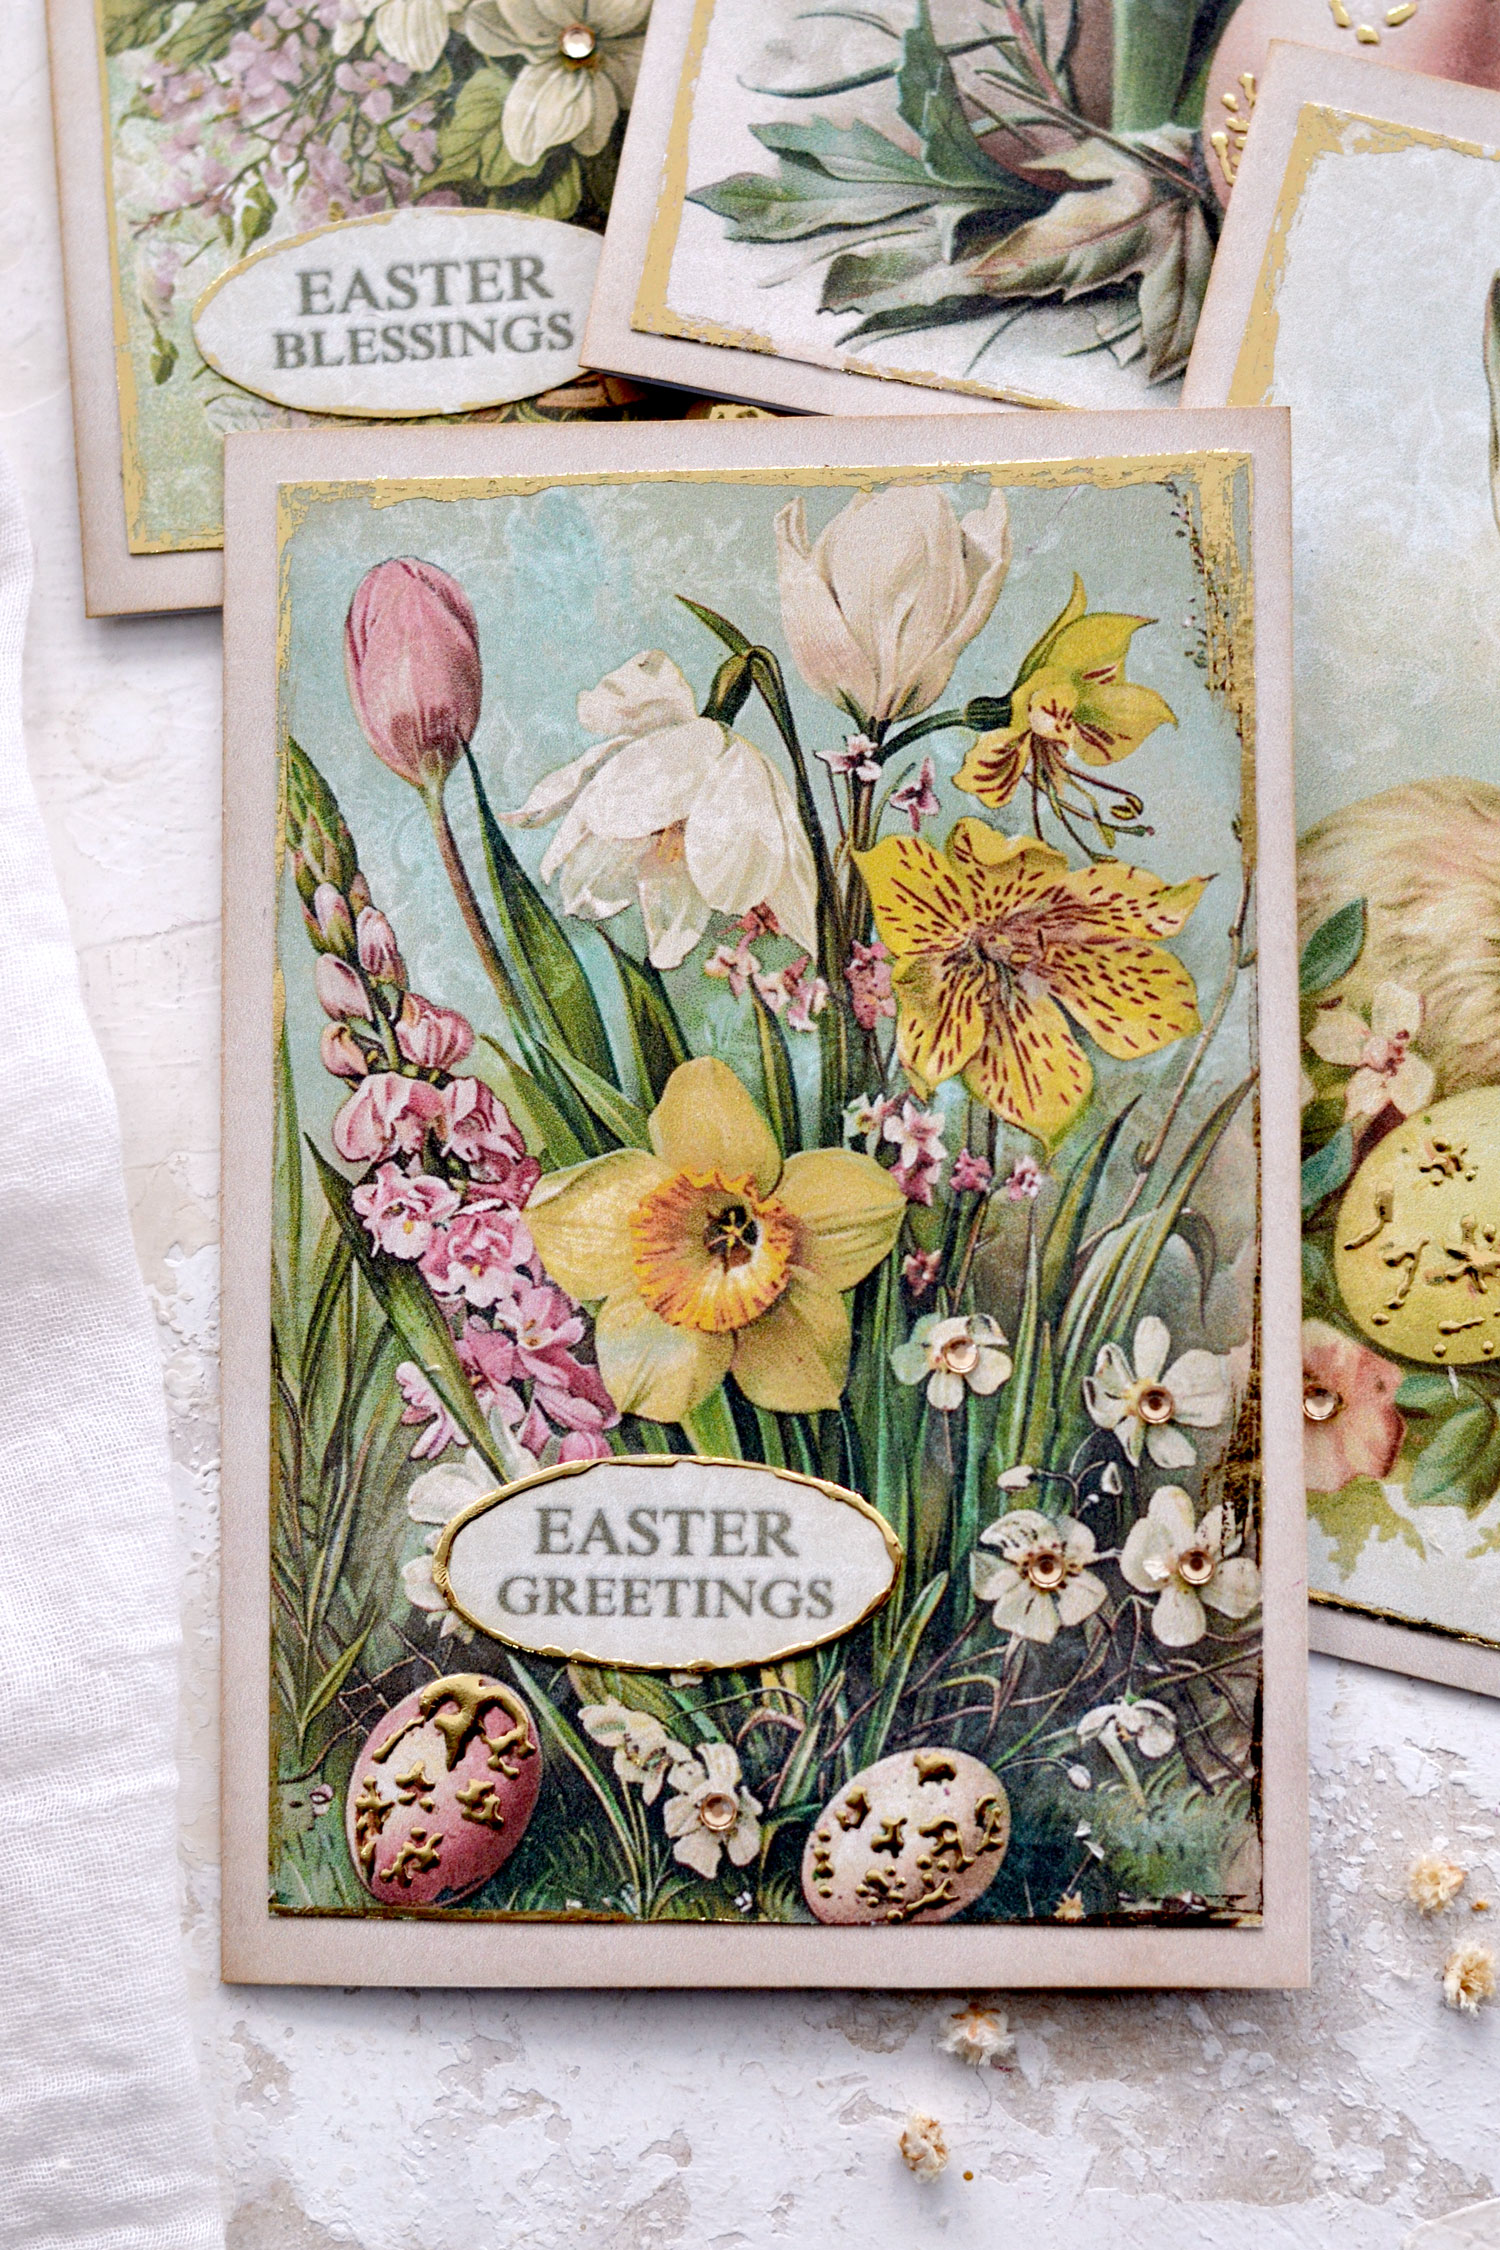
This is how my final vintage Easter cards with gold touches turned out, I think they all look really beautiful!
The details on these flower cards are simply amazing and they look even better with all the gold touches and the gems around them, don’t you think? I love this super quick and easy way to add almost like a marbled gold effect on the eggs. Of course, if you want to practice your painting, you can take your time and create your own Faberge eggs masterpieces.
I would suggest adding a tiny bit of glue if using adhesive gems on your cards. I noticed they tend to slide off, so it would be better to further secure them in place with some additional glue.

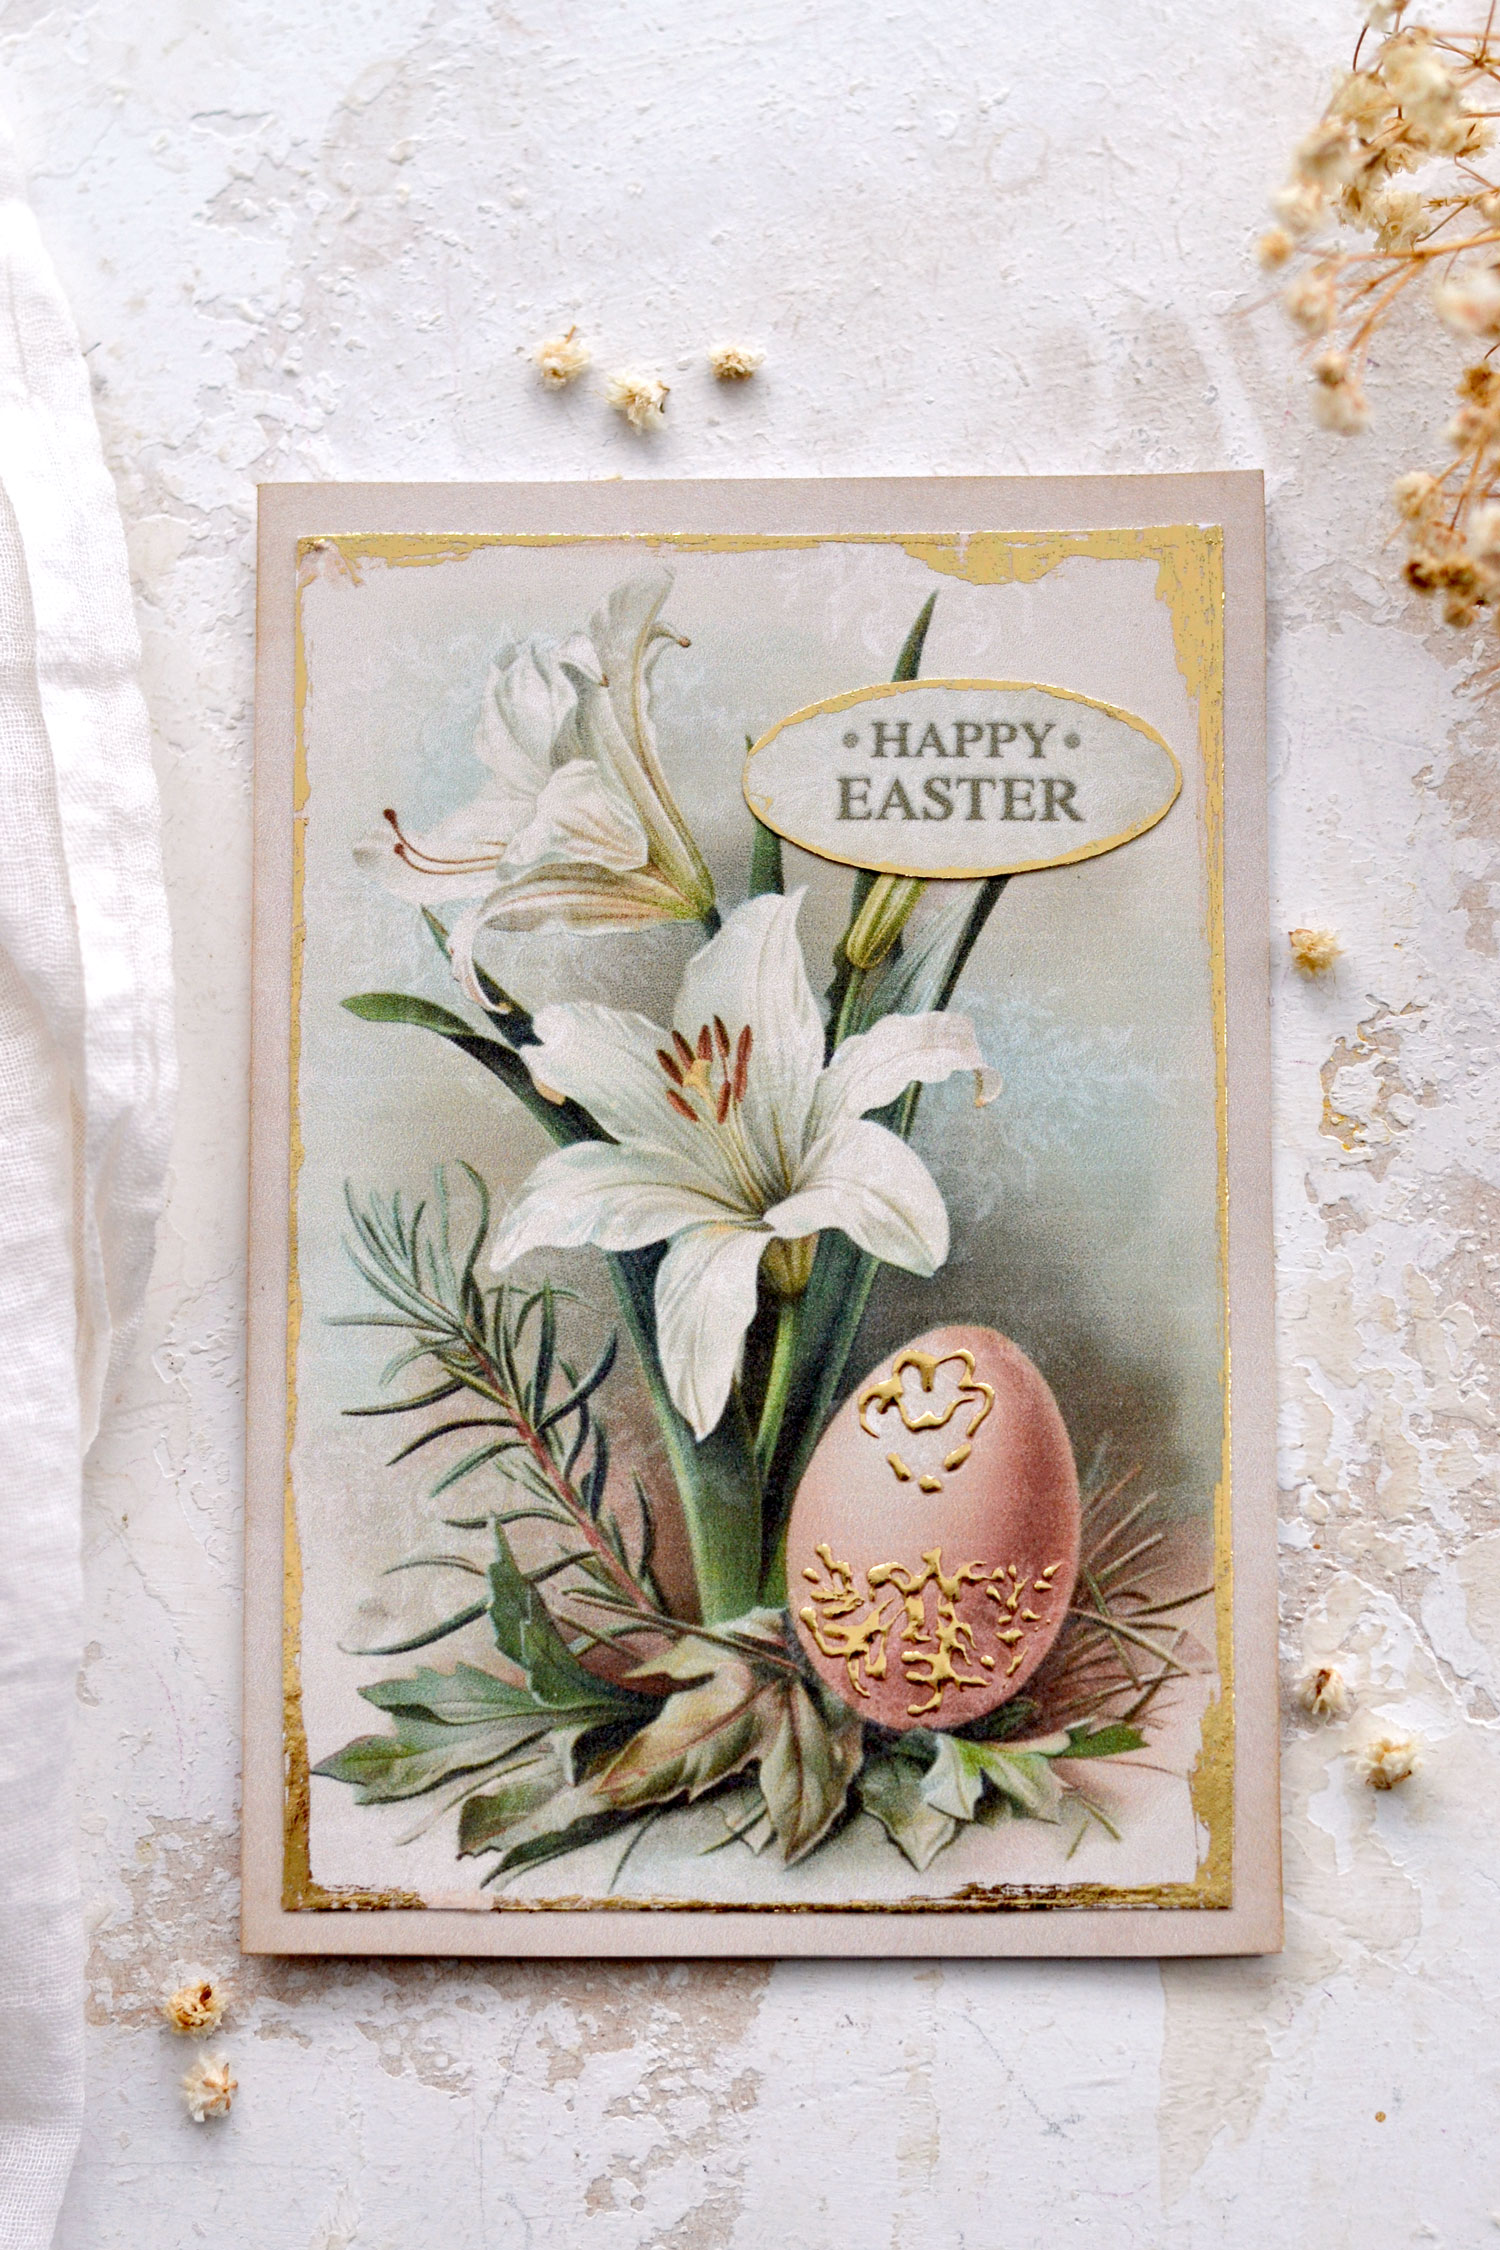
The one below has a more neutral vibe to it, I love how elegant the lily looks with all the small, but oh-so-previous gold details that we added to the Easter egg!
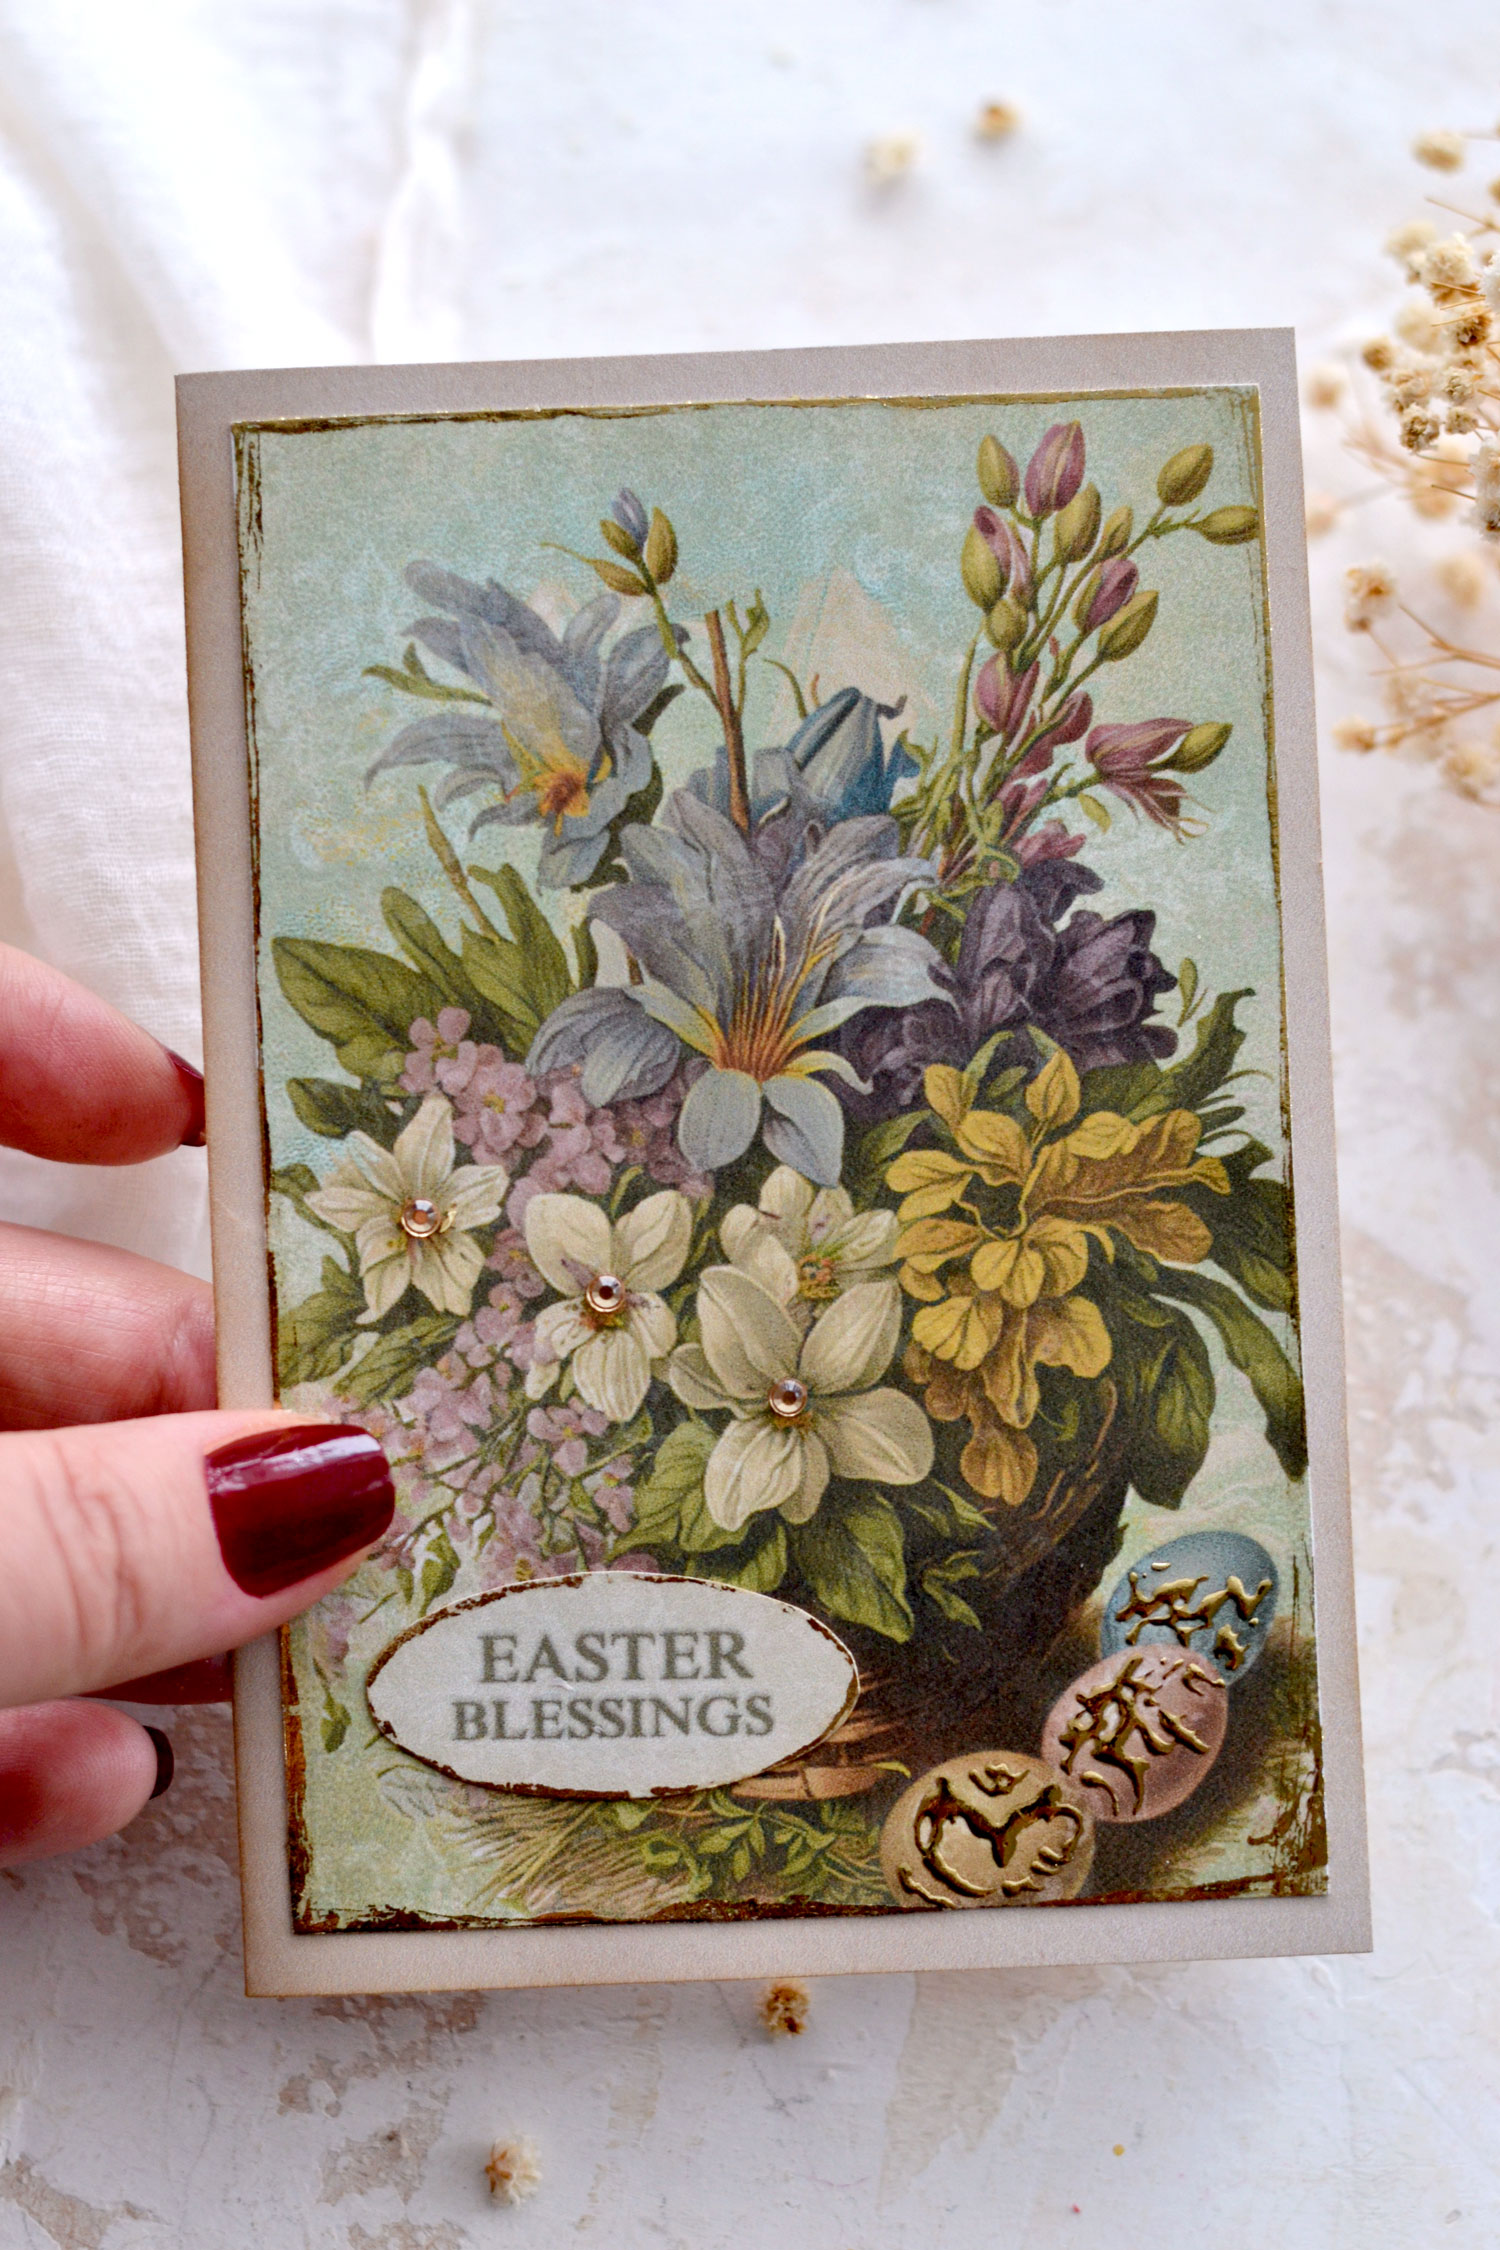
The floral cards would also make the perfect choice for spring and not only for Easter! I would probably use some gold to decorate the flowers this time and add some gold touches here and there. This way we’ll add more attention to the flowers and not the eggs, making them more universal.
If taking the more universal route with these, skipping the Easter wishes would also be implied. These can be easily replaced with Happy Spring wishes, other springy sentiments or even more general ephemera cutouts.
I hope you will love this project and decide to give it a try! These vintage cards with a touch of gold will bring a pop of color and so much charm to your Easter gifts but also any other seasonal creative projects. Feel free to further experiment and don’t forget to make a double (or even a triple) batch, so you can have these beauties ready for Easter or spring!
You might also like another Easter Card Making Kit HERE.
Happy crafting,
Diana | Dreams Factory


Jan says
These are so wonderful! Beautiful designs! Thank you for the printable and the tutorial.
Karen Watson says
I’m glad you enjoyed Diana’s lovely cards Jan!
Christine Duffy says
Absolutely beautiful cards and as always a fab tutorial. I am about to move house and this I can do for my Easter cards. Bless your lovely hearts, I really appreciate these emails and they are one of my weekend treats, thank you so much.
Karen Watson says
That’s so nice to hear Christine! Good luck with your move!
Denise Soloko says
Thank you so much for all of the beautiful cards that you send.
I really appreciate it and LOOK FORWARD TO YOUR EMAILS!
Karen Watson says
I’m glad you enjoyed this one Denise!