Copper Etching Technique
Hello, Graphics Fairy Friends! It’s Heather from Thicketworks, and today we are going to explore the possibilities of doing a copper etching technique. As you might imagine, this particular technique involves a few unusual materials. Even if your local craft or hardware store doesn’t have them on hand, it’s easy to order them online. Safety is of the utmost importance when working with the chemicals in this project. This is NOT a project for children. Please Download the Safety precautions and instructions HERE First, before proceeding.
 A word about safety:
Some of the substances used to produce these effects are toxic.
Then again, not any more toxic than items you are familiar with like drain cleaner, or oven cleaner. If you’ve ever cleaned with these, you have already worked with much more dangerous chemicals.
It’s very important that you provide yourself with the proper equipment and environment to work in. ie: make sure the pets and little ones are safely elsewhere, set up good ventilation, wear eye protection and protective gloves.
For a more in-depth safety overview, click HERE.
Copper Etching Technique Supplies:
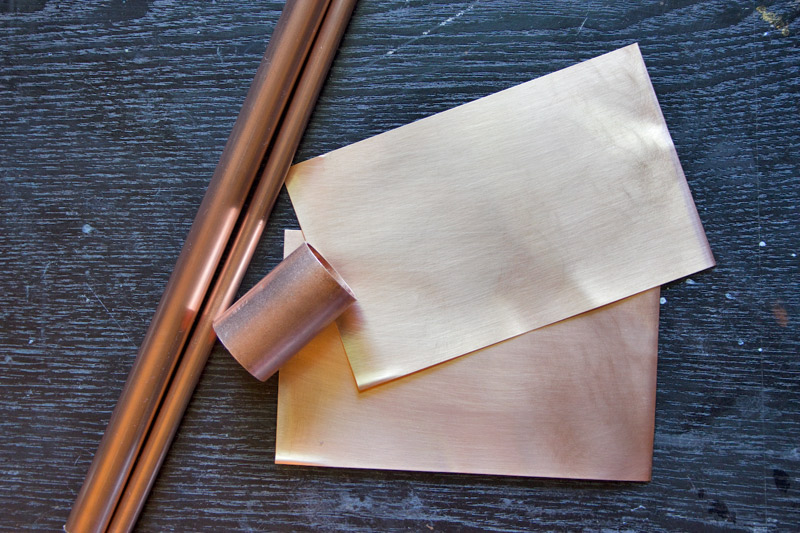
- Copper Sheet
- Copper Tubing
- Tubing Cutter
- Protective Gloves
- Safety Glasses
- Steel Wool
- Nail Polish Remover
- Rubbing Alcohol
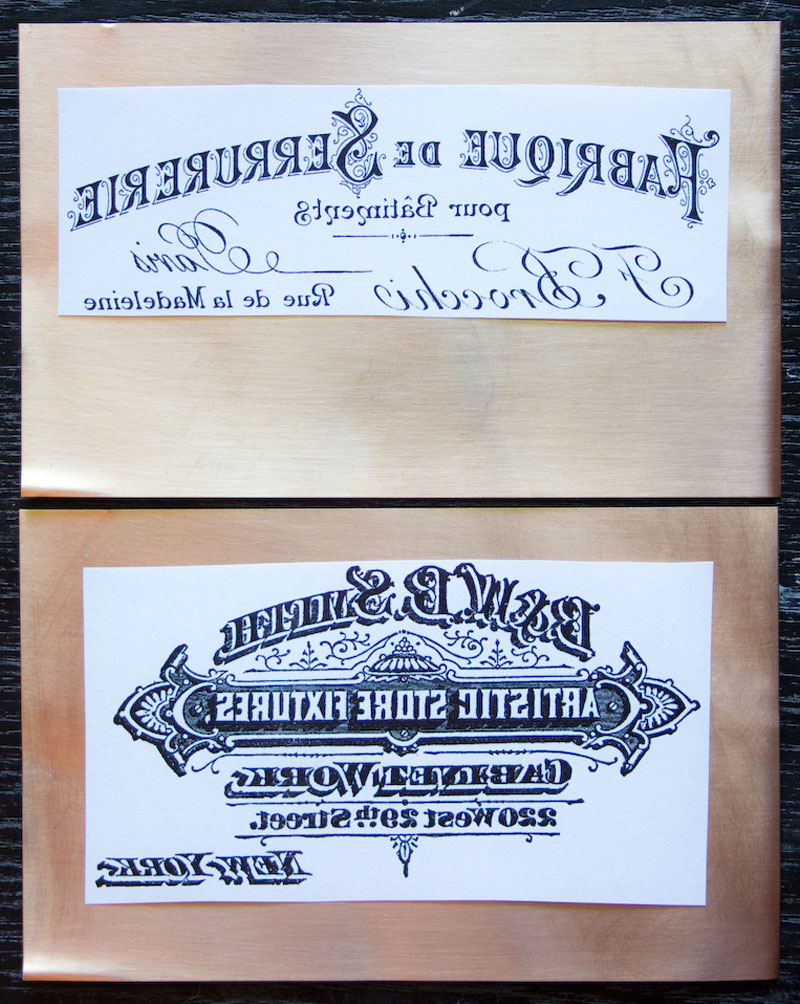
- Laser Jet prints on plain paper or Photocopies of your favorite Graphics Fairy Images
- Source Images: French Typography Printable & New York Typography (both reversed)
- Scissors
- An Iron and Ironing Surface
- Assorted Rubber Stamps
- StazOn Ink
- Ferric Chloride (Keep away from Children)
- Baking Soda
- Plastic container(s) large enough to contain items to be etched + enough etchant solution to cover. {dedicated to crafting}
- Plastic Bowl large enough to rinse etched items in {dedicated to crafting}
- Disposable wipes
- Fine Grit Sandpaper or metal files (to smooth cut edges of tubing)
Optional {for patina}:
- Household Ammonia
- Table Salt
How to Etch Copper:
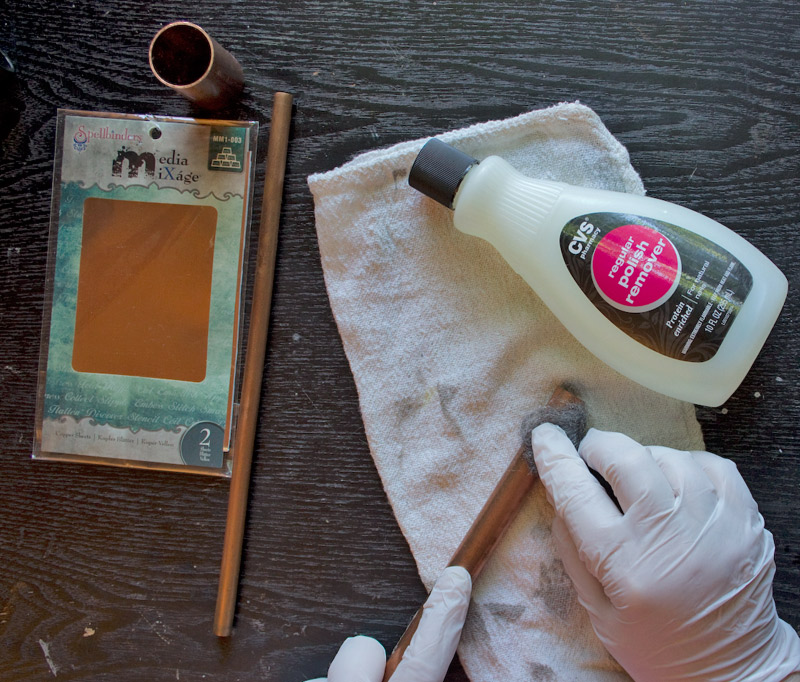
The first step is to clean all oils and residue from the surface of the copper.
Put on your protective gloves (this will protect the metal from the oils on your hands as well as keeping you safe)
To clean: dampen a piece of steel wool with ordinary fingernail polish remover. Working on a protected surface, scour the surface of the metal with the dampened steel wool. Wipe dry when finished.
Clean both the tubing and the metal sheets prior to continuing.
Trim your chosen Laser or Photocopied prints to size.
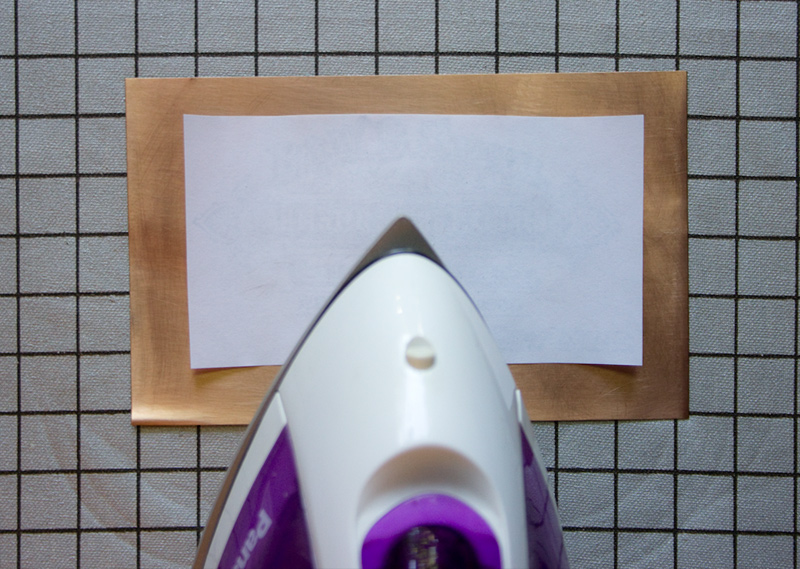
Using your crafting iron on the hottest setting (no steam), press the image face down onto the copper sheet. The object is to melt the toner onto the metal.
Taking care that the paper doesn’t slide, apply heat and pressure for at least a minute. Don’t burn yourself! Take peeks by gently lifting a corner to make certain the transfer process is successful.
If the transfer is not complete, just keep applying heat and pressure until it is.
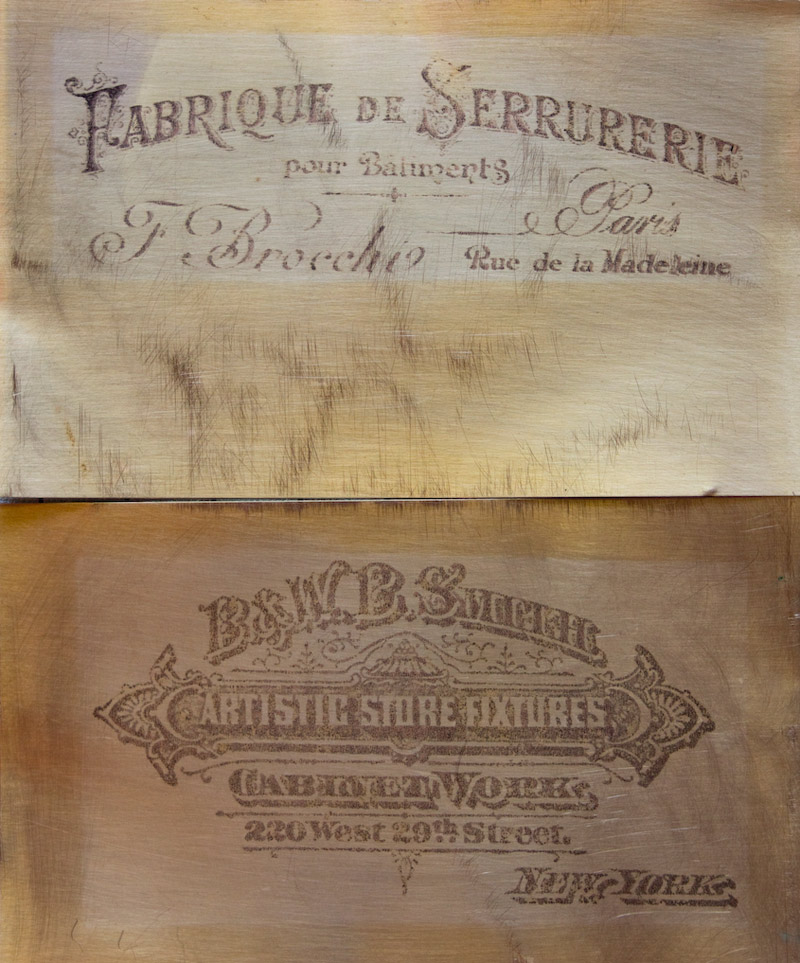
Allow the metal to cool a bit, then carefully peel the paper away.
The toner has now become adhered to the surface of the metal. This creates a ‘resist’ that the etchant cannot penetrate.
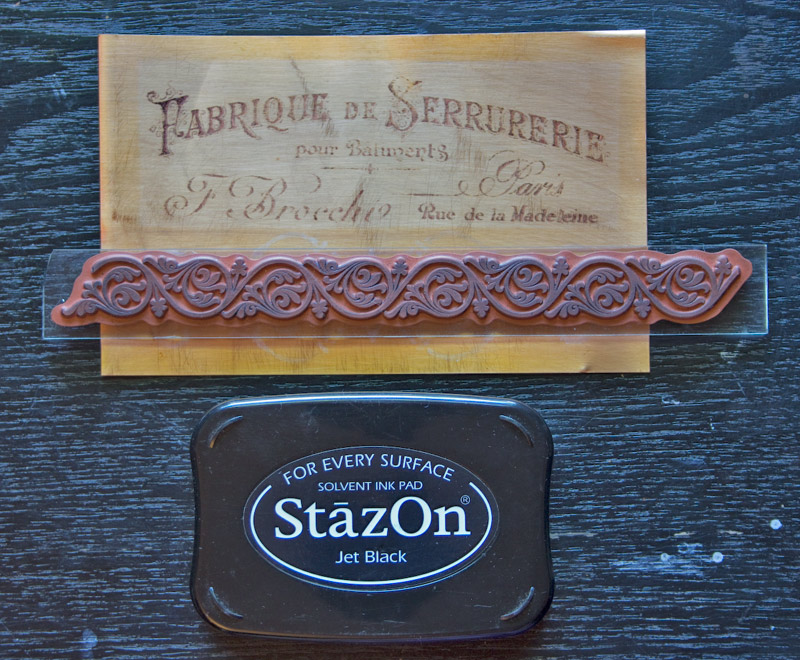
Further embellish the copper by adding images stamped with StazOn ink, if you choose:
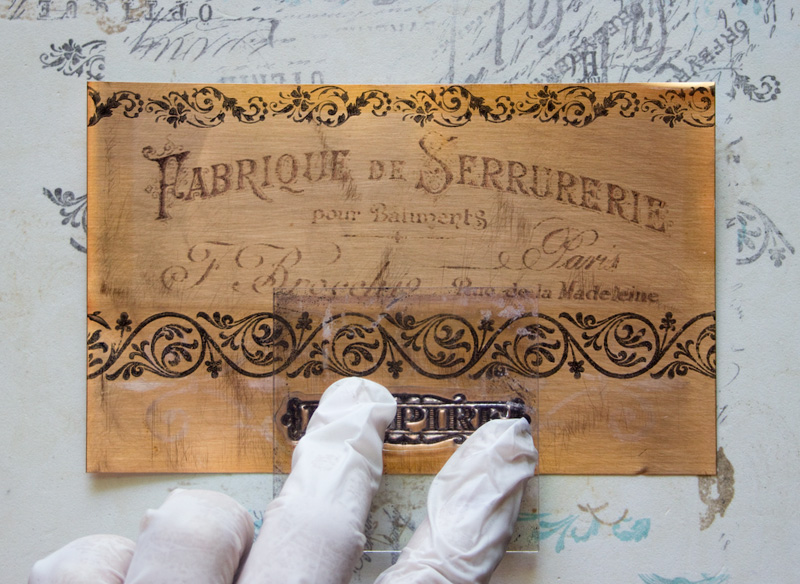
Here, border stamps and a sentiment have been added to the surface:
Once the ink has dried, you are ready to etch!
If you missed it, HERE is a quick guide to working with the etchant.
Protect your eyes, your work surface and your hands. Gently pour enough etchant into a plastic container to cover your metal:
Here you can see how the ink and toner ‘resist’ the etchant.
Place your sheet gently into the etchant face side down.
Depending on the age and strength of the solution, it may take anywhere from half an hour to two hours to achieve an etched surface that pleases you.
Follow the instructions for neutralizing the etchant, and rinse your items clean under running water.
Note: if you would like to remove traces of the toner and StazOn ink, clean the surfaces with Rubbing Alcohol.
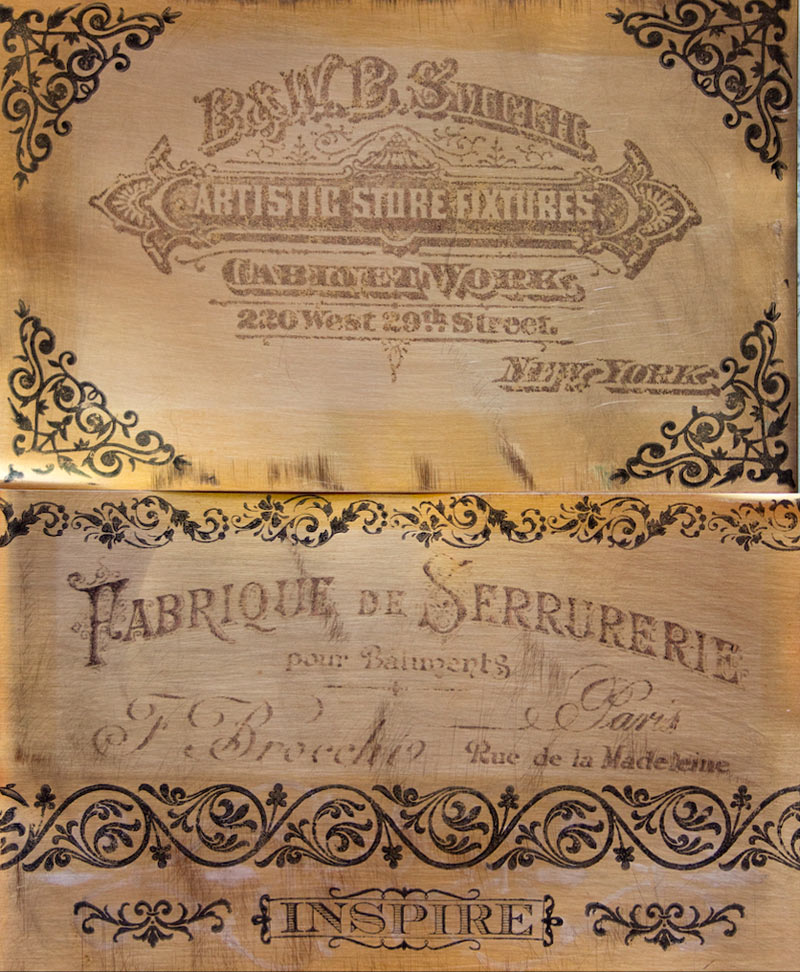
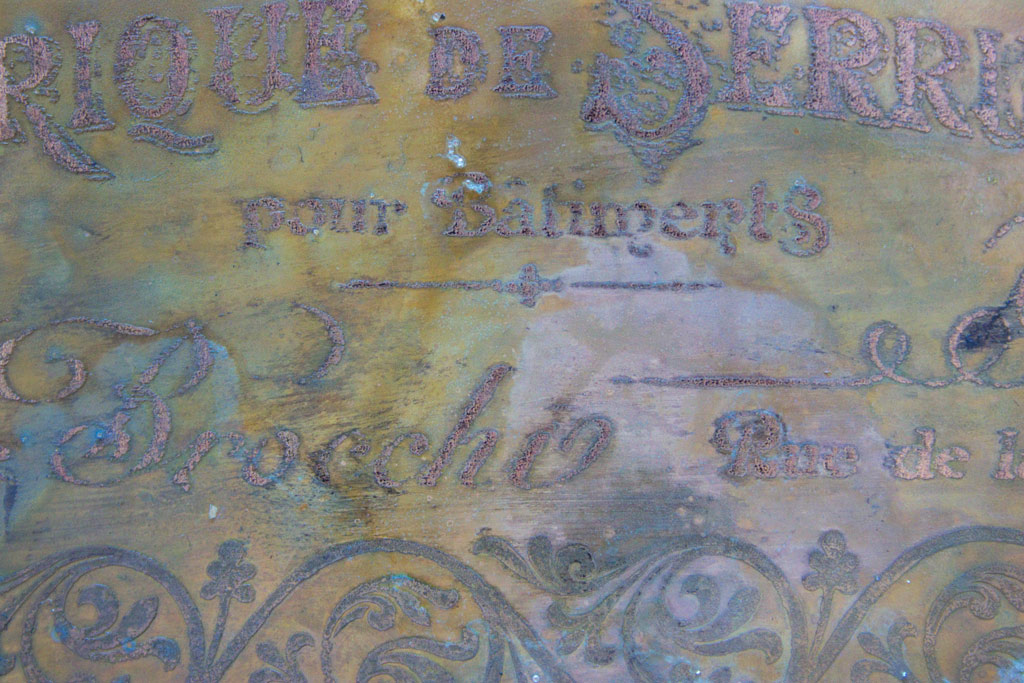
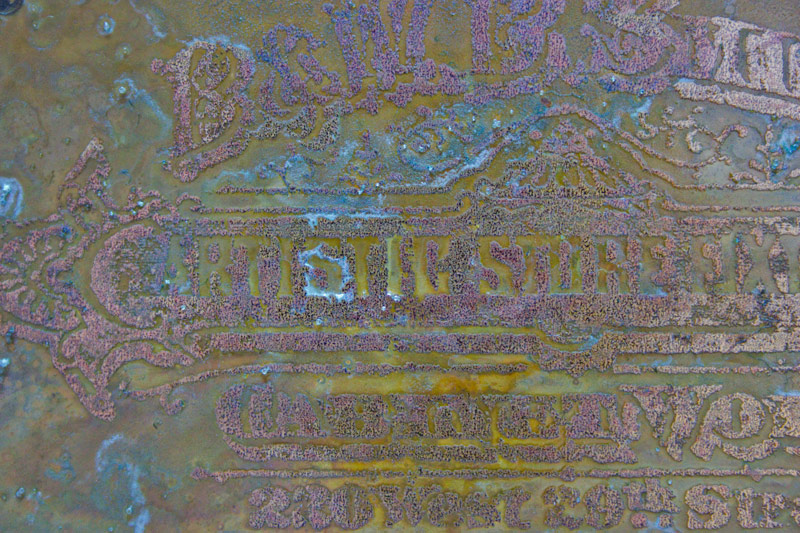
You will be rewarded with a beautifully detailed surface:
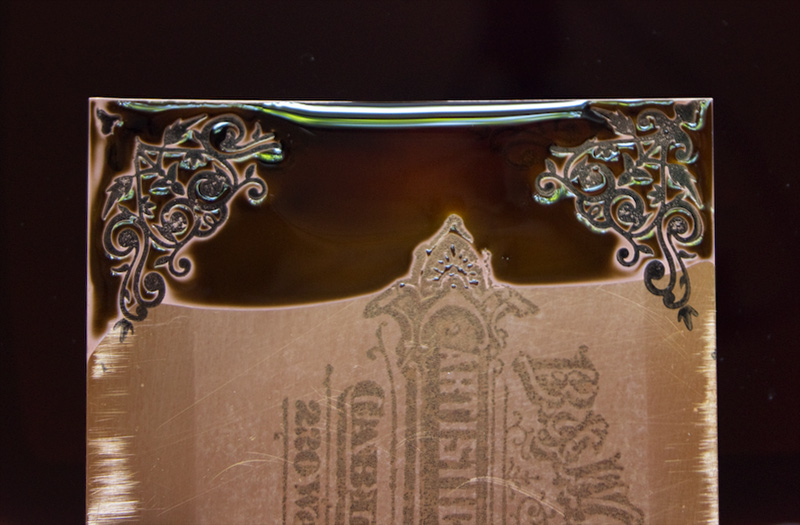
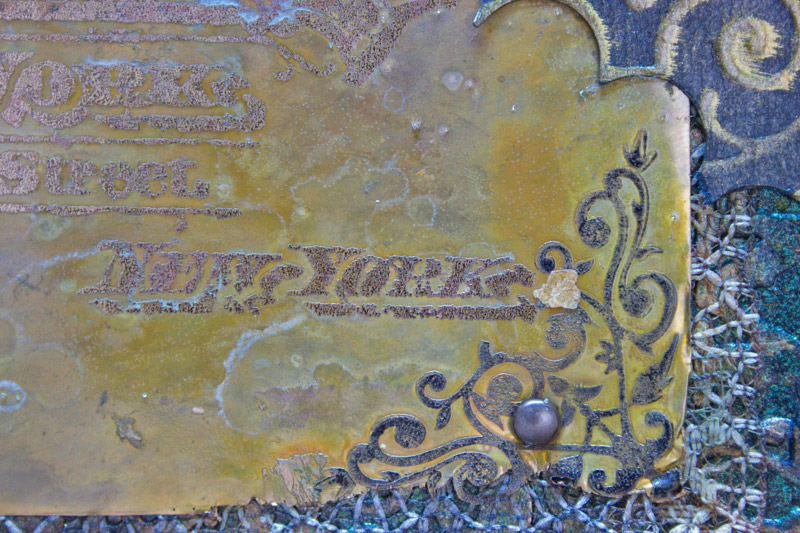
Here, you can see that I got distracted and didn’t remove the sheet from the solution soon enough…the corner of the sheet became so deeply etched that it took on a lace like appearance.
For my purposes, this was fine. You may want to be a little more diligent about keeping track of time!
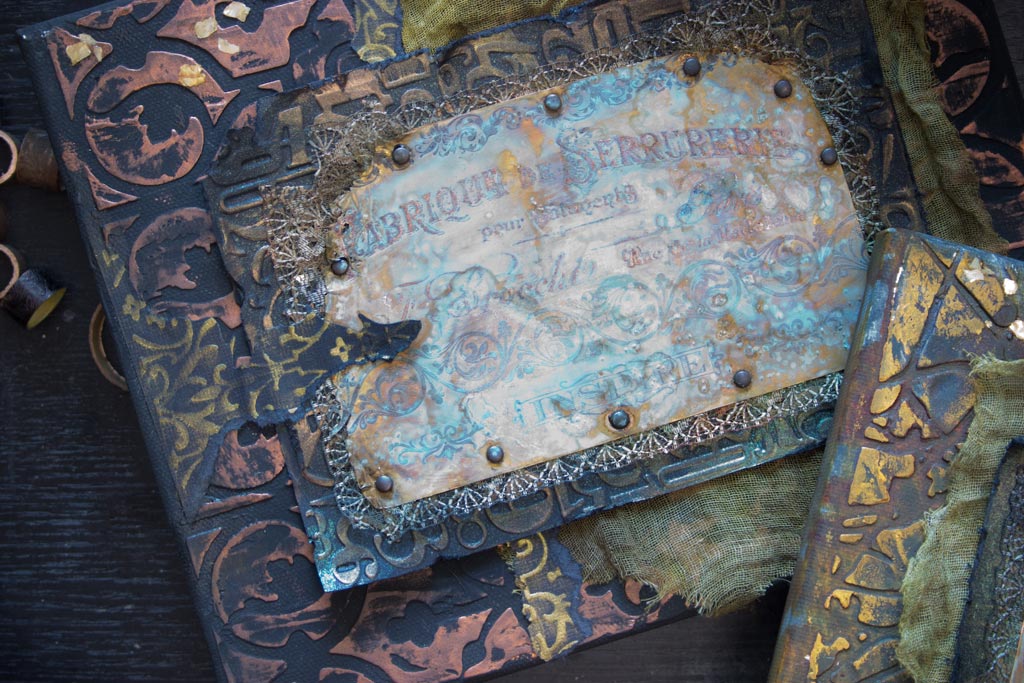
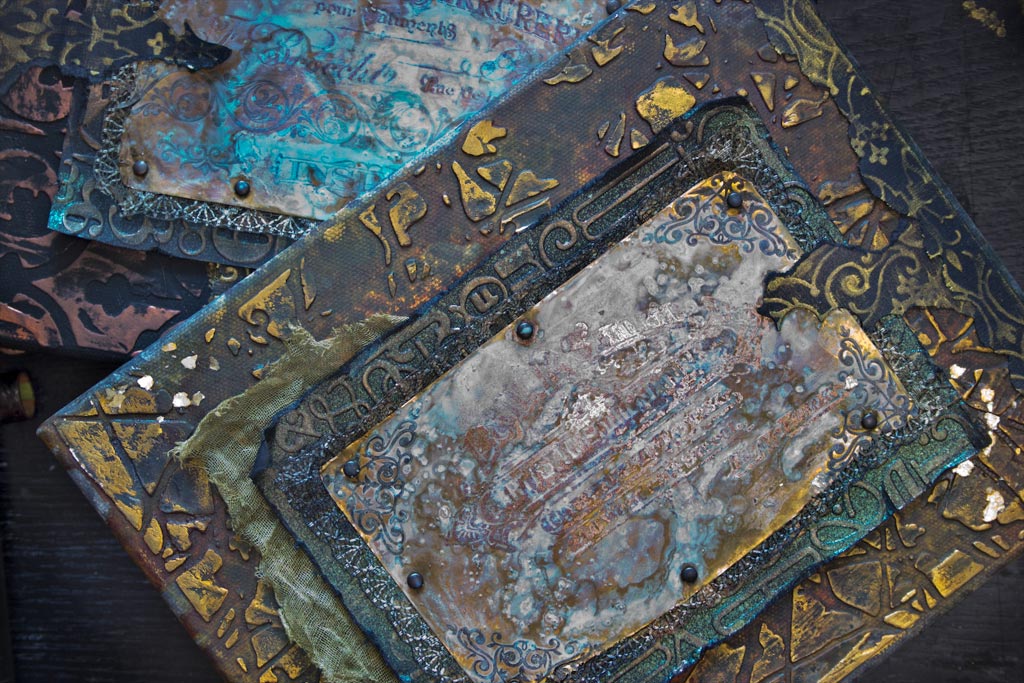
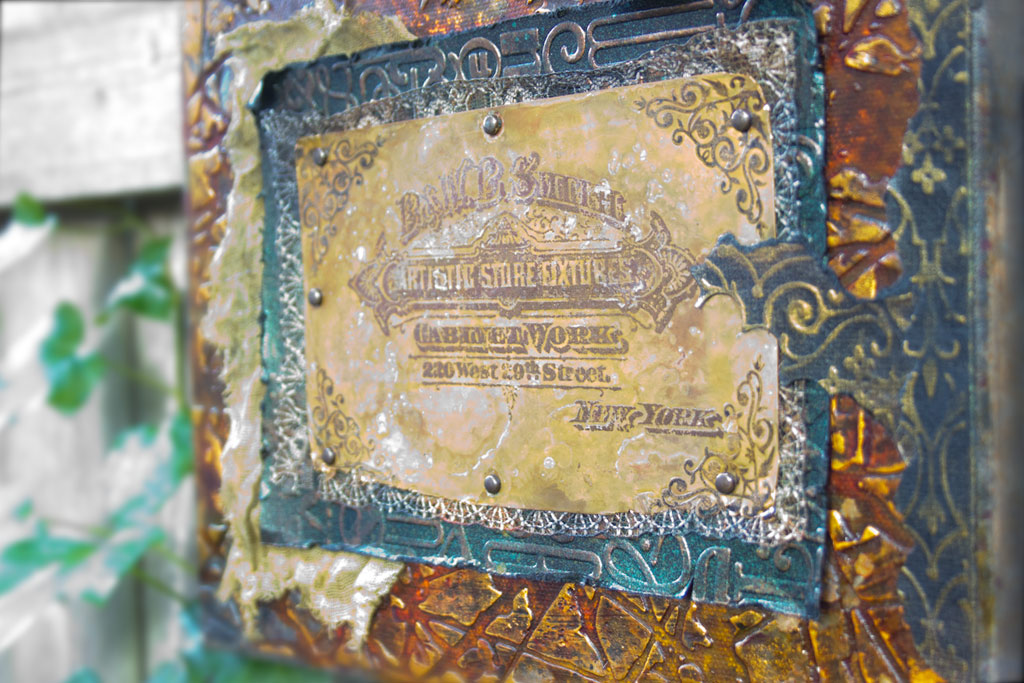
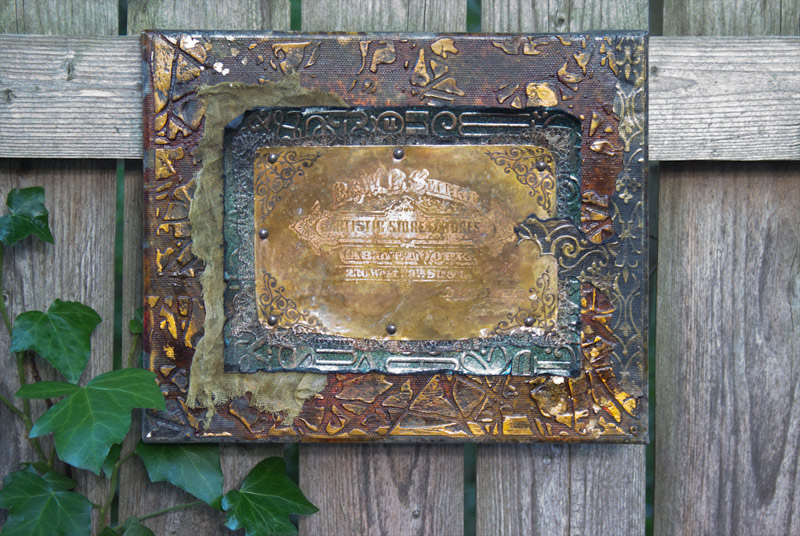
These copper sheets are now suitable for a starring role in your next piece of Mixed Media art, the cover of an Altered Book, inclusion in a Scrapbook Layout…there are endless ways to use these beauties!
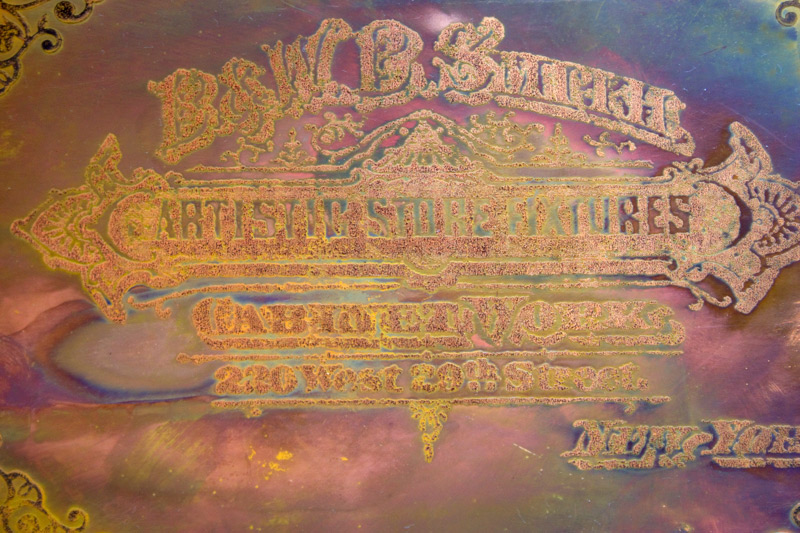
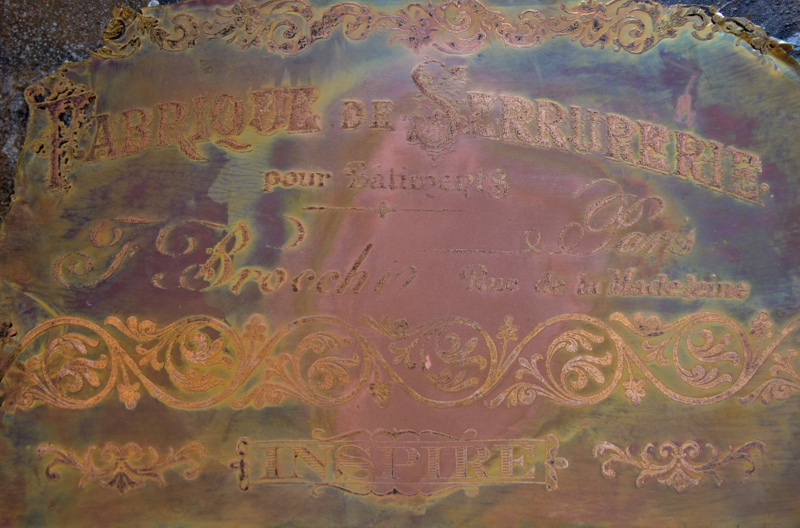
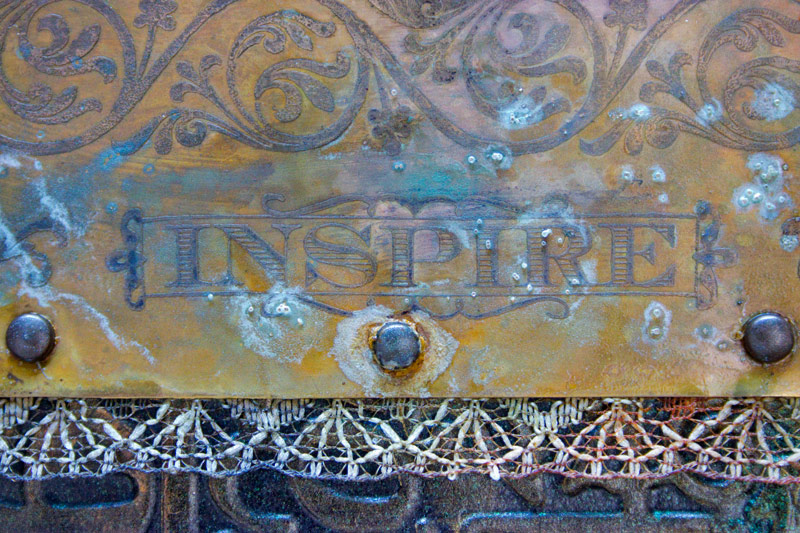
The patina that you see here was achieved by dampening the etched surface with Ammonia and sprinkling table salt.
Seal your finished piece to protect the fragile patina.
I adore the grungy vintage finish that etching copper can give you:
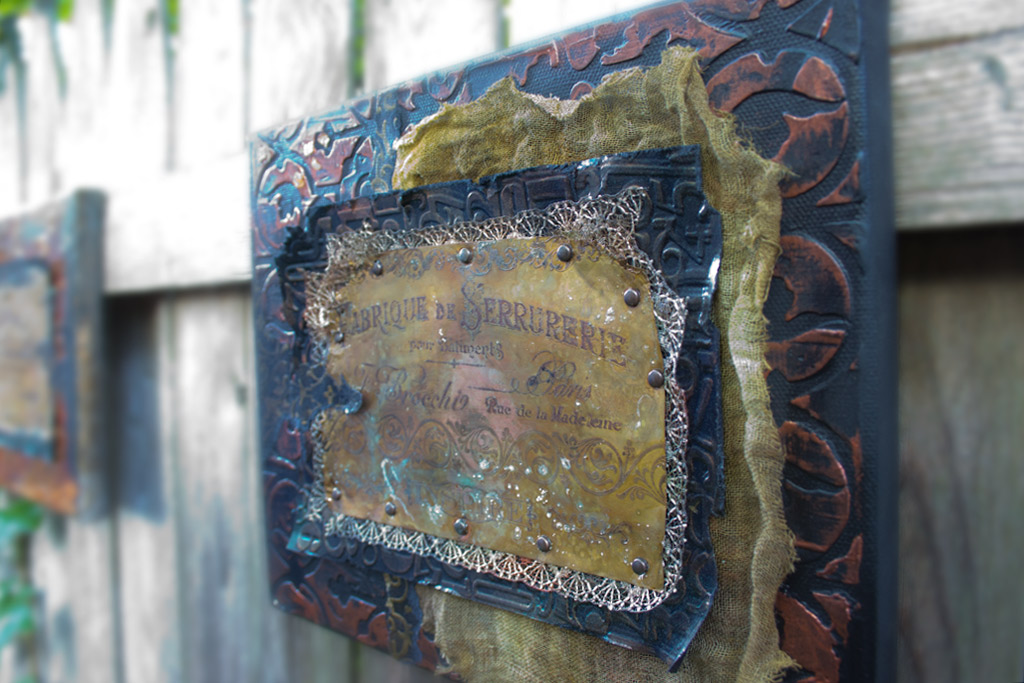
Depending on the light, the etching becomes more or less apparent:
More patina:
To me, this looks as though it has journeyed through time…
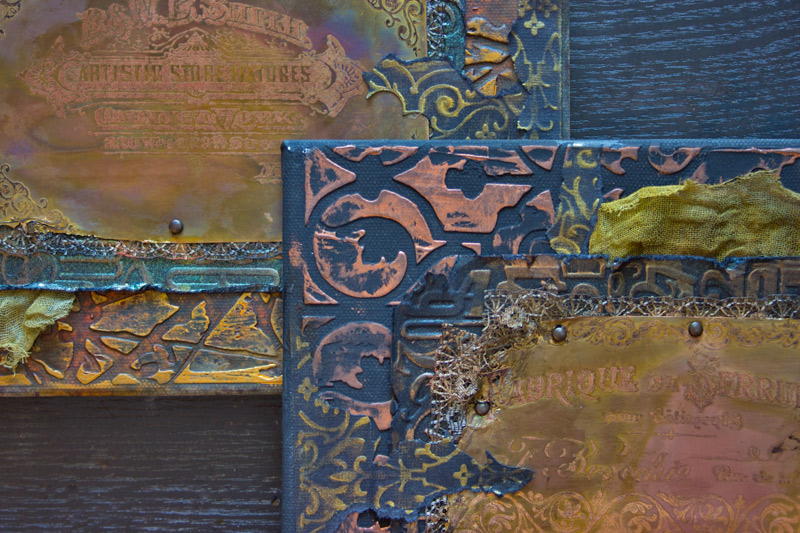
The copper sheet is easily pierced, and can be glued or sewn to a substrate:
The bright spots of Teal are the result of the Ammonia / Salt Patina process:
The salt leaves wonderful deposits on the surface that have a fantastic ‘crusty’ appearance:
These two pieces will easily harmonize with existing ‘vintage’ decor:
How to Make Etched Copper Beads or Bezels:
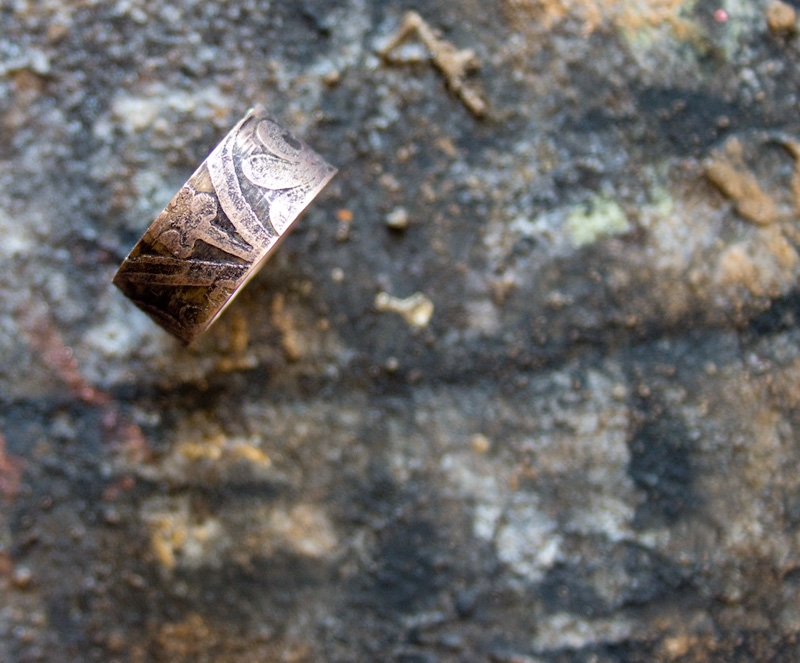
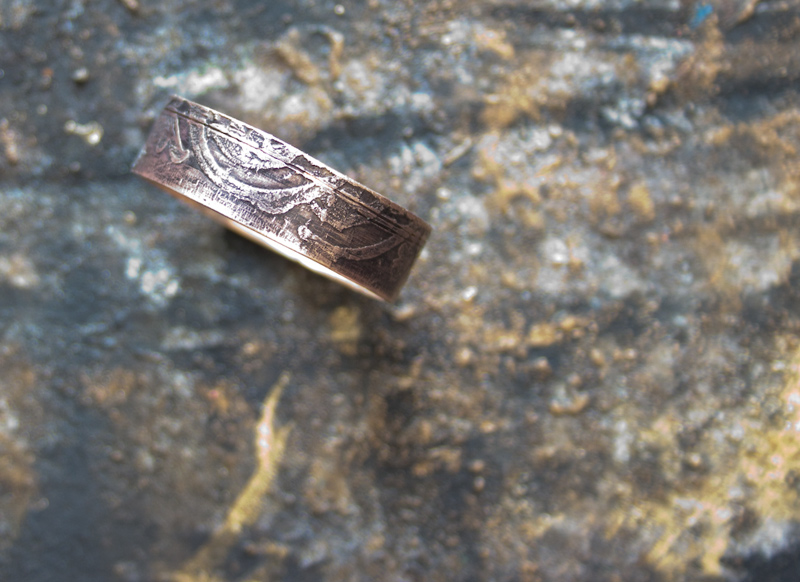
Following all of the same steps, we can create lovely copper beads to include in projects!
Add rubber stamped images, using StazOn.
Allow to dry.
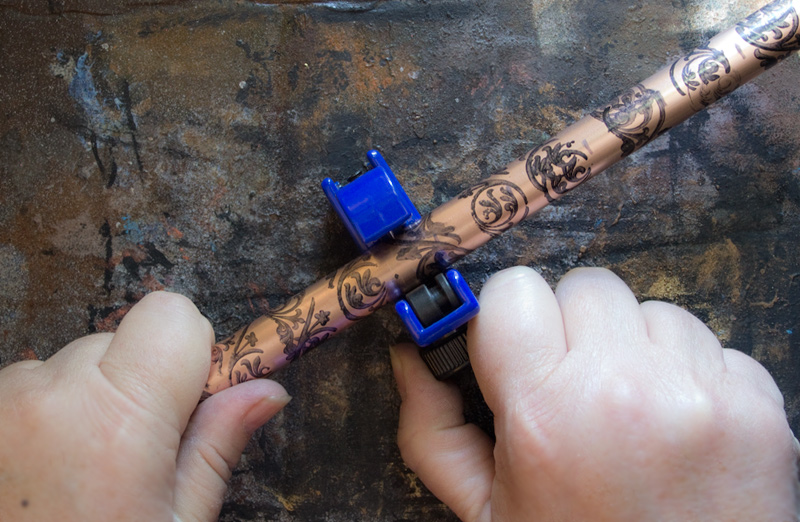
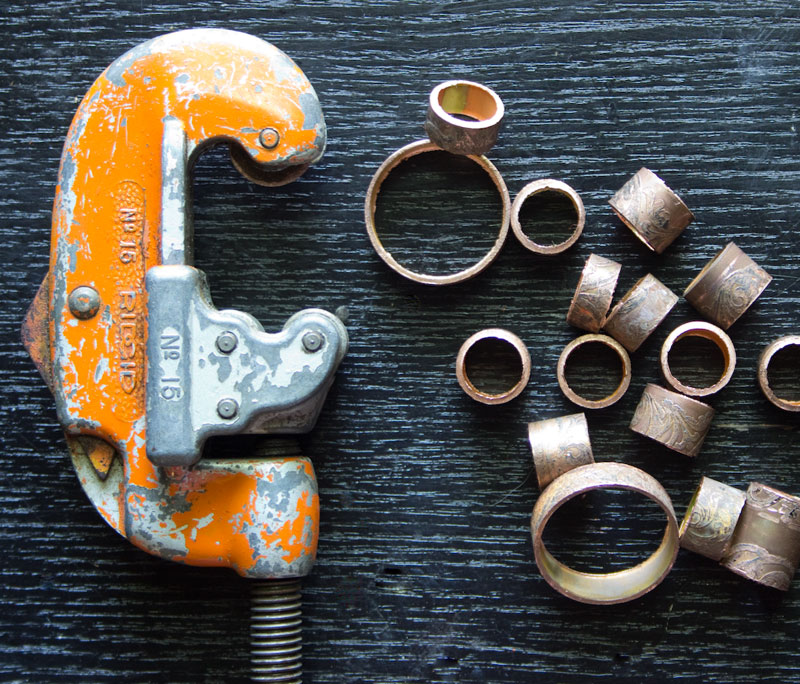
Use a tube cutter to slice the decorated tube into ‘beads’.
With sandpaper or a metal file, remove any burrs or sharp edges.
Etch the resulting ‘beads’ and ‘bezels’ exactly the same way you etched the copper sheets.
Buff the surface with steel wool, once the etchant has been neutralized and rinsed away.
I love the resulting detail!
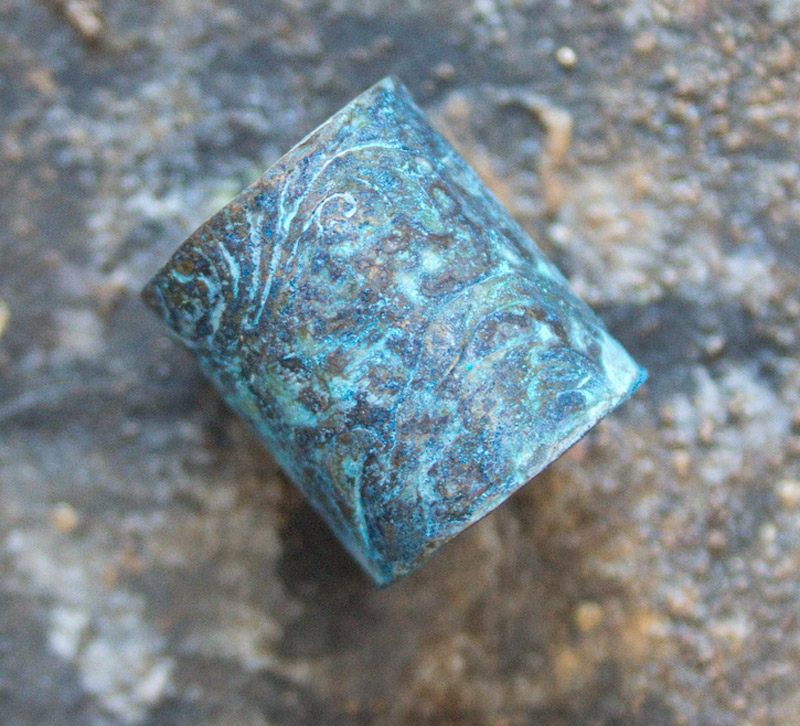
Create patina for your beads!
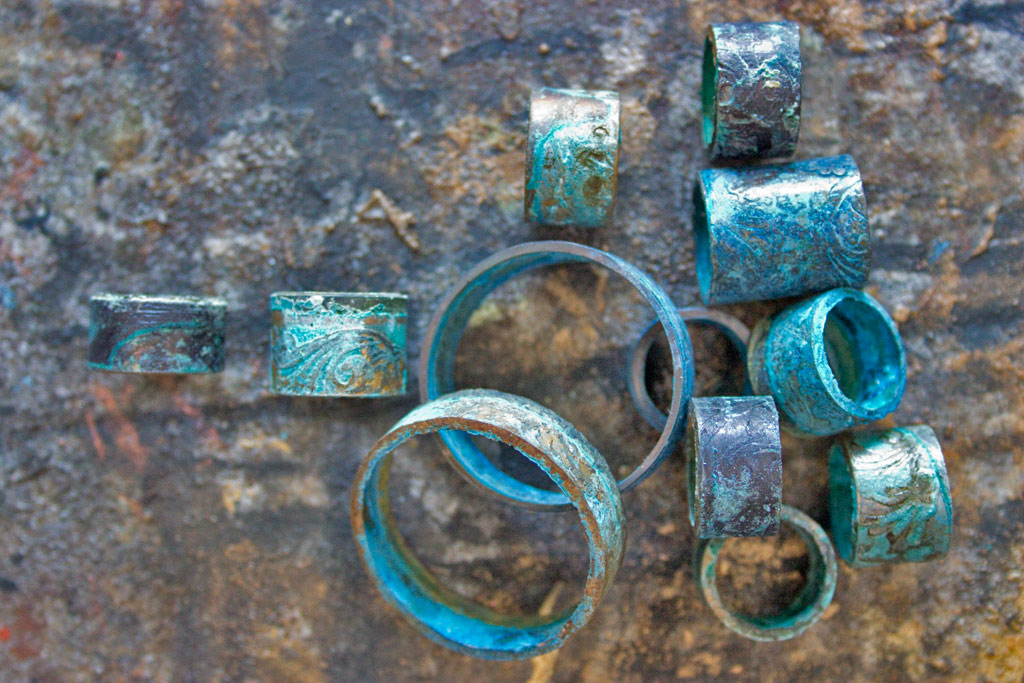
These were simply left in a plastic, lidded container with Ammonia and Table Salt (called a fuming chamber) overnight.
The resulting oxidization is delicious!
Like all naturally occurring patinas, the surface is quite fragile, and must be sealed to preserve it.
Any high-quality Clear Spray Sealer will do.
The larger pieces will become bezels for upcoming jewelry projects…the smaller ‘rings’ will be used as ‘beads’.
And that, my friends, is THAT! It’s been such fun sharing this copper etching technique with you. I do hope you try it…just imagine how amazing your favorite Graphics Fairy Images will look when etched permanently onto copper!
Thank you for visiting The Graphics Fairy today…I hope you leave with a bit of inspiration tucked in your pocket! You may also like DIY Copper Pendants HERE.
If you enjoy exploring quirky crafting techniques, please visit me at Thicketworks!
Until next time,
Heather





Candi Harris says
OMG – this is amazing & I want to try it right now! Thanks for sharing this.
graphicsfairy says
Thanks Candi, good luck 🙂
Karen Garrard says
Love love love popping in here. Such talent you have Miss Heather. I HAVE to try this sign out and well I think the copper tubing will be following. The best part is yet to come, cracking open my Ferric Chloride. So much to do, so little time. Thanks for another Fabulous tutorial. Karen.x
Heather Tracy says
Hi Karen – it’s wonderful to see you here, my friend! I know you’ll be thrilled as you watch the images etch into the copper – it’s such fun! Thank you for coming by! xox
Rupa says
Heather, sign me up for that camp now!! Holy cow!! The embossed papers look almost like copper too. Hard to tell what’s metal and what’s paper. Fabulous as always! Do you own all the tools you ever need? Seems like 🙂 My favorite is the bezels/beads. They would be great as dinner napkin holders…no? Larger sizes could easily be bracelets….
Heather Tracy says
Hi Rupa! I’ll have you know I do NOT own all the tools I need/want 🙂 ! I have a list as long as your arm of what I’ll get ‘someday’! I love the beads and bezels, too…I’ll be using them in an upcoming project. Love your idea as napkin rings or bracelets – that would be cool!
Tracey says
Woah!!!!! ???. Such masterpieces! I am in complete awe that you know this process and seem to be so proficient at it. I want to go to “Camp Heather” for hands on!!!!
Heather Tracy says
Hi Tracey! So many techniques ~ so little time! You would love experimenting with this…we’ll have to arrange that ‘Camp’, someday, and share all our favorites!