Free Printable Father’s Day Cards to Color
Hello Graphics Fairy friends and Happy June! I’m Diana from Dreams Factory and I’m happy to be here again to share another DIY project with you! Today I have a short but beautiful project that is suitable for everyone, no matter the age – I will show you how to make these lovely Free Printable Father’s Day Cards to Color! These can be made by children, teenagers or adults alike, coloring can be such a fun and relaxing activity for all ages! This is such a fun way to show your gratitude to Dad or other father figures.
The process itself is really easy, all you have to do is print the Free Father’s Day cards and start coloring!
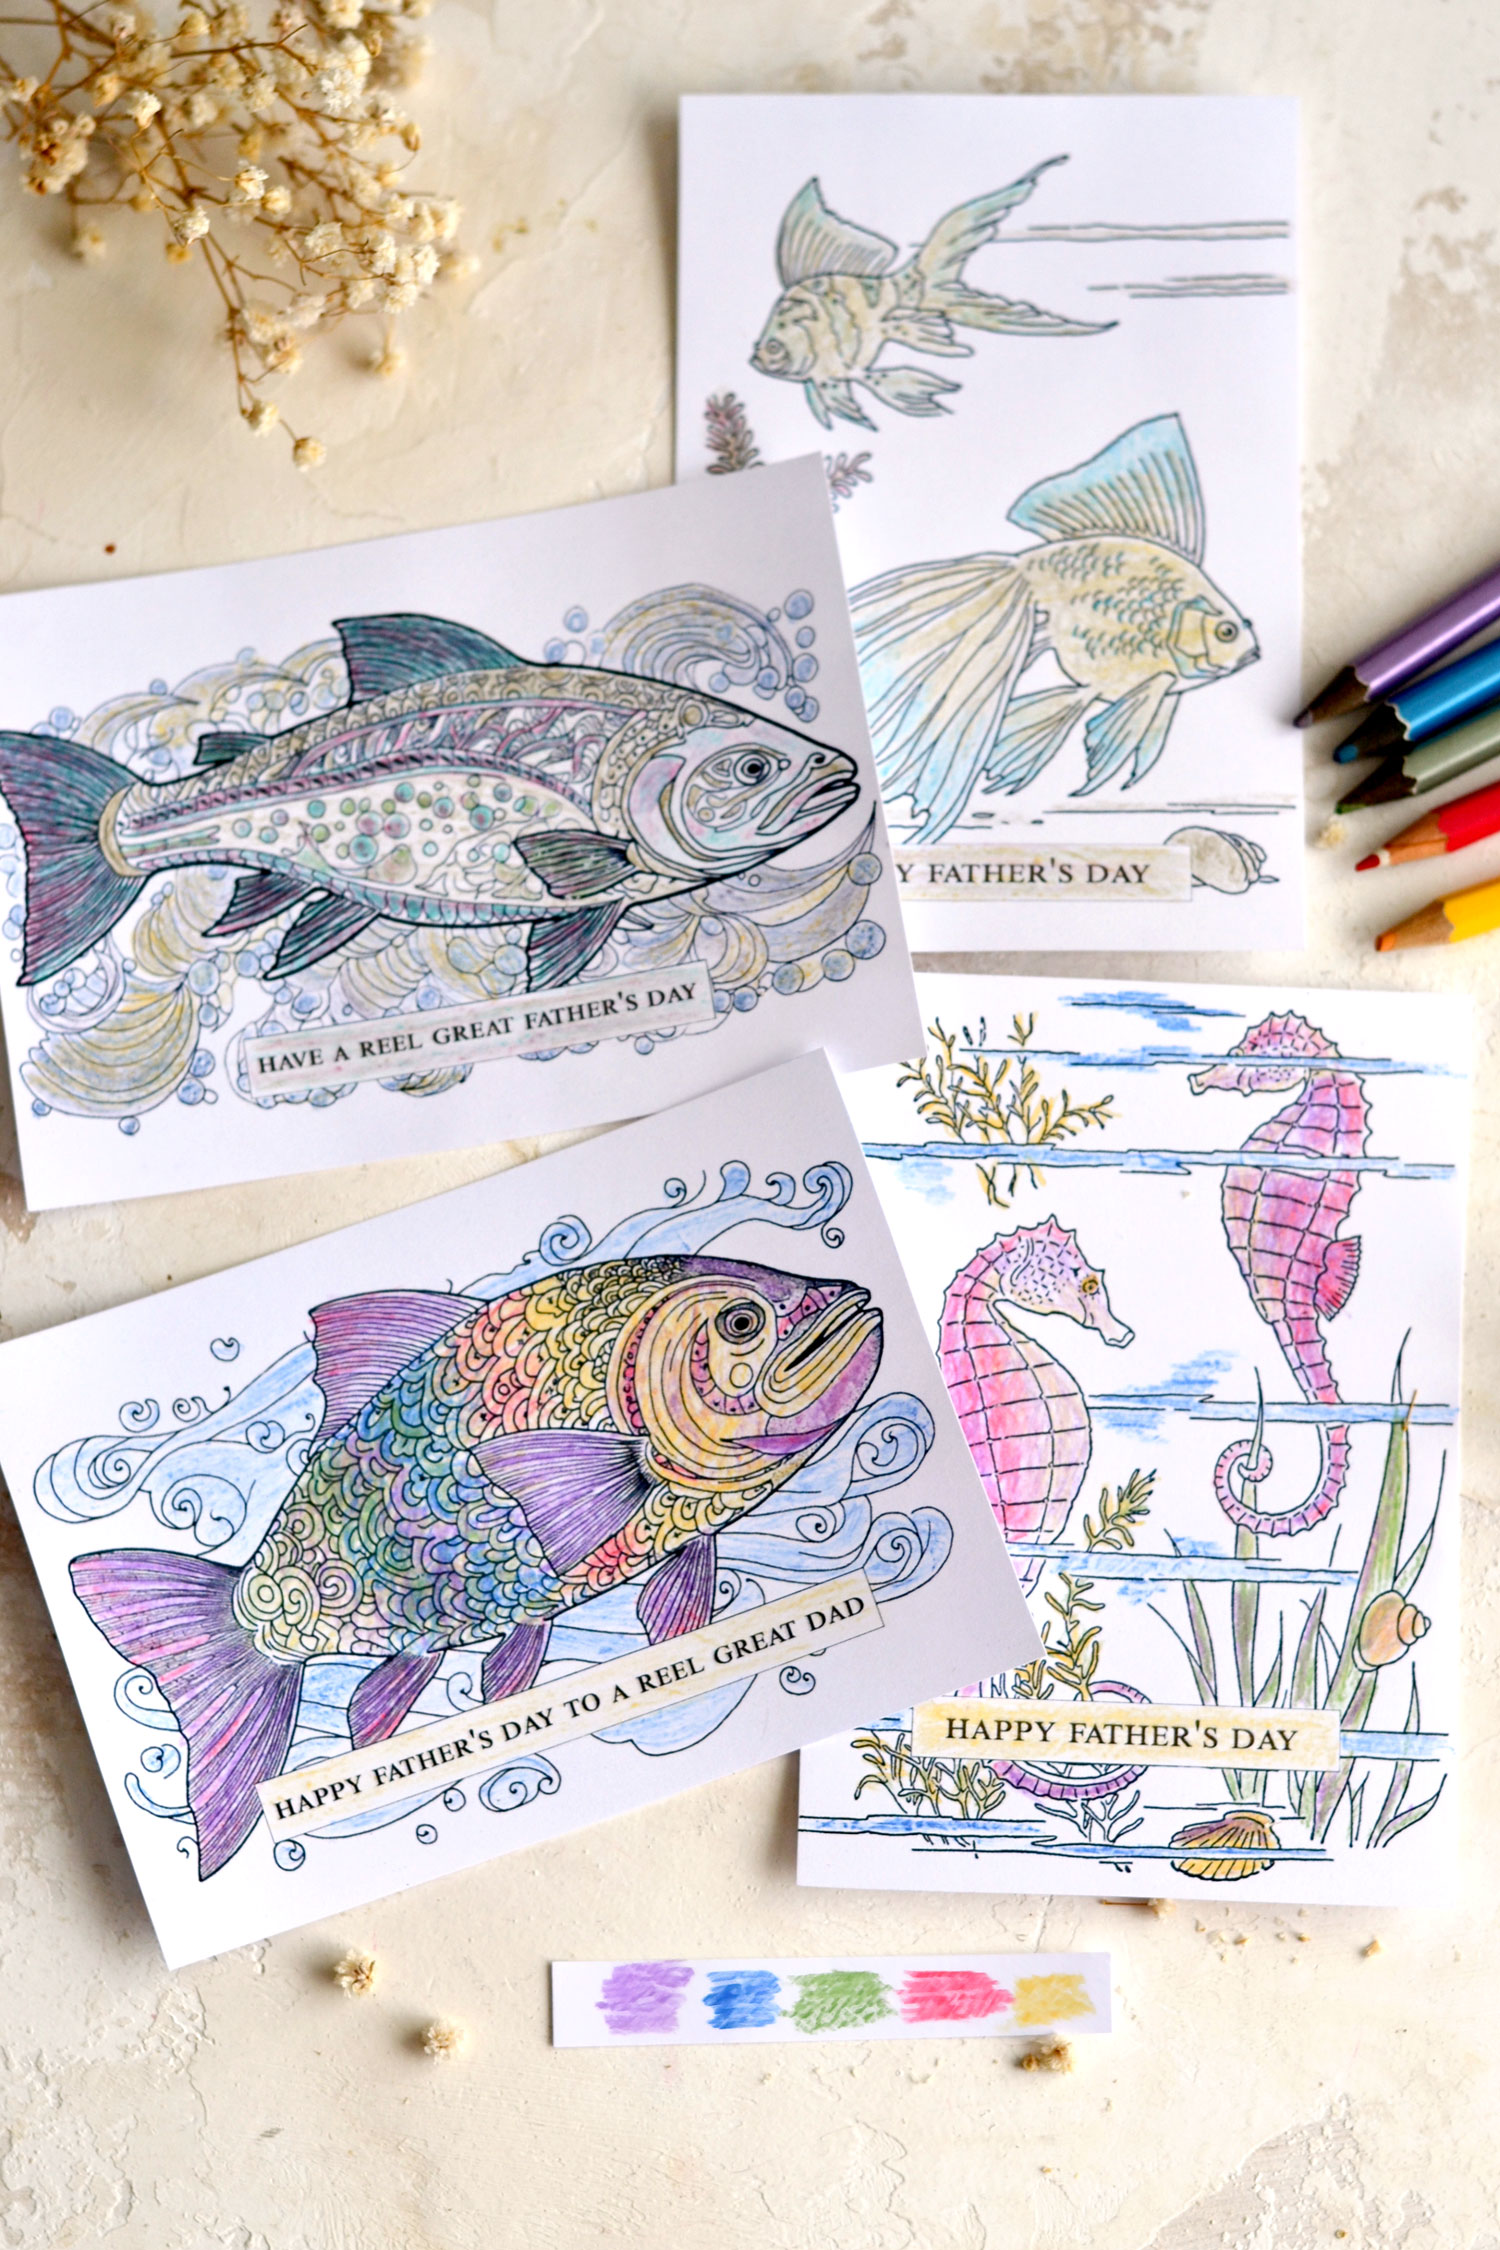
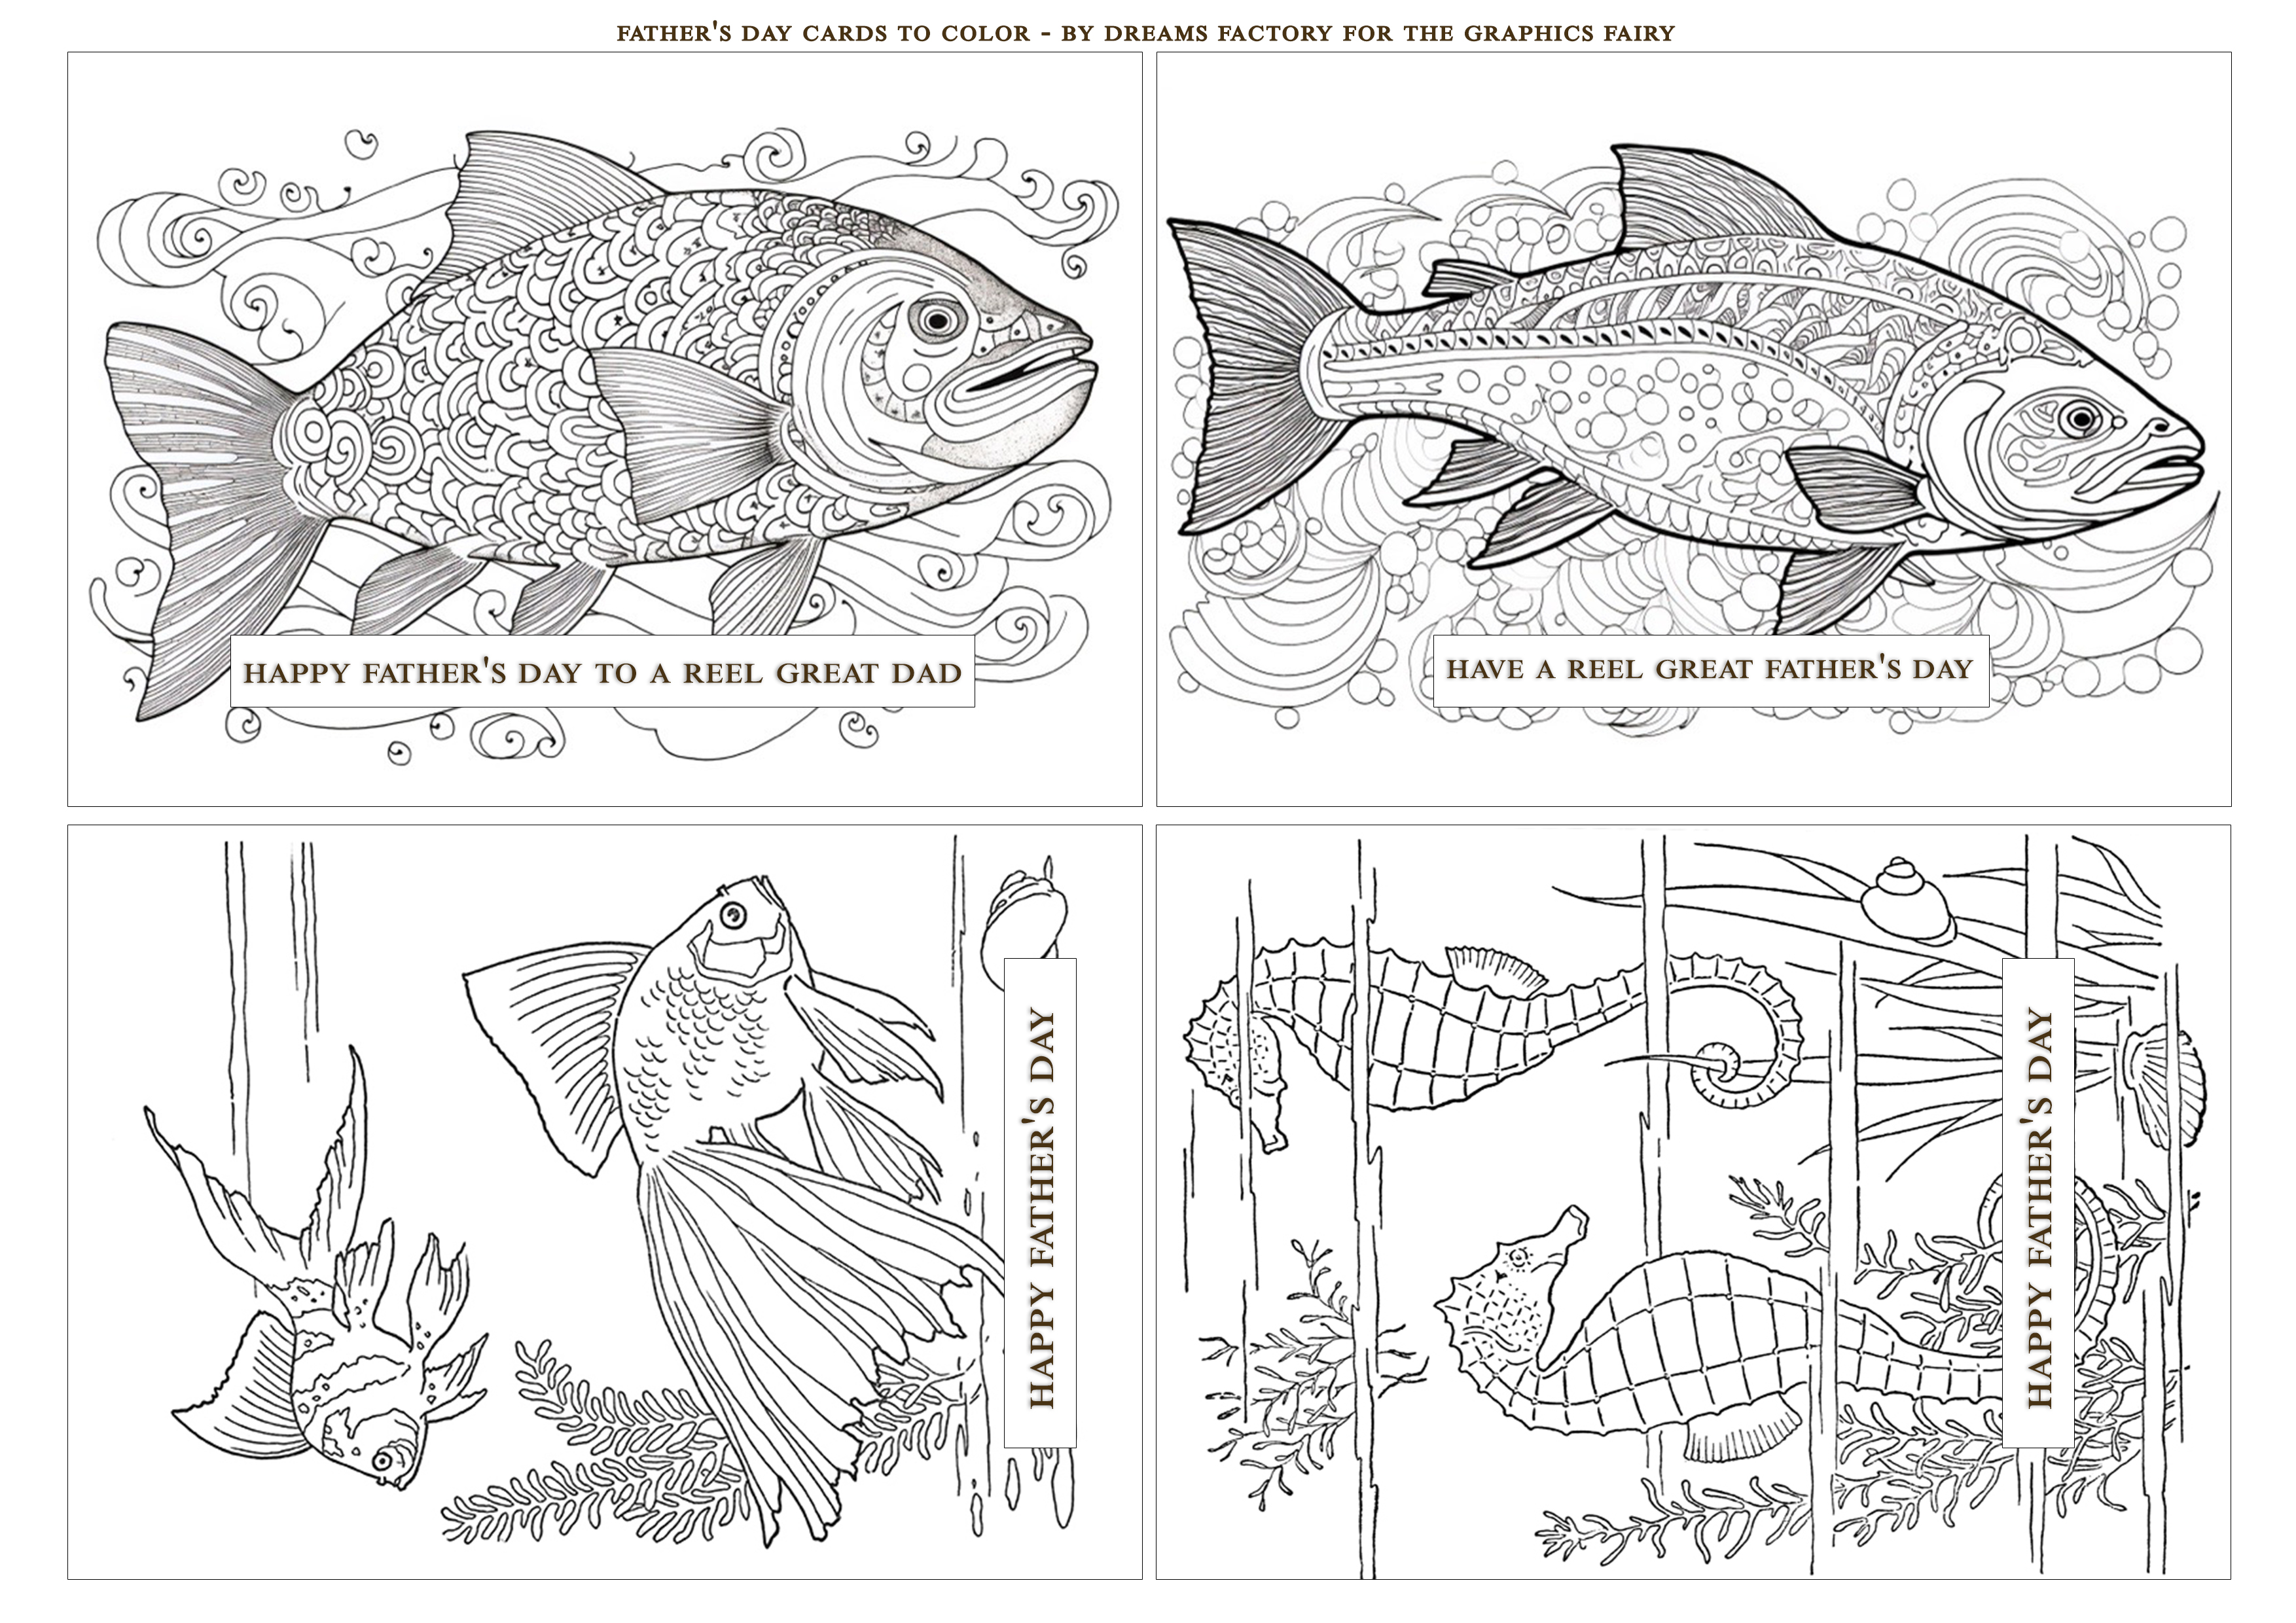
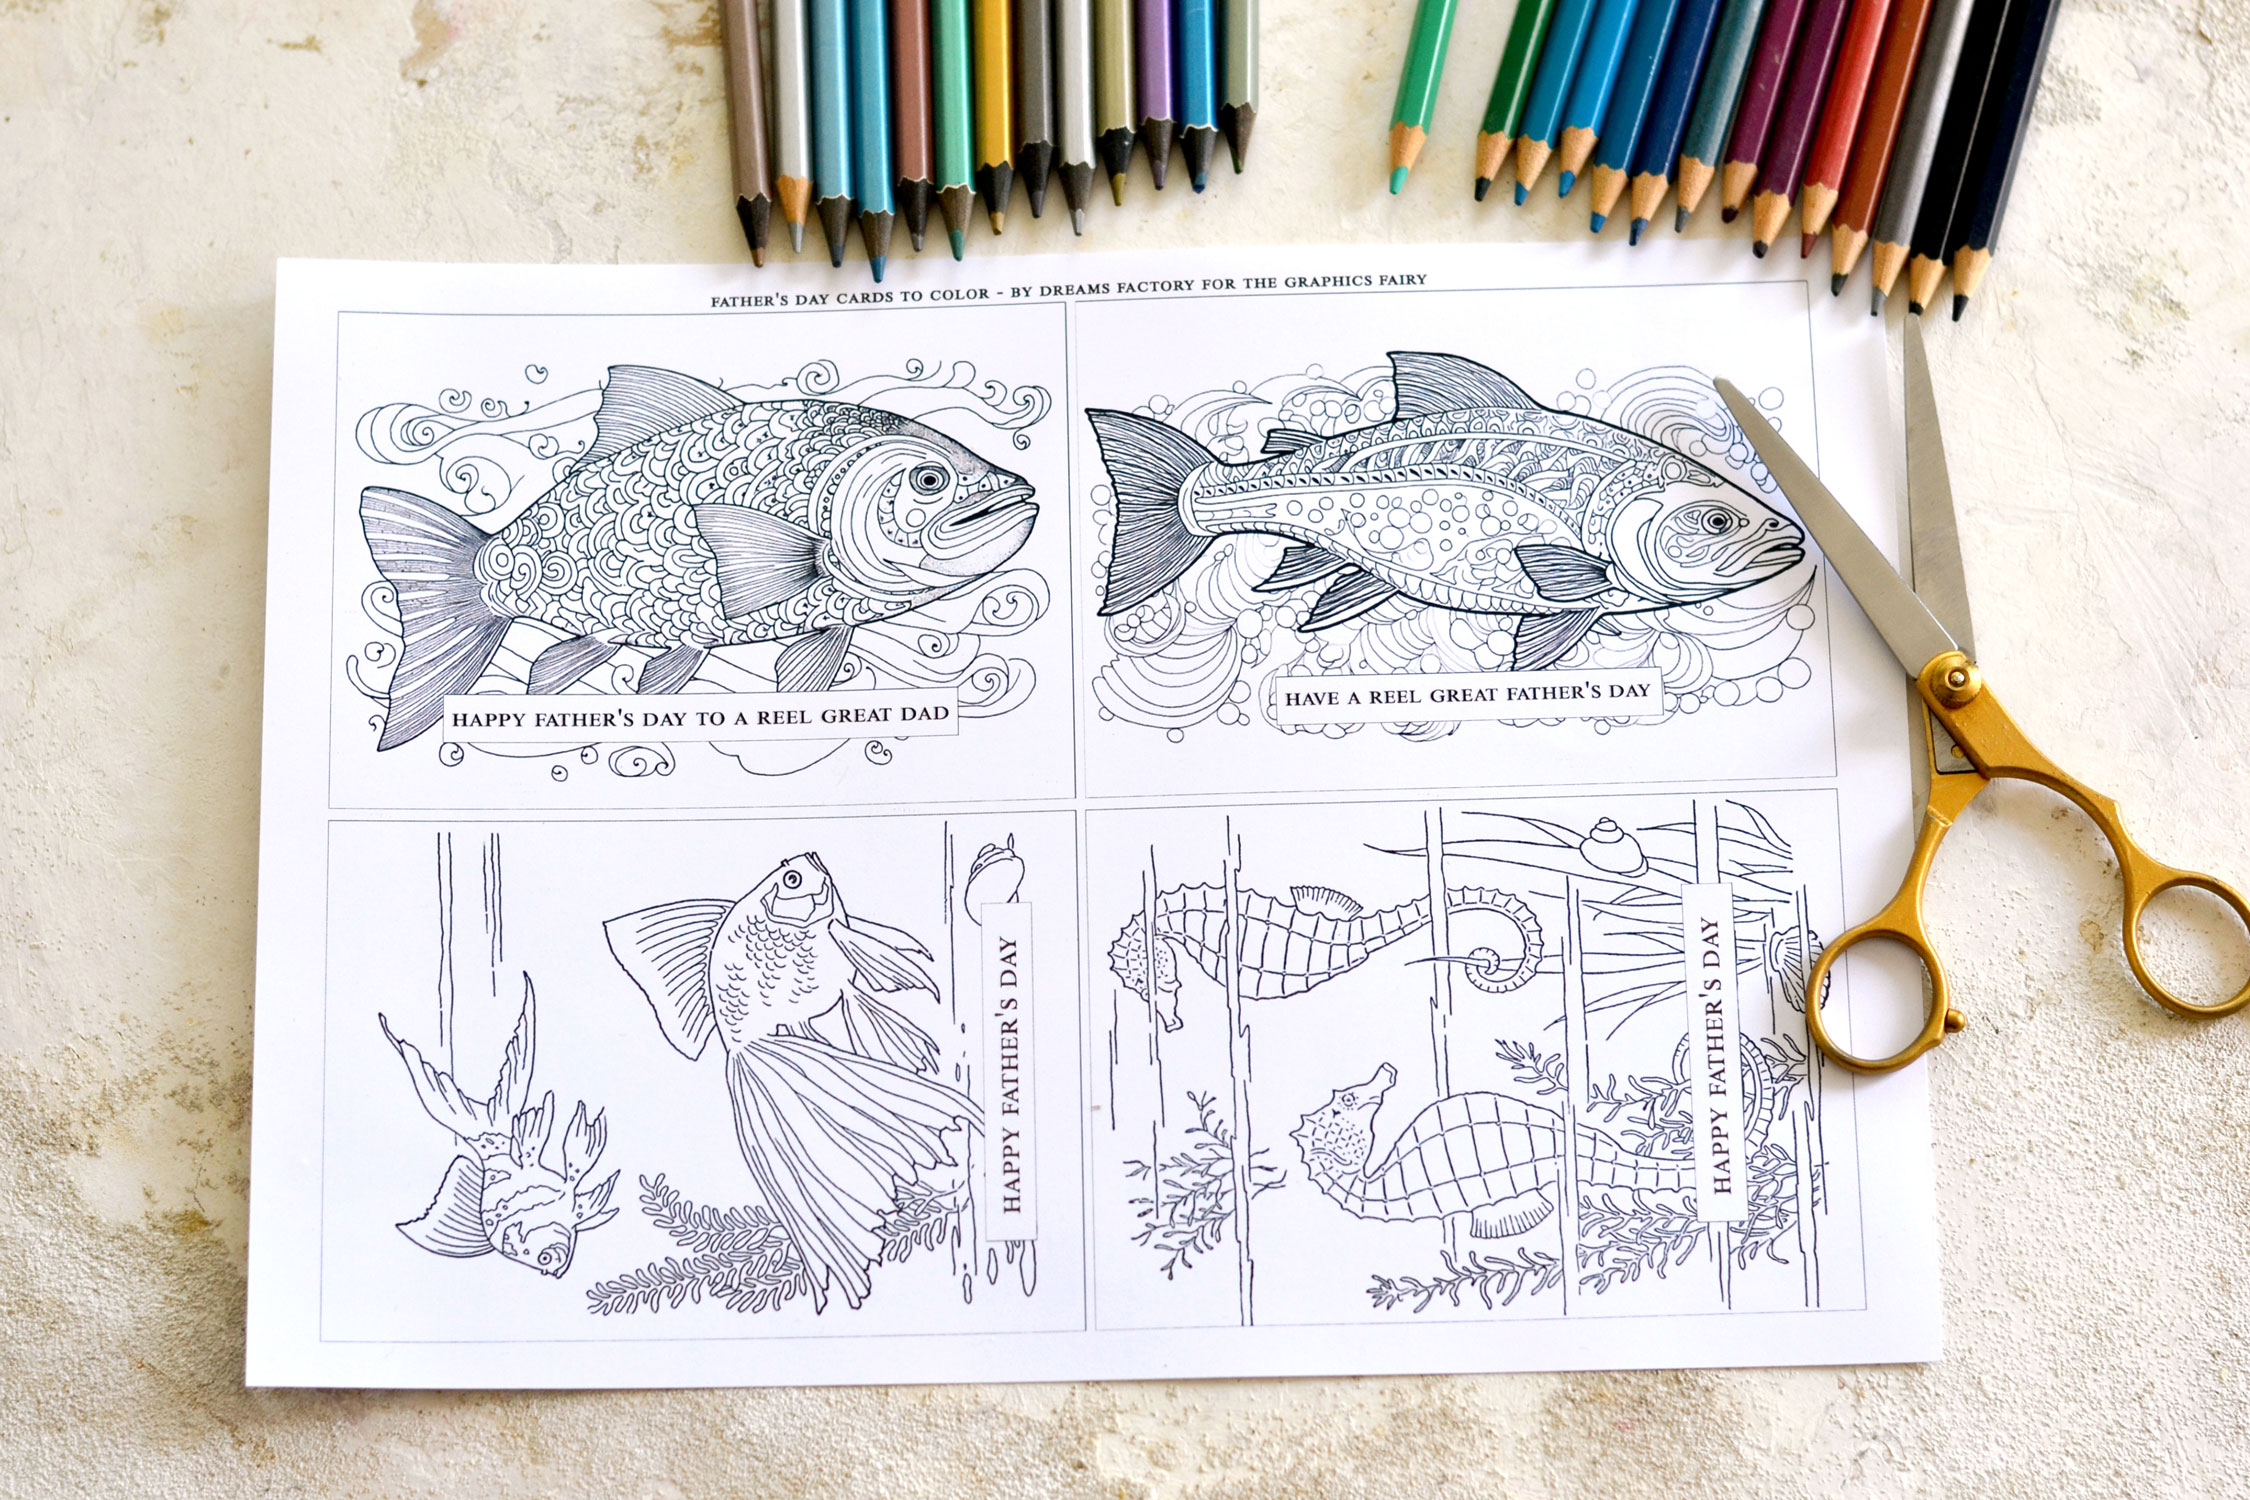
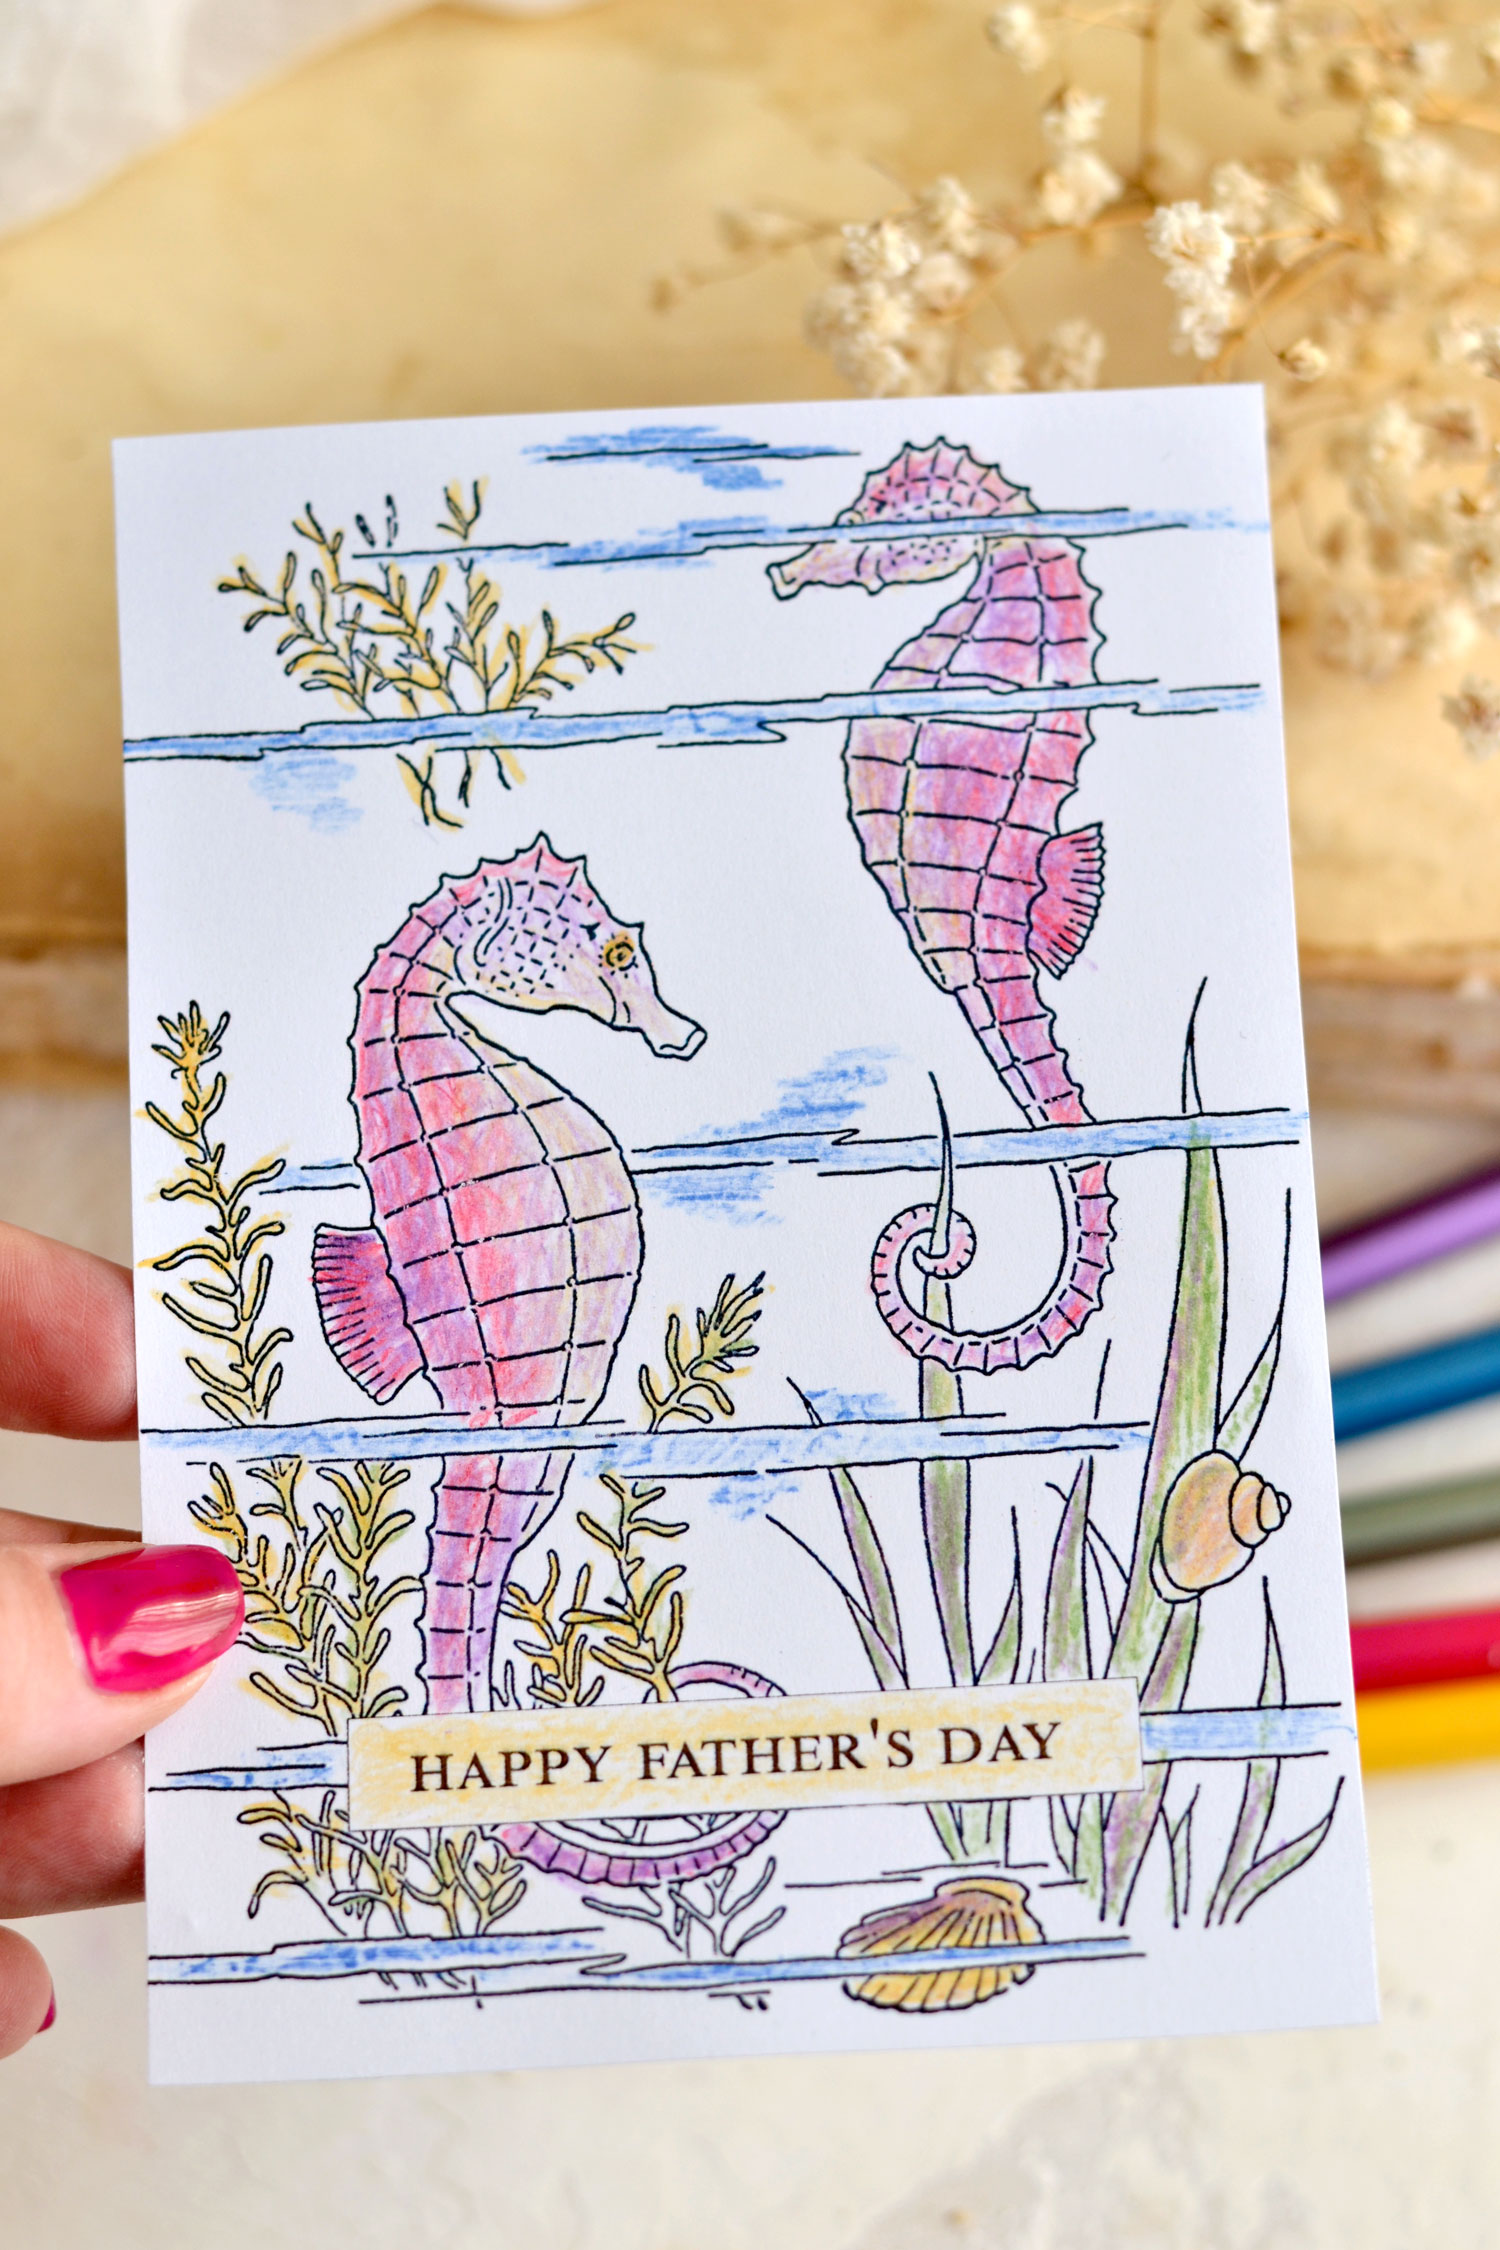
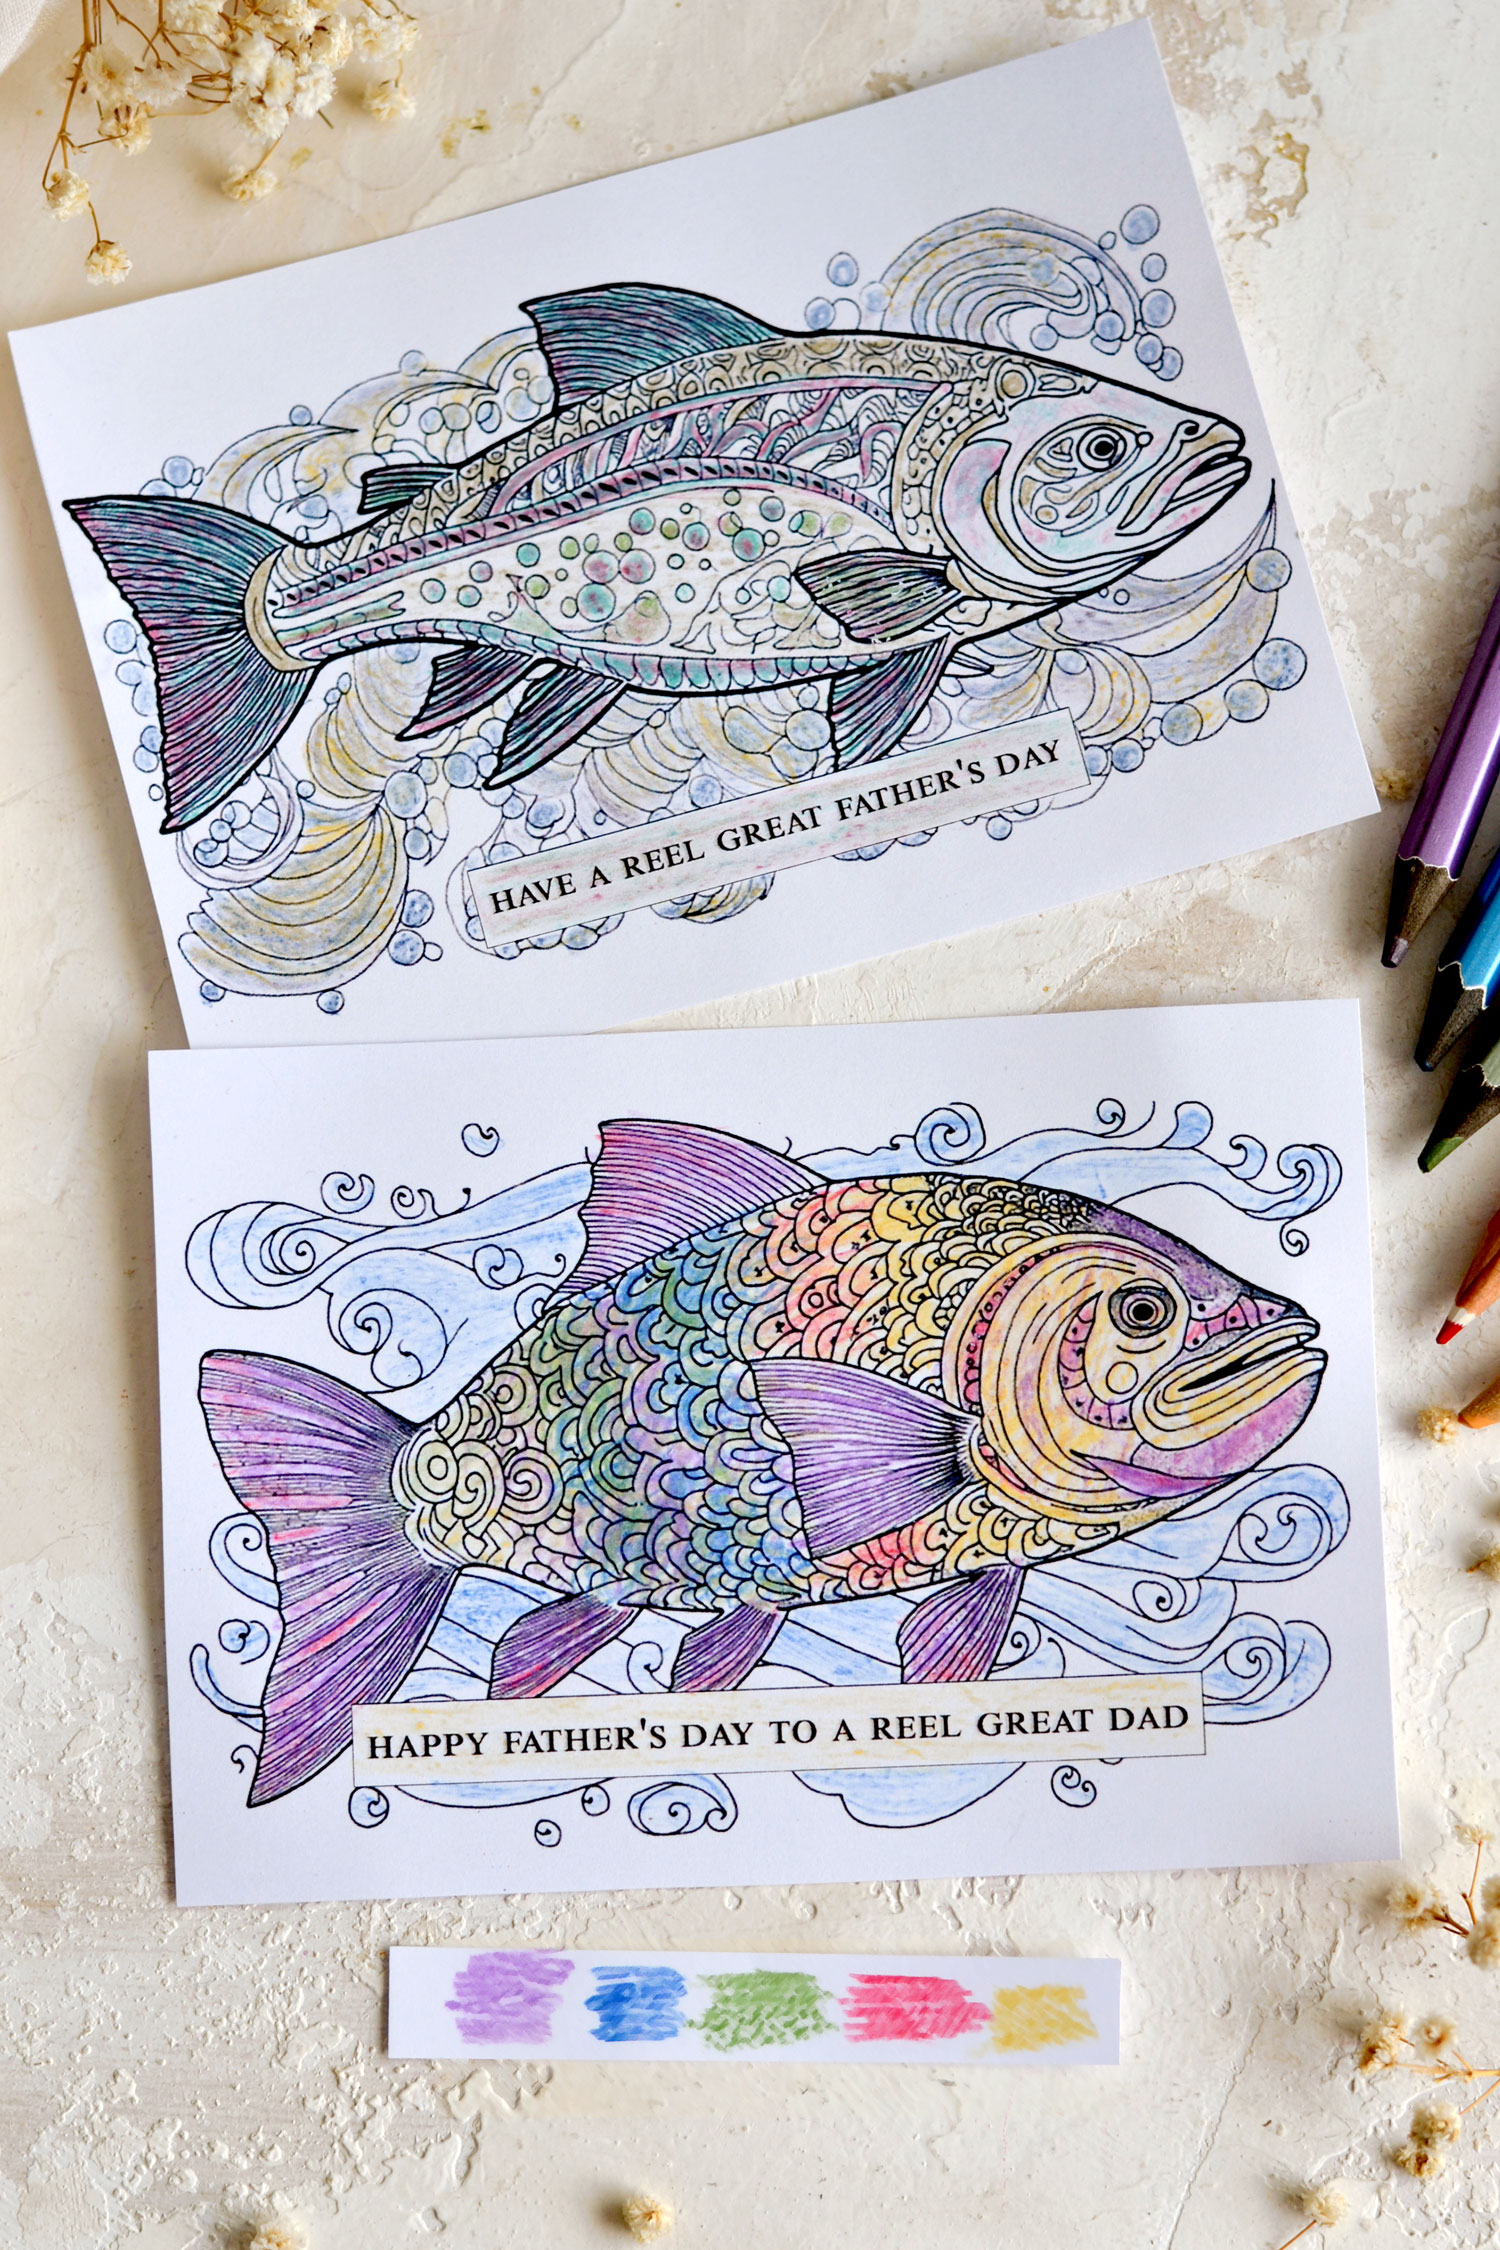
The printable that I’ve created for this project is just lovely, you’ll need to download it on your computer first, then print it. You will find 4 different cards with simple sentiments like ‘Happy Father’s Day’, or funny ones like ‘Have a Reel Great Father’s Day’, just pick the one that you like the most. I used some of the Sea Animals Printable Free Coloring Pages from HERE to create these cards.
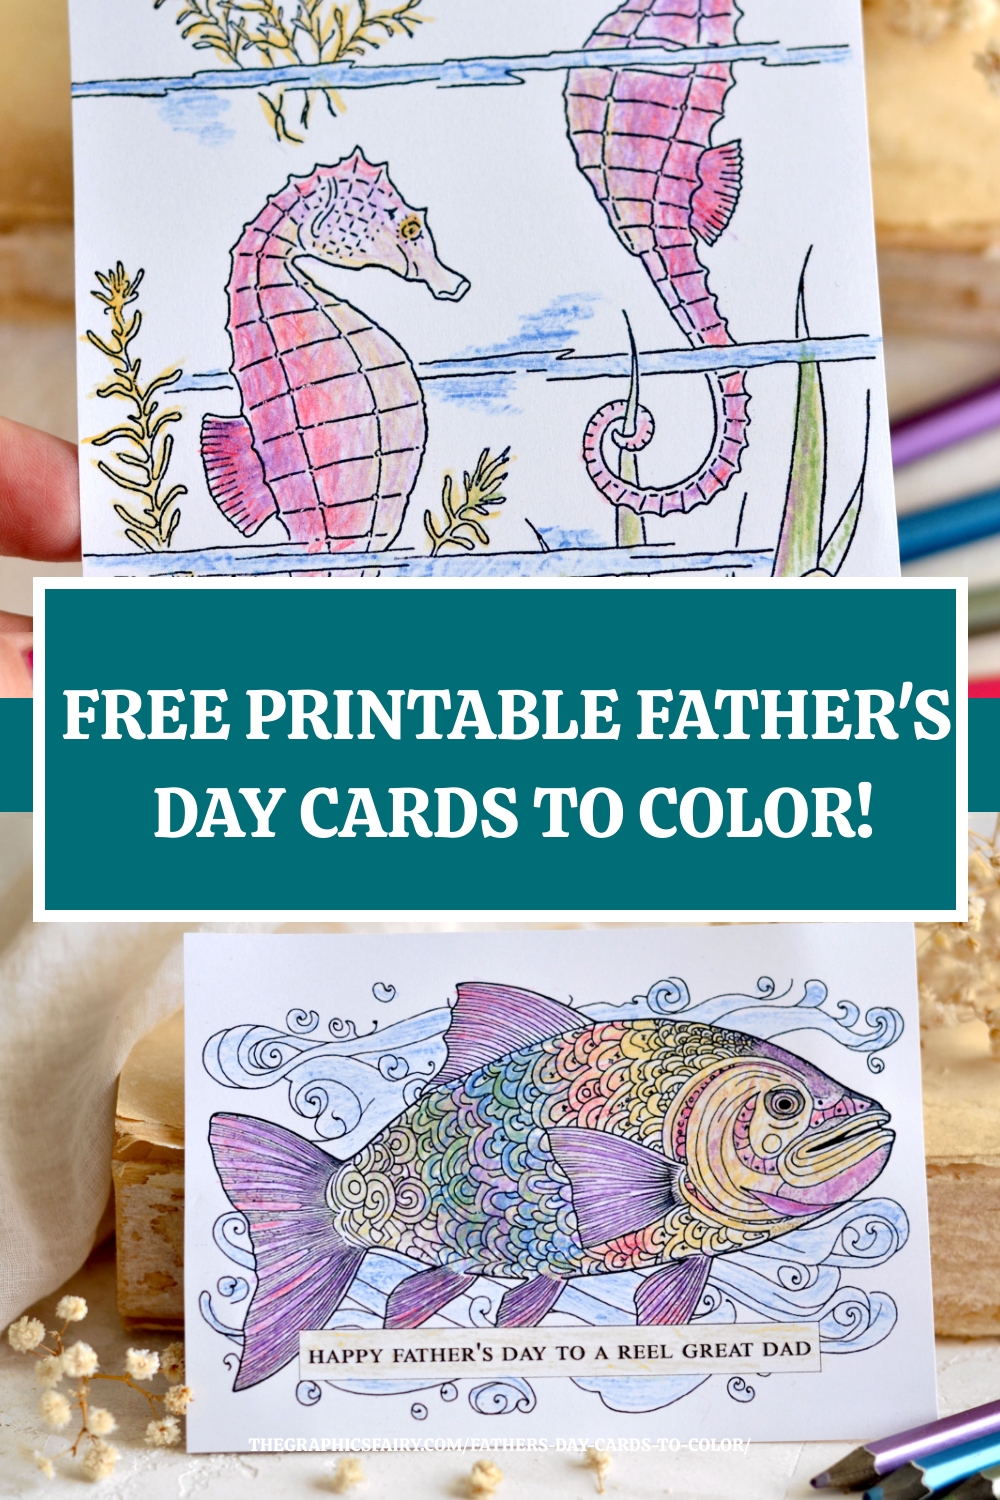
I envisioned the cards as a simple just-print-and-use project perfect for kids or anyone really, but if you want, you can use a white card base underneath after coloring the cards.
Free Printables Father’s Day Cards to Color
—-> Click HERE to Download the Full Size Printable PDF File Color Sheet 1 <—-
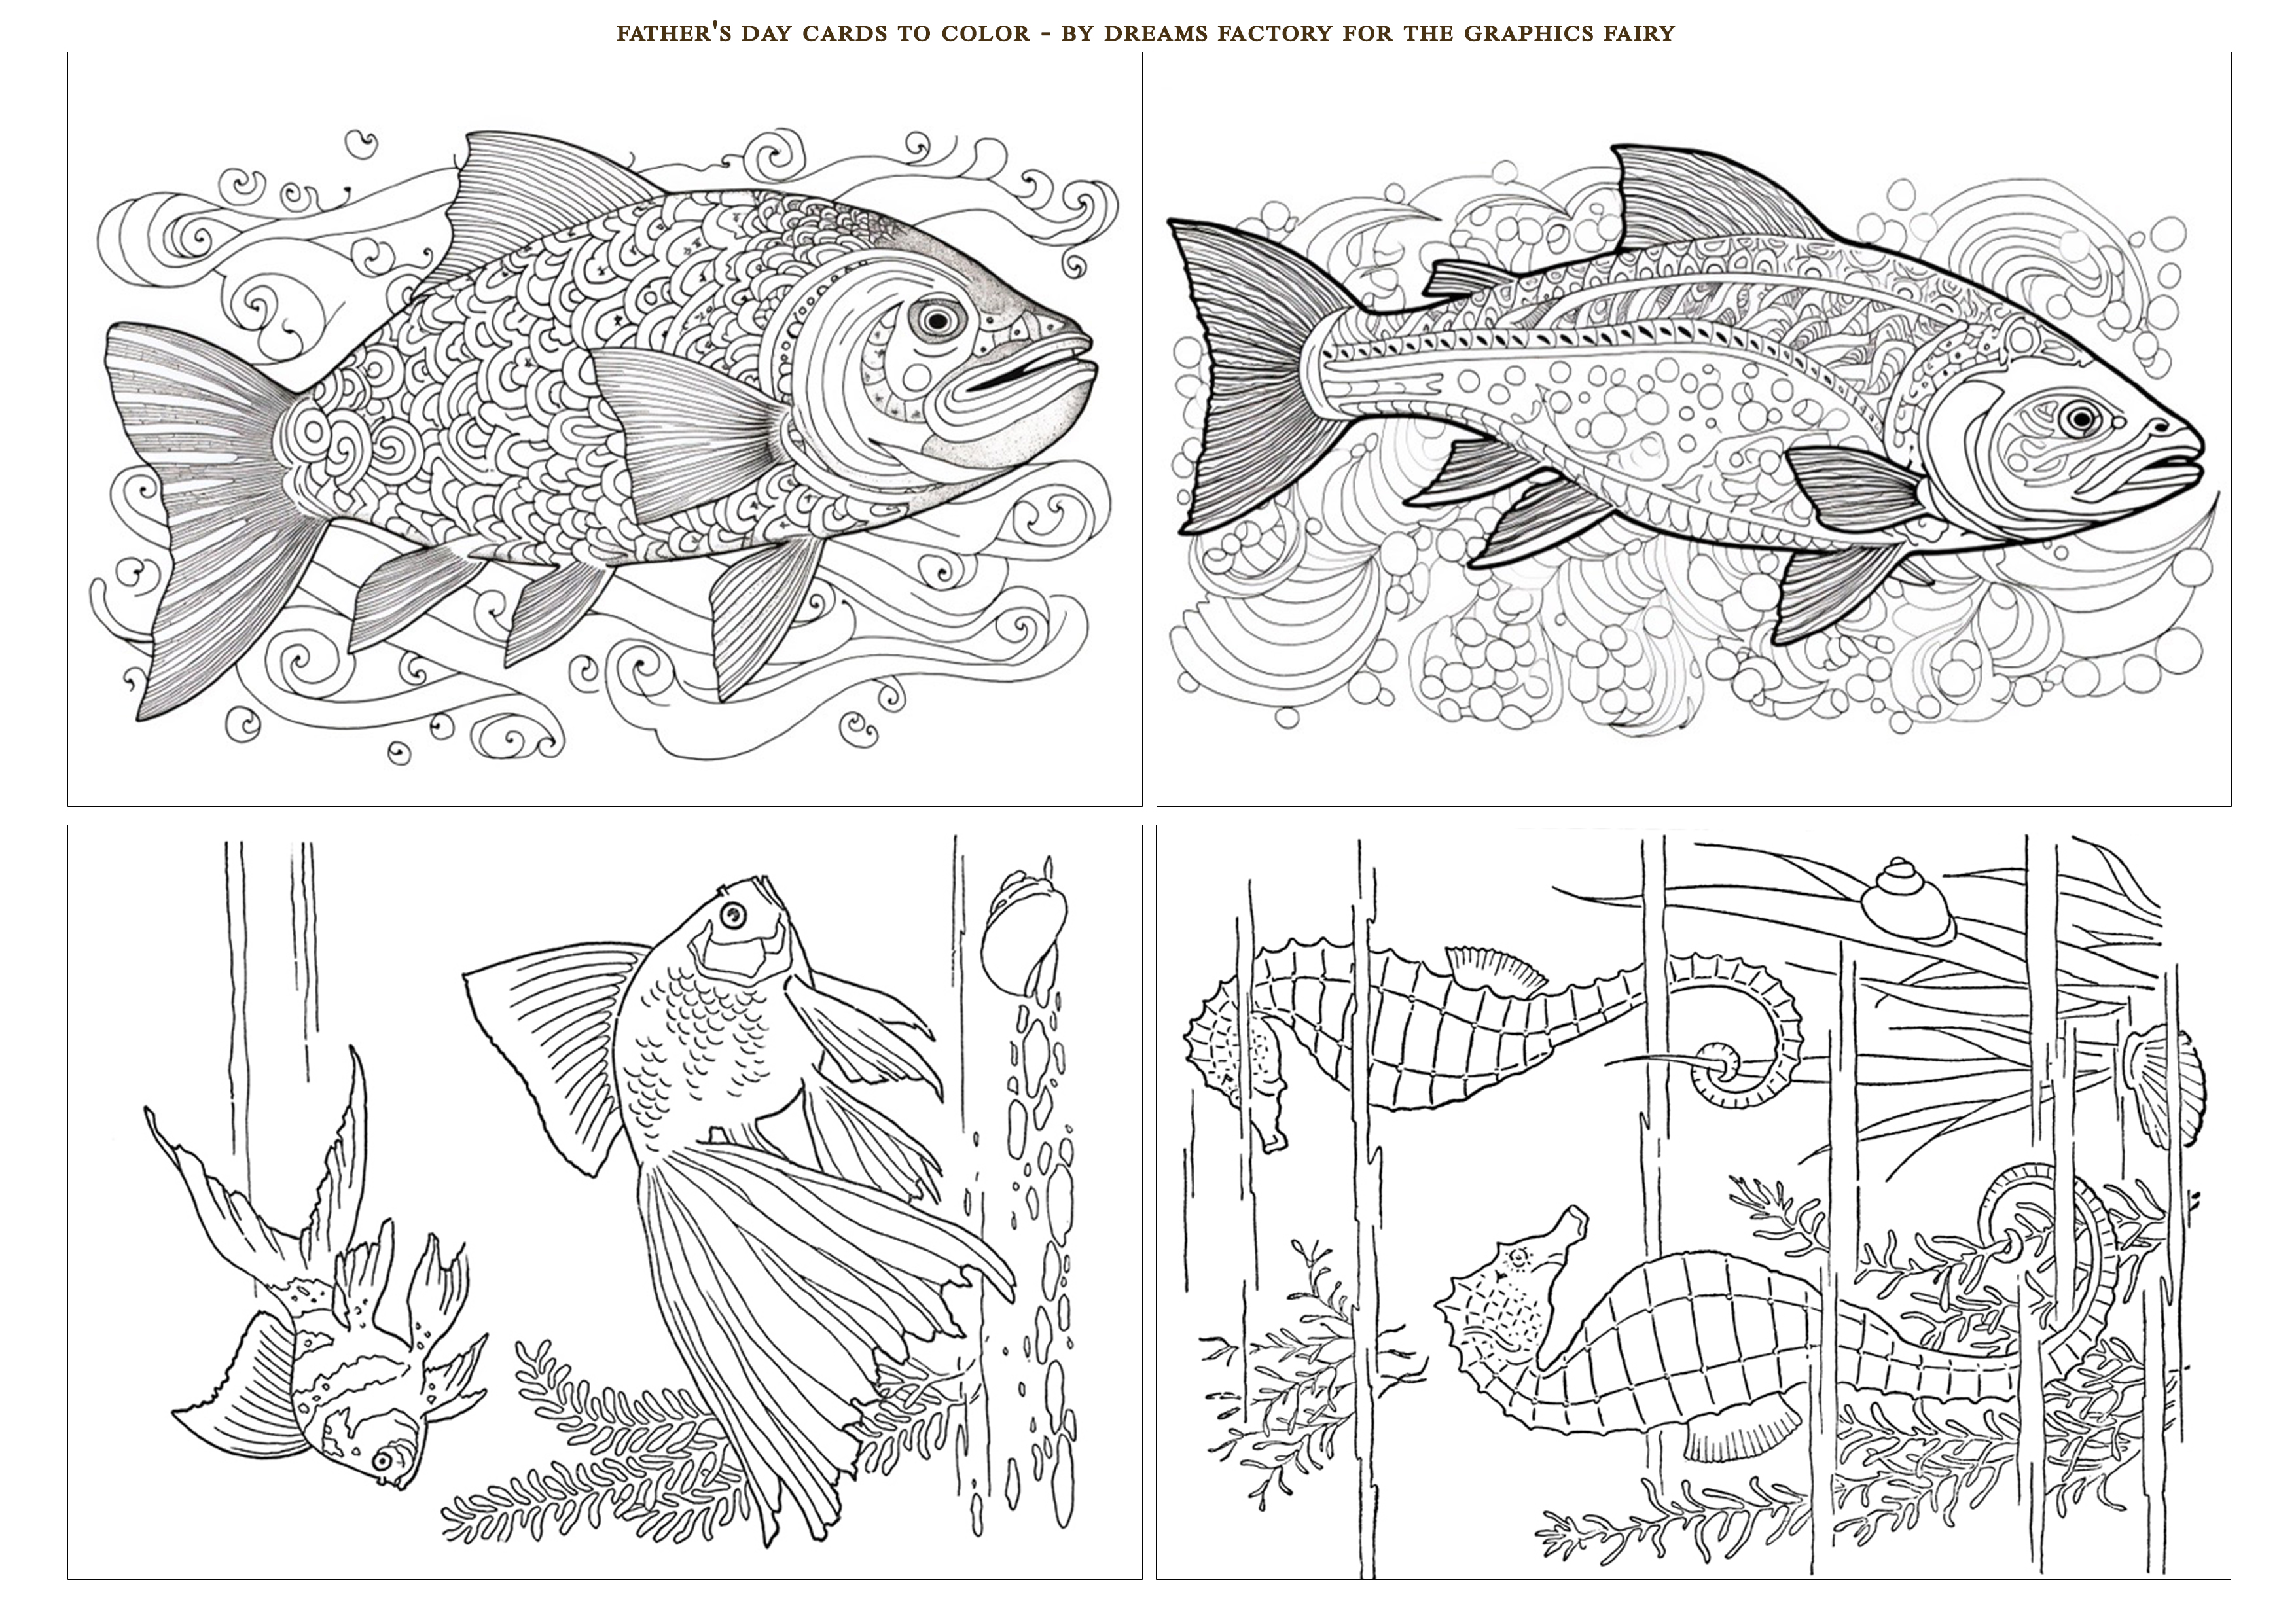
I’ve also included a simple version without any writing, just in case you would want to use your own sentiments or why not, even use these sea animals cards for other projects too!
—-> Click HERE to Download the Full Size Printable PDF File Cards 2<—-
Supply List:
- white cardstock paper
- home printer
- scissors
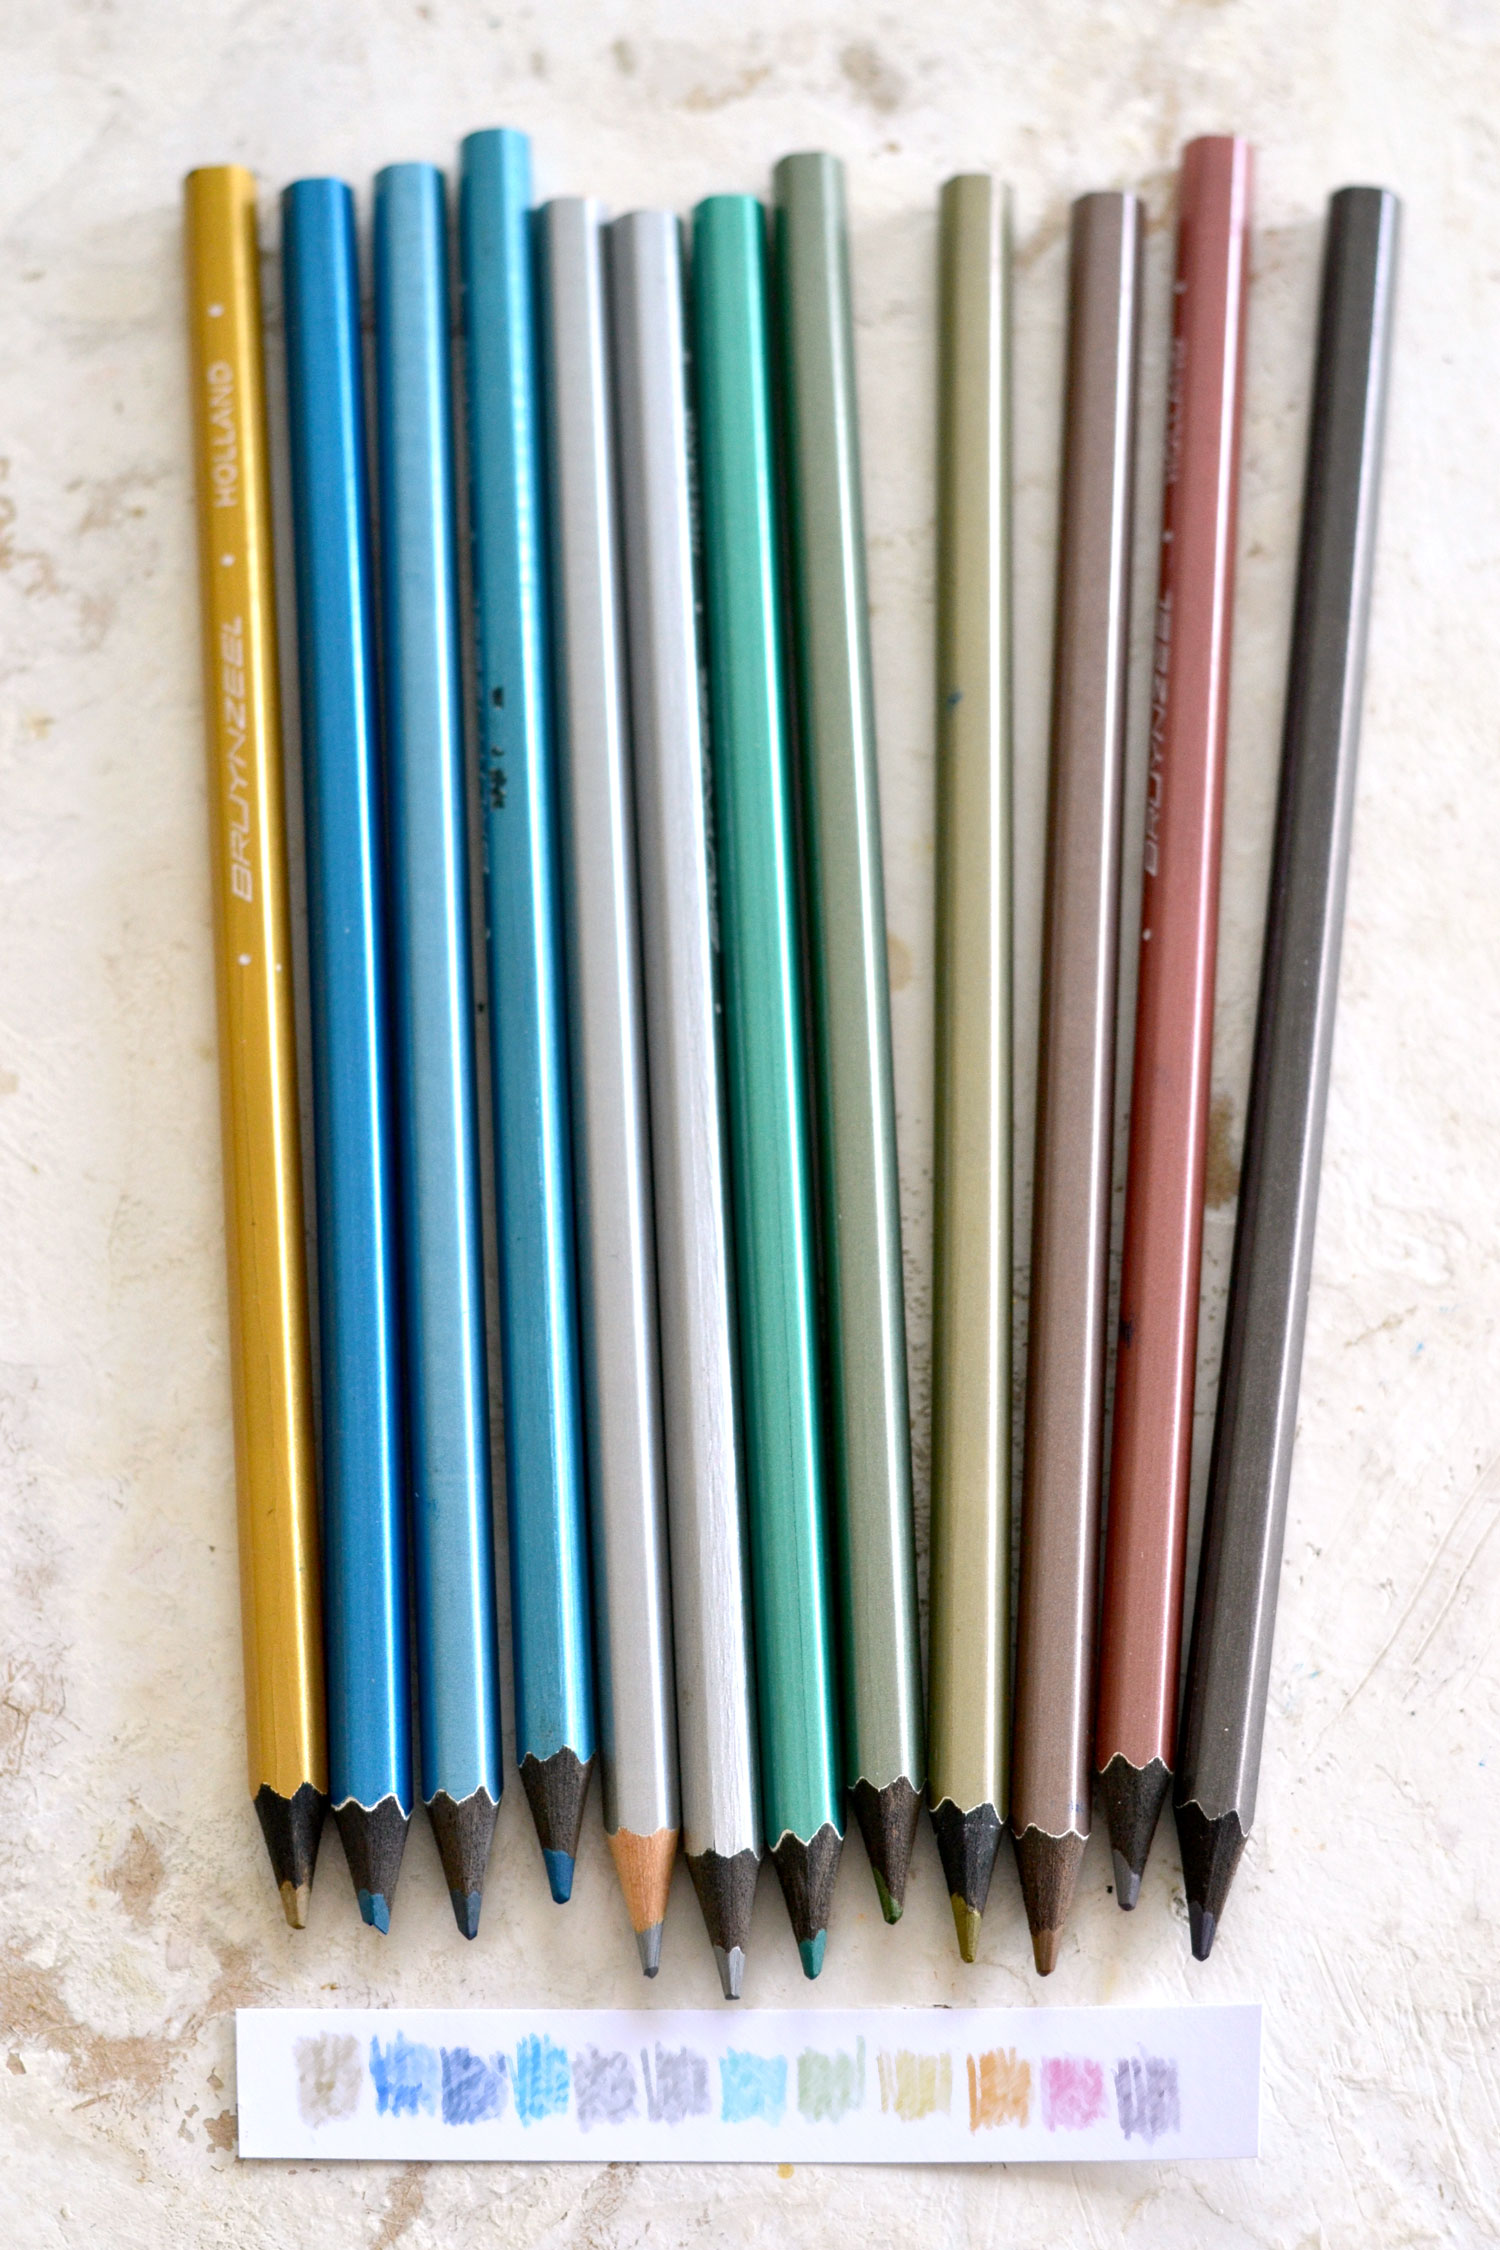
- colored pencils or markers (I used pencils from Staedtler and Bruynzeel)
- eraser (for erasing, blending and creating softer colors)
- eyeshadow sponge (optional – for blending)
Instructions for Free Printable Coloring Cards for Father’s Day:
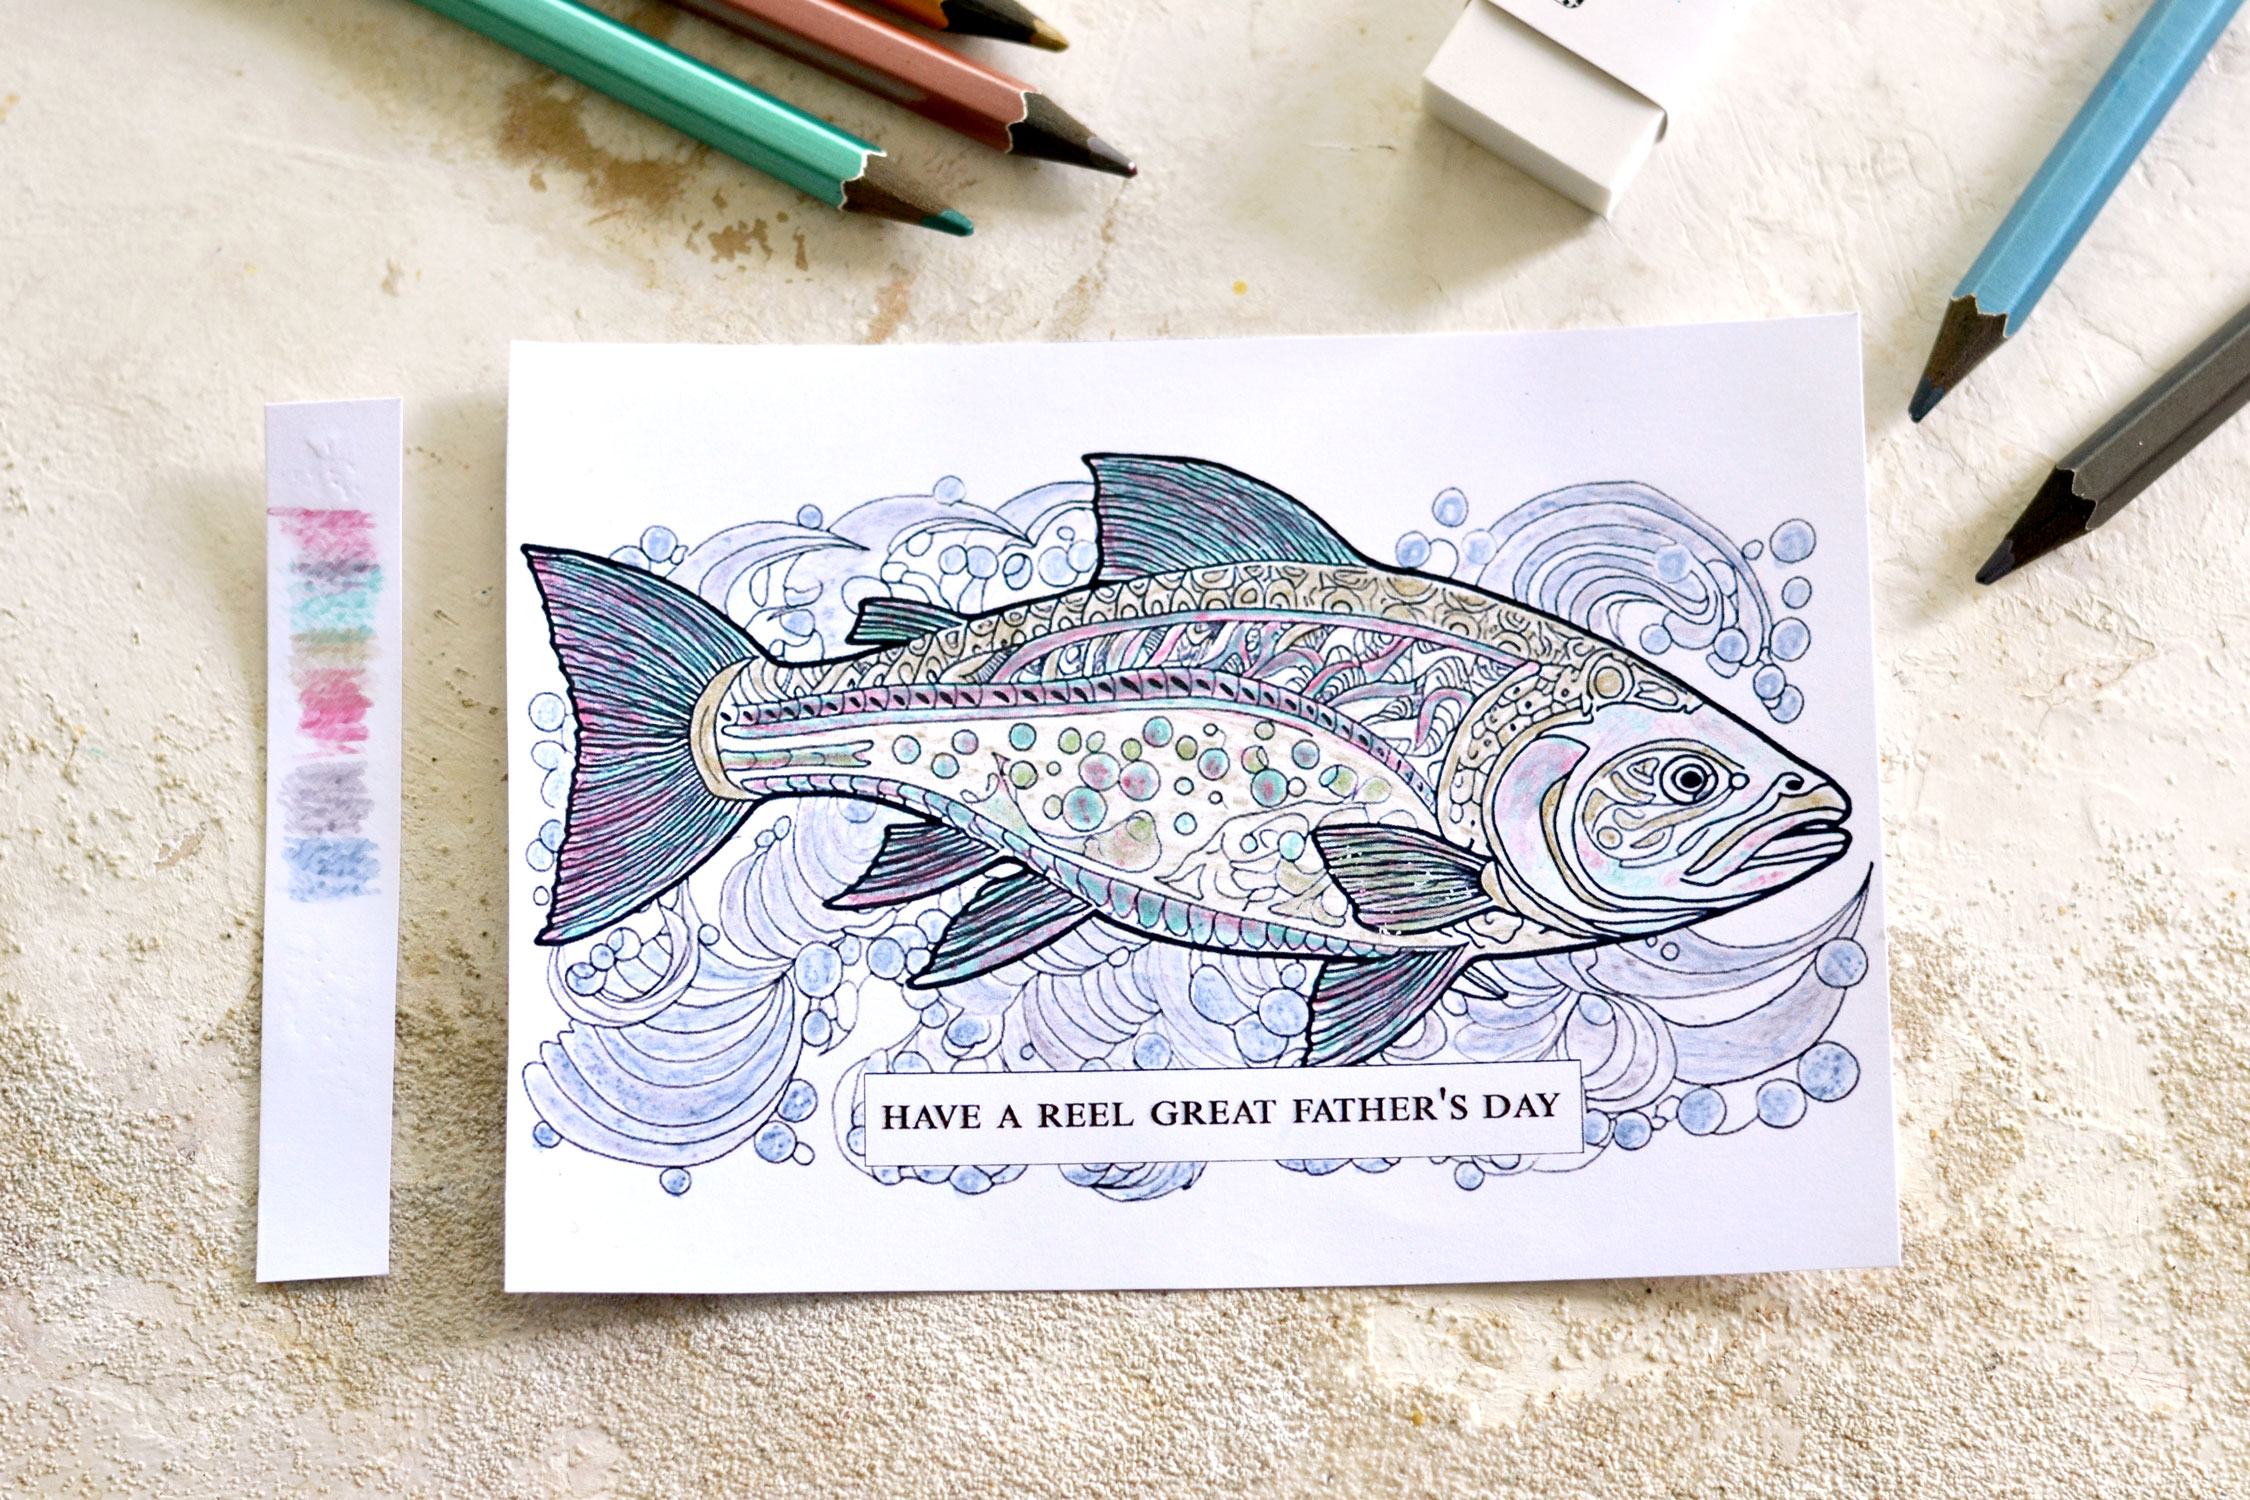
If you want, you can start by deciding on a color scheme. Because this is a project for Dad, my initial thought was to use more of a masculine color scheme so I started picking a few colored pencils from my pencil stash like green, blue, gray, brown, and silver. This is more of a controlled approach to the coloring process, but if you want to choose the more intuitive approach, just pick the colors that you feel inspired by at the moment. I feel that this intuitive approach is more relaxing because you don’t have to think too much and you can enjoy the coloring process itself. Children usually do this instinctively but we, as adults not so much, because we tend to overthink things and worry too much about the final results. So maybe it won’t be such a bad idea to free our minds and let the inner child roam free for a while.
Either way, you can use a scrap piece of paper to quickly swatch your pencils first, this will give you a more accurate idea of how the colors actually look on paper and will give you the chance to pick the ones that you love the most.
Use your scissors to cut the cards first.
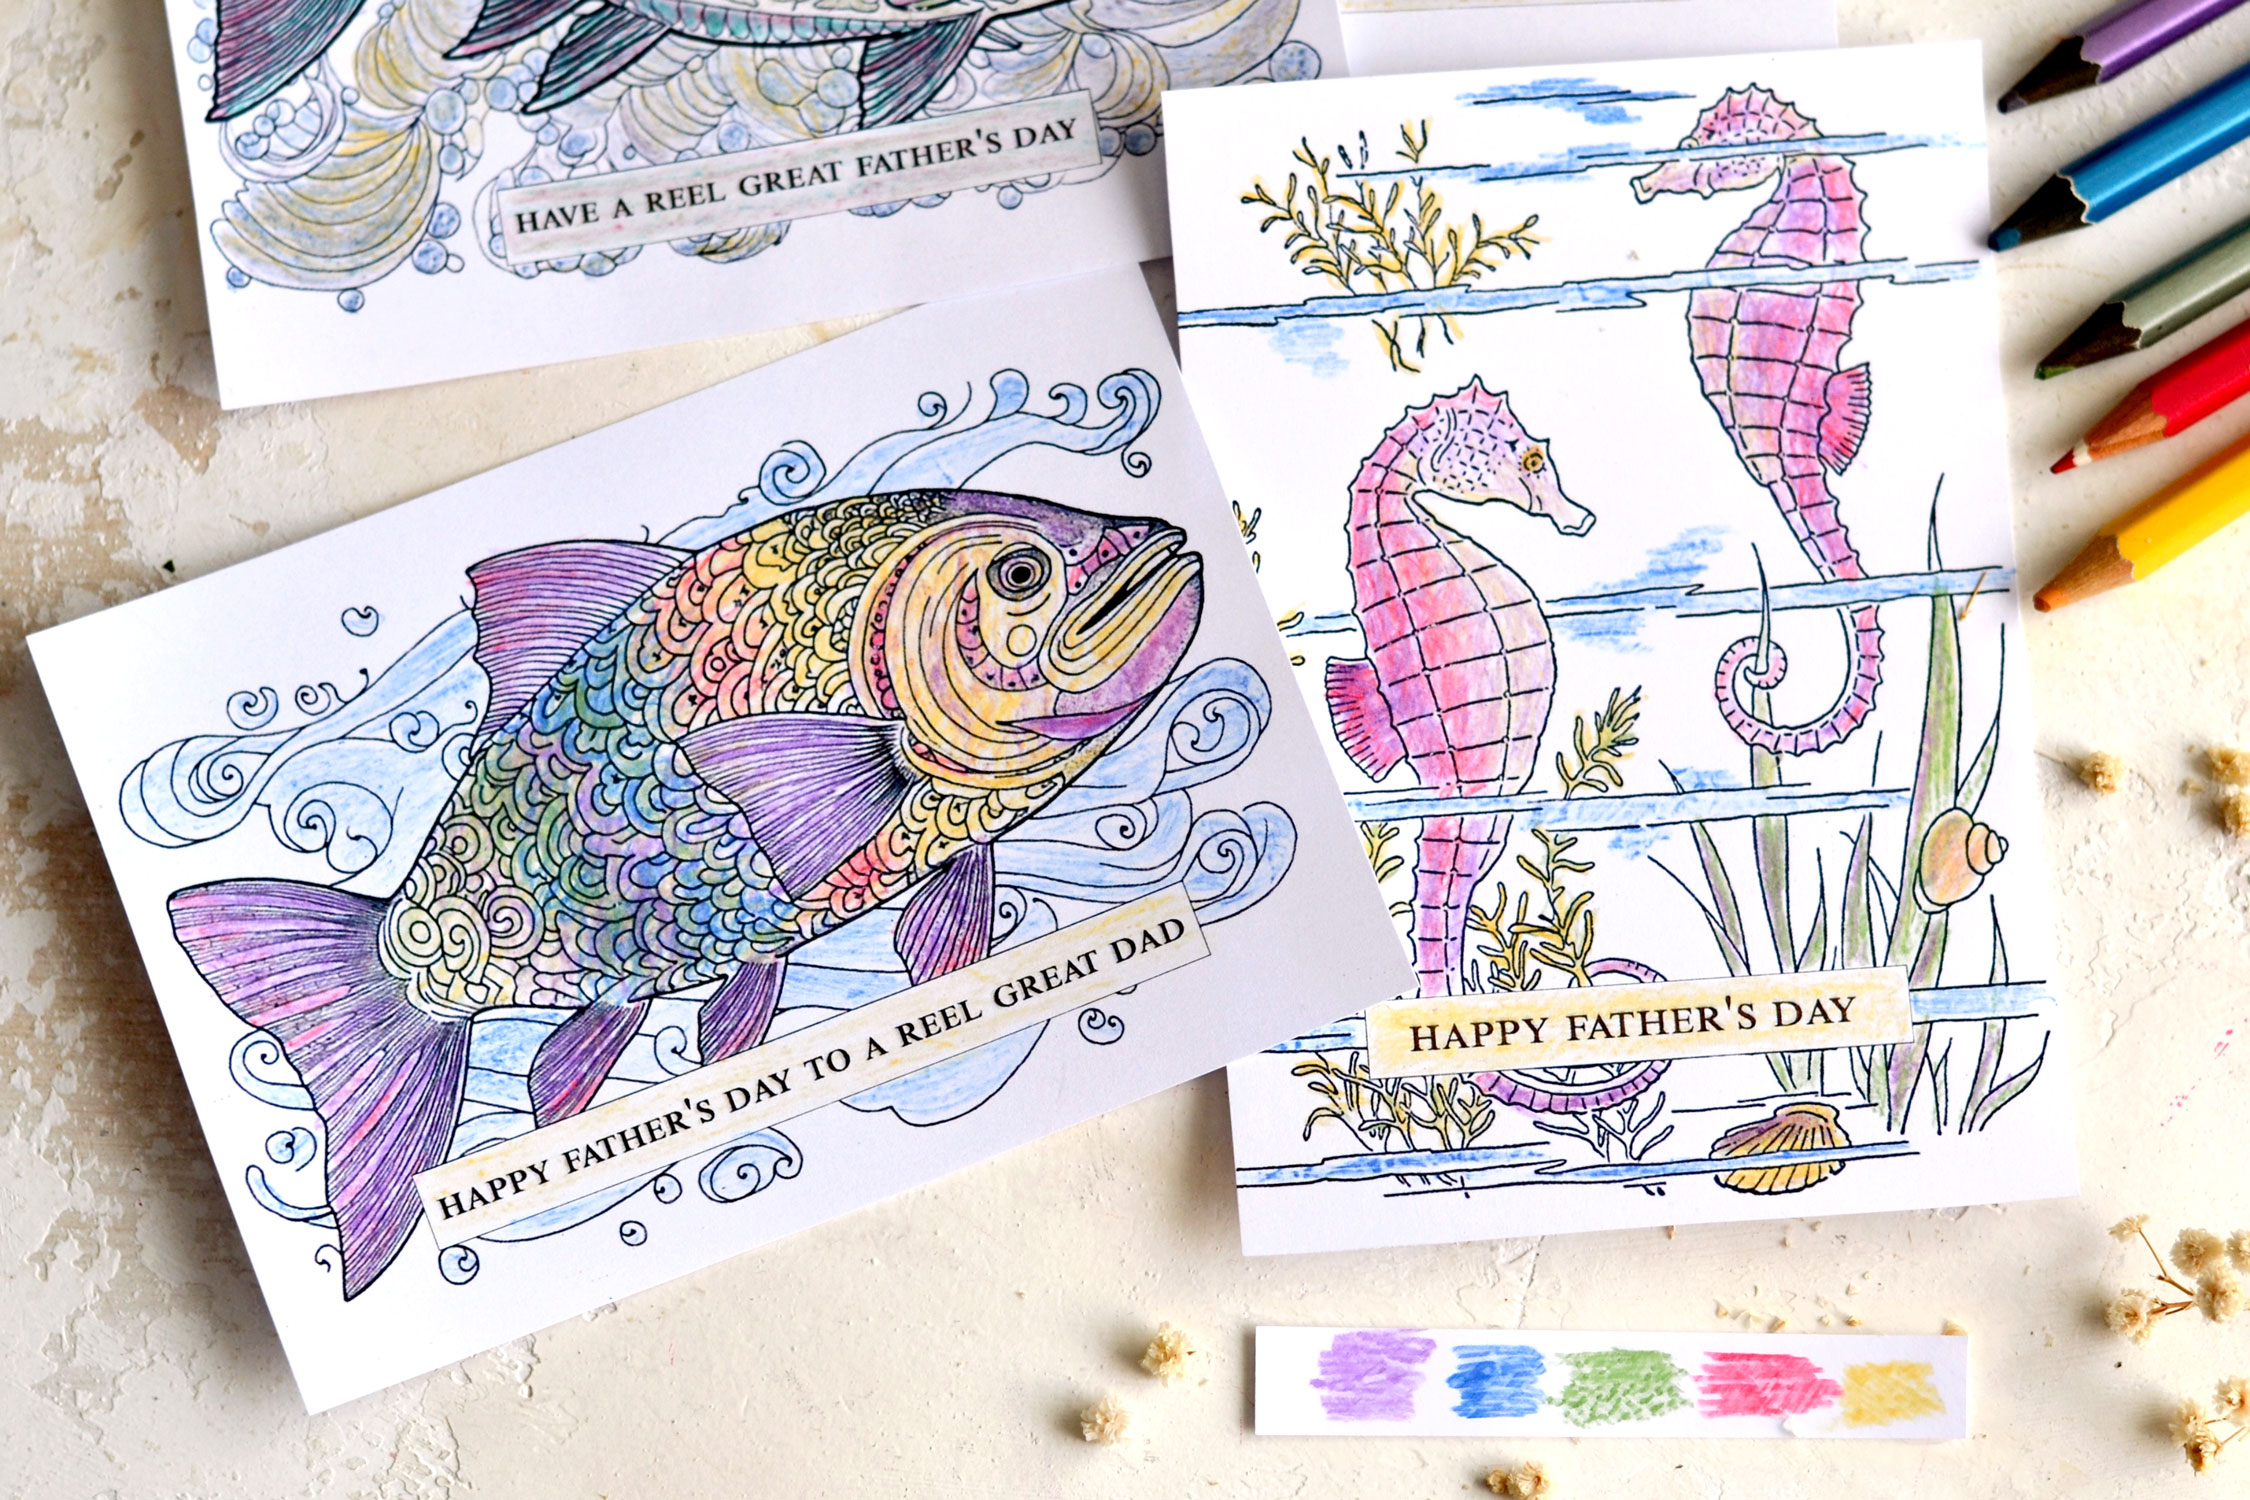
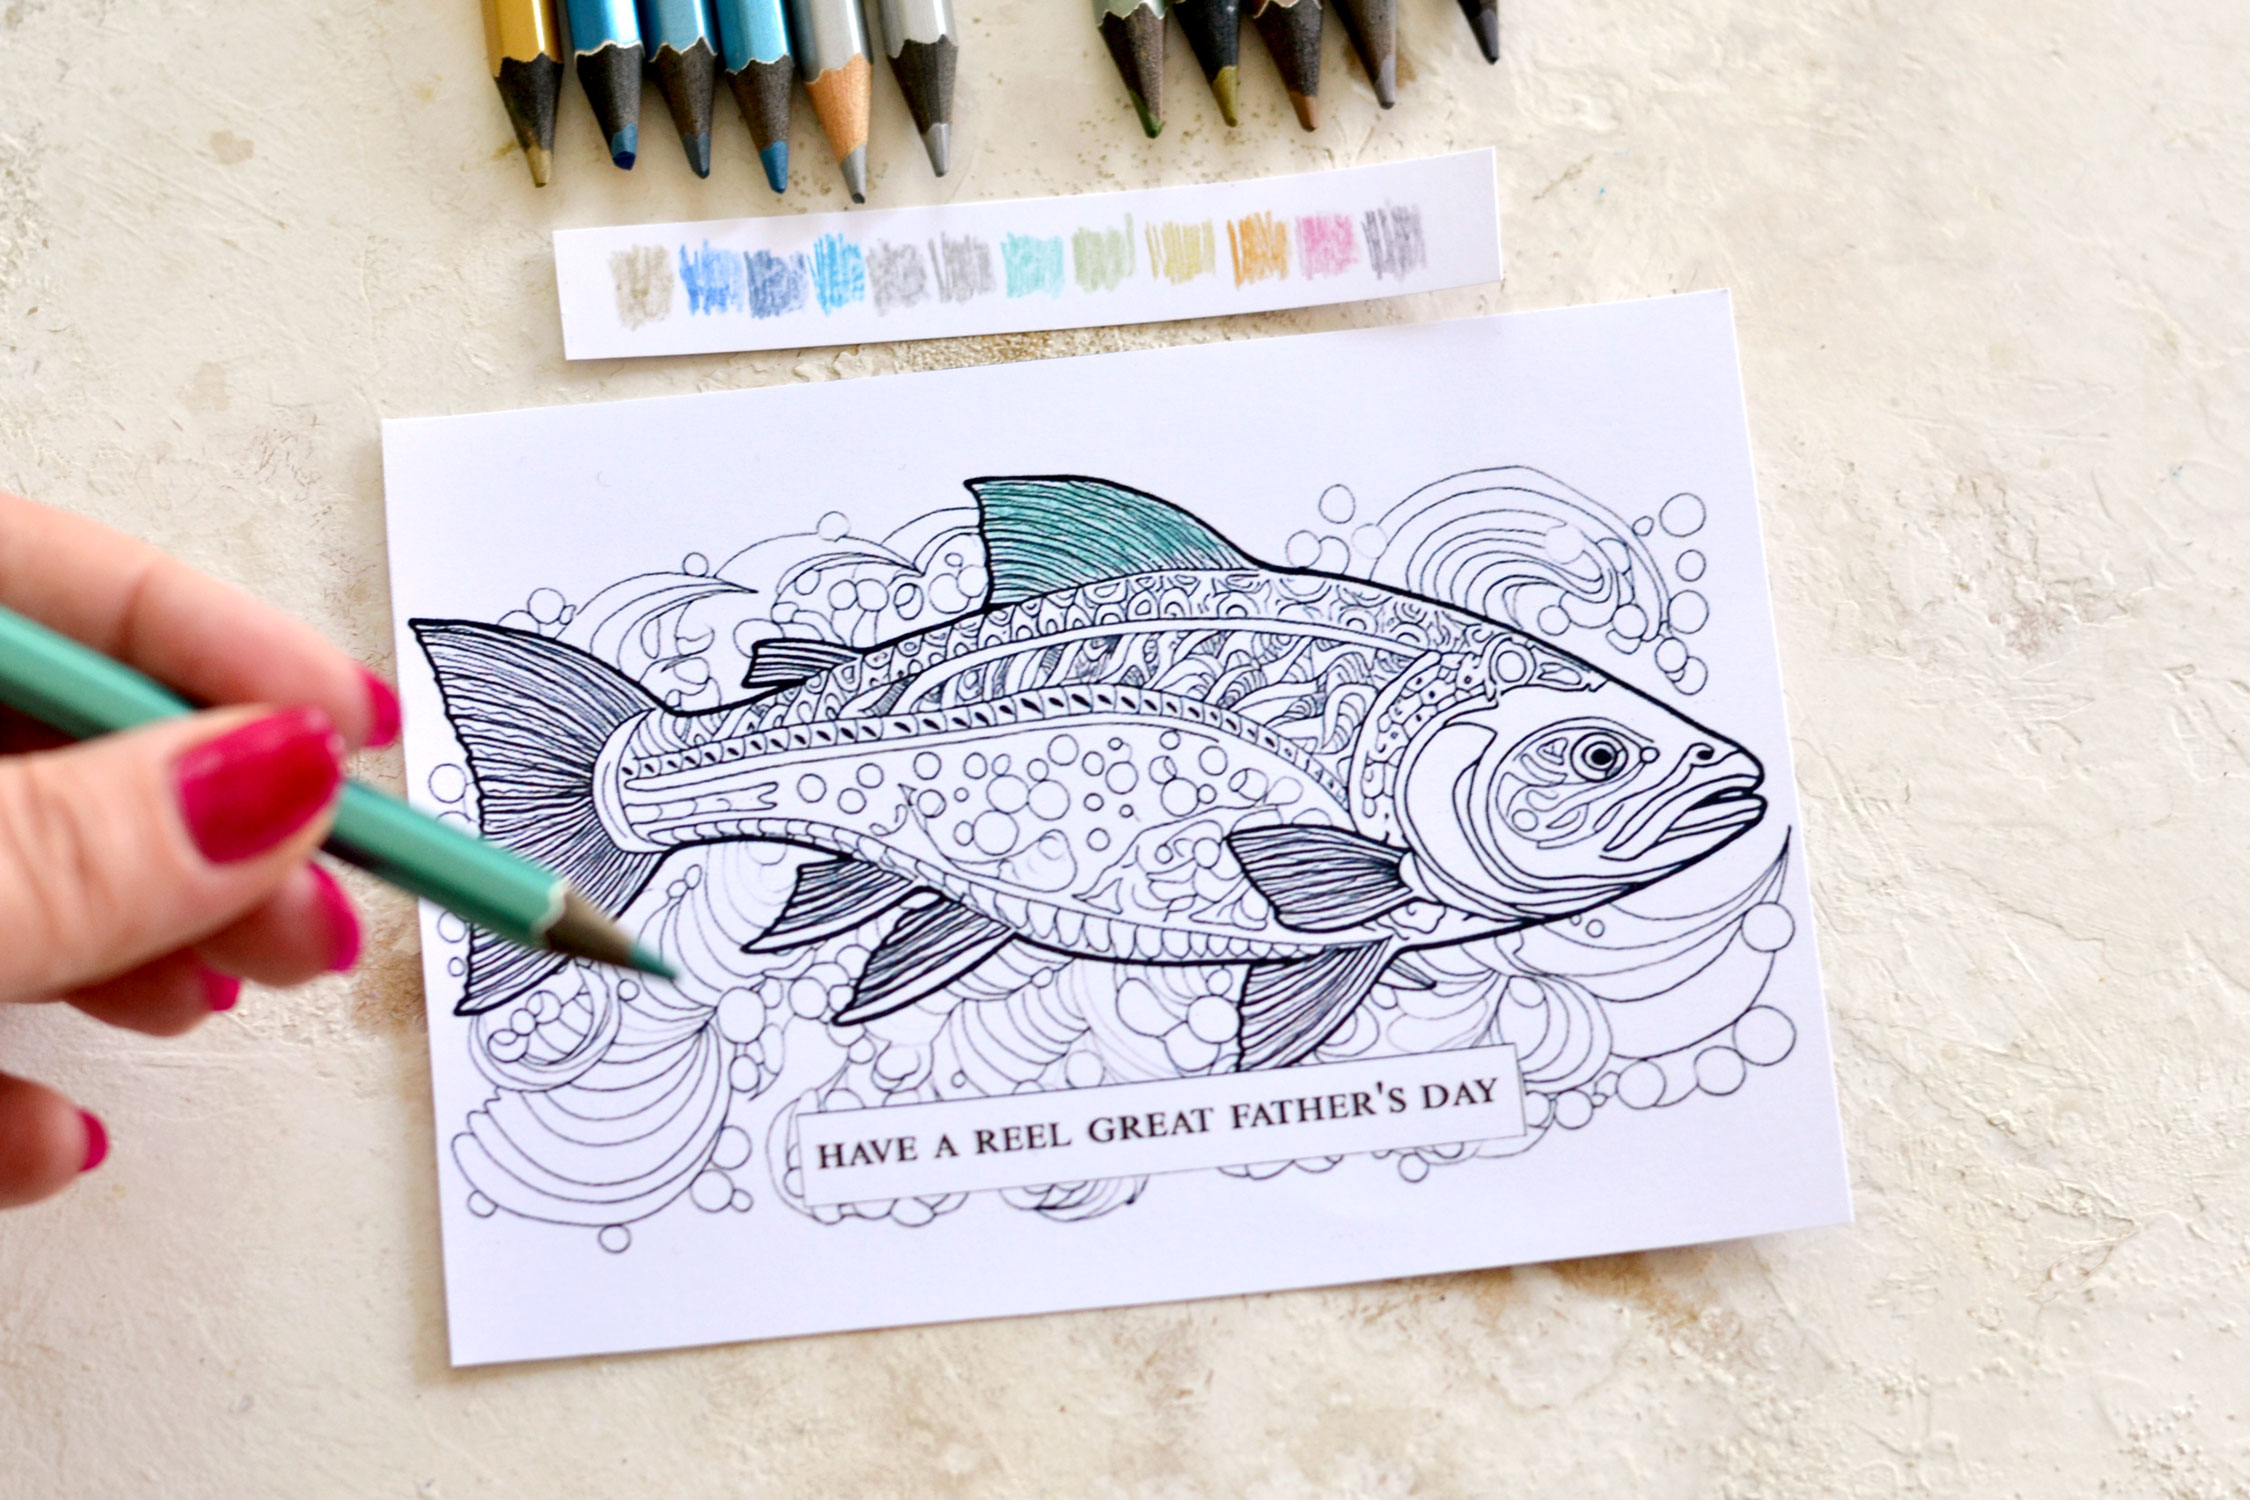
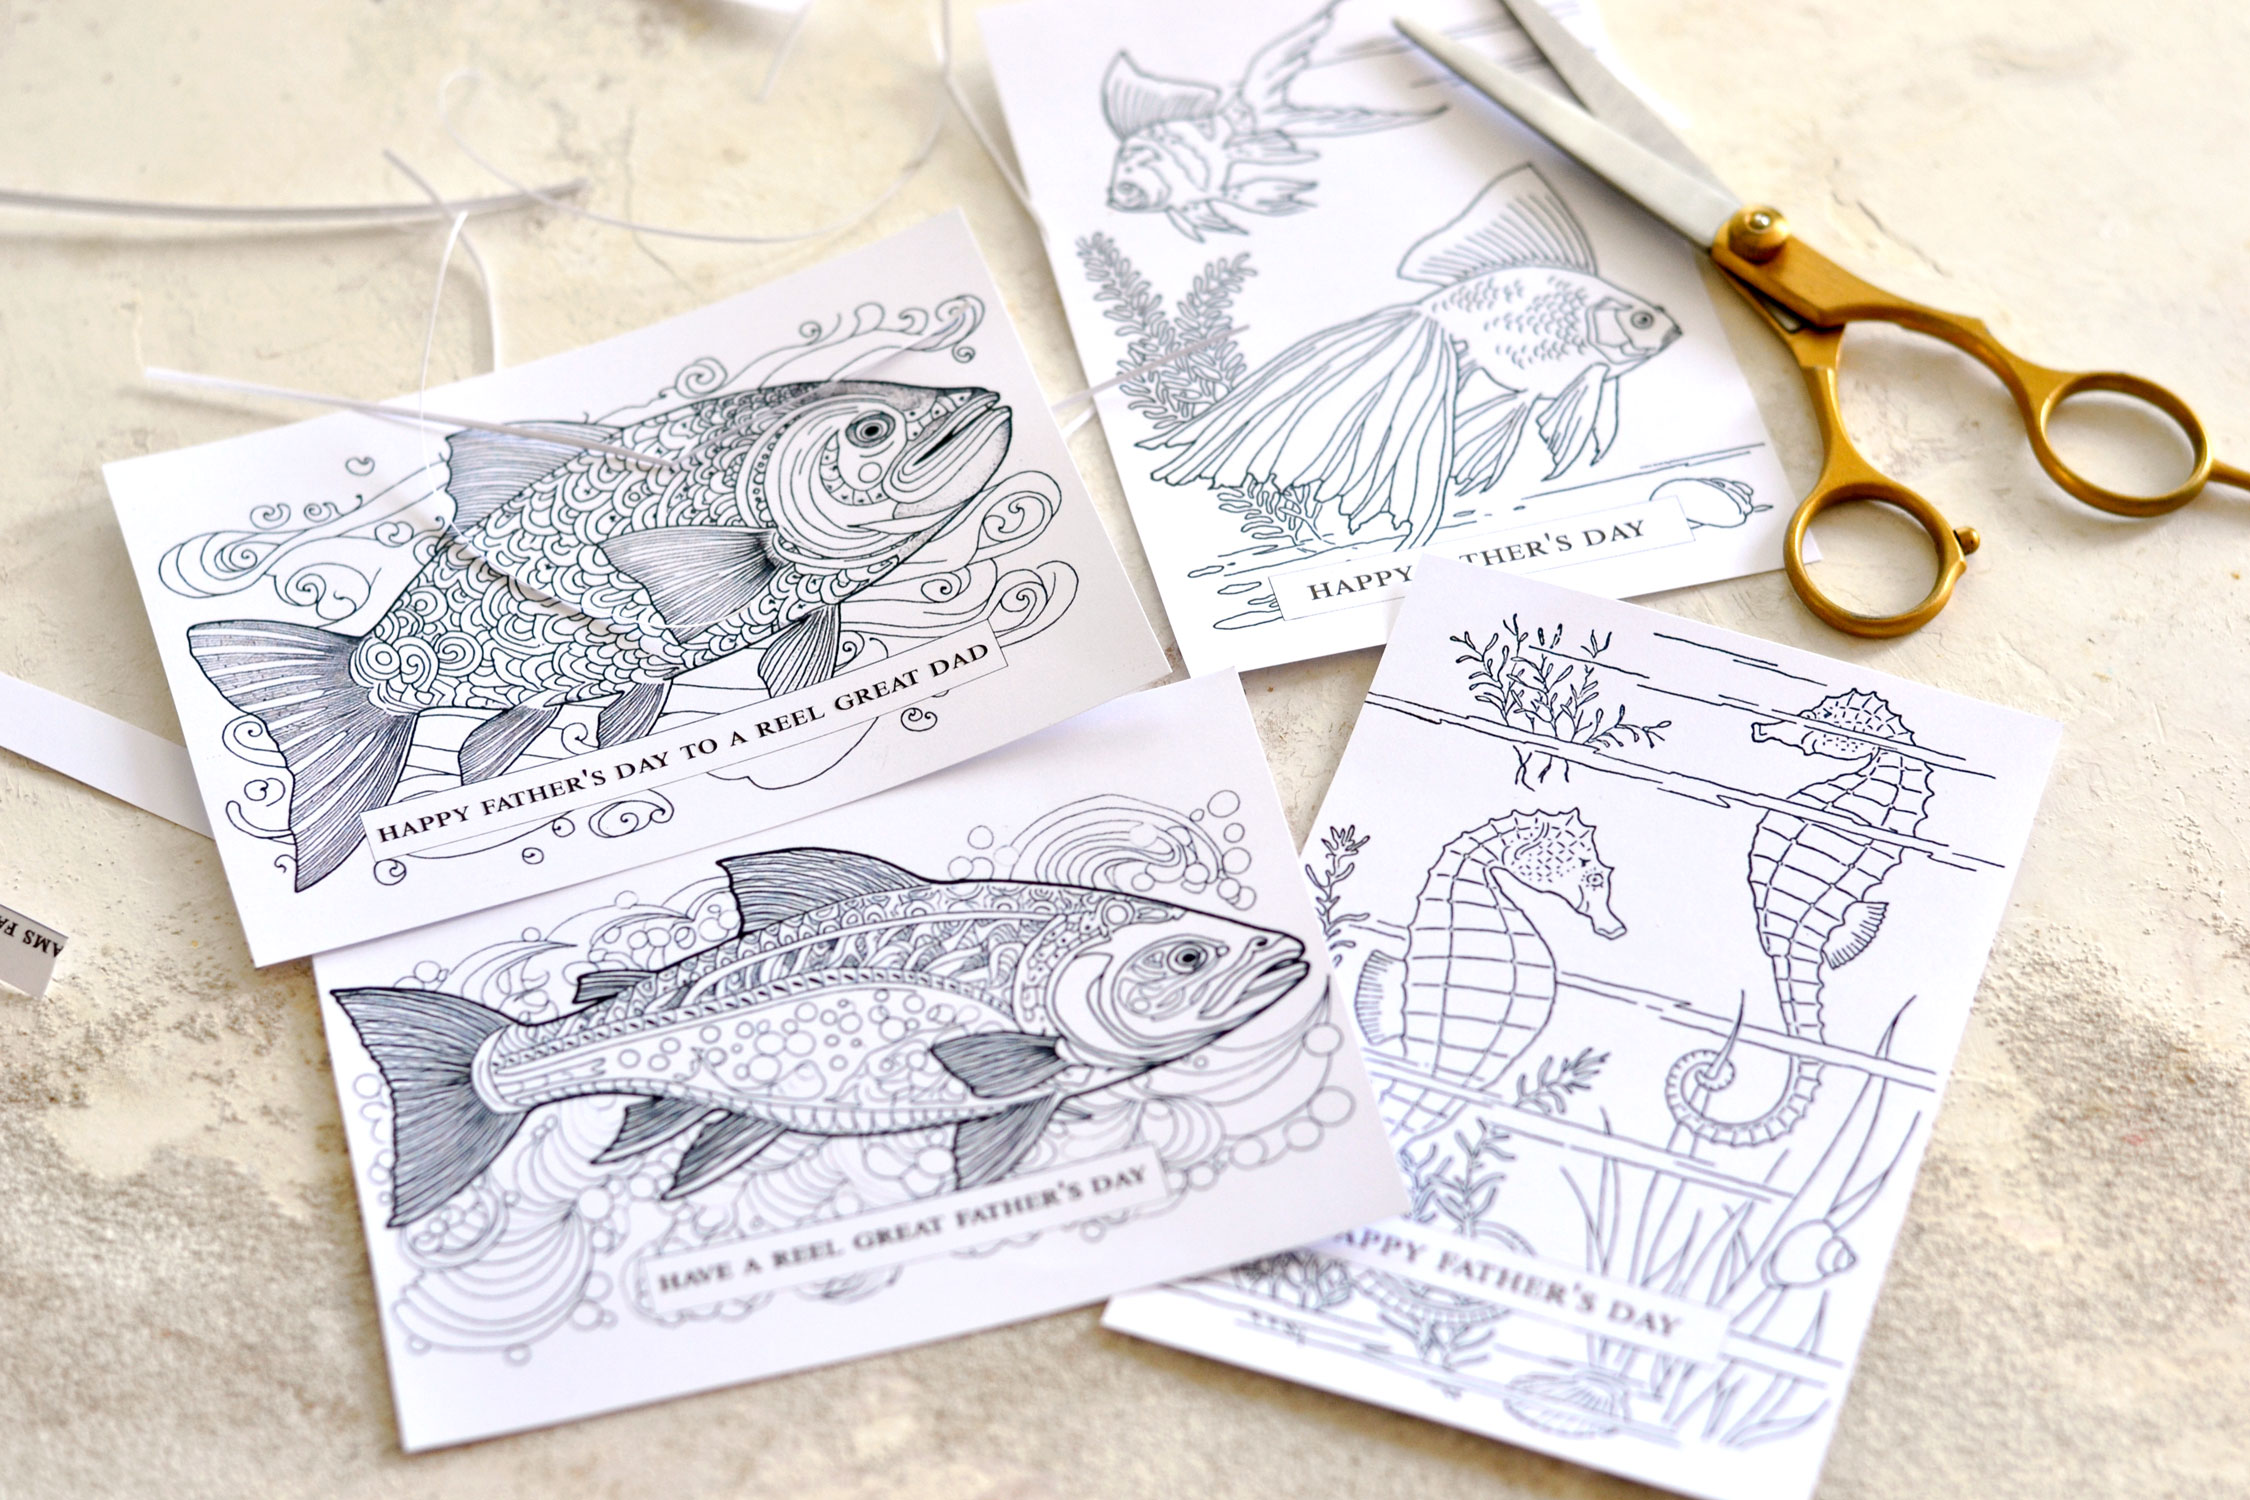 Then start coloring! You can start with one color – I chose this beautiful aqua green.
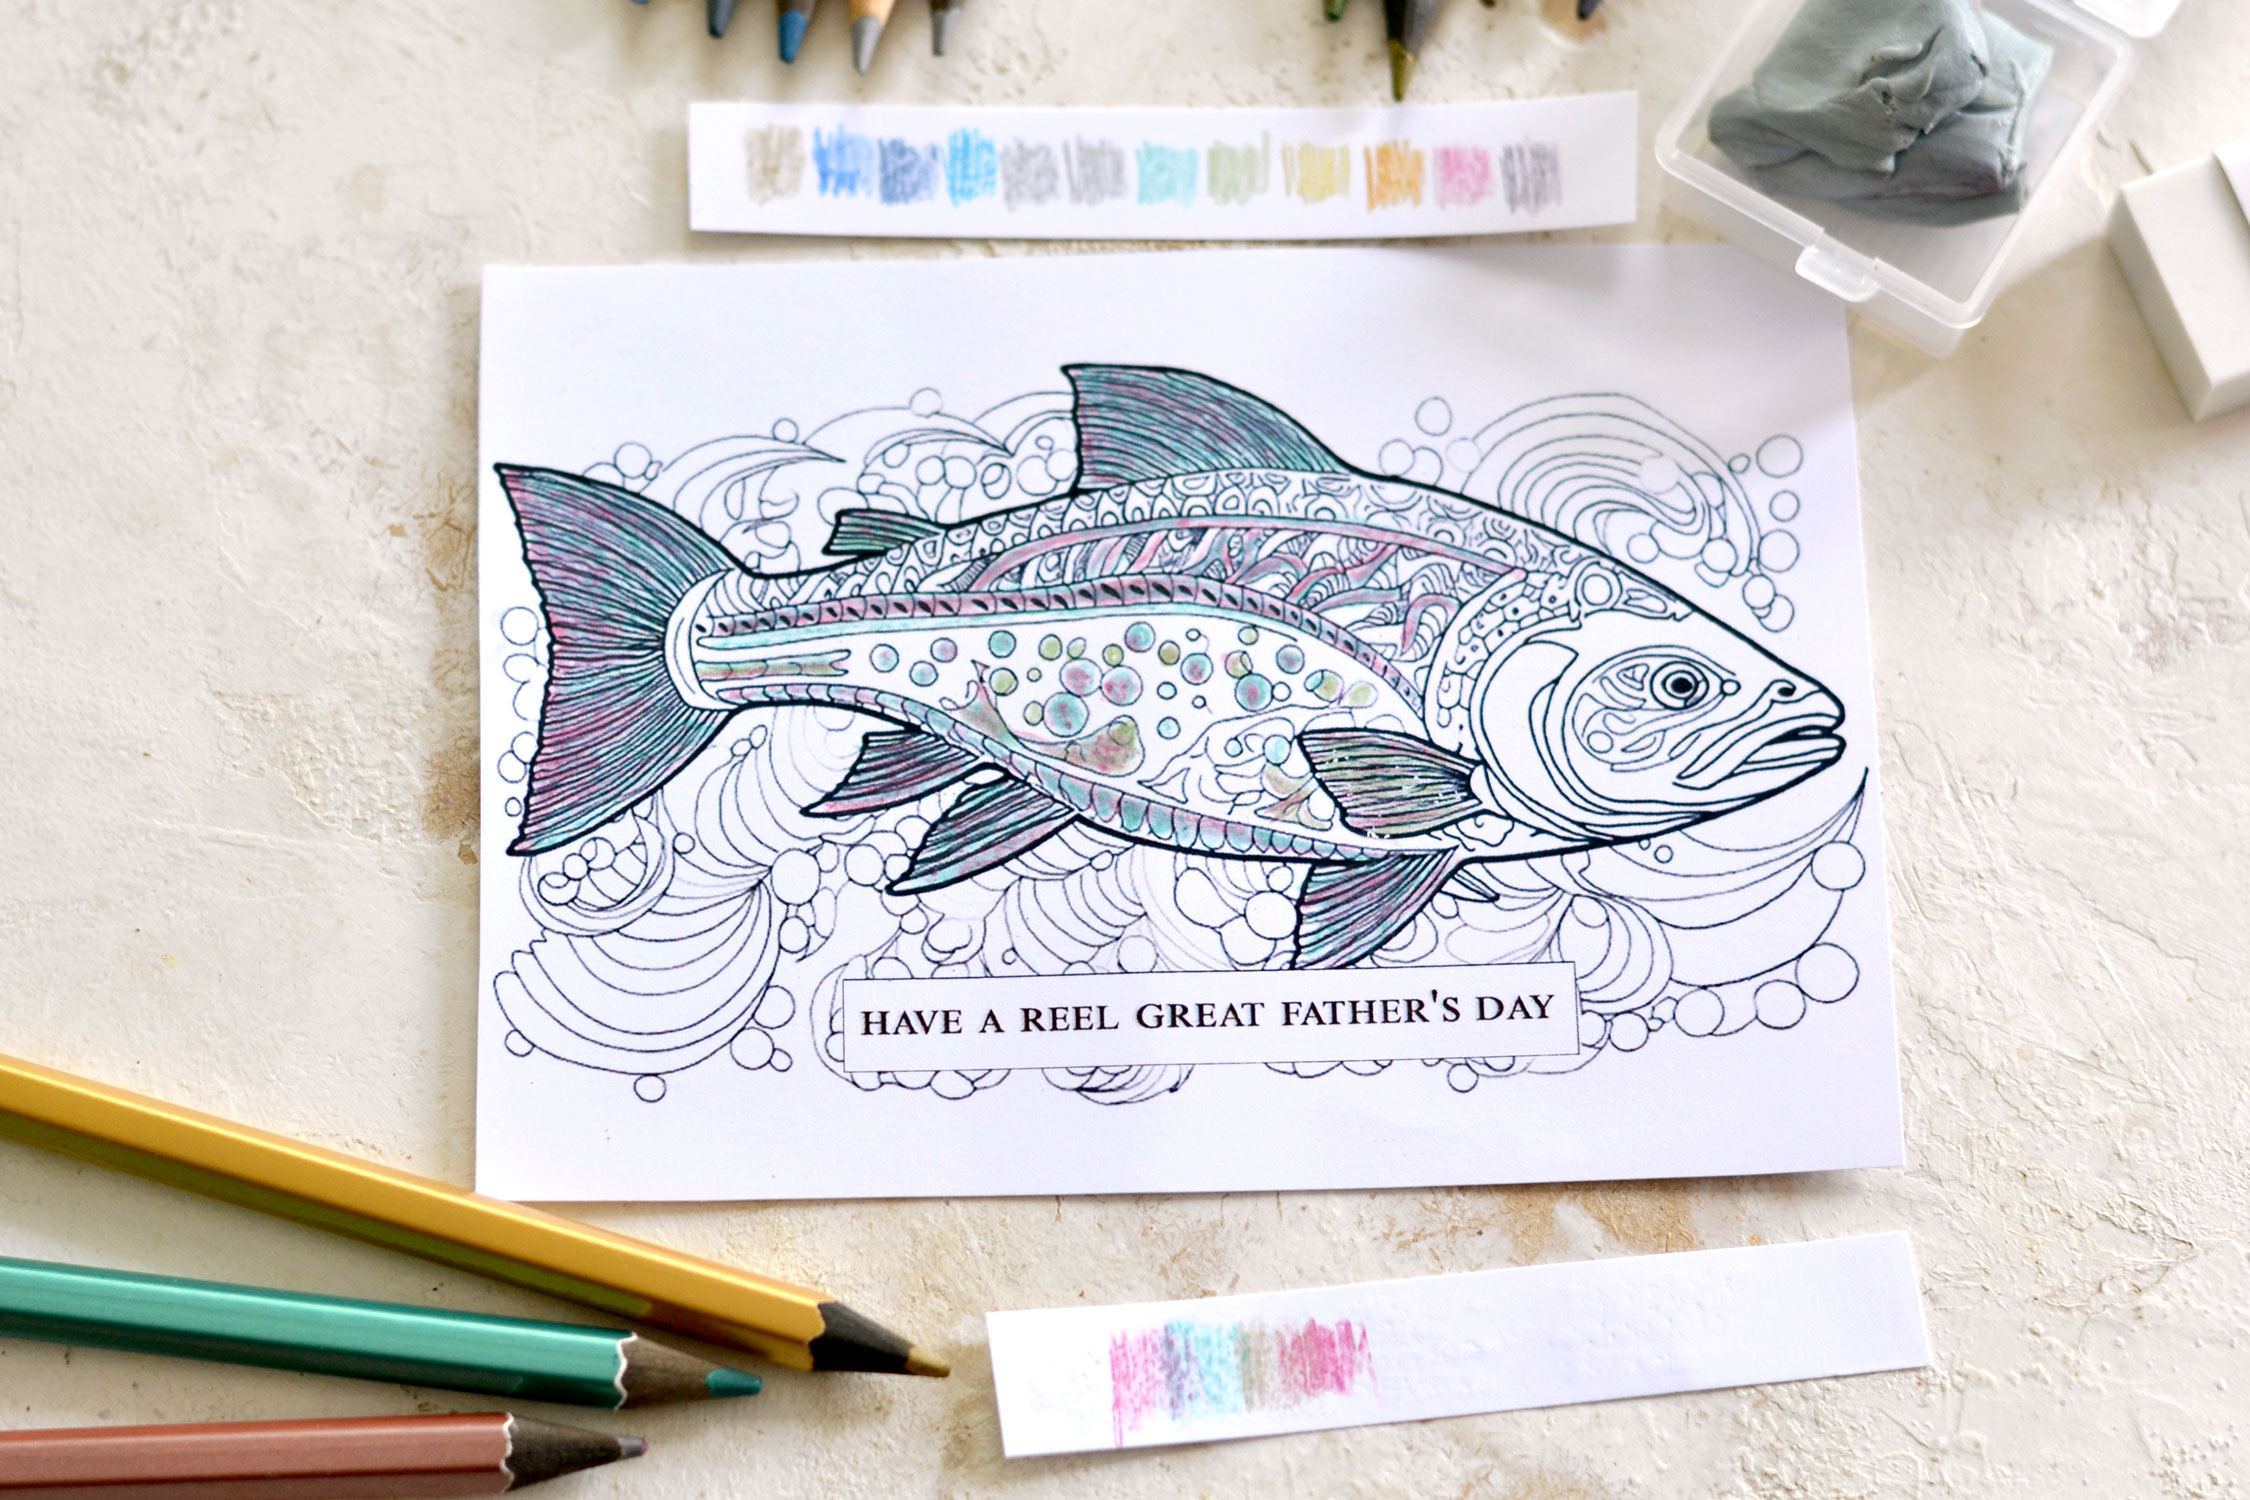
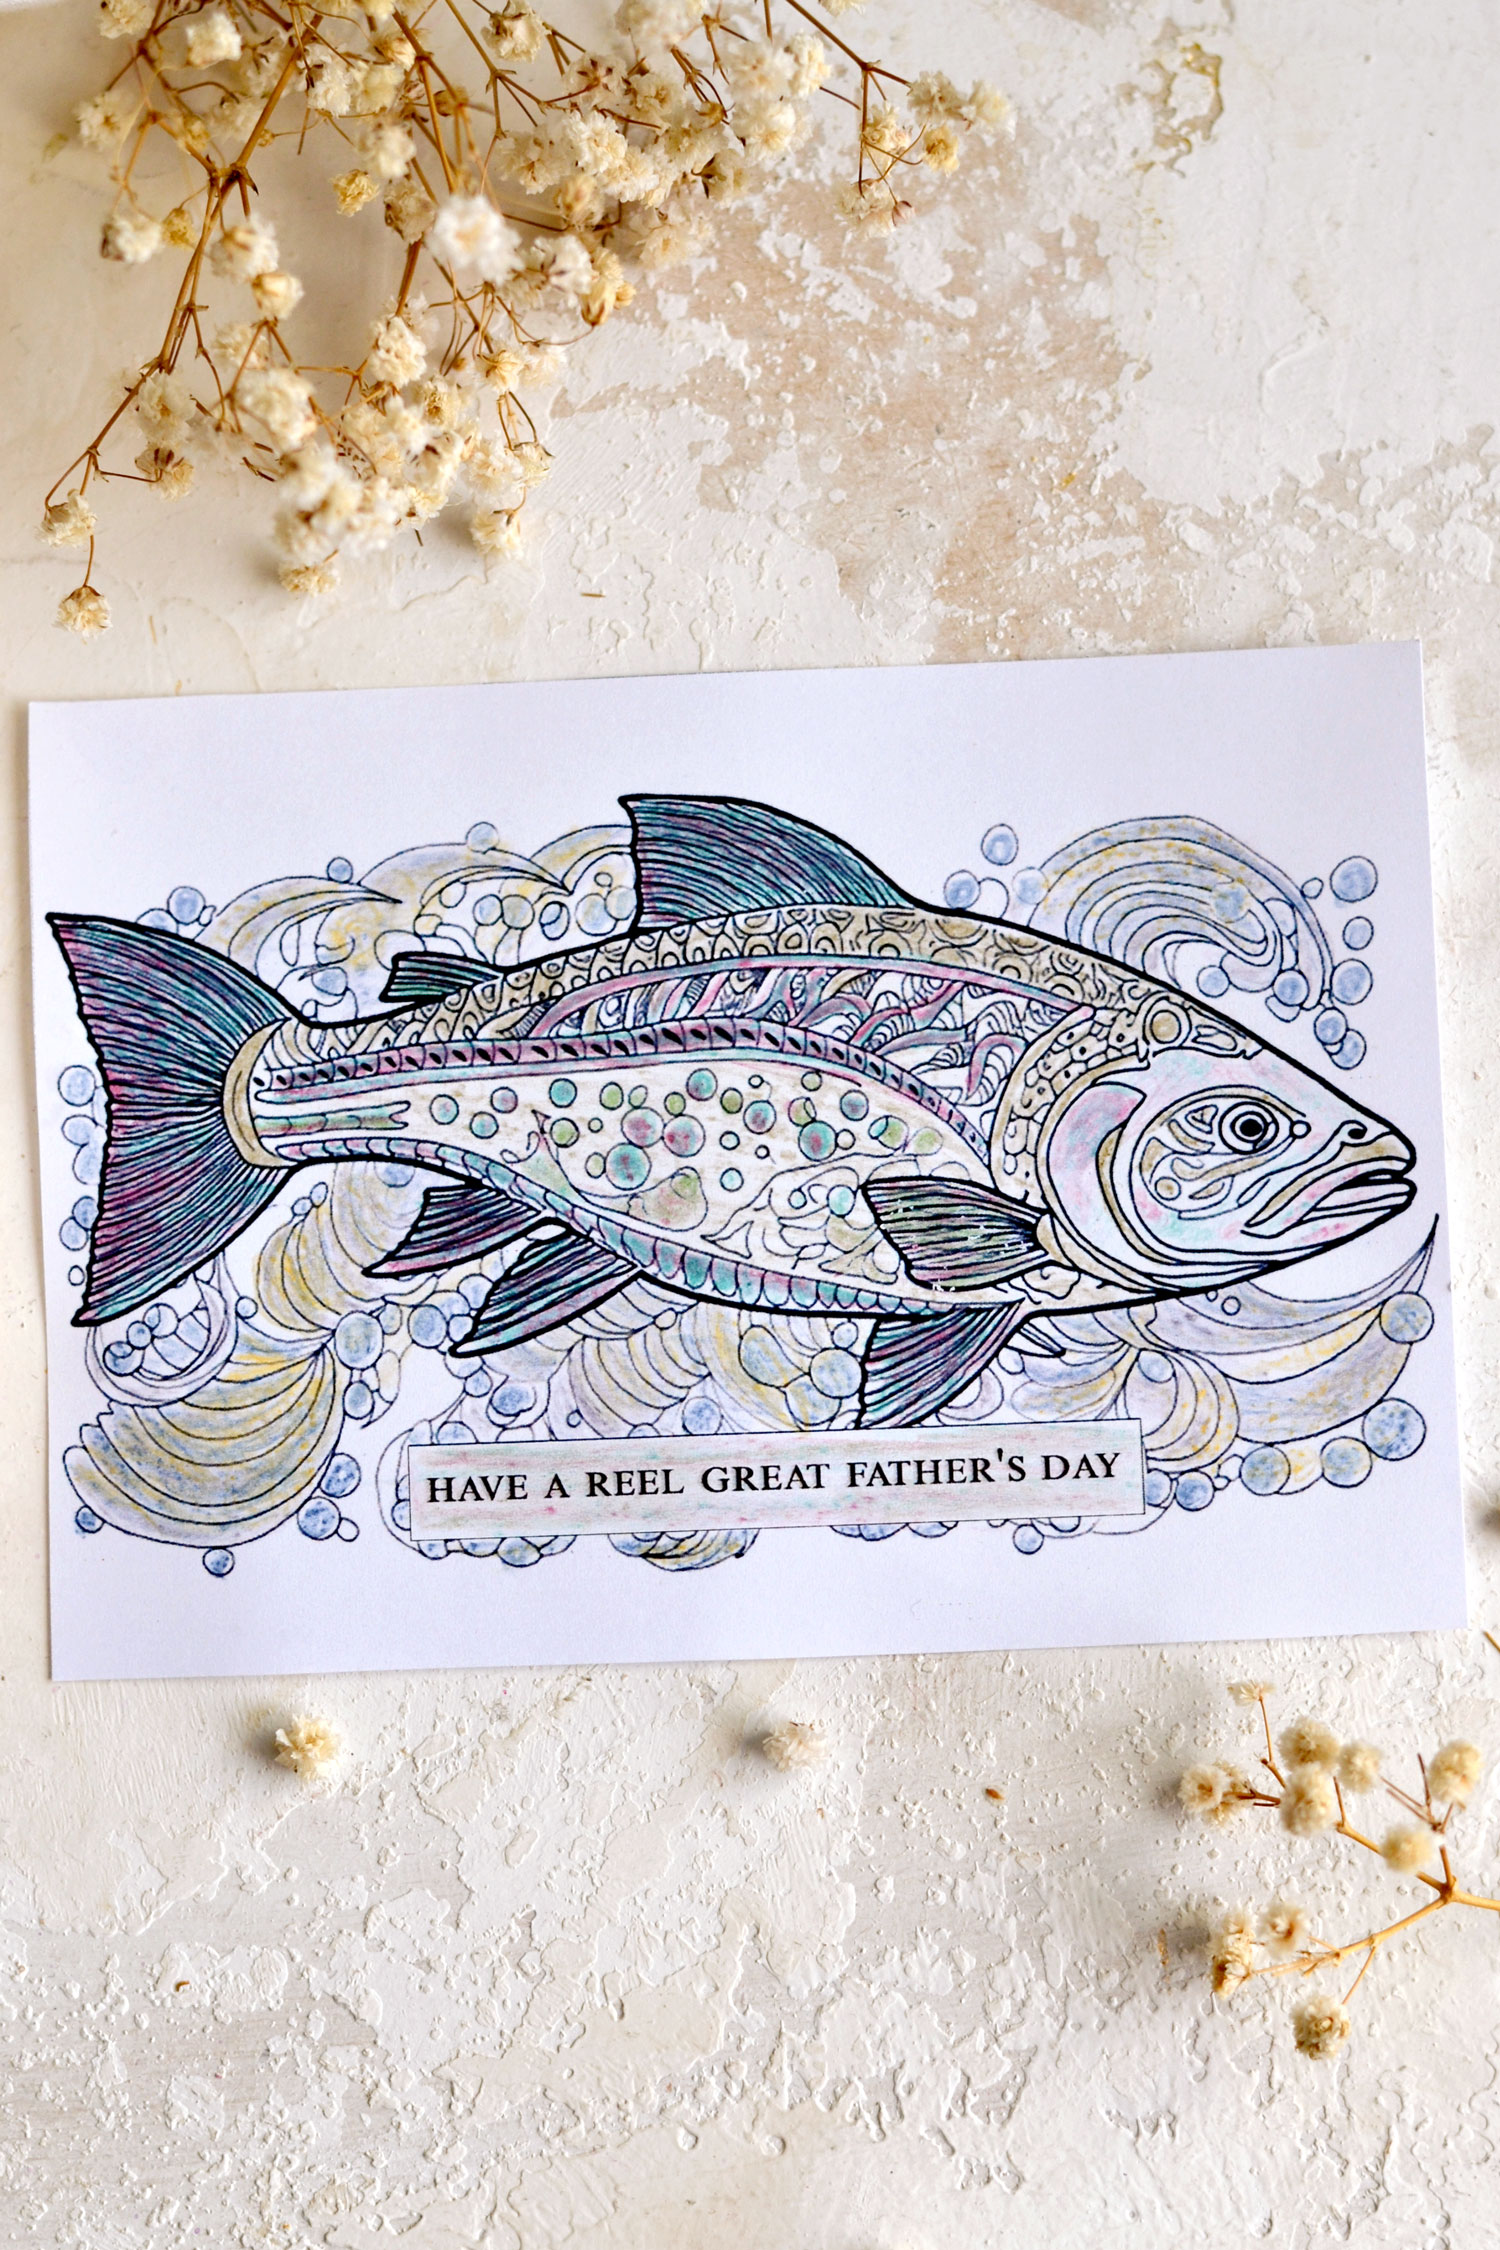
Then you can gradually introduce more colors. I like to mix the colors or use the darker colors from the same color scheme to create shadows here and there. If you want, you can make a different color swatch for every card, just so you can see how the colors look together right before using each one of them. This card is perfect for Teens to color.
For this card, I only used 5 colored pencils that were not too bright and worked really great together.
Because my working space was a little bit textured, I was able to imprint some of that texture onto my card. If you don’t want to add texture, you will need to color on a flat surface instead.
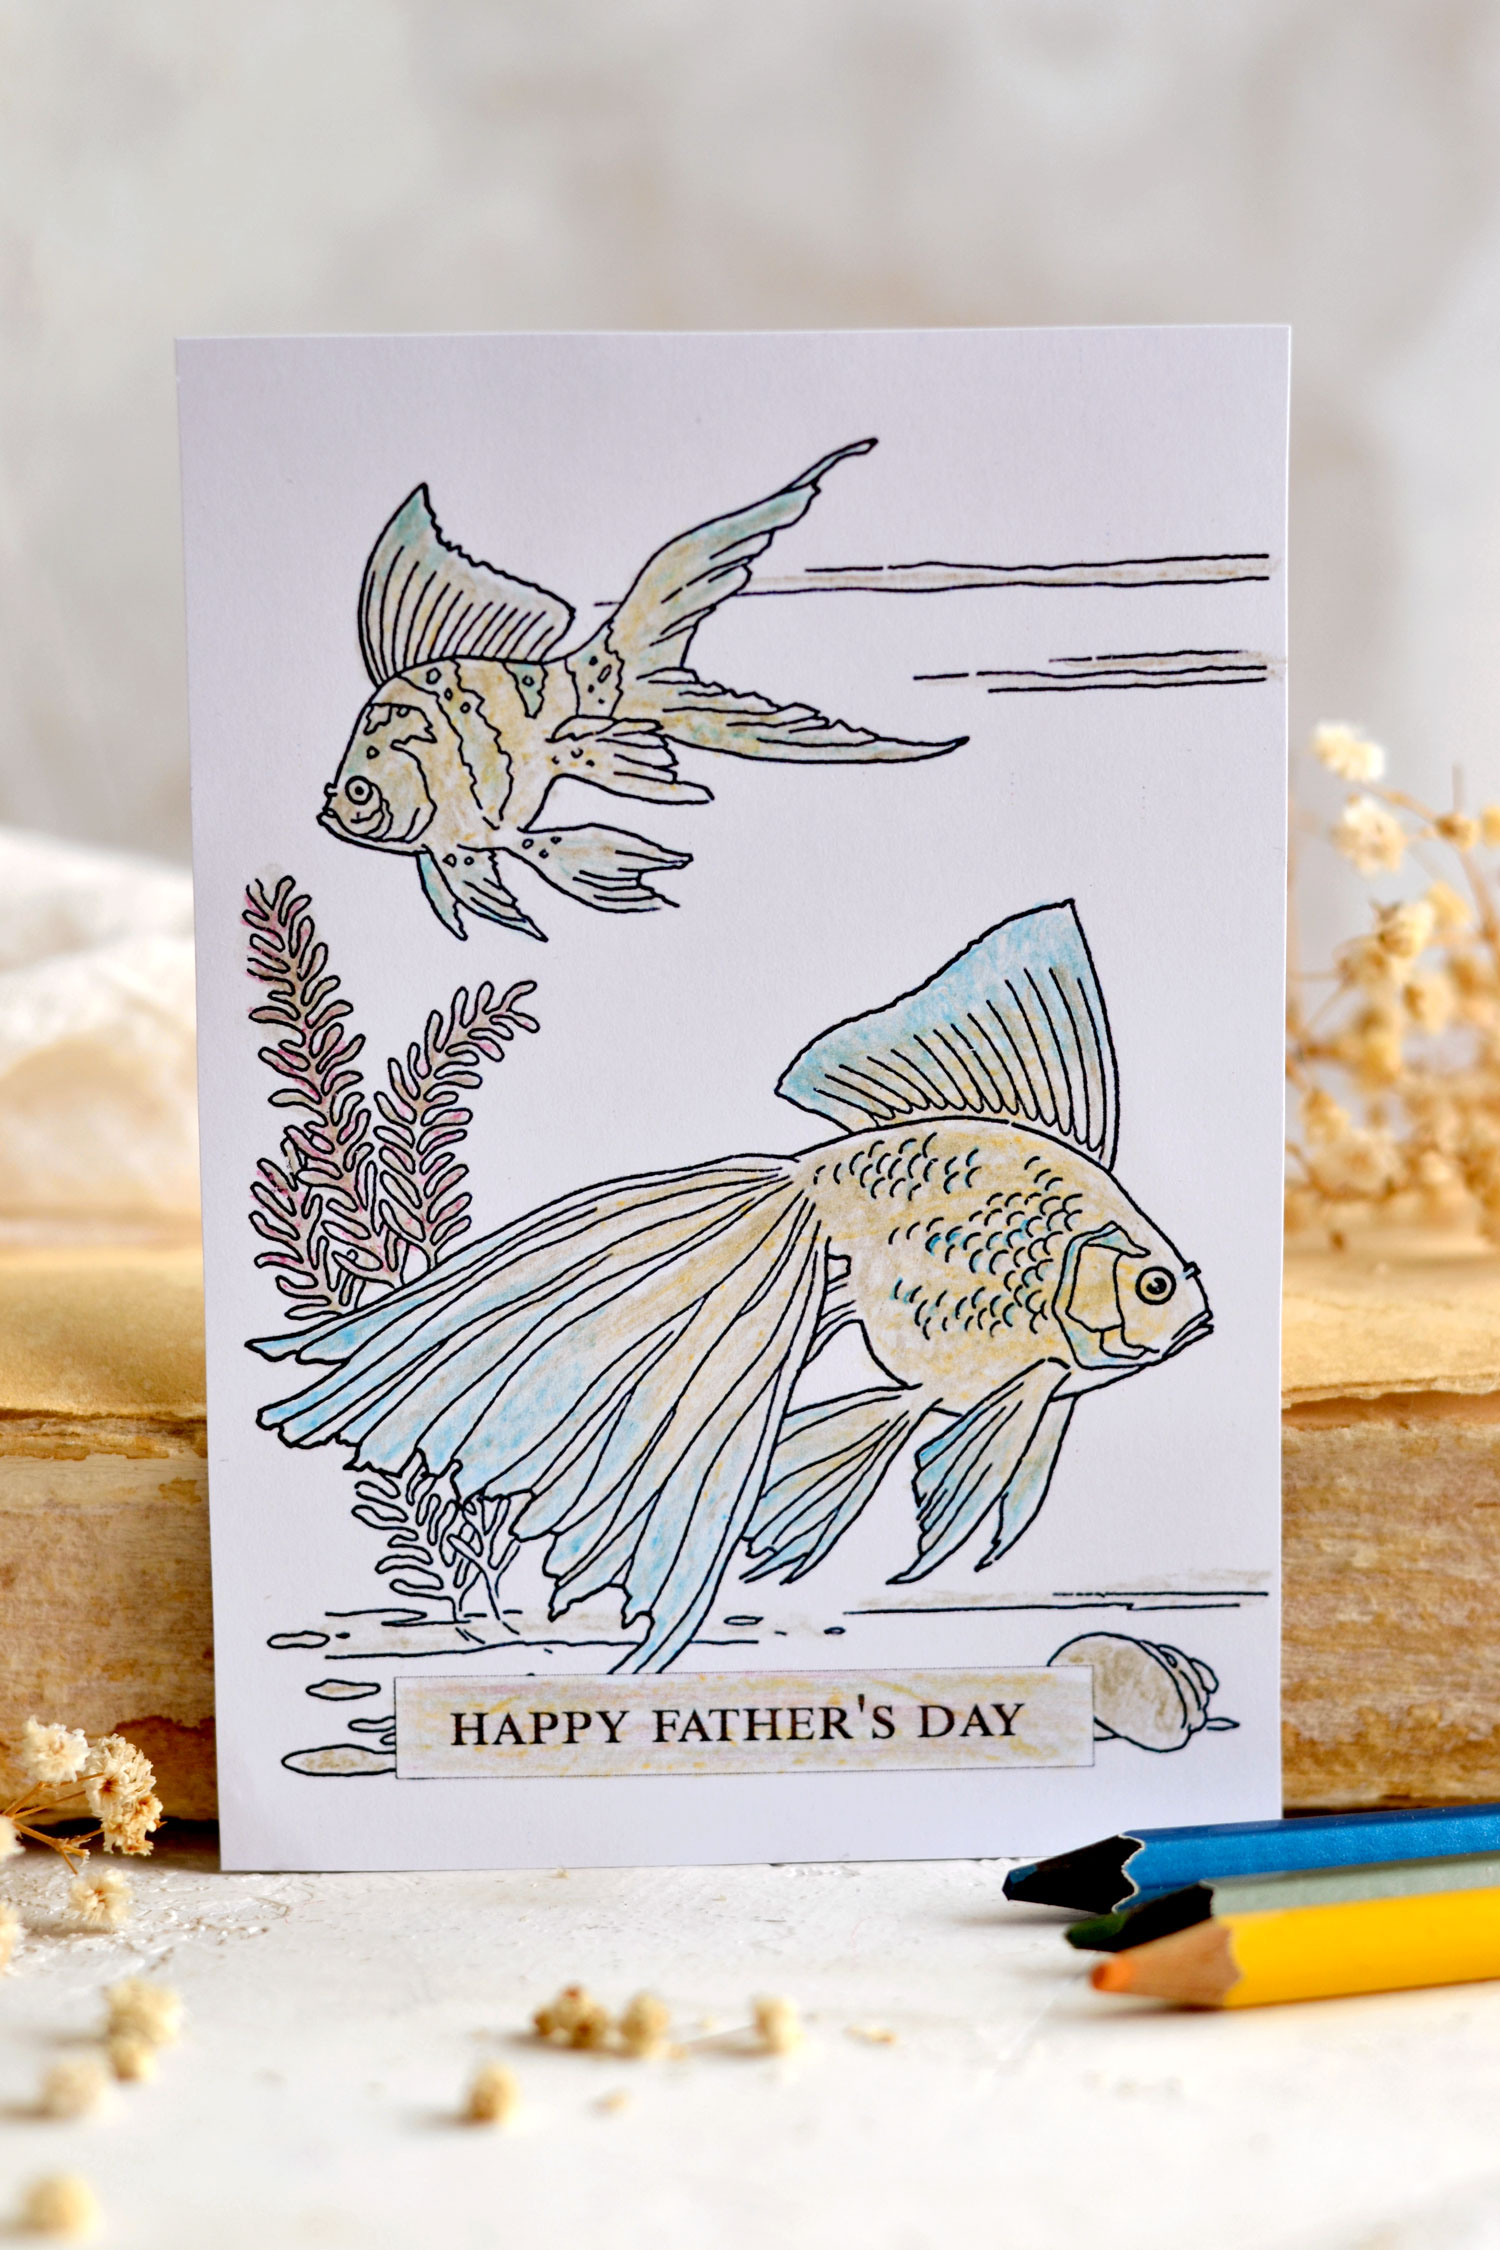
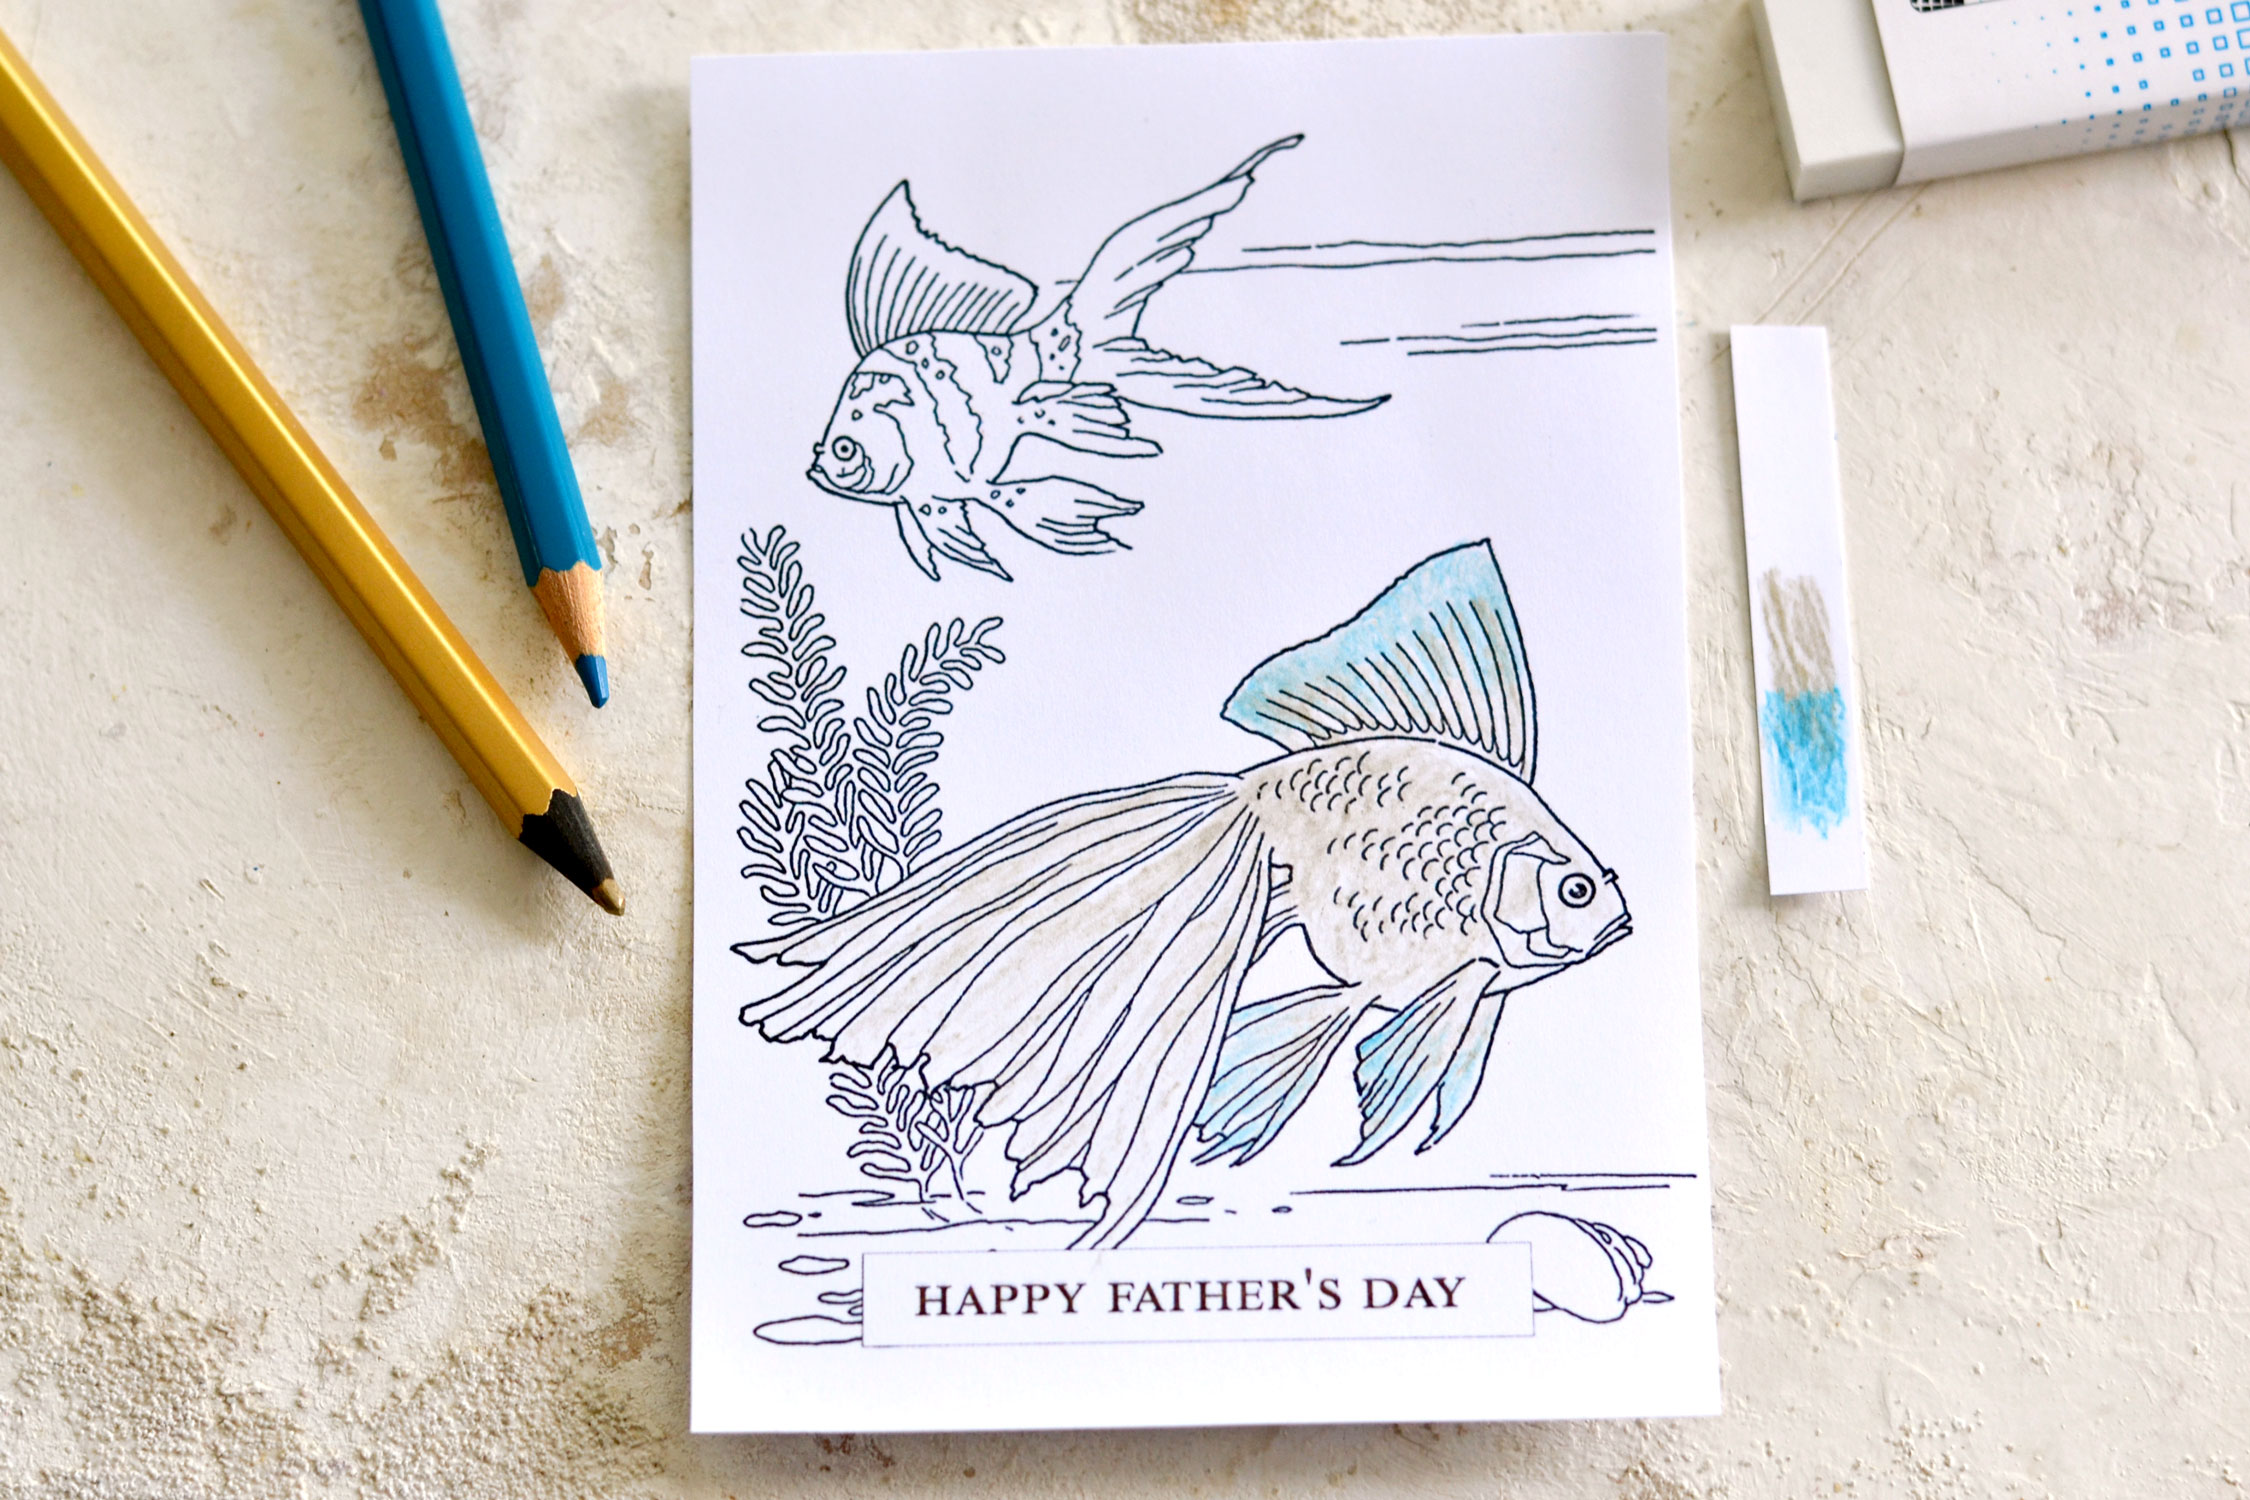
For my next card with the lovely gold fishes… kids will have a blast when they color in this cute card for their best Dad, or Stepdad. I thought it would be fun to challenge myself to only use two or three colors, so I started with yellow and blue.
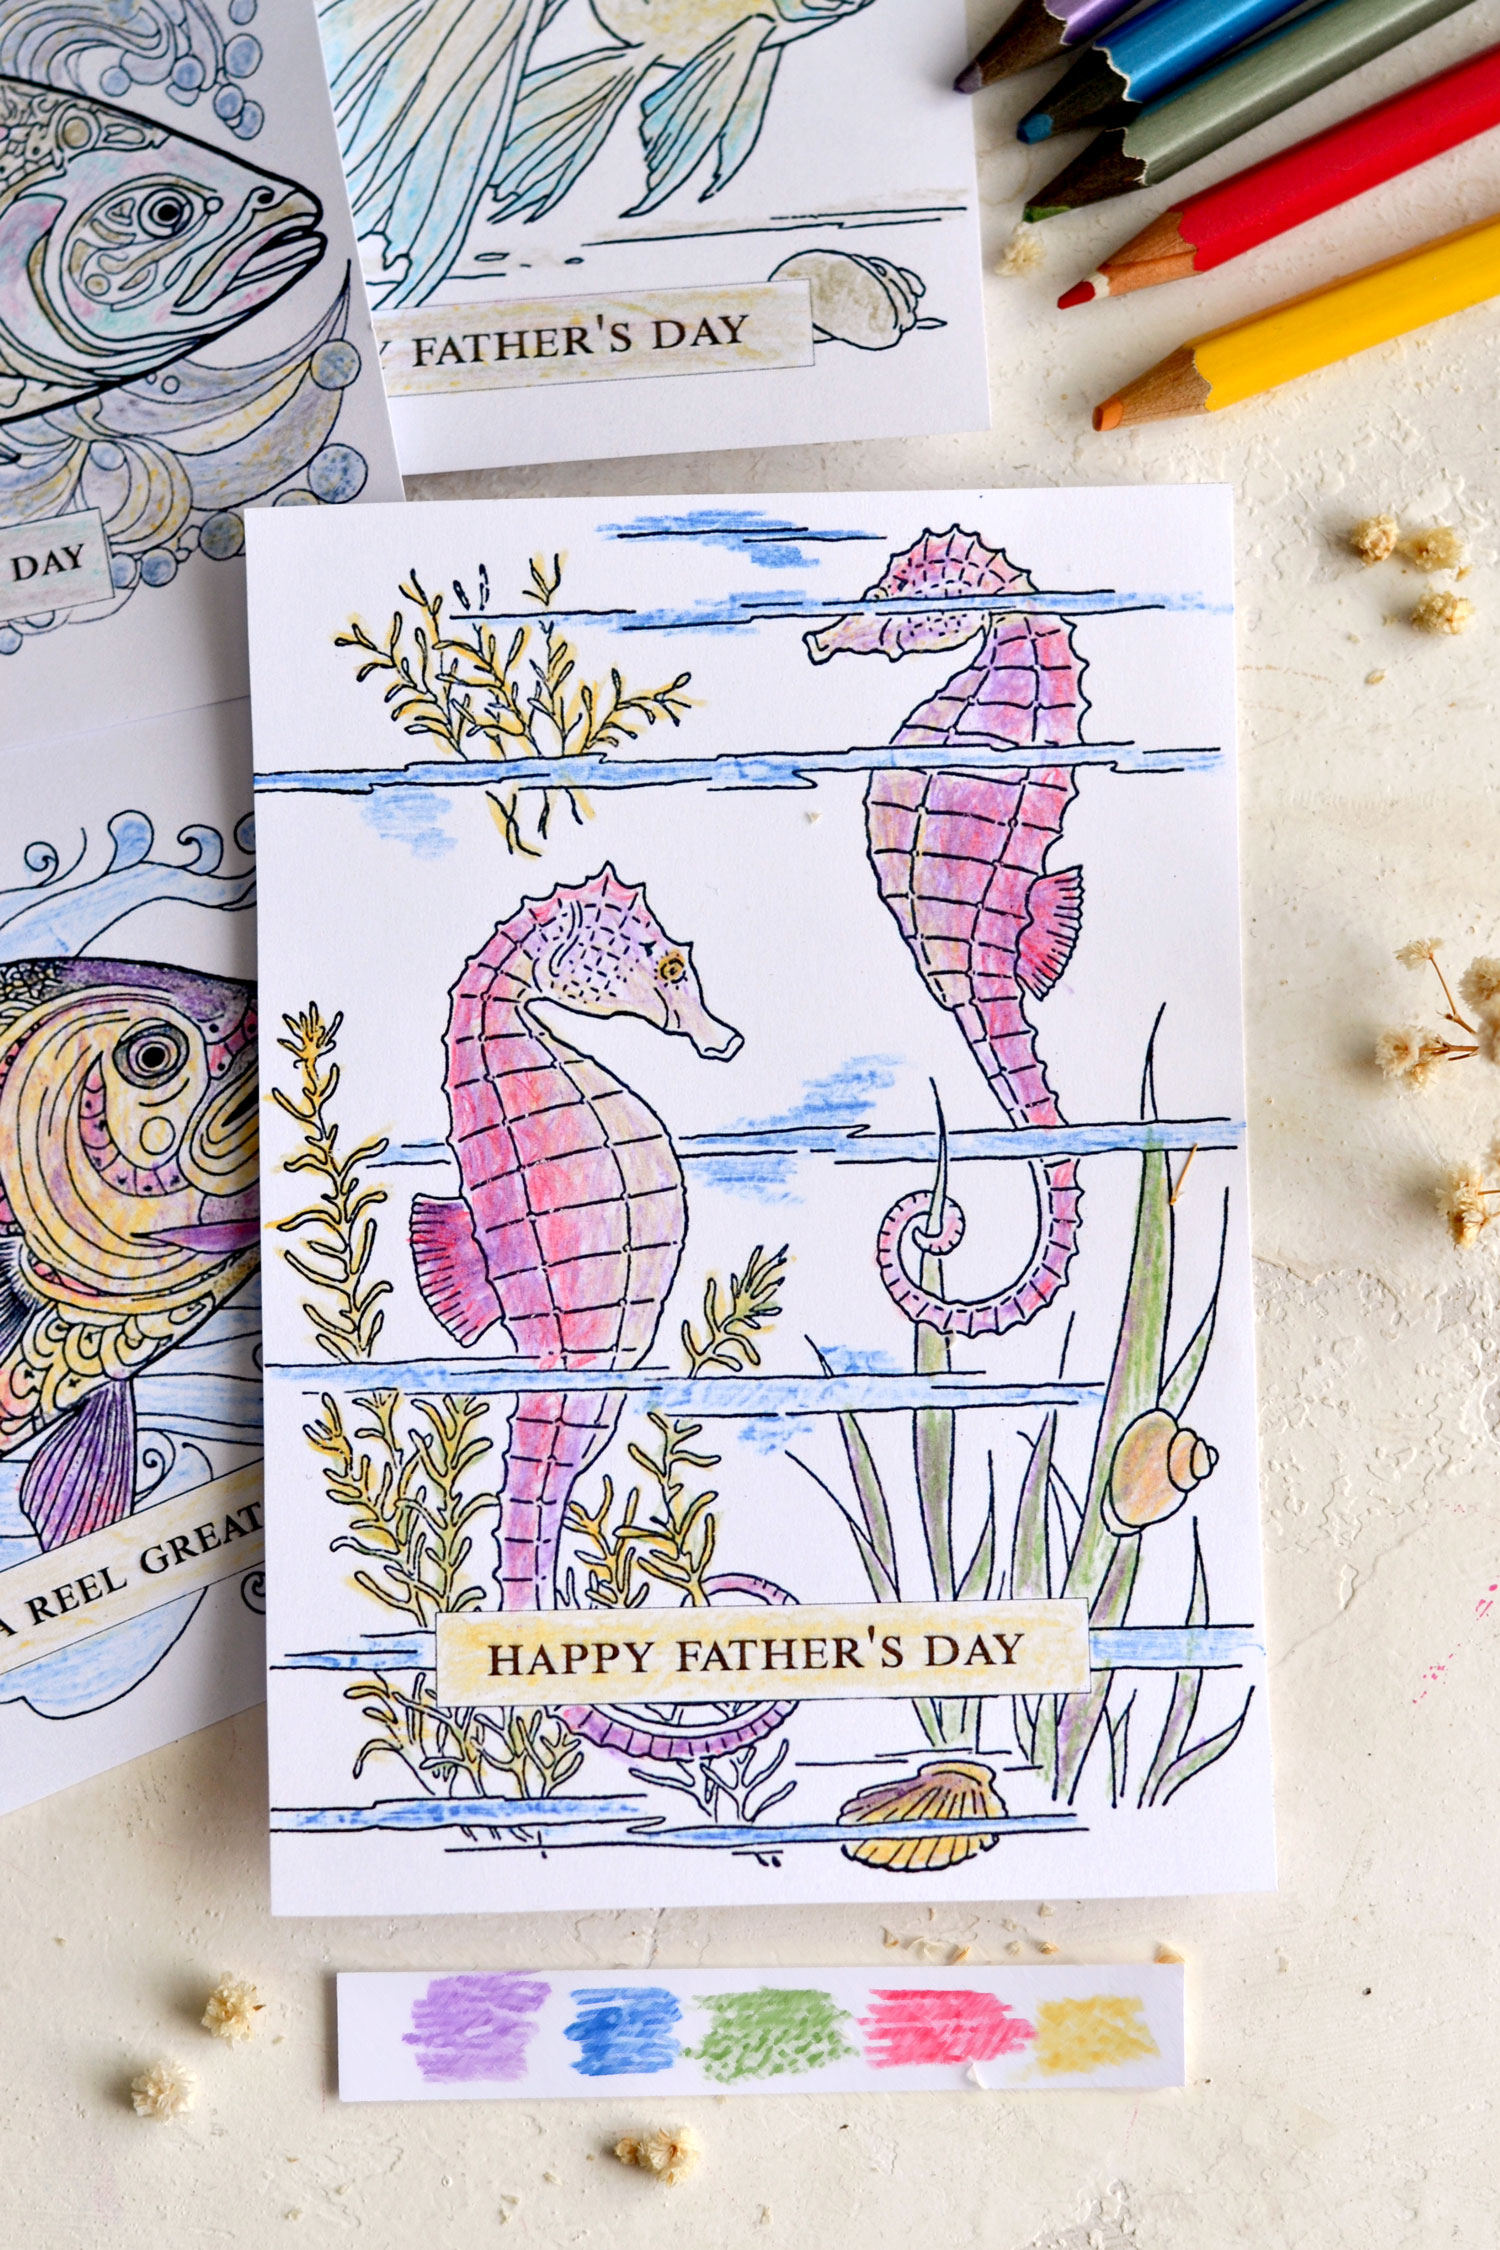
I kept yellow and blue as my main colors and used them both as individual colors and blended. Then I added a little bit of purple over the aquatic plant on the left. I used colored pencils again, but toddlers or preschoolers can of course use Crayons!
You can see that I used the colors on their own, but I also blended them with the other colors to create different variations and ombre effects.
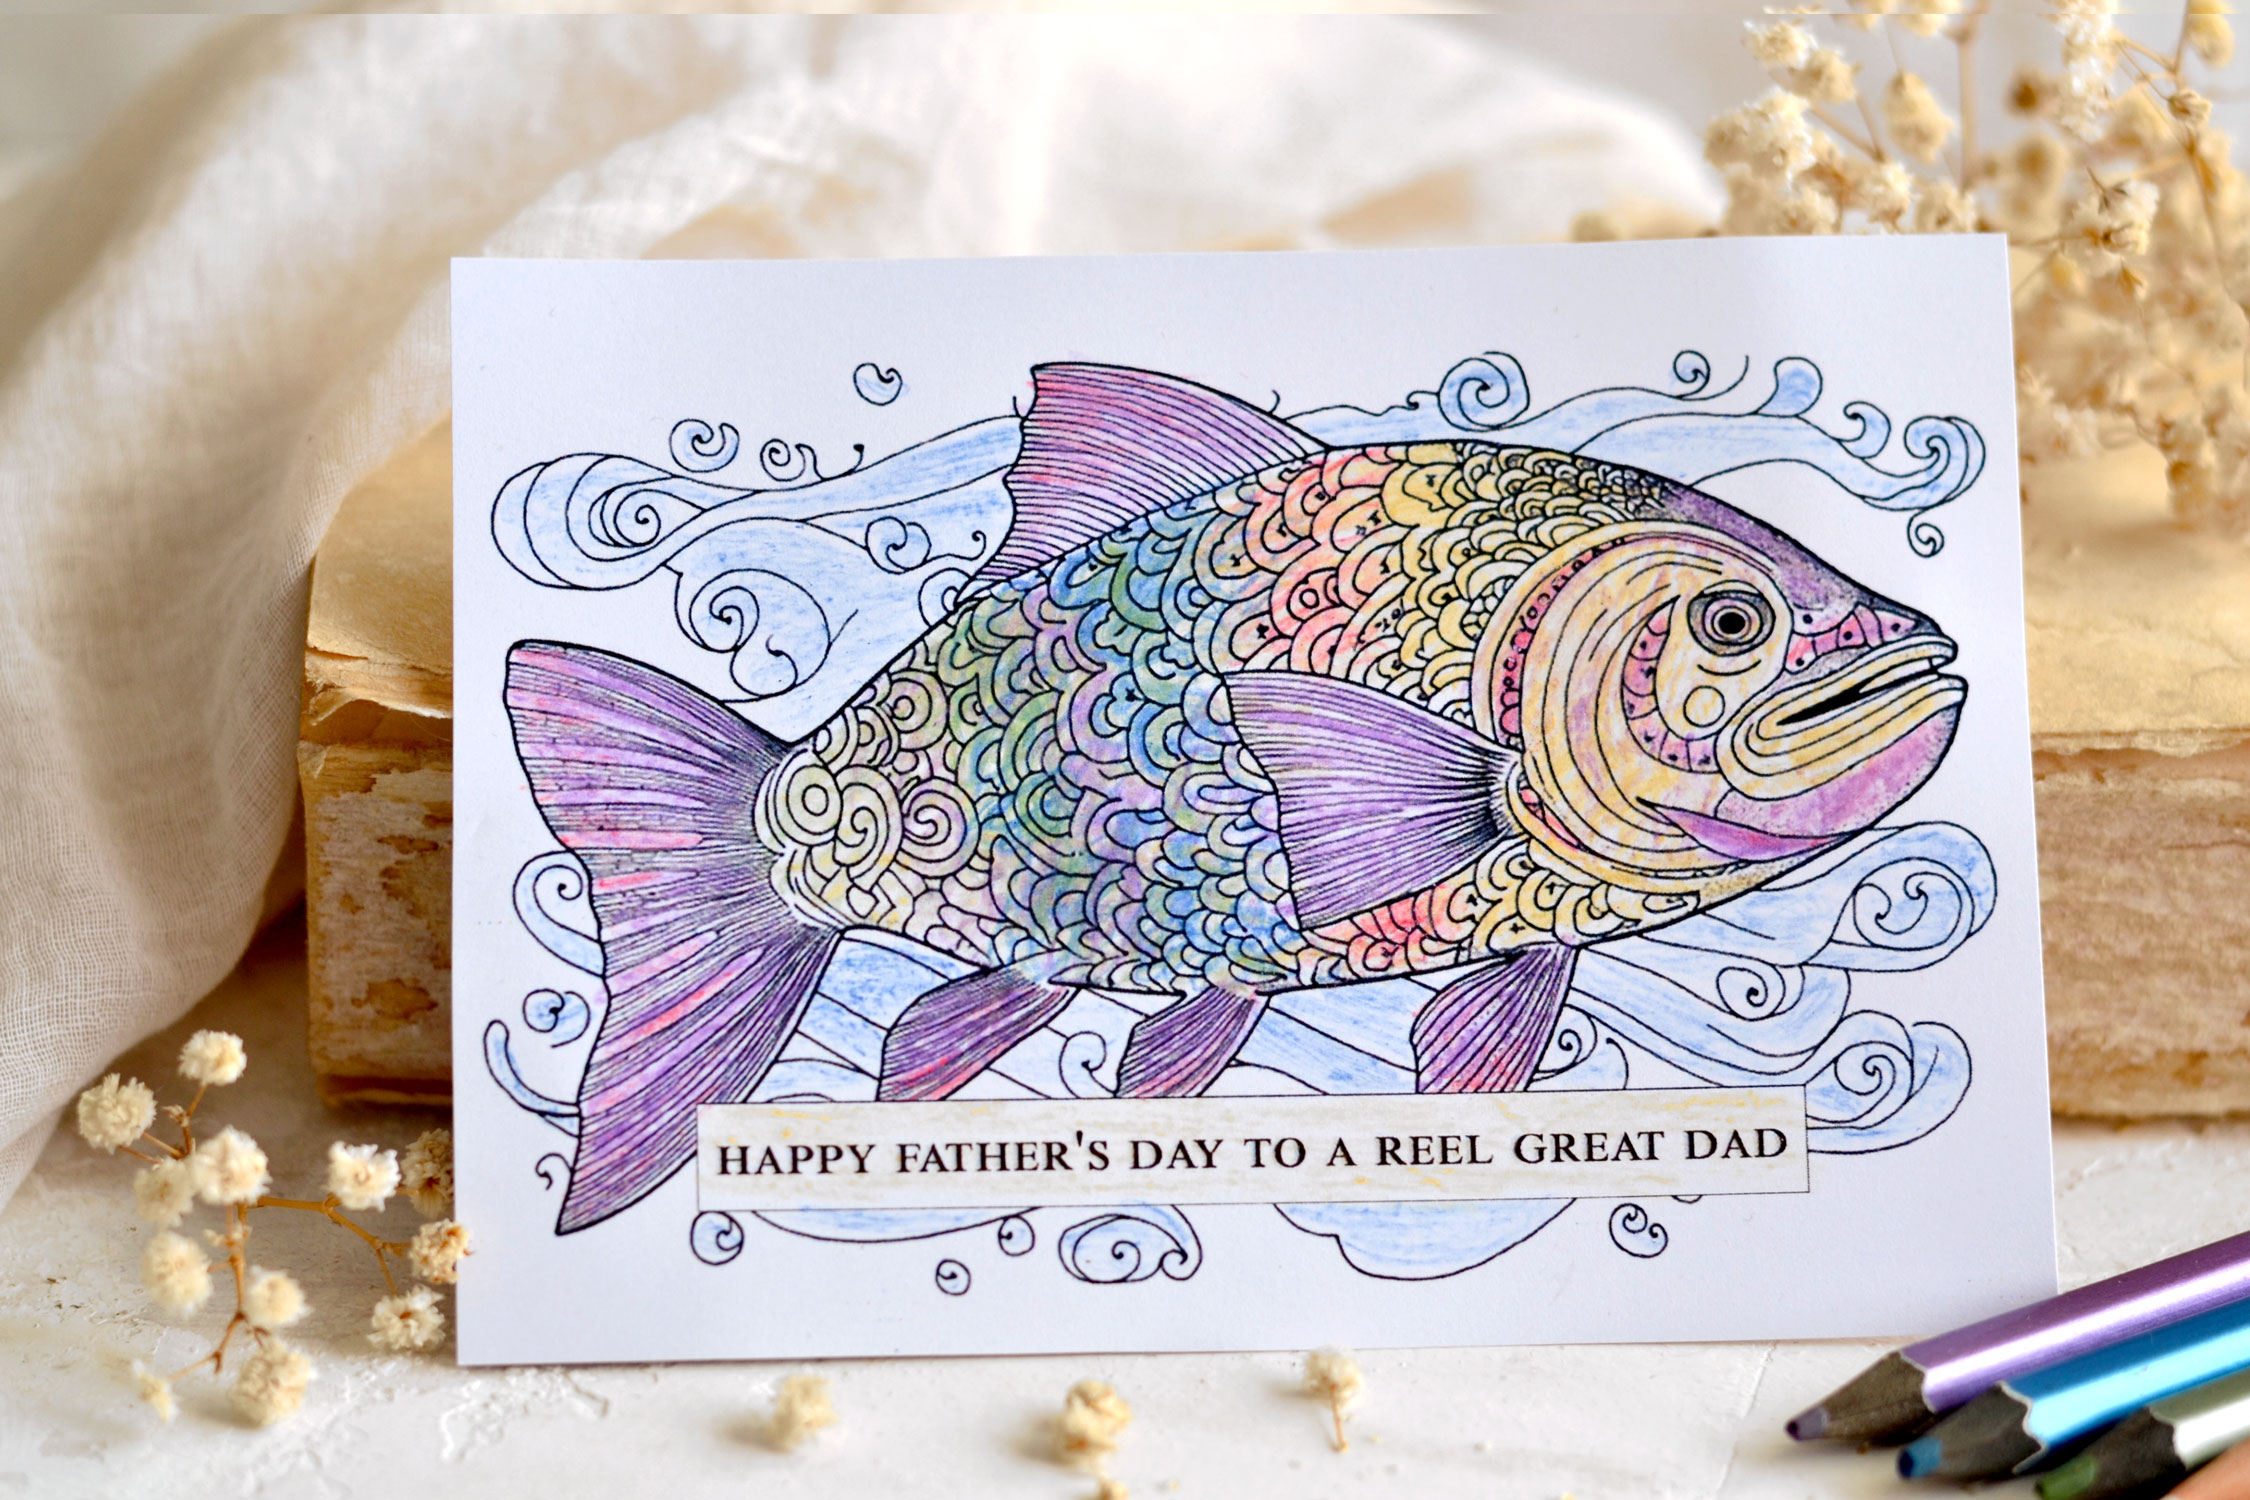
I used the same colors for this next fish card, I really love the intricate design on this one! I’m really happy with how it turned out, I feel like the colors give it such a beautiful and playful vibe … even though the fish looks a little bit grumpy! Hehe! I hope you like these fun ideas they would be great for grandparents too.
 Tips for Coloring:
1. Use small circular pencil strokes (instead of regular lines) to color and fill the white spaces – this will give the final colored piece a softer look.
2. Use a small eyeshadow sponge if you want to better blend the colors on paper.
3. Don’t be afraid to use your eraser to completely erase an area that you colored but don’t like. Choose another color and give that area another try.
4. If at any point you feel like the colors you chose are a little bit too bright, you can use that eraser again to lightly erase the pencil marks here and there to blend them or to give them more of a muted feel.
The inside of these cards are blank but feel free to add your own heartfelt message, or maybe some Dad Jokes, to your homemade card!
I hope you will give this project a try, the cards are perfect for gifting to all dads that love fishing. Print them and have fun coloring these keepsakes gifts while also creating something lovely for Father’s Day! Remember that coloring can be a fun activity to try no matter the age!
 You might also like my Free Printable Card Kit for Dads HERE.
Happy crafting,
Diana | by Dreams Factory


A says
Amazing crafts!
Karen Watson says
Enjoy!