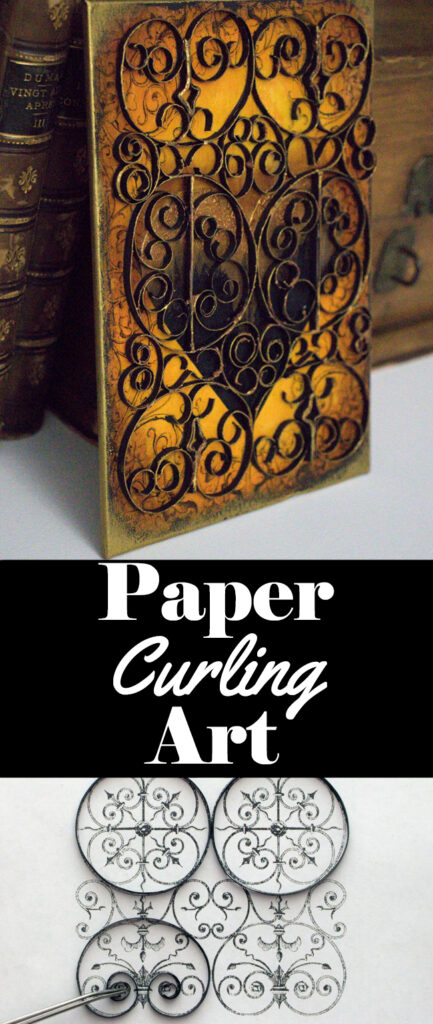
Paper Curling Art
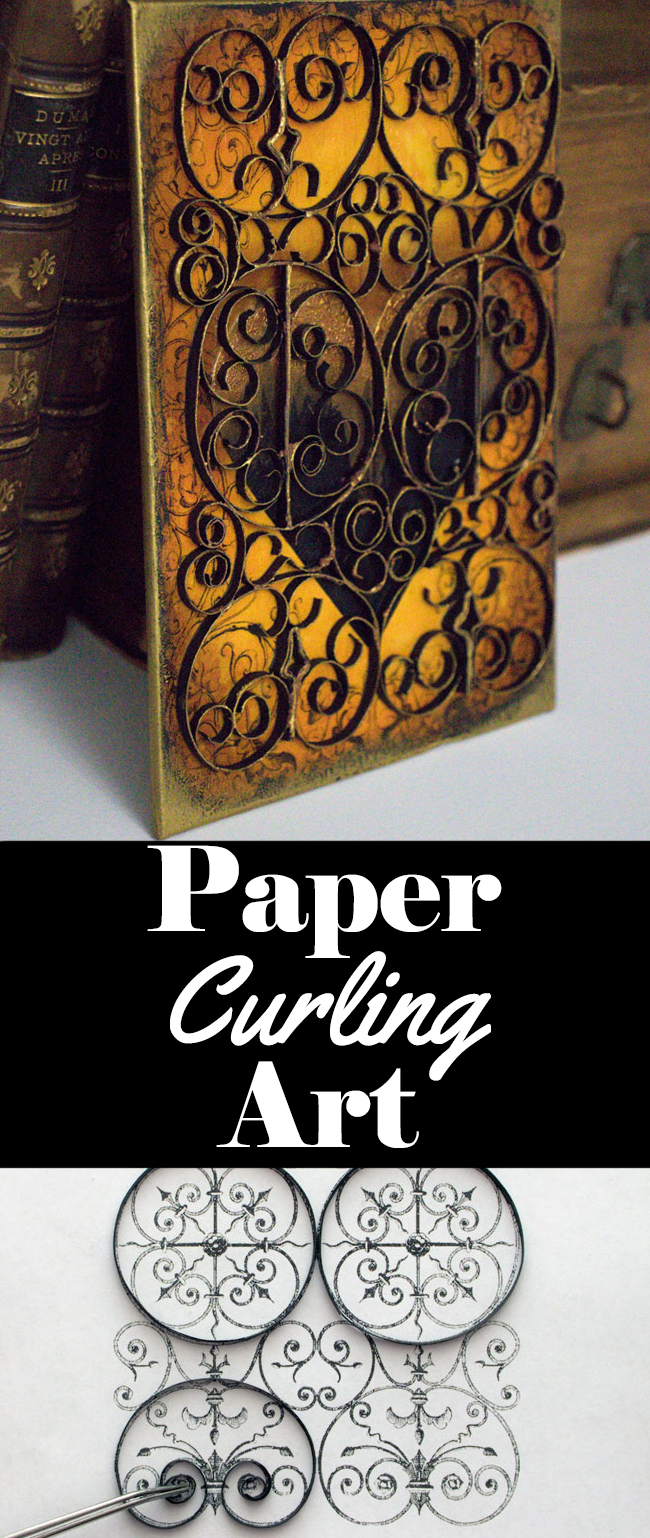
Hello, my wonderful Graphics Fairy Friends, it’s Heather from Thicketworks! Today we are going to create some Paper Curling Art… this technique is similar to Paper Quilling Art but a bit more simplified. We will create a Gorgeous Mixed Media Canvas with this Faux Wrought Iron Technique! This is a simple paper curling Technique that recreates the look of Wrought Iron…it’s fun to do, and uses only one sheet of Black Cardstock!
If you’d like to follow along, grab a few items, and let’s get Messy!
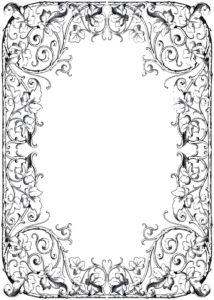
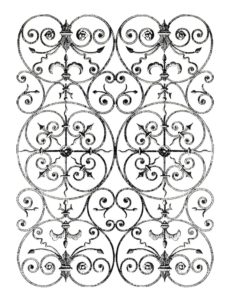
This little project is created using two Classic Graphics Fairy Images –
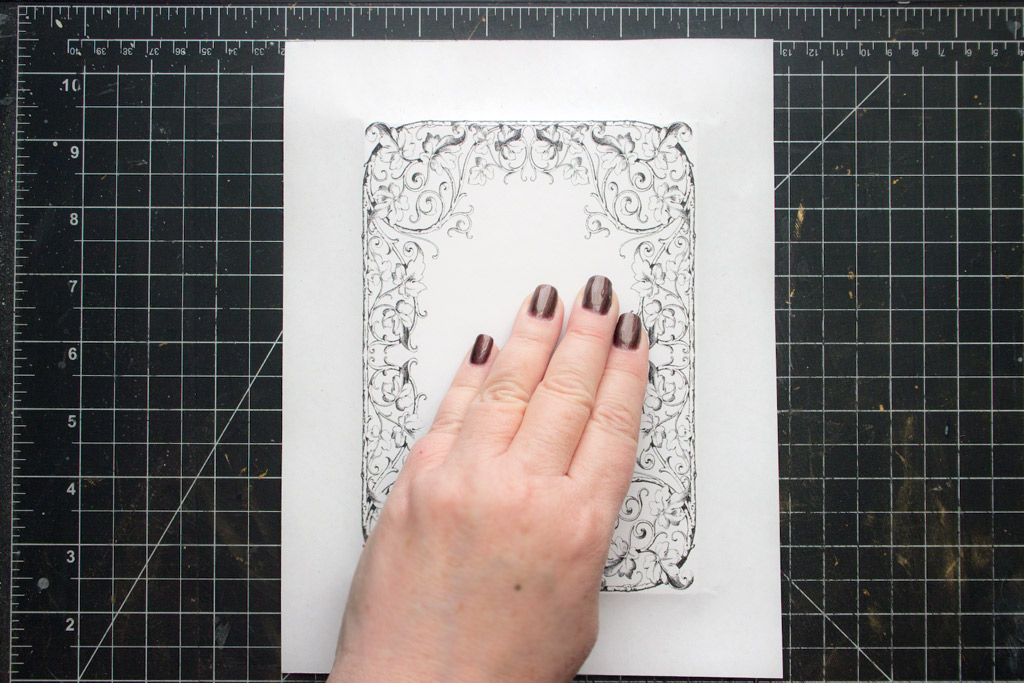
Antique Fancy Leaves Frames (Click the Image for a 5 x 7 PDF file)
Iron Scrollwork (Click the Image for a 5 x 7 PDF file)
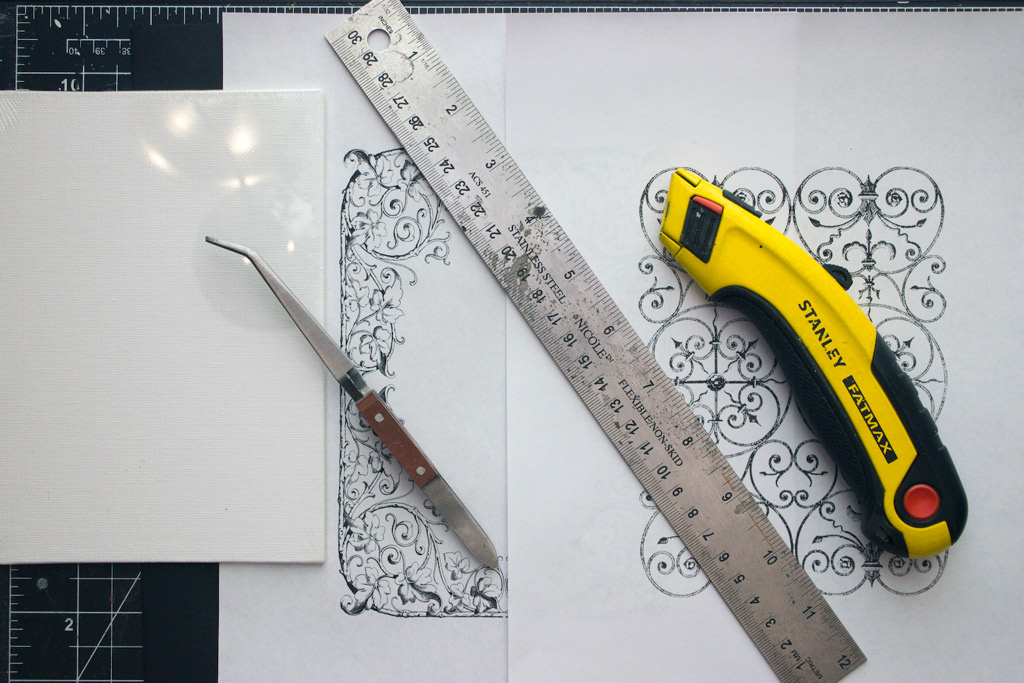
Paper Curling Art Project Supplies:
- A 5 x 7 inch Canvas Board
- Your favorite Graphics Fairy Images of Wrought Iron, sized to fit your canvas
- A Craft Knife + Ruler + Cutting Mat
- Scissors
- Spray Adhesive
- Scrap of old Cardboard (for catching adhesive overspray)
- Bone Folder
- Distress Inks + Blending Tool
- 1 sheet of Black Cardstock
- Optional: a Scoring Board (to mark 1/8 inch strips on the cardstock)
- Your favorite quick-grab adhesive (I used a Glue Stick and Zig 2 Way Adhesive)
- Cross Lock Tweezers
- Optional: Rust Paste
- Optional: Metallic Highlighting Gel
- Palette Knife
- Heat Tool
- A Pencil
- Heavy Gel Medium
- Optional: Metallique Wax Vintage Gold
Preparing the Canvas Background:
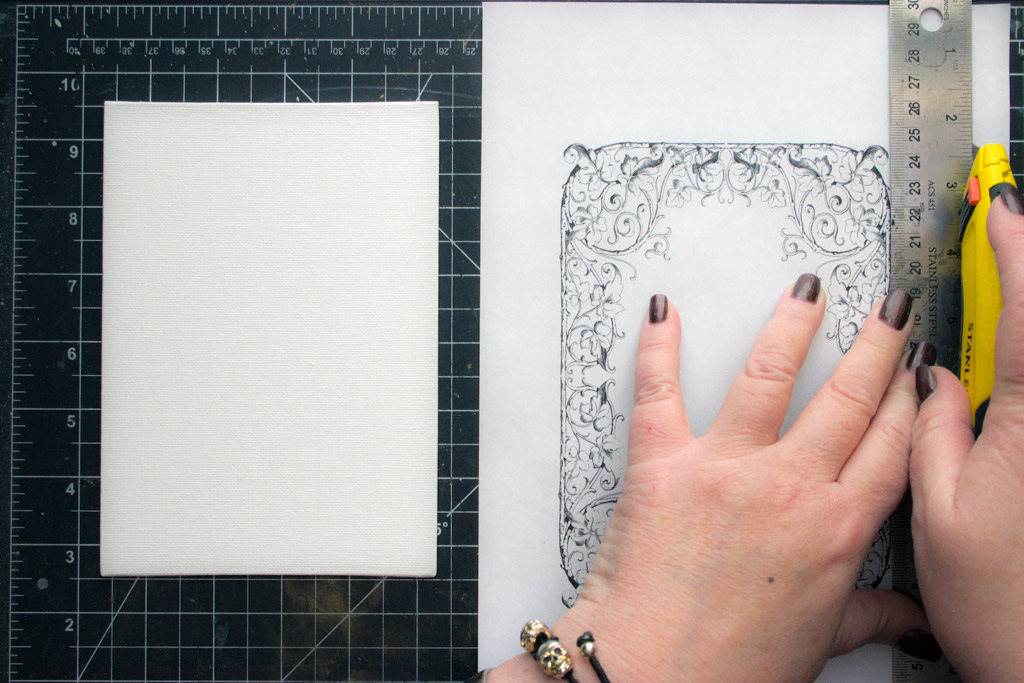
Trim the Fancy Frame Graphic – leaving a margin of about an inch around the image:
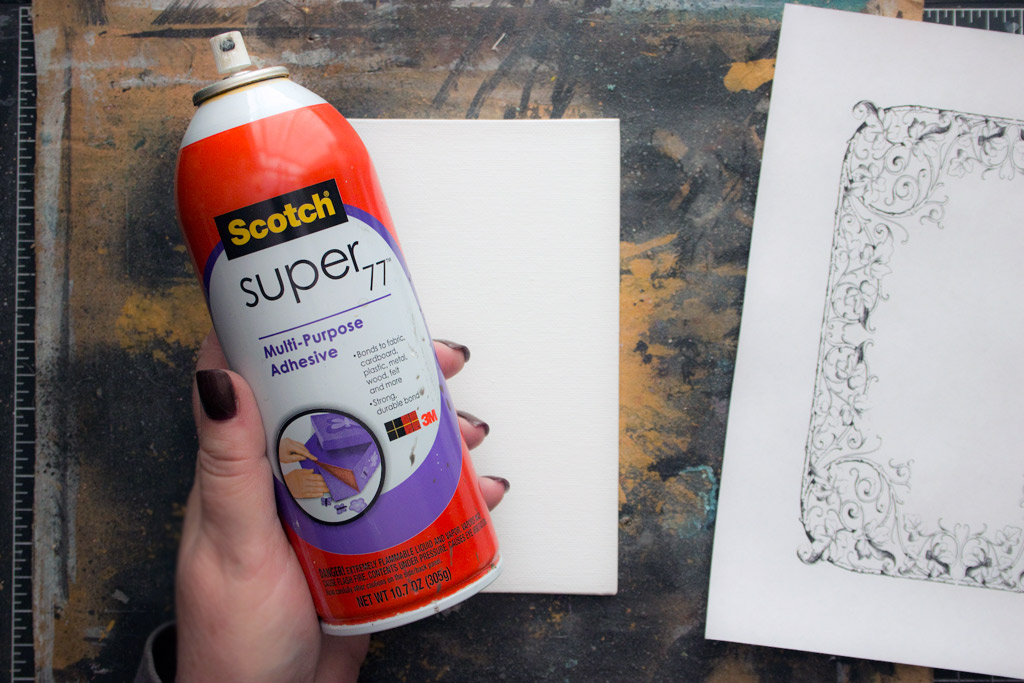
Apply Spray Adhesive to the front of the Canvas Board:
Adhere the Frame Graphic onto the Canvas Board, being careful to center it as closely as possible:
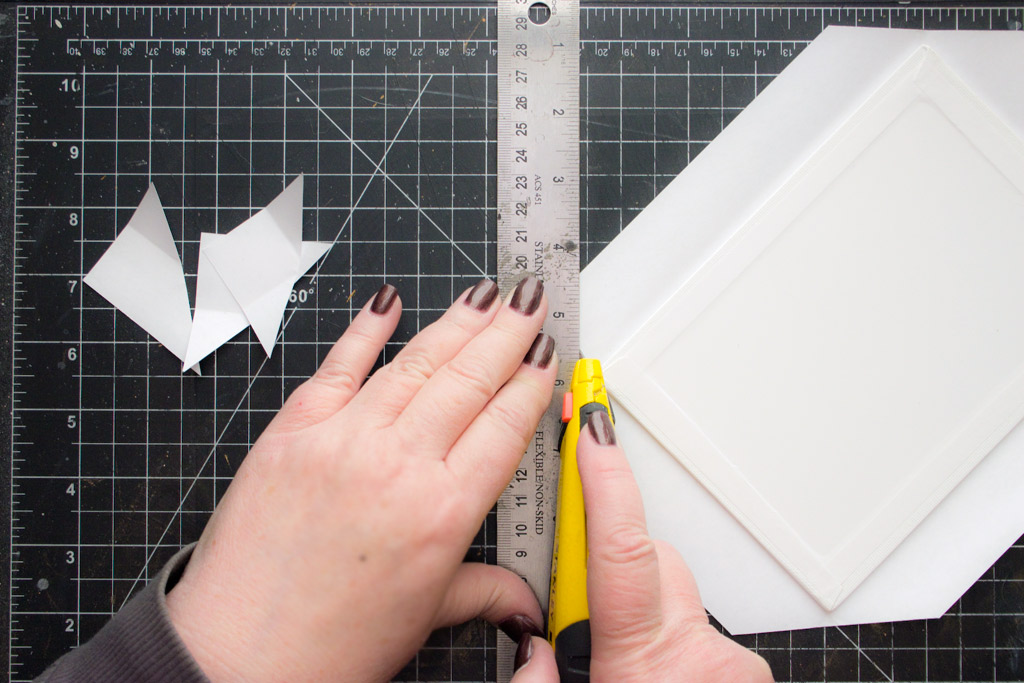
Trim the corners at 45 degrees, leaving about 1/4 inch of paper outside of each corner.
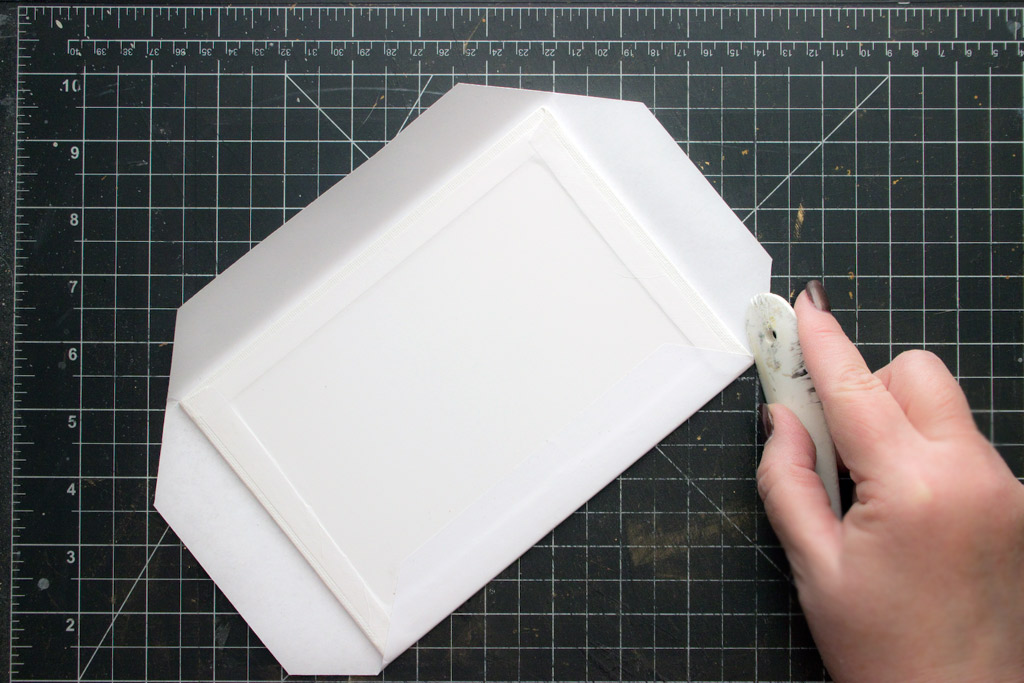
Apply Spray Adhesive to the paper ‘flaps’, then fold over one side.
Use a Bone Folder to indent the paper at the very corner, then fold the next flap over.
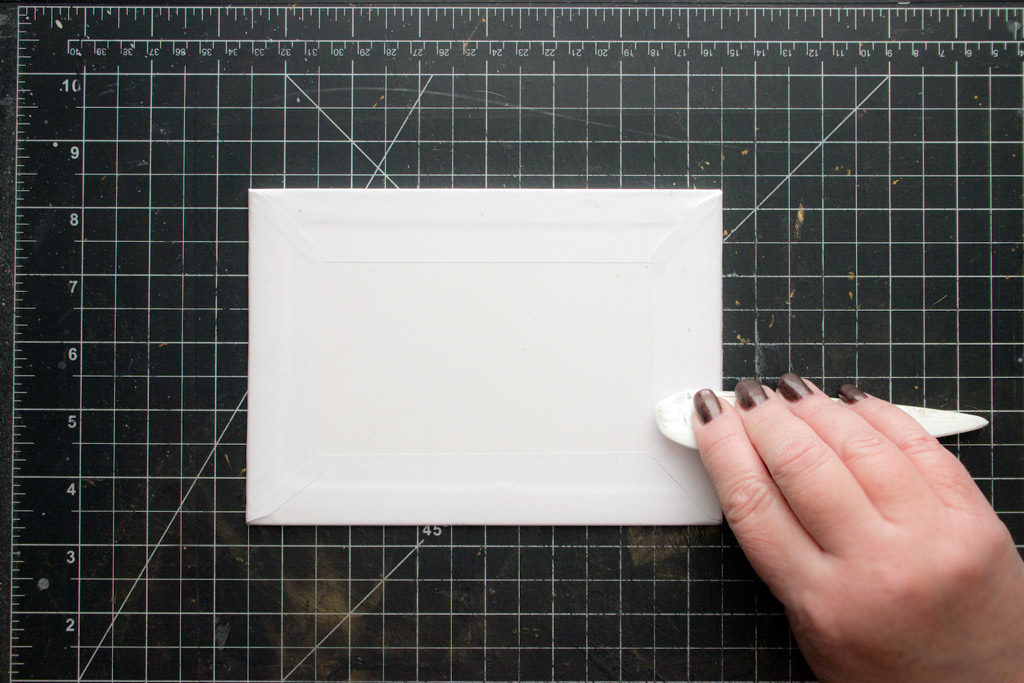
Burnish the paper onto the back of the Canvas Board.
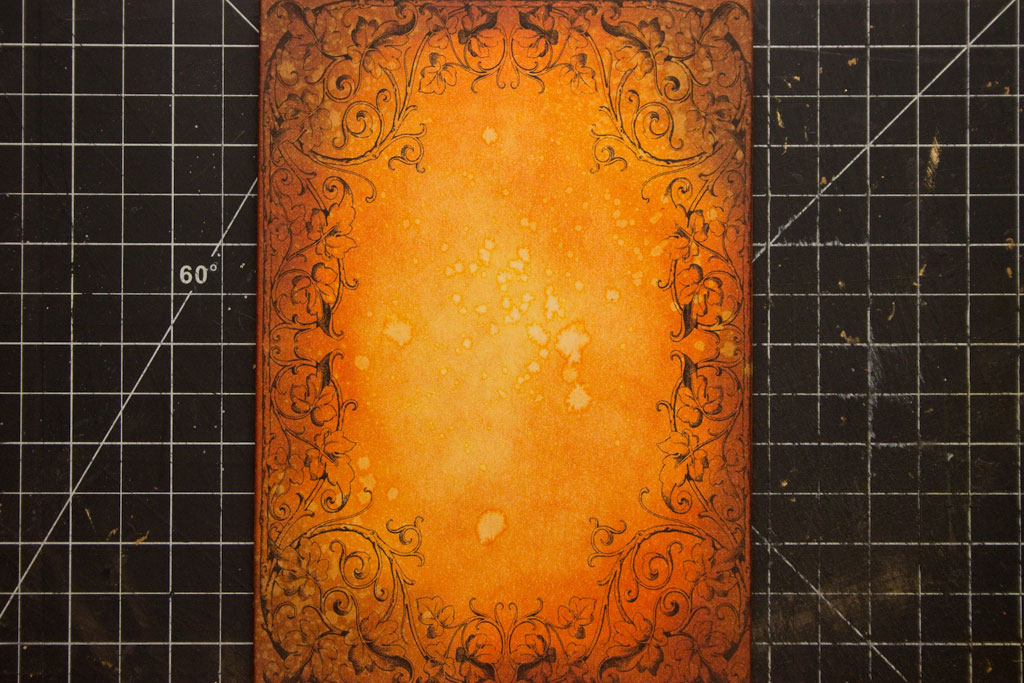
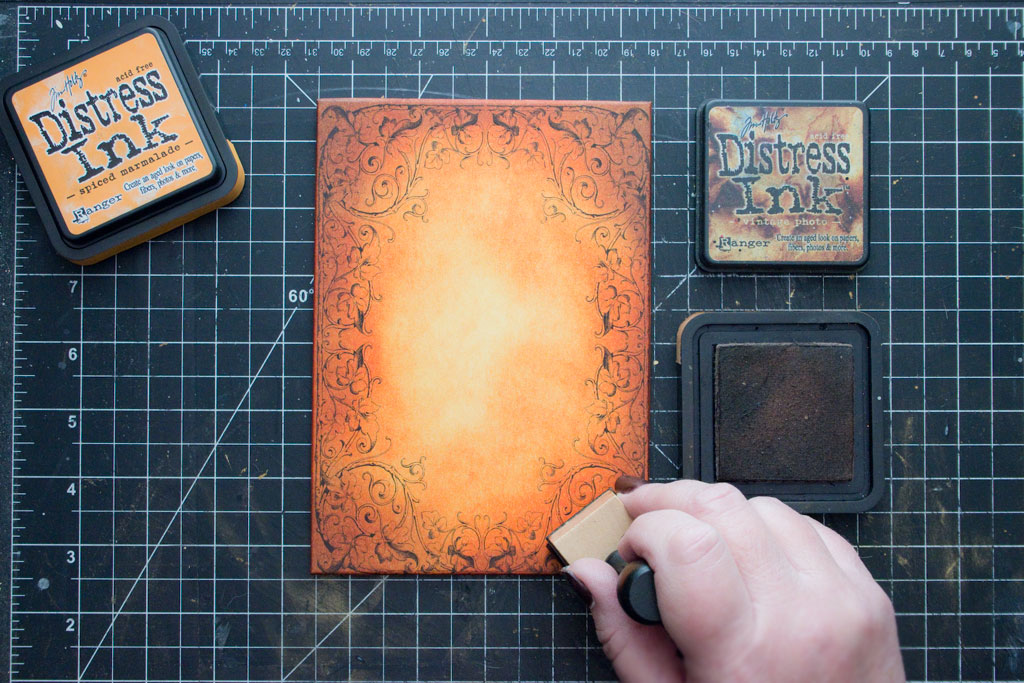
Turn the Canvas Board over, and apply your favorite Distress Inks with a Blending Tool – I chose Spiced Marmalade and Vintage Photo, for a rich, rusty glow.
Flick drops of water onto the Blended Distress Inks and allow to dry for a ‘bleached’ and aged effect:
 Paper Curling Art Technique step-by-step Instructions:
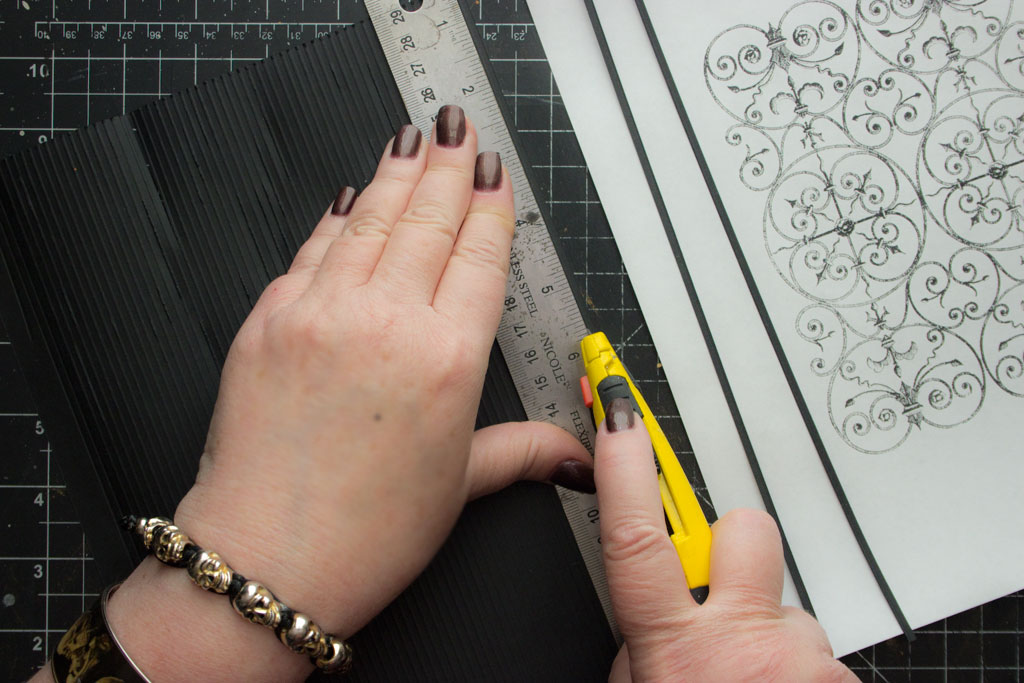
Slice 1/8 inch strips of Black Cardstock. I used a Scoring Board to mark the Cardstock at 1/8 inch intervals, then sliced a dozen or so strips, lengthwise.
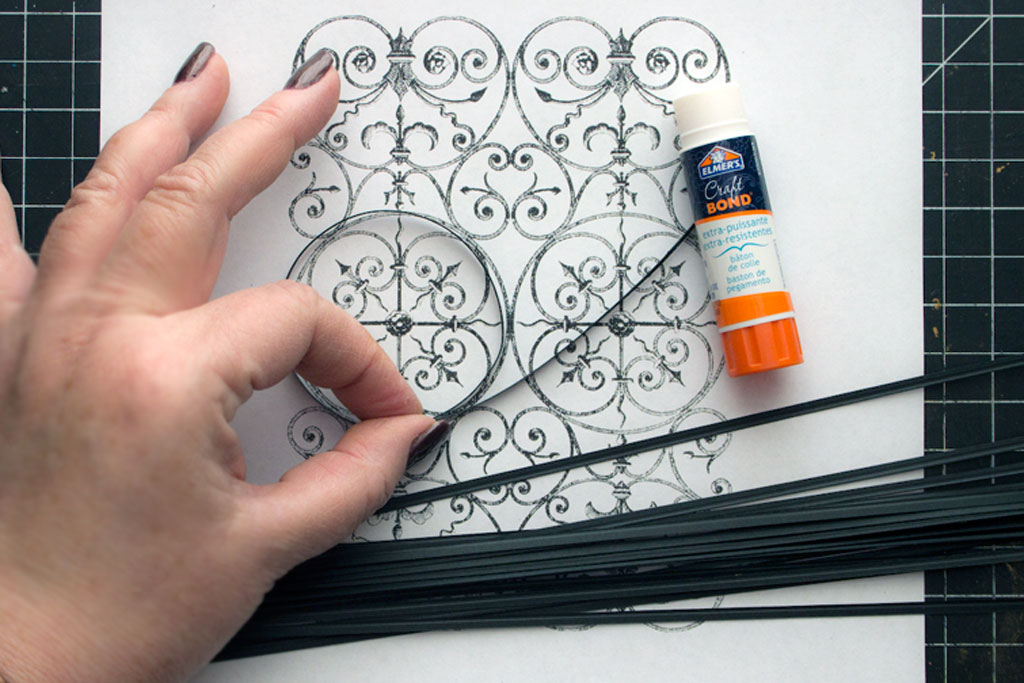
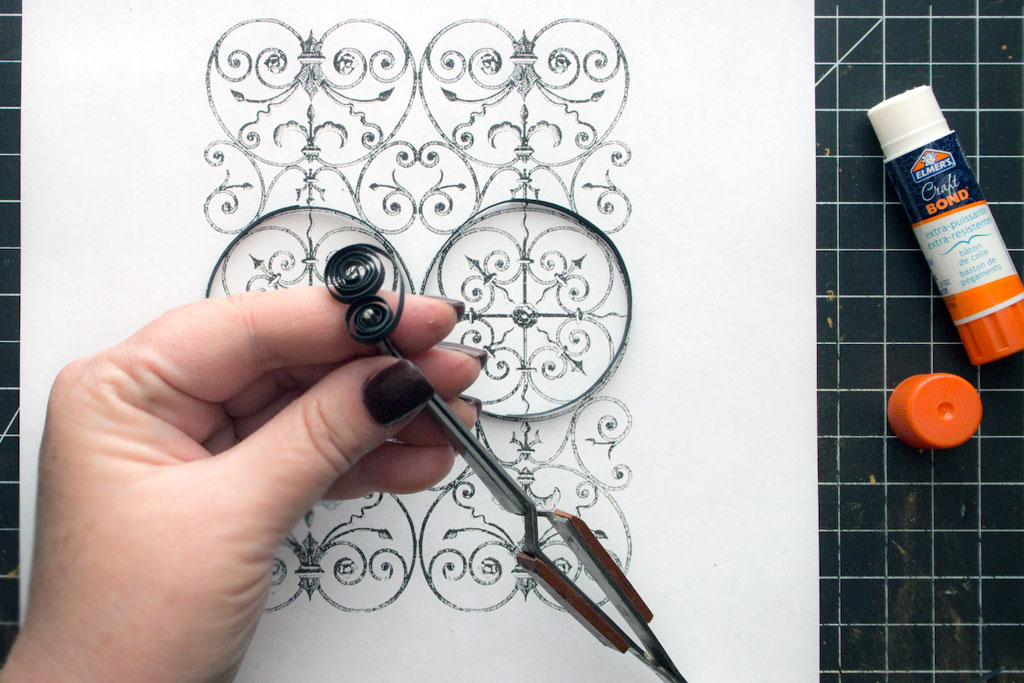
Now for the paper curling …using a ‘quick-grab’ adhesive, use the strips to create circles that match the circular motif on the Iron Scrollwork Graphic:
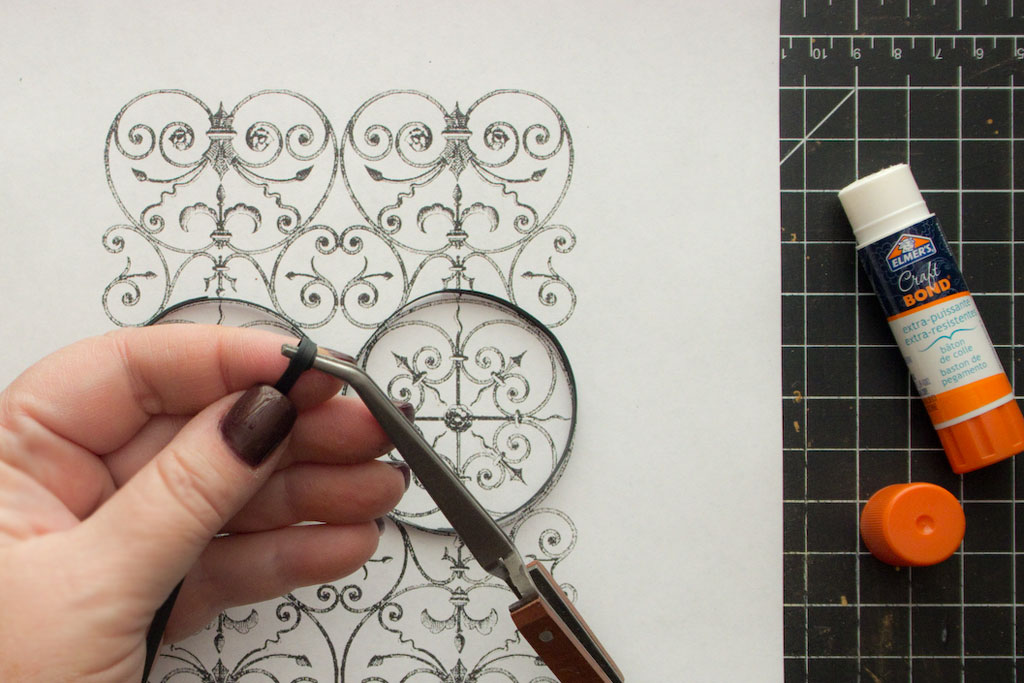
A set of Cross Lock Tweezers is very handy when rolling the thin strips of paper, or cardstock actually, into scroll shapes:
Wind a series of paper strip ‘scrolls’ or coils, and set aside.
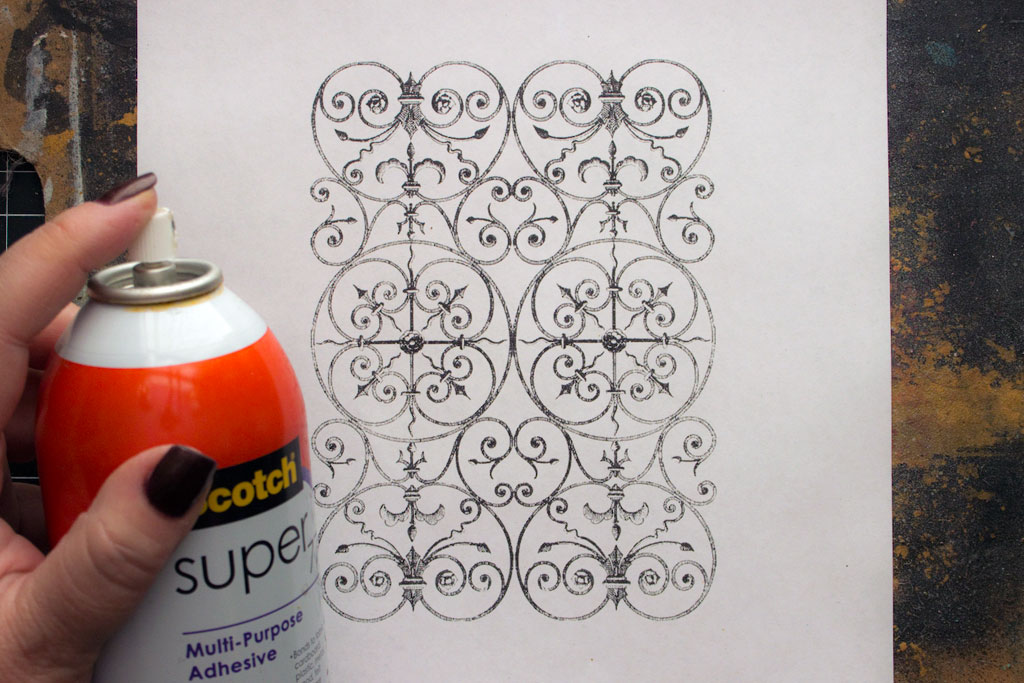
Apply a light dusting of Spray Adhesive to the Scrollwork Graphic:
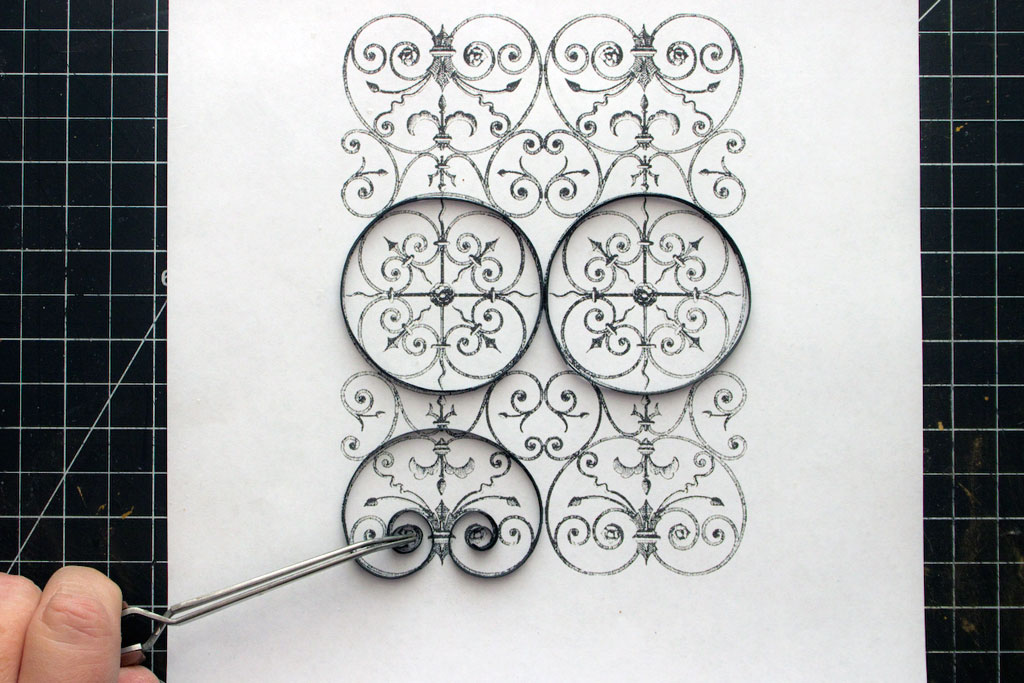
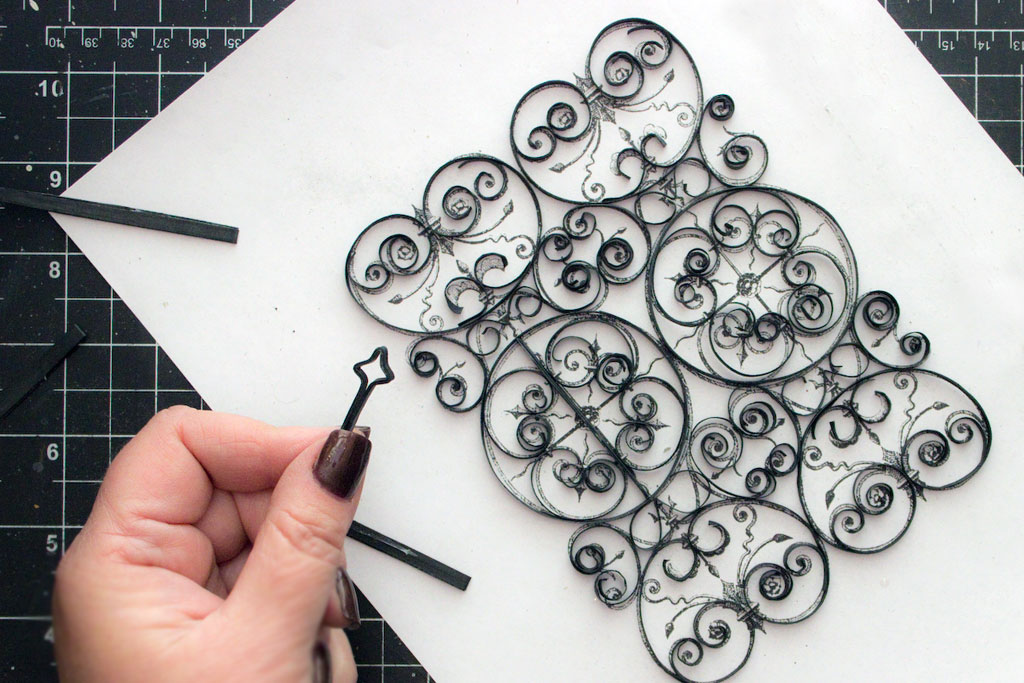
Place the Circles and Scrolls paper curls onto the sticky surface of the graphic, matching the pattern as well as you can:
Continue this process until you have created as elaborate a representation of the Scrollwork as you like. It doesn’t have to be perfect to be effective!
The important thing is to make sure that the scrolls and circle spirals all touch each other, so that they can be glued into a unified design for this art form.
You can double or quadruple the thickness of the strips to create more substantial accents.
Here, the vertical uprights in the circles and the stylized fleur de lis are being created this way.
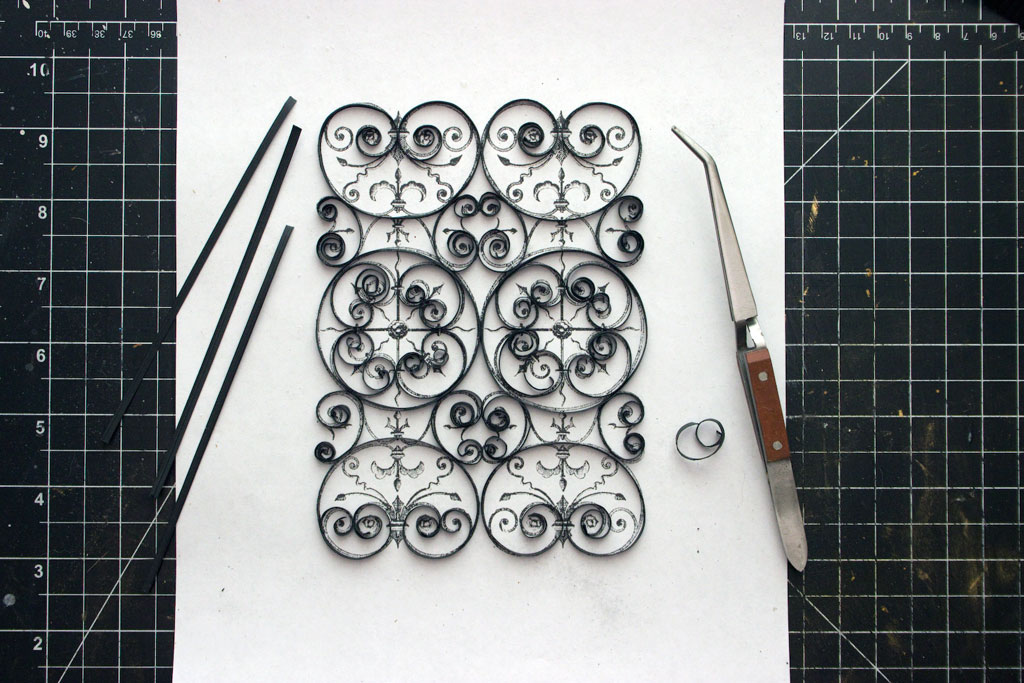
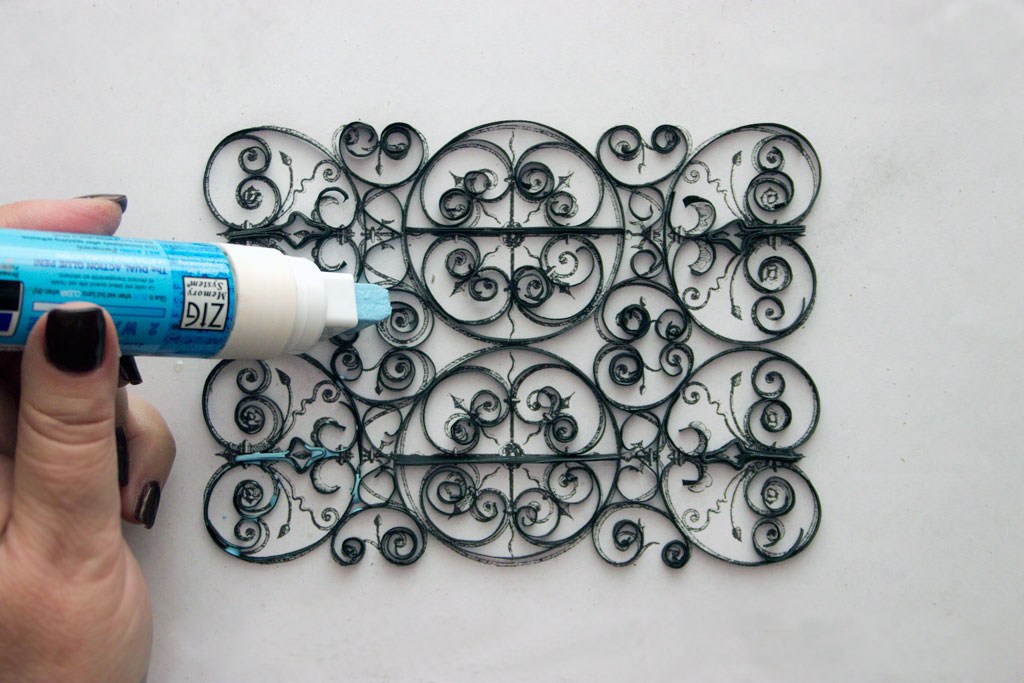
You can decide on the complexity of the design that you would like. Once you are satisfied with amount of scrollwork you have created, use a fluid adhesive to glue all the scrolls and circles together where they naturally touch.
Allow the Faux Wrought Iron to dry completely.
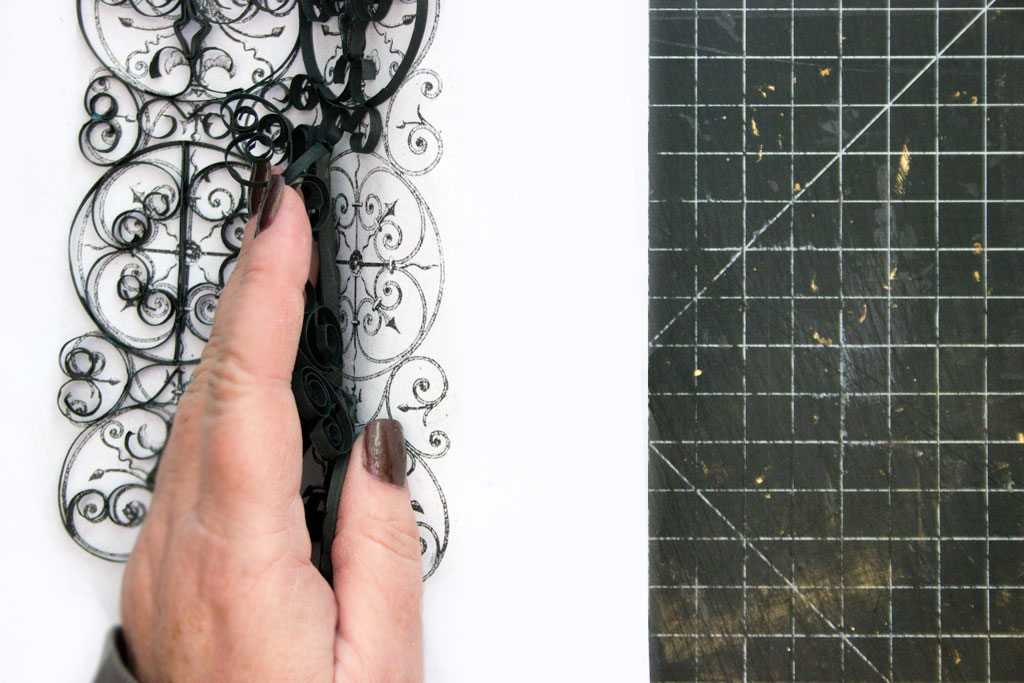
Once dry, carefully peel the paper art Faux Wrought Iron away from the surface of the paper, and discard the printed design. The different shapes look nice all together.
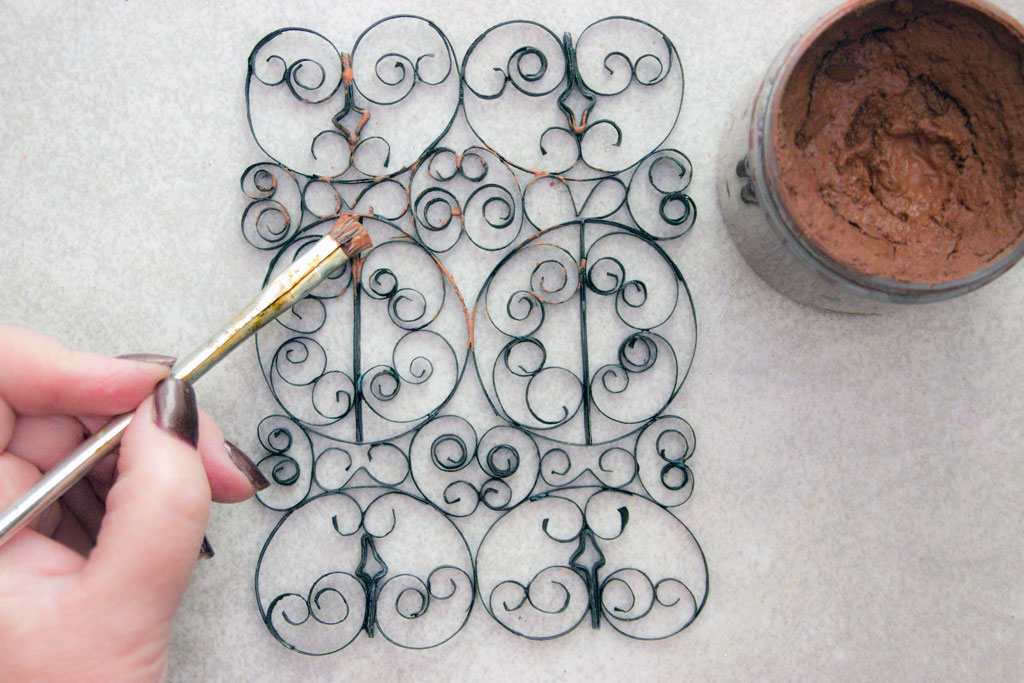
If you like, apply Rust Paste to the Faux Wrought Iron, dabbing it on anywhere you’d like to see ‘rust’…
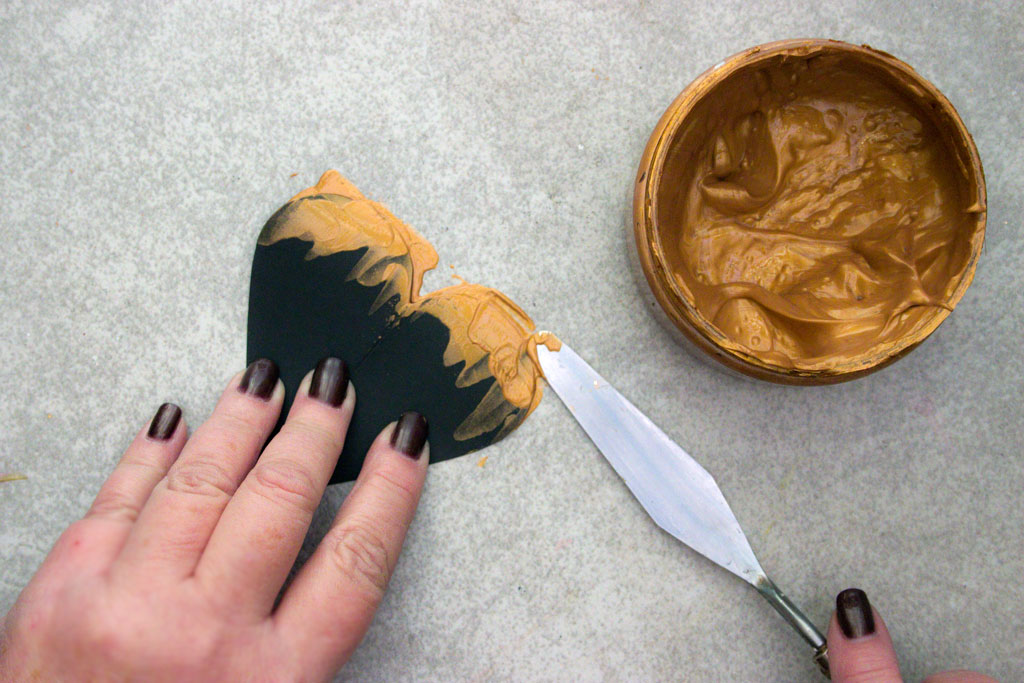
Use scissors to cut a heart from the leftover cardstock.
Apply Metallic Highlighting Gel onto the upper margin of the heart with a palette knife…
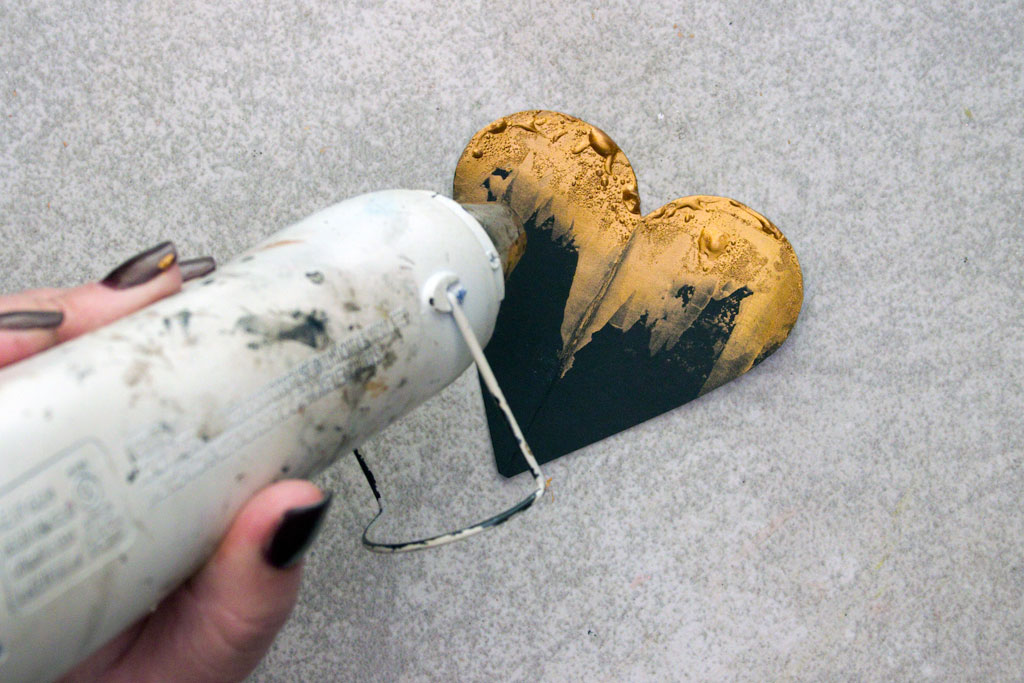
Create grungy texture by drying the Metallic Highlighting Gel with a heat tool.
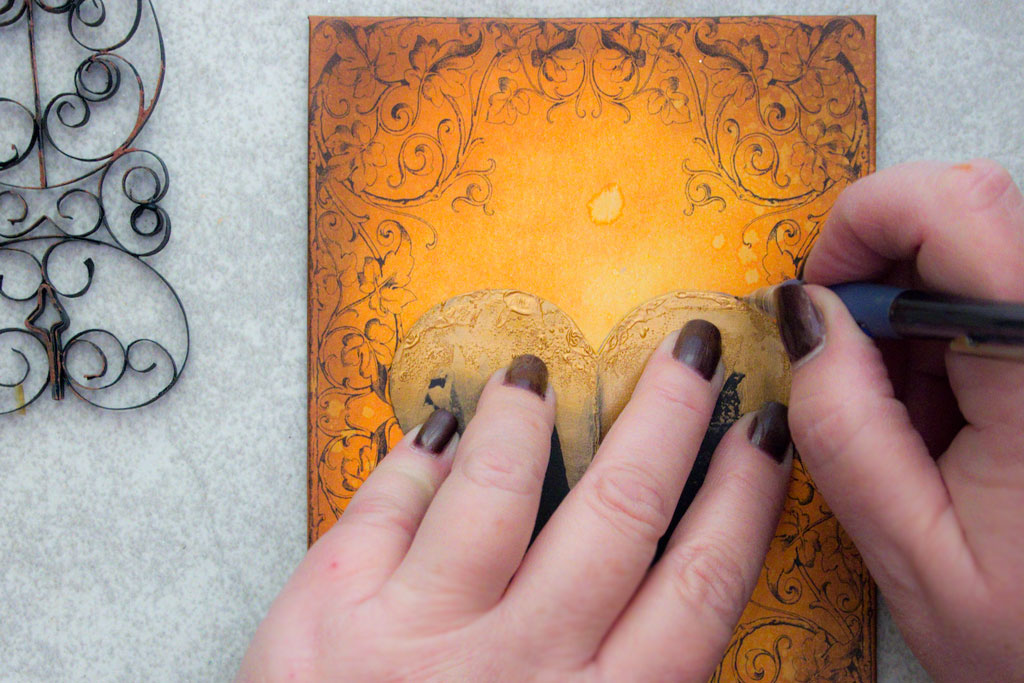
Use a pencil to trace the shape of the heart on the canvas:
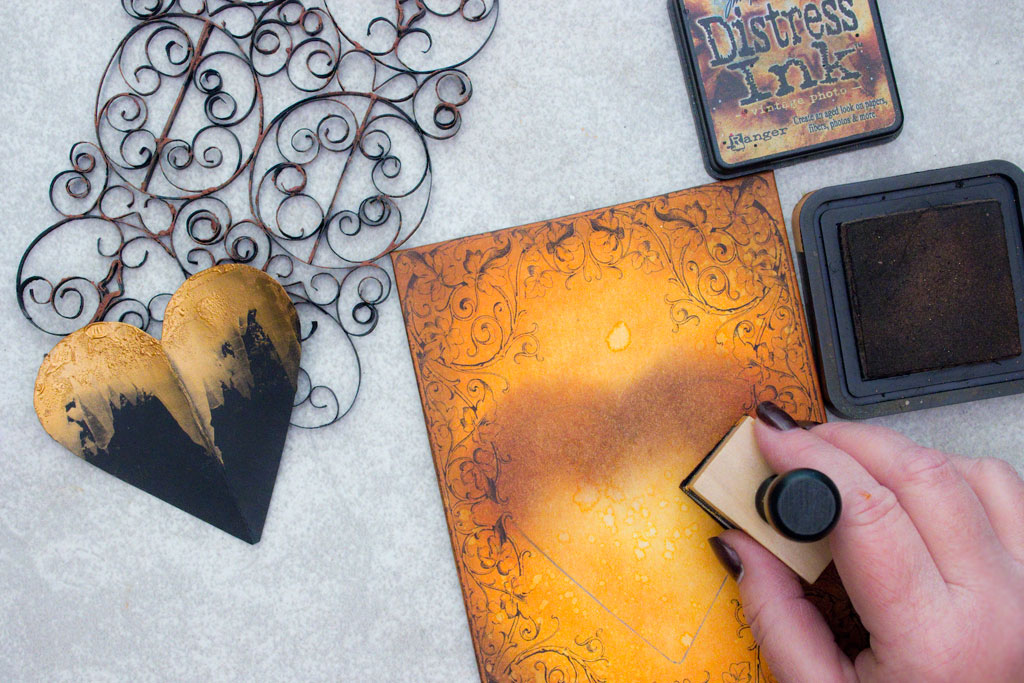
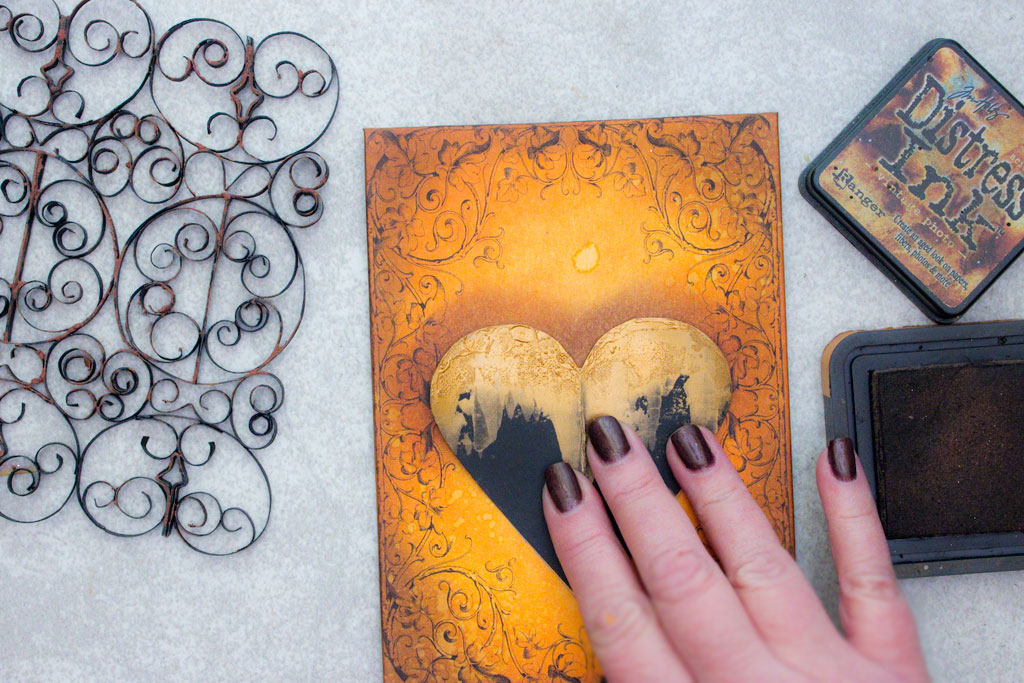
Add ‘shadow’ behind the upper margin of the heart shape with Vintage Photo Distress Ink… this will add depth and interest to the final design.
Glue the heart in place.
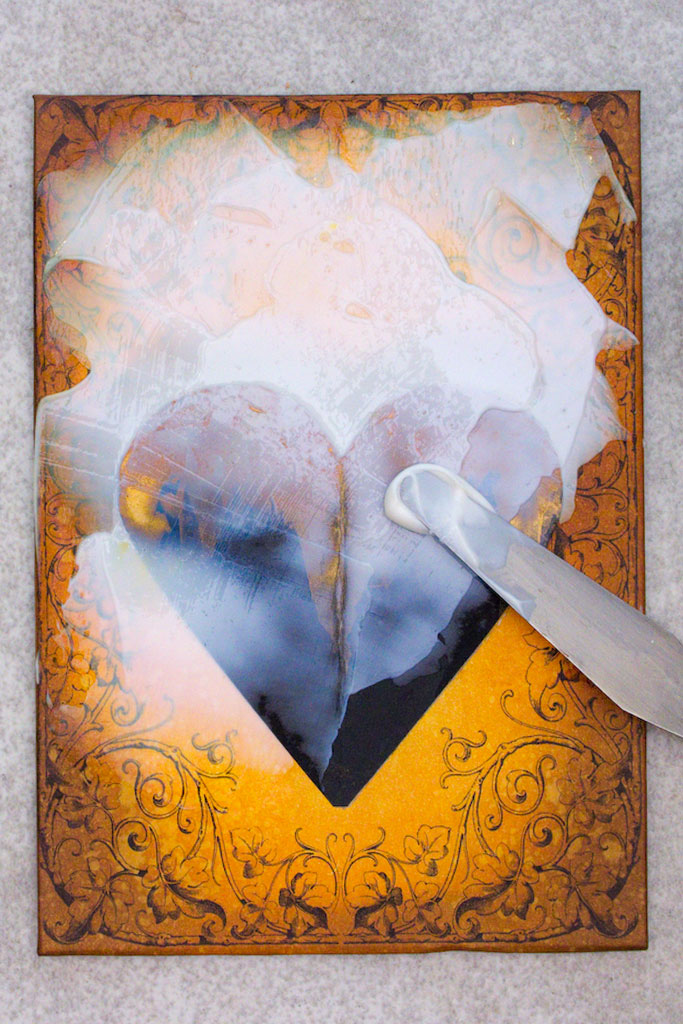
Apply a generous layer of Heavy Gel Medium over the background and heart, with a Palette Knife:
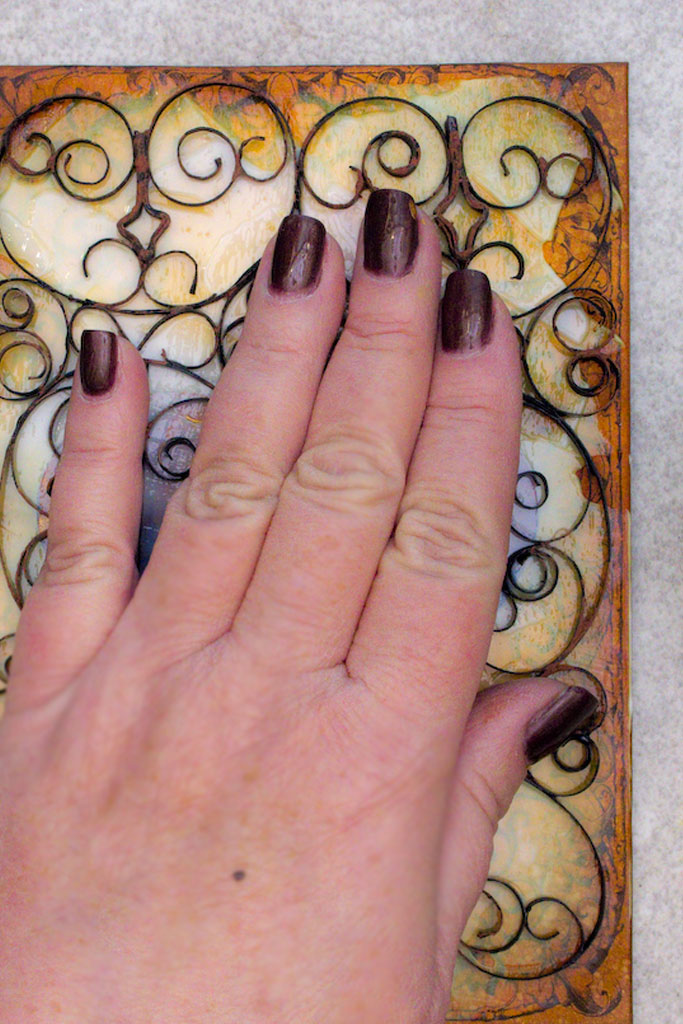
Press the Faux Wrought Iron into the Gel Medium.
Allow to dry.
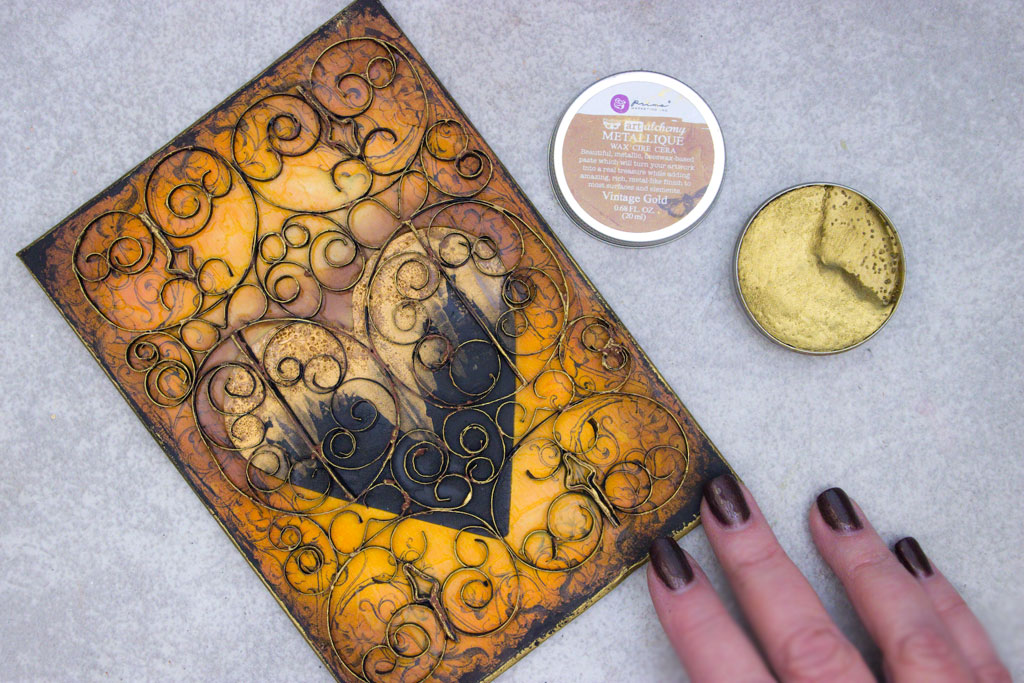
Apply Metallic Highlights to the upper edges of the Faux Wrought Iron Paper Curling Art and along the outer margins of the Canvas Board as a finishing touch…
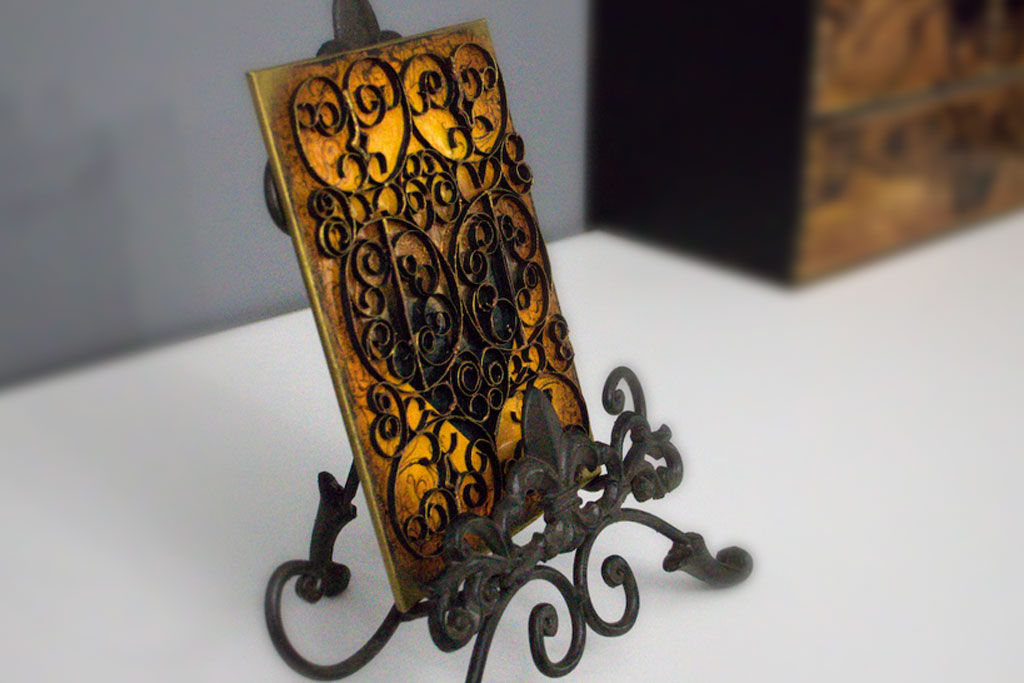
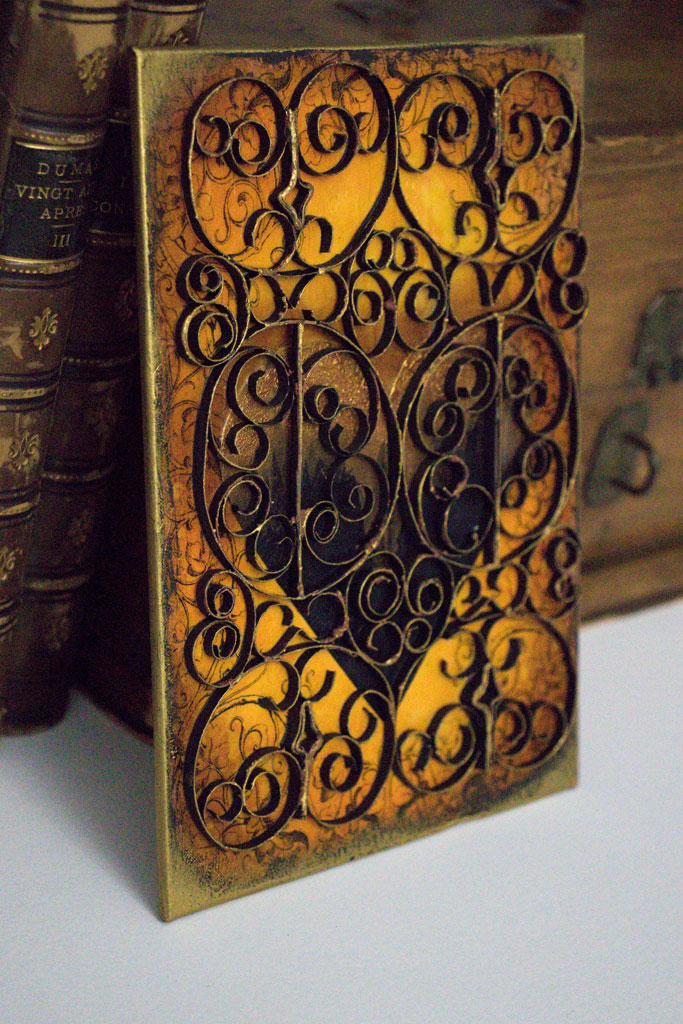
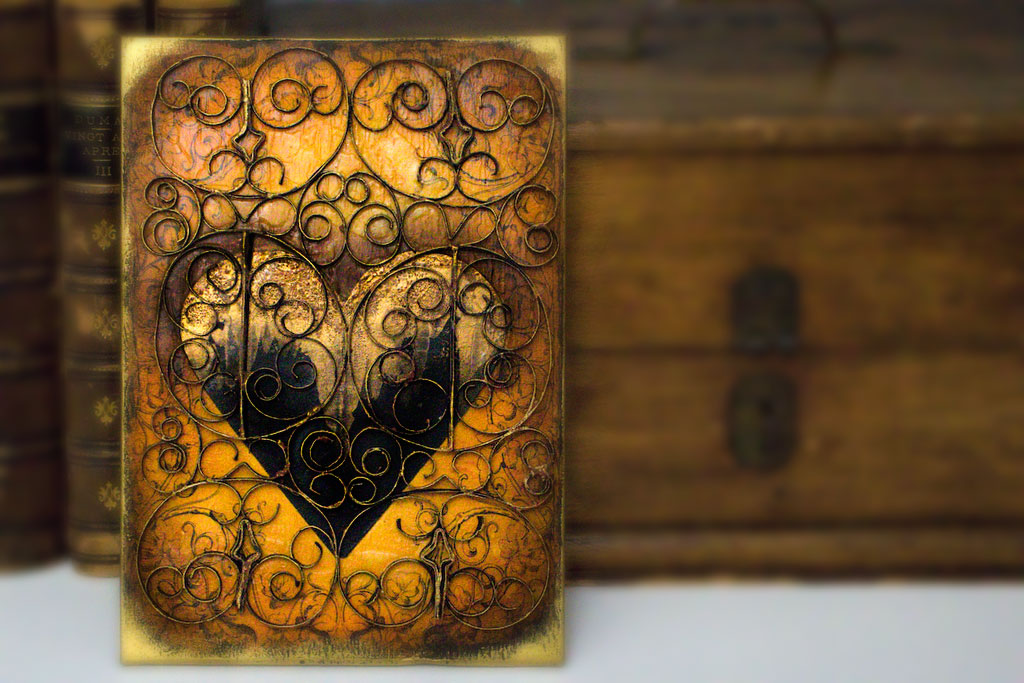
The Gilded Heart seems to glow behind the ornate Wrought Iron Gate paper filigree …a quiet treasure, emanating hope…
These charming paper crafts can be a perfect gift for a dear friend or loved one…
This Faux Wrought Iron Paper Curling Art Technique results in an elegantly rustic artwork, filled with charming imperfection, made with love…
Thank you for visiting The Graphics Fairy today! It was my pleasure to share this simple, and simply beautiful paper designs technique with you. I hope you found inspiration in this simple quillwork type project. This artform can be such a enjoyable pastime.
Until next time
Heather
Come visit me at Thicketworks Blog – we’ll have us some Messy FUN!
Our students have SO much fun in the Mixed Media for Beginners online course…



Yolande Bergeron says
I enjoy downloading all your work as much as possible. You are feeding my artistic brain. You are very clear with the tutorial. Merci to giving all of us the opportunity to be more creative.
Merci beaucoup
Yolande
graphicsfairy says
Thank you Yolande, I love that our images are fueling your creativity, create away 🙂
AleFairyland says
Heather, this is gorgeous 🙂 Thank you for sharing dear!!!
Heather Tracy says
So happy you like the effect, AleFairyLand! I hope you give it a try, my friend. xox
rupa says
Oh Heather, this is drop dead gorgeous!!! I just love, love iron gates and this wrought iron technique is so unique! I don’t know how on earth you come up with these techniques but we are ever so grateful that you share everything with us SO GENEROUSLY!! Ironically, I just photographed several intricate iron gates in New Orleans last week 🙂 So I can’t wait to try this. I may cheat and buy those inexpensive quilling strips in the craft store…always wanted to but had no excuse to lol! Your creation is a true work of art on that canvas, perfect iron display stand as well to boot! I wish you a very happy, healthy and very creative new year my friend!! PS: Sending you warm hugs during this frigid cold week.
Heather Tracy says
Hi Rupa! I found your sweet comment in ‘comment jail’ and posted bail immediately! (There must be some automated function that isolates comments based on criteria we can NOT fathom!)
Girl, I am SO not a quiller – I didn’t even know they made pre-cut strips! But the inherent beauty in paper, and the zillion ways it can be used unconventionally just fascinates me! New Orleans has to have the most gorgeous wrought iron on the planet – I’ll bet your pics are gorgeous!
Thank you for lifting me up, darling…it’s always a tonic to see a comment from you! Thank you for the hugs – it has been FRIGID here – hope you stay warm, too!
May the New Year be filled with all the things that you love best! xox
Rupa says
Thank you for rescuing my comment from jail! I am not sure why this has happened to me a few times. I have a theory and will experiment to see if my hypothesis is valid 🙂
graphicsfairy says
Please let us know when you do 🙂
Annieg says
WOW! This is so cool! Thank you for sharing!
Heather Tracy says
So happy that you like it, Annie G! It was a BLAST to create, and it thrills me to share! xox
Linda K says
The finished product is so beautiful. Thanks for sharing this technique.
Heather Tracy says
Hi Linda – it’s messy, it’s TOTALLY imprecise, and I love the result, too. It’s so fun to explore faux effects! xox
Daphne says
Your imagination is beyond wonderful and that you can take that imagination and turn it into something real and spectacular is simply amazing!
Heather Tracy says
Oh, you are WAY too kind, Daphne – YOU do exactly the same thing! Keep turning dreams into reality, my friend. You were born to do this! xox
Sherlene Mats says
Excellent!!!
Heather Tracy says
Yay! So glad you like this one, Sherlene! Here’s to creativity, my friend! xox
Paula says
Oh my, you’ve done it again! Another amazing tutorial. This reminds of quilling that I did many years ago.
I scrapbook for the grandkids and this technique will look great on scrap pages!! Thank you for sharing your many talents with us. We greatly appreciate you.
Heather Tracy says
Paula! Hello, my friend…and YES, this is a messy version of ‘quilling’, but not nearly as sophisticated as what you’ve done, I’m sure. I greatly appreciate YOU! xox
SusanIrene says
Heather, this is really beautiful! I applaud your creativity and thank you for your generosity of spirit in sharing and teaching us your techniques.
Heather Tracy says
Hi Susan Irene! And I thank YOU, my friend, for your generosity – your kindness is deeply appreciated. xox
Randi says
Good process, ideas. Very positive result. Thank you.
Heather Tracy says
Hi Randi! Thanks so much, my friend. I hope this comes in useful to you…xox
Dorthe Hansen says
Dear Heather, a totally amazing way of starting the new year , wow, this is another master piece.
I looks just like the real thing, and I applaud you from here, for your gorgeous ideas, and works of art. Thank you for showing my dear, and all the best for you and yours, in this new exiting year, just started .
Big hugs, Dorthe
Heather Tracy says
Hi Dorthe! Oh, I’m so happy you like this one, my friend. I’ve been wanting to share this technique for SO long! Your encouragement and positivity are wonderful. May the New Year hold many treasures for you! xox