Free Printable Bookmarks with Butterfly Embellishments
Hello, creative friends! Diana here from Dreams Factory, I hope you are ready for our monthly DIY project as we are making Free Printable Bookmarks! Even though I love adding small seasonal details to our home whenever a new season kicks in, universal projects are the ones that I enjoy best.
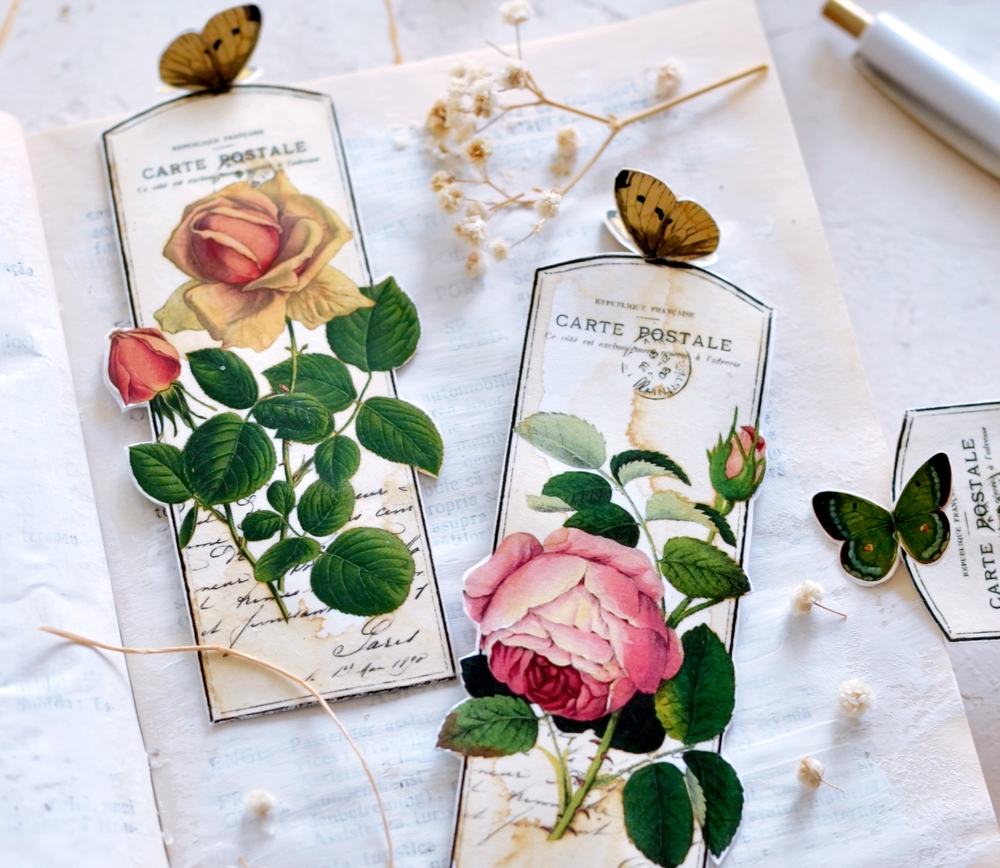
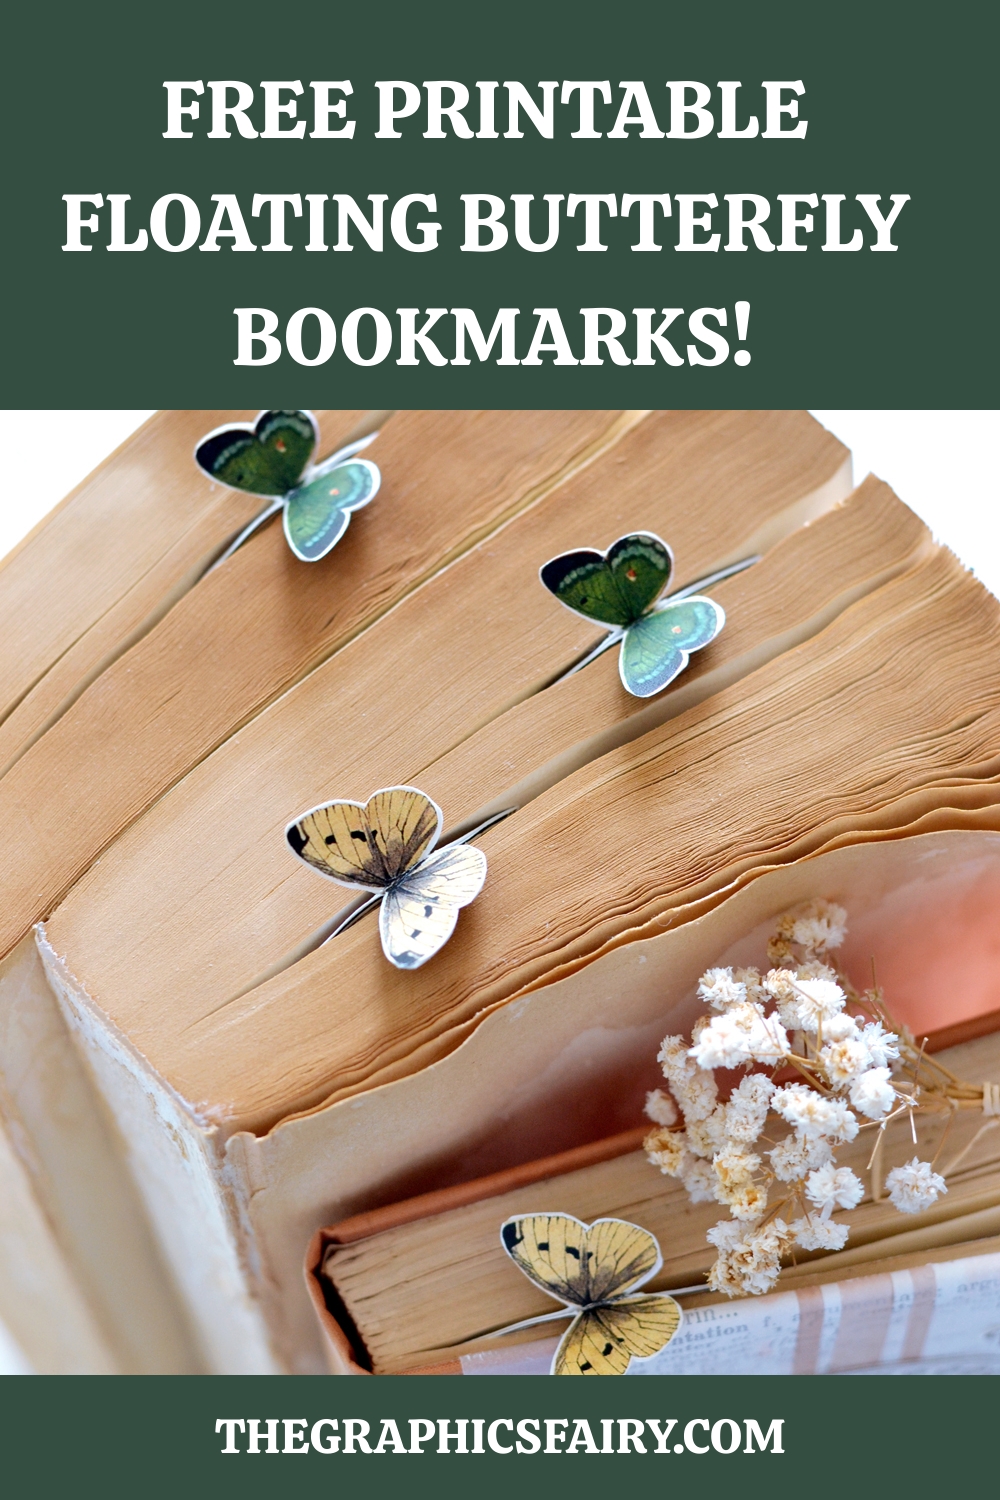
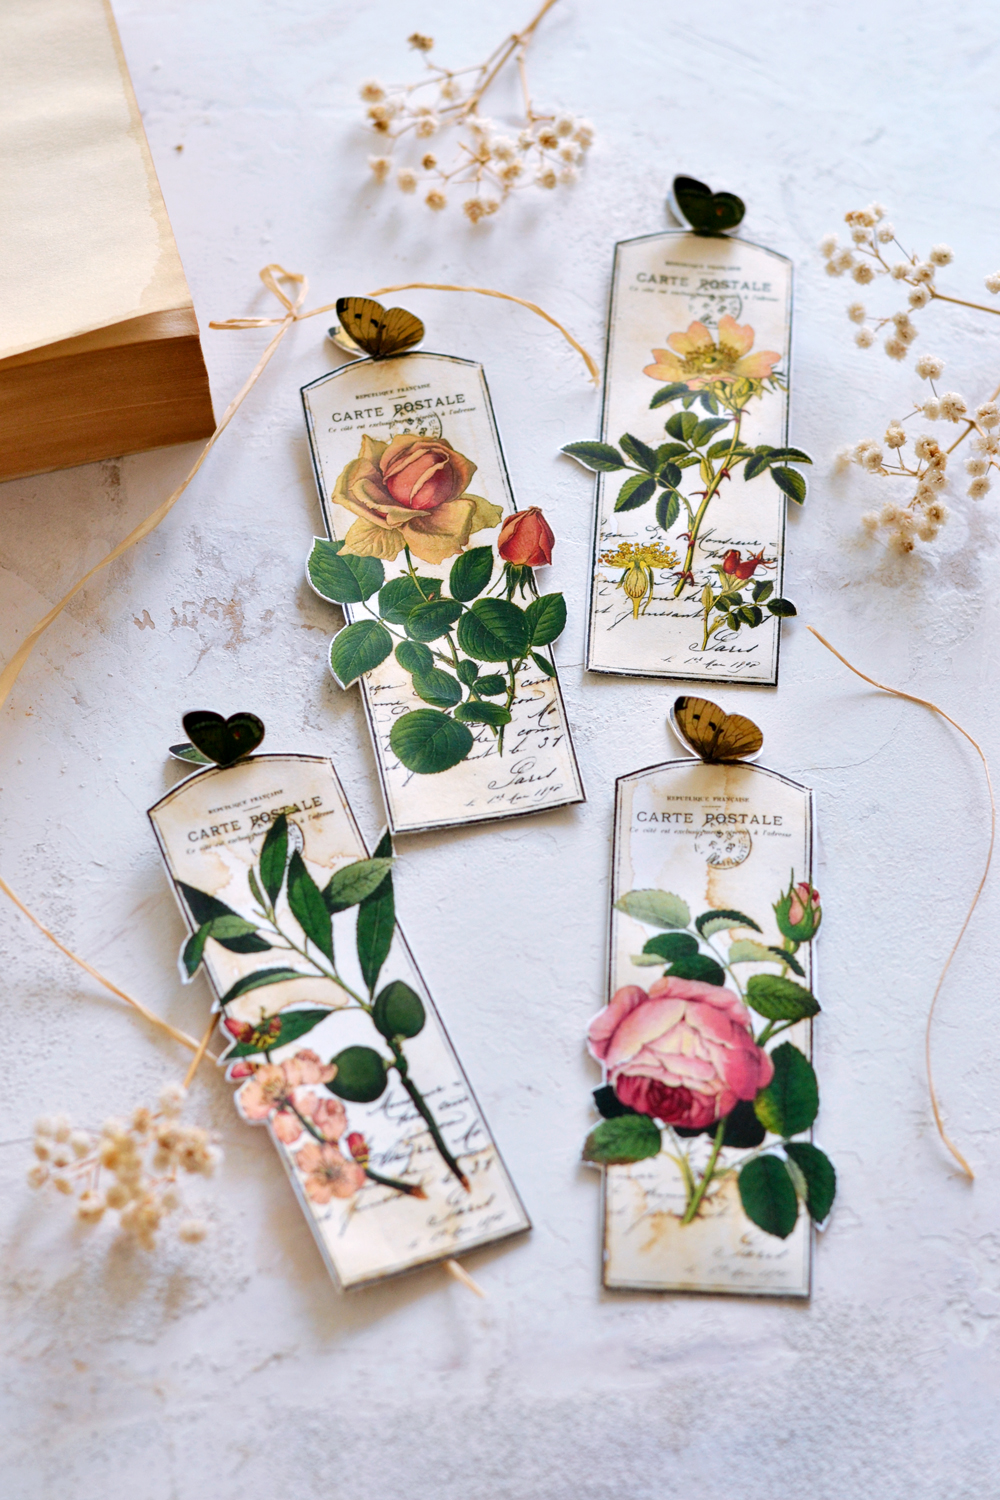
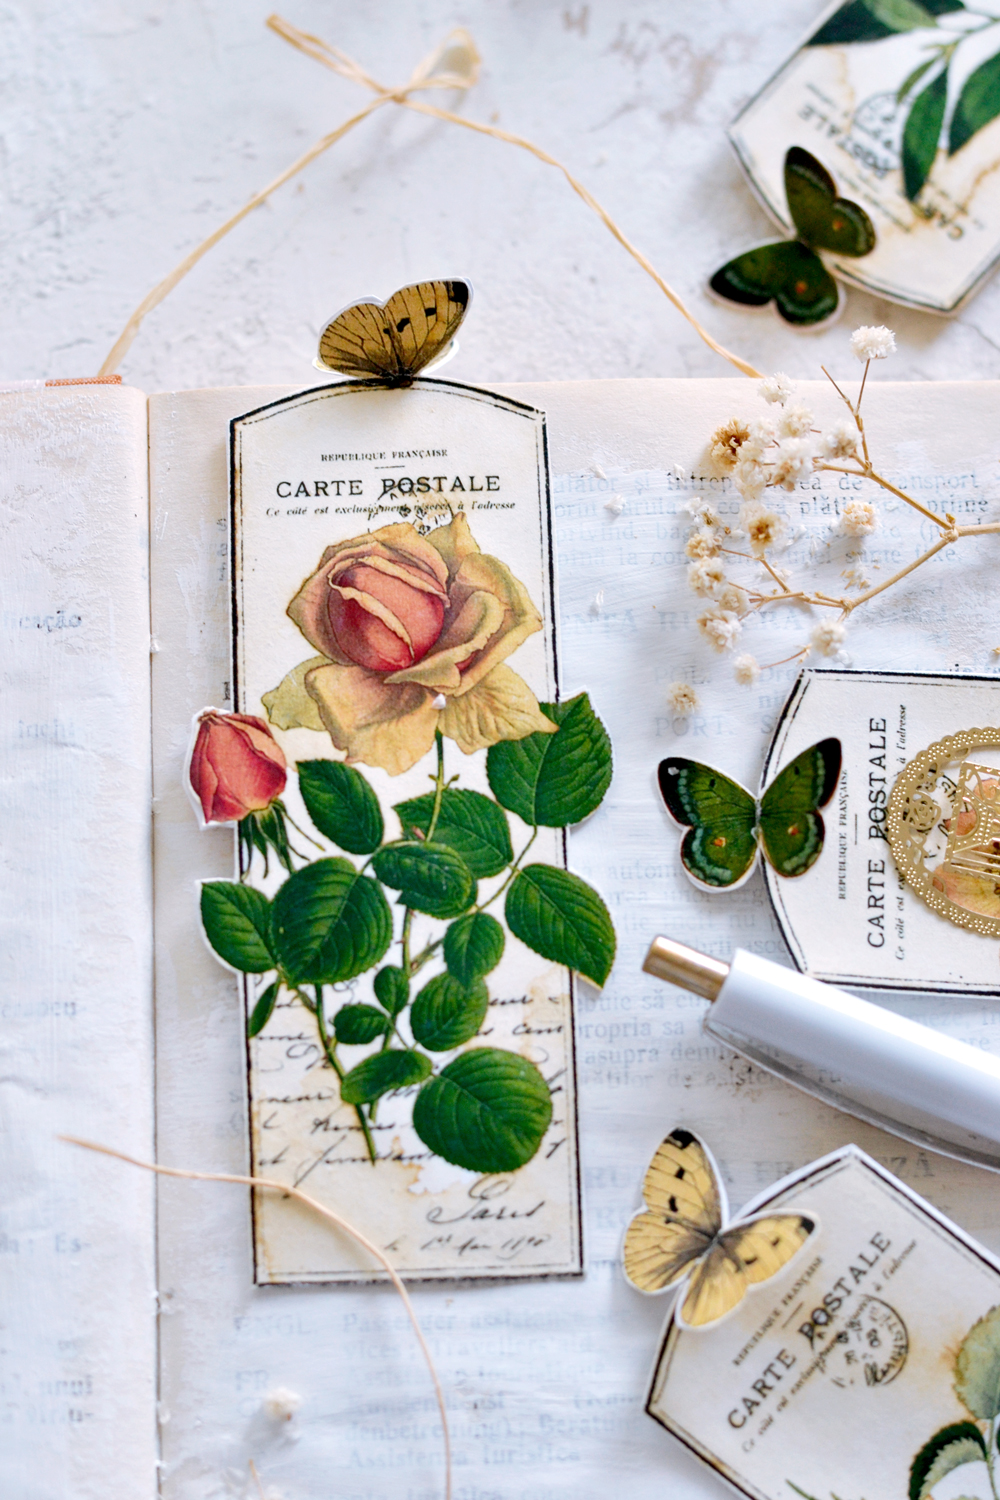
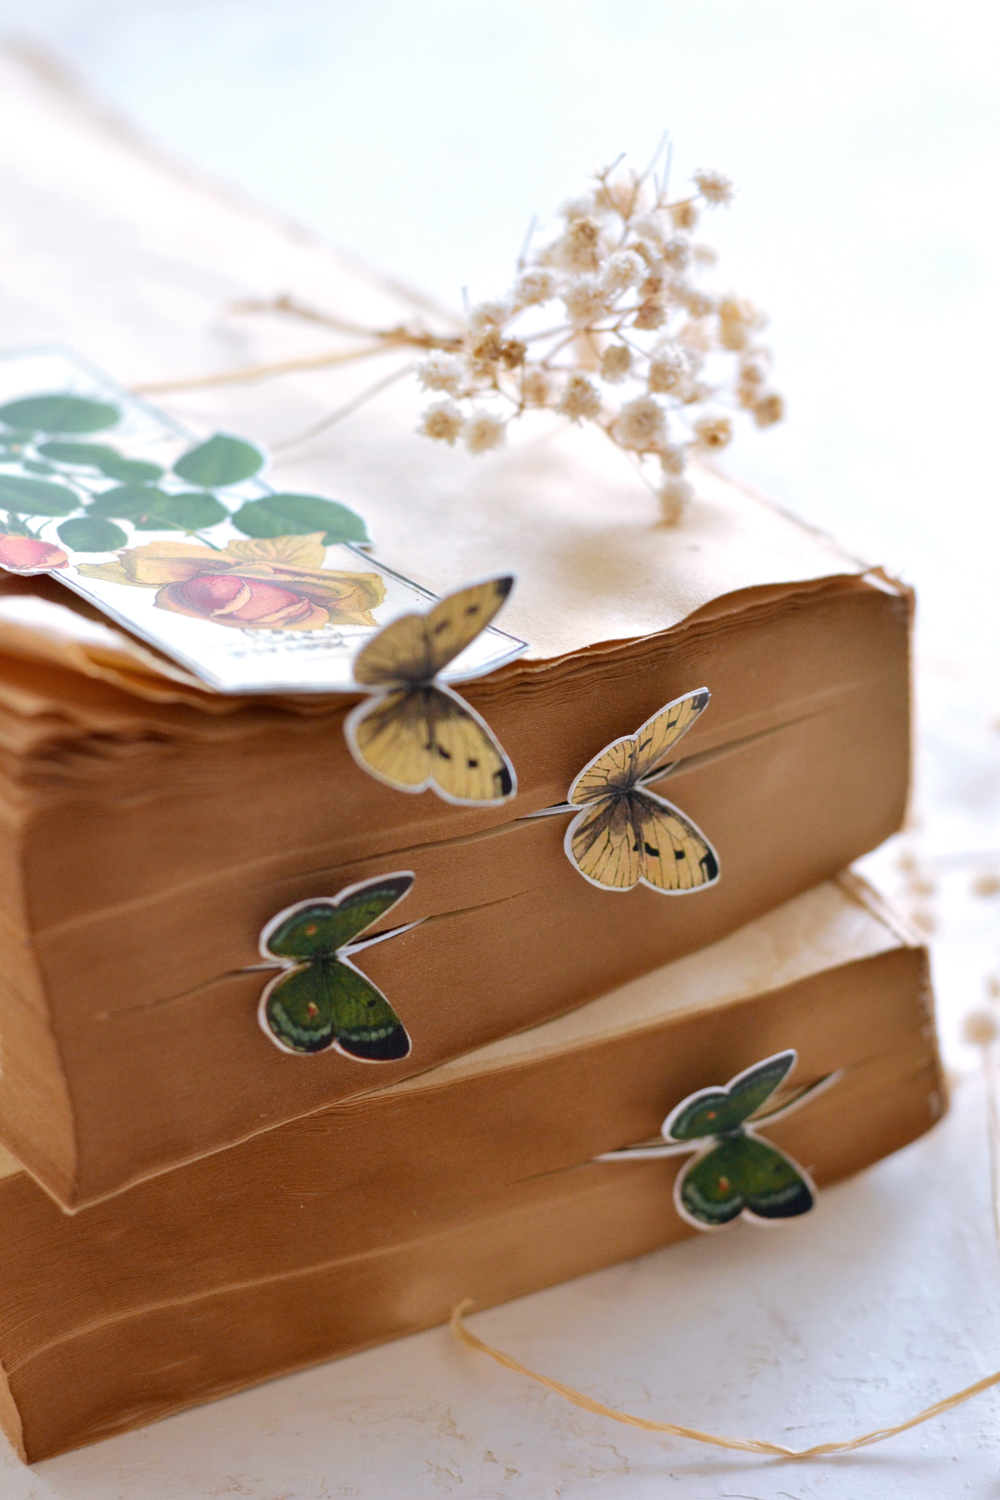
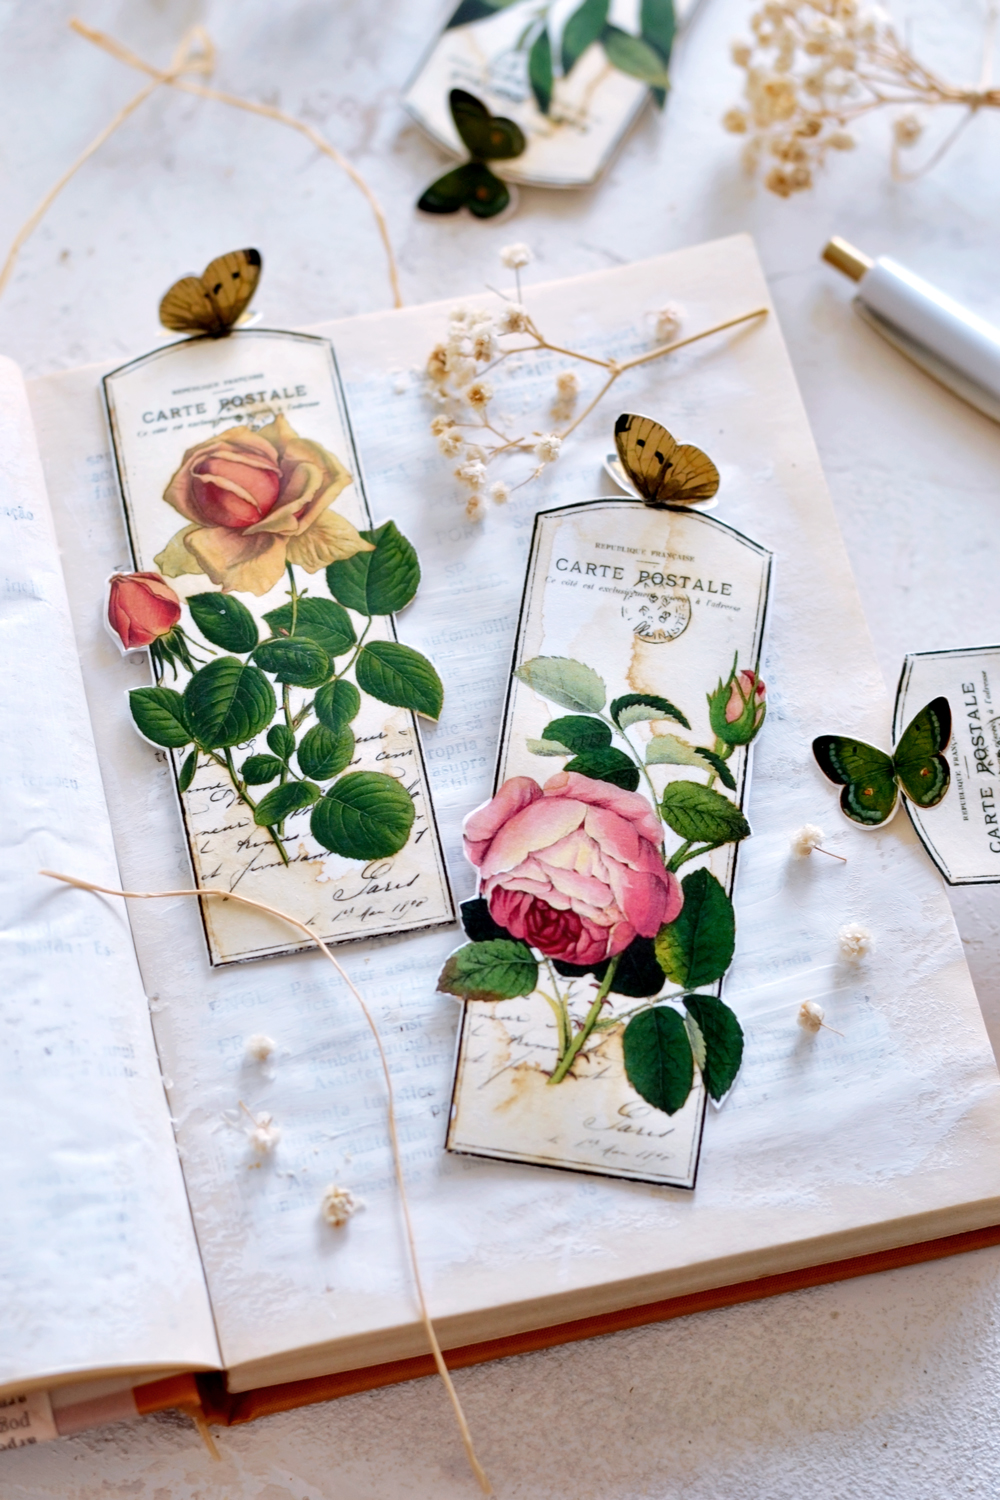
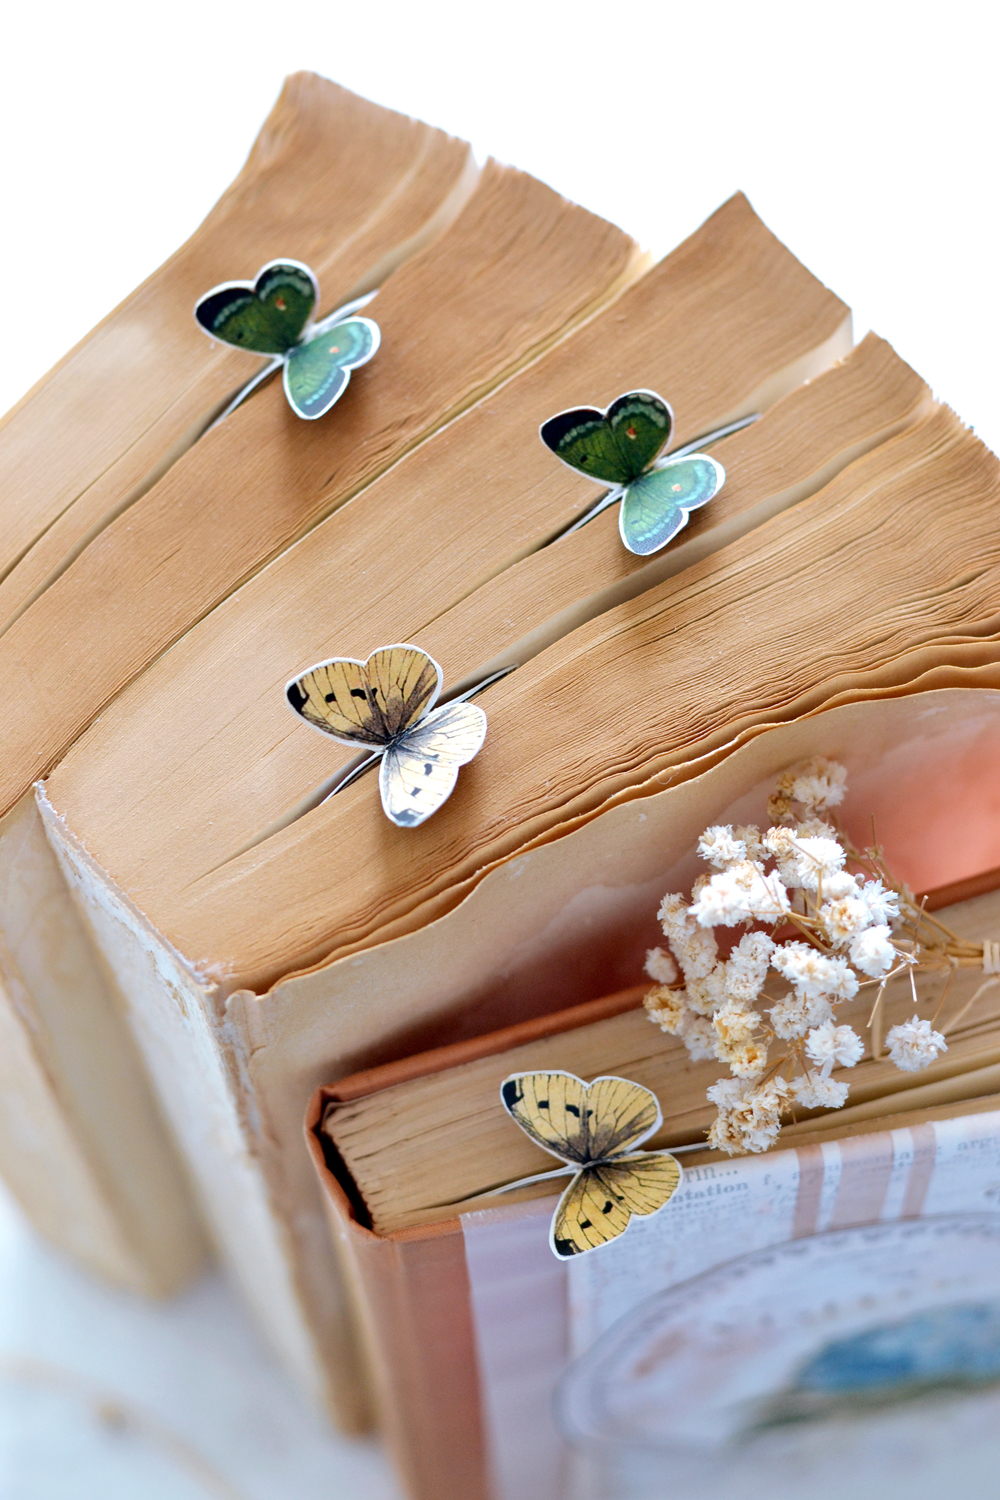
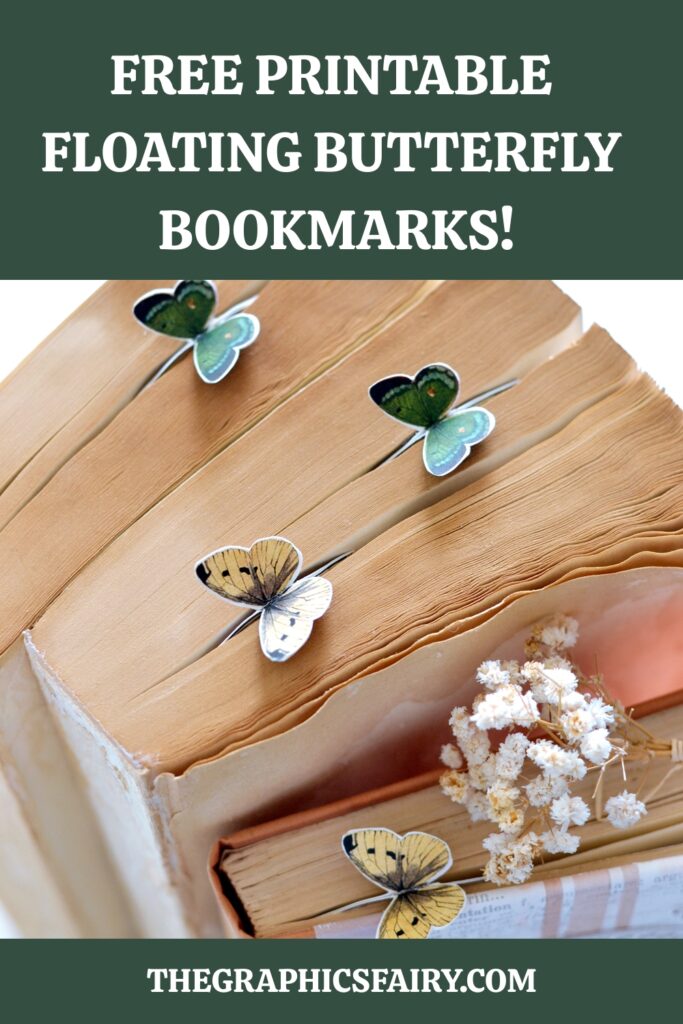
So today I’m showing you how to make some lovely DIY Free Printable Bookmarks with Butterfly Embellishments! This is a fun way to use your creativity. You can share these with all your favorite people and I’m sure they will be impressed… as the Butterflies appear to be magically floating out of the book they are placed in!
This is NOT one of those projects that require a lot of steps and tons of supplies. I wanted to keep things simple and I basically did all the hard work for you! OK, almost all the hard work, because I wanted to also give you the possibility of further experimenting. As you can see, I created a quite colorful design for our bookmarks and I initially contemplated the idea of adding a vintage background to complete the whole aged look. But I thought it would be so much better for you to add your personal touches by playing with your choice of stain colors … making these DIY Bookmark Ideas with Butterflies your very own!
My choice of color and my inspiration for the moment was … coffee. I love using coffee with my projects because I love the subtle vintage feel this magic elixir adds to white paper. I sometimes even add cinnamon, just for the fun of it! Do you remember my DIY Faux Rusted Labels? You can definitely use that rusting technique here and make some coffee cinnamony dreamy bookmarks.
But, of course, depending on YOUR inspiration for the moment, you can use any other colors. Watercolors would also be a great choice here, but you can also use highly diluted acrylic paint, colored pencils, basically anything that you have around. You can add subtle highlights here and there or go crazy and paint some strong accents. Now that I’m thinking about it, gold acrylic paint might just be the next thing I’ll try with these beauties!
All the elements used to create these lovely bookmarks are from The Graphics Fairy – the stunning botanicals, all the French elements, the chic vintage frame and of course … the butterfly embellishments! The playful and fun brown and green butterflies that will take your reading adventures to a whole new level!
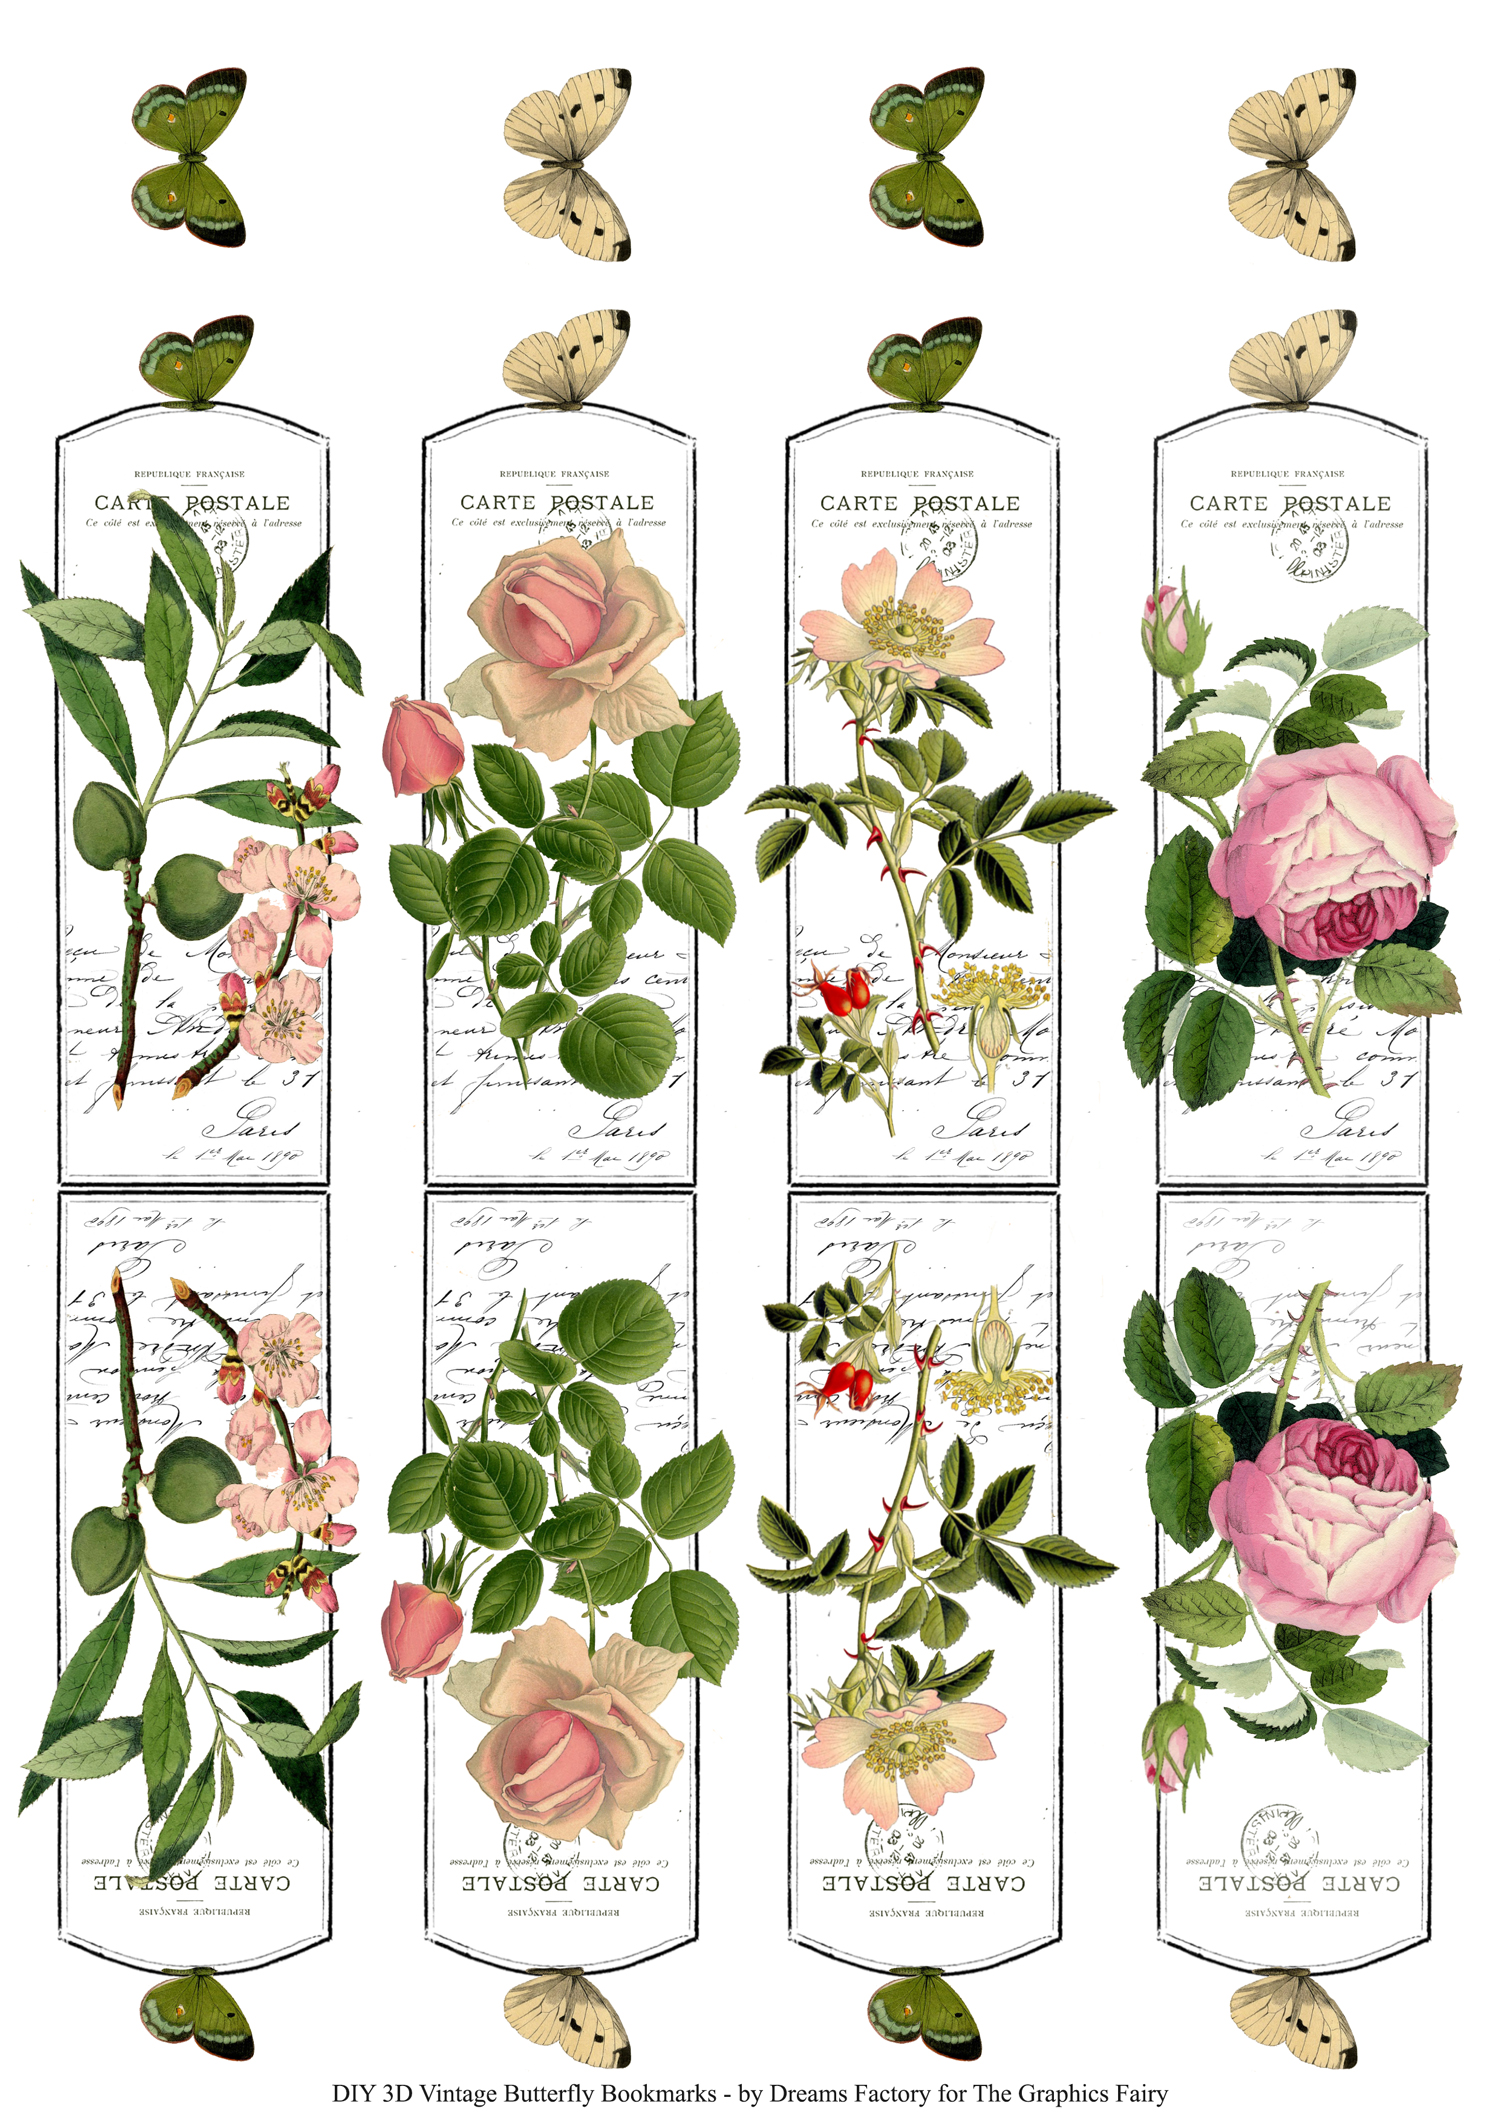
Free Printable Bookmarks
—-> Click HERE to Download the Full Size Free Printables PDF <—-
So let’s get started!
SUPPLIES:
- white cardstock
- laserjet printer
- scissors
- coffee (2-3 tablespoons) OR any other paint (watercolors, highly diluted acrylics, colored pencils), etc.
- paper towels
- a brush
- Mod Podge OR paper glue
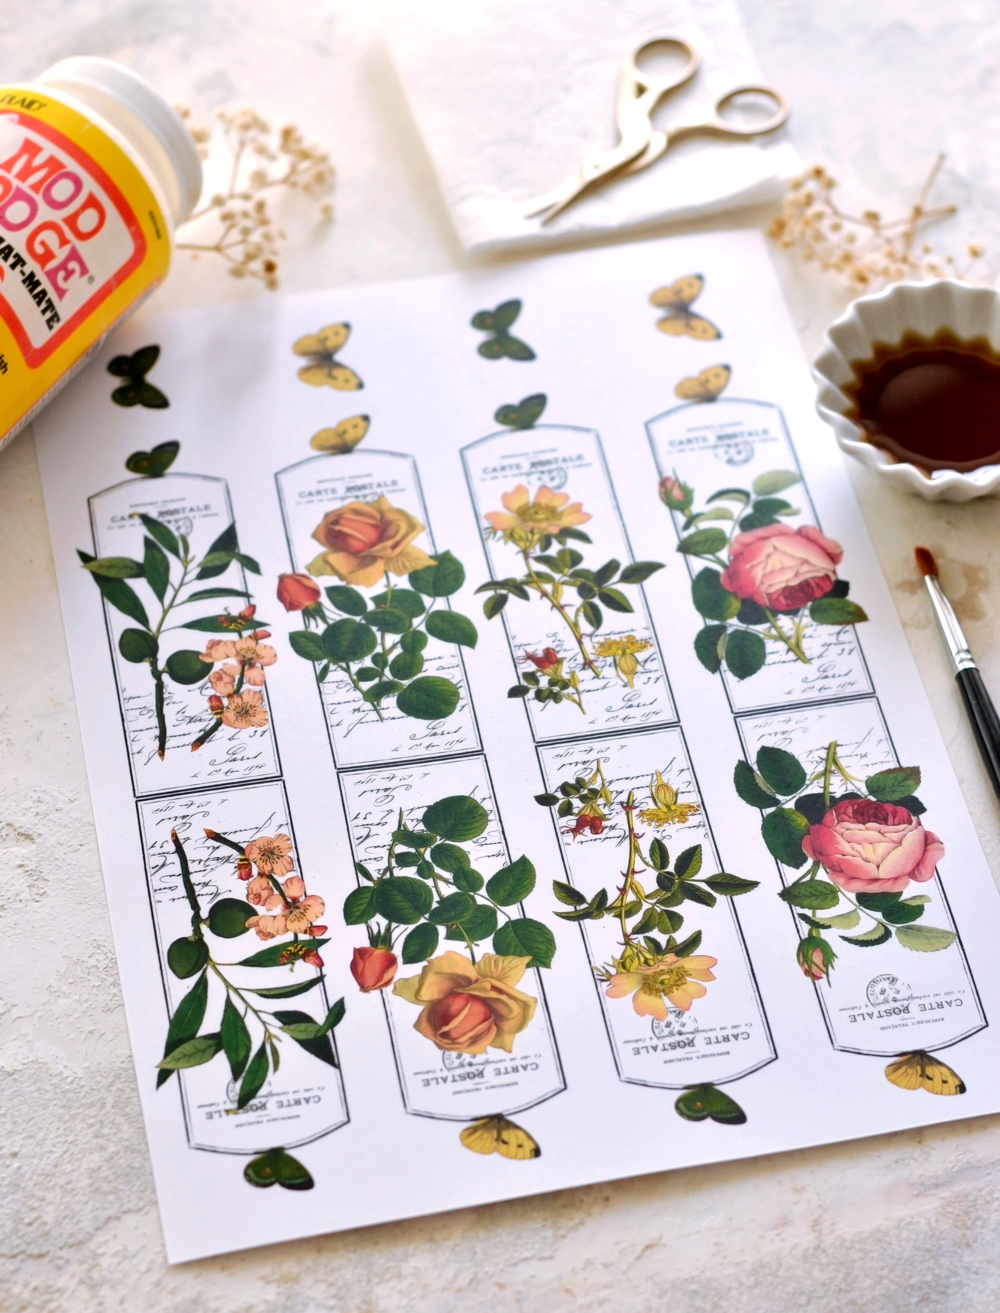
1. Gather all your supplies and print the beautiful printable. I recommend using card stock paper for this project, because the cute bookmarks need to be a little bit stronger so they would properly hold the 3D butterflies. I also recommend using a laserjet printer if planning on using coffee (or paint) to further decorate the images.
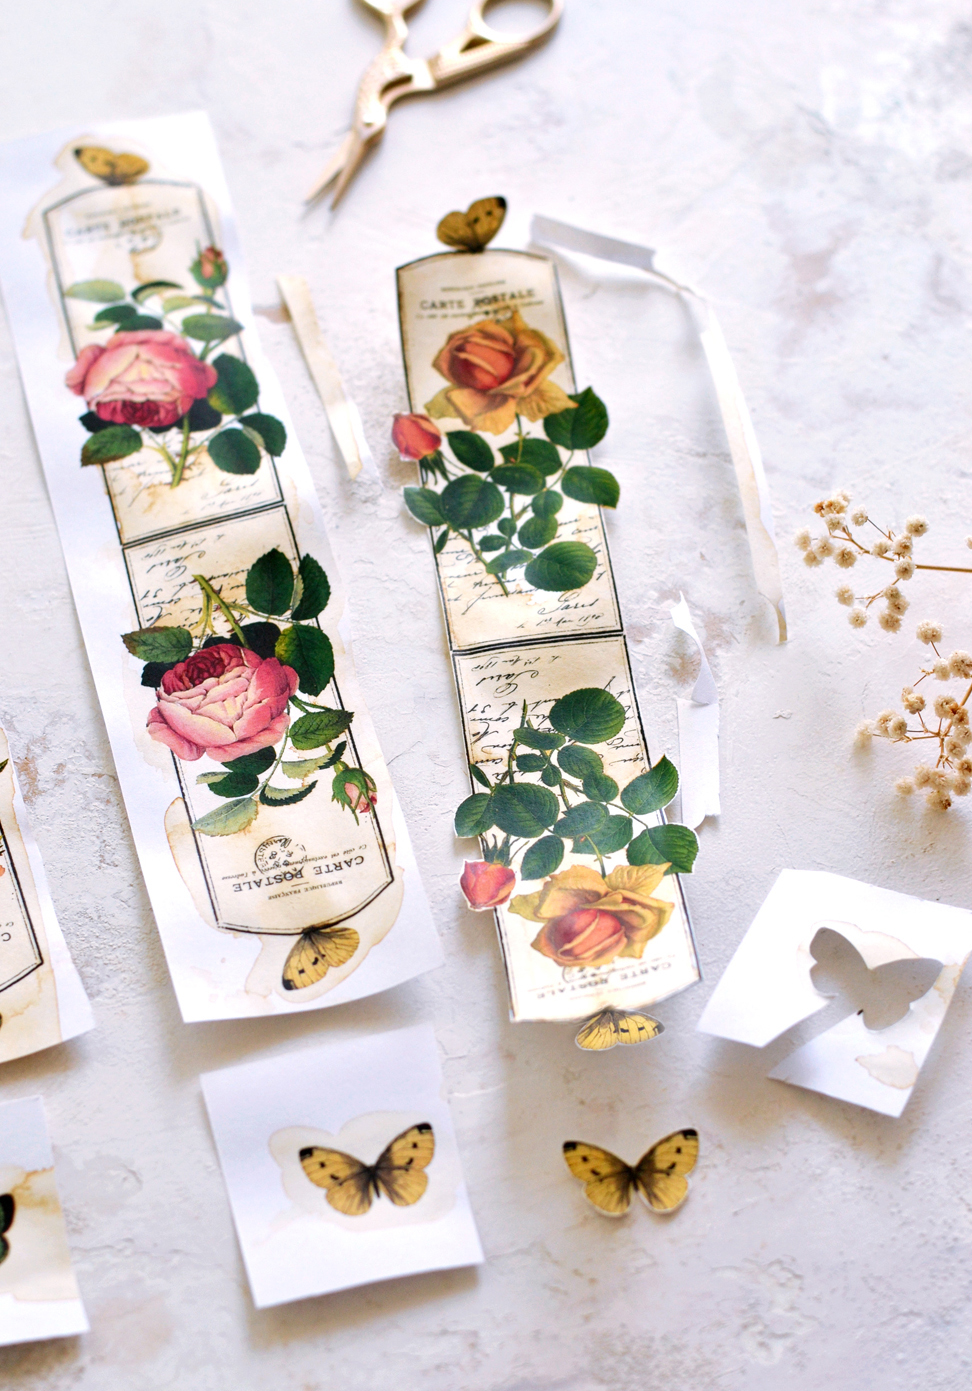
2. Roughly cut the bookmarks creating long vertical stripes with their corresponding butterflies. 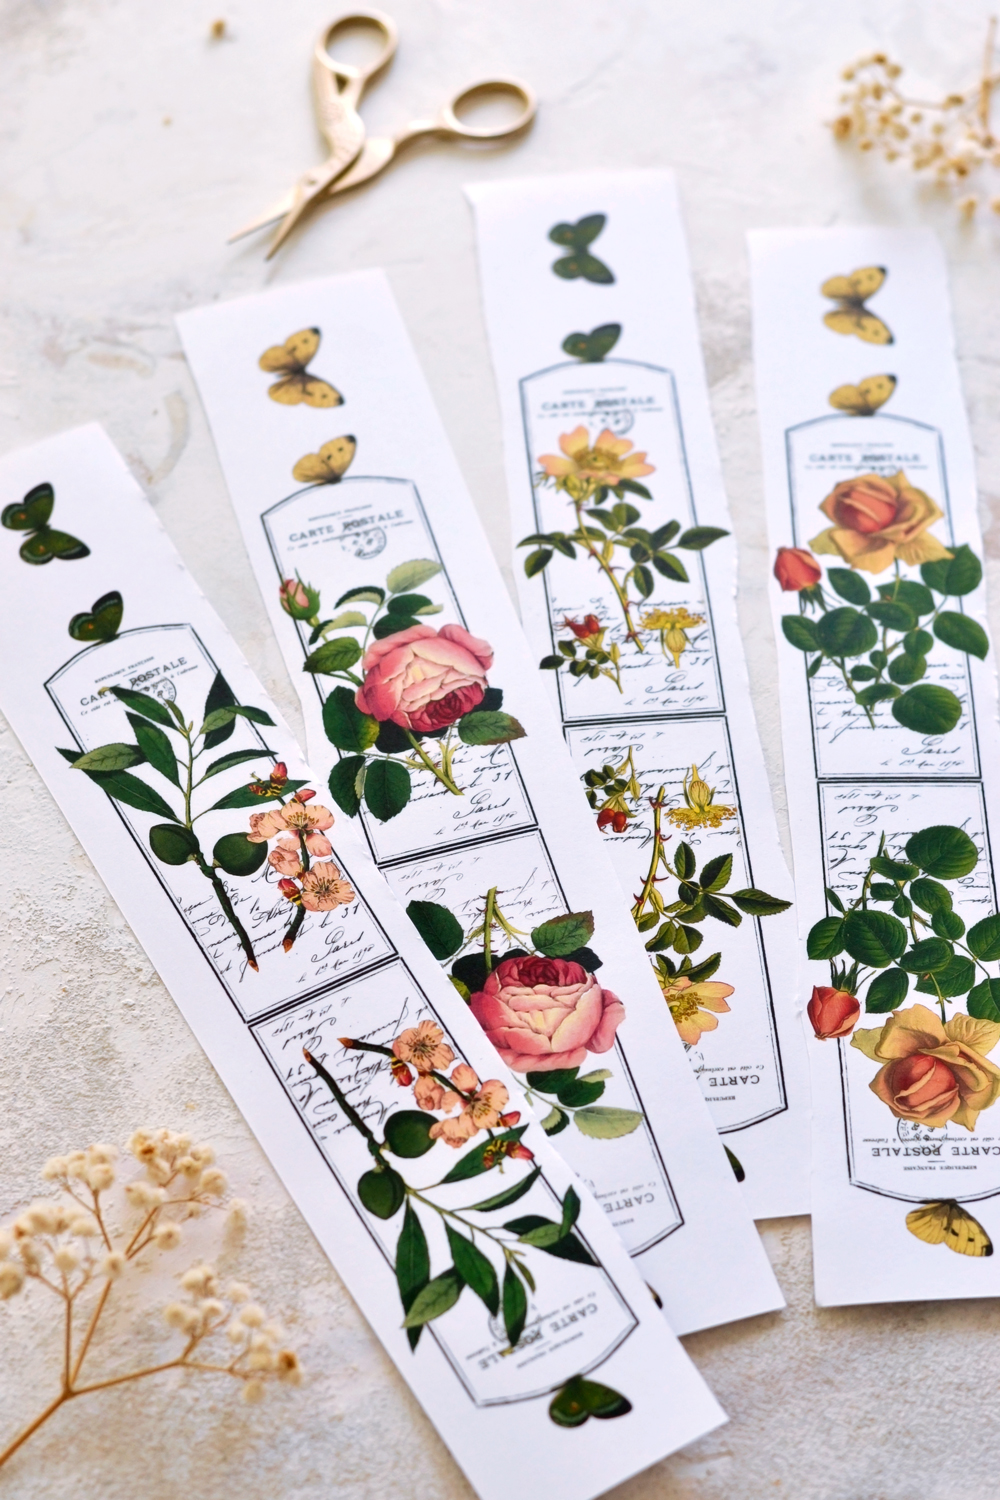
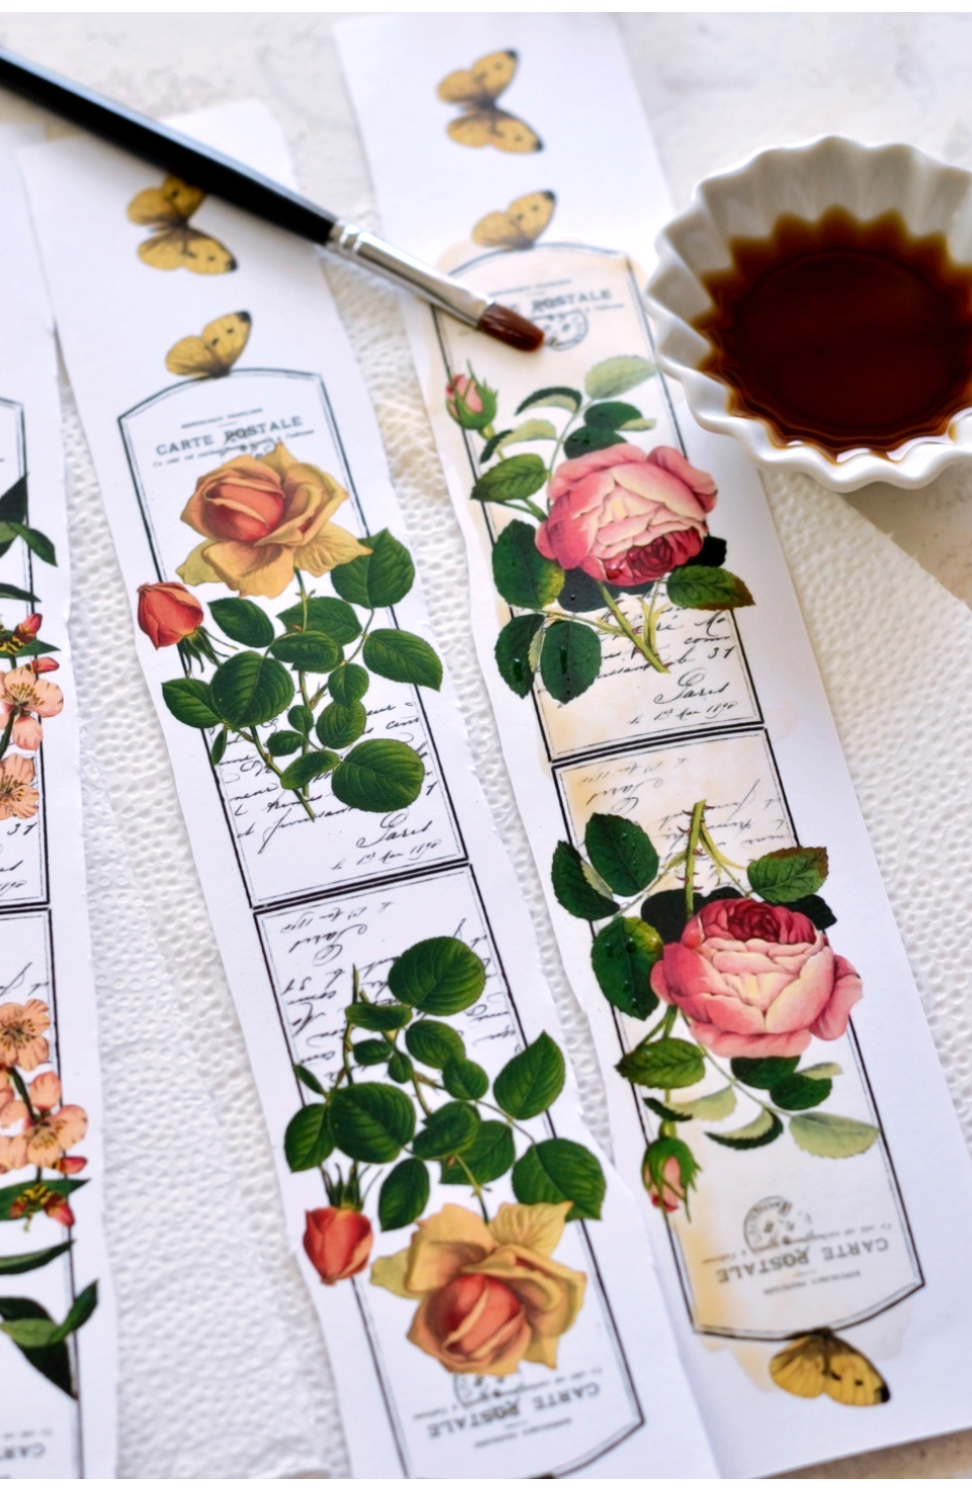
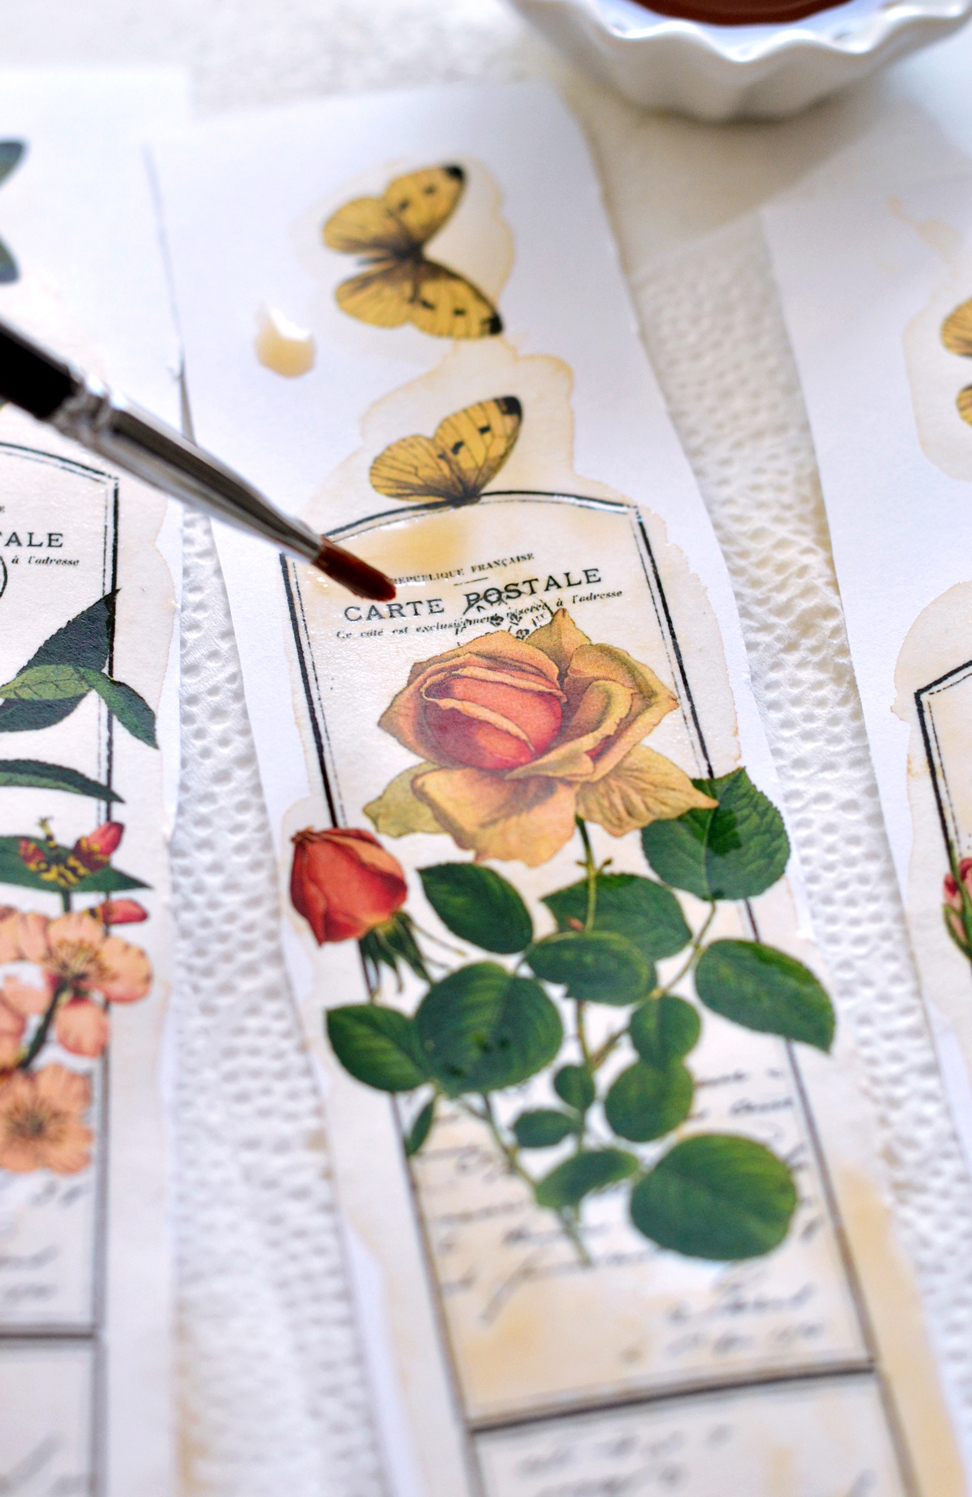
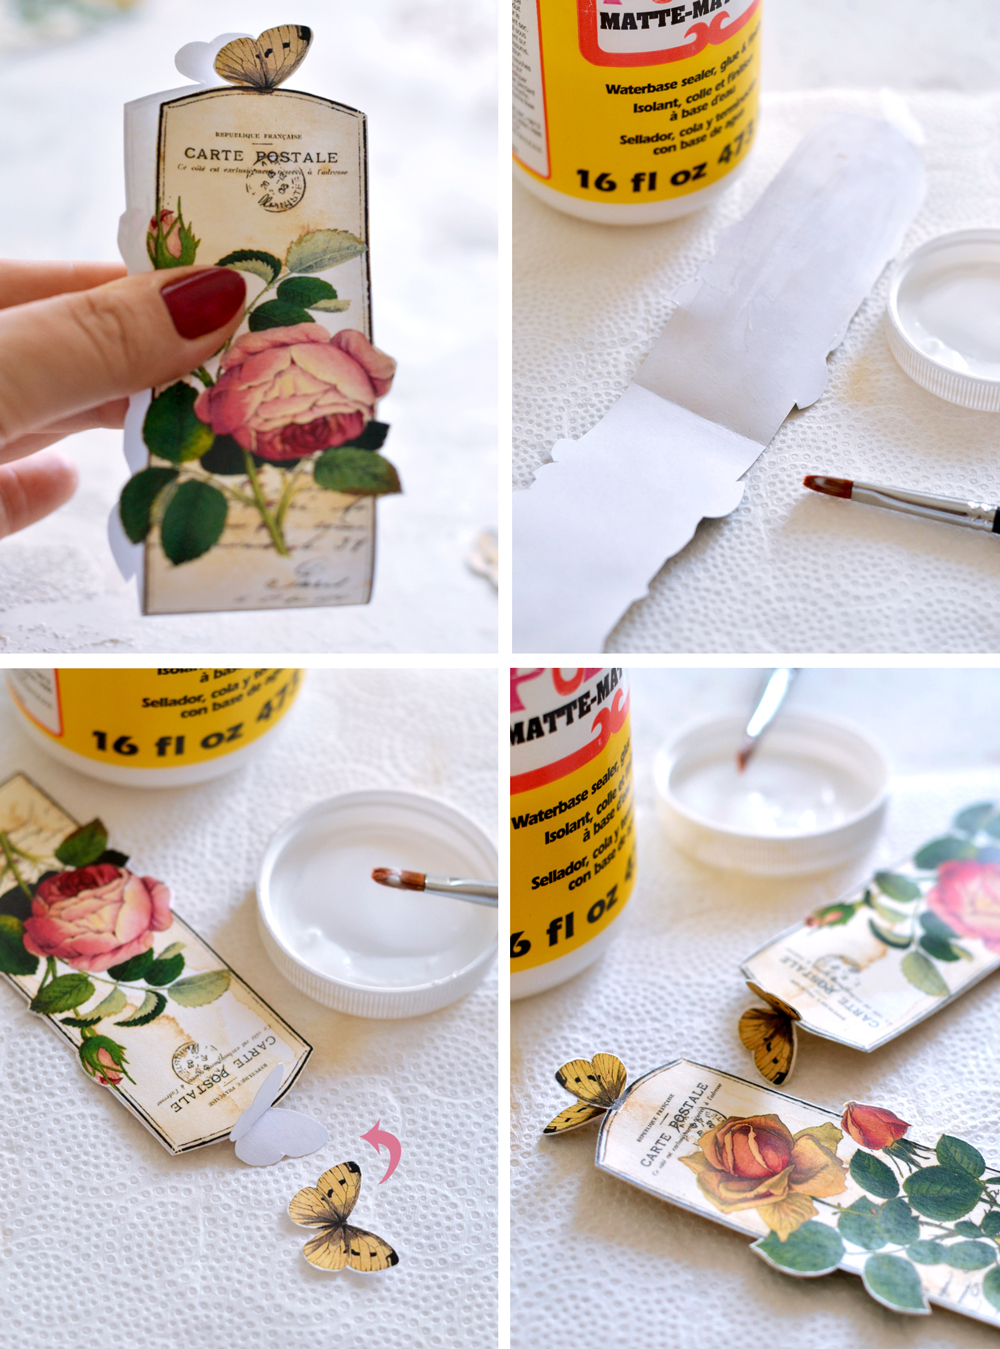
3. Put some paper towels on your working table to protect the area – we want coffee stains on our paper, not on our table! Use a small brush to apply coffee all over the design, both inside the frame of each bookmark and outside (following the frame, the botanical and the half butterfly’s contour). Start with a small amount of coffee and add more or less pressure with your brush, creating different highlights. You can even leave some areas coffee free, to create more interest. I normally add more coffee (or paint) on the edges and in some random areas I want to emphasize more. Just keep in mind that coffee will tone down after drying, so if you are not happy with the color, you can always add more ‘layers’ of coffee, after the first one has dried, until you reach your desired ‘coffeeness’. Don’t forget to add some coffee on and around the corresponding butterflies (the whole ones), so they would easily blend in with the rest!
Play, have fun and experiment… these are the only thoughts you need on your mind right now!
NOTE: If you don’t feel like coloring and want to skip the whole painting part, just move to step 5!
4. Let the coffee stained paper air dry … or if you are feeling really anxious, just use your hair drier, like I did!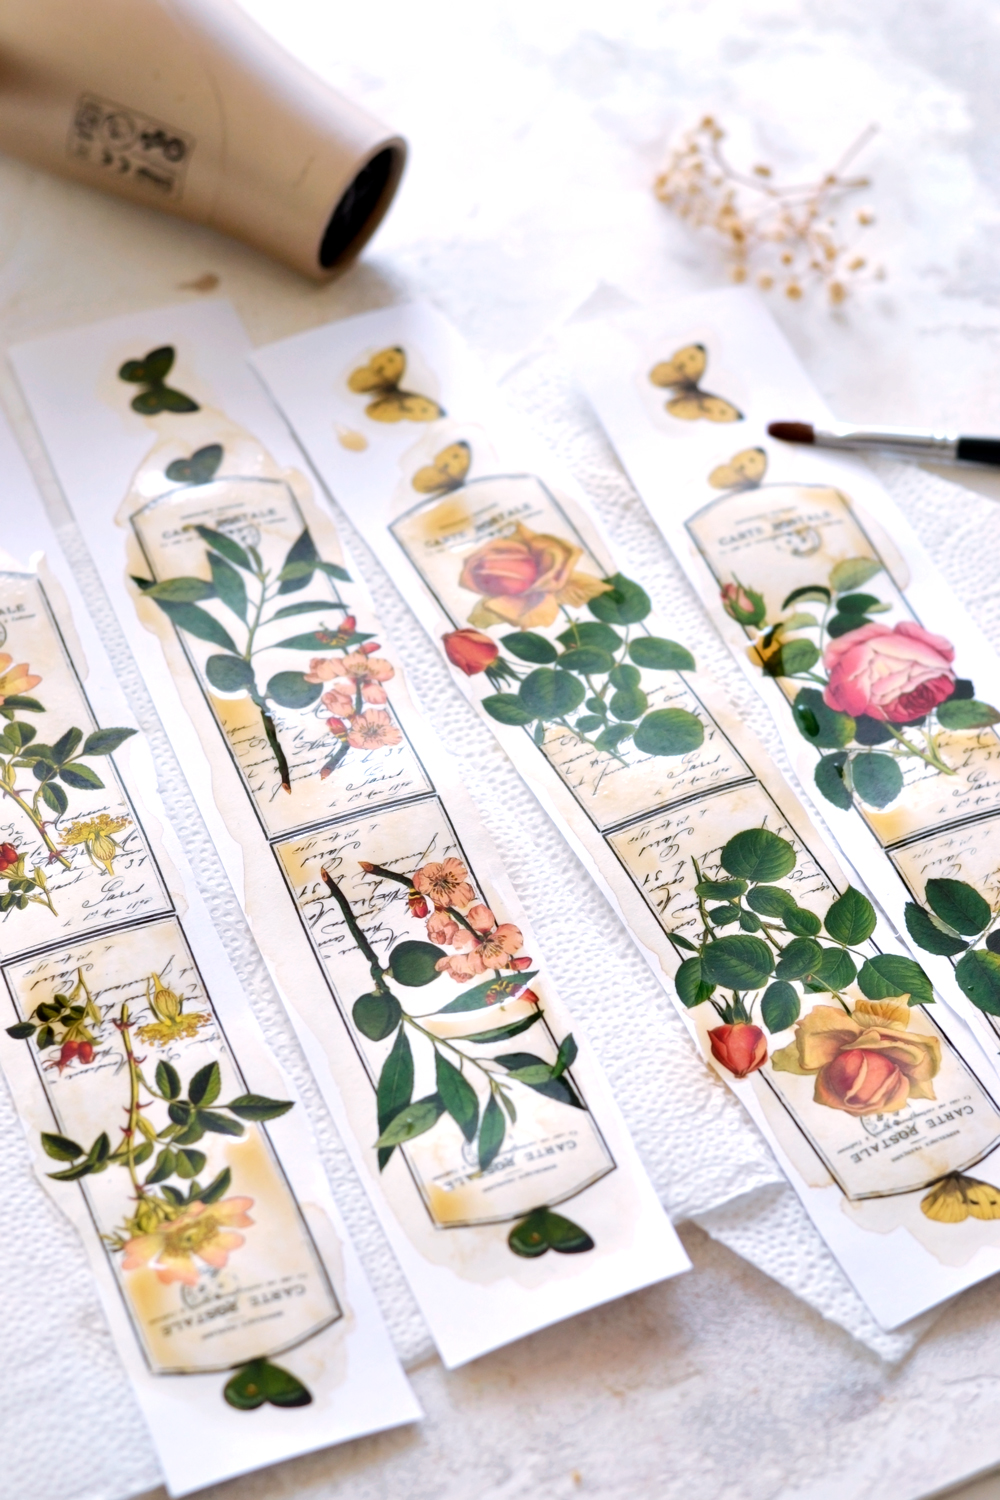
5. Use your scissors to cut each bookmark, following the line of the vintage frame, the outside contour of the botanical and the shape of the half butterfly. Your bookmark will practically be one piece of paper with a regular and an upside down design – all in one piece, and separately – its corresponding (whole) butterfly. Take your time when completing this step, you need to follow the shape of the design as close as possible so that the two upside down images would harmoniously overlap afterwards.
Follow the same steps for all the bookmark templates.
6. Take a bookmark and fold it in half, trying to perfectly overlap the elements of both sides. Press it with your fingers on the lower part to create a crease.
7. Unfold the bookmark and put it on your table with the design facing down (use paper towels to protect your surface), then use a small brush to apply Mod Podge on all of the white surface, EXCEPT on the half butterflies.
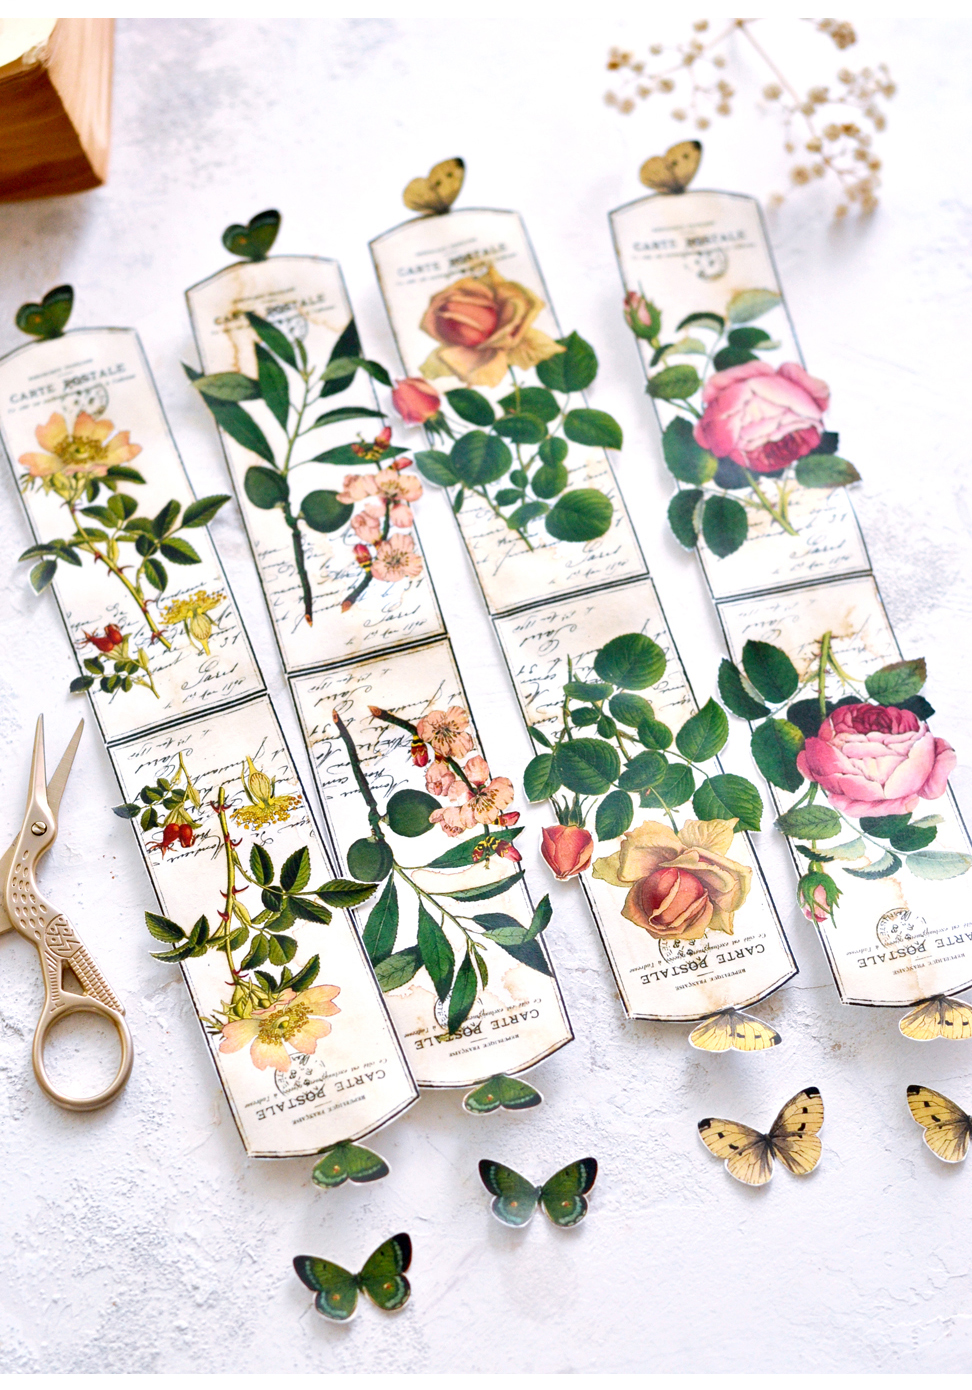
8. Gently overlap and adhere the 2 sides of the folded bookmark together – start from the half butterfly and slowly press and go down with your fingers. Now add Mod Podge on each of the white surface of the half butterfly and gently glue your whole butterfly on top. You have successfully created your first 3D butterfly!
9. Do the same for all the bookmarks and let everything dry completely before using.
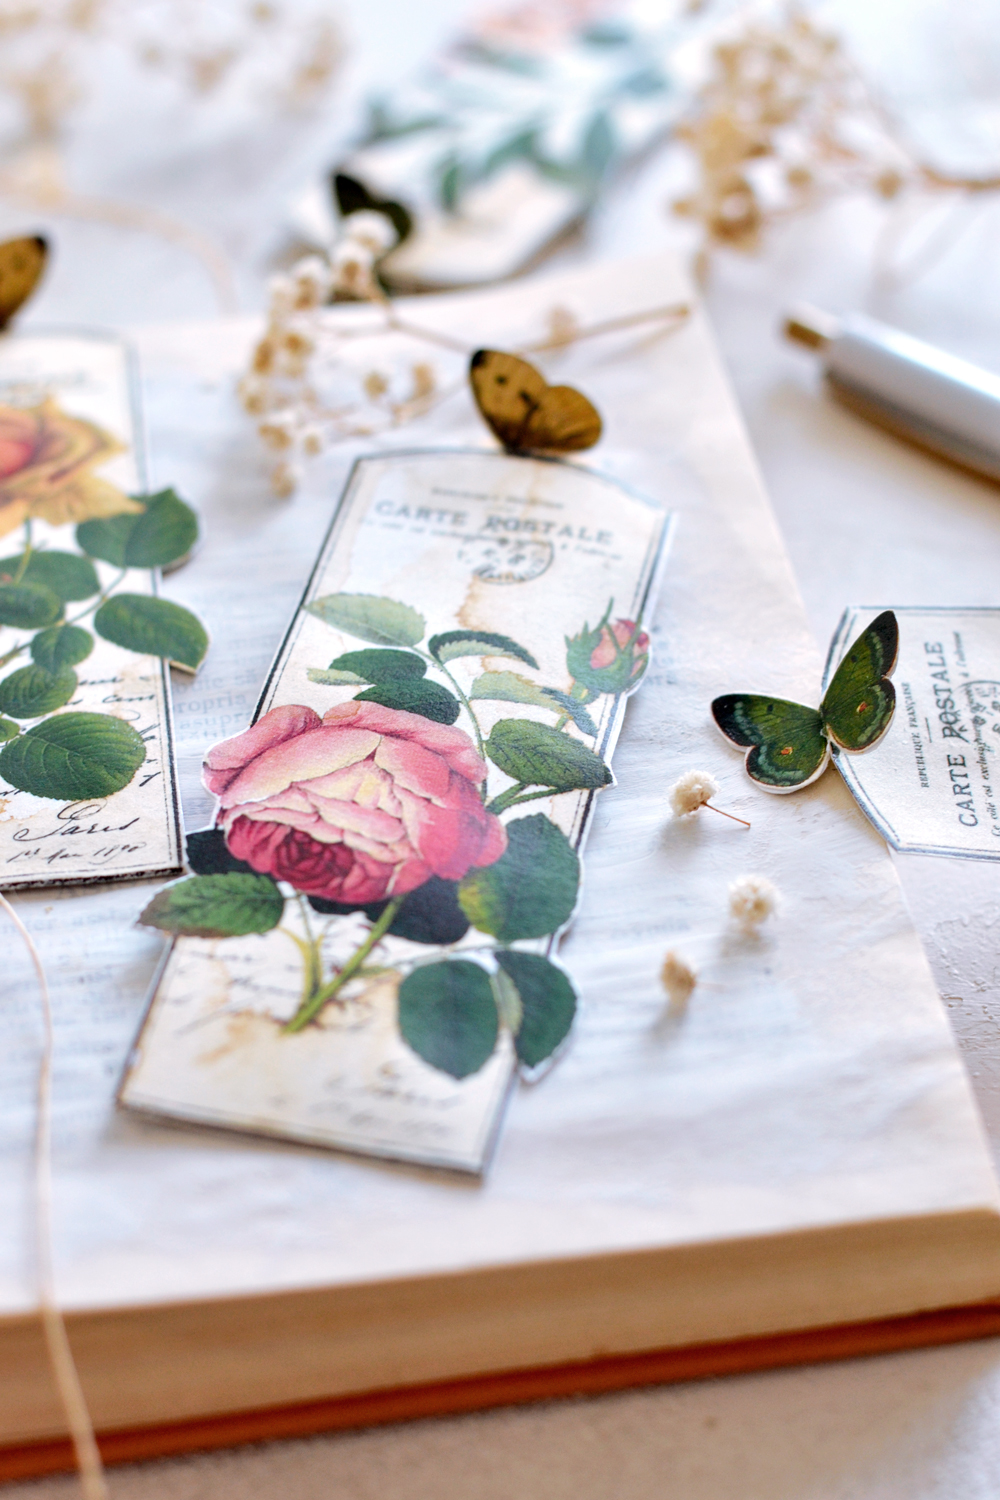
Your new DIY 3D Vintage Butterfly Bookmarks are ready to fly awayyyyy!
Can I just shout it to the whole world that this project here is definitely one of my all time favorites? I have a slight tendency of saying that about all my projects, but I guess that’s just how you feel when you love what you do. Or is it when you do what you love? Either way, I hope you get a taste of this amazing feeling in your everyday life (if not, what are you waiting for?!) … because it’s truly such a liberating and powerful feeling! I had so much fun making the different designs. 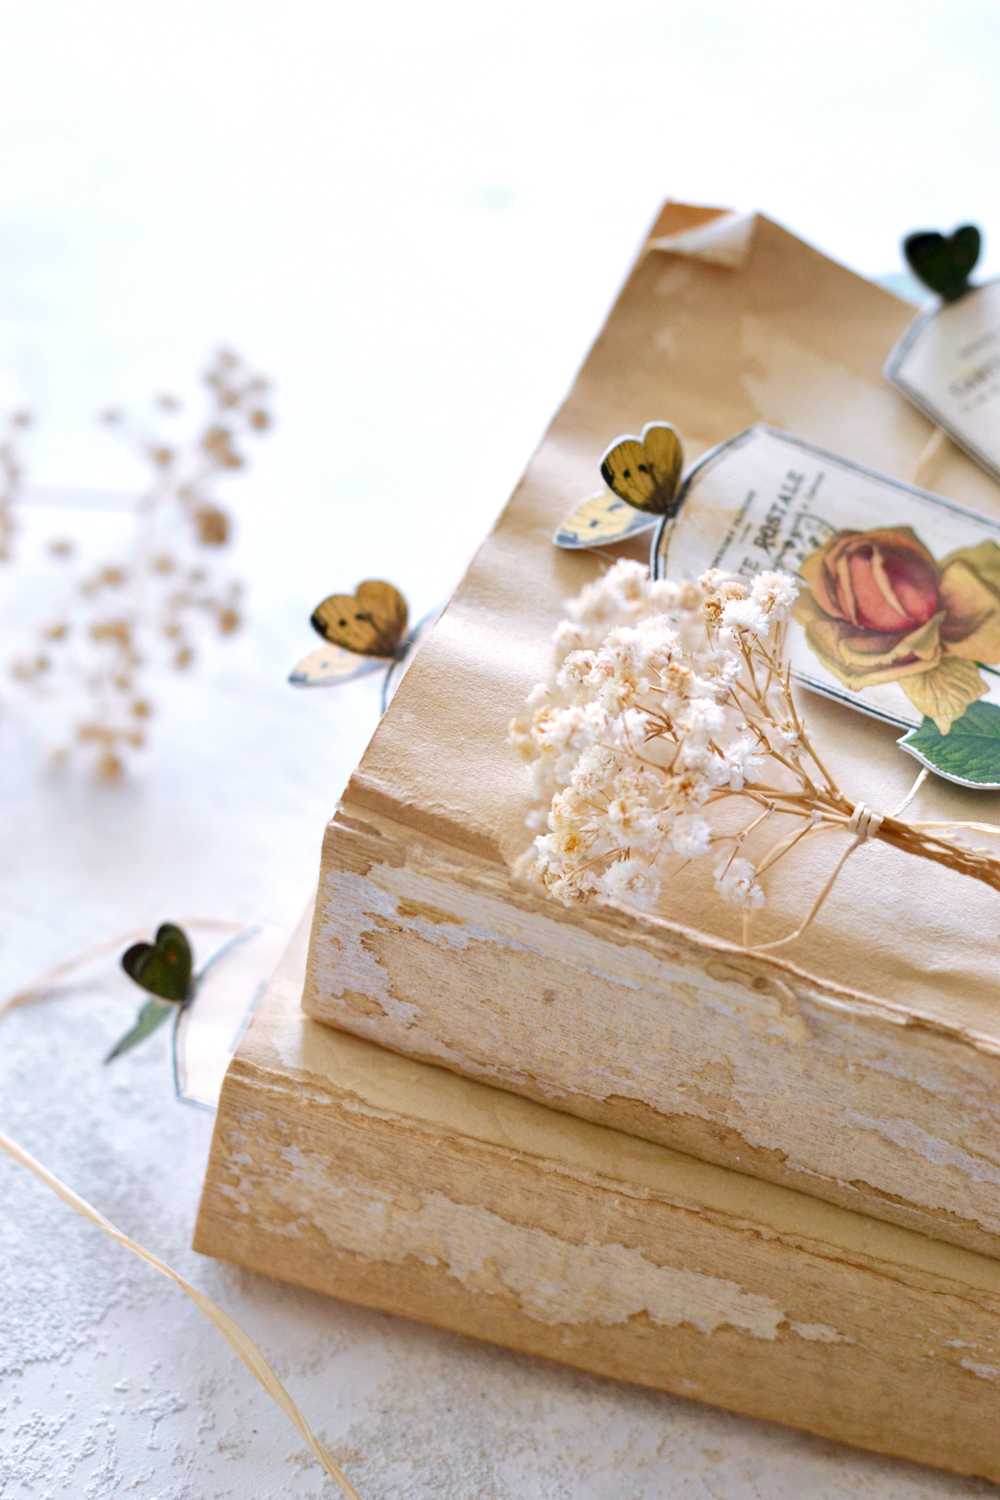
Don’t expect the Bookmarks to turn out just perfect, because they won’t! There will be small imperfections here and there and maybe not all the elements will perfectly overlap its correspondent on the other side. But that’s OK, you know how much I love embracing the small imperfections in my projects and how I always encourage you to do that too!
Imperfections are fine, they only make our handmade paper craft so much prettier!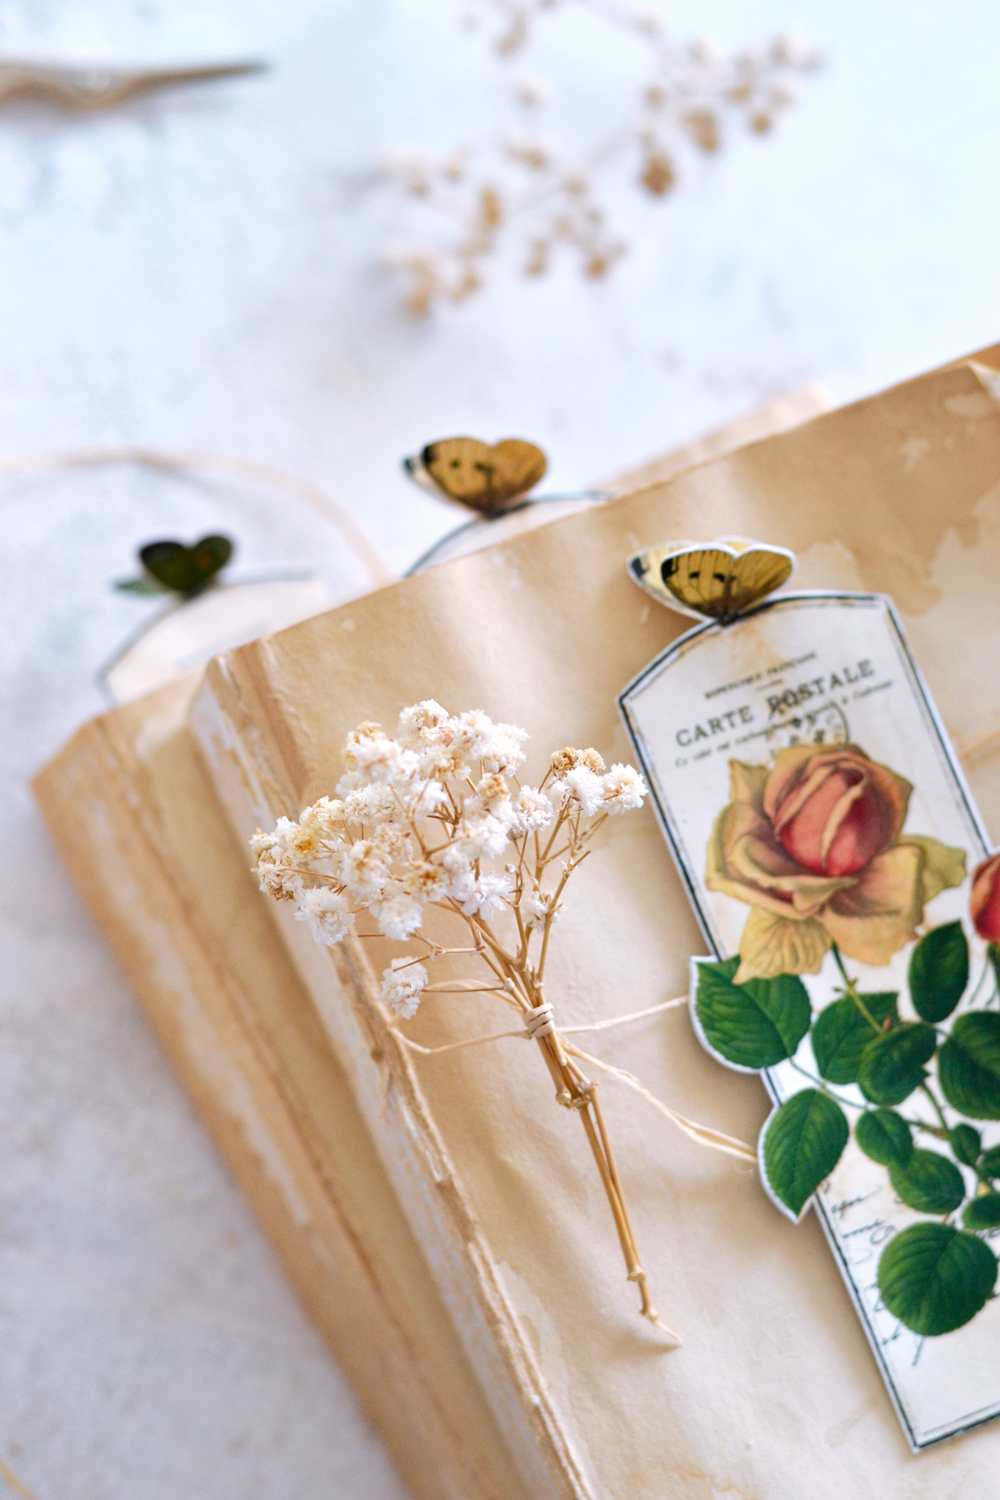
Give this project a try and use your Homemade Bookmarks on the actual books you are reading, your journals, planners, but don’t stop there! You can use the bookmarks to add pretty 3D butterflies to other good books on your shelves, you can include them in your chic vignettes or include them in unique gifts for family members or friends! You can even make them with or for your kids, school days will definitely be more fun! I’m sure they would be a welcome gift for your book club friends too.
You might also want to check out my DIY Magnetic Bookmarks HERE or the Beautiful Stained Glass Window Bible Bookmarks that I made HERE.
Have fun creating!
Diana / Dreams Factory



Jean says
These are beautiful! Is there a way to place your own message on them without messing it up? I would love to use these as a memorial marker for a family member who passed away. just add her name and dates to pass out to the few people who will attend her memorial?
Thanks!
Karen Watson says
Hi Jean, So sorry for your loss. 😢 What a lovely idea though to honor your family member. My thought would be that maybe you could print out some small address labels, with her name and the date on them instead of an address. And then adhere them over the script on the very bottom portion of the bookmark, just under the flower. Another option would be to print out her name and date on some small pieces of paper and then you could paper clip it to the bottom of the bookmark. You could perhaps find a decorative paperclip that would make it even more special. I hope that helps!
Nell says
I you have Photoshop, could you type right on the project? Or save as a word document and type on it? I think these should work. Worth a try.
Karen Watson says
Hi Nell, Yes, you should be able to add text using your favorite editing program. Or you could even hand write on them as well. Give it a try! It’s just paper so if it doesn’t work out, you can print another page and try again.
Linda Fuller says
What a wonderful gift this project is! Thank you SO much for sharing, complete with easy-to-follow instructions.
Karen Watson says
We’re so glad you like it Linda!
Katarina - Sukhirugs.com says
These are breathtaking! They look so alive and fun just to look at, let alone as a part of the decor. It’s clear that a lot of time and energy went into making them, but all is worth it when you get something cute like this in the end. Thank you for so much for sharing this beautiful project!
graphicsfairy says
Thanks so much Katrina, Diana is so incredibly talented!!
Linda C Greiss says
So beautiful! Thanks!
graphicsfairy says
Thanks so much Linda!
Tonya says
These are gorgeous! Thank you. Can’t wait to make them
Karen Watson says
Have fun creating these pretty bookmarks Tonya!
Donna says
Oh these are just perfection !! Thank you for sharing .. I am off to gather supplies ????
Karen Watson says
Have fun making these Donna!
Diane Powell says
Beautiful! Thank you.
Karen Watson says
🙂
Lady_D says
These are so beautiful! I have completed the first two bookmarks (those that print on the lefthand side of the page.) I used Elmer’s School Glue because my bottle is about done… there’s only 25% left.,, but plenty for the other two bookmarks.
graphicsfairy says
Good for you Lady D, have fun with the others!
Tamalita says
I think these are just about the most beautiful bookmarks I’ve ever seen! thank you!
graphicsfairy says
Thank you Tamilita! I am so glad you like them 🙂
Paula from Texas says
Love, Love this idea!!
Great Christmas, BD, Mother’s day gift ideas!!
And the bookmark possibilities are endless…
really love the 3D butterfly emerging on top of book!
Thank you!!
graphicsfairy says
Thanks so much Paula, they will make amazing gifts, have fun creating!
Loretta Houben says
These are very beautiful and I will give them a try! Thank you!
graphicsfairy says
Thanks so much Loretta, I hope you have fun making them, happy creating 🙂
TammyK says
This is so sweet! Love the way butterfly sits on pages -I’m gonbactry this for my daughter-she loves butterflies-thanks for sharing!
graphicsfairy says
Oh yea! So glad you like them and can use them for your daughter, I am sure she will love it!
Jeanine says
The bookmarks are absolutely beautiful!
I am New to your website!
graphicsfairy says
Hi Jeanine and welcome! I am so happy you like them and that you found us, enjoy 🙂
Jan Brown says
What a beautiful project, and so easy to make!
graphicsfairy says
Thank you Jan I hope you enjoy making them!
KT Fit Kitty says
These are beautiful! Thank you so much for sharing!
graphicsfairy says
Thanks so much KT, so happy you like them!