
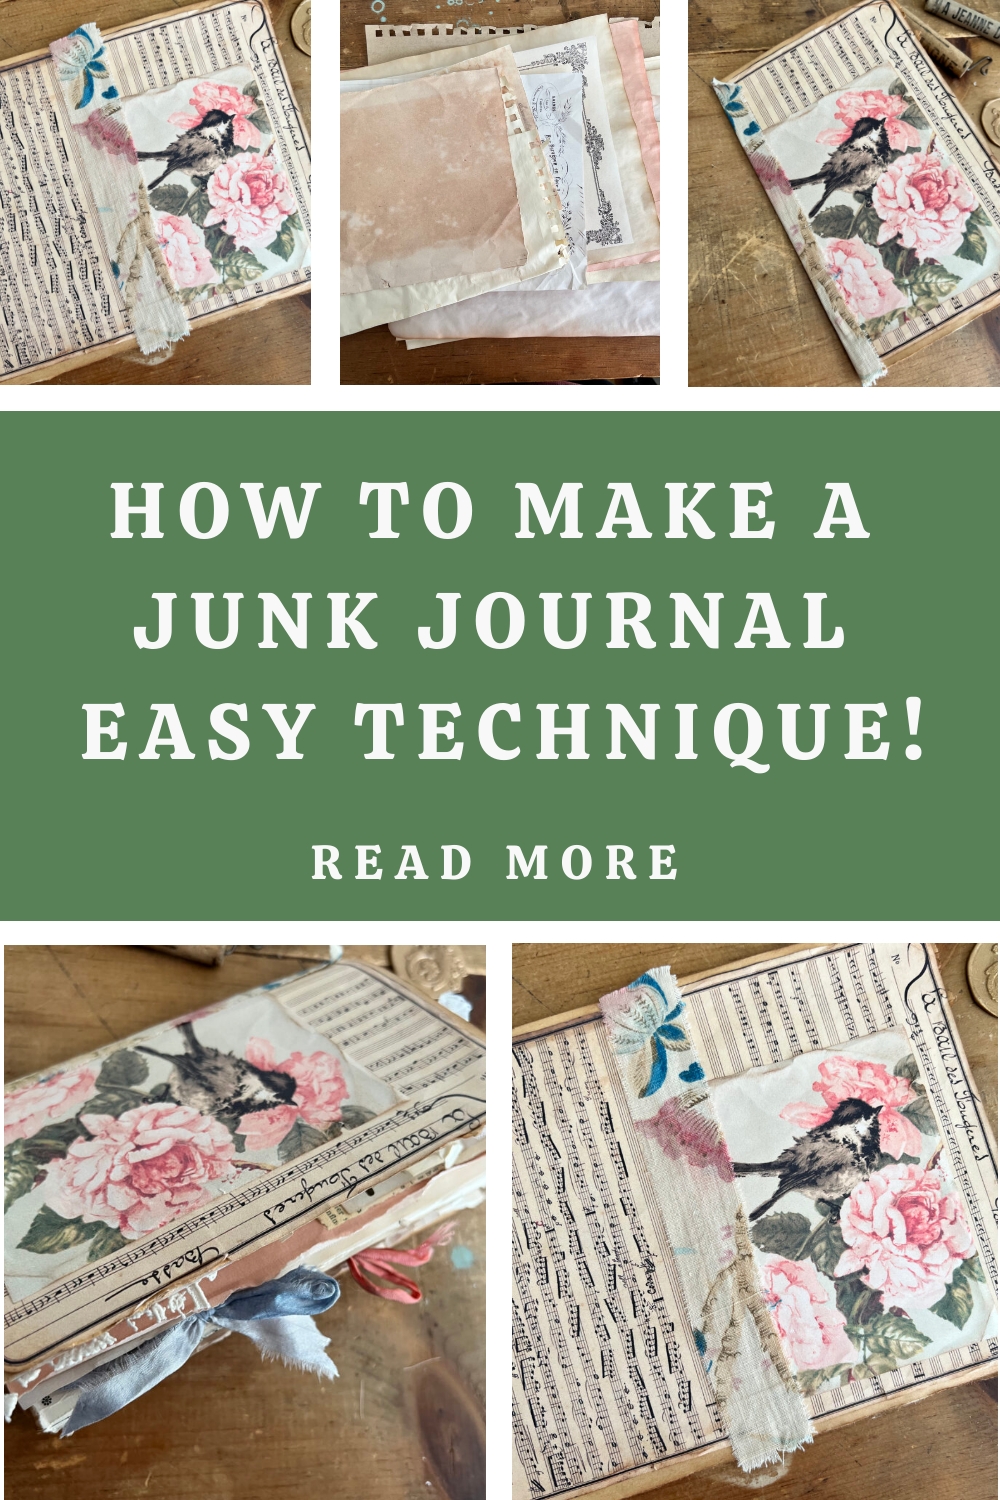
How to Make a Junk Journal
Hello creative friends! I am Heather from Ruby & Pearl xo. Today we will be learning how to make a Junk Journal from start to finish! This 3 part series is easy to follow and a perfect way to learn how to create a journal of your own! This is a mini free online course to get you up and running with your first journal. It’s perfect for a beginner, but even if you have already been crafting your own junk journals for awhile, you will hopefully still find lots of inspiration.
 A junk journal in its simplest form is a handmade journal created using an eclectic mixture of various papers and ephemera. There are usually pockets, tuck spots and scraps of this-and-that clipped to the pages. It is the perfect place to write your thoughts, tuck your photos or fill with whatever makes you smile!
To get started we will begin assembling the cover.
How to Make a Junk Journal Supplies for Cover:
Kraft Colored Cardstock (I am using 65lb)
Scissors
Printed Images (see links at bottom of post)
Fabric Strip
Instructions:
The first step is to cut your cardstock to size. For this journal I will give you my measurements but you can adapt this to whatever size you like.
To create the base for the cover, measure with a ruler, and cut a piece of kraft colored cardboard to 9” horizontal x 7” vertical. Tearing the edges of the cardstock instead of cutting with scissors creates a pretty organic look too. Once you have your base cut out.. You will fold it in half and crease with the back of your scissors to give a nice crisp edge.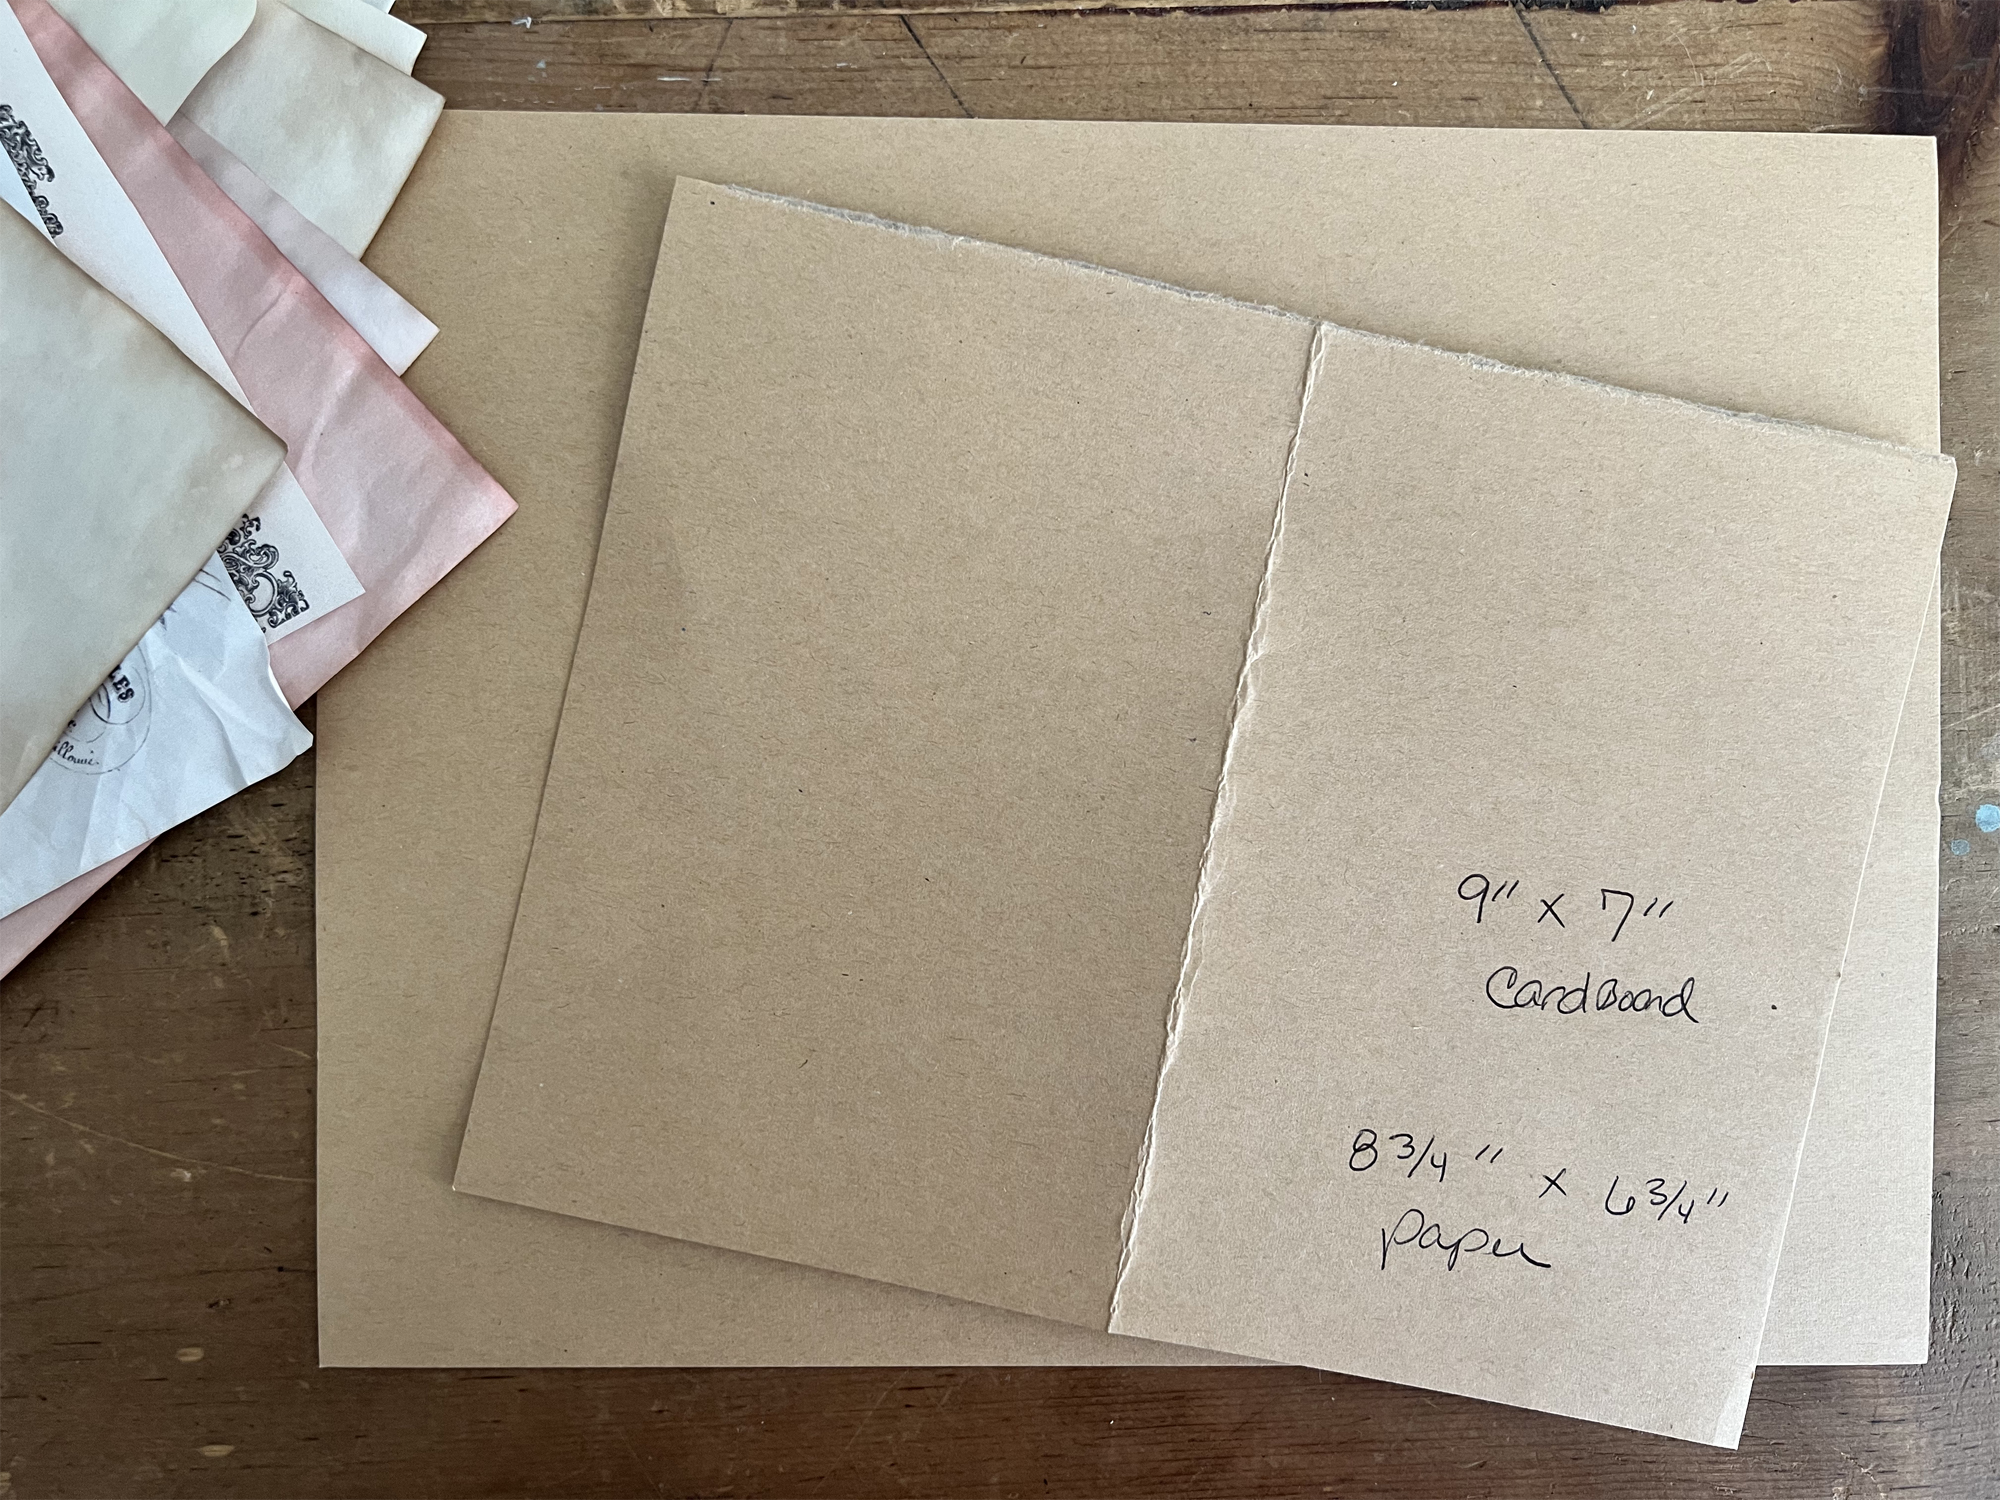
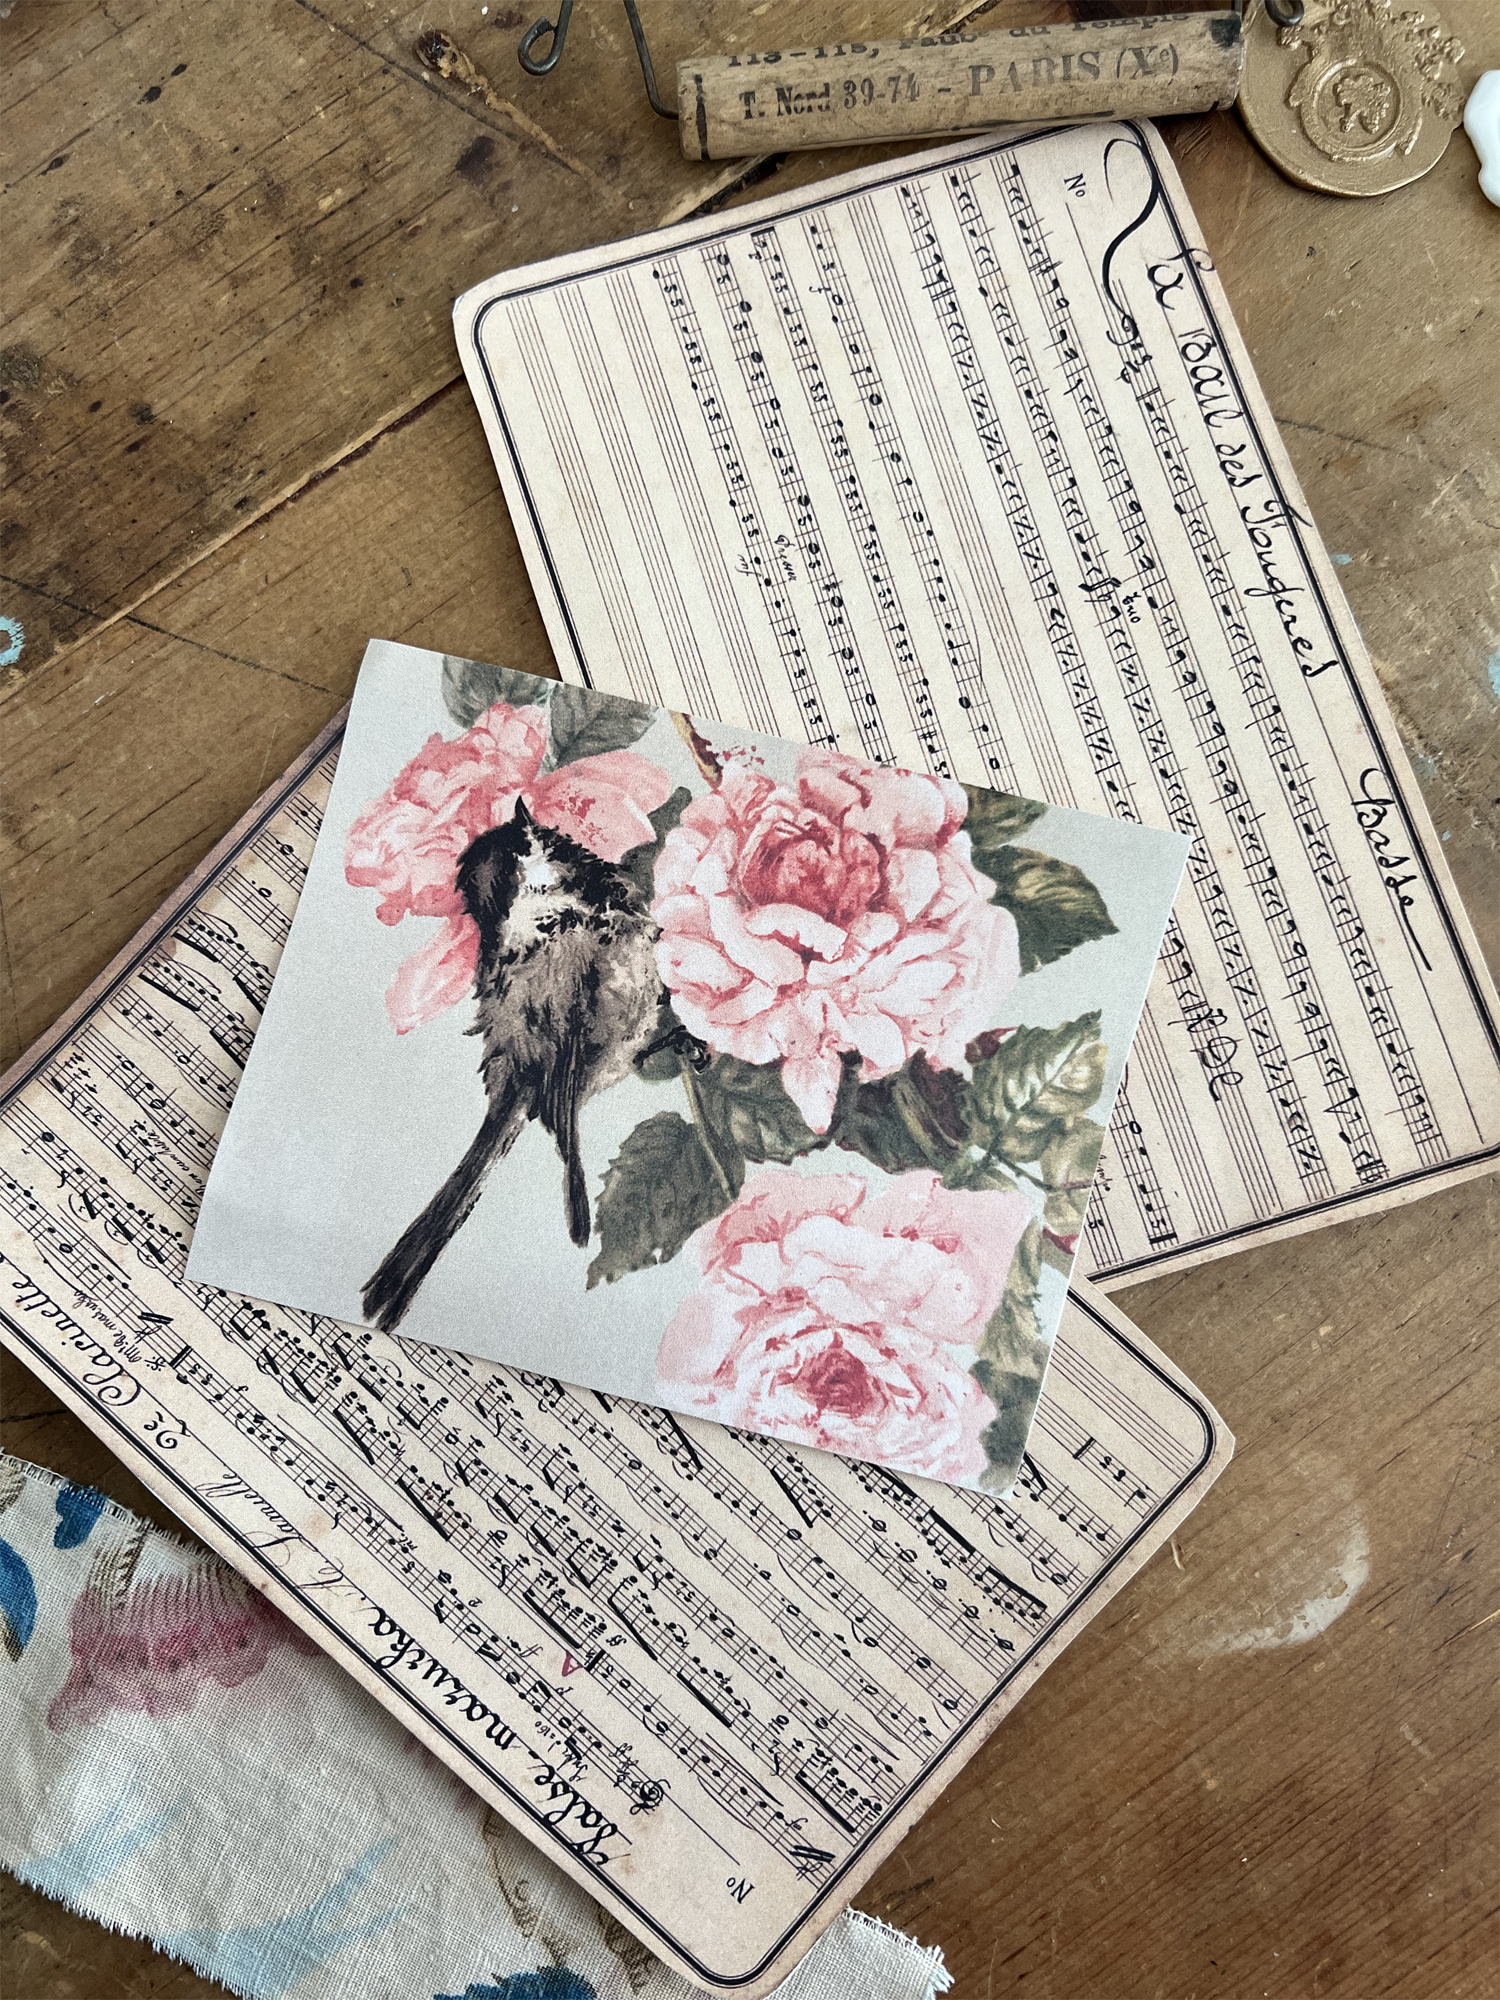
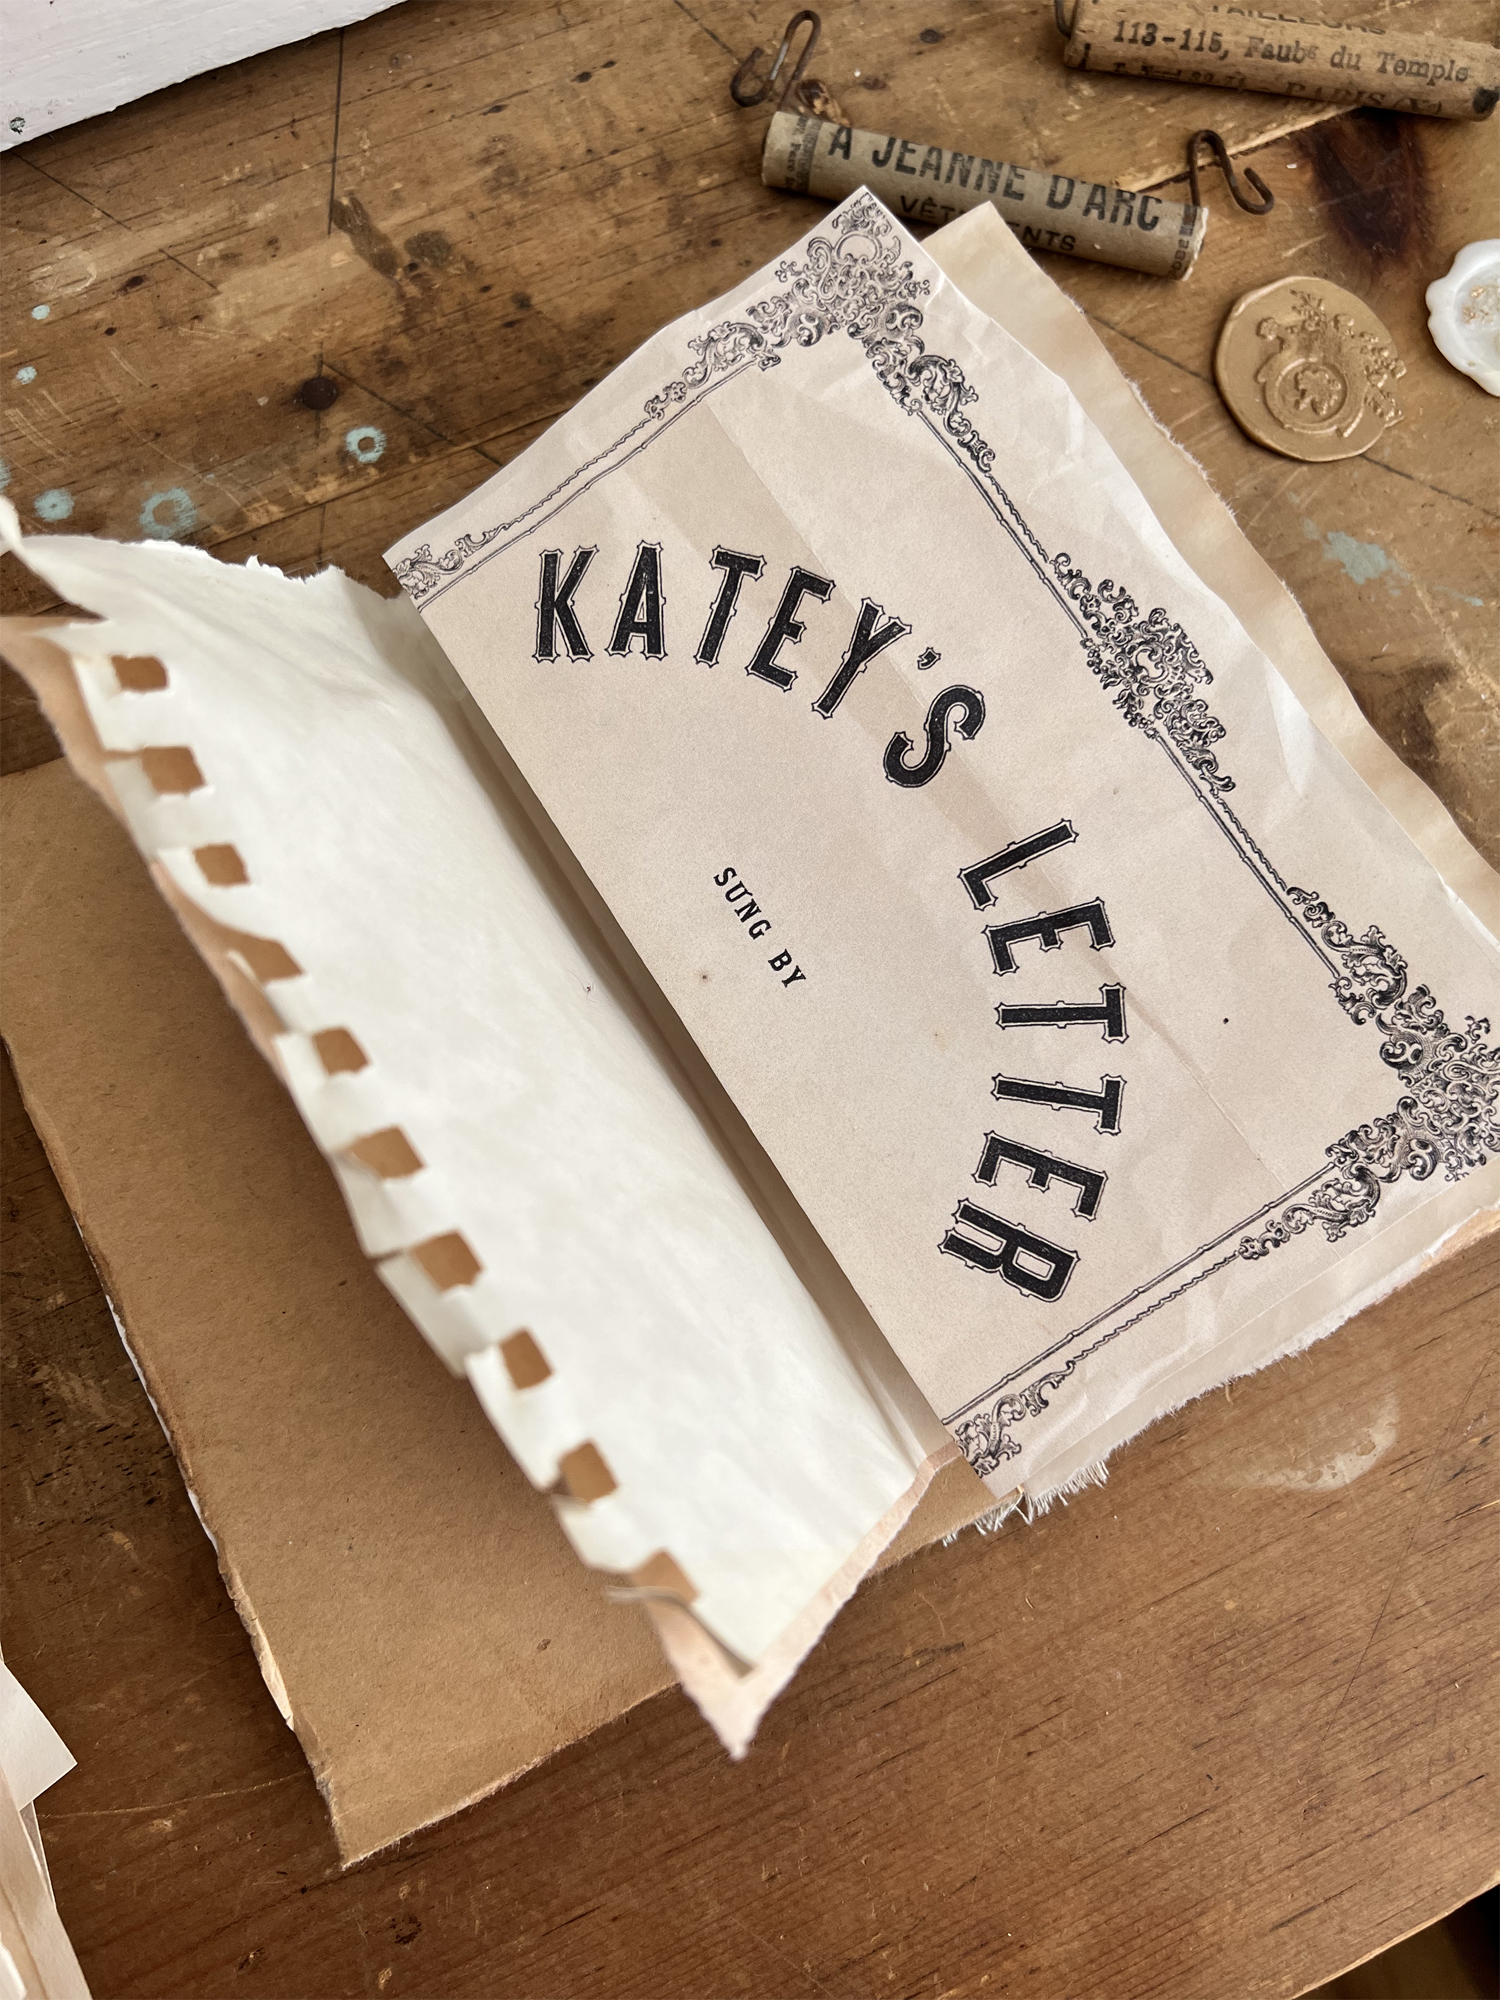
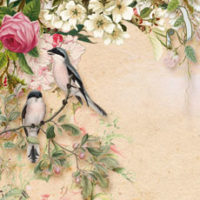
Next we will be using these 2 pretty vintage music pages from the Graphics Fairy and also the little bird image to add to the front cover.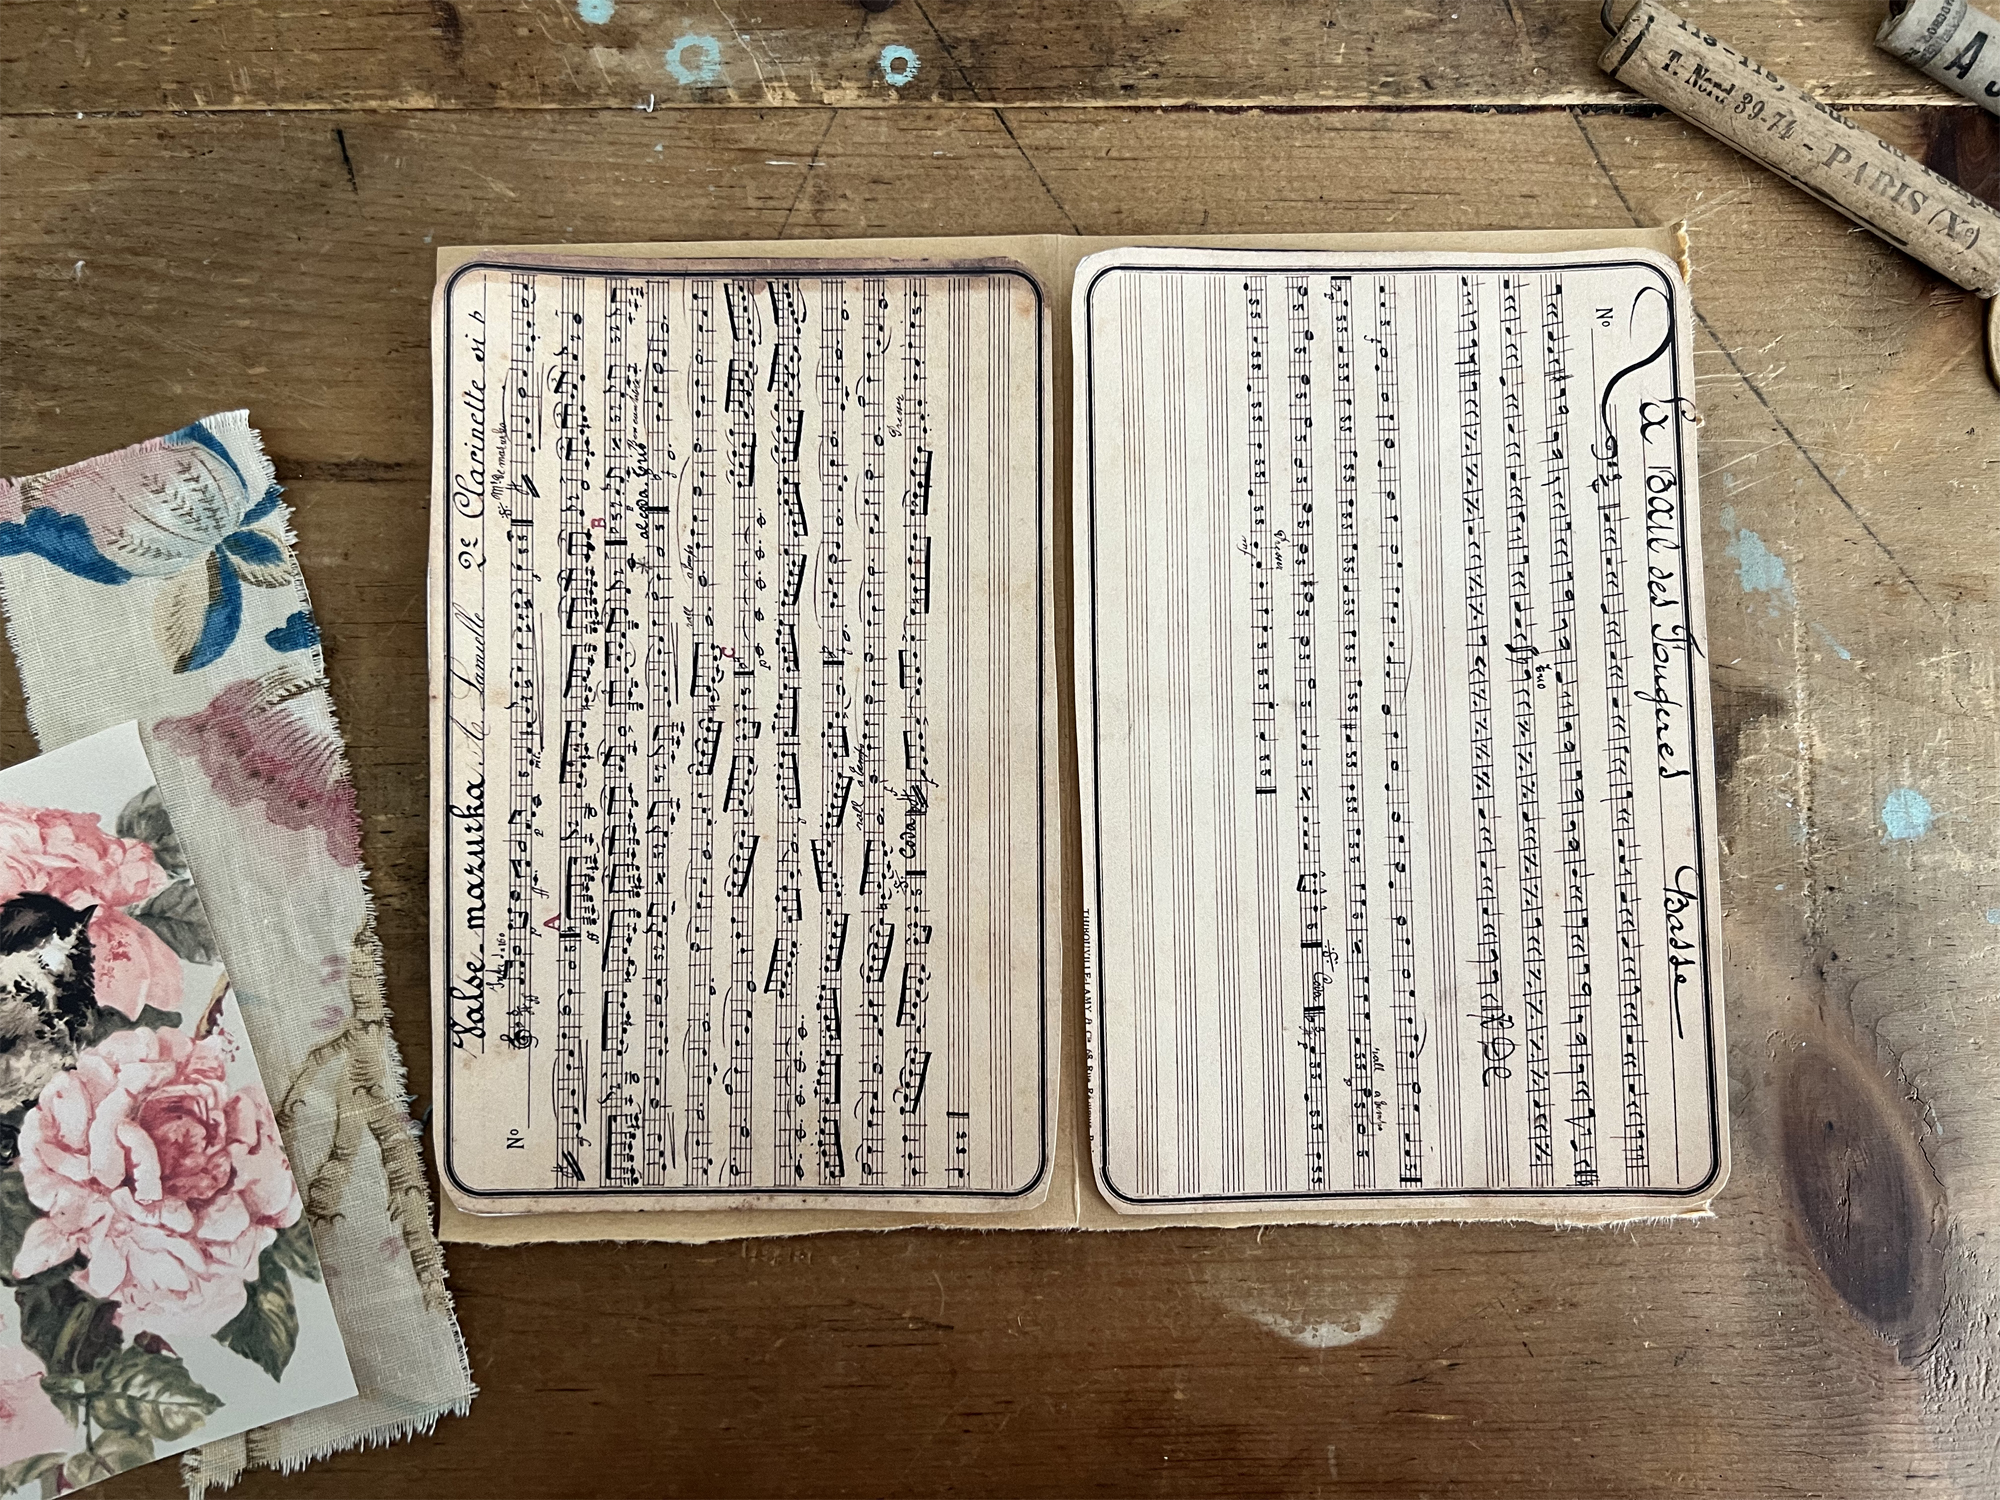
I used some distress ink along the edges of the images and also crinkled the paper along the edges with my fingers to give them a worn and imperfect look. I printed these at 5” x 7” size on my printer. They are the perfect size for our journal.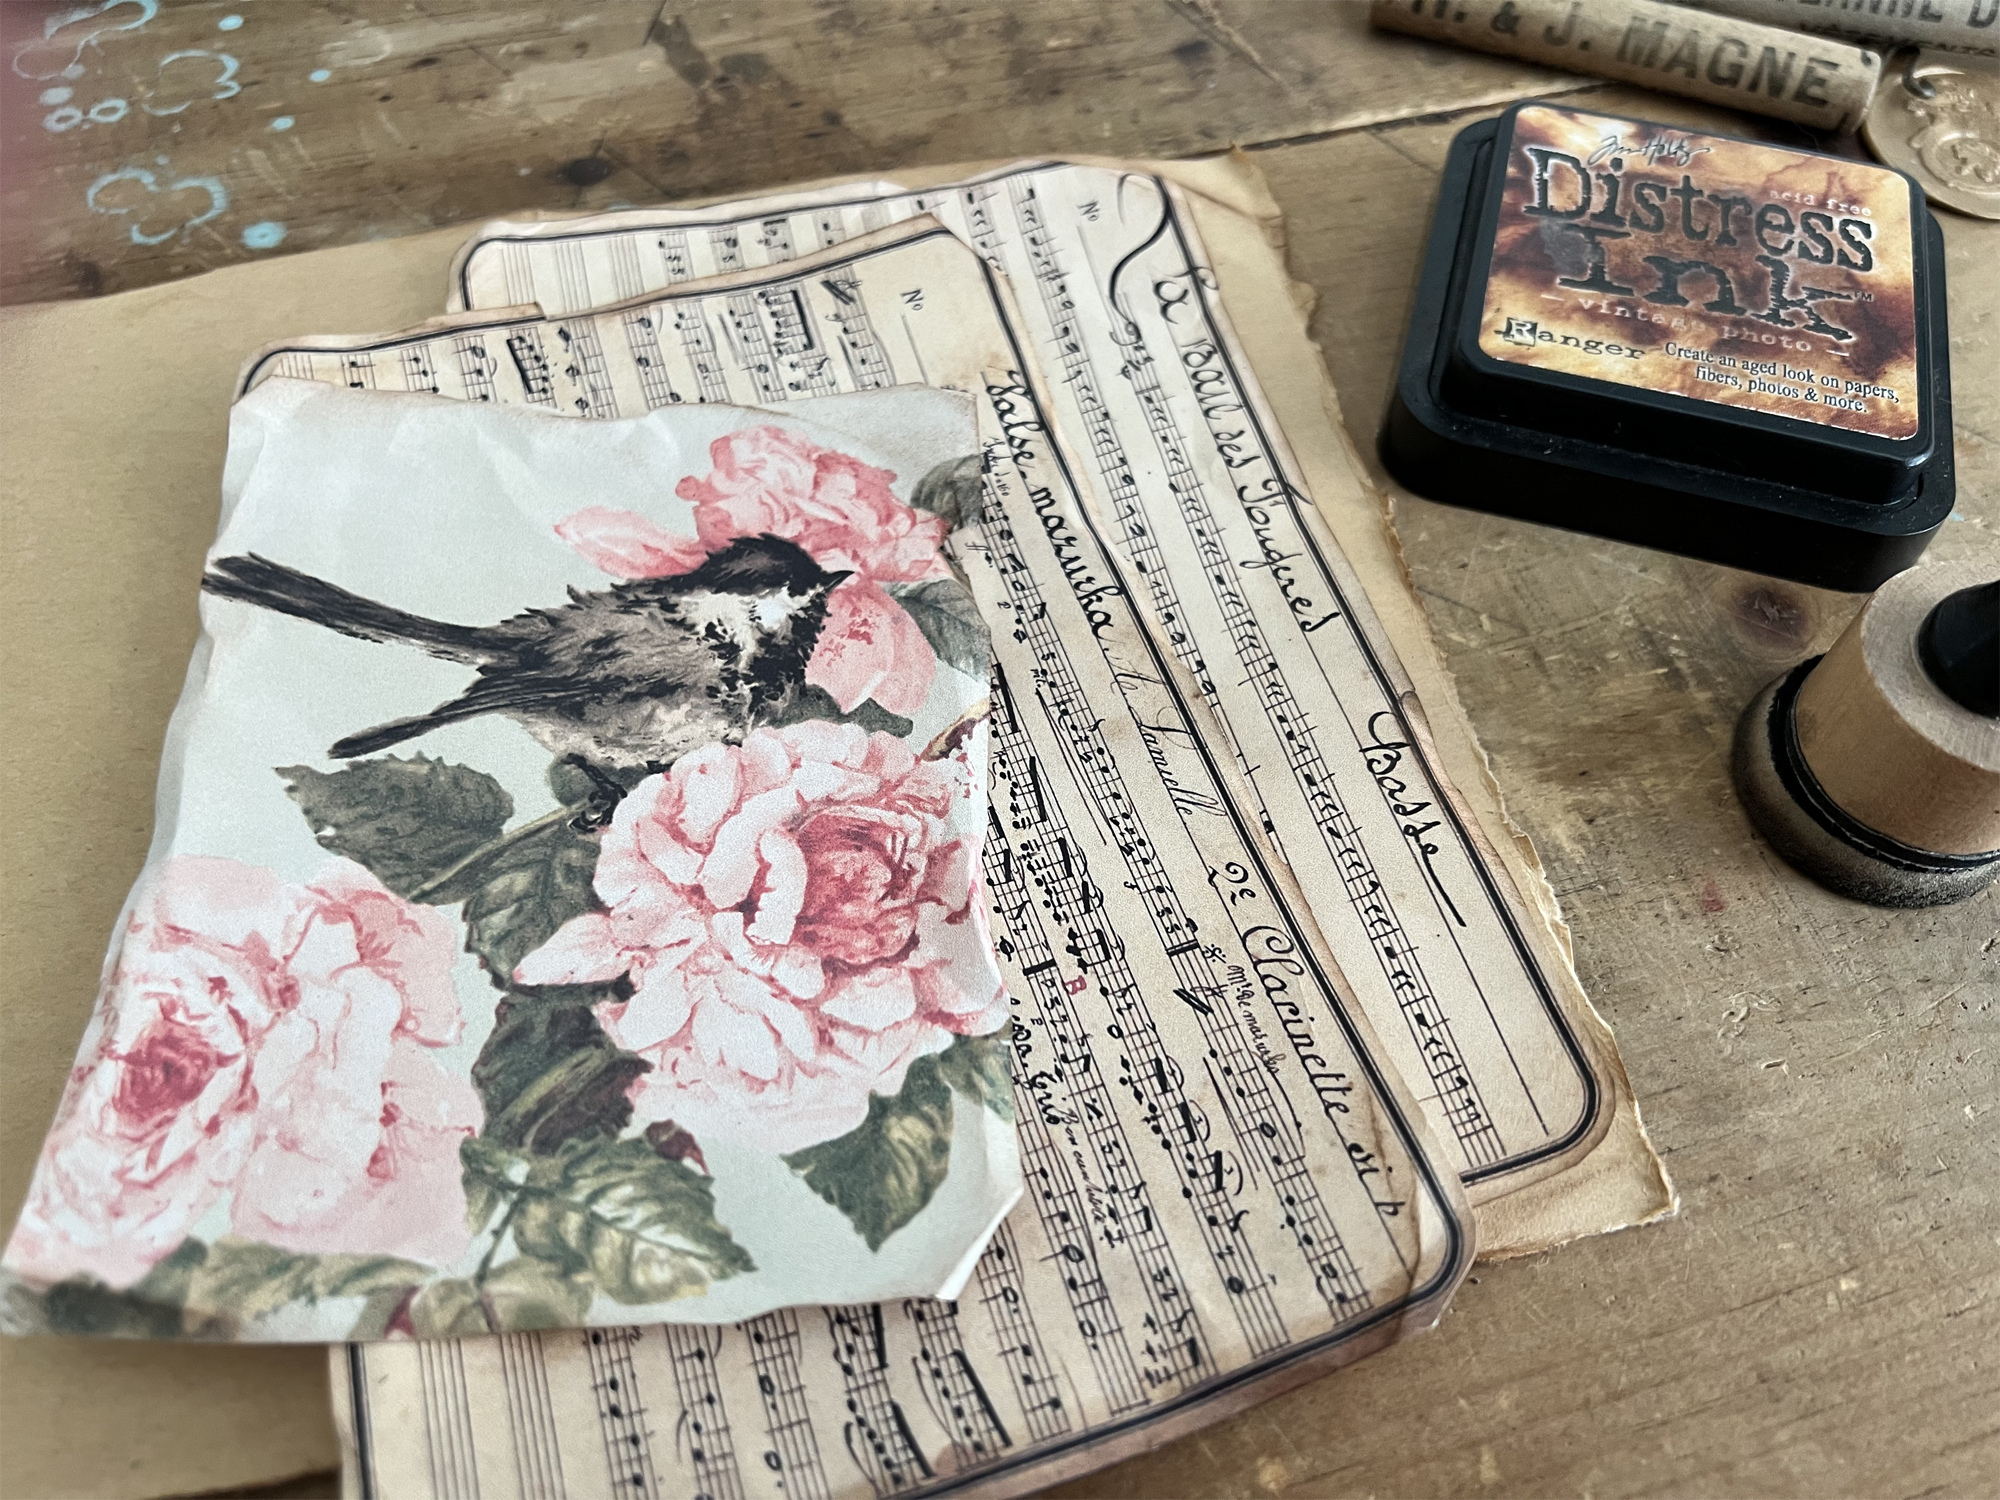
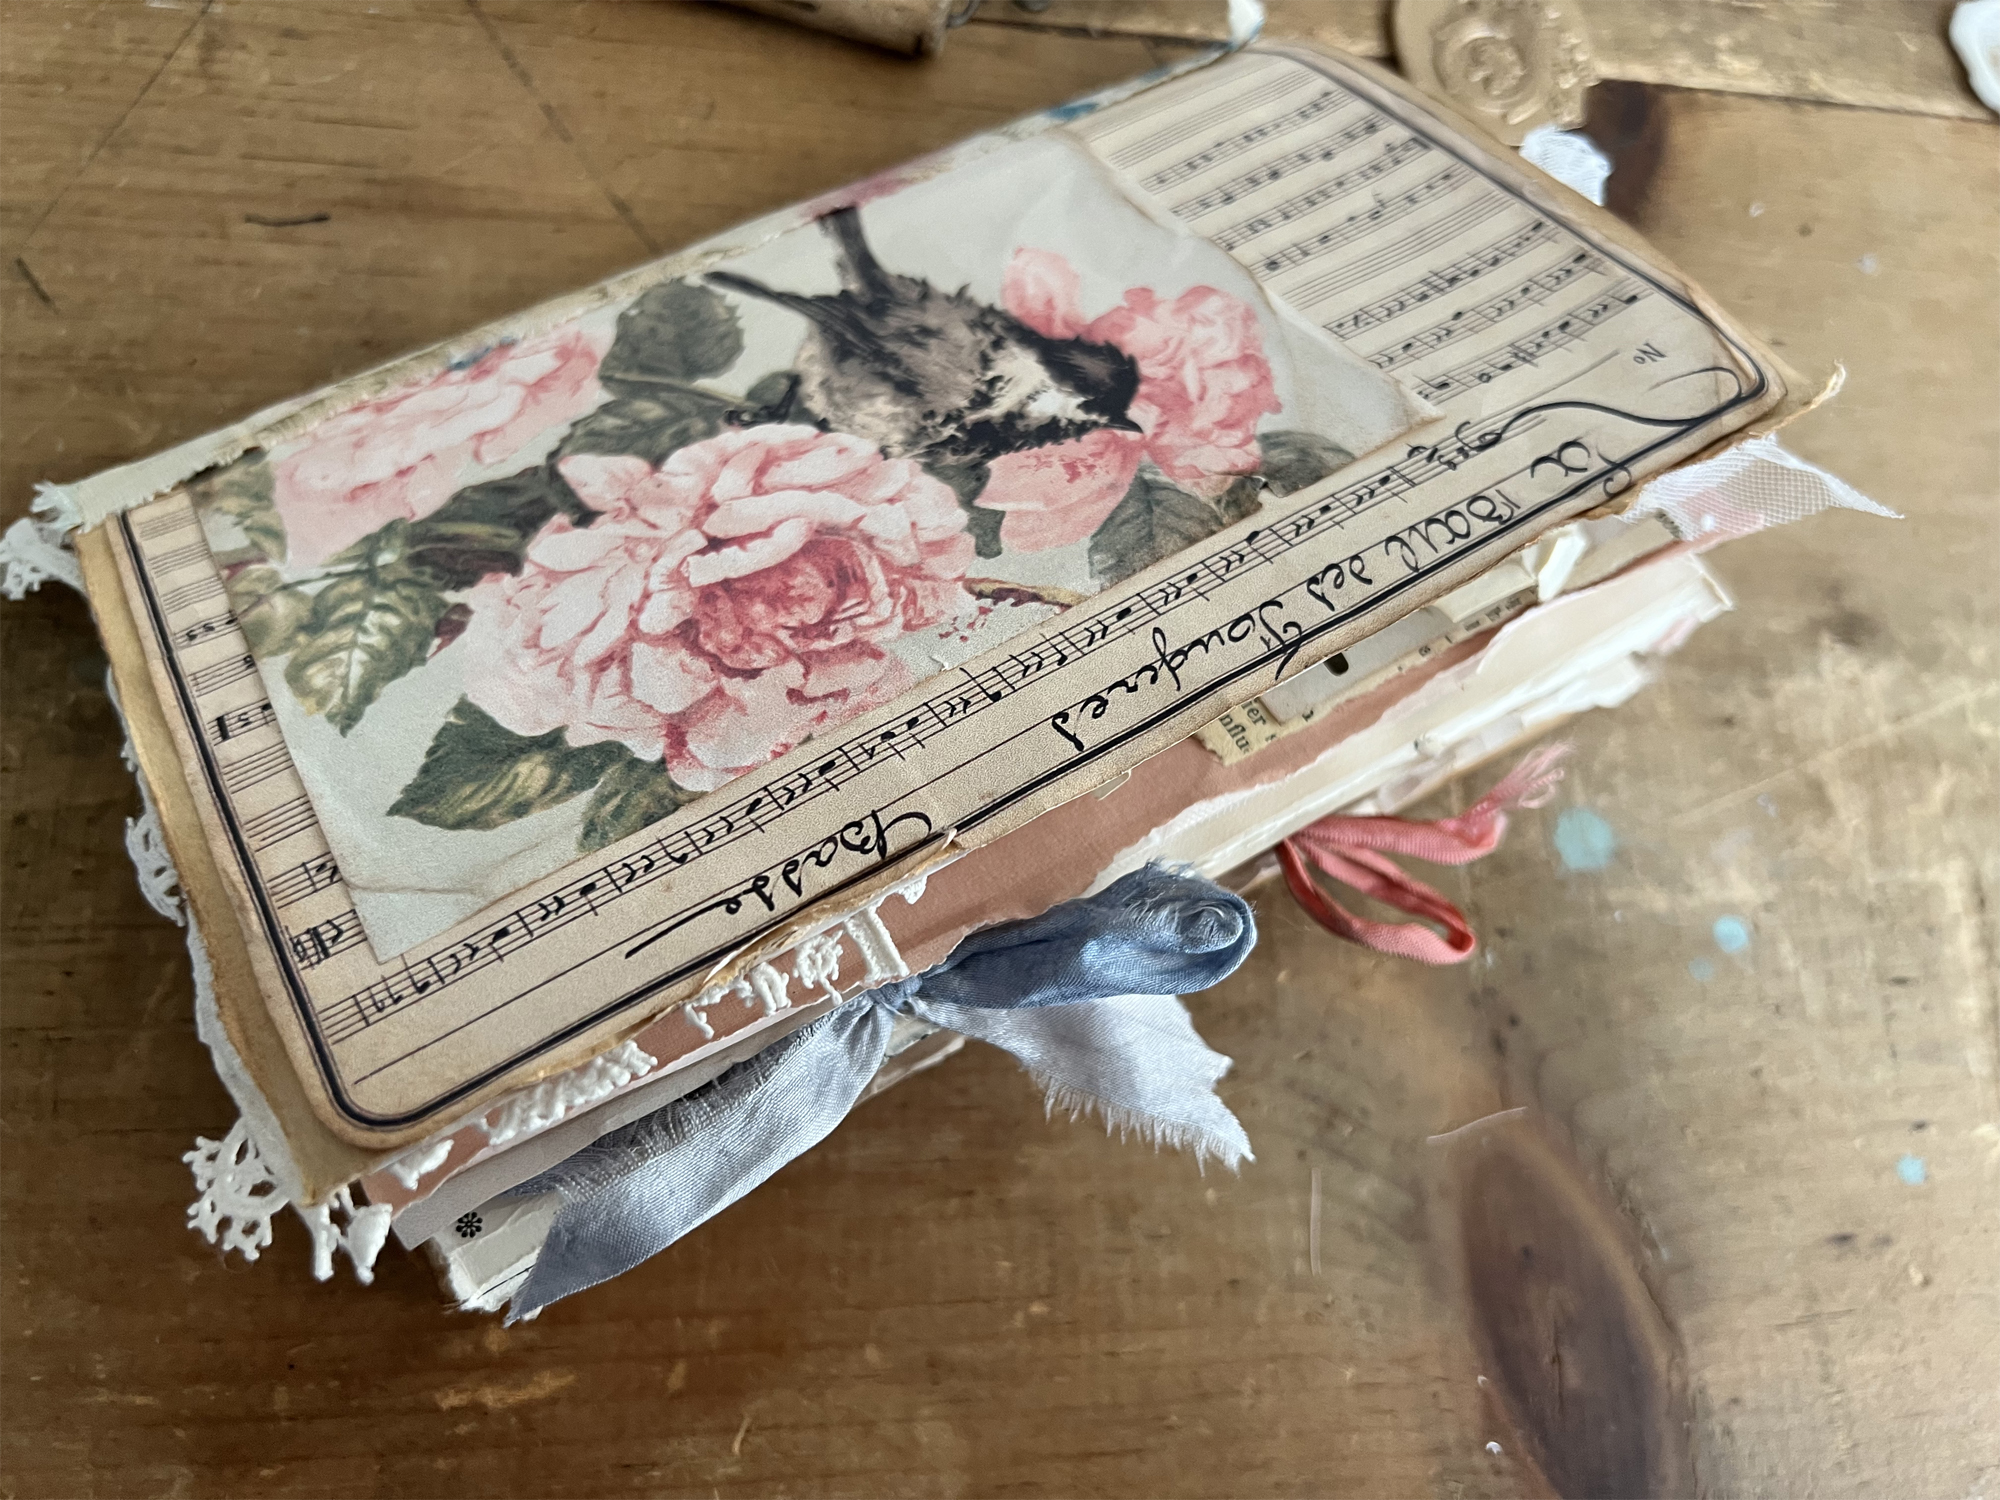
Next we will glue the music pages to the front and back cover and then collage the little bird image to the front. I love how pretty the pink flowers look with the sheet music. The glue I am using is Fabri-tac glue.. It dries quickly and adheres very well.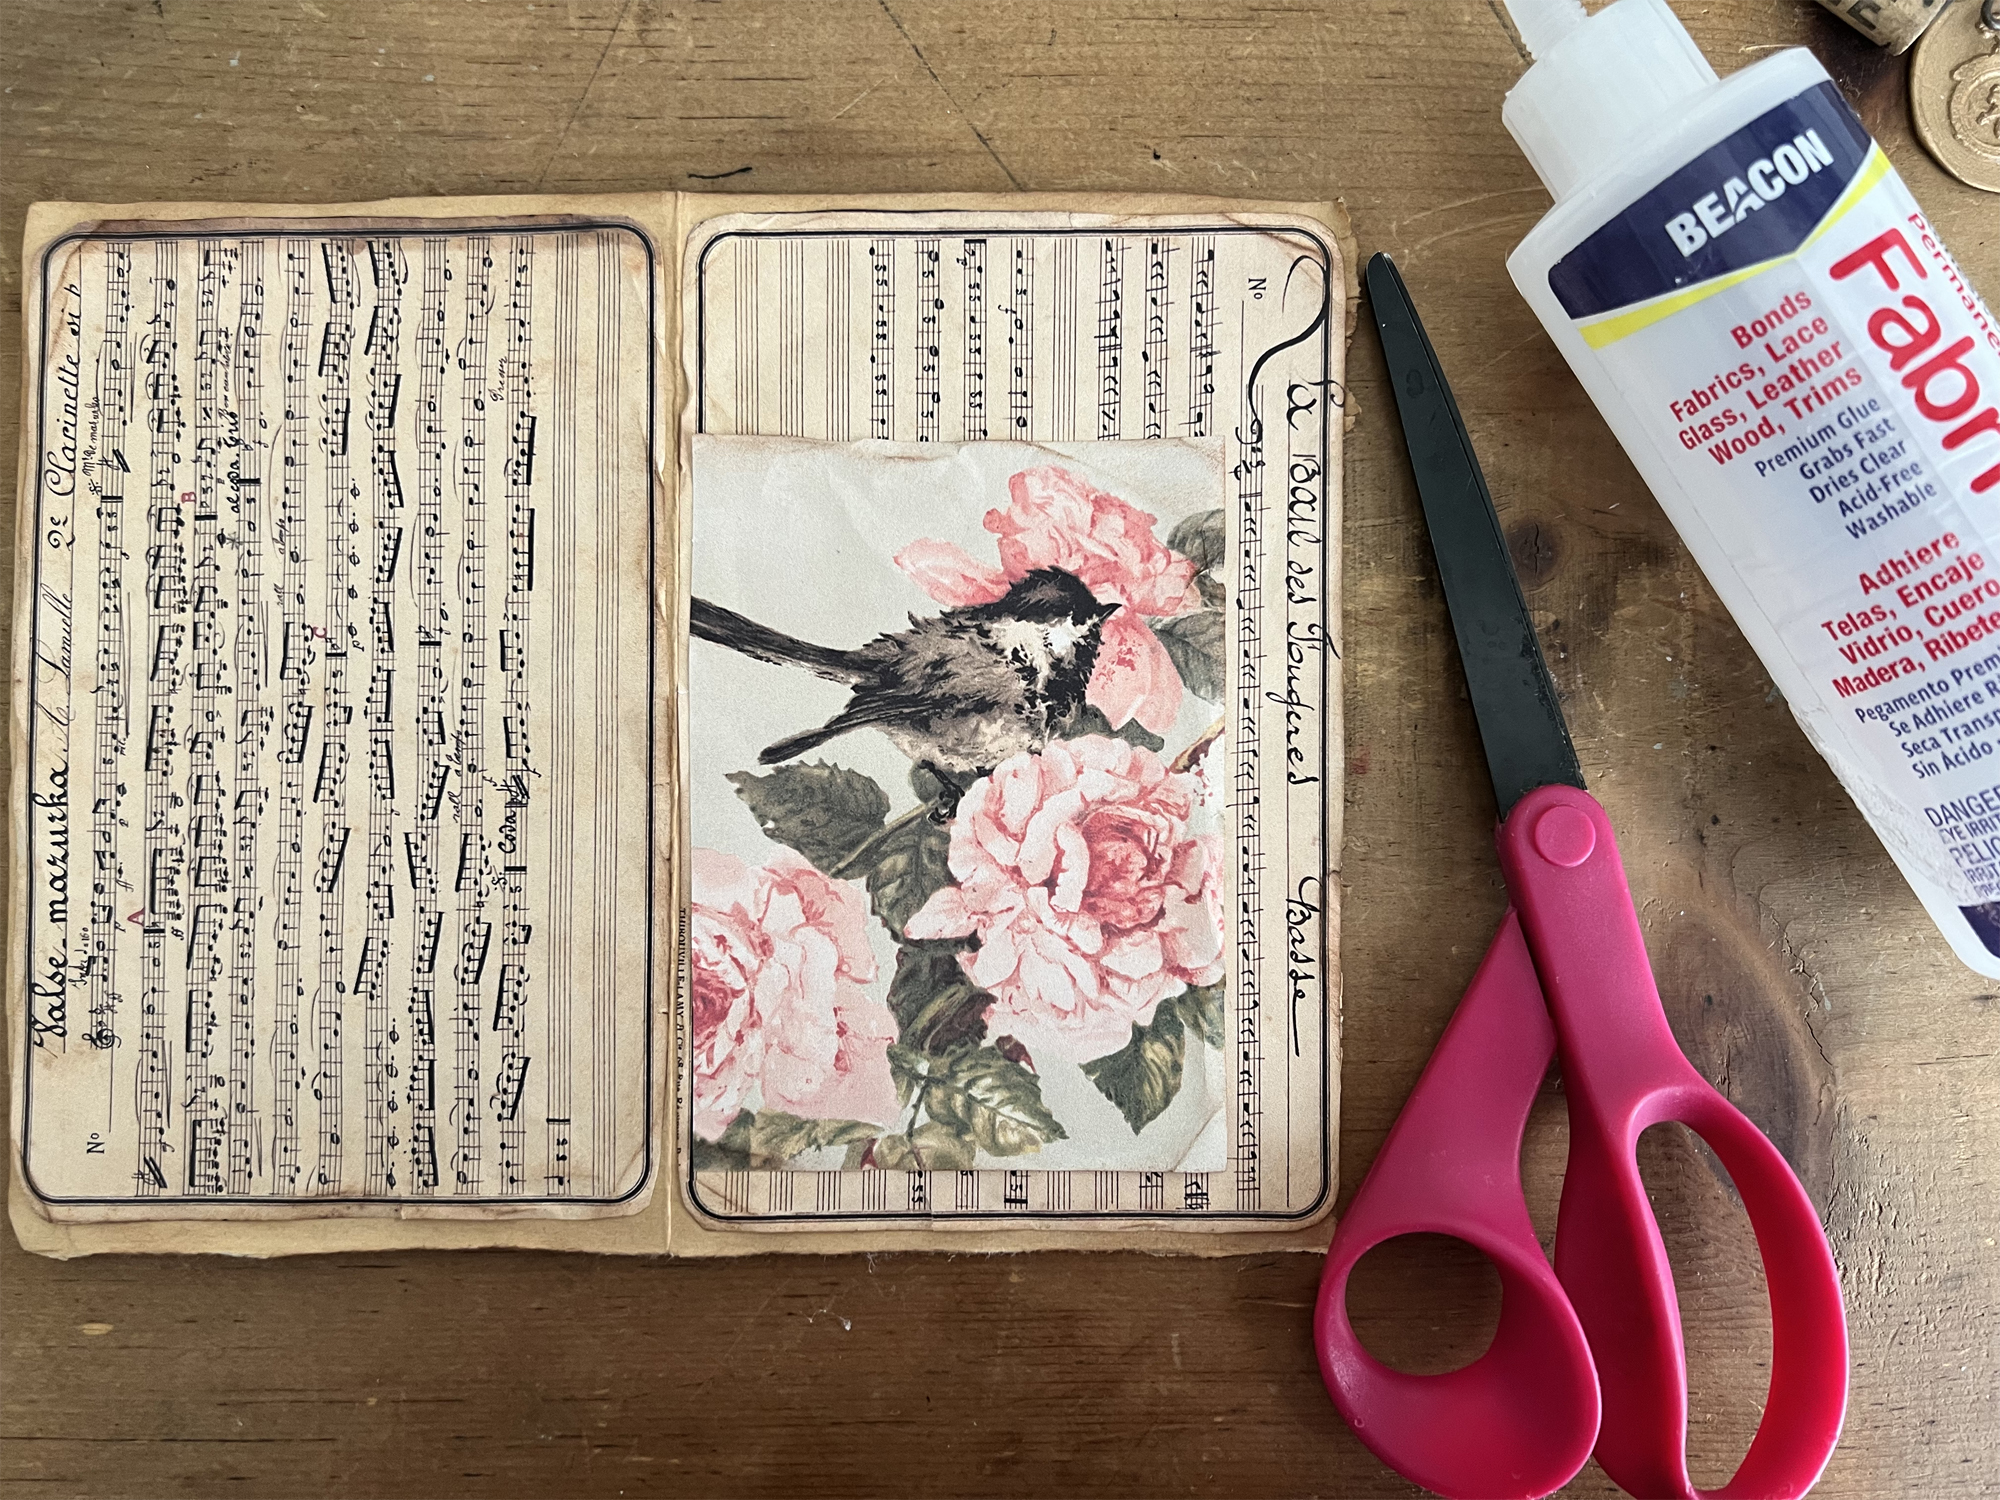
Now we are going to add a thin strip of fabric to the middle crease which will be the spine of the journal with glue.. This is just to give a little texture and pattern to the cover and when the journal is closed it will cover the spine beautifully.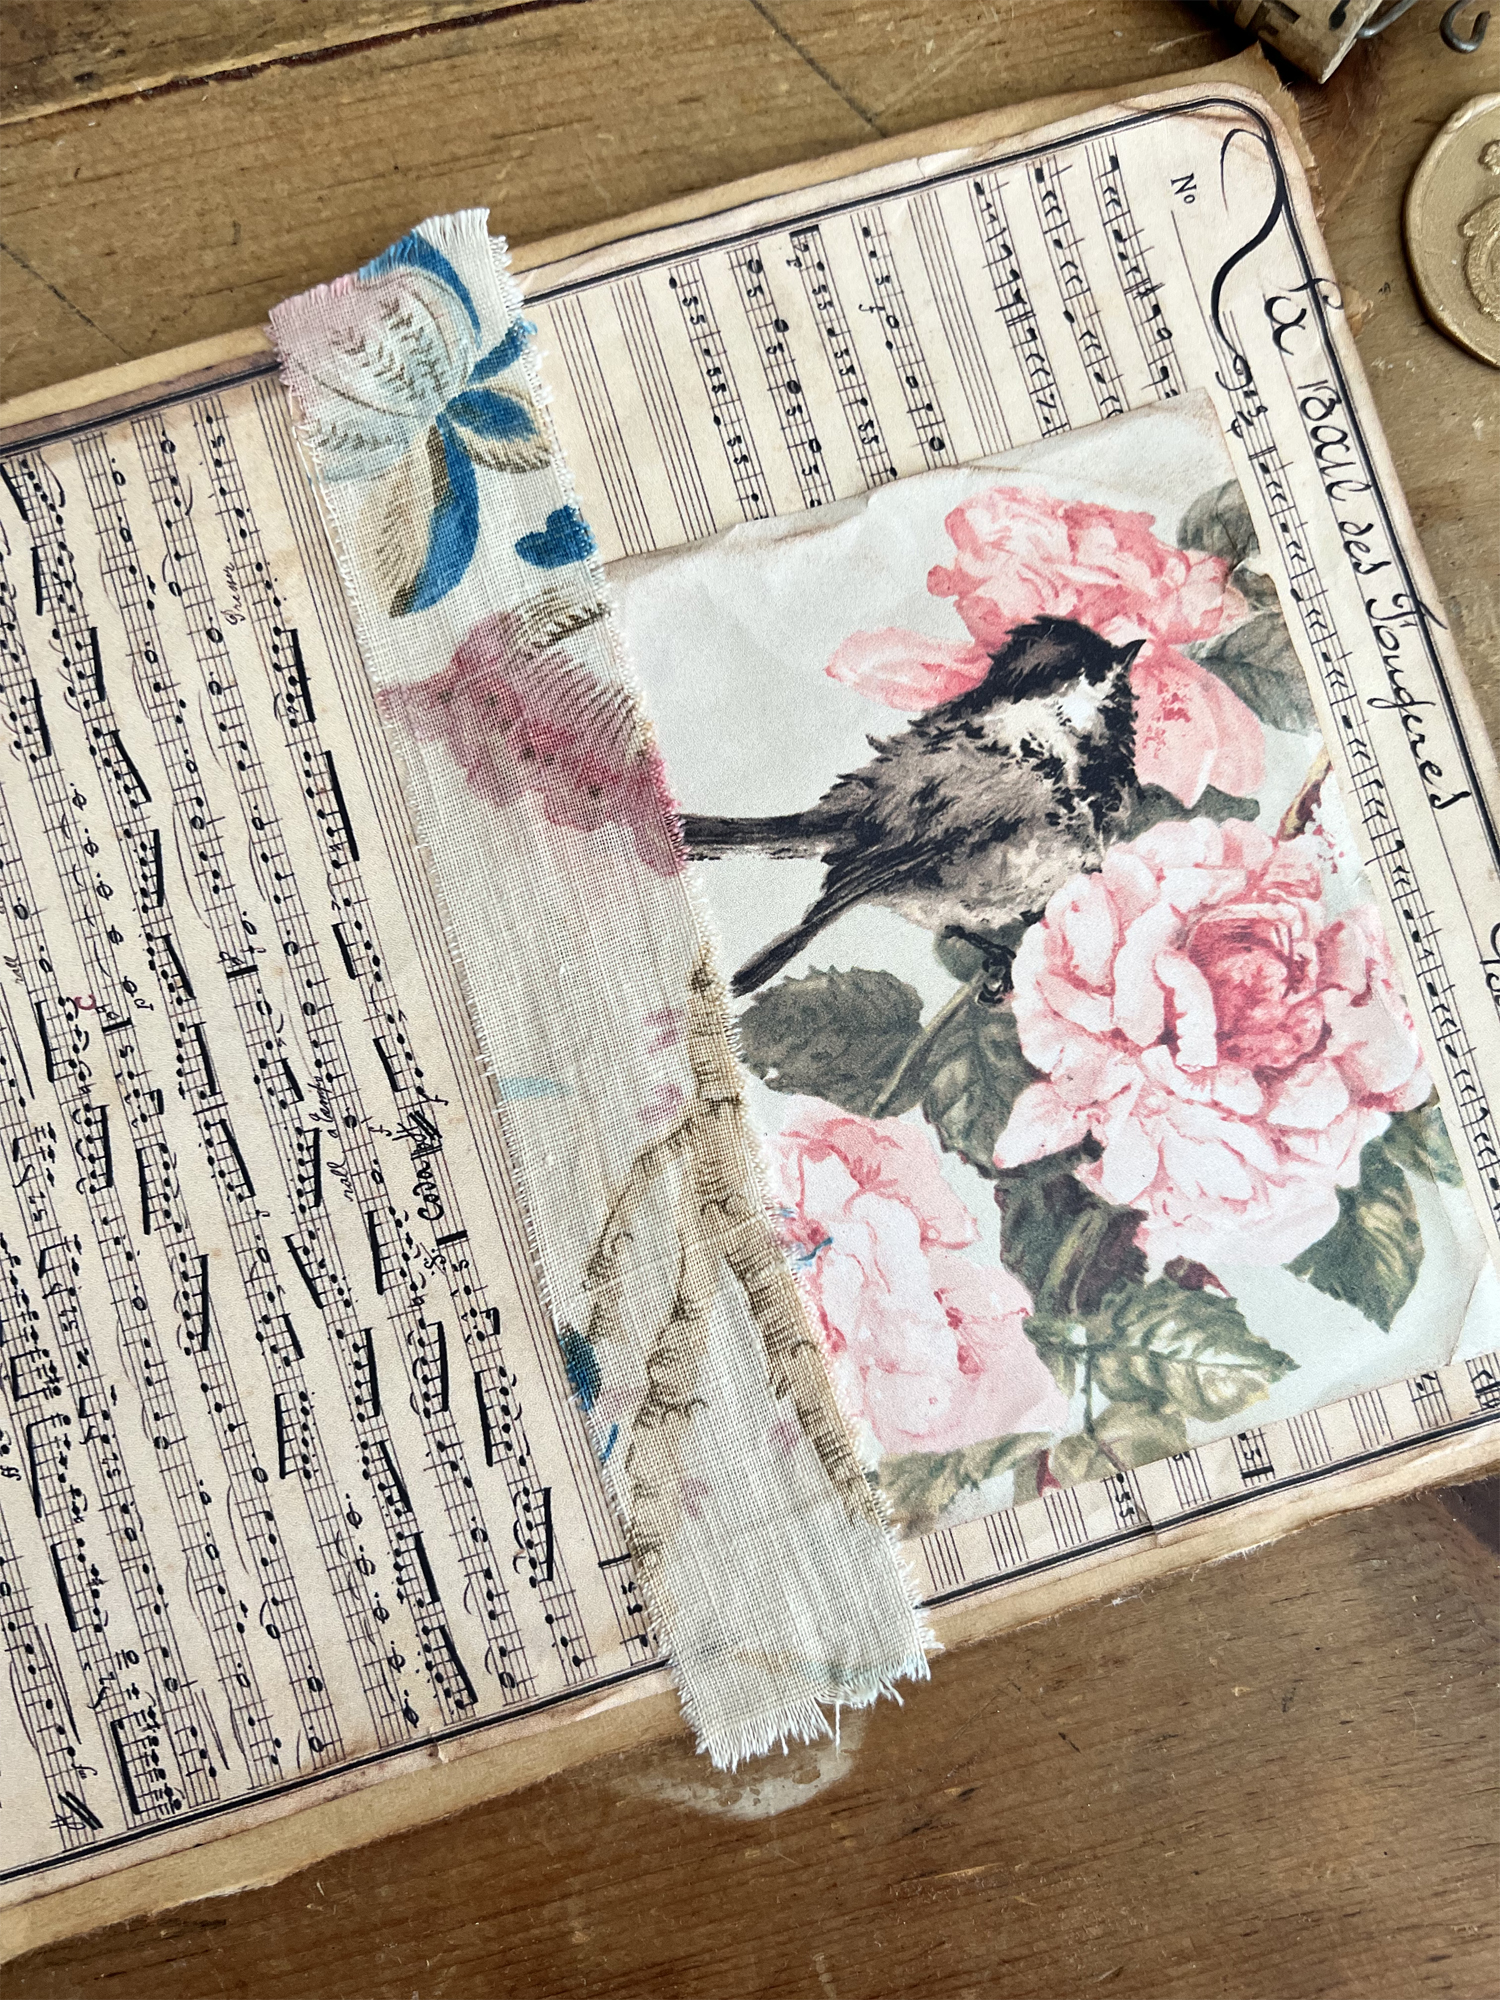
So now the cover is complete! It looks so beautiful.. and really is so simple to get your journal started! I didn’t really have a specific theme for this journal, but of course you could create themed Junk Journals if you wanted to. 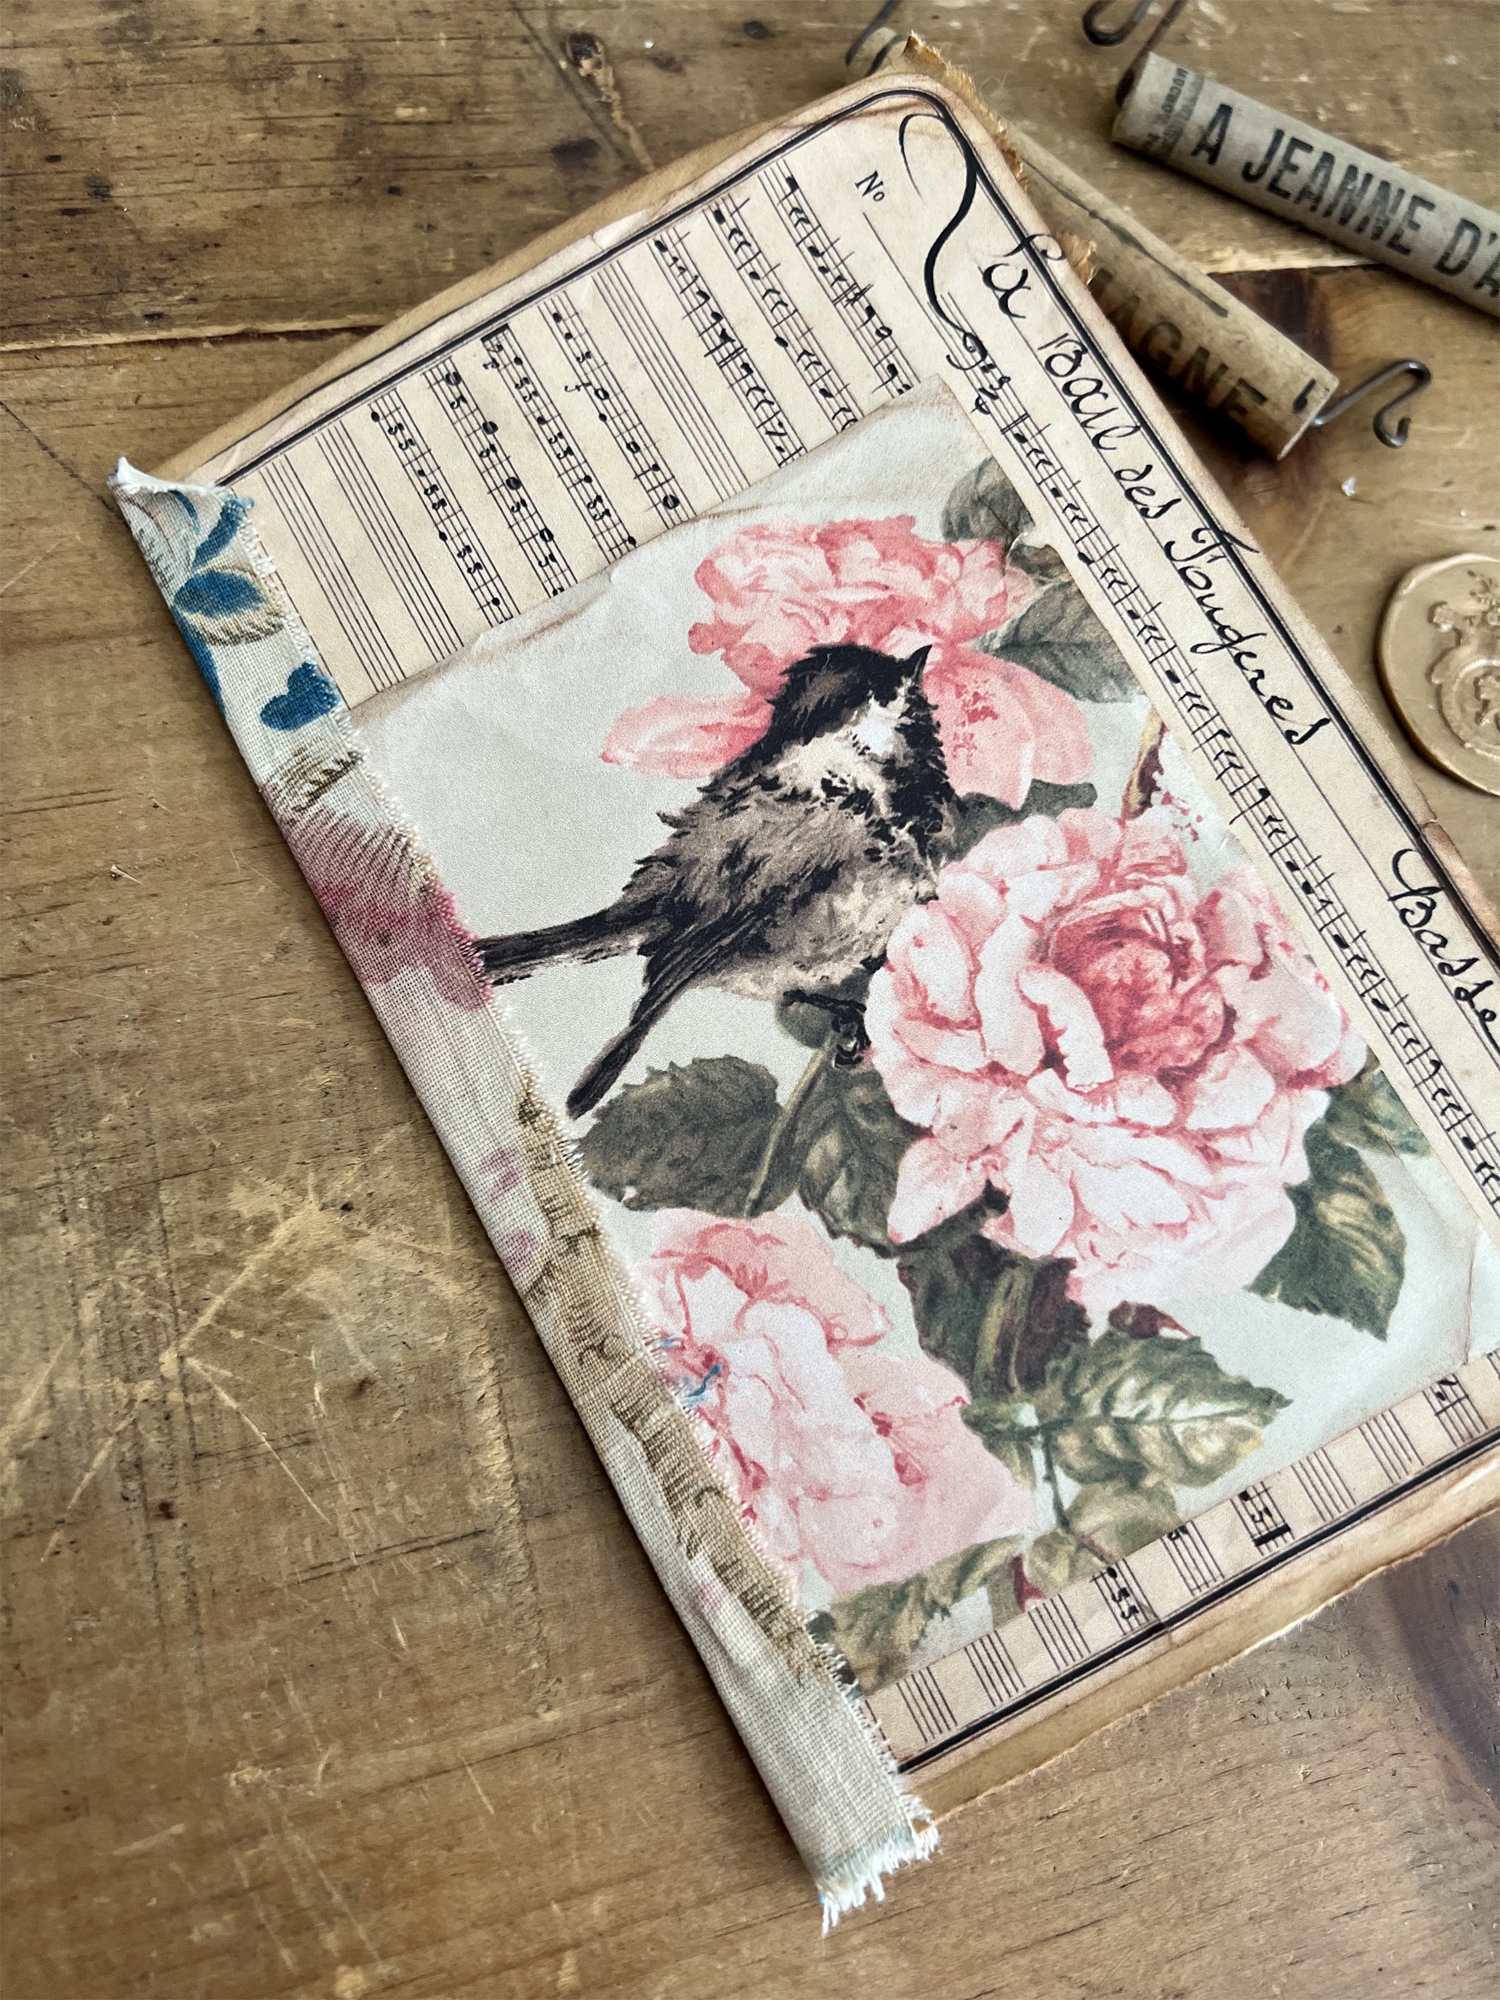
Next we will need to think about the types of papers to add inside. You can choose any type of papers you like. Some of my favorites are tea dyed papers, avocado dyed paper, sheet music, drawing paper with the little torn bits still attached, book pages, old envelopes, paper scraps, vintage greeting cards, printed french documents… really whatever you like. I love to mix different shades and textures, and different types of paper, to get a really pretty time worn look when assembled.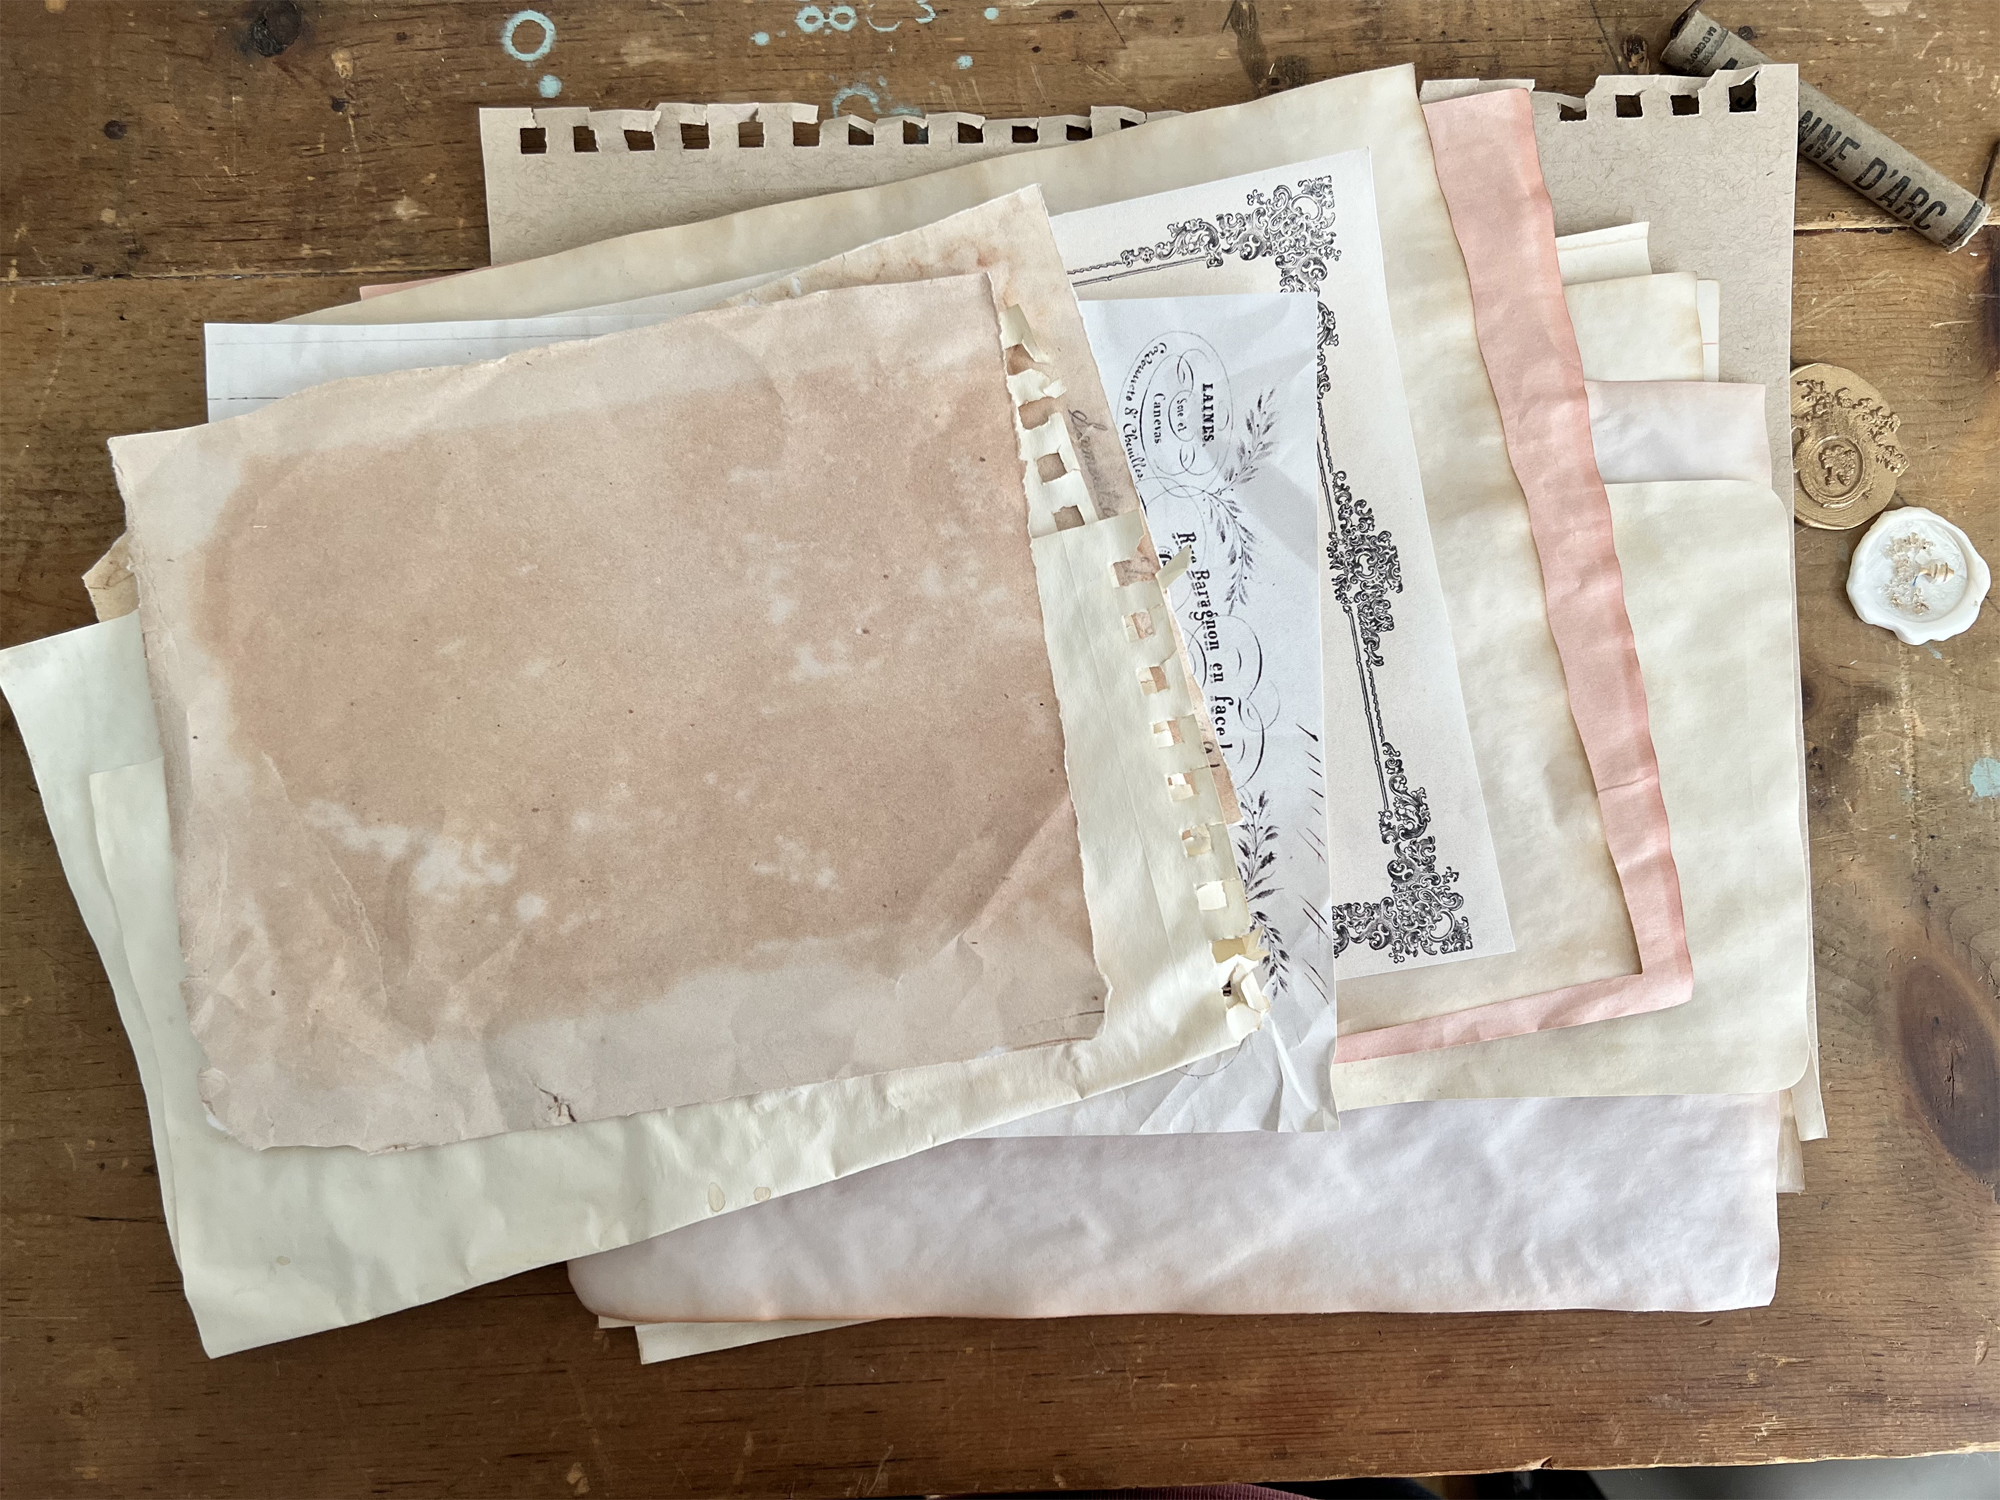
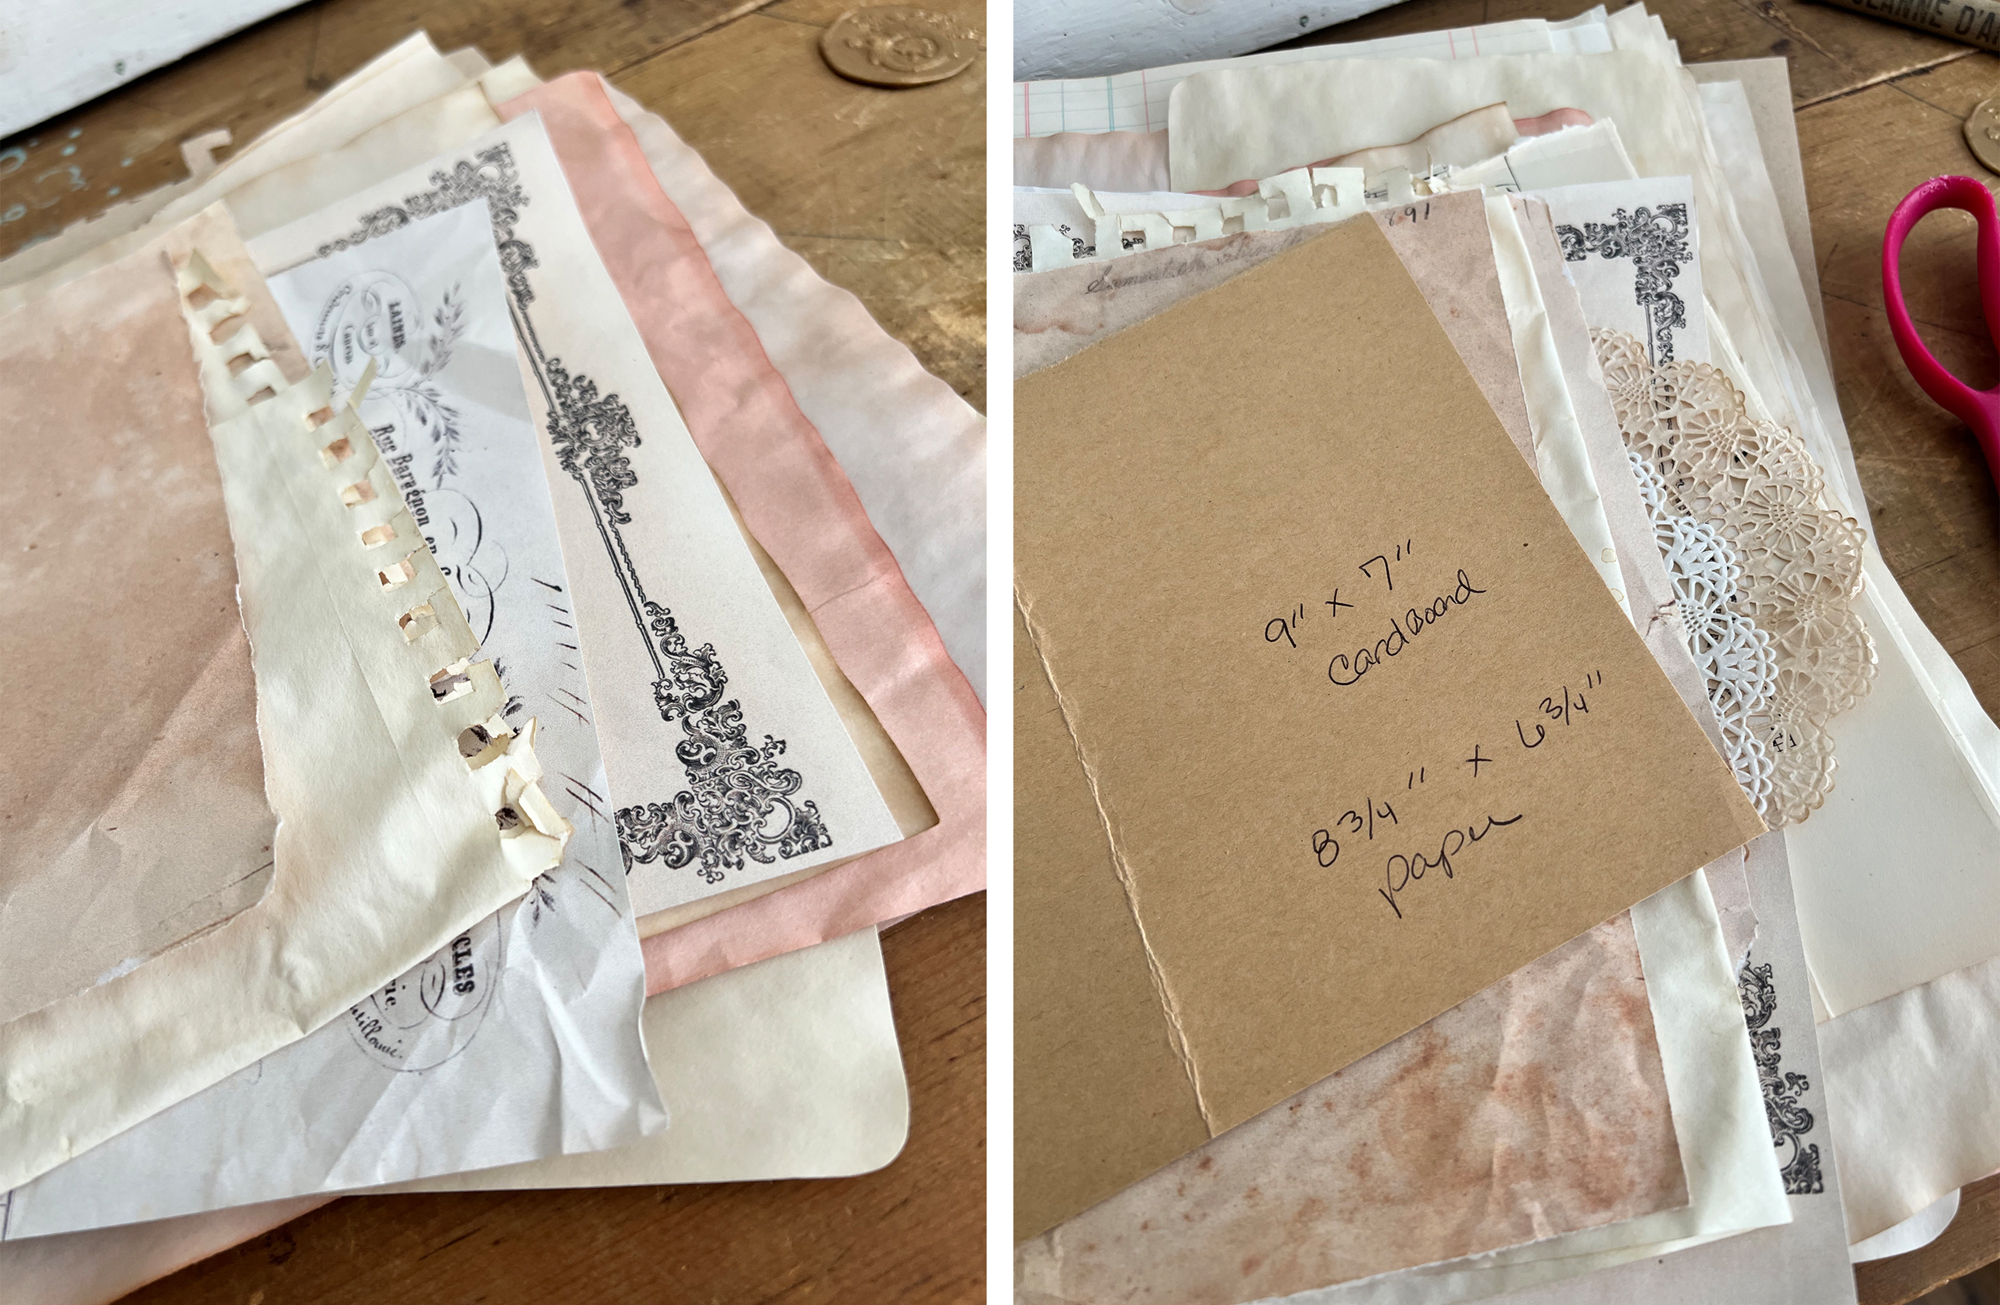
We will create a template for the page sizes we need. Here I am showing you how I folded a sheet of paper to the inside of the journal cover leaving just a tiny space on each edge so the papers will nestle inside the cover. The measurement for this paper to go inside the journal is 8 ¾” x 6 ¾” .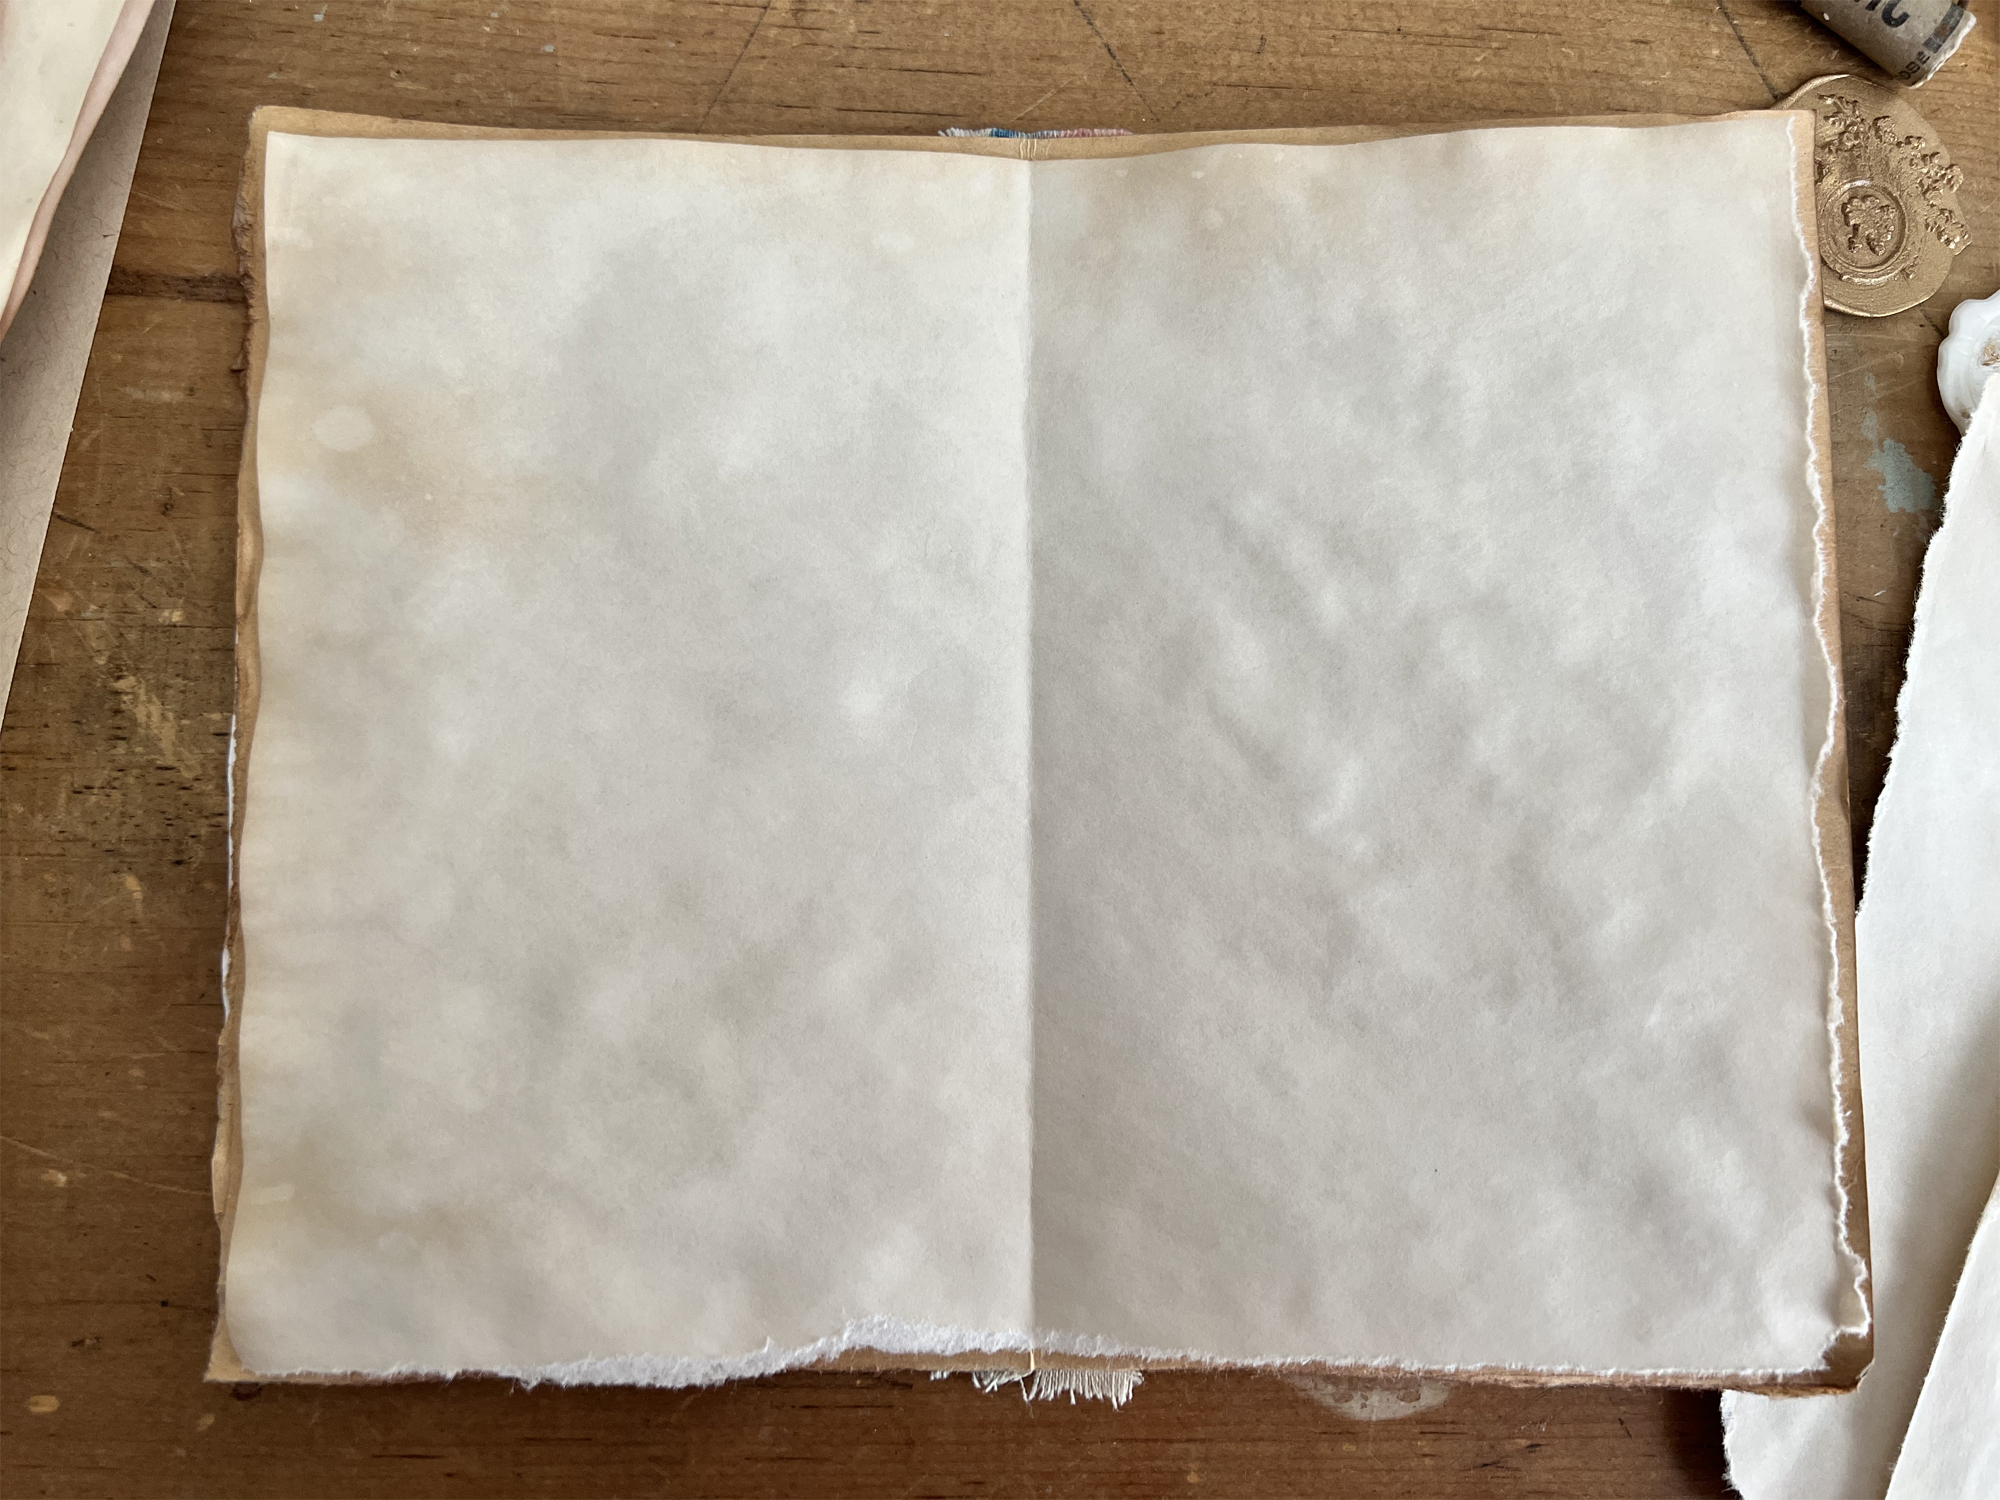
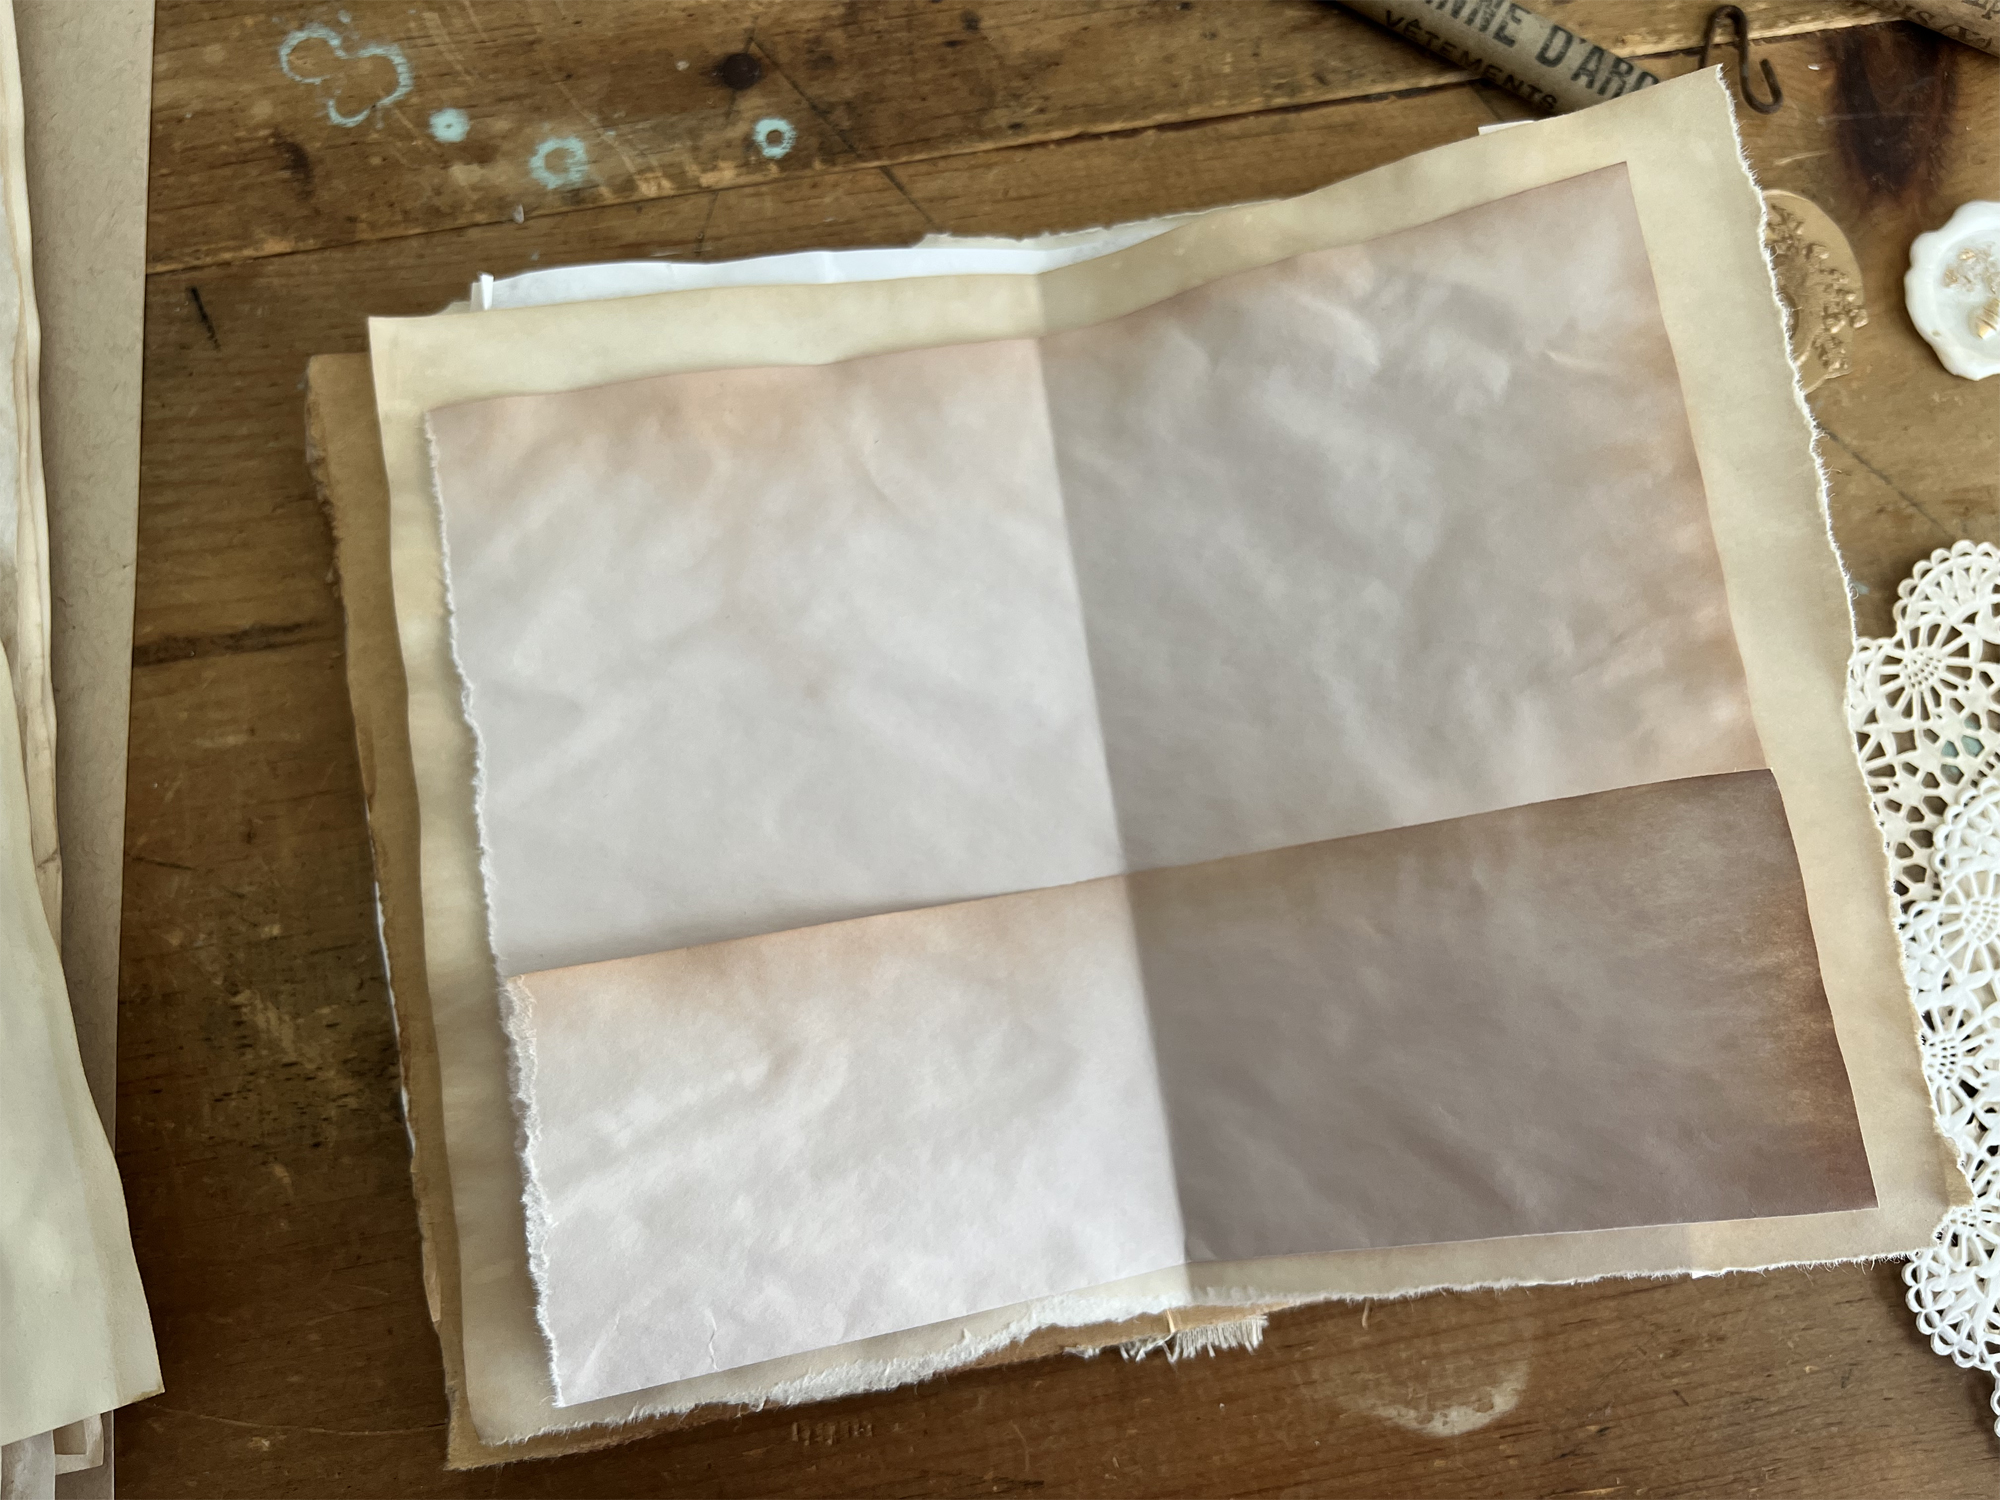
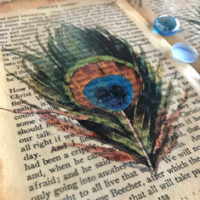
Next I am going to start folding papers… some smaller and some the same size. I like to vary the sizes of my papers inside because it makes for an interesting look when flipping through your journal if all the papers are not the same size. I like to make a few of the first papers a little smaller and build up to a larger sheet so when you open your journal you can see the edges of the papers in a layered way.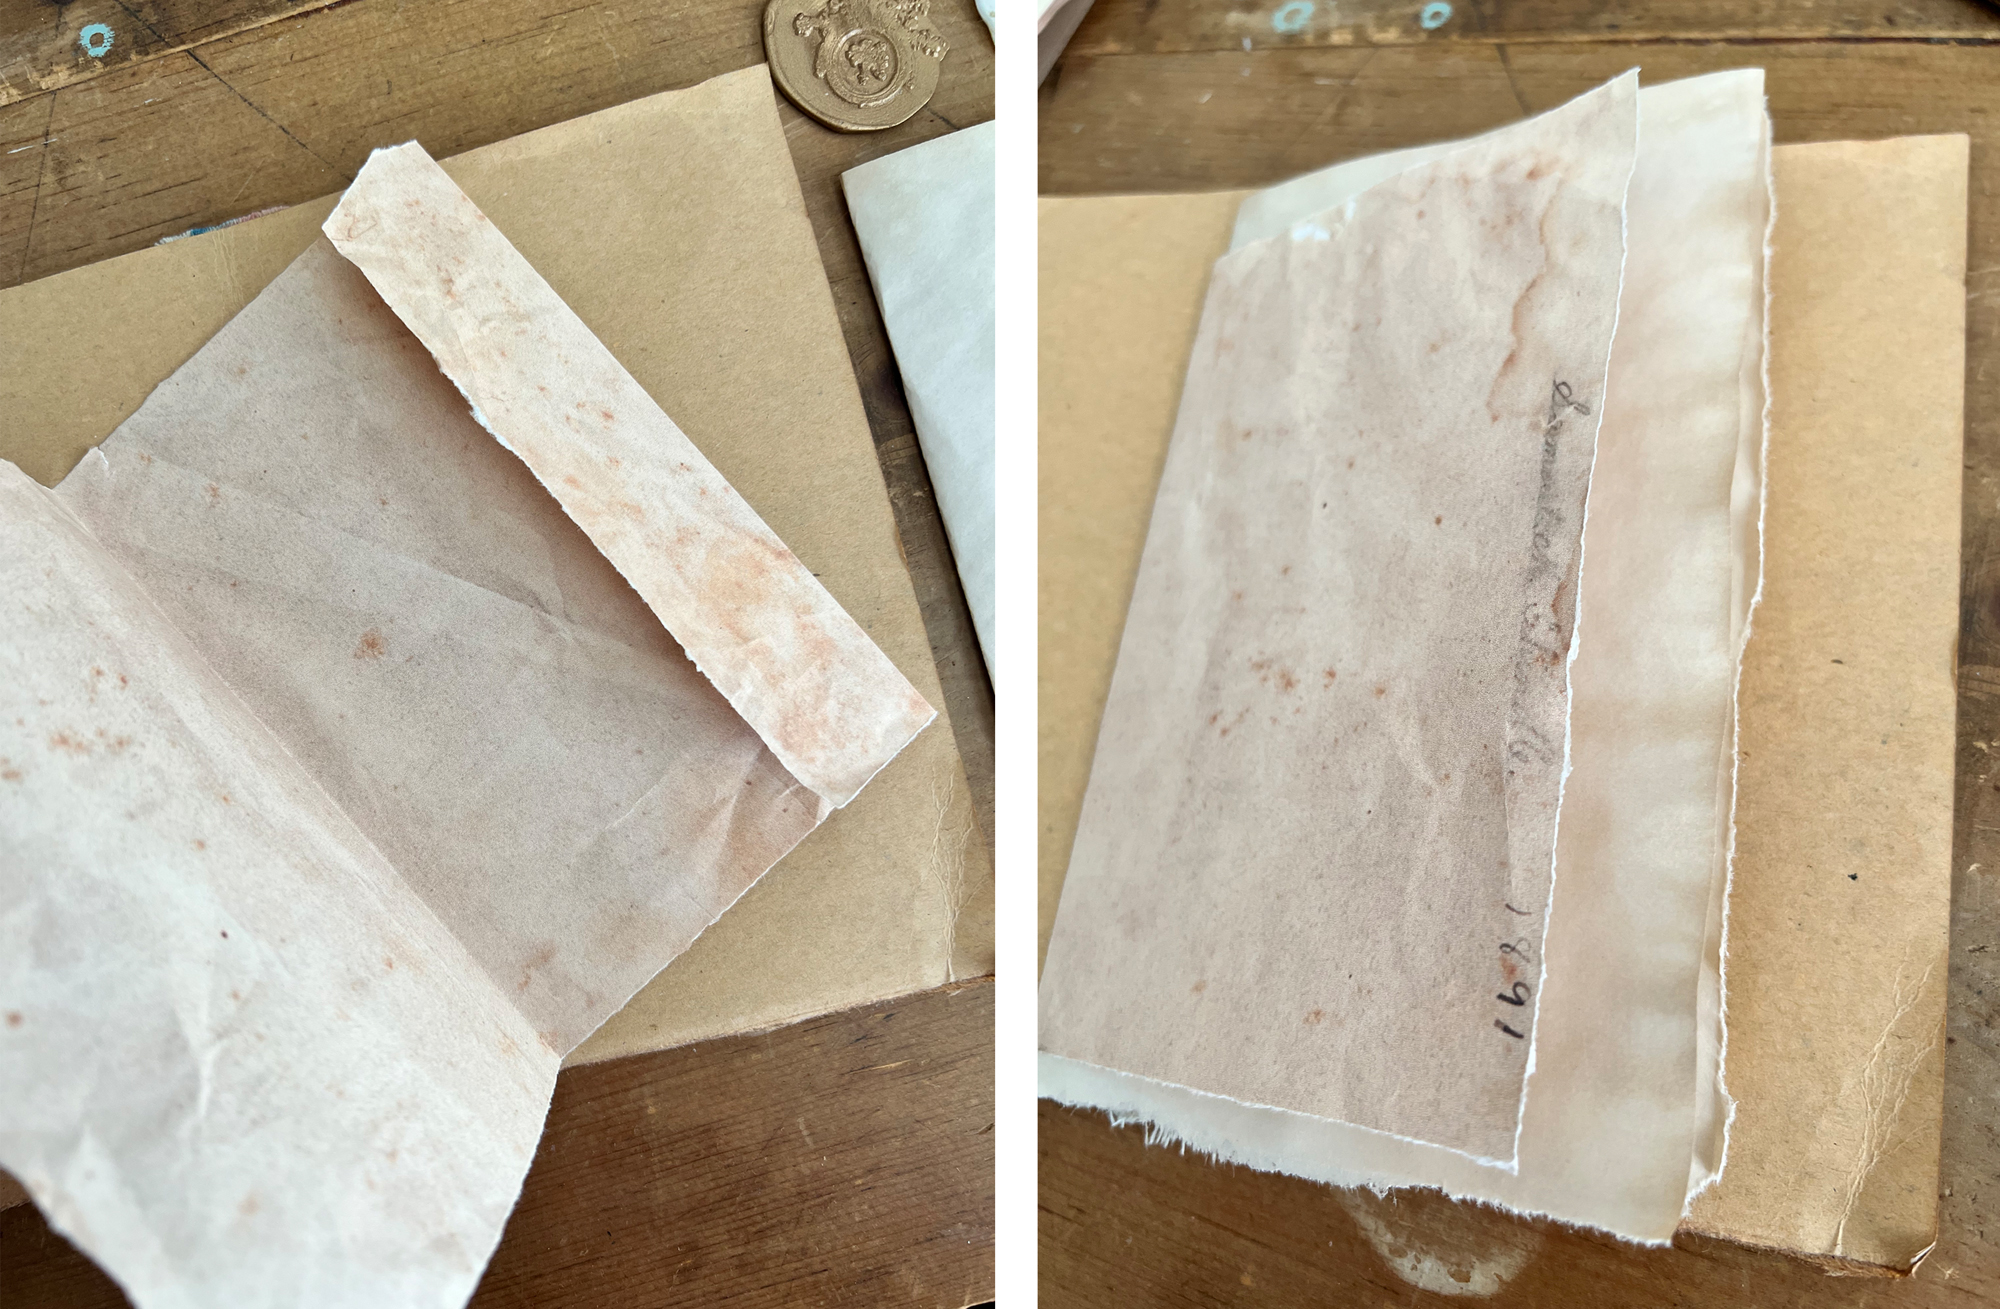 This Graphics Fairy image above of this old aged paper made a great addition to to my tea dyed papers.. I printed on both sides.
I keep adding various papers.. some I printed and some I dyed with tea or avocado. I also added a tea dyed paper doily as well for some added interest. This process is called creating a signature.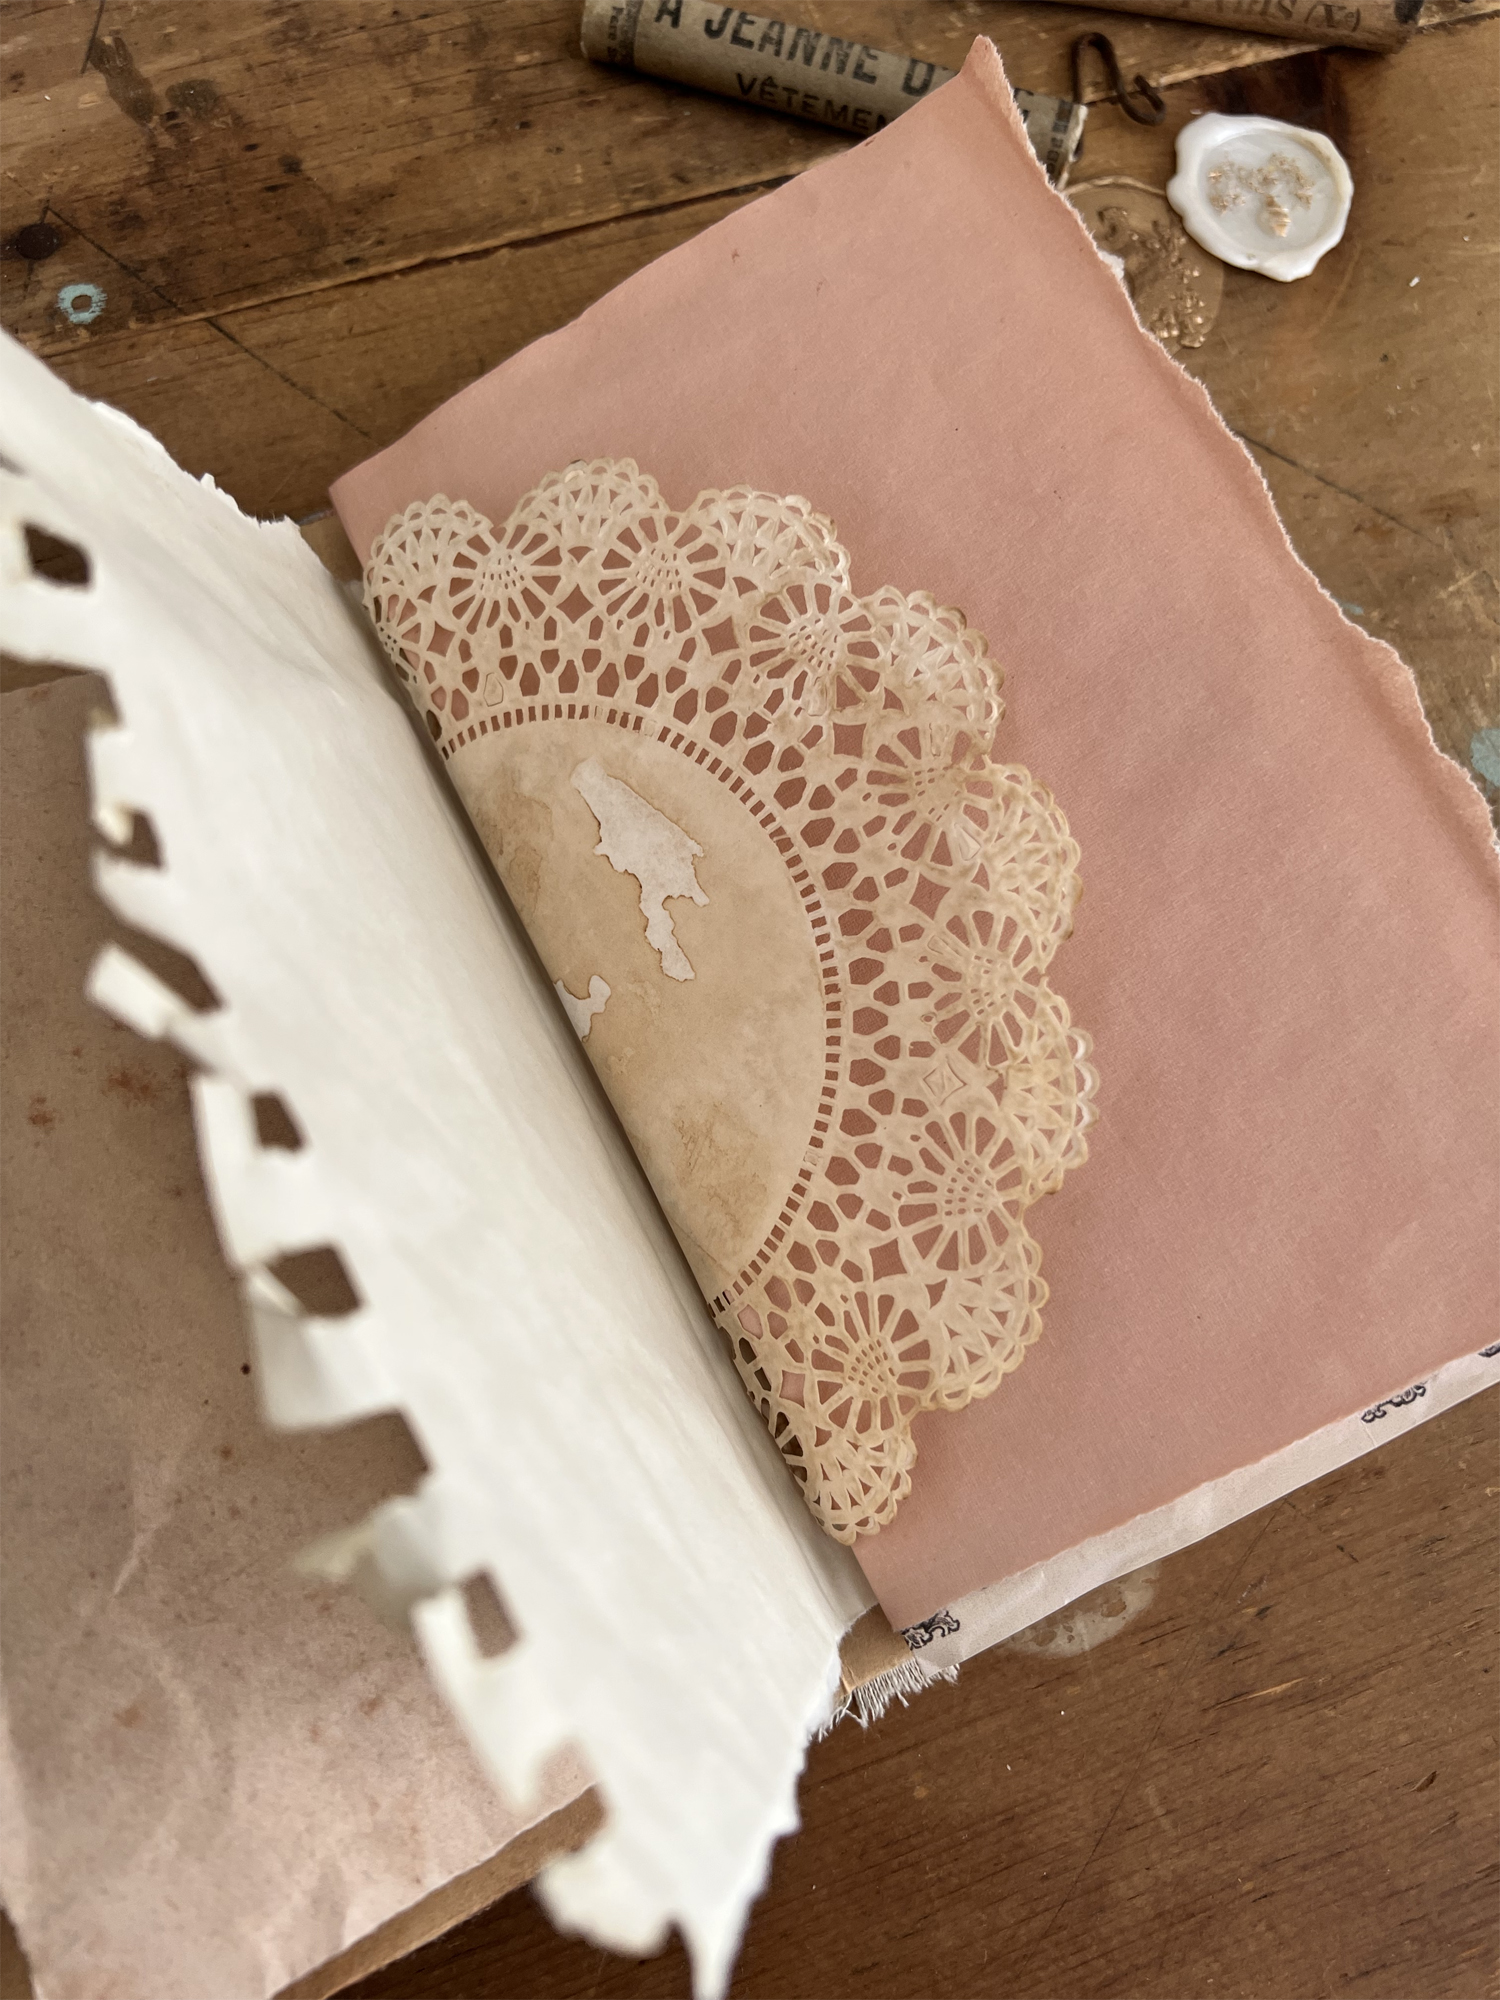
 This will be the center page.. I folded the bottom of the paper up which will create a pocket once we bind it together. All together I used 10 different sheets of paper at varying sizes folded in half. This will give us a 40 page journal.
I hope you will follow along with this how to make a junk journal tutorial you can find Part 2 of this series for Journal Binding HERE . Next we will be binding all of this together to create our journal!
Images used in How to Make a Junk Journal Tutorial:
Take a Video Tour of one of my past Junk Journals:
Happy Creating!
Heather ~ you can find more of my art at Ruby & Pearl xo
A note from Karen & Emily… Heather Naggy was one of our instructors on our Premium Membership Site for several years. She has taught dozens of wonderful tutorials via instructional video on our Membership site. If you enjoyed this content you might want to consider joining our Premium site HERE to access lots more Junk Journal instructional tutorials and videos, as well as thousands of premade Printables to put in those books!


Addie says
Going to try and keep up!!! Looks like fun!!!
Thanks!
Rebecca E. Parsons says
Addie…There will be ample time to create pages between posts. Plus there is no deadline for completion. The posts will live here forever, so no rushing is required!!
Addie says
That is certainly perfect for me!!!
Finette Loulou says
A very good idea ! I’m French and I’m so exciting to begin the travel with you in France 😉 Thank you so much 😉
Karen Watson says
Yay! How fun that you will be joining us from France! ????
Rebecca E. Parsons says
Oh Finette…I am thrilled that you will be joining in and will keep me on my toes. I studied art in Lyon and left a piece of my heart in France.
Debbie says
I’m looking forward to this summer tutorial.
Karen Watson says
Yay! I think it will be a fun Summer project Debbie! 🙂
Rebecca E. Parsons says
So glad you are joining in Debbie!!
Carol Loumeau says
Thank you for all the good information. I am excited about this. I have been collecting stuff.
Karen Watson says
That’s great Carol! It sounds like you are well prepared then! 🙂
Joyce Joneschiet says
Looks like so much fun! I’m looking forward to working on this with you all.
Karen Watson says
That’s wonderful Joyce! We look forward to having you join us!
Rebecca E. Parsons says
Yay Joyce. Glad you are joining in! 🙂
Angel Faery Kathleen says
Hi Rebecca this is just the inspiration I need to get back into book making after a lull of several years. Thanks I will be joining in.
Rebecca E. Parsons says
Oh Angel that makes me so happy…I had a little lull myself when I took a JOB in social media. But I am back and loving this free form book making!! 🙂
Mary Maples says
This is going to be such fun! Thank you!!
Rebecca E. Parsons says
I know Mary…I had so much fun making the pages, I can’t wait to decorate them. Glad you will be making the journey with us.
Sue says
Awesome, this is going to be fun
Rebecca E. Parsons says
I am already having so much fun with this Sue. I could create pages for ever it seems. Glad you will be playing too. 🙂
Gwendolyn East says
This would be perfect for a family vacation. Since we love camping and there is so much to pick up and use in nature and so much that is easy to draw it should be rather easy.
Rebecca E. Parsons says
Yes Gwendolyn, a lot of my creativity come from nature. Have a beautiful Summer. SO glad you will join us. 🙂
Gayle says
How fun! Perfect gift for friends with dreams of visiting Paris!
Rebecca E. Parsons says
That sounds like a great idea Gayle. Welcome aboard!!
Dorothy K. says
Count me in! This is exactly the motivation I need to finally attempt to make one of these. I’ve been reading about it for a while and watch videos. This is really for free? It seems too in depth to be free. So, thank you for that. I look forward to this summer journey with you.
Karen Watson says
Yes, it’s free and so much fun Dorothy! We’re glad you’re feeling motivated to jump in and create this with us!
Rebecca E. Parsons says
It is really for free Dorothy. I wanted to create one and Karen liked the idea. So off we go. 🙂
Clare Law says
This looks like such fun, and I get really excited about fake travelogues, so I’m going to try playing along.
Rebecca E. Parsons says
Oh Clare, I am excited to create this travel story with everyone. Glad you will be playing along. 🙂
Caroline Brand says
NOW I understand more about junk journals! A friend recently gifted me one. It’s amazing!! But, I suppose while adoring it, I didn’t “get it”?
I wish I could do this class with your tutuorial. Maybe next time. Tyfs. Wonderful inspiration????
Karen Watson says
Caroline, it’s free and the blog posts will live here on my blog forever, so you can try your hand at it whenever you like. 🙂
Rebecca E. Parsons says
Caroline, I am glad it helped you understand what a junk journal is. The tutorials will always be here so you can join in any time you can. 🙂
Linda K says
I am ready to do this with you. Looks like a lot of fun.
Rebecca E. Parsons says
I am thrilled you will join us Linda.
Tom says
Won’t it take 8 folded 8 1/2 x 11 folded sheets to make a 16 page signature?
Rebecca E. Parsons says
No Tom, this math can be confusing. I had to actually fold and count. One page folded in half give us 4 pages. I am counting every page like a book. So 4 pages folded, gives us 16 pages to decorate in a signature. Hope this helps.