Faux Gold Foil Craft
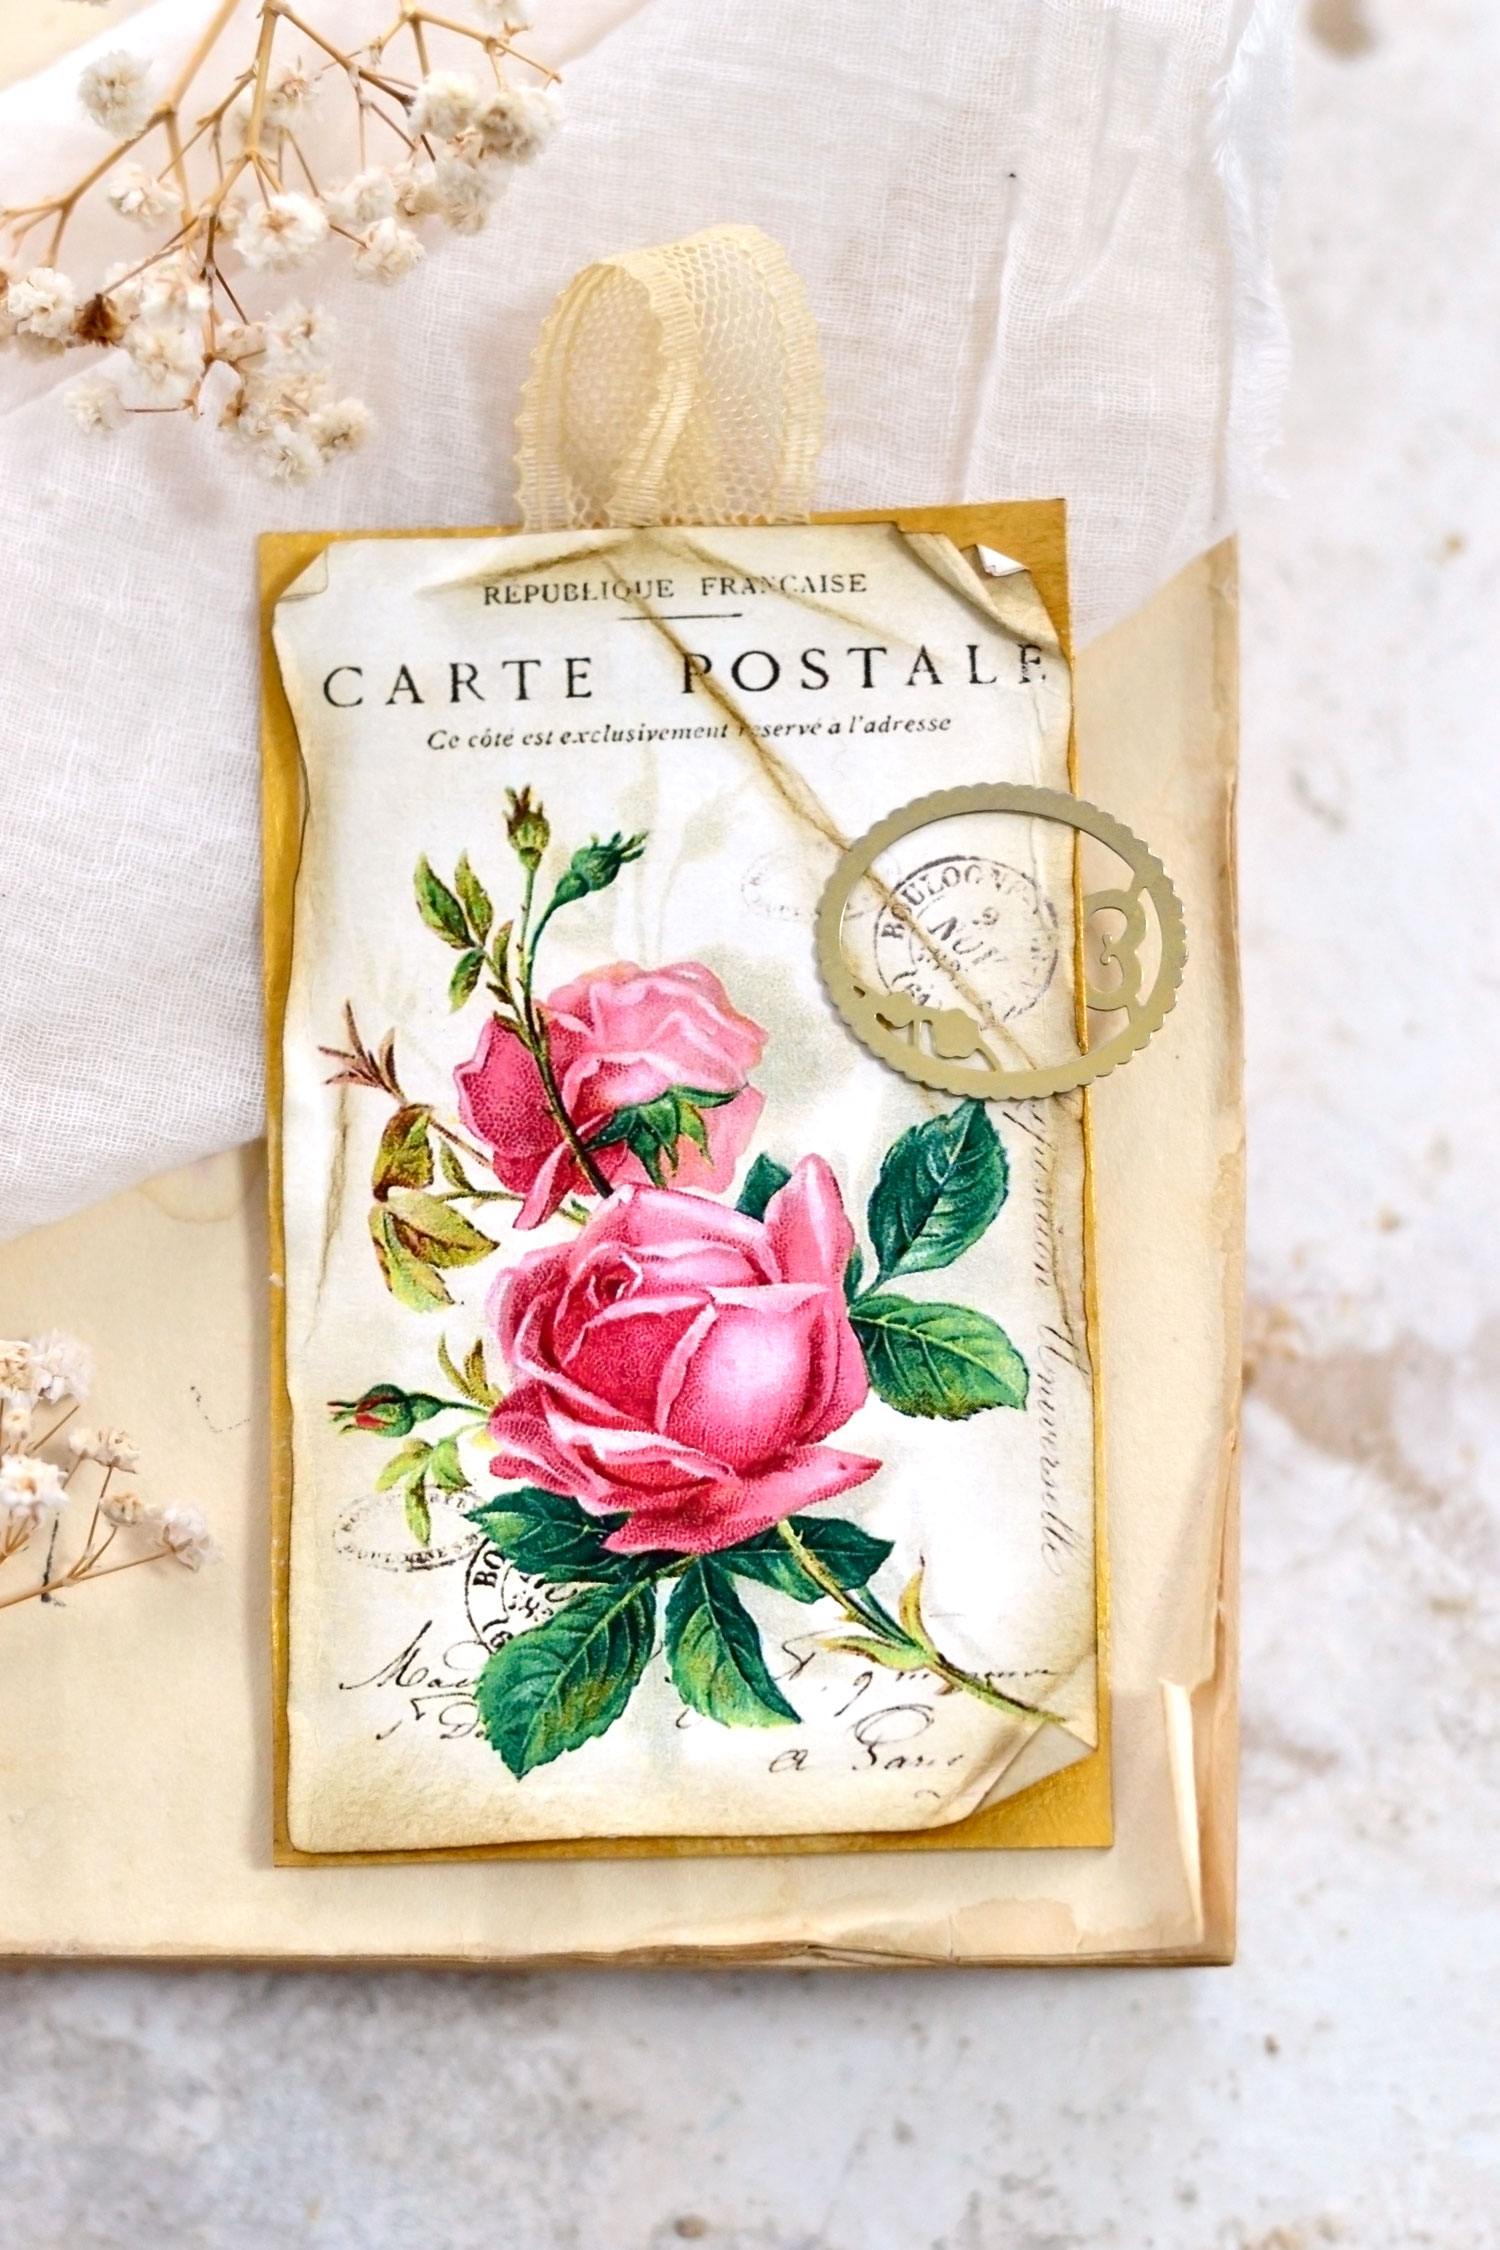
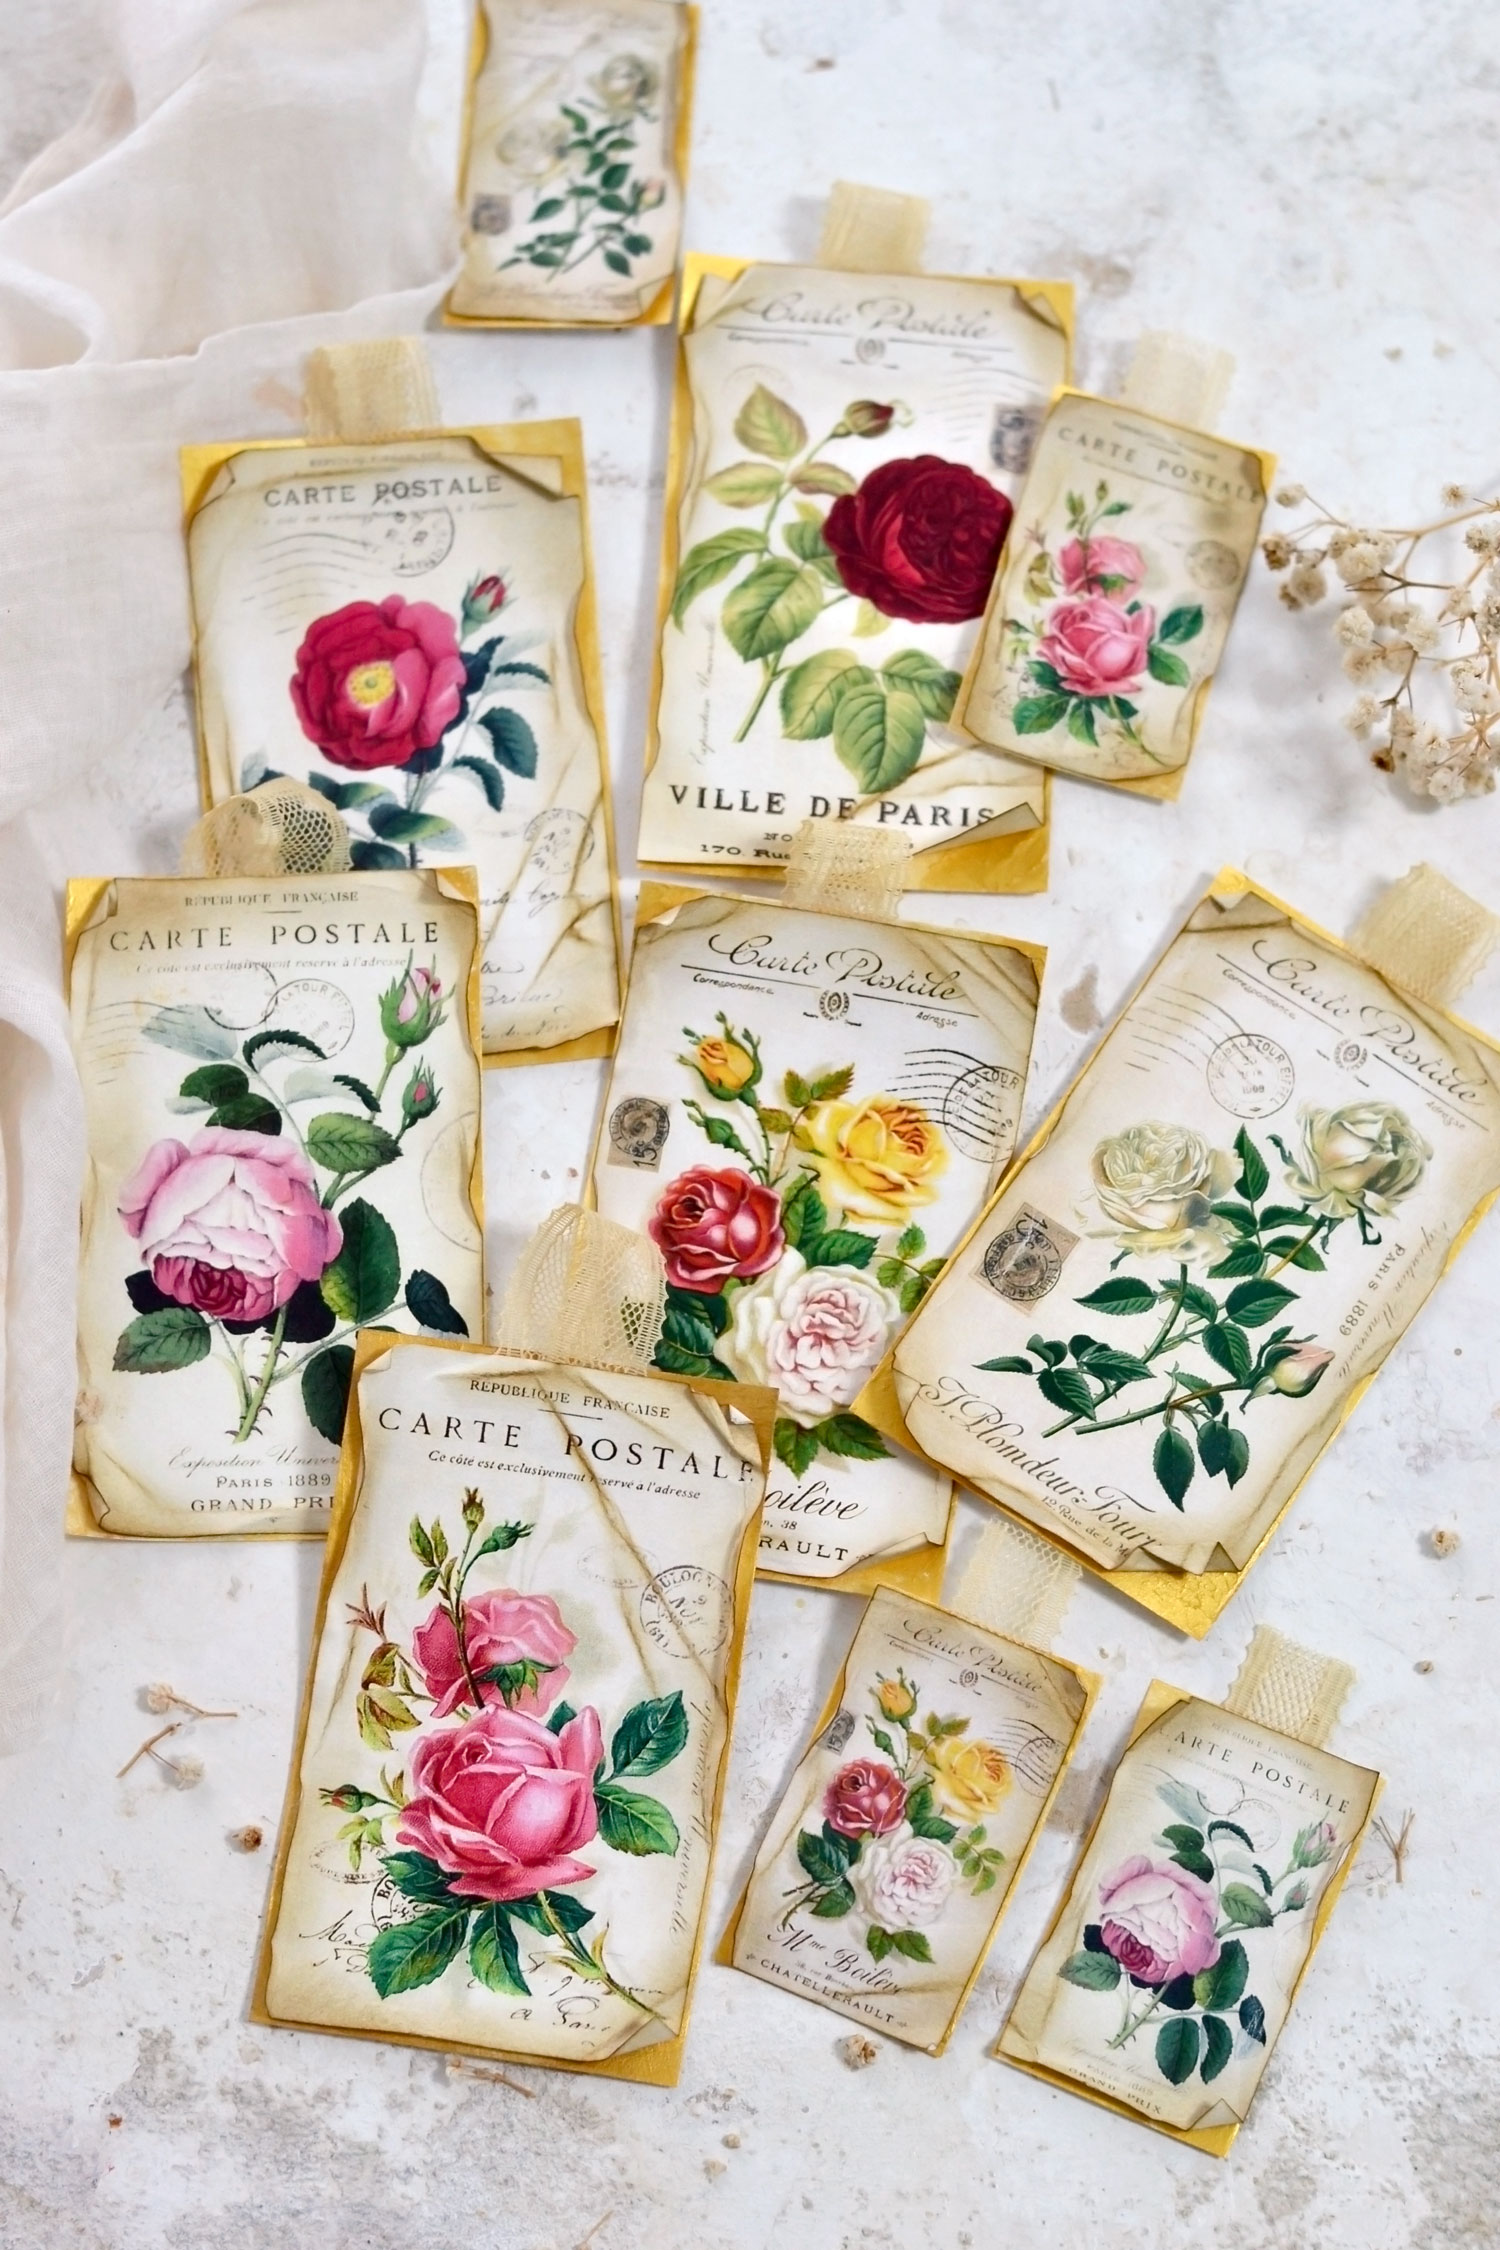
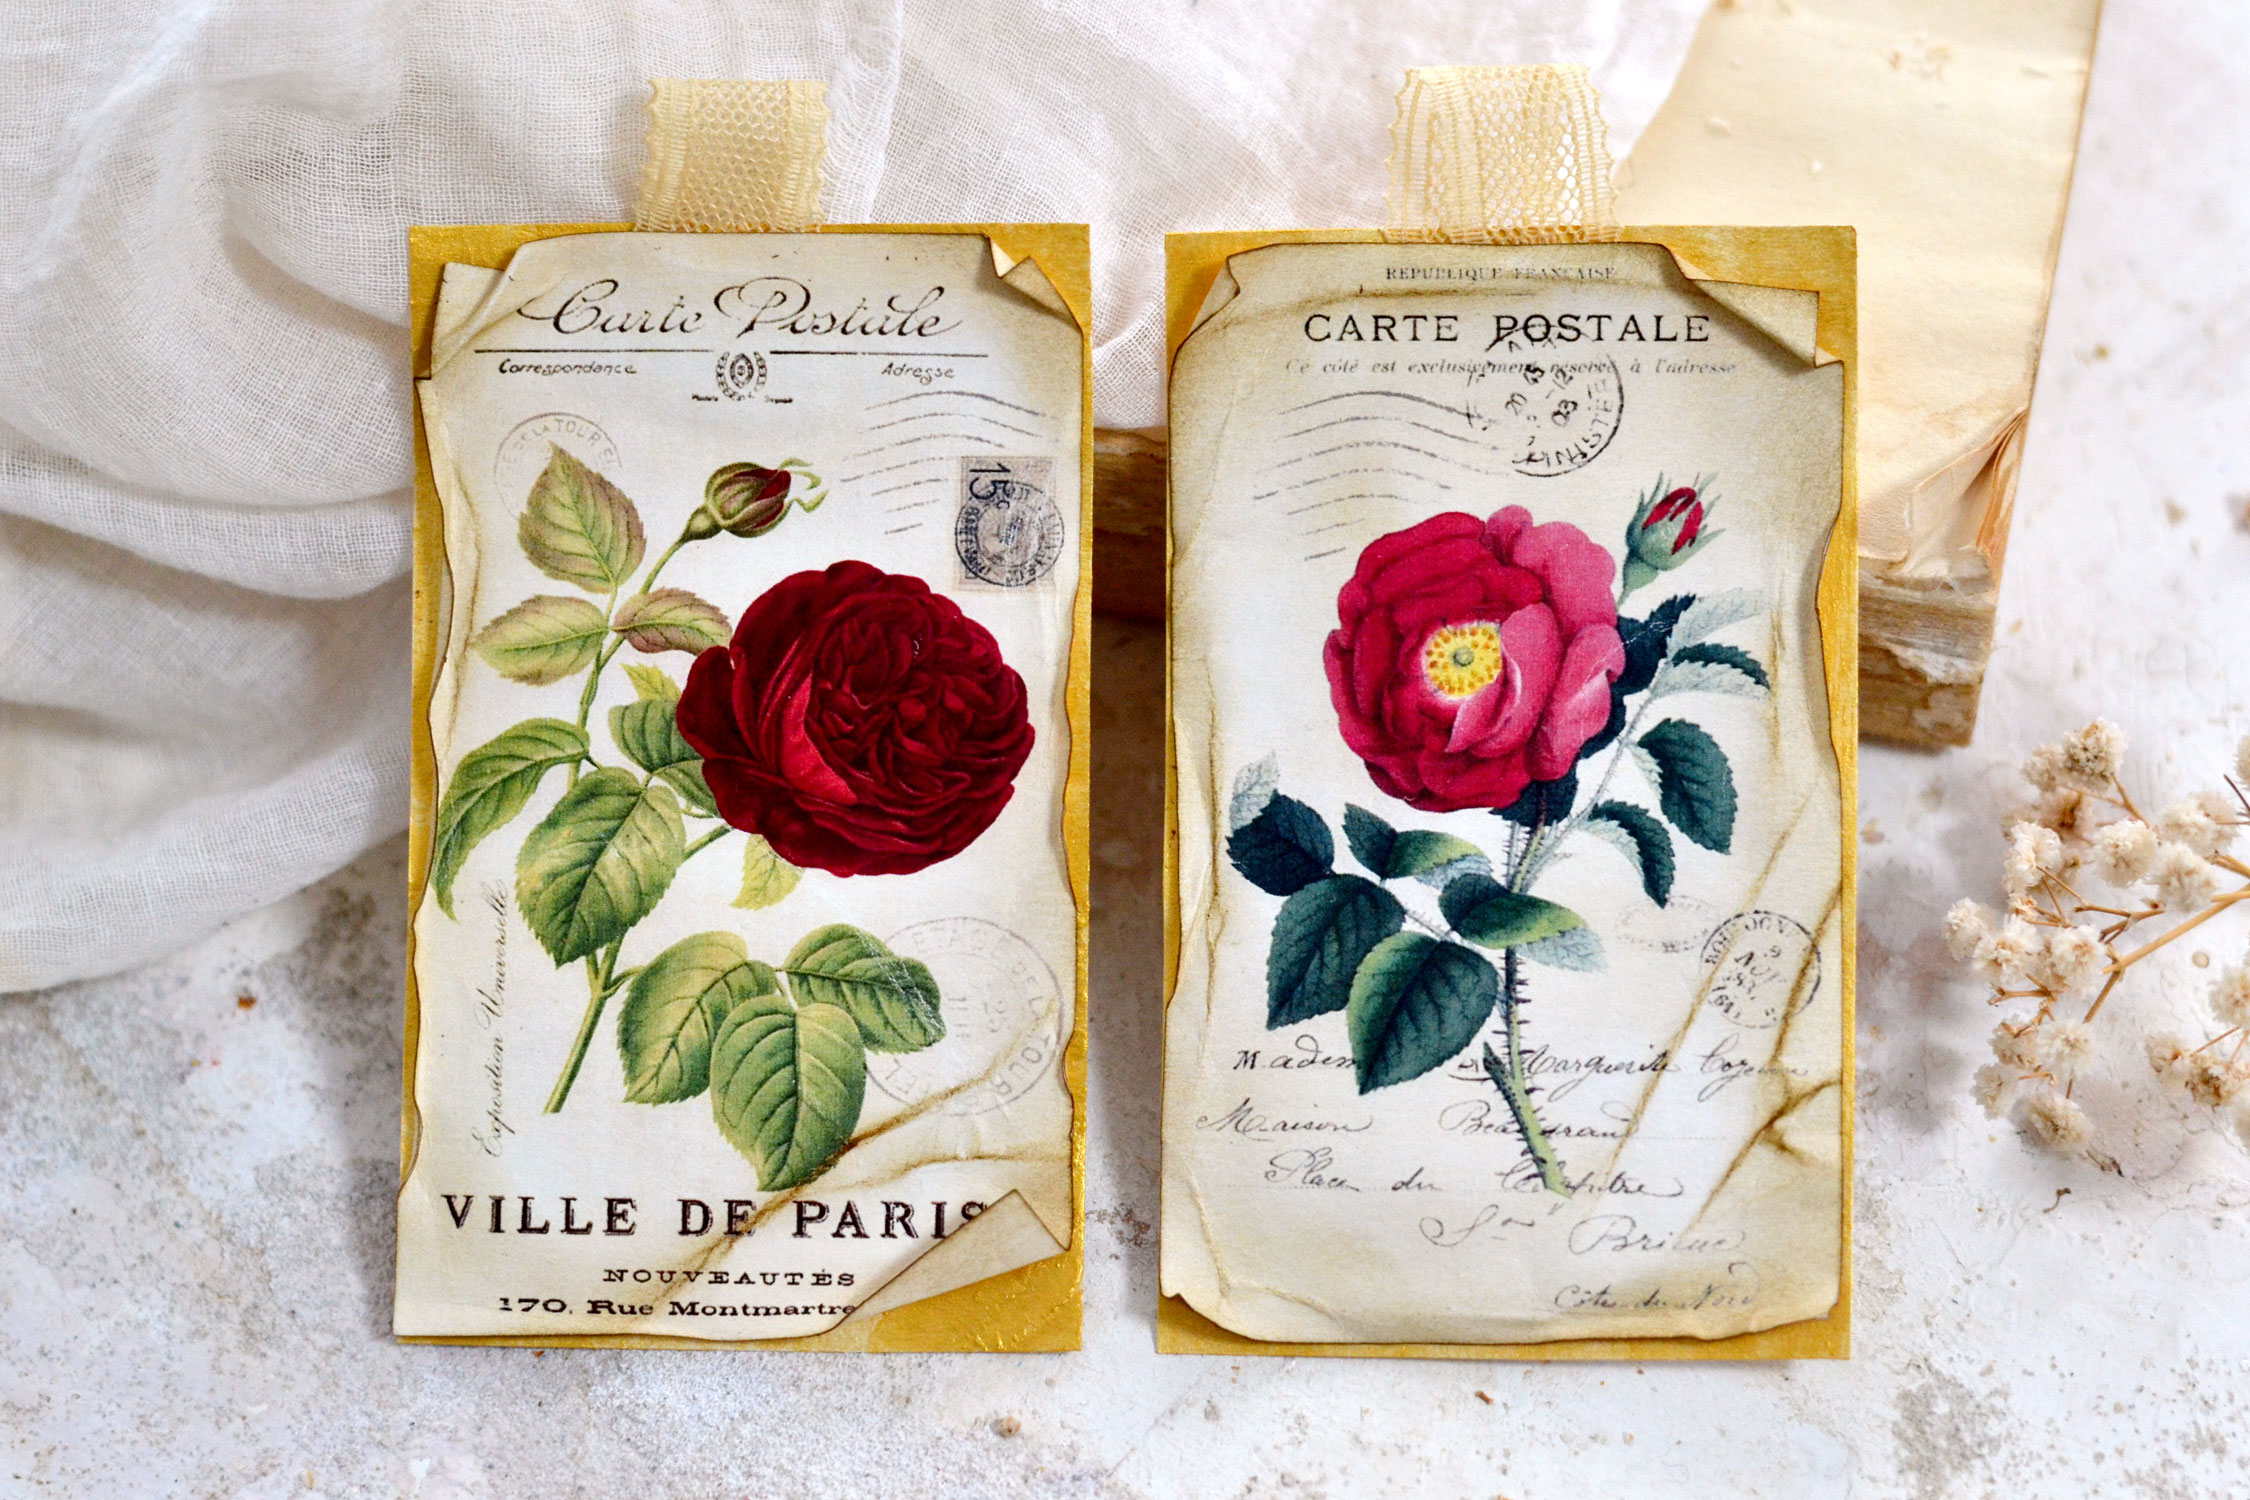
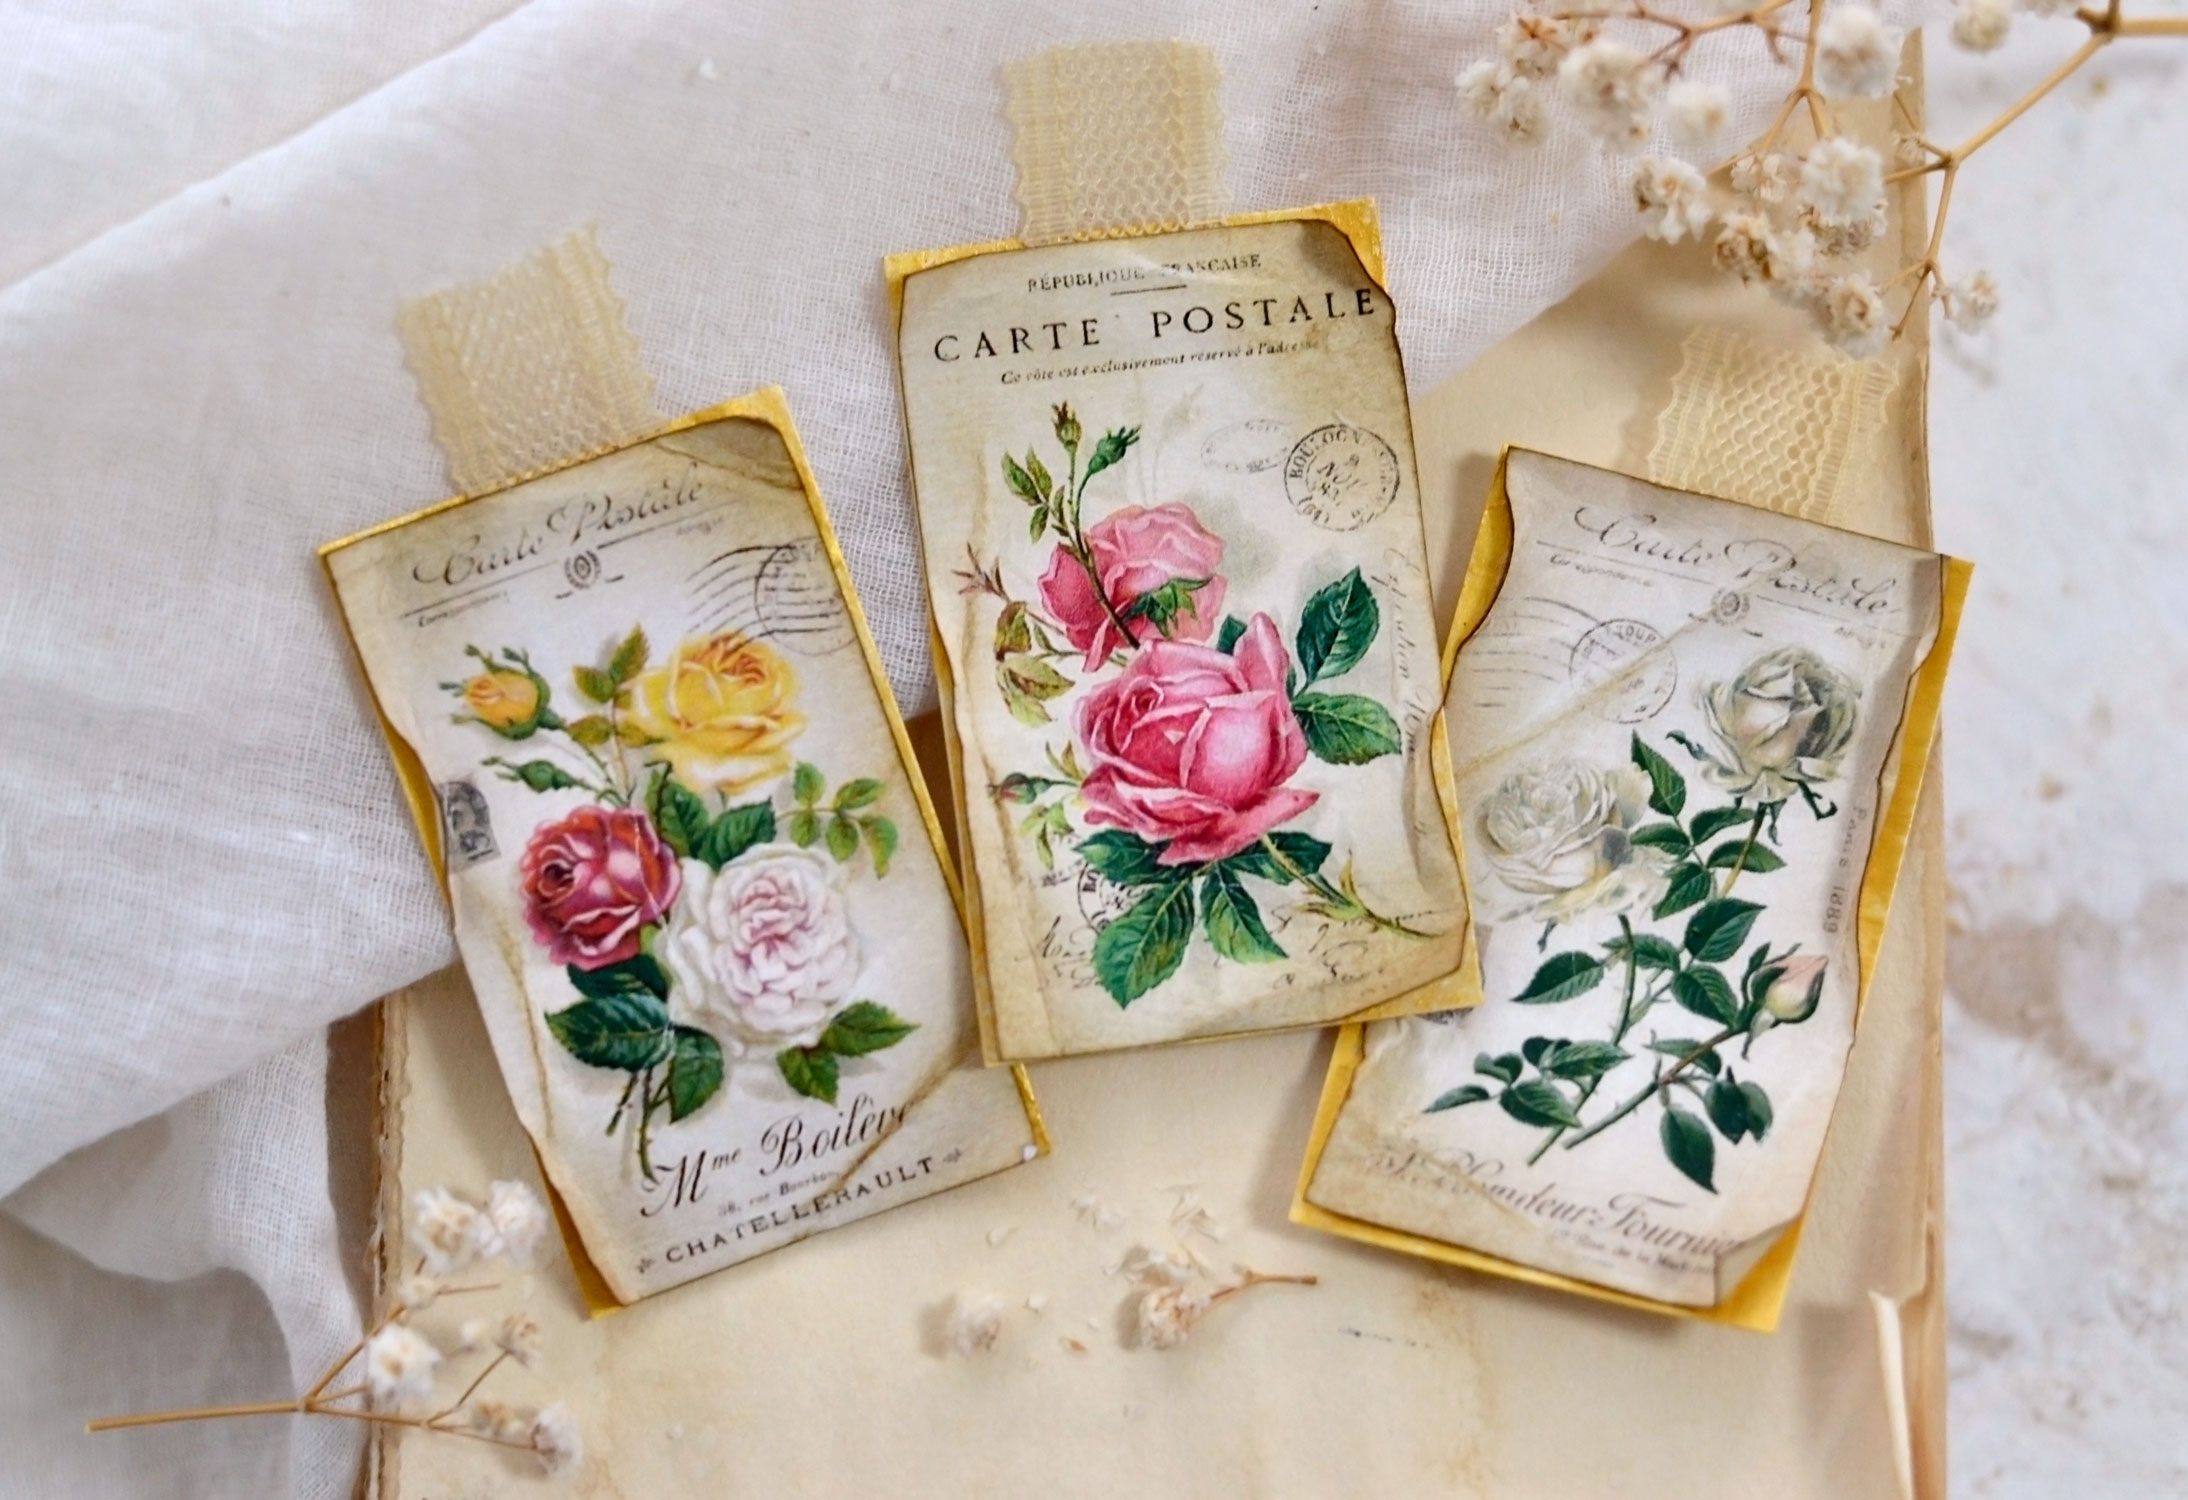
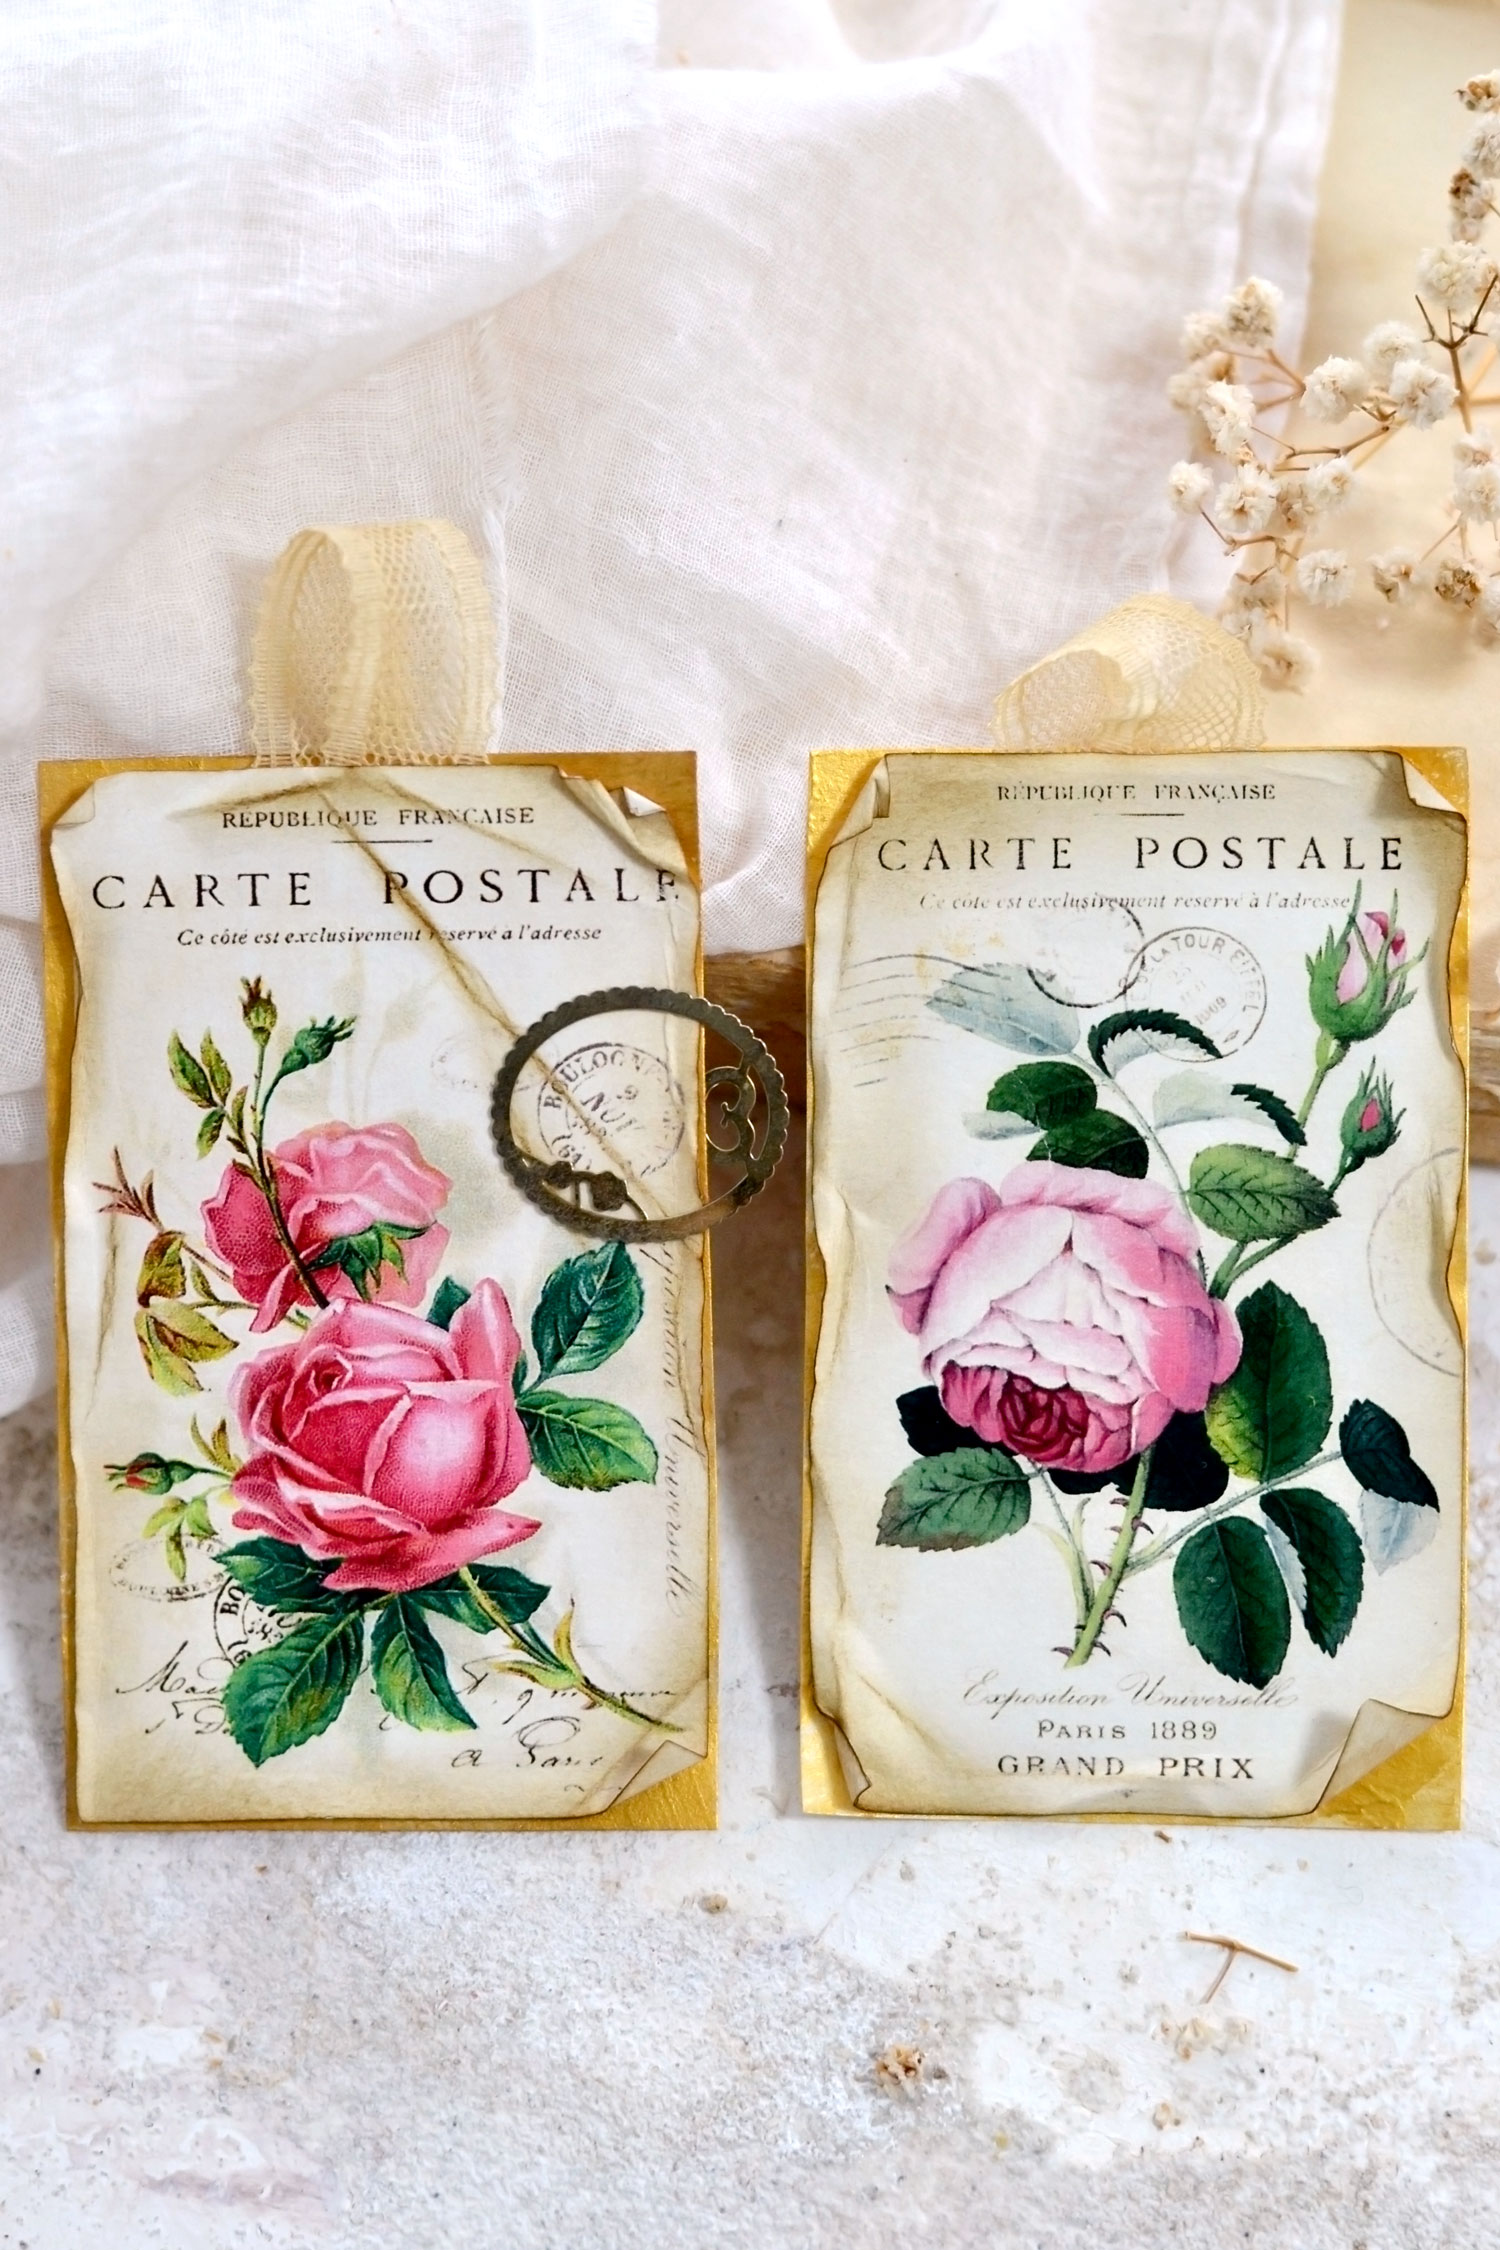
Hello Graphics Fairy friends! I’m Diana from Dreams Factory, happy to share another DIY project with you! Today we will be making these amazing DIY Antique Gold Rose Tags, I will guide you through all the steps you need to take to make this beautiful craft in no time! If you love the look of gold foil crafts, but you don’t have the foil on hand, this technique works as a great substitute!
First, we will be using a little bit of paint and a cardstock base to add the chic golden touches. Next, I will show you one of my favorite ways of giving paper an antique look. I like to call this technique ‘dry distressing’, you won’t believe how efficient a little bit of folding and unfolding can be for this purpose! As a final touch, we will be using coffee to give scrap pieces of lace an aged look and we will be using them to delicately embellish our tags.
If you’ve been following my projects you know how much I love adding a touch of gold whenever I can. I usually love using gold foil, but today, for the sake of experimenting, I thought it would be fun to use some gold acrylic paint to try a slightly different approach. You can also switch to gold gouaches or gold watercolors, these will also work!
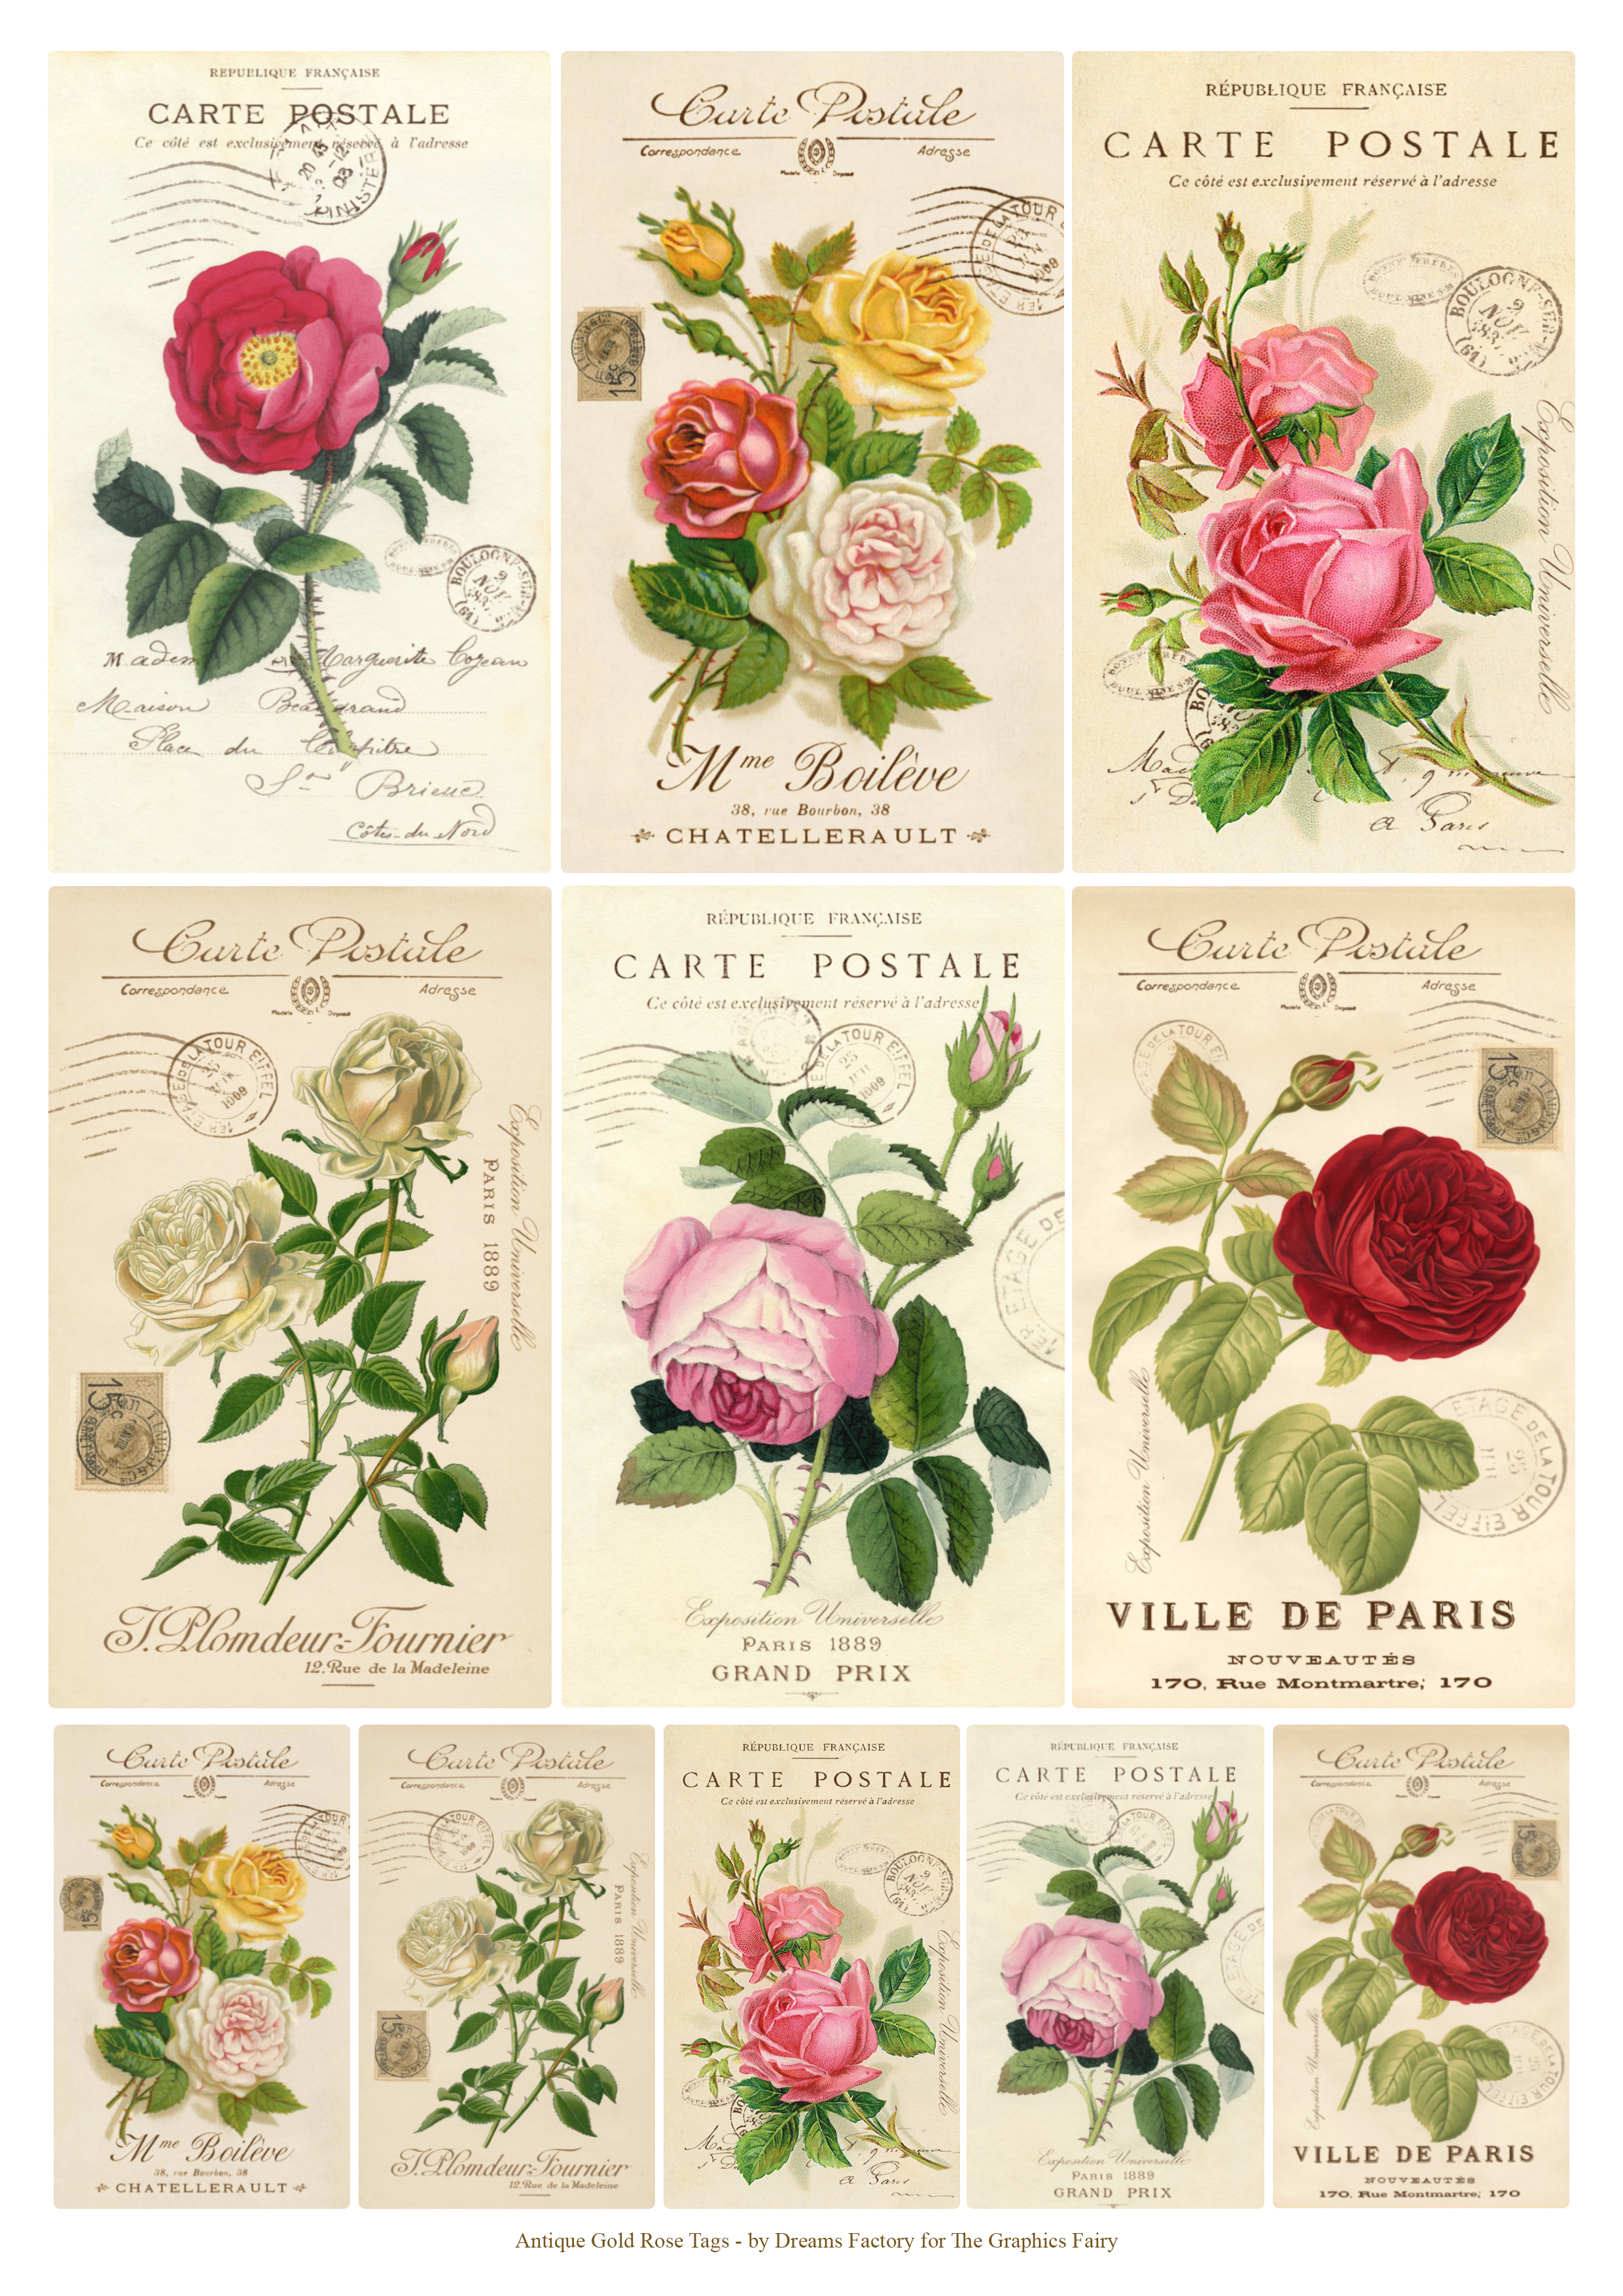
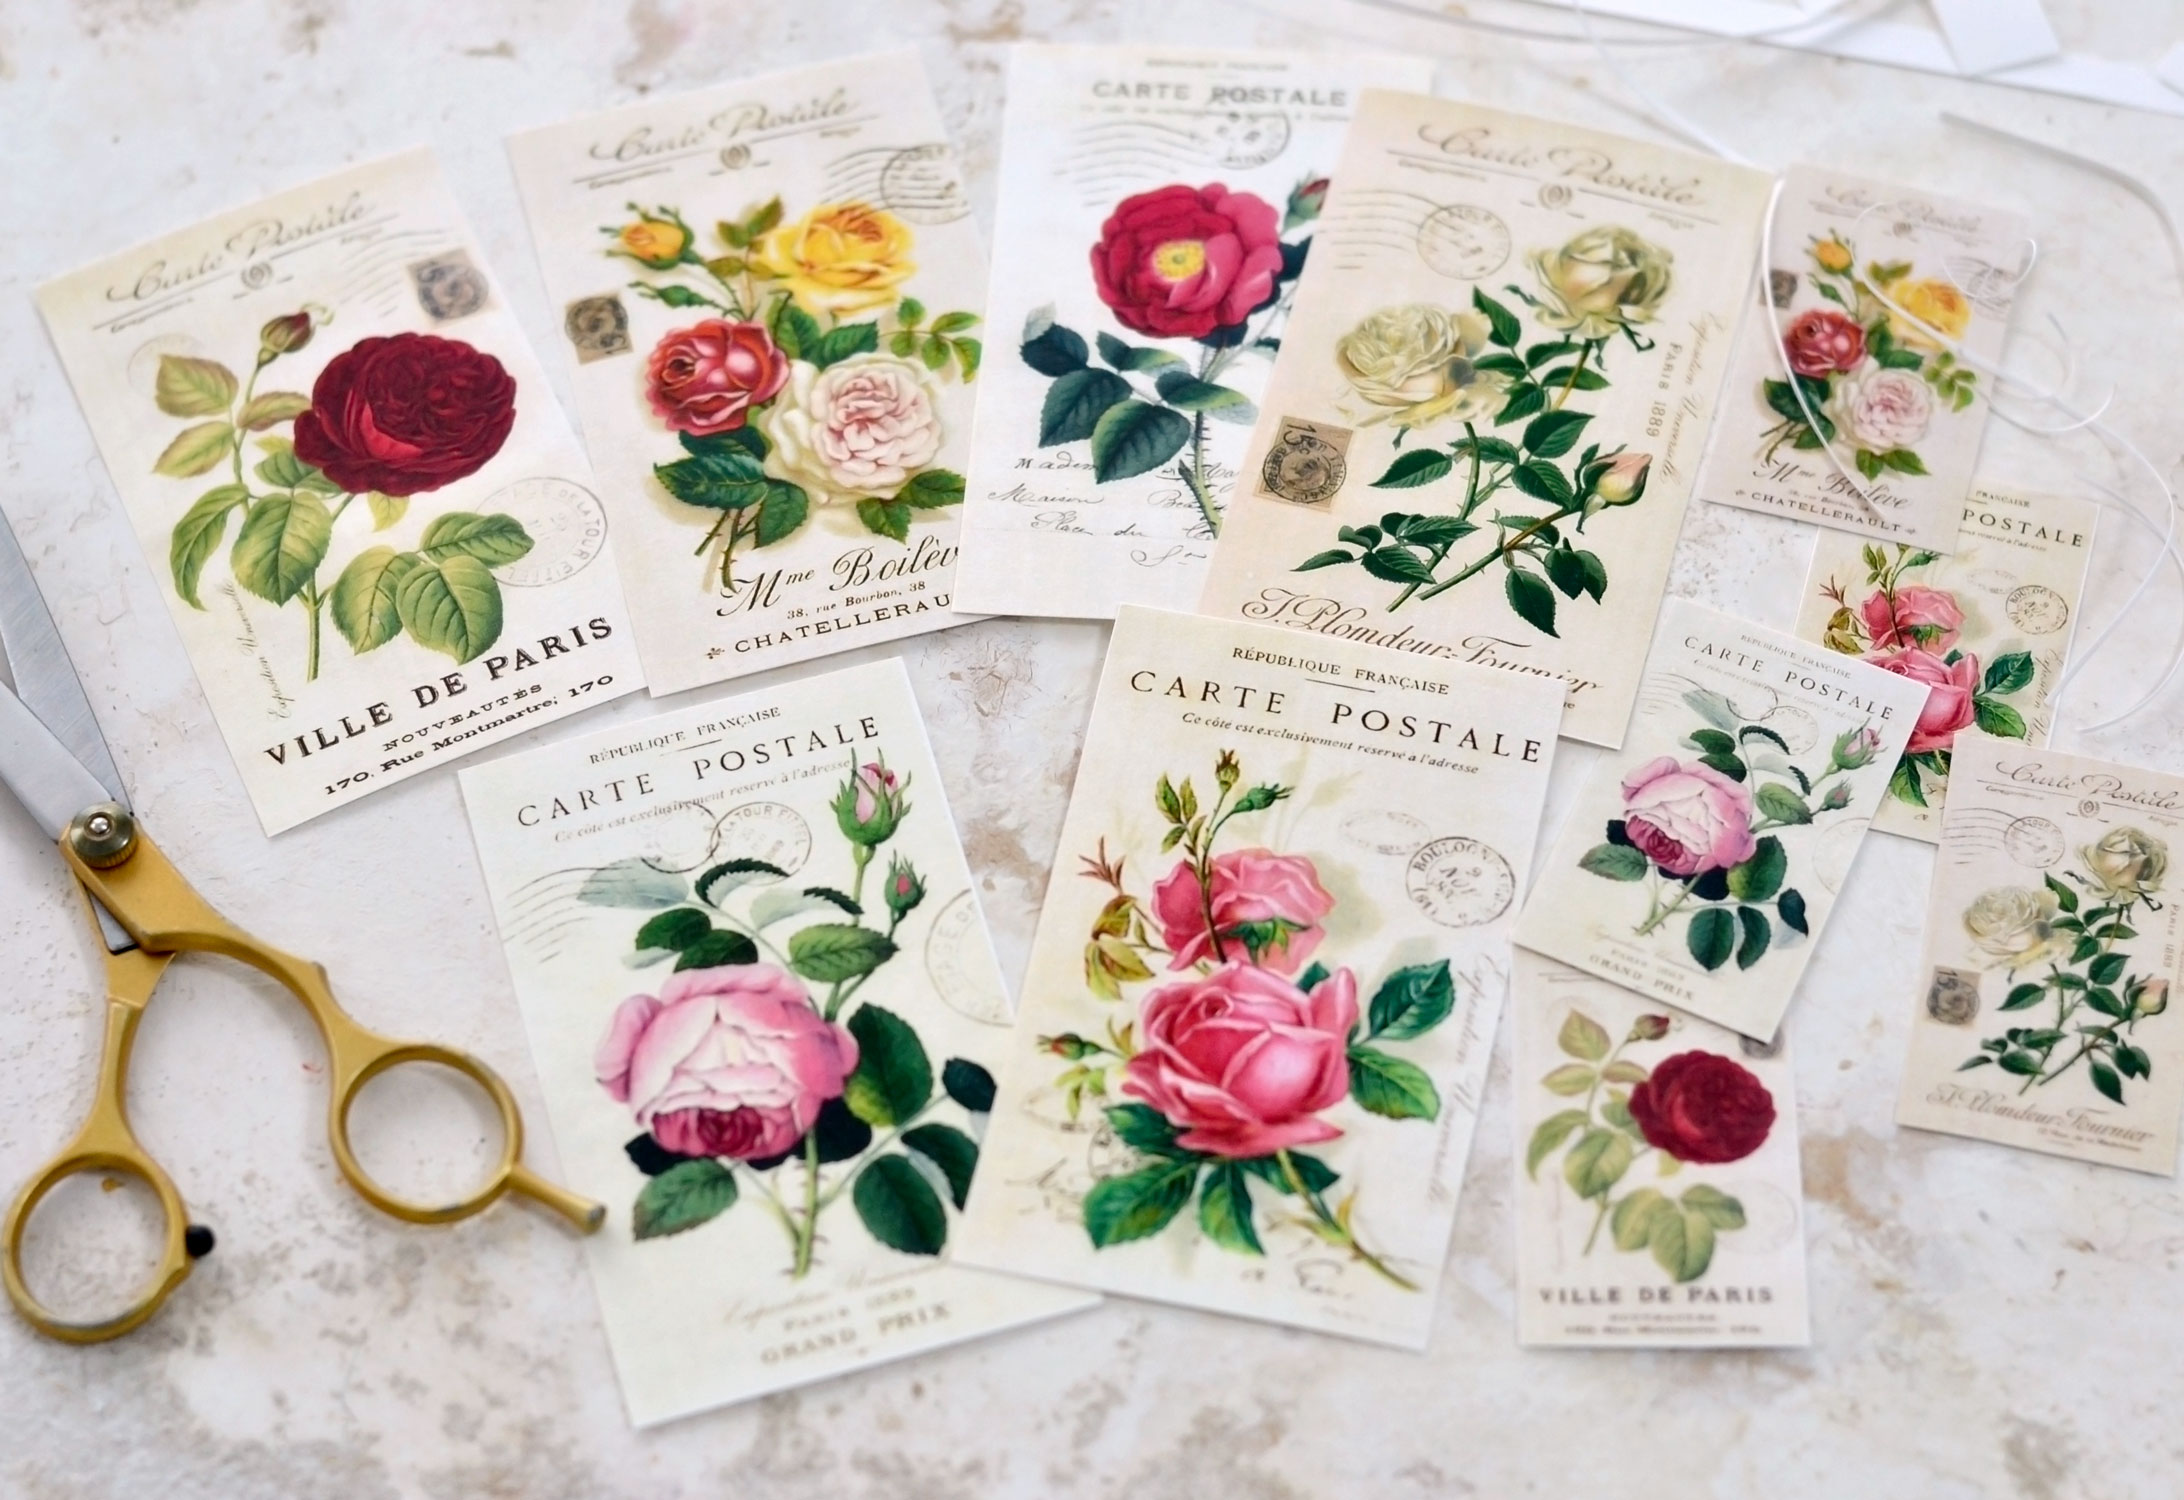
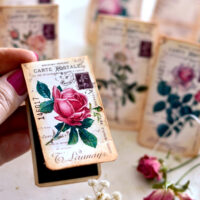
The printable that I’ve created for you is one of my all-time favorites, I’m really happy with how it turned out! I used some of the most beautiful rose images from The Graphics Fairy and some of my favorite French ephemera cutouts, making each tag colorful and unique! I’ve also included some French postcard elements so we could definitely name these Antique Postcard Tags if we wanted to. The rose tags come in 2 different sizes – 6 large and 5 small.
Faux Gold Foil Craft Printable
—-> CLICK HERE TO DOWNLOAD THE FULL SIZE PRINTABLE PDF – THE ROSE TAGS <—-
You will also find a separate printable that includes the bases for our tags, make sure you also save this one on your computer.
—-> CLICK HERE TO DOWNLOAD THE FULL SIZE PRINTABLE PDF – THE BASES <—-
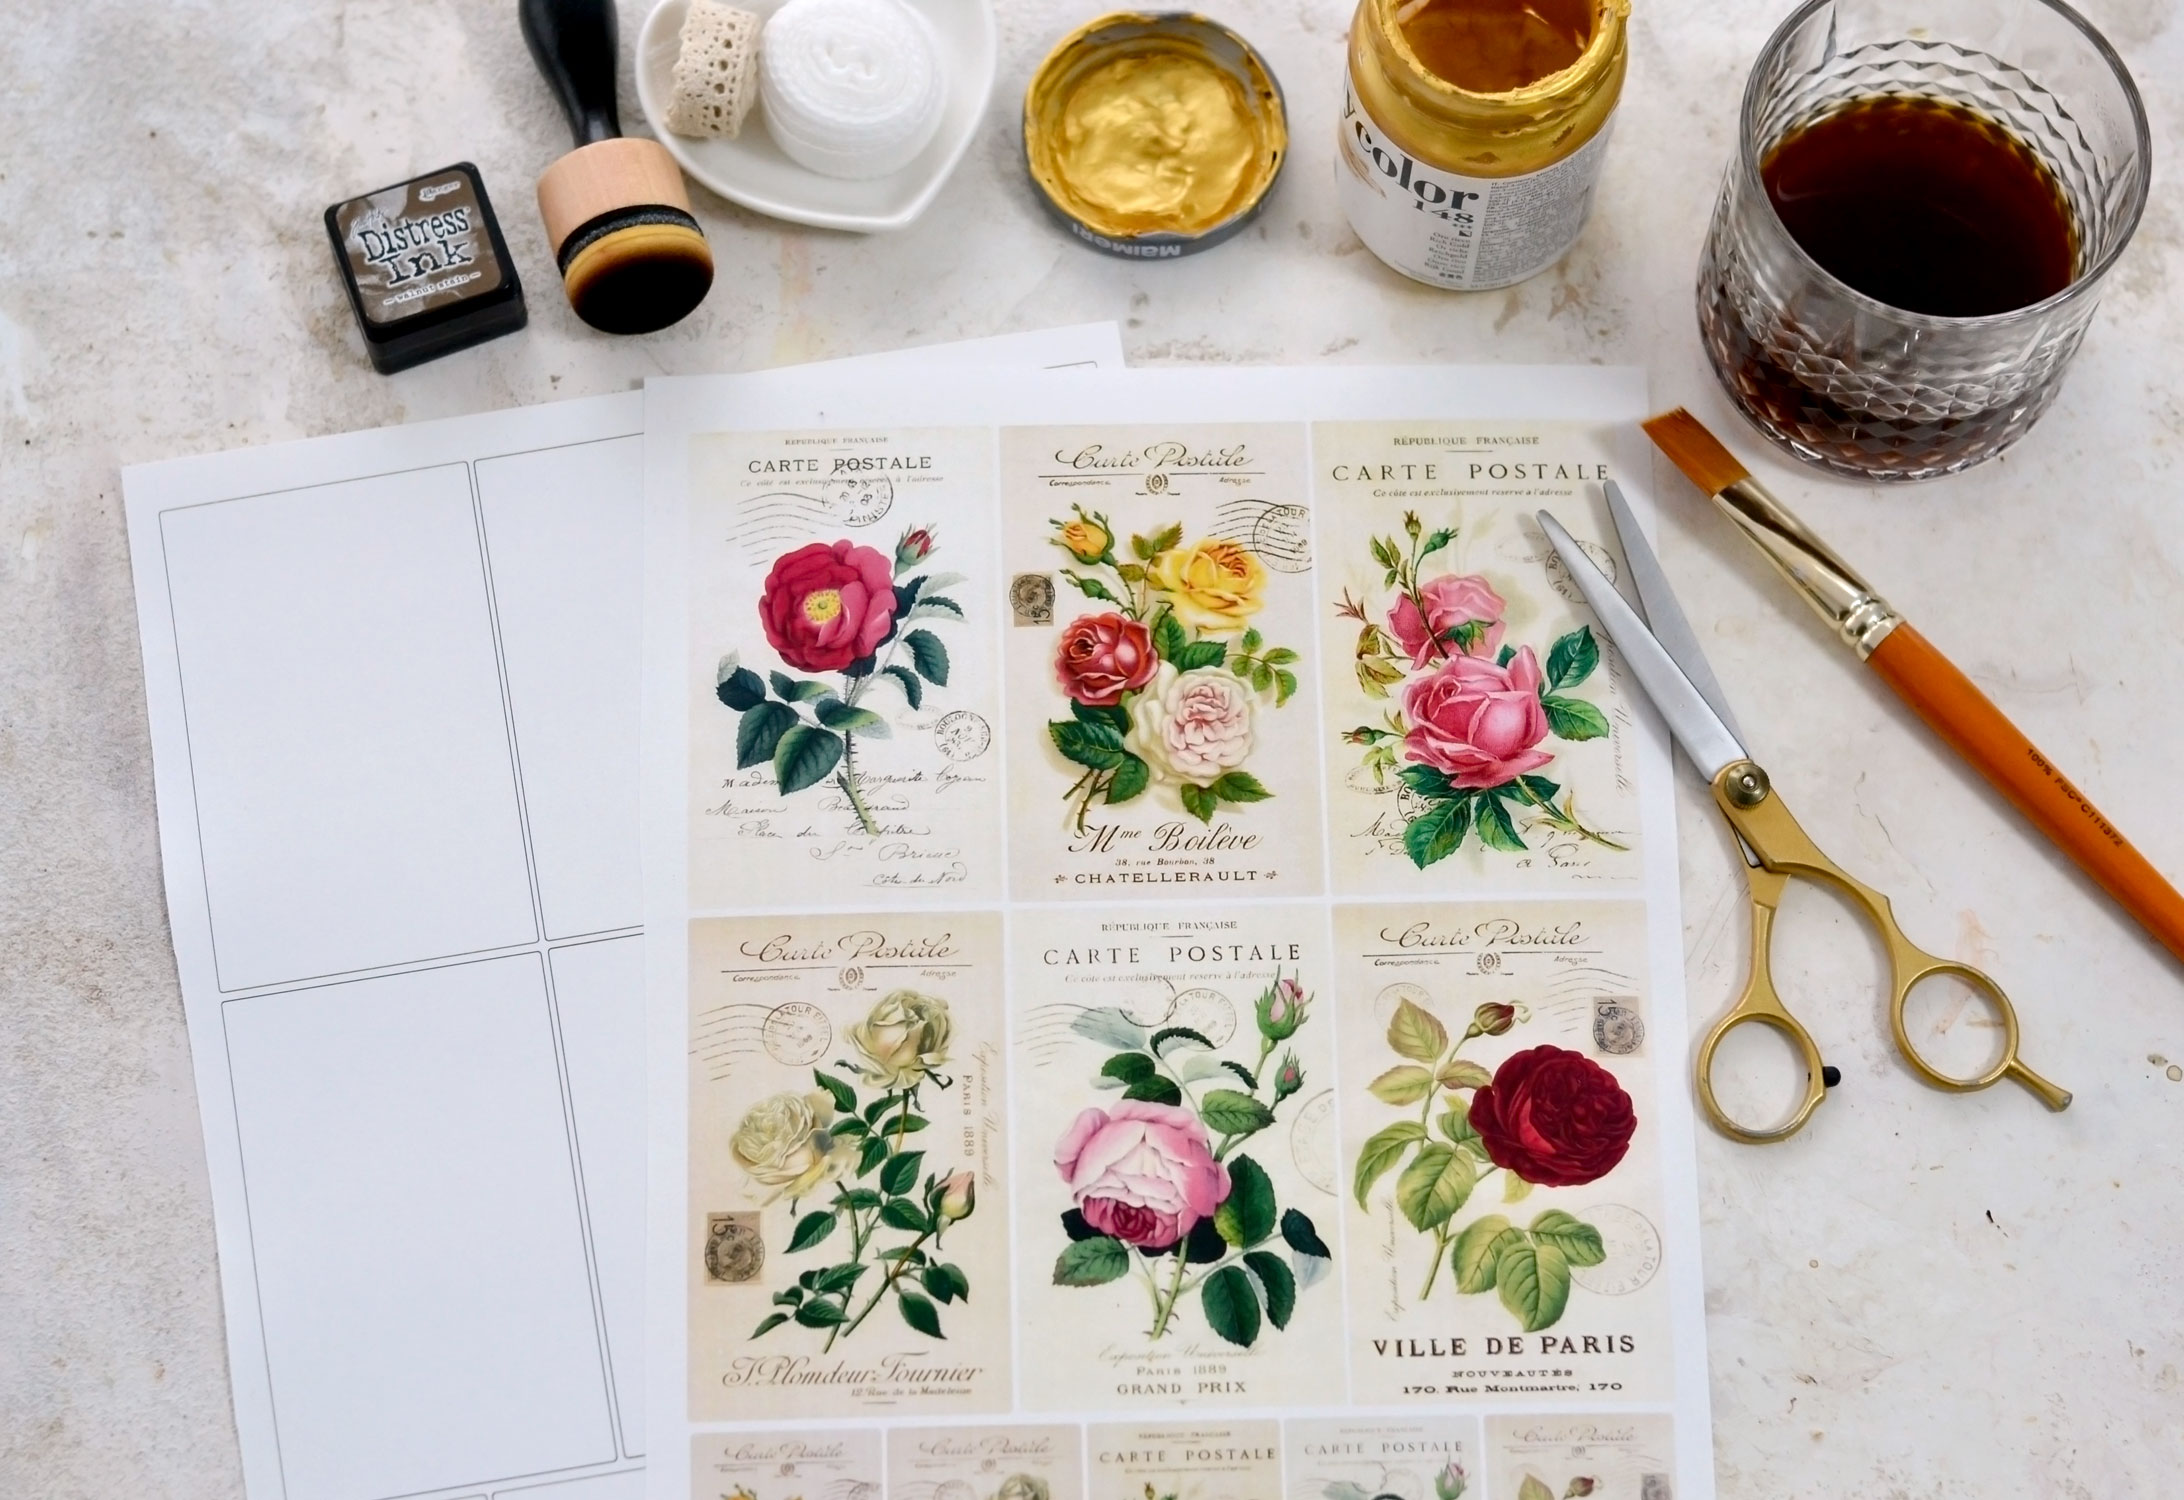
SUPPLIES:
- cardstock paper
- scissors
- home printer
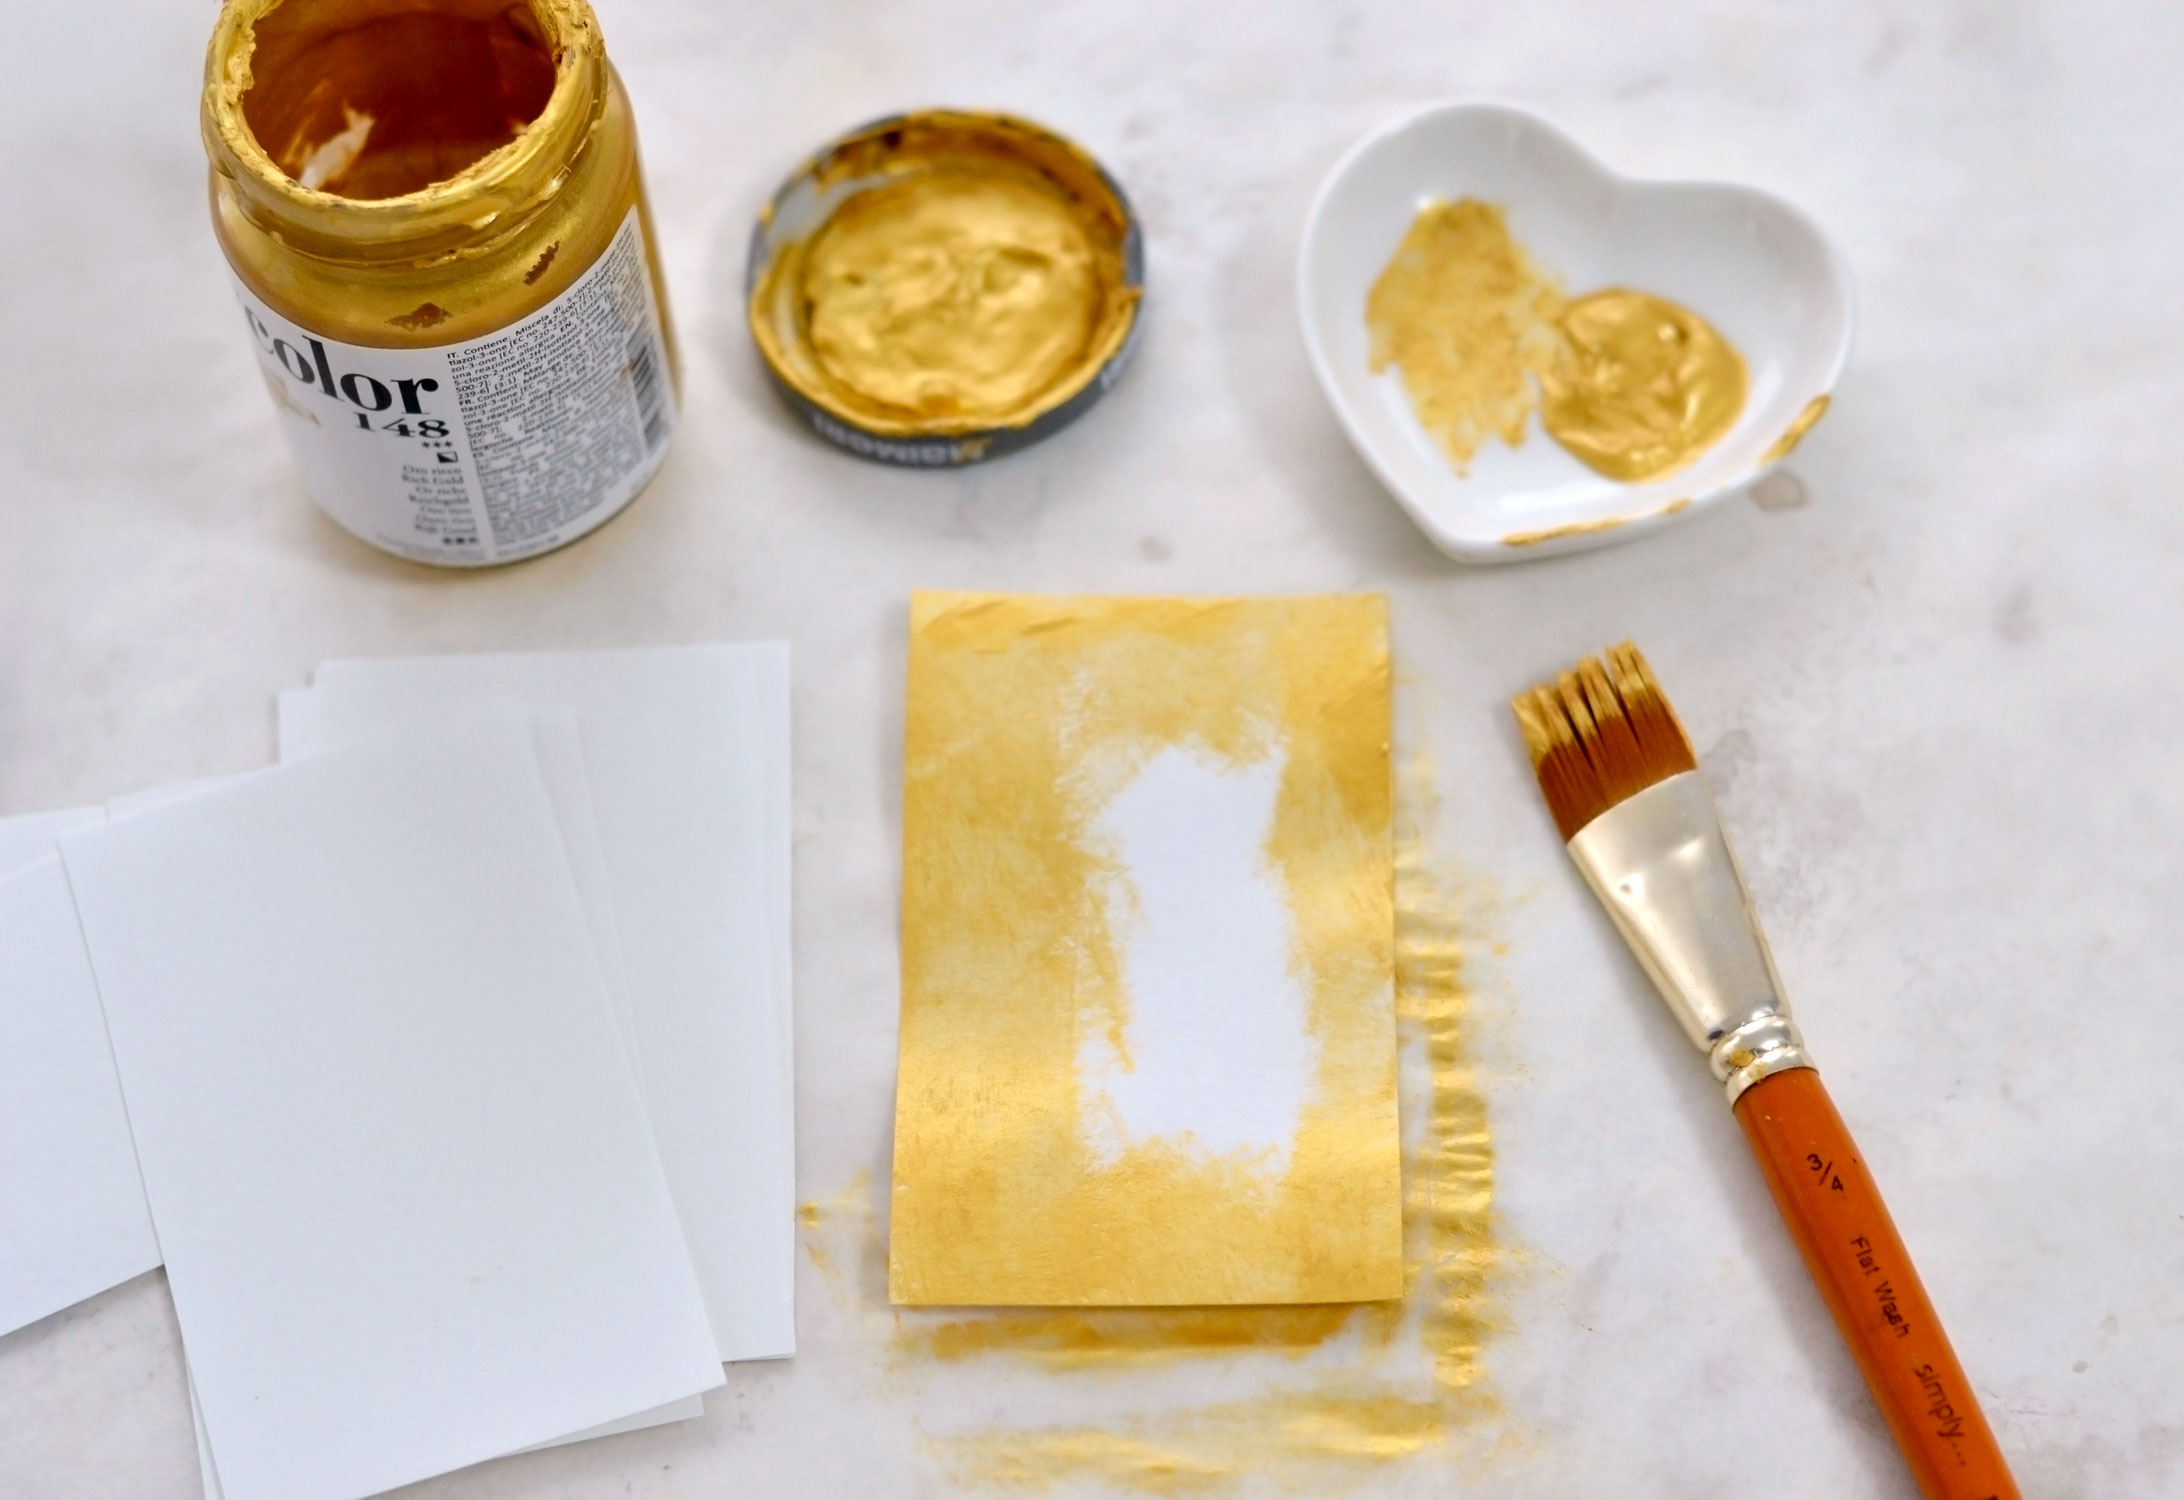
- gold acrylic paint – you can use metallic gold, copper, bronze or brass
- brushes
- mini distress inks
- blending tool with foams
- glue stick or any other paper glue
- some leftover coffee
- a plastic sheet or a non-absorbent surface to protect your working area while painting – I used parchment paper
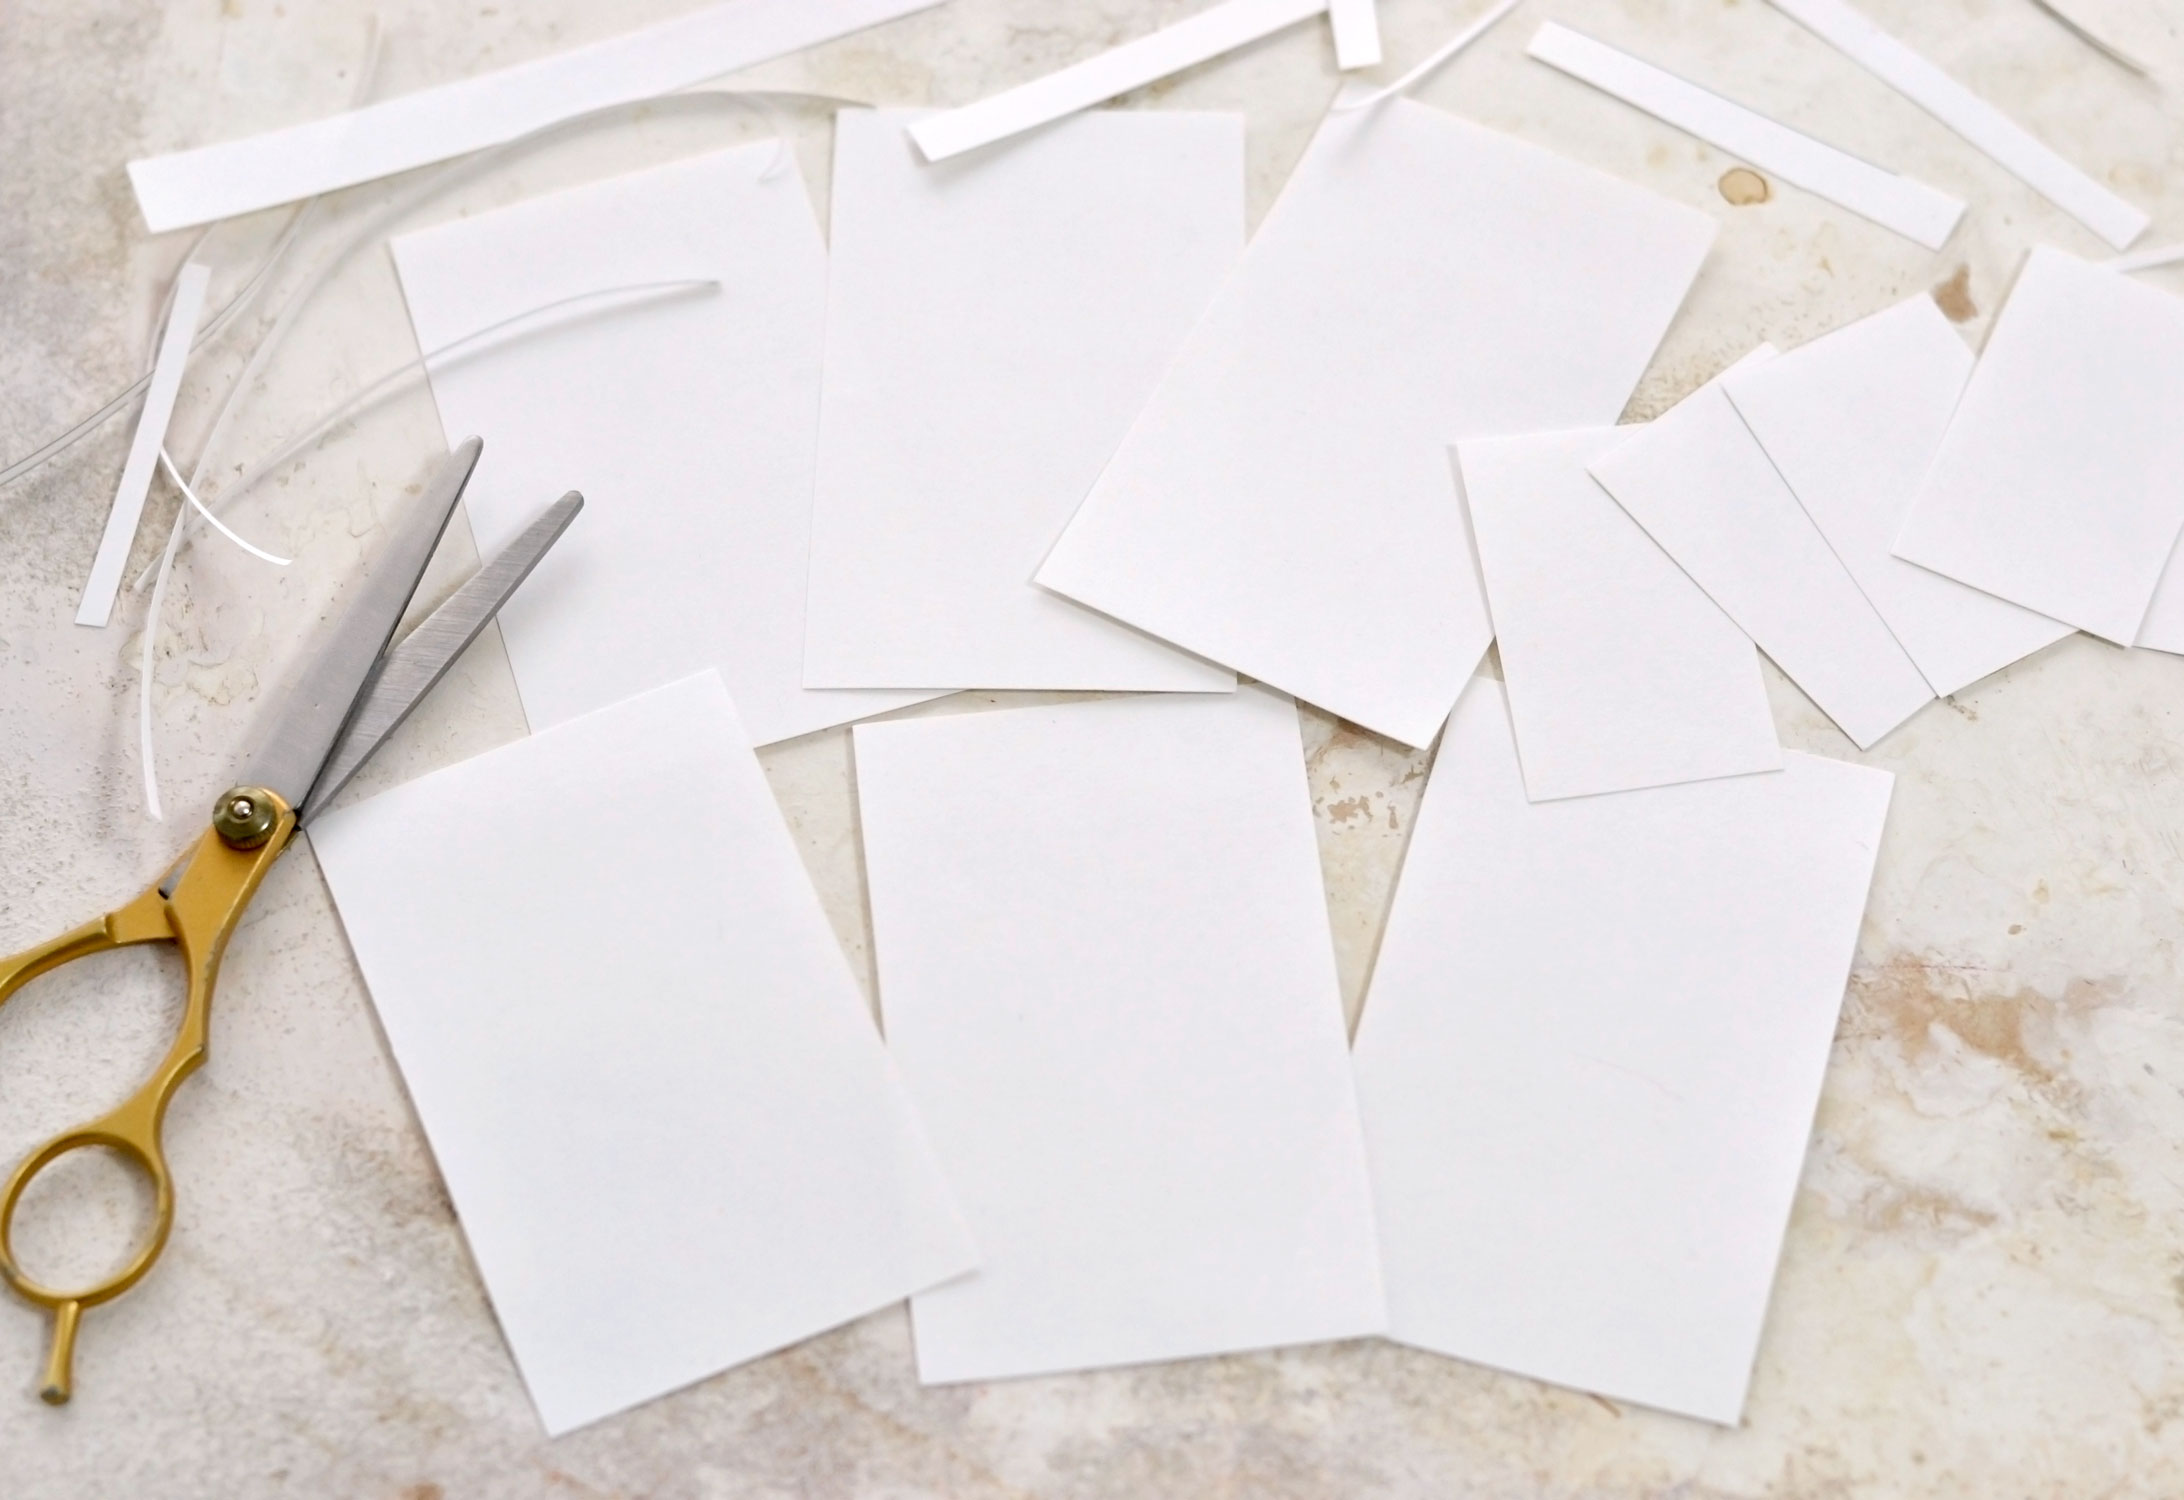
Let’s start with the cardstock bases first, just use your scissors to cut them. Make sure you completely remove the black border while cutting them.
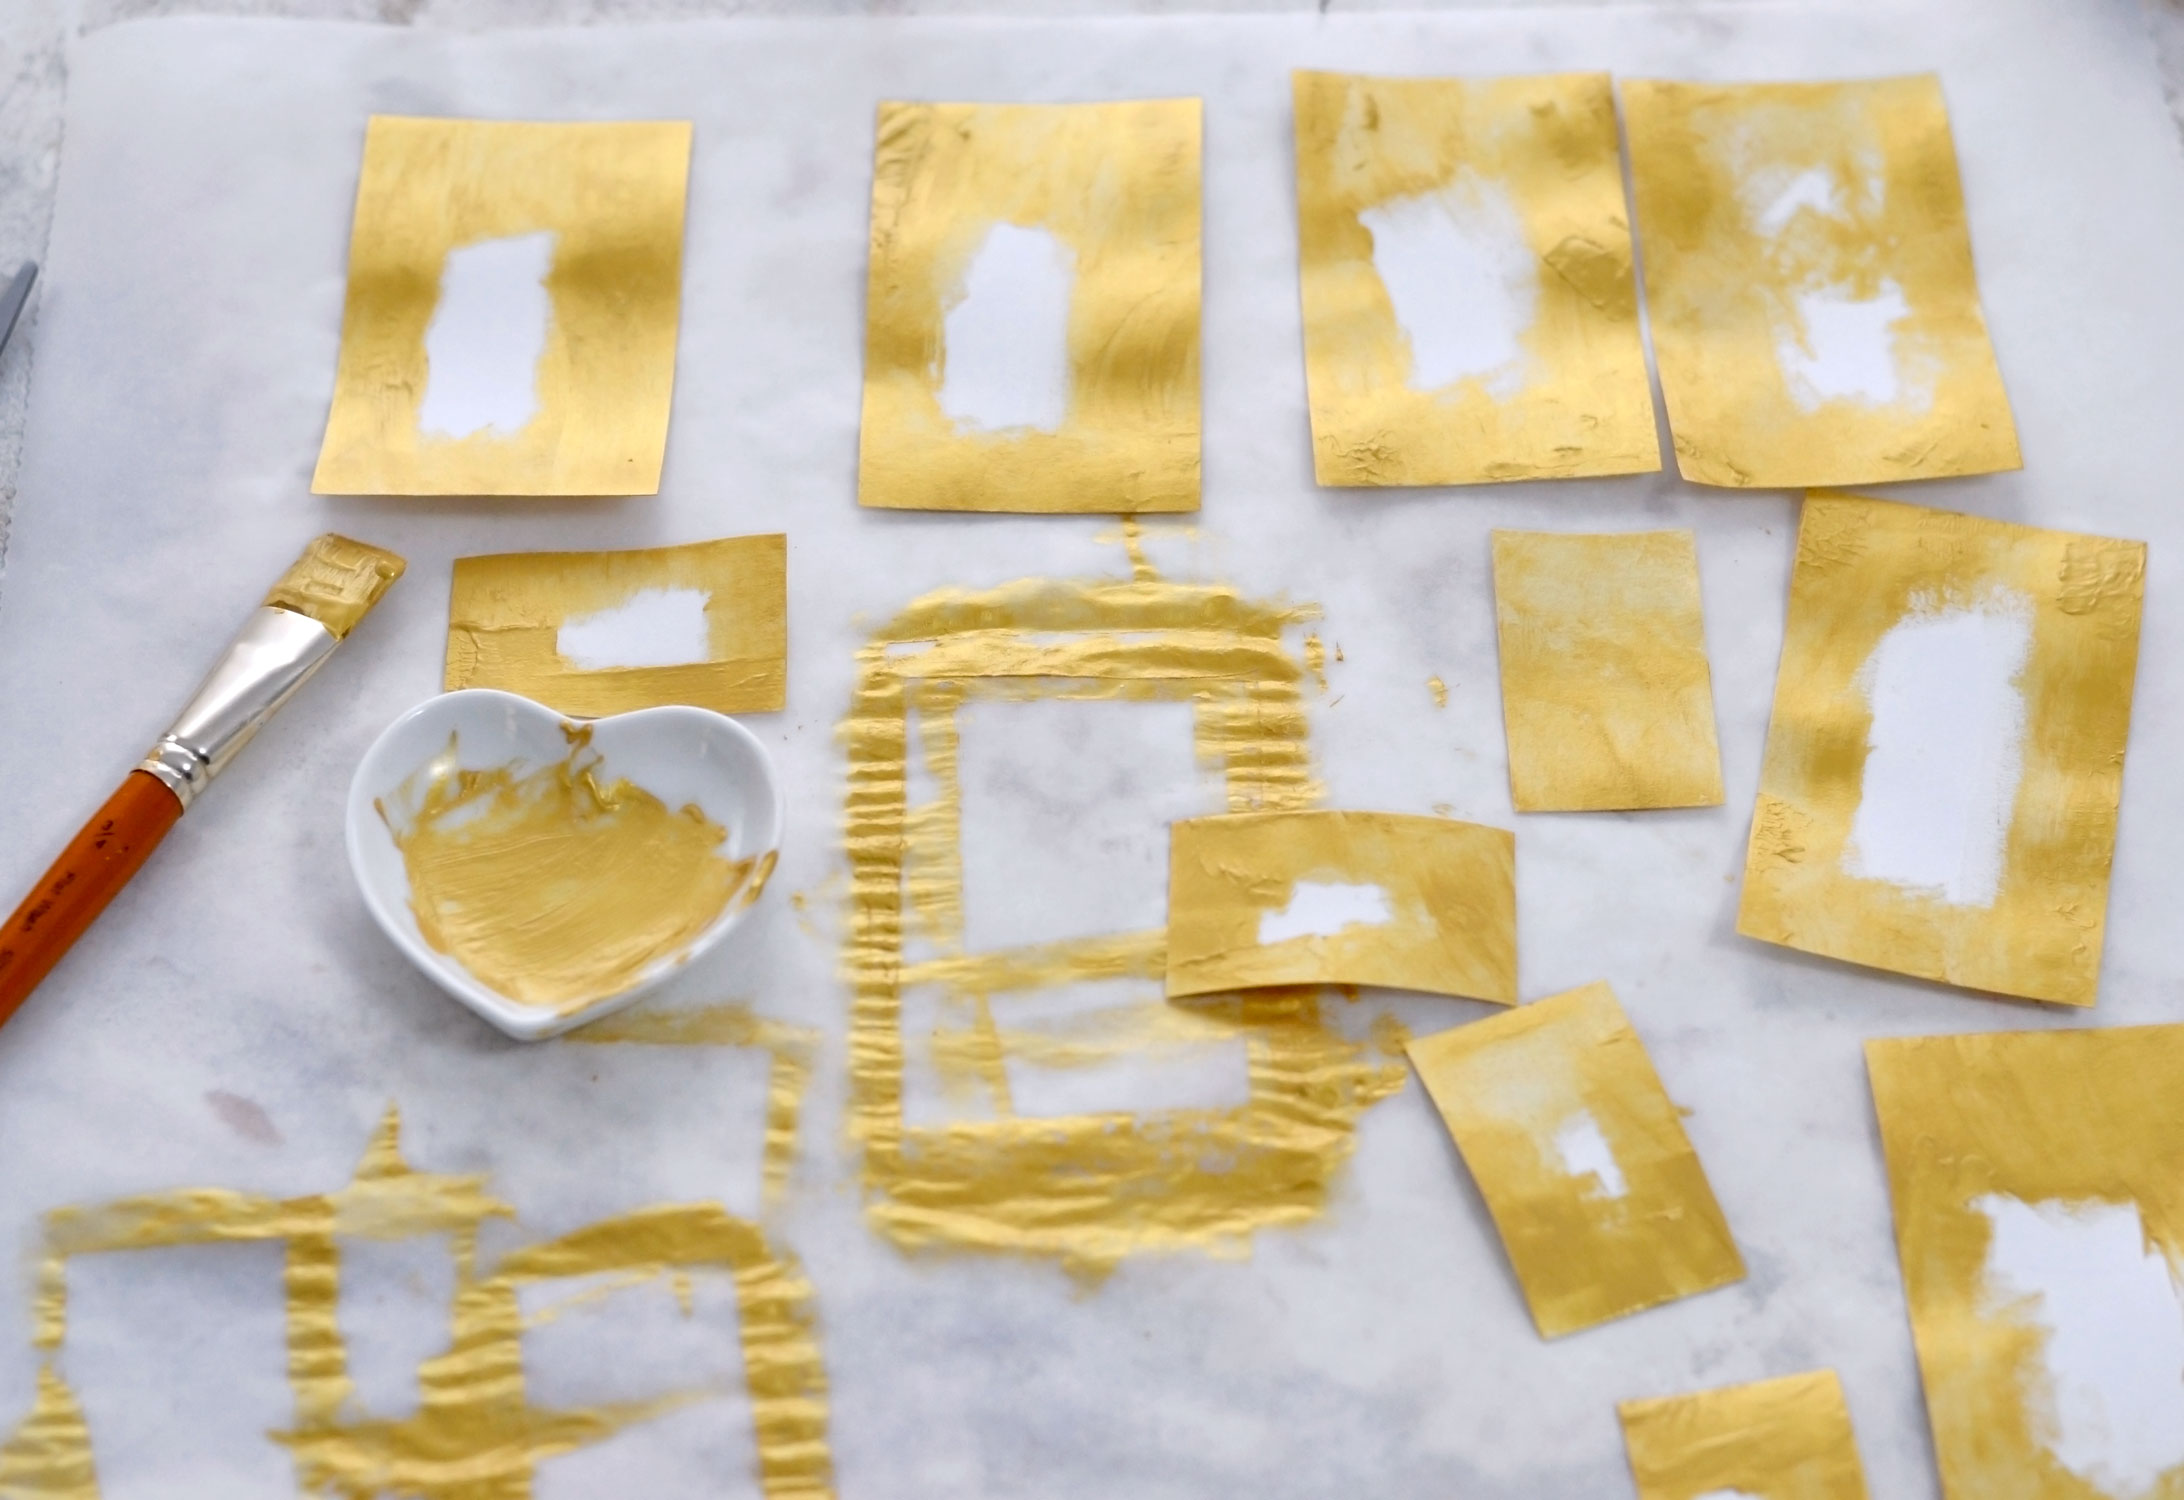
Use a plastic sheet or a non-absorbent surface to protect your working space before moving to the next step. I actually used a piece of parchment paper and placed the cardstock bases on top. I used a large brush and I applied gold acrylic paint all around the edges. You can leave a small unpainted area in the middle, this way it’s easier to handle them while finishing painting them. I used undiluted gold acrylic paint for two reasons:
1. I wanted to get full coverage.
2. I didn’t want the cardstock to warp too much.
You can add a larger amount of paint in some areas, just around the edges, here and there – if you want to create some texture.
When you are done, you can simply slide the parchment paper to the side and let the cardstock bases dry while you proceed to the next step.
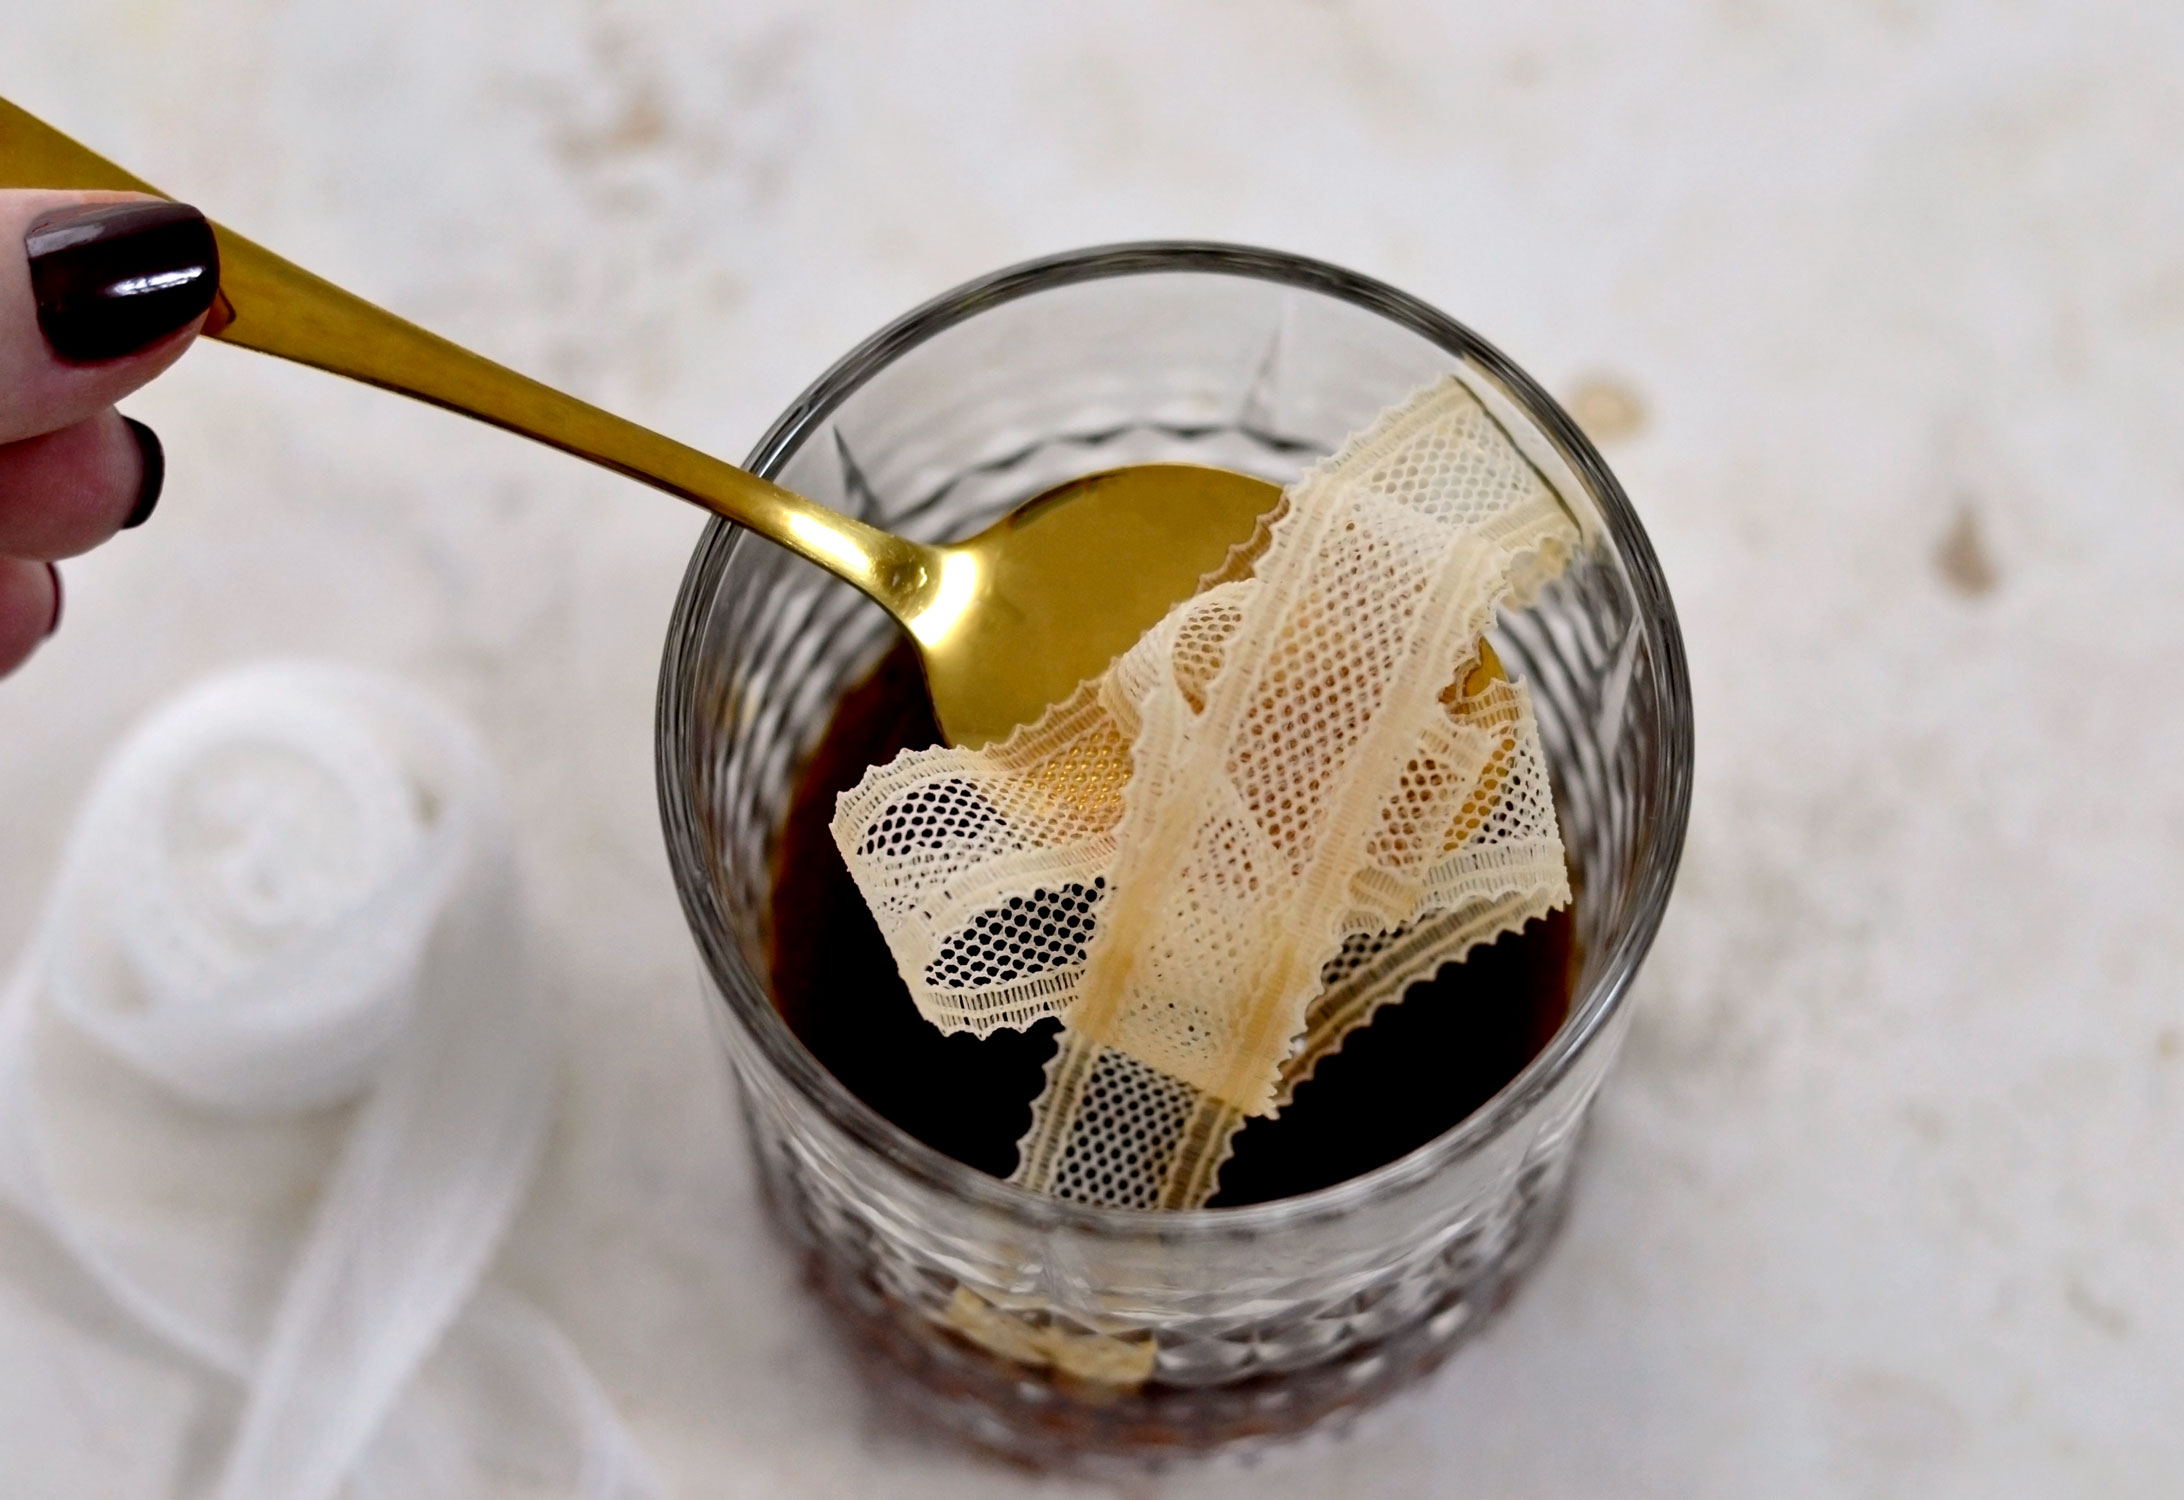
If you have scrap pieces of lace, you can use some leftover coffee (or tea) to distress them. I like to pour my coffee into a glass while it is still hot, add the lace and stir using a small spoon.
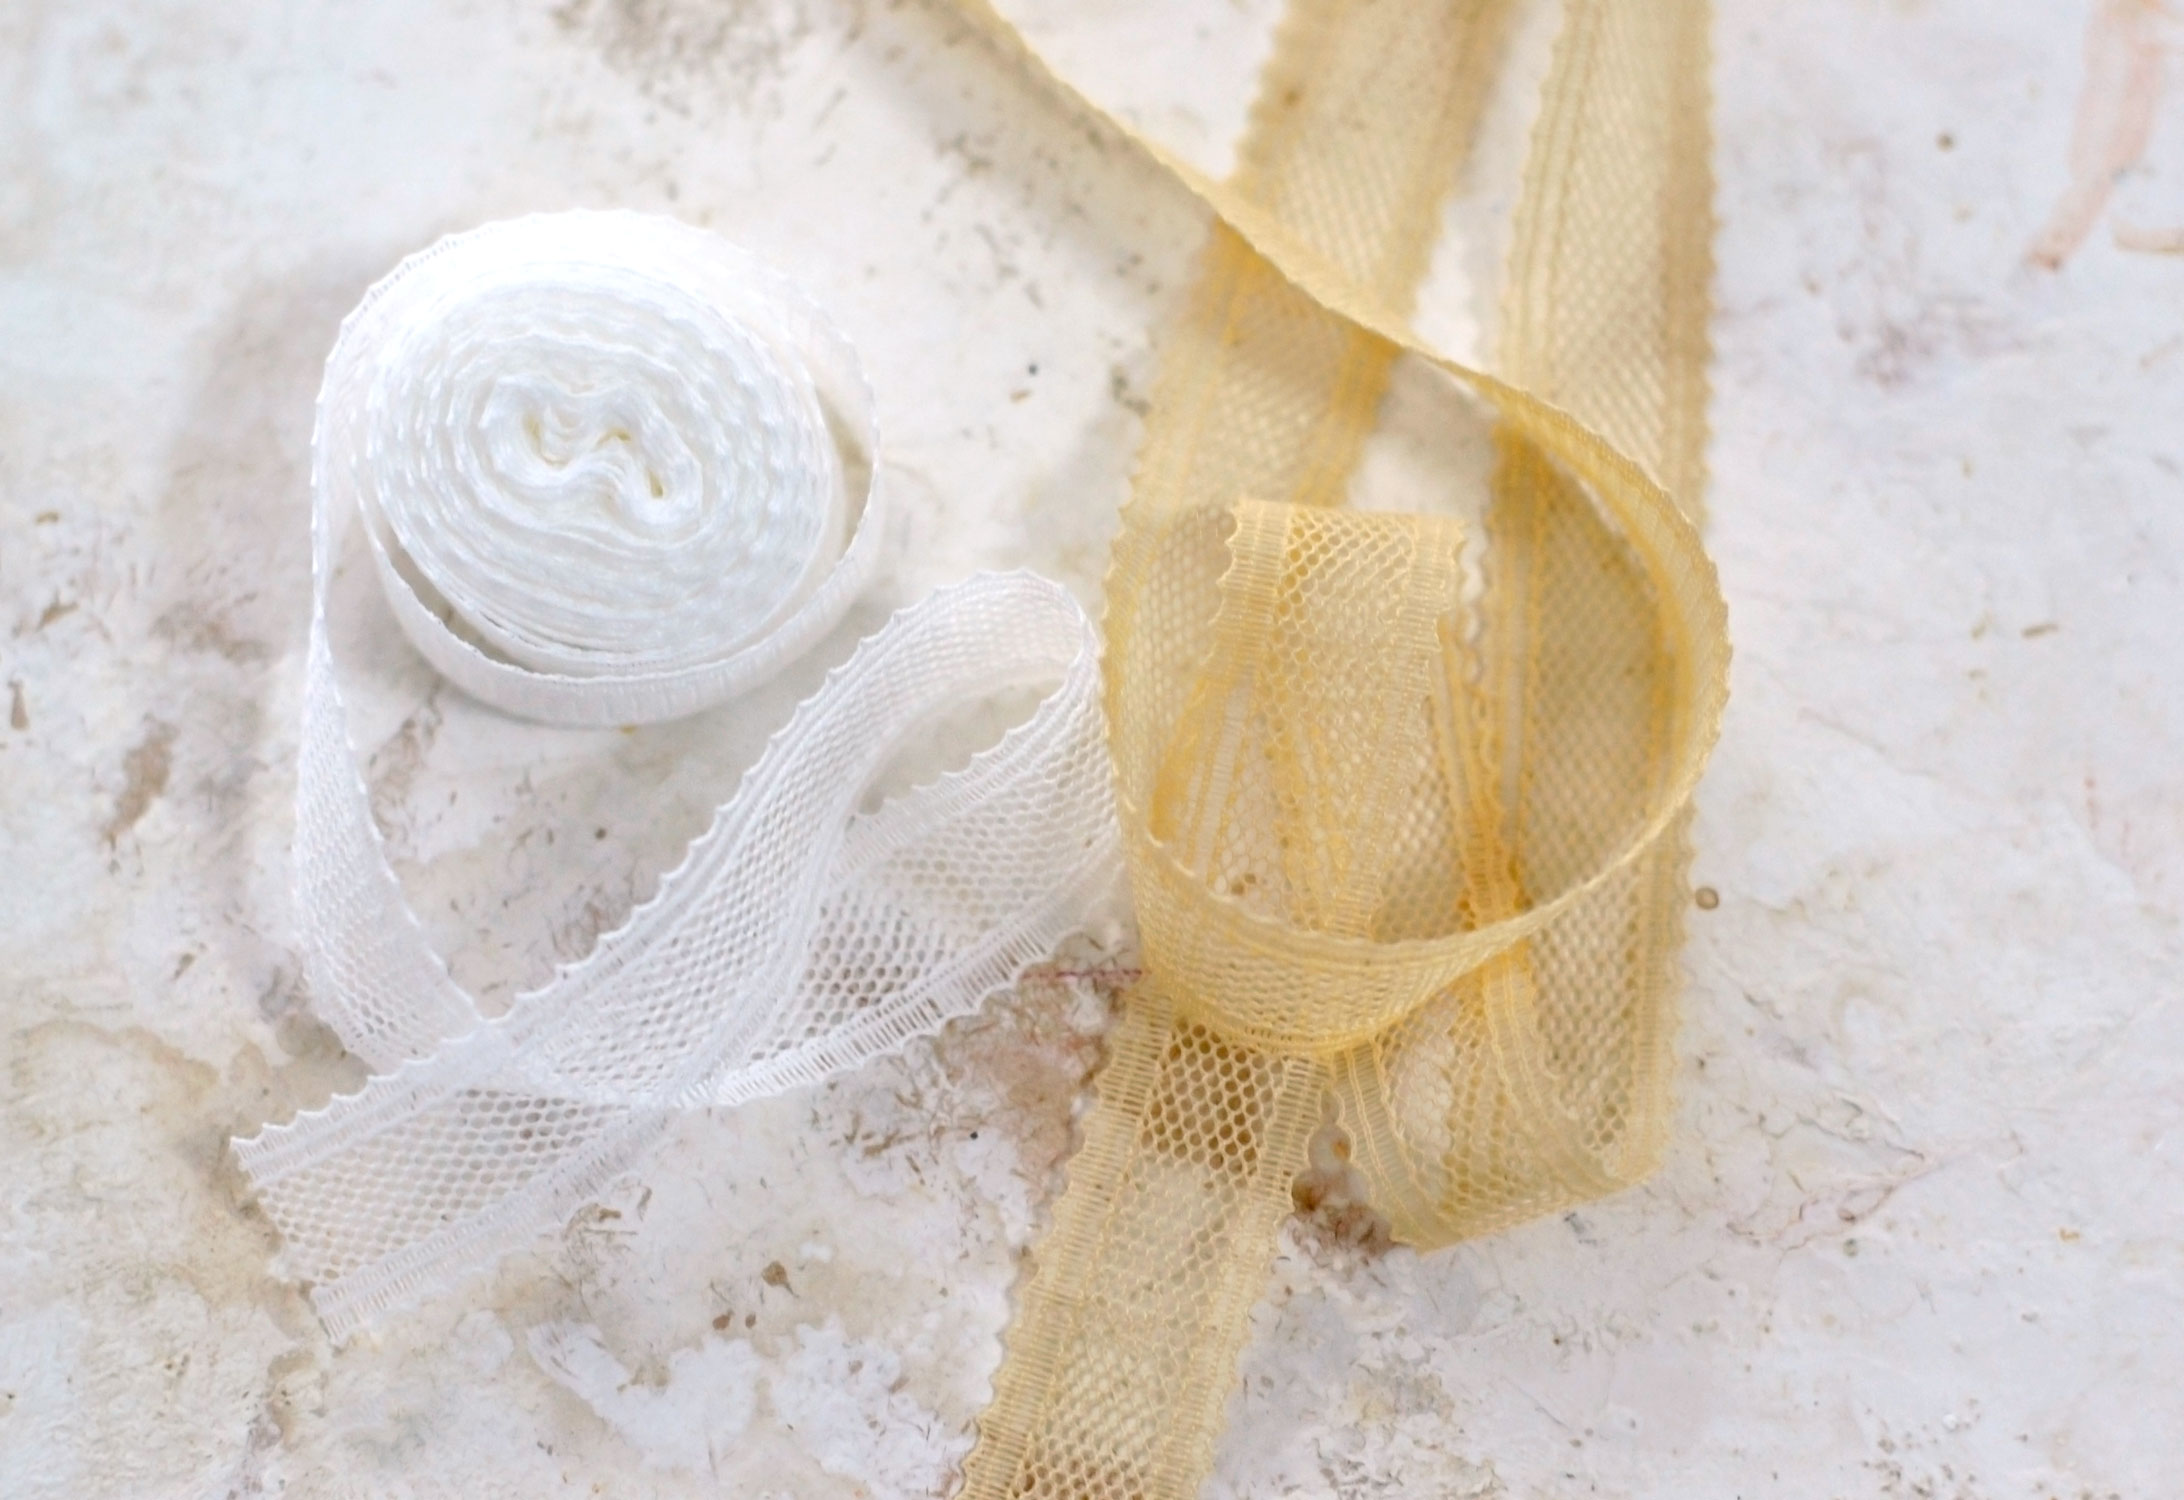
Let the lace soak in the coffee as much as you want! I like to keep an original, unstained piece of lace nearby so I can check the progress. Depending on your lace and how strong your coffee is, the staining process could take just a few minutes! When you are happy with the color, remove the lace and place it on some triple-folded paper towels (just to be sure, as coffee stains like crazy).
I was really happy with how my lace turned out, I think I let it soak for about 10 minutes to get this lovely aged color.
While the lace is drying, you can move to the next step, cutting the gorgeous rose tags!
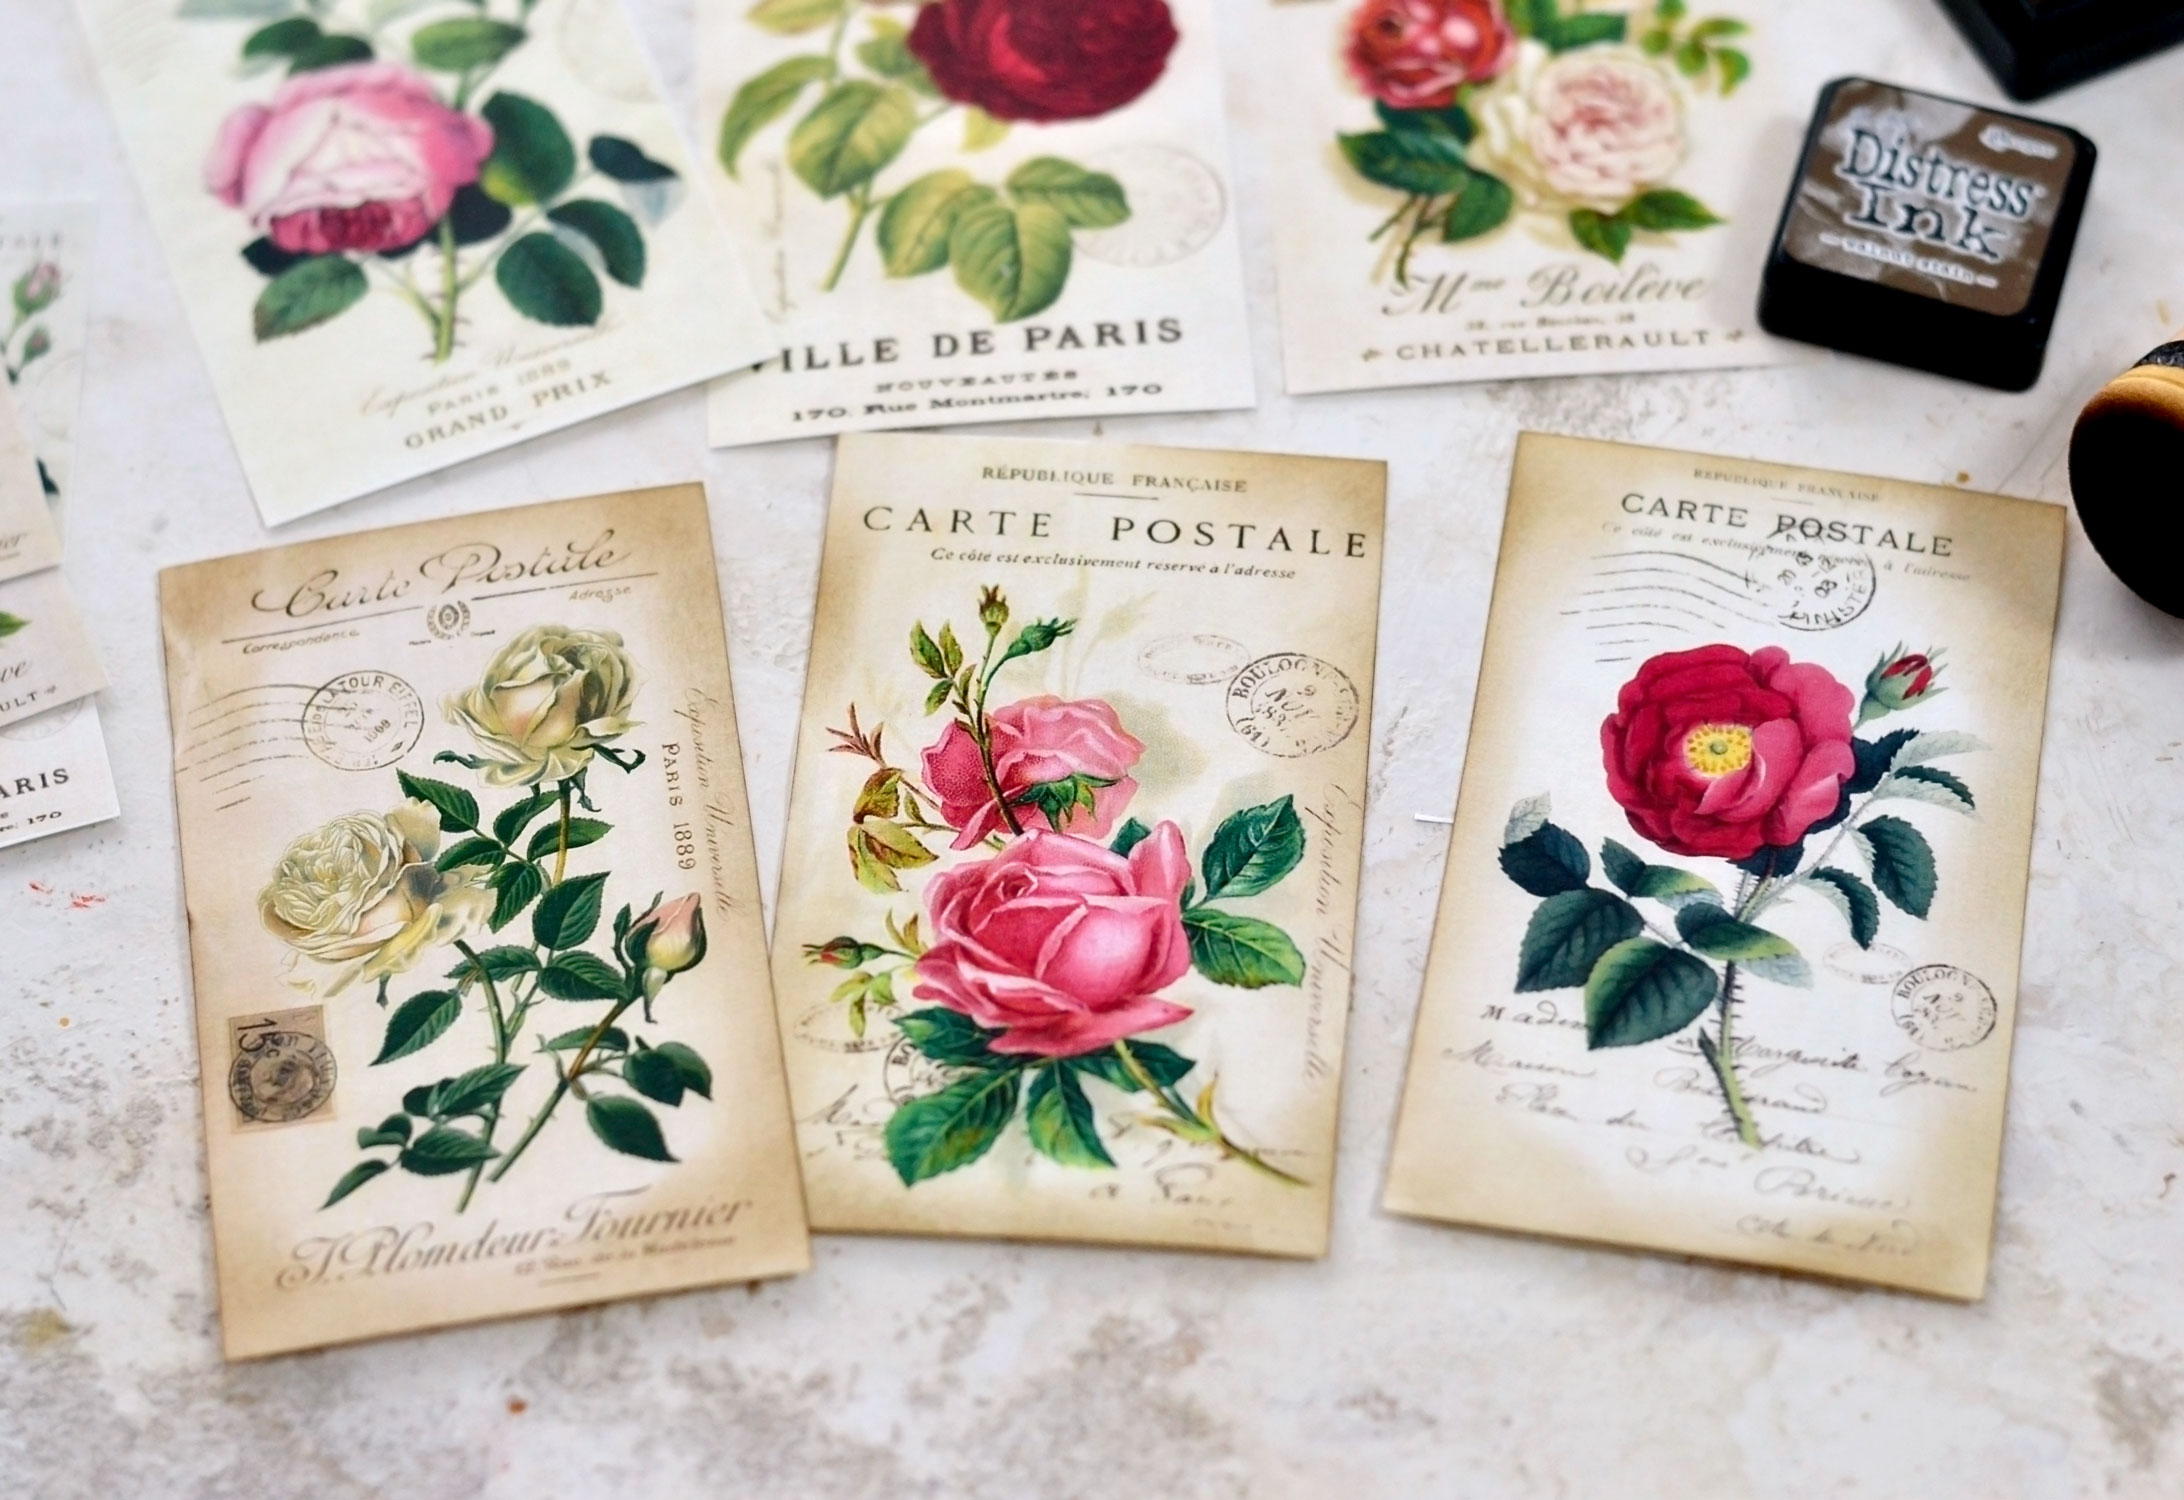
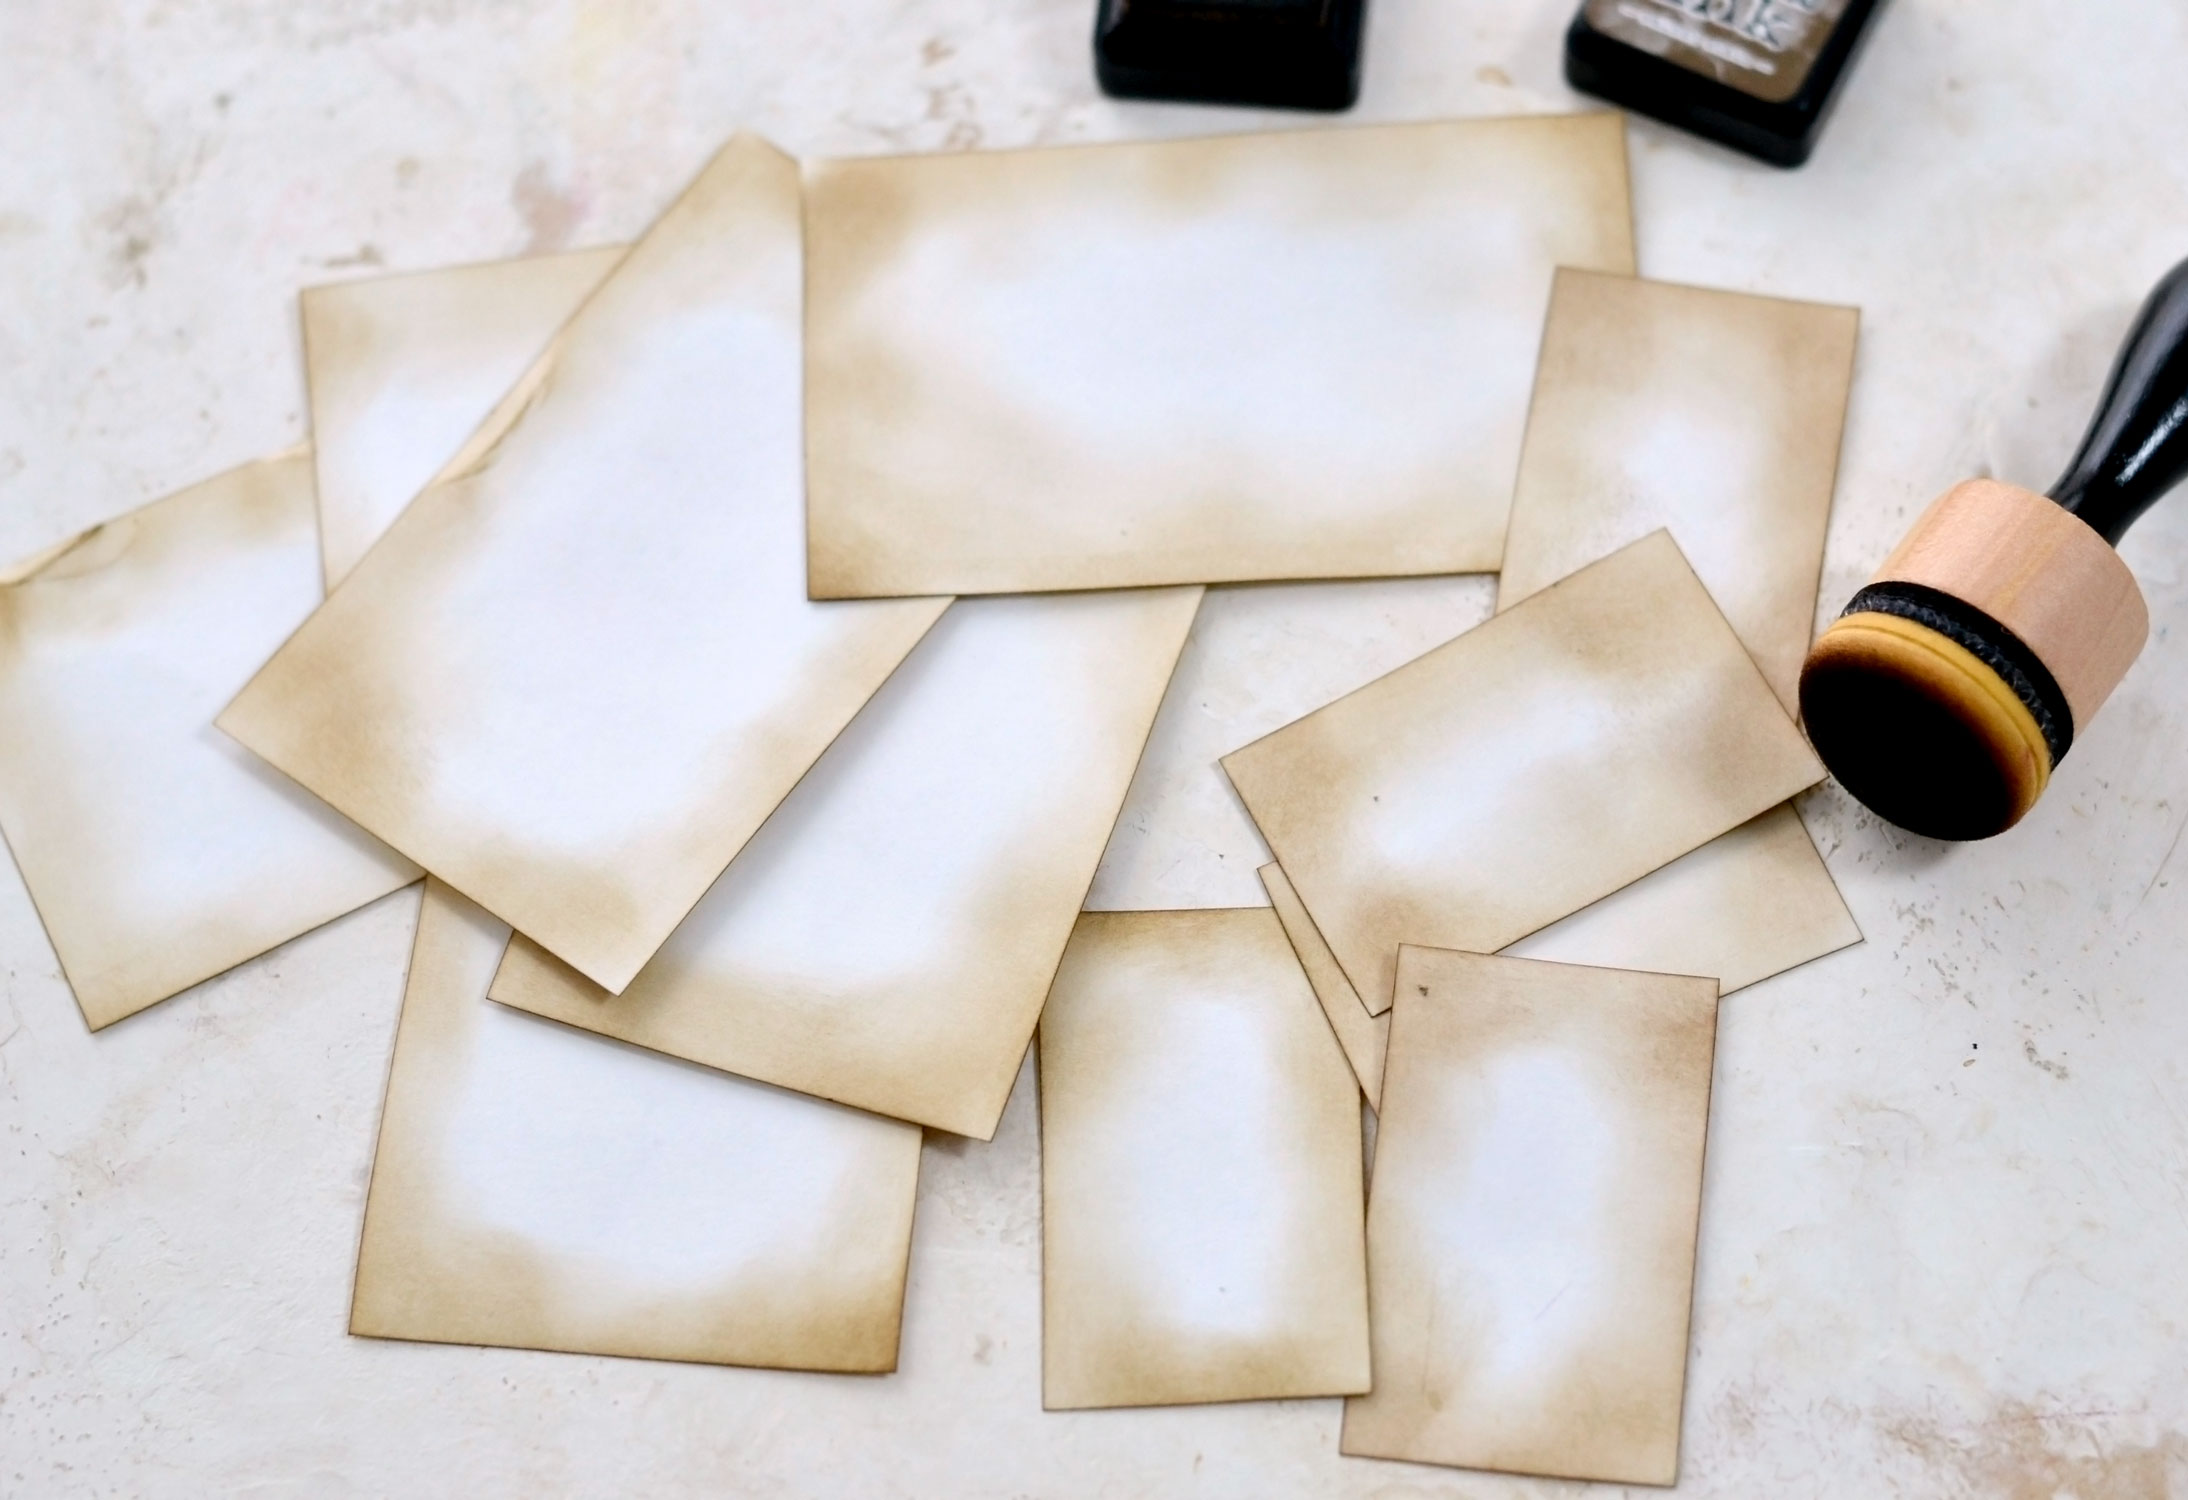
Use your favorite brown distress ink to age the edges as much as you want – I love Walnut Stain! You can create a vignette effect by adding more rounded strokes on the corners.
When you are done, flip the rose tags over and also distress their backs!
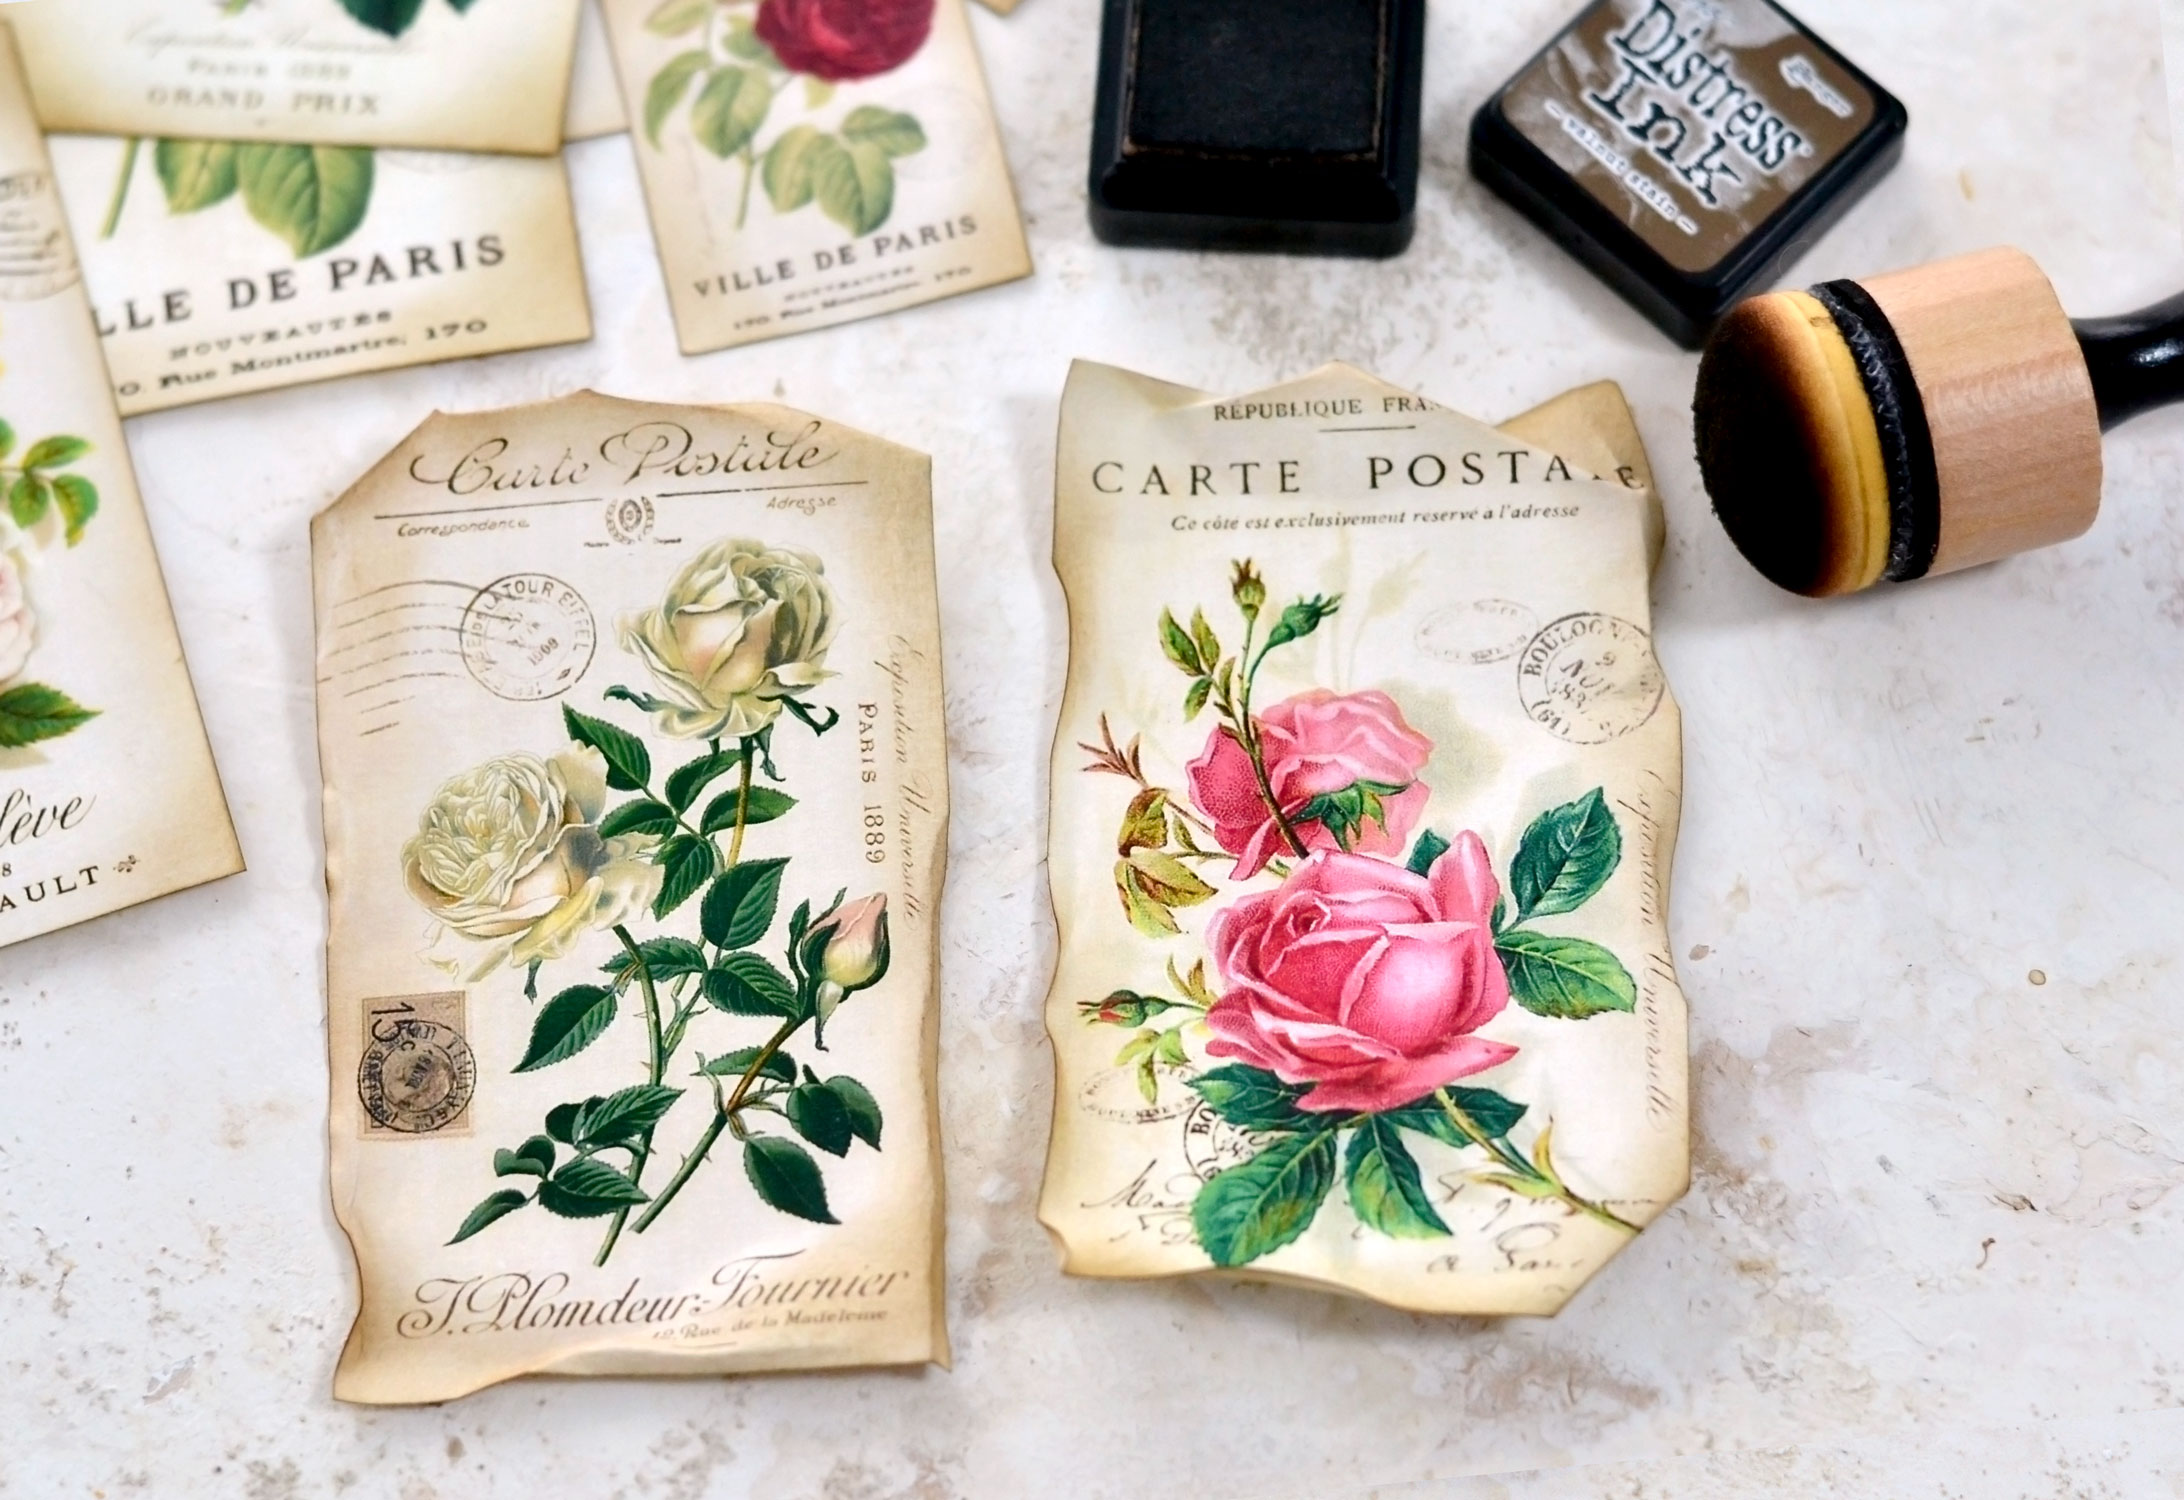
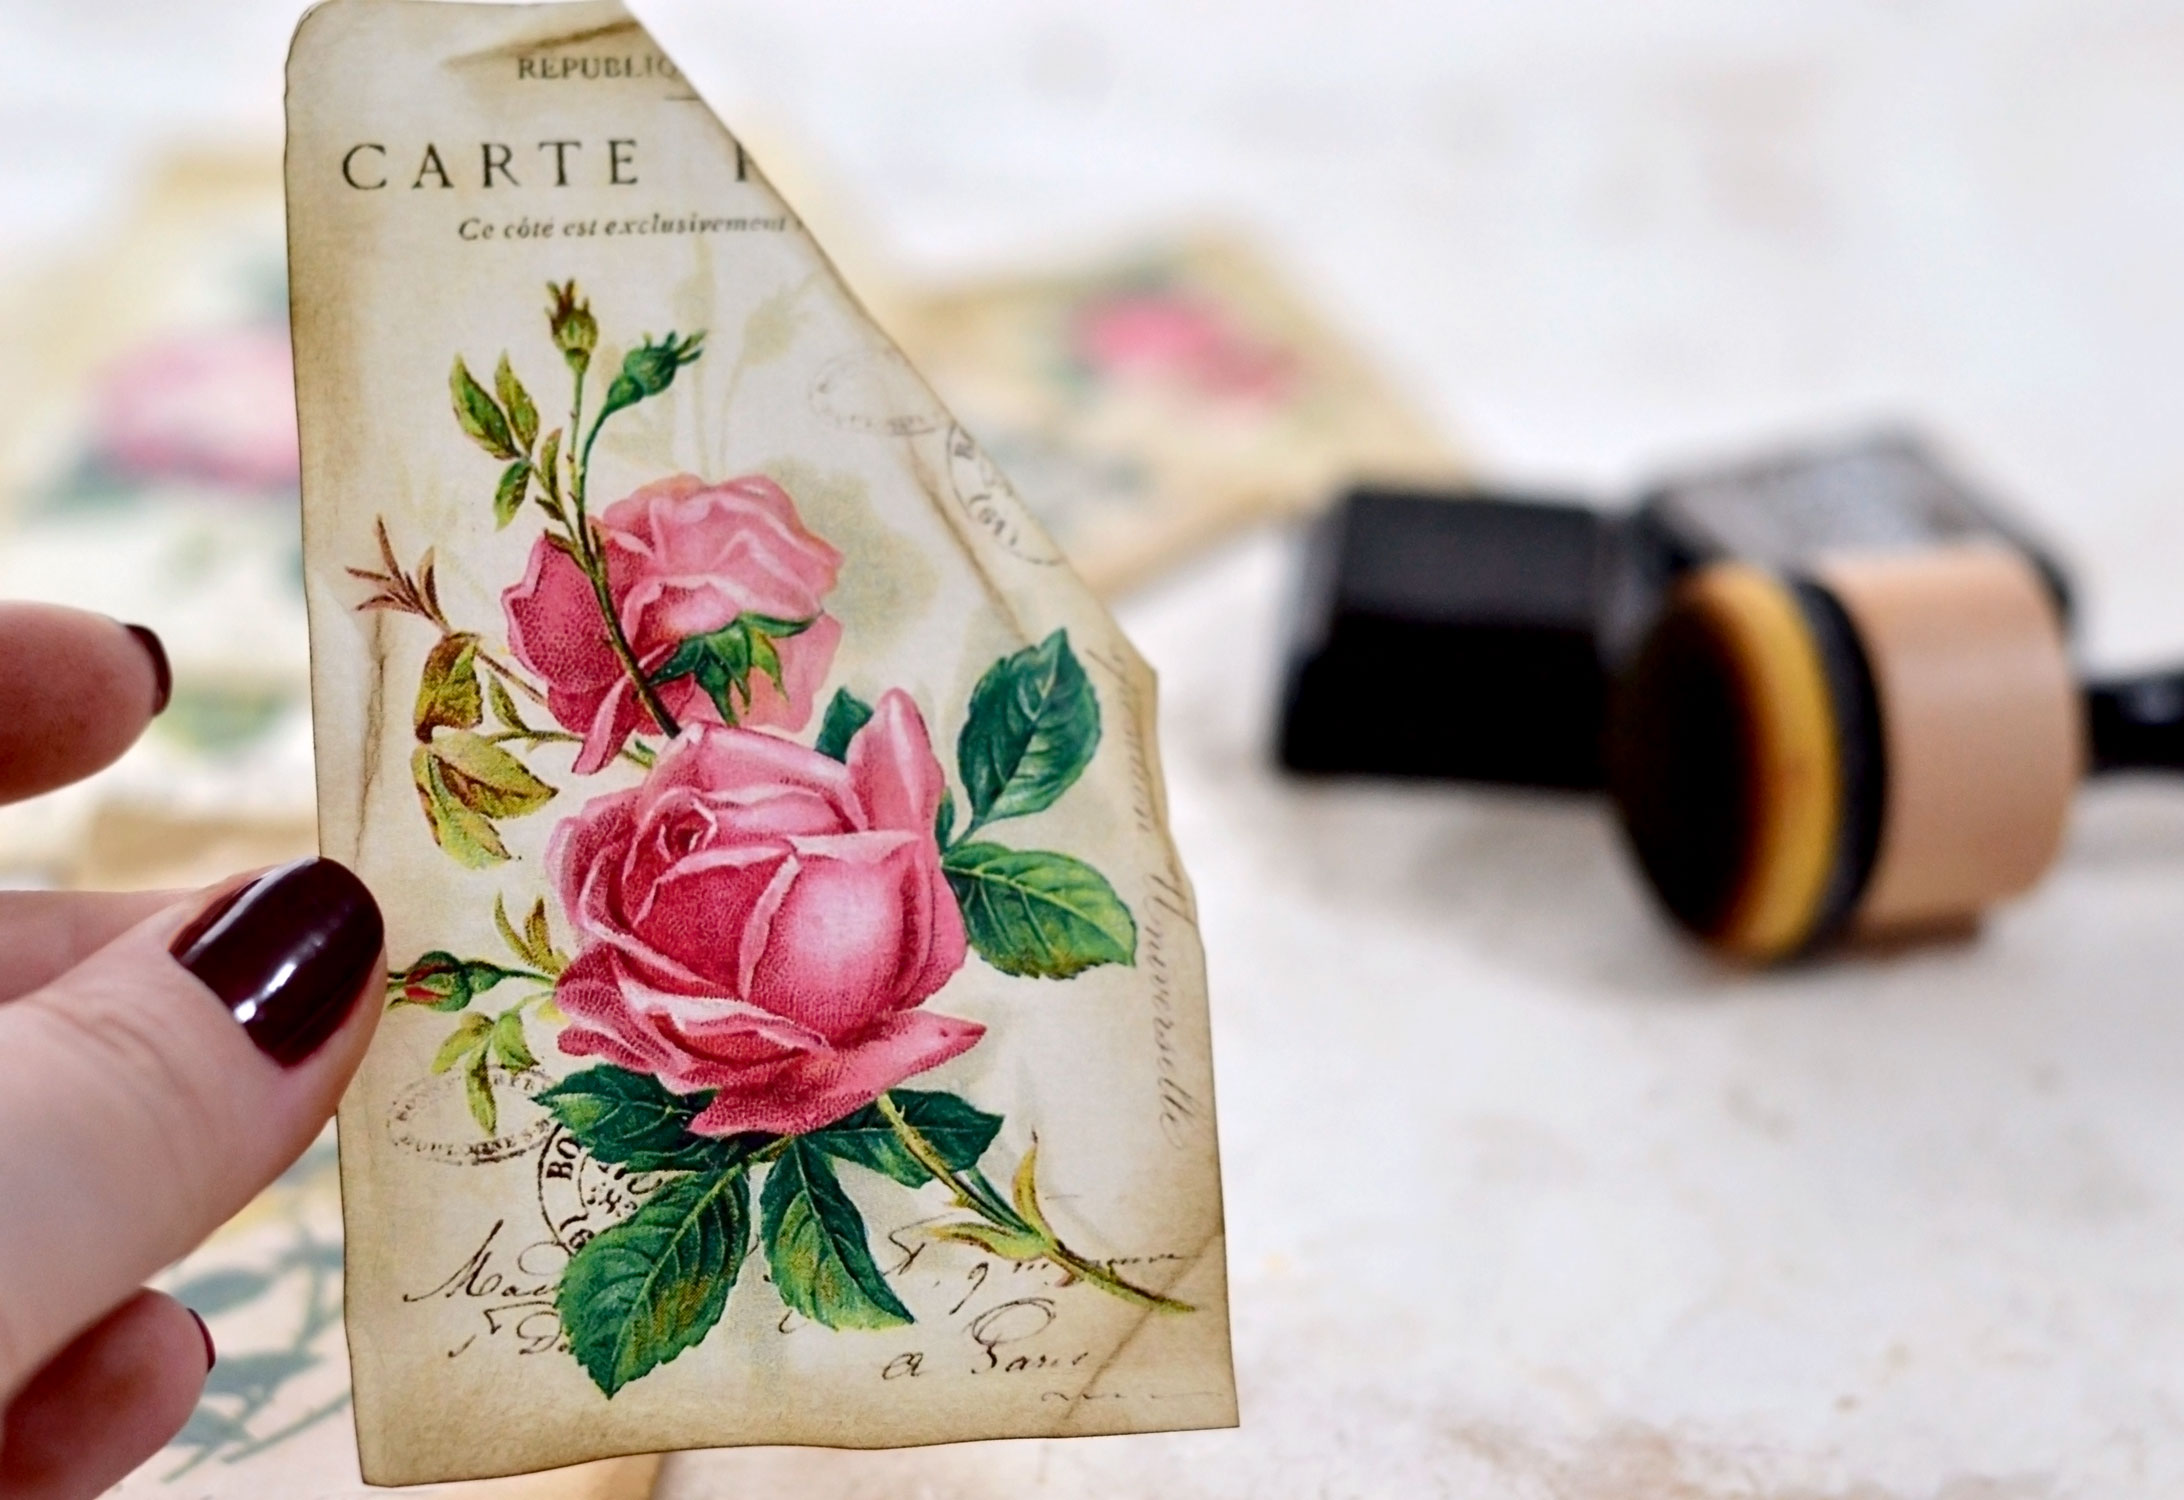
Now, let’s antique these beauties even more! We will be using a quick and easy dry technique for this that will allow you to experiment and age these beauties as much as you want! There is no right or wrong for this technique, just roll the edges of the paper inwards or backward. Our goal is to break some of the fiber in the paper and to make it more pliable. What I like to do is to clear my mind and just go all over the edges while gradually folding and unfolding the paper. You can roll and unroll the corners, just go all over the edges without thinking too much. Paper has a strong mind of its own, so with every fold that you make, you will see that it will basically guide you throughout the process. Just go with the flow!
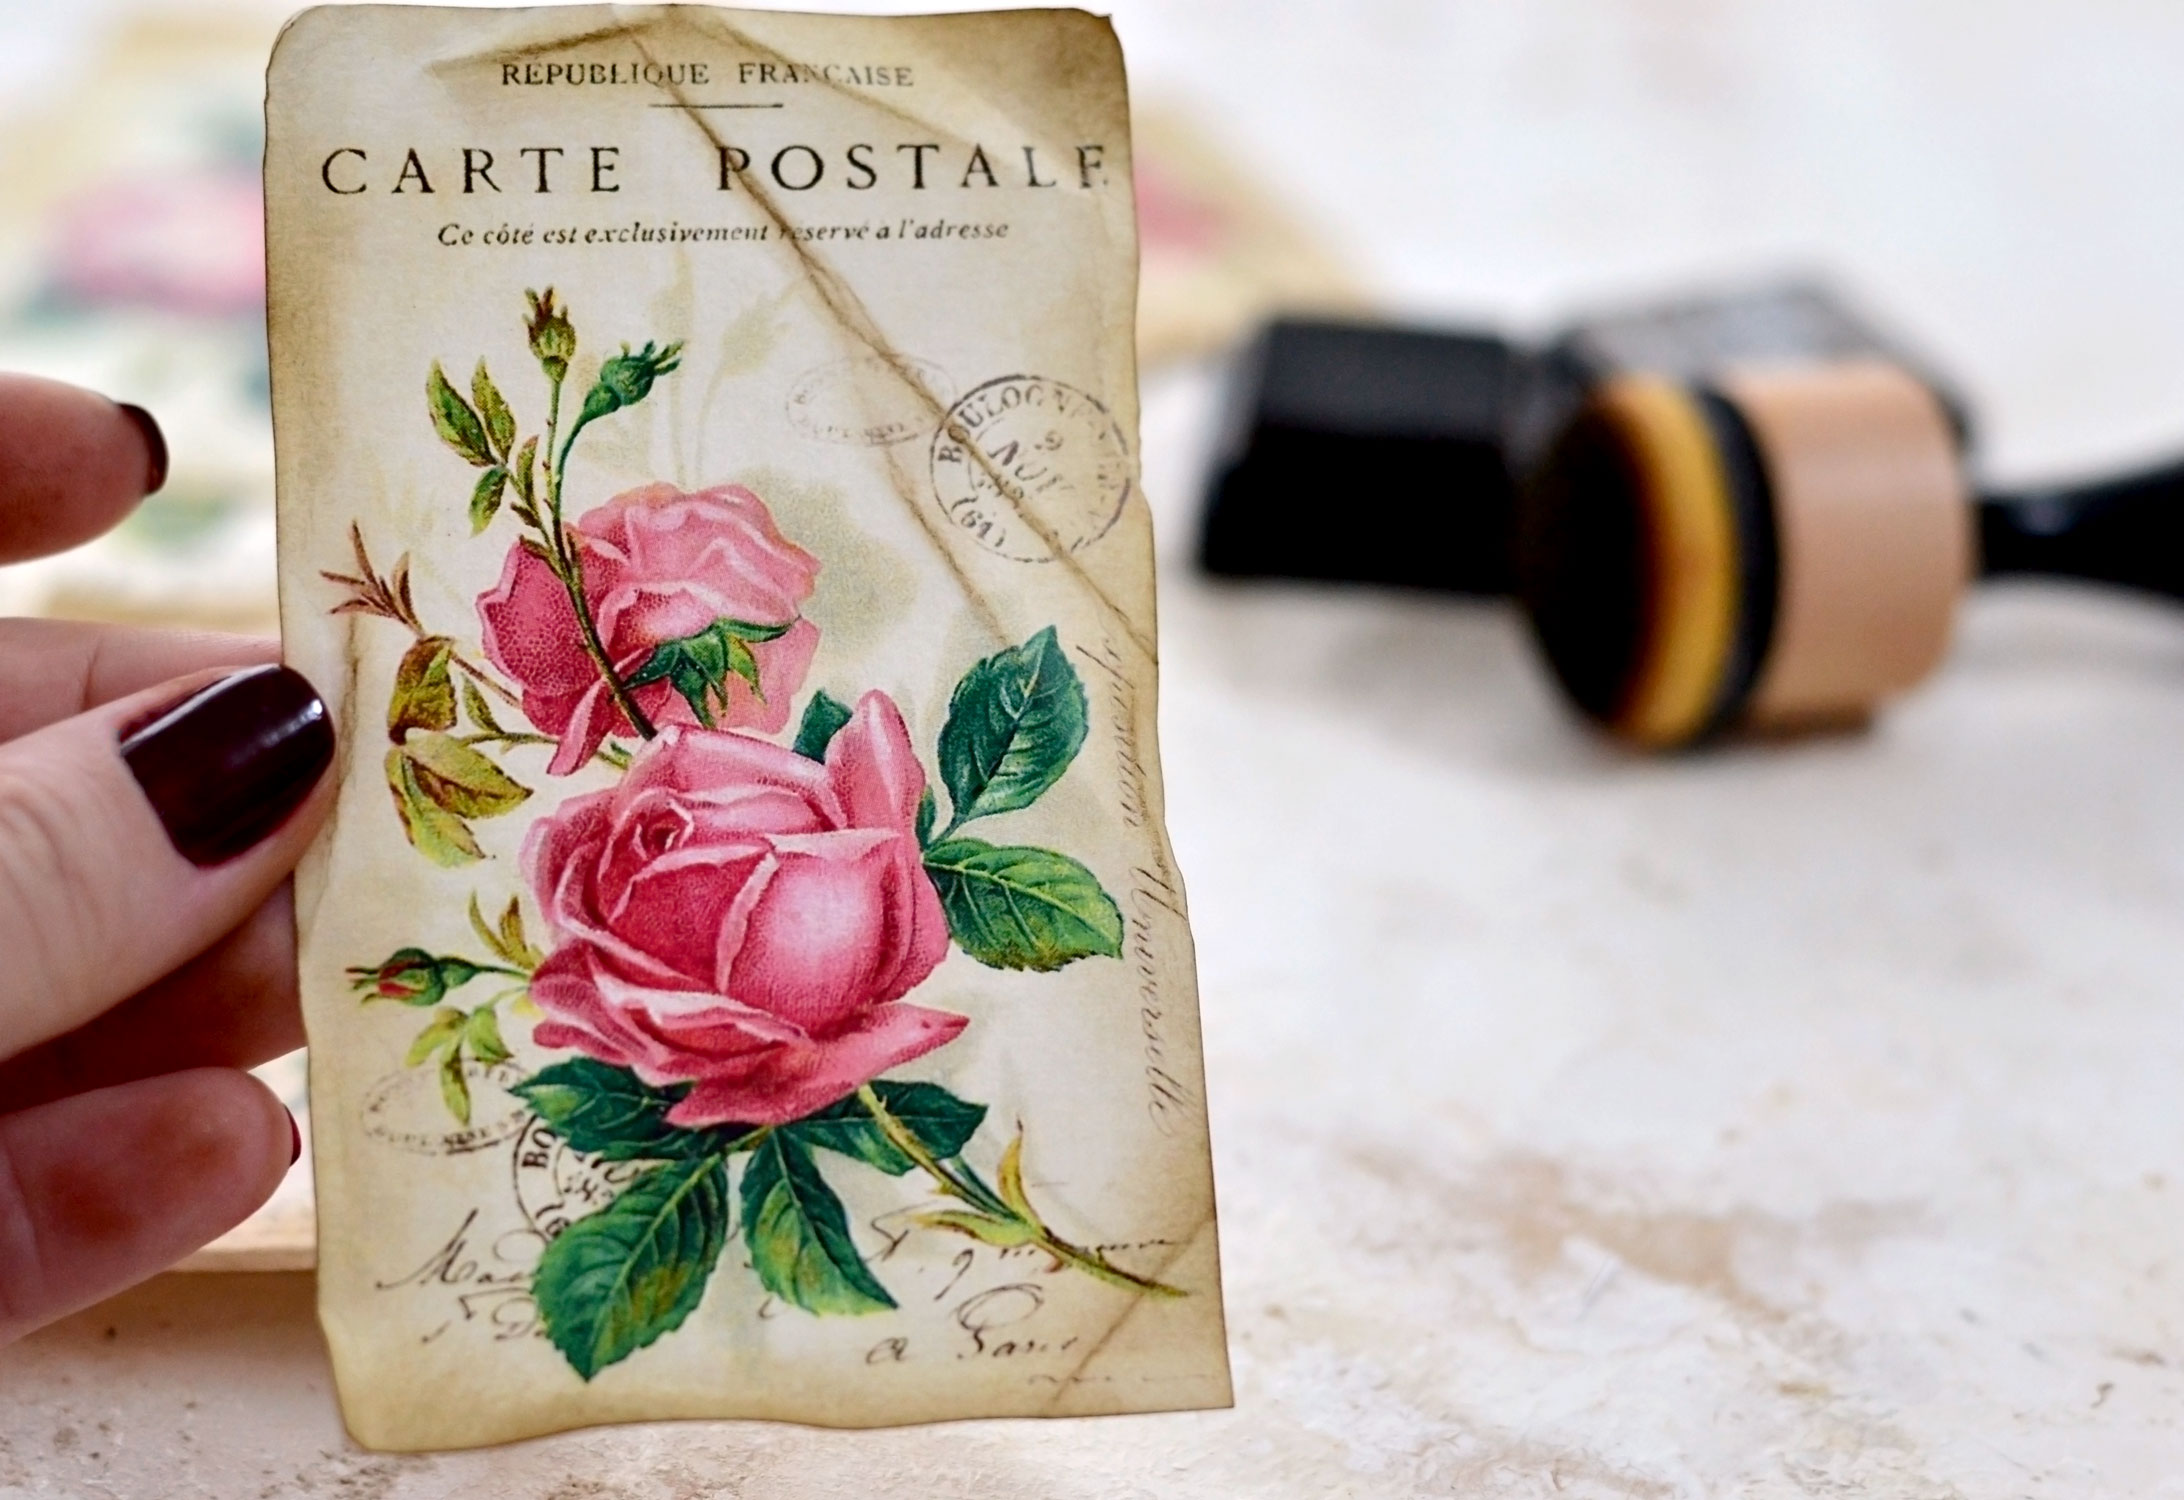
One thing that I also love to do is to fold the paper to the back to create some creases! While the paper is folded, use some more of that distress ink to go all over that crease.
Unfold it again and admire your beautiful work! You can create large or smaller creases, in the same area or in totally different areas. This step will also give you the chance to experiment as much as you want!
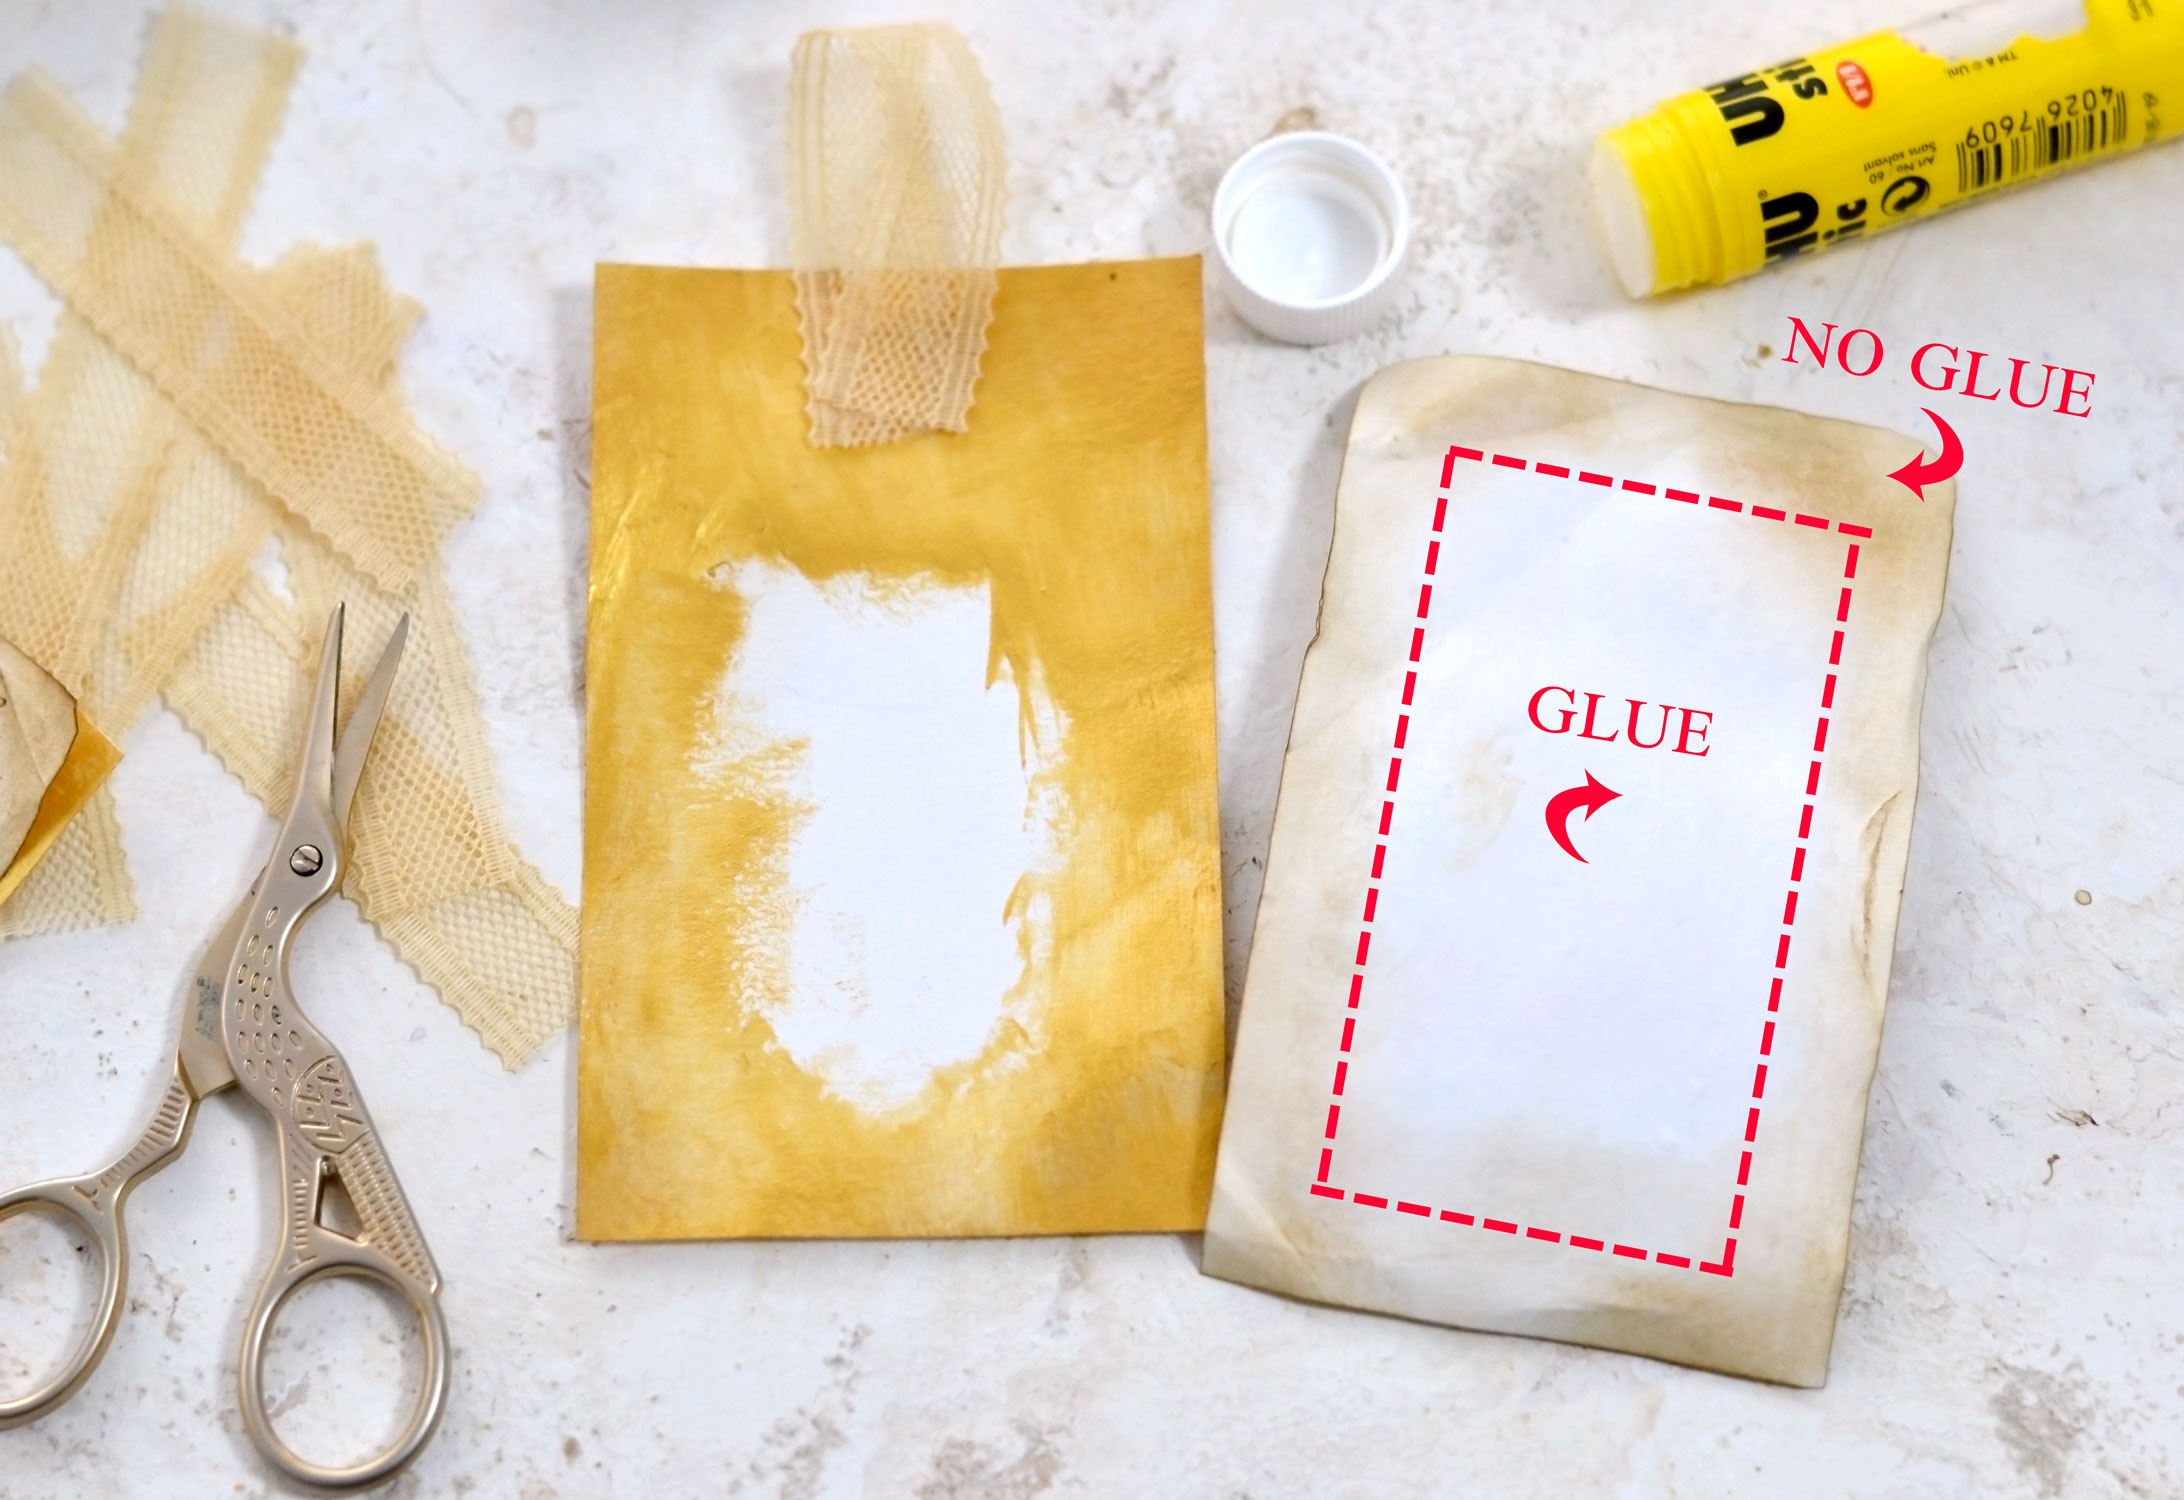
To assemble the tags, place a gold-painted tag base on your table first. My lace was quite sheer so I decided to make a small loop that I could sandwich between the base and the top – I used some glue to attach it. Then I added glue on the back of the rose tags all over their surface, except the edges, I flipped it and glued it on top of the base. I highlighted the glue / no glue areas in the image below so you can better see what I mean.
After gluing each tag, use your fingers to roll it again here and there or to fold it. The area without any glue around the edges will allow us to do that liberally, so you can distress them even more to create the look that you love!
Do this as randomly as you want, you will soon discover how each tag is truly unique on its own!
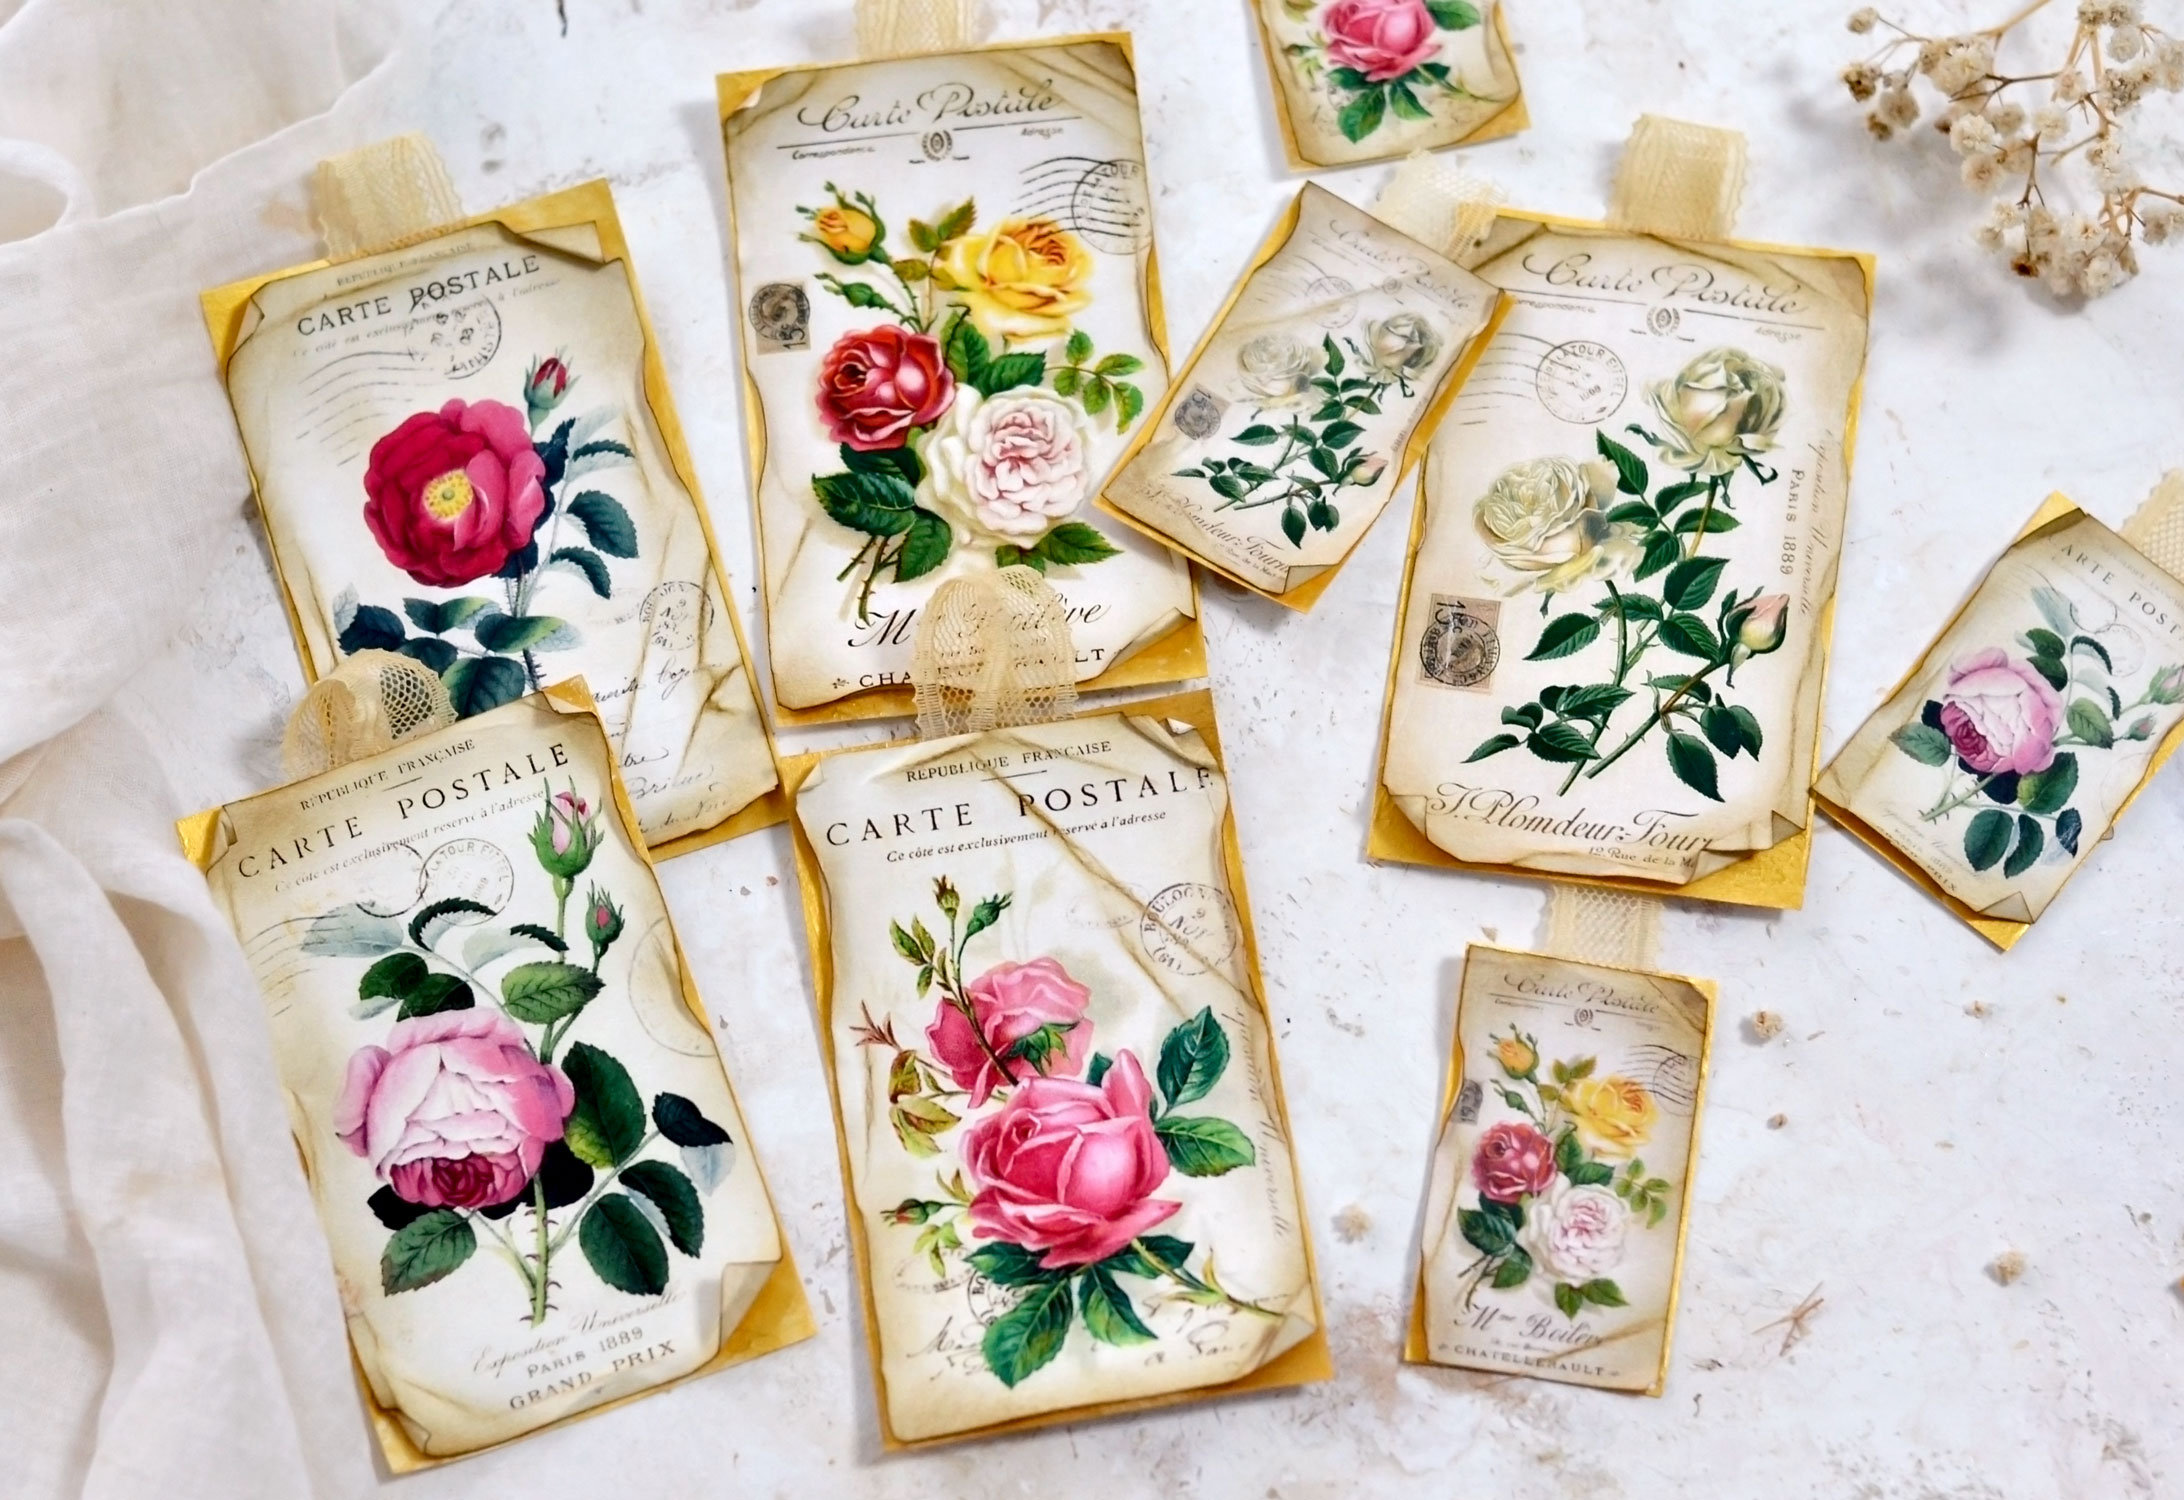
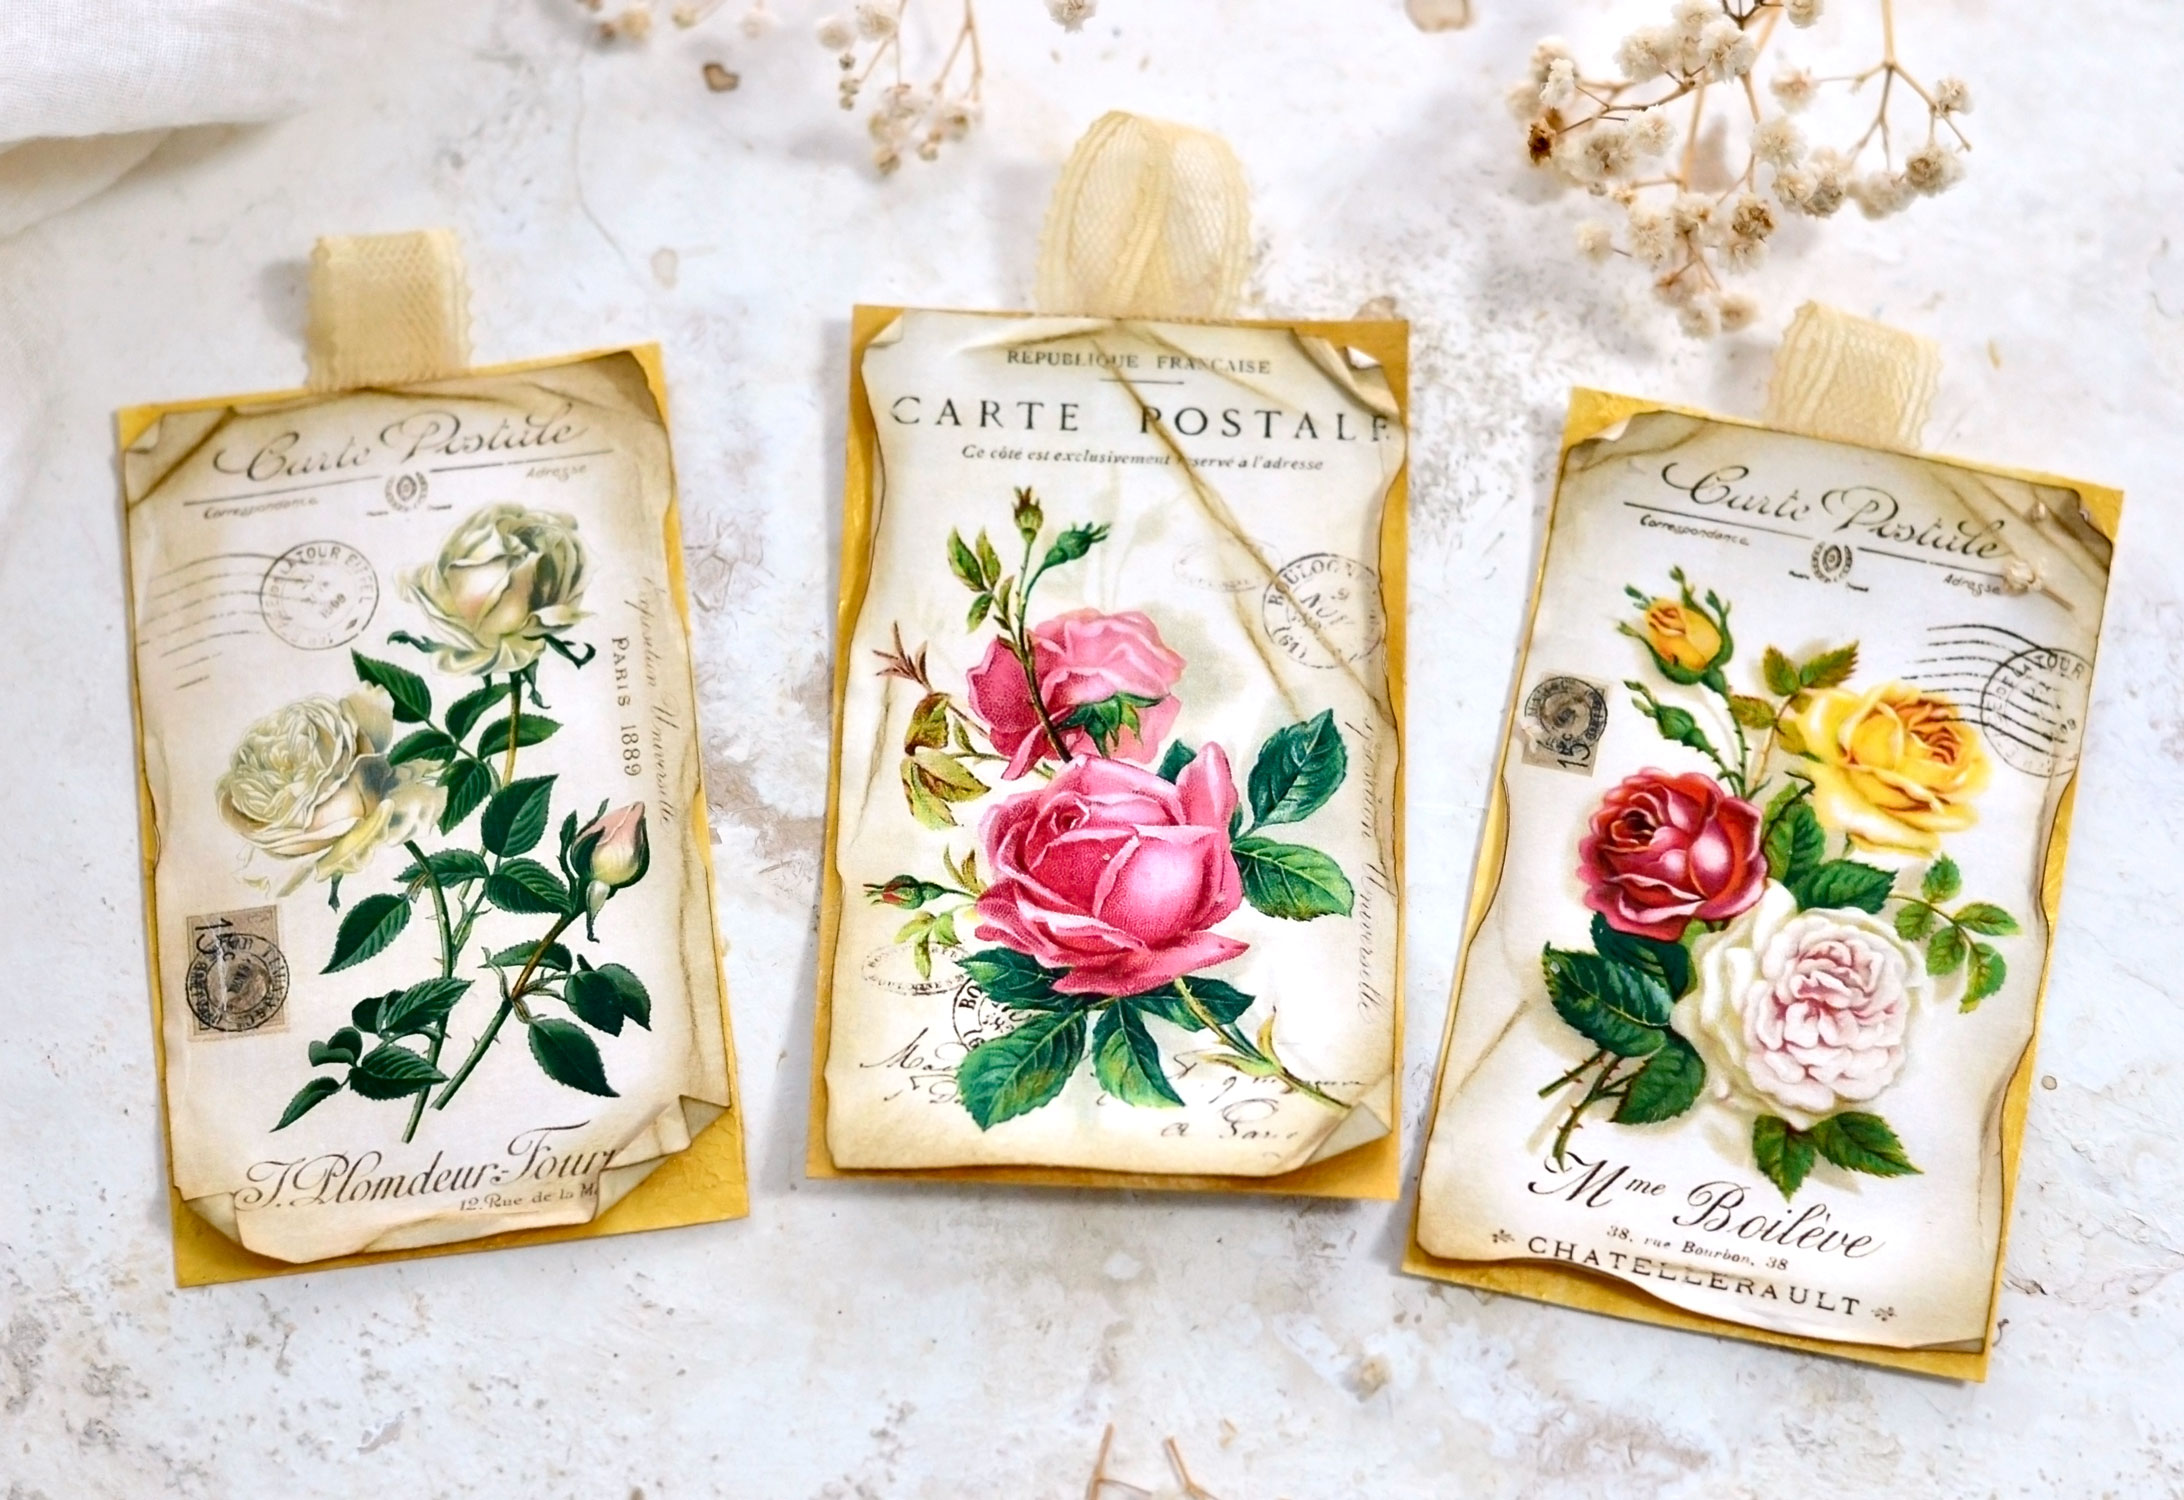
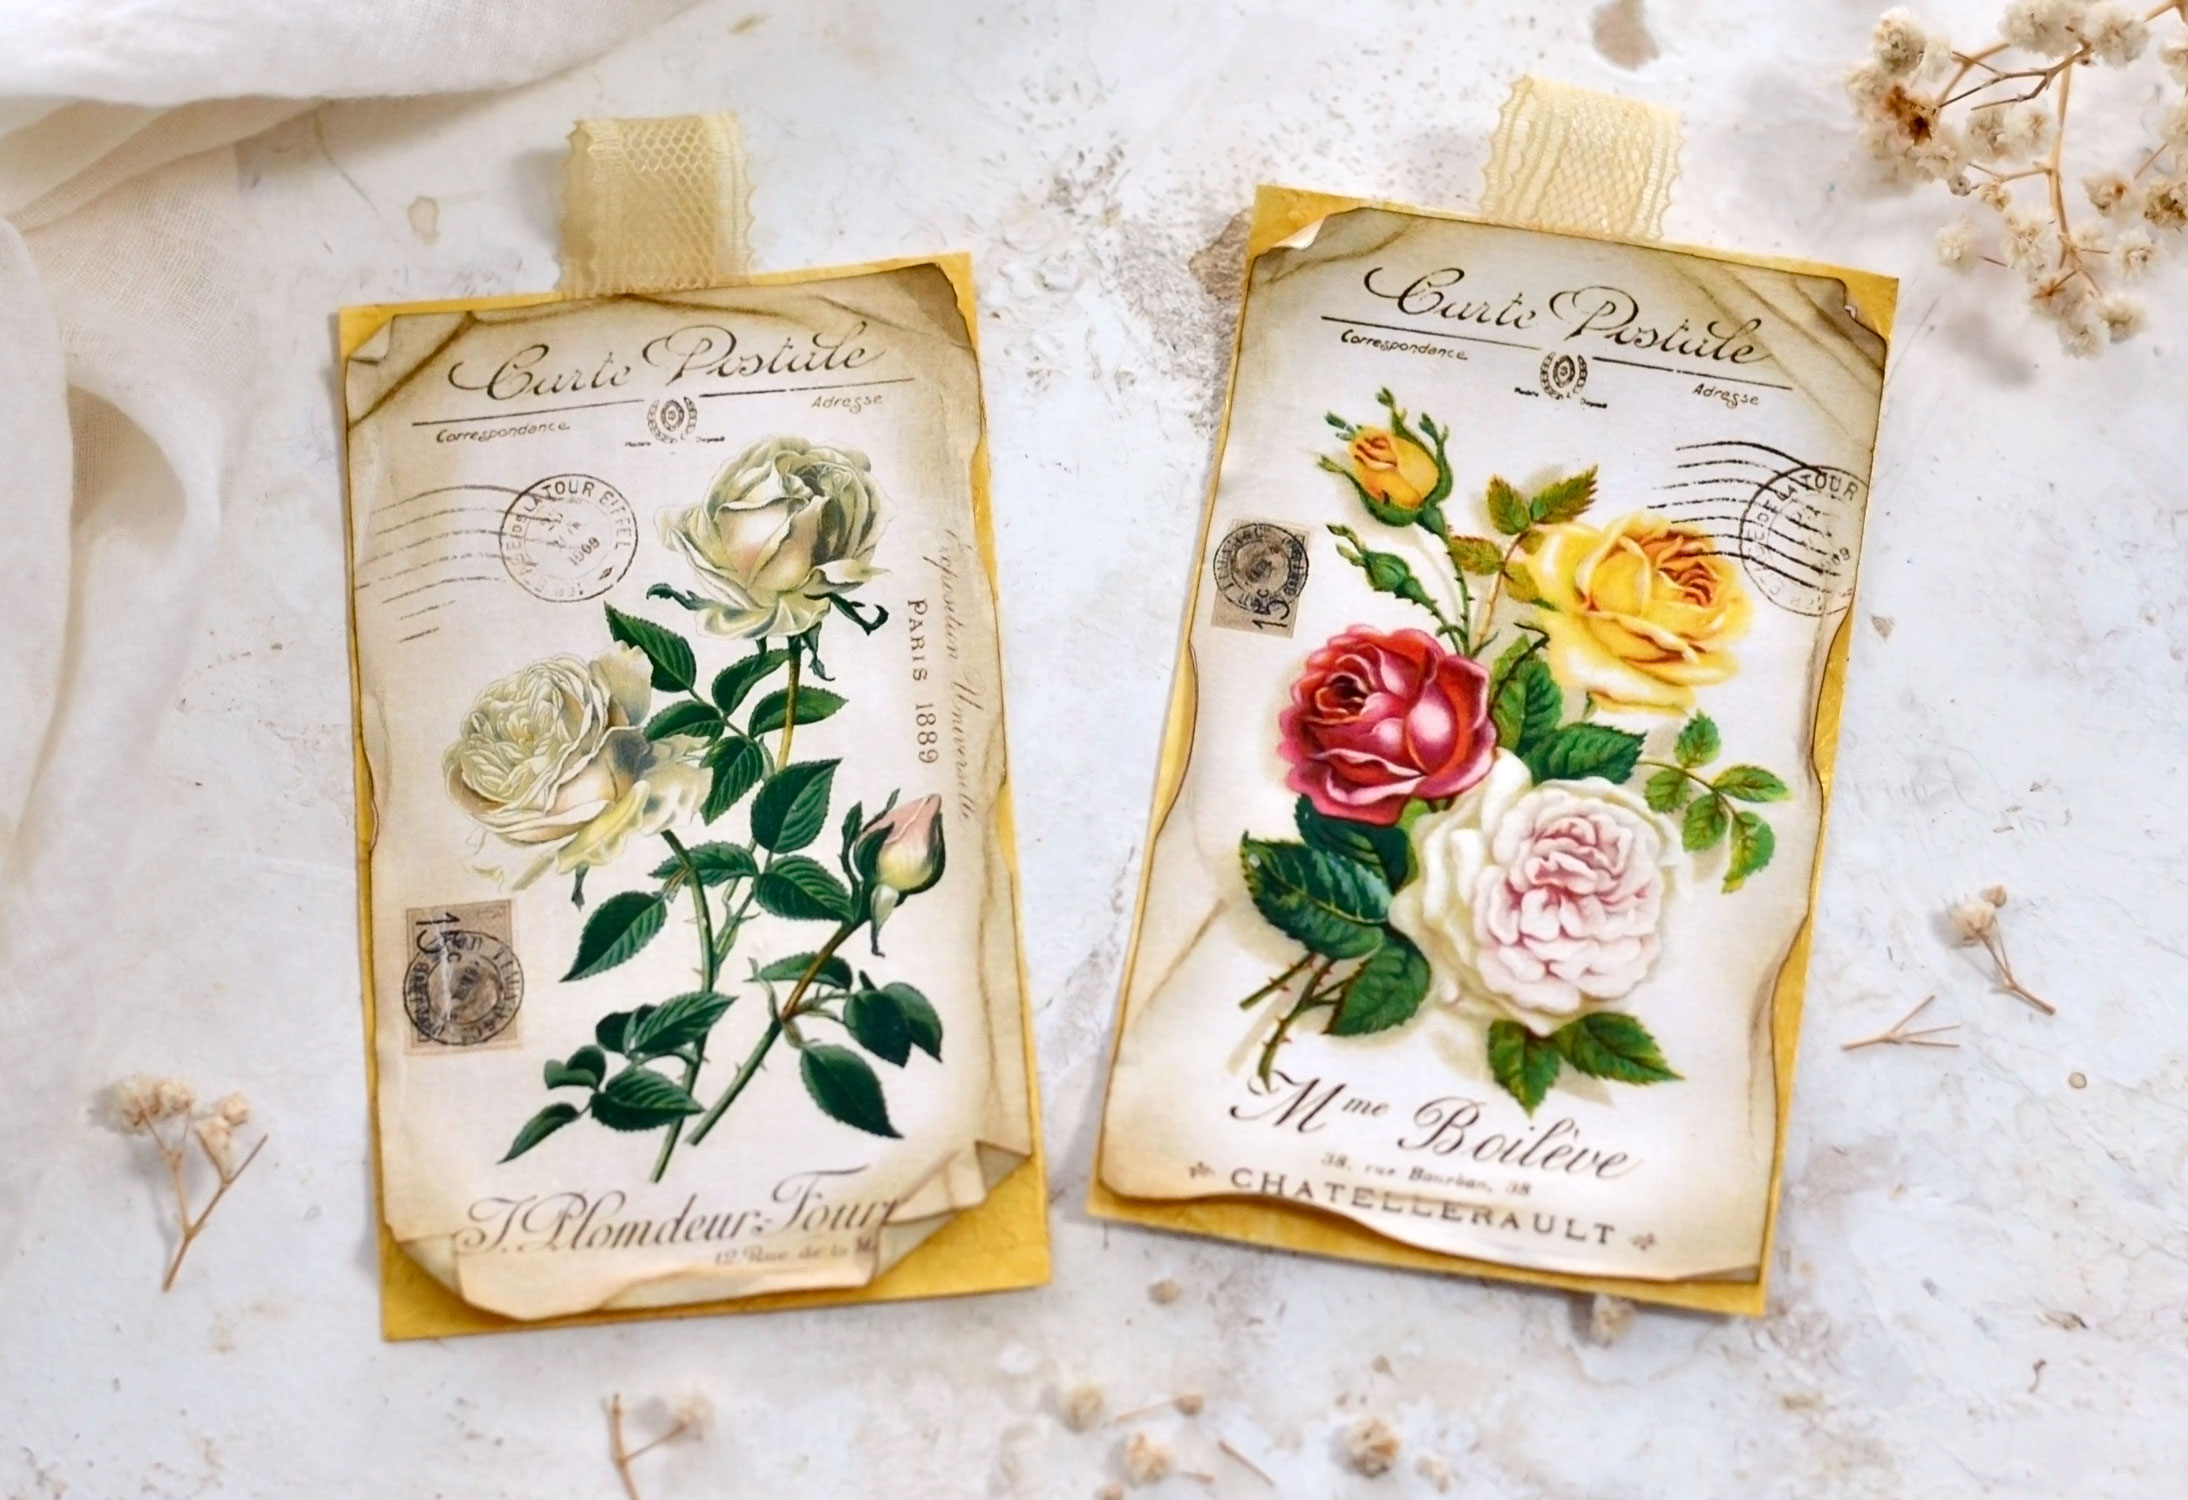
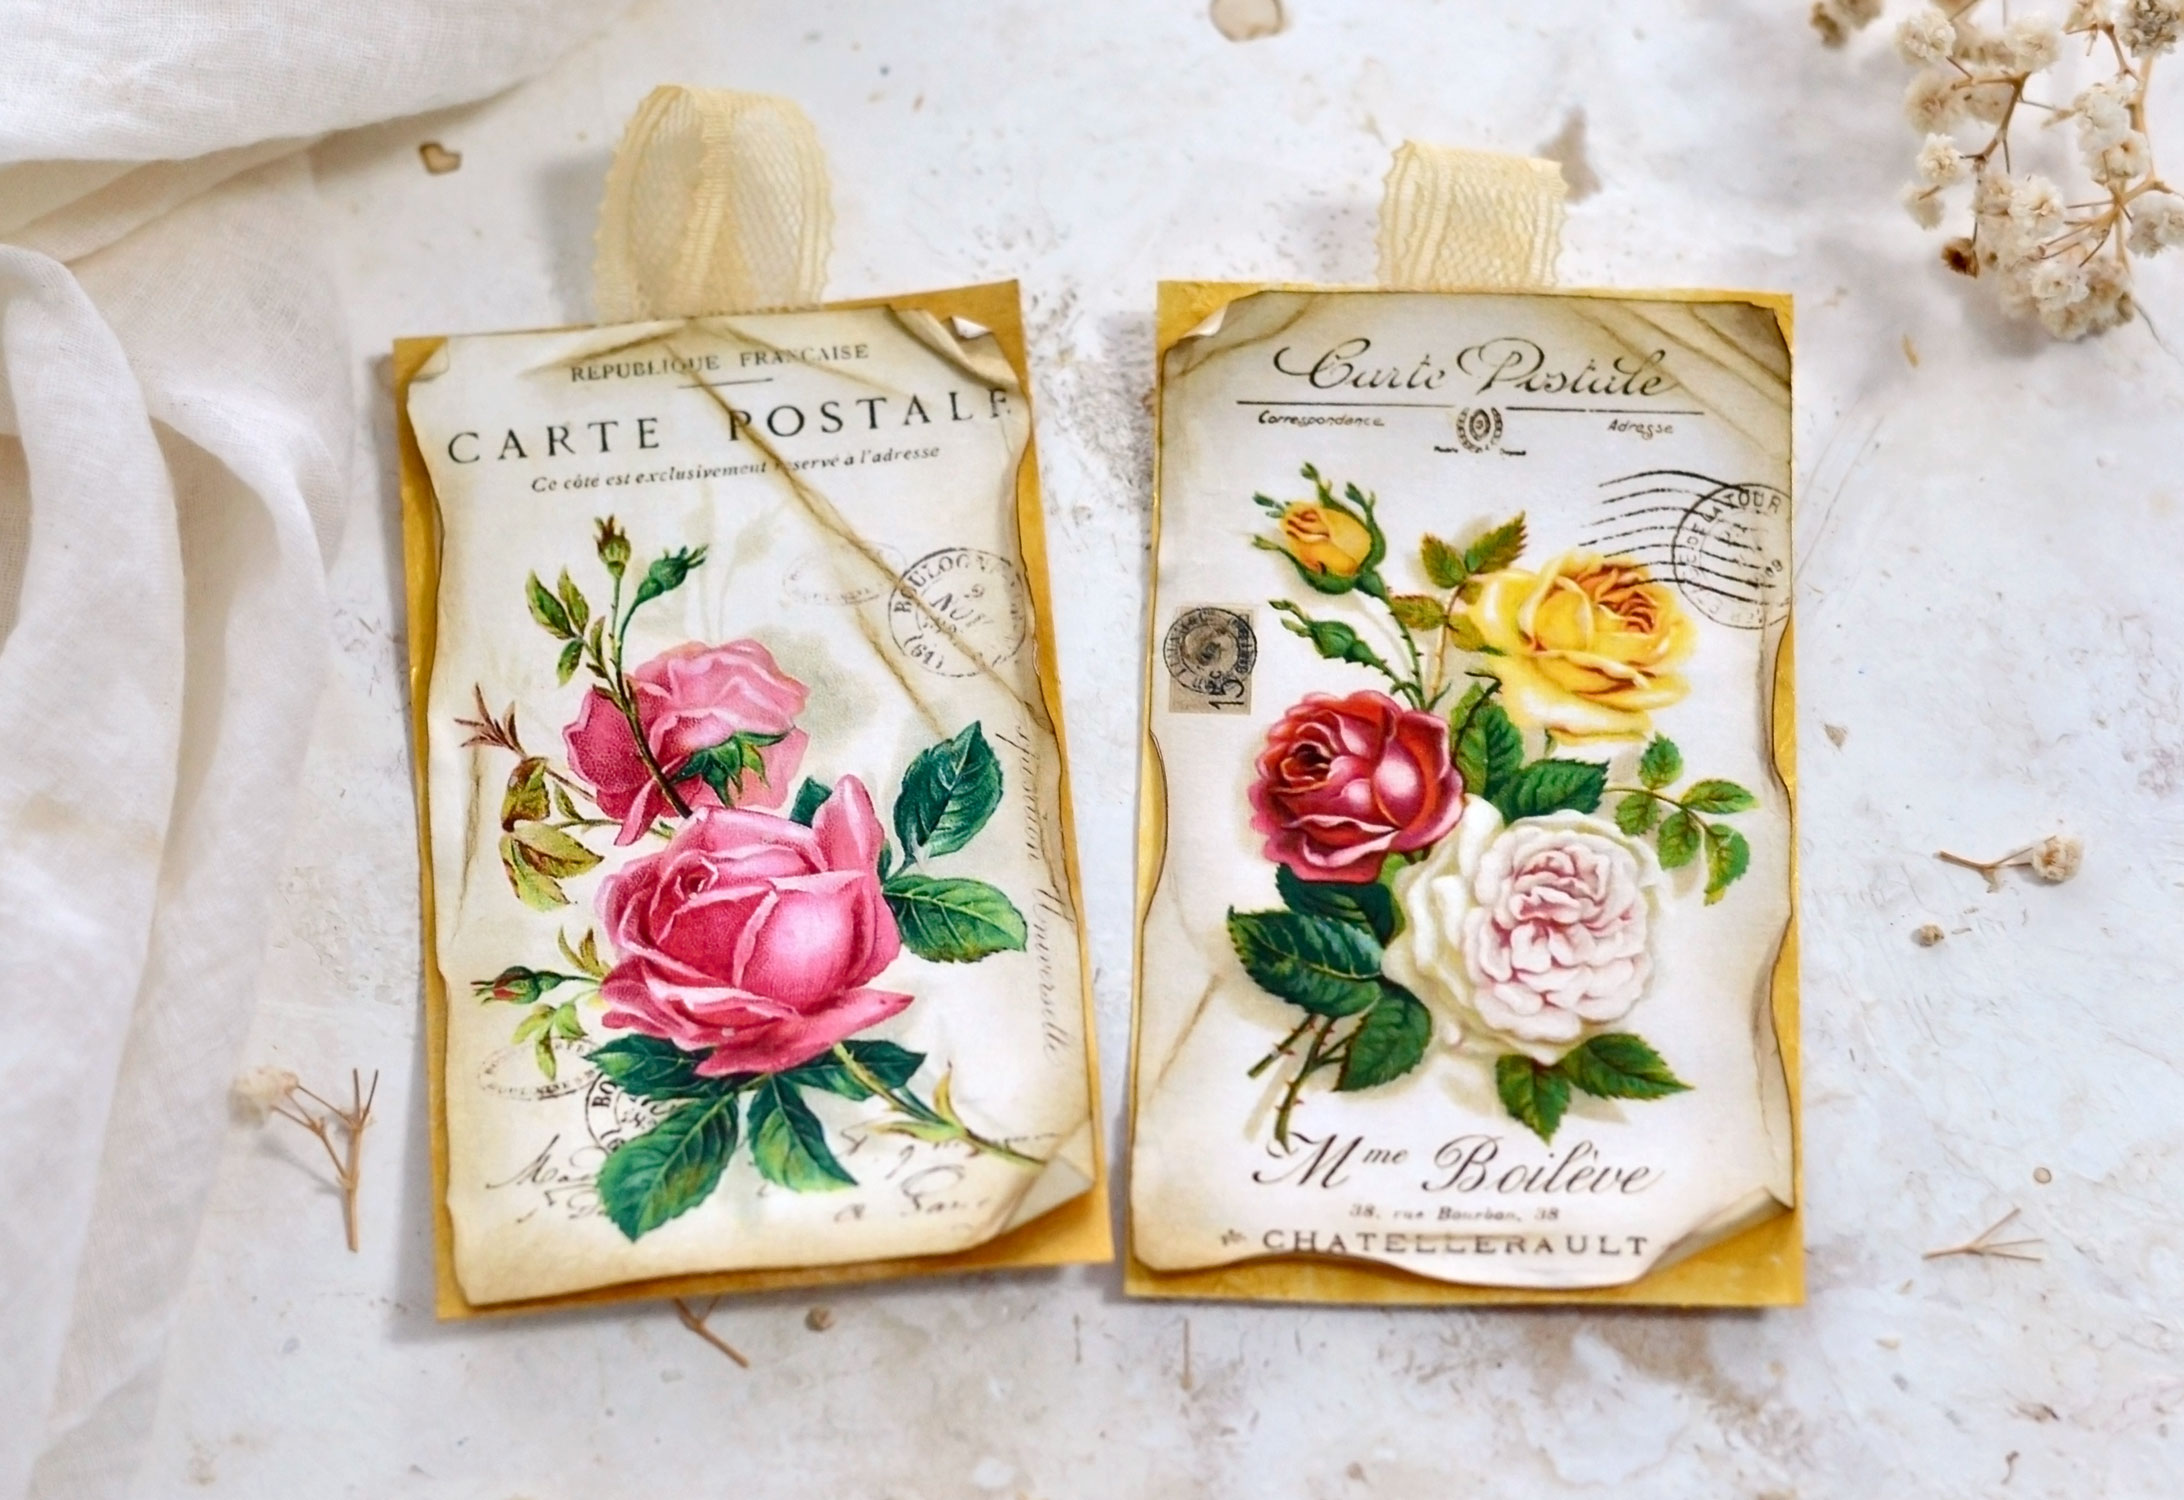
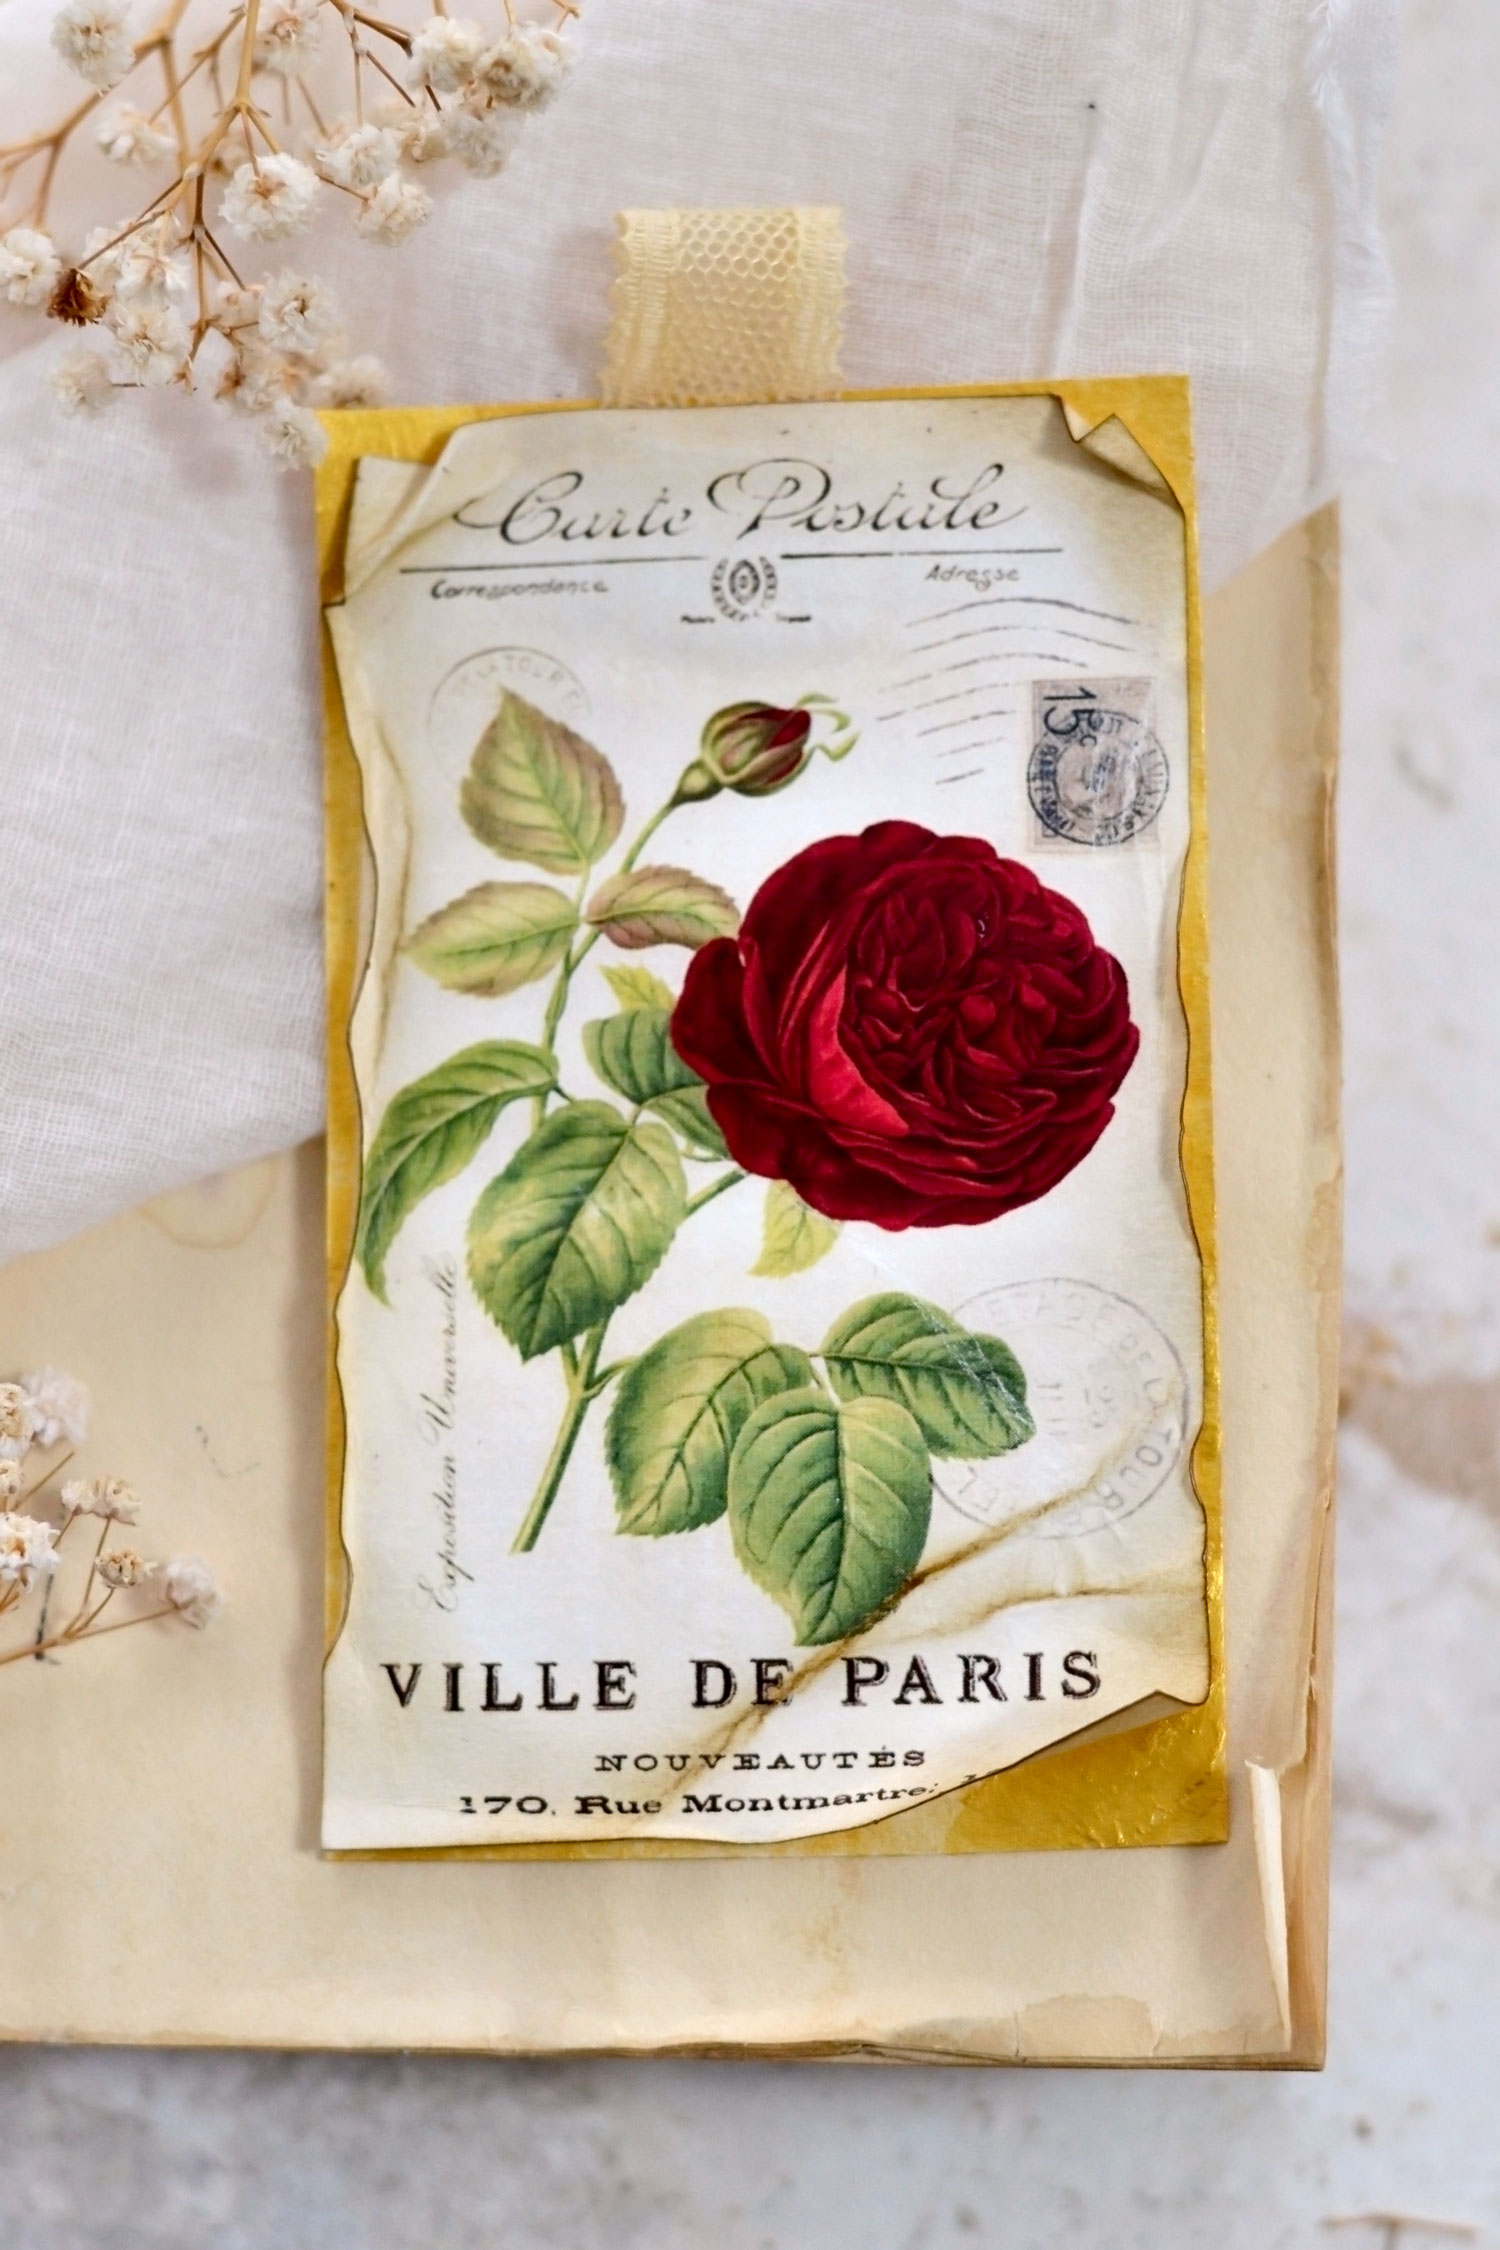
The details on these antique gold tags are absolutely stunning, I just love how everything looks together!
I went with a pale gold shade of acrylic paint, depending on the paint you are using you might get a similar or slightly different effect! You can also use rich gold, light gold, yellow gold, deep gold, pale gold, rose gold or any other type of gold that you can think of. You can even use a gold metallic spray, the sky is the limit!
Of course, you can try this with other metallic colors too, I think copper or bronze will also look amazing with any of these gorgeous rose tags!
And if you find yourself in the position of almost running out of coffee-stained lace, skip the loops and only add a simple rectangular piece instead!
And just as a small reminder, I wanted to show you a comparison between an original rose tag (the one that we started with) and a final fully antiqued one! I think we did a pretty good job, don’t you agree?
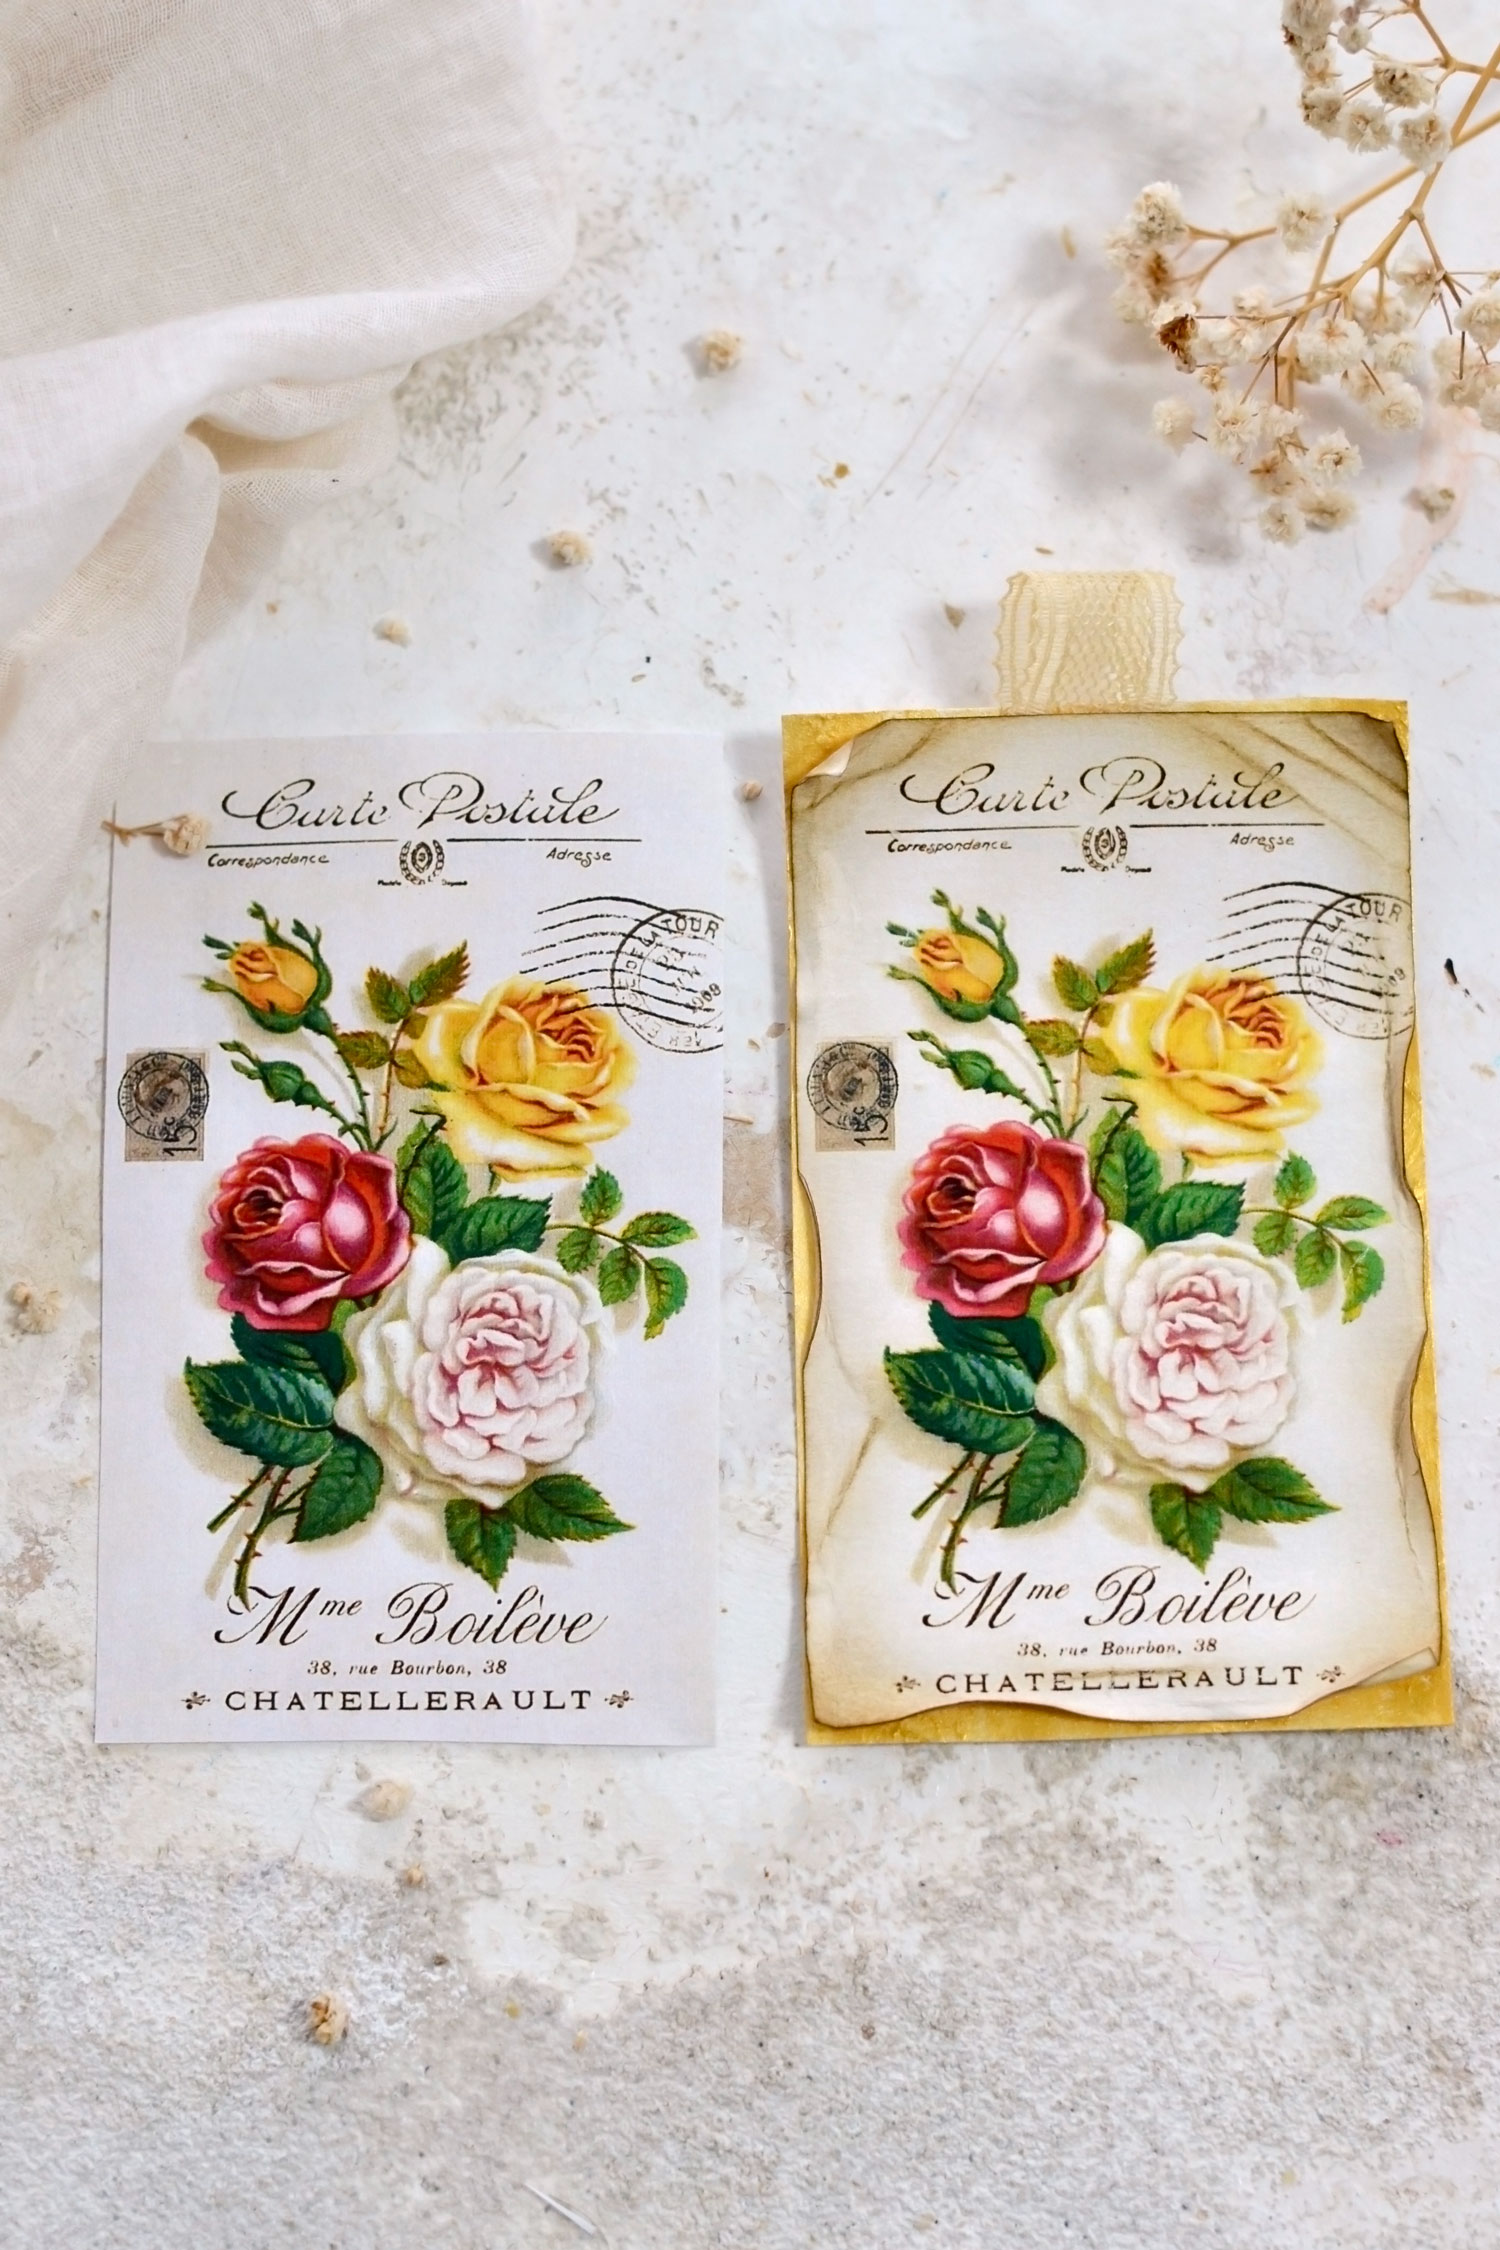 I really love the uniqueness of these antique gold tags so I’m hoping you will give this project a try! I feel like these gorgeous roses are universal and timeless, I’m sure you will be able to use them in so many of your creative projects! They will also make the perfect embellishment for your gifts, no matter the occasion, you can even add one of those small gold bookmarks to make them even more charming! Include them in your junk journals with other floral-themed elements or simply use them as bookmarks while reading your favorite books!
That’s it for our ‘dry distressing’ technique today, you can also try a different ‘wet distressing’ technique if you want to learn How to Make Ephemera!
I hope you enjoyed this Faux Gold Foil Craft project. You might also like an actual Gold Foil Project HERE.
Happy crafting,
Diana / Dreams Factory



Shoshi says
These look great. My favourite gold acrylic paint is Golden’s Iridescent Bronze Fine fluid acrylic. It’s quite pricey bu well worth it – it is the shiniest, most metallic-looking paint I have ever used, and a little goes a long way. I think it will work a treat on these beautiful little tags!
Karen Watson says
Ooh! That sounds lovely. Thanks for the recommendation Shoshi!
Nell says
These are amazing! Thank you so much for sharing!
Karen Watson says
I’m so happy that you enjoyed Diana’s pretty project Nell!
Patti Clements says
Thx so much for this awesome tutorial and beautiful printables.
Karen Watson says
Have fun making these lovely paper pieces Patti!
Mary says
Great tutorial with beautiful results and the graphics are superb. Thank You so much!
Karen Watson says
I’m glad you enjoyed it Mary.
Leslie Bass says
Georgeous!! Thank you. I love a touch a gold!
Karen Watson says
The gold really takes it up a notch! I’m glad you enjoyed Diana’s project Leslie.