Handmade Birthday Card Ideas for Dad
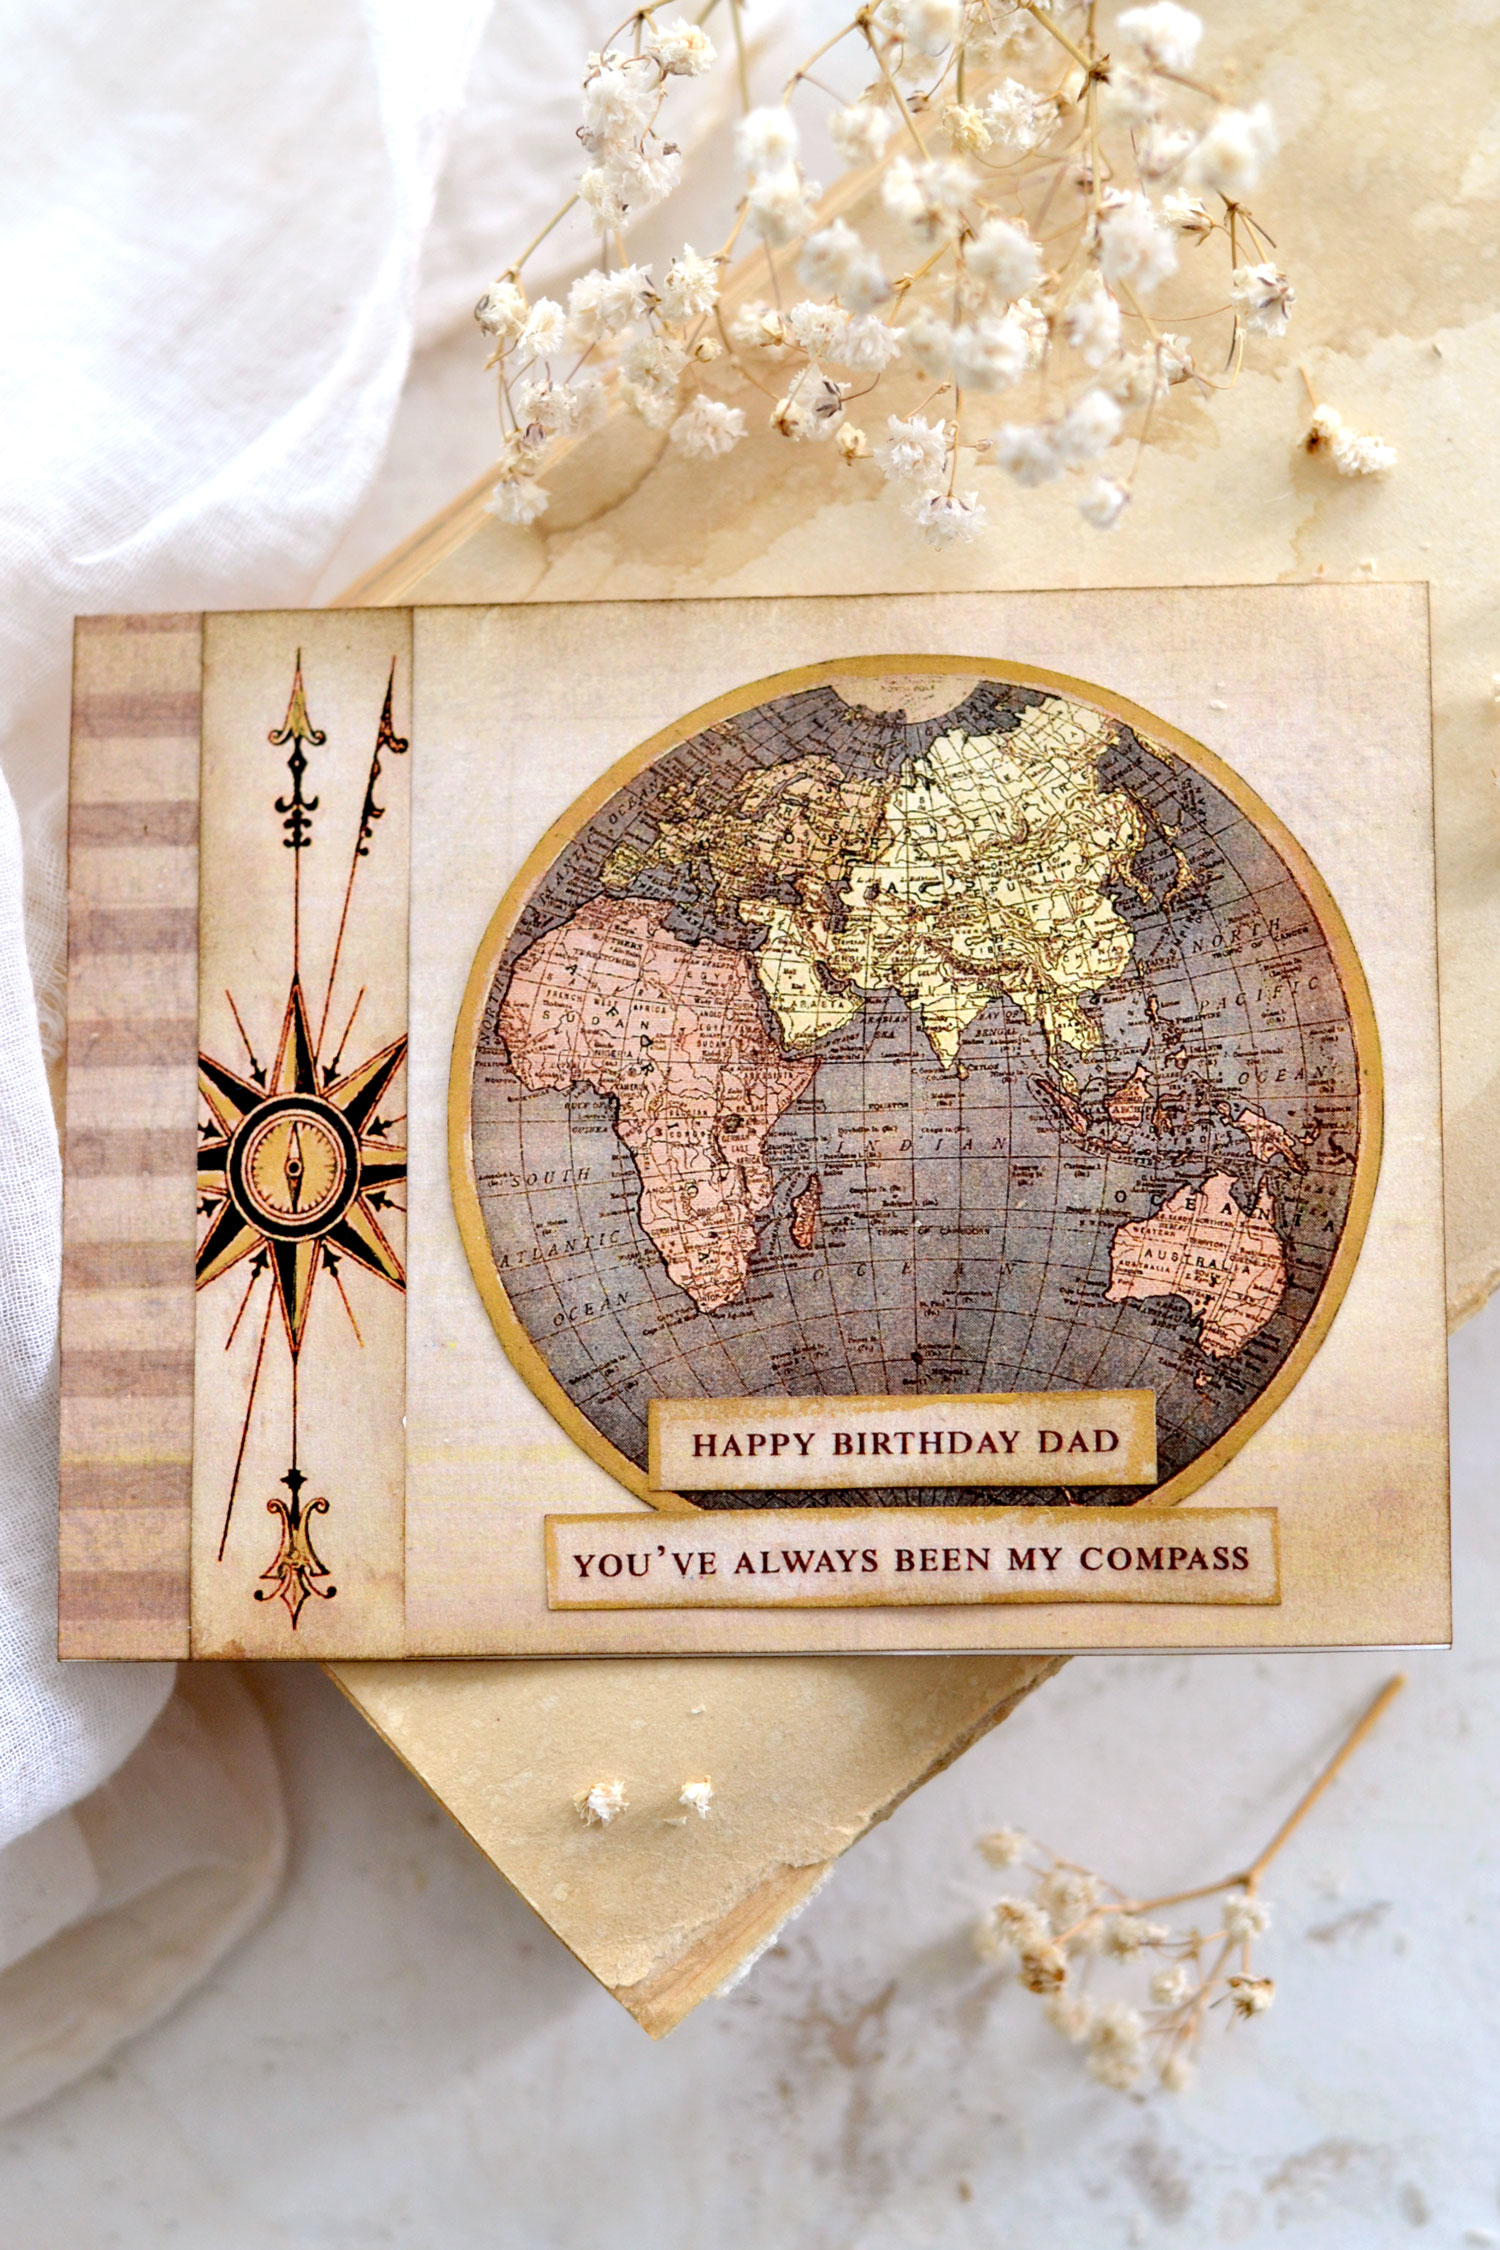
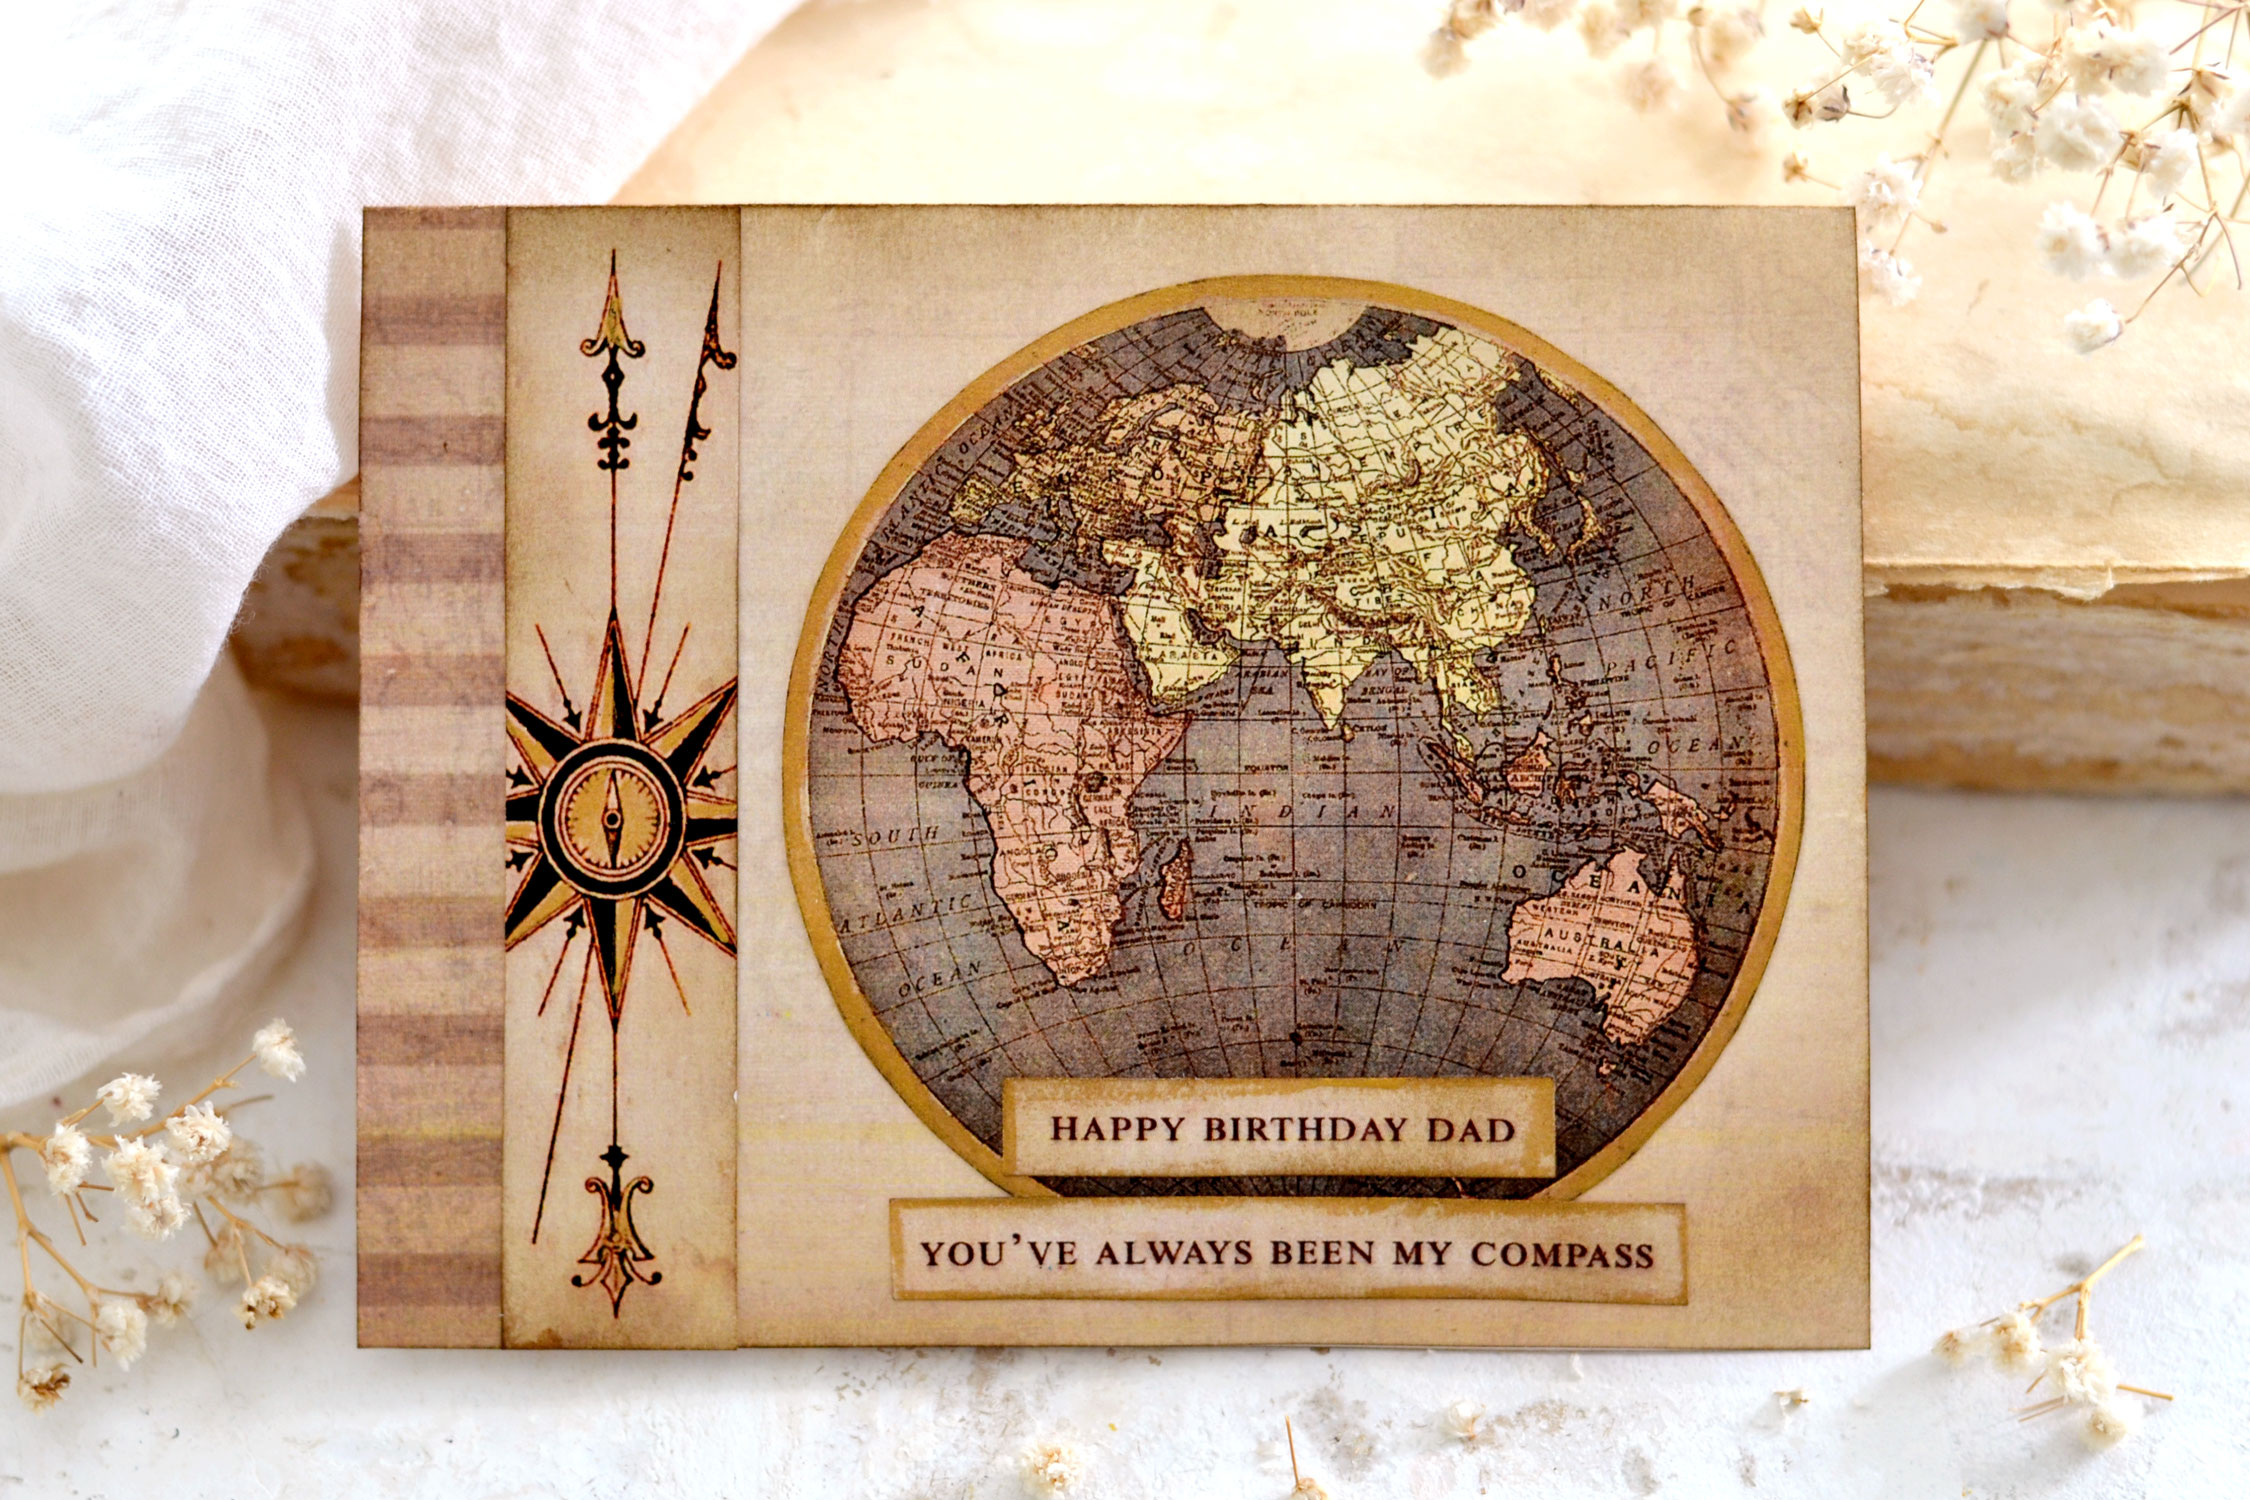
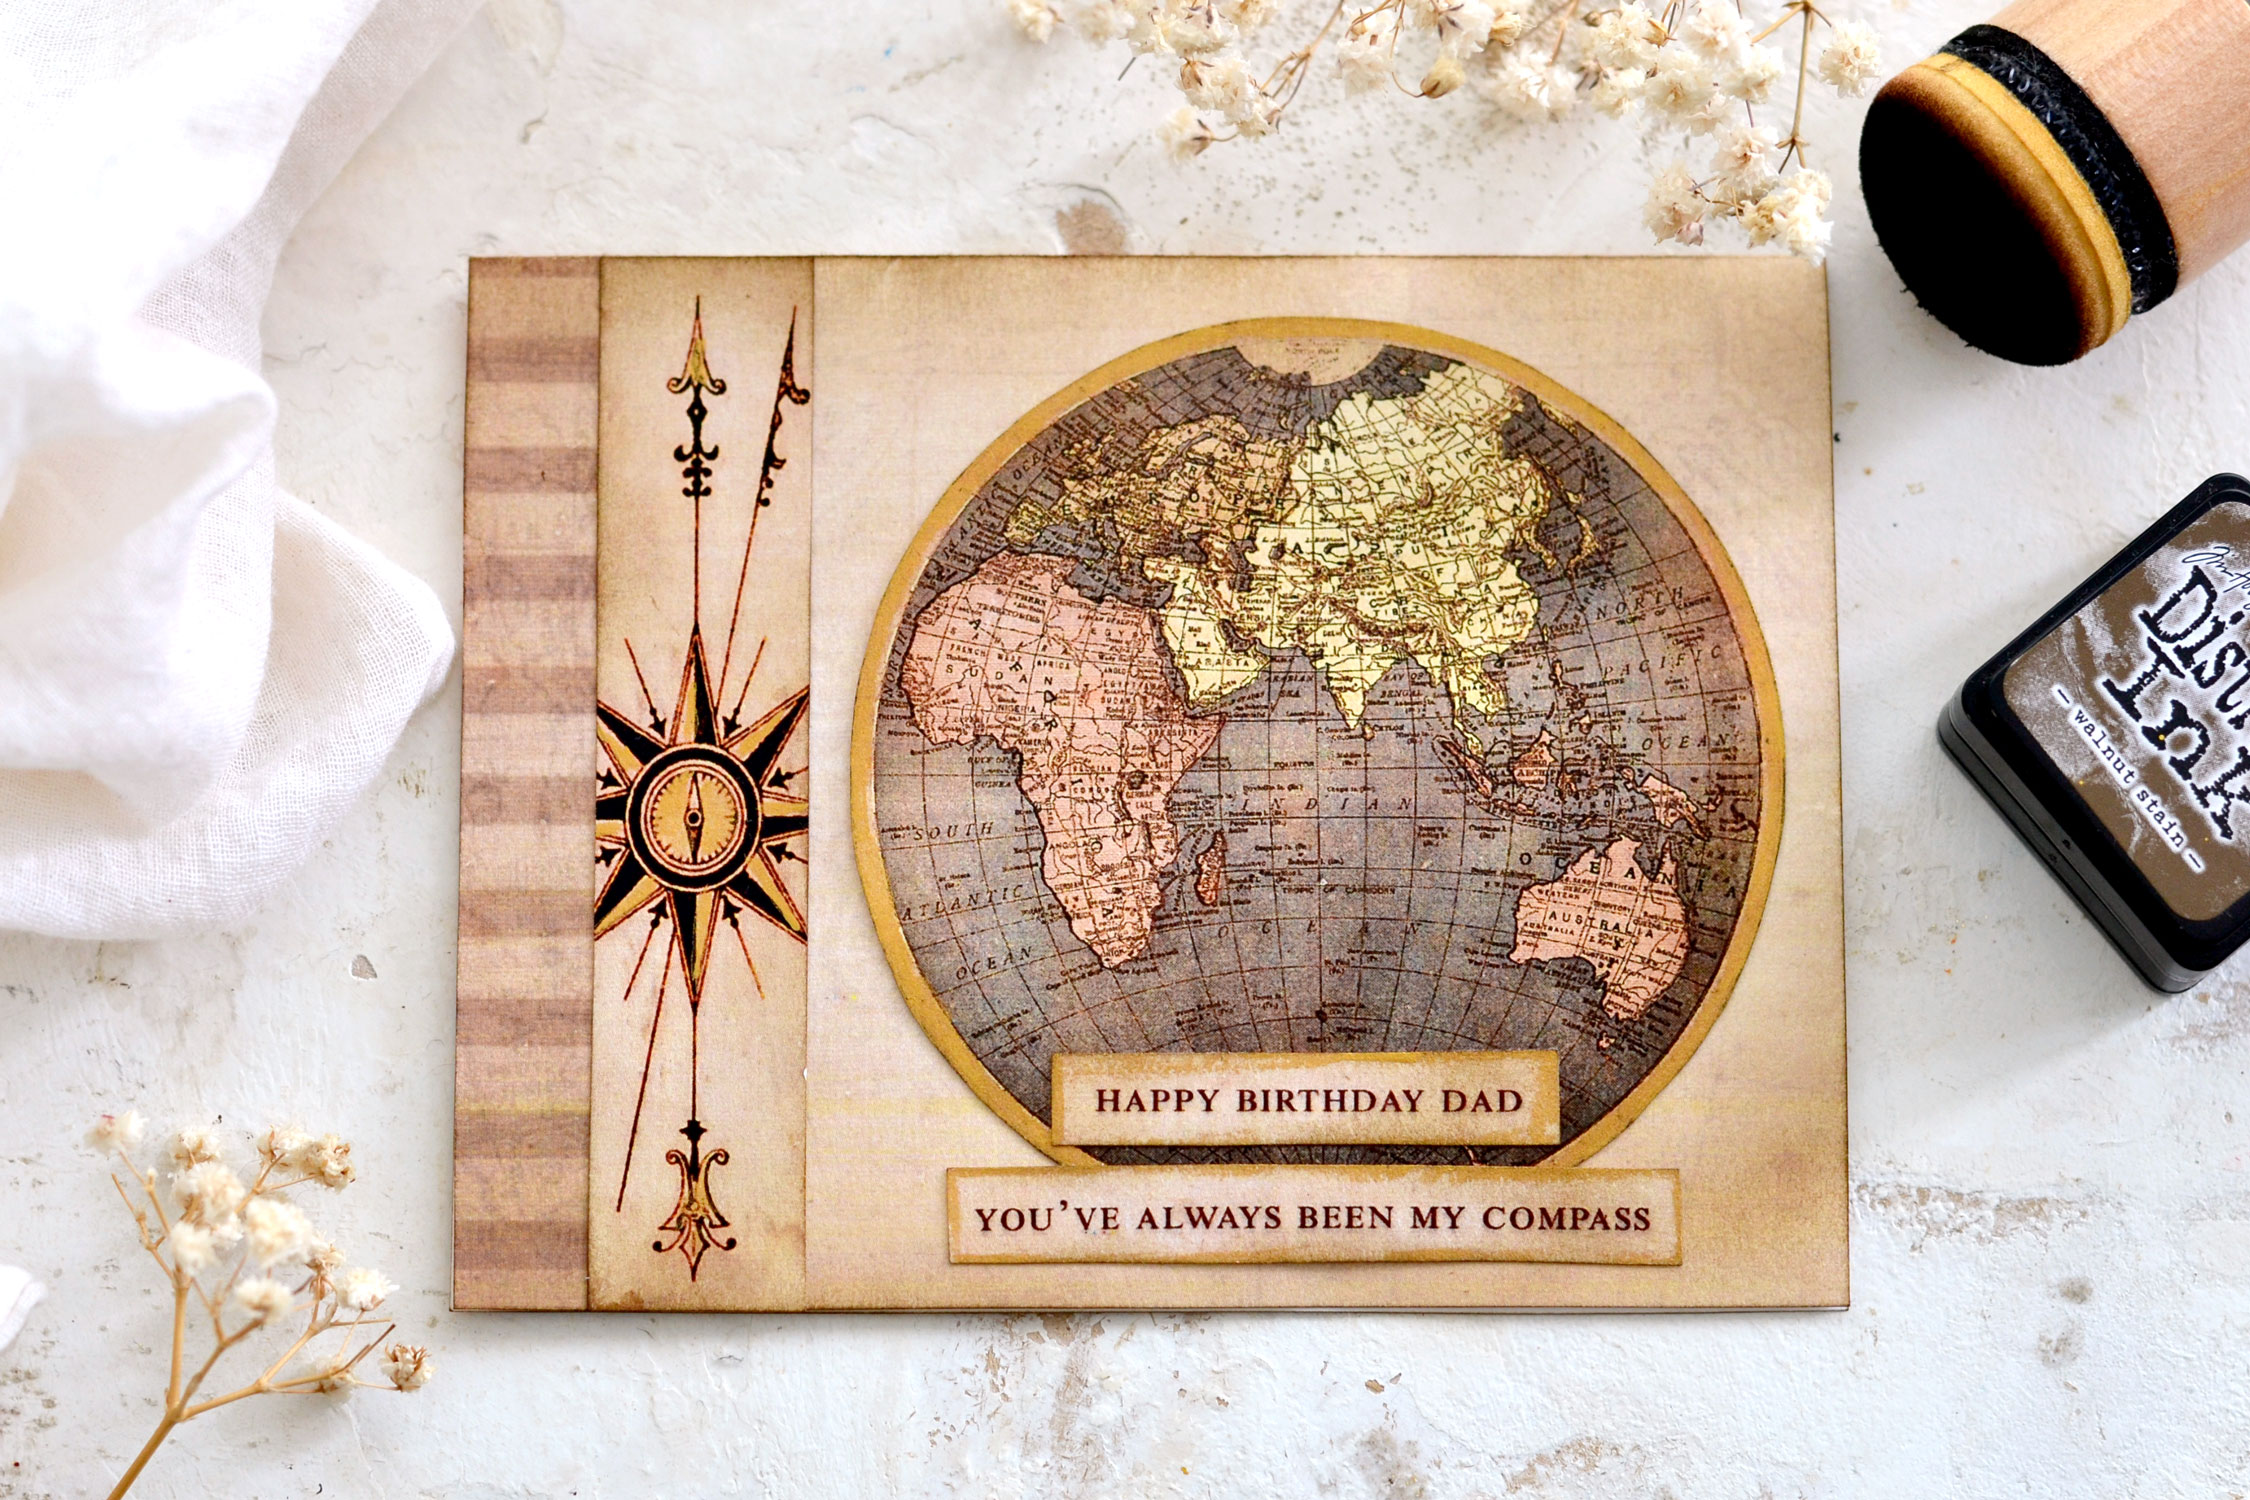
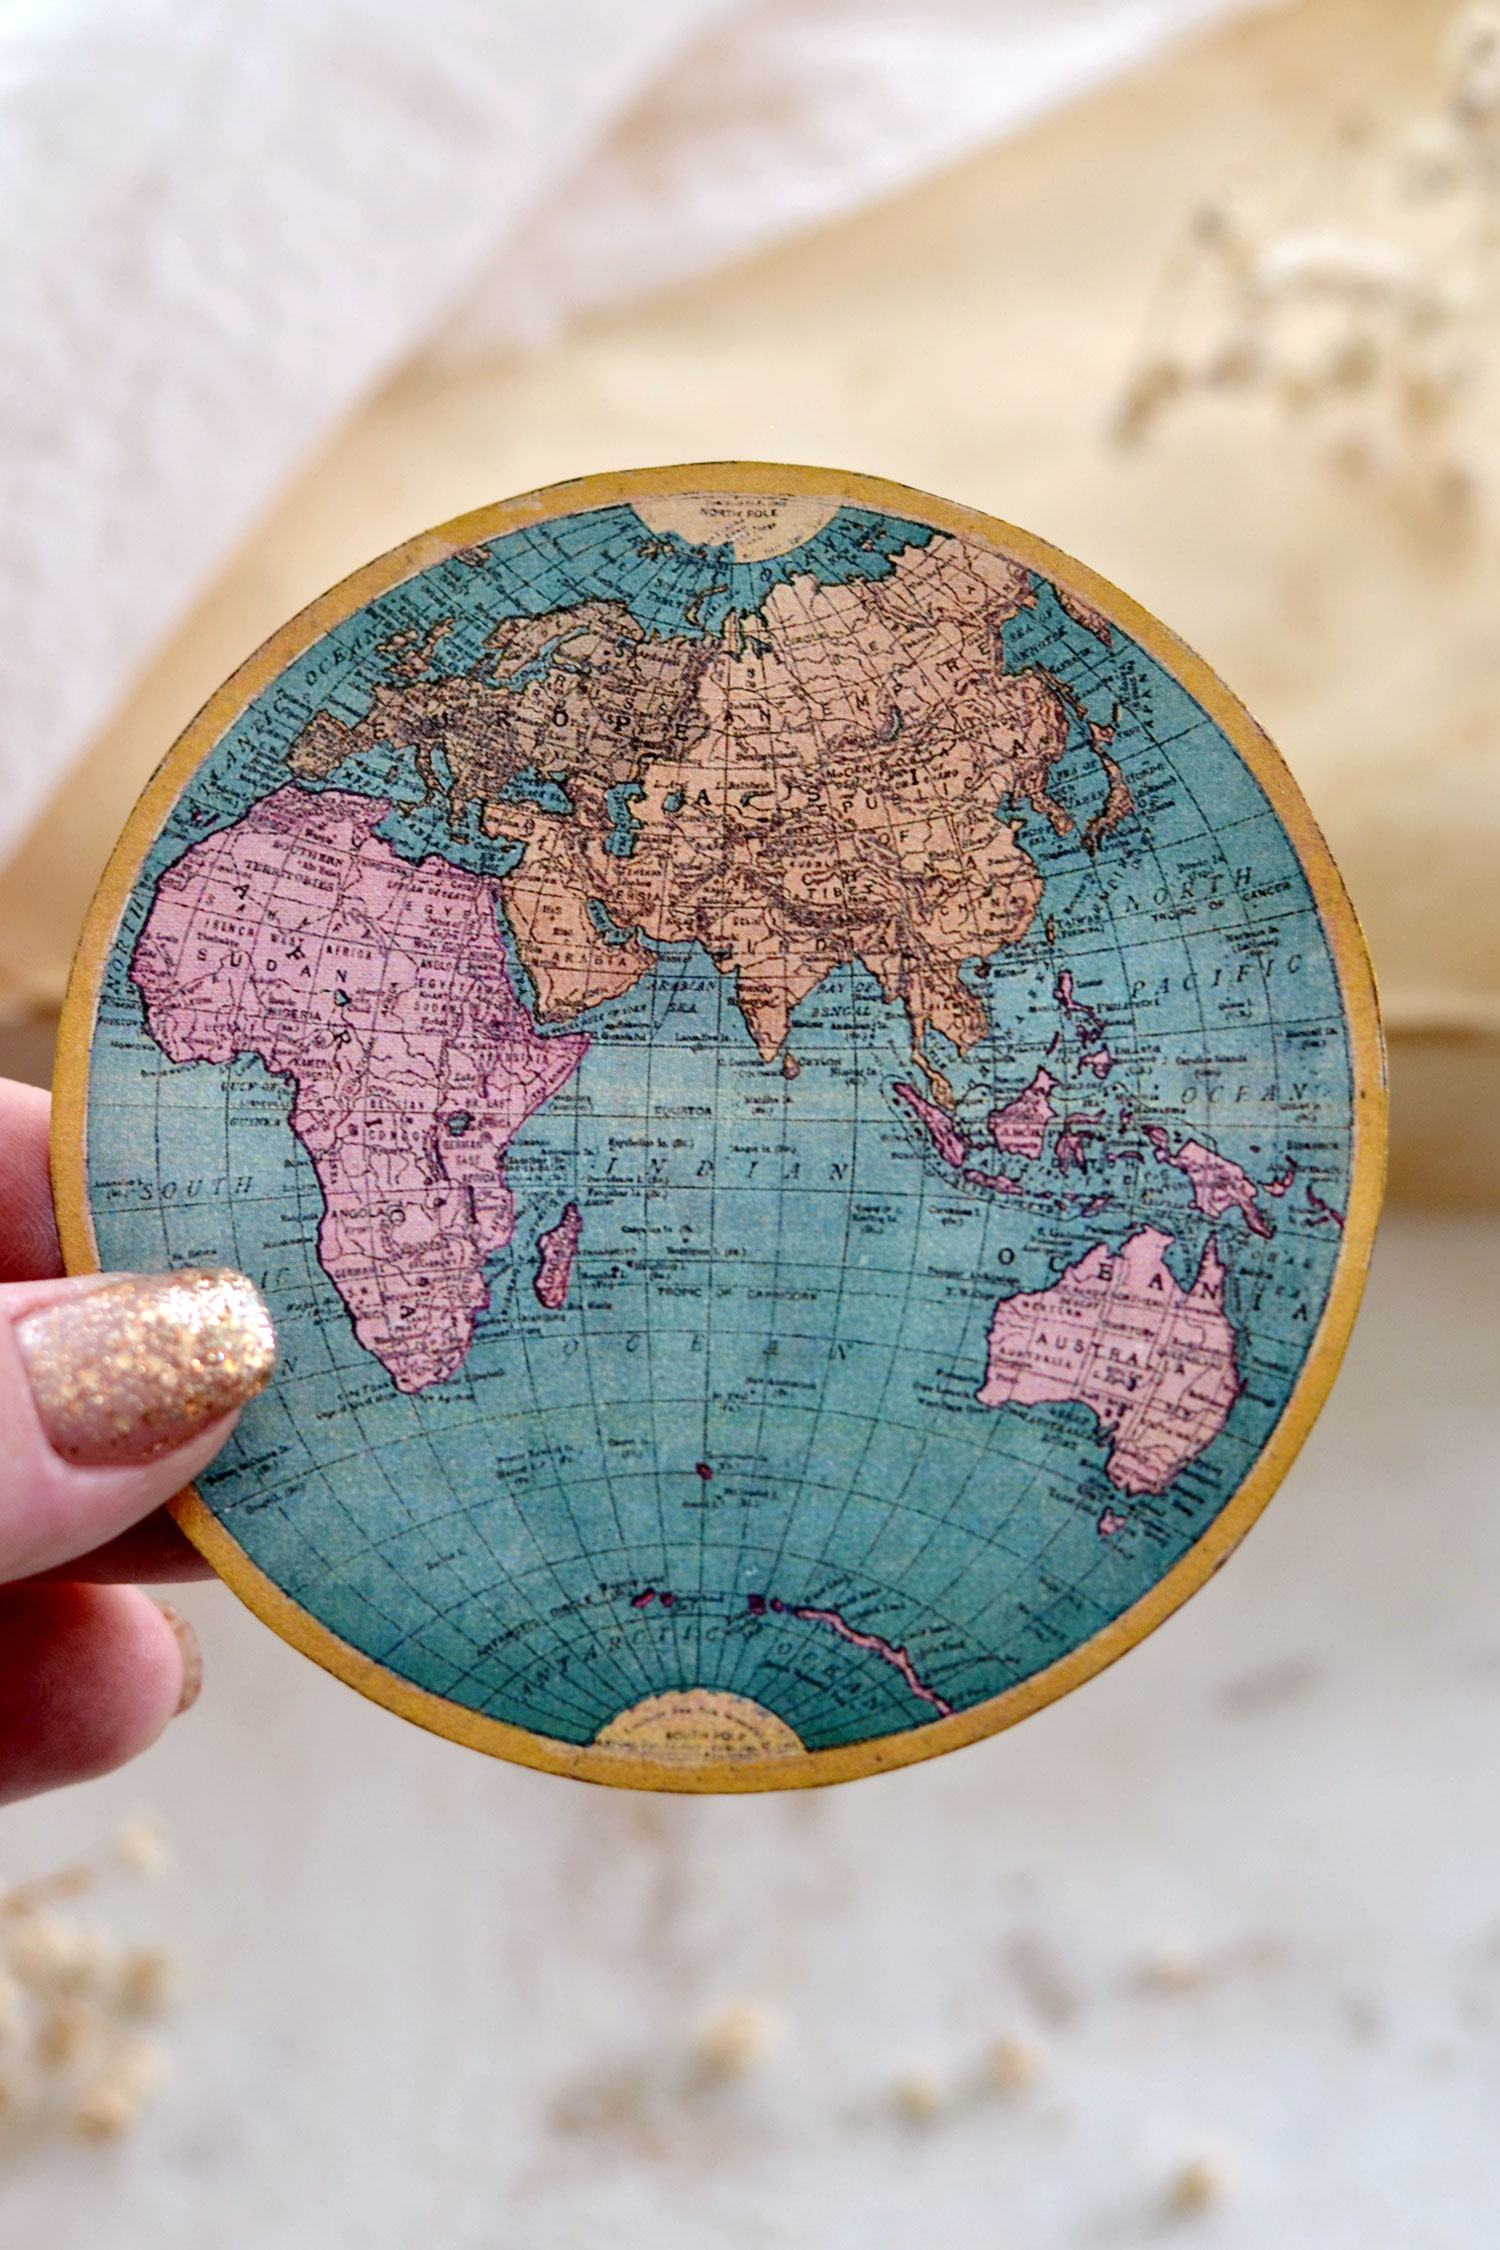
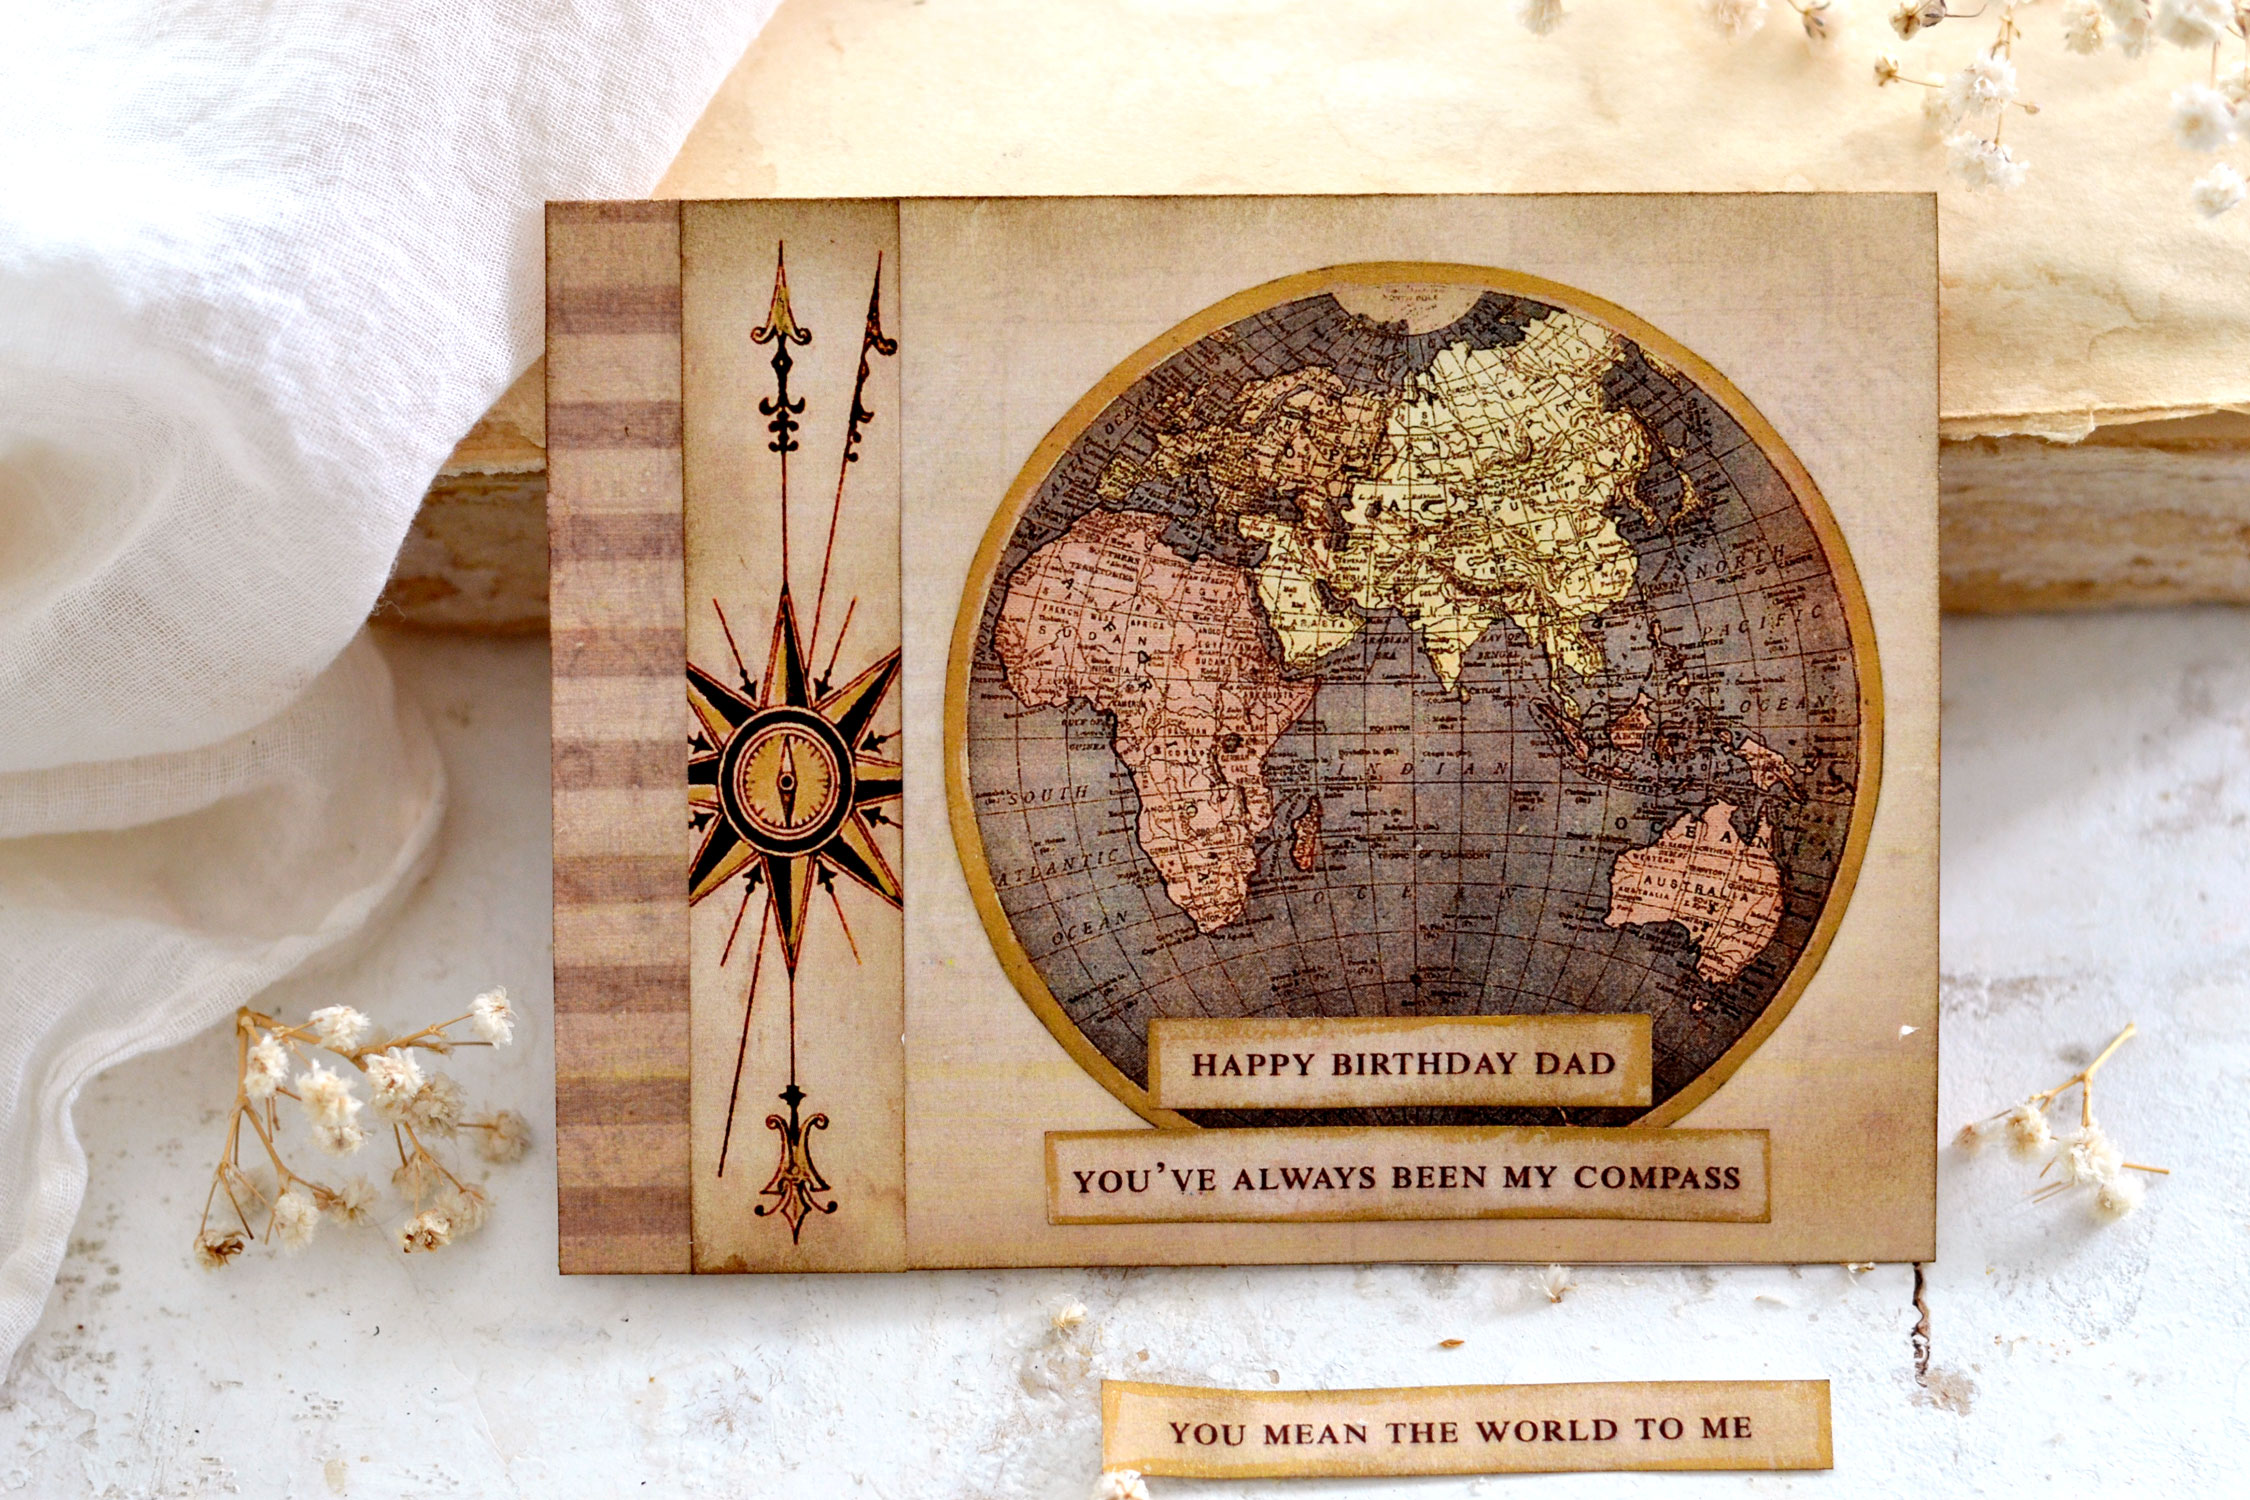
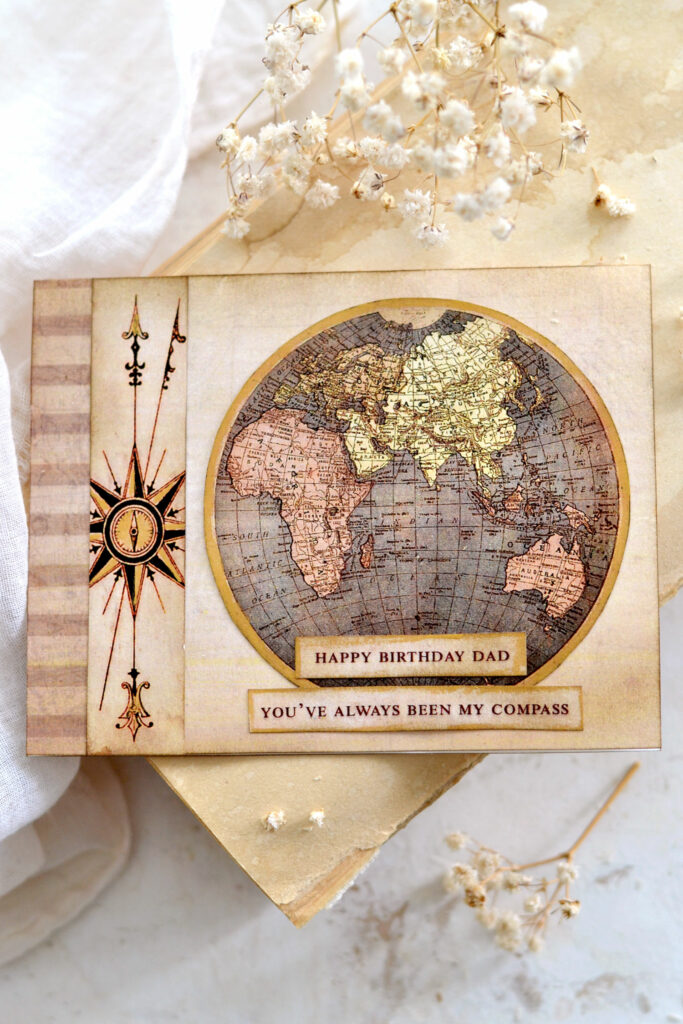
Hello Graphics Fairy friends, Diana from Dreams Factory here, ready to share another DIY project with you! Today I will show you how to make this beautiful Birthday Card for Dad! I wanted the card to have a masculine feel to it, so I kept a brown color palette in mind when creating the design. I included a vintage globe map from an antique Atlas, I wanted it to symbolize the world our dads are preparing us to conquer. I’ve also included a vintage Compass Rose that shows North, which could symbolize the teachings and the direction our best dad is has given us in order to succeed. I used distress ink to give the paper a beautiful aged look and I also added a few golden touches here and there, just to make this fun craft more special.
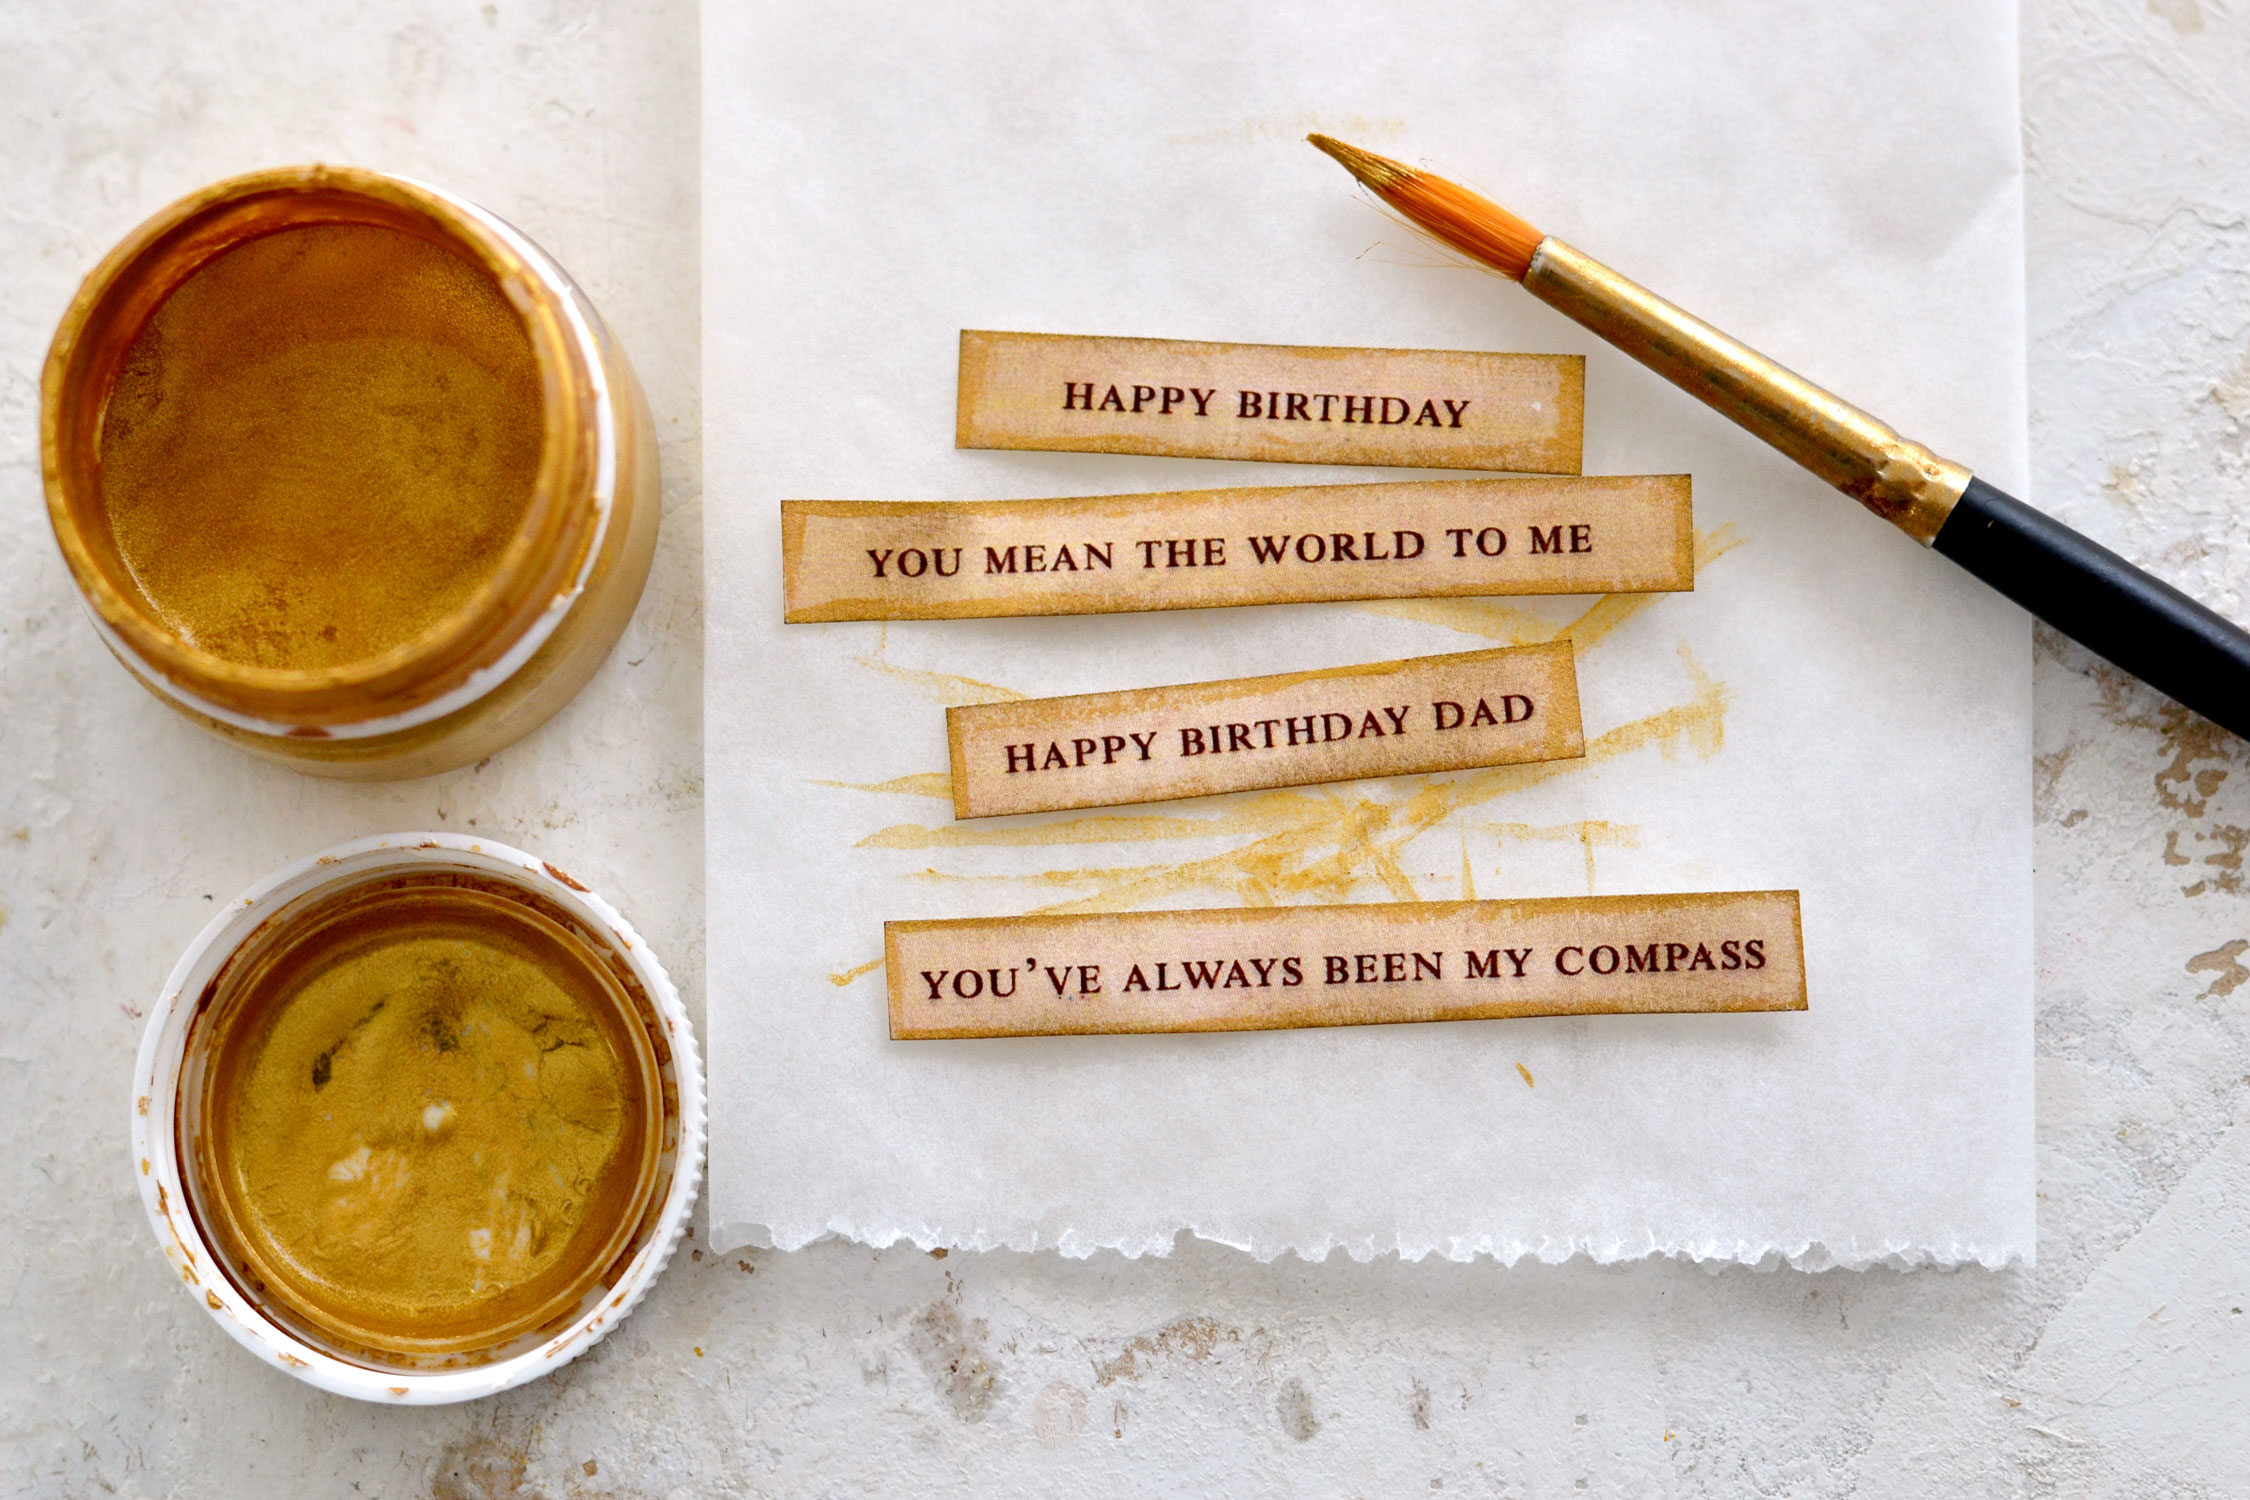
Because dads are so important to all of us, I included, along with the birthday wishes two other messages: ‘You’ll always be my compass’ and ‘You mean the world to me’. I think these two messages are quite powerful and meaningful and they go really well with our theme today. You can choose one of them along with a ‘Happy Birthday’ wish or you can mix things up and choose the one that you love.
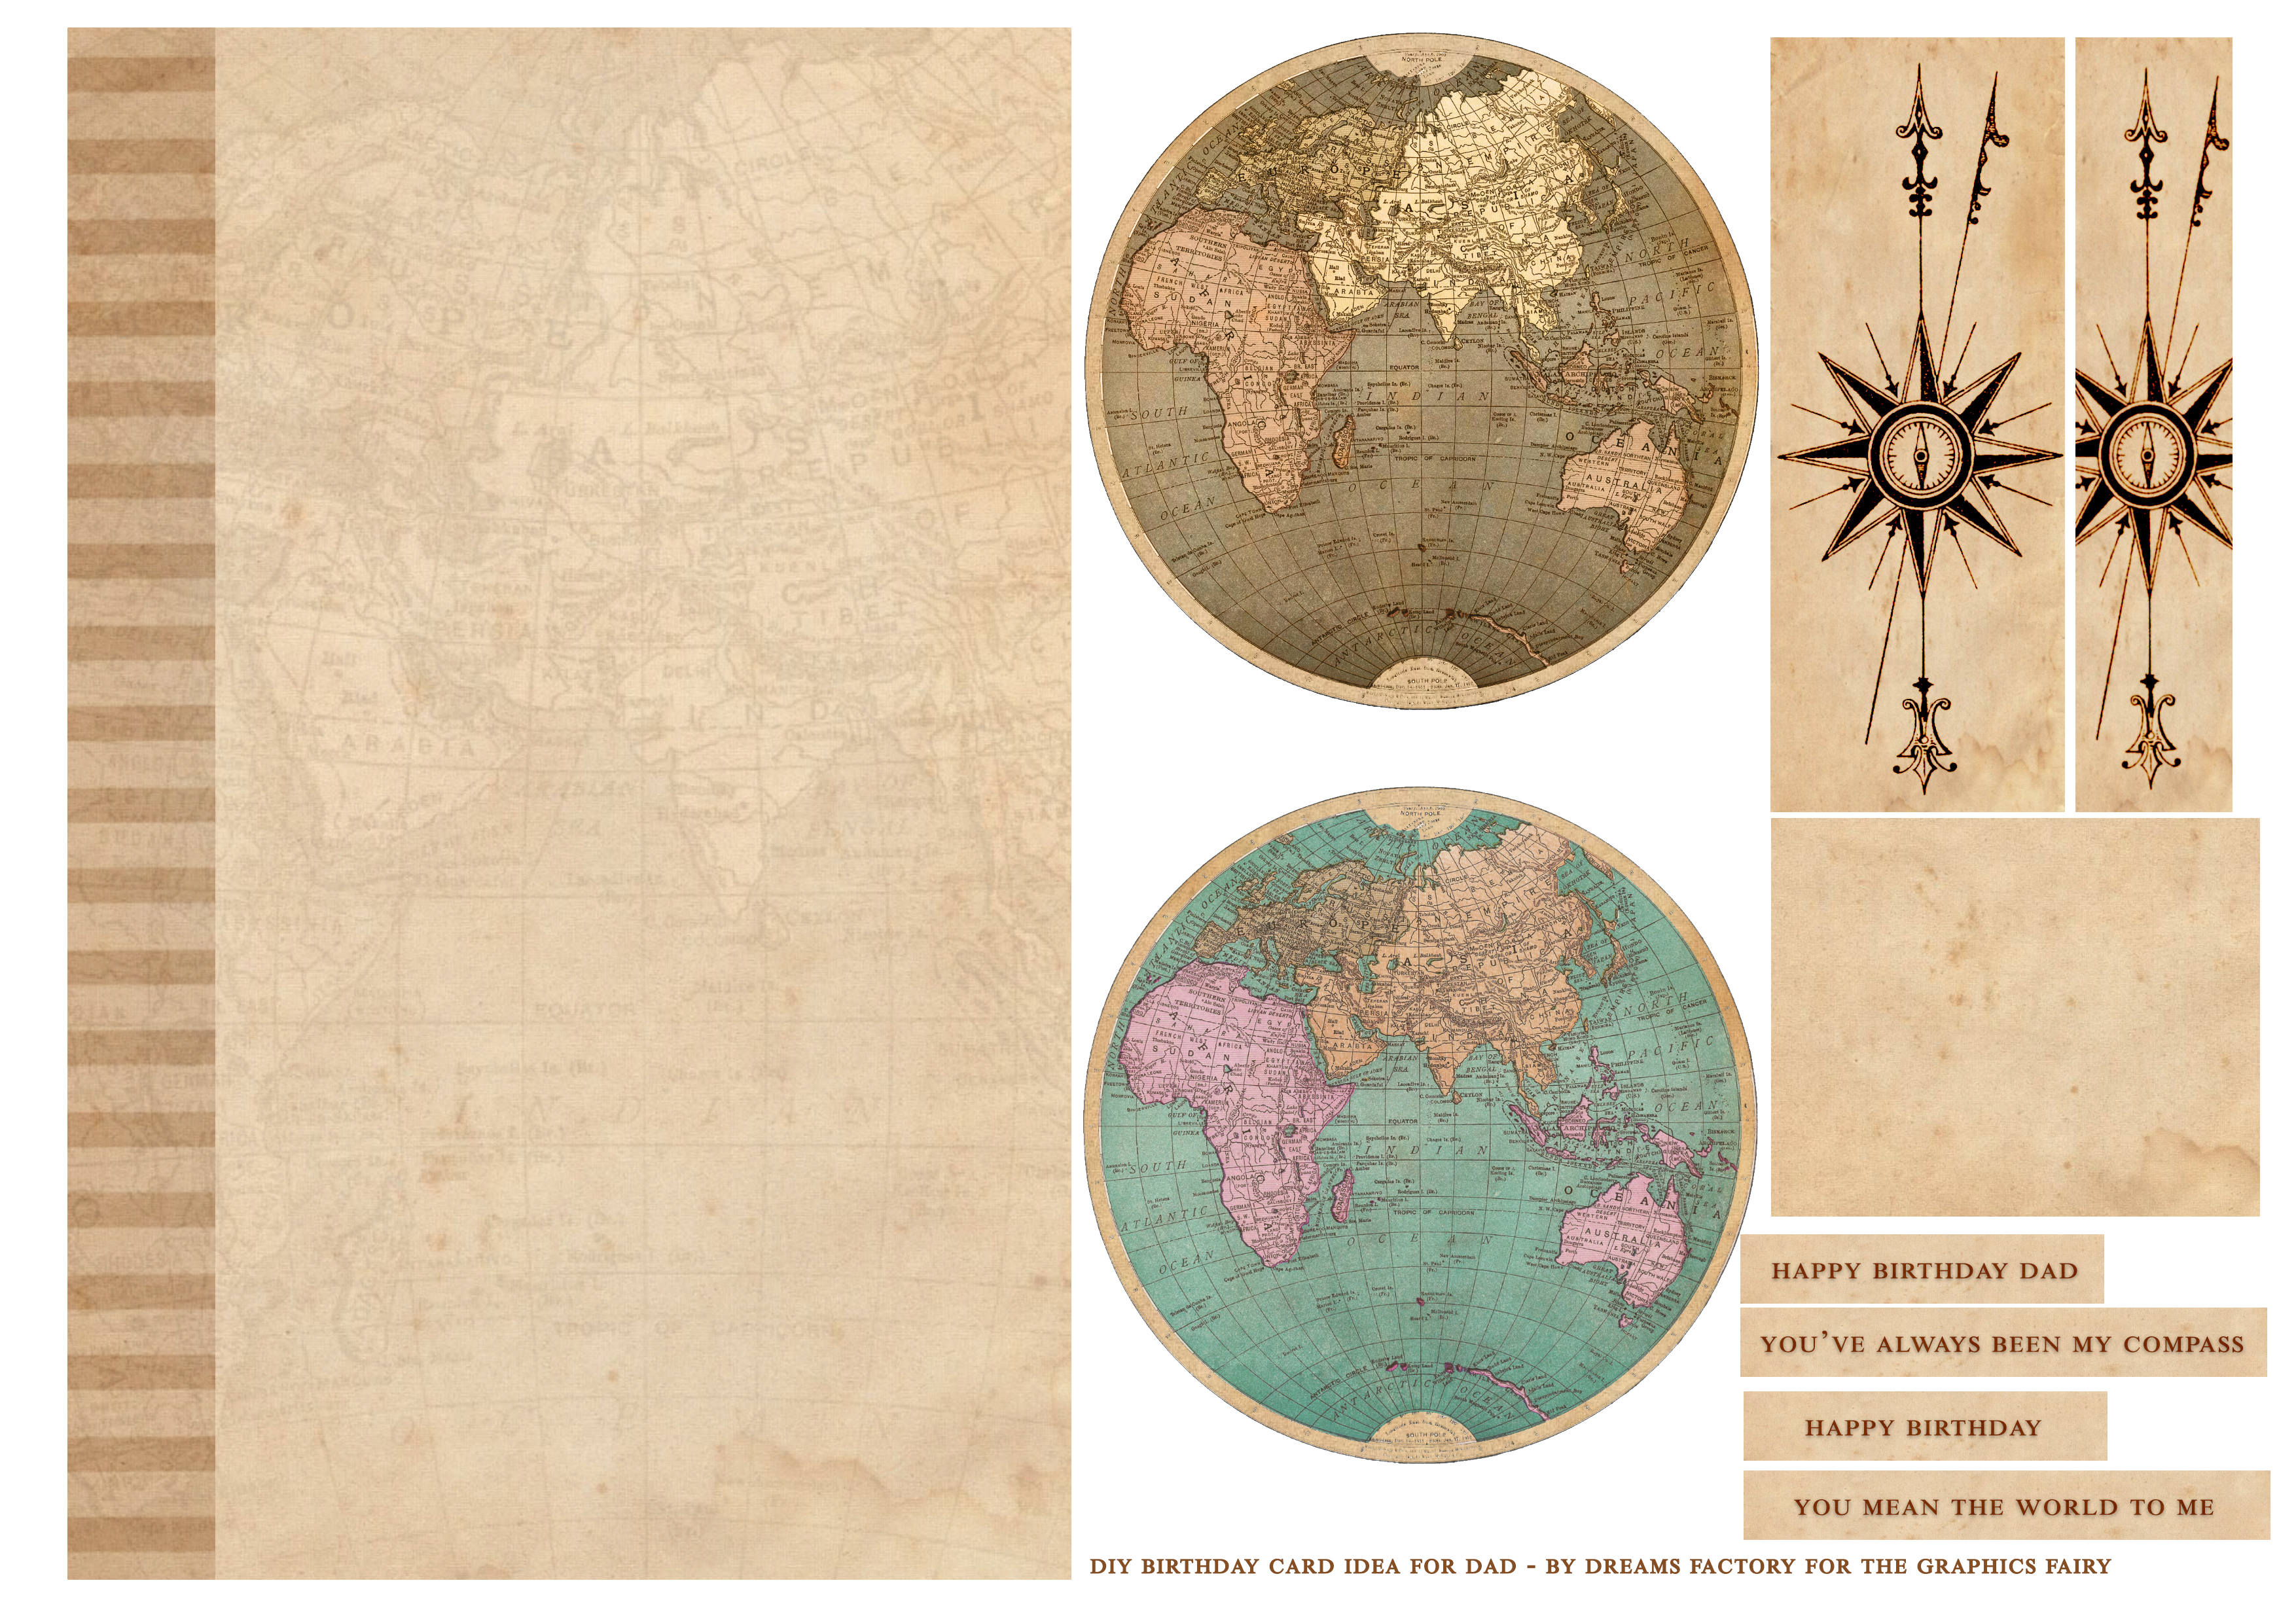
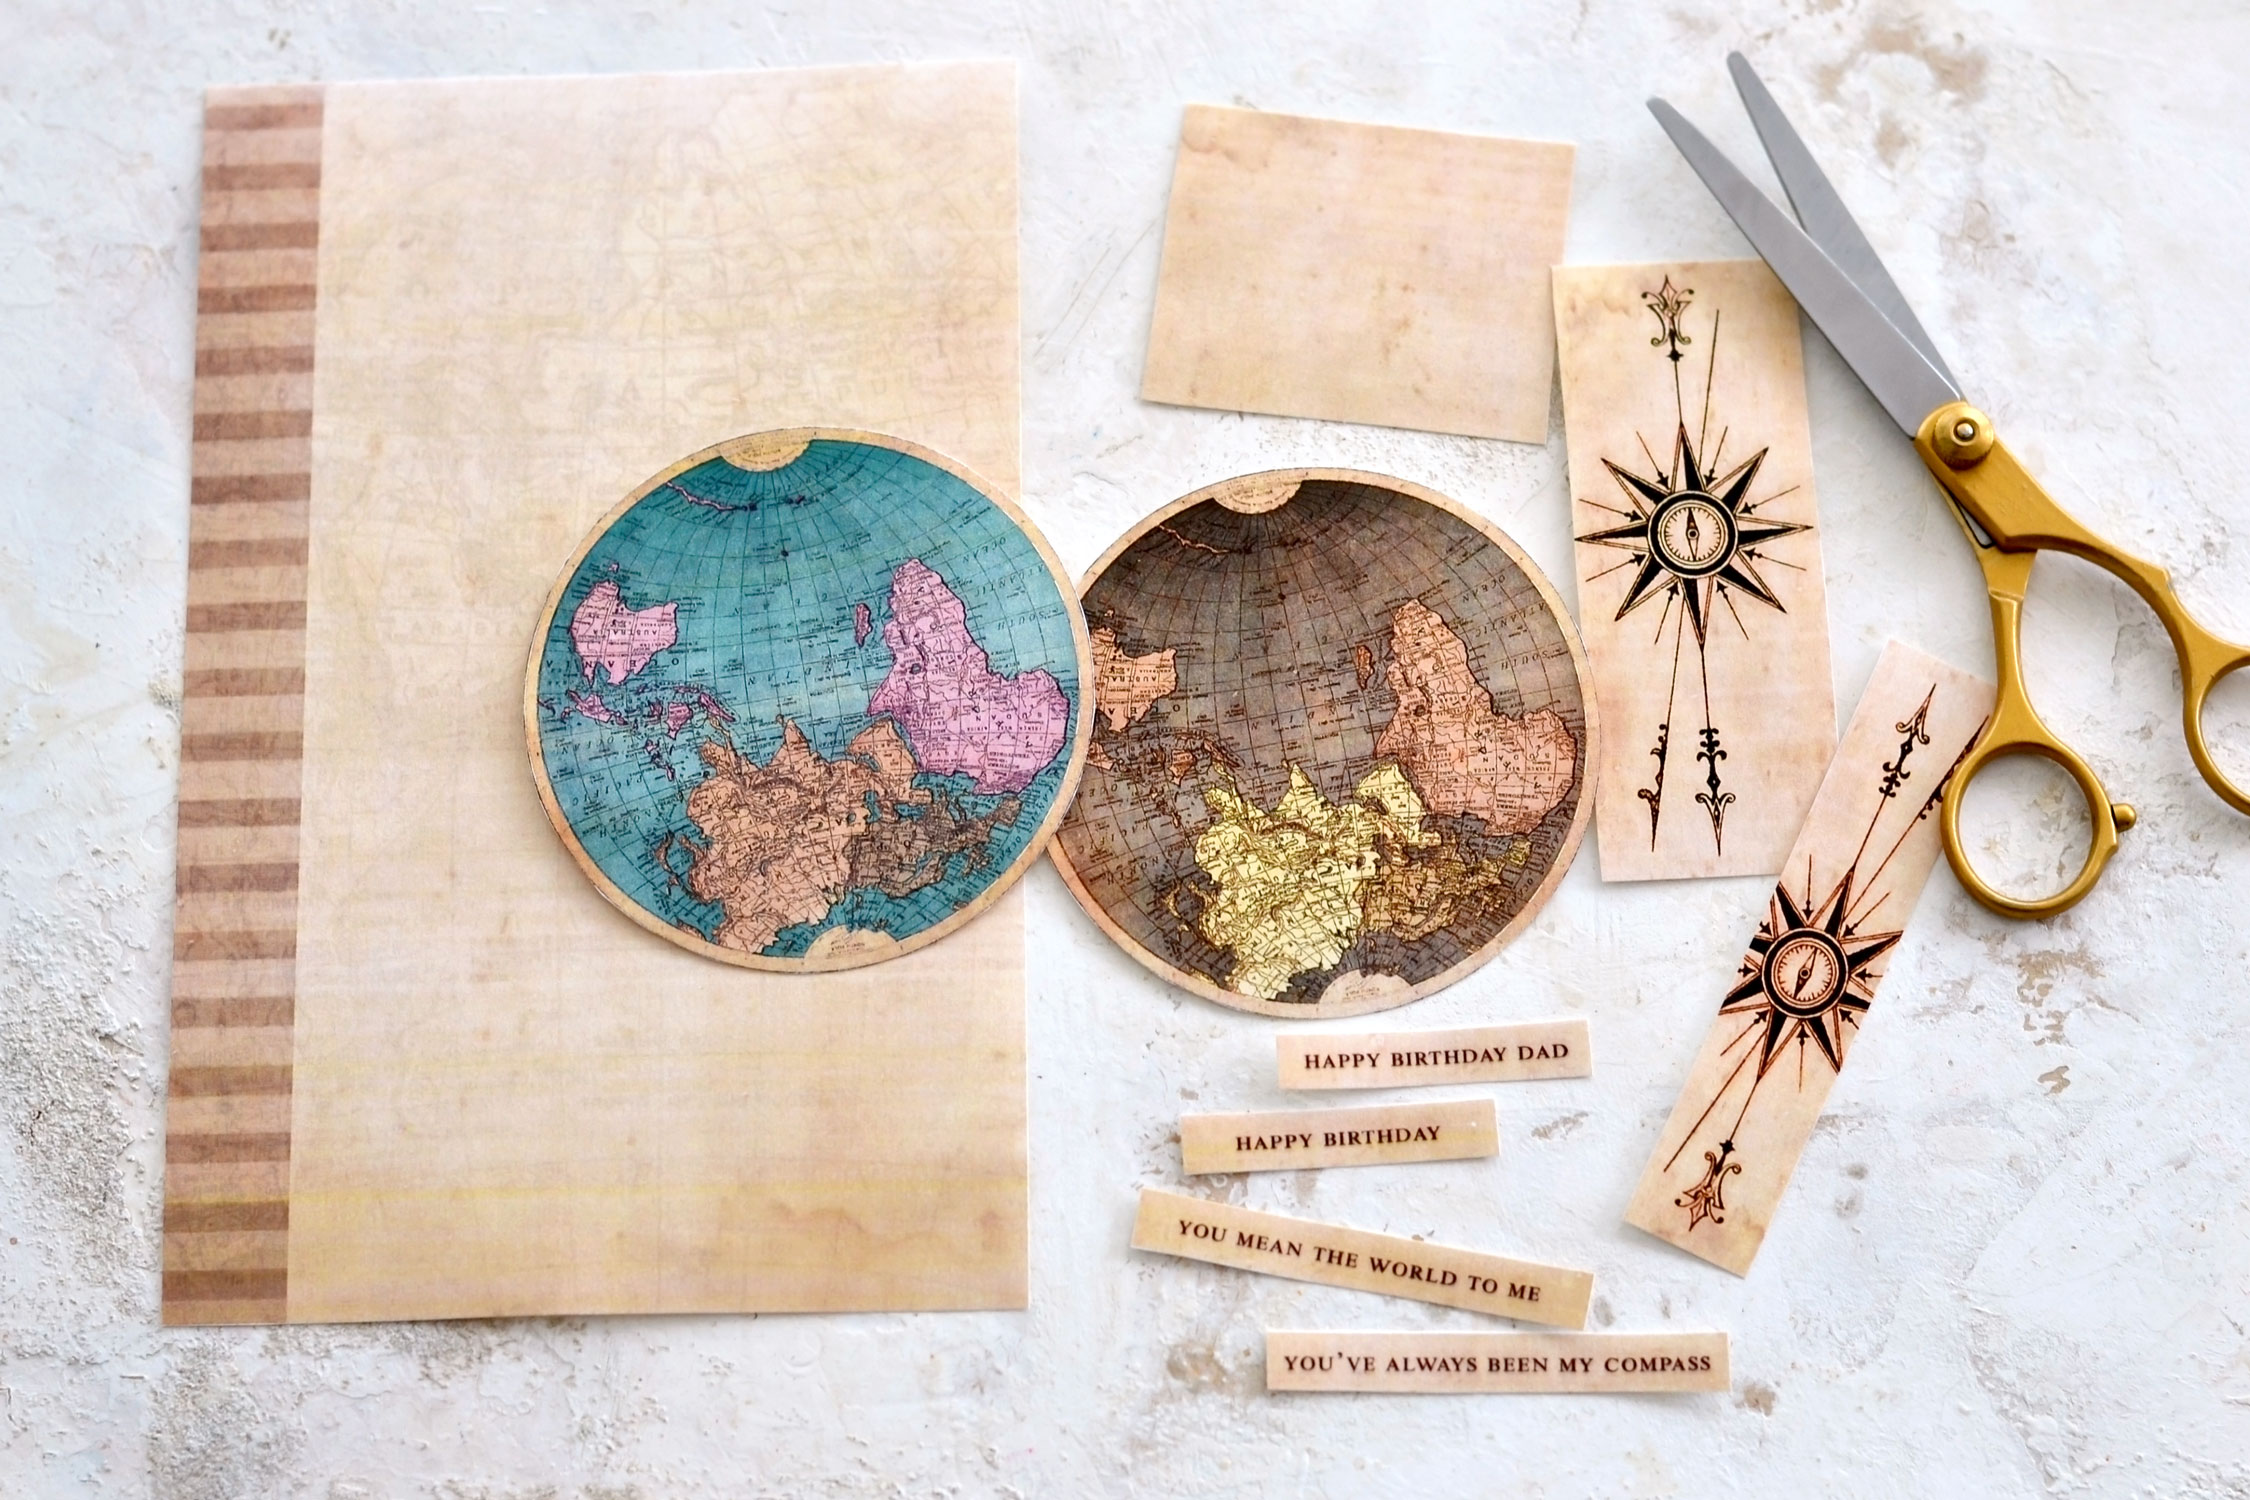
I included a card base and 2 versions of the antique maps in the printable – you will find a brown version and a blue one. I altered them both when it comes to their colors and overall appearance, I wanted to imprint them even more of that vintage vibe. Depending on how you are envisioning your card for your dad’s birthday, you can decide to use the one that you love the most! You will also find 2 versions of the compasses – again, use the one that you want! The extra scrap piece of vintage paper will give you the chance to experiment and write your own wishes if you prefer it that way.
Printable Template for Handmade Birthday Card Ideas for Dad
—-> Click HERE to Download the Full Size Free Printables PDF <—-
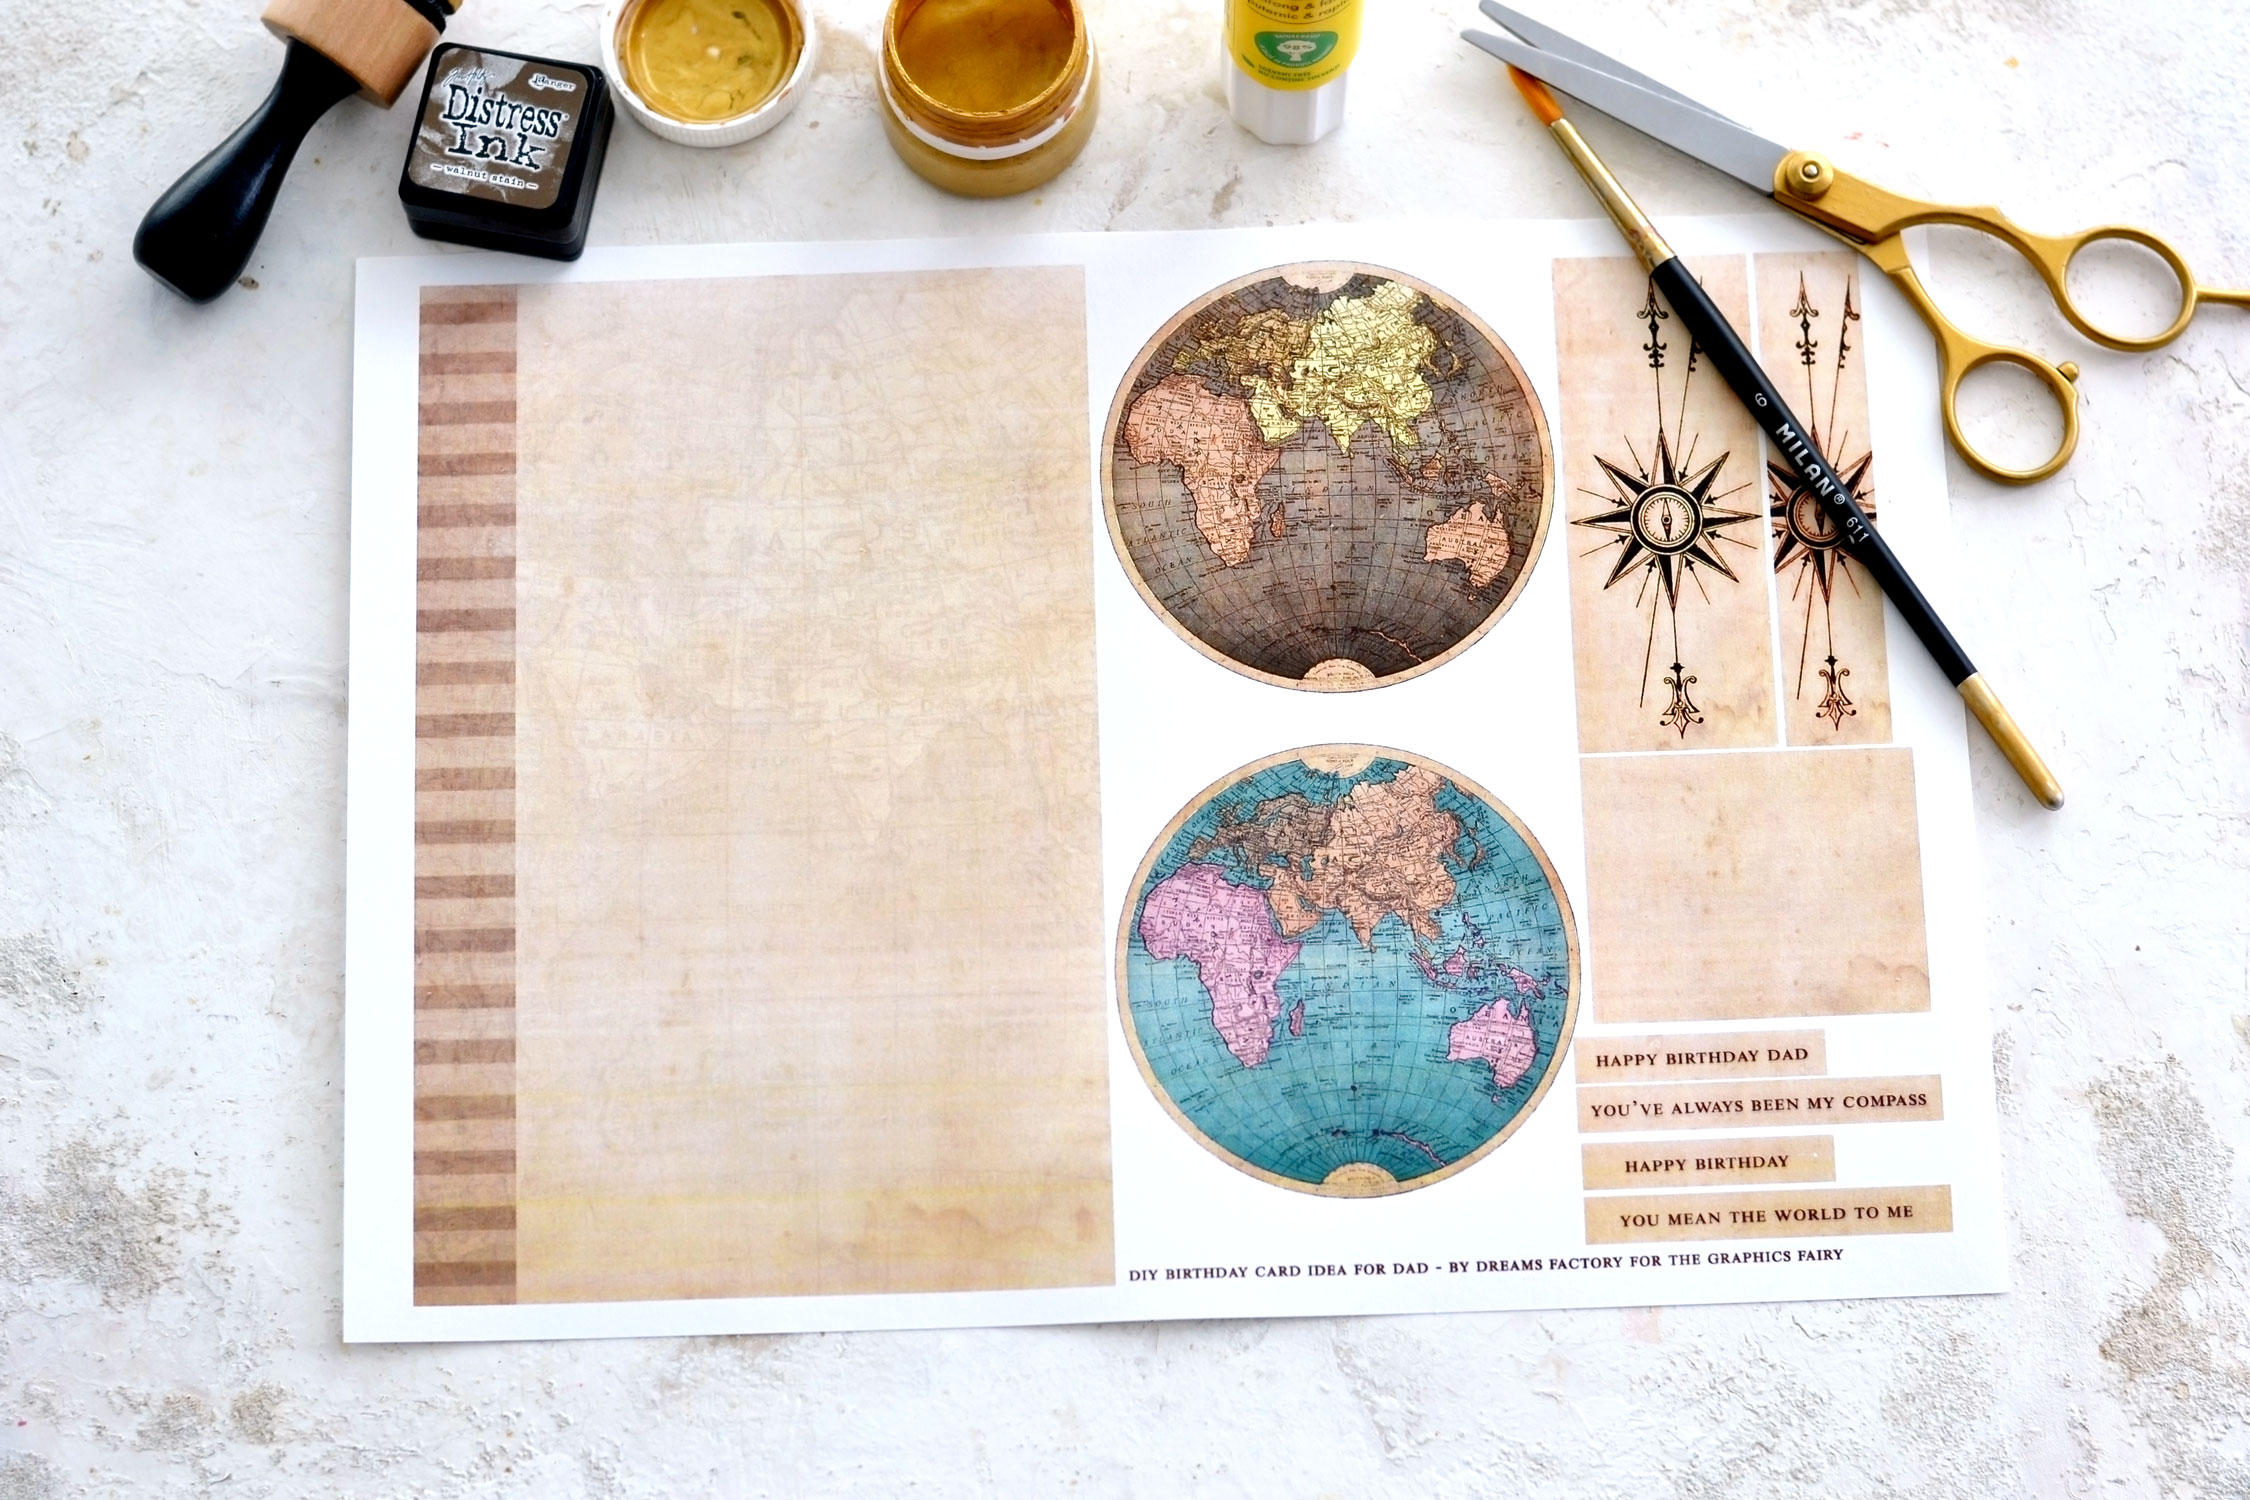
Supplies for Handmade Card Ideas for Dad:
- cardstock paper
- home printer
- scissors
- mini distress inks
- blending tool with foams
- Mod Podge or any other craft or paper glue
- bone folder
- gold watercolors or highly diluted gold acrylic paint or gold gouaches – you can use metallic gold, copper or bronze
- brush
Step by Step Tutorial:
The full detailed instructions are below. Hope you have lots of fun making this!
Start by cutting all the elements of our card. I usually can’t decide right from the beginning which I like the most, so I just cut and prepare them all at this stage.
Fold the base card in half using a bone folder or a scoring machine to get that perfect score.
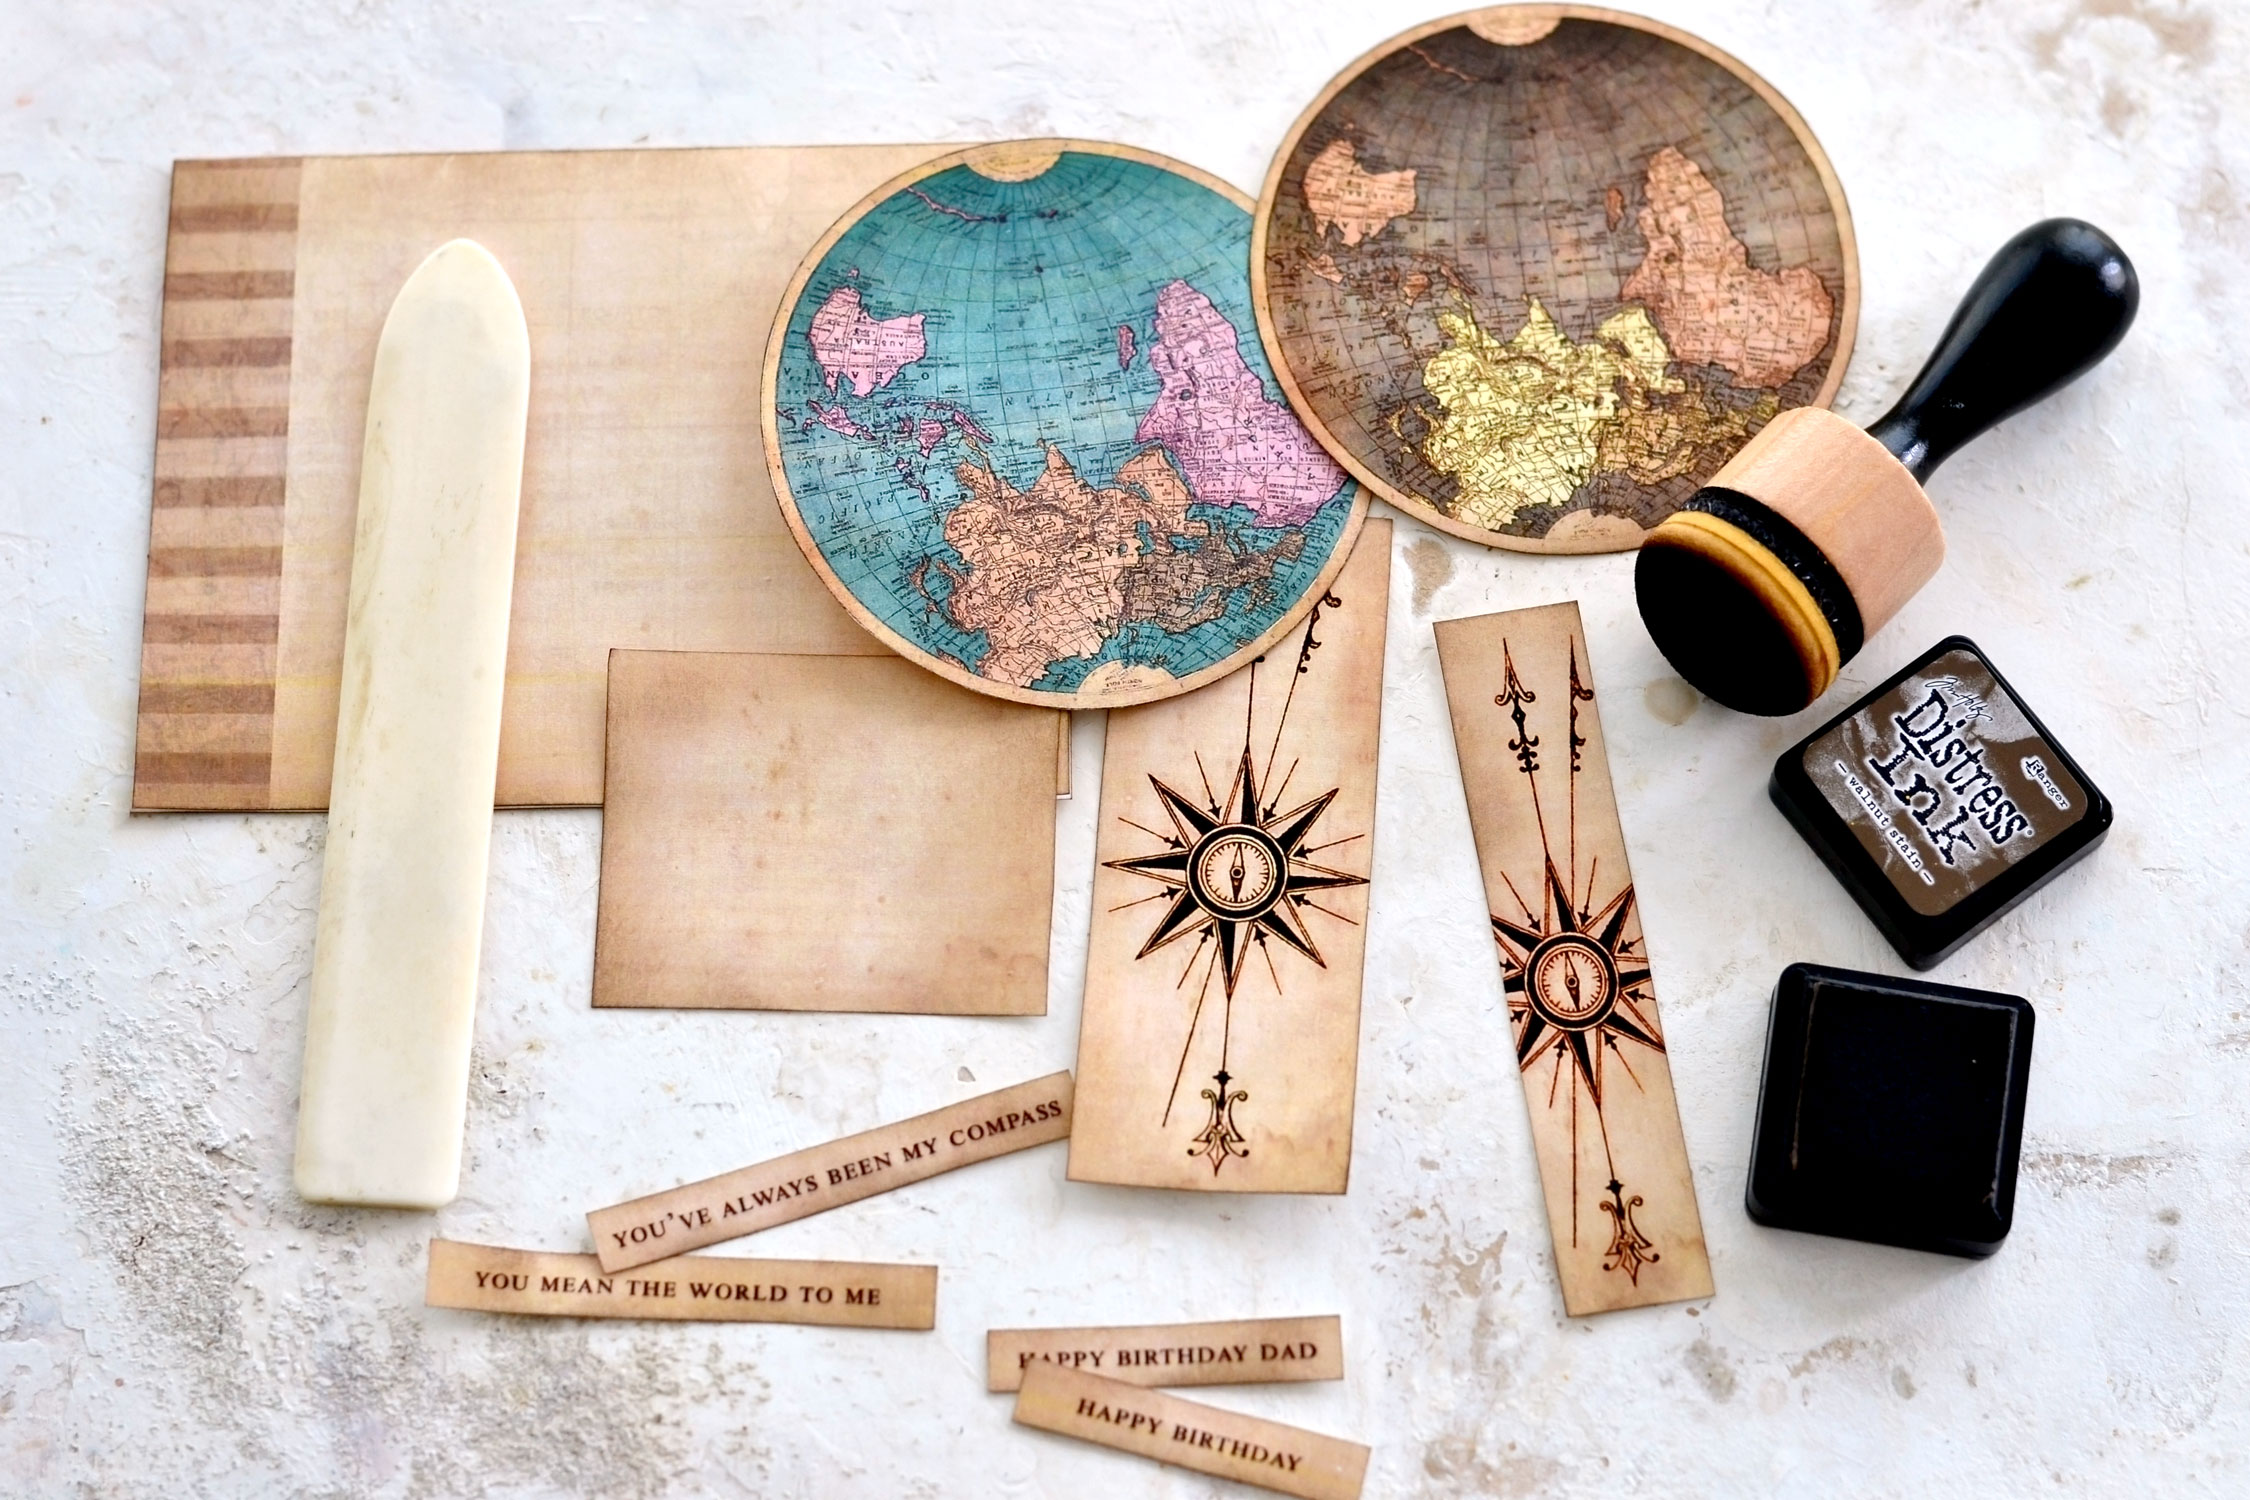
Use your favorite brown distress ink (I like using Walnut Stain) to distress the edges of all our elements. If you want to give the card a more colorful look, you can use other colors too. I think Peacock Feather has a lot of potential and would look great with our masculine card, especially if you decide to use the blue globe map!
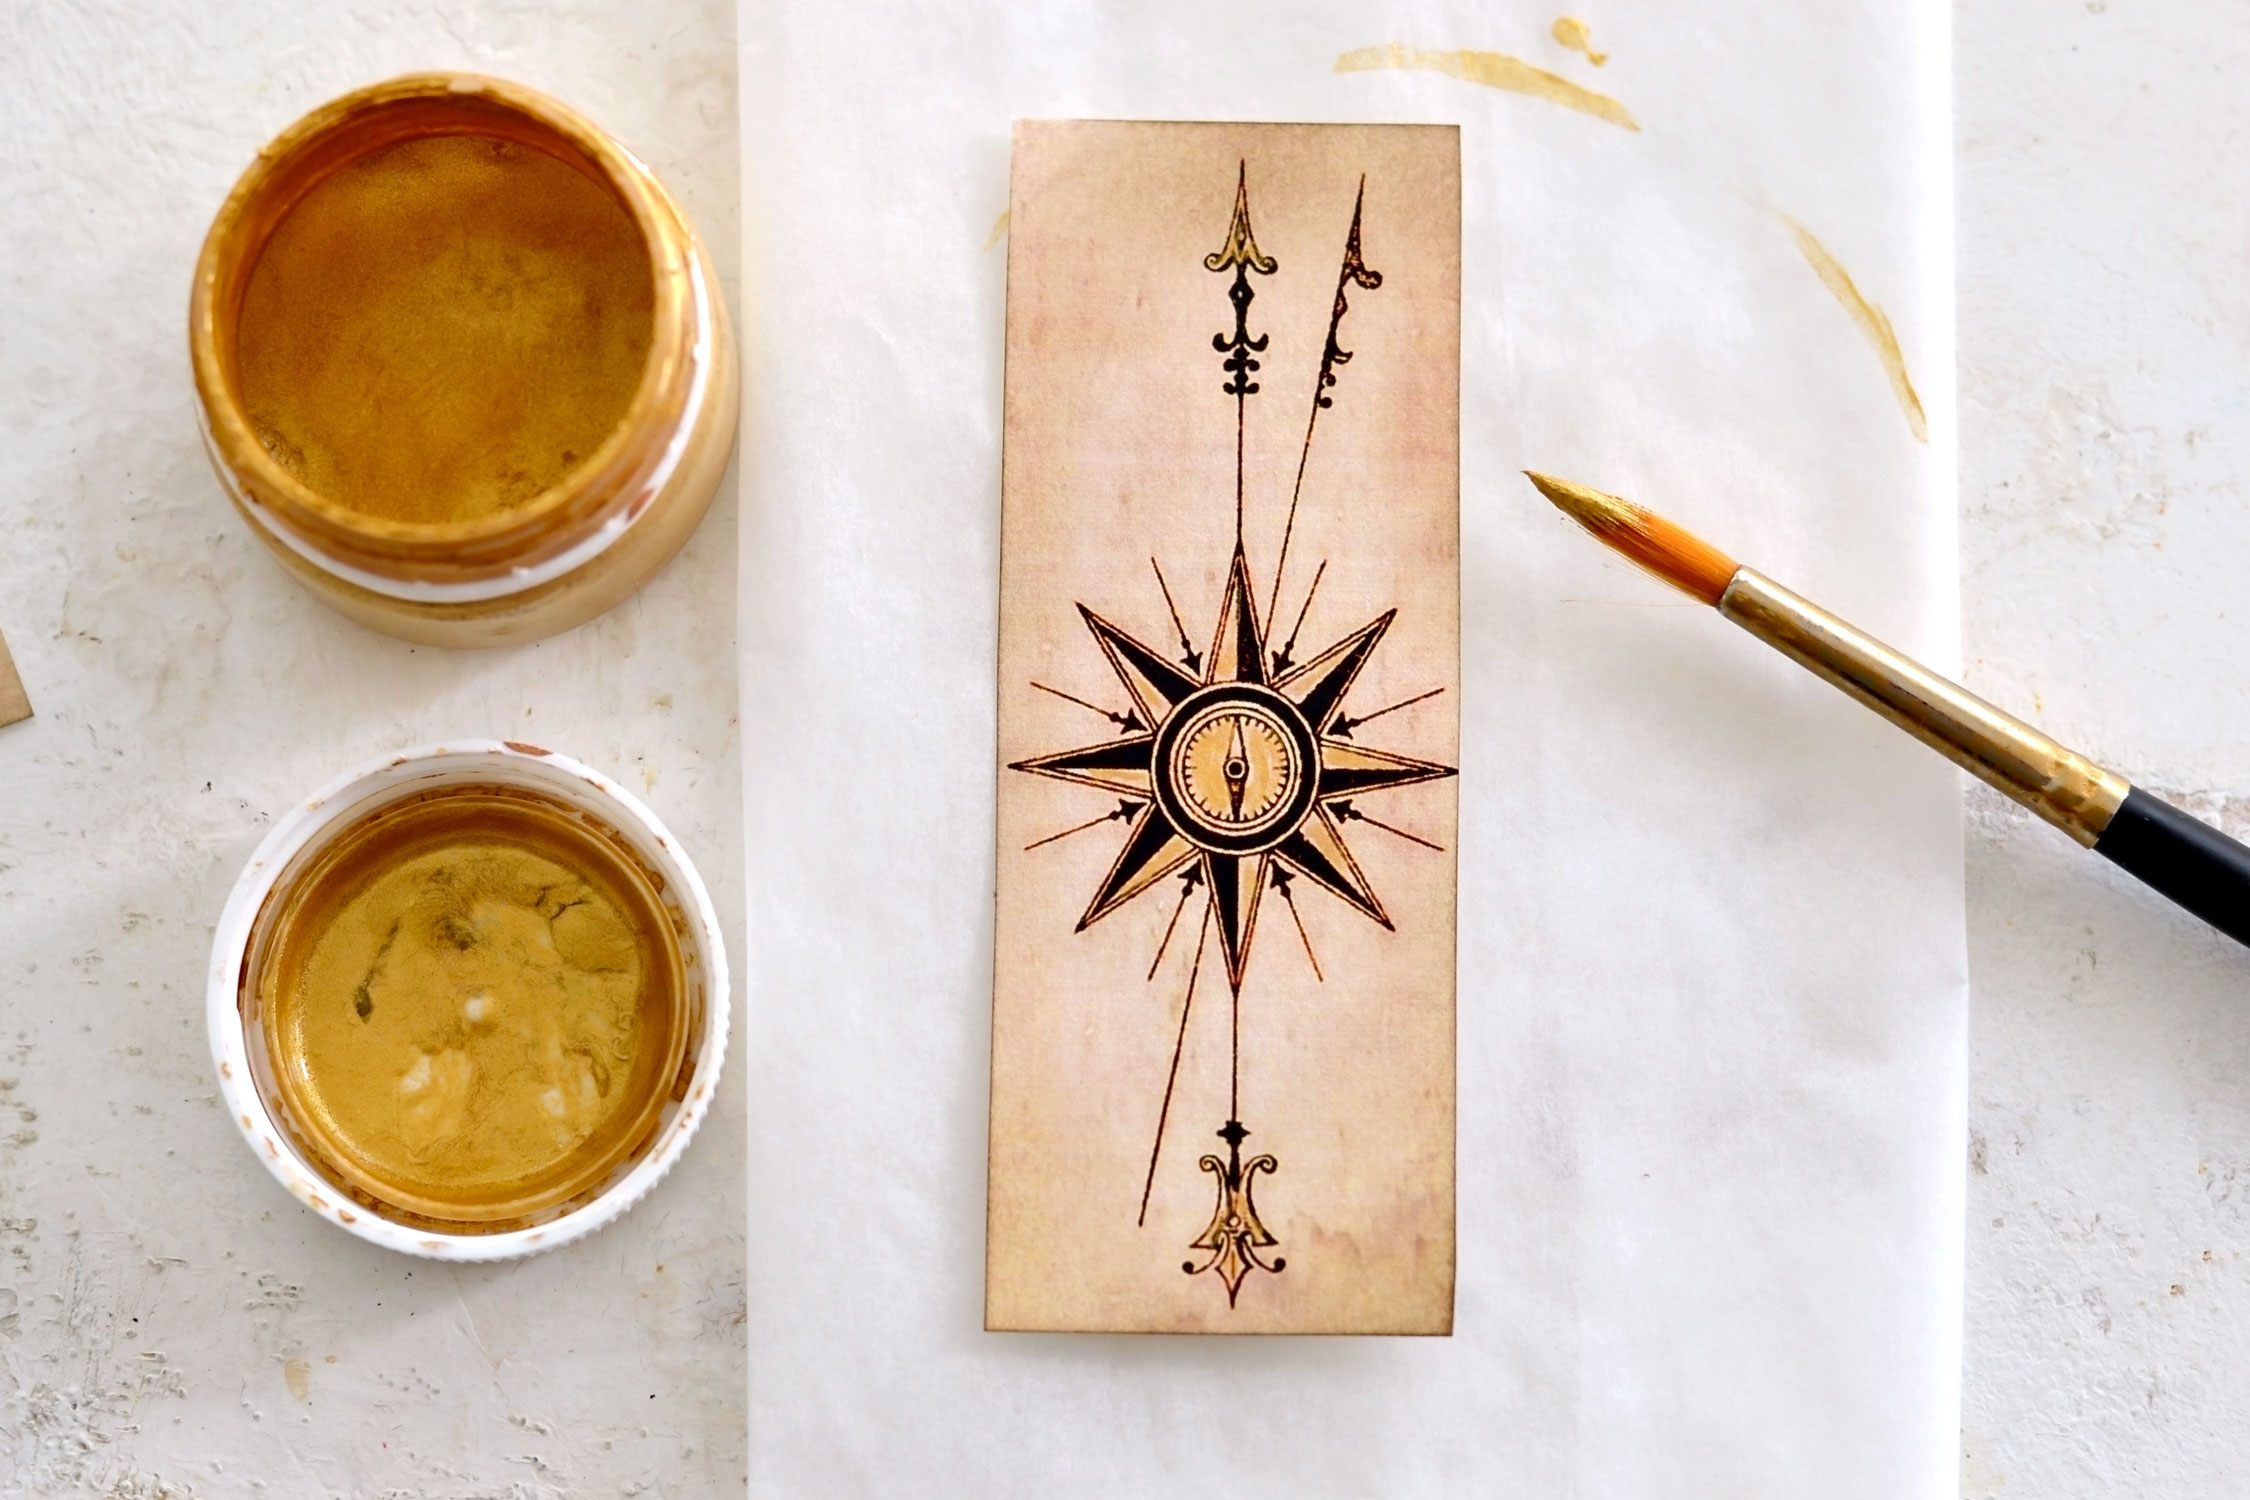
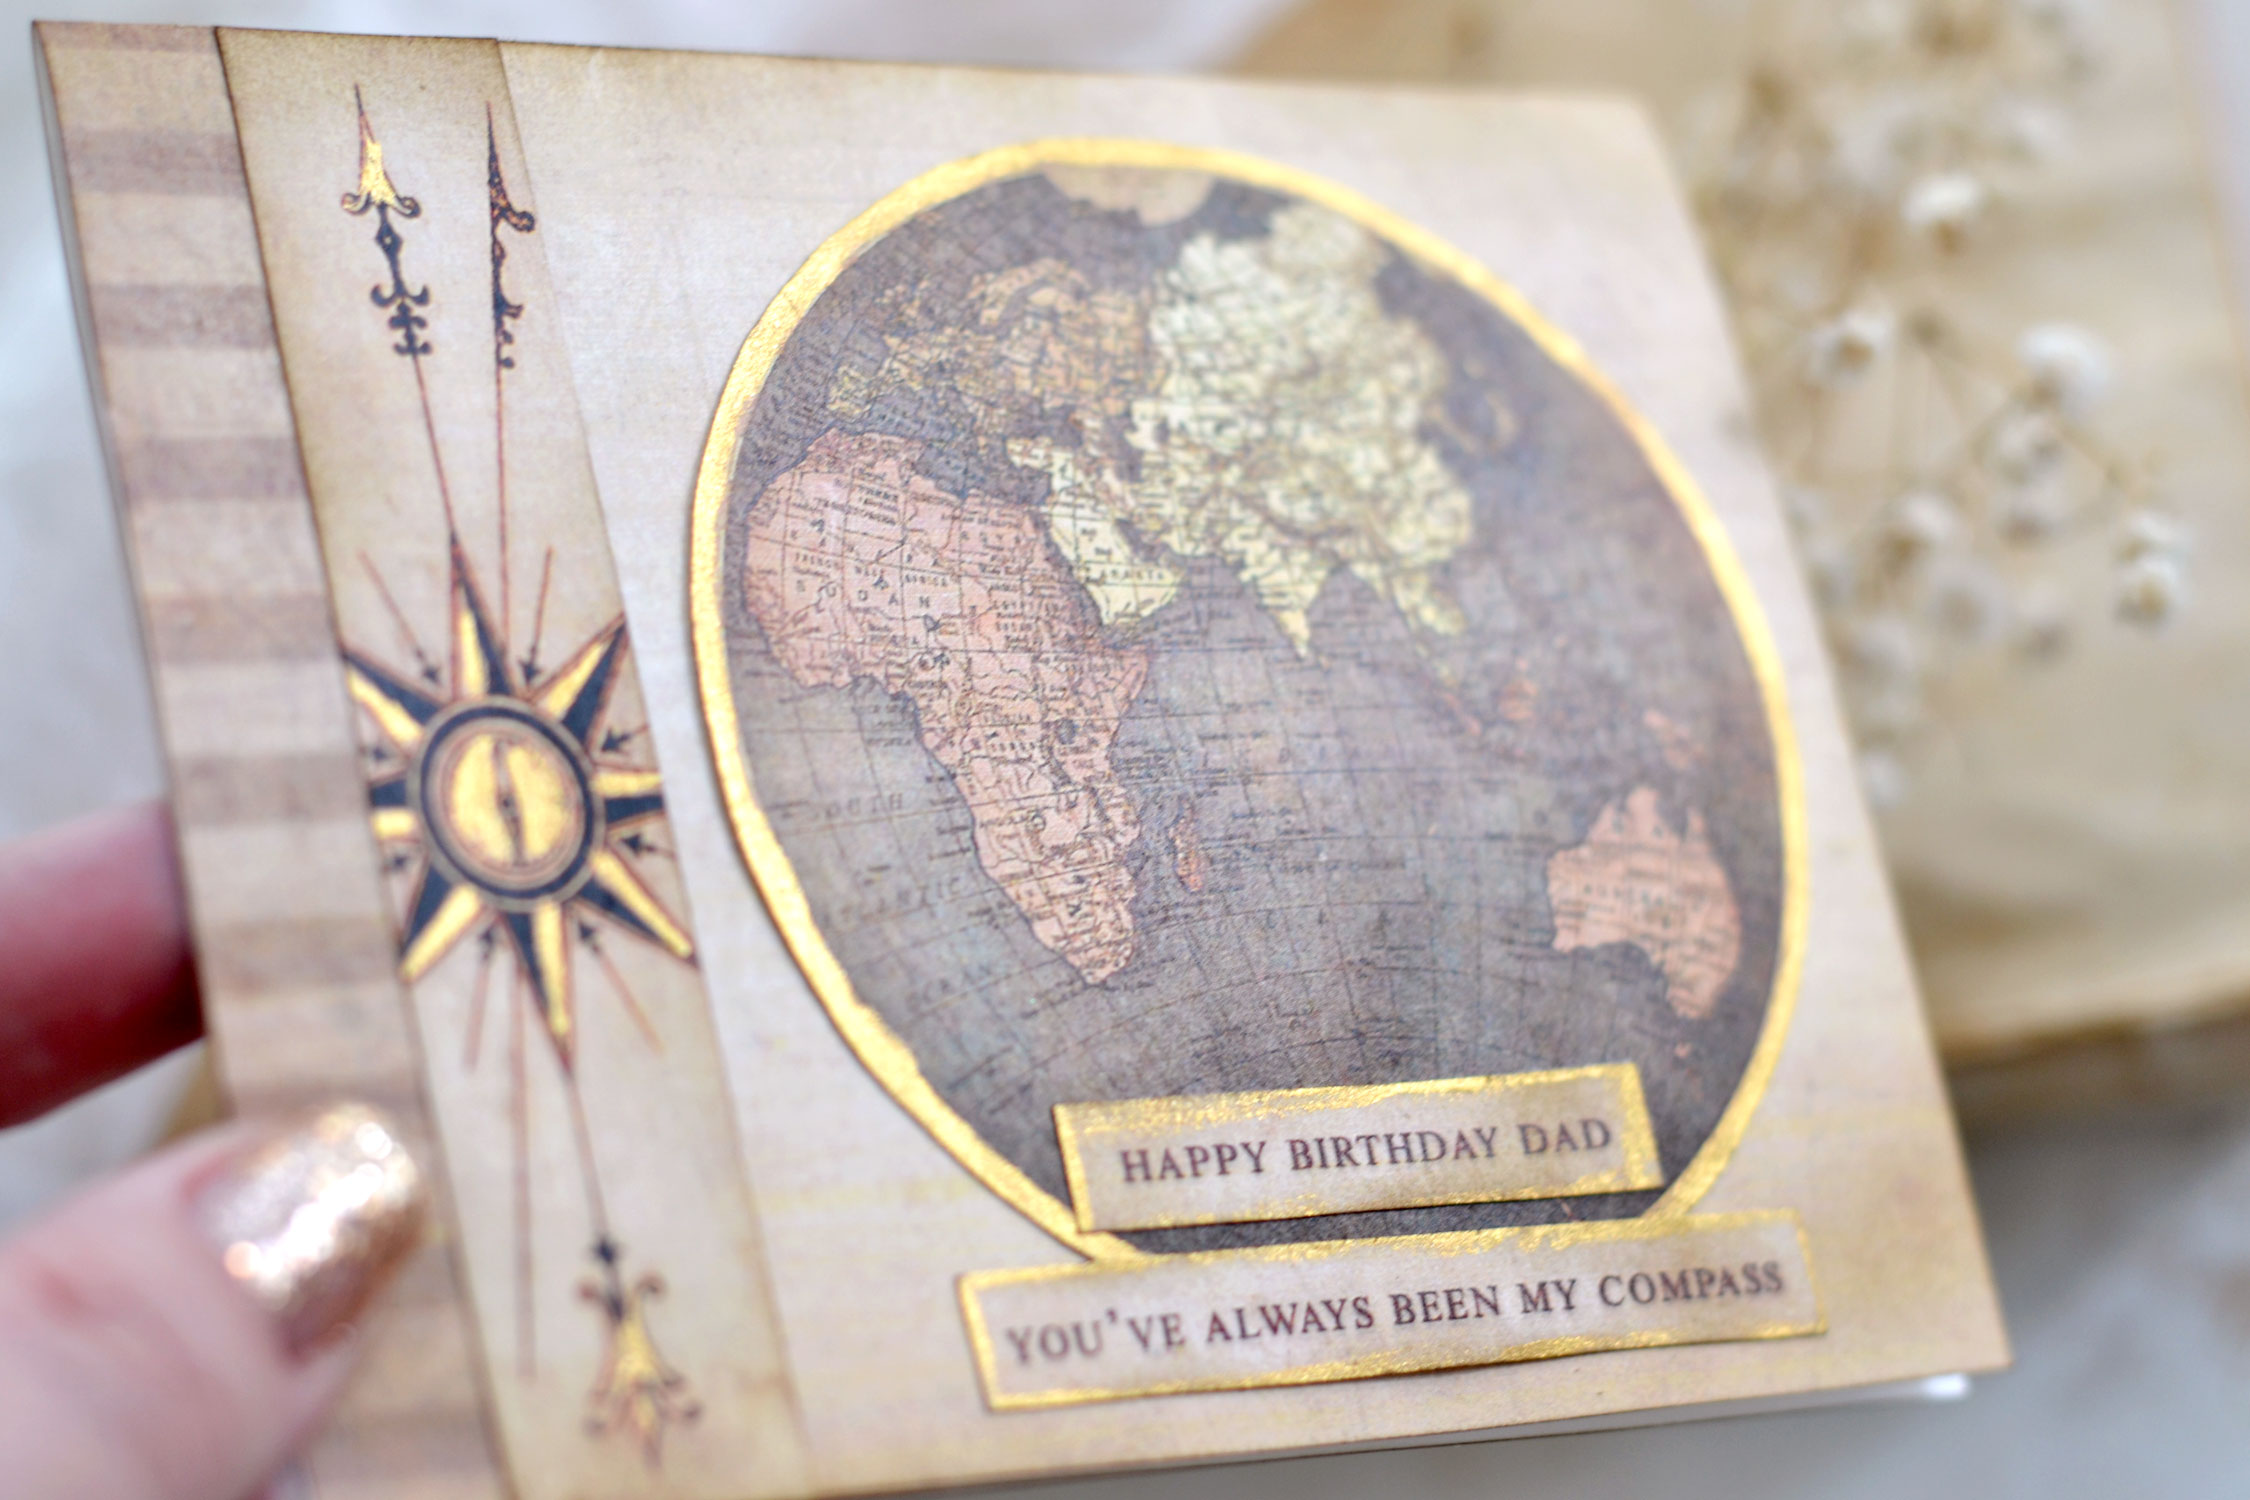
Use gold metallic paint (I went with gouaches) to paint the inside empty space of your compass. I only wanted to give the compass a gilded feel, but I didn’t want to completely cover the design, so I tried not to brush gold on the black printed elements.
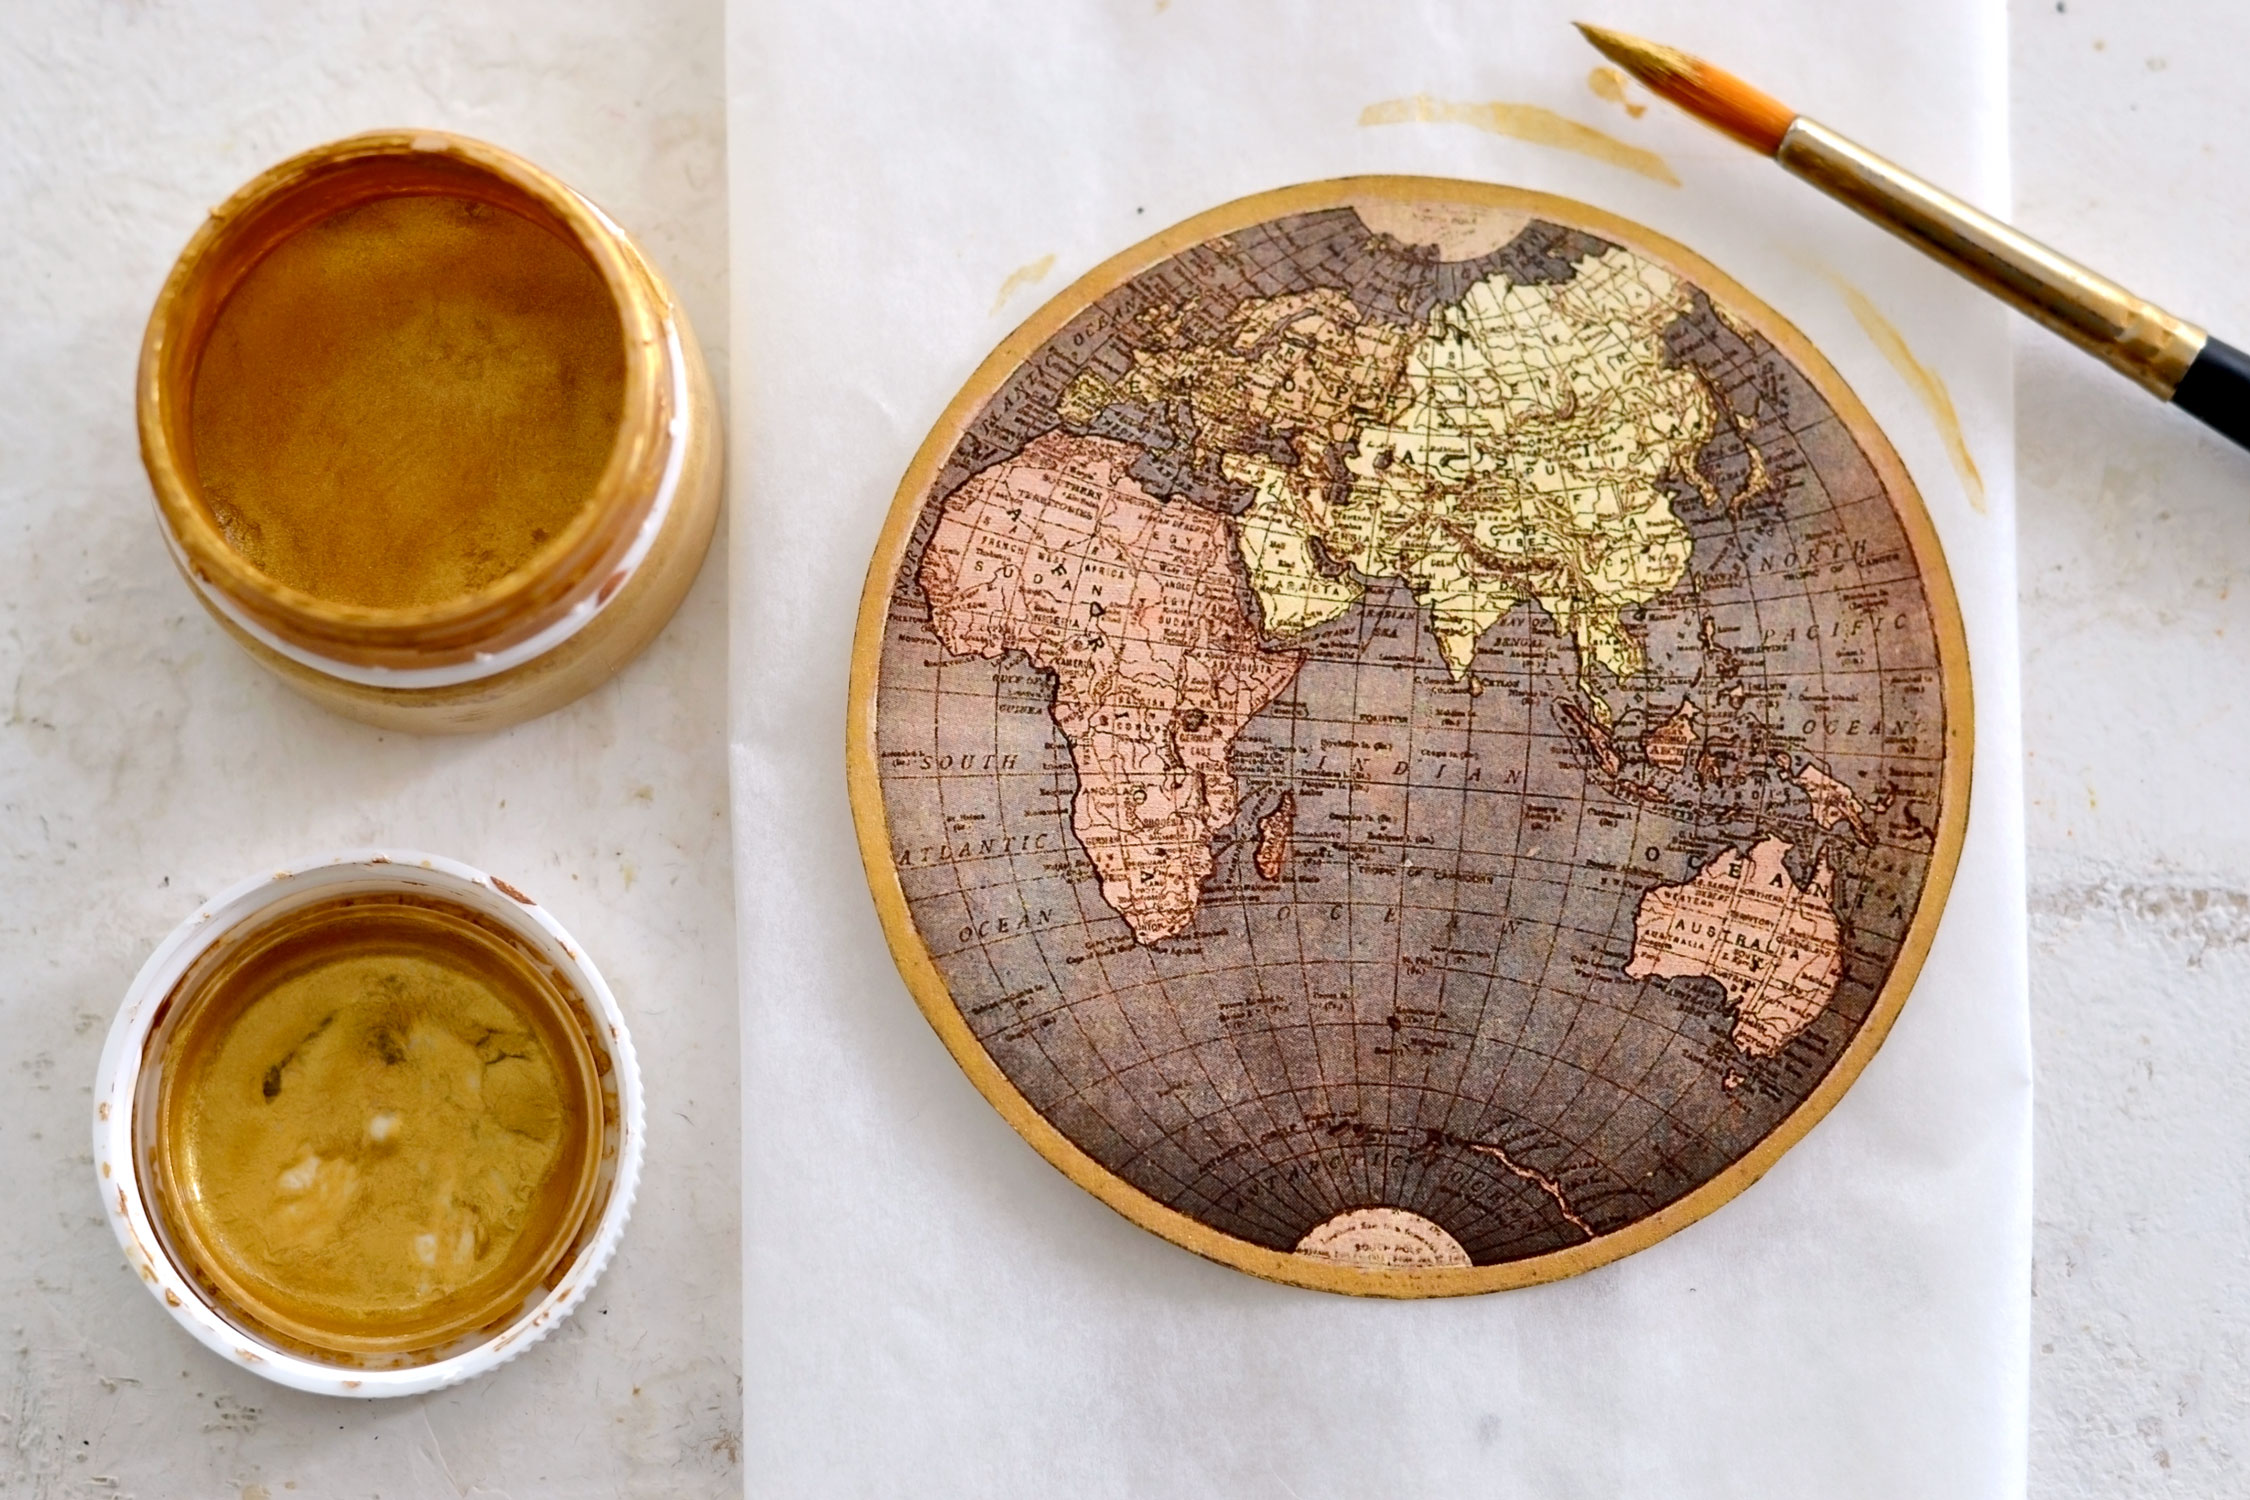
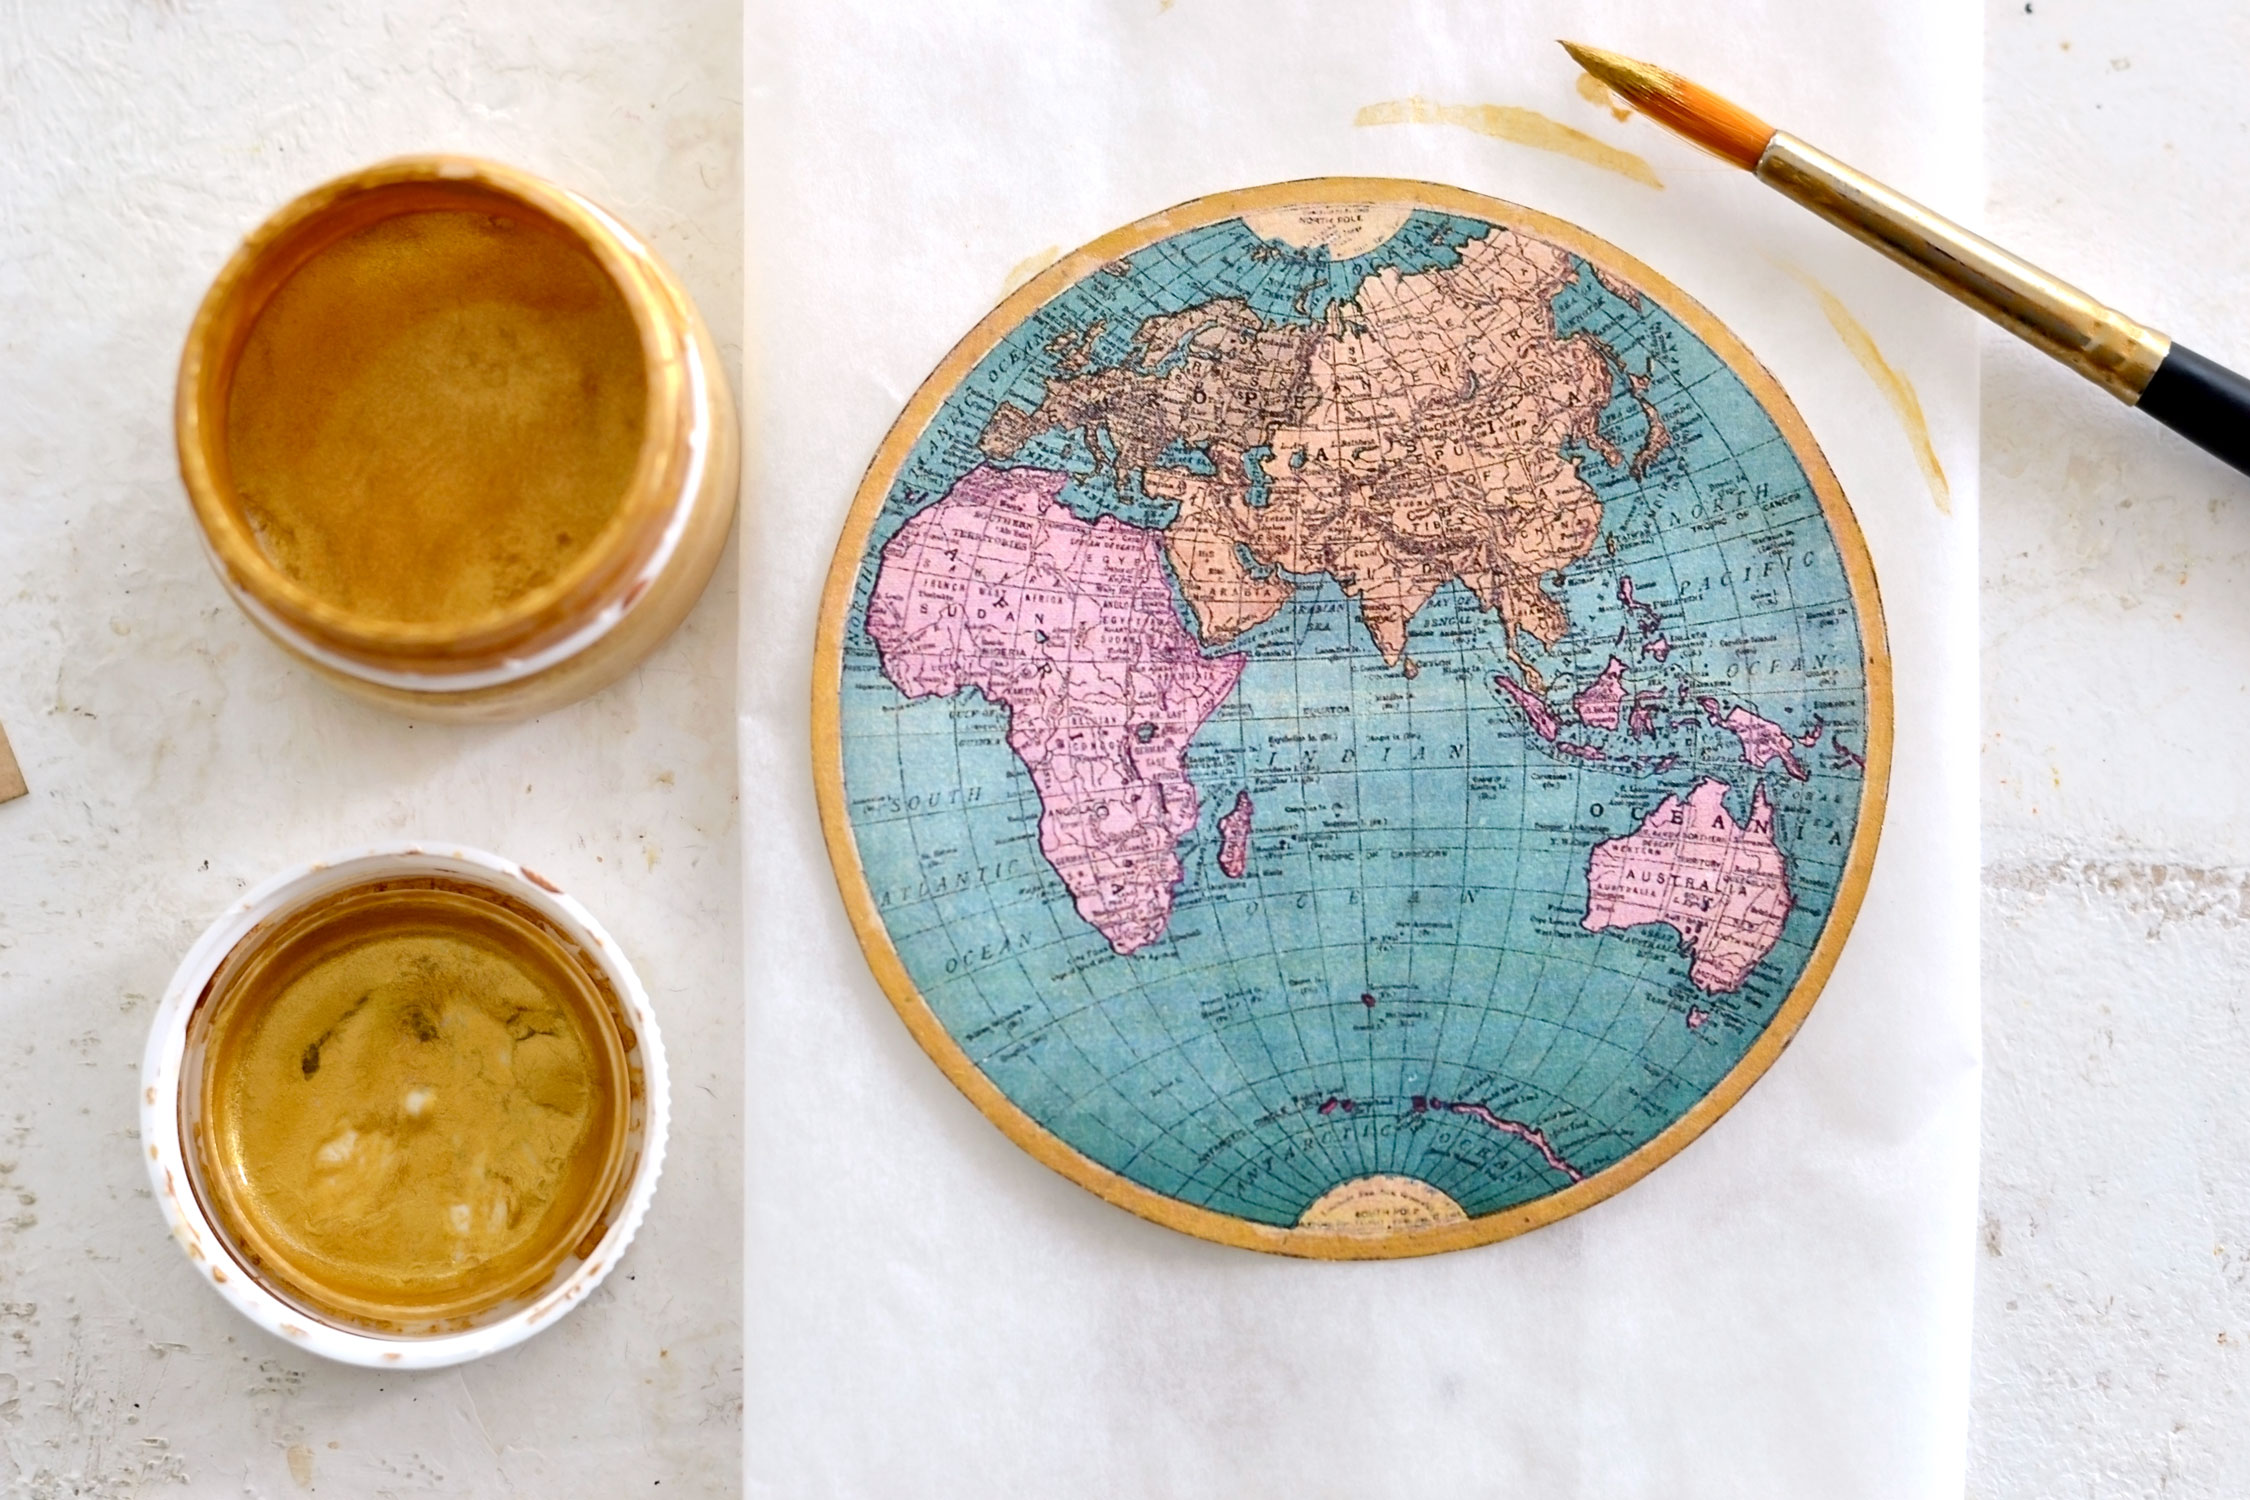
Use more of that beautiful gold paint to create a gilded edge around our vintage brown globe. Use a non-absorbant material like a plastic bag or a piece of teflon underneath (lately I love using scrap pieces of parchment paper) to protect your surface. I didn’t use any water because I wanted the gold to be intense and vibrant.
Do the same with your vintage blue globe.
You can also add some gold paint around the birthday wishes elements if you want.
When the paint is dry, you can go all over the gilded edges again with more distress ink, just to give our elements more depth.
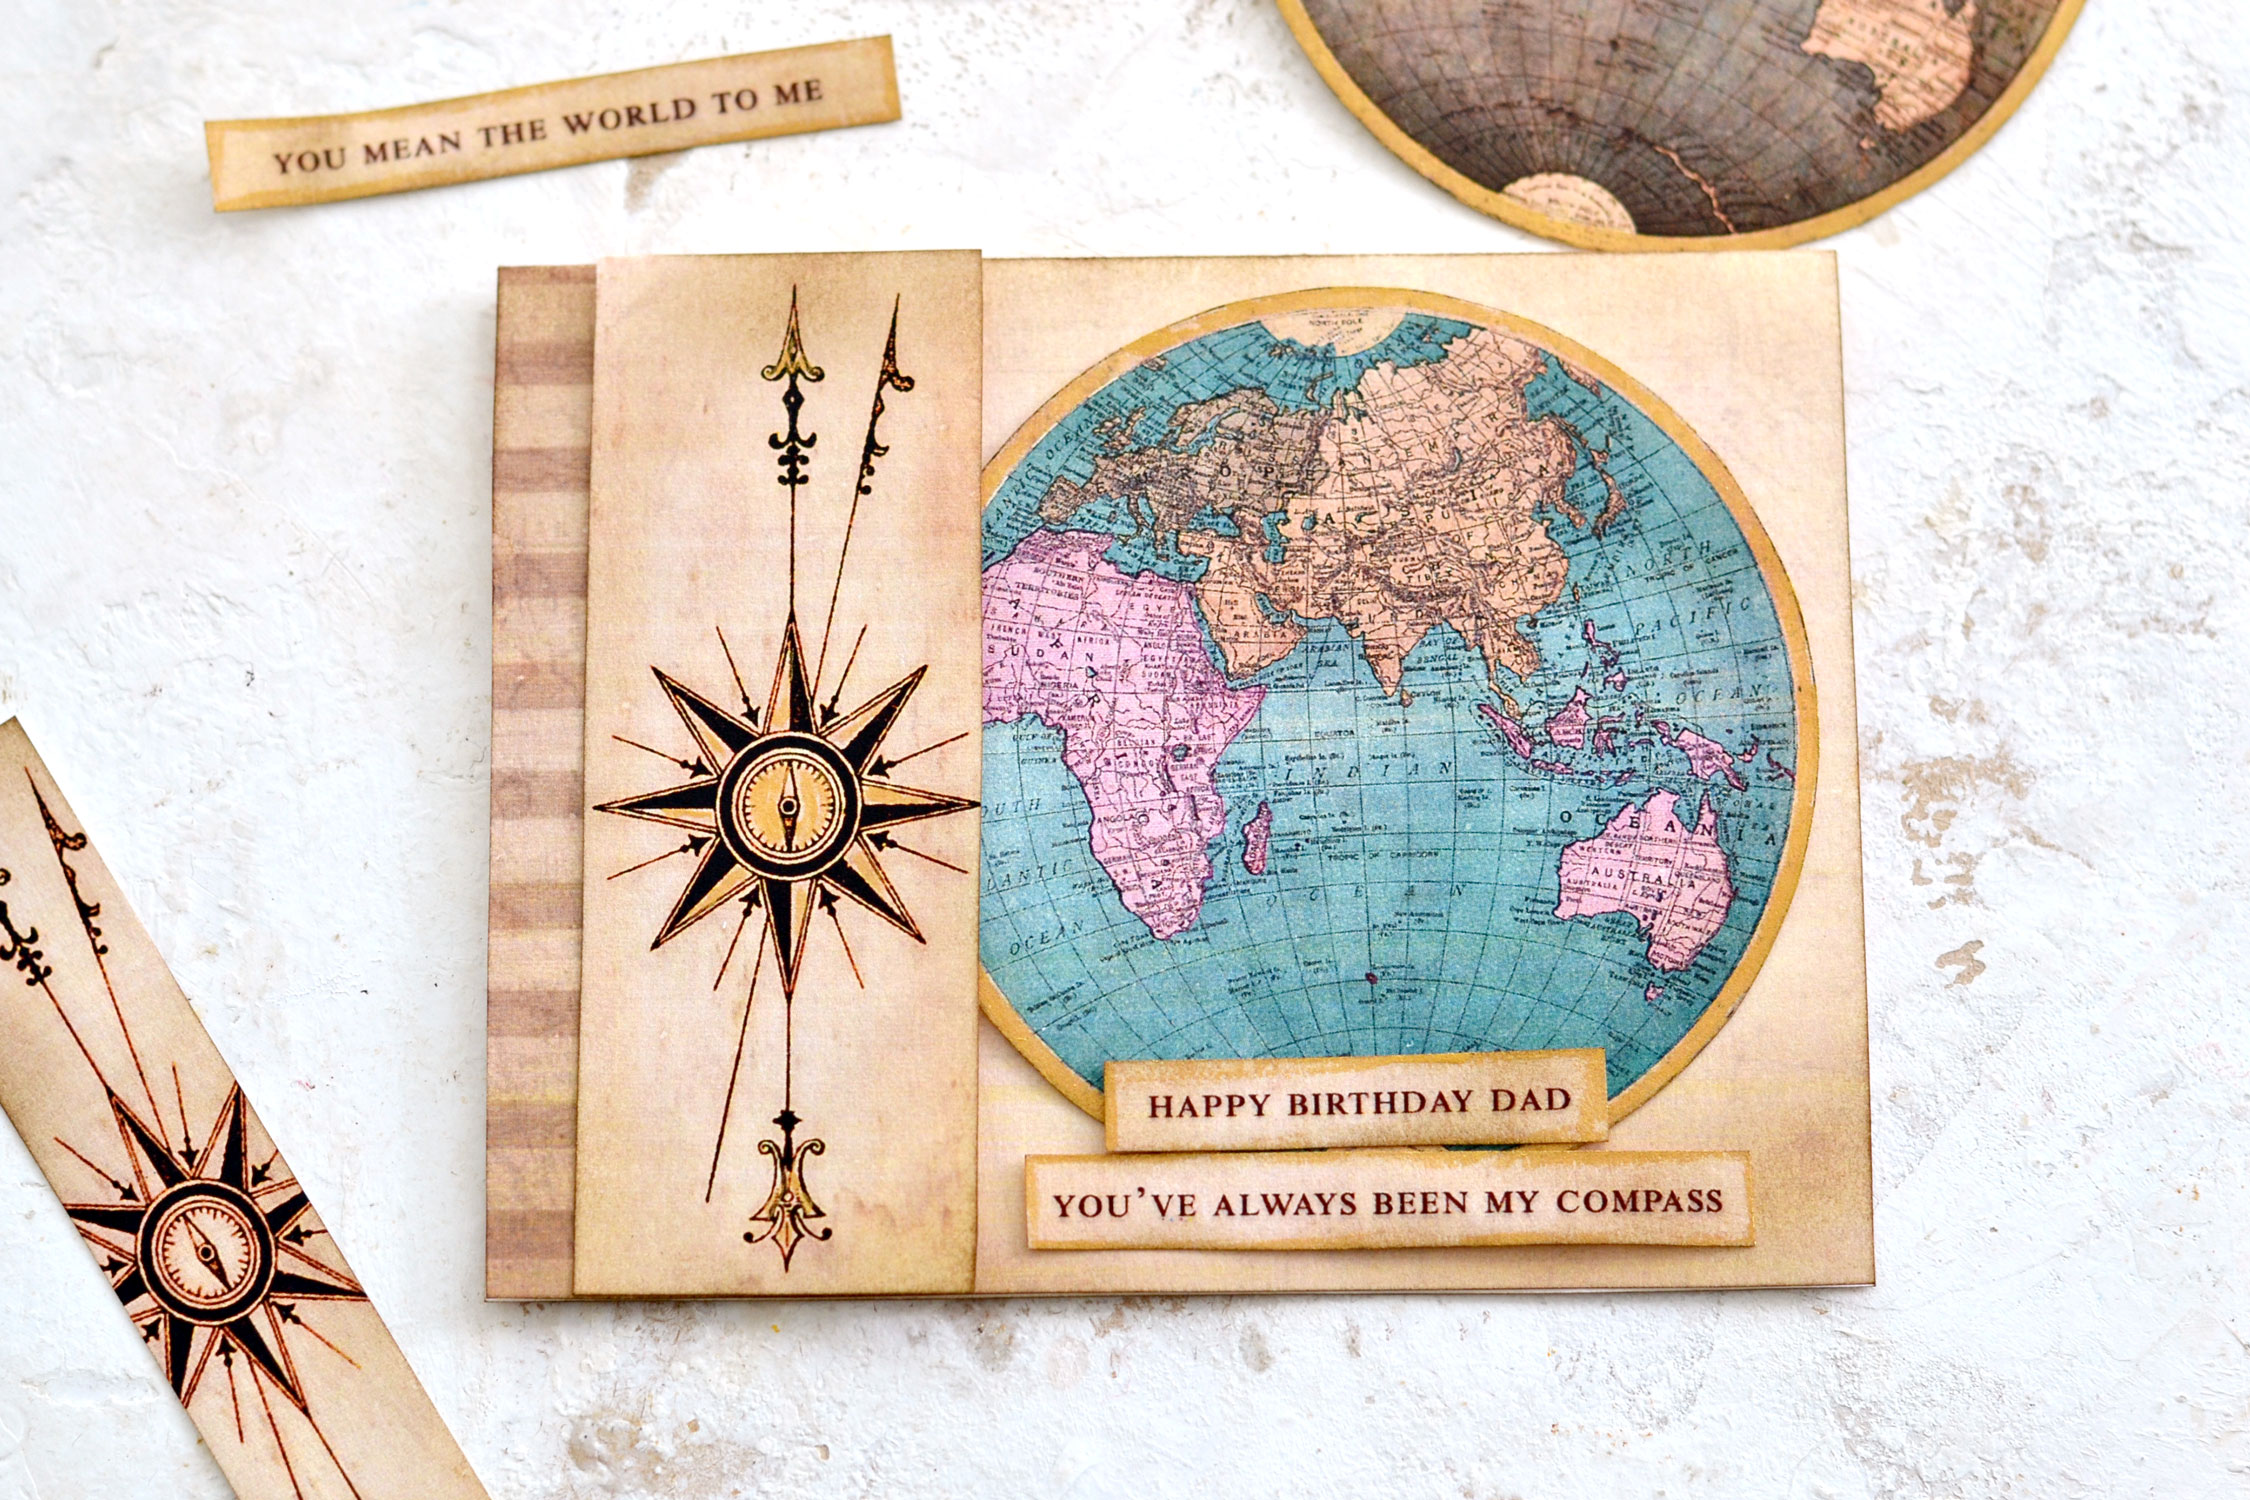
You can now decide which elements, or sentimentality, you want to use with your birthday card for dad! I like to temporarily place the elements on the card first, without gluing them, just so I can get a sense of how the final card will look.
You can mix things and experiment as much as you want, you can even decide to use some of the elements on the inside of your card!
When you are happy with how everything looks together, you can glue the elements in place. I like going with a little bit more of that brown distress ink around the edges one more time so that all the elements look more cohesive and put together.
You can keep the extra globe map close by, just in case you’ll need it for another card-making session.
Or maybe you’ll decide you love it like crazy and you just NEED to find it a place in your new travel journal.
Either way is fine! (wink, wink)
Your card is now ready! If you want, you can add other vintage embellishments, but I actually love it this way. It’s so easy to make, but also so powerful as a final piece! The concept behind it with all the images and the messages gives it a lot of depth, while also making it truly unique!
And let’s not forget the chic golden details that make the card stand out and look even more beautiful and intriguing!
I hope you will give these handmade birthday card ideas for Dad and try and make a lovely homemade card for your father or Step father or even for a Grandpa! Don’t forget to write your personal thoughts inside and show your love, I’m sure your dad will appreciate the intention and the handmade idea behind it! It makes for a wonderful gift.
 For more hand-made cute card tutorials check out the diy Pop out Birthday Card Tutorial HERE. The best ideas are always homemade!
Happy crafting,
Diana | Dreams Factory



Anita Simpson says
I absolutely love this project! I can’t wait until Father’s Day to give this card to my dad. Thank you!
Karen Watson says
Have fun using Diana’s wonderful card kit for your Dad Anita!
SALLY DHONDT says
Perfect card for dad, thank you so much!
Karen Watson says
Yay! Have fun making this masculine card Sally.