How to Make Faux Glassine Bags
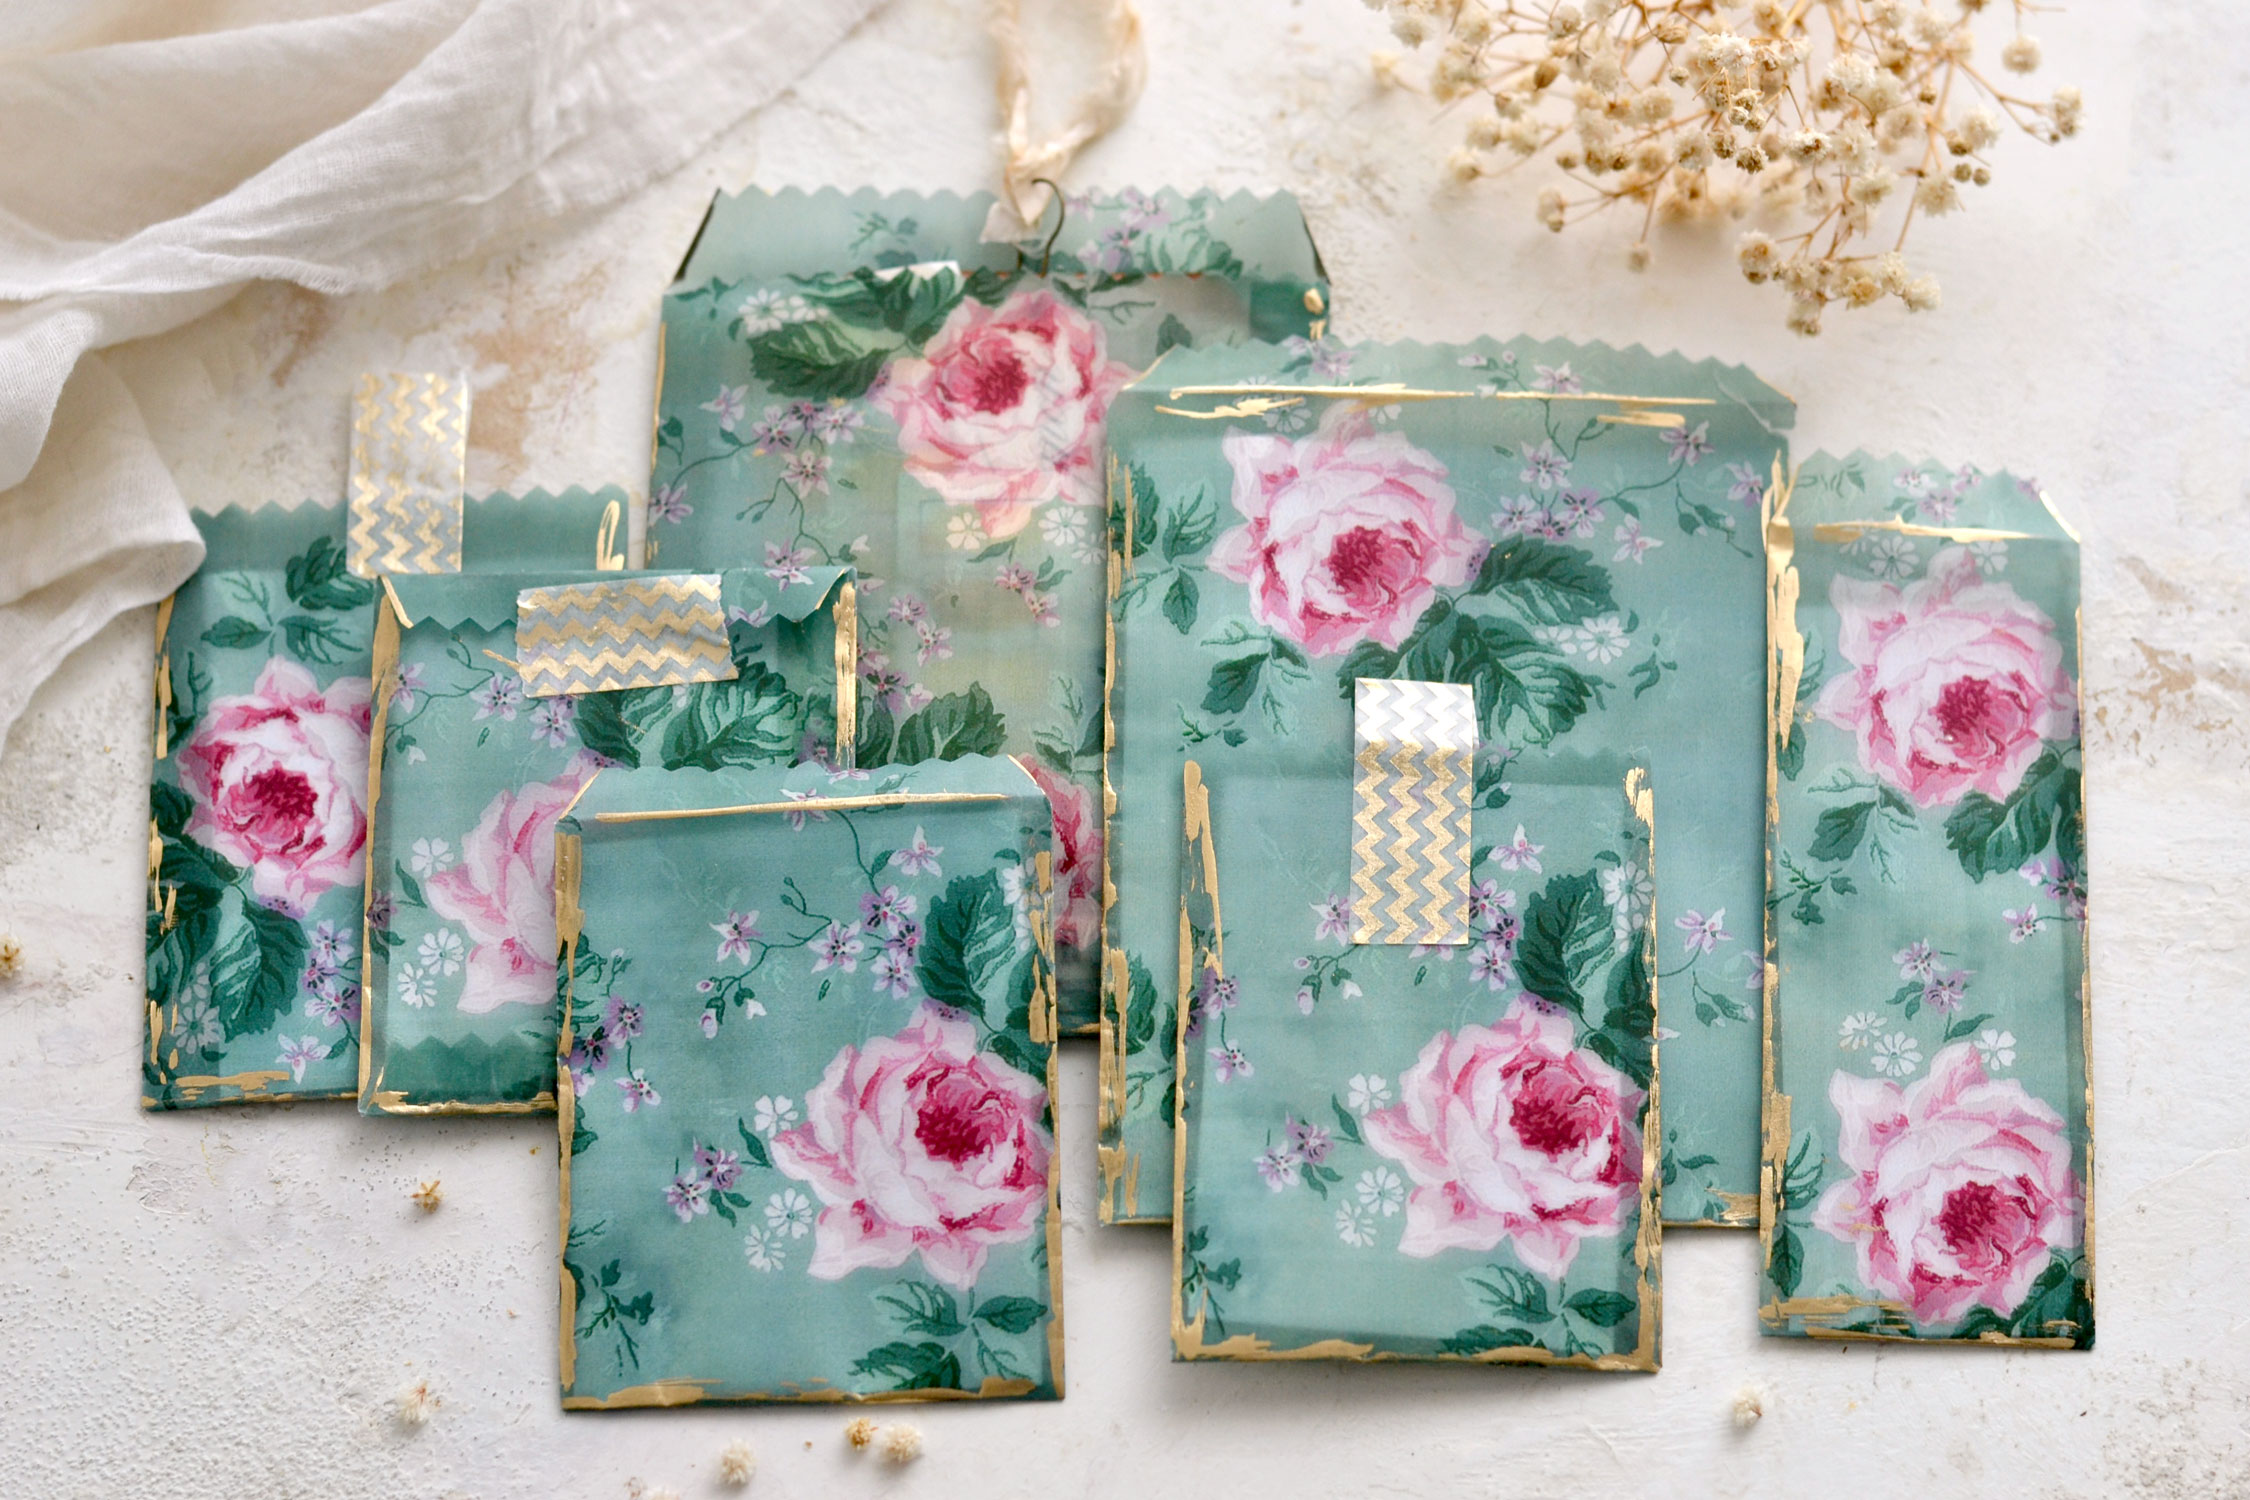
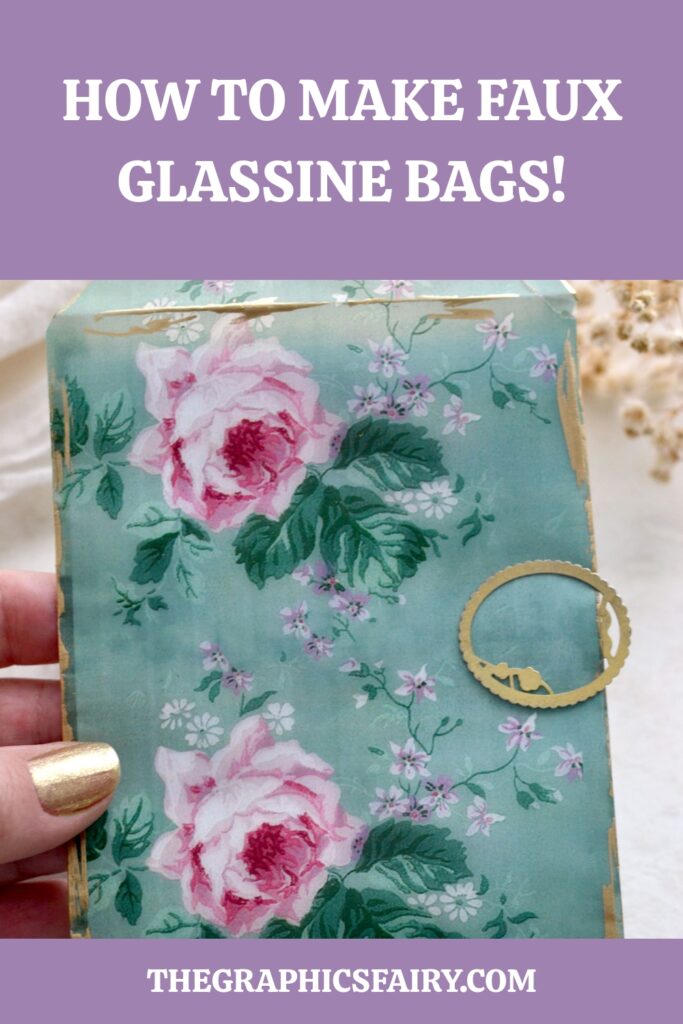
Hello Graphics Fairy friends! I’m Diana from Dreams Factory and I’m happy to be here once again to share another DIY project with you! Today I will show you how to make these absolutely gorgeous faux glassine bags using a special type of paper that will mimic the real deal pretty closely. I used a wallpaper image with a green background and pink Shabby roses to create the design for the bags and I’m sharing the free printable with you, so you can make these beauties in no time!
The special type of paper that we will be using to create this lovely project is …have you guessed it? It’s tracing paper! You will be amazed to see how much they look like real glassine bags, but also how they feel, once you hold them in your hand.
I’ve always loved the sheerness and delicacy tracing paper usually brings to a project, so I would say that it perfectly complements our gorgeous wallpaper design and turns these faux glassine bags into truly unique final pieces!
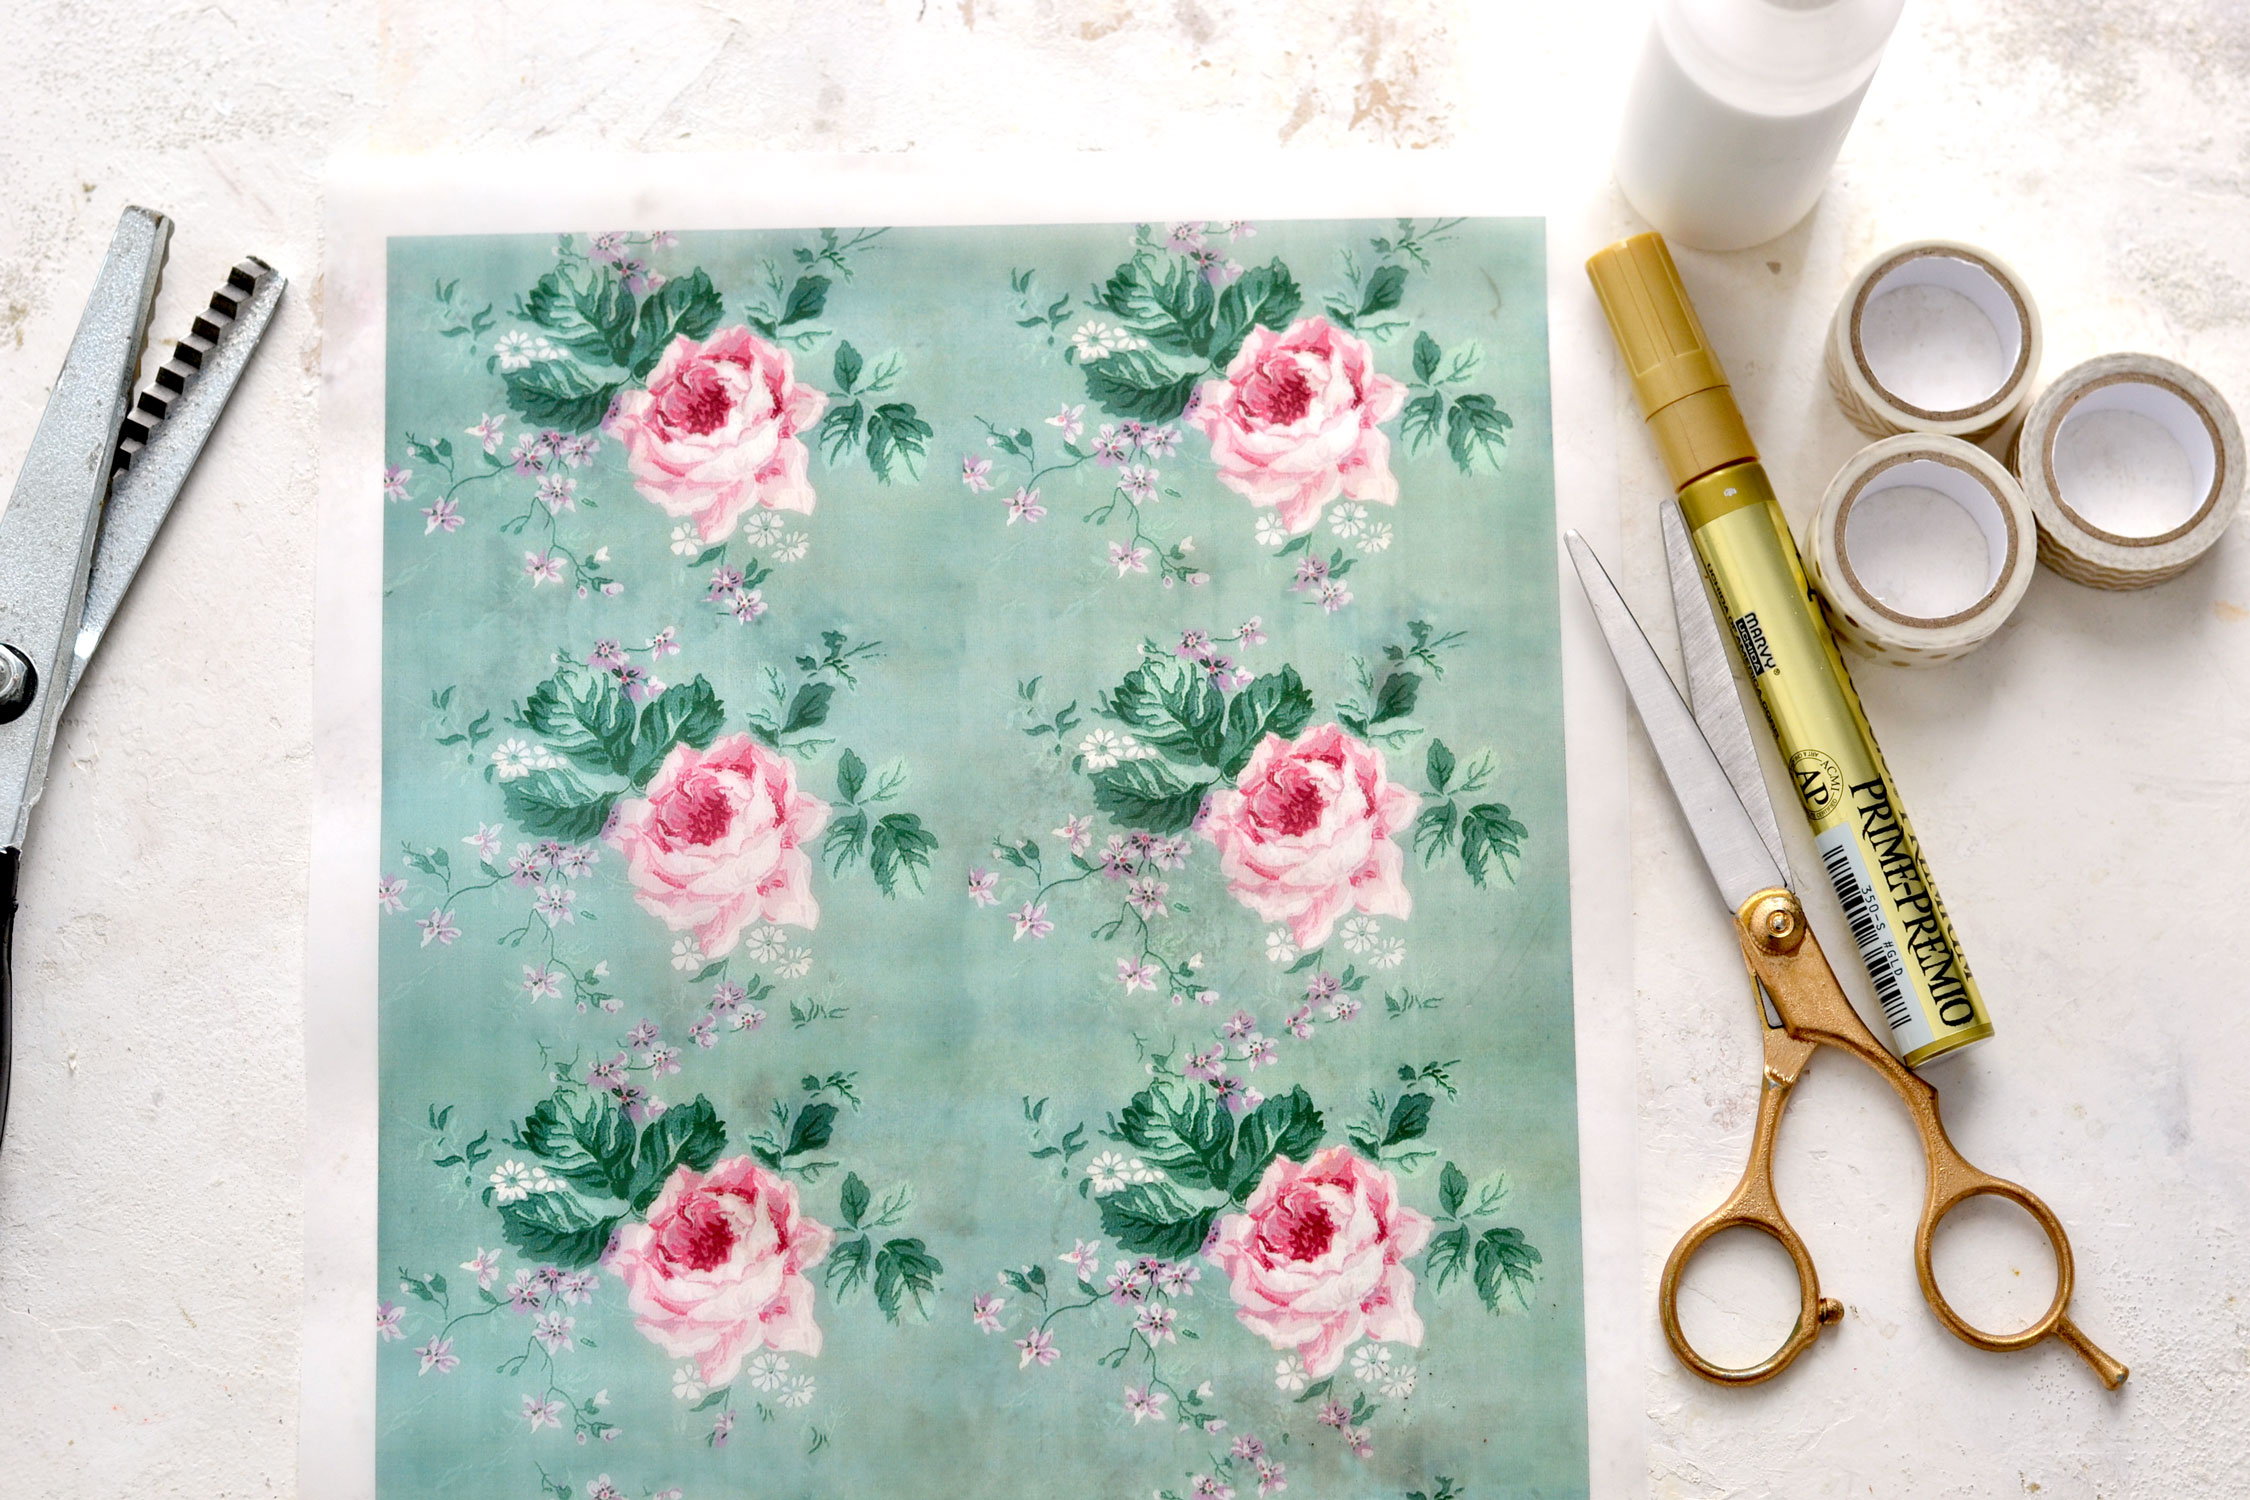
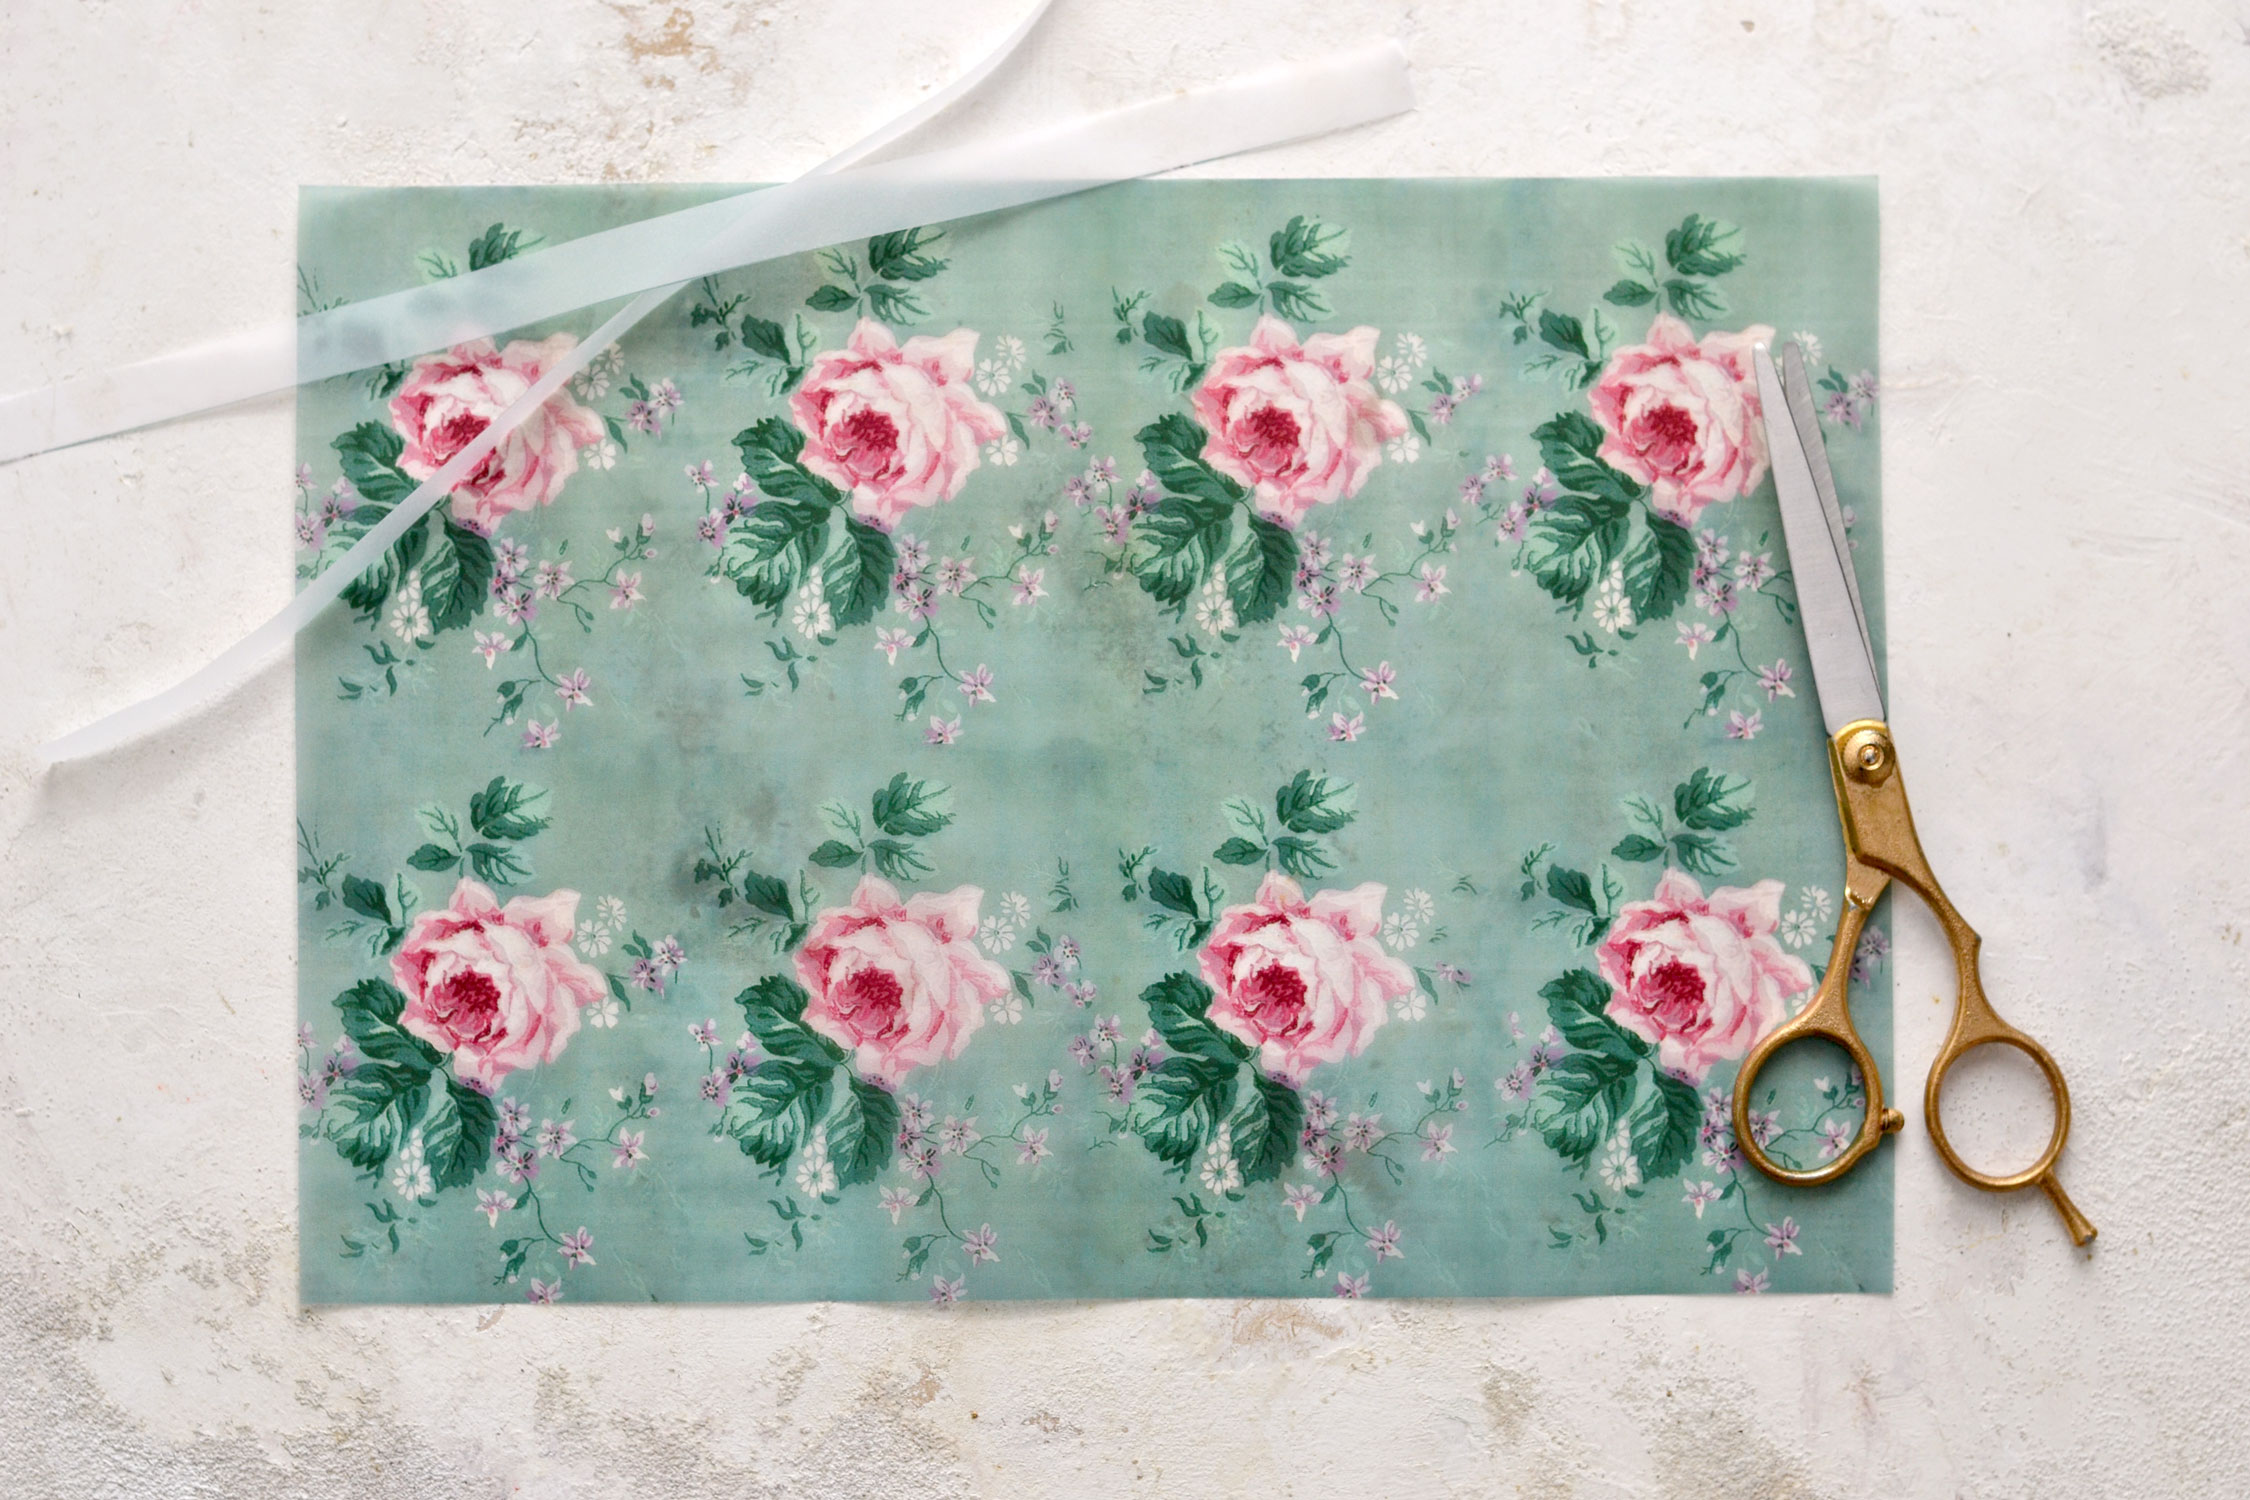
Here is the printable that I created for you, just print it on tracing paper as many times as you want to create as many bags as you want! You will be able to make:
- 1 large bag if you keep the paper as it is
- 2 medium bags if you cut the paper in half
- 4 small bags if you cut the paper in quarters
Free Printable:
—-> Click HERE to Download the Full Size Printable PDF <—-
Supply List for Faux Glassine Bags:
- tracing paper
- home printer
- scissors
- pinking shears or decorative edge scissors
- Mod Podge, paper glue stick or double-sided tape
- gold washi tape (optional)
As you can see, the supply list is quite short today, we only need a few items for our lovely project!
I will share quite a few step-by-step images but not because the process is complicated, no, nothing like that, it’s actually quite the opposite! I just wanted to make sure you get a detailed view of all the steps, so you can make these beauties in no time!
Step by Step Tutorial:
I would say that all this cutting and folding will make the whole glassine bag process quite relaxing, but also rewarding! And once you know how to make one, you can make as many as you want, whenever you need! So let’s get started!
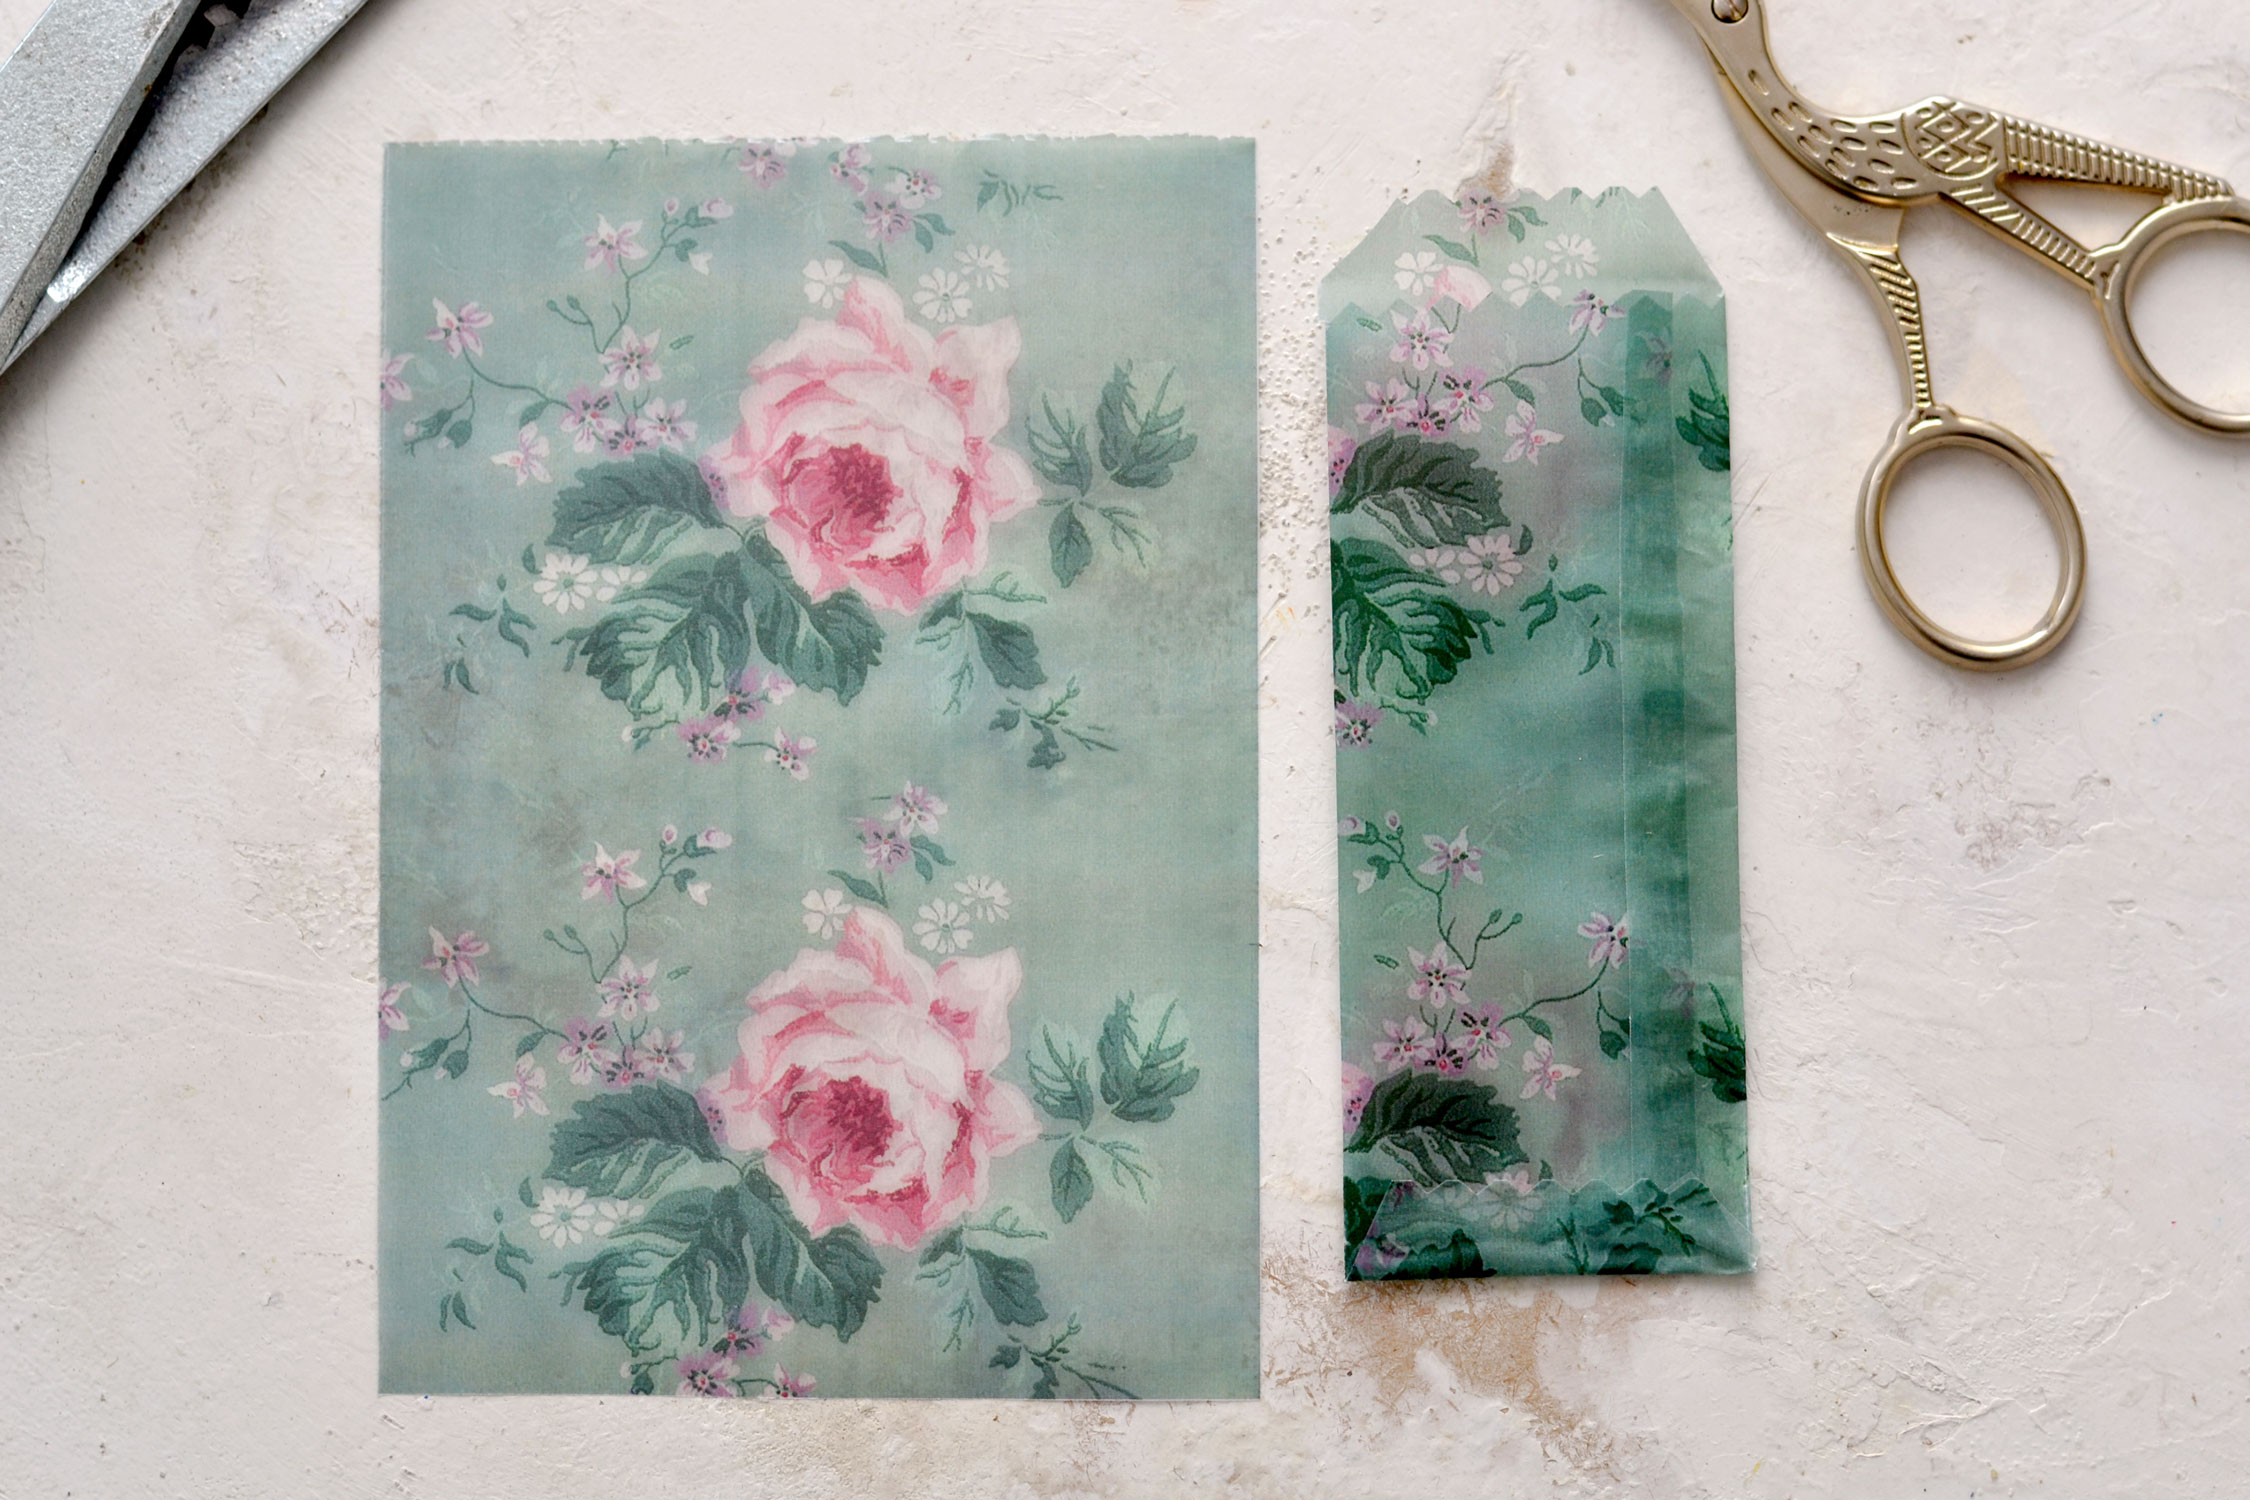
Print your printable on precut tracing paper. I have a tracing paper pad and I tear one sheet when I need it and just feed it through my printer. Use your scissors to remove the excess white paper around the edges.
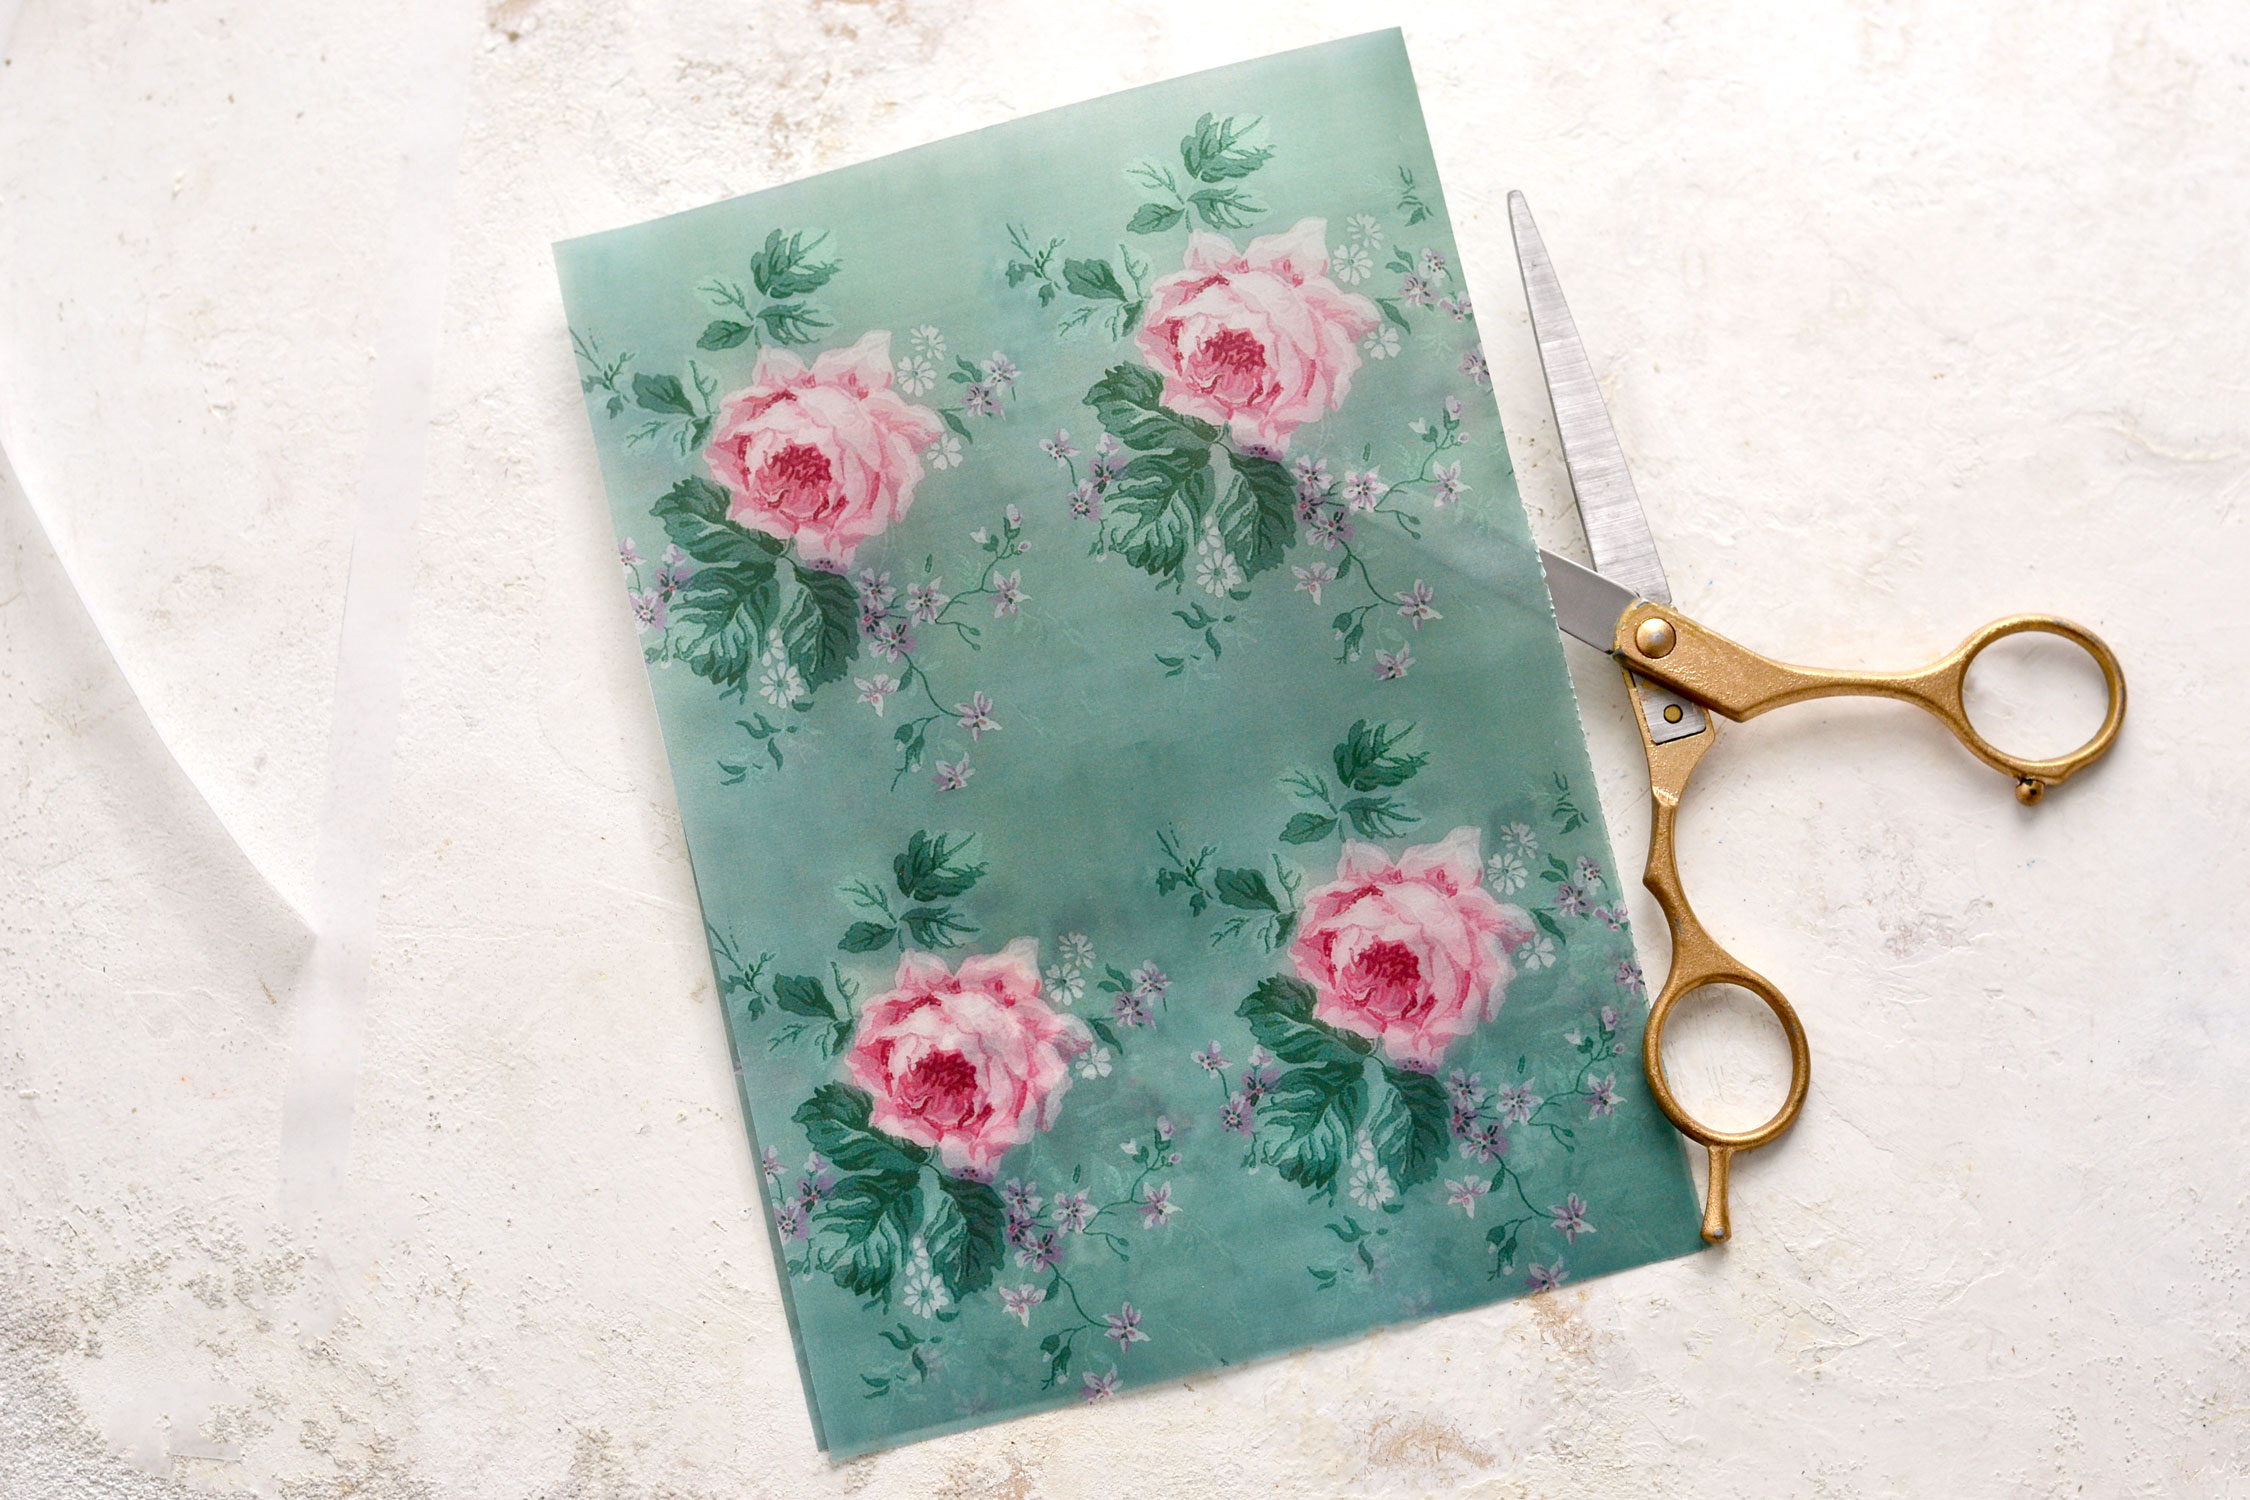
If you want to make one large glassine bag from one sheet, you definitely can, but I wanted to make a few medium and small ones. Fold the paper in half and use your scissors to cut it in the middle.
Keep one half as it is to get a medium-sized bag and then fold and cut the other half in half again to get two smaller rectangles.
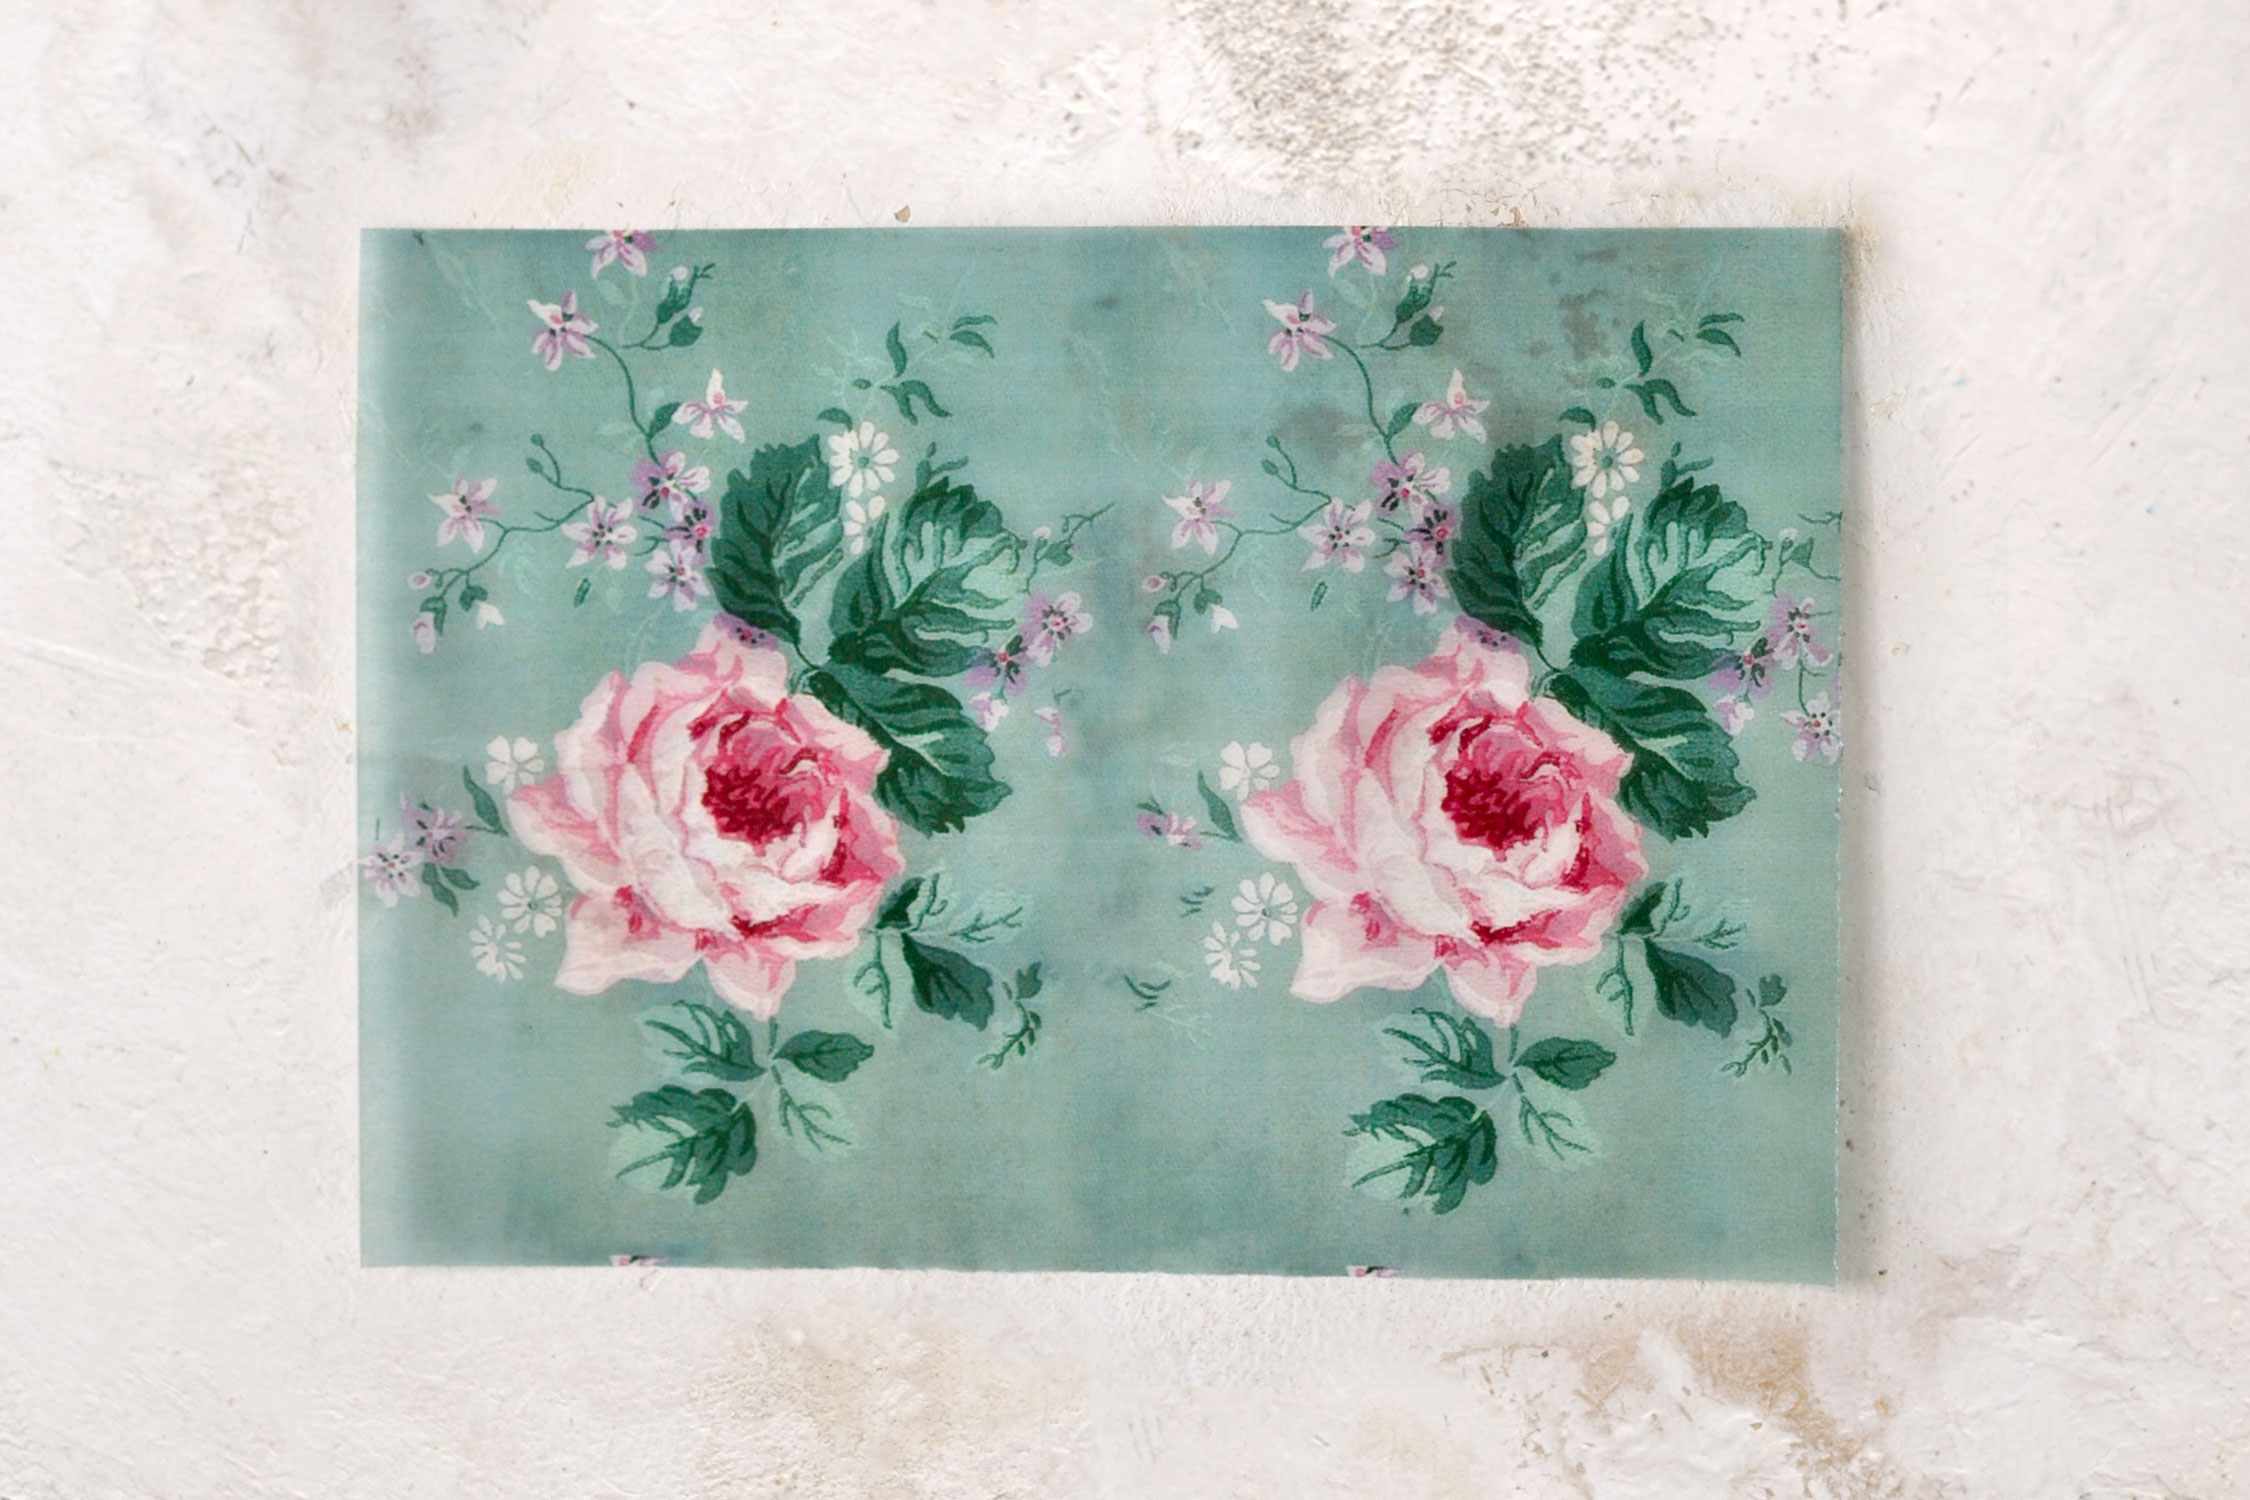
Take one of the rectangular pieces of paper – no matter the size -and place it on your table to get a horizontal (landscape) orientation, as you can see in the image below. This is the basic orientation you need to create a regular bag. Now flip it over while keeping the same horizontal orientation, the design should always be placed underneath when starting a new bag.
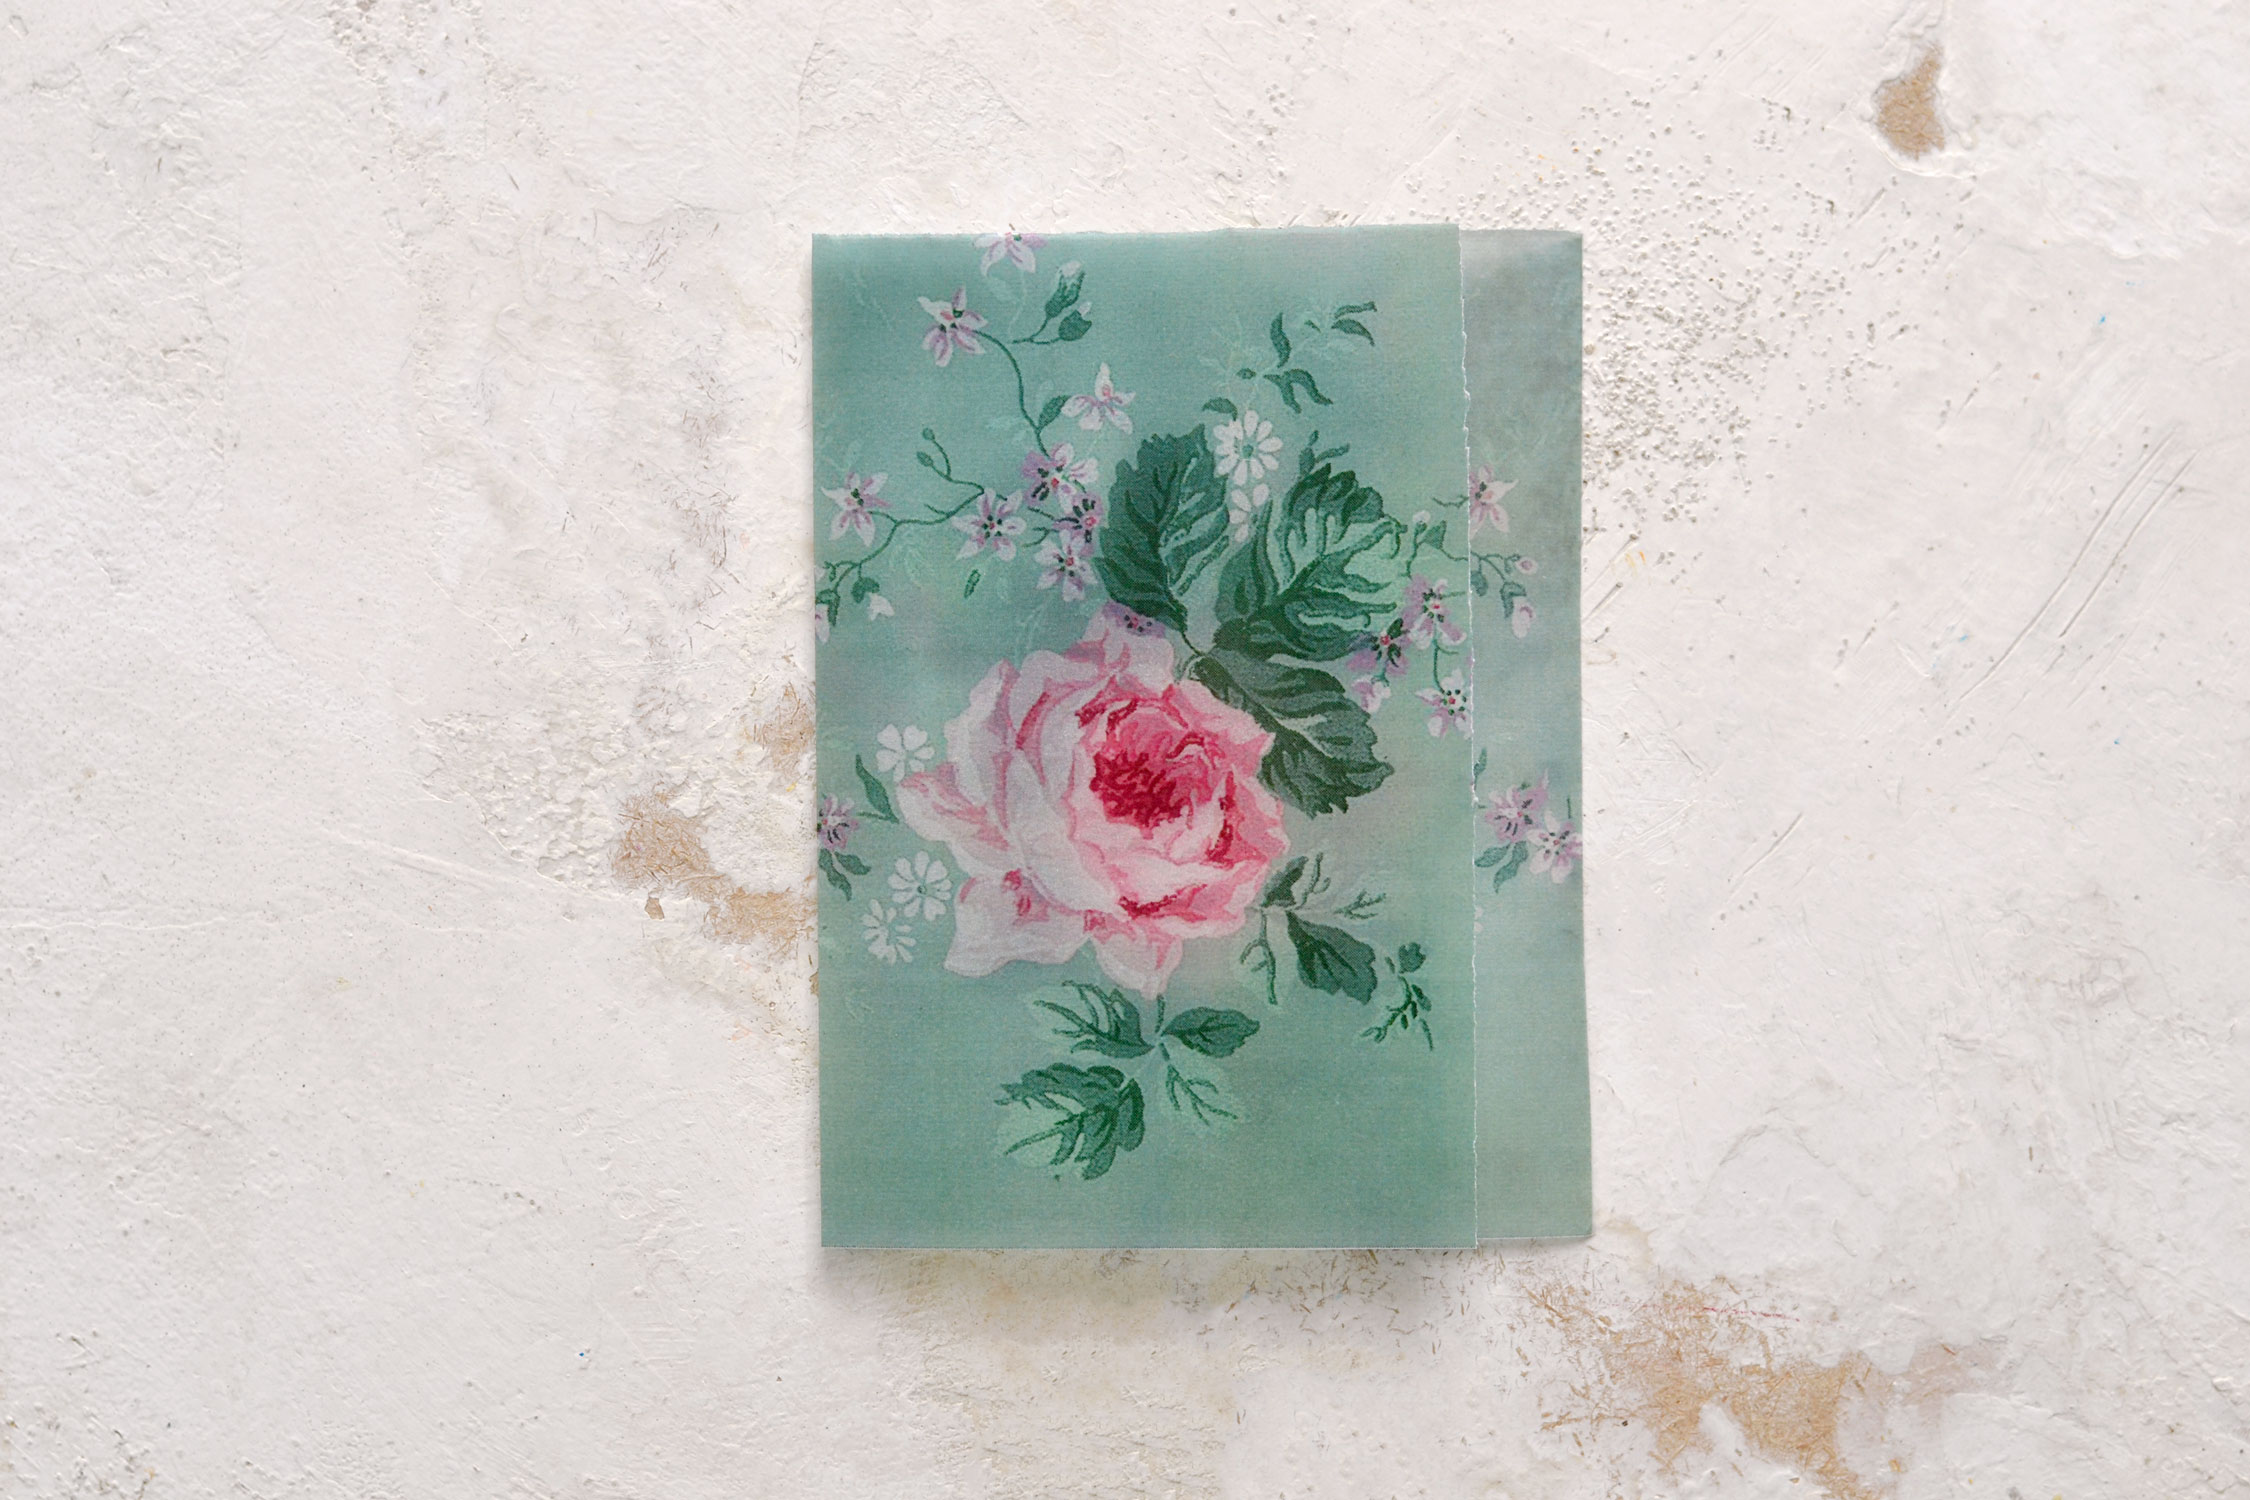
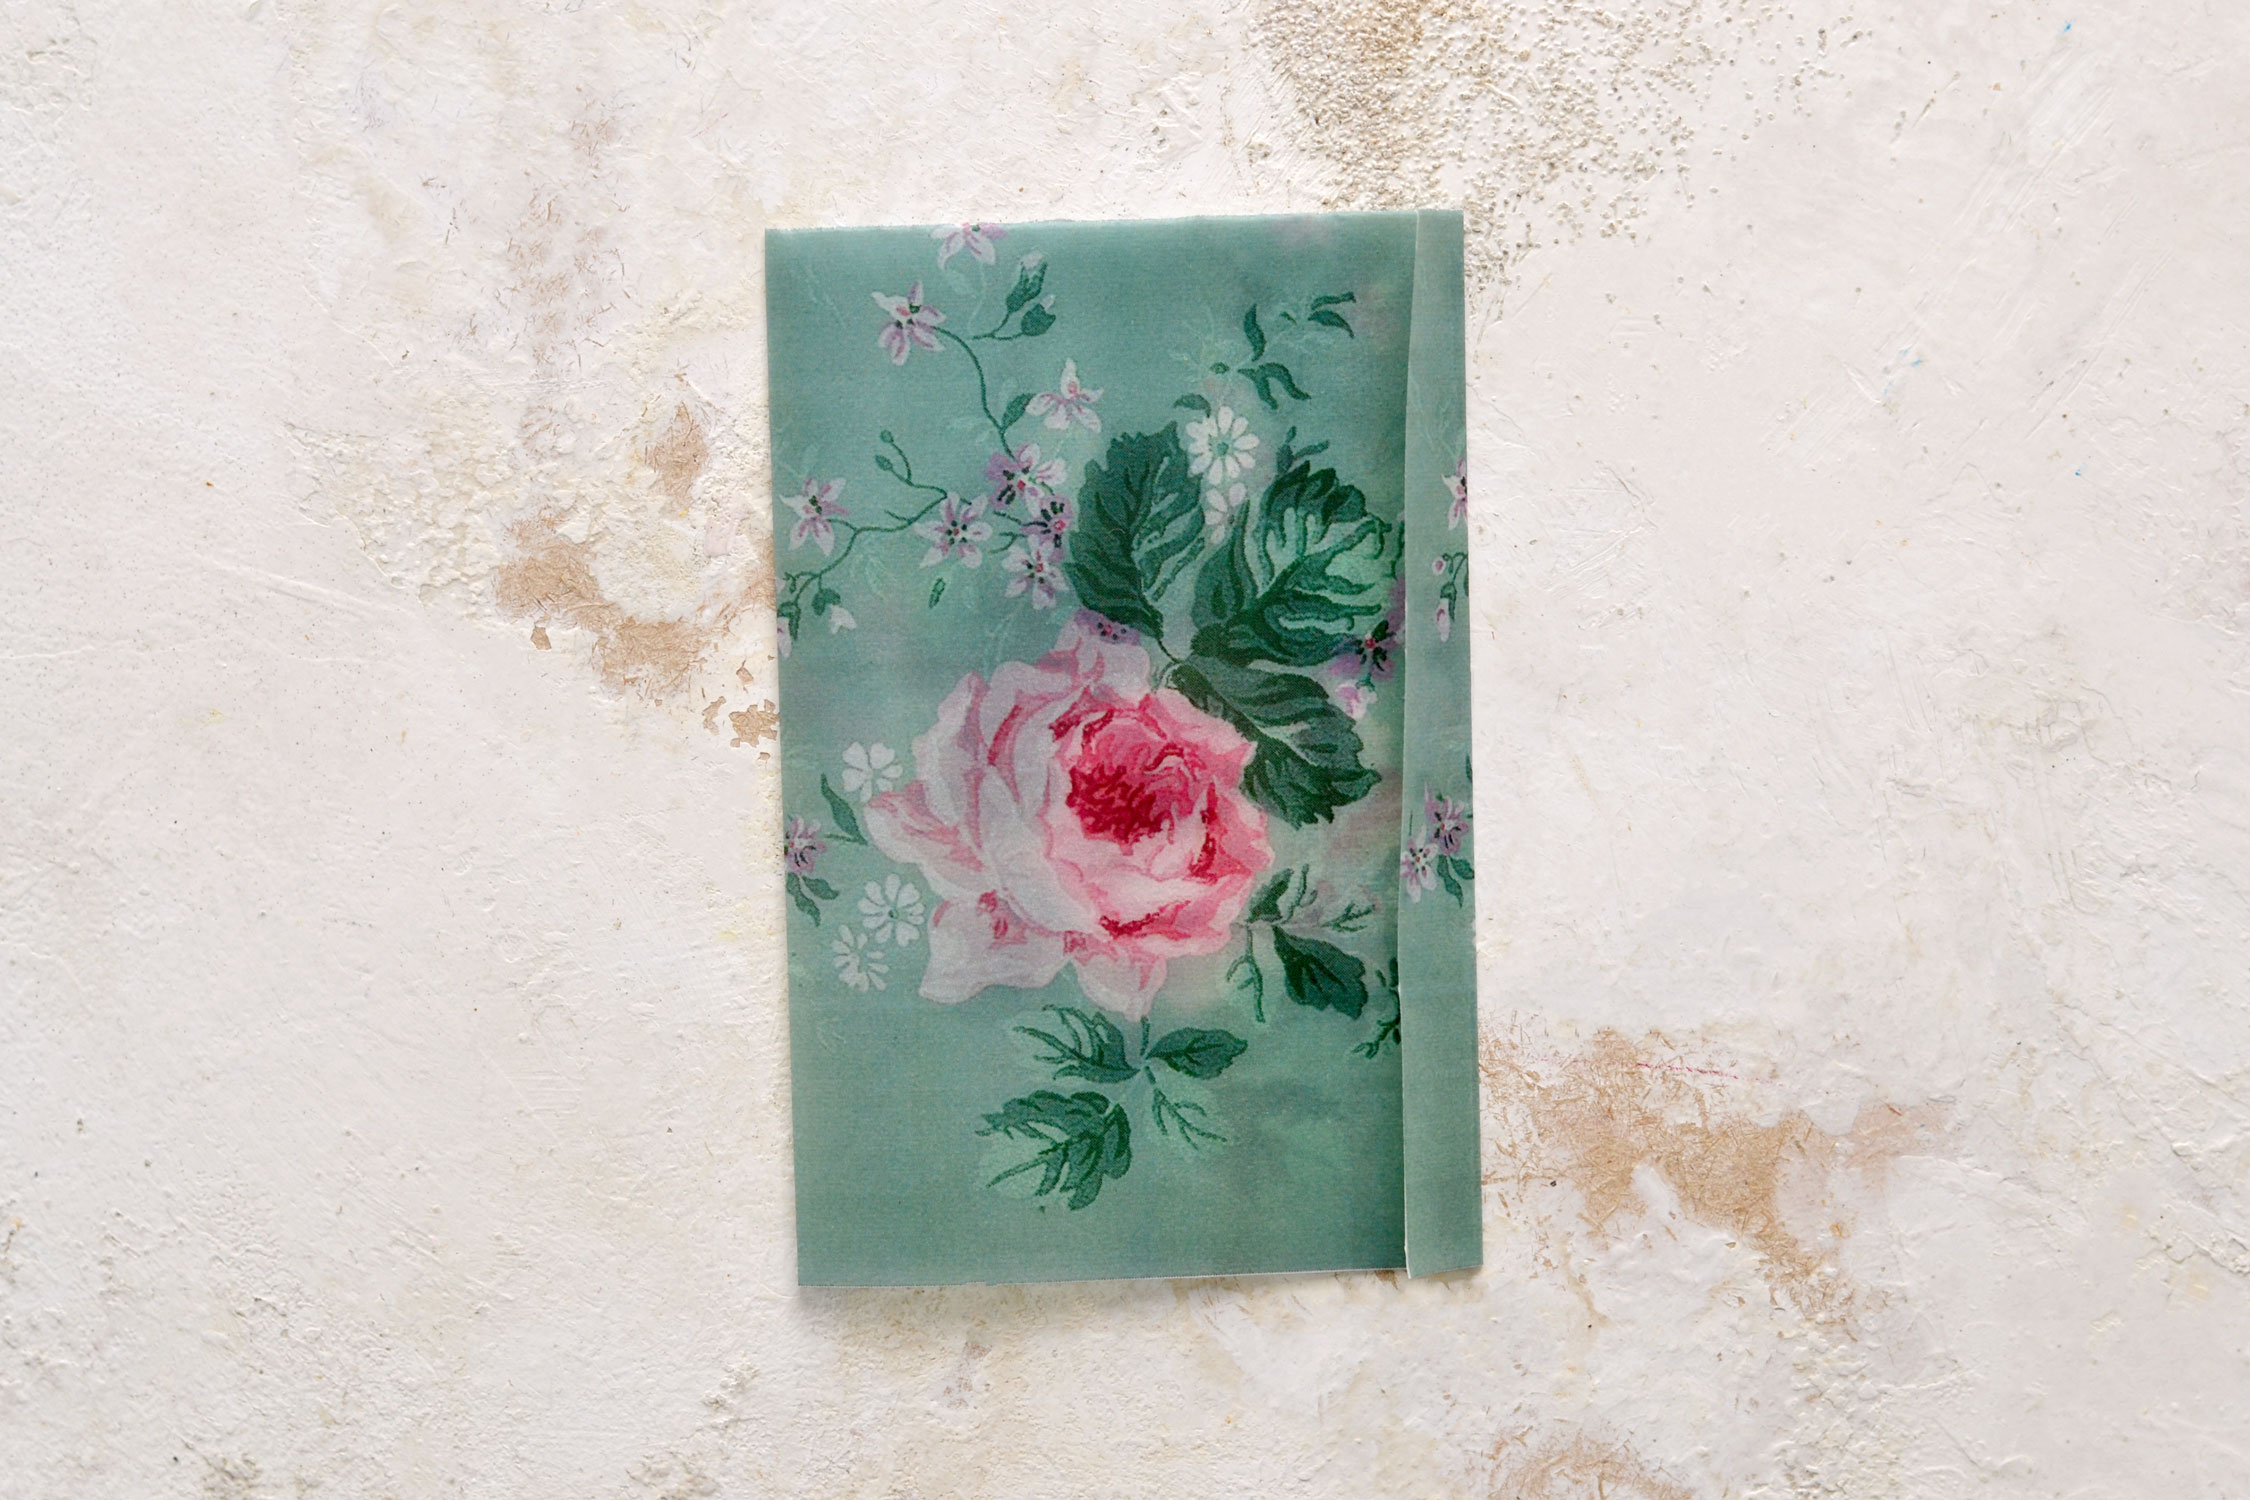
Now take a close look at your design. Depending on where you want your roses to be, you can decide where to make the vertical fold and where to leave a little bit of extra space for overlapping. Glassine bags usually have an overlapped vertical section in the middle, but since these are handmade, we can make our own rules and decide that according to our design! I wanted my roses to be somehow centered on the bag, so I folded the paper leaving a little bit of extra space underneath, on the right side.
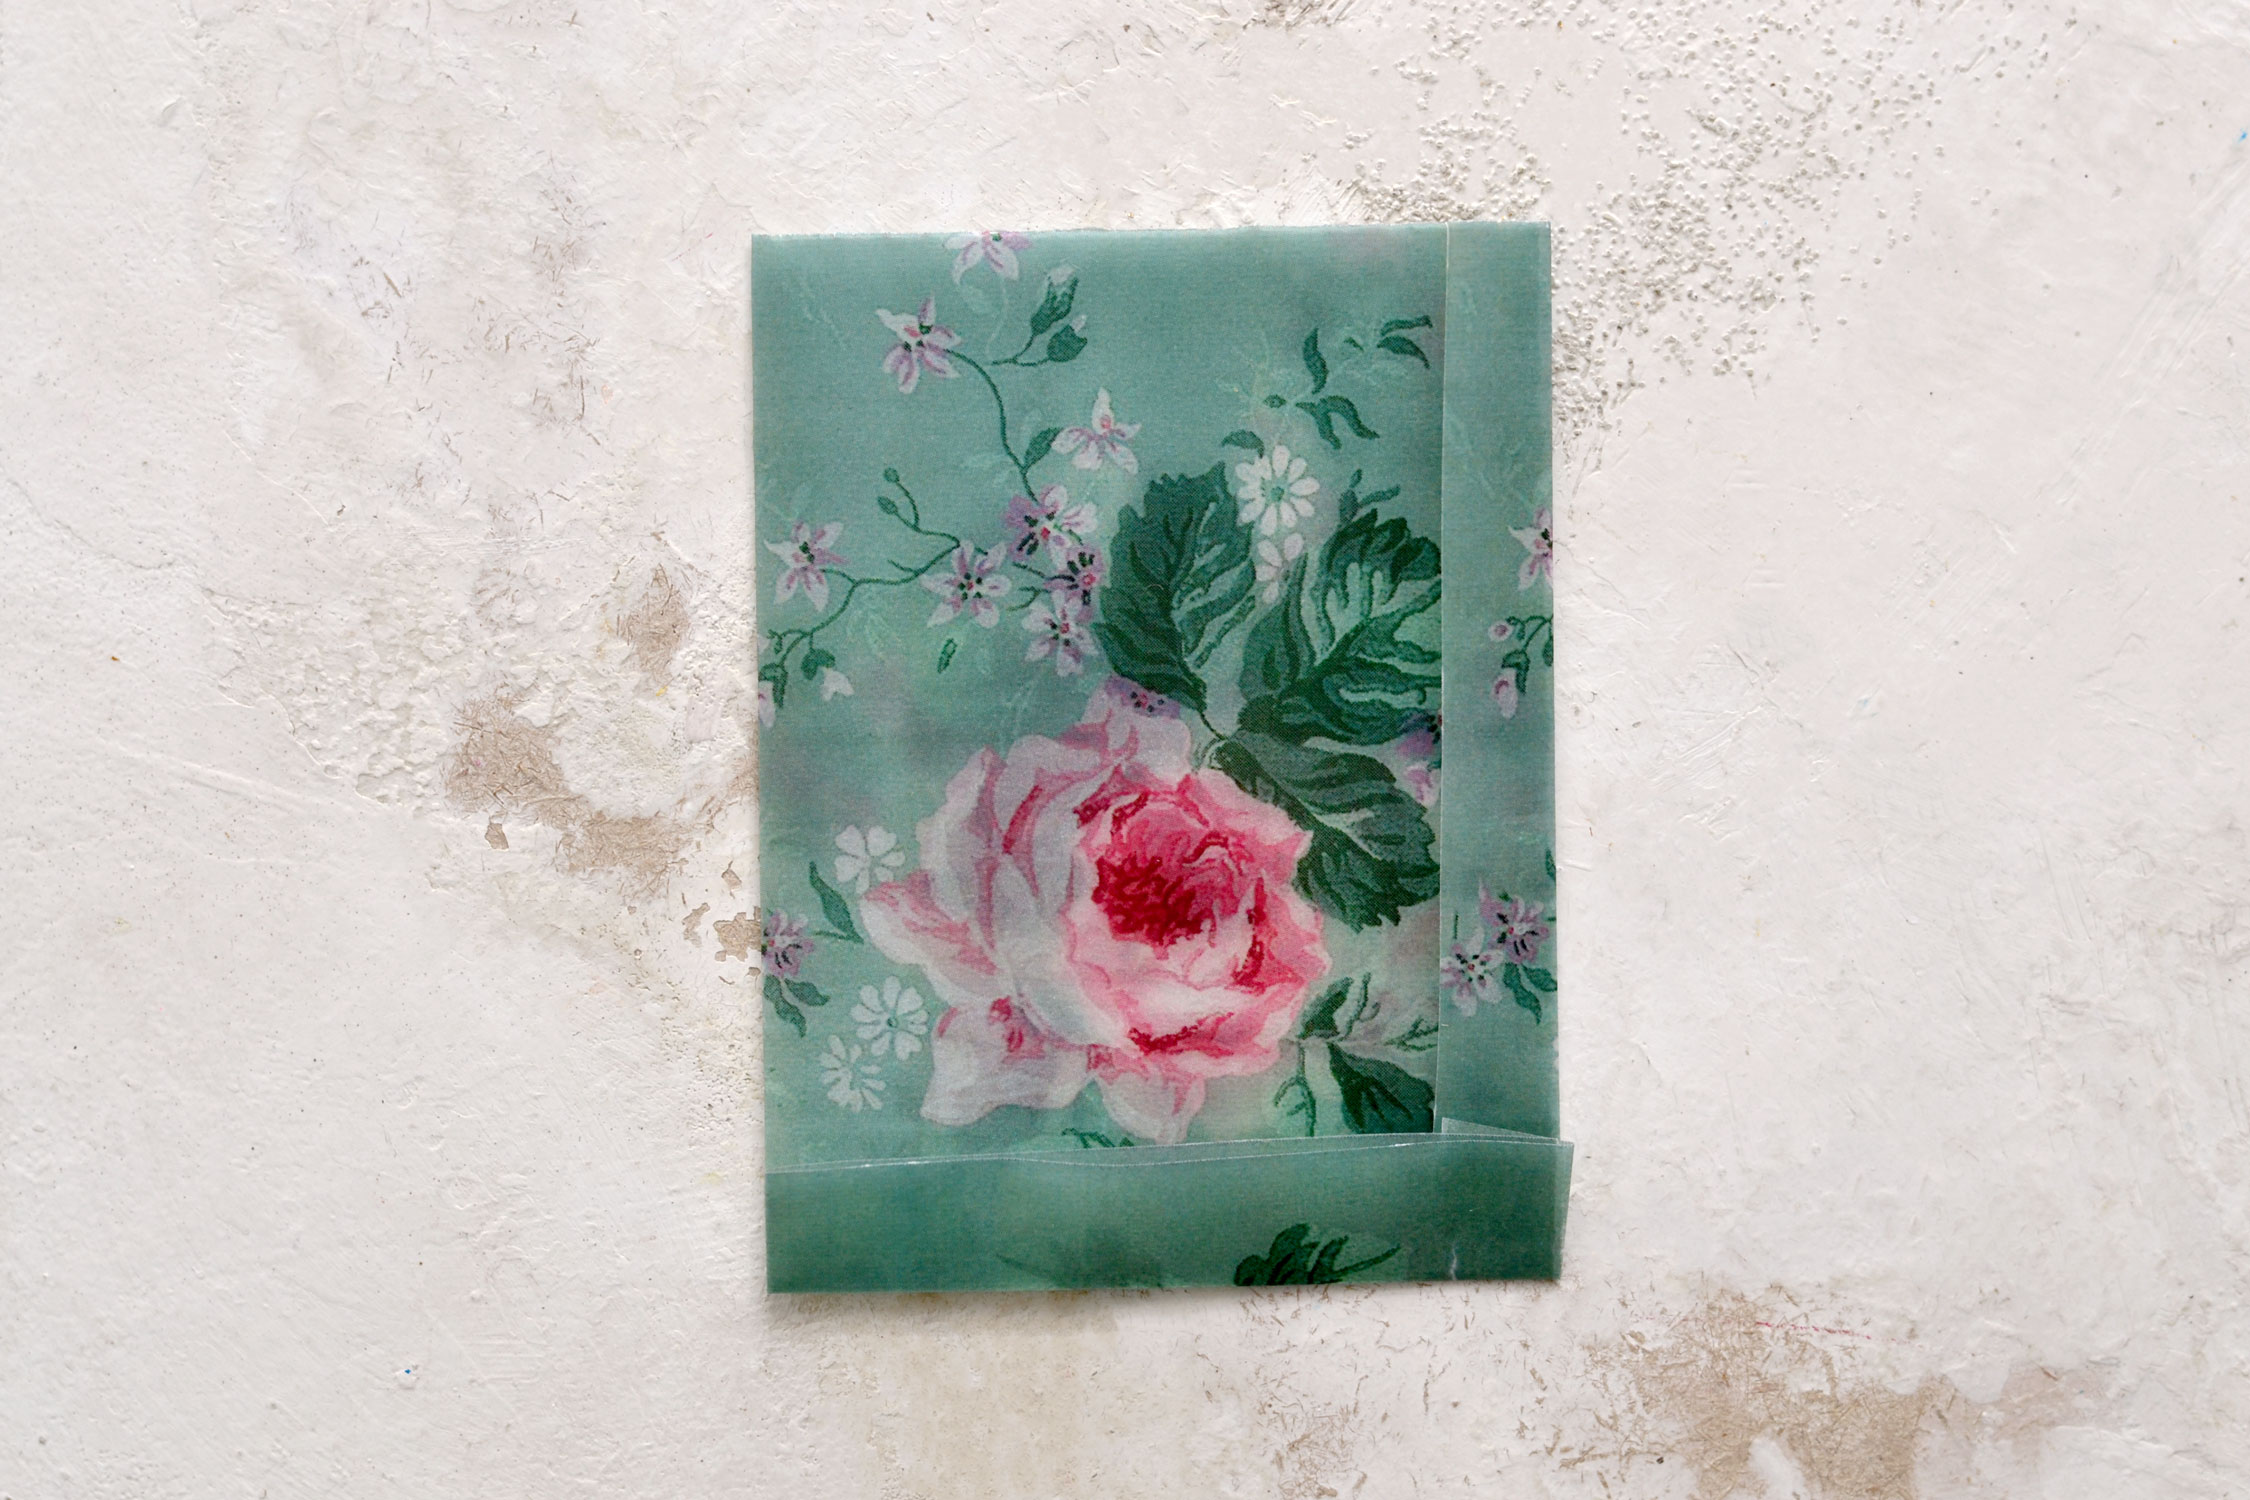
Fold the extra space on the right over the two already overlapped parts to create a flap. Try to fold and make the lines as straight as you can!
Now fold a small section of the bottom part upwards. Again, try to keep a straight line while folding the paper and then use your fingers to press while going all over the folded part to create a crisp line.
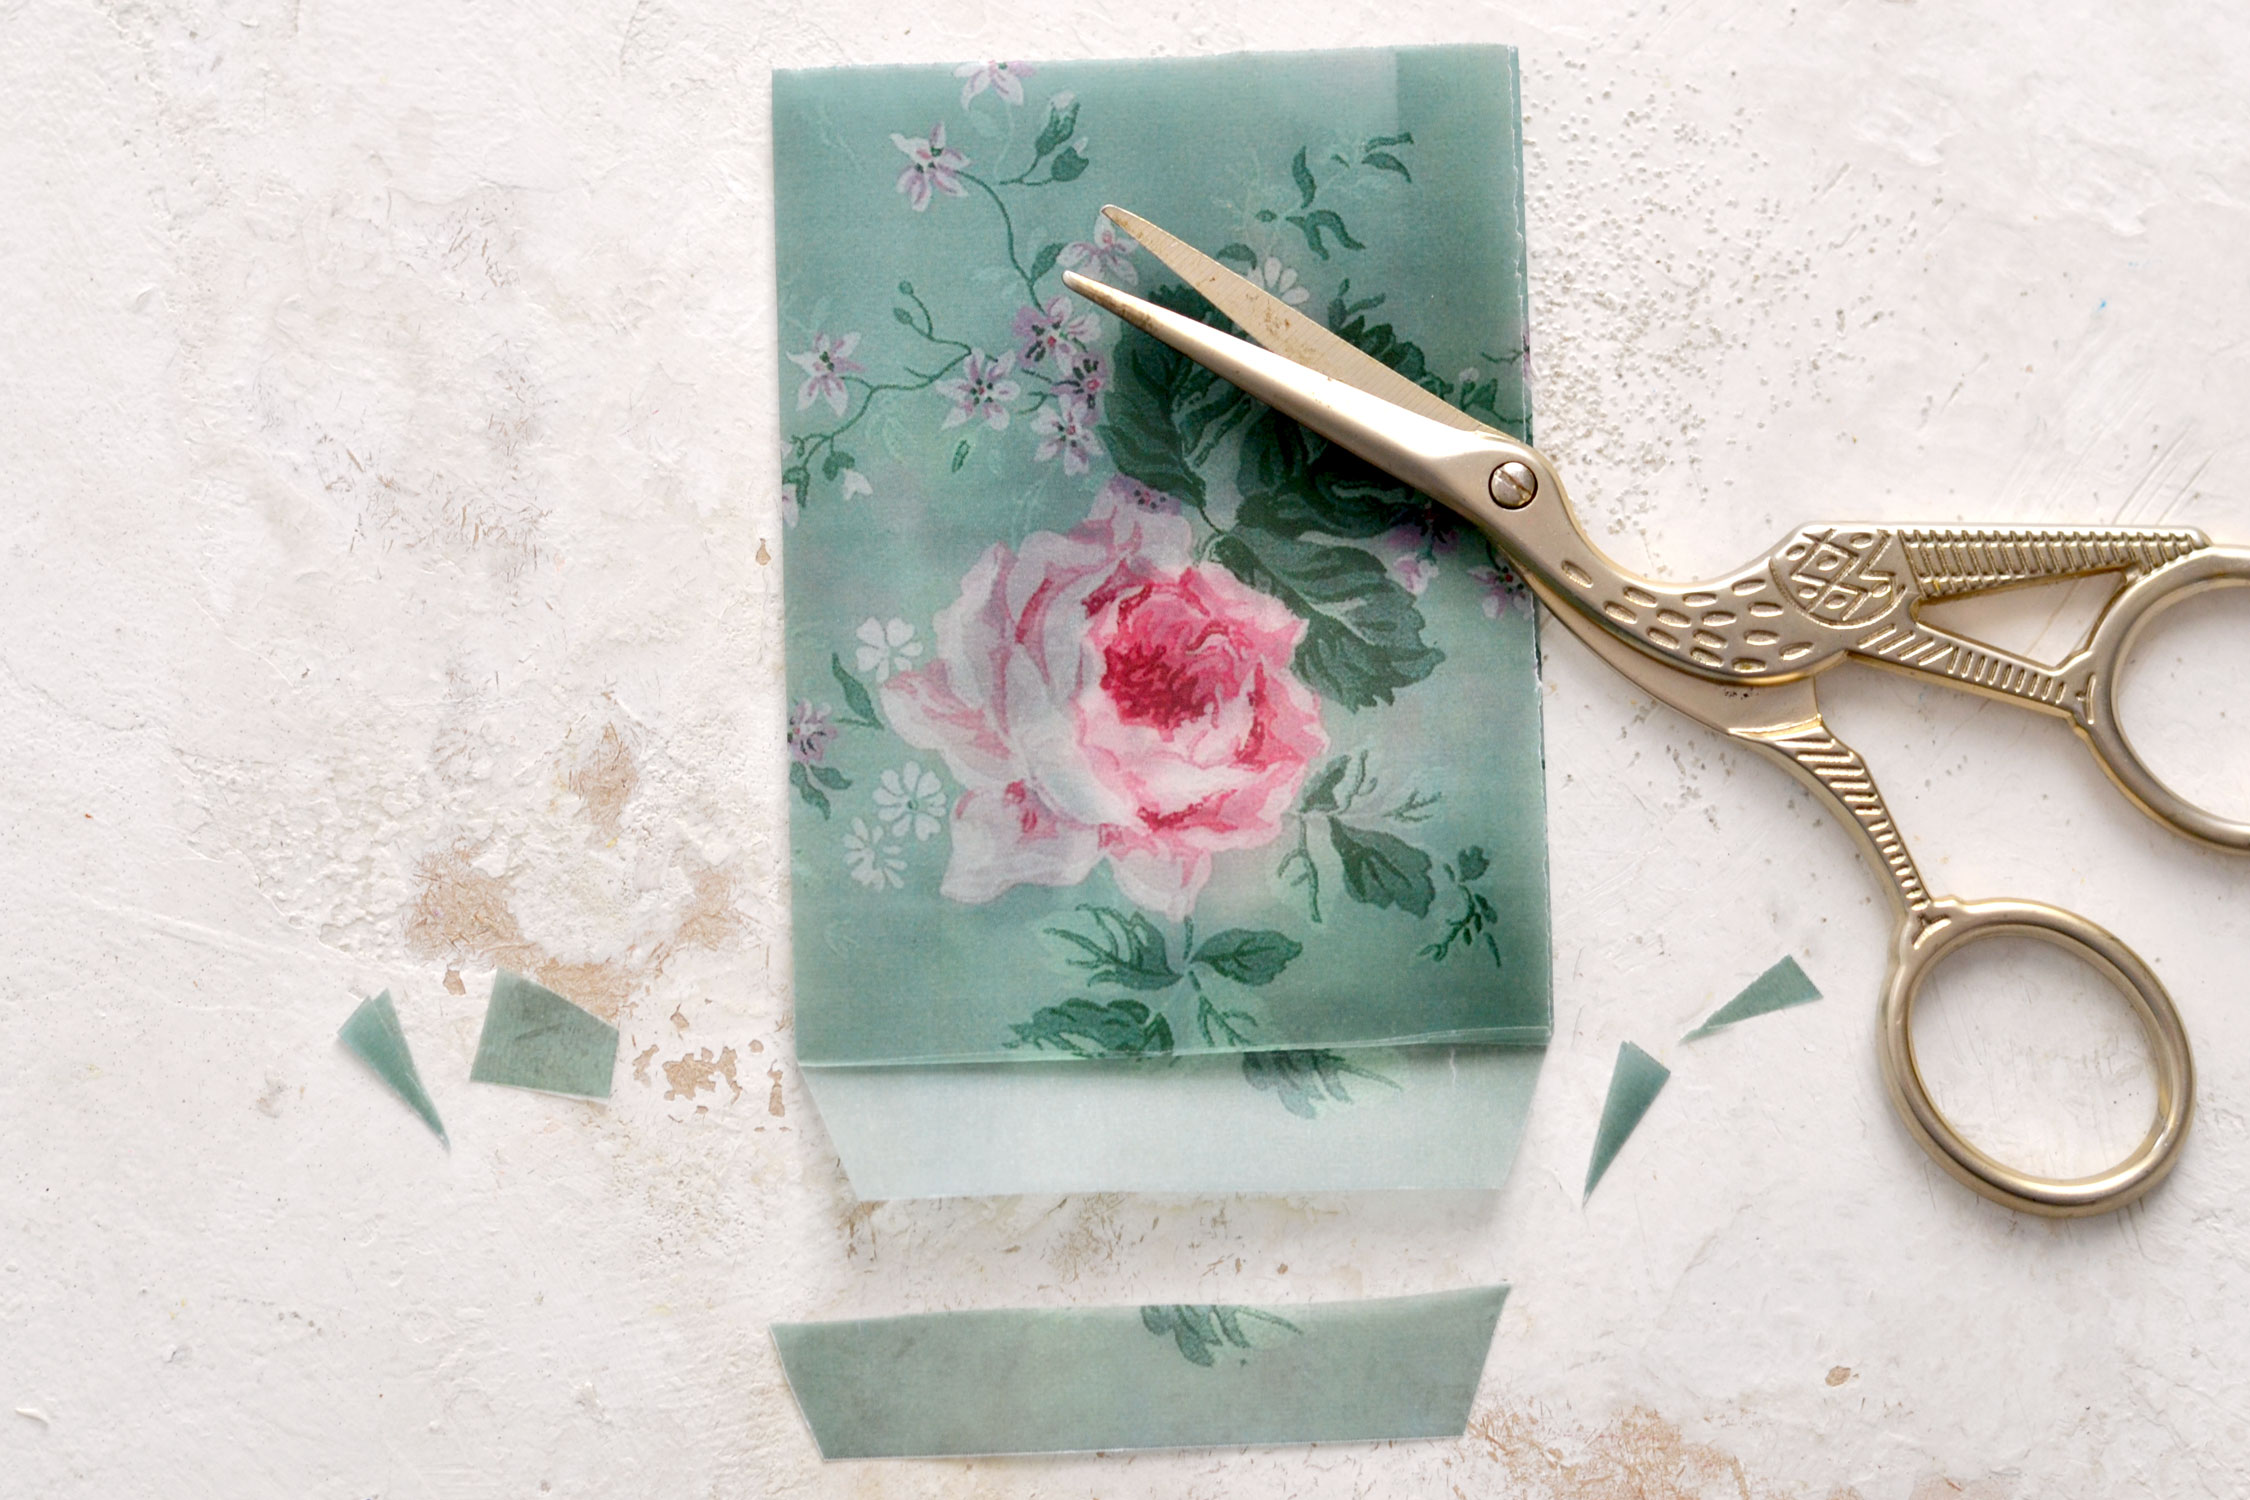
Unfold the folded bottom and use your scissors to make two cuts on its sides. Slightly tilt your scissors to create a small angle while cutting and make sure you cut through all the overlapped paper.
Now use your scissors to remove the paper on top using the folded line as a guide, we only need to keep the flap underneath.
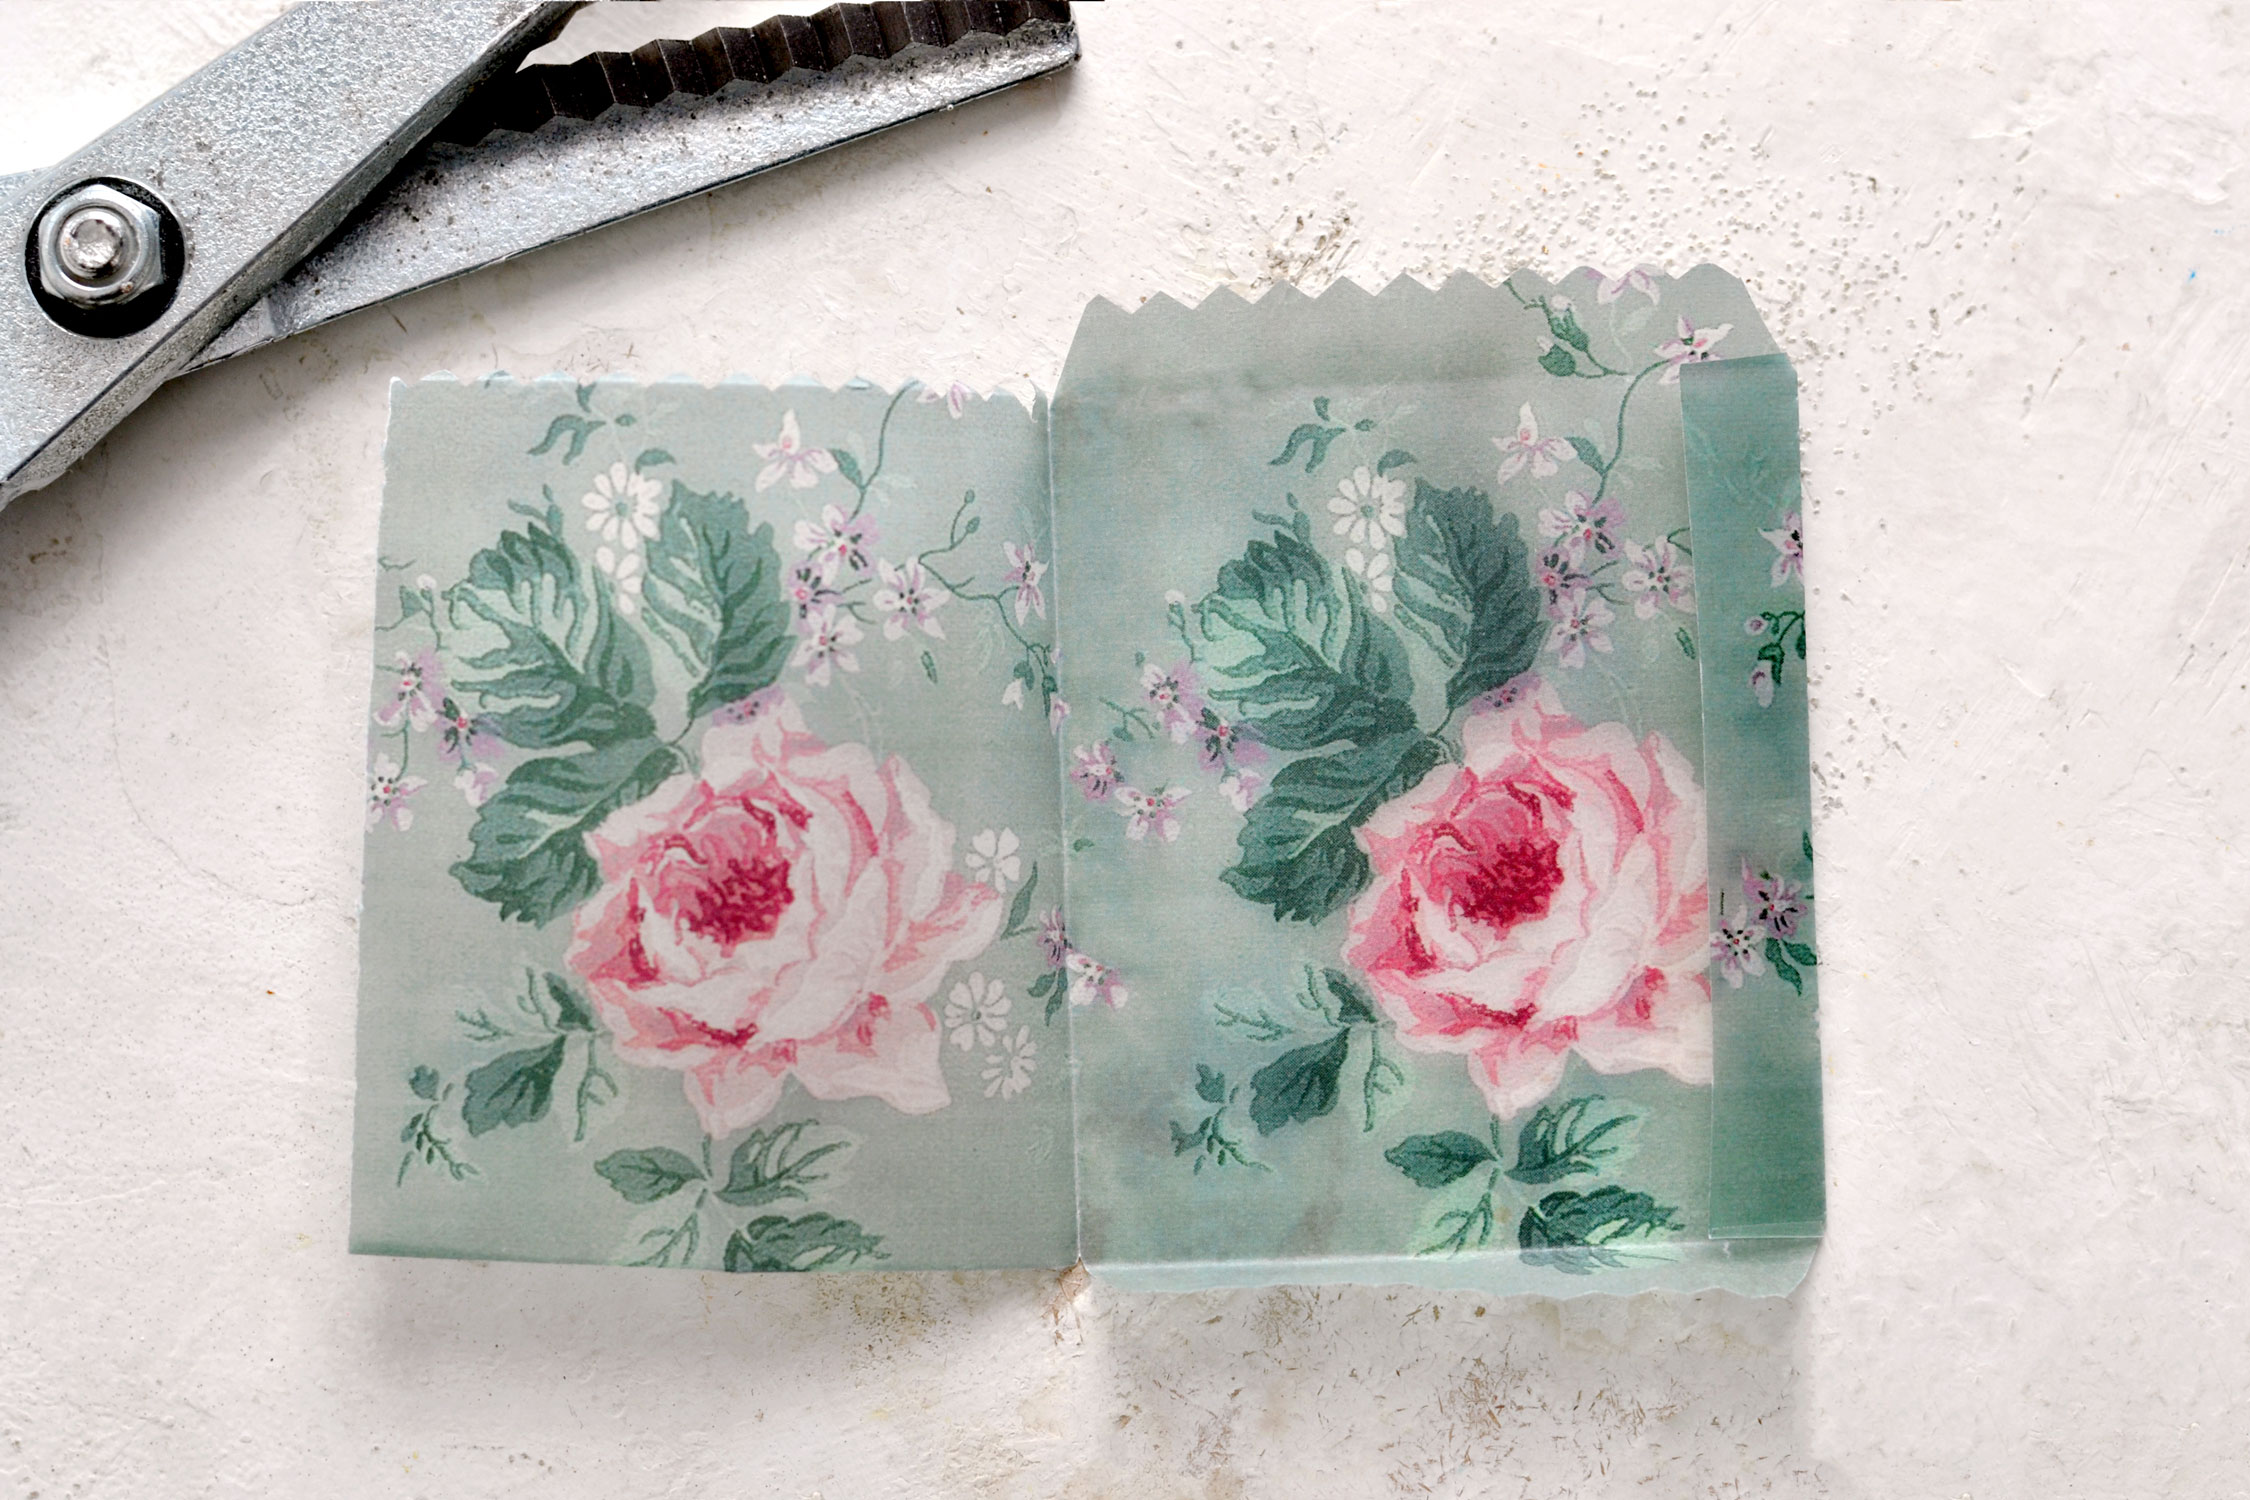
This is where pinking sheers come into the scene, just use them to cut a small decorative border on the edge of our bottom flap. Pinking sheers will help us achieve that specific border glassine bags usually have. But don’t worry too much if you don’t have one, you can just skip this step or use other types of decorative edge scissors that will create a similar effect.
Moving on to the top – fold the paper downward, just like before, and then unfold and use your scissors to snip the two ends at an angle.
We now need to follow the same steps to cut the overlapping paper on top, but this time we’ll be using pinking sheers to do that. I found it easier to open the folded paper at this point. Use pinking sheers to make that small decorative edge on the middle section (that was placed underneath before unfolding). Then use your pinking sheers to completely remove the folded flap from the left section using the folded line as a guide (this was placed on top before unfolding).
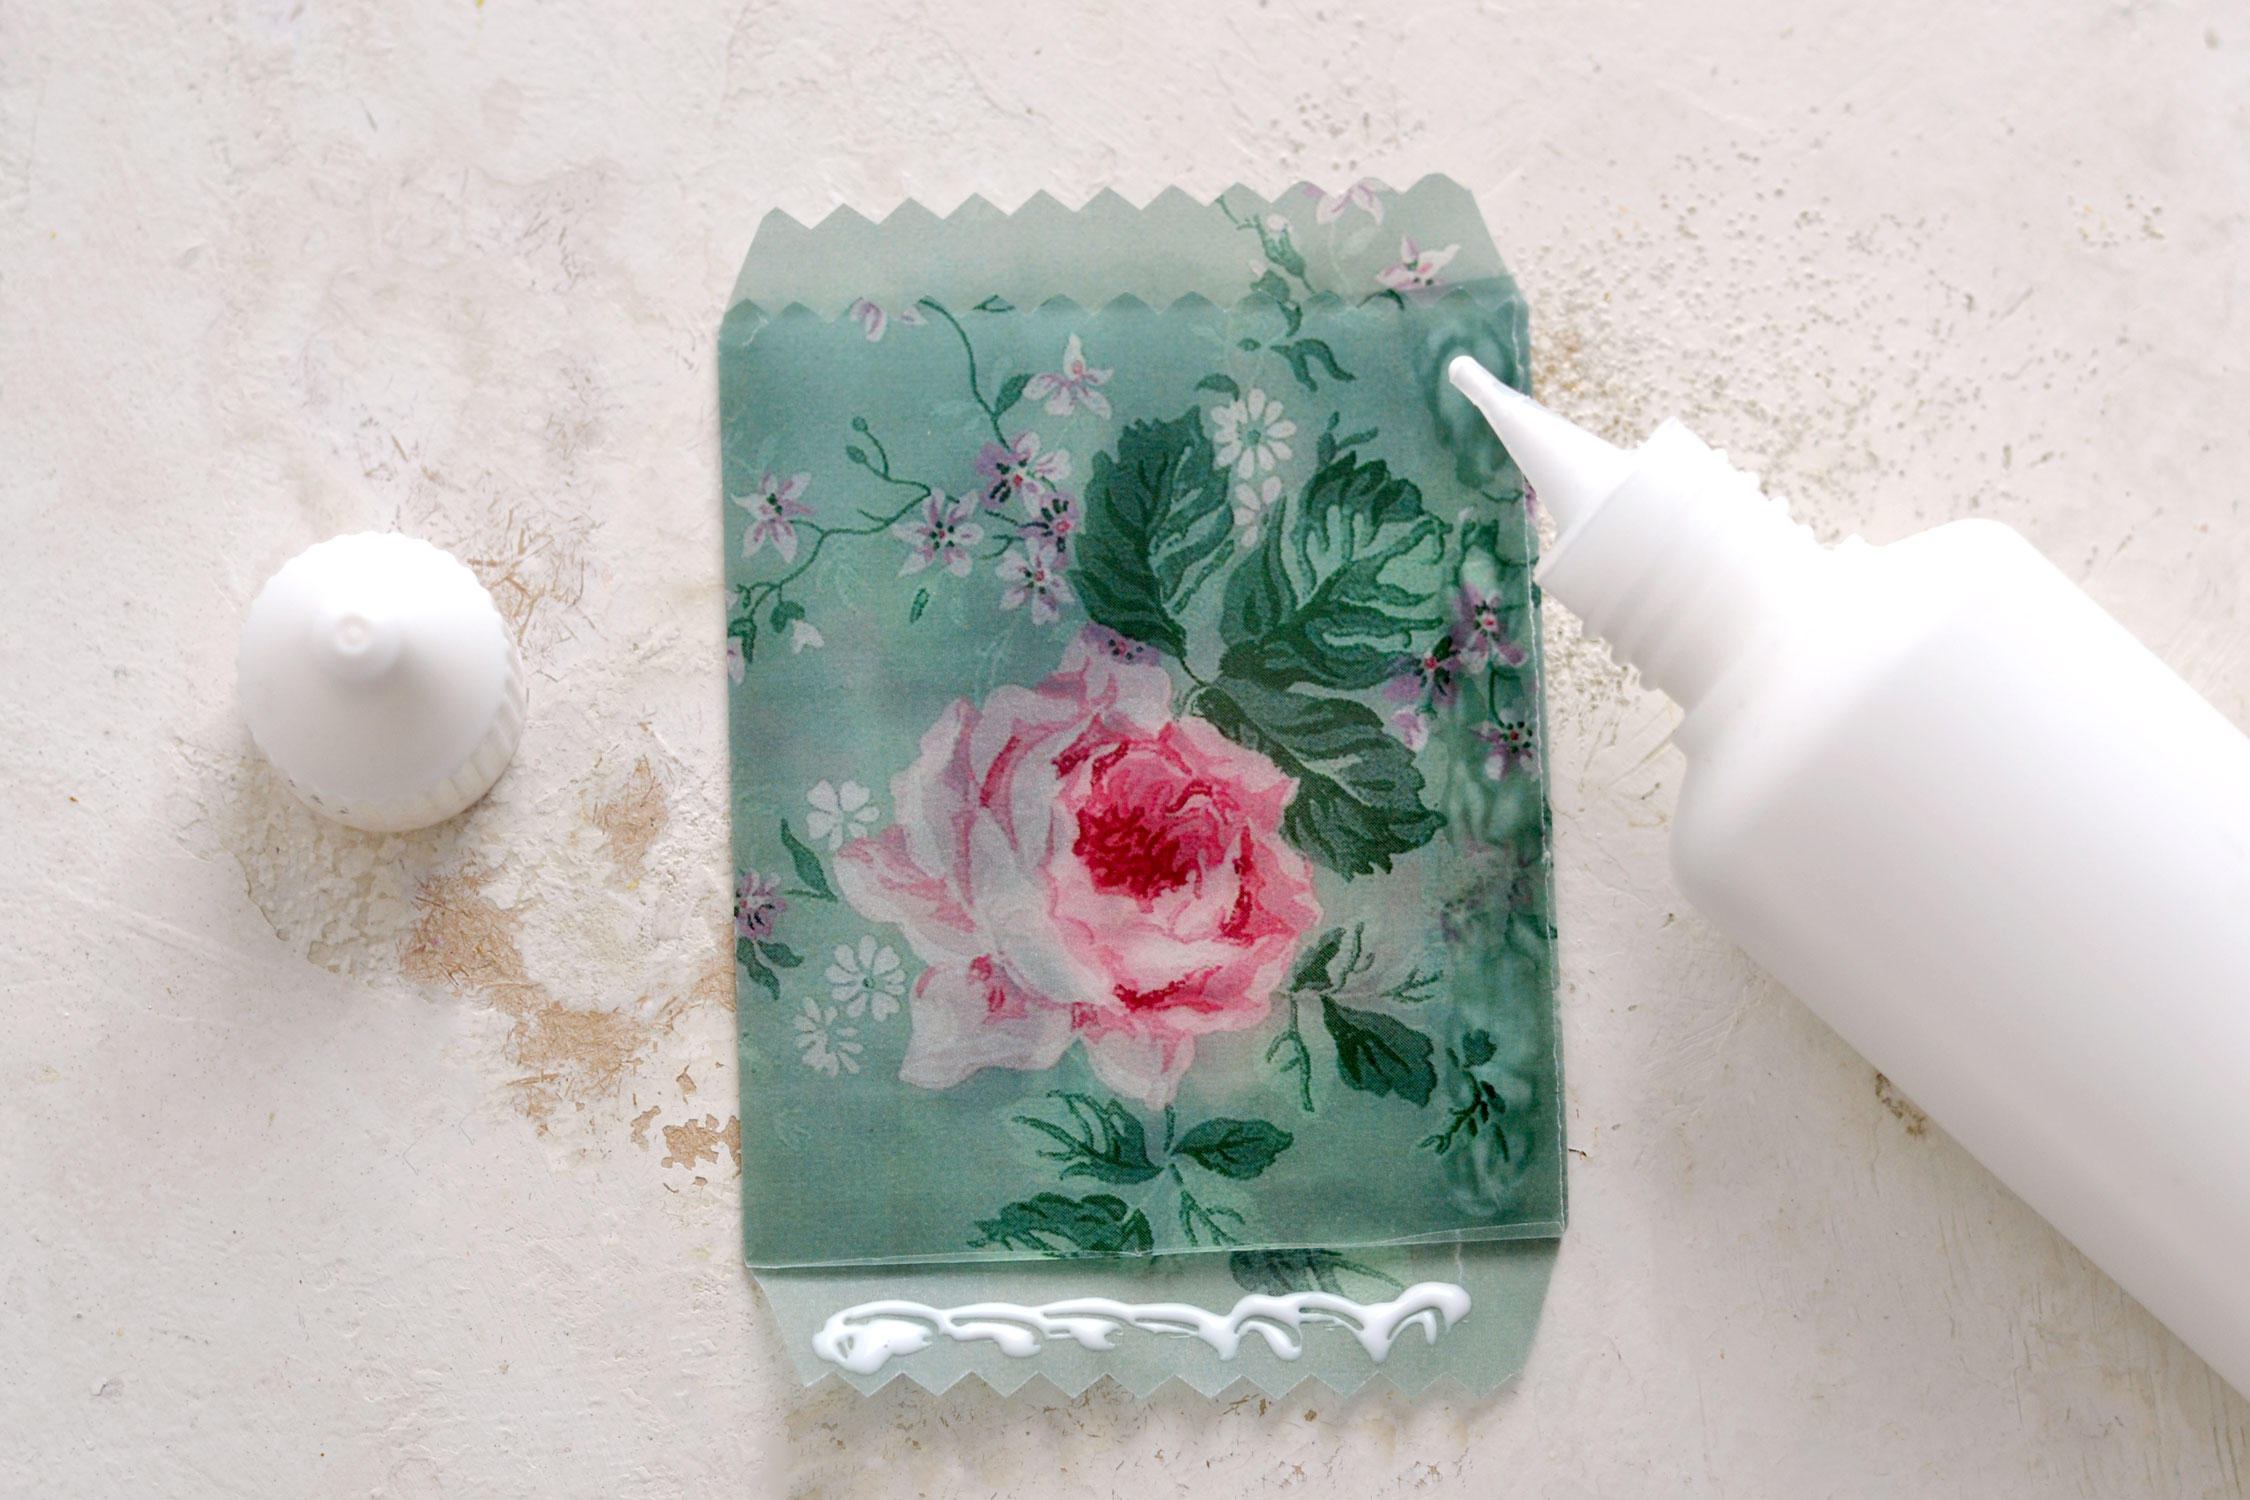
Fold the paper again and use some glue to adhere the small overlapped flap on the right first. I’ve decided to place it between the two large sections of our bag, but you can also fold it over the top and glue it there if you want.
Then use some glue to also adhere the bottom flap, just fold it upwards, over the bag. Depending on the glue you are using, you will see that the paper will curl and wrinkle a little bit, so you need to go all over the glued edges and press with your fingers for a few seconds just to make sure everything stays in place. I’ve used Mod Podge, but I’ve also tried this with a glue stick and it works! You can also use double-sided tape if you want to keep the edges wrinkle-free.
And that’s pretty much it, your first glassine bag is now ready! Let the glue dry completely before using it! If you want, you can use a bone folder to check the inside just to make sure the glue hasn’t spread in any unwanted areas.
This will be the back of our bag, but since we have this lovely design on the back too, the finished piece can be used interchangeably on both sides!
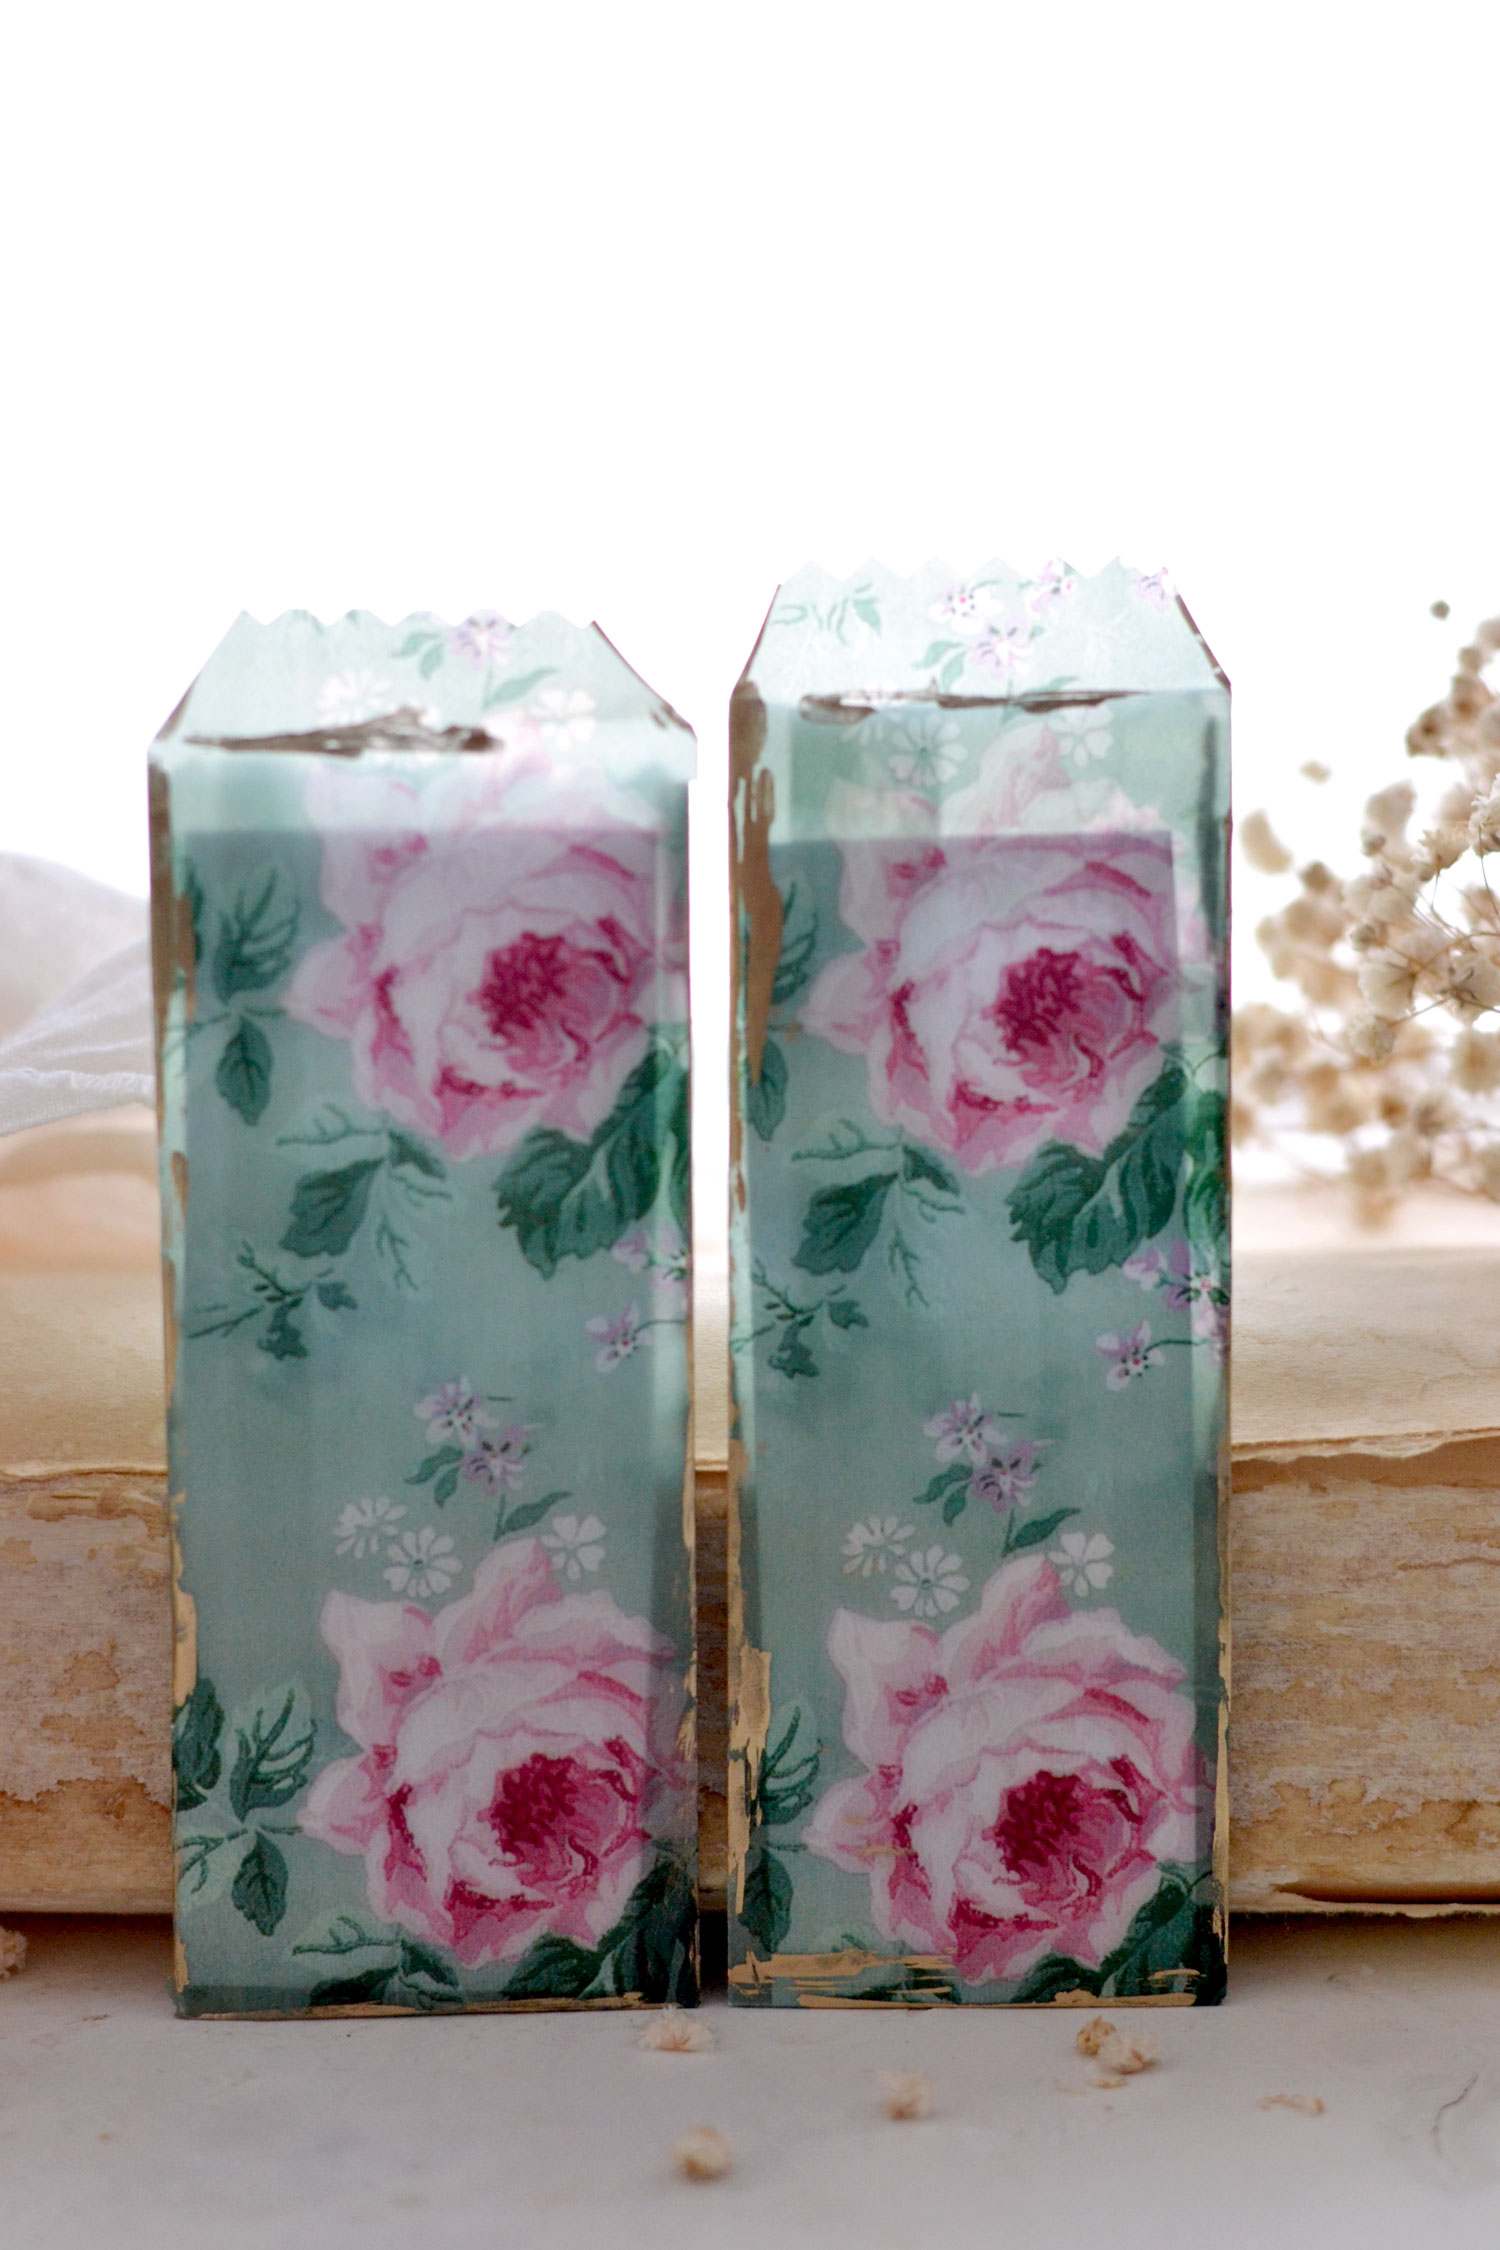
If you want, you can also start with a vertical orientation (portrait orientation) paper if you want to create taller bags.
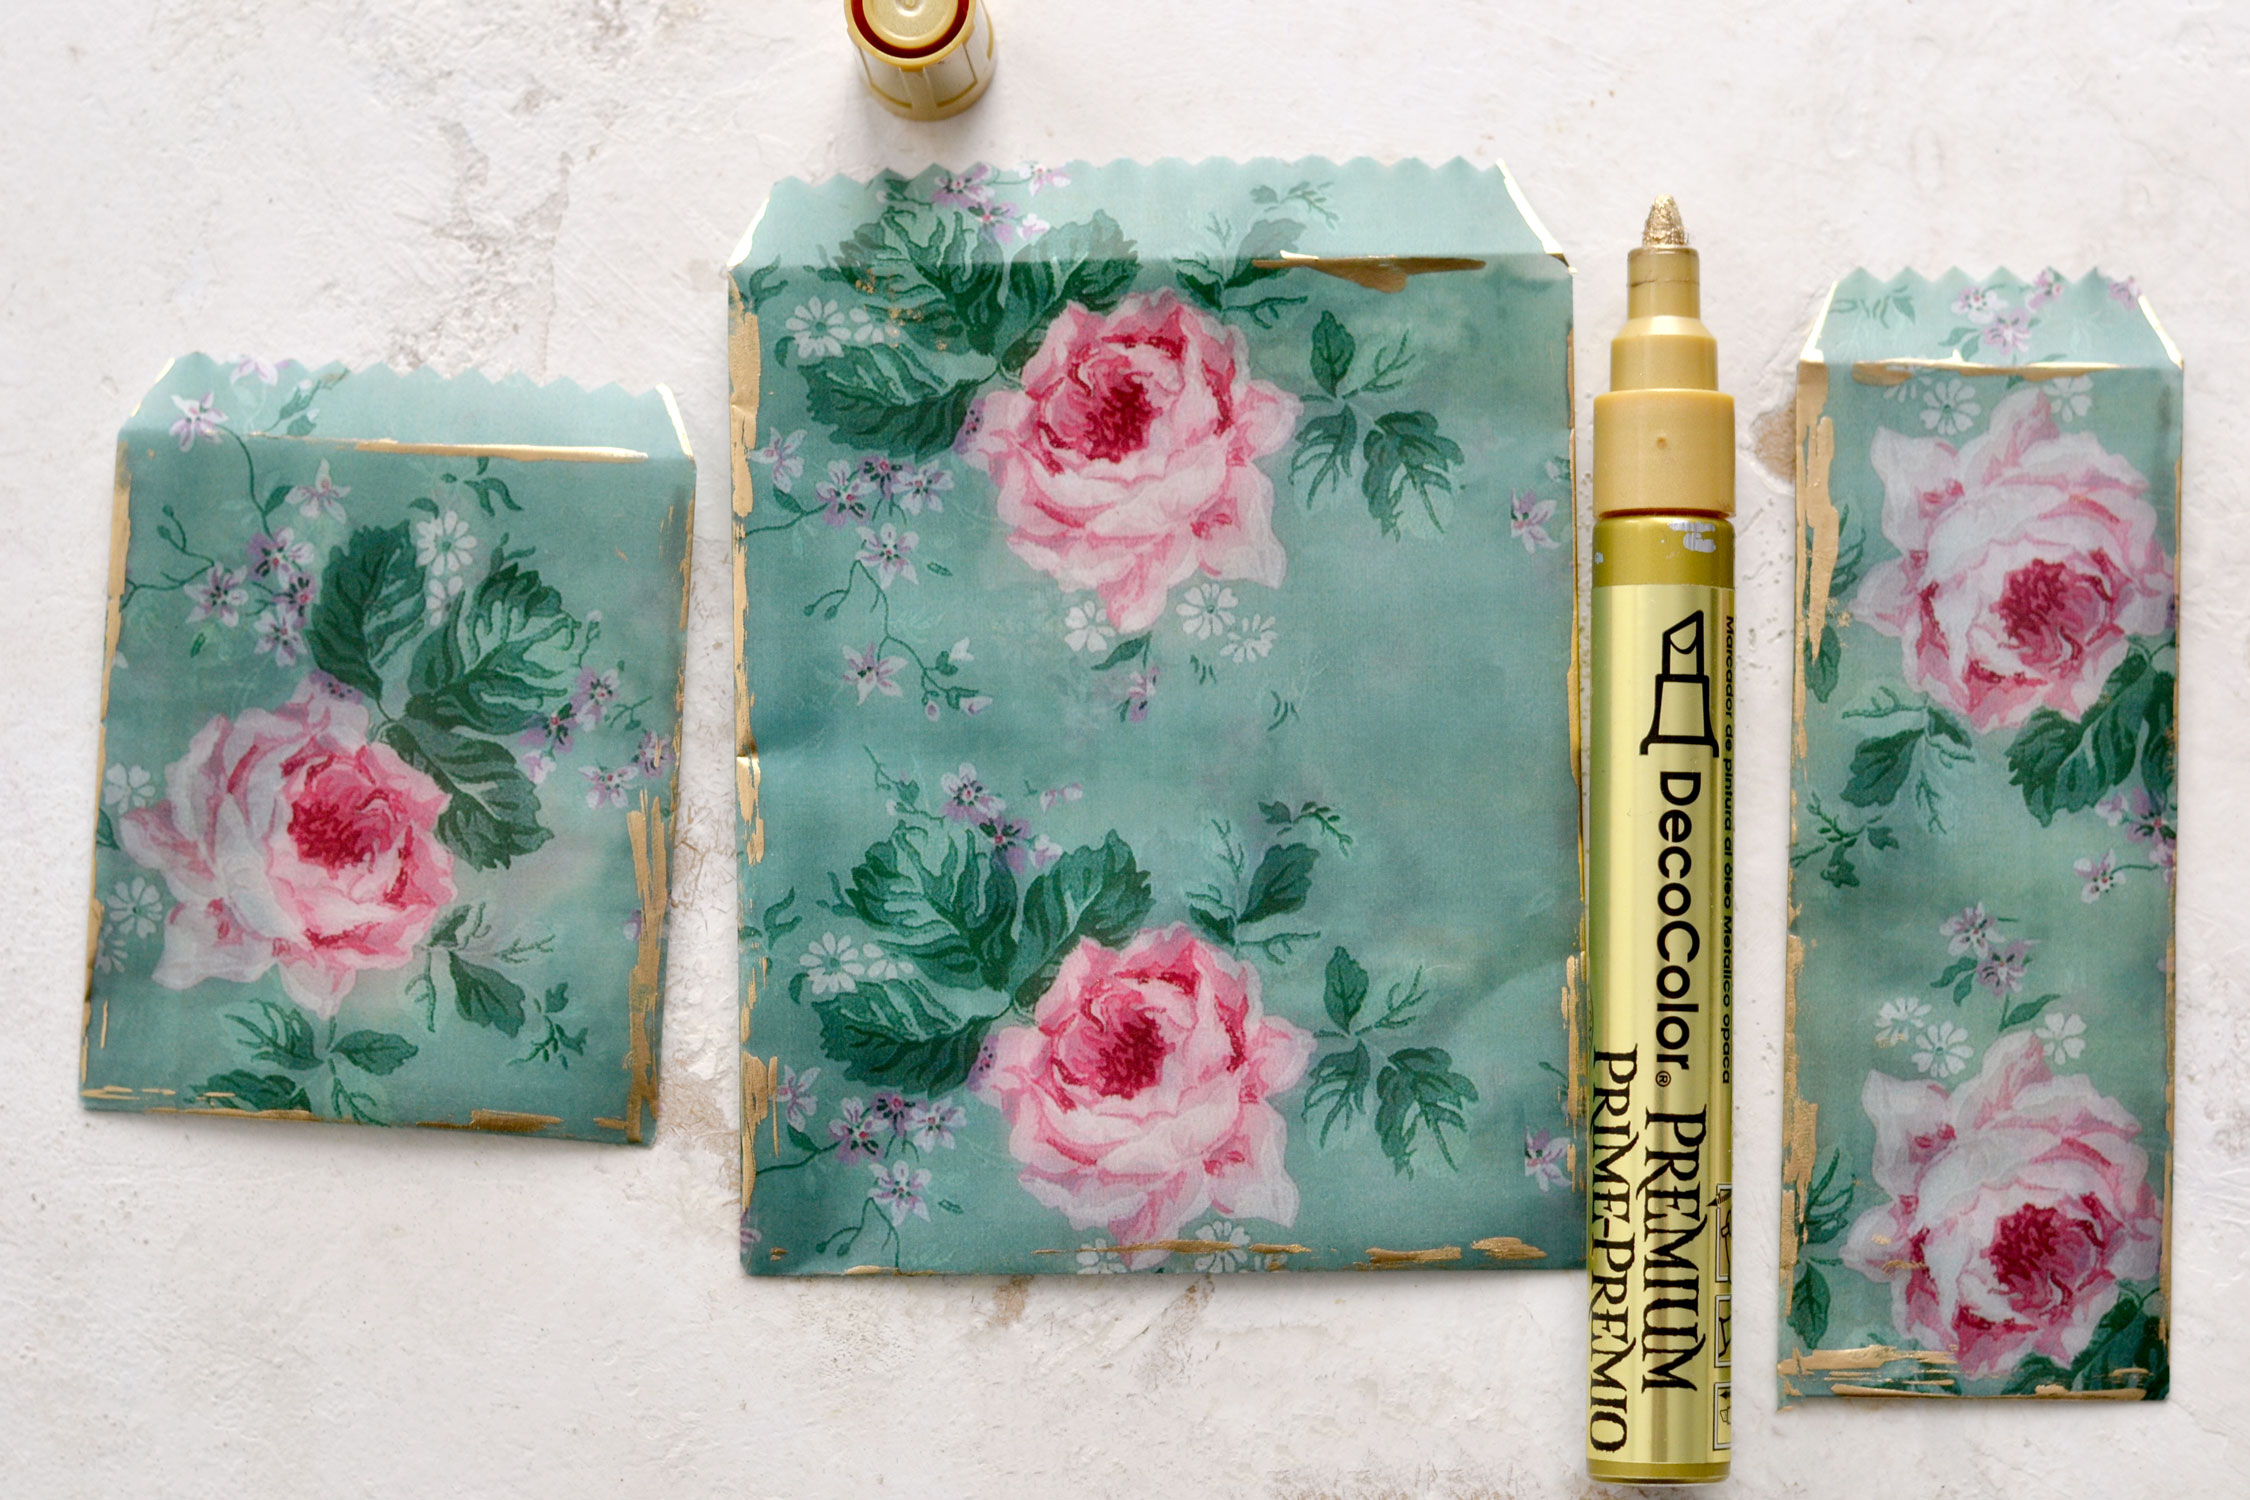
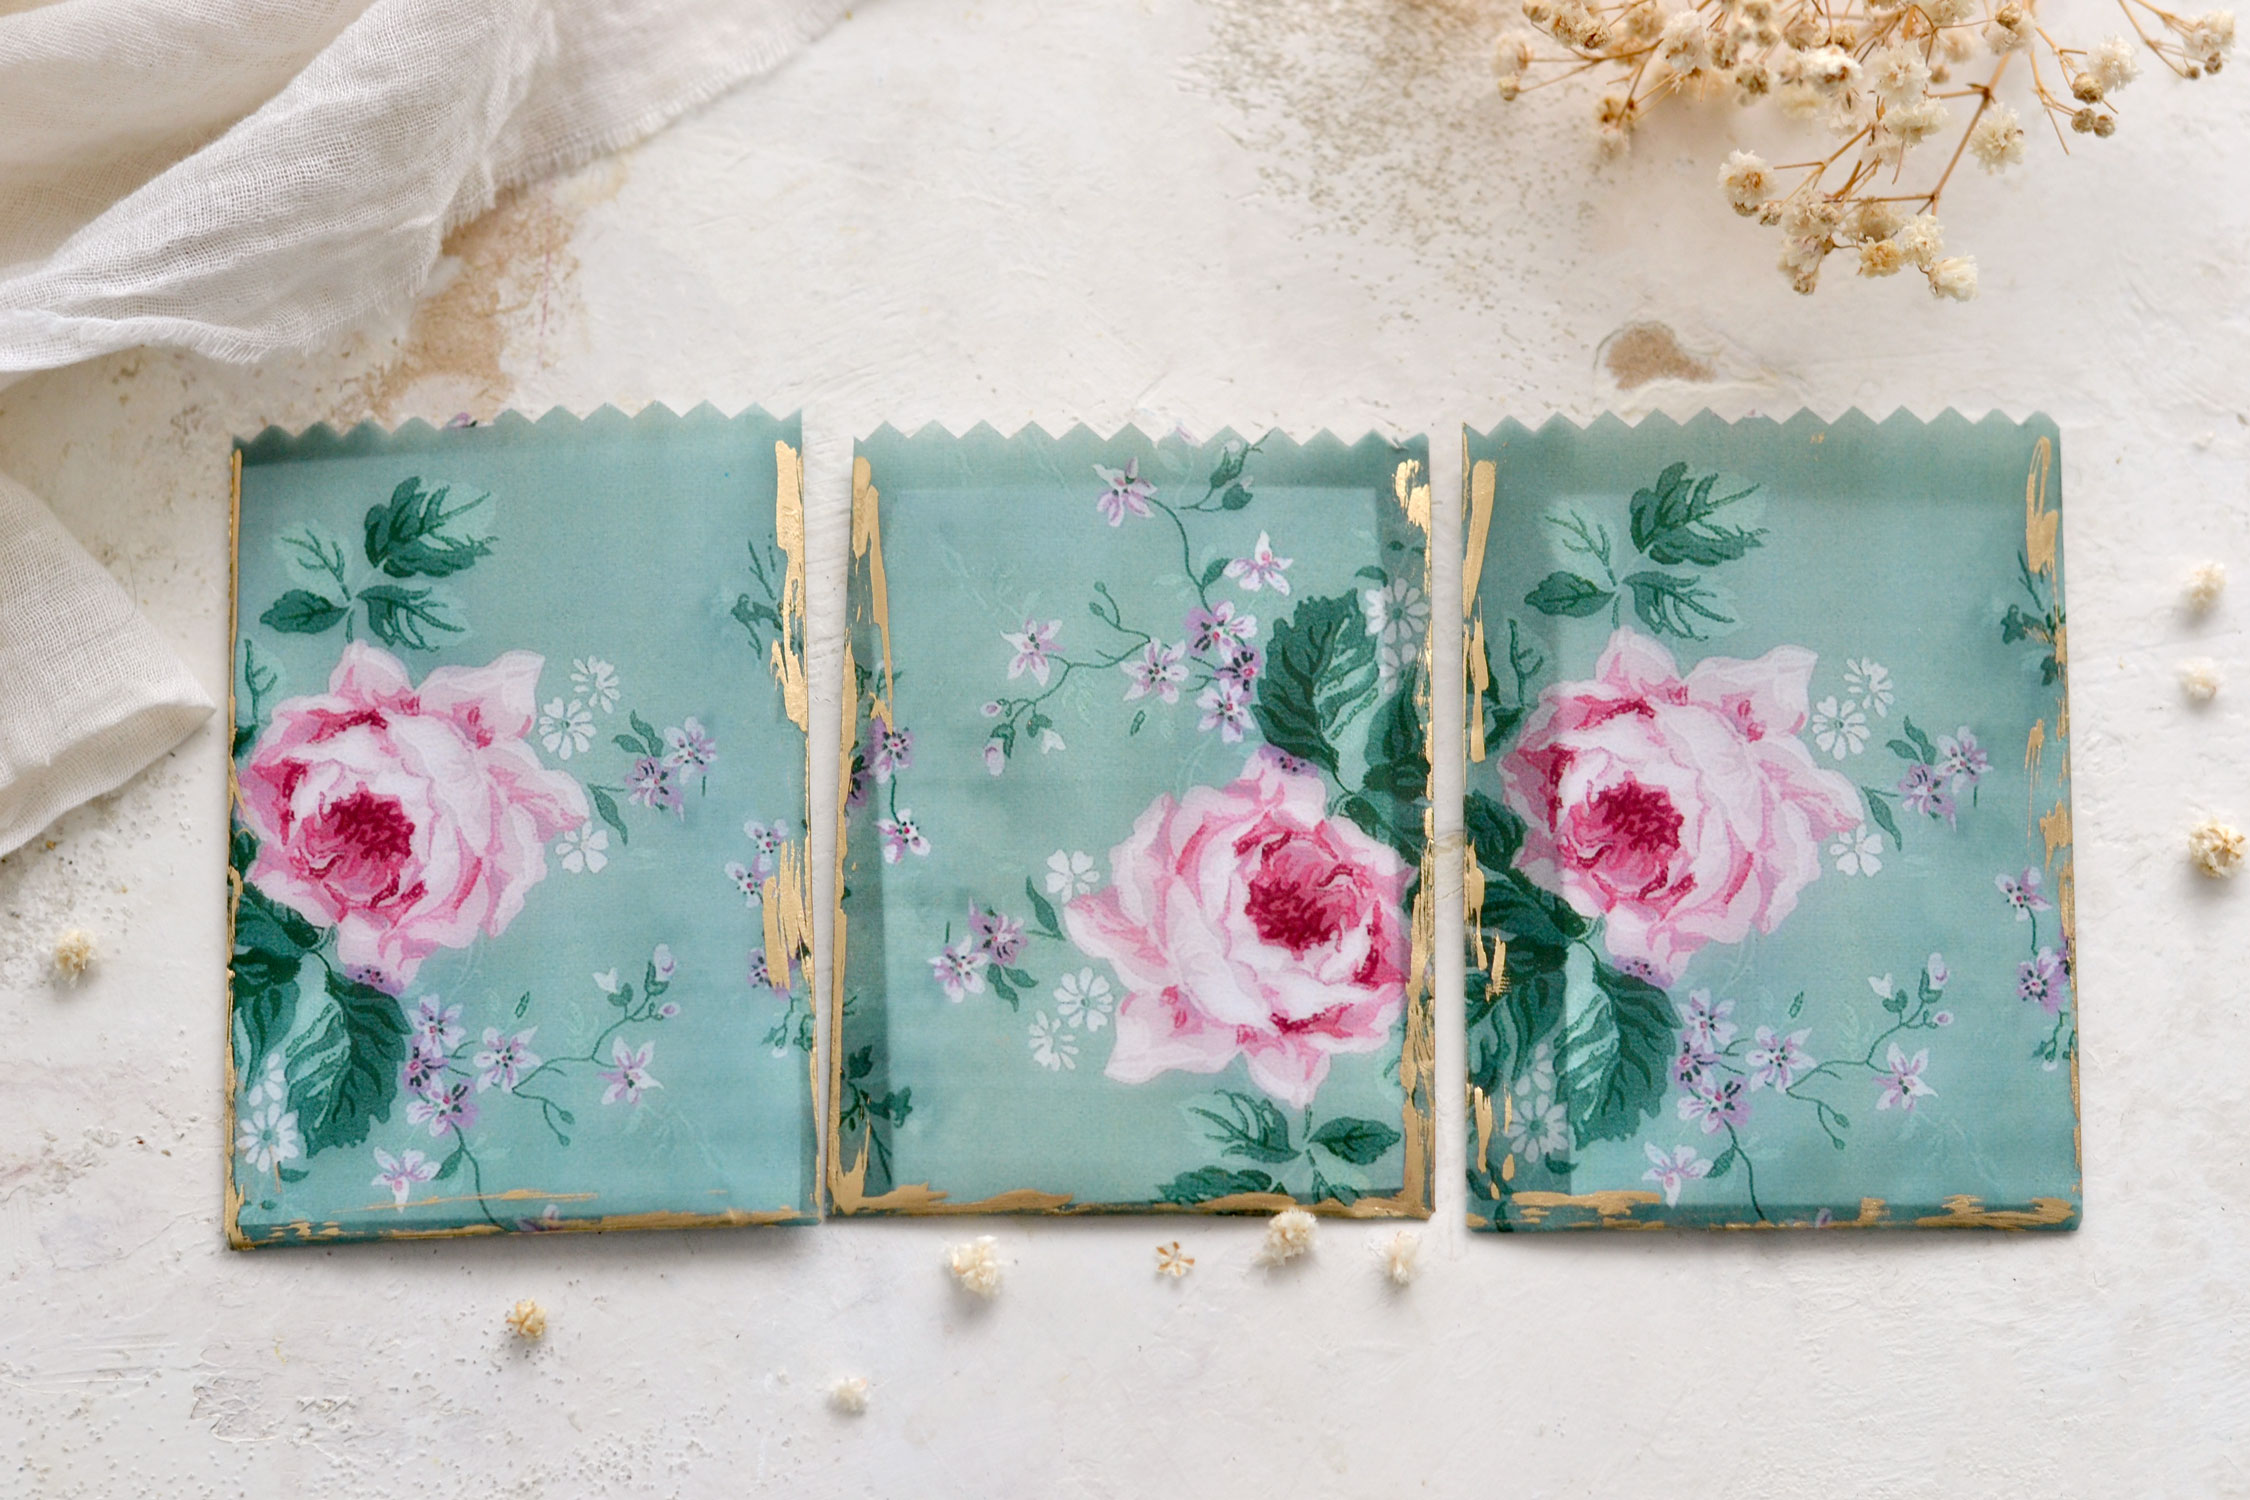
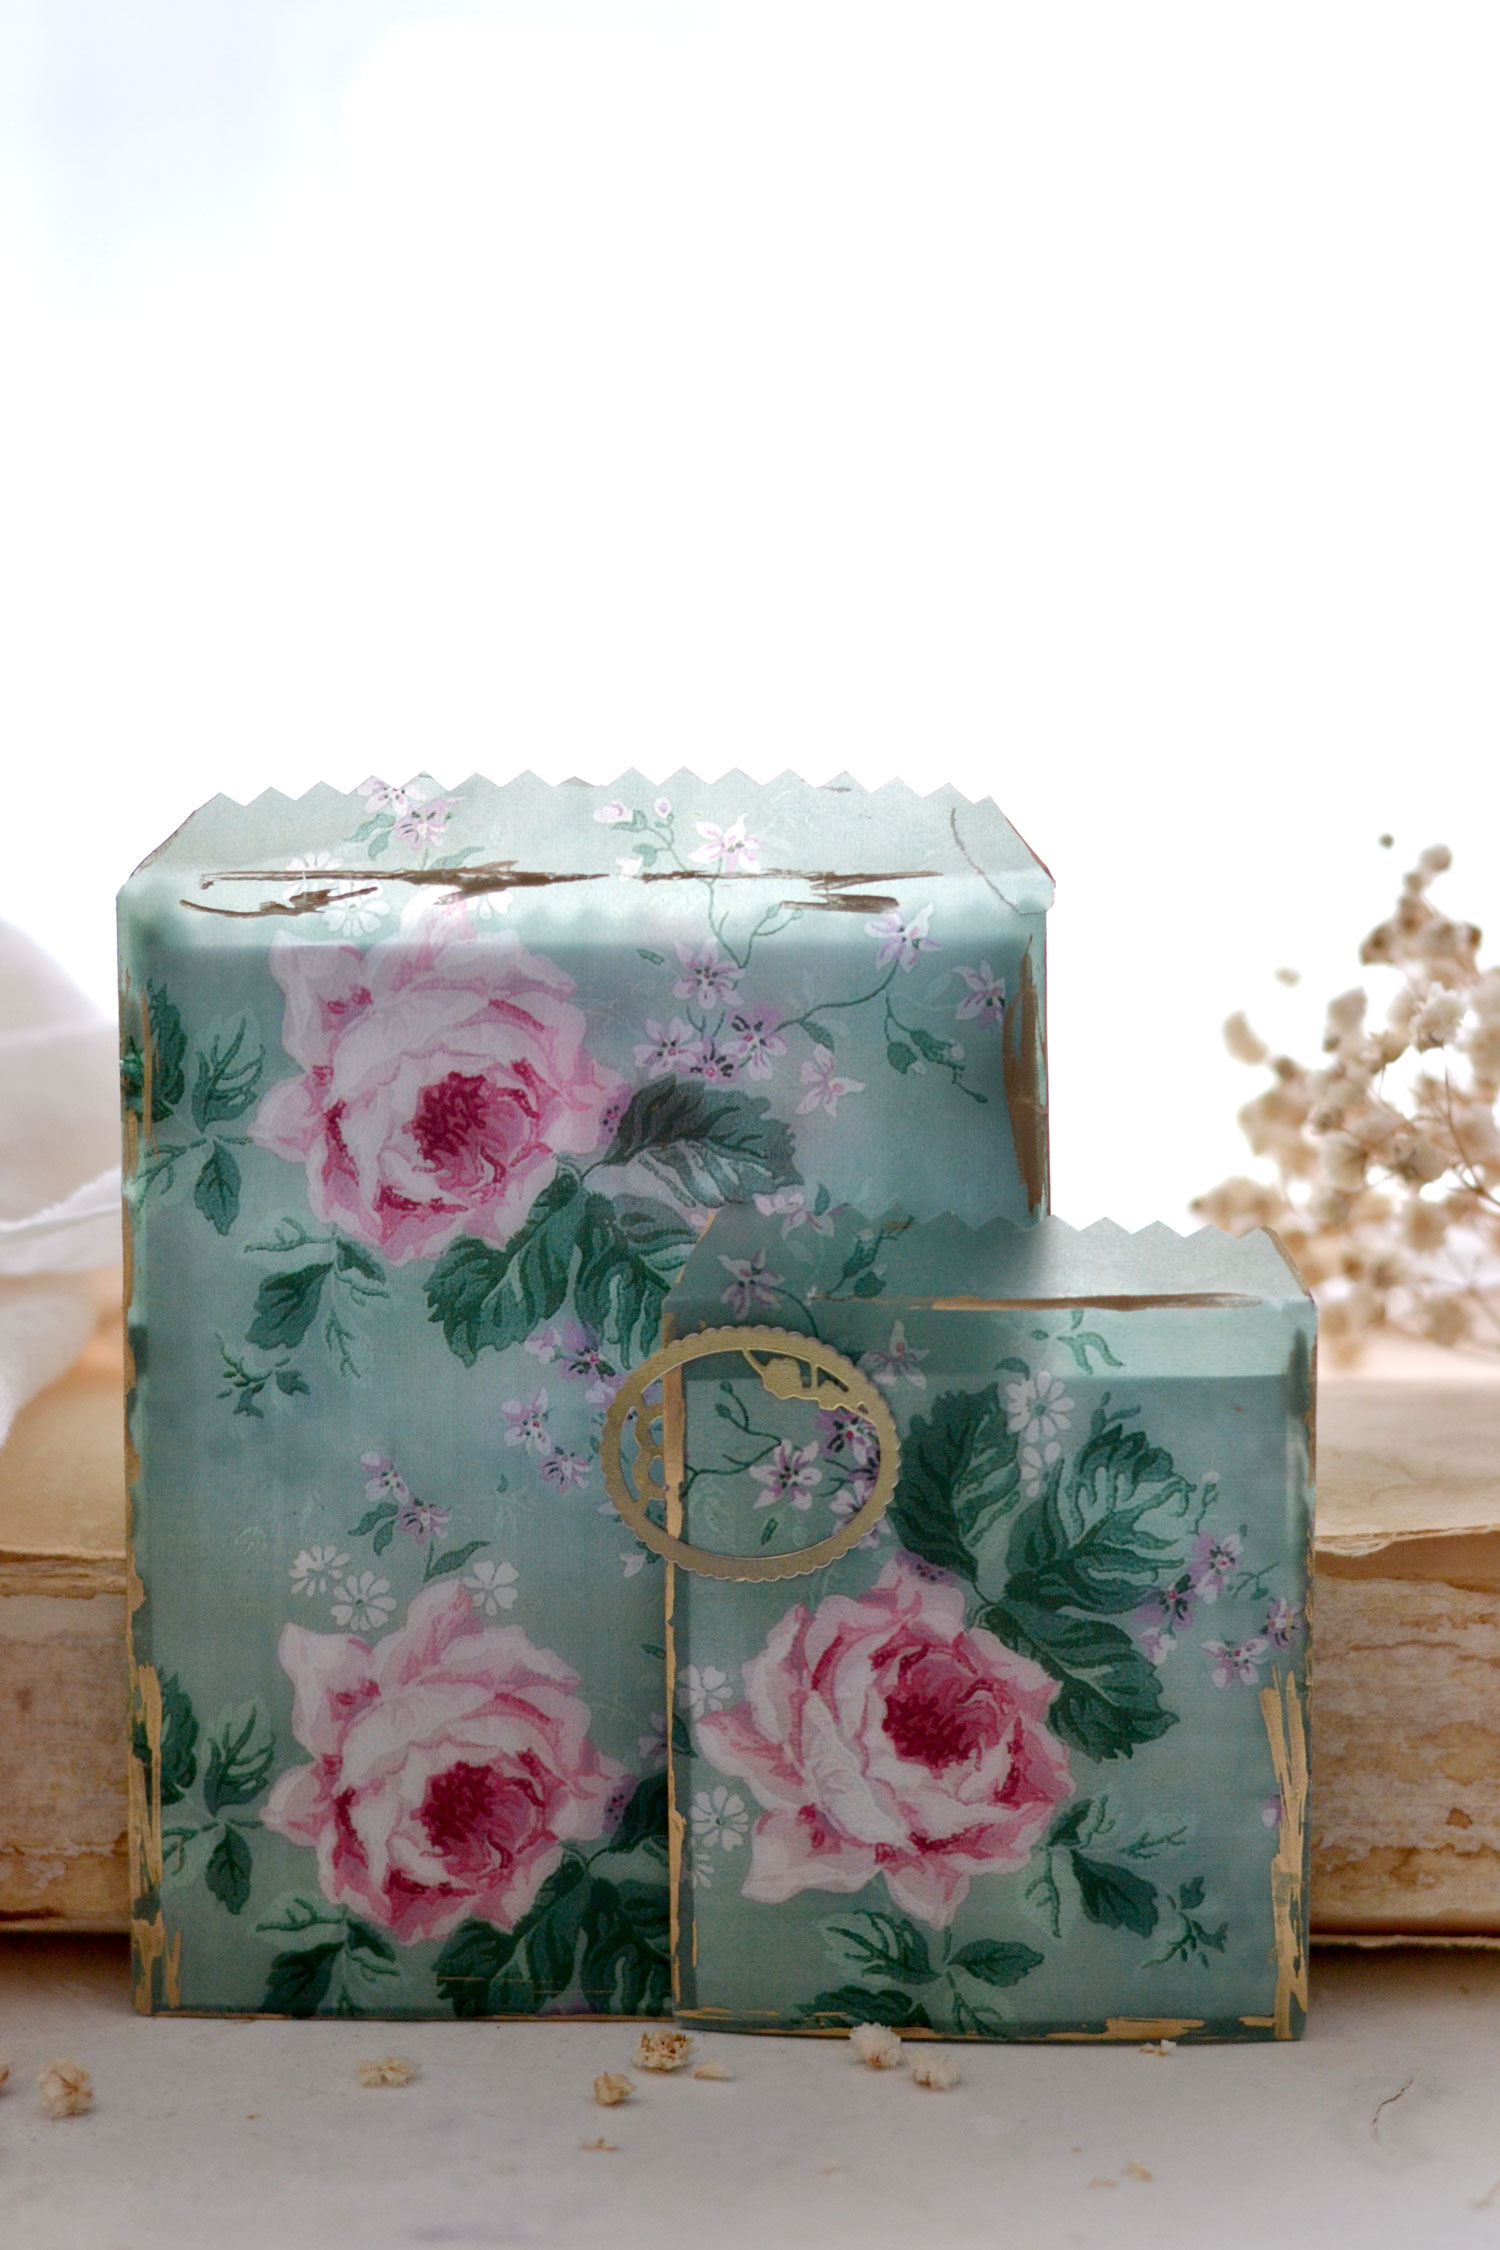
You can create small bags from a quarter of a page (the one on the left), medium bags from half a page (the one in the middle) and these super cute taller versions from a quarter of a page but oriented vertically (the one on the right). And of course, you can make large bags from one sheet of tracing paper, without cutting it in any way.
Now you can further decorate these beauties as you want! I used a little bit of my favorite Decocolor gold marker to add some gold touches here and there, but you can also use gilding wax. You could also use some gold acrylic paint, but I wouldn’t use any water to make sure the paper doesn’t curl when applying it.
I tilted the marker on its side to create irregular gold marker strokes here and there, I didn’t want to make them too perfect.
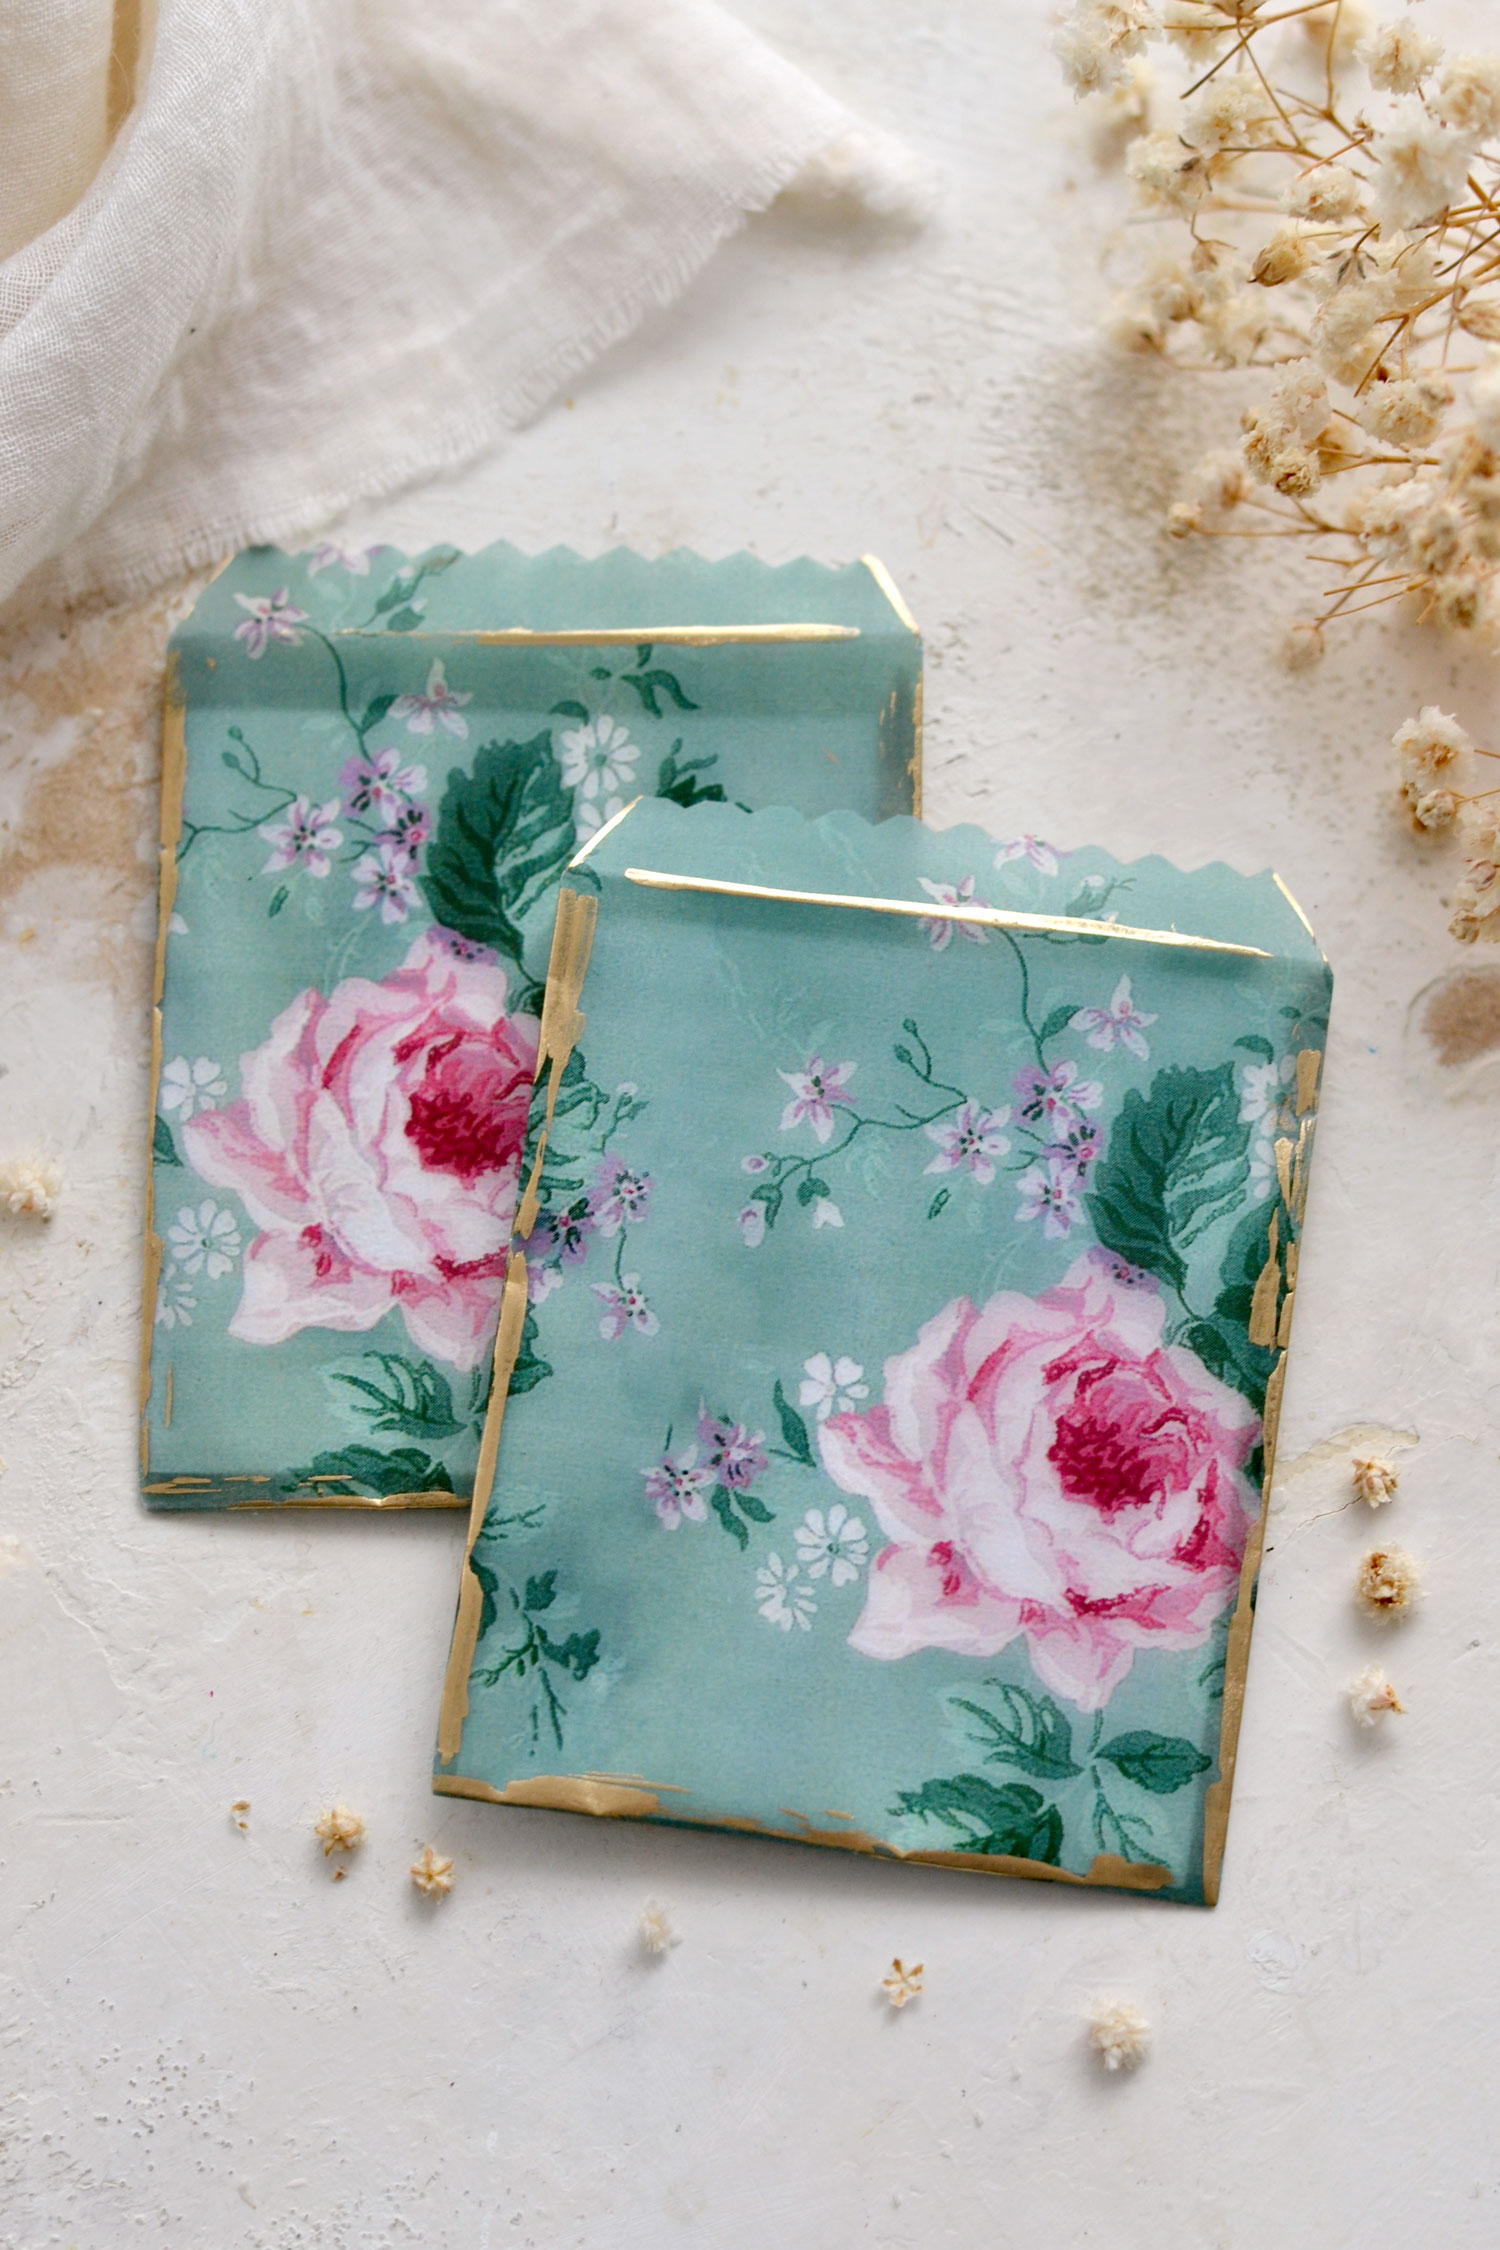
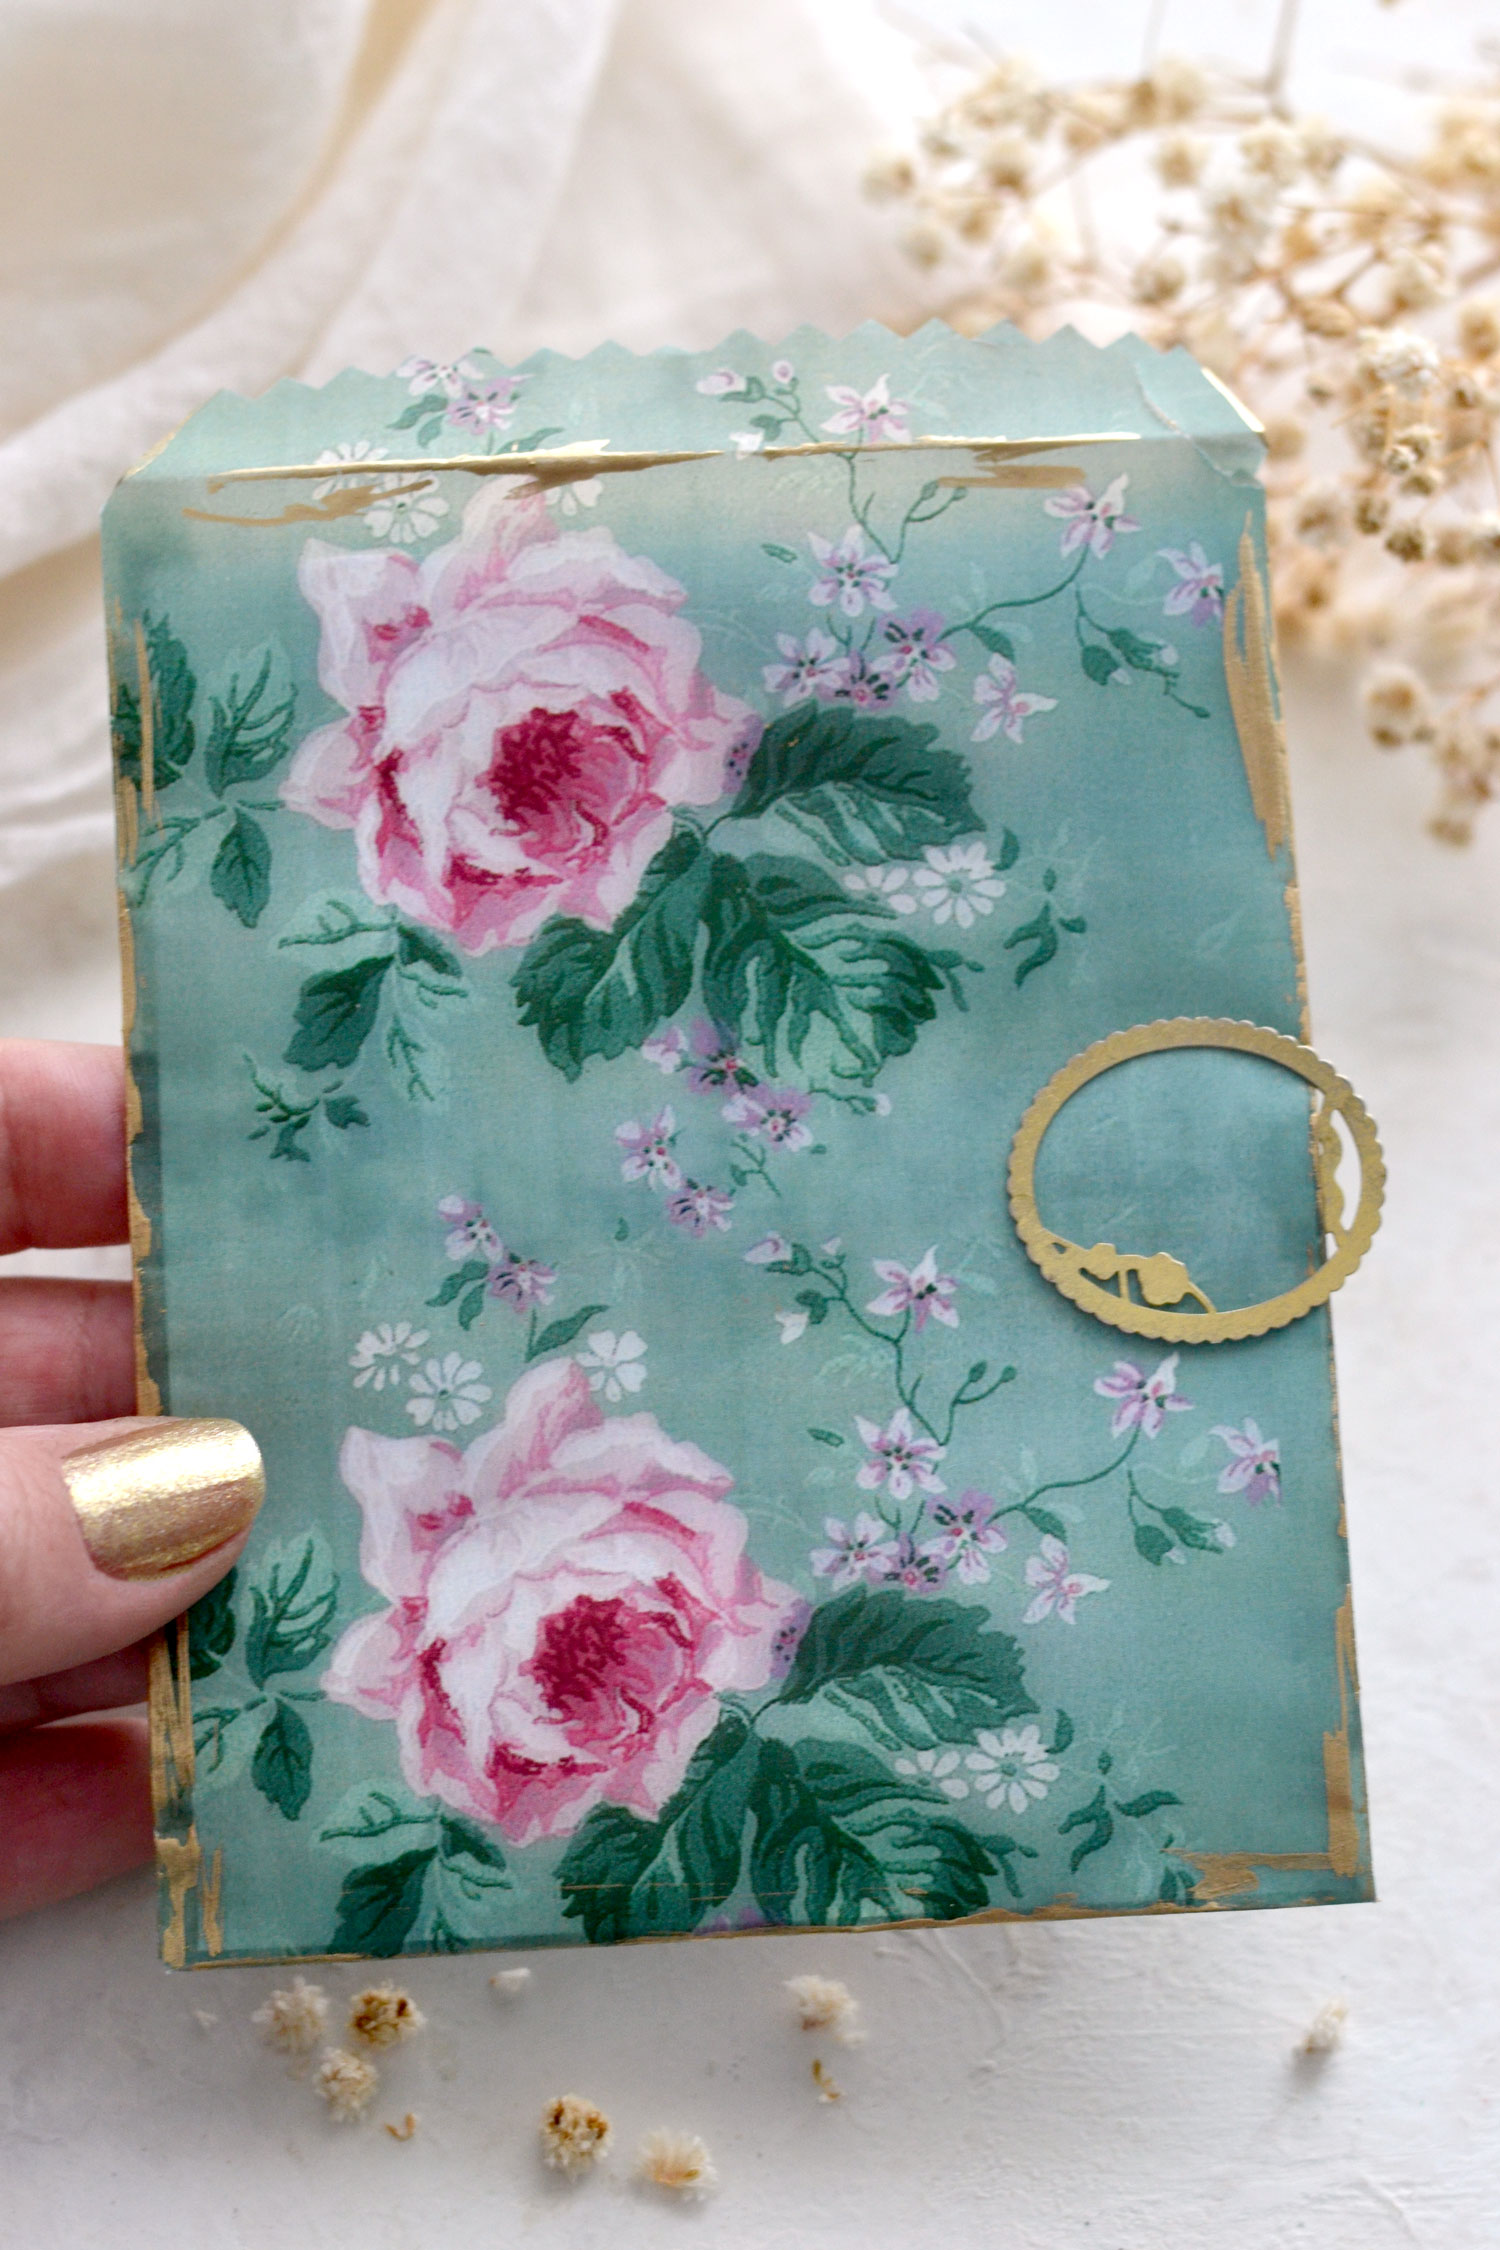
I was amazed to see how gorgeous the finished bags looked, but I also loved how they felt, once you held them in your hand! Tracing paper is rapidly becoming one of my favorite papers!
One thing that you can try while making the bags is to cut the top without making the downward fold! This way you won’t have a flap to actually close the bag, but they will look pretty amazing too! Just use your pinking sheer to cut a straight zig-zag line on top and you are good to go! This works particularly great for smaller bags where you don’t have too much extra space, but it can be used on all the other bags if you like this version better!
You can use gold stickers or gold washi tape to close the bags, but also to imprint them with more of that beautiful gilded charm!
You will see that once you learn how to make the bags, you cannot unlearn this process and you’ll just want to turn everything into gorgeous glassine-looking bags! Hehe!
Tips and tricks:
1. If you want to keep things simple and create simple white glassine bags, you definitely can! Just use unprinted tracing paper and follow all these steps to create all the bags that you want!
2. Parchment paper and wax paper can also be used to create white glassine bags, but I wouldn’t suggest using these two for printing. You can use coffee to distress the paper prior to gluing it, it will give the bags a super vintage and crinkled look. Just experiment and make a few tests to see how they would look and maybe use double-sided tape to glue them.
3. If you don’t have any tracing paper around but still want to give this project a try, you can use regular paper. Of course, the bags will look more like paper bags than glassine bags, but you will be able to exercise the making of the bags and still get great results.
I wasn’t sure about these vertically oriented glassine bags while making them, but I actually loved their quirky tall appearance after finishing them! These can be easily turned into unique pockets for your junk journals to hold long pieces of scrap paper, long tags, paper washi or even bookmarks!
I had to add a little bit of white paper inside of all the bags to photograph them, as you can see, tracing paper is slightly transparent. But even though this sheerness proves sometimes difficult to photograph, it works to our advantage in reality, bringing so much delicacy and charm to all this faux glassine concept!
As an idea, you can use some gold washi on the bags that don’t have a flap on top. Place it vertically on both sides of the bags and leave a little bit of extra tape so it can overlap and keep everything in place. You can tuck anything that you want inside the bags and then peel the washi off when you want to take them out. The gold washi will have both a practical but also a decorative role, making our bags even more charming.
I hope you will love this project and decide to give it a try, you will be able to use your gorgeous handmade glassine bags in so many of your creative adventures!
Depending on your preferences, you can also make bags with other designs, just use tracing paper to print the images that you like and personalize these according to your tastes! Use French ephemera, script or sheet music images if you want to go for a more neutral vibe or experiment with any other images that you love! You might also like our How to Make a Bow out of Wrapping Paper HERE.
Happy crafting,
Diana / Dreams Factory













Jan Southern says
I love this paper pattern–the Roses. The colors are so appealing. I am always on the look out for pinks and reds on aqua or sage backgrounds. Printing on vellum could be adapted to so many projects. Thank you!
Karen Watson says
That old wallpaper pattern is one of my favorites Jan, I’m glad you liked it too!
Maxine Dayhuff-Lowhorn says
Is there a way to make a kraft bag into glassine? I saw kraft glassine bags on Amazon. I have small kraft bags but cannot figure out how to make them glassine.
Thank you for your help.
Karen Watson says
Hi Maxine, I’m not sure. That sounds really cool though!
Lori R. says
Thank you Diana! These are going to be so much fun to make!!!! This might be a silly question, but are there different weights of tracing paper? I have some tracing paper that is very, very thin and I’m not sure that it would go thru a printer. I also have some that is a bit heavier and it’s harder to see thru, but it was still labeled “tracing paper”. Also wondering, if plain velum paper work for these? Now to search for a graphic with petite flower prints.
Karen Watson says
Hi Lori, if the paper is very thin it may get stuck in your printer, the thicker paper would probably work better. Give the velum a try, sometimes experimentation brings about very pleasing results!
YVONNE TUCKER says
I hope you do a video on this bag iy is beautiful .
Karen Watson says
I’m glad you enjoyed Diana’s pretty project Yvonne!