How to Make Foam Stamps
Hello creative friends! I’m Diana from Dreams Factory and I’m ready to share another fun and super exciting tutorial! Today I’m showing you how to make DIY Vintage Foam Stamps! And believe me when I say this – once you start on this ‘making your own stamps’ road, there’s really no turning back! New worlds and new opportunities will open up for you. And whenever you’ll find an inspiring image that will spark your creative flow, your first thought will be – Wait, I actually know how to easily turn this into a stamp! 🙂
I love being in control when it comes to the materials and craft supplies I use in my projects, and I sometimes feel stamps can be quite restrictive. Or quite expensive. It’s not always easy to find the images that you love or best fit your style (or your pocket) and you are basically pushed to take matter into your own hands. And I mean that literally! Crafting your own stamps with the images that you LOVE seems like the next logical step! Especially for people like us, who love everything DIY, right? 🙂
The images I decided to use for this project are somehow universal so you can create a basic set of DIY Vintage Foam Stamps to have around. As always, feel free to further experiment and create other more specific stamps to perfectly fit your needs, The Graphics Fairy could be your hidden treasure when it comes to making the stamps that you like!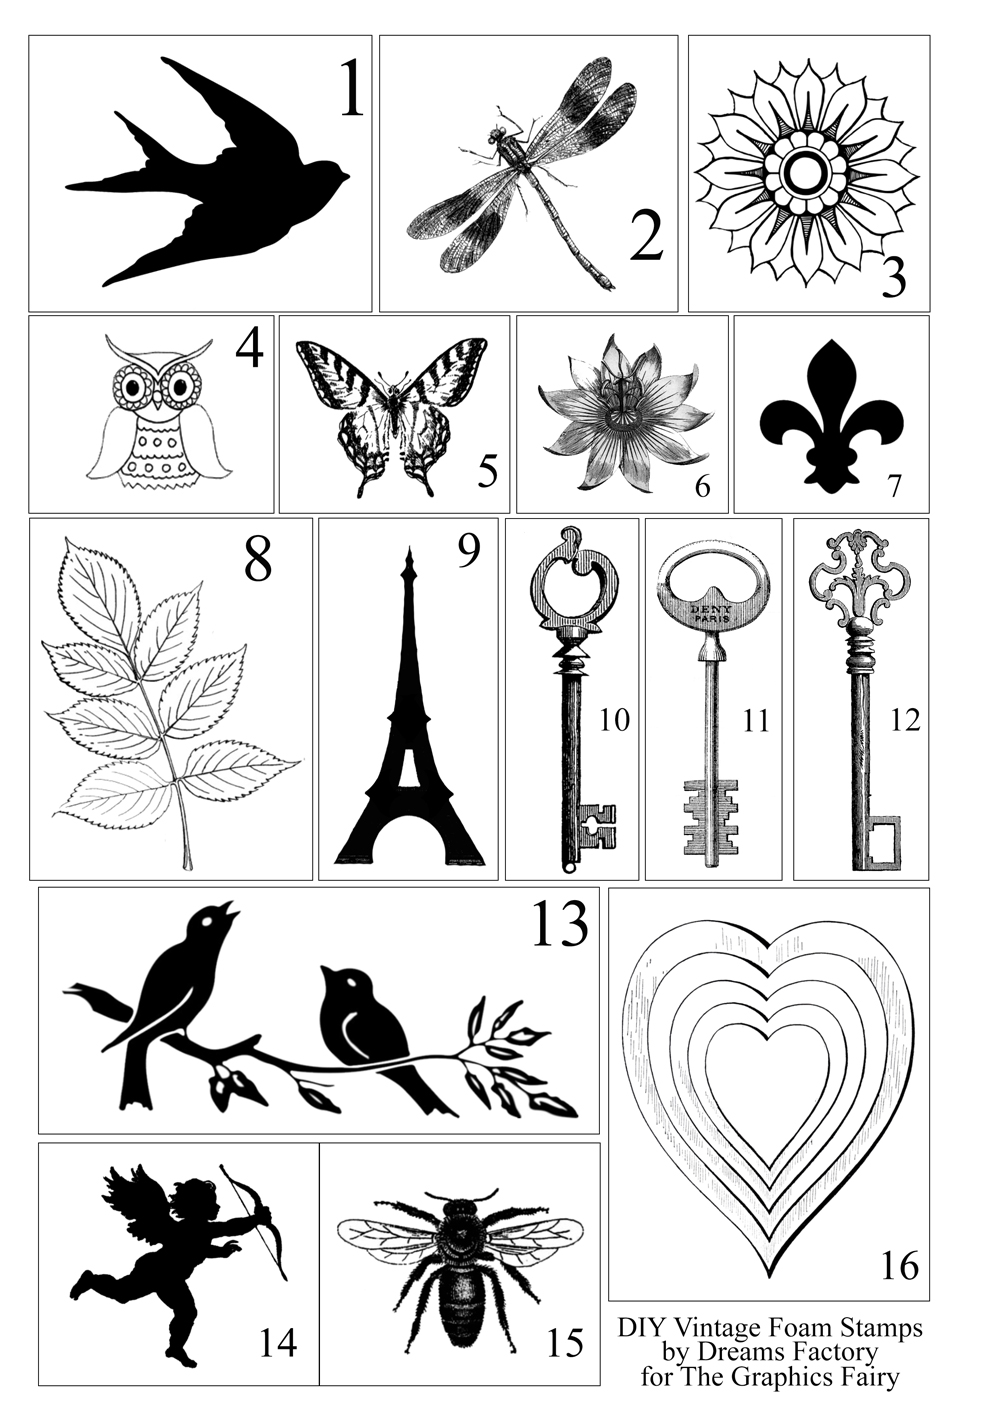
—-> Click HERE to Download the Full Size Printable PDF <—-
How to make DIY Vintage Foam Stamps
SUPPLIES
- scrap wood (I used MDF, just use what you have)
- top handle jig saw (or whatever you have to cut the wood to size)
- EVA foam sheet (at least 2 mm in thickness, regular or self adhesive)
- double sided adhesive sheets (only if using the non adhesive foam sheet)
- mod podge and a brush (optional, if not using the adhesive supplies mentioned above)
- cutting mat
- fine scissors or manicure scissors
- ruler
- embossing stylus (in different sizes)
- craft knife
- a regular pencil
- tracing paper or baking paper (make a few tests before)
- paper tape
- for having fun afterwards use regular black ink pads, colored ink pads, metallic ink pads, Versamark (for embossing)
The first thing you’ll need to do is to cut the scrap pieces of wood – the base for our stamps. To find the size for each stamp you will need to print the free printable with the images first and measure the squares or the rectangles I draw around each image – that will be the size for your wood blocks.
Each image has a different size, so it’s important to always know it’s corresponding piece of wood. To make things easier, use a pencil and write on the wood the corresponding numbers that you find on the printed images. I asked Mr Dreamy to help me with this part and he used a top handle jig saw to cut the pieces to size.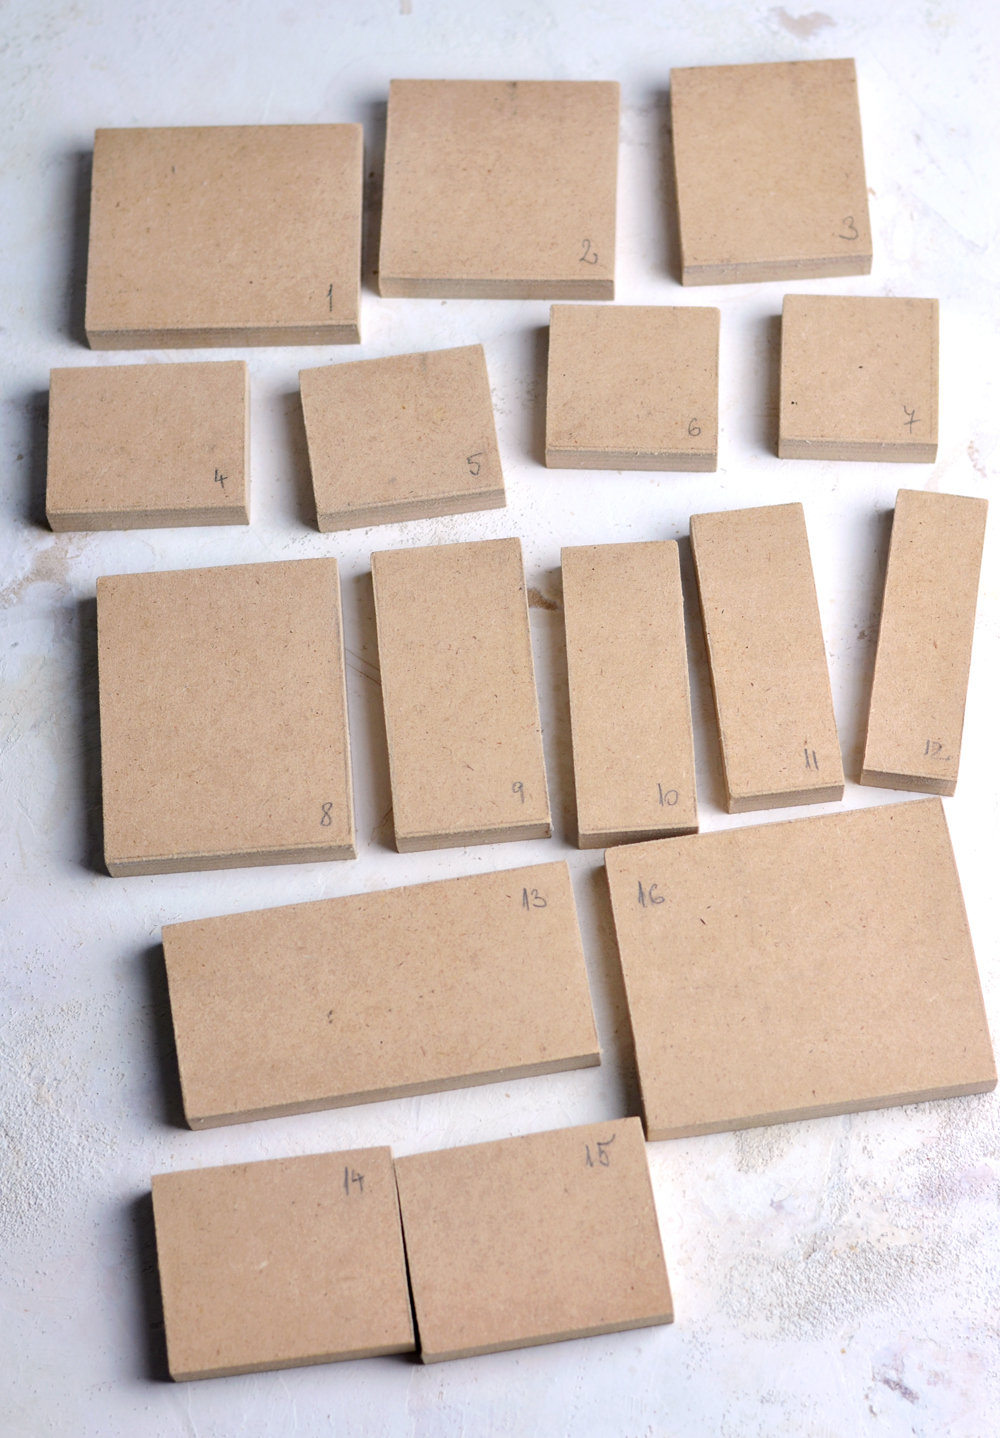
TIPS AND TRICKS:
Write the numbers in the center of the wood blocks (not on the side, like I did) so you don’t have to erase the numbers when finished and just place the foam image on top when arriving to that step.
Use a clear sealer or a stain to protect the wood before applying the foam images so you can enjoy the finished stamps for many years to come.
Now gather all the other supplies and let’s get started!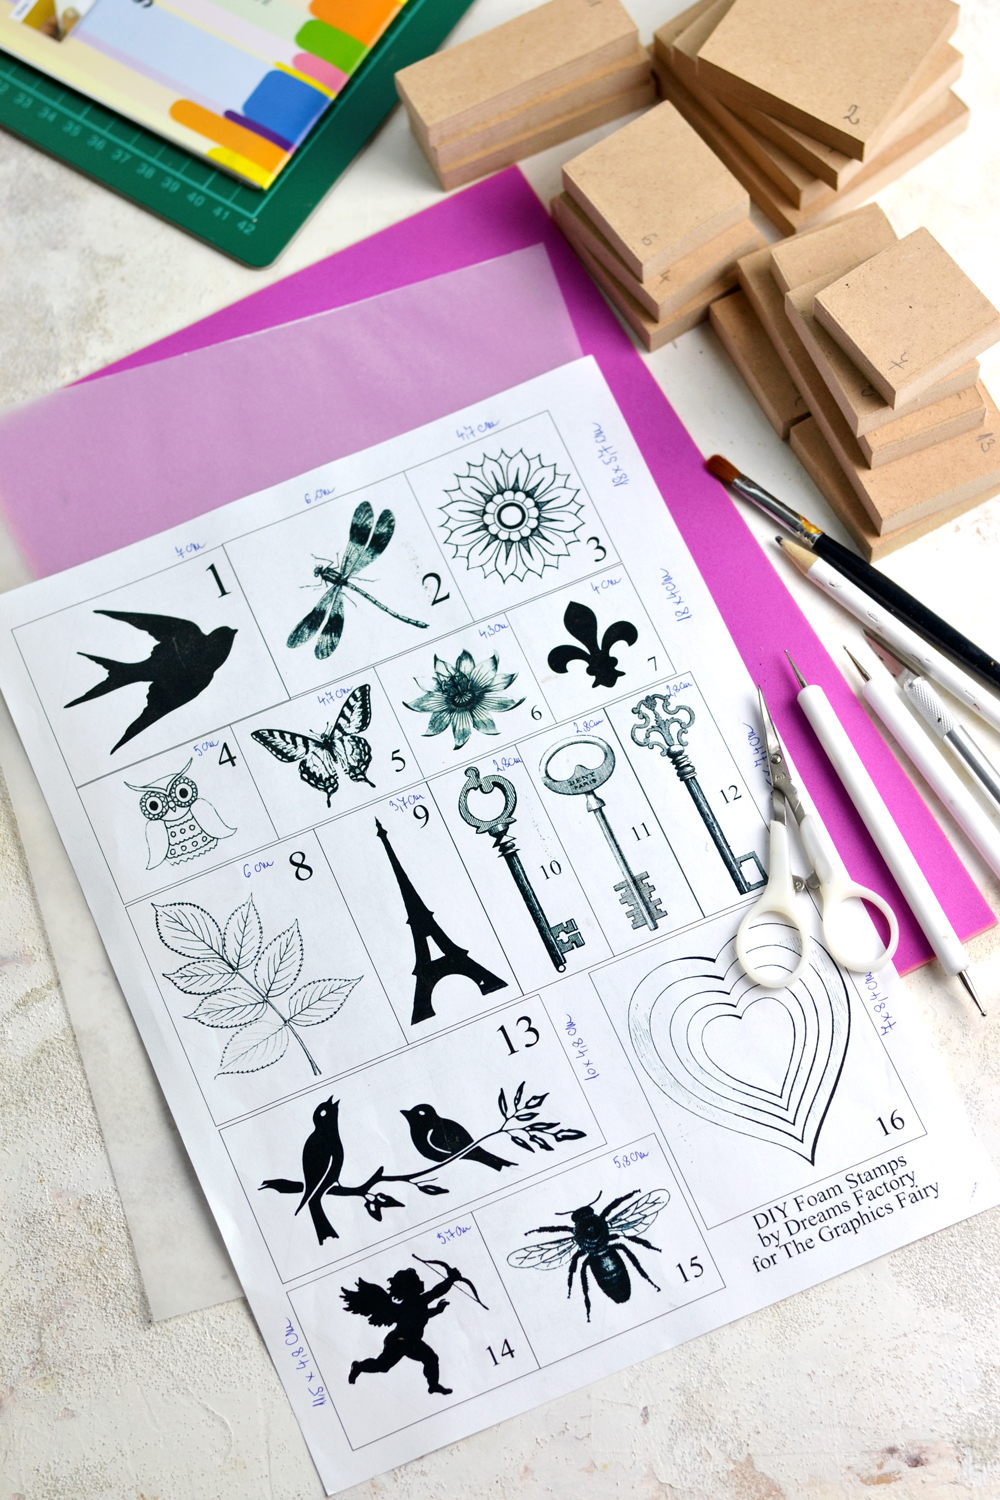
I. How to trace the images on tracing paper
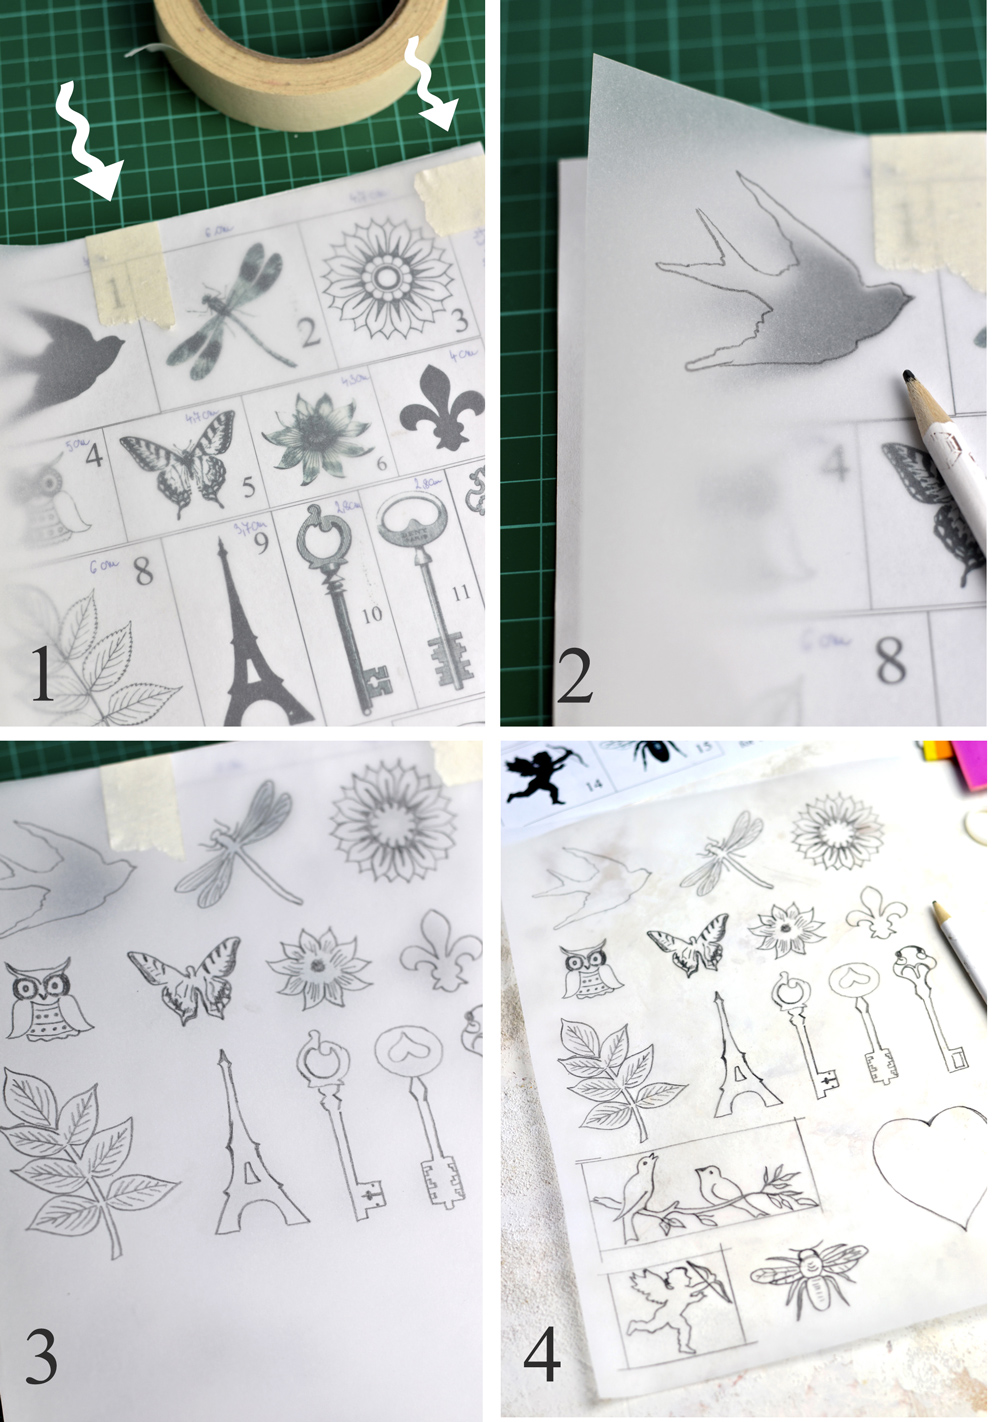
1. Place tracing paper on top of your printable and use paper tape to secure the top parts together. Add another piece of tape to secure the two paper together on one of the sides, too, somewhere on the upper side. We are only securing the top and a small part of the top side (and not all around) because we want to be able to lift the tracing paper from time to time to check our tracing progress.
2. Using a regular pencil, start tracing the silhouette of the first image on your tracing paper following the shape of the image from the printable underneath. Apply quite a lot of pressure and use rather a dull pencil to get best results. Lift the tracing paper after you finished to check if you traced everything. The bird image is quite an easy trace because you only have to trace its silhouette, but moving on, you will also have to trace all the other details of the images .
3. Move on to the other images and try to trace their silhouette (their outside shape) but all the other details from the inside as well. You can try to capture everything as accurate as you can, but also try to keep in mind that the smaller the outside details, the harder it will be to cut them afterwards. So you can round some of the parts that are too narrow or adjust and connect some parts differently, following a more easier shape. Trace each image moving gradually from on side to the other and then downwards and try not to rest your hand on the images that you have already traced. If you are feeling adventurous, you can even add your personal touches to the images by completely changing some elements – for demonstrating purposes, I added a small heart inside of one of the keys and completely changed its appearance.
4. For the birds on the branch and the cupid image I decided to try something different and make a stamp with more negative space and only a traced (not cut) silhouette in the middle. I used a ruler to draw a rectangle around the images (smaller than the one from the printable underneath).
NOTE: Add your double sided adhesive paper on the back of your foam, if your foam doesn’t have an adhesive side.
II. How to transfer the images on the foam
5-6. Place your tracing paper on top of the foam, then carefully (try not to touch too much the images) measure and cut both the foam and the tracing paper on top in smaller pieces. It will be easier to work with smaller pieces on the next step – I divided the whole printable in three segments.
7. Now flip the tracing paper over and carefully place it on top of the first foam segment.
8. Secure it on the side and on the top with some more paper tape and try not to move it anymore. Use your fingers from one hand to hold the tracing paper and the foam together and use your other hand and a paper towel to rub all over the first image. This will transfer the silhouette and all the other details from the tracing paper onto the foam. Rub one image at a time, trying not to move the tracing paper or the foam.
9. Carefully lift the tracing paper after rubbing all the images, hopefully all your foam transfers will be looking good and sharp! 🙂
10. Follow the same steps for all the other foam segments. Remove the tracing paper and using scissors, roughly cut each foam image.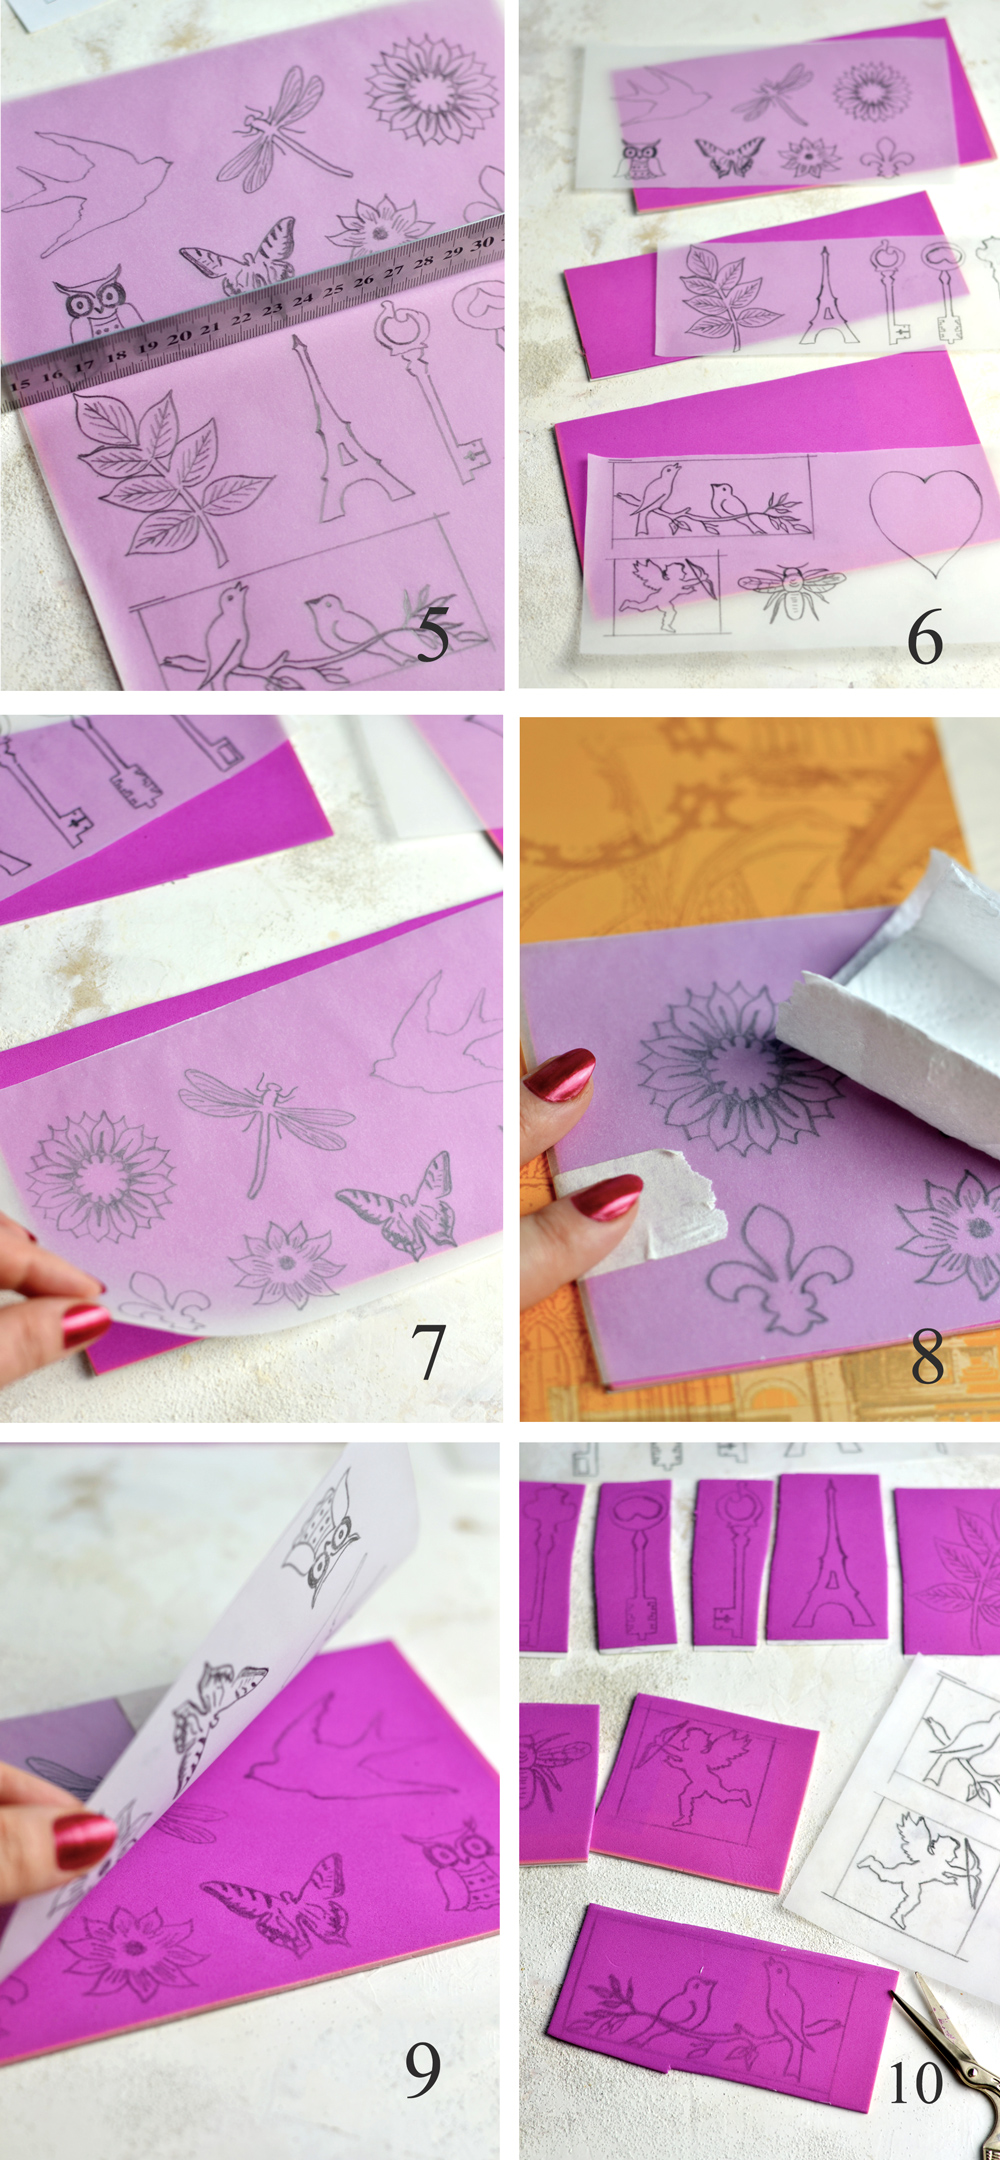
III. How to cut the foam images
I used an X-acto knife and small scissors to cut the outside silhouette of each foam image.
I used an embossing stylus to draw all the other smaller details on the foam images. The embossing stylus will leave indents on the foam that will be visible when using the stamps afterwards.
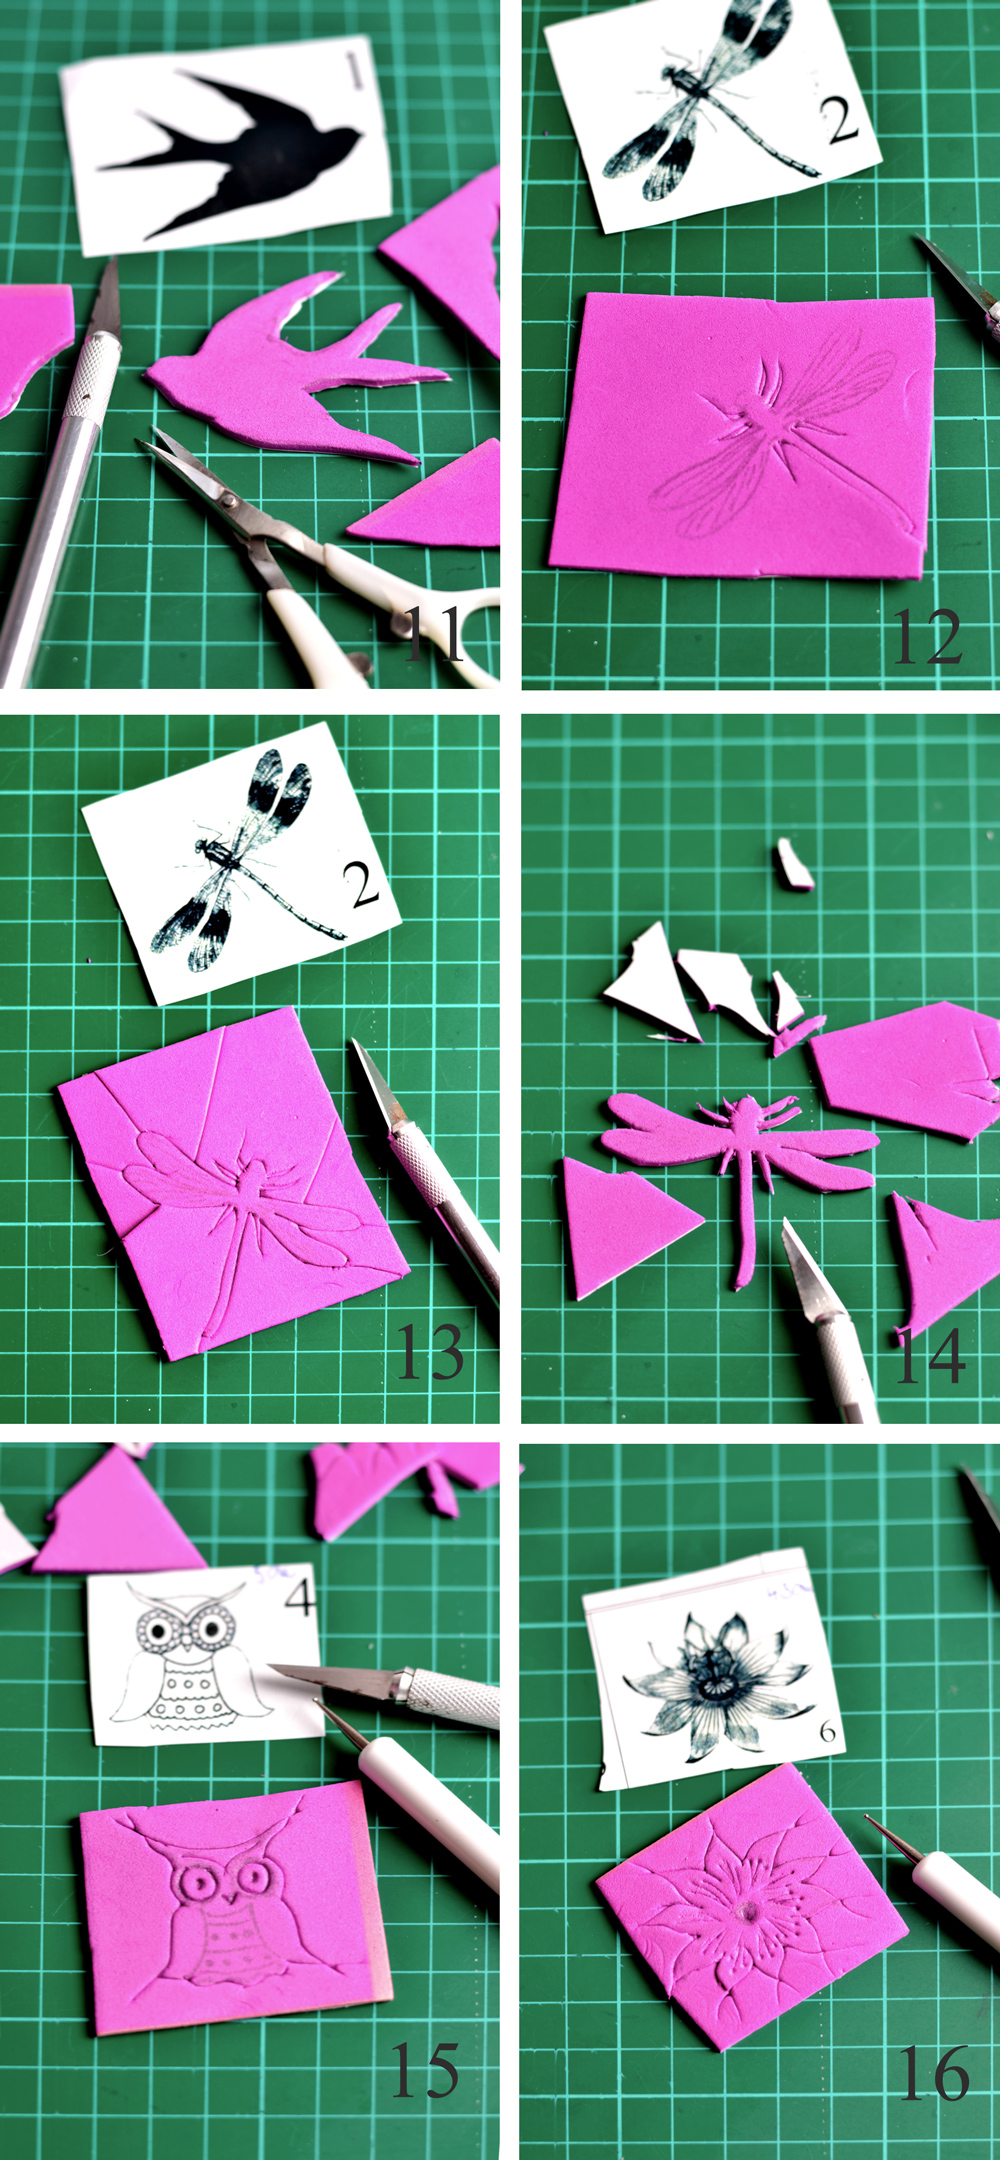
11. Now it’s time to cut the foam stamps! I had best results using an X-acto knife, but I also use my manicure scissors here and there. What I also did was to cut each of the images (with its corresponding number) from the free printable and placed it close by, so I can always check the details if needed to. Each image will be in reverse for now.
12. I always started with the smaller parts of the silhouette that needed to be cut, like the antennas of the dragonfly, the legs and the thinner segmented part, then moved to the wings. I improvised with the antennas and the legs (the smaller elements) a lot and I found it easier to create my own cuts rather then follow the exact traced image. You will need to do this a lot for the smaller outside details, but try not to stress too much and just improvise as you go.
13-14. I cut the negative space around the image itself in other smaller parts, so I can easily remove them after cutting.
15. So remember, you’ll need to use the X-acto knife to cut the outside shape of the image and the embossing stylus to draw all the other details from the inside of the image.
16. You can use the embossing tool to create a totally different design on the inside of the image!
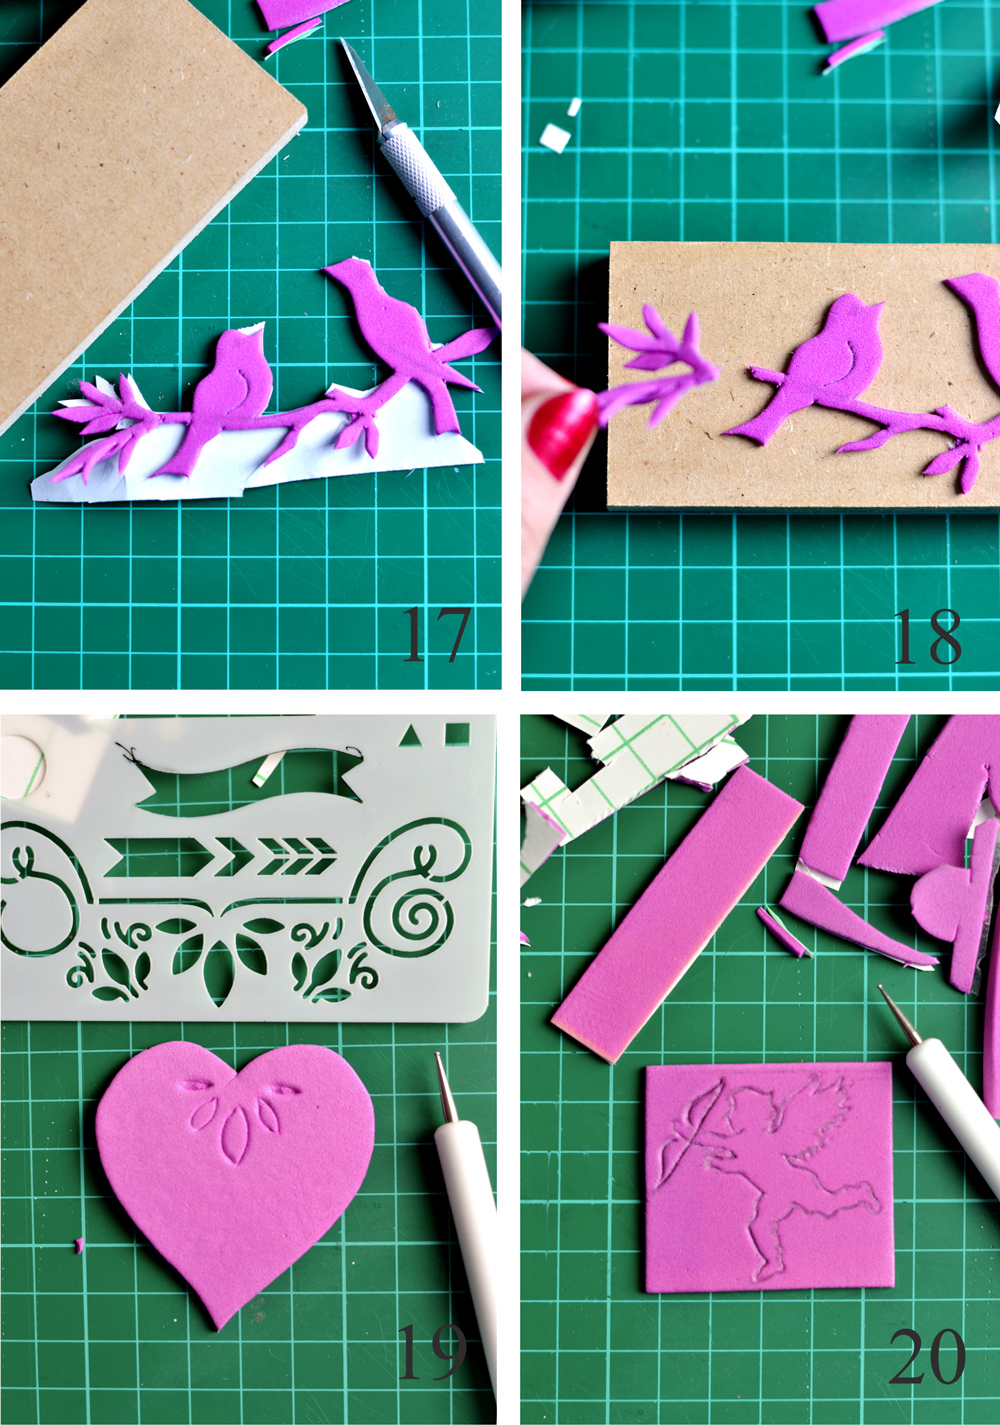
17. Don’t expect to be able to cut everything perfect, because you won’t – except if you have X-acto super skills or own a Silhouette! 🙂 But you will see that you will get more and more confident after cutting a few images. Like these sweet little birds on the branch that I didn’t initially planned to cut and only wanted to trace, remember? I decided to try the cut after all and I was so happy with how they turned out!
18. I actually had a small incident with one of the branches that broke when removing the excess foam. But I was able to fix everything, I just adhered the larger piece of the image onto the wood first, then added the smaller broken piece afterwards.
19. You can free hand or use stencils to draw (using your embossing stylus ) more interesting designs on your cut images.
20. And for the cupid stamp, you can trace and cut it’s silhouette, like you did with the other images or you can cut a square shape and trace the image with your embossing stylus , like I did.
IV. Adhere the cut foam images to the wood stamps
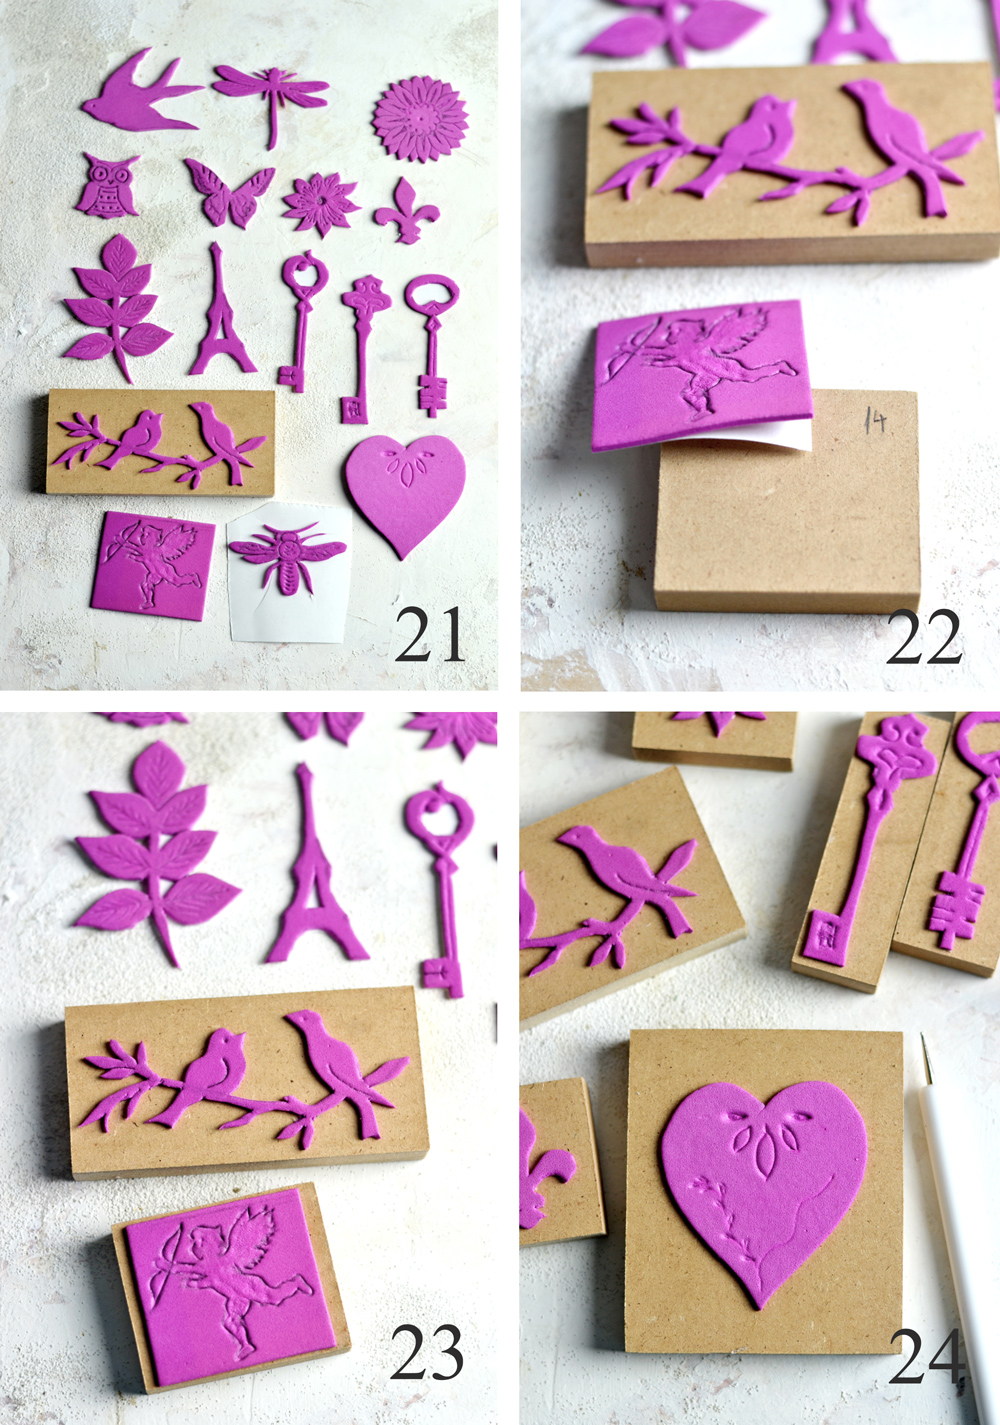
21. Phew, your foam images are finally ready for the next step! 🙂
22-23. Remove the backing paper from each foam image and adhere it onto its corresponding wood piece.
24. Use your embossing stylus again to add more details if needed or just move to the most fun step – actually using the stamps! 🙂
But first, let’s just take a second here and acknowledge that you’ve just created some pretty amazing DIY Vintage Foam Stamps!!! 🙂
VI. Adding small details – the finishing touches
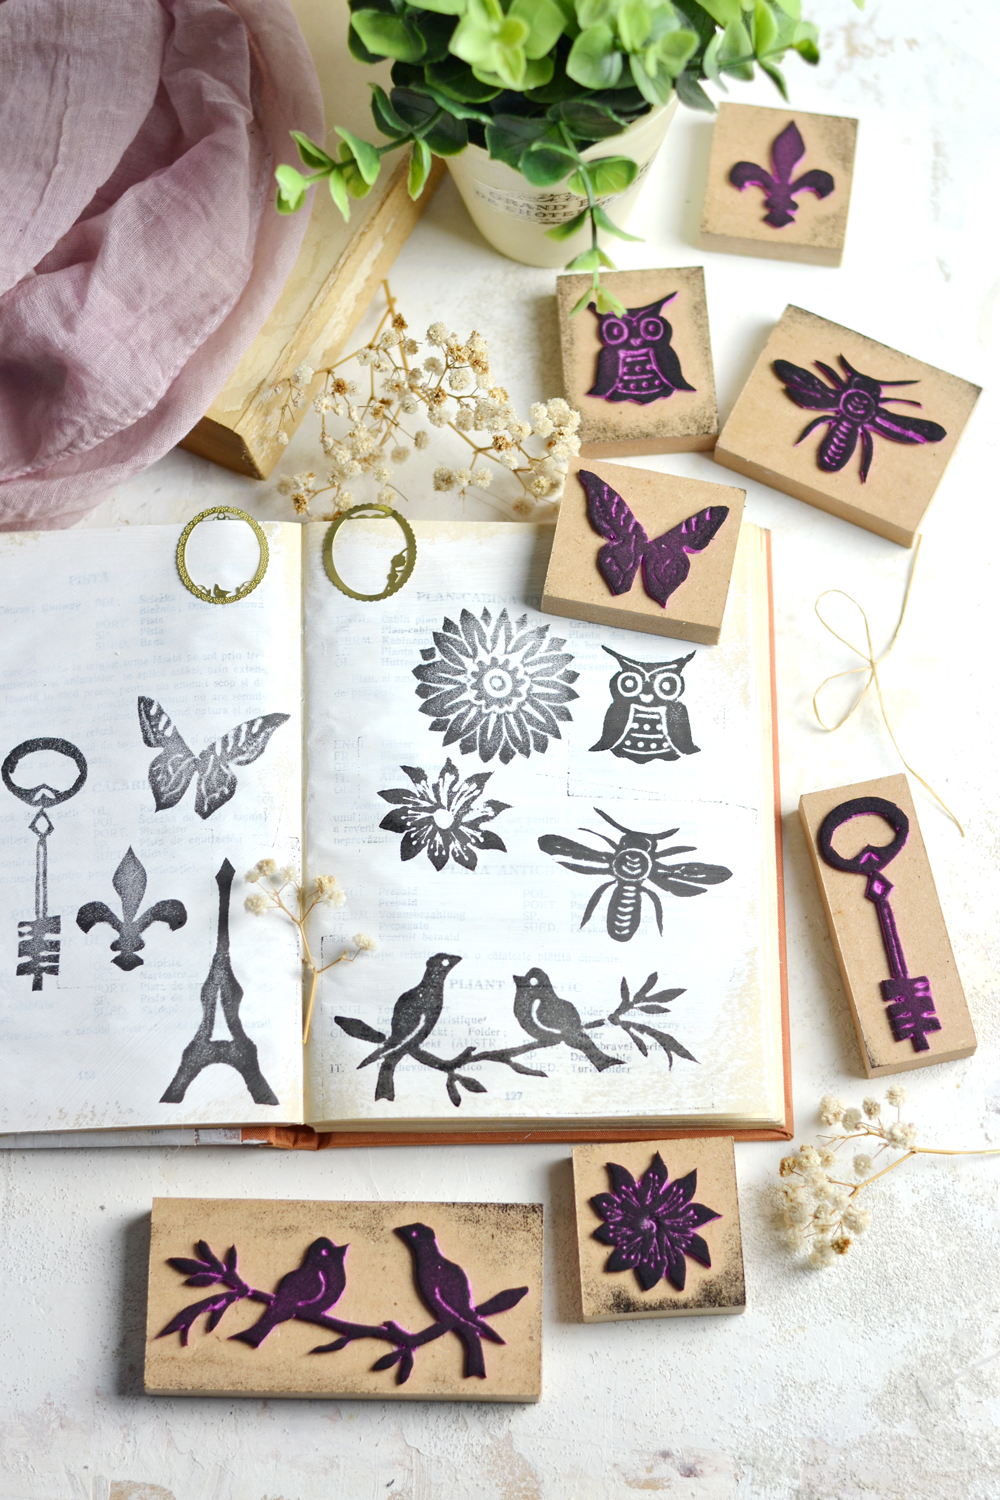
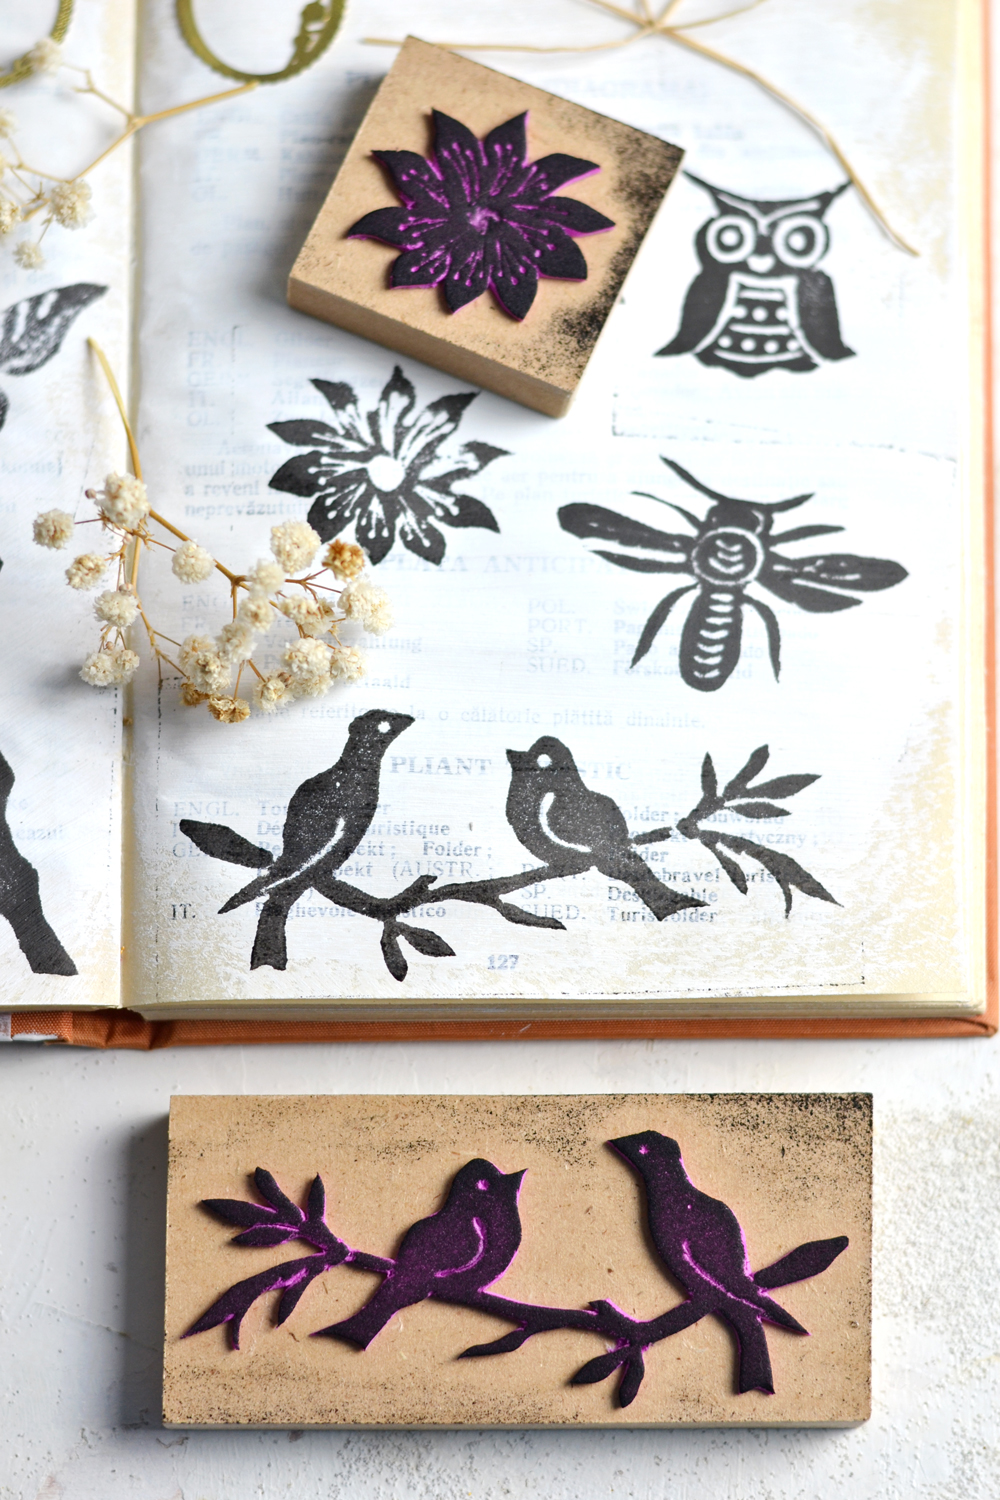
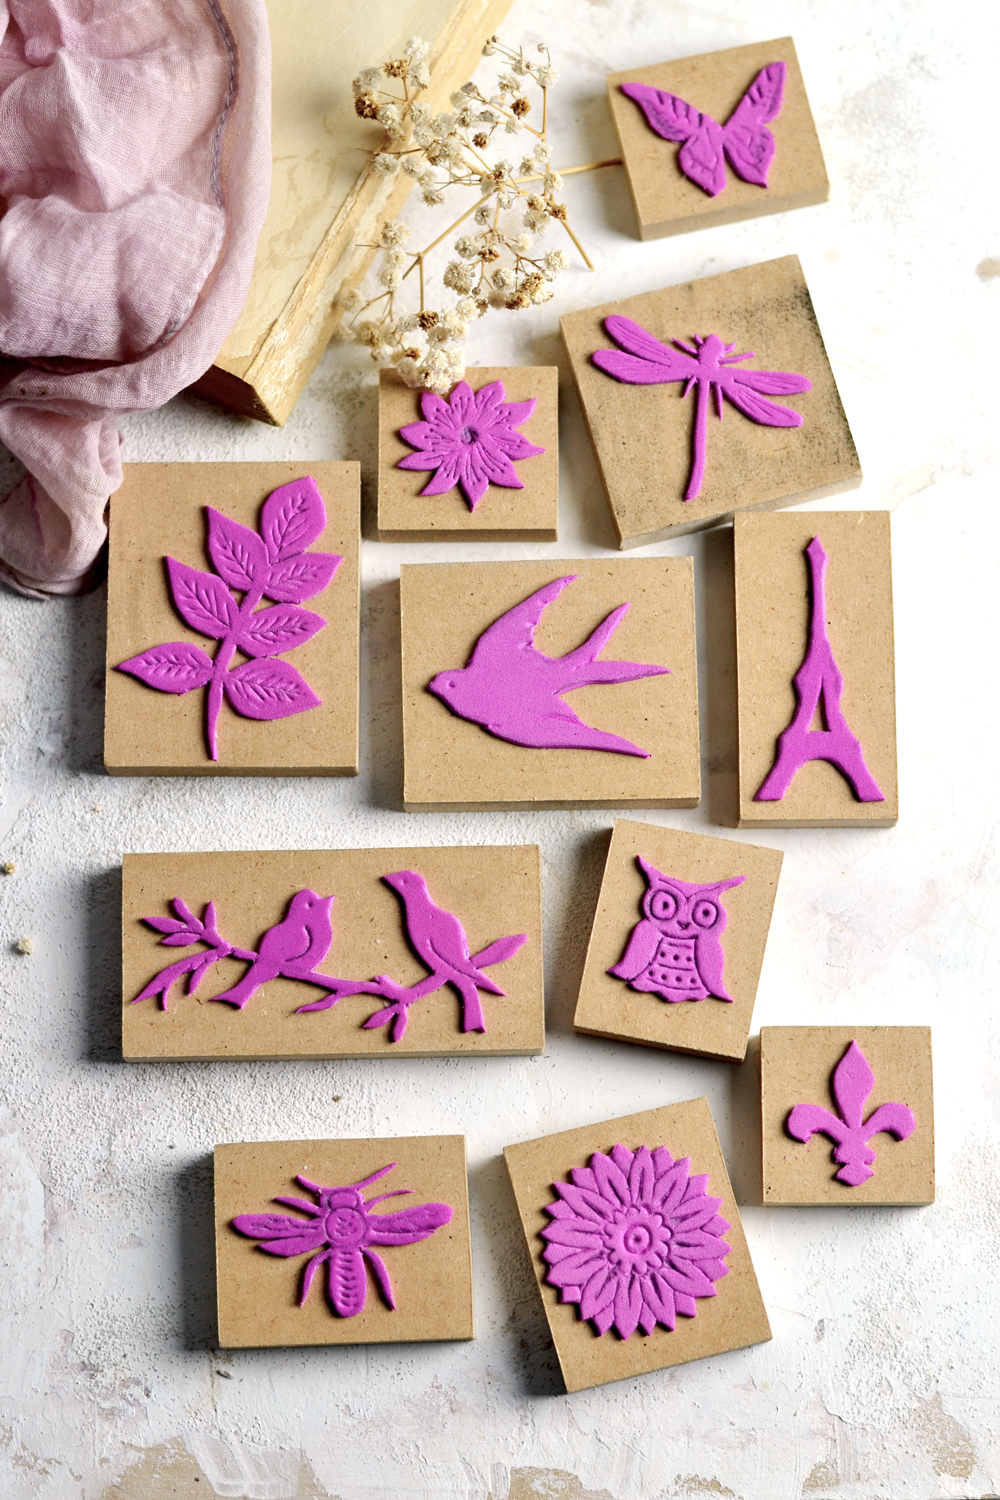
As you can see I played a little bit with my embossing stylus and drew a few other lovely details here and there to add more interest to my stamps.
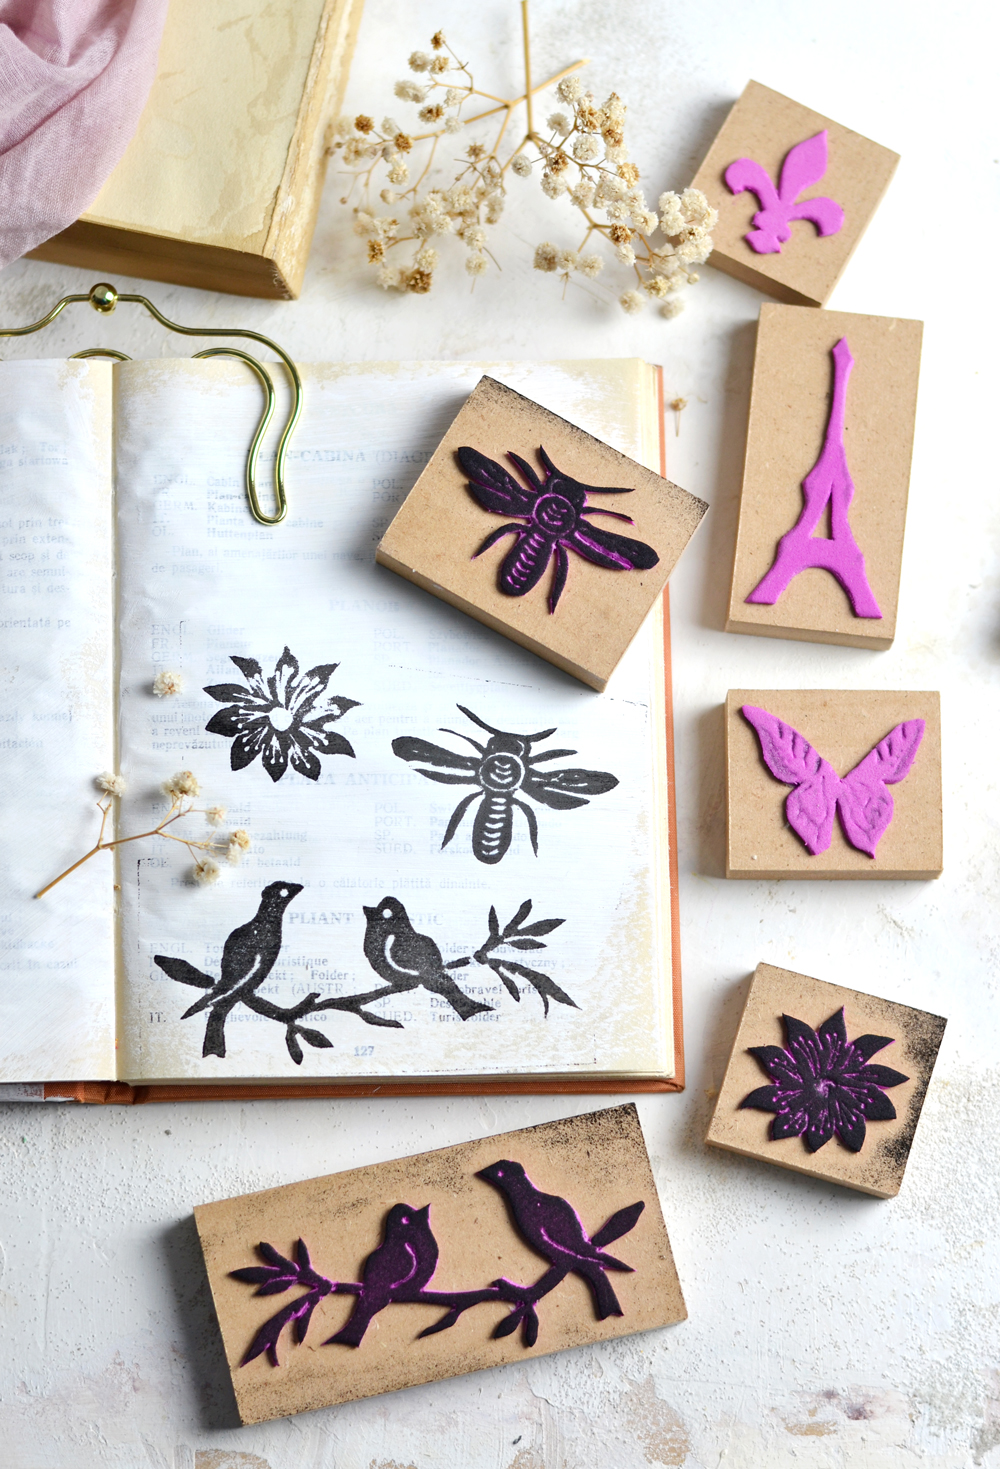
On the first row – I drew a small dot to make an eye on my bird silhouette stamp; I drew fine lines to enhance the dragonfly’s wings; I defined each of the petals of the flower.
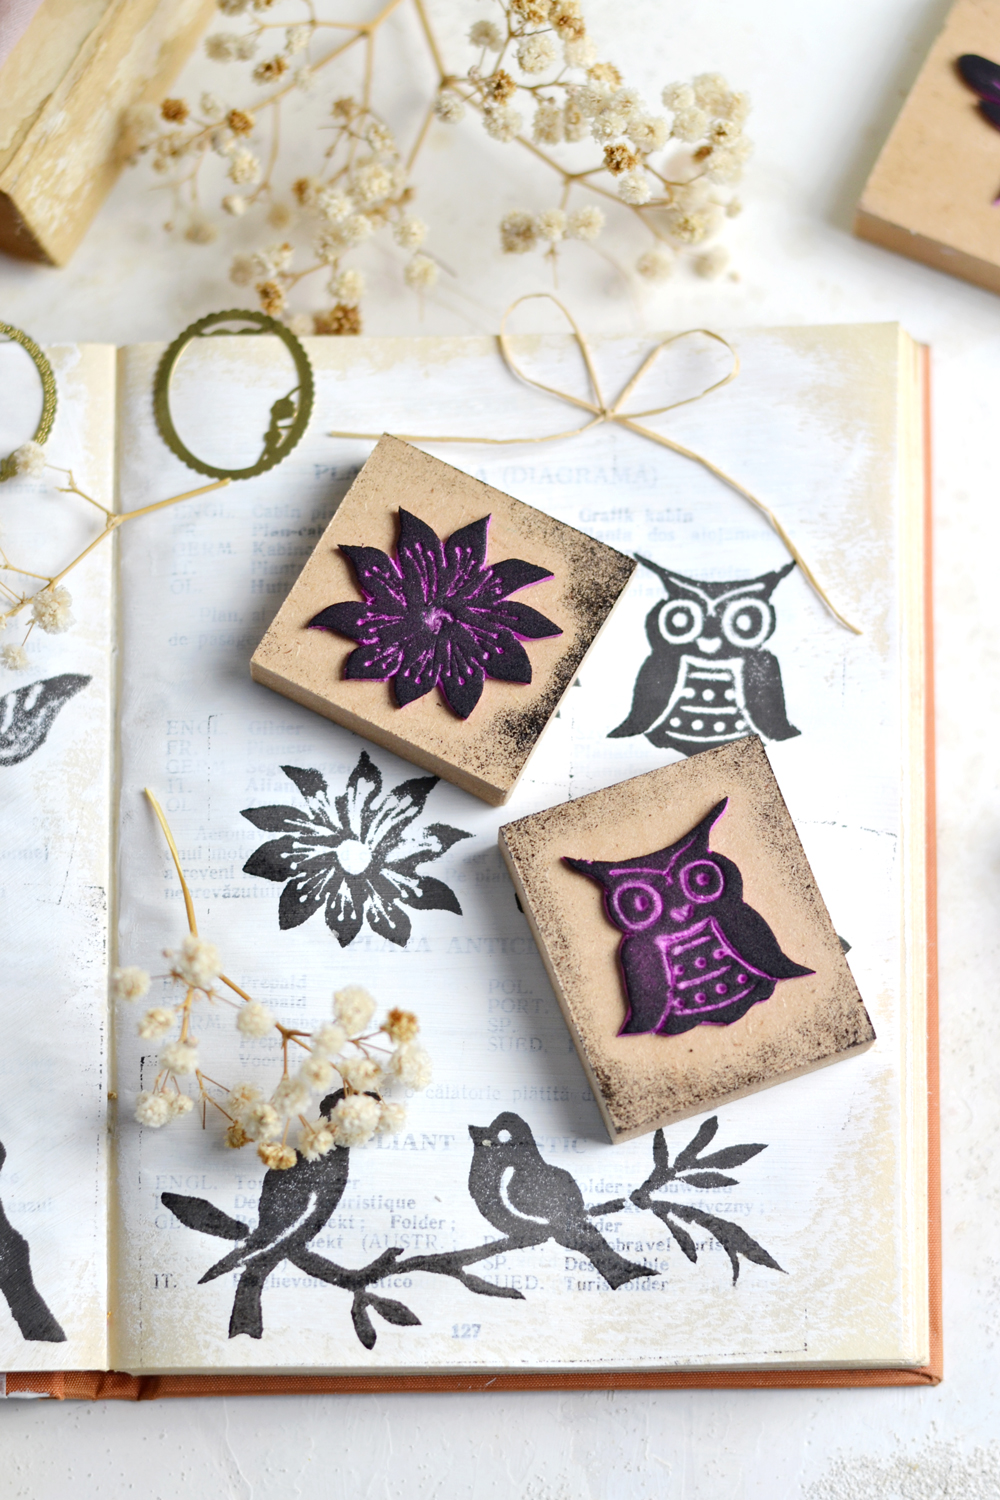
On the second row – I drew the eyes, the beak and all the other details of the cute owl; I enhanced the design on the lovely butterfly, following the original image design; I added really fine lines in the middle of my flower and really fine dots at the end of the lines.
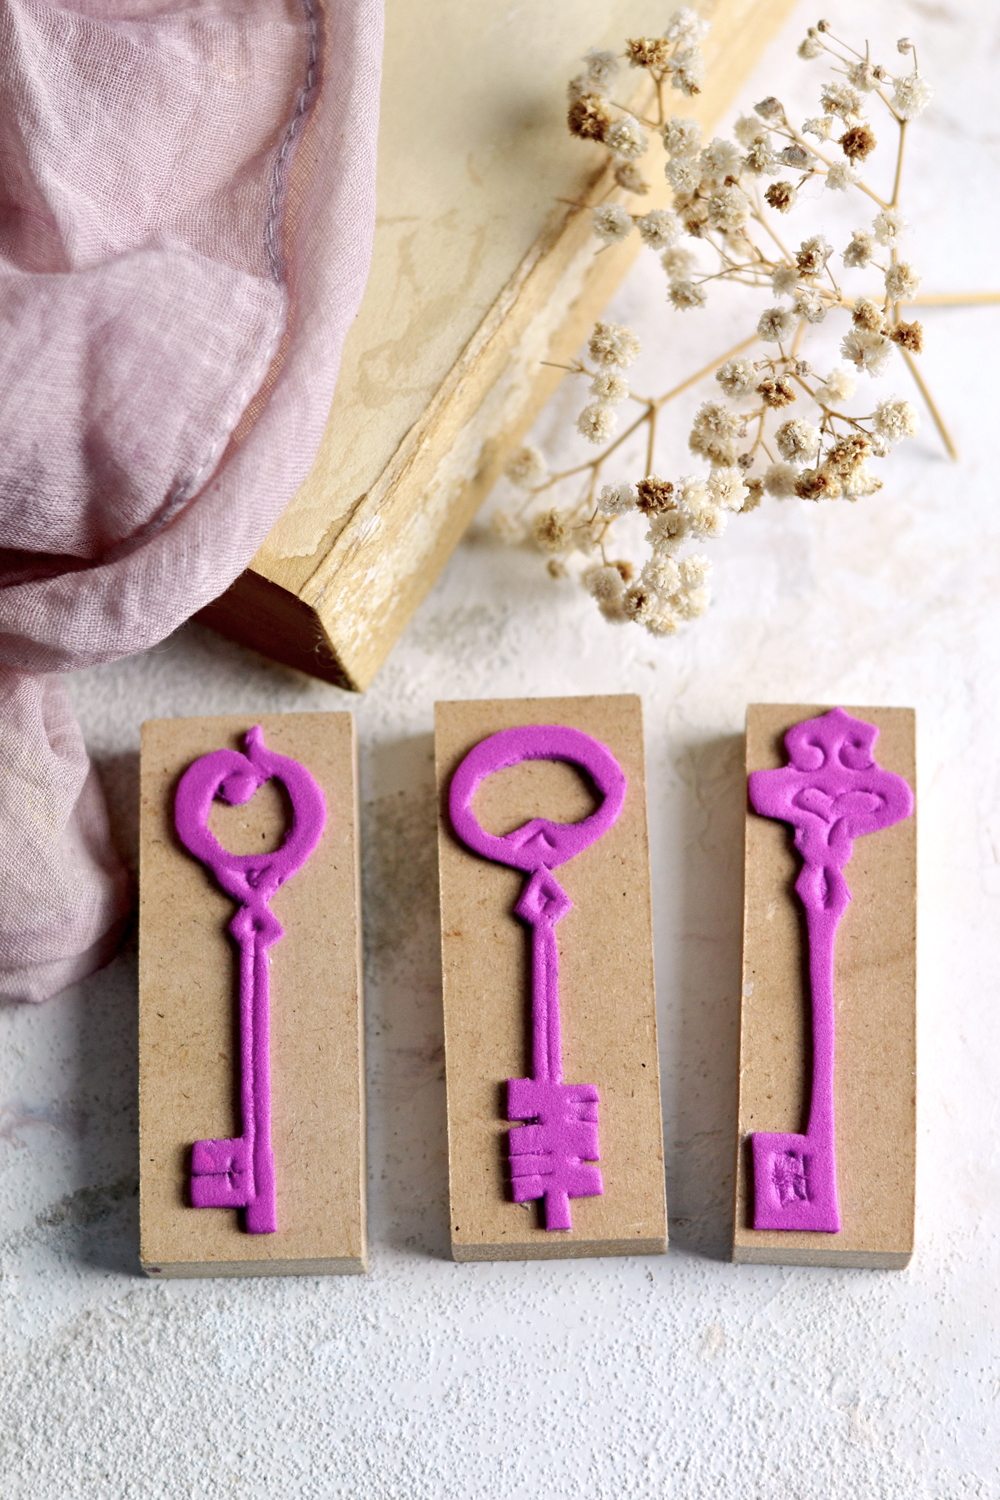
On the third row – I drew the veins on the leaves; I drew long vertical lines on two of the keys to add more interest and created a few simple rounded shapes on the third keys’ top part.
For the last stamps – I drew the eyes and added a rounded line on the wings of my birds on the branch image; I enhanced the shape of the cupid stamp by drawing the silhouette a few times; I added details on the wings and on the body of the bee: for the heart I added the top design using a stencil, like I already showed you and drew two small branches with leaves.
They might not have the most sharp edges or perfect shapes, but they look pretty fabulous to me! 🙂
I especially loved the vintage keys, they turned out so beautiful! We can definitely say that ‘it’s all about the small details’, they really make such a huge difference here!
P.S. The lovely blush pink fabric that I used to style the images is naturally dyed with … avocado! If you are curious to see how, I have an article on my blog – How to make natural dyes for fabric.
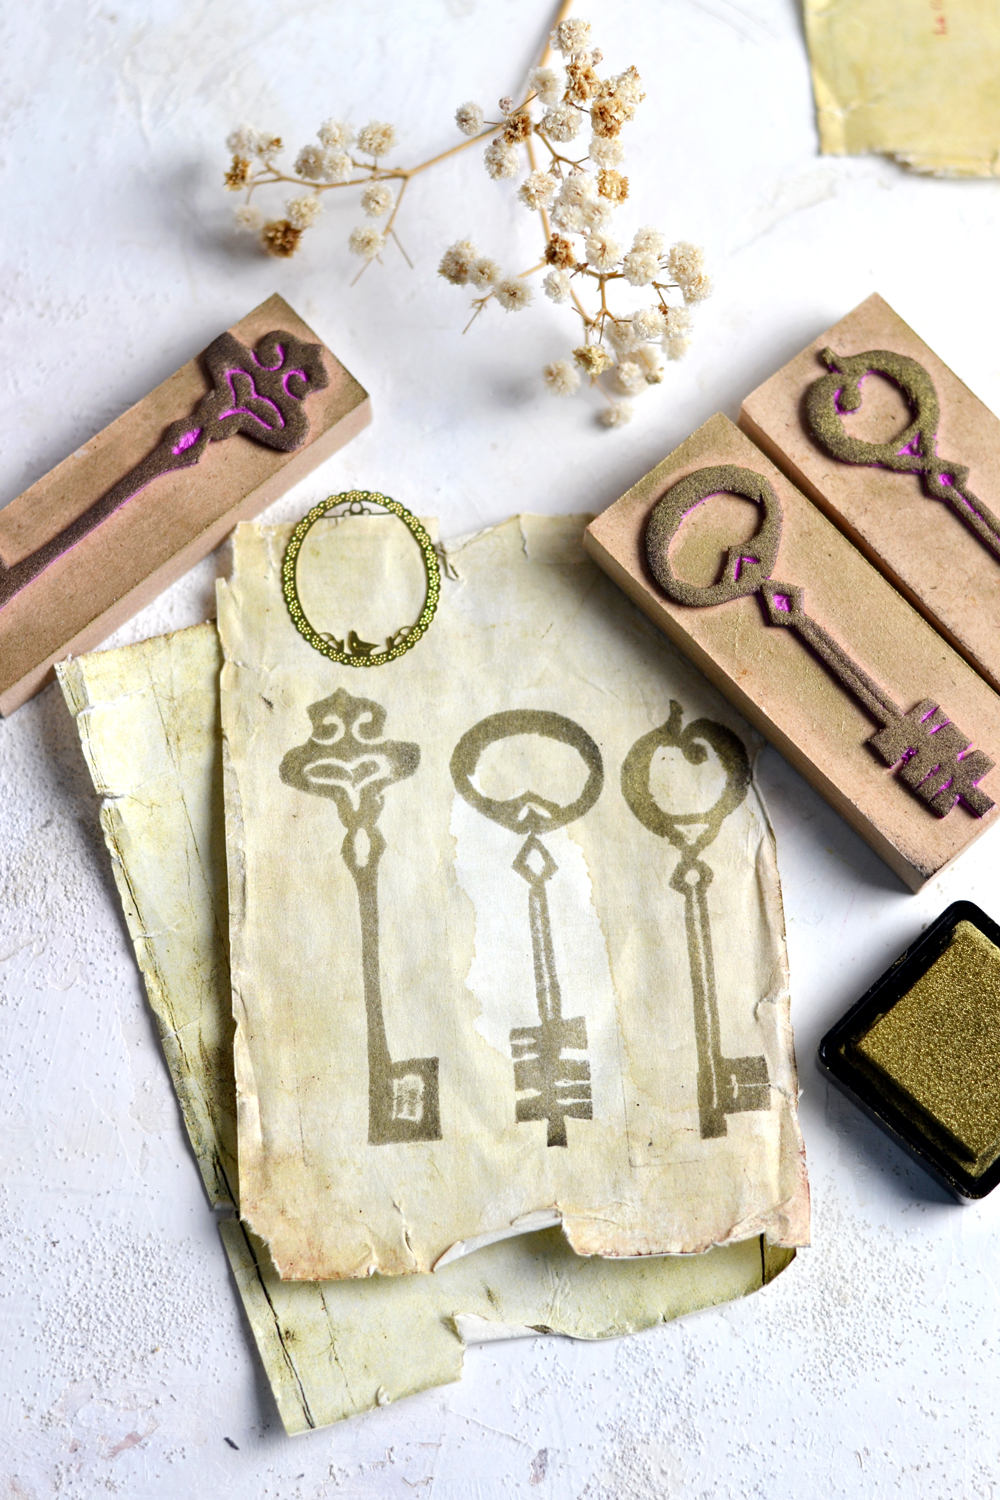
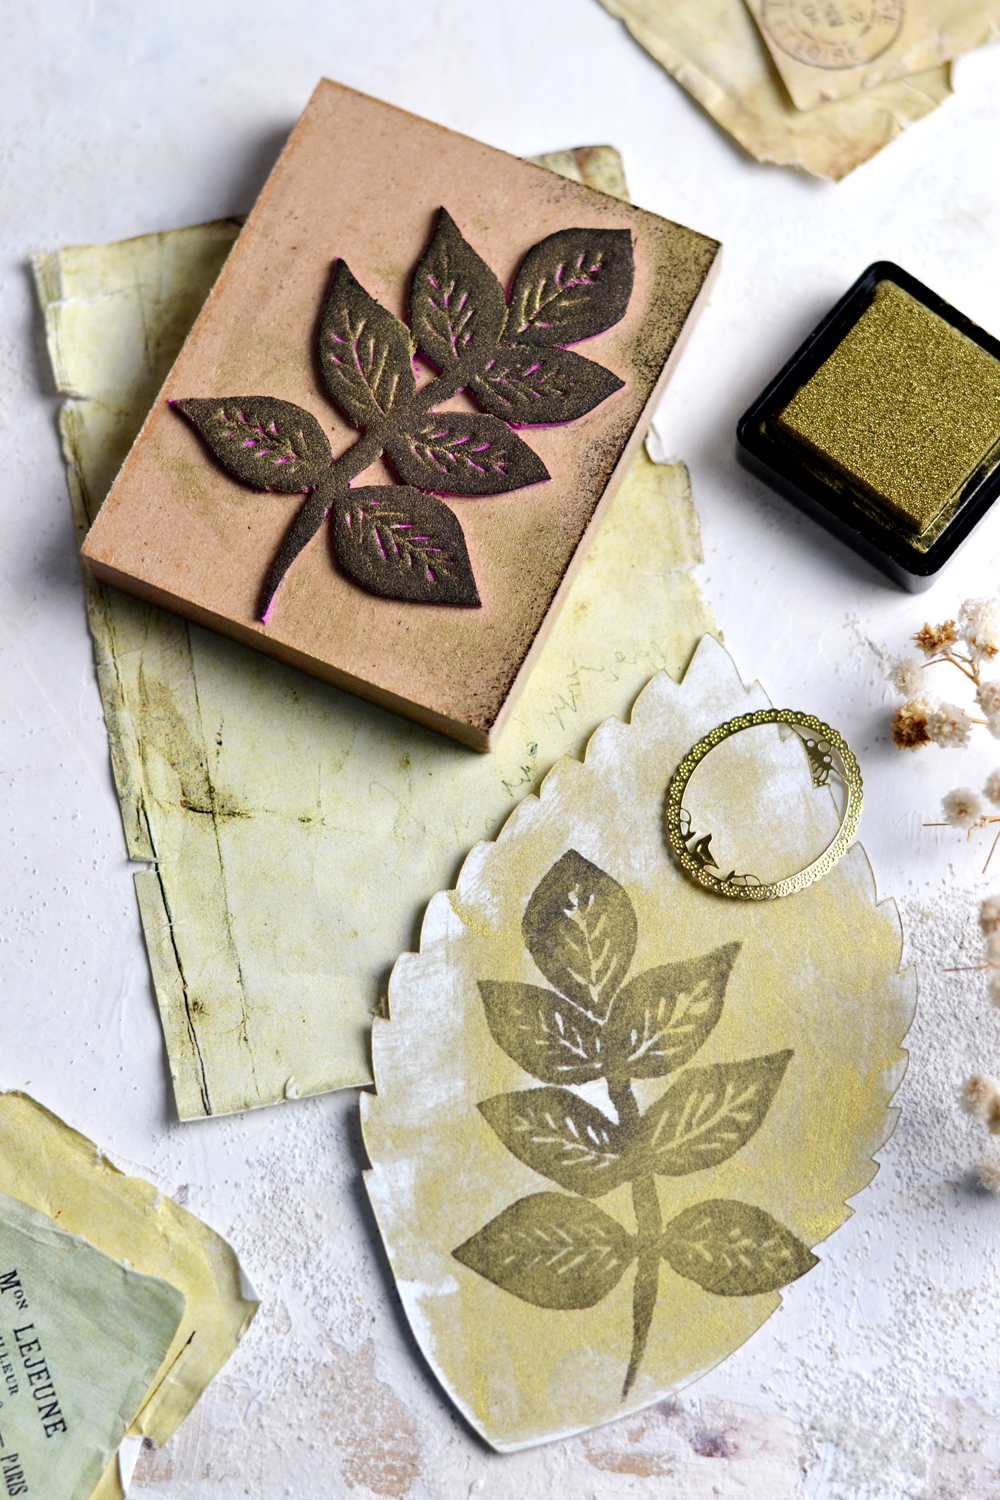
And here are the vintage key stamps in action, I first tried them on some vintage paper with a mini gold ink pad I had around. I was over the moon! 🙂
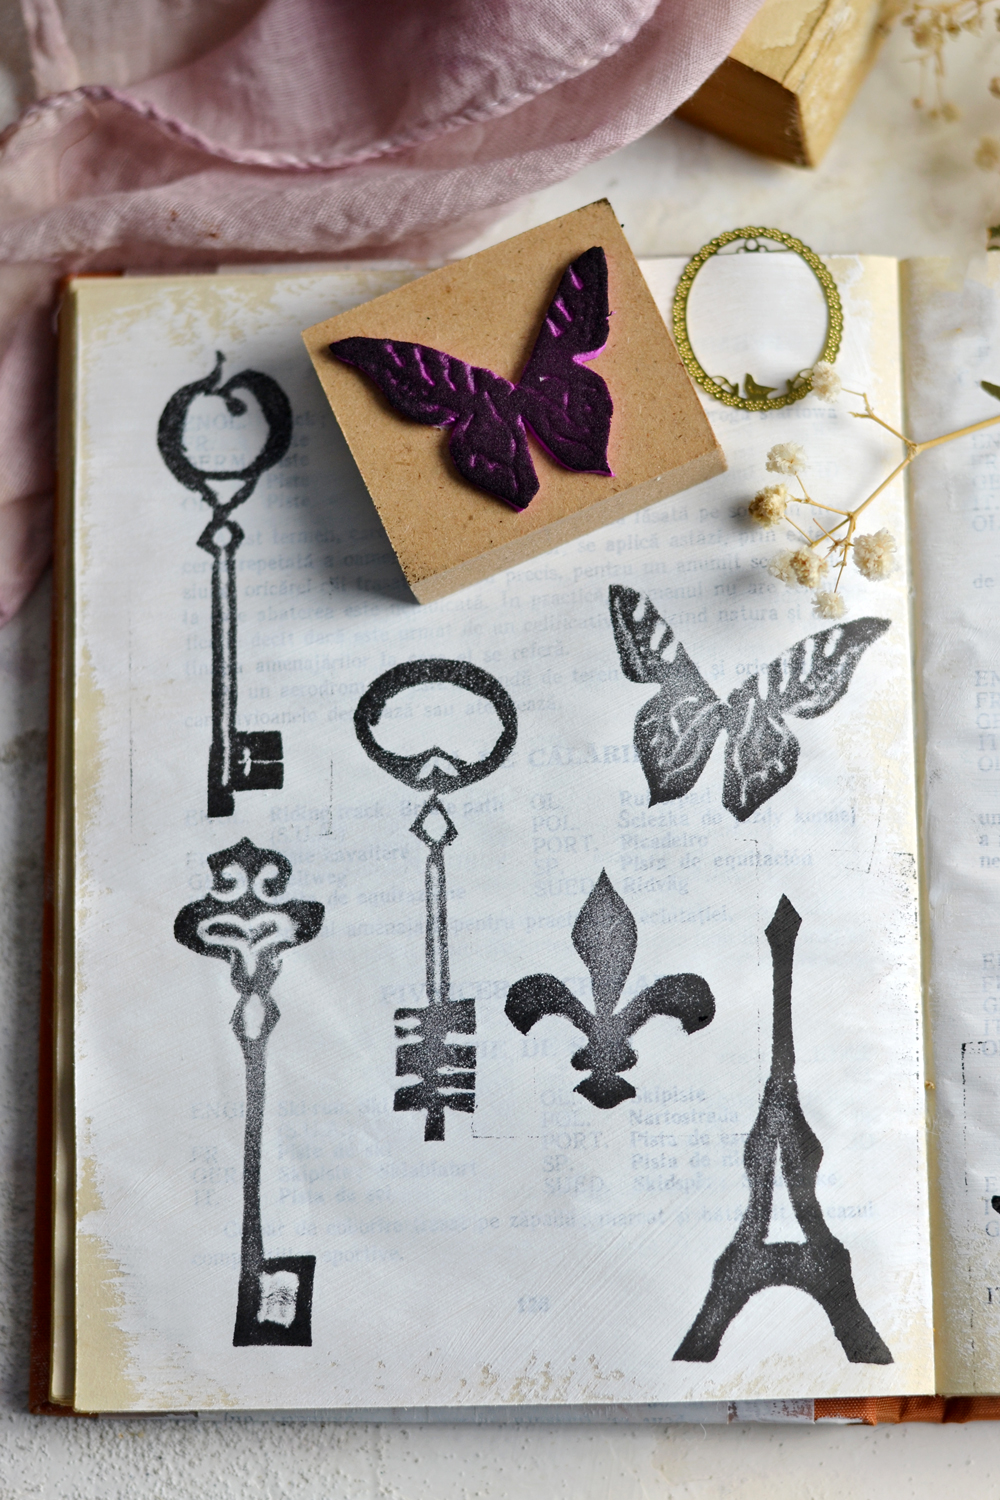
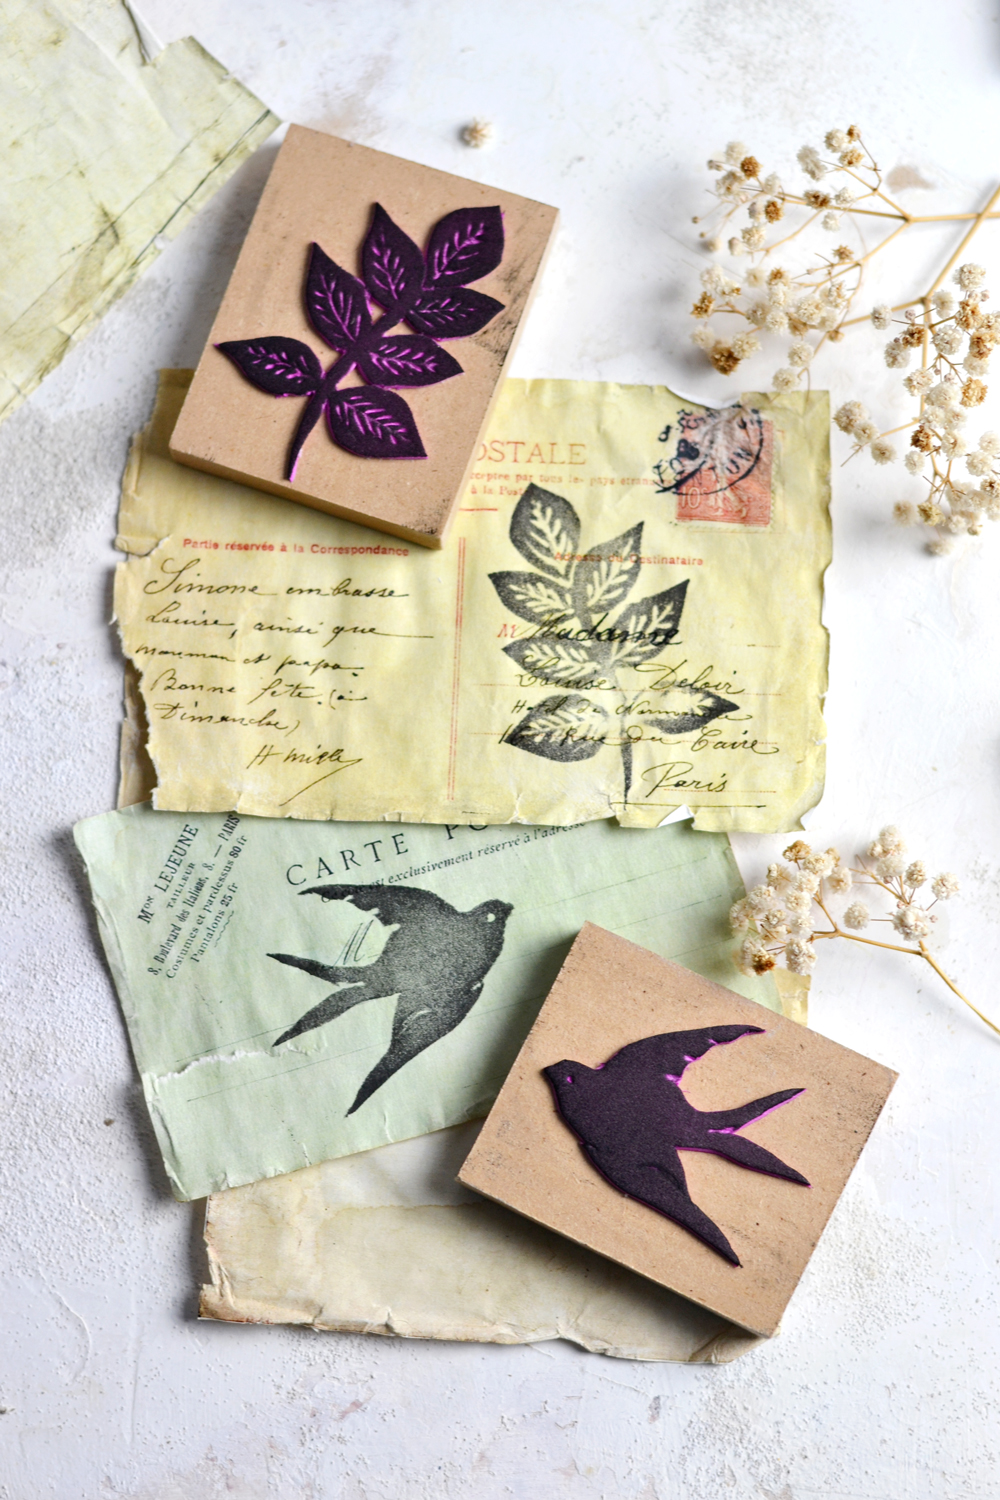
They also looked beautiful with a regular black ink, and so did all these other lovely vintage stamps.
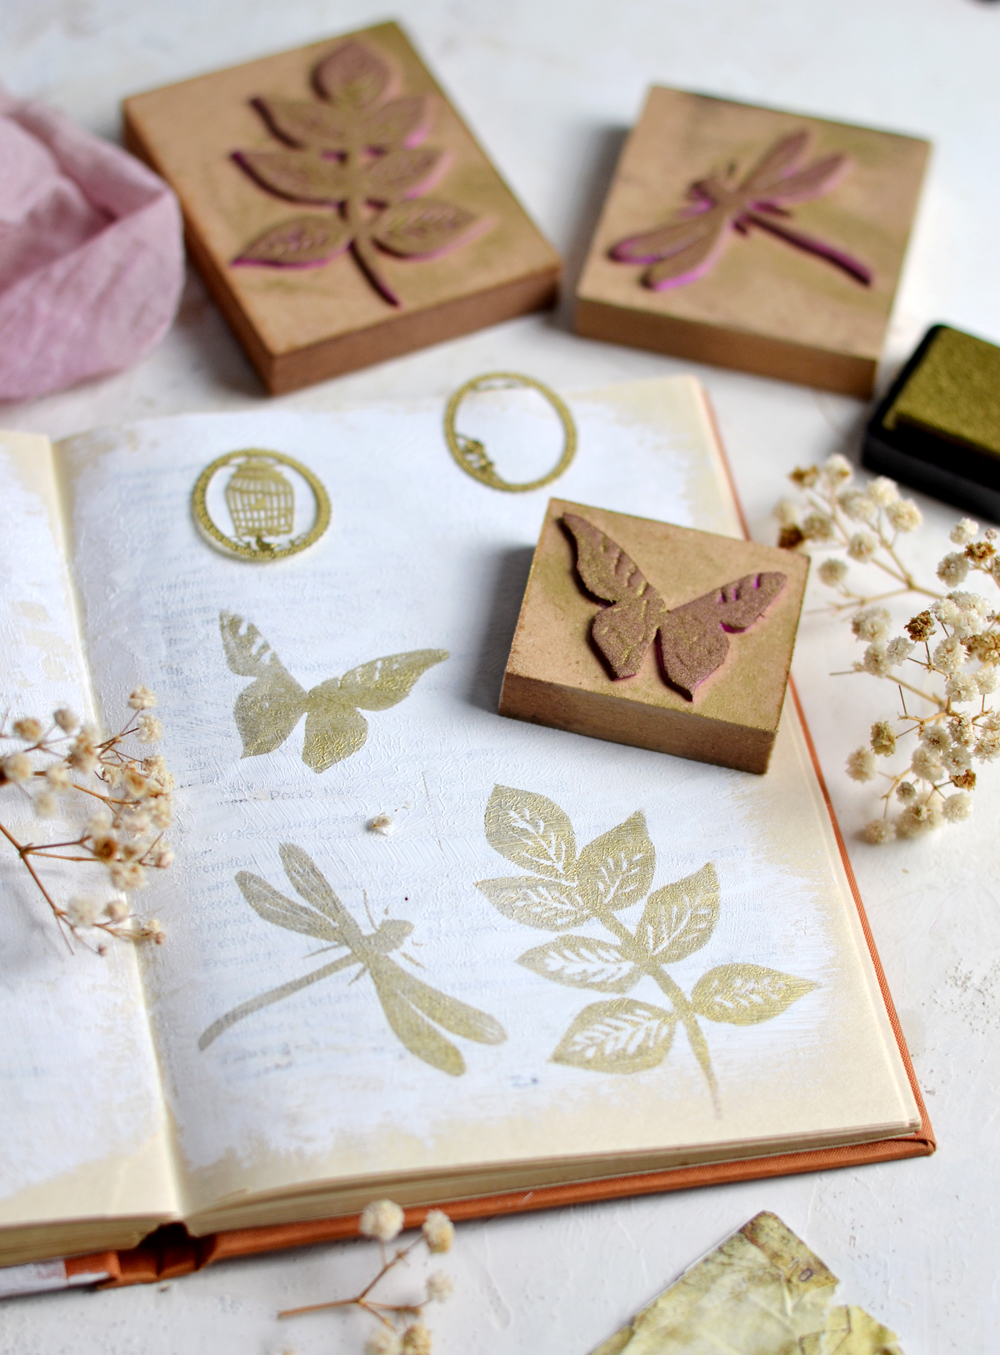
I’m sure you won’t have a problem finding new and new ways of including these DIY Vintage Foam Stamps into your creations, there are endless possibilities here! But just to give you a few ideas, try using them to decorate the pages of your art journal. Or the cover.
Use them to make your own tags or labels from vintage paper.
And the stamps look so charming on vintage postcards, don’t you think?
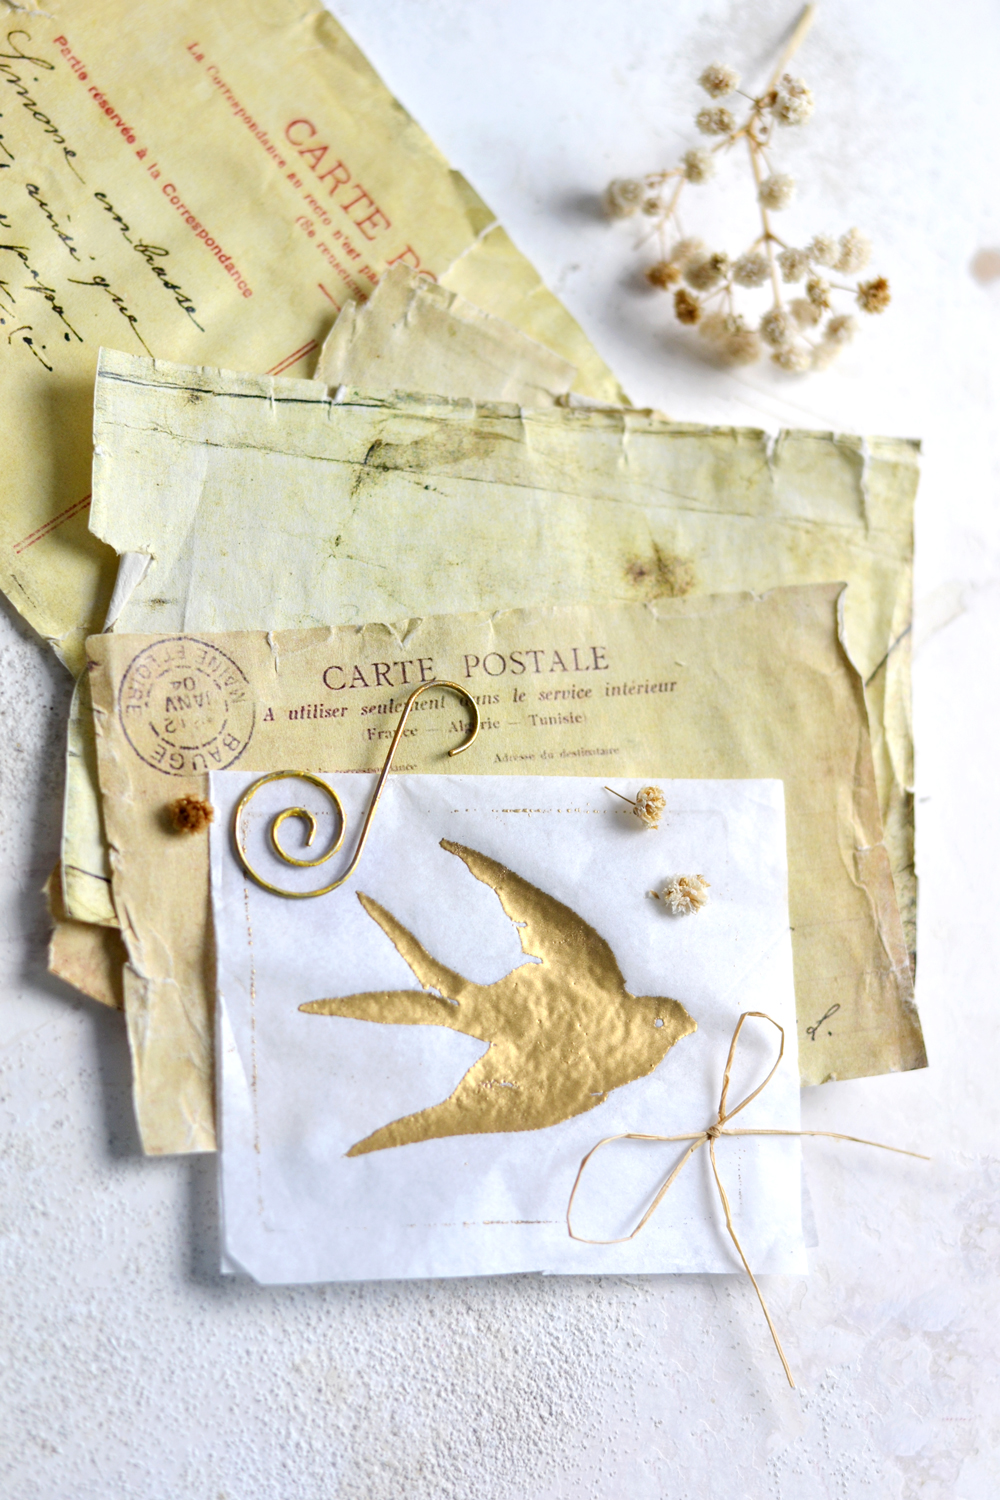
I also tried embossing my new bird image on a piece of scrap tissue paper using a Versamark ink and some gold embossing powder (and my heat gun) and I’m happy to report back – it totally works! 🙂 So you can use your new DIY Vintage Foam Stamps for embossing too!
I absolutely love my new DIY Vintage Foam Stamps and the gold ink pad is definitely my favorite when it comes to how subtle and elegant the final images look. The foam stamps can be easily washed after using and can be used over and over again. And even if it was a time consuming process cutting all those small details, I would say the final results definitely make everything worthwhile. So I would do it again in a heart beat!
Give this project a try, I have a feeling you will love it too! 🙂
Happy crafting,
Diana / Dreams Factory



Annette Whitman says
Thanks so much Diana for the great idea for stamping.