DIY Halloween Candles
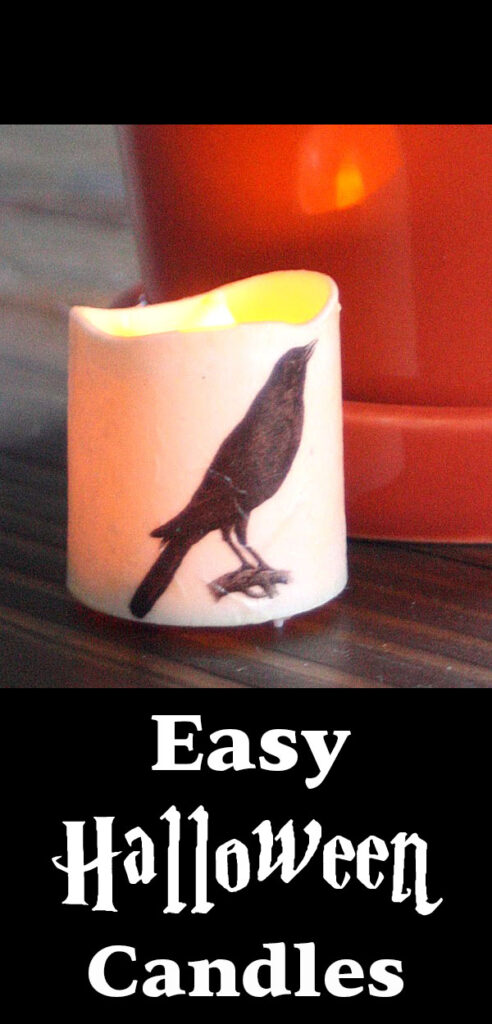
This is a fun DIY Halloween Candles project for making a Spooky candle with any image that you like! This post was originally created for my blog years ago, by Gina Luker. I’ve updated it a bit, but I still think it’s a great idea and a fun Halloween craft! You can really make this project your own, with super spooky images like Skulls or Skeleton hands or eyeballs, or you can make it cute and fun with Pumpkins etc. Important Safety Note: Please keep in mind this tutorial is for a Battery Operated Candle Only. Do NOT do this tutorial with a wax candle as that would be a fire hazard, since we are adding paper here. Now I will let Gina take it away in her own words!
Halloween is coming quick, so let’s do a quick project this week, m’kay? It’s so very quick you can do a whole line of them in no time. Let’s get to it!
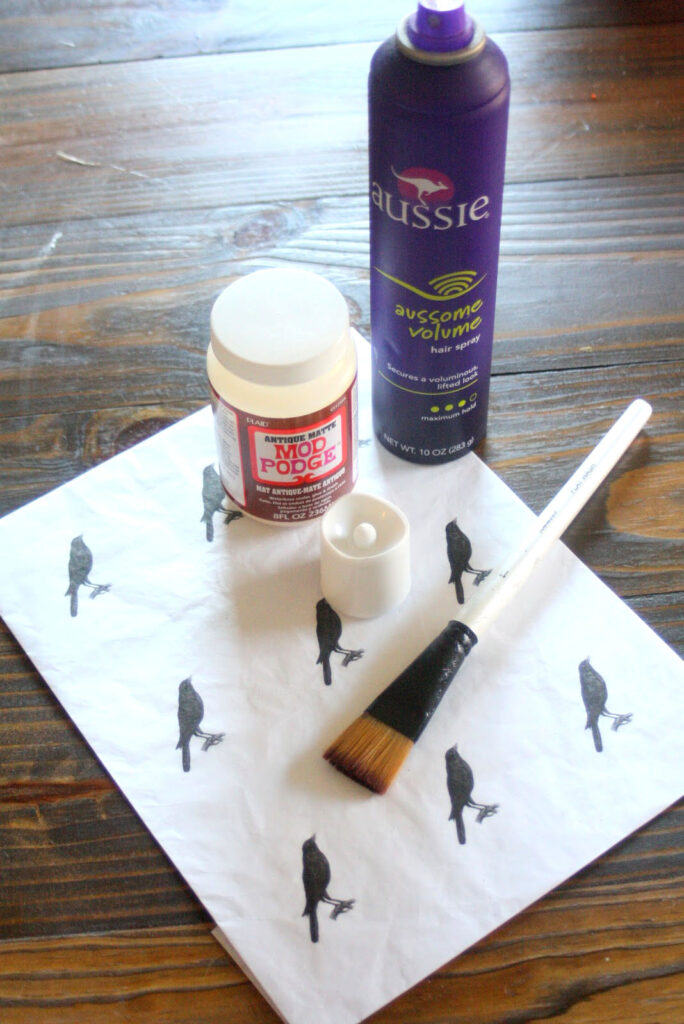
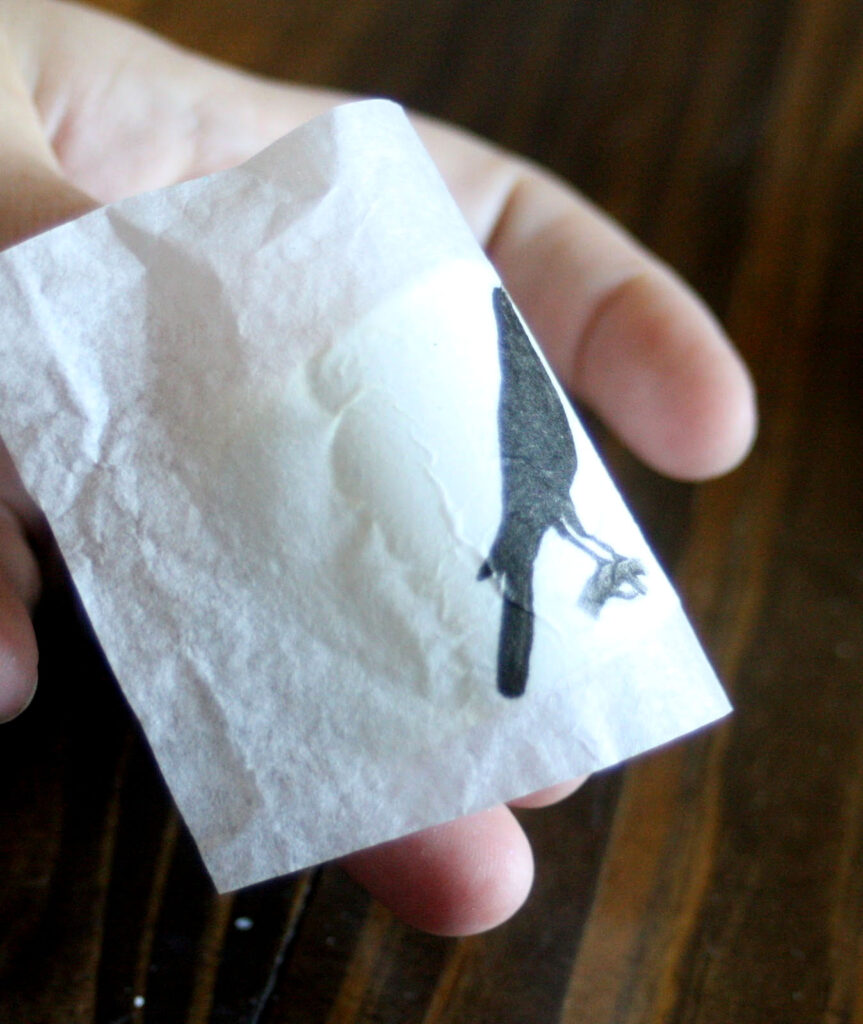
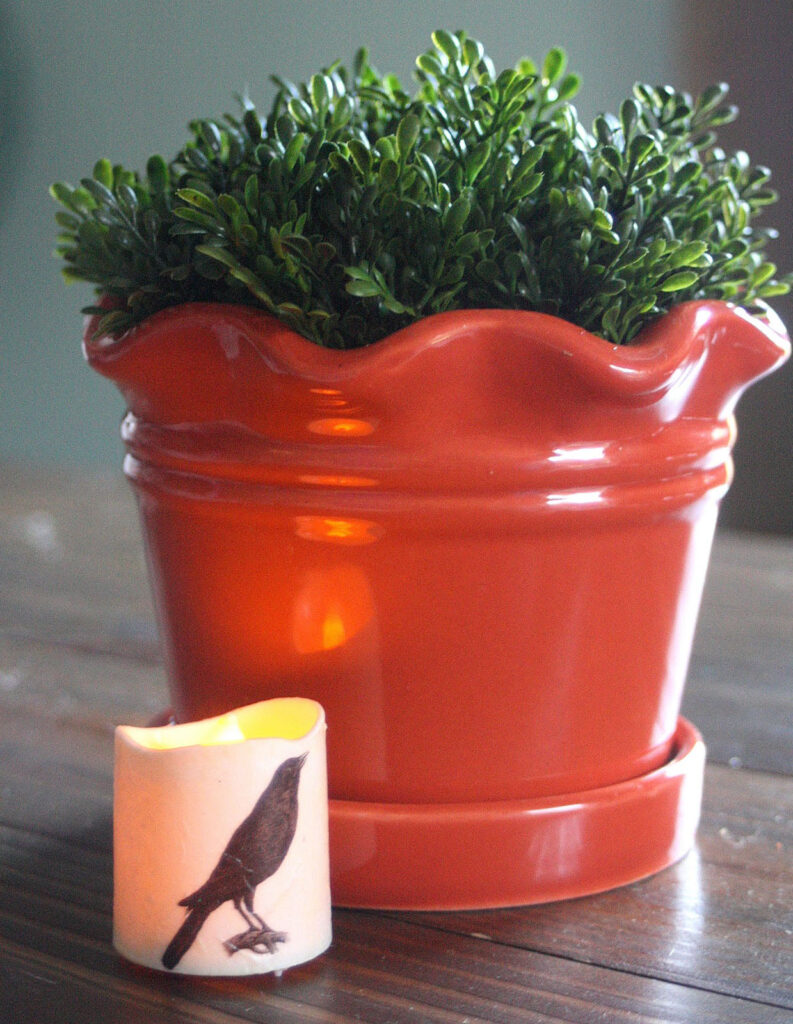
First, start with Printing your image on tissue paper tutorial HERE. I used the Black Bird image found HERE.
Supply List for DIY Halloween Candles:
- Hair Spray
- Paintbrush
- Mod Podge
- Battery operated Candles
Supply tip: I found my Battery Operated Candles at Dollar Tree, 2 pack for $1 (score!)
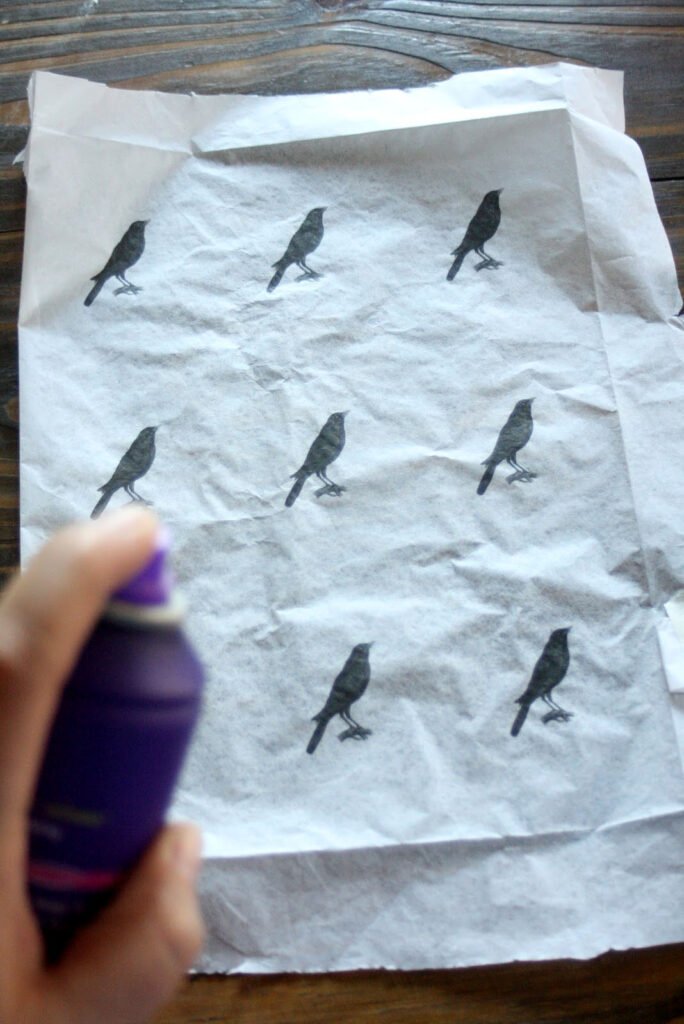
Take the tissue off the card stock, and lightly spray each side with hairspray to set the ink. It will keep it from smearing.
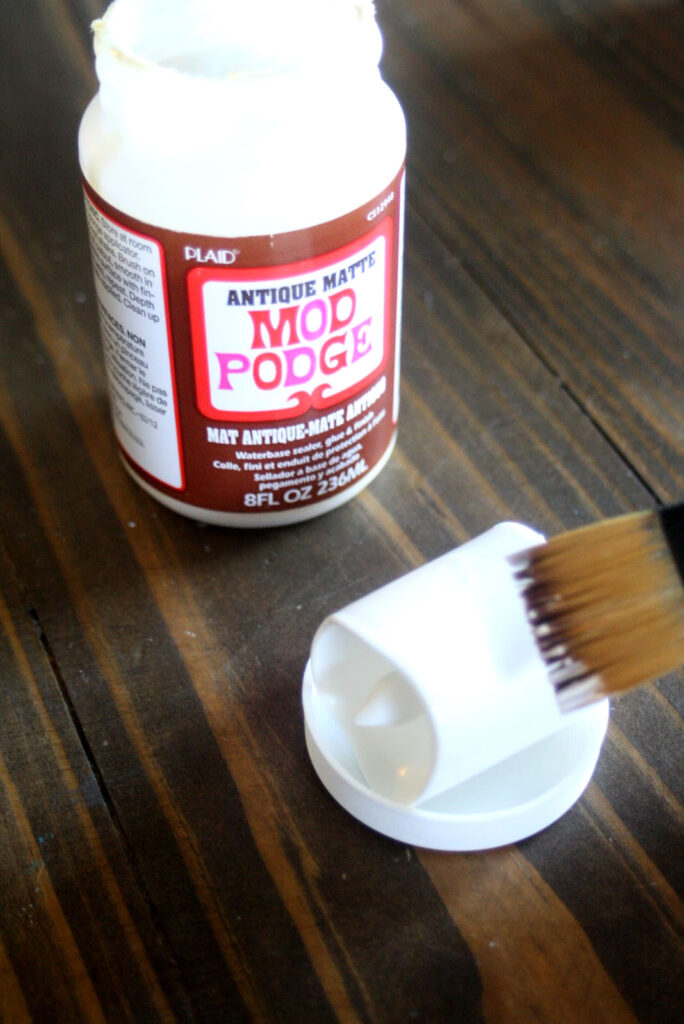
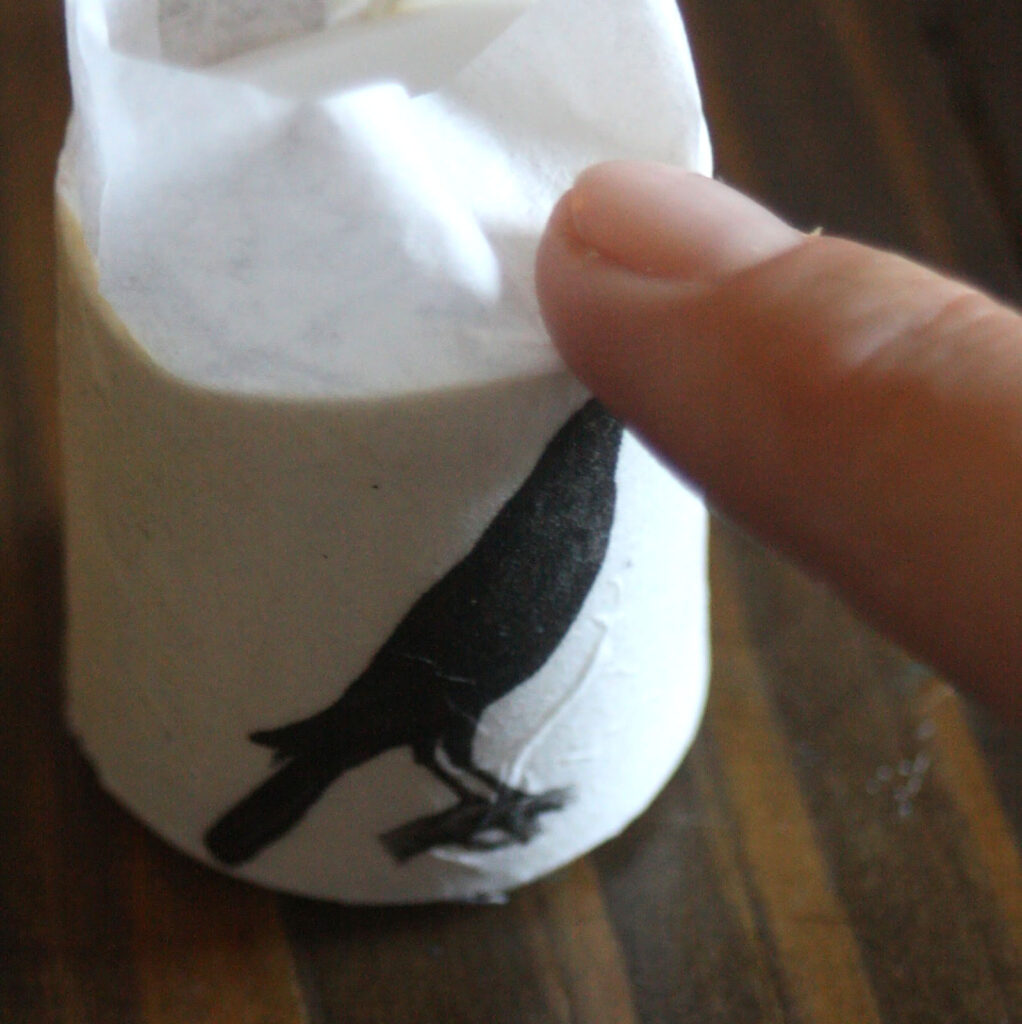
Put a coat of Mod Podge onto the sides of the candle. A thin, consistent coat works best.
Trim out the image to fit around the candle, then carefully place it on top of the Mod Podge, working out the air bubbles gently.
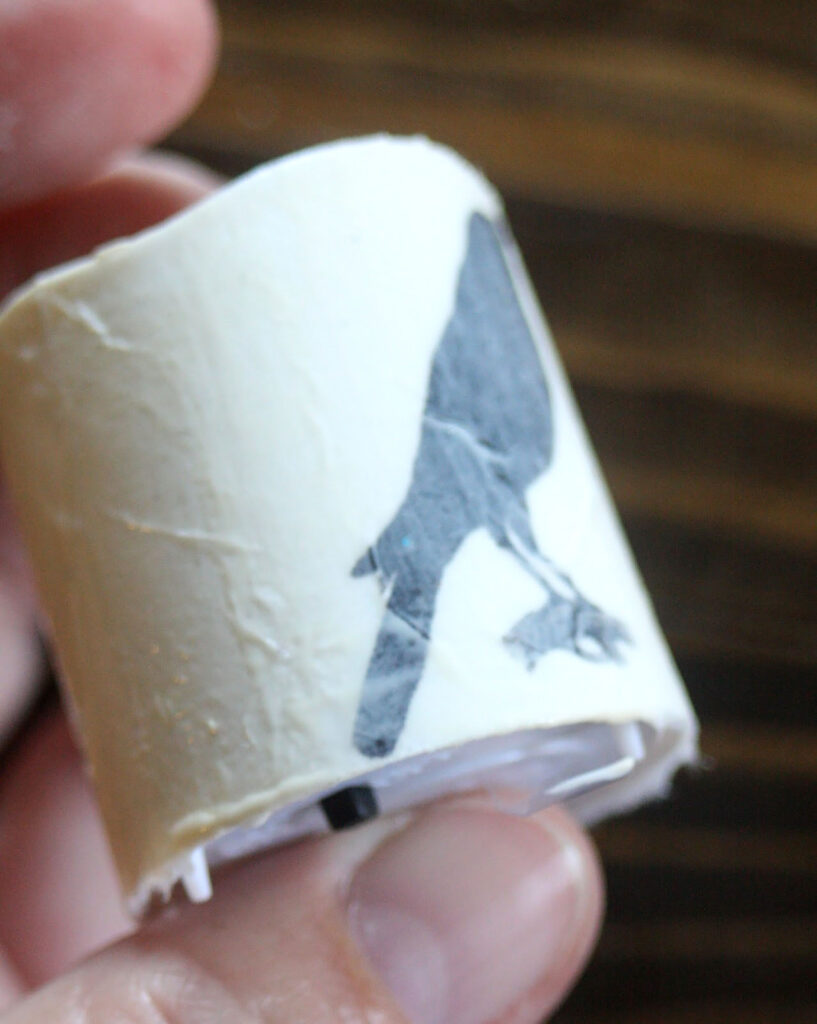
After it’s attached, lightly wet the tip of your finger, and then rub along the edge and the leftover paper will easily tear off.
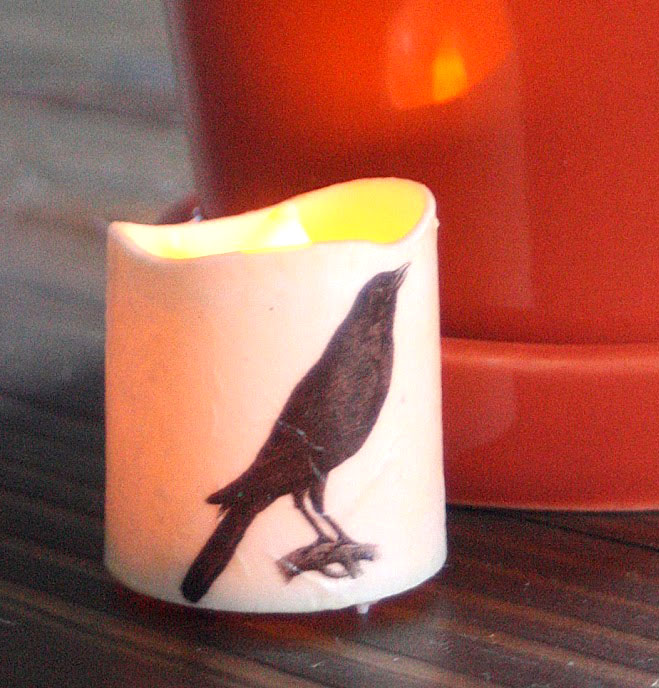
Once your edges are taken care of, coat the whole thing again with another coat of Mod Podge to seal it all together. Set aside to let it dry and you’re done!
You could also use the pillar candle style, but the votives are a perfect little accent, don’t you think? I hope you give these fun DIY Halloween Candles a try. You might also like our DIY Halloween Candle Wraps HERE.
See ya next week for another project. I’d love to see you over on my blog at The Shabby Creek Cottage HERE.
Gina



Dewdrop Gardens says
Thank you for the reply and explanation! I thought it was a wax candle because of the way it looked melted. But, duh…looking closer I can see the on/off switch. lol
I only have a deskjet printer, but I have had good luck with graphics printed off it and transfered…so far.
Thanks again
Debbie 🙂
Gina Luker says
Yes, Debbie, I used the LED flameless lights 🙂
Dewdrop Gardens says
Very cute! And it is ok to burn the candle with the tissue & mod podge on it?
Debbie 🙂
ExcuseMeDesigns says
Hi Debbie
She did not specify, but from experience these are LED candles (flameless) so you should be fine. And plastic works best as opposed to wax when using Mod Podge. If you use a laser printer then you can skip the hair spray step. But I HIGHLY recommend the hairspray step if you have an InkJet printer (otherwise the ink will run & it will look terrible).
shoogliecrafts.blogspot.com says
nice tute – thanks