How to Make a Perfect Torn Paper Edge
Hello, Graphics Fairy friends! I’m Diana from Dreams Factory and I’m back with another chic DIY project! Today we are making some beautiful Hydrangea and Lavender vintage tags, and I will show you how to make a perfect torn paper edge … and I’m sharing not one, but two amazing free printables!
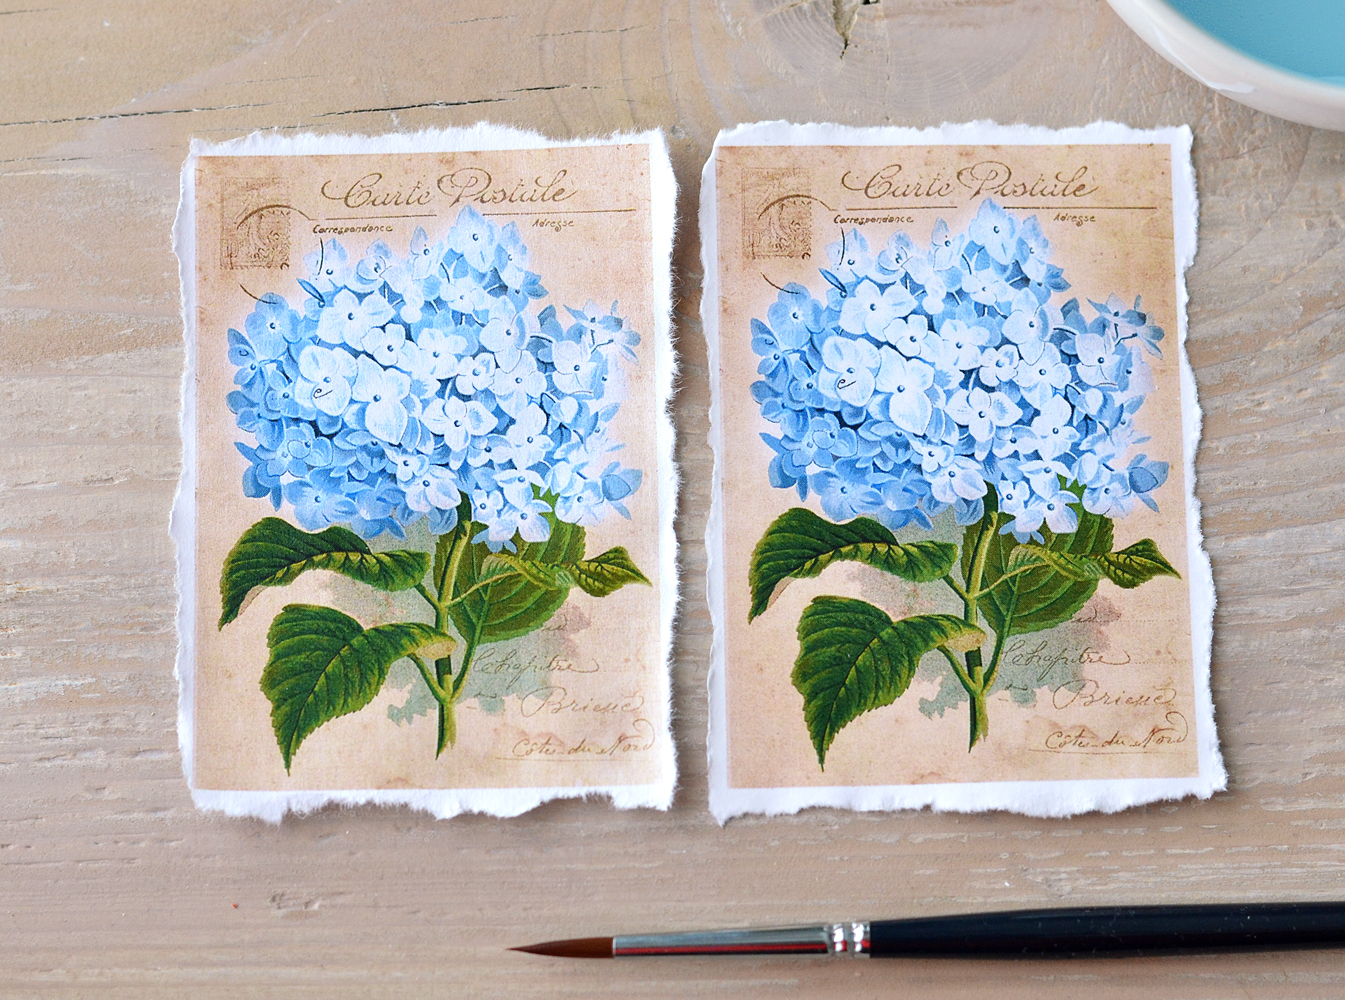 This is such a great tip for when you want easy perfect torn edges. And if you like these types of tips, you might also like the Paper Tearing Techniques post HERE for some other creative ways to achieve this.
I wanted something a little bit more colorful this time, with a floral scent, if you wish, something that would go really well with these beautiful days of summer. Hydrangeas and lavender are two of my favorites, so they were my somehow obvious choices for this project. They usually come into my mind when I’m dreaming or thinking about summer, I just LOVE how delicate and gentle they both are!
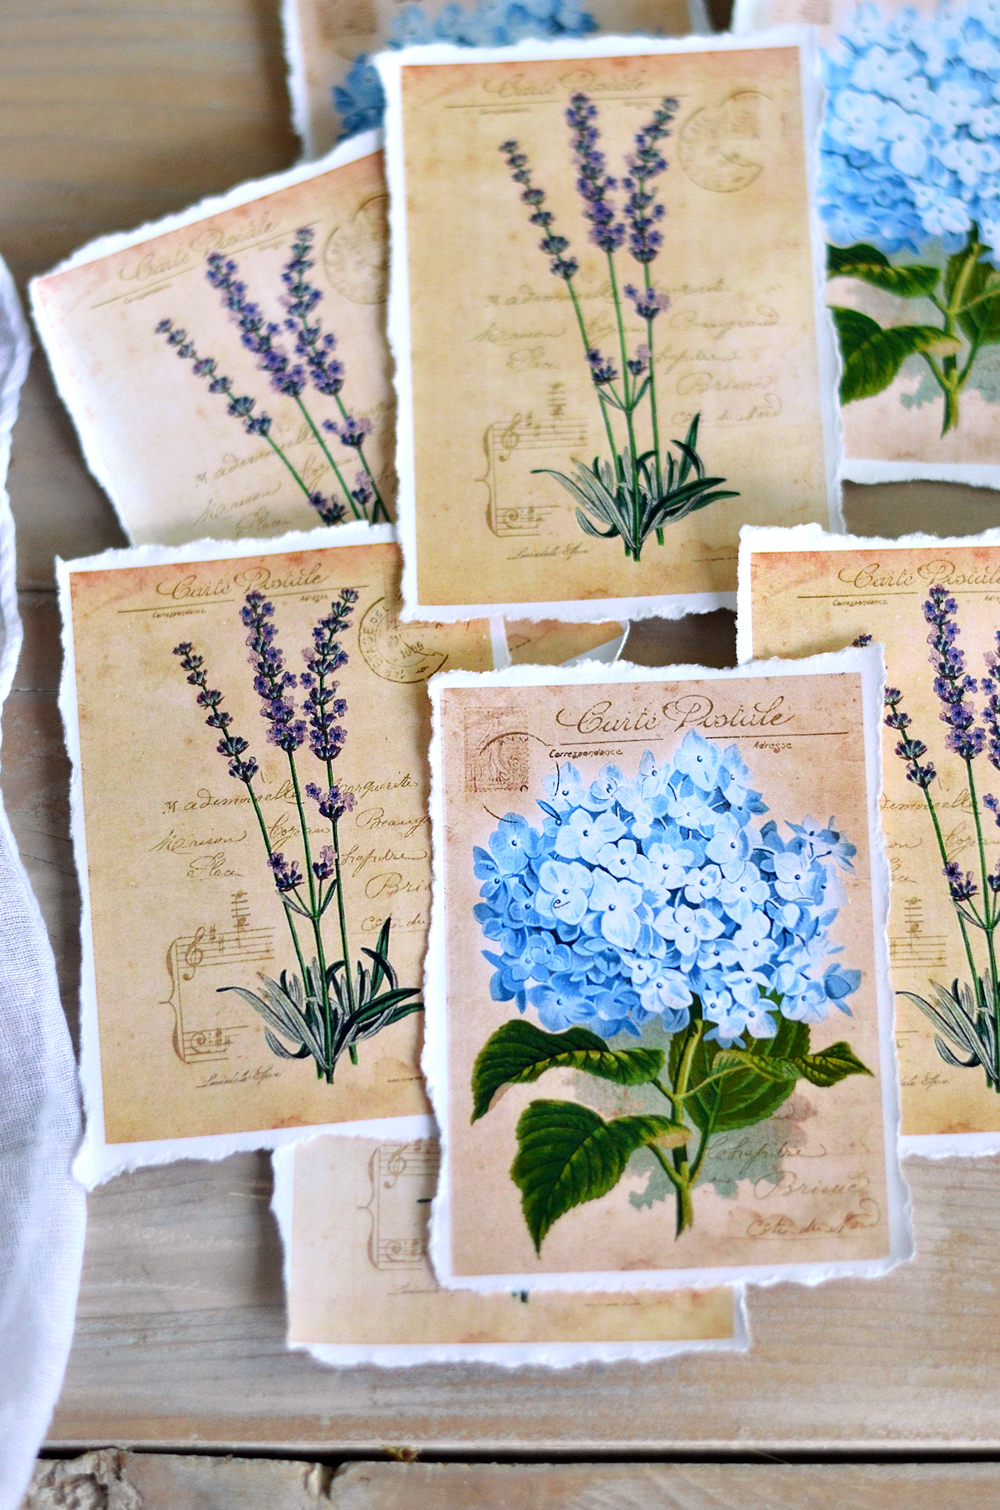
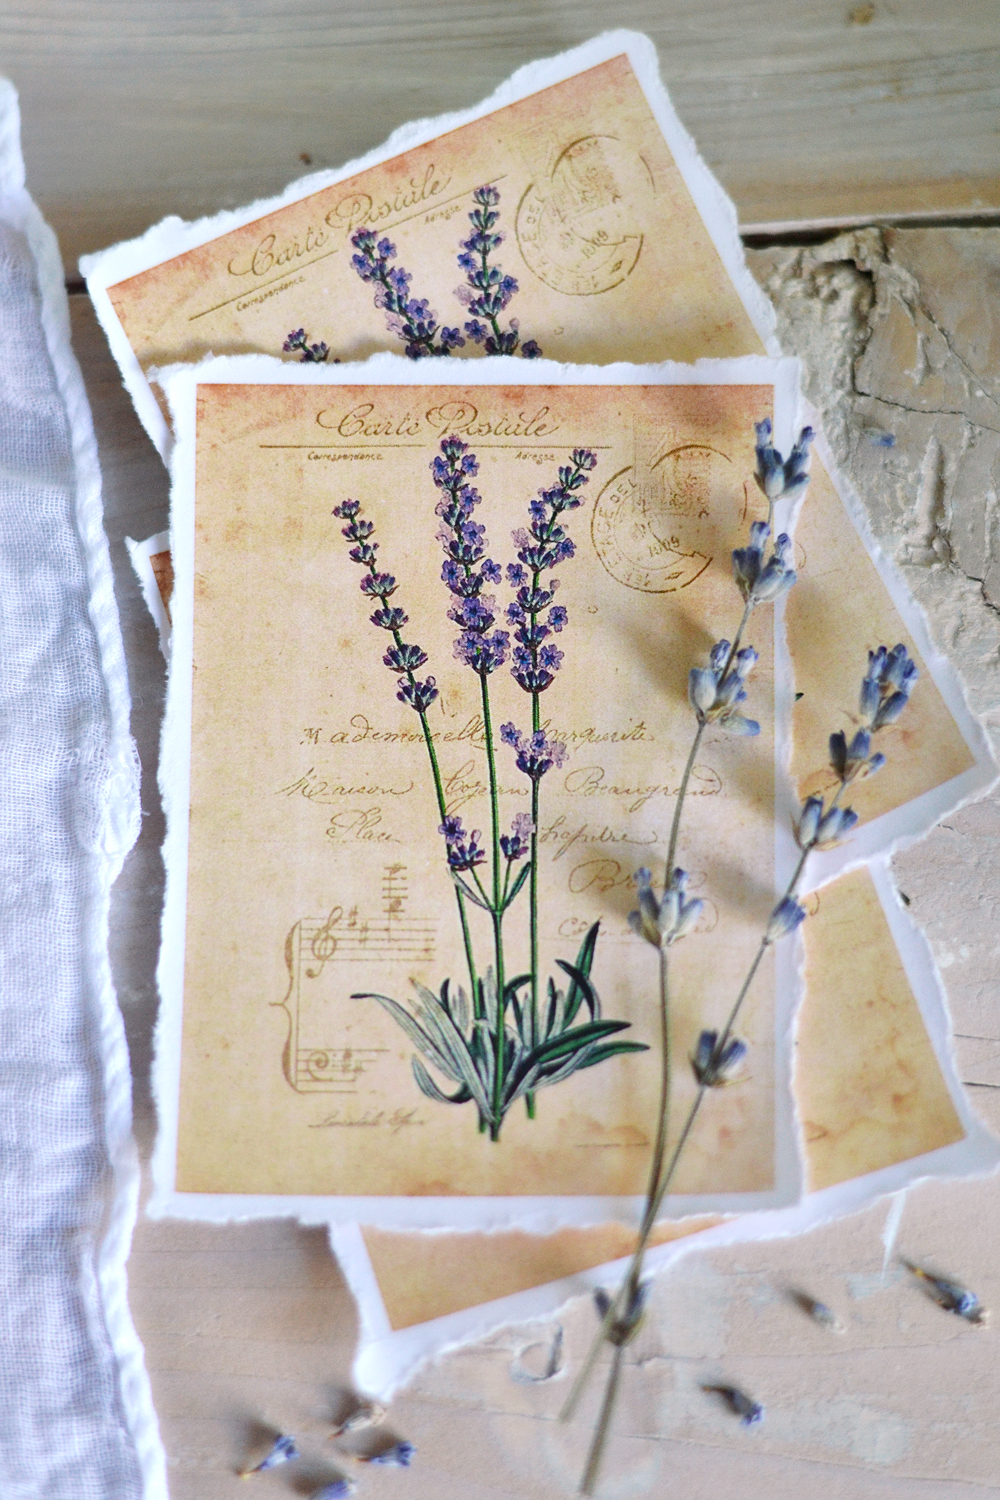
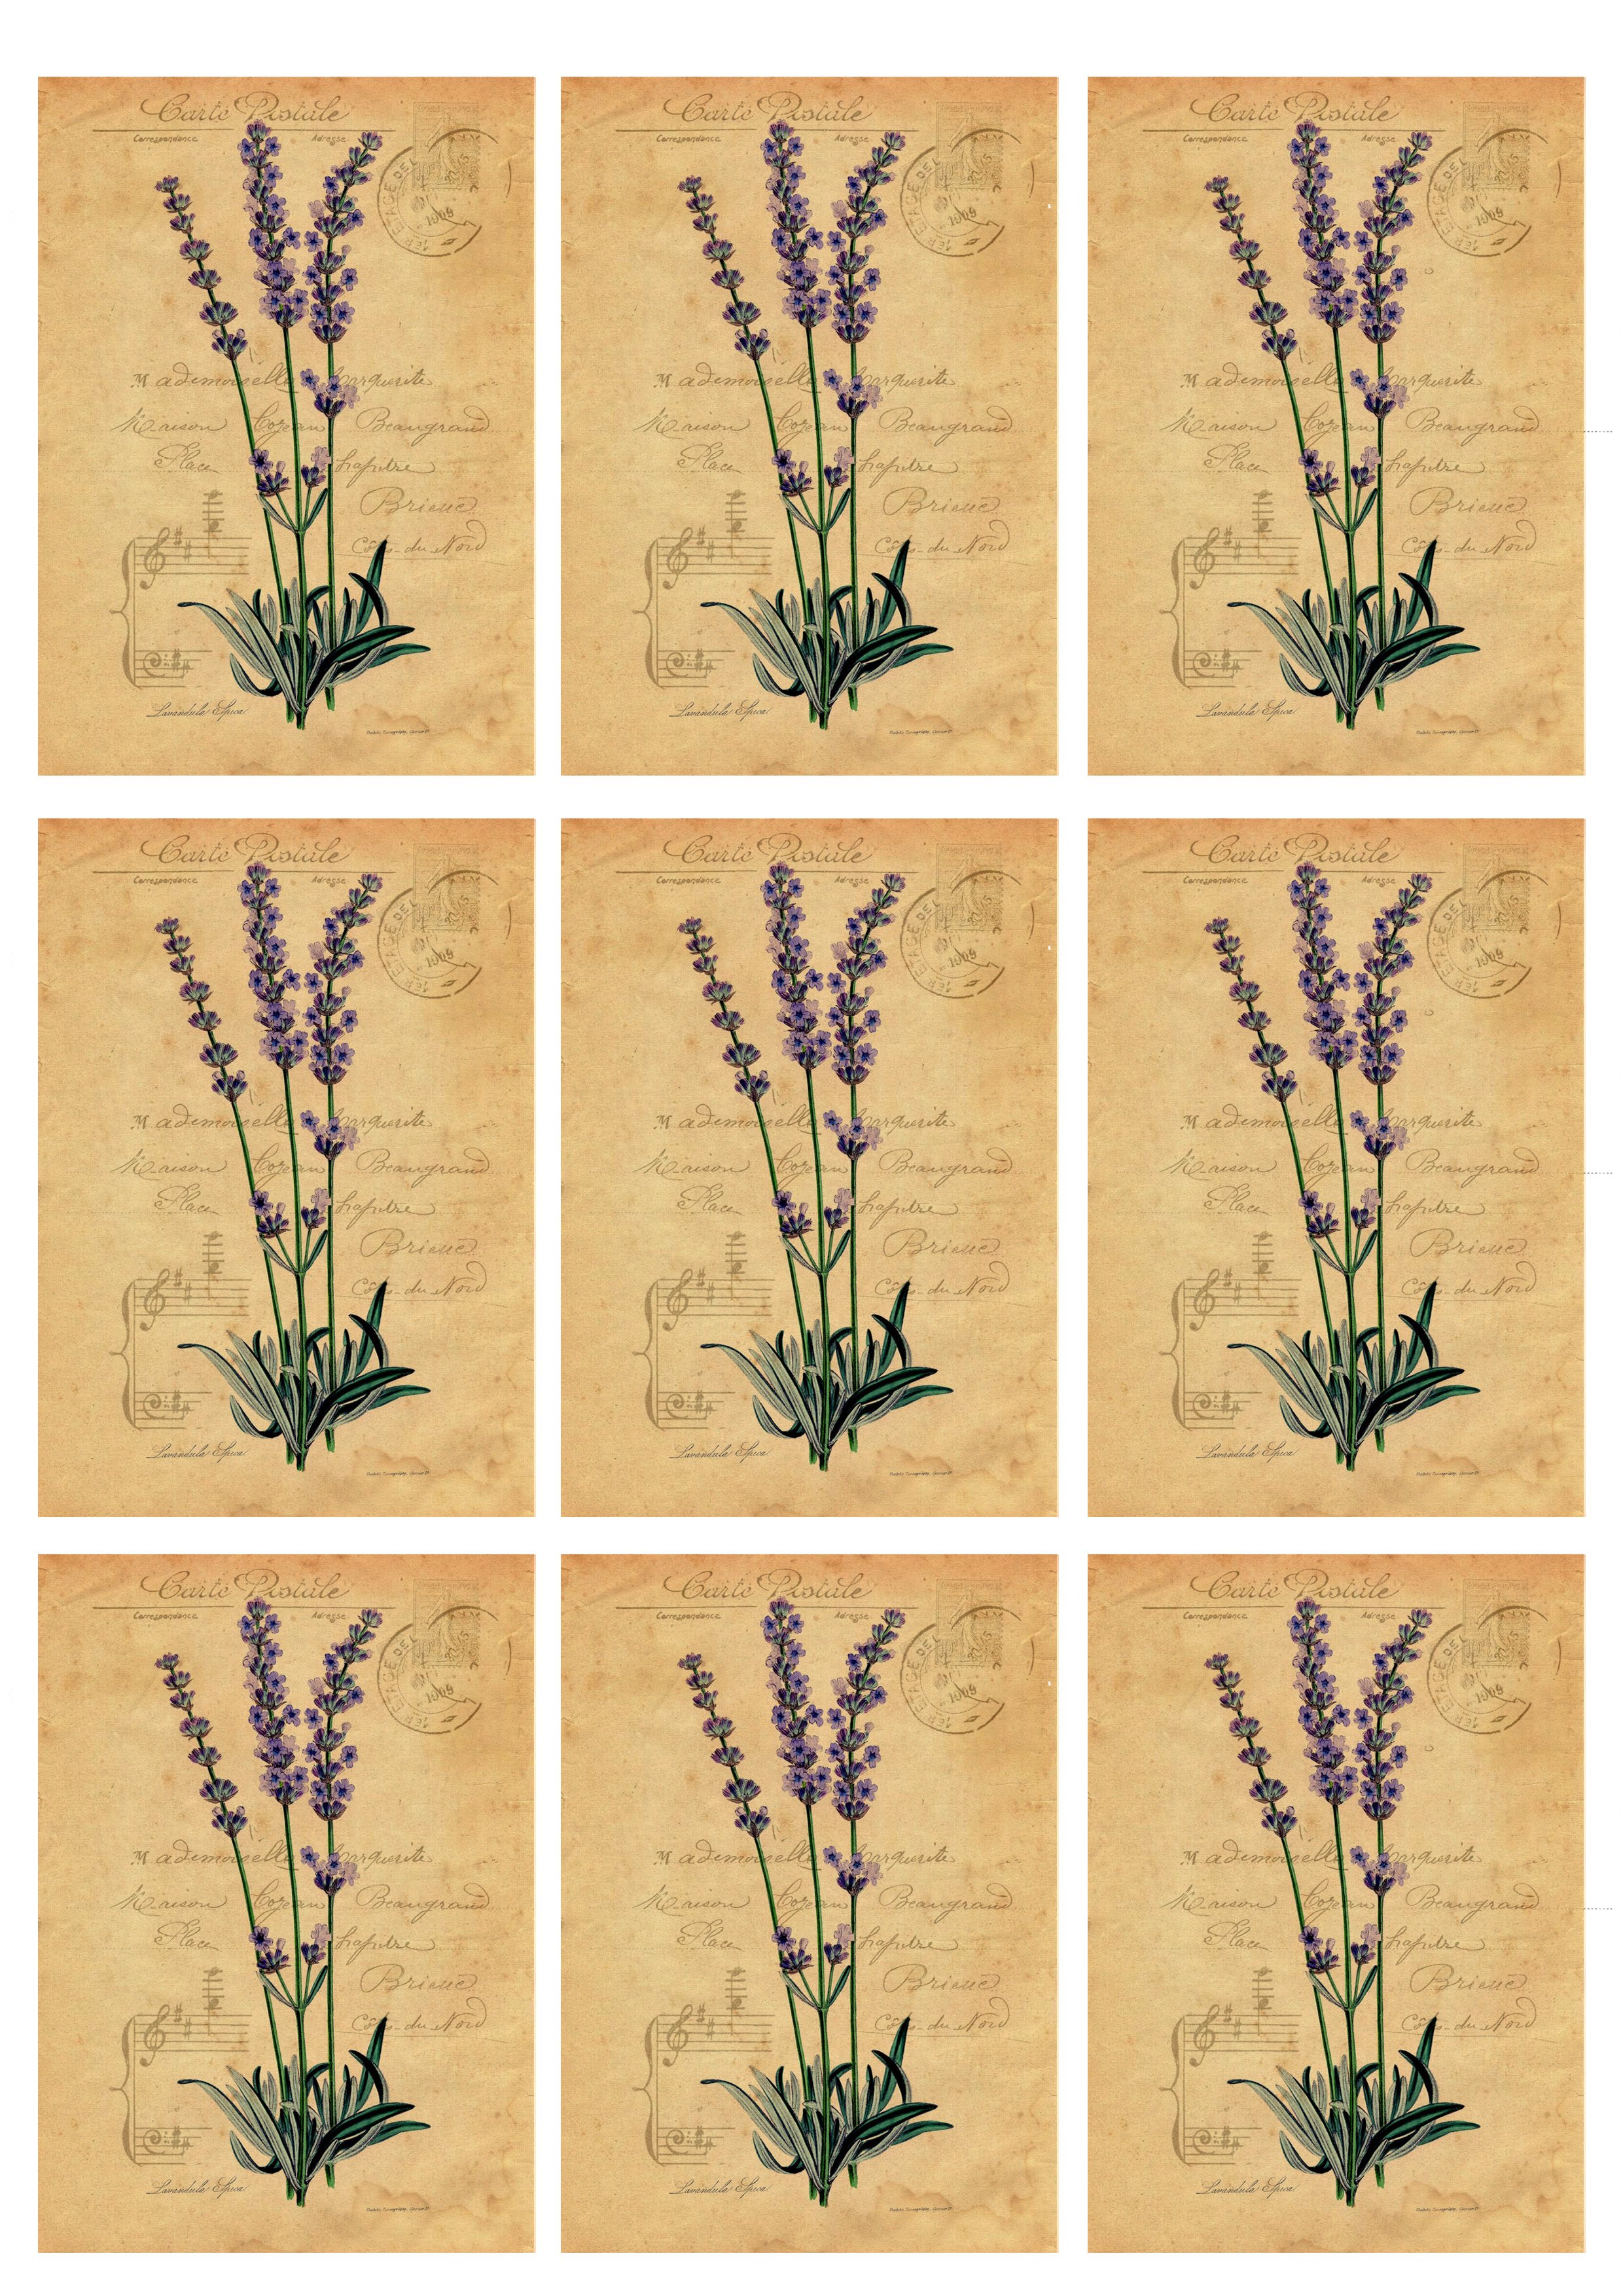
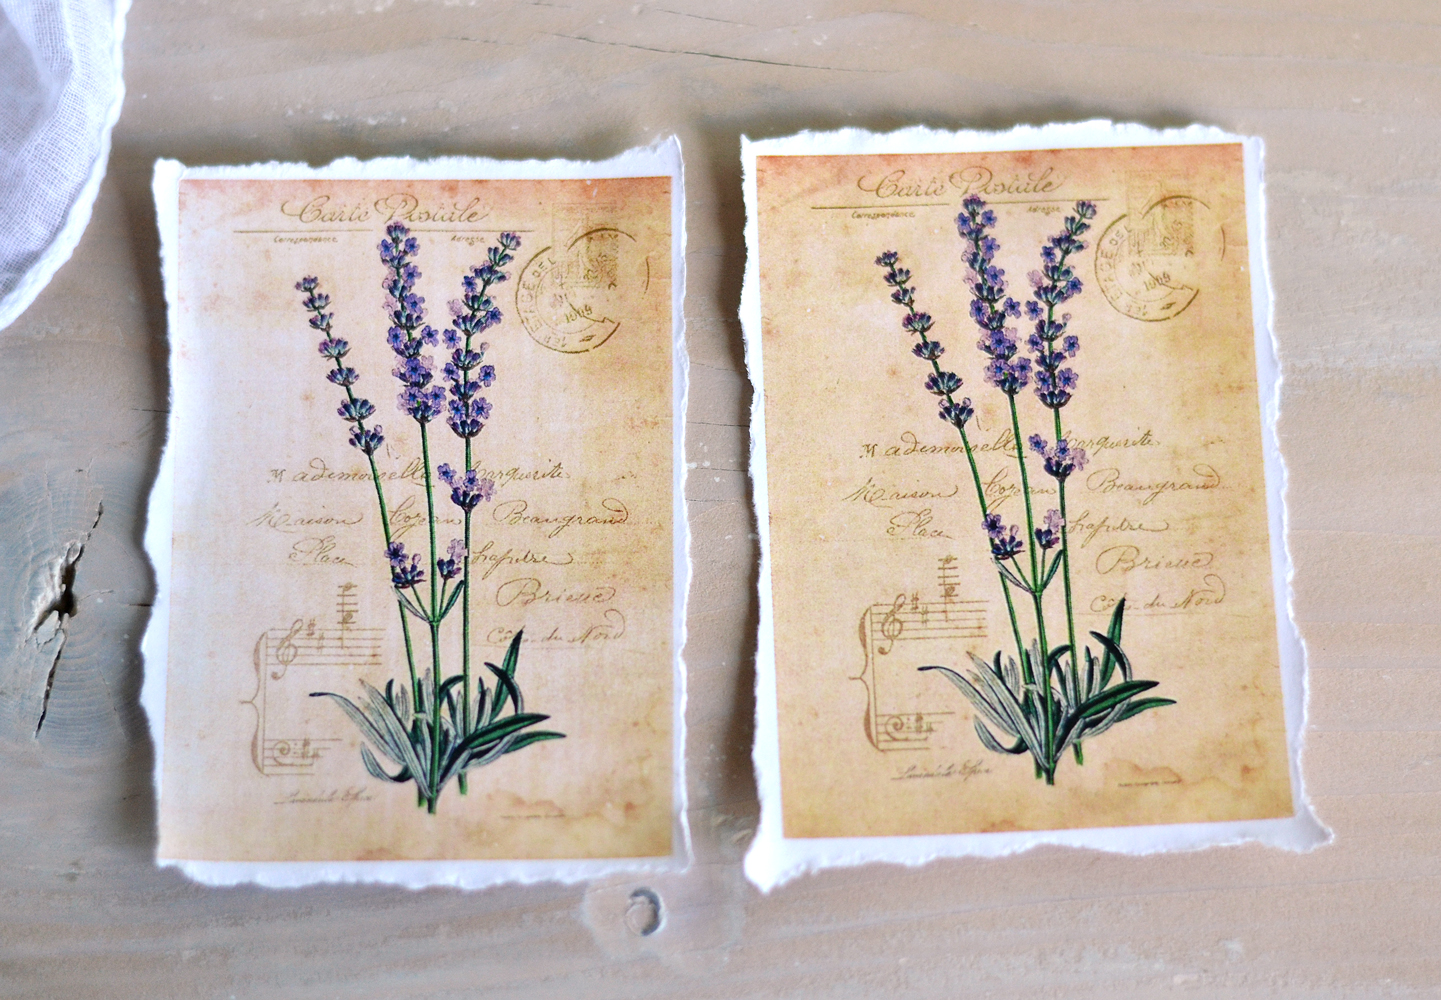
I designed the Hydrangea and Lavender vintage tags with torn edges using a stunning blue hydrangea and this spectacular lavender. I wanted to create the idea of a ‘Carte Postale’ (French postcard), so I added a few other small elements like stamps, handwritten elements and even some music notes to complete the whole look. I instantly fell in love with them … and I’m hoping you will love them too!
If I would have to choose a favorite, it would be really, really hard!
If not impossible…
So, feel free to download them both below if you simply can’t decide … and let’s just move to the next step
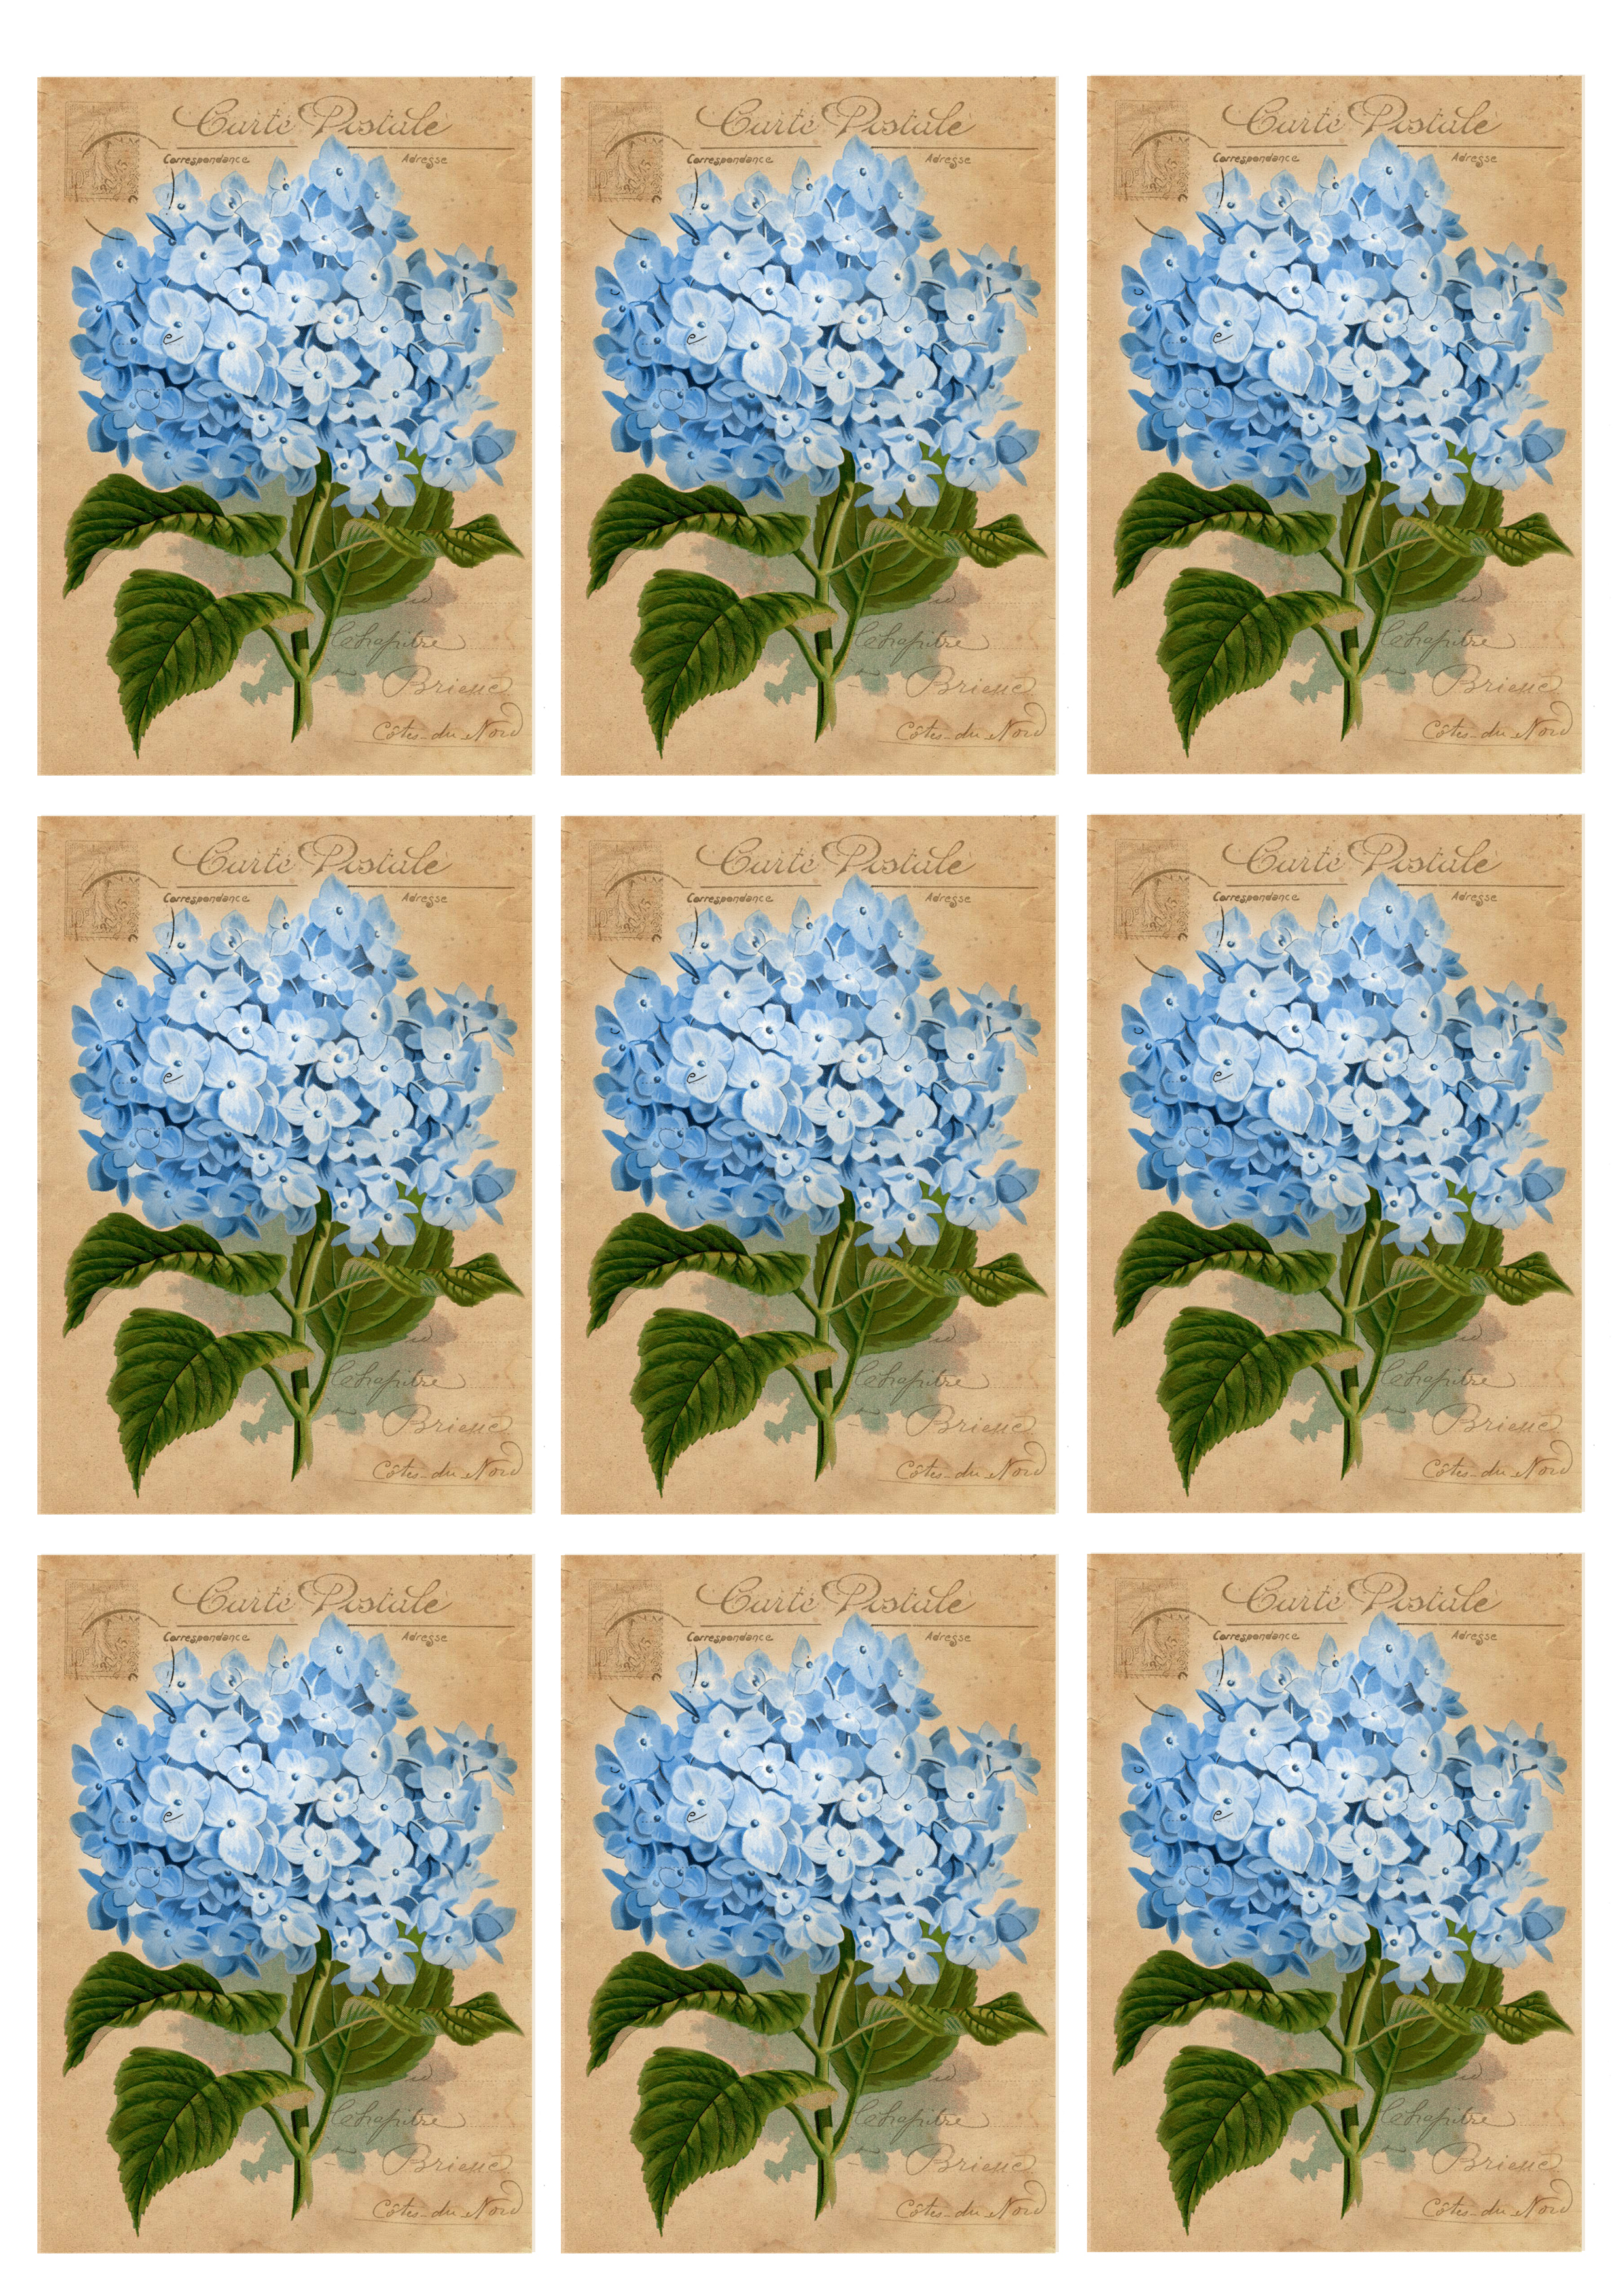
Free Floral Tag Printables
—-> Click HERE to Download the Full Size Printable PDF <—-
Torn Paper Edge Supplies:
- Hydrangea and Lavender vintage tags
- Printer
- cardstock paper or regular paper
- a small paint brush
- a bowl with water
Start by download the beautiful free printables that I created for this project. I used cardstock and regular paper, so I can give you the insights on both.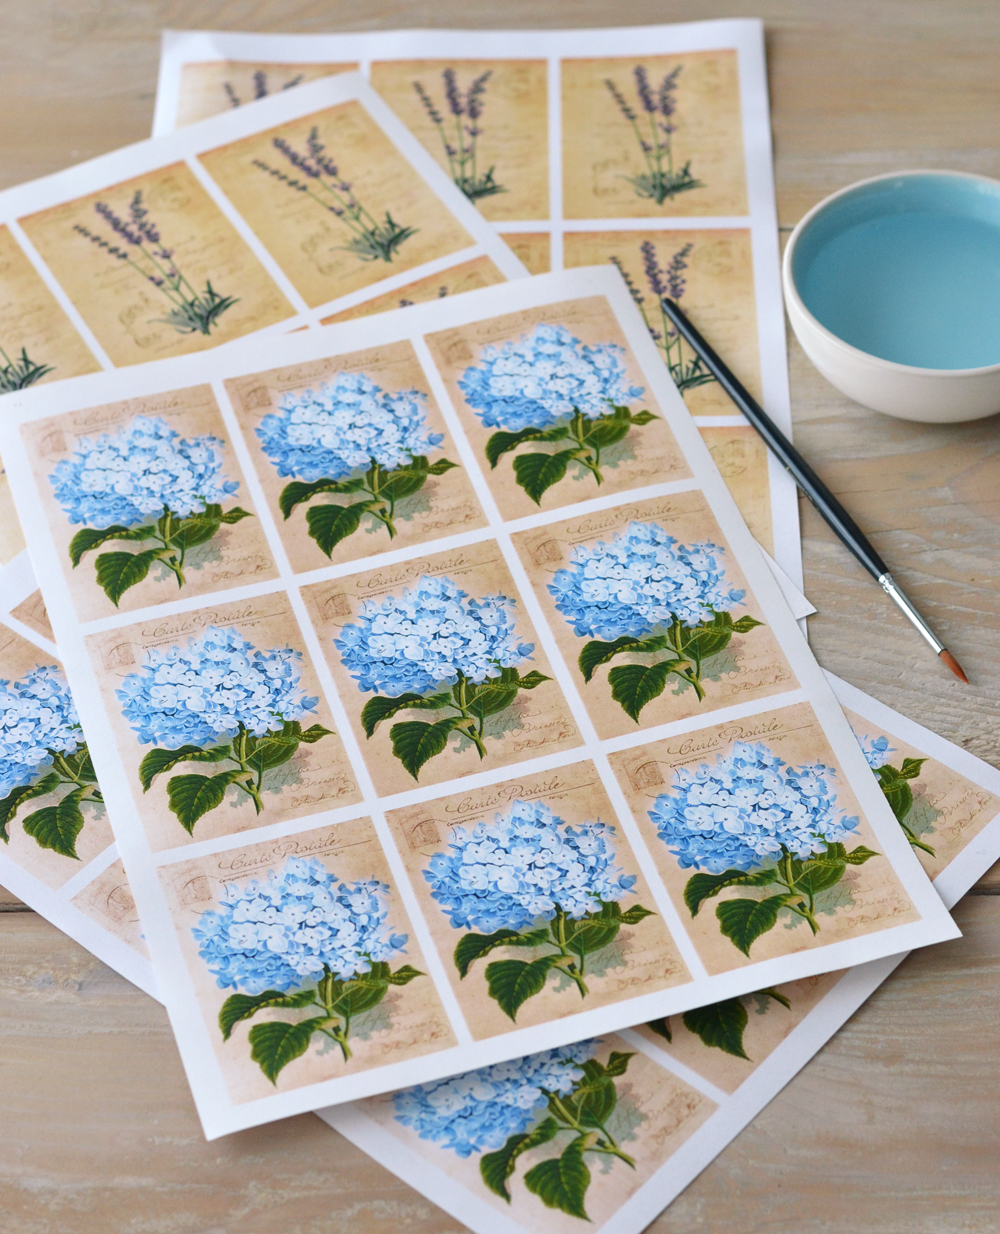
If you feel that the torn paper edge method sounds a bit familiar to you, you are on to something! 🙂 I’ve mentioned this method before while making the DIY Botanical Labels or Tags (with 3 types of borders). But today we are going into a more detailed tutorial, because some of you showed interest and wanted to know more about this lovely technique.
The torn edges method adds so much character to these hydrangea and lavender tags, so to get things started, prepare a bowl with water and a small brush.
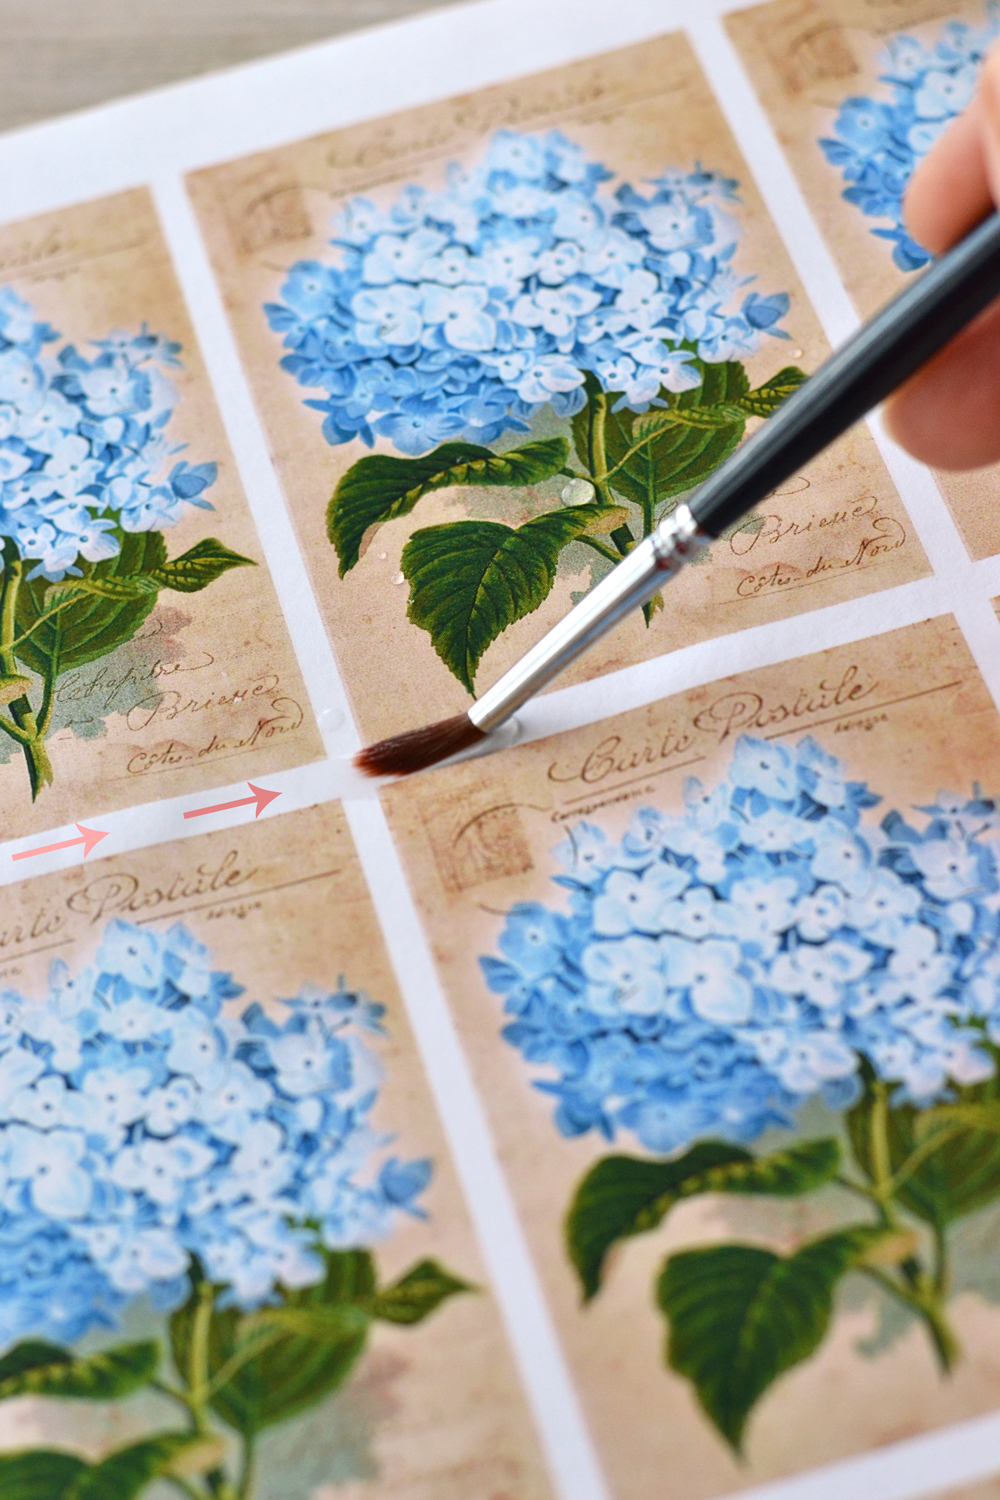
Because I designed the tags having this method in mind, you will be able to use the blank spaces between the tags as a guideline for brushing with water. You can start with the inner horizontal lines first and simply dip your brush into water, then ‘paint’ with water and follow the white lines between the tags. Make sure you only apply water to these white lines, right between the tags, it’s where we will tear the paper afterwards and we’ll create a beautiful vintage torn effect. Dip and apply water two or three times on the same horizontal line, until the paper is well saturated with water.
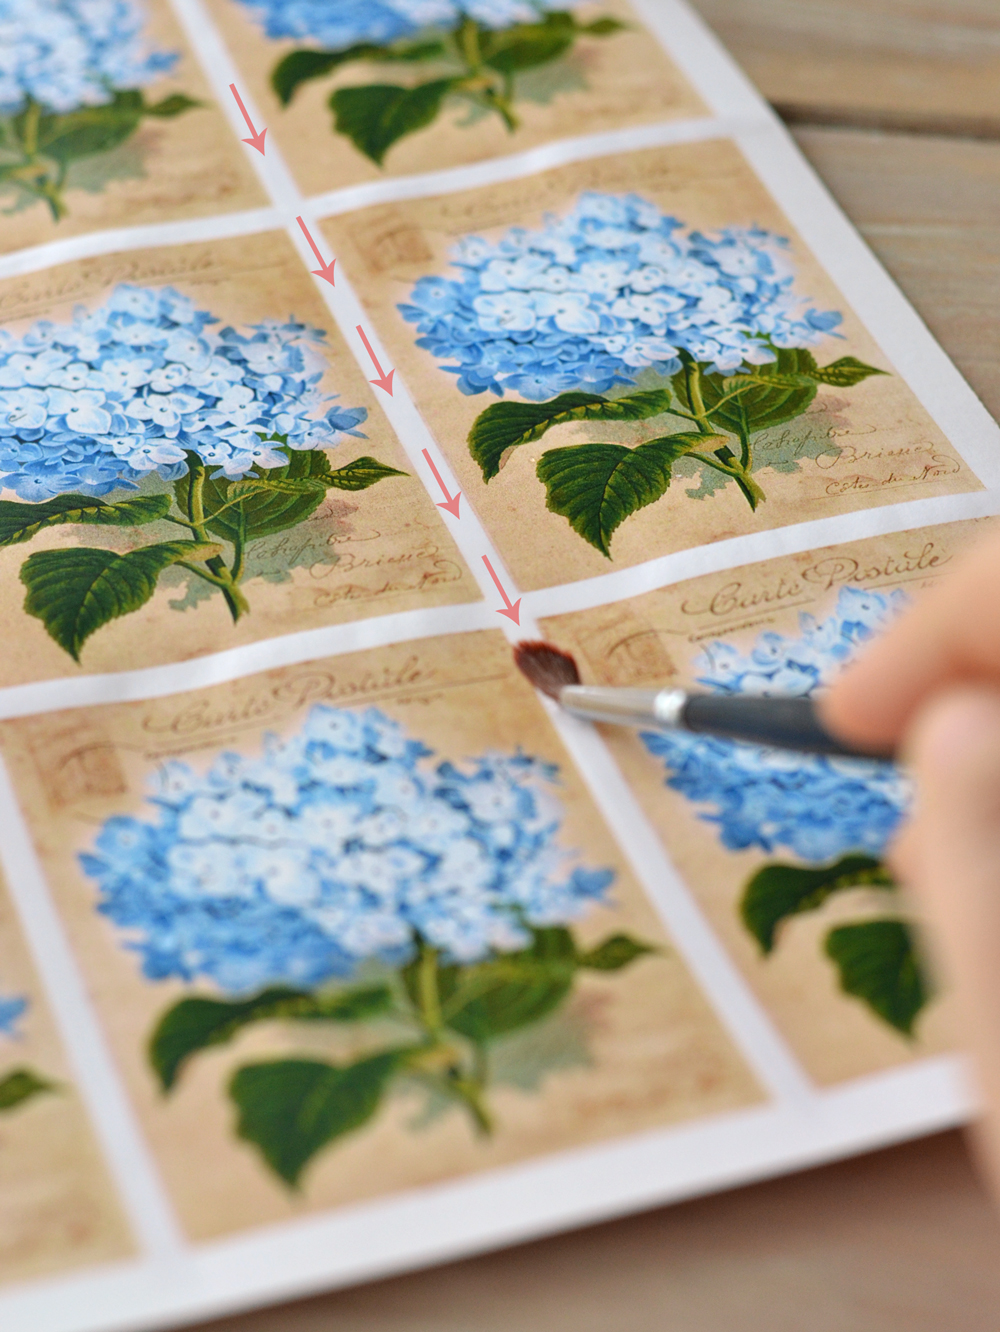
Move to the inner vertical white lines and again, brush several ‘layers’ of water on the white lines.
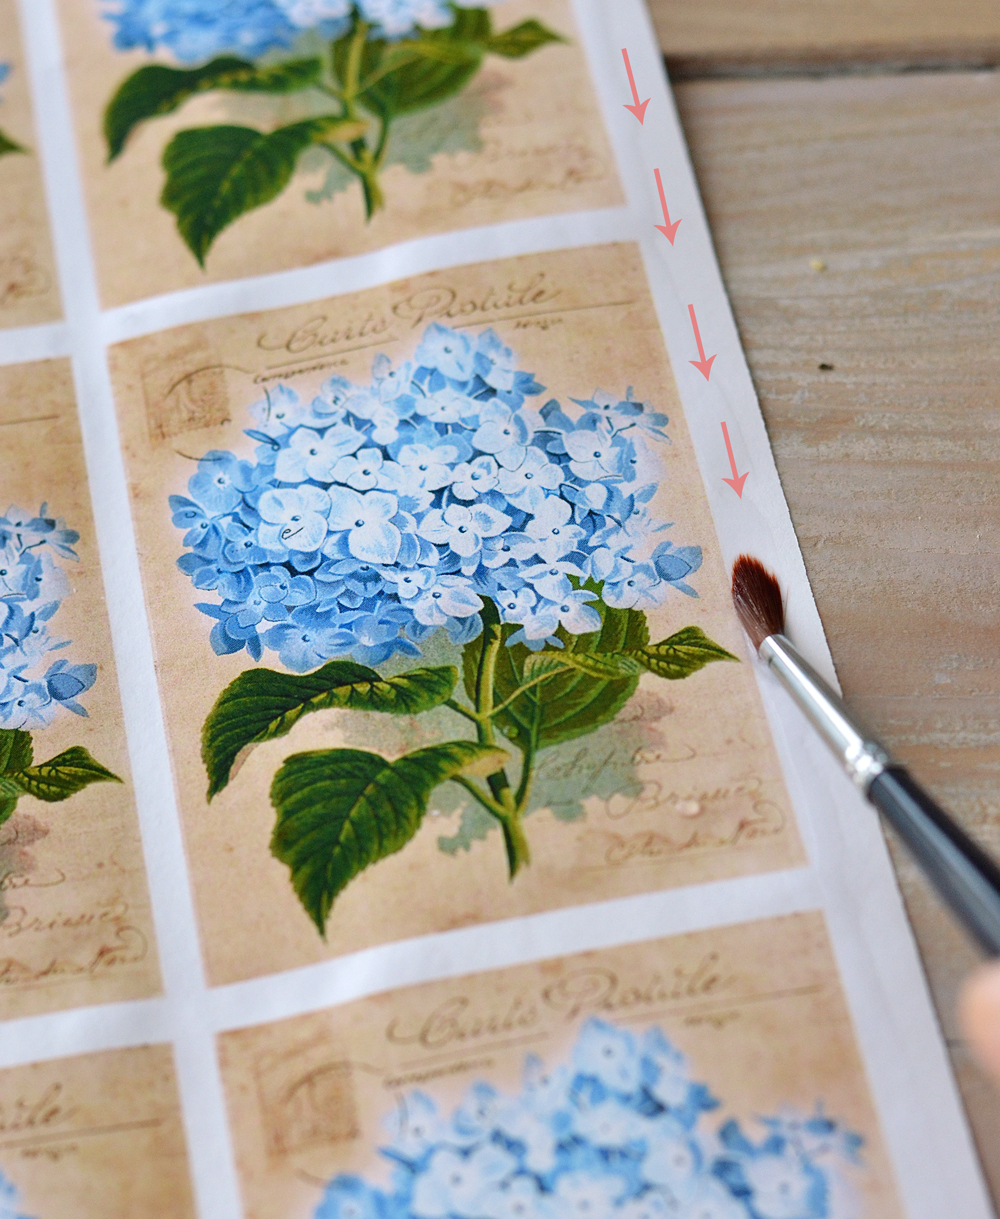
Then move to the outside of the printable and this time, follow an imaginary line that starts right outside the printed area of the tags.
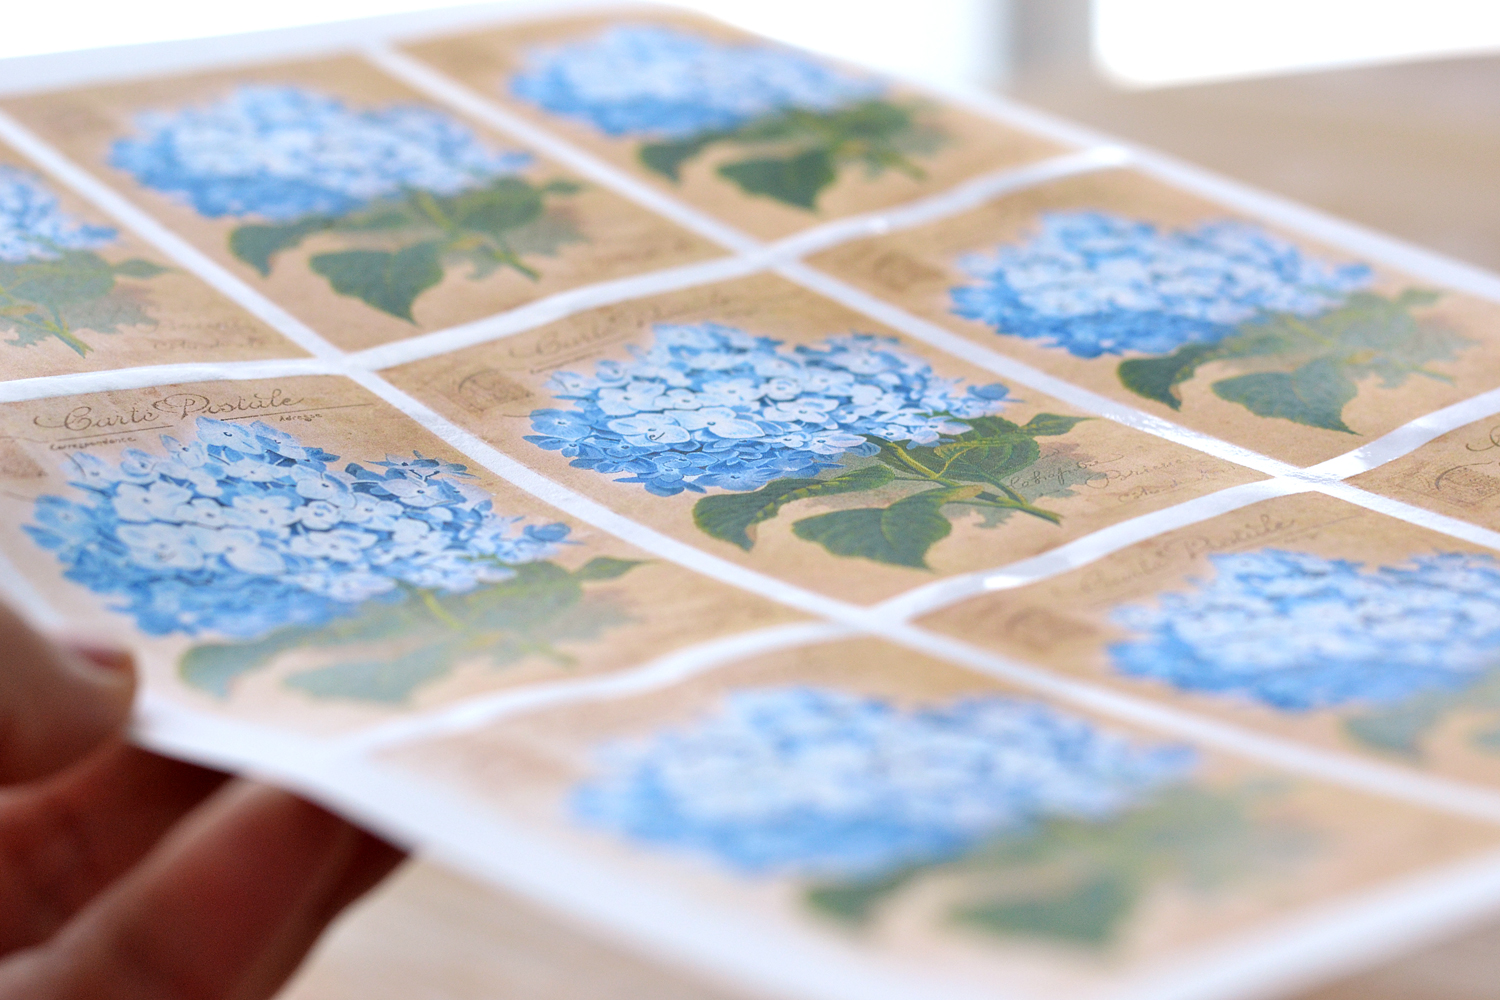
Dip your brush and apply water several times on ALL of the lines, until you have created a well saturated water grid that joins both the inner and the outer brush strokes. If you can’t remember if you applied water on some of the lines, carefully lift your paper (putting your hand underneath) and bring it next to a sunny window. Bring it next to the level of your eyes and observe it. The grid lines saturated with water will create a beautiful effect when bathed into the light … and will simply shine!
Fill in the lines that you might have skipped and let the water do its thing for 2-3 minutes.
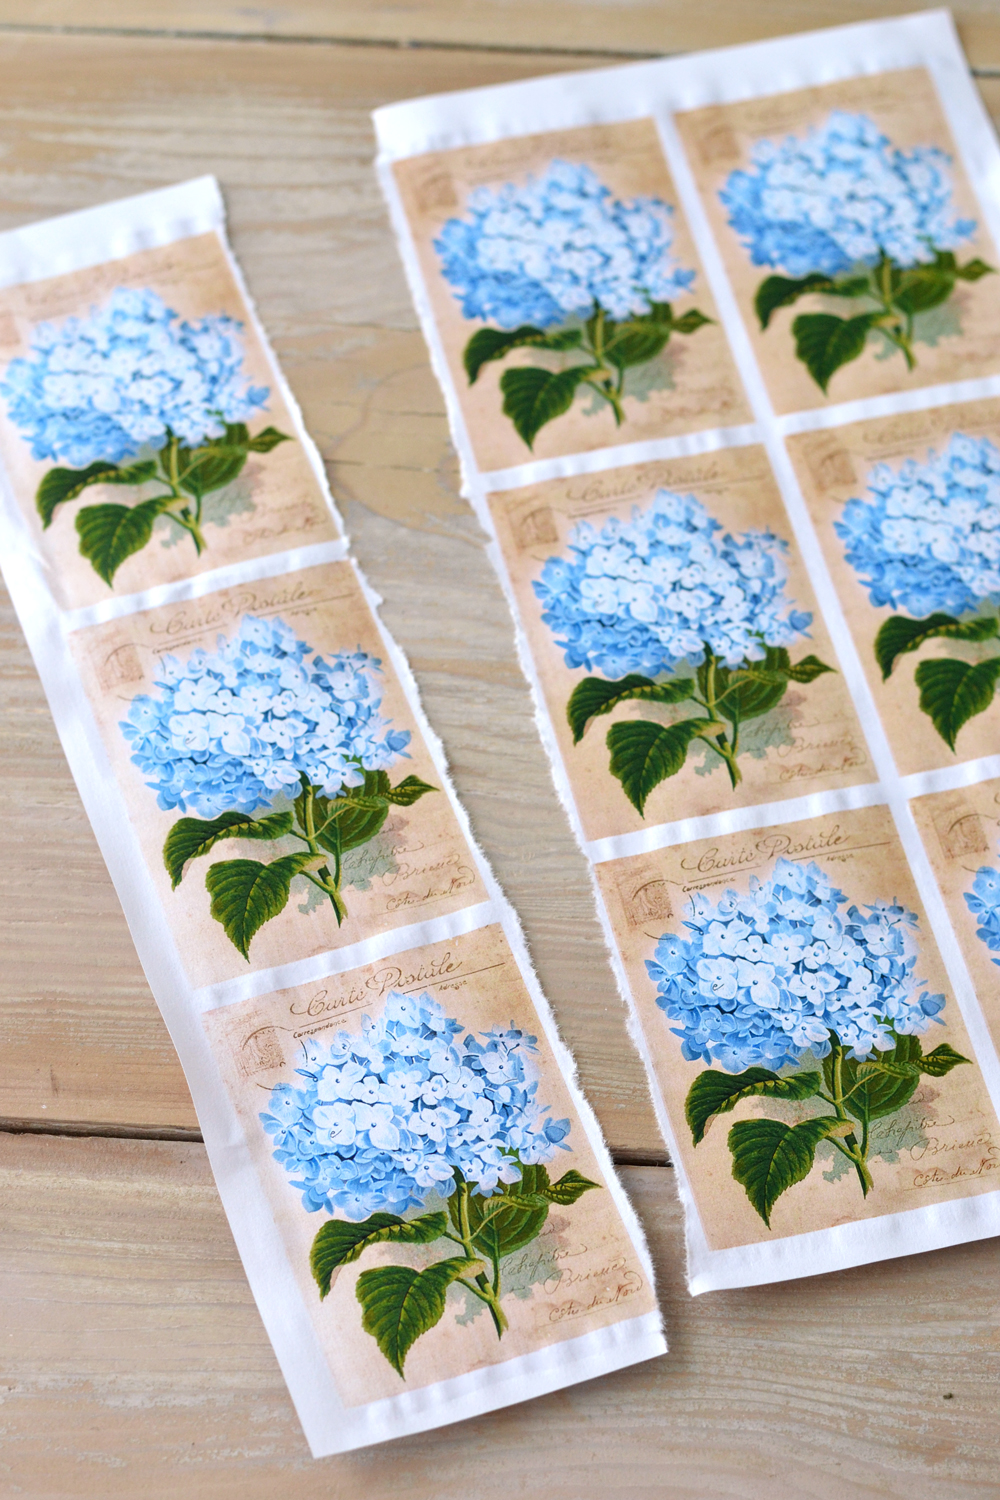
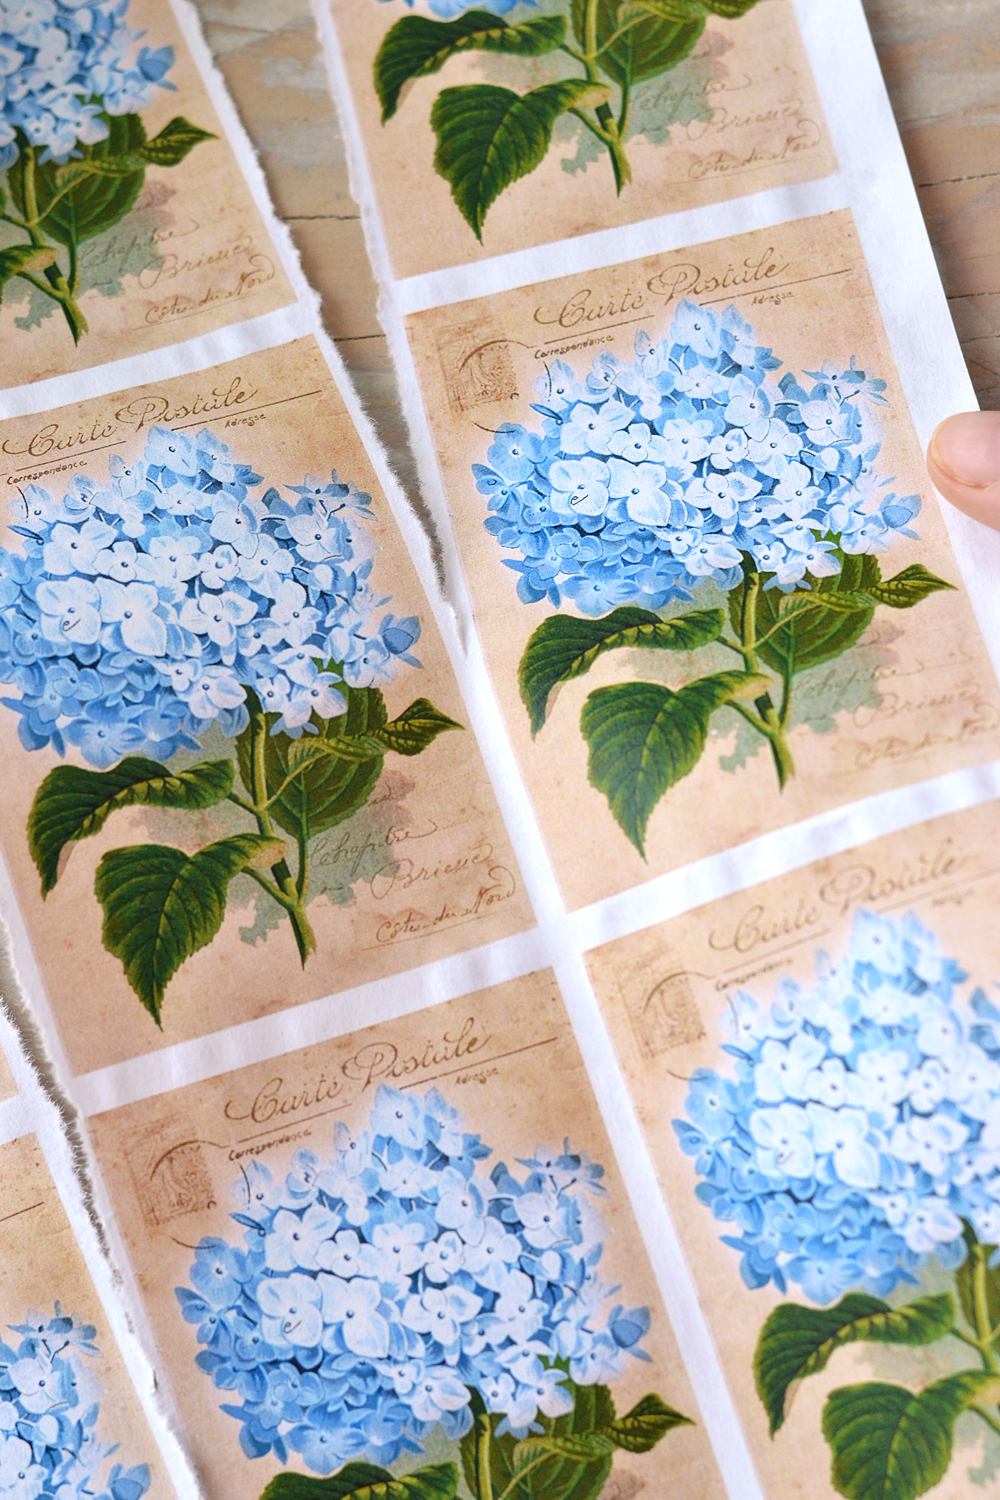
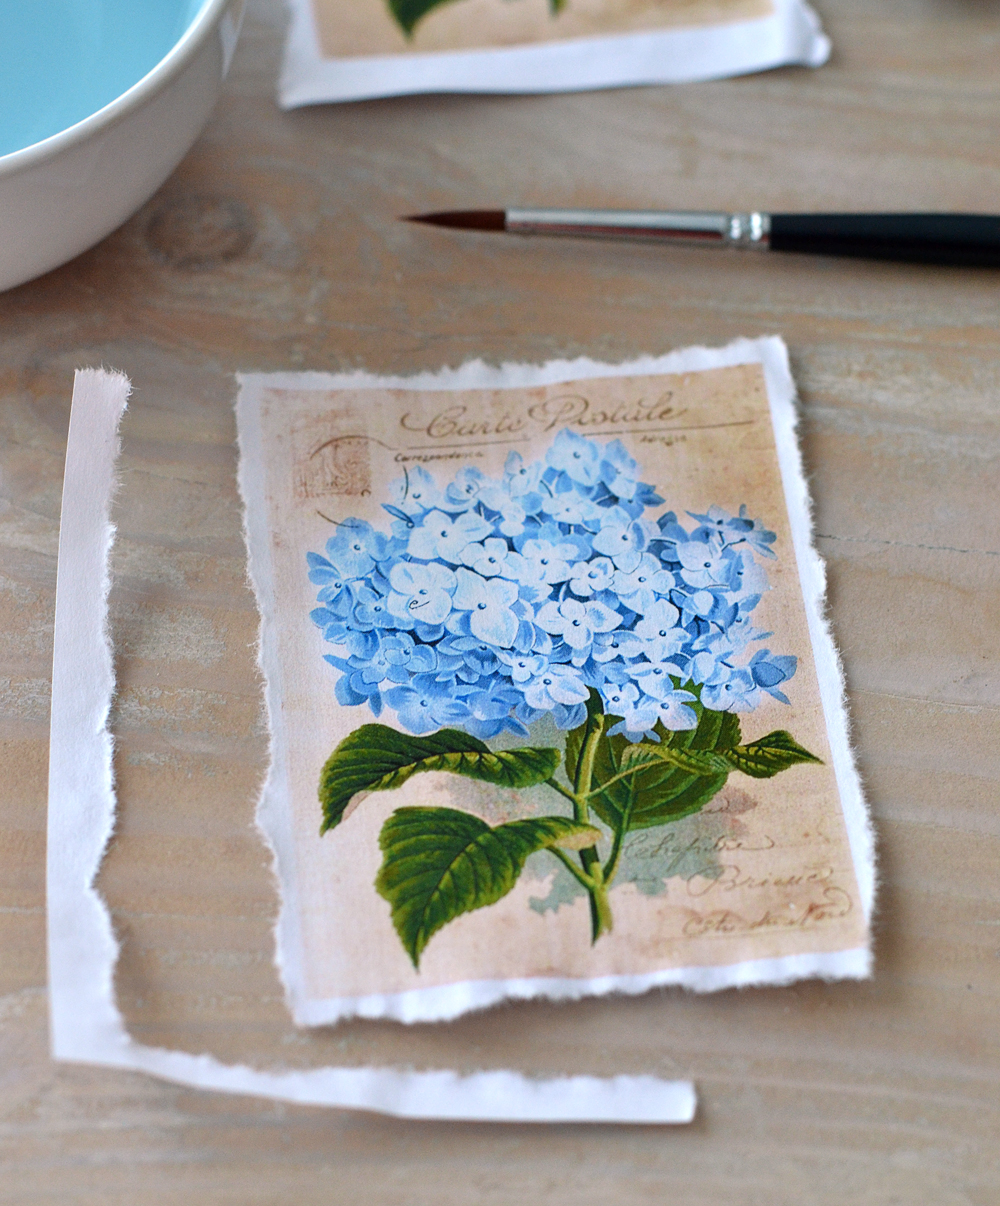
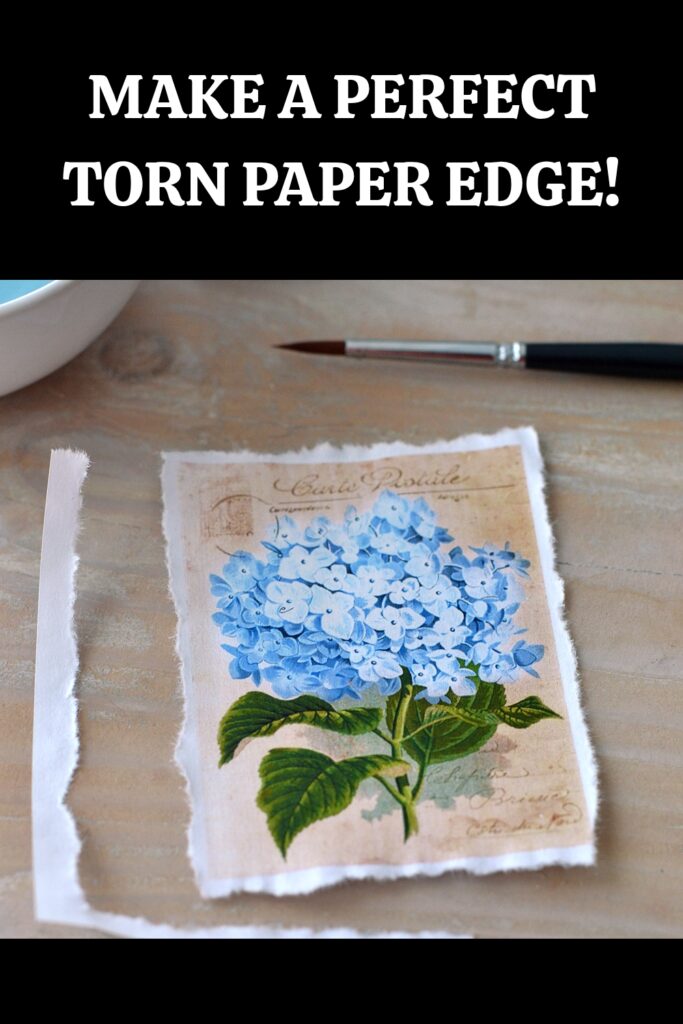
Then start to gently tear the inner vertical lines, following the water brushes from earlier. Be gentle, because if you applied enough water, the edges of the tags should tear quite easily, creating an irregular, truly unique vintage effect.
Move to the other inner vertical line and gently tear it up.
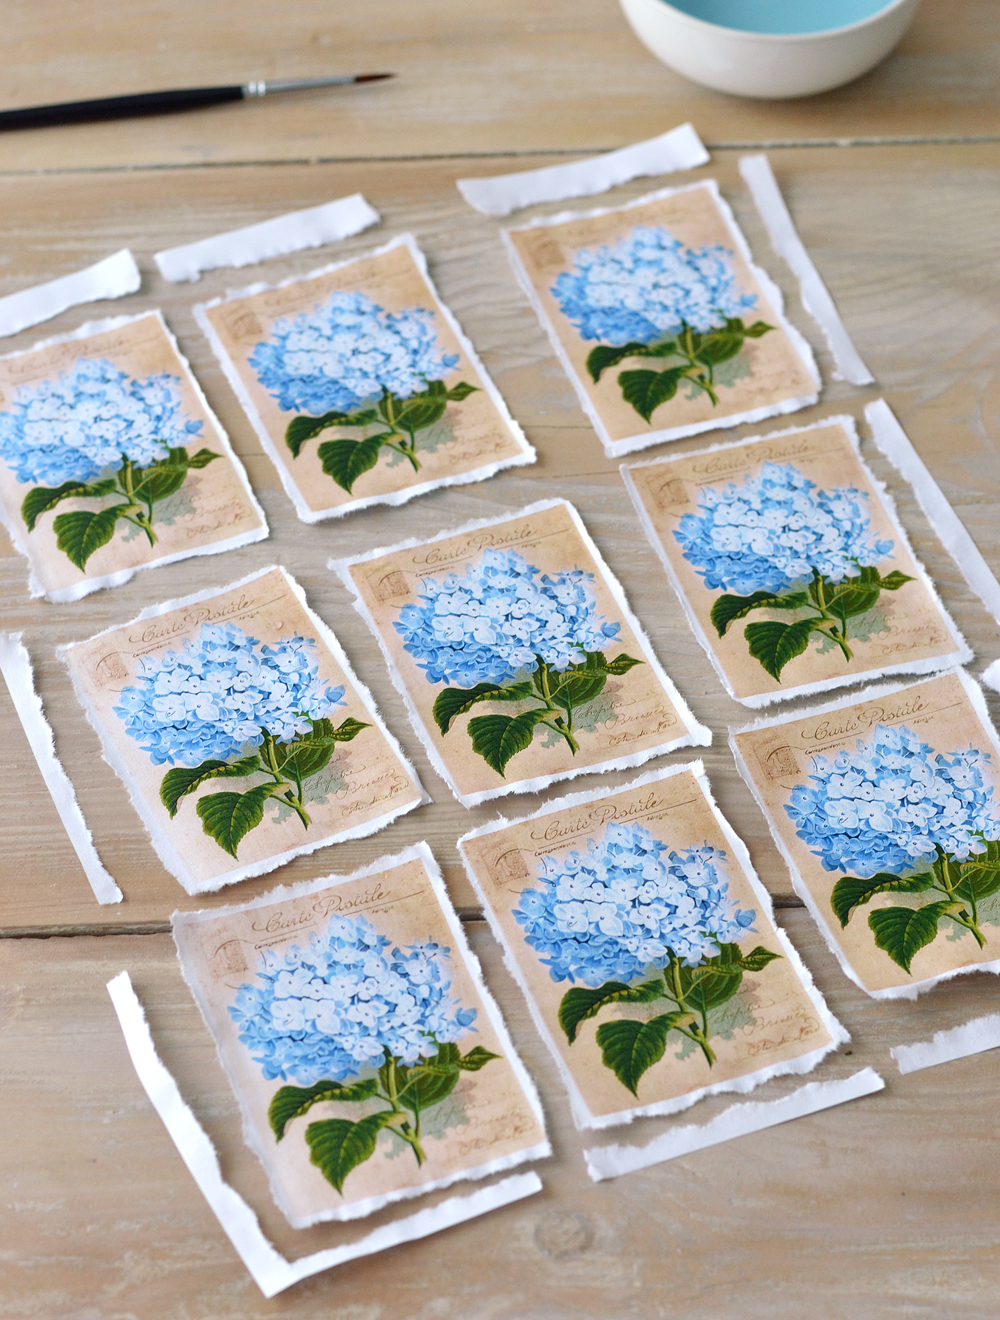
Then move to the horizontal inner lines and start to gently tear them up. If you feel like your paper is too dry and things are not going smoothly, apply more water as you go – this just might happen during hot summer days.
After following and tearing all the inner lines, move to the outer lines of the printable. This time we will have to actually remove some of the excess paper from the margins, but we are basically following the same procedure.
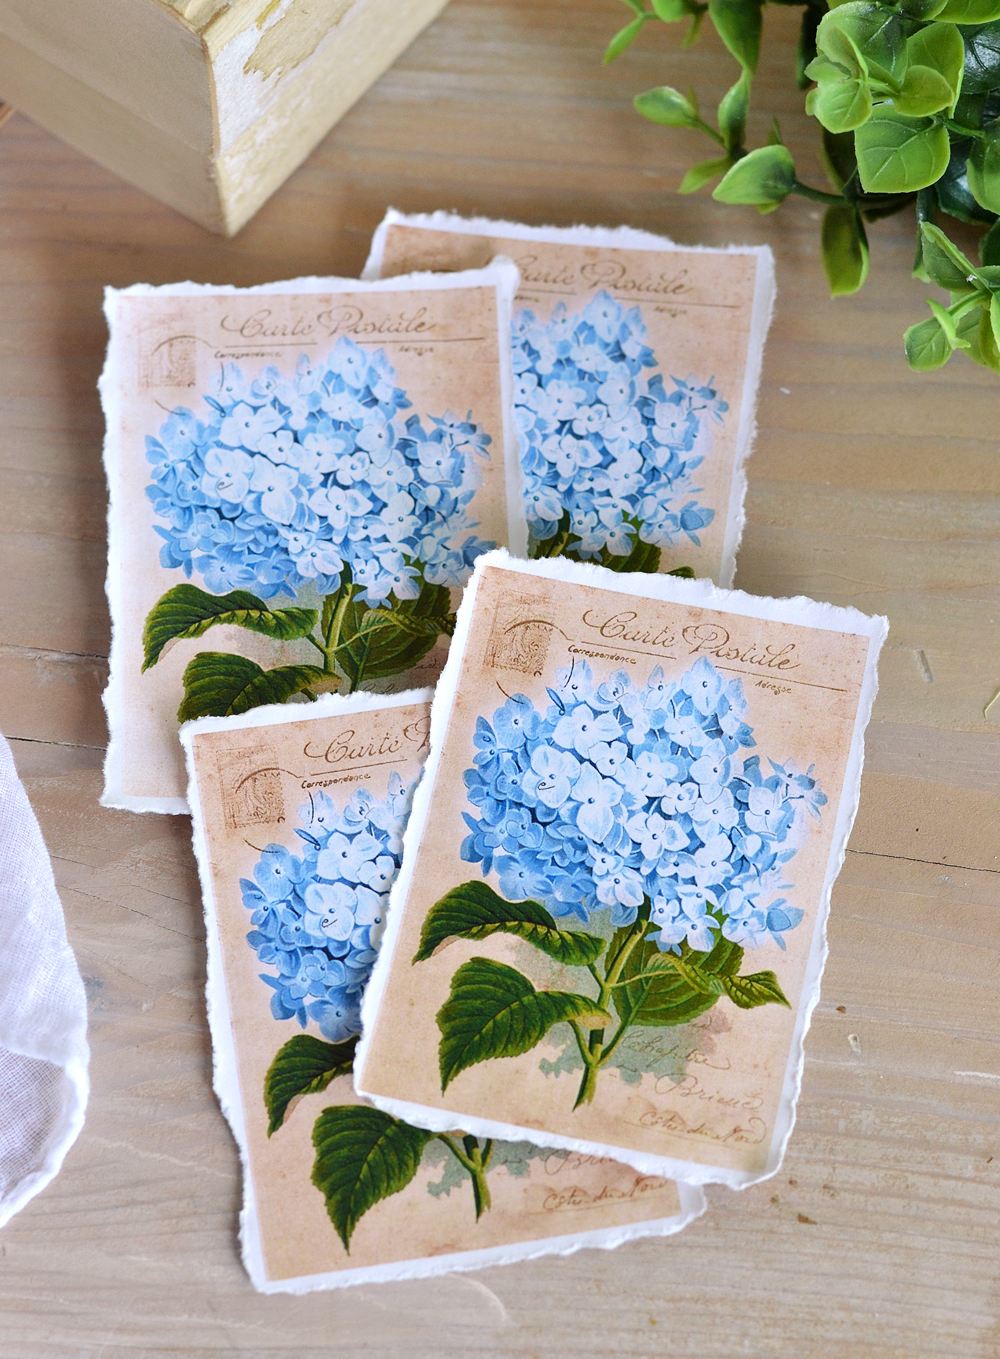
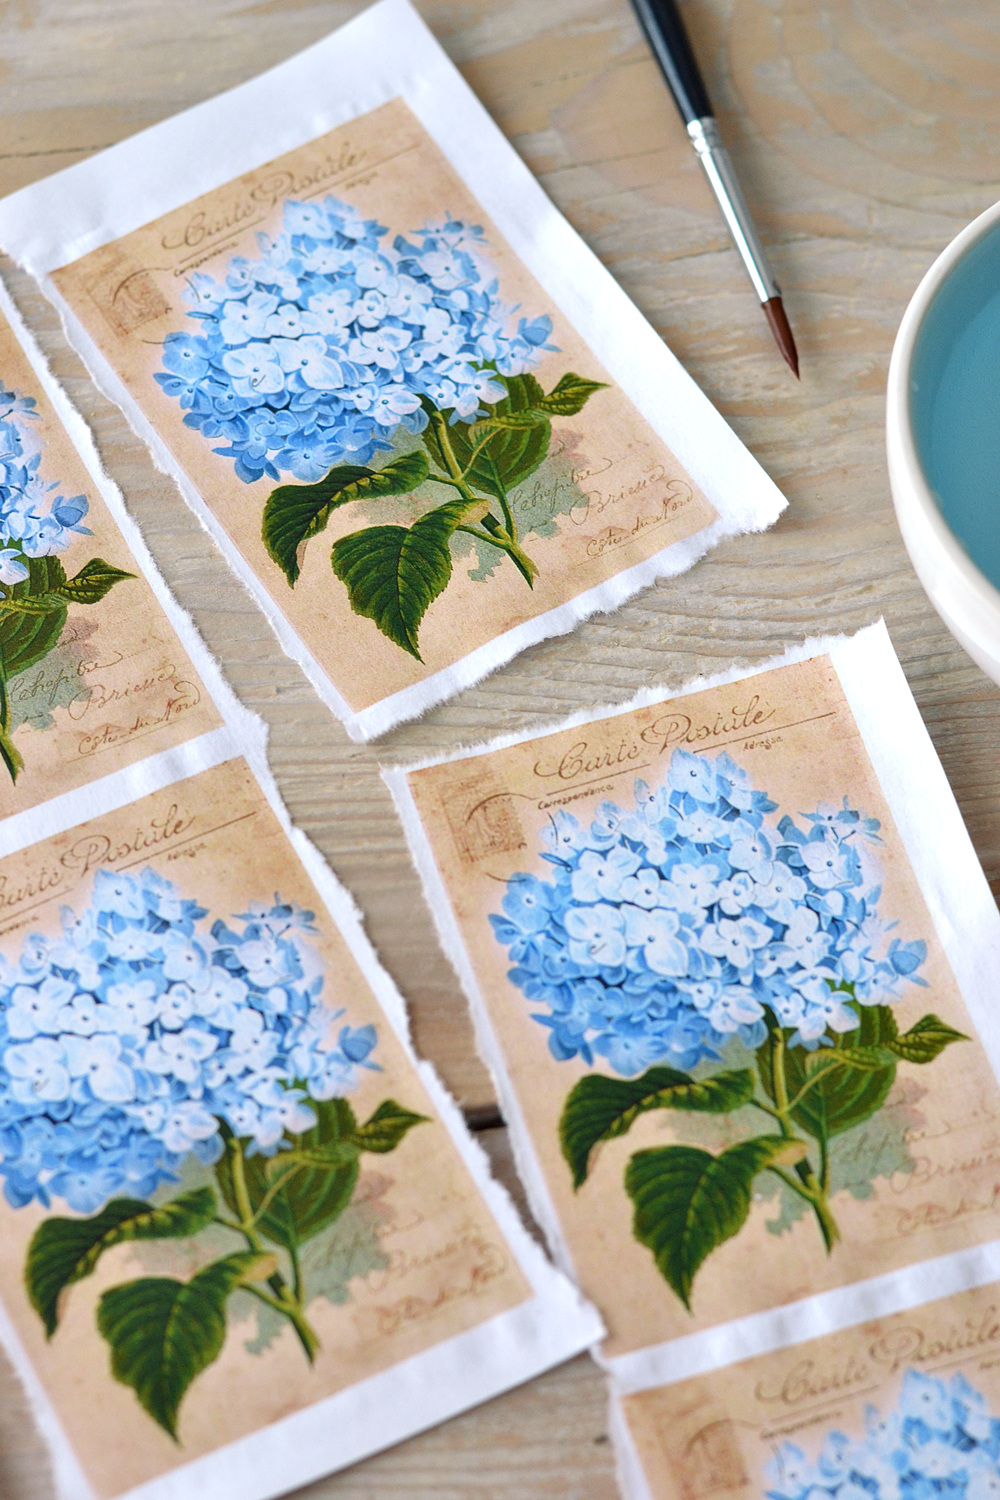
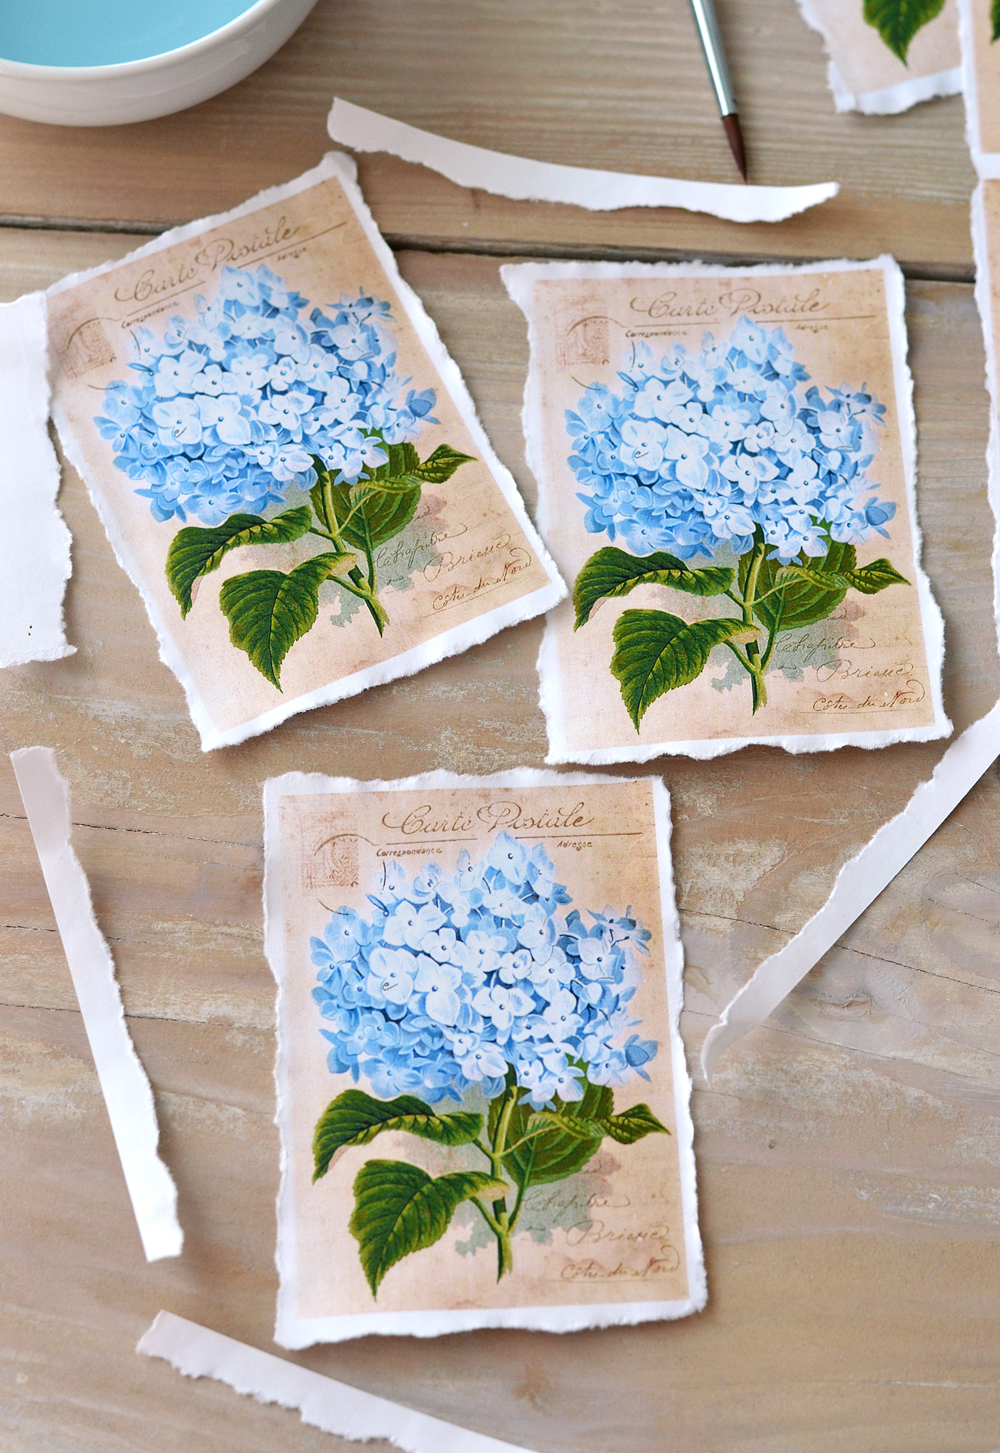
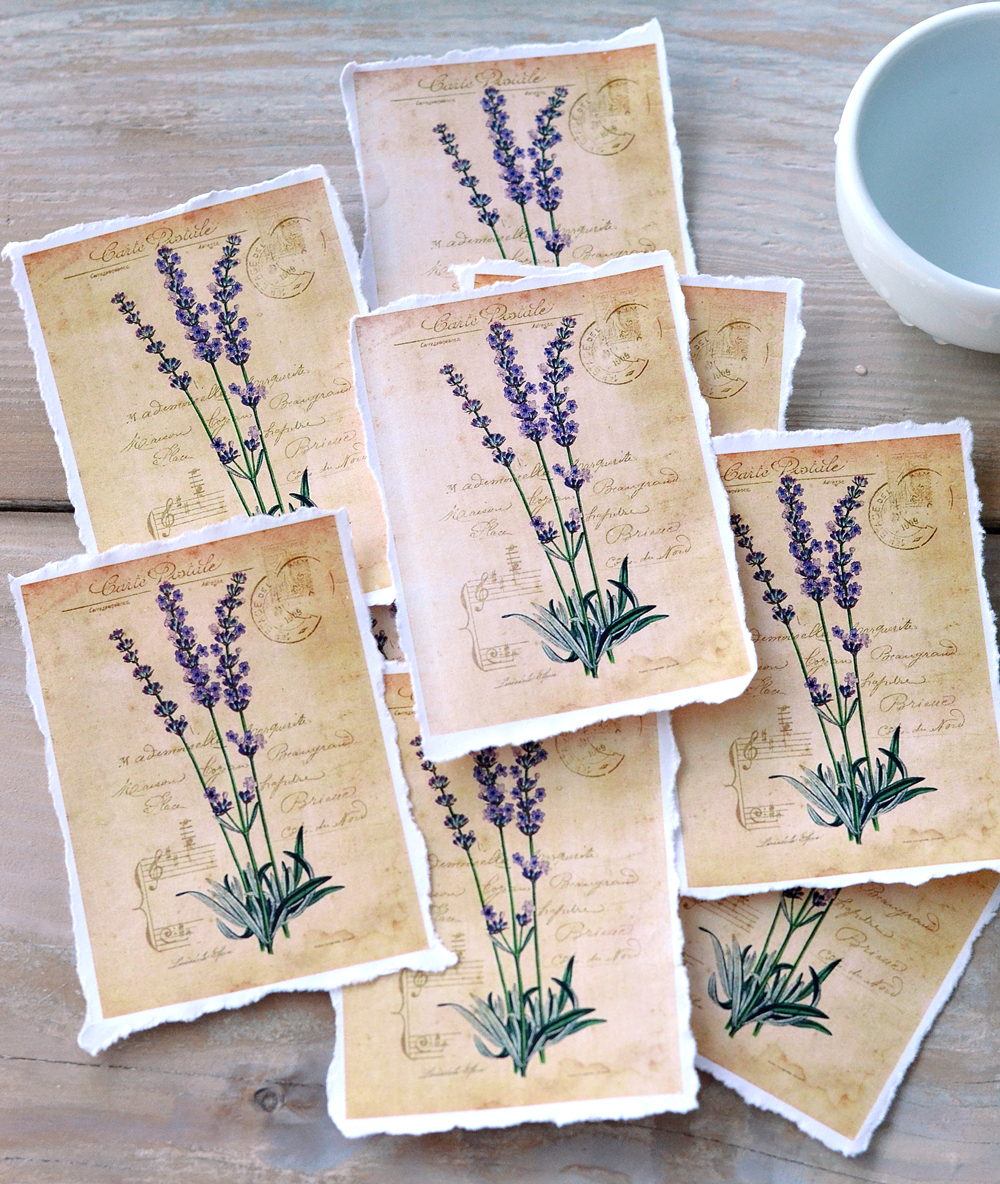
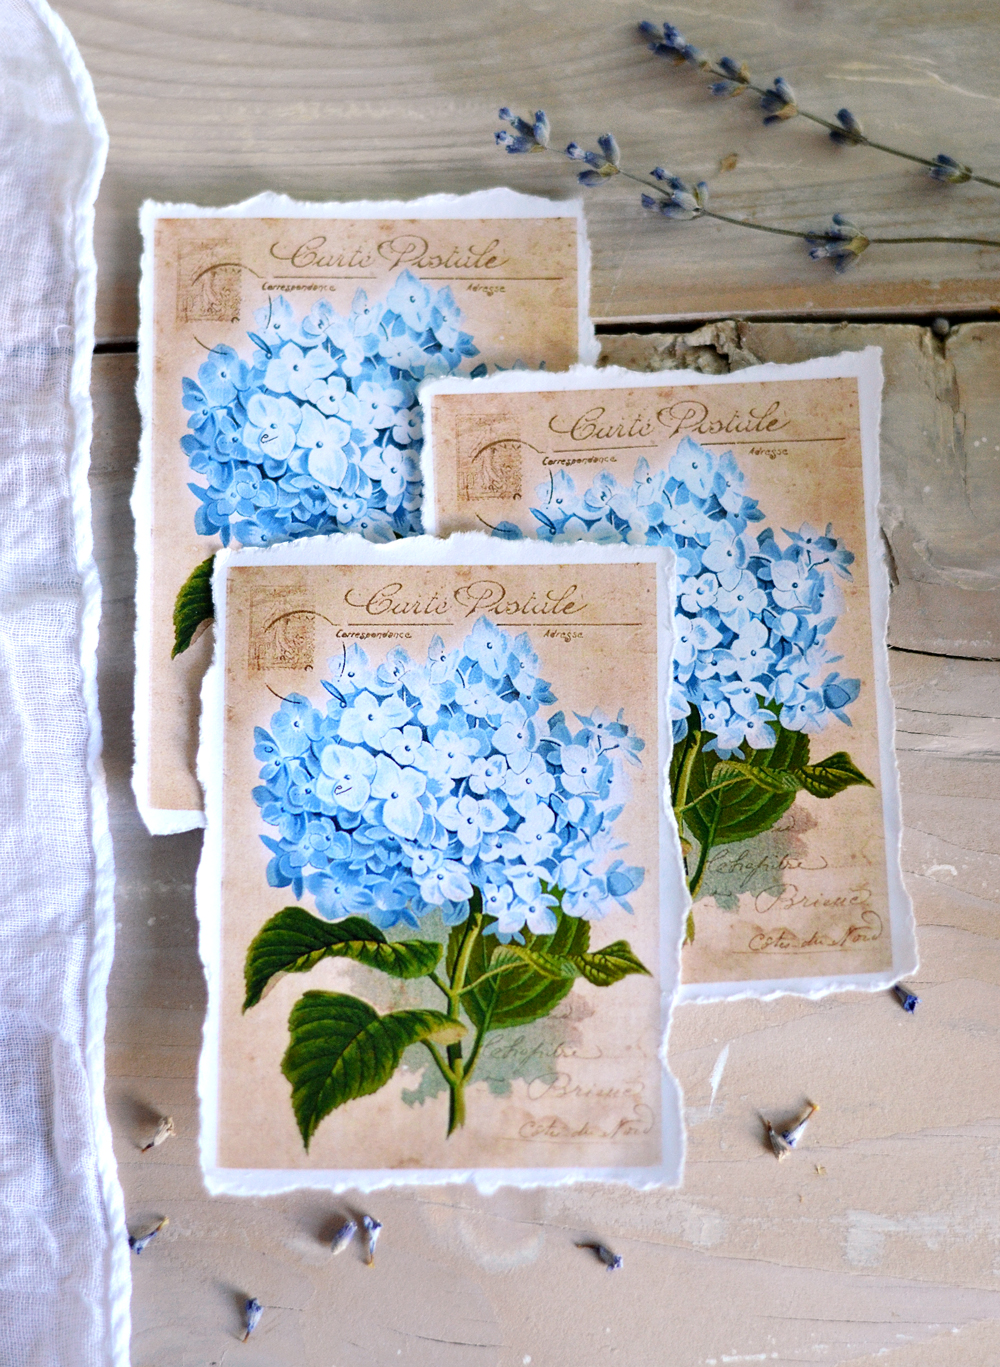
In the end, you will have some beautiful hydrangea tags with torn edges. Something like this!
If wanting to try making these with regular or cardstock paper, I have to tell you that there are not noticeable differences between the two of them. I loved the torn edges and the creases water created on both of them!
Cardstock paper feels more heavier, because of its weight and it almost looks like an old photo or a vintage postcard.
On the other hand, regular paper absorbs water more quickly and is much easier to handle when doing the tearing.
So, the choice of paper is entirely up to you … but you can always try them both and see which one works best for you!
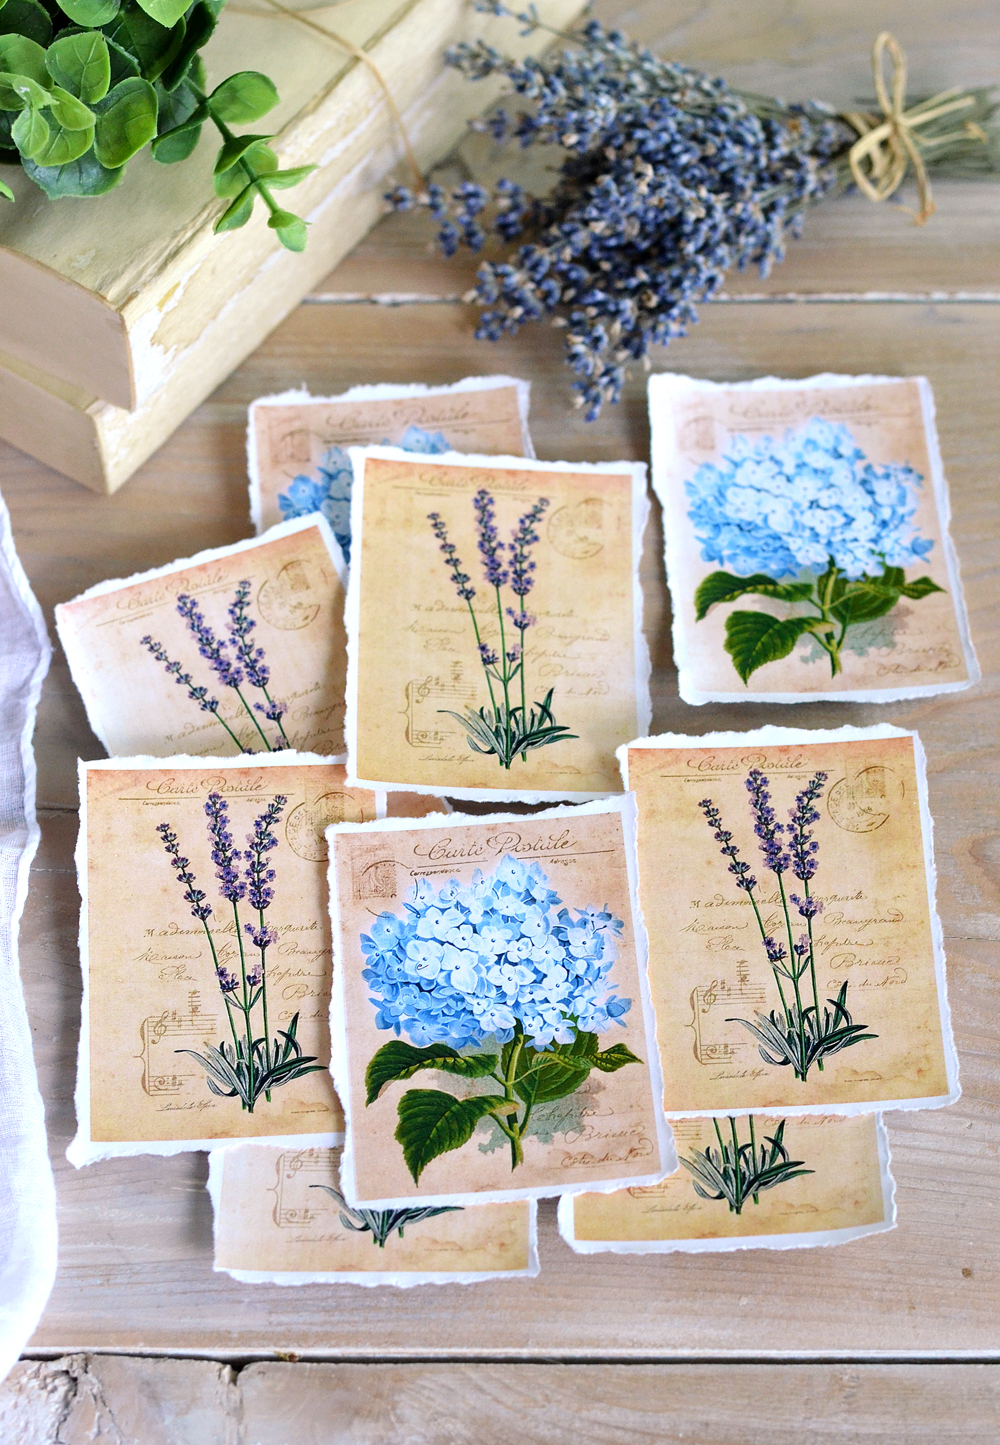
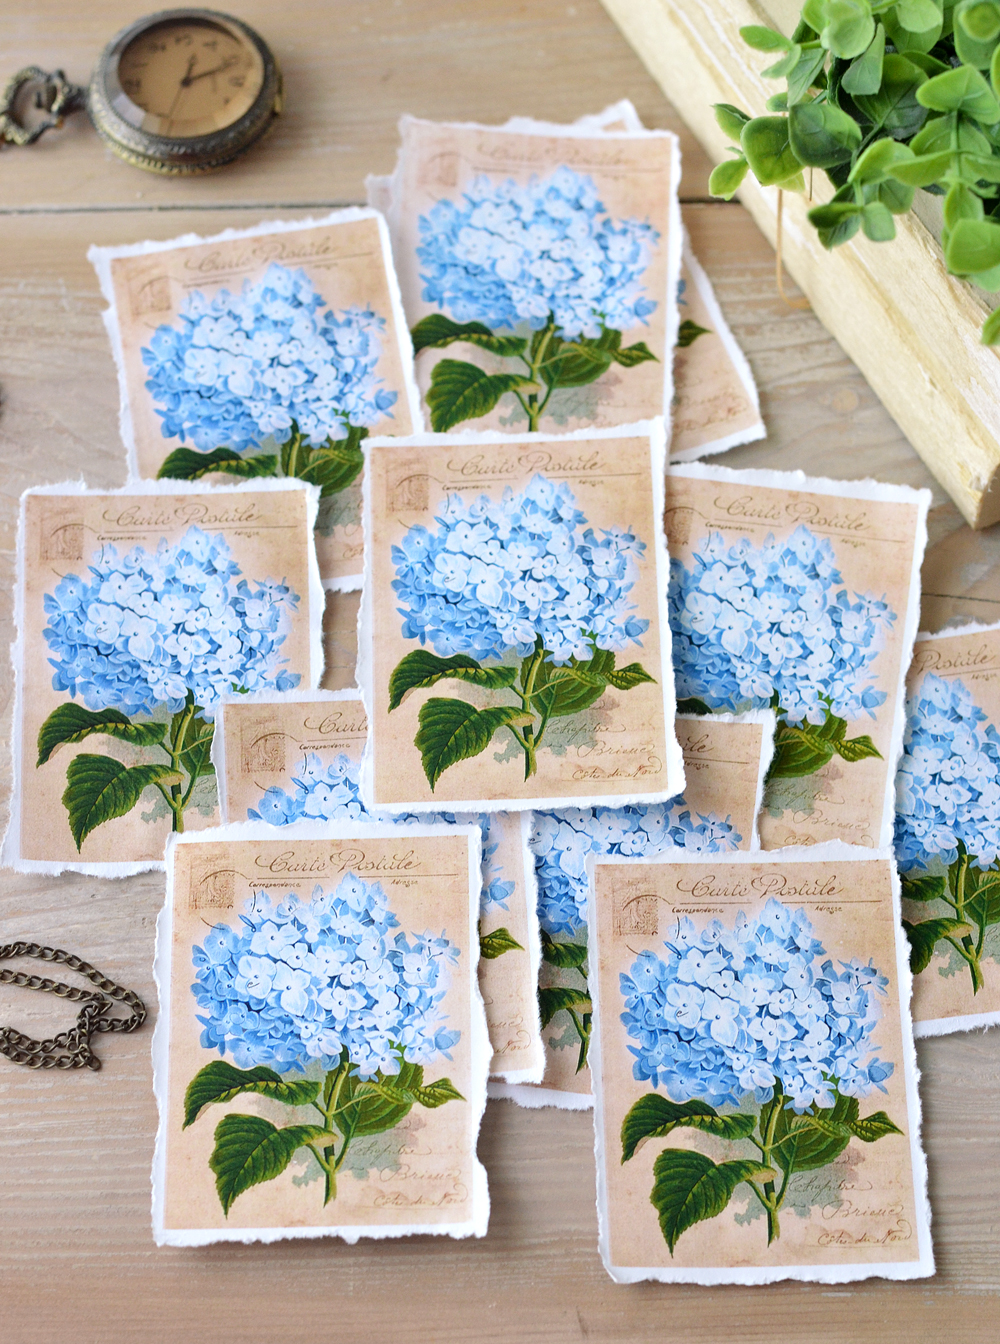
Don’t you just LOVE them ALL?! You won’t be able to find two pieces that look exactly the same, each piece is truly unique!
After admiring your simply amazing hydrangea tags … move to your simply amazing lavender tags! Just follow the same steps to create them, you will love them just as much!
Finding ways to use your Hydrangea and Lavender vintage tags with torn edges will be the easiest thing ever! Here are just a few ideas.
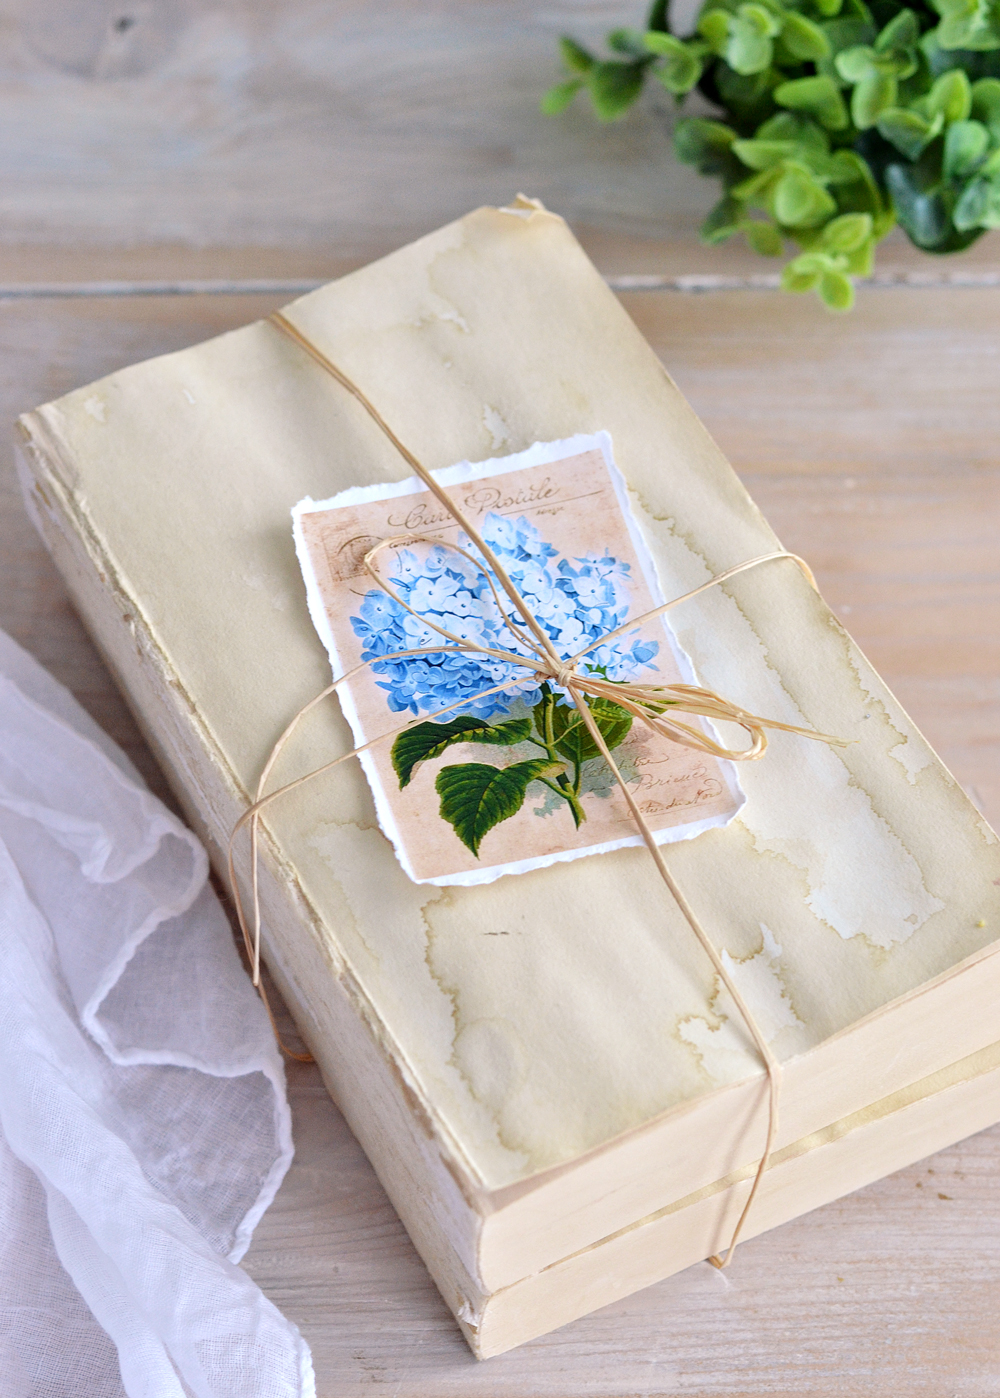
Use a stack of old books or create some DIY Coffee-stained vintage books and you will be able to easily integrate them into your home decor.
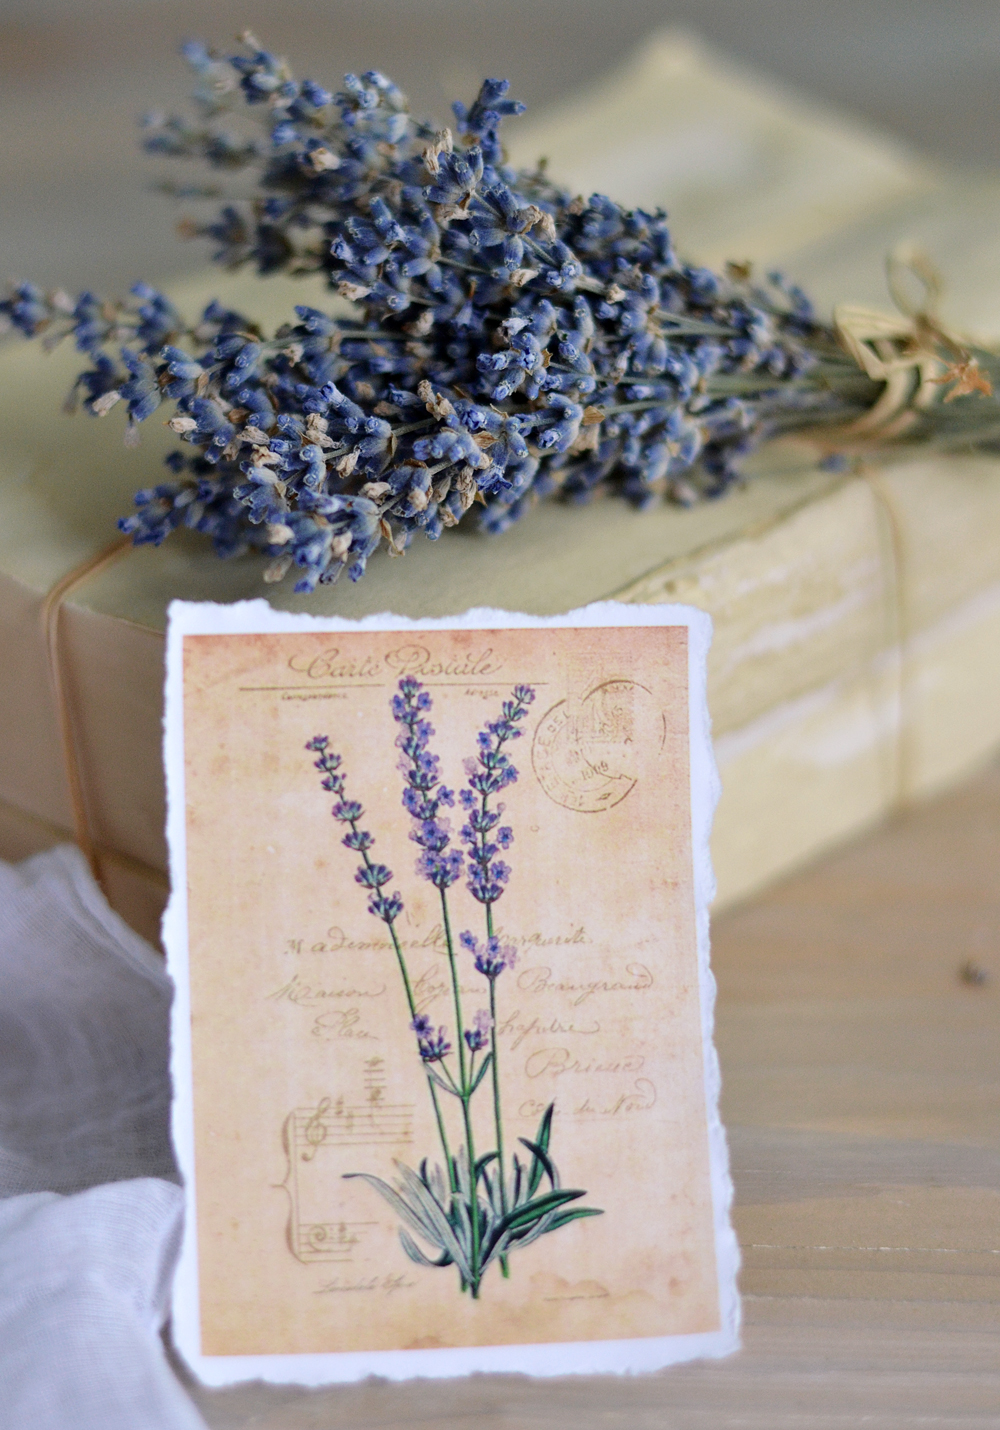
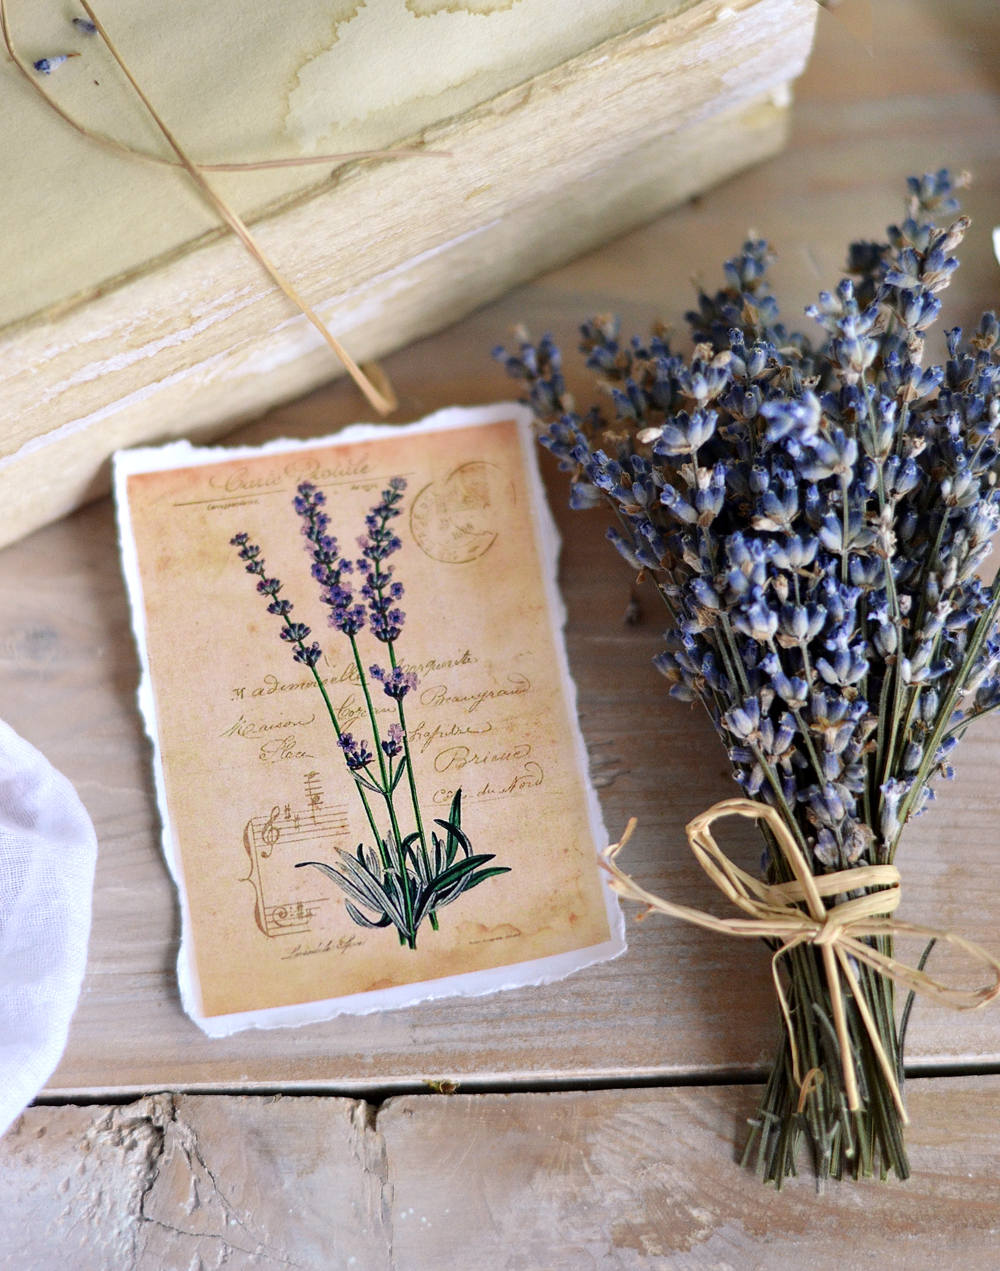
Use dried hydrangea or dried lavender to create seasonal vignettes for your home.
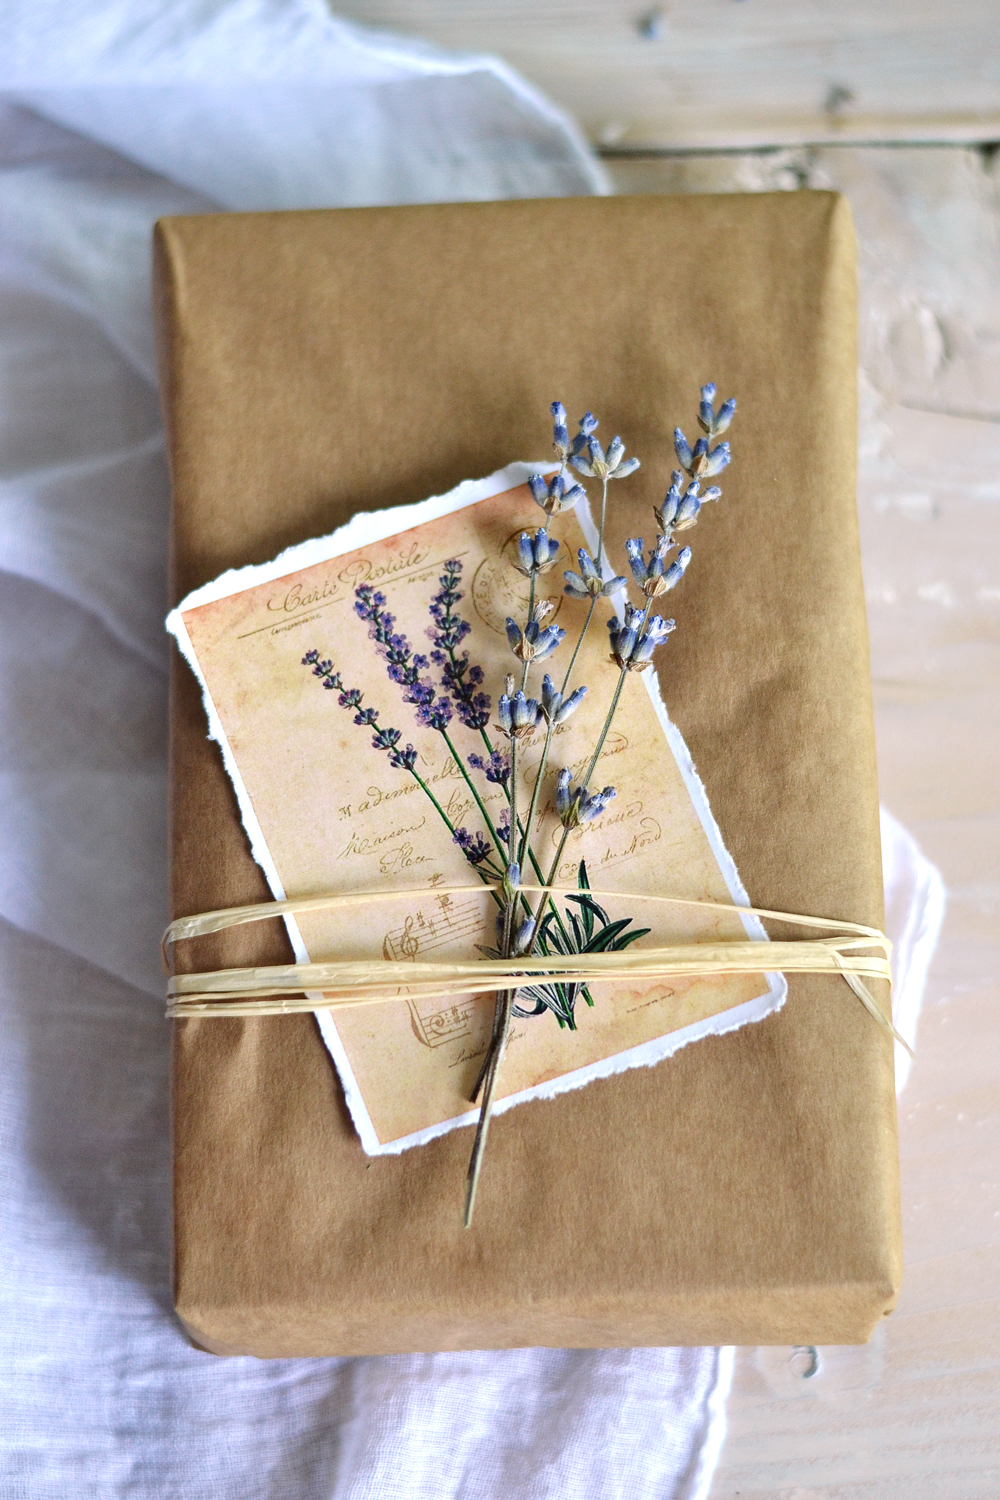
Add the Hydrangea and Lavender vintage tags with torn edges to gifts and write on their backs thoughtful notes and wishes for your friends! Some natural raffia and a few dried lavender sprigs will add dimension to your presents, making them even more special!
And speaking of special and thoughtful gifts, why not add a few drops of lavender essential oil to your dried lavender sprigs or to your lavender bouquet? This will give your gifts a truly unique character. I also do that in our home… you can read all about my Essential oils diffuser using dried lavender here.
I hope you like my project and decide to give it a try! Would love to know where would you use these beautiful Hydrangea and Lavender vintage tags with torn paper edges and which ones do you love more? The hydrangea or the lavender ones? Can you choose ONE favorite?
For more similar projects, you can visit my blog – Dreams Factory.
Have fun creating,
Diana





Kimberly S says
This is a great tutorial! I always use this technique when I’m tearing a design from printed tissue paper, but I’ve never thought to do it with regular paper! How marvelous! TFS
Karen Watson says
I’m glad you found Diana’s tip useful Kimberly. And yes you are right about the tissue paper, it does work great for that too! 🧚♀️
Aleida says
Thanks for your explanation and the beautiful cards. I’ll give it a try!
graphicsfairy says
Have fun Aleida!
Raylene Kinyon says
I love your prints. Do you sell the tags or cards that have this background? Would love to buy them. Thanks
graphicsfairy says
Thanks Raylene, I do not sell anything, I provide the images for my amazing readers to create their own projects. You should give it a try 🙂
Susan Wilson says
These are just beautiful thank you for sharing your creativity with us!
graphicsfairy says
Thank you Susan, I am so glad you like them 🙂
Donna says
I absolutely adore these cards. I was wandering if there is a way to print 4 or 6 to one sheet. I was thinking they would be pretty transferred onto a table but making them a bit larger.
graphicsfairy says
Thanks Donna 🙂 Yes, you would need an editing software like Photoshop which would enable you to do just that 🙂
rupa says
Karen, I had to reboot my laptop and then the pdf showed both pages…I had stared it so many times before telling you about the missing page…sorry about that. Thanks again!
graphicsfairy says
No worries Rupa, just glad you were able to get it resolved 🙂
Lady T says
Ok Seriously I can’t decide either these are so so so super cute. So I am going to add them to Junk Journals for making notes. I am going to also run a coffee or tea wash along the edges as it dries to give it an additional vintage pop.
Love the old books too. Were the covers torn off and were they coffee dyed? Super neat looking with the tag.
Thanks so much for the sharing, these are so adorbs that I want more flowers now…Thanks a lot?! LOL you have created a monster.
graphicsfairy says
LOL, Lady T, you are so cute!! I am so glad you are inspired, enjoy 🙂
Rupa says
Karen, Diana, please note that the pdf has only the Hydrangea tags and the following page is blank. I don’t see Lavender sprig images. Thanks.
Karen Watson says
Hi Rupa, I just checked and they are both there in the same link, Diana loaded them together. If you scroll past the Hydrangea tags, then you will be able to see the Lavender tags. If for some reason you still can’t see them, please let me know. Thanks!
Rupa says
Beautiful! Thank you so much for sharing them! Karen: If I may, would you please consider a tutorial through the premium site on how to make these collage images integrating the post cards/birds/flowers etc? 🙂 Thanks!
graphicsfairy says
Hi Rupa,
It’s Sherry, helping out today, I will pass your request along to Karen and Emily 🙂 Have a great weekend!!
MaryEllen says
I love this idea. Want to decoupage the “tags” in a patchwork affect on a small brown paper gift bag!
graphicsfairy says
I love that idea MaryEllen, thanks so much for sharing!
Marilyn Gray says
This is simply a lovely idea. And I thank you so much for sharing the tags! I can’t wait to put them to good use on a few special gifts I have in mind for my friends! Thanks again! I love your blog!
graphicsfairy says
Thank you Marilyn,
I am so glad you like them and I am so happy you will put them to good use 🙂