How to Make your Own Washi Tape DIY
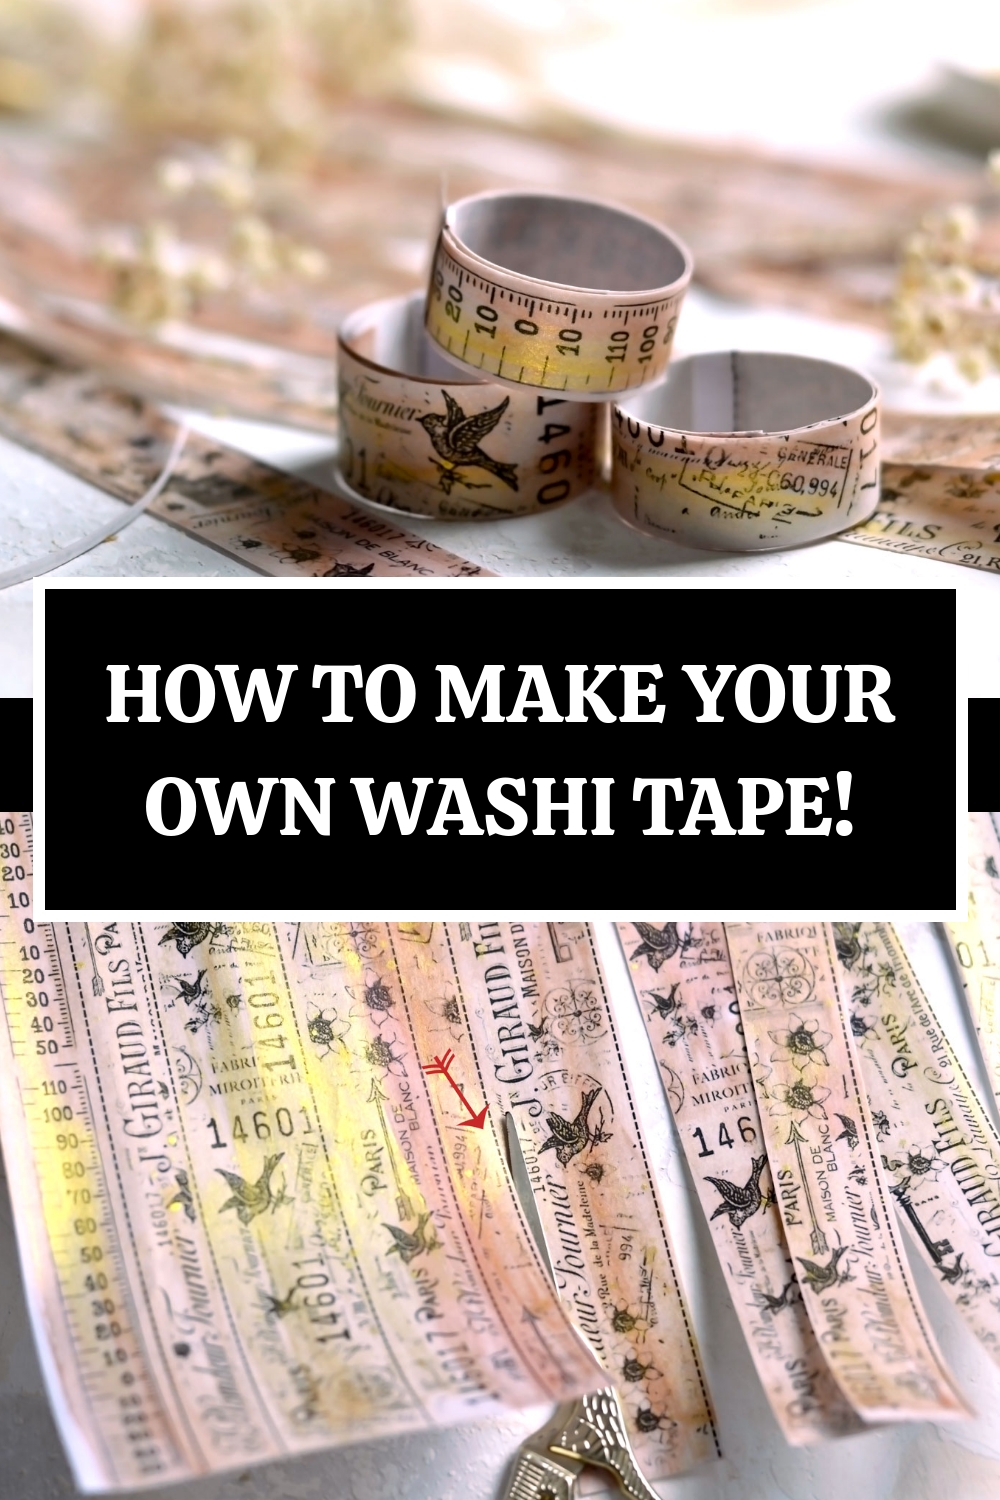
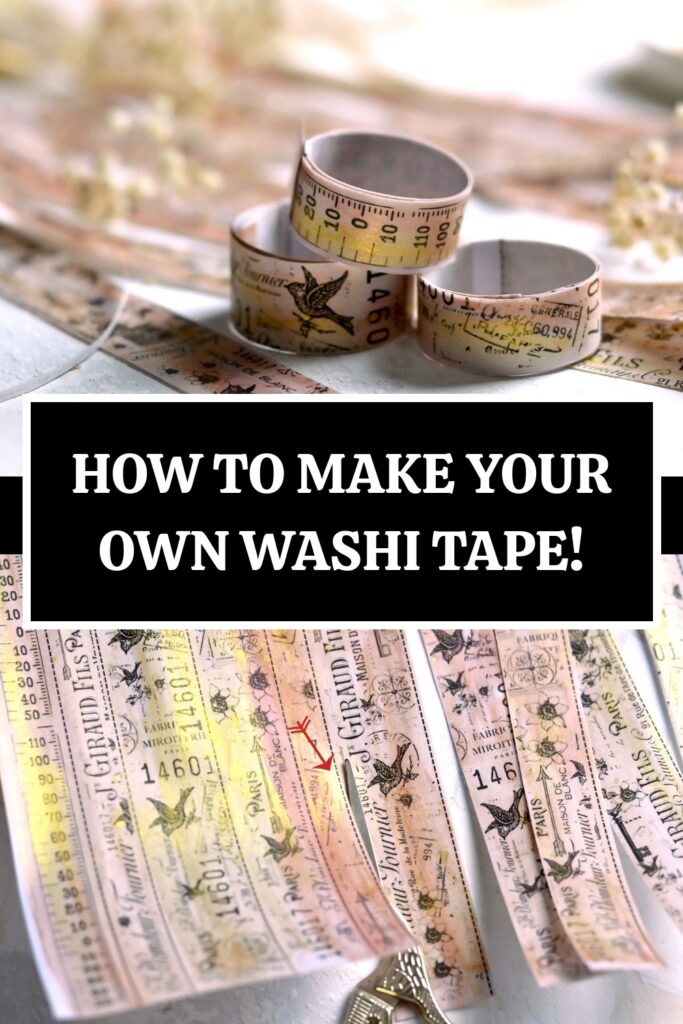
Hello, Graphics Fairy friends! Diana from Dreams Factory here, happy to welcome you into another creative get-together! Today I will show you how to make your own Washi Tape DIY in strips or rolls, a really easy, highly customizable project with absolutely stunning results! This just feels like the perfect project to kick-start the new year, I will show you a few tricks on how to make your washi tape look and feel authentic using things that you already have around. Some of these supplies might be laying on your craft room shelves (hello, acrylic paint), but one of them might surprise you because we will have to raid our cabinets to get it (hello, baby oil)! *** Please note, this tape would not be considered actual genuine bona fide Washi Tape, it’s a decorative tape that has a similar look. I think you will still be very pleased with the results!
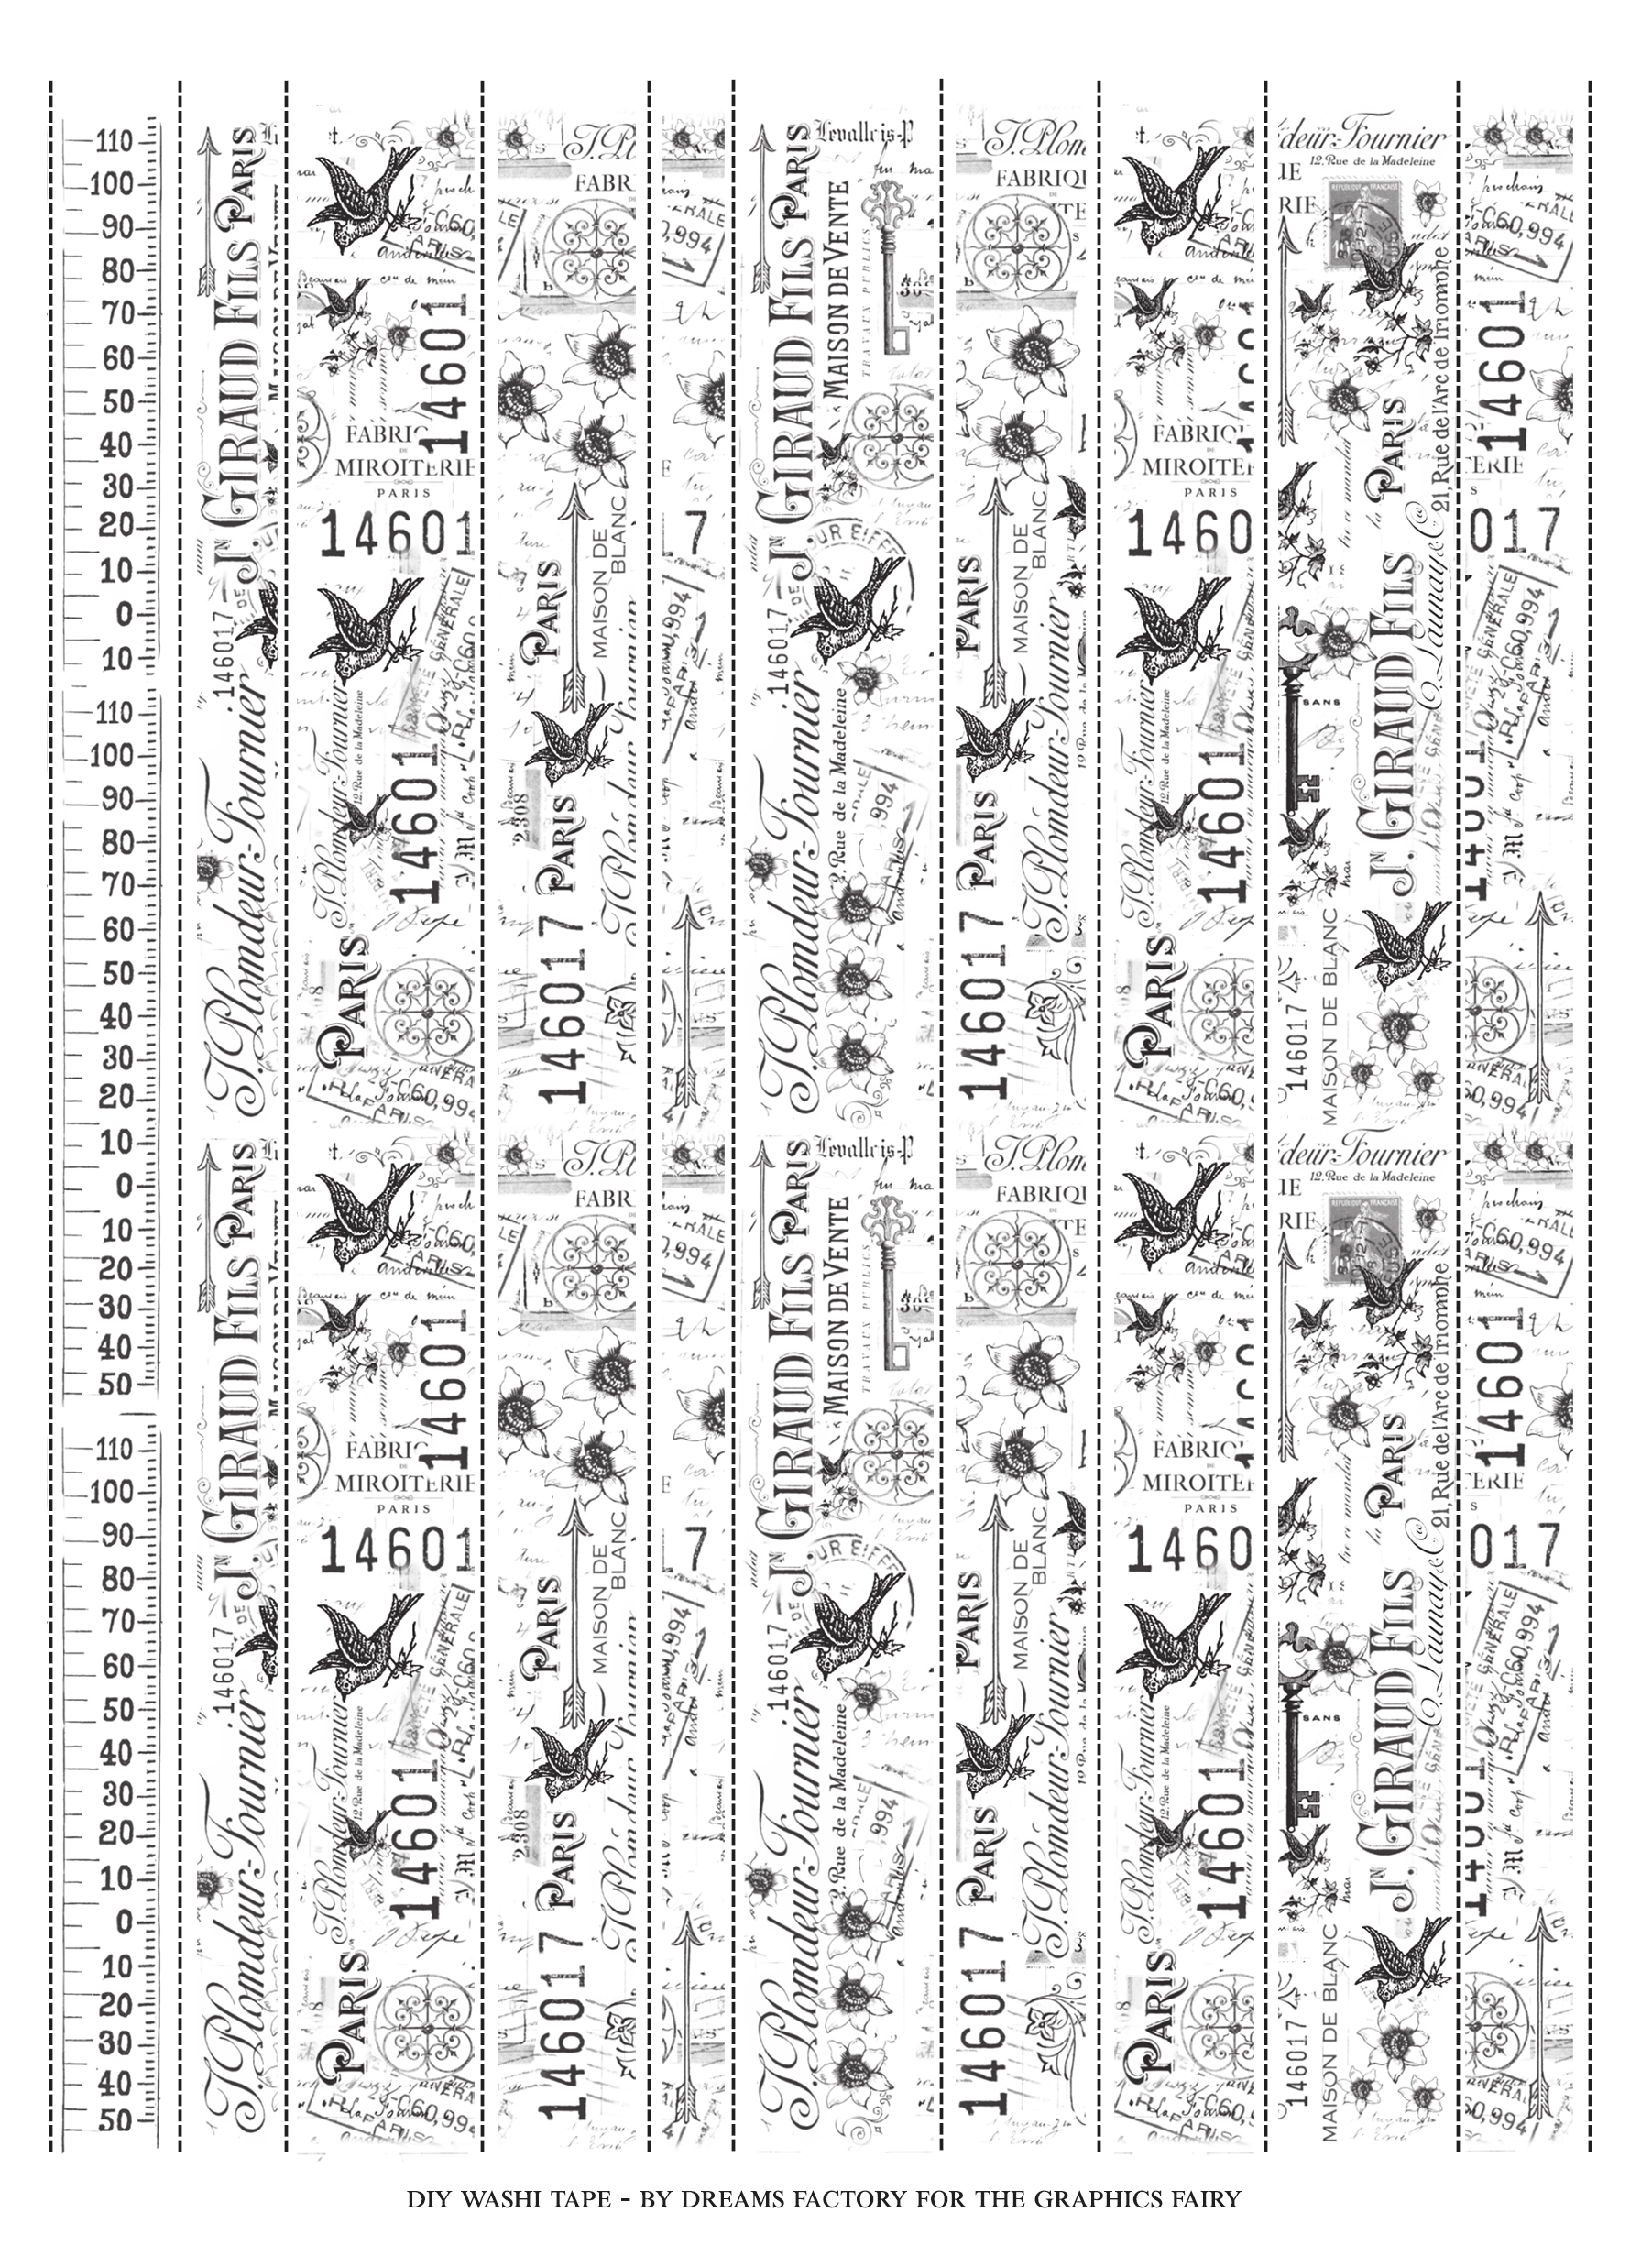
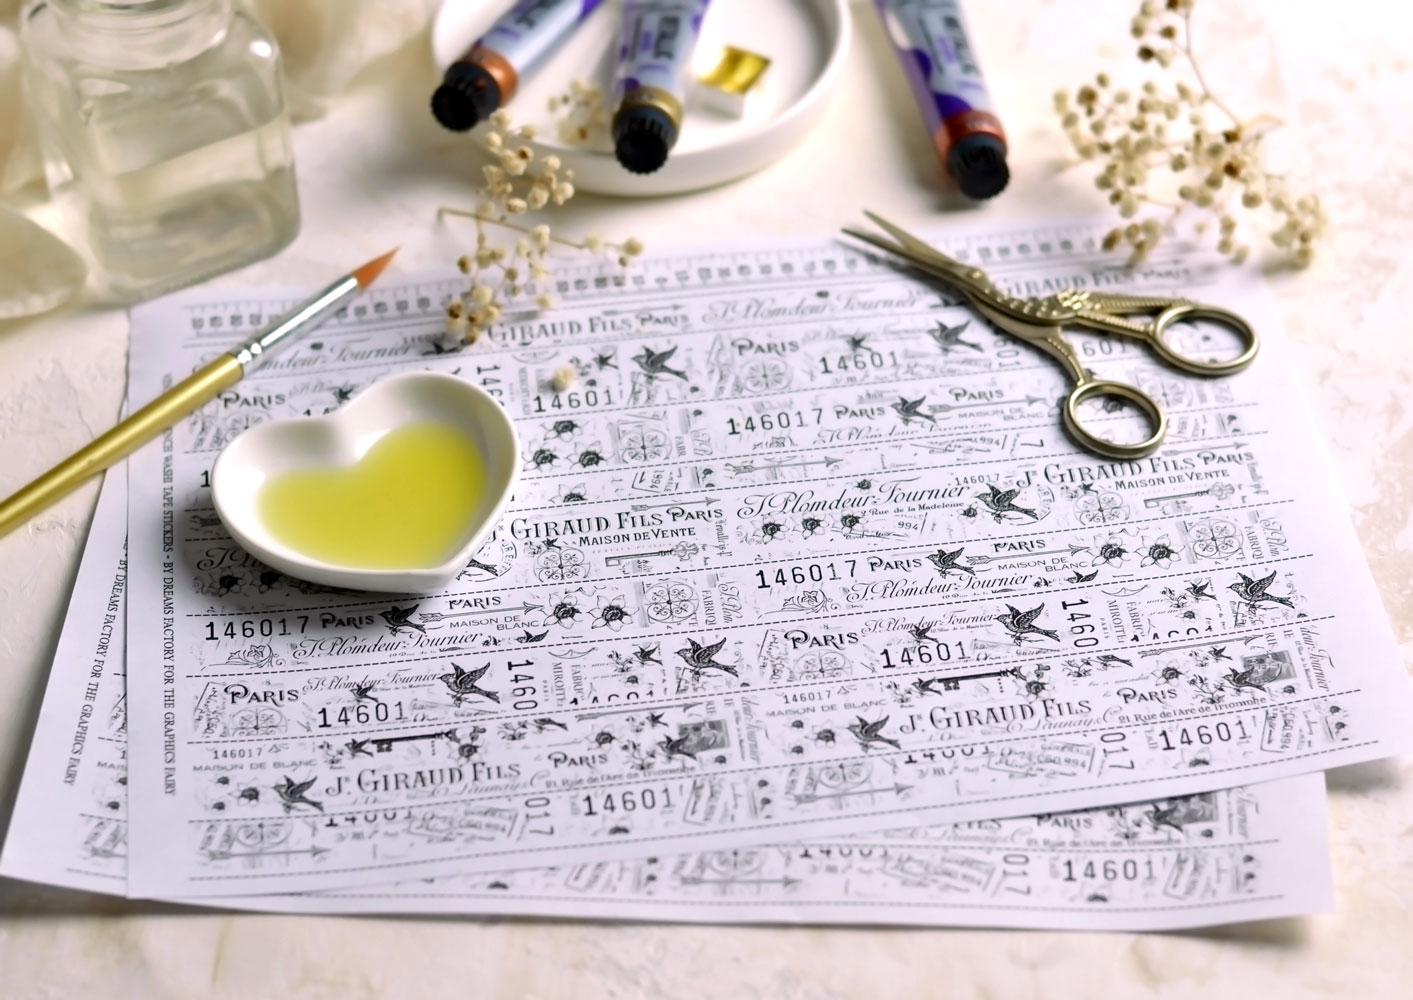
As always, I’ve created a lovely printable for you, just save it on your computer, print it on your laserjet printer and you are good to go! I love the idea of allowing you to personalize this as you want, in your own style, so I created the washi tape printable in black and white. I went with a French ephemera gorgeous collage vibe and created several different sizes so you’ll have plenty to choose from for your projects. I would suggest printing this several times, it’s always best to work in large batches if you ask me.
> Click HERE to Download the Full-Size Printable PDF <
I’m using white sticker paper for this project because I thought it would be the easiest way to bring the sticky factor in. If you don’t have sticker paper, you can use regular paper or cardstock paper, but then you’ll have to adhere double-sided tape to the back.
If you are thinking what’s the deal with the oil, I’m actually using the oil here to turn our paper into a faux vellum paper. We had a hot tip from a kind reader named Nellie that Beeswax also works great for this and is long-lasting! I’ve used this technique before (you can check here the DIY Faux Vellum Scented Labels) with great results and after a few tests, I found this to be the closest thing to the washi tape of my dreams – in terms of appearance and feel. One thing that is a little bit different with today’s project is that we need to keep the stickiness of the paper intact when in contact with the oil. It’s a little bit trickier, but not impossible, so let’s get started!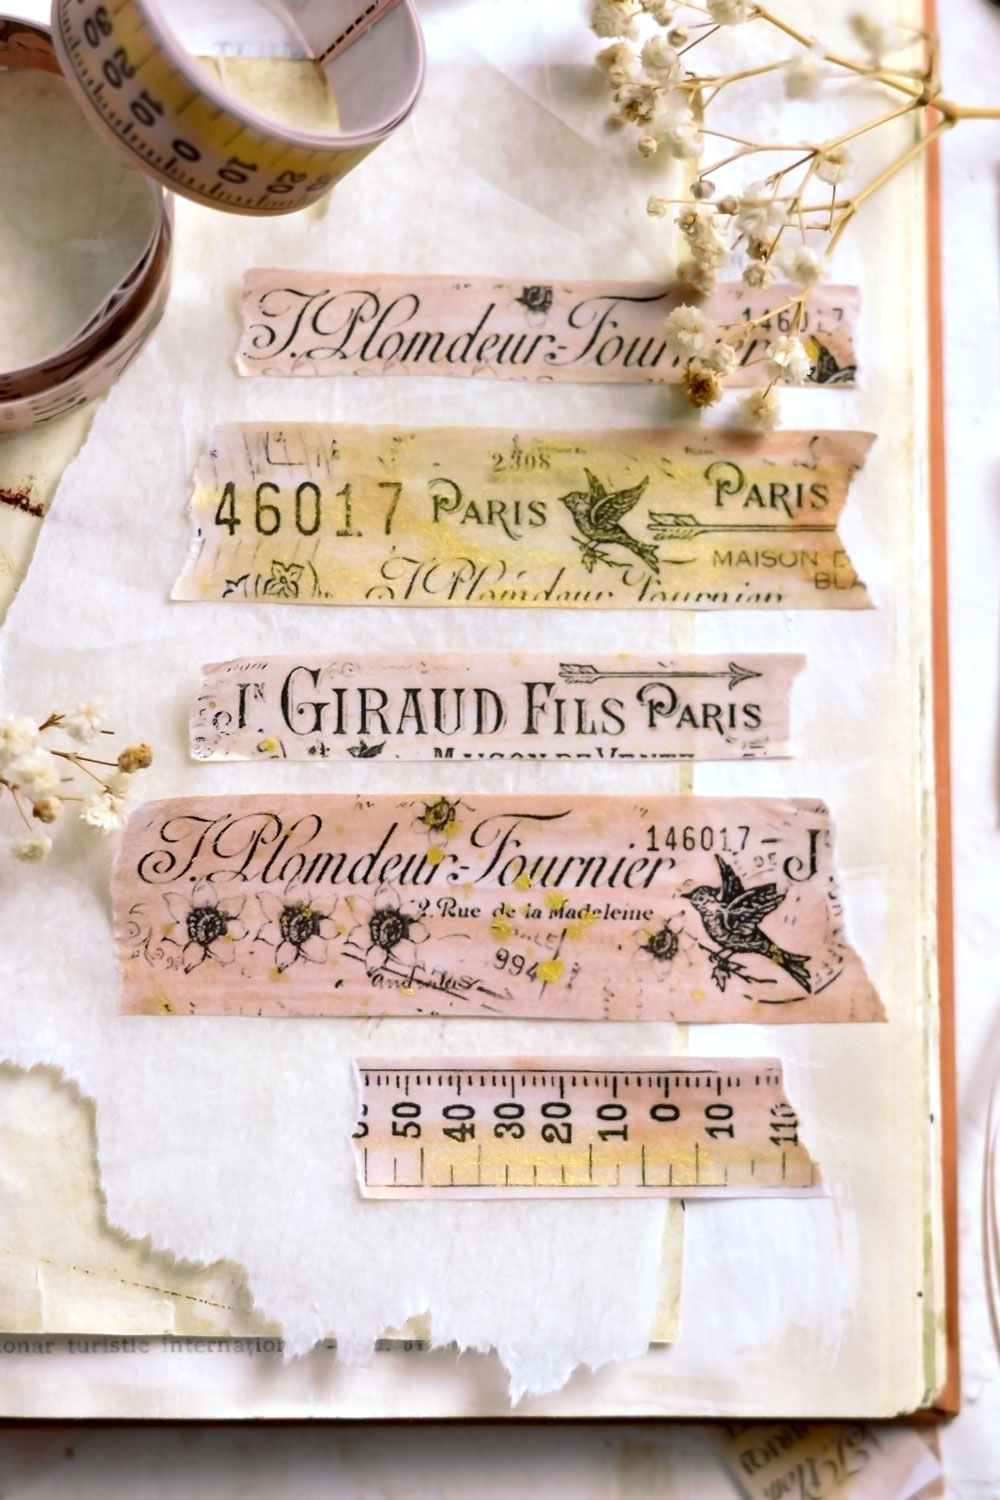
DIY Washi Tape Supplies
- white sticker paper
- laserjet printer (ask a friend to print these for you if you don’t own a laserjet printer or print them at a copy center)
- scissors
- oil (you can use baby oil, beeswax, etc)
- metallic acrylic paint (I used Mont Marte’s metallic acrylic paint, use what you have) – you can also use watercolors, distress inks, etc.
- gold metallic watercolors (I used Aquafine from Daler Rowney, use what you have) – optional, but highly recommended
- brush
- palette for mixing the paint (I used a small porcelain plate) and a recycled jar for water
- pocket binders (or a silicon mat, a plastic sheet, or a non-absorbent material) to protect your working surface
- paper towels
DIY Washi Tape – Oiling the paper to bring sheerness
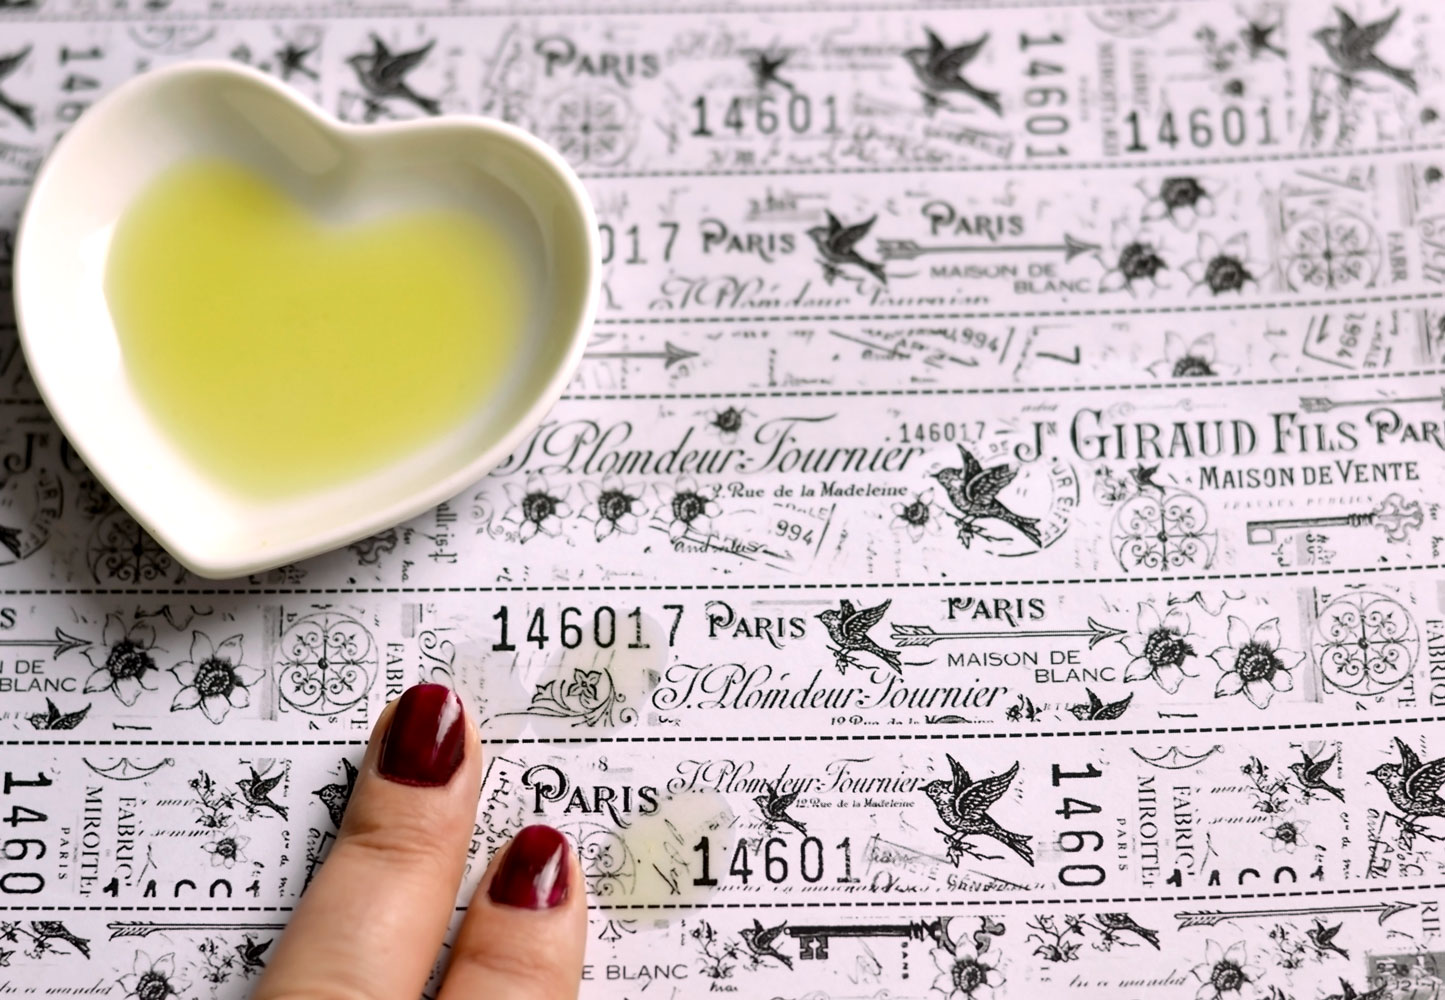
Lay your printable on your table (place a protective sheet underneath) and start to gently rub the oil into the paper using your fingertips. Gradually rub with light linear or circular strokes and add small amounts of oil until the surface of the paper is covered. Keep in mind that adding too much oil will interfere with the stickiness of your sticker paper, so it’s best to gradually add tiny amounts. The oil will soak into the paper and you will see it instantly transform right before your eyes – going from plain white to a sheer frosted look.
The design will also look more vibrant, you can see it in the image below, if you look real close – I oiled the top part of the paper.
Continue until all the surface is saturated with oil – at this point, the paper should feel just a little bit greasy, but it should not be soaking wet. If it’s too oily, use a paper towel or a small piece of fabric and wipe some of the excess oil off. Go lightly over the surface, we don’t want to deteriorate the paper in any way.
Painting and adding the metallic gold touches
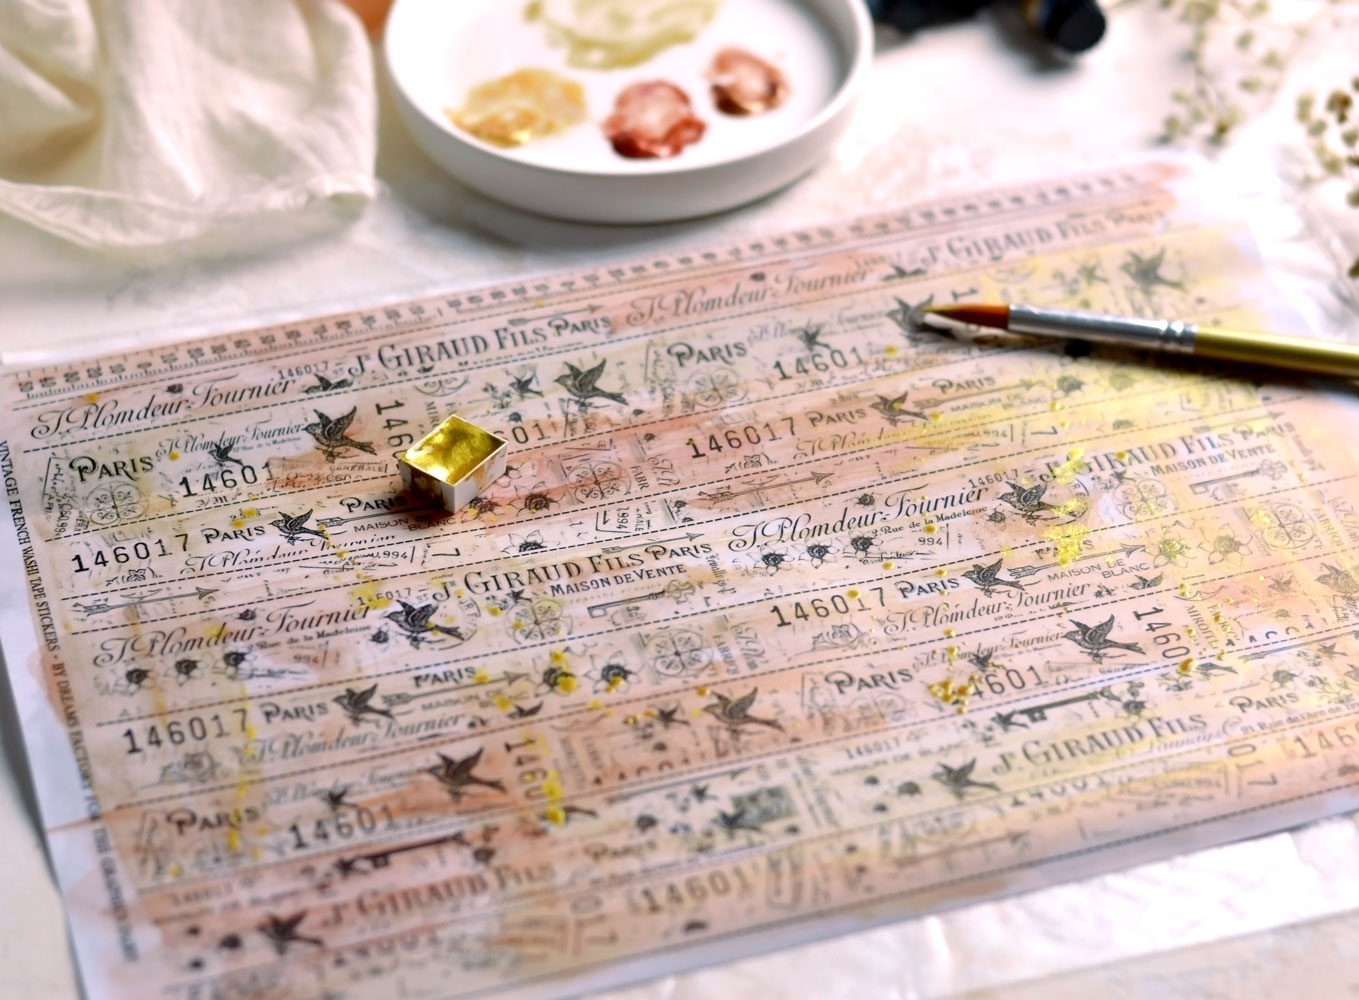
Dilute metallic acrylic paint with a little bit of water to make it more transparent. I used 3 different colors – bronze, copper, and gold. I love using metallic acrylic paint, it’s so much ‘lighter’ than regular paint. Of course, you can use what you have around, just make sure you don’t use heavy body acrylic paint, you don’t want to completely cover your design.
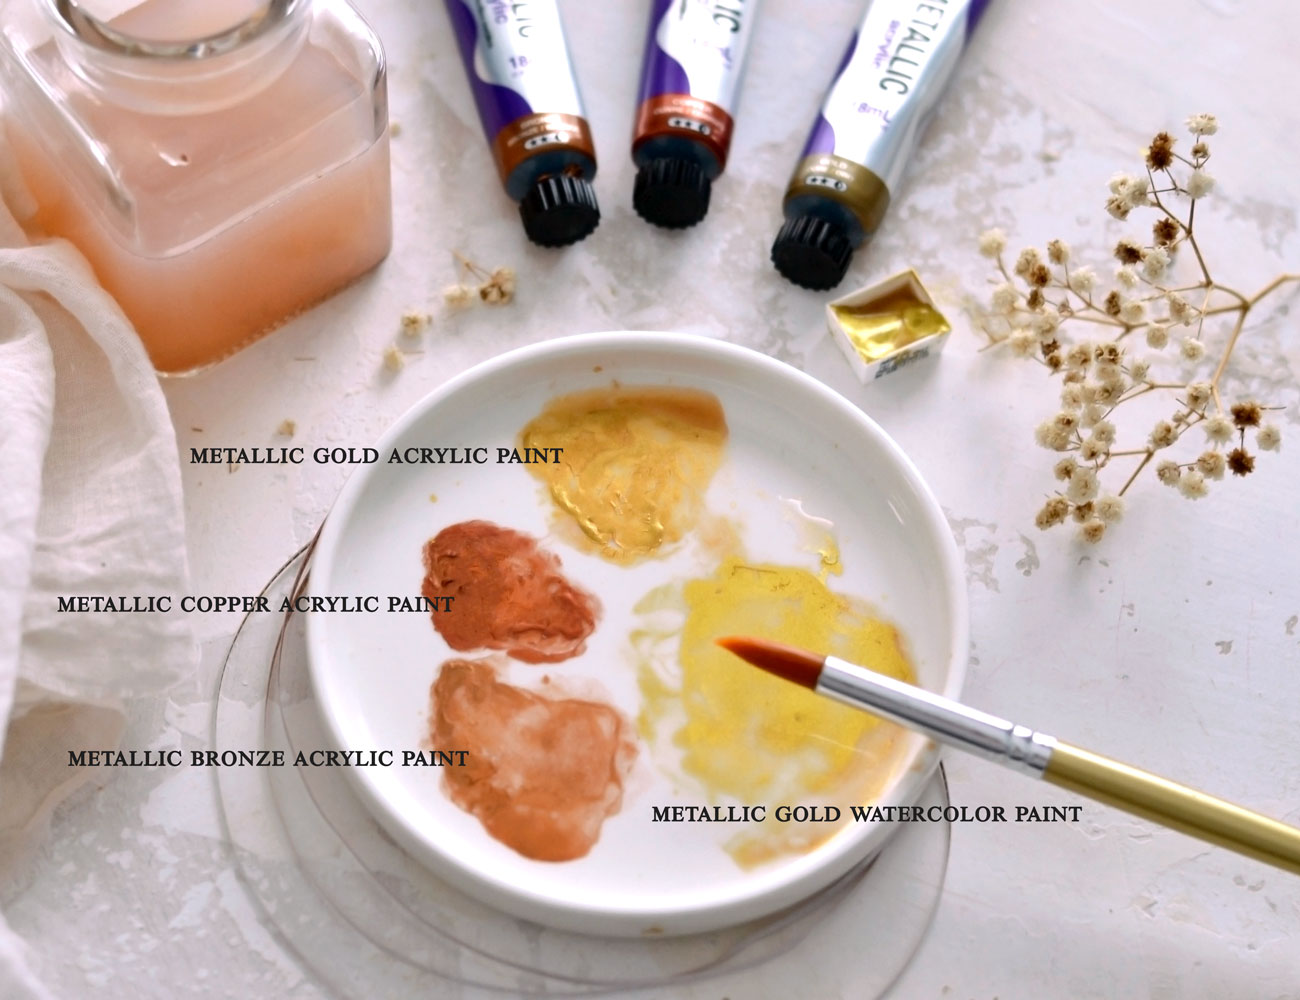 Start with small amounts of paint and brush it randomly here and there, letting the colors mix, to get an ‘abstract’ look. Use the colors that you want, go more vibrant, or keep it more neutral, like I did, make these beauties your own! Just remember to keep the water addition to a minimum, we don’t want to break the fiber in the paper!
To complete the whole look, I’ve decided to use my newfound love – gold metallic watercolors! These are highly pigmented and will give the paper an absolutely gorgeous vibe, depending on the lighting! Flicker some gold watercolor splotches at the end, you can never go wrong with these!
P.S. You could also keep a few oiled, but unpainted, or oiled and only painted with the gold metallic watercolors – just in case you might need something specific for a future project. This way you could use them as white faux vellum sticker paper or just alter them on the spot so they would perfectly match your project!
Cutting the strips
Let the paper dry completely before moving on. I was afraid it would warp and bend like crazy, but I guess the oil somehow manage to tame the beast of (paper) fiber!
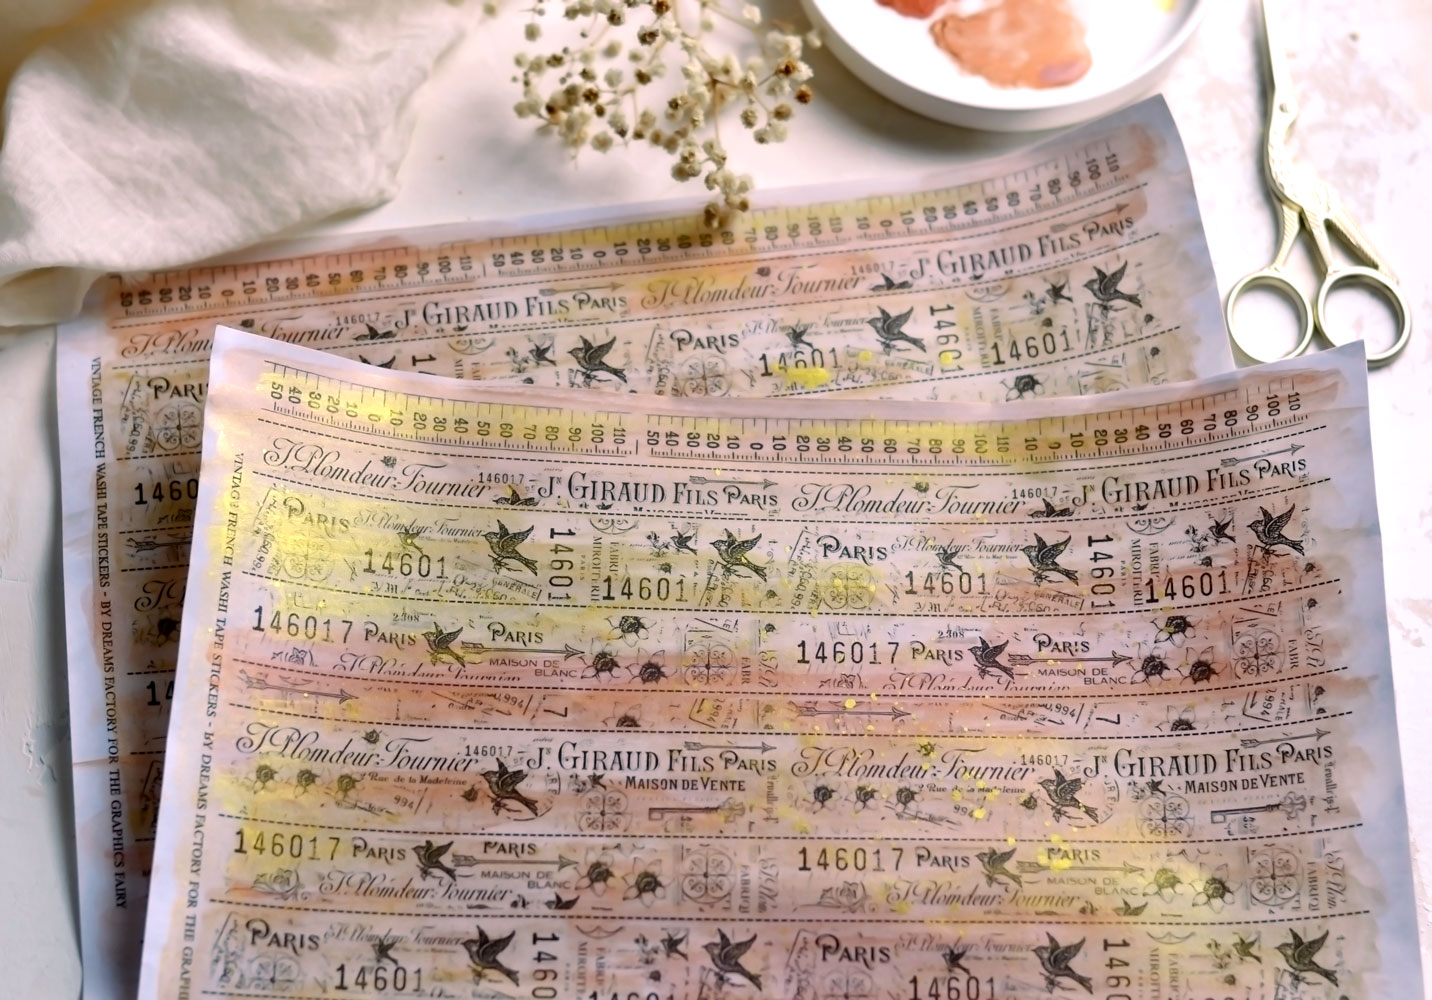
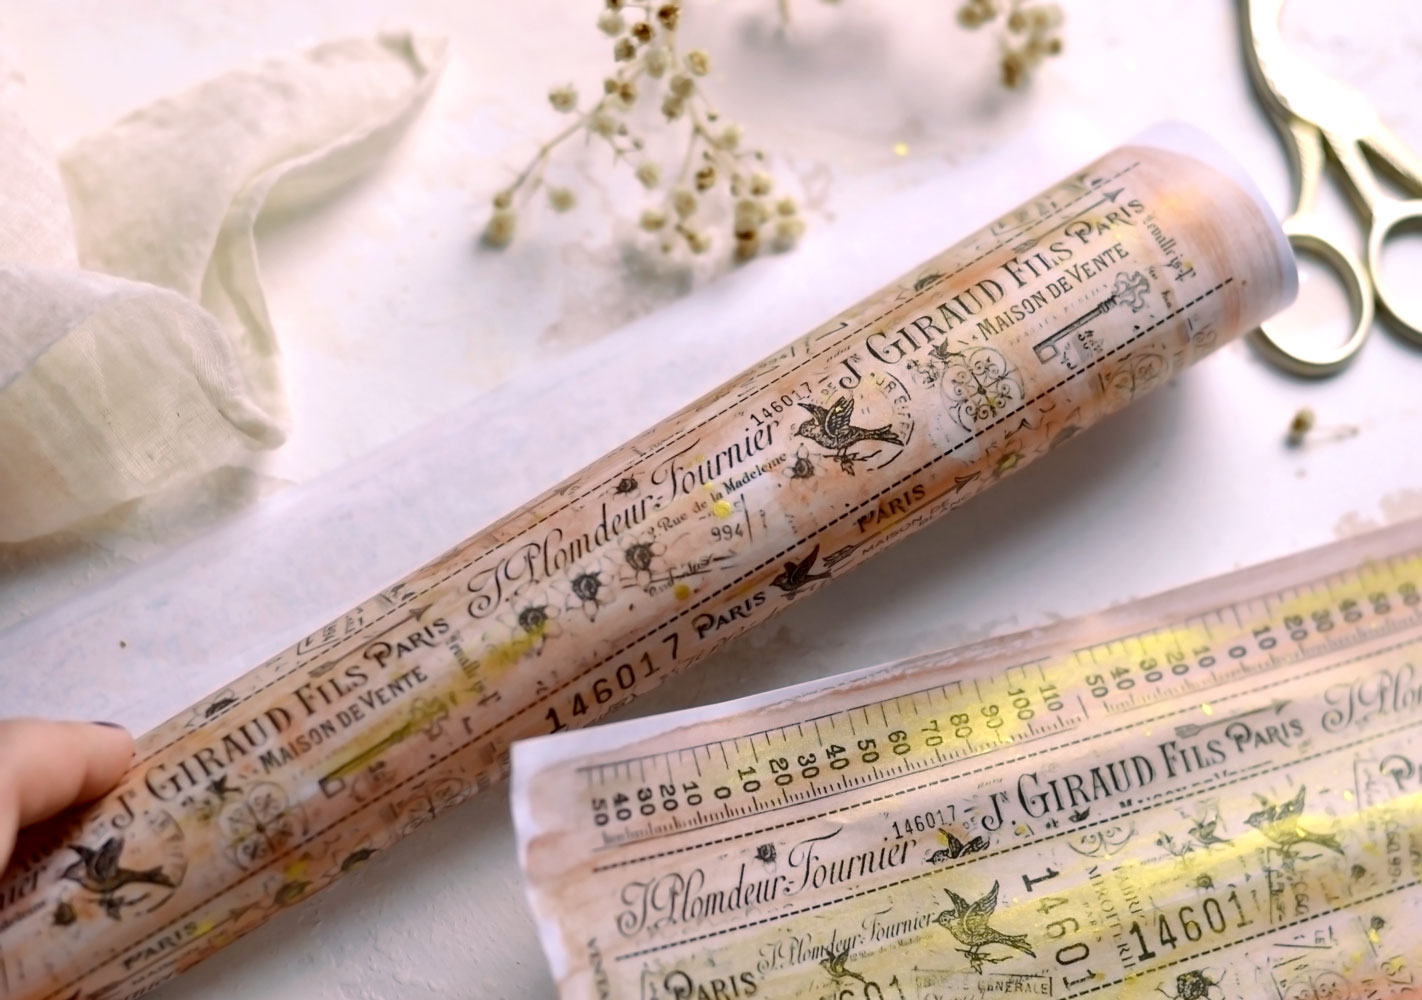
This is how my DIY Washi Tape looked at this point, you can see they are only a little bit warped at the edges.
I rolled them like a tube while keeping the printed side on the outside and was able to remove some of that warp.
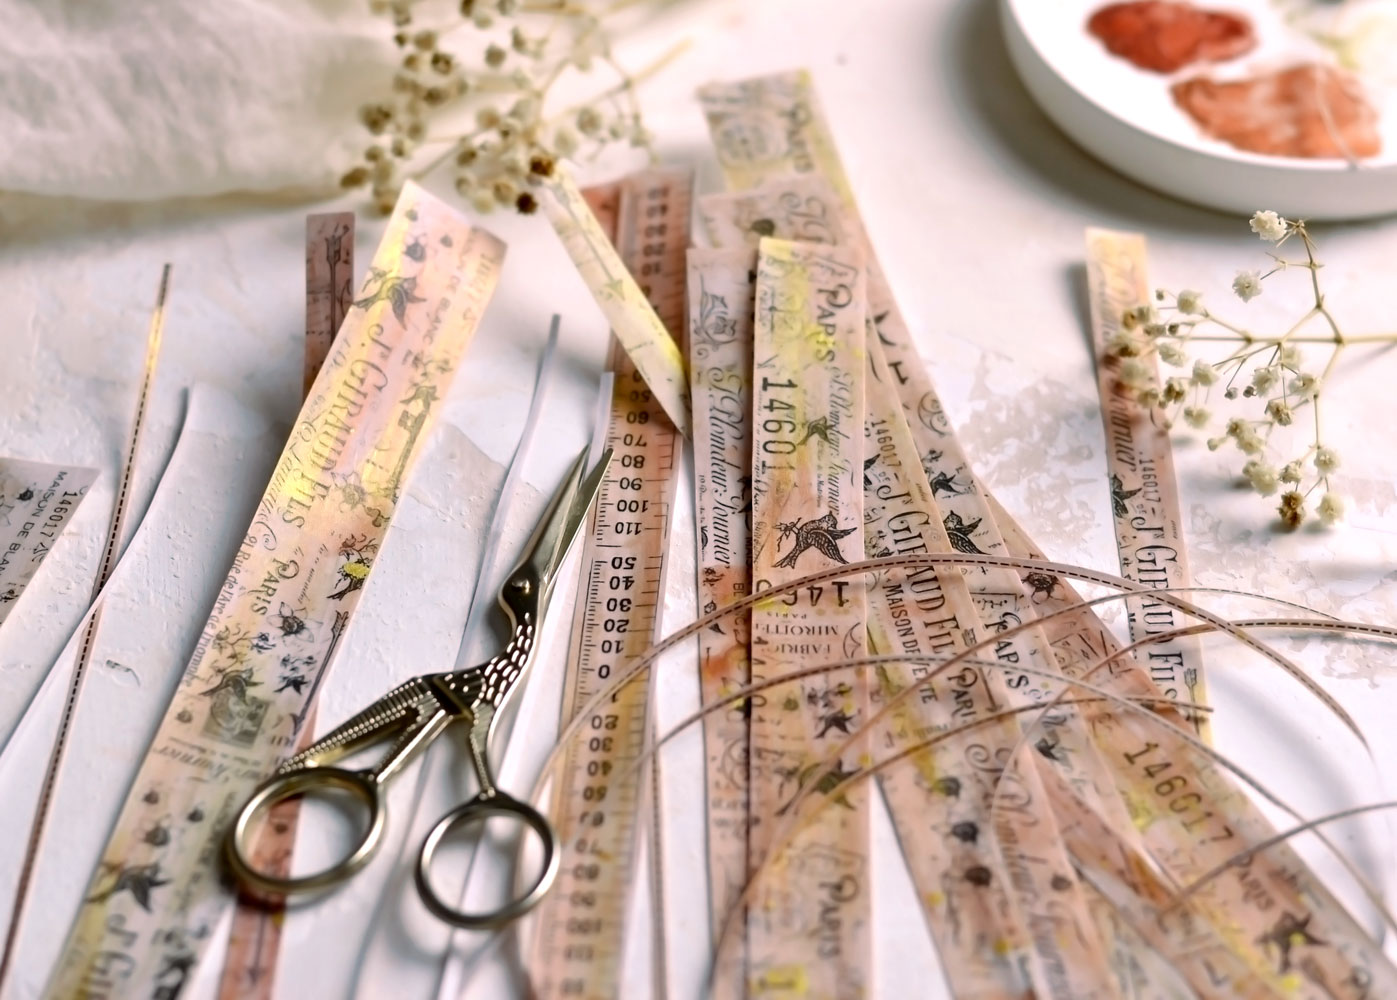
Use your scissors to cut the DIY washi tape strips. I’ve included guiding lines between the strips, just make sure you cut on their right and on their left, not directly on them!
I found it easier to cut all the strips while always keeping the guiding line on the left side of my scissors. Then I flipped the strips over and completely cut the guiding line off, while also keeping it on the left side of my scissors to see what I was doing.
You could also use a trimmer if you would prefer.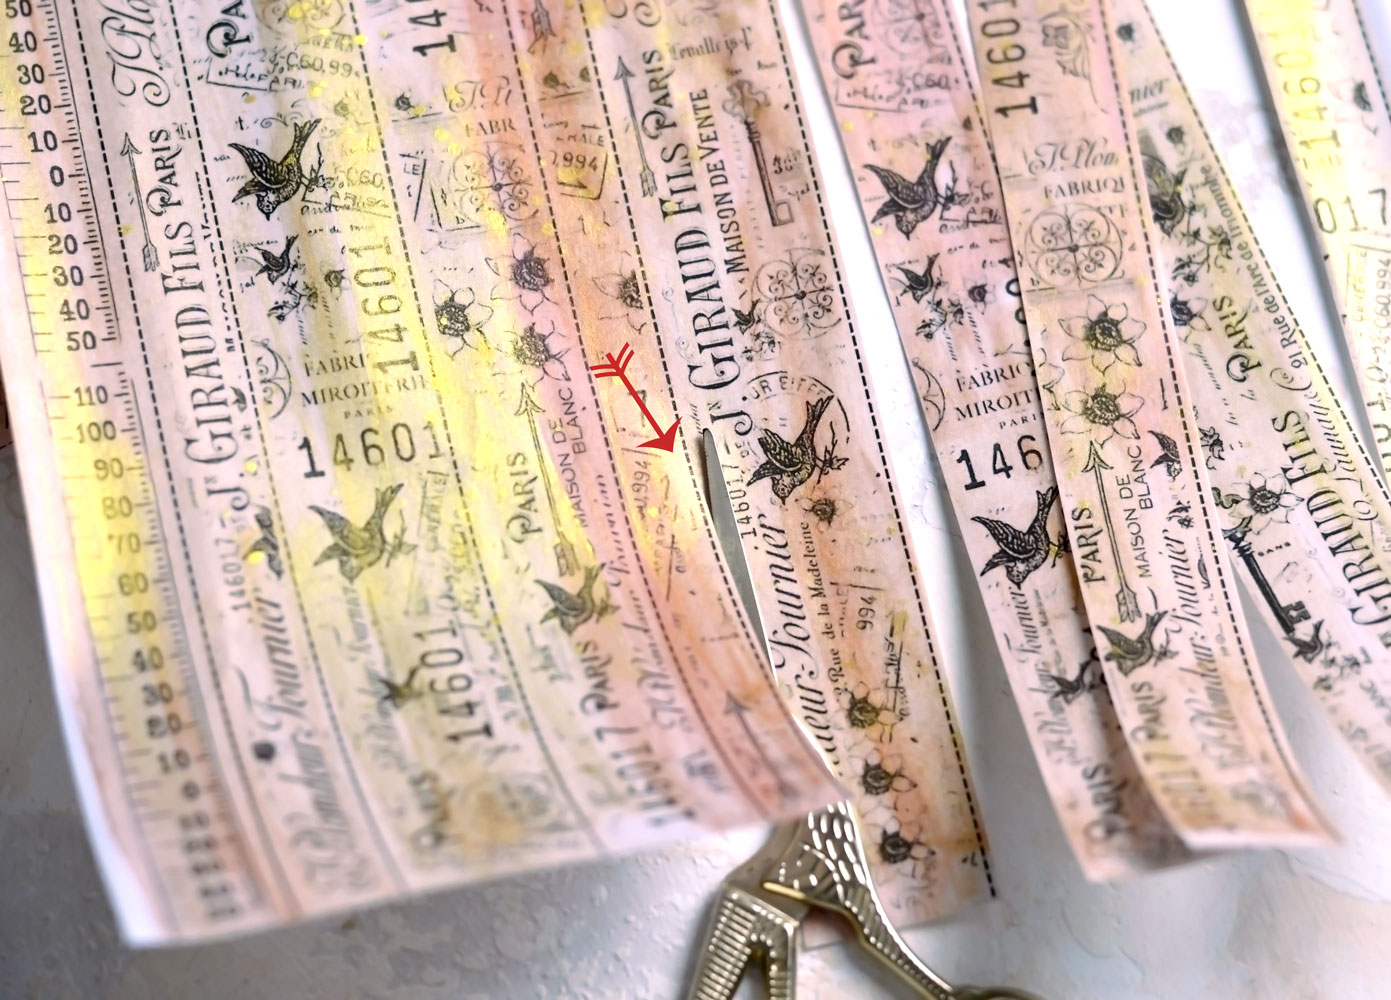
Now you have your DIY Washi Tape ready! Make sure you take a second to soak this moment in, you’ve just created the DIY Washi tape of your dreams!
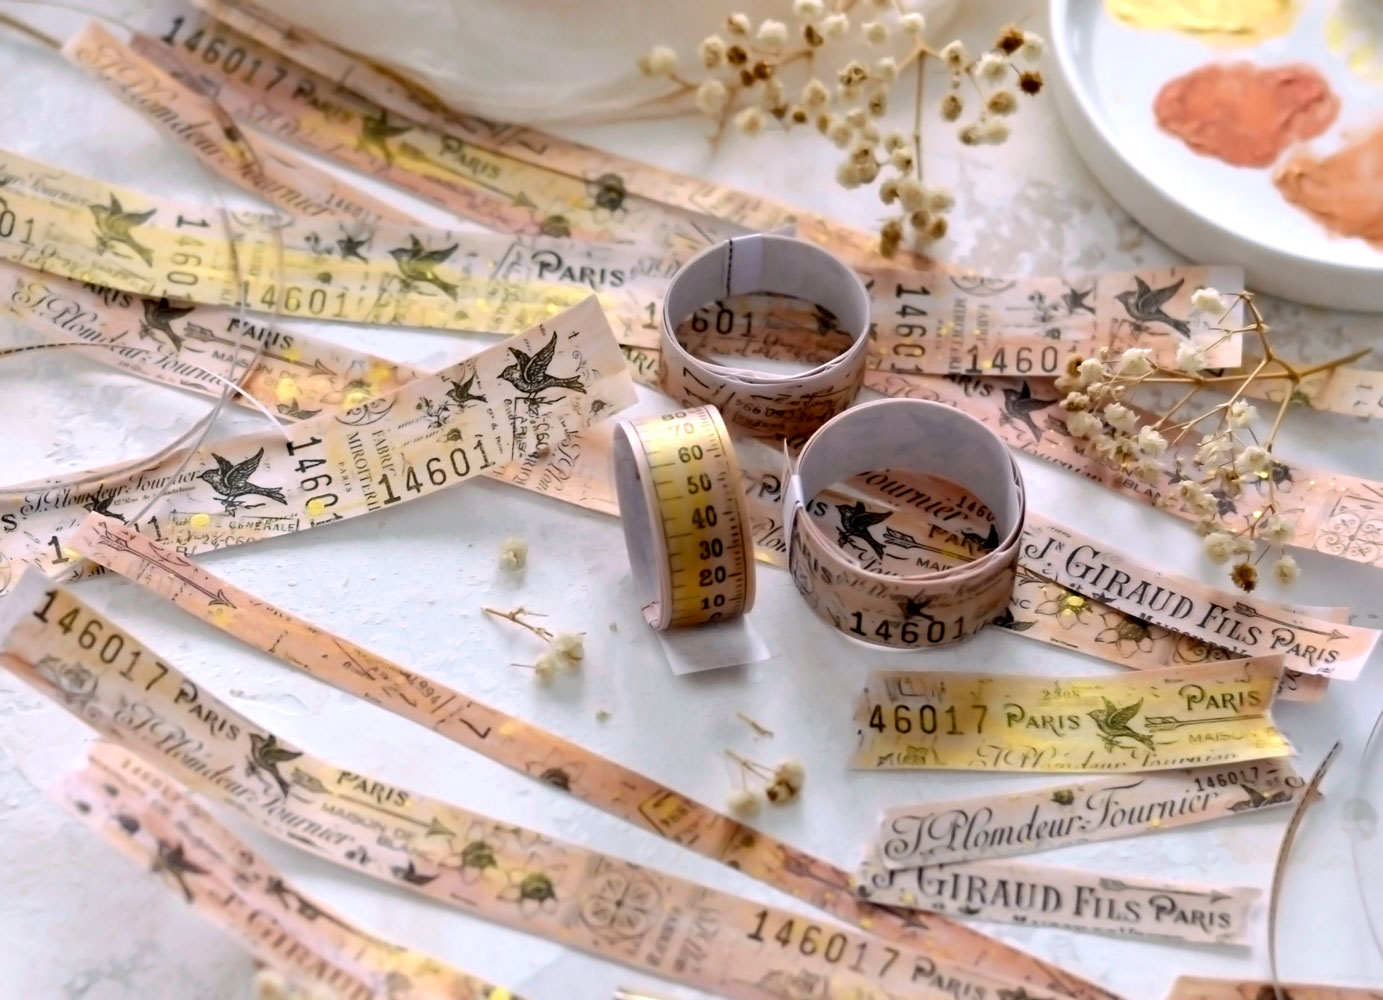
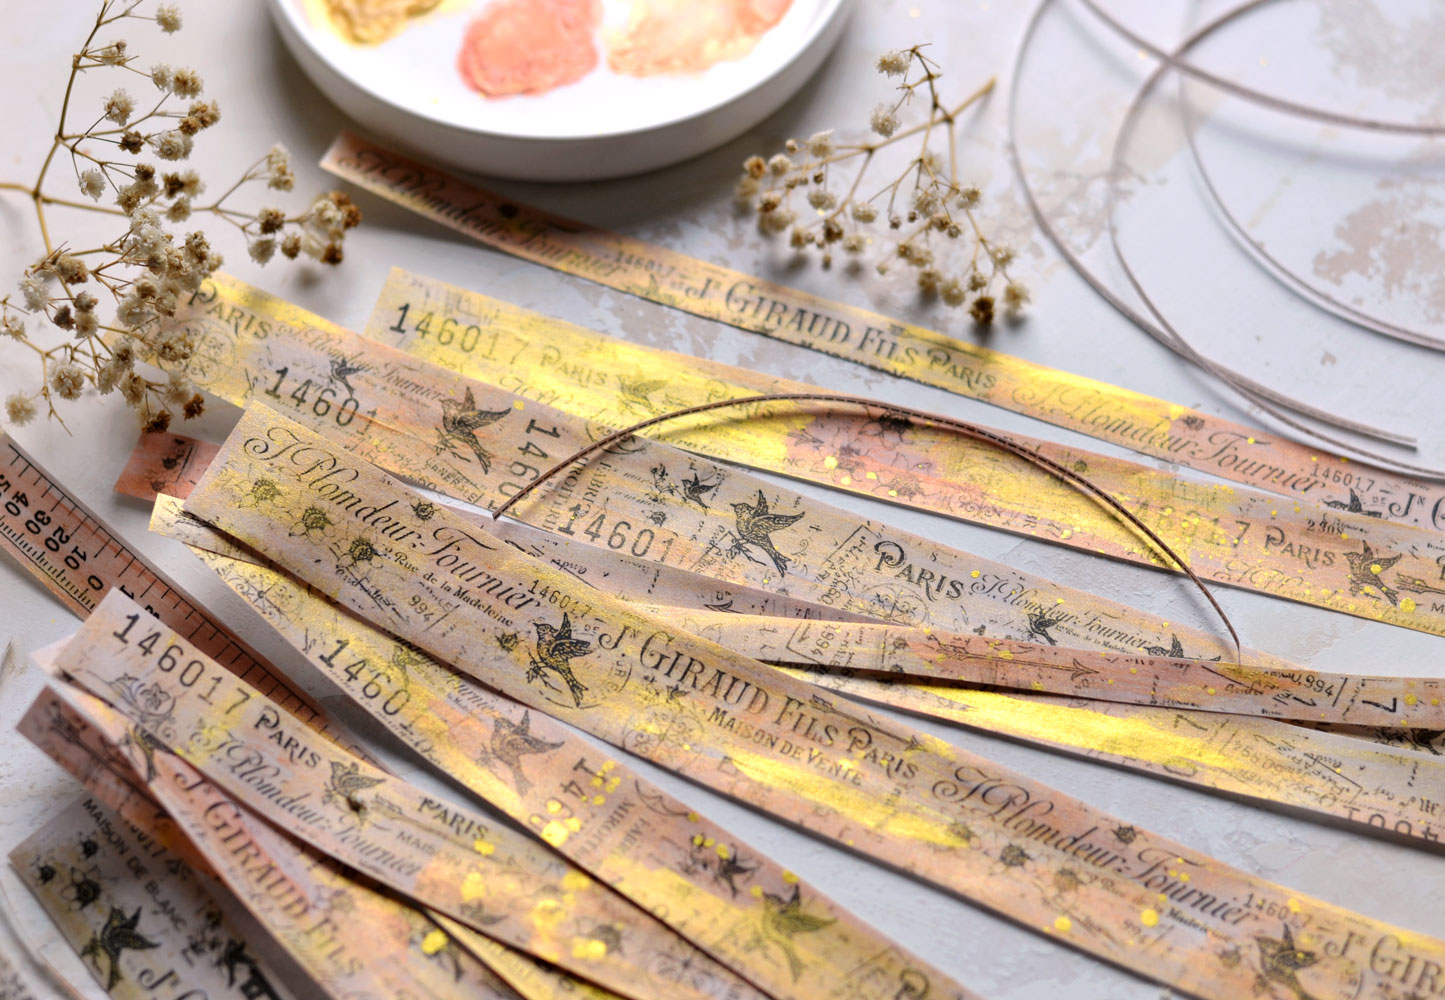
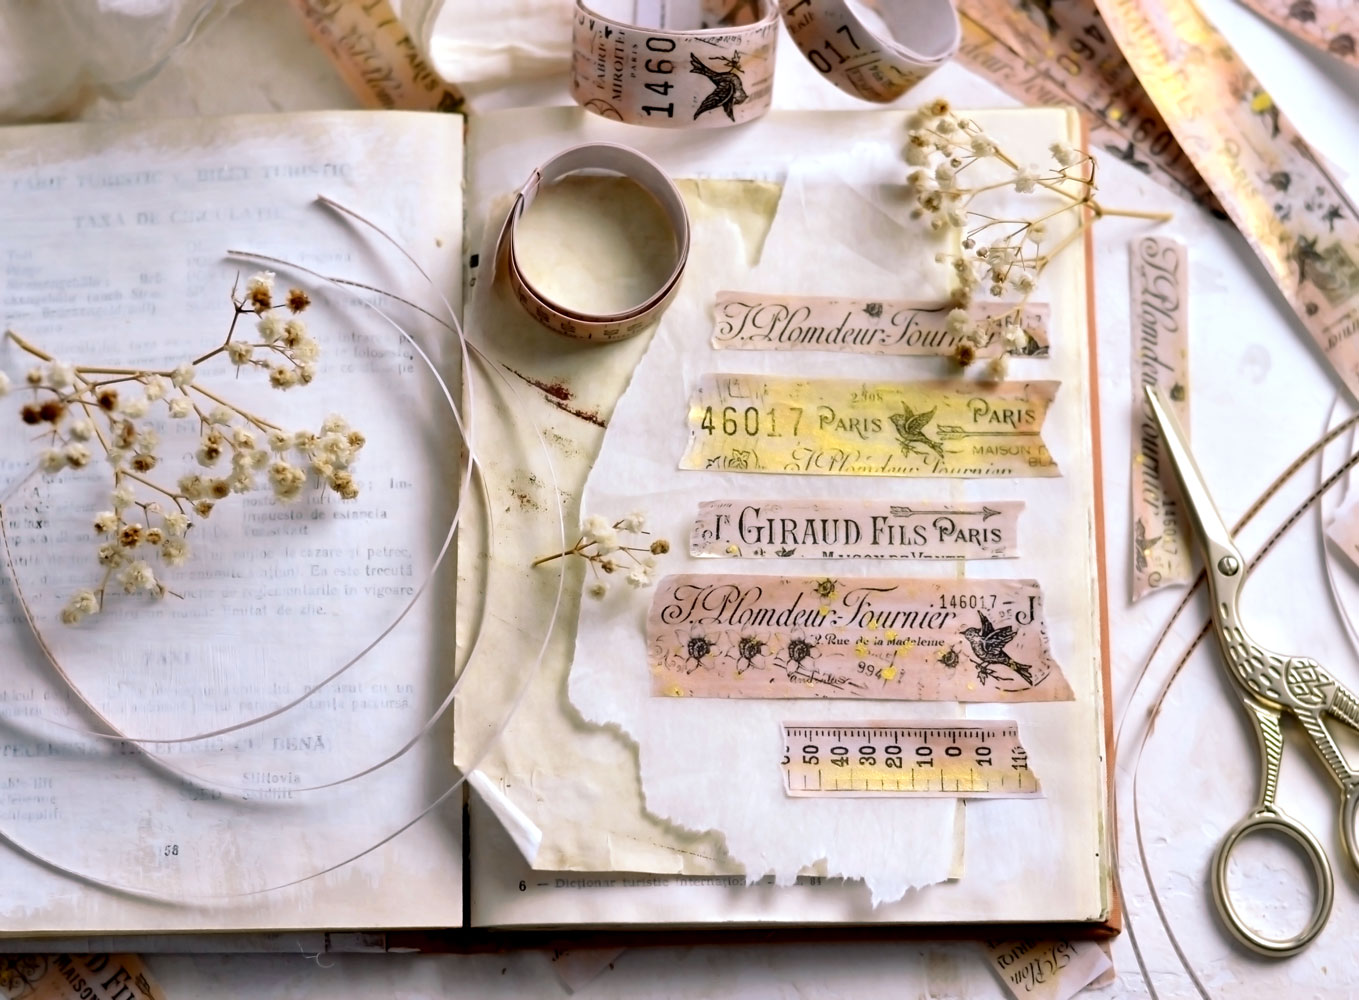
Depending on the lighting, you will be amazed to see how chameleonic the washi tape strips actually look. Now they have a soft pastel, almost neutral feel.
And now in a different viewing angle and light they turn into these crazy metallic vibrant beauties!
DIY Washi Tape – strips or rolls?
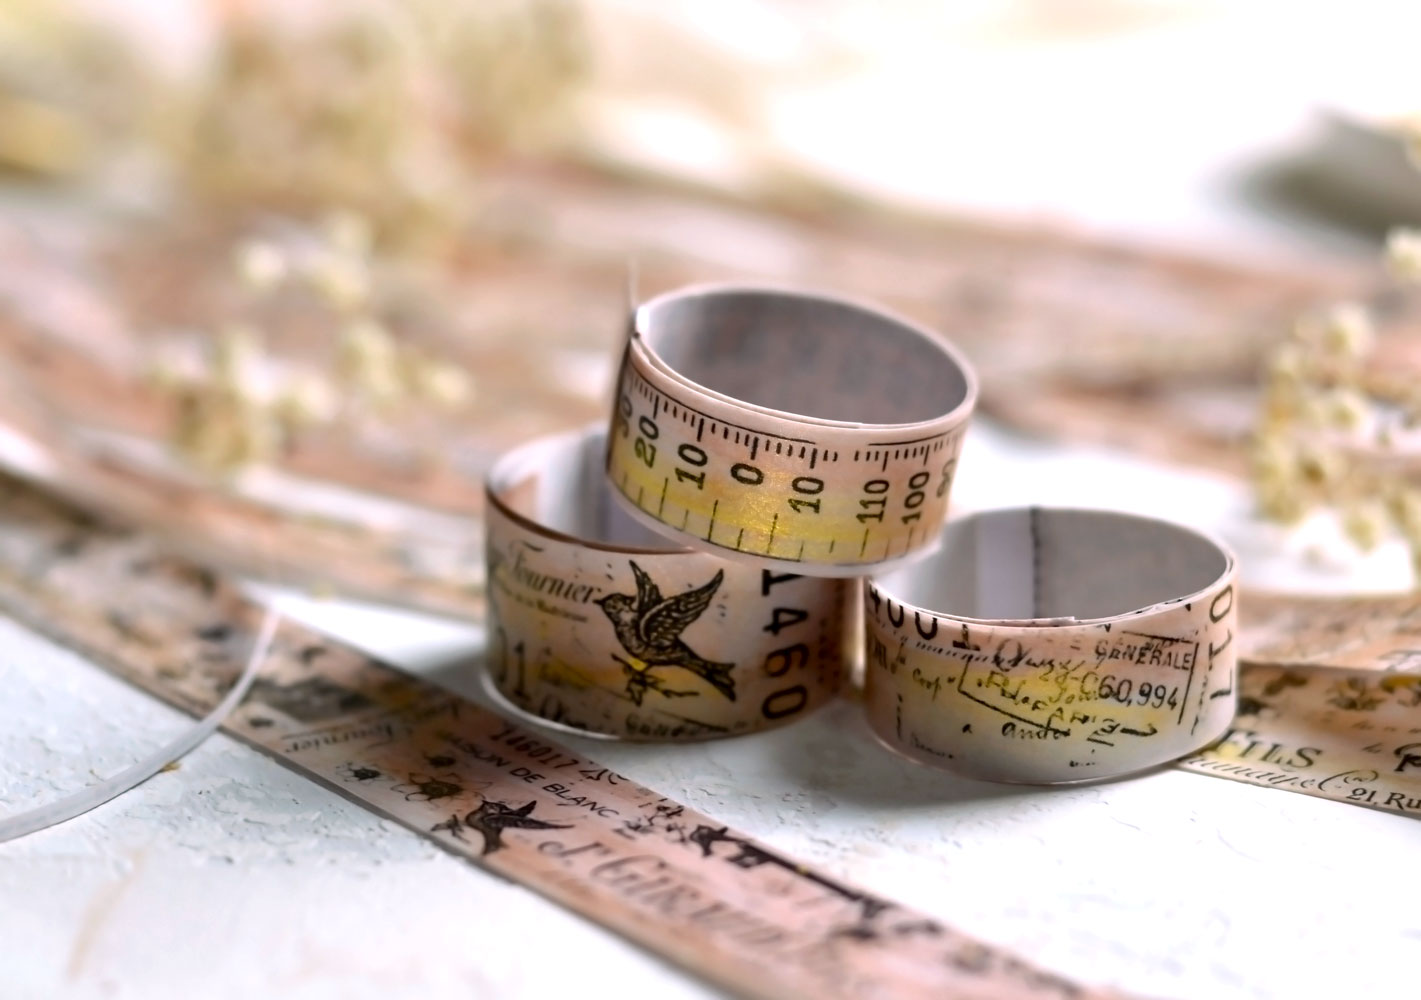
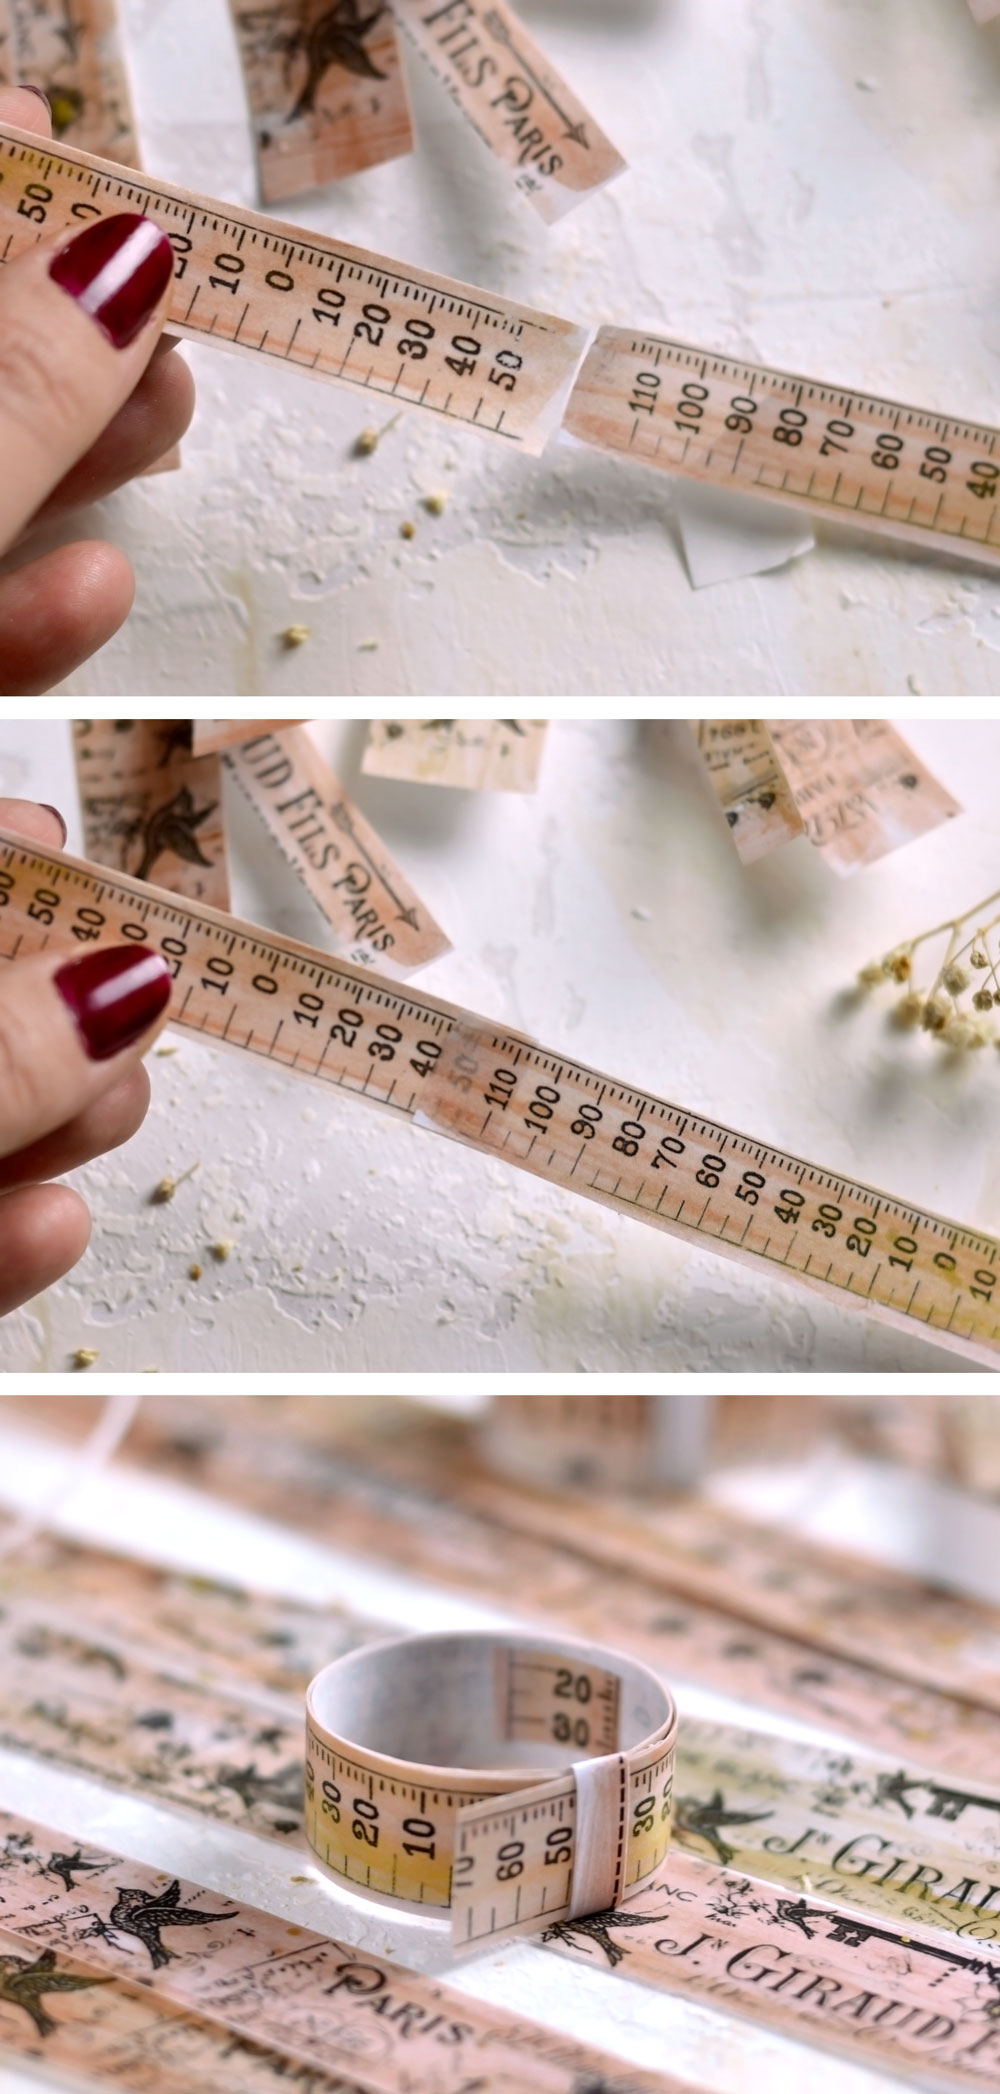
You can keep the strips as they are and use them when you want or you can roll them up so they would look even more like the real deal. If you’ve printed several sheets, look for the matching sizes and designs and group them accordingly. You can adhere the matching strips together to create one long strip, then roll it into a washi roll. I stuck a small piece of my new washi on one of the ends of the long strip and I started to roll it to create the shape of the roll, then I just rolled the rest of the strip over. I could have added some cardstock on the inside to make it more sturdy, but I wanted to keep things as uncomplicated as possible. Then, to keep the roll from unraveling I created a small movable paper loop (from the scrap guiding lines that we cut out earlier) just like those found on wristwatches. You can move the loop as you take the washi out of the roll when you need to. You can also use a small paper clip or some elastic instead of the paper loop to keep the roll in place.
Can you believe how realistic these beauties look?!
 I wanted my DIY Washi Tape to have:
- stickiness, obviously – so I can easily adhere it where I want
- tearability – so I can easily tear it when I want
- sheerness – so it doesn’t just feel like paper
- versatility – so I can embellish it and adapt it to my needs
- overall authenticity – so I feel good about myself when using it and thinking … wow, I did great with this washi, it really looks and feels like the real thing
After completing this project I would say I managed to check all the boxes, I feel like these handmade DIY Washi Tape exceeded all my expectations! They are quite close to the real thing but more importantly, they are really close to my dreams! And can be close to yours too, just have fun altering then using them as your heart desires!
Happy crafting,
Diana | Dreams Factory


Ramona says
This tutorial is sooo helpful! I was a bit skeptical in the beginning, and as I saw my paper get all oily. But once I was done, I was amazed to see the result! Thank you so much for this and for your lovely design!
Karen Watson says
I’m so glad that you tried this out Ramona!