Furniture Painting: 101
Hello, my Wonderful Graphics Fairy Friends! Heather from Thicketworks here…
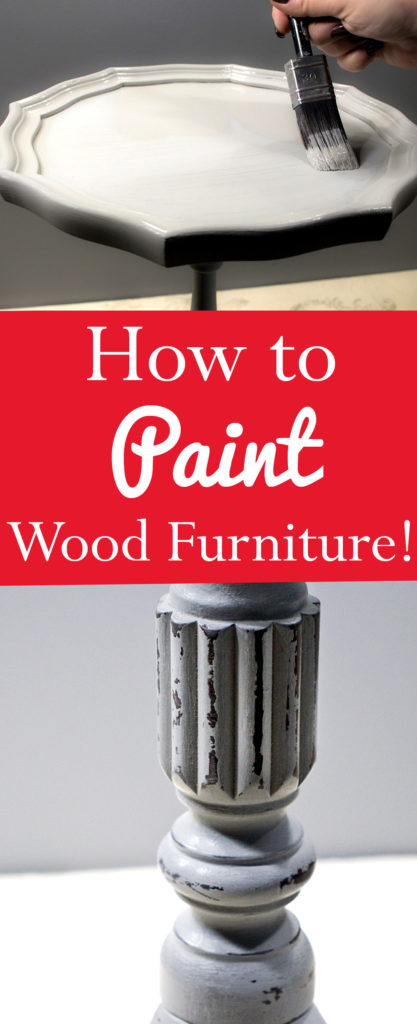
Today, we’re going to address How to Paint Wood Furniture from the ground up!
Now, everyone who paints furniture has their own ideas about how best to accomplish a quality finish.
This just happens to be my take on the subject. I’ve created hundreds of painted furniture pieces, and along the way, I’ve learned the tips & tricks that work consistently for me. Yes, some of my recommendations may be different than other painters.
You are the best judge of which techniques and products will work best for your style!
Today I’m sharing my go-to list of basic tools, techniques, and products to get your Furniture Painting Projects off to a solid start.
Note: This article assumes that your wood furniture is in reasonably good shape – we won’t be covering repairs.
No fancy finishes – we are concentrating on fundamentals!
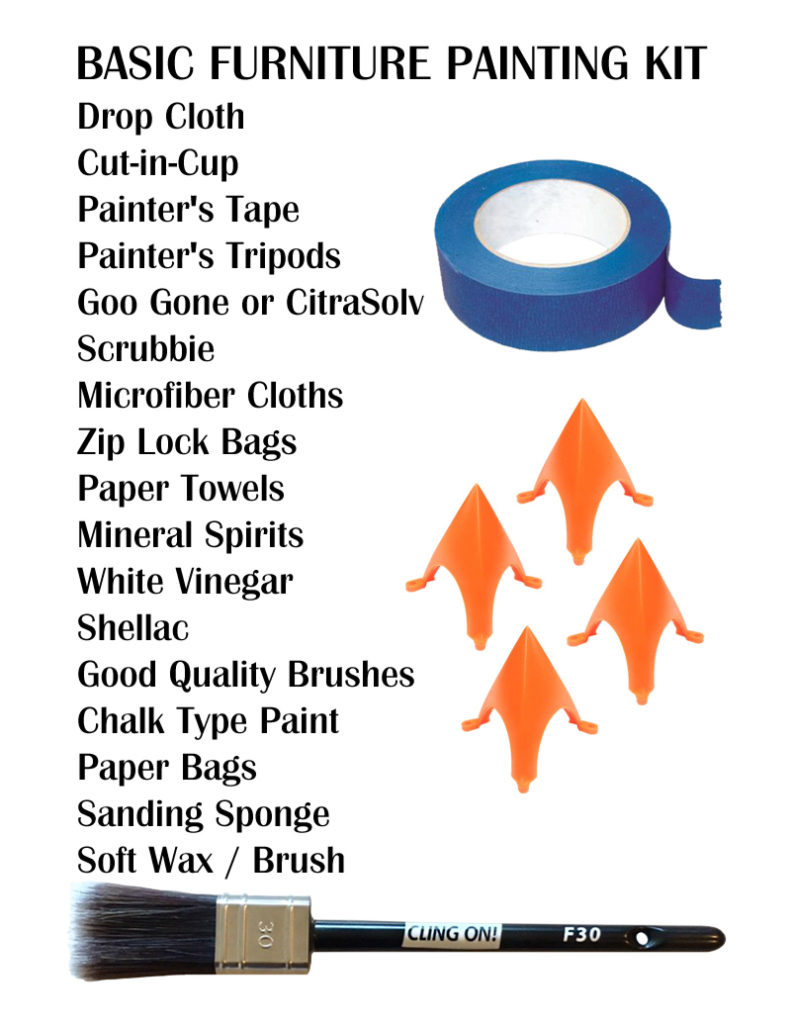
To make your life a little easier, we’ve created a Downloadable PDF BASIC FURNITURE PAINTING KIT List
{this post contains affiliate links}
Supplies:
- Wooden Furniture Piece, in need of TLC!
- Drop Cloth (Paper, Canvas, Plastic – whatever will save your precious floor from paint drips!)
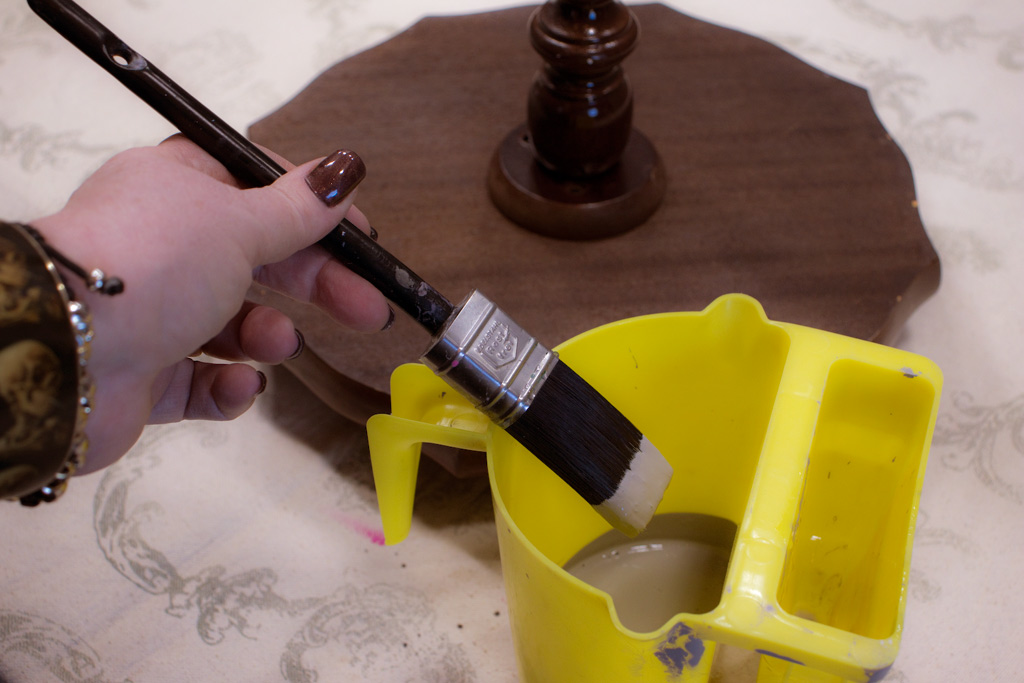
- Cut in Cup (Special Cup with 2 compartments – I use one for water, the other for paint)
- Painter’s Tape (for isolating areas you will not be painting)
- Painter’s Tripods (Little plastic thingies that hold your piece off of the work surface)
- Goo Gone or Citra Solv (to remove any and all adhesive residue, chewing gum, etc.)
- Scrubbie (To both clean & ‘break the surface’ of the original finish)
- Microfiber Cloths (For everything: cleaning, burnishing, etc.)
- Ziplock Bags (To keep your brush fresh overnight)
- Mineral Spirits (Petroleum-based product used to thoroughly clean the surface of the piece prior to painting – won’t ‘raise the grain’ of exposed wood)
- Paper Towels (To apply Mineral Spirits – dispose of very carefully –follow ALL safety recommendations!)
- White Vinegar (Works wonders: cleans and deodorizes. I use it full strength)
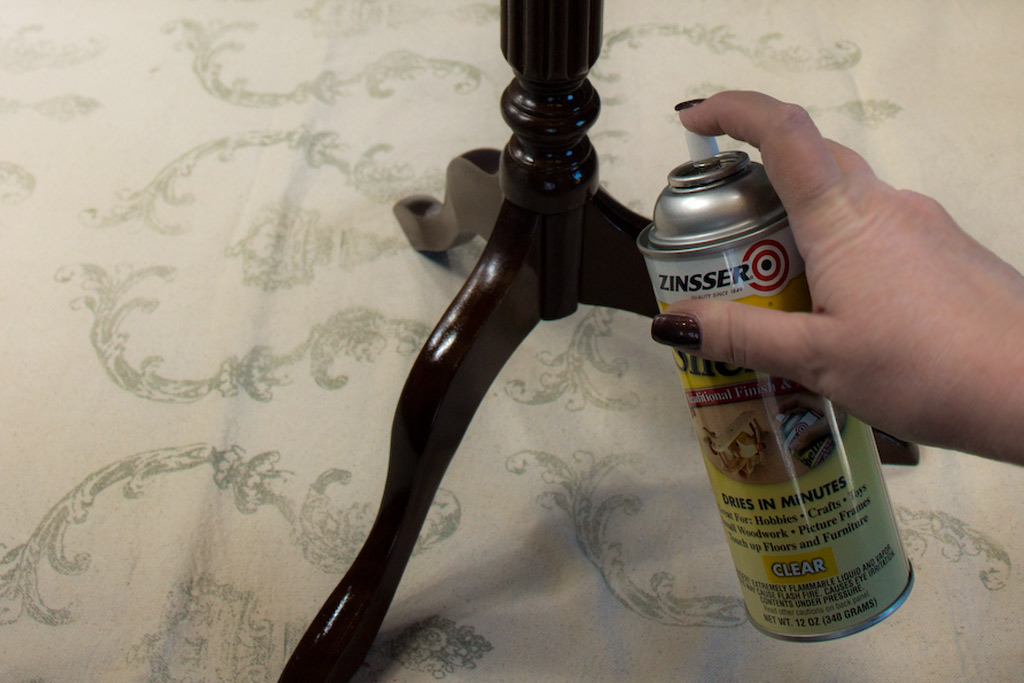
- Shellac (Seals in tannins, existing wood stain, and ODORS!)
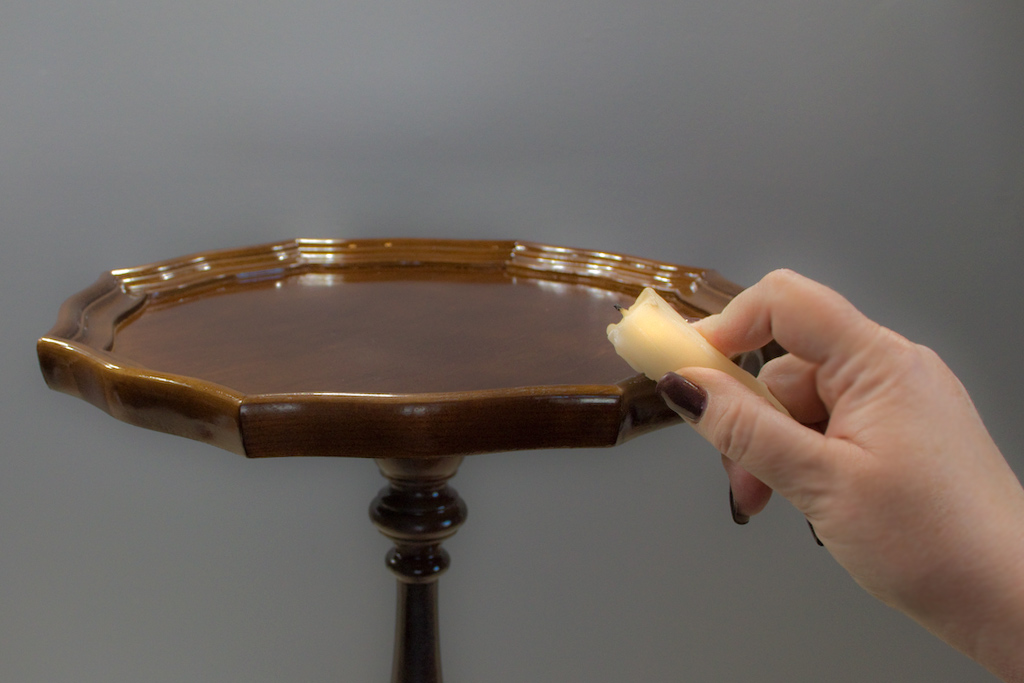
- An old candle stub (This helps prep the piece for a ‘chippy’ distressed effect)
- Good Quality Brushes (Yeah, you CAN use a nice Purdy, but I love my Cling Ons)
- Chalk Type Paint of your choice (I use, and love Heirloom Traditions Chalk Type Paints)
- Paper Bags (For ‘sanding’ and distressing the surface of the paint, prior to sealing)
- Sanding Sponge (For ‘feathering’ the ‘chippy’ distressed areas of the paint)
- Soft Wax / Wax Application Brush (For applying a traditional clear wax top coat)
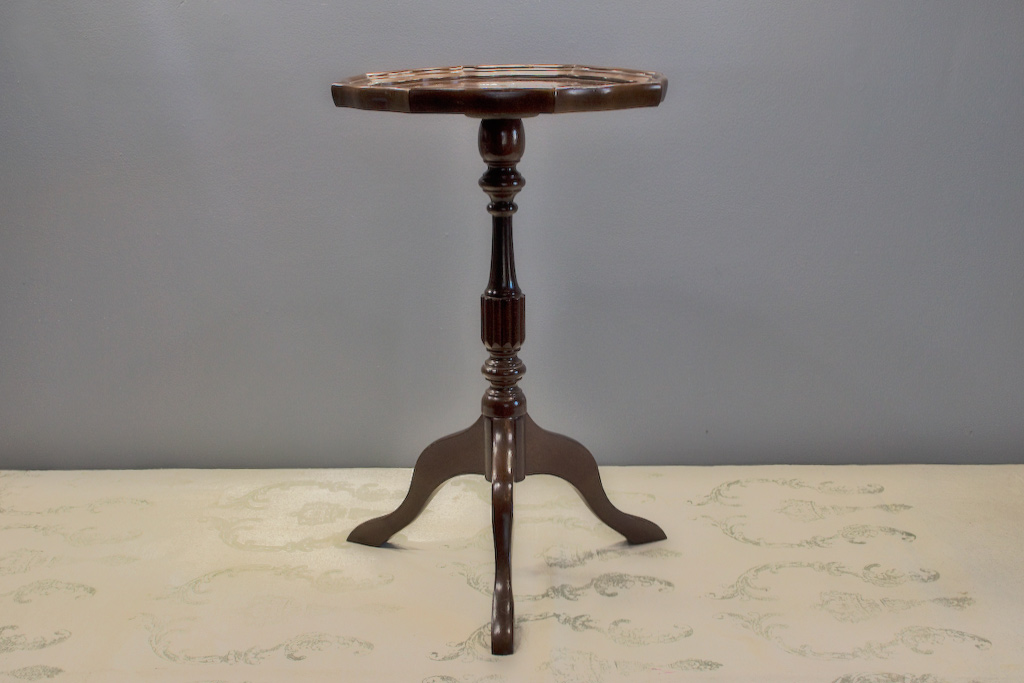
So, you’ve found a piece of wood furniture that has ‘good bones’, but needs help.
Now what?
Clean it up!
Place your piece on a drop cloth, and commence cleaning!
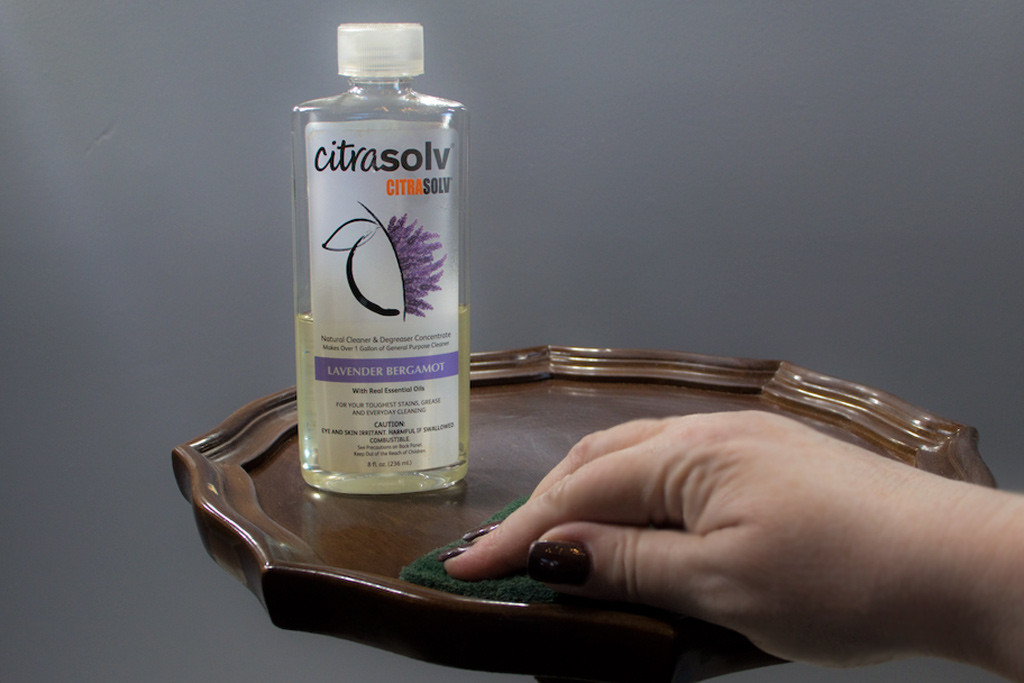
The first task is to remove any gummy residue, melted crayon, chewing gum, or unidentifiable goop from the surface!
Any good quality degreaser will work – I reach for either Citra Solv or Goo Gone and a Scrubbie.
The Scrubbie serves two purposes:
- It will help get every last particle of gunk off of the surface
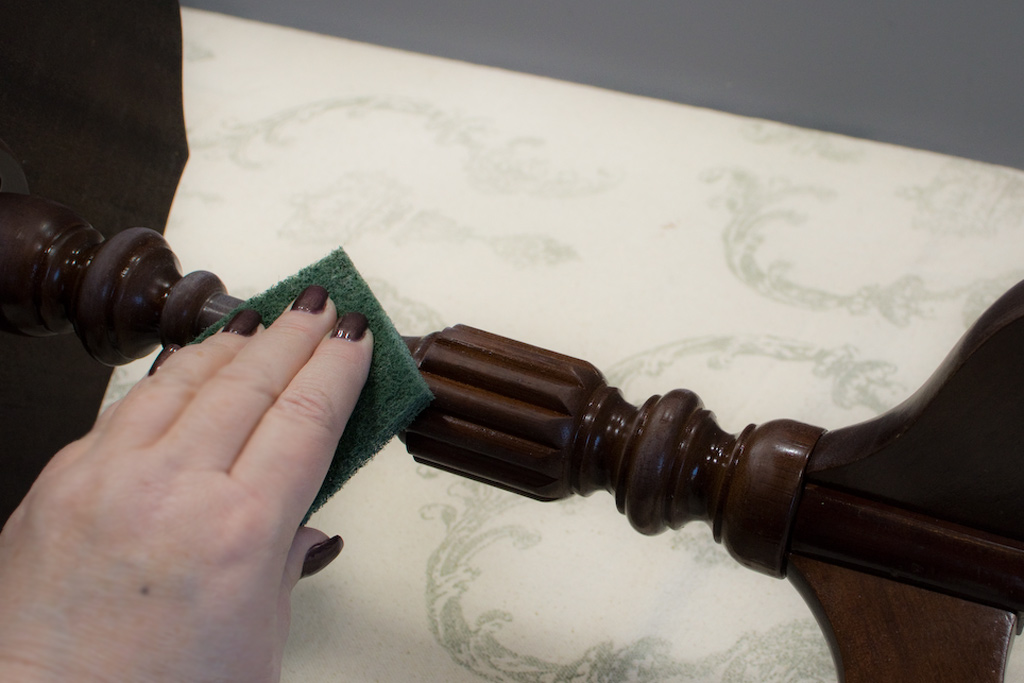
- It will create micro-abrasions (that’s a fancy term for scratches) on the existing finish.
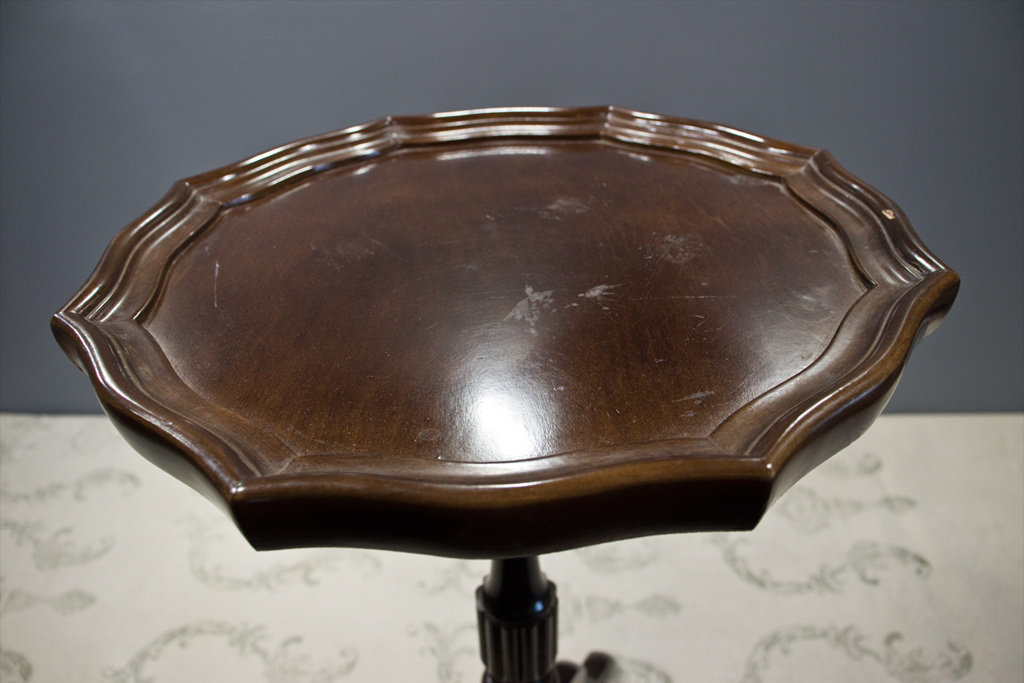
Now, when a piece of furniture has a shiny commercial finish, like this one, it’s important to create a bit of ‘tooth’ by ‘breaking’ the slick surface. This makes it possible for Shellac/paint to adhere successfully.
You can also use sandpaper, but I like the dual-duty that a plain old Scrubbie brings to the table (I can’t help it!)
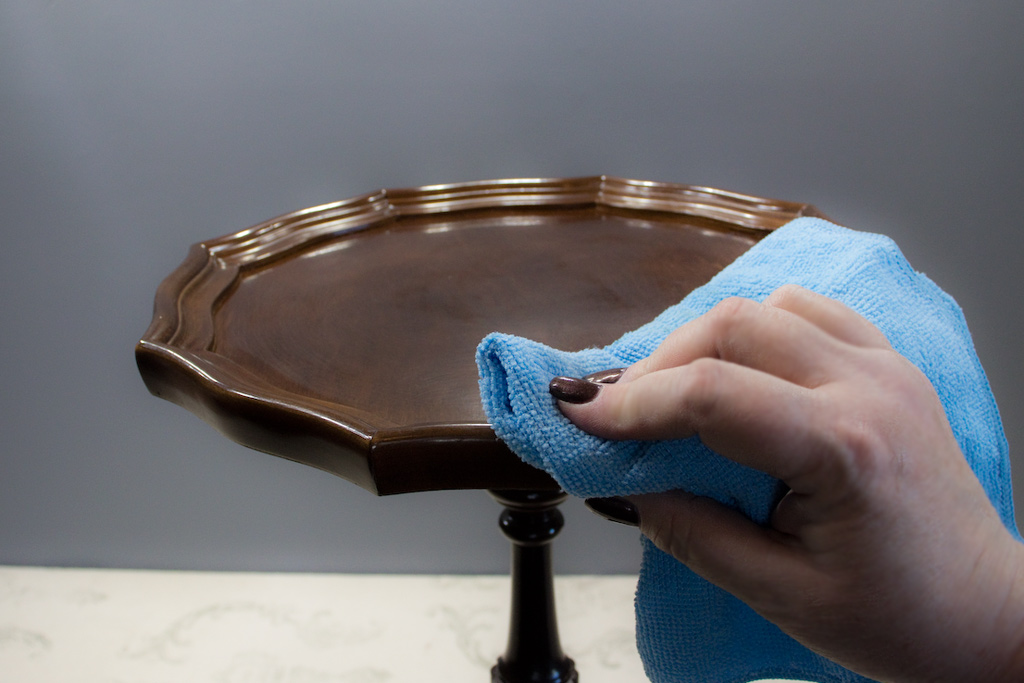
Once the initial layer of gunk is gone, wipe away the residue with a clean cloth.
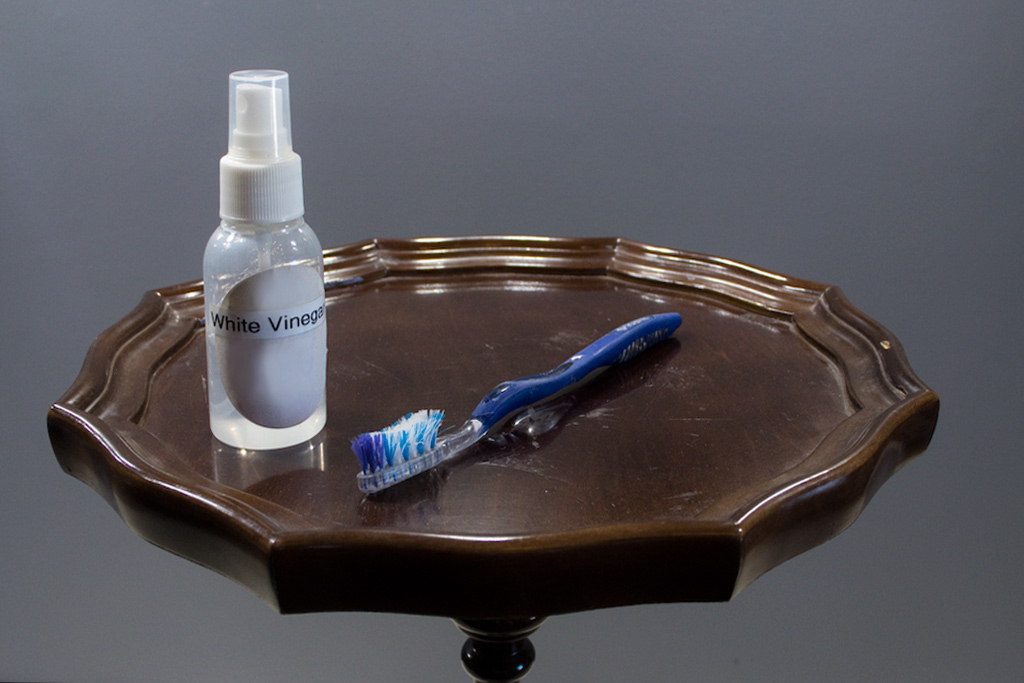
Next, it’s time to Clean and Deodorize your new prize!
You’ll see lots of folks using lots of different cleansers for this step. Experiment to see what works best for you!
I stick to straight White Vinegar.
- No, I don’t thin it down.
- Yes, it smells funny at first.
- Yes, it really DOES get the surface clean.
- Yes, it truly does help with that ‘musty’ odor!
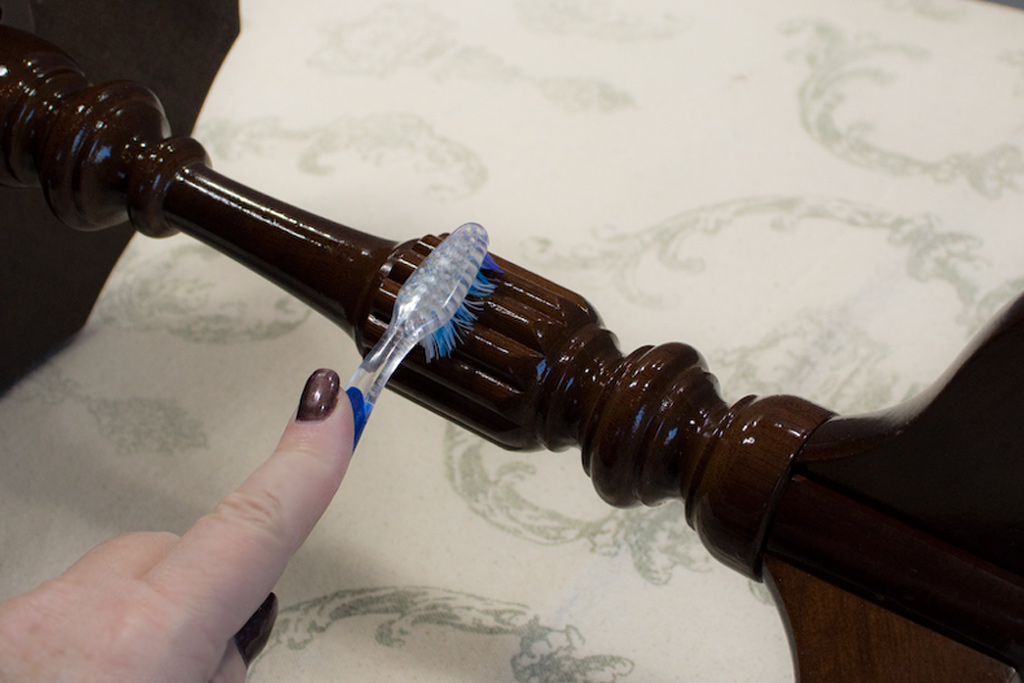
- Toothbrush optional!
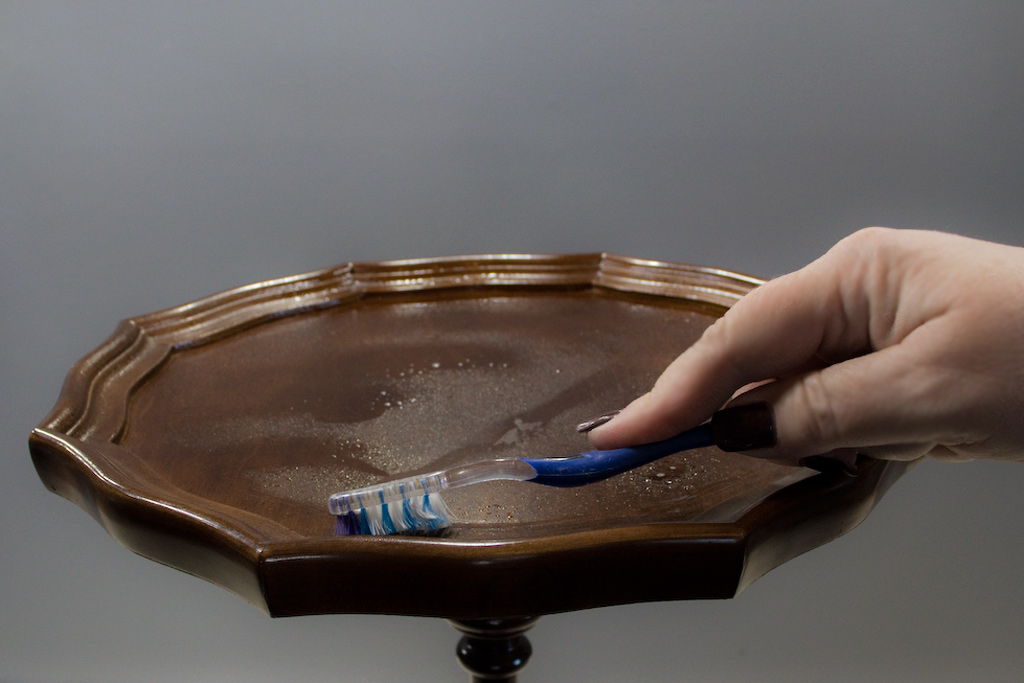
Scrub that thing!
Get in all the Crooks & Nannies!
Clean the WHOLE thing, top to bottom.
Follow up with the Scrubbie, to ‘break’ the surface of the underlying clear coat.
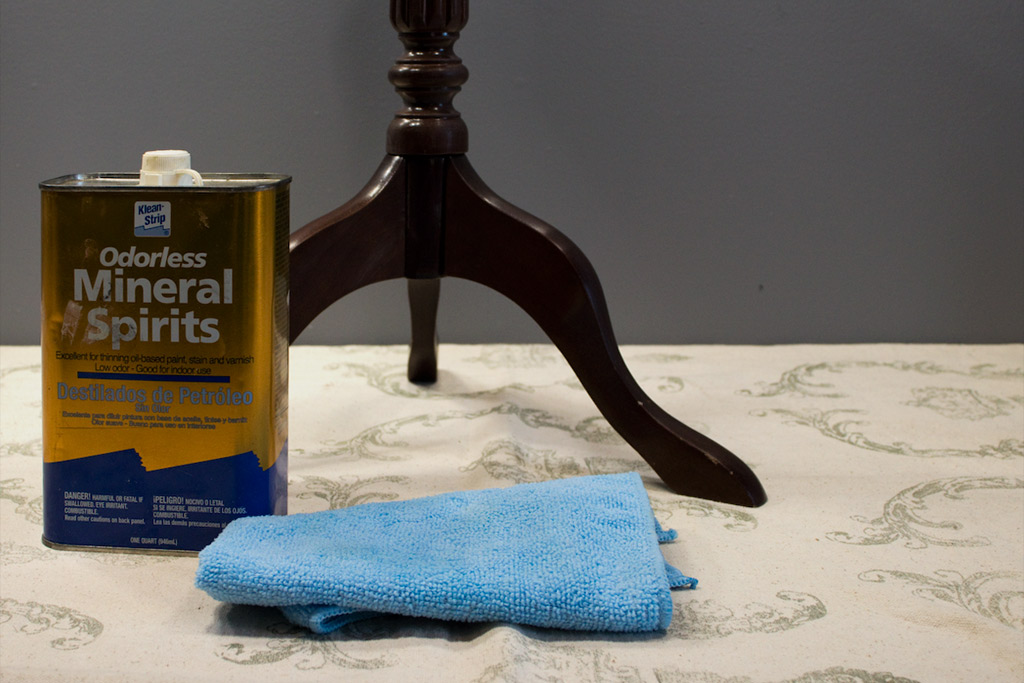
As a final step, wipe down the entire piece with Mineral Spirits. Be sure to follow all safety precautions!
Okay, so that’s it for the cleaning phase!
On to ‘bleed through’ prevention.
Bleed through occurs when tannins, wood stain, or other contaminants, (like cigarette smoke residue) leach up through a painted finish, resulting in blotchiness and crying jags!
This is especially likely when using a Chalk, Milk or Clay Type Paint. The porosity of the paint allows for the yucky stains to ‘migrate’ up through the paint.
You do NOT want to try to deal with Bleed Through after the fact.
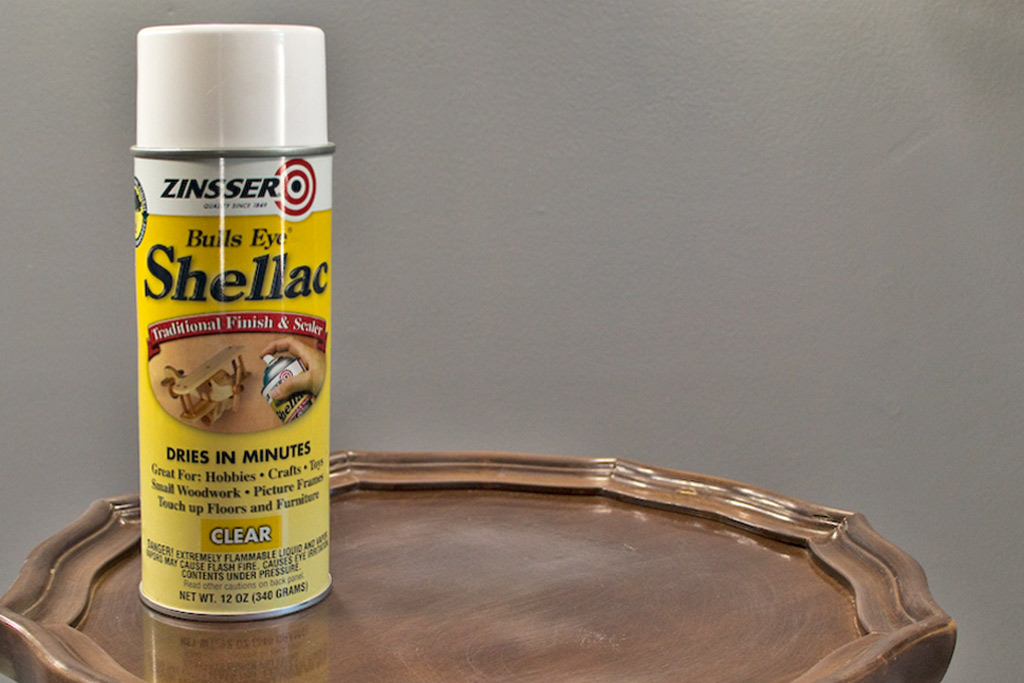
Do yourself a favor: apply a coat of Shellac to the entire surface before you even THINK about lifting a paint brush.
Note: adequate ventilation, please!
I know. It can seem counter-intuitive…I mean, didn’t we just ‘break’ the shiny surface?
Won’t it create problems with paint adhesion to add another slick surface?
Nope. Shellac has been used for hundreds of years as both a base and a top coat.
Shellac is your FRIEND!
Not only will it seal in all those pesky tannins, it will seal away any lingering musty odor.
Yay!
Prep for Distress!
This is entirely optional. There are a bazillion ways to distress painted furniture, but I want to share one super simple step that can result in a pleasing ‘Chippy’ Distress Finish.
It all begins with a candle stub. Yep.
Simply rub the side of the candle against the surface of the piece, concentrating your efforts on the areas that strike you as natural ‘aging’ points, like the rim of this piecrust tabletop.
The goal is to leave a residue of candlewax along the areas that you eventually wish to appear ‘chippy’.
Once the paint has been applied, it will naturally tend to flake away from the waxy areas. That’s a good thing!
It’s best to NOT dip your brush into the paint can.
Tap water carries a pretty hefty bacterial load and can lead to unpleasant mold growth on a surface of water-based paint in the can.
To avoid this problem, and to make it super simple to dip the brush in water, I recommend dispensing paint into the large side of a Cut-in-Cup.
I place an inch or so of water in the skinny side of the container, and this allows me to dampen the bristles prior to picking up paint.
A damp brush will result in fewer ‘brush strokes’ in the final finish.
This is the shade “Rainy Day”, by Heirloom Traditions.
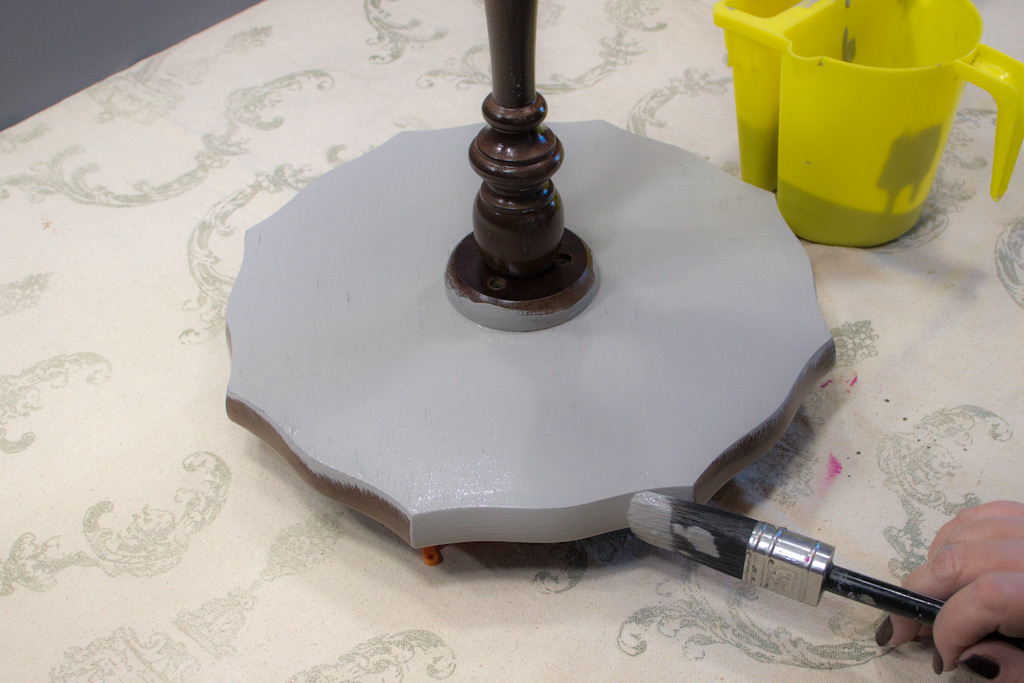
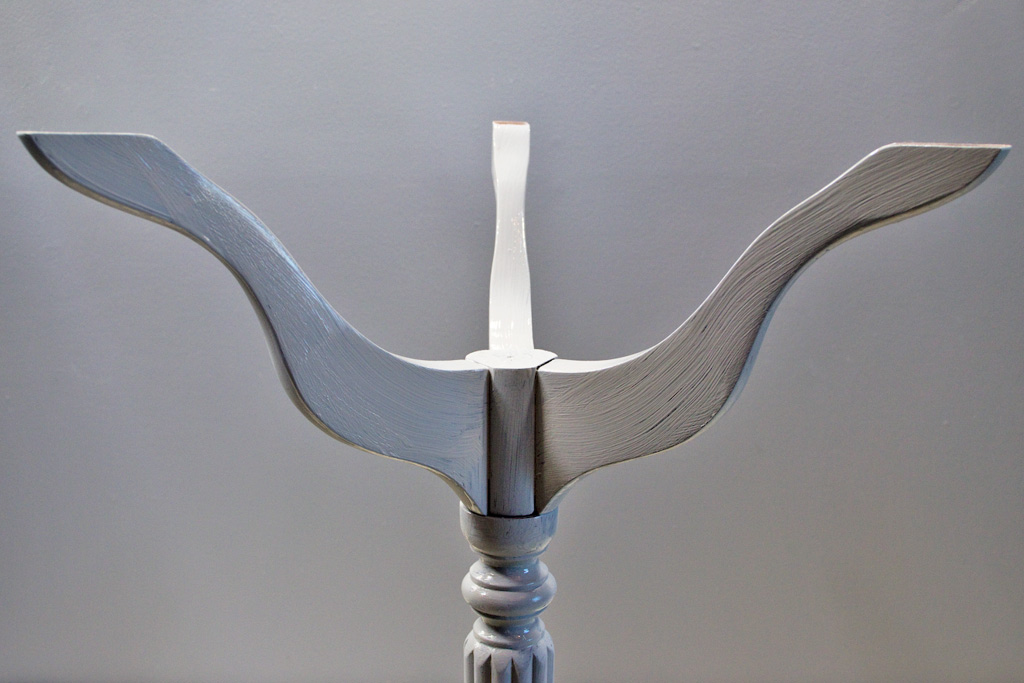
Prop your piece up on Furniture Tripods or Pyramids or any old thing that will hold it securely off of the work surface.
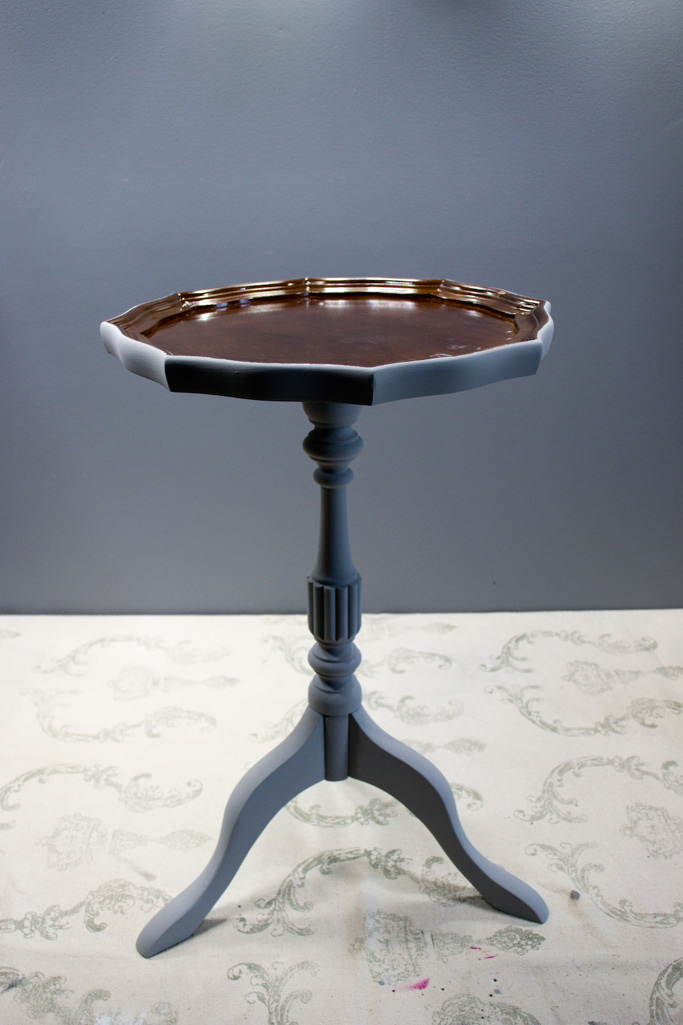
I always begin by painting the underside of my pieces.
The first coat will be a bit rough. That is normal.
Carefully inspect the piece to catch any ‘sags’ or ‘runs’ of paint while they are still wet.
Wipe ’em away, or dab ’em with an almost dry brush until they settle down!
Allow the paint to dry thoroughly.
You can tuck the ‘business end’ of your ‘painty’ brush into a ziplock bag, and close the ‘zipper’ around the handle between coats.
Unless you just enjoy washing brushes. Which I don’t.
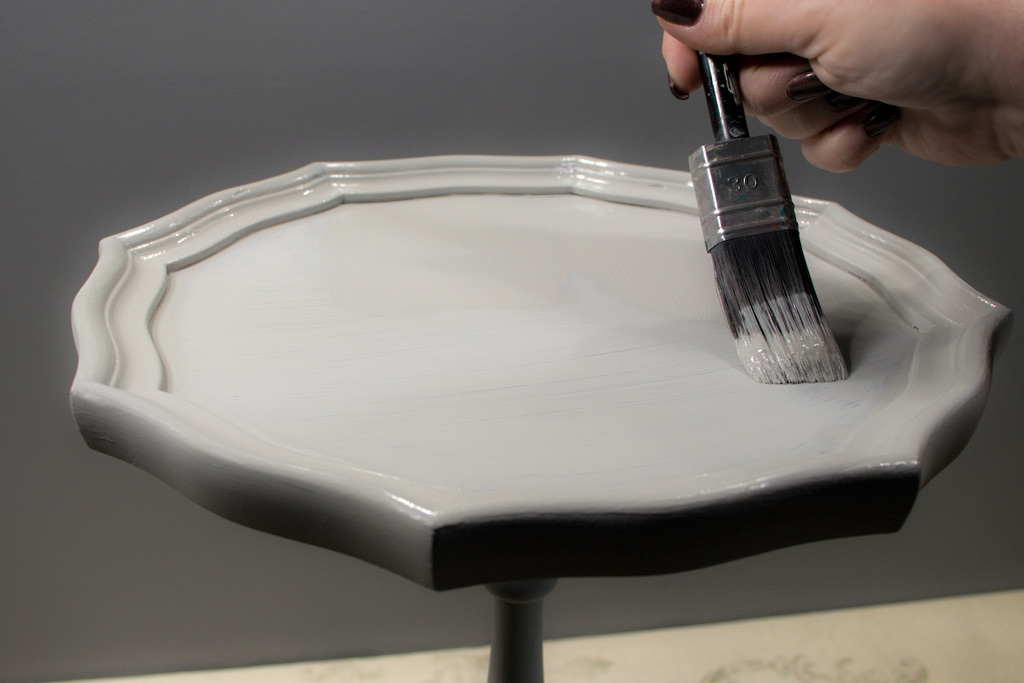
Apply a second coat of paint.
When working with Chalk Type Paints, it is not necessary to ‘go with the grain’ as you’ve always been taught!
In fact, on a stubborn surface, a pouncing or slap-dash application will adhere more successfully, and provide better coverage!
Once the second coat has dried on the underside and ‘legs’ of the piece, turn it over, and get to work on the upper surface!
The second coat is being applied in a perpendicular angle to the first.
This will result in more thorough coverage.
I recommend that you allow the piece to cure in a warm, dry environment overnight.
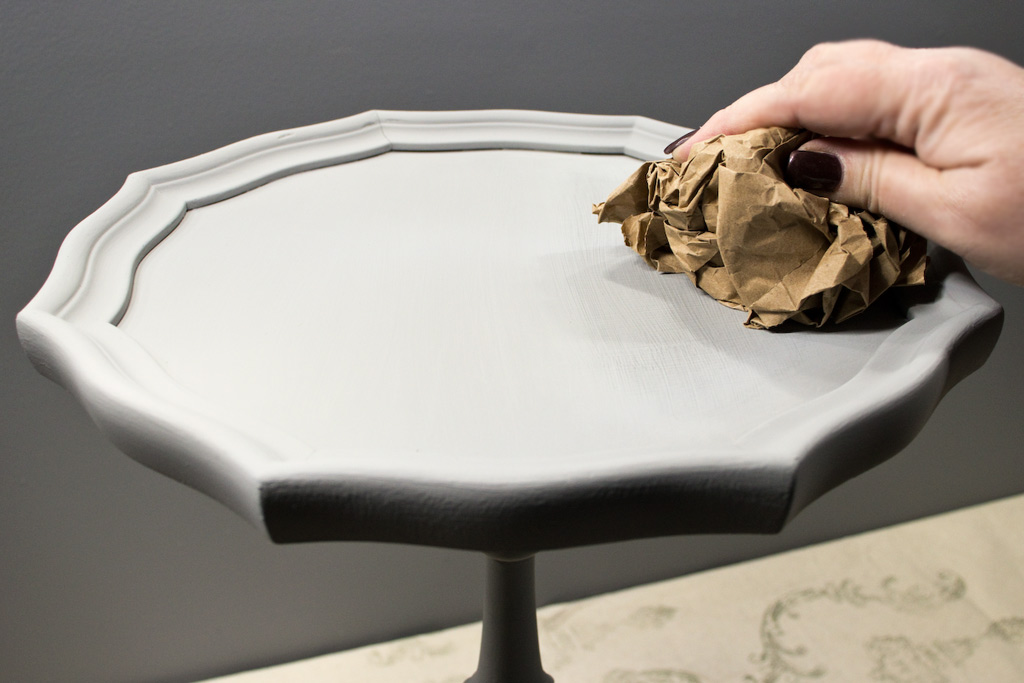
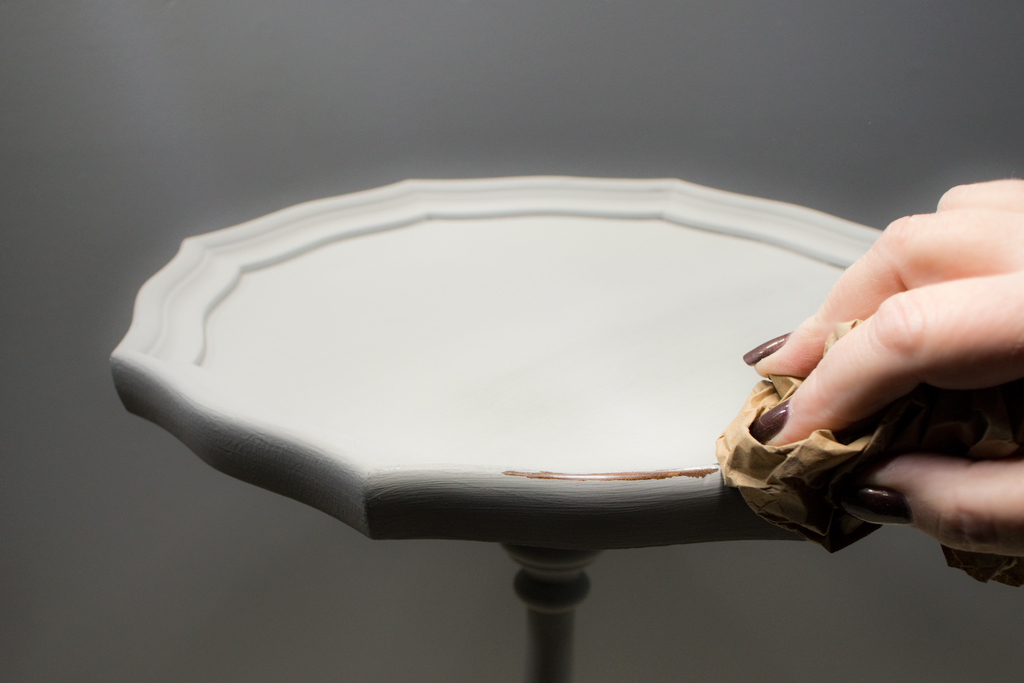
I like to vigorously scrub the surface of cured Chalk Type Paint with a crumpled up paper bag.
The chalky finish begins to gleam under this polishing action!
Distressing begins to occur over the concealed candlewax areas as you scrub!
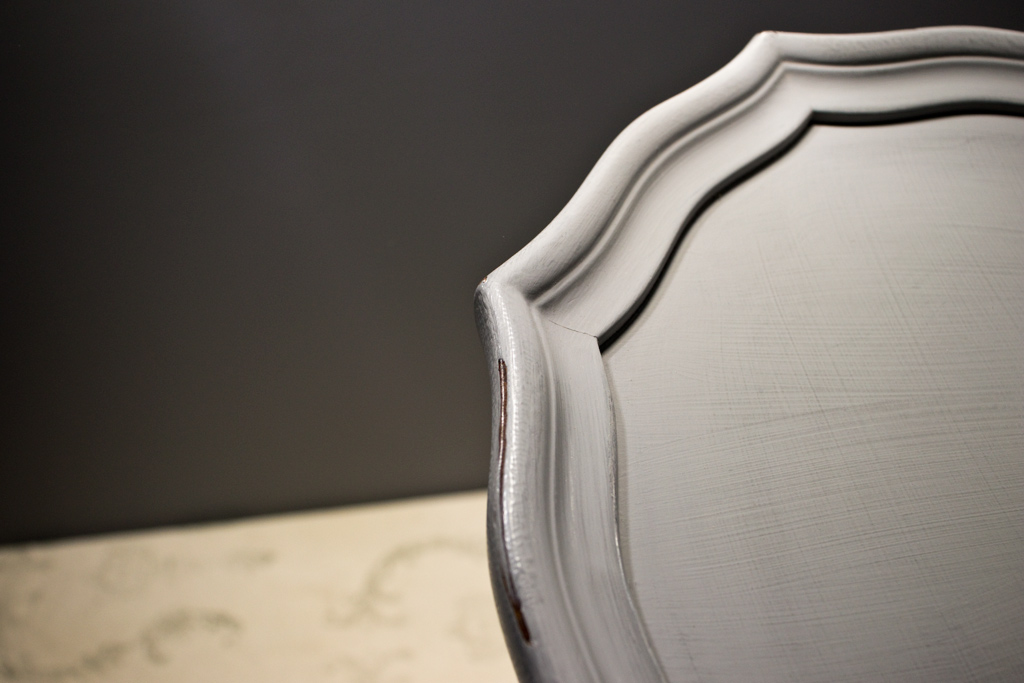
I really appreciate the ‘chippy’ nature of this style of distressing.
Unlike sanding, the paint ‘flakes’ away in broad areas, revealing the undamaged underlayer.
In this image, you can see the nuanced finish that ‘paper bag sanding’ produces.
It is very smooth to the touch, and already feels and looks naturally aged!
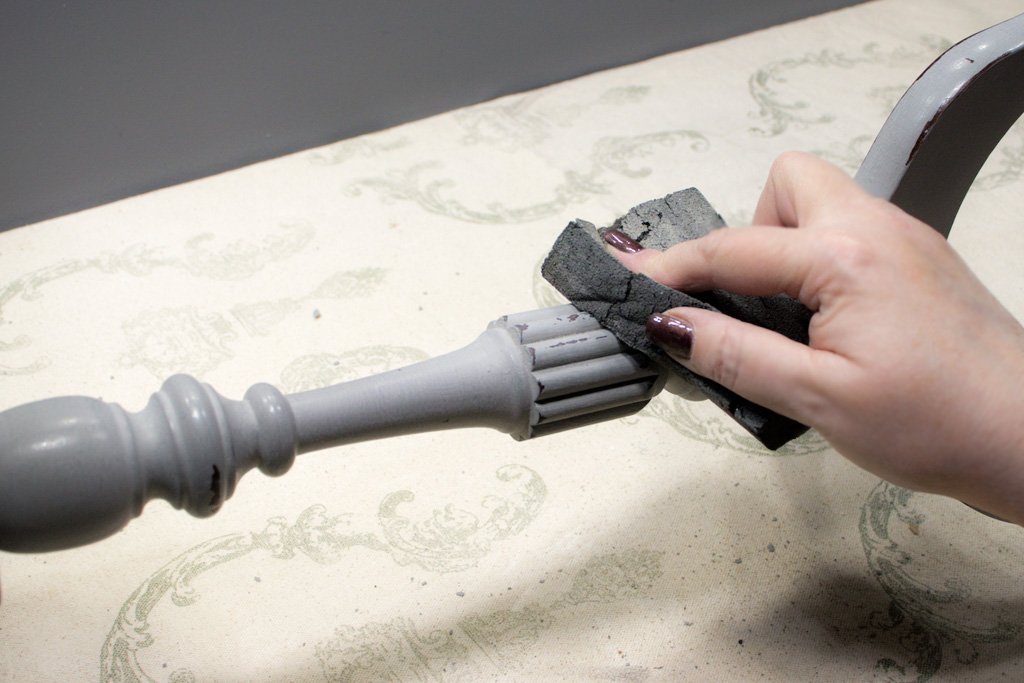
To soften the edges of the Chippy Distress, you can gently feather the effect with a soft sanding sponge:
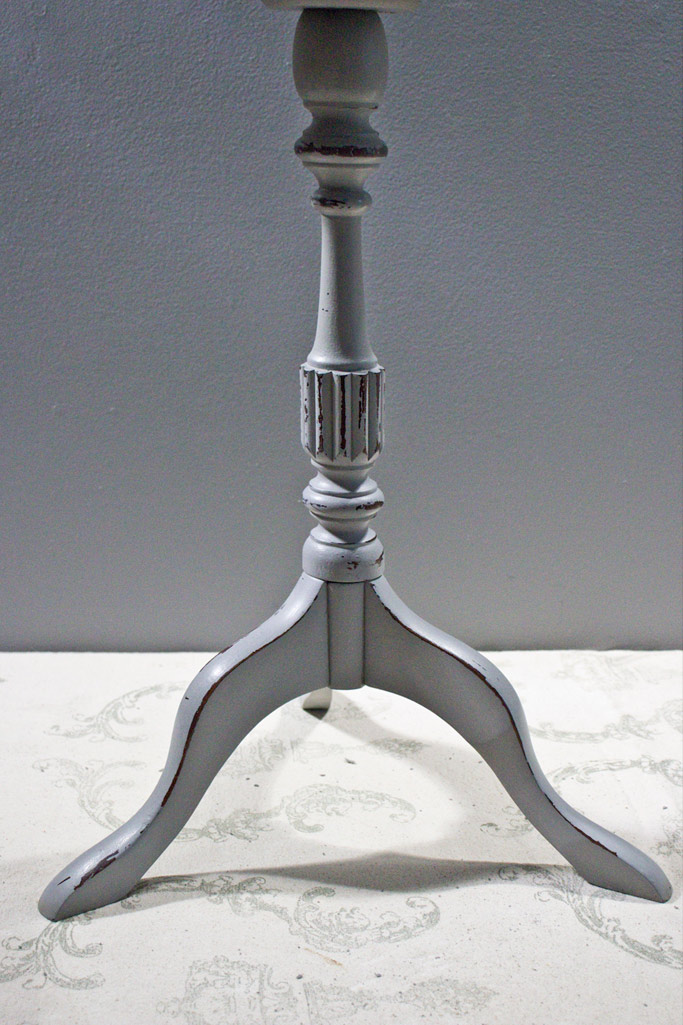
See how the paint has ‘flaked’ off of the edges, yet all of the original finish is intact?
I love that.
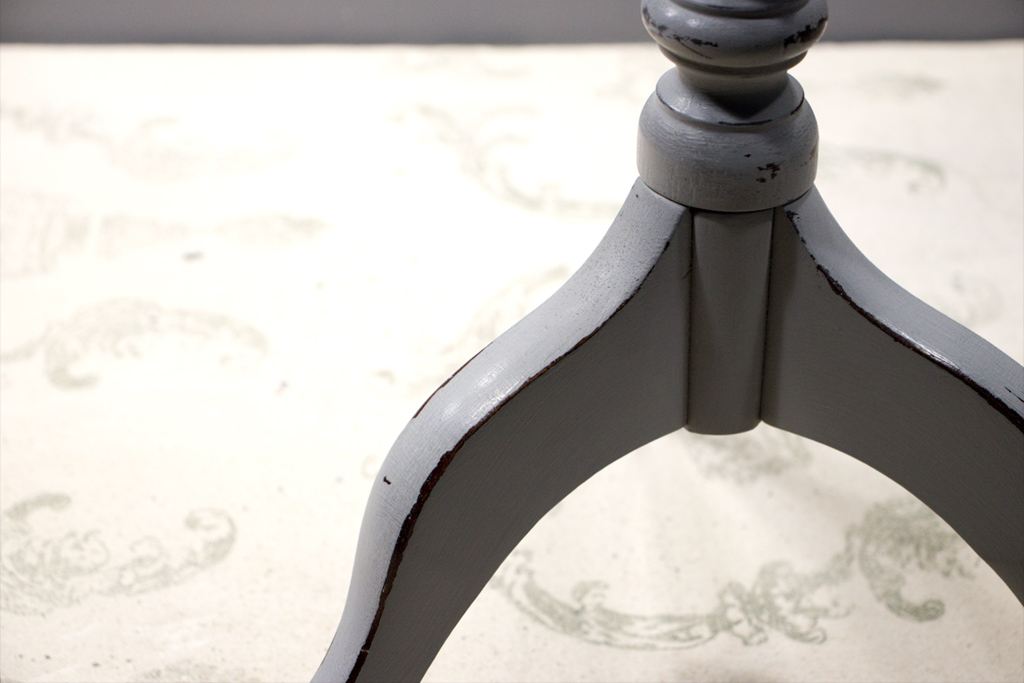
I’m a ‘Heavy Distresser’, but of course, you control the amount of ‘chipping’, based on the initial application of candlewax.
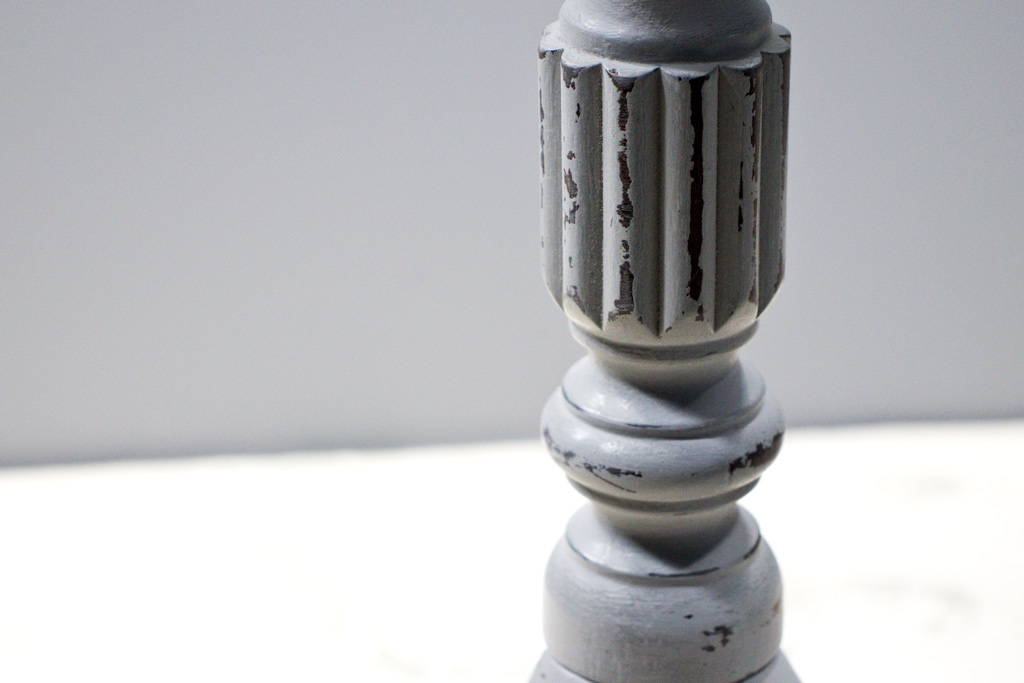
I love the tiny details, like these brushmarks and chipped corners!
Chalk Type Paints require a top coat.
Because they are porous, they are susceptible to damage and staining if not protected.
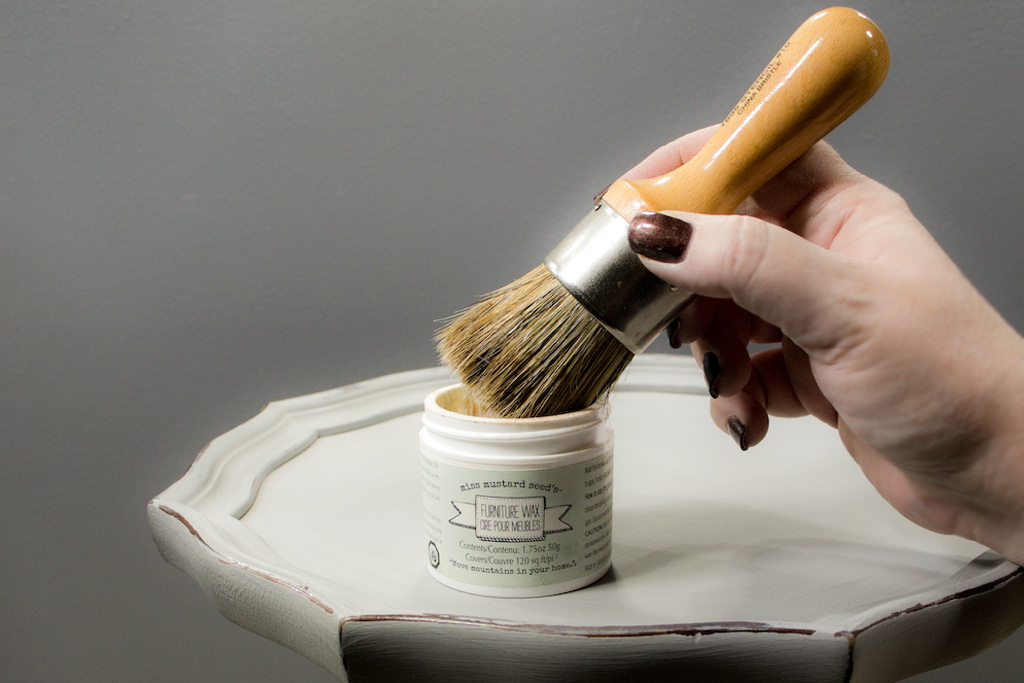
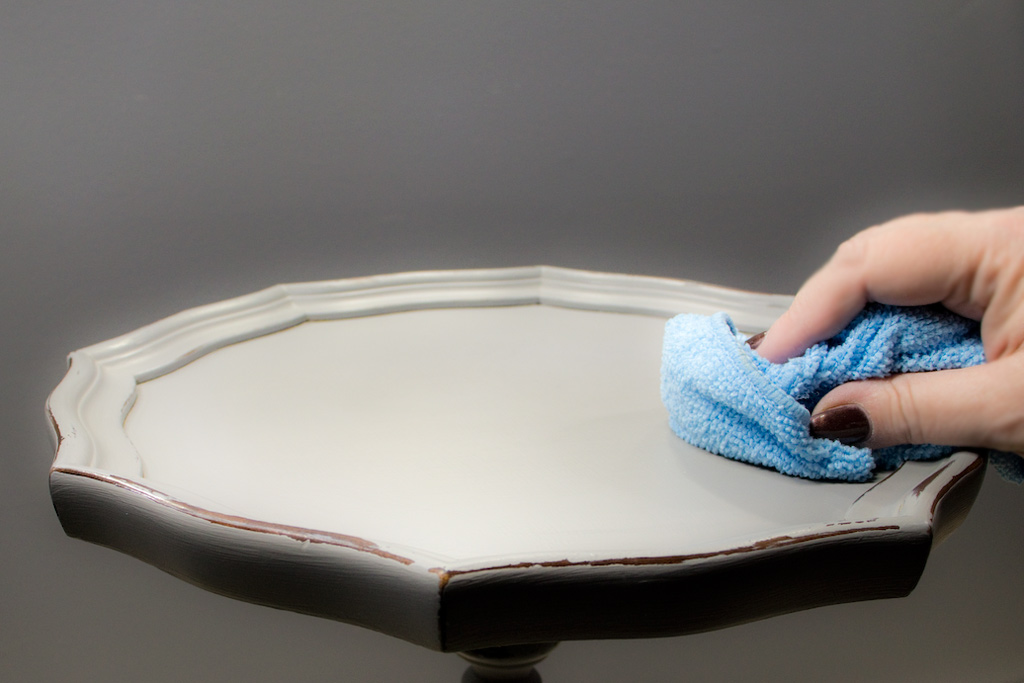
A good quality clear wax, applied with a brush like this will do the trick!
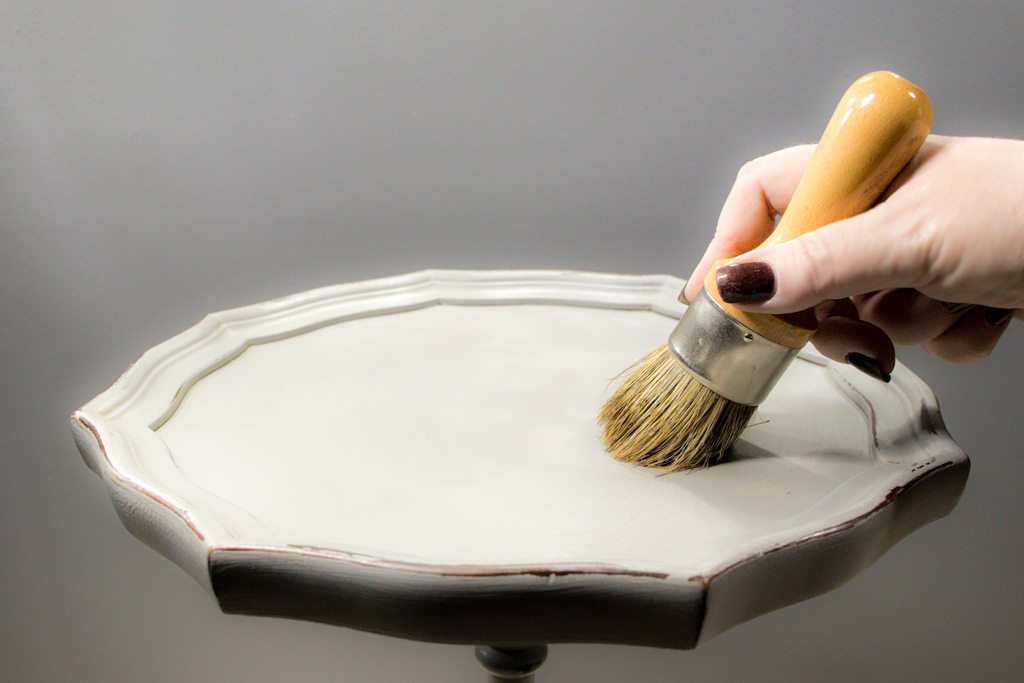
Make certain to apply wax to the entire surface.
Allow the wax to ‘set up’ slightly before burnishing the surface with a microfiber cloth.
I favor microfiber over cotton cloth due to the ‘abrasive’ surface of the cloth.
It speeds burnishing and results in an almost glossy sheen.
Follow the manufacturers’ instructions for exact ‘set up’ and ‘cure’ times for your wax.
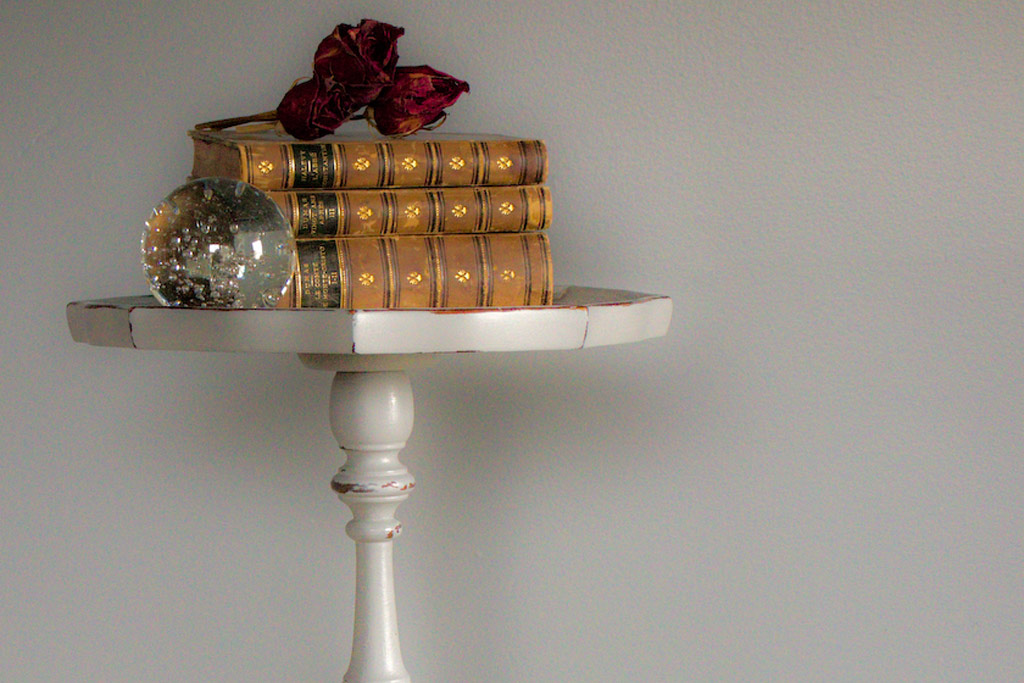
Once the wax has cured, the piece can be enjoyed!
To keep the finish clean and performing its protective function, it’s a good idea to re-apply the wax after a few months of wear and tear.
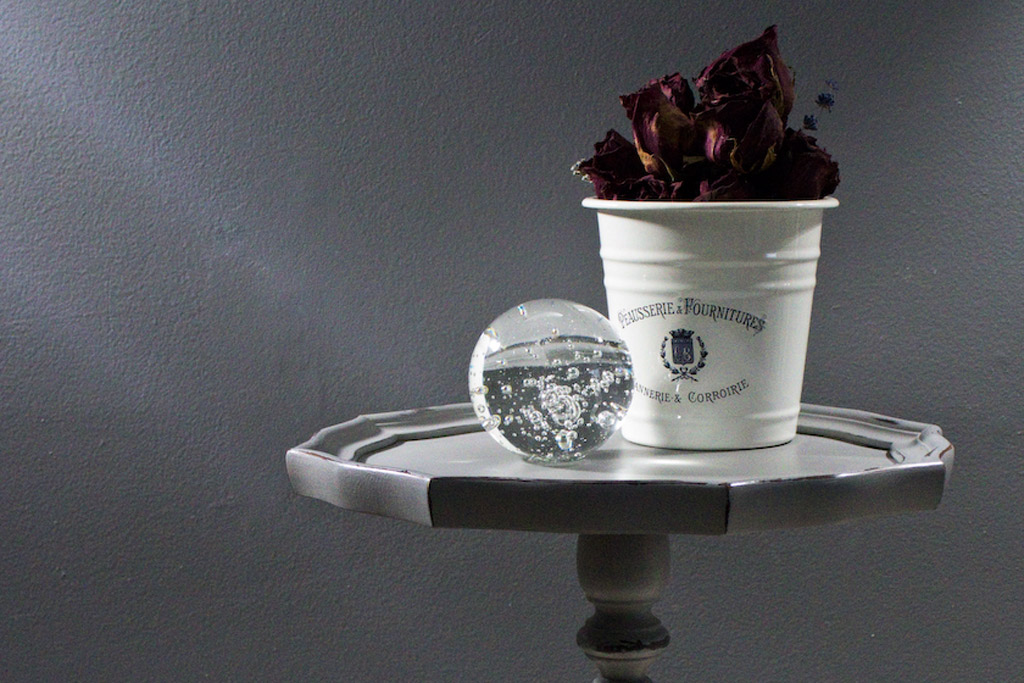
There really is no substitute for the beauty of a hand-rubbed wax finish!
Such a subtle gleam…
And that, my friends, is that!
Thank you so much for visiting The Graphics Fairy today!
It has been my pleasure to share these tips & tricks with you. May they serve you well.
Take care,
Heather ♥
Come visit me at both the Thicketworks YouTube Channel and Thicketworks Blog – we’ll have us some Messy FUN!
You might also like our Online Image Transfer Course HERE!




Barb says
I really dislike waxing. Ok to poly (the blue can)?
graphicsfairy says
Yes you can Barb but the finish will not be the same poly tends to add more shine.
Rupa says
Heather, your instructions and methods are always the best. Tried and true, simple to follow, all questions answered before it pops into our minds! Now, you won’t believe me if I tell you this since it seems to happen too frequently. I was at the dollar tree yesterday evening, looking for velcro dots (to store DI ink sponges just like you did). I saw this cut out paint pitcher thingie. I picked it up, looked at it from all angles, I knew it was for a paint job and almost bought it but then didn’t thinking what am I going to do with this exactly? Darn, literally a day later I open this post and here it is….serendipity my friend! Thanks again for an awesome tutorial! You make everything feel doable and I will actually attempt this finally!
graphicsfairy says
Oh yea! So glad you found it useful and everything is doable, go for it Rupa!!
Heather Tracy says
This has happened so often now it shouldn’t surprise and delight me so, Rupa…and yet: surprised and delighted once again!
Thank you for your kindness, my wonderful friend. xox
Kathleen says
Thanks for the great instructions! Would you do the same steps on a painted wood surface that you want to repaint? Thanks!
graphicsfairy says
Glad you found it helpful Kathleen and yes it is the same process, good luck!
Linda K says
Great tutorial. I learned a ton.
graphicsfairy says
Thanks Linda, so glad you found it useful 🙂
Elaine says
Fabulous tips. I like the idea of your pyramids and painting upside down first. I’ve contacted Amazon UK to see if they can stock them otherwise I might have to try and make something.
graphicsfairy says
Thanks Elaine, I hope you can find some, good luck 🙂
De Dollar says
Oh my goodness! Thank you so very much for your instructions, photos, and your easy 1-liner instructions!! After all these years I feel like now I could refinished a side table or two 🙂
graphicsfairy says
It is my pleasure I am happy you found it useful and I hope you take on a project or two 🙂
Daphne says
Thanks for the easy to follow, personally tested techniques! Makes it easier to try my hand at more furniture refinishing!
graphicsfairy says
My pleasure Daphne, Go for it and have fun
Victoria says
Thank you so much for this – what a great tutorial. Cant wait to try.
graphicsfairy says
thanks so much Victoria!
Marnie Schember says
Is there a specific candle that you use, or will any ole candle do? Turned out beautiful.
graphicsfairy says
Any ole candle will do for this Marnie 🙂 Good luck!
Marnie Schember says
Thanks ????