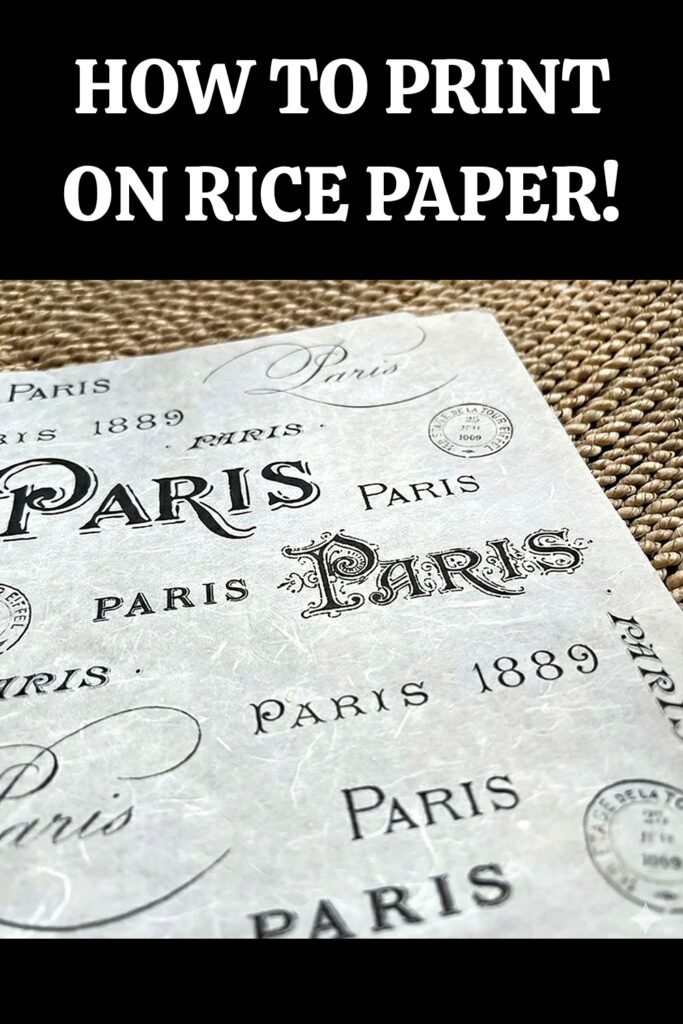
How to Print on Rice Paper!
Hey all my crafty friends. It’s Rebecca sharing my tips and tricks as we learn How to Print on Rice Paper. If you have some rice paper that seems too flimsy or sheer to run through your printer, I will walk you through the simple process of transferring some of our wondrous Graphics Fairy images to this beautiful surface. I will also answer some questions about the paper itself. This should help you adapt this unusual tool to use with your paper crafts, junk journals, and collage projects as well.
This post may contain affiliate links which won't change your price but will share some commission, you can find our privacy policy here.
What is Rice Paper?
DISCLAIMER: There could be a little confusion with the term ‘rice paper’ that I want to clear up first. Rice paper, in the true meaning of the substance, is actually ‘edible’ rice paper typically made from rice flour, tapioca starch, salt, and water or similar ingredients, and is used for spring rolls. This is not what we will transfer our image onto in this tutorial. Although you can use edible inks on this wrapper paper, it takes a special printer to do so.

Is there Rice in Rice Paper?
Some ancient paper was made in Asia using rice-derived pulps and celluloses from rice straw but rice itself was not used. In essence, rice has NEVER been used as an ingredient in paper making. So no! For this tutorial, we will be using the term ‘rice paper’ for the papers we use.
CAUTION: Please Please Please read all these instructions before you print! Printing the wrong way or the wrong side can cause damage to your printer!
The term’ rice paper’ is only used colloquially, not literally. There are several theories relating to the origin of the use of these words. One involves a type of paper whose origin dates to early twentieth century that was made from the Tetrapanax Papyrifer plant in Asia and exported to Europe. It was wrongly called rice paper because it had a bright white color and came from Asia. Another possible explanation emanates from the fact that rice from various parts of Asia used to be wrapped with a strong fibre paper for shipping. A third possibility is that rice starch was used to size sheets of paper at the onset of paper making in China.
We will be printing on a surface called ‘rice paper’ that is made of many different pulps. And there are many unique brands, each offering their own take on the term. So it can be confusing. I advise you to try several different brands to see what fits into your art making. Some papers are very sheer and need support to go through a printer. Some are called ‘printable’ rice paper and are sturdy enough to pass through the printer alone. Others have a thin coating that gives the paper the ability to glide through the printer. I will walk you through three types and share the best technique for success.
Basic Properties and Examples of Rice Paper
Paper making in simple terms is the transformation that occurs from the disintegration of plant matter into pulp, which is then used to form paper. ‘Rice paper’ is generally made from the inner bark of the Mulberry tree. Thus it is often called “Mulberry paper.” The Japanese version of rice paper that is often seen and used is called “Washi paper,” which is a highly refined mulberry paper. There are other names applied to rice paper in different countries but it is always solely or primarily derived from the mulberry tree.
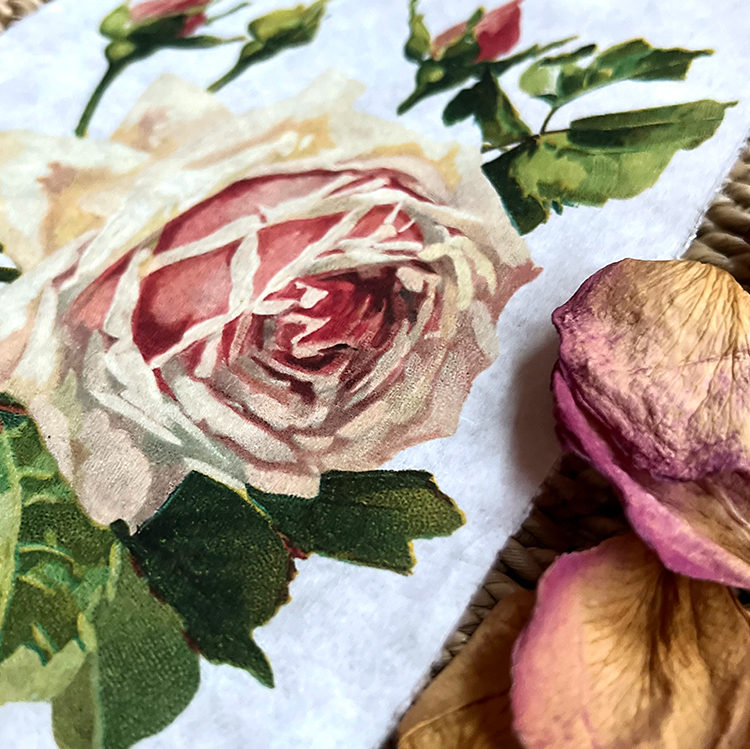
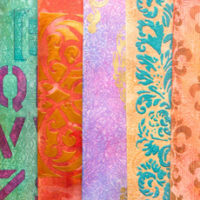
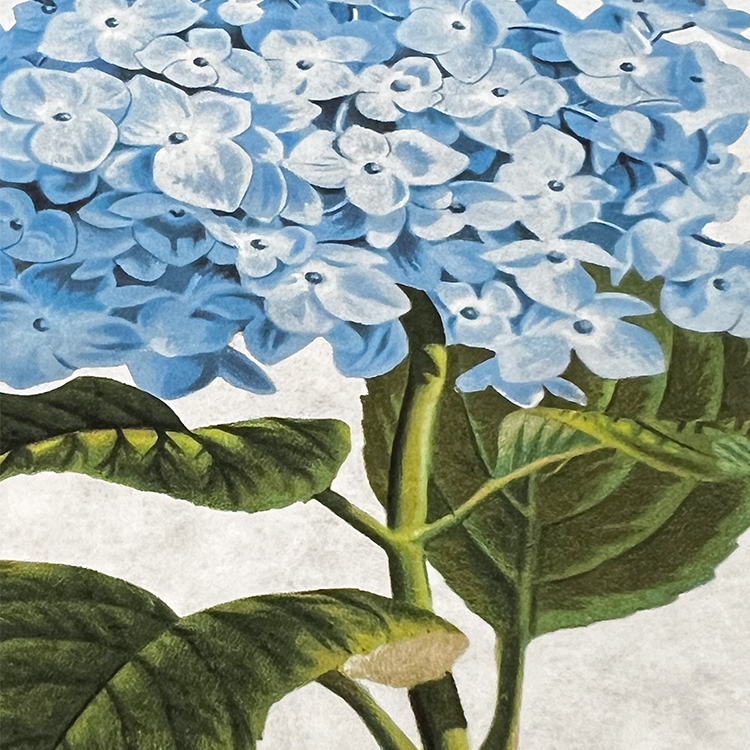
Rice paper is fibrous, absorbent, and quite strong even when cut very thin, having the ability to absorb ink and glue very well without tearing apart. Rice paper is also semi-translucent when becoming wet, especially when utilizing mediums like gel medium or Mod Podge. The translucent quality enables colors to shine through, which adds depth and allows for beautiful layering. Rice paper provides durability and texture to handmade items as well. It can be purchased in craft stores or online and is available in various colors, sizes, and printed designs.
Printing on Rice Paper Tutorial
We will be using an inkjet printer for our examples. You may use a laser printer as well. Inkjet prints will need to be sealed or they will bleed. I use spray sealers like clear acrylic Krylon or Workable Fixative. Sometimes I even use hair spray. You can see my complete tutorial on How to Make Inkjet Prints Waterproof Here.

Supplies:
Natural Fiber Rice Paper by FIVEIZERO
Japanese Rice Paper Printable by ONAO
Yasutomo Rice Paper Roll
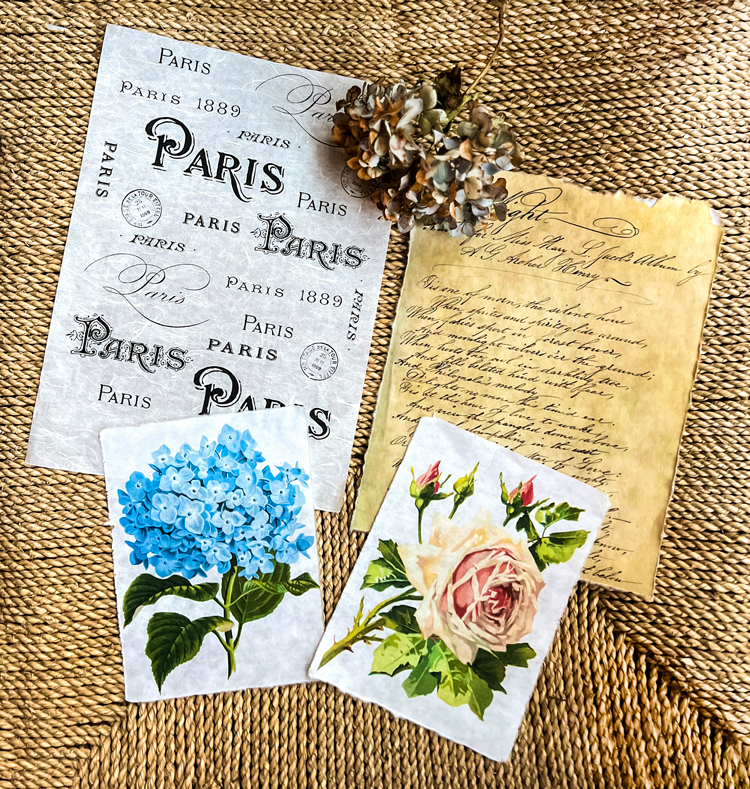
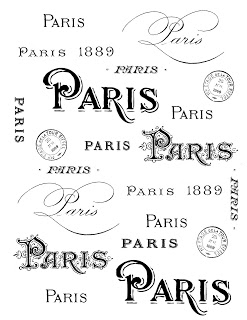
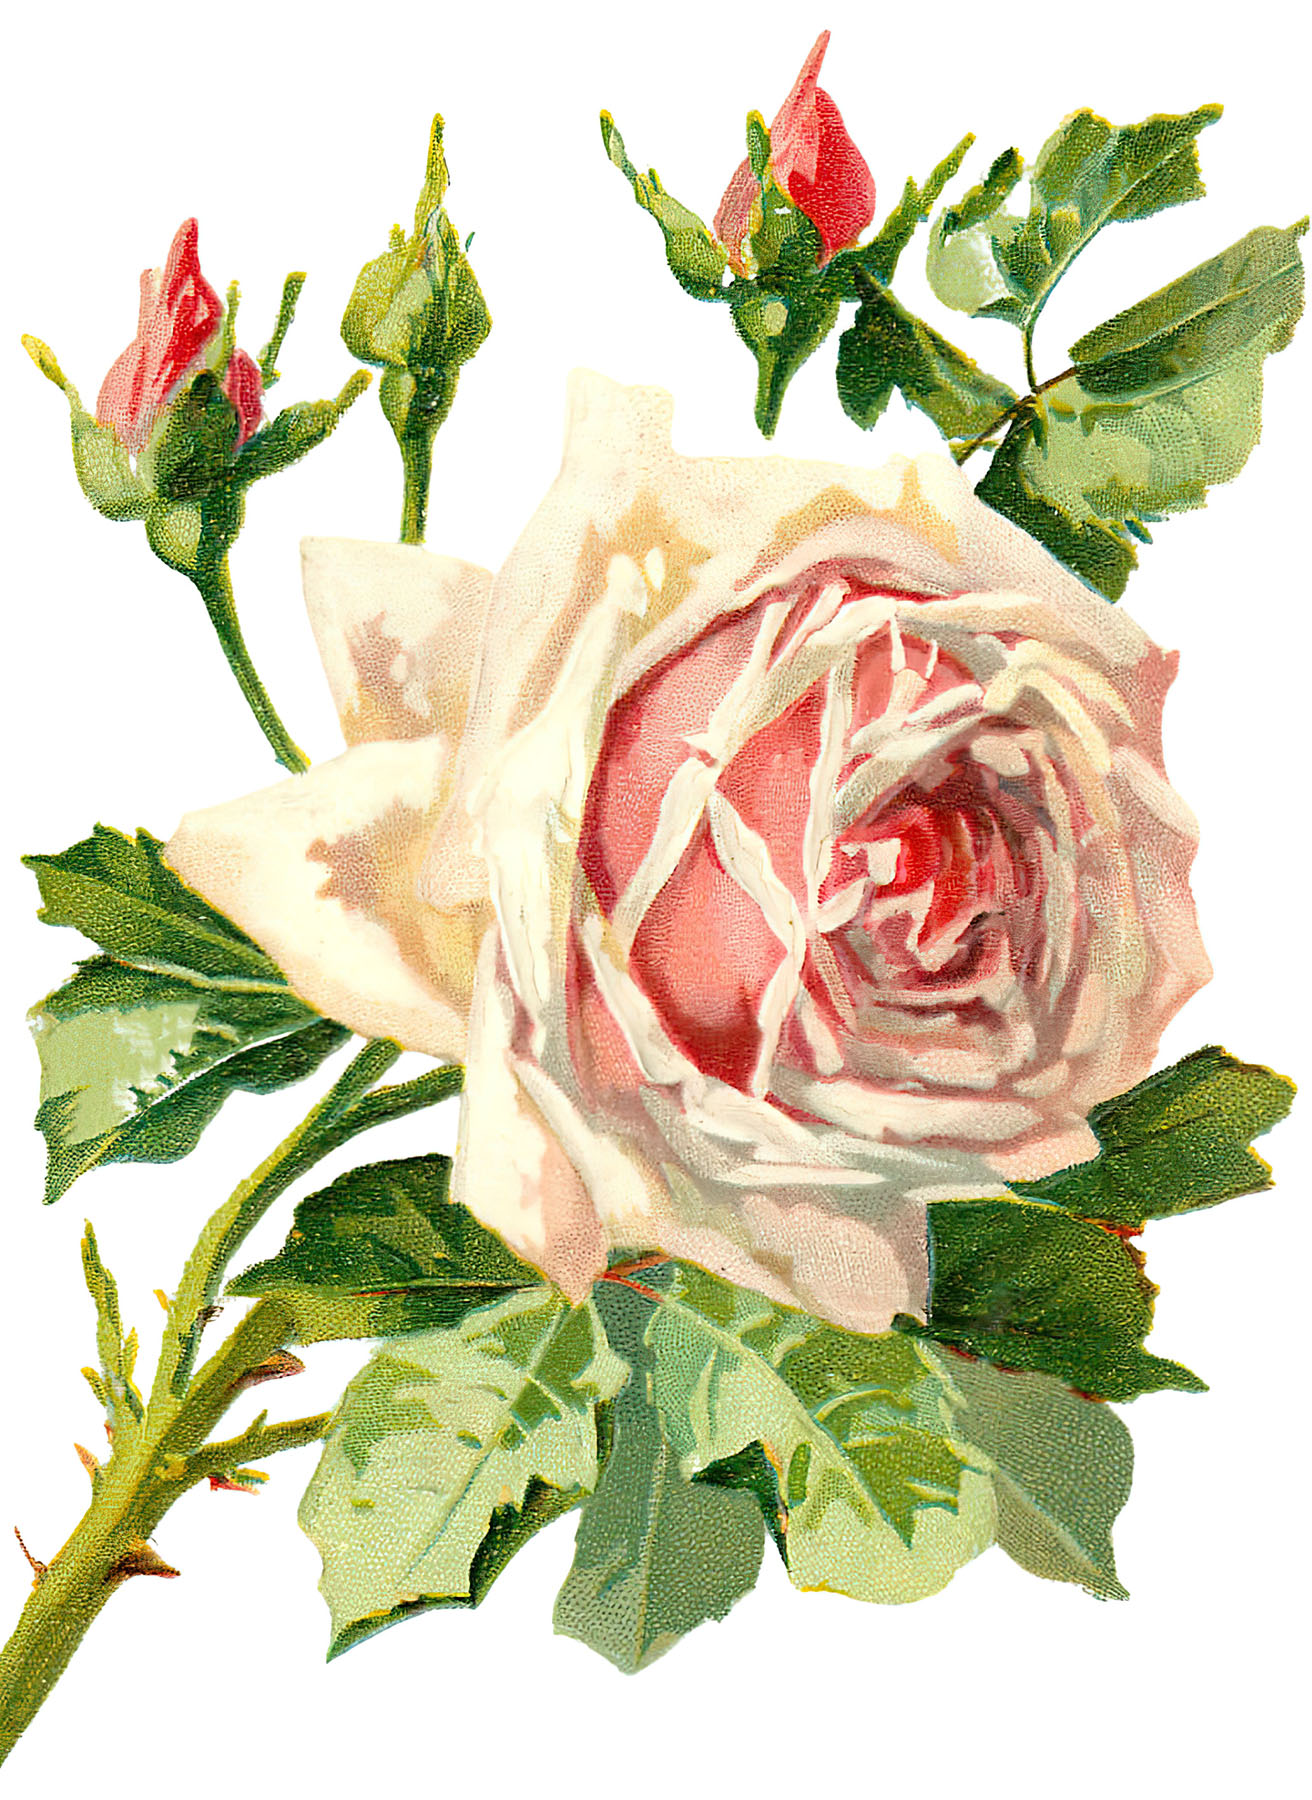
Images Used


Testing Your Printer
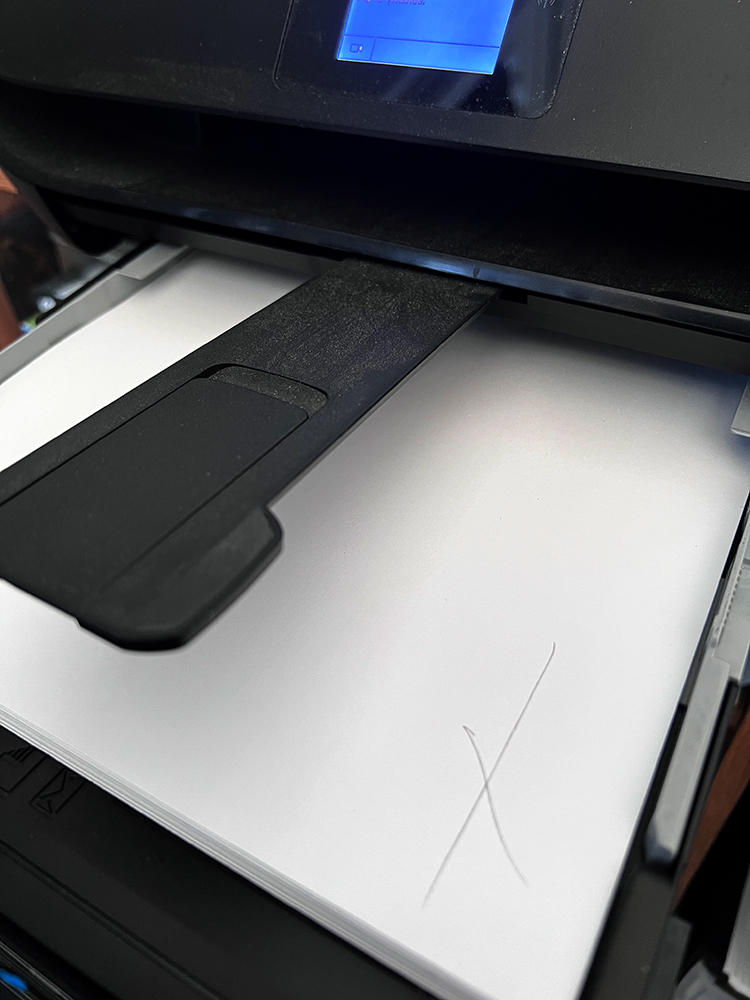
First you need to know which side of the paper your printer prints on. Mine prints on the side of the paper that faces down in the printer tray. You MUST know this before you try to print on rice papers, especially the coated ones. To find out which side your printer prints on:
- Pace some inexpensive copy/printer paper in your paper tray.
- Make an X on the right corner with a pencil.
- Print something.
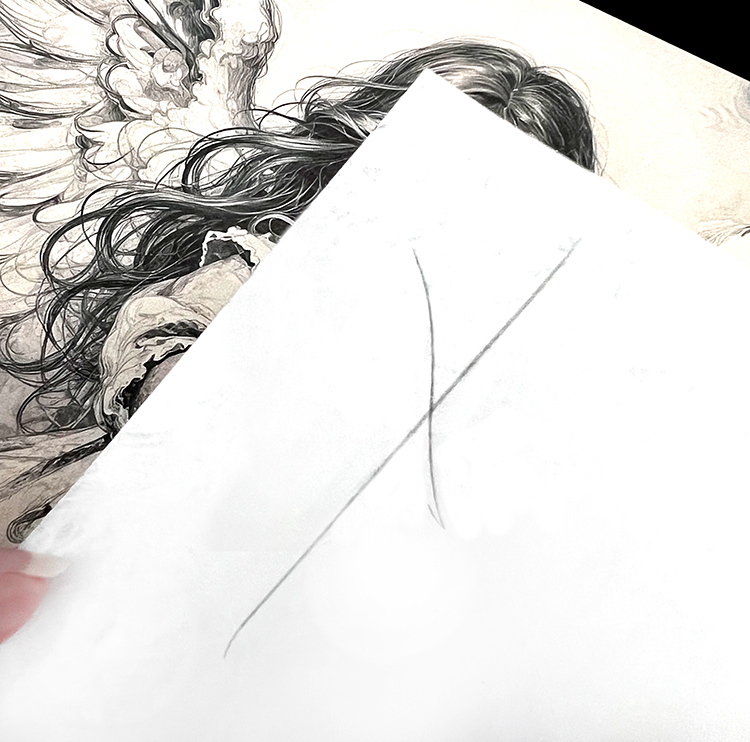
- Find the X you drew. If it is on the side with the image, your printer prints on the top side of the paper. If your image is on the opposite side of the X, your printer prints on the side of the paper that is down in your printer.
- Place your paper in the printer tray accordingly.
NOTE: Some higher-end printers have what is called a ‘by-pass’ feature where thicker material will run through without being rolled. Use this if you have it!
Coated Rice Paper
This is the easiest option for printing on rice paper. This paper is usually called or packaged as, ‘Printable Rice Paper’. The brand I tested has a waxy-like substance on one side. It feels smooth. This would be the back side. The printable side is the matte or rough side. You can feel the texture. This would be the side you print on.
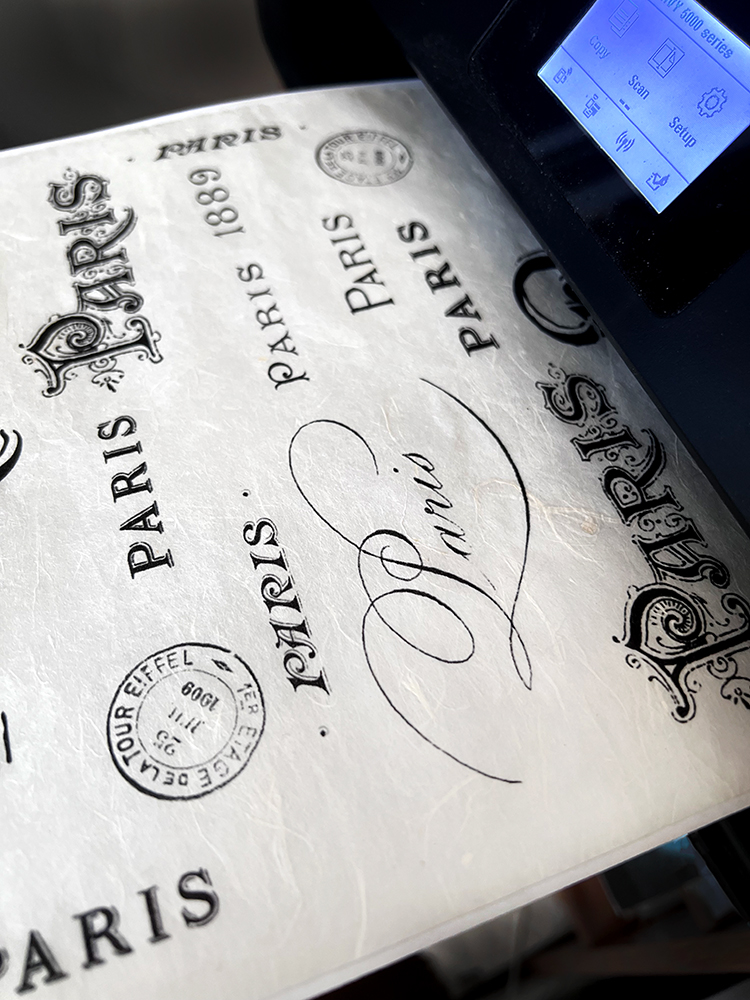
- Place your paper into the printer tray with the printable side facing the way your printer works. We did a little test print first.
- Print your image. Easy peasy! Watch the printer so you can press stop if anything sounds funny!
Thin Mulberry Rice Paper
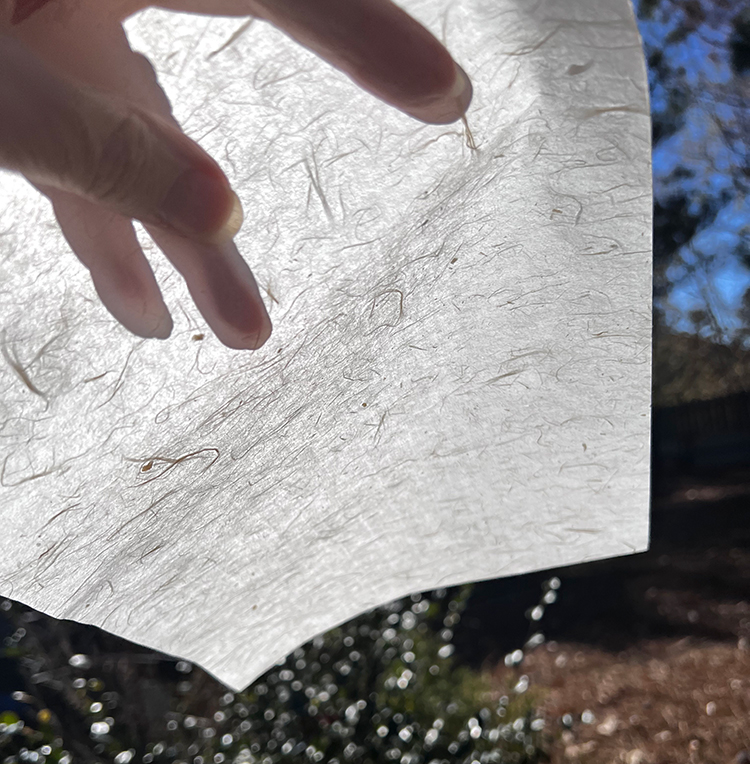
This is a little tricker option because you must stabilize the paper before you run it through your printer. This paper is very thin and feels almost like fabric. I took it outside to photograph in the wind so you could see how light it is. It makes gorgeous prints but must be handled properly. Even if it says ‘printable’ you need to use special care. Some of the papers may be much larger than your printer size. Cut them to the width and height of a sheet of copy paper minus a half an inch on each side.
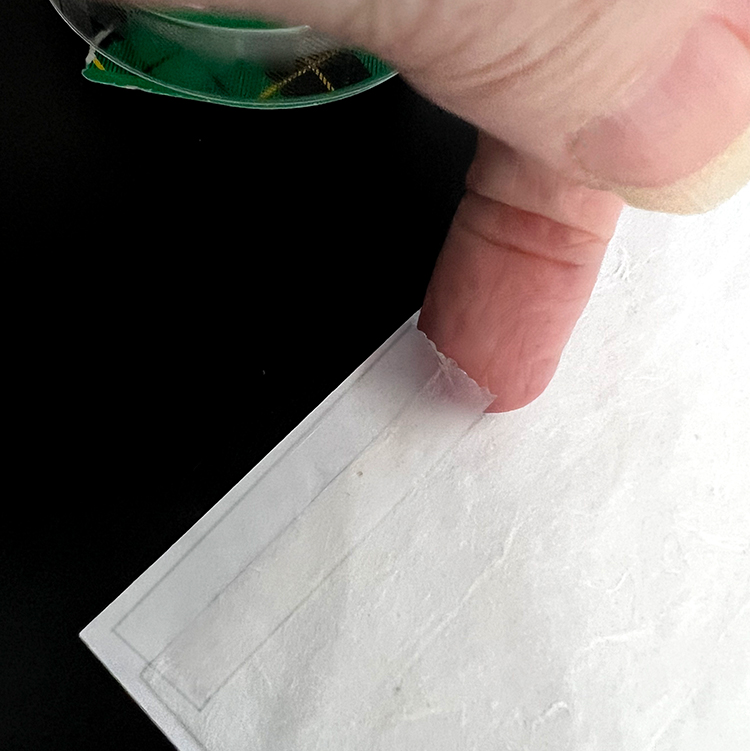
- Place your rice paper onto a piece of regular copy paper about a quarter of an inch down from the top. You might need to cut the rice paper to fit. It CANNOT hang over the sides. Tape your rice paper to the copy paper using a piece of Scotch tape on each corner, parallel to the top edge. Make sure the tape is flat without ridges or puckers. See the image below. I did not find that you need to tape the bottom edge, but you can if you want to.
- Once fixed, place the joined sheets into your printed tray as we found in the test.
- Print. Watch the printer so you can press stop if anything sounds funny!
Rolled Rice Paper
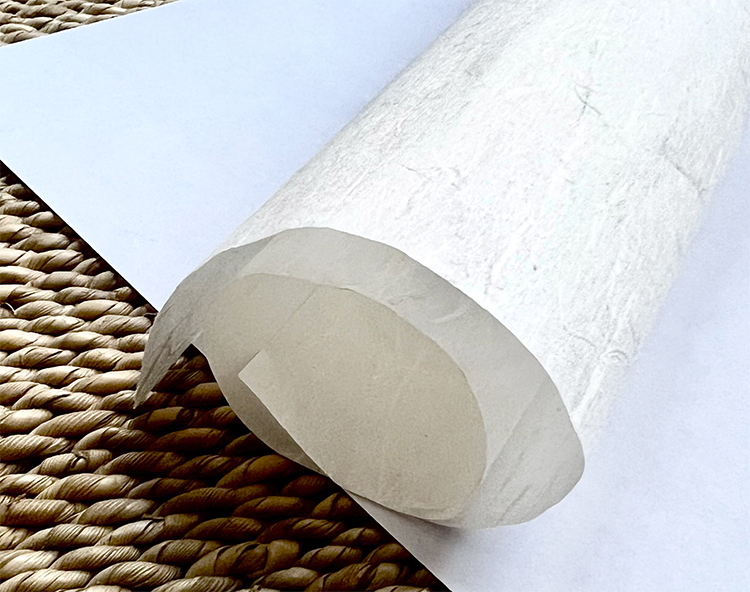
There are some rice papers that are sold on a roll. They can be tricky because they tend to roll. Some of the papers may be much larger than your printer size. Cut them to the width and hight of a sheet of copy paper minus a half an inch on each side.
- Place your rice paper onto a piece of regular copy paper about a quarter of an inch down from the top. You might need to cut the rice paper to fit. It CANNOT hang over the sides. Tape your rice paper to the copy paper using a piece of Scotch tape on each corner, parallel to the top edge. I did find that you need to tape the bottom edge as well in case it curls. Make sure the tape is flat without ridges or puckers.
- Once fixed, place the joined sheets into your printed tray as we found in the test.
- Print. Watch the printer so you can press stop if anything sounds funny!
How Crafters Use Rice Paper
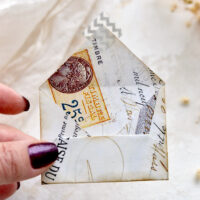
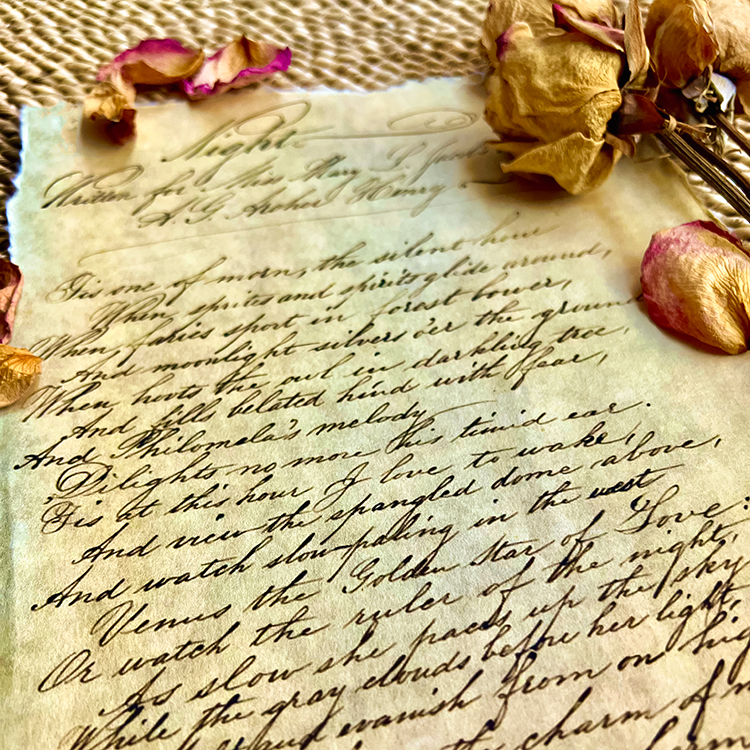
There are numerous options available for crafters when it comes to using rice paper. Let’s look at some of these now. This list is just a sampling of the many options available for using rice paper. Below you see how I tear the edges to make the edges look great for decoupage and junk journal pages.

- Journaling and Scrapbooking: Options like making tags, creating translucent items like butterflies, flowers, or leaves, and providing general decorative elements wherever your imagination takes you.
- Decoupage: You can add pretty and decorative rice paper designs to surfaces on many items like furniture, glass vases, candles, wood boxes and trays, and fabric in various forms. This leaves a lovely translucent appearance. Mod Podge or glue are the best choices for adhering the paper to your chosen surfaces.
- Mixed Media and Collage: Augmenting your layered artistic creations with texture and beauty is a strong feature of Rice Paper. Adding glitter, paint, and other favorite items are perfect for creating individualized textures and patterns for your art journals and scrapbooks.
- Card Making: Some examples include adding fonts, creating backgrounds with watercolors, and utilizing decoupage with embellishments like gems or small shells, including oyster shells.
- Printmaking: It’s strength and resilience to tears along with the ability to accept ink make it ideal for making highly detailed prints.
- Painting and Calligraphy: The absorbent qualities of rice paper enables both easy and smooth ink application and color enhancement.
- Watercolors: Soft and diffused edges and unique textures can be produced with rice paper.
- Pastels and Drawing: Because of the paper’s superb texture, pastels and graphite tend to hold up quite well.
- Home Decor: Make decorative shadowbox wall art or add texture with wall coverings. Great for making lampshades for a soft, light glow. Decoupage furniture and boxes as previously mentioned. Create colorful ornaments and gift wrap.
- Lanterns: Wrapping patterned rice paper around glass jars and placing in a well-lighted area is important for allowing the light to shine through the patterns, creating an aesthetically pleasing result.
- Paper Flowers: Another popular option involves cutting and shaping rice paper to make pretty paper flowers with delicate petals.
- Window Clings: If you apply rice paper to a plastic sheet protector or glass, it leaves a matte finish on one side and glossy finish on the other.
- Archival Quality: Because of its strength and durability, it can be used for repairing delicate materials.
What are Basic Differences between Rice, Tracing, and Tissue Paper

Although Rice paper and tracing paper are both translucent, tracing paper is highly translucent versus semi-translucent. It is transparent, being clear enough to see through. It also has a smoother texture. Tracing paper of course allows for easy viewing and transferring of a drawing underneath it. It can be used in architecture and engineering, pattern making, and fine line drawing among others. Tissue paper is extra thin and tears easily due to its delicacy. It lacks the structure and strength of rice paper. Tissue paper can be used for decoupage and crafts like rice paper. An example is providing stuffing for paper flowers or lanterns. It is also useful for things like gift wrapping and as a packing material. It becomes transparent and blends well into backgrounds when glued.
When I am not working on techniques to share, I also create Photoshop Elements tutorials and craft project videos over on The Graphics Fairy Premium Membership site. You can find even more of my art, DIYs, books, and whimsical shenanigans on The Bookery