How to Transfer Image to Wood Furniture
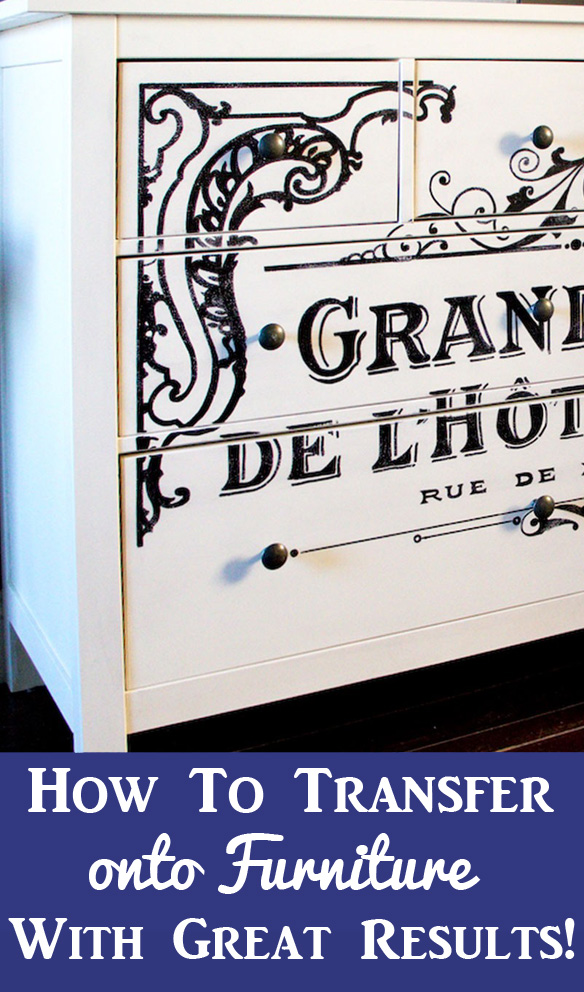
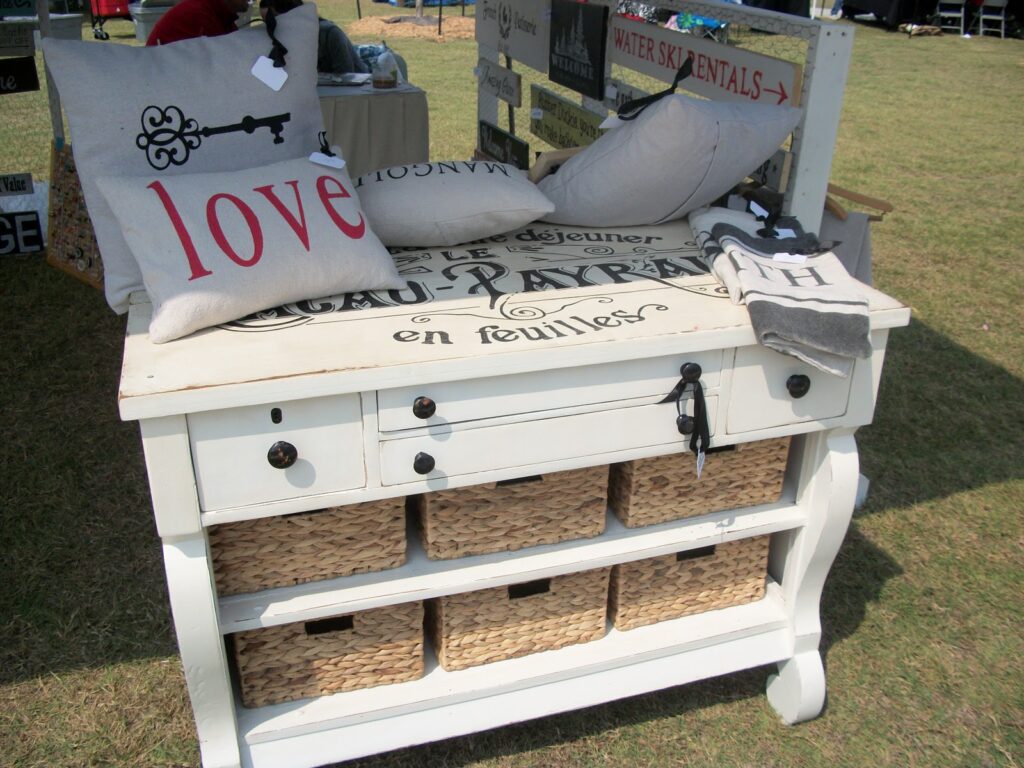
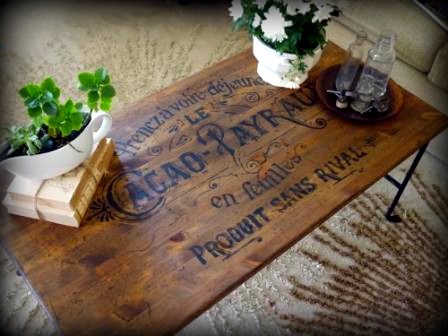
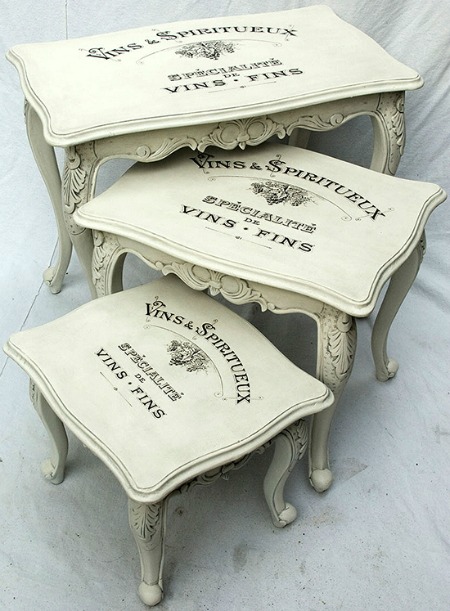
One of the Questions that I get asked most frequently is …”How can I enlarge your images so that I can use them on Furniture?” In this post I’m going to show you a simple, but effective method for doing just that! And it’s inexpensive too, no need to break the bank buying huge pricey stencils with this technique! This is a great way to get a marvelous custom look for your furniture, as you can really do whatever you like with this technique! So read on below to find out how to transfer an image to wood furniture.
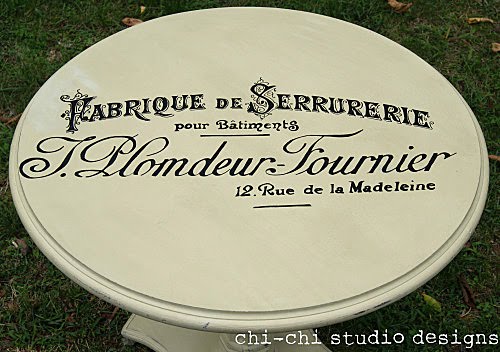
(An example of an image Transfer Table would be this gorgeous table by Chi-Chi Studio Designs!)
There are a few ways of doing this… you can use Photoshop to enlarge the image, or you can use an Overhead Projector. However I wanted to make a Tutorial for those of you that don’t have Photoshop or Projectors. Instead you can use a Free online site called BlockPosters.com!
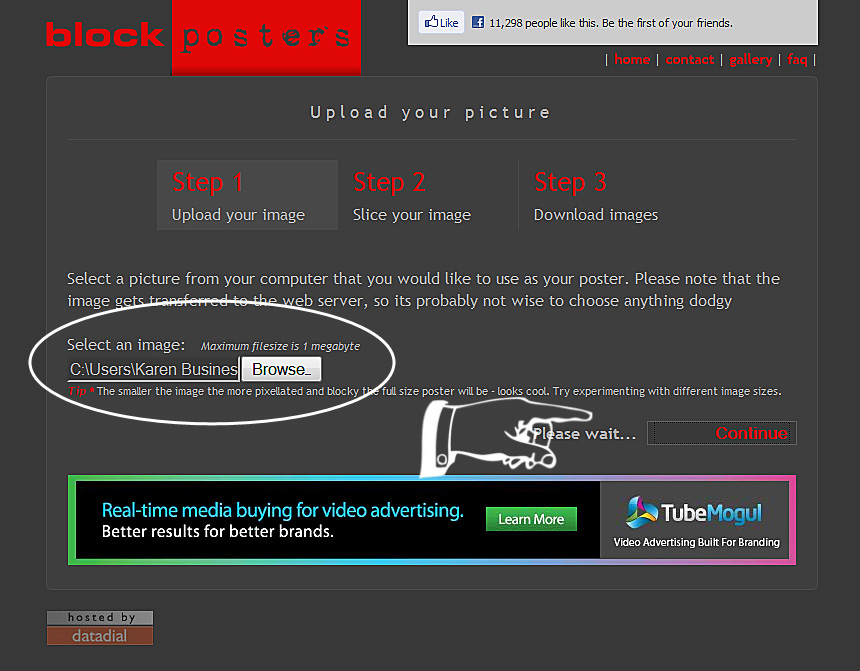
First go to BlockPosters.com.
Proceed to Step 1: Just click the “Browse” button and select your file and then click “Continue”.
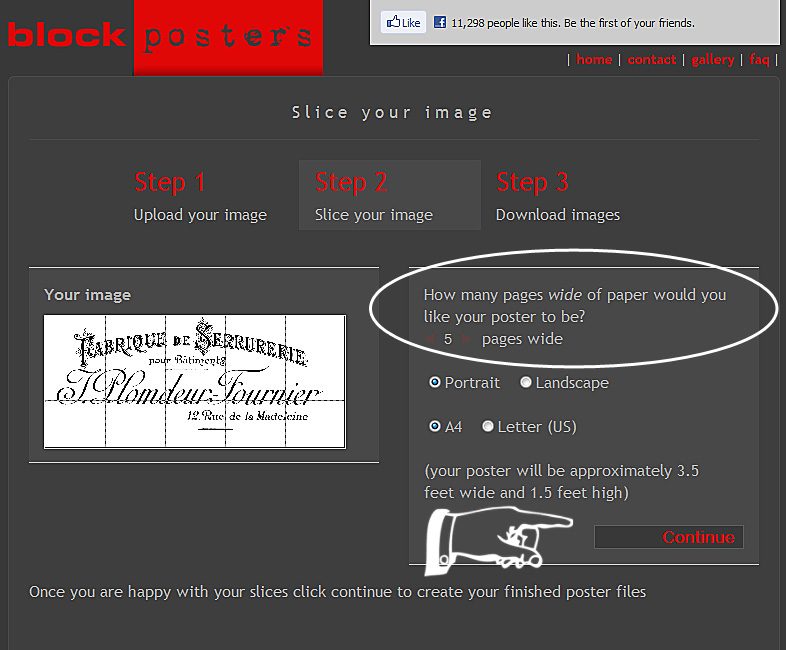
Step 2: Decide how many sheets of paper you would like the image to be spread out on. (You can lay out blank pages on your project and see how many you would like to use, according to the size that you desire.). Then use the arrow keys to change the number of pages. And select Portrait or Landscape and you will see the measurements on the screen. When you like the size that you see, click continue.
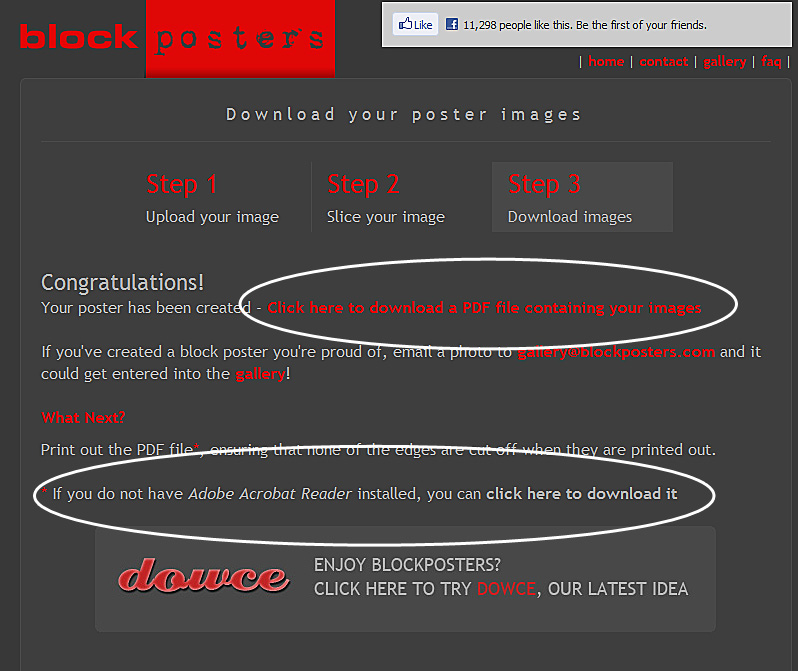
Step 3: Click on “Click here to download…”.
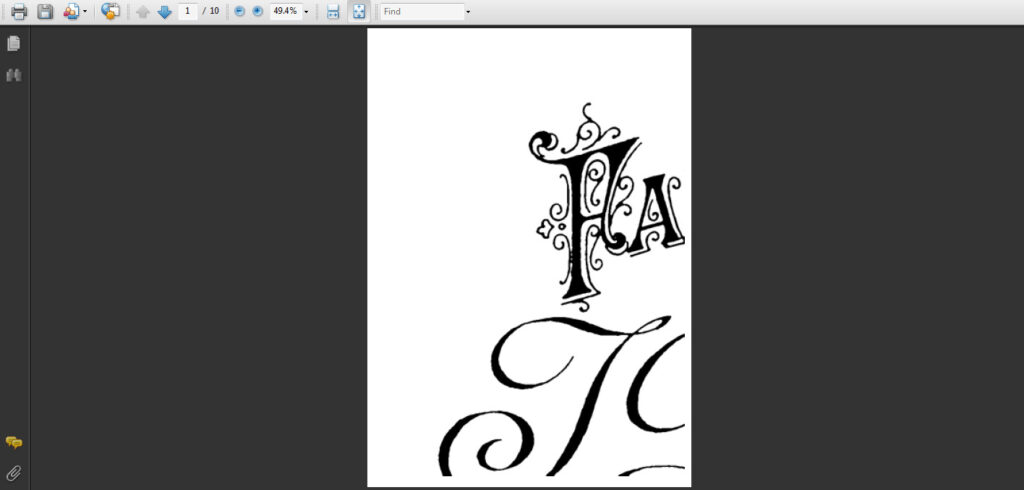
Step 4: Print out your pages!!! Yay! Now you have a large image that you can use for your transfer. (Of course you can also make Posters for your Walls too!)
Step 5: I cheated a bit here, because I found this awesome video from MyWonderfulWalls that shows you an excellent technique for transferring the image onto your Furniture piece, sign, wall or whatever your project is. The video shows the technique done on a Wall, but just imagine it’s a piece of Furniture instead, and you’ll get the picture!
How to Transfer Image to Wood Furniture Supplies:
*This post contains affiliate links for your convenience
For transferring you will need:
2)Ball Point Pen
To Paint your letters you will need either:
1) A small round brush & some paint or Paint Markers
After your done, you may want to seal your piece with your favorite clear sealer or wax to protect it.
To see some Typography Transfer Images that you can use in your projects, click HERE.
Here are a two more gorgeous examples from my readers:
I hope enjoyed learning how to transfer image to wood furniture today, and that you get to make some lovely pieces of your own!
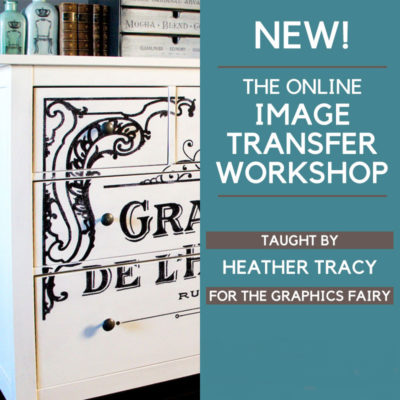 You might also be interested in our Online Image Transfer Workshop HERE where our instructor Heather Tracy, really dives deep into transfer methods for nearly every type surface, including detailed instructions for Furniture and Mirrored Glass!


Tracey says
Thank you so much! I’m a newbie and this will be my first project. I’m also not a ‘crafty” person and have no clue when you talk about trace a pattern with chalk or sewing, this is all greek to me.
BUT if I understand correctly, I can use the Liquitex gel to transfer the image onto the table and use a paint pen to go over my image? I also have no experience with paint pens, is there any specific kind/brand that is better than another for furniture? (water base or acrylic)? Also which kind or would all of them be ok to spray or brush the polycrylic over to finish the project (I don’t want the paint from the pen to smear or come off).
thanks again
Karen Watson says
Hi Tracey, I would skip the Liquitex altogether for large furniture projects. Please read step 5 and watch the video and it will all be clear! Also, make sure you experiment on a scrap piece of wood first before you start on your table, here’s why https://thegraphicsfairy.com/top-tip-for-working-with-transfers/ You’ll have to find what works for you with your materials. I wouldn’t mix oil with water though. So if you have oil paint pens, I wouldn’t use water based finish over top, or vice versa with the acrylic paint pens. I hope that helps! All the info you need is on this post, way more than I can type here so just take your time and read through the info. 🙂
TRACEY says
I understand that quality of the typography will be lost the larger that I try to make it using the blockposters site, BUT I’ve tried several of the typography images (not just a couple), thinking it was the quality, I’ve also tried making all of them as small as it will go and also a little larger and nothing I’m doing works. HOW are they getting the images to print out so CLEAR on the tables and dressers that are shown. I’ve even taken the images to the UPS store and they say the quality of the images is not good, my graphics people at my work say the same. Please let me know what I’m doing wrong?
Karen Watson says
Hi Tracey, I don’t think you are following all of the steps. Please read all of the info on Step 5, including watching the video that is linked, when you are going big you can’t just do a straight transfer with Mod Podge etc. You are using the transfer as a guide. Sort of like when you trace a pattern onto fabric with chalk and then use that as a guide for your sewing. You are using the transfer as a non permanent guide for you to paint over with paint pens or paints. Step 5 is key here! So please don’t forget that step. 🙂 It takes a little more time, but you will have a beautiful piece of furniture when you are done!
Tracey says
How are the images shown on the tables and other pieces so CLEAR? I’ve tried to print them using the block posters site as small as it will go then as large and neither are clear enough to make out on the screen (when it shows what it will look like) much less printed. I tried several different French typography and none worked? How are they getting the clarity ?
Lisette Del Rosario says
Hello, Karen!!!! PLEASE HELP!!!! I am somewhat new to writing on blogs and didn’t notice that I could send you a message directly. Foolishly, I sent one to one of your customers instead. 🙁 I am so sorry to bother you, but I having difficulties expanding my images on blockbusters.com I have chosen 4 pages as my size, but when I download it, it has 26 pages!!! ? I don’t know what I have done wrong!!!!???? Any help would be greatly appreciated.
Frustrated, I remain…..
– See more at: https://thegraphicsfairy.com/how-to-transfer-typography-onto-furniture/#comment-337683
graphicsfairy says
Hi Lisette,
No worries, sometimes it takes a few times before you get it right 🙂 Keep in mind, the number of pages are determined by the dimensions. Each page is sized for a piece of printer paper. When you put in the dimensions that determines how many pages you will get. If you are working on a 8″ by 10″ project you will get 1 page. If you are working on something the size of a billboard you will get 100’s of pages to cover that entire billboard. Also, the larger you go the more quality you will lose with the image, so you should keep that in mind too. I hope this helps 🙂
Naomi LaRue says
Is there a site where you can have words of your choice made into French typography? This would be my first attempt at adding something to furniture. Thank you! Naomi
graphicsfairy says
Hi Naomi,
Not that I’m aware of, possibly do a Google search? Good luck with your “maiden” furniture transfer, I’m sure it will be lovely!
Mary Busby says
I cannot for the life of me figure out how to print the graphics backwards. My printer is a HP inkjet but apparently I am missing some step. Any help from anyone??
graphicsfairy says
Hi Mary, here is a link to an easy way to reverse your image, https://thegraphicsfairy.com/how-to-reverse-images-for-transfers/
I hope this helps 🙂
victoria taylor says
Is it possible to use one of your graphics to make a poster from? I downloaded one but it saves as a pdf and block poster would not take it, saying it can use only jpeg? Please help!!
Karen Watson says
Hi Victoria,
If you want a jpeg, just save the image that you see on the page, inside of clicking the link. Keep in mind, the quality won’t be great when you enlarge it, probably not good enough for a poster, but better for transfers, where you just need to get a rough outline to paint in.
keren says
I love it! its beautiful 🙂 how do you print it? it is to big for regular printer, I tried at stapels and they don’t have such big paper to print on. from the picture I can see it’s quite big was it custom made?
I would love to try it but I can’t seem to find a place who print such a big design.
thx
Karen Watson says
Hi Keren, Just read the post, it’s all there!
jess says
I couldn’t find the video that shows the actual transferring of the image onto the wood. How is this done?
Karen Watson says
Sorry about that Jess! I just fixed the link. If you click on it now, it will take you straight to the YouTube Video!
Heather says
Thanks for the great post!! may i suggest soemthing? your links always open (simultaneously closing your blog)…. there is a way to open a new link and keep your blog open. Does this make sense? i keep having to back page to your blog to continue reading and i would like to have both tabs open at the same time… its a way to keep the reader on your page… just my preference i guess 🙂
Karen Watson says
Thanks Heather. Things got a little wonky during my move to WordPress. I normally do set the links to open in a new window. I think the move jumbled things up a bit! I’m still working on the clean up, but with over 4,000 posts, it could take me years, before I’m done!
Christina says
I love your site and am very excited to try this technique for my family weight room! I am trying to take quotes and print them large enough to transfer (instead of using a projector) however, I am stuck on step 5! I have the blockposter pdf saved but I cannot locate the technique for doing the transfer…please help and thank you so much for the information!
Gail Mellow says
Karen,
I am so grateful to you for all your wonderful graphic shares and also for you DIYs and links that are so easy to follow! You have made my crafting life so easy – and my house, potting shed, husband’s shop, friend’s house, kid’s house, etc. so full! I do have a problem with the Block Poster site though. The first time I used it it worked like a dream. The next time I couldn’t load any of your graphics at all. Do you have any help for me? Thanks and thanks again for all your site! By the way, every blog I visit, even pinterest, references you and deservedly so!
Stephanie @ My Wonderful Walls says
Wow! Thanks for including us in this list. I just happened to see this today. Such great ideas you have and happy to be included.
Patty Williams says
I tried a couple of the above methods, but my paper stuck!I did mine today onto a wooden breakfast tray that I DIY chalk painted. All I did was run plain tracing paper through my inkjet, wet the top of my tray a bit, laid the paper face down on the painted tray, taped the edges, then used the rounded end of my stencil brush, very firmly, to transfer the image by rubbing in all directions over the ink. It worked really good, it dried and when I tried to wipe off some of the ink, it didn’t wipe off! I wanted to put it on brag monday, but Im not sure how! heres a link to it on Hometalk http://www.hometalk.com/1311376/goodwill-breakfast-tray-re-do
Leopoldo Basurto says
Una sugerencia genial, Karen, gracias.