Image Transfers…the easy way!
Hello, my fabulous Graphics Fairy Friends!
Heather from Thicketworks here with a few helpful hints to get lovely results when using Omni Gel for image transfers.
{this post contains affiliate links}
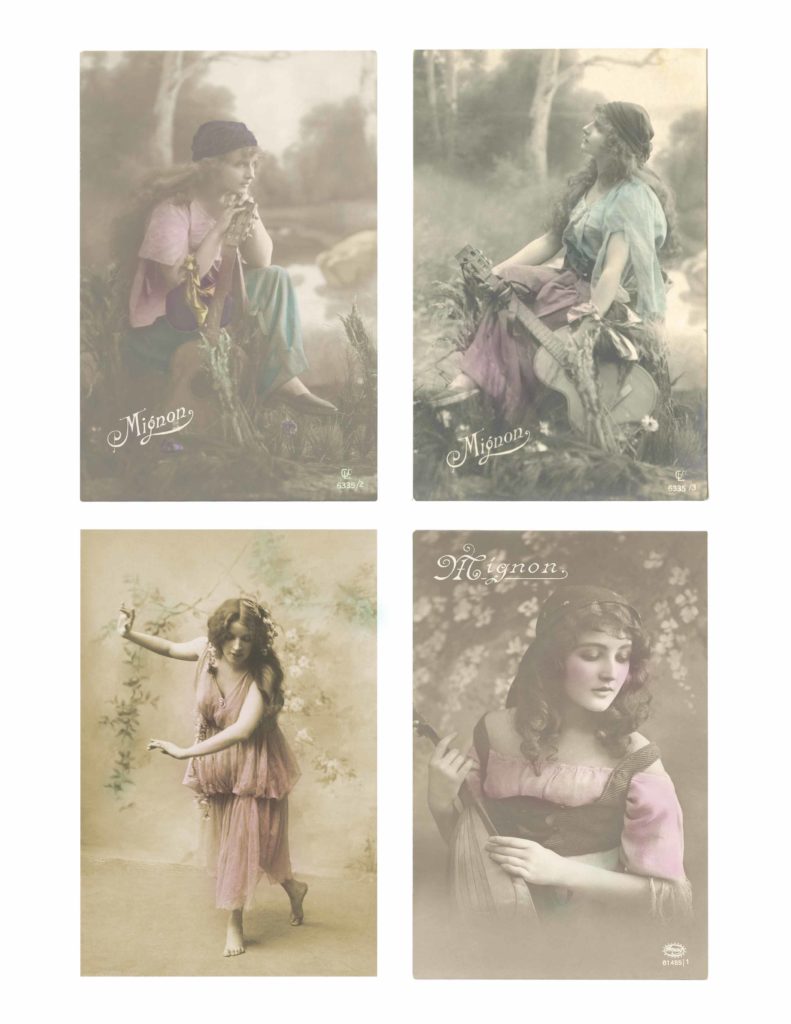
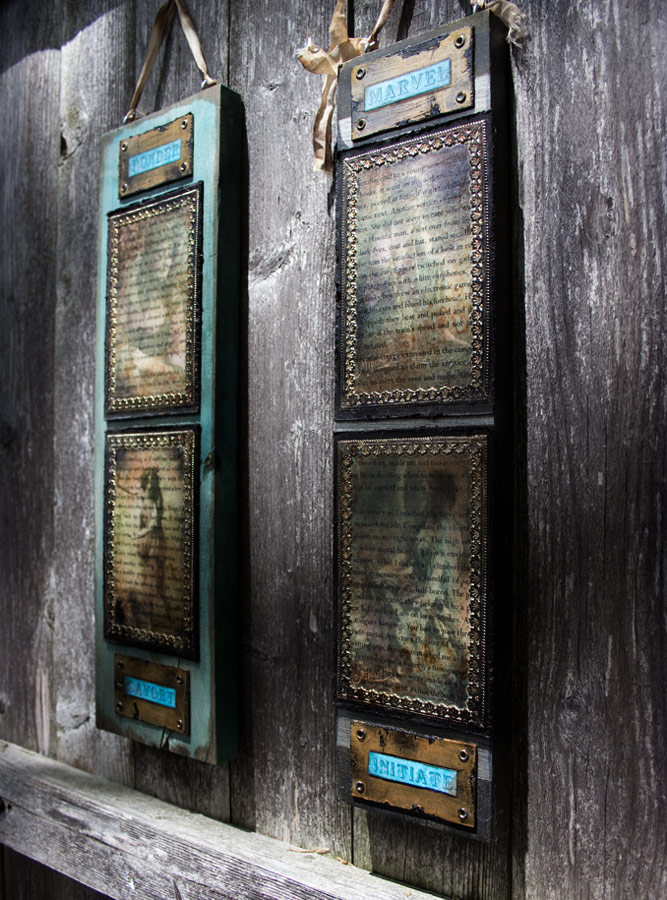
These softly romantic images called to me…
I couldn’t resist adding soft blushes of color to recreate the look of hand-tinted old photos…
If you would like to Download this Bohemian Beauties Collage, click HERE!
Graphics Fairy Source Images:
- Stunning Vintage Gypsy Photo!
- Vintage Gypsy Postcard Image!
- Vintage Bohemian Lady Image!
- Beautiful Gypsy #2
Note:
Omni Gel is intended for use only with toner-based images – it will not work with InkJet Prints.
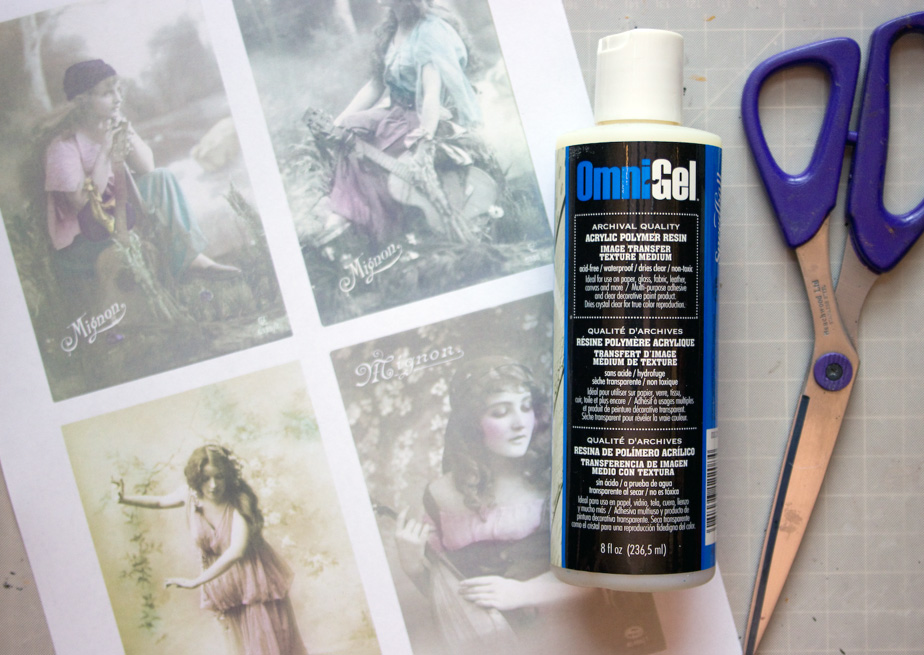
Supplies for Image Transfer:
- Toner Print of Images on Printer Paper
- Omni Gel
- A Sponge Brush
- Heat Tool
- Scissors
- Container of cold water
- Non-Stick Craft Sheet or other non-porous, smooth surface
- Microfiber cloth
- Old Toothbrush
- Clock or Timer
- Flat bristle paint brush
- Gift Card or similar for burnishing
***NEW** We’ve updated this post with a Quick Video Tutorial! Please watch the Video instructions below or scroll down the page for the written Tutorial:
Before we begin, it’s important to understand two facts about Omni Gel:
1. Unlike traditional Image Transfer methods, you do NOT reverse the images for this technique.
2. This method results in a thin film of polymer imprinted with the image, which you then apply like a decal to your substrate.
How to Transfer Images with Omni Gel:
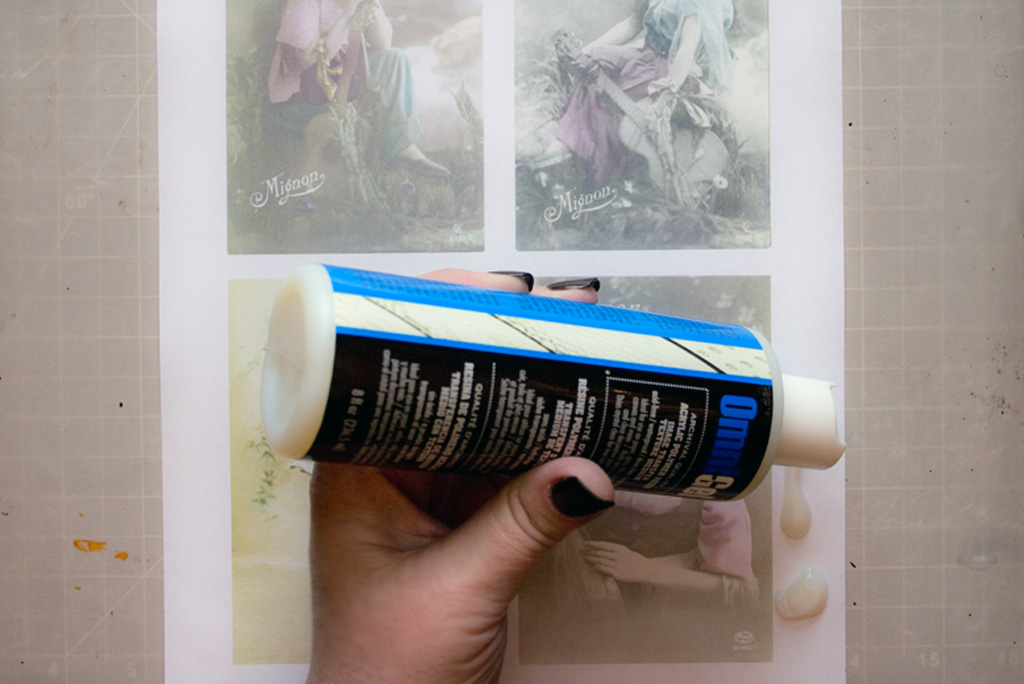
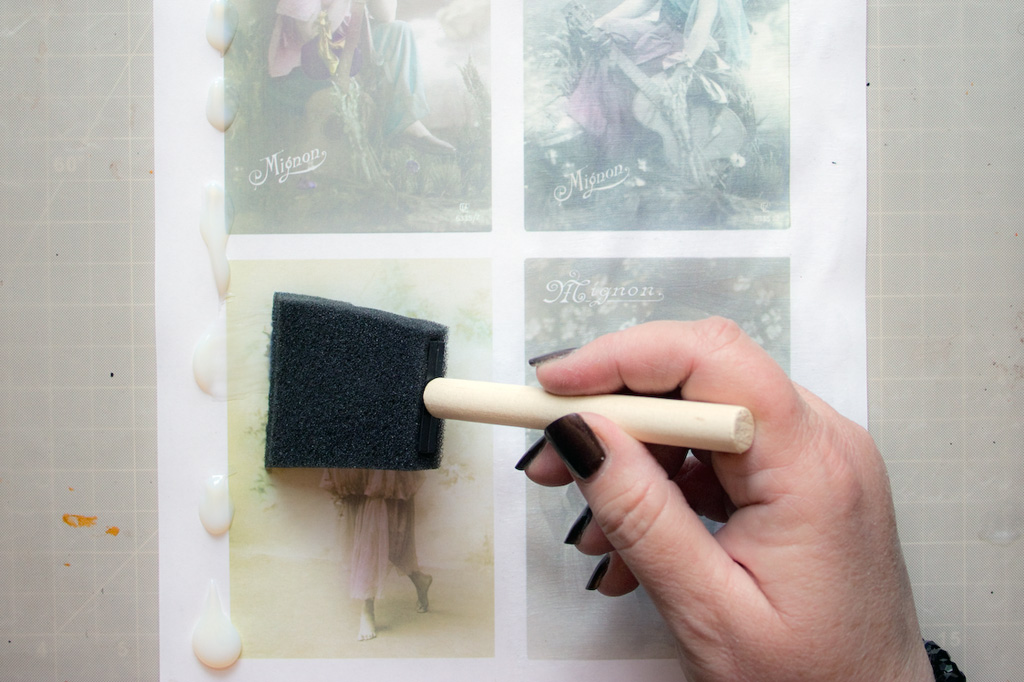
Begin by squeezing a generous amount of Omni Gel onto the surface of the print:
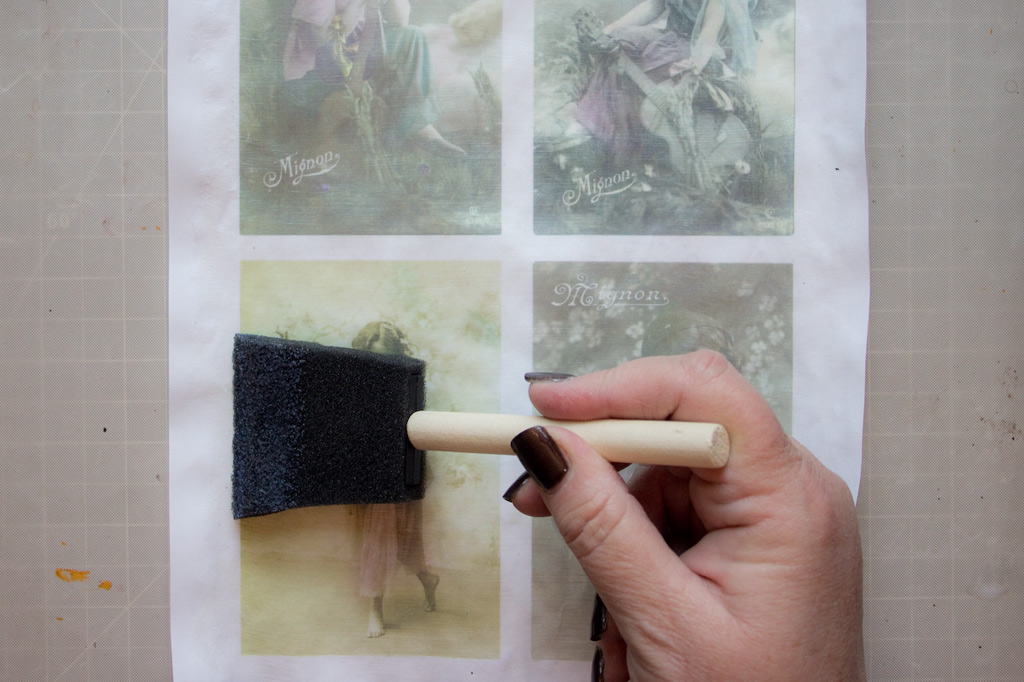
Spread the Omni Gel across the page horizontally, using a foam brush:
Most tutorials will indicate that you must wait for the Omni Gel to dry naturally.
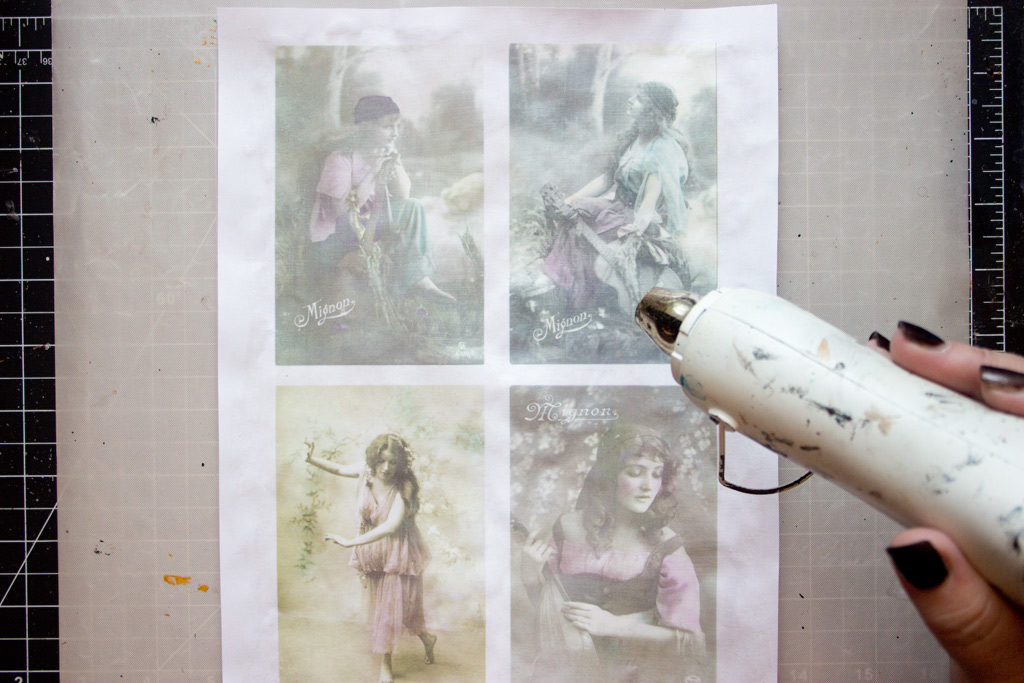
Nope. Grab your heat tool and dry the Omni Gel just like you would dry a coat of acrylic paint:
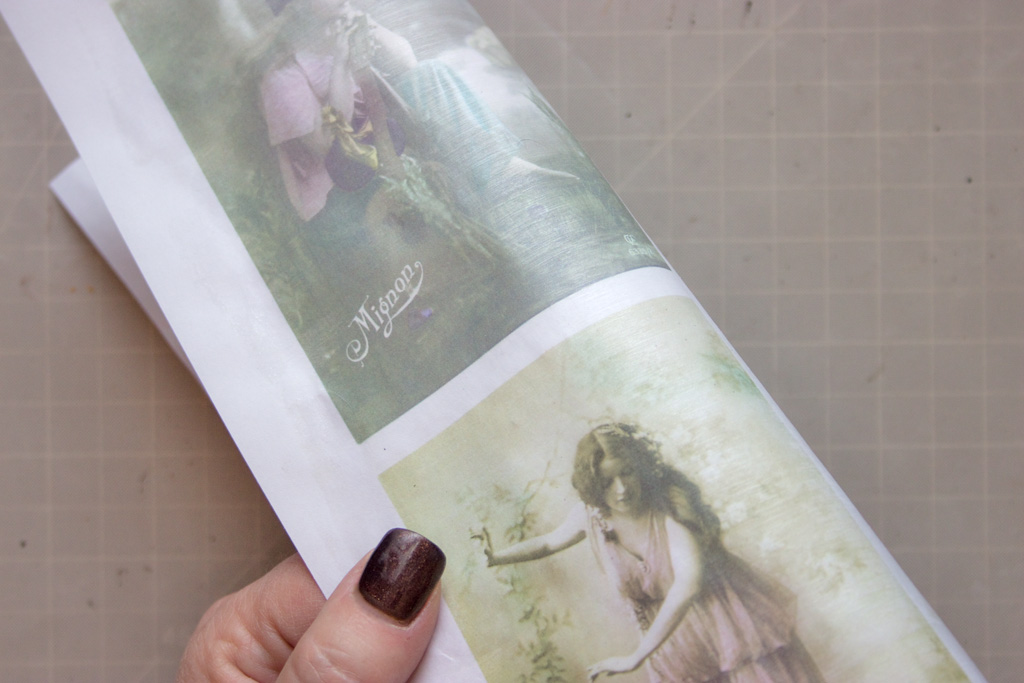
Once dry, you’ll be able to see faint horizontal brush marks:
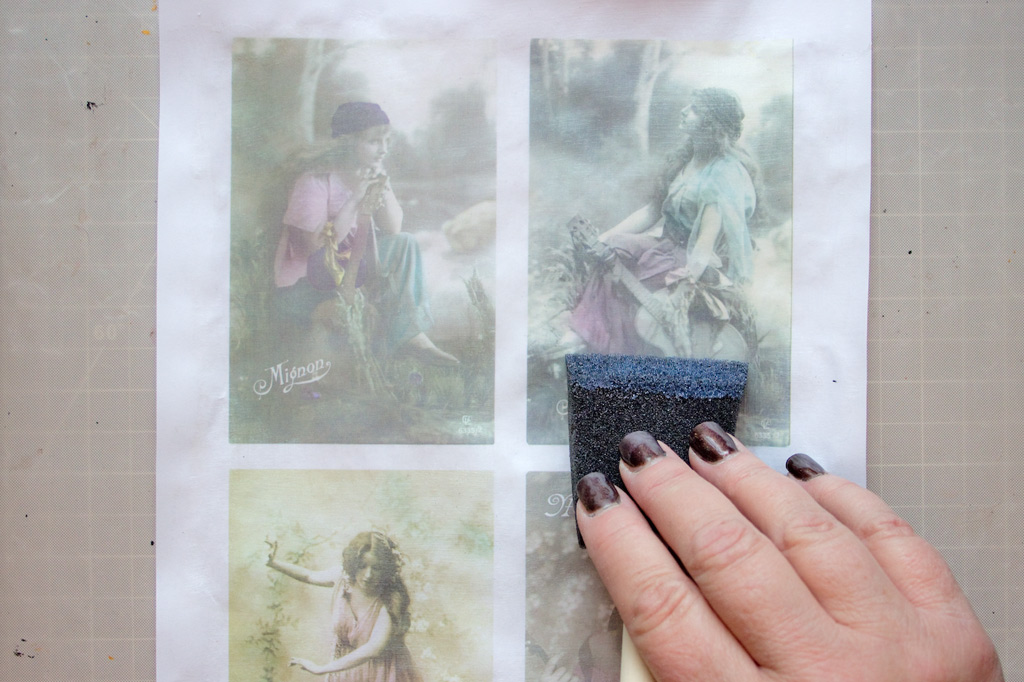
Next, add another layer of Omni Gel – but this time with smooth vertical brush strokes:
Dry with a Heat Tool.
Apply a third coat of Omni Gel, again with horizontal brush strokes.
Dry with a Heat Tool.
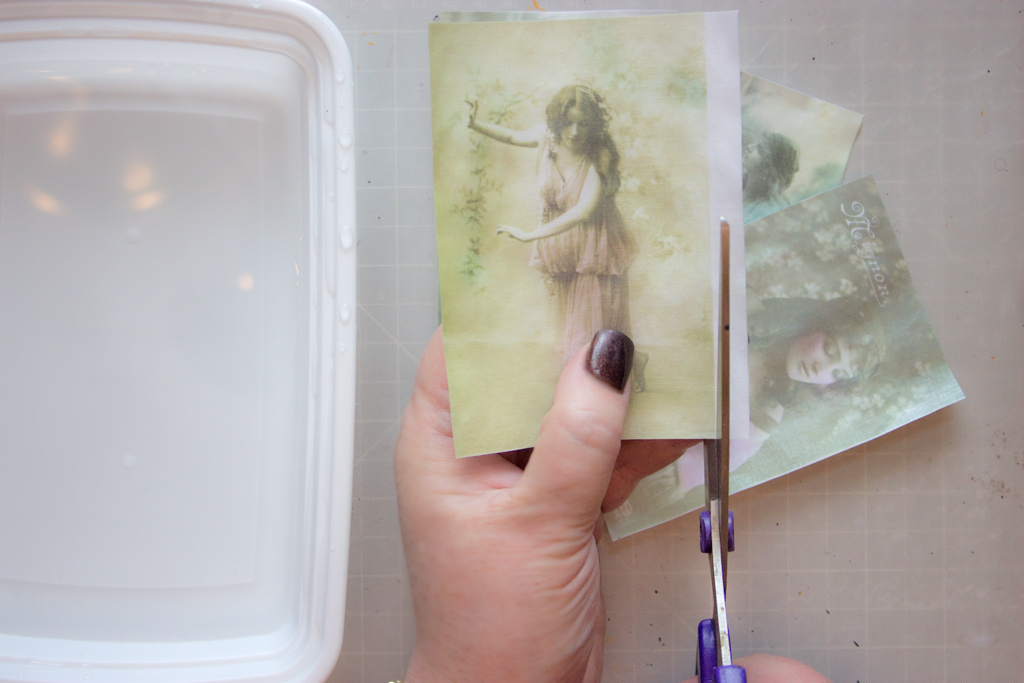
Trim the edges of your prints, leaving only the areas you wish to transfer.
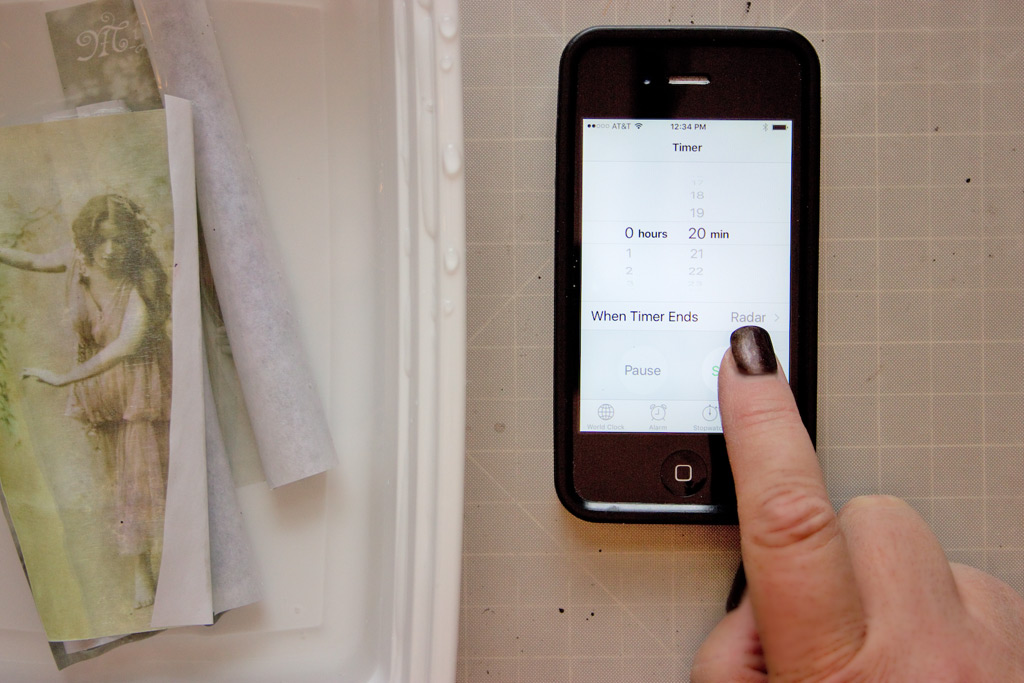
Plunge the prints into a container of cold water, and go play outside for 20 minutes!
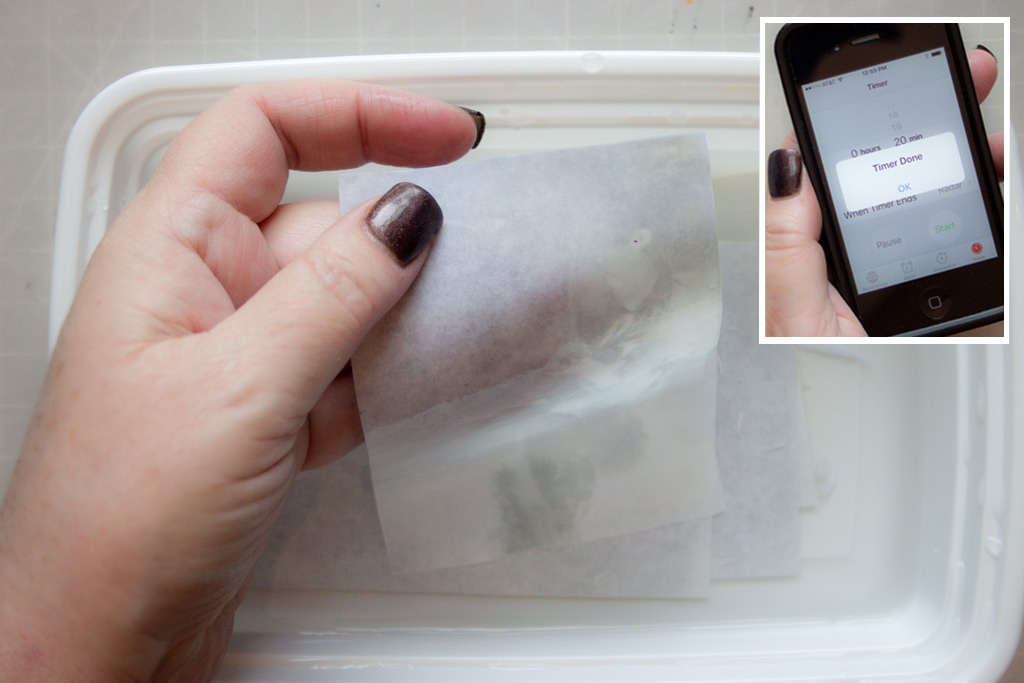
After the 20 minutes has elapsed, gently remove your print from the water.
Place the print Gel side down onto a smooth, non-porous surface.
Smooth into place. The smooth surface is important: the wet transfer clings to it, and makes it possible to remove the paper without stretching and wrinkling the thin polymer film (at least not too much!)
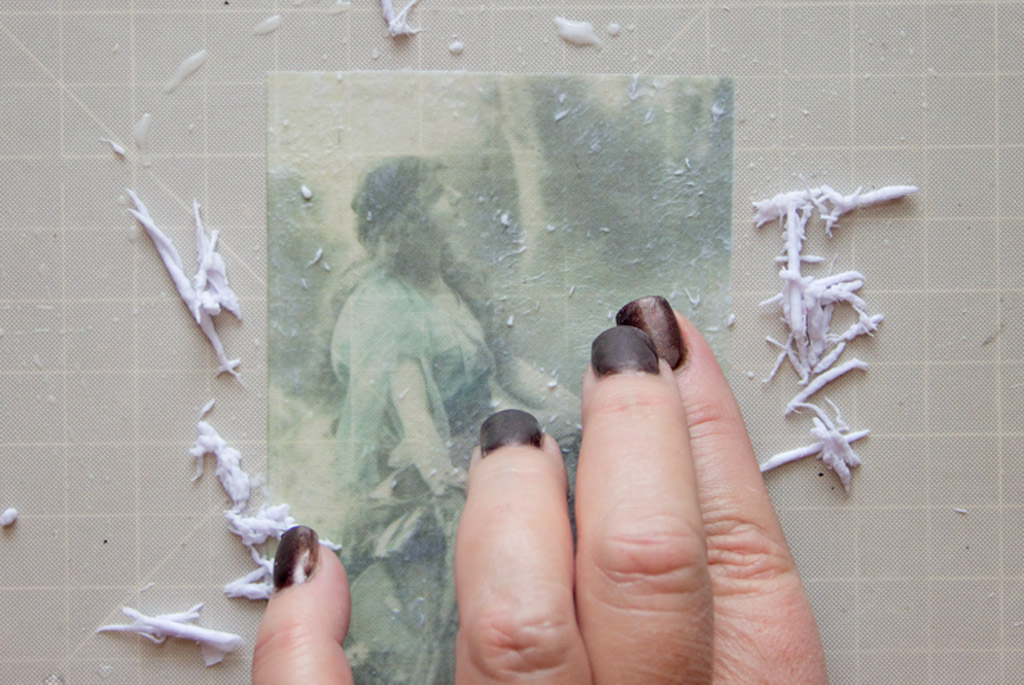
Being careful to avoid stretching the thin film, begin rolling the paper fibers off of the film.
It helps to roll the fibers toward the edges – this way, stretching is kept to a minimum.
Sprinkle water on the surface as it begins to dry out.
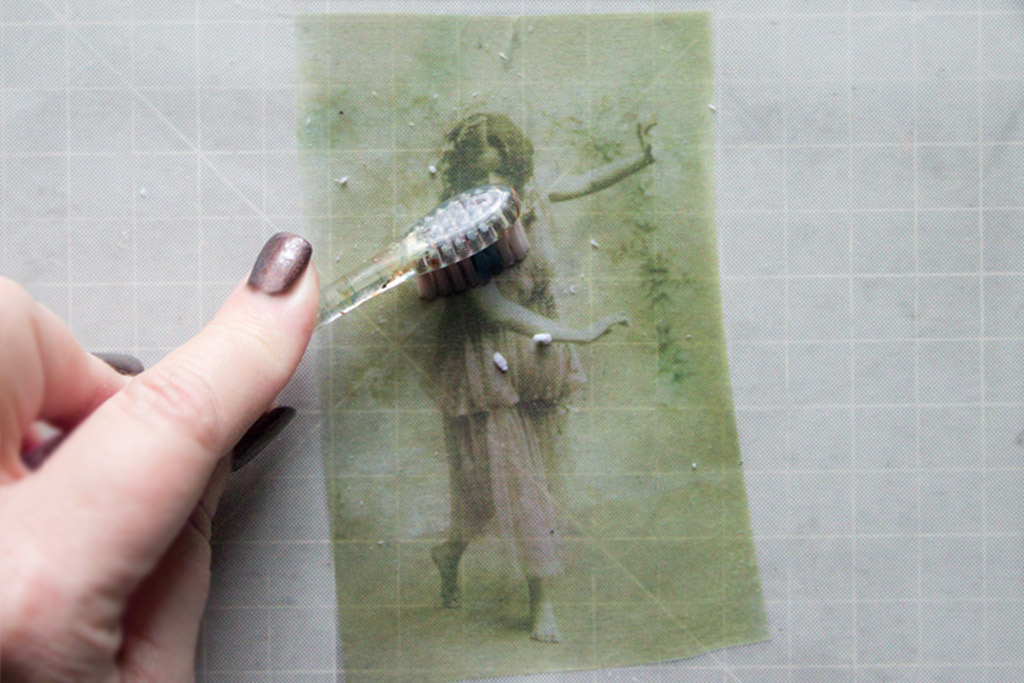
Once the majority of paper pulp has been removed, gently scrub the surface with a soft old toothbrush.
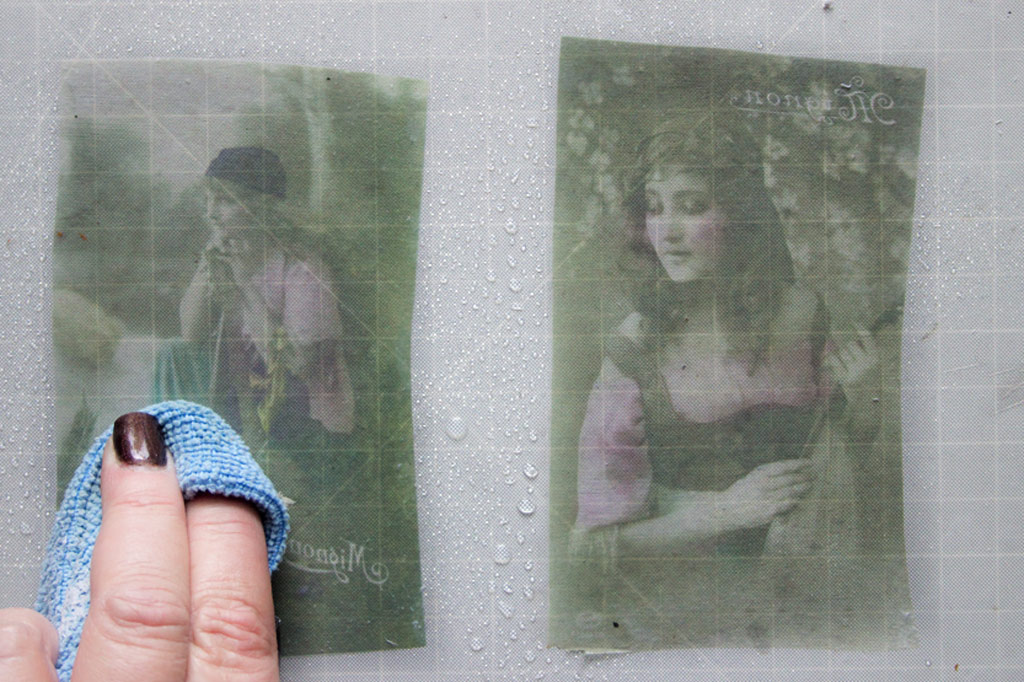
Use a microfiber cloth to gently swirl away more paper fibers:
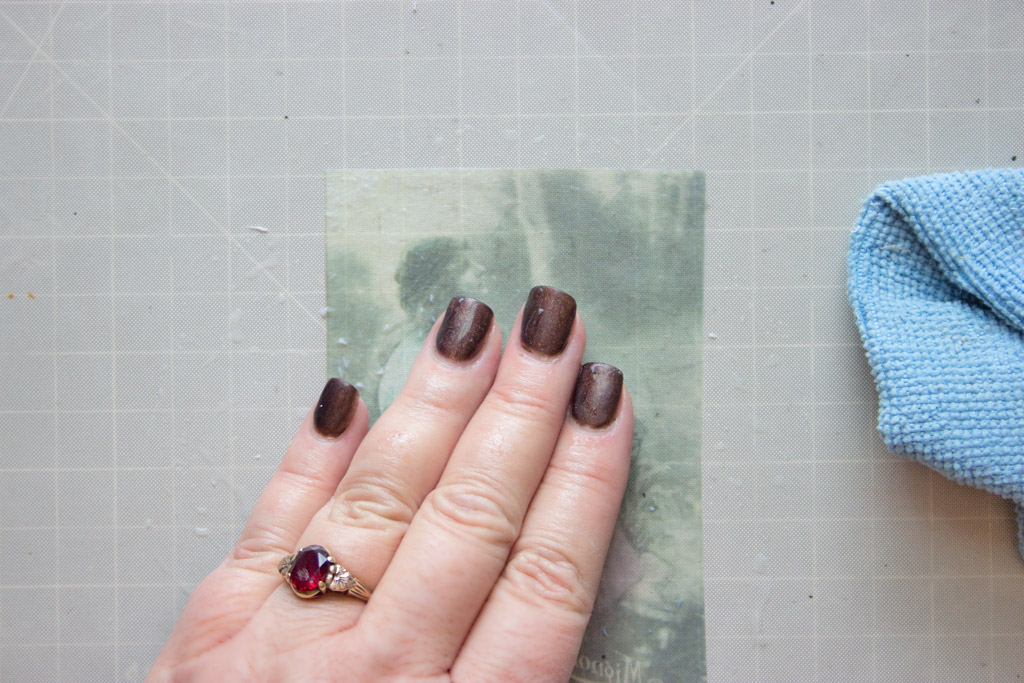
And finally, use your fingertips again to help you detect and rub away the final layer of paper fibers:
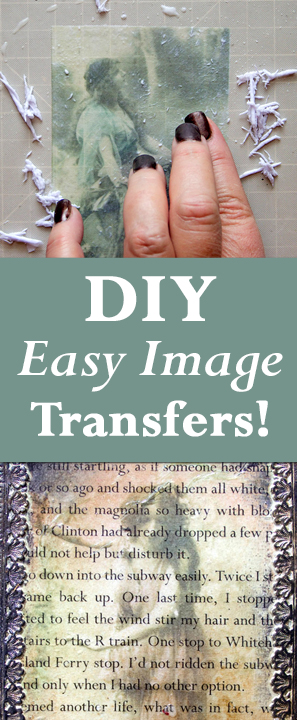
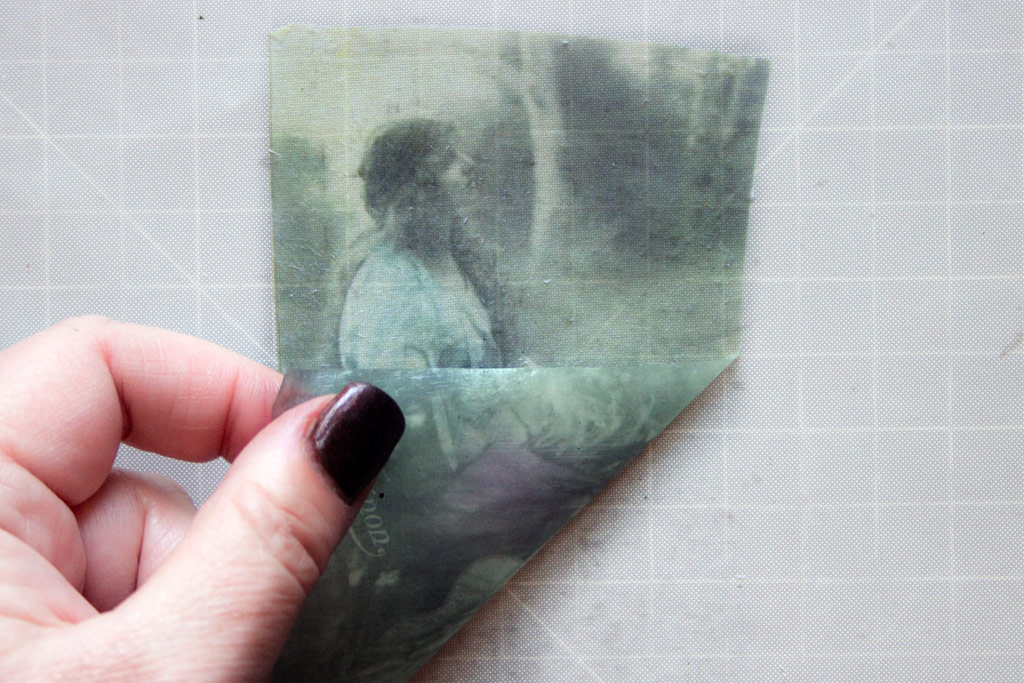
Carefully lift the resulting film off of the surface.
The image will be clear and vivid once you turn it over, and view the ink through the Omni Gel.
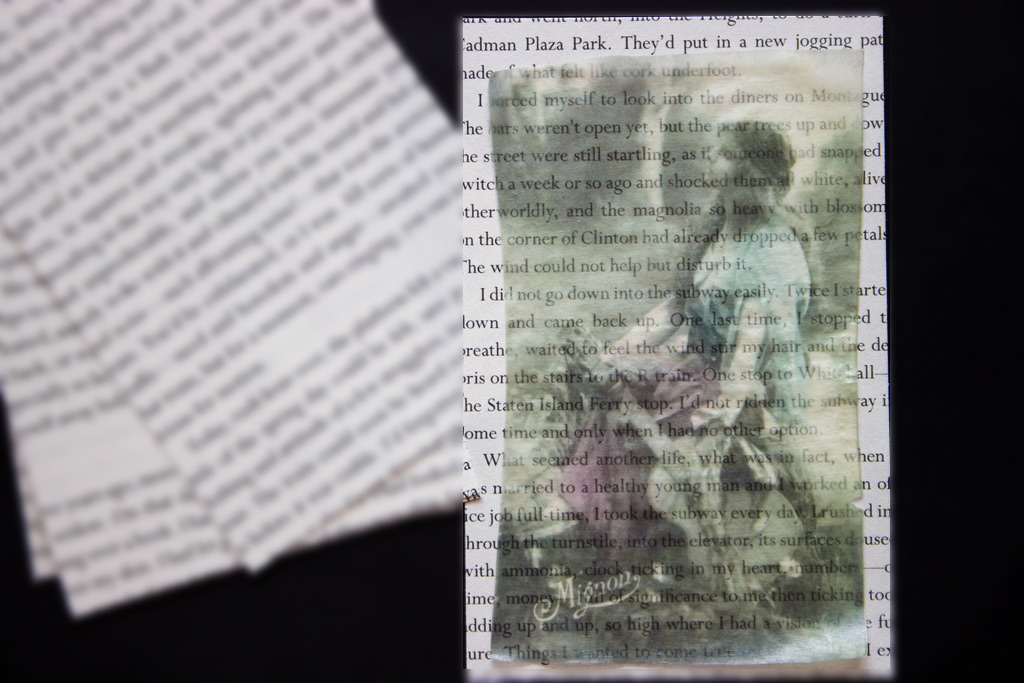
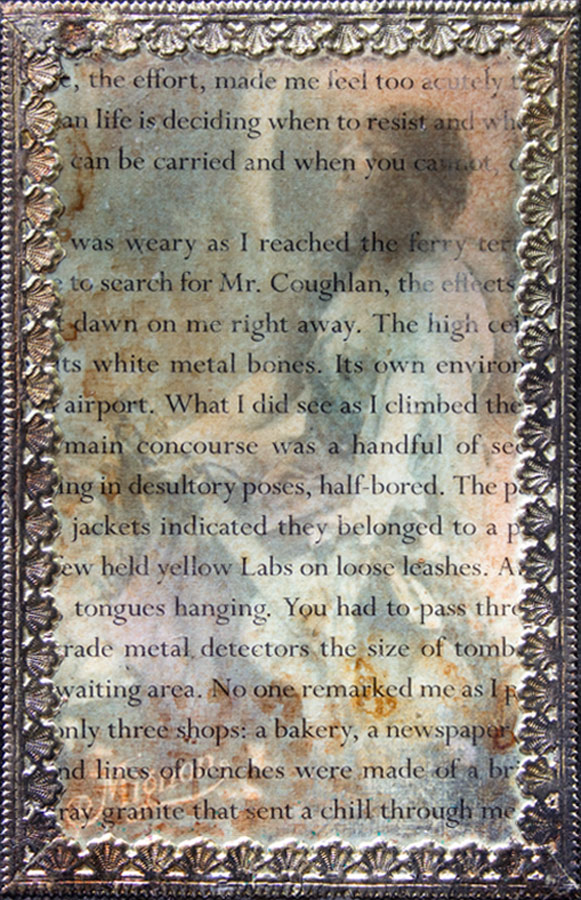
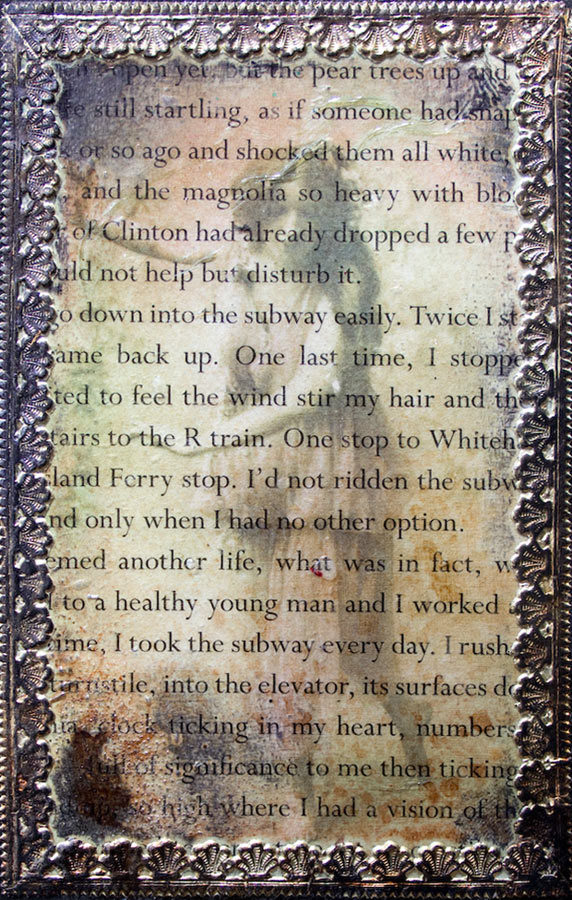
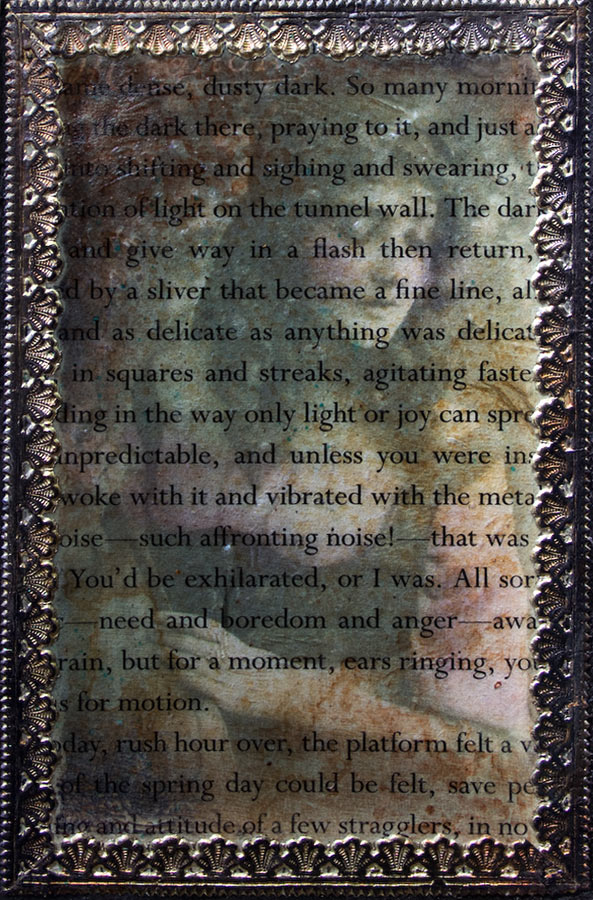
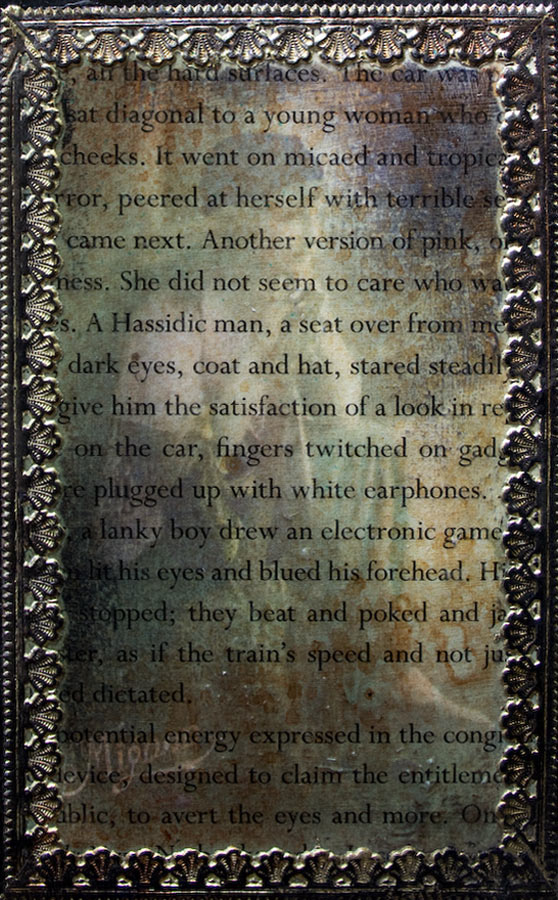
I wanted to see text through my images, and so chose to layer them over book pages.
Here you can see just how transparent the film is, and yet, the soft coloration is perfectly preserved:
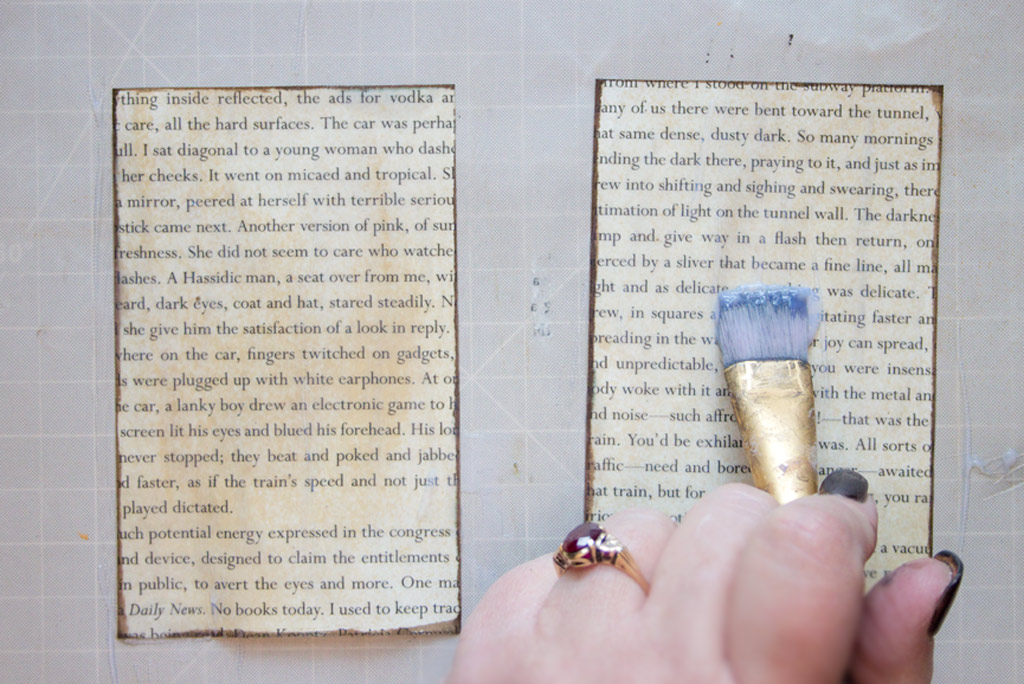
Apply a thin layer of Omni Gel onto your chosen substrate with a flat bristled brush:
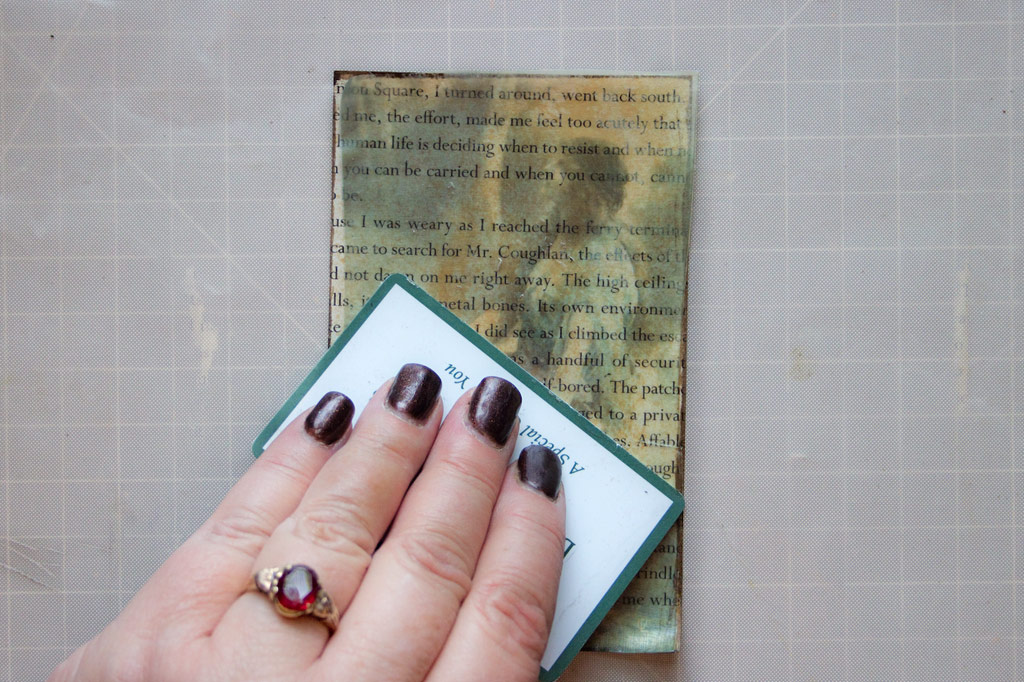
Place the transfer onto the wet surface, Gel side up.
Burnish carefully with a plastic card, stroking from the center of the image outward:
Seal, distress and embellish to your heart’s content!
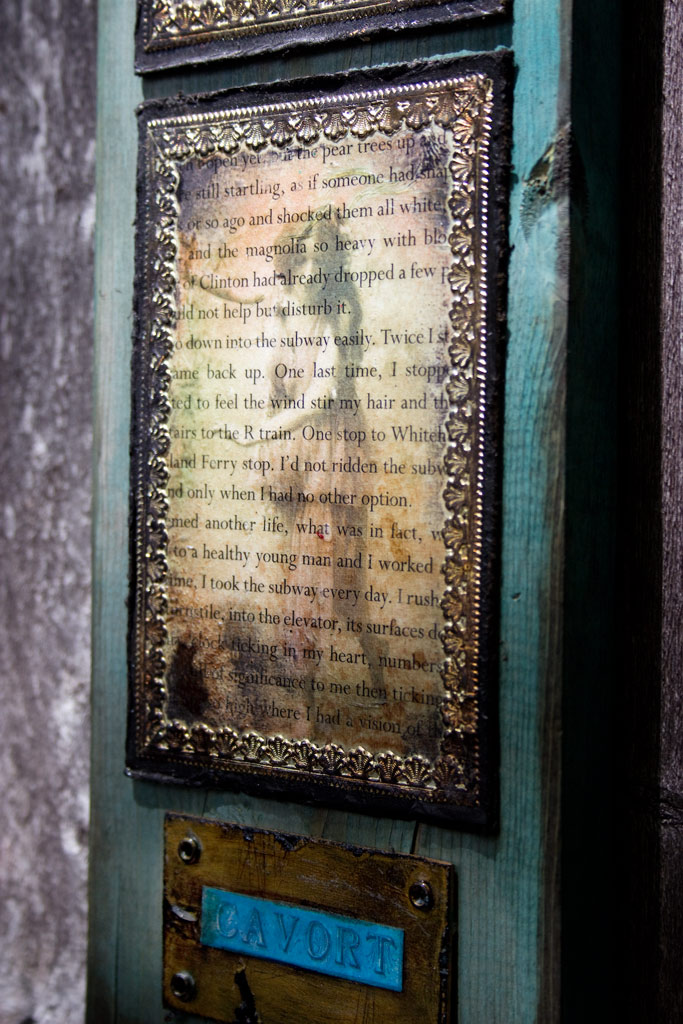
I love the vintage feel of Dresden Trim, and added a border around each of these beauties.
I sealed the transfers with Triple Thick Gloss Glaze for a clear and glossy finish:
Touches of Distress Ink: Vintage Photo and Distress Ink: Black Soot blend nicely right over the Gloss Glaze, and add a sense of age and mystery….
I’m astonished by how transparent the transfers are – every bit of text is as crisp as though nothing at all has been layered atop it!
I love the way these Bohemian Beauties softly interplay with the vivid text…
I’m really impressed with the speed of this process – using a Heat Tool really shortens the time required – yay!
The results are perfectly transparent, versatile and fun!
Thank you for visiting The Graphics Fairy! I hope that this helps you to see the possibilities in this fun Image Transfer Technique!
Until next time,
Heather ♥



Bambi says
Stunning!!! When I first started reading the instructions, considering my lack of artistry skills, I figured I would just sort of wing it and make at least something. Then…I scrolled down to the finished ones hanging on walls and I KNEW I would have to follow every step, every tip and everything! Then, even if I only could get one as lovely as yours I would be thrilled!
Thank you, Heather!
graphicsfairy says
Go for it Bambi, I have faith in you!!
Pamela Martin says
Like a light bulb from my past just came on! I remember doing a similar technique with clear contact paper in the 70’s. I remember placing an image, face down, (I assume it was a toner image back then) onto sticky side of clear Contact paper. Burnish well, place in warm water till paper is saturated, then rub paper off as instructed in above method (I remember using my finger to get the paper off) and you’re left with a clear image. The only thing is that I don’t believe that it’s sticky when finished, but I remember making lots of them as a kid, because I found it so fascinating.
graphicsfairy says
I remember doing that too Pamela 🙂
Bev says
Thank you Heather for sharing this awesome technique…getting ready to order my Omni Gel now. I signed for your class earlier! Another class to finish before I start this one and I can hardly wait!
Karen says
I will be sure to let Heather know Bev. I am sure you will enjoy the class.
Holly says
Hi Heather,
This is FABULOUS!! I’m curious, can it be used on fabric? That’s what I like to put images on.
Thank you!!
Heather Tracy says
Hi Holly! Unless your fabric will be mounted on a solid substrate, I can’t recommend Omni Gel for this. BUT, there is another method that I DO recommend for Image Transfers to Fabric. (Just click the link)
Thank you for stopping by, and for being kind! xox
kathy says
Beautiful! I did this many, many, many years ago with Mod Podge
graphicsfairy says
Thanks Kathy, I love Mod Podge, so many wonderful things you can create with it!!
RB says
Thats So Amazing & Very Beautiful.You Make It LoOk So Easy..Just LOve The Feminine Beauty Of The Vintage Ladies & Text Stunning Result.Thanks SO Very Much For The Clear Easy To Follow Tutorial.I Can See Alot Of Crafters Having A Go At This.Have A Great Weekend Hugs:)xXx
Heather Tracy says
Hey, RB! This actually was easier than many transfers I’ve done, that’s for sure…I couldn’t resist the romantic imagery, either. I hope it’s of use to you my kind friend! xox
Diana says
Fabulous! Next on my to do list after I place a order for the gel. Thanks so much for sharing this demo.
Heather Tracy says
I hope you enjoy this technique as much as I do, Diana! Thank you for your kind words, my friend! xox
Teddy says
Amazing tutorial! Now i don’t need Photoshop anymore, haha
Thank you, Heather!
Heather Tracy says
Hi Teddy! Ha ha! That’ll be the day (don’t even TRY to part me from my Photoshop!)
…but, dang, isn’t the transparency startling? I was impressed. Thanks for stopping by! xox
Julie Lee says
Great tutorial, Heather. You are such a clear and inspiring teacher. The results are so lovely. I’ve never tried Omni Gel myself. I’m very tempted, but I see that it’s not suited to Inkjet printer copies, which I usually use. I would really like to invest in a laser printer, but I might, for the time being, pay to have some copies done as a short-term experiment. Thank you for always being so stimulating in your posts. xx
Heather Tracy says
Hi Julie! Oh, thank you kindly for your thoughtful and generous remarks – I love to share more than anything! It’s a bit of a bother, but not that expensive to have toner copies made…and the clarity of this process is quite astonishing. I hope to see a few of your otherworldly creatures transferred soon! xox
Dorthe Hansen says
Heather it looks fabulous, such amazing results, and with only this gel, it is gorgeous.
As usual, it looks like it is not to buy here in DK, so that`s lucky me , LOL- I see Amazon have it , so maybe 🙂 Thank you so much for the beautiful images, dear. xoxox
Heather Tracy says
I love your image transfer work, Dorthe! I’d love to see what you created with this magic gel…it would be magical! Thank you for being so unfailingly kind, dear soul! xox
Rupa says
Hm, duplicate comments and wrong spelling….omnigel I meant?
Heather Tracy says
Darn predictive text! We’ve ALL been there, and will be again, my friend! xox
Rupa says
Yup! Some are embarrassing too 🙂 I just noticed that the images say “mignon”…yes, they are!! It means cute in French and I have always loved that word 🙂
Heather Tracy says
Thank you for that, Rupa! I just assumed Mignon was the name of the Artiste! Adorable! xox
Rupa says
Hm, may be it is the artist’s name too. Either way, very beautiful images for sure.
graphicsfairy says
For sure 🙂
Rupa says
I have Omnitel I bought after Karen mentioned it here on a coasters project using travertine tiles. This project looks simply amazing and simple! I love translucent images, printed tissue papers etc. Your project is stunning! Text and vintage beauties, what a great idea. Thanks for this post, it reminds to take out my Omnitel and use it. What would we do without you?
Heather Tracy says
Hi Rupa! I loved that coaster project of Karen’s, too…So pretty. This is a simple process – playing music helps with the tedious fiber removal stage 😉
Translucency is magical, isn’t it? I was SHOCKED at how ultra-transparent the images were – I think I’ll tone down the background in future projects. I hope you DO dig out the Omni Gel – it’s cool stuff! Thank you SO much for your friendship and encouragement! xox
Christina in FL says
I wonder what the difference is between “Omni Gel” and regular old polymer medium… matte or glossy. The transfer method appears to be the same. I am intrigued by the fact that the Omni Gel does not start to dissolve in water.
Heather Tracy says
That’s a really good question, Christina…there may be no difference. Not a chemist, so I’m unable to determine. It’s cool that the Omni Gel is water impervious – interesting possibilities there, my friend! Thanks your thoughts! xox
Lanna says
Thank you, Heather, this is simply gorgeous! I love your work..
Heather Tracy says
What a lovely thing to say, Lanna! Thank you, my friend. xox
Michele says
This looks amazing! Endless possibilities!
Heather Tracy says
Hi Michele – Endless Possibilities – yay! Image transfers are SO fun, and the clarity of these makes me happy! Hope you give this method a try, my friend, and thank you for your kindness! xox