
Image Transfers…the easy way!
Hello, my fabulous Graphics Fairy Friends!
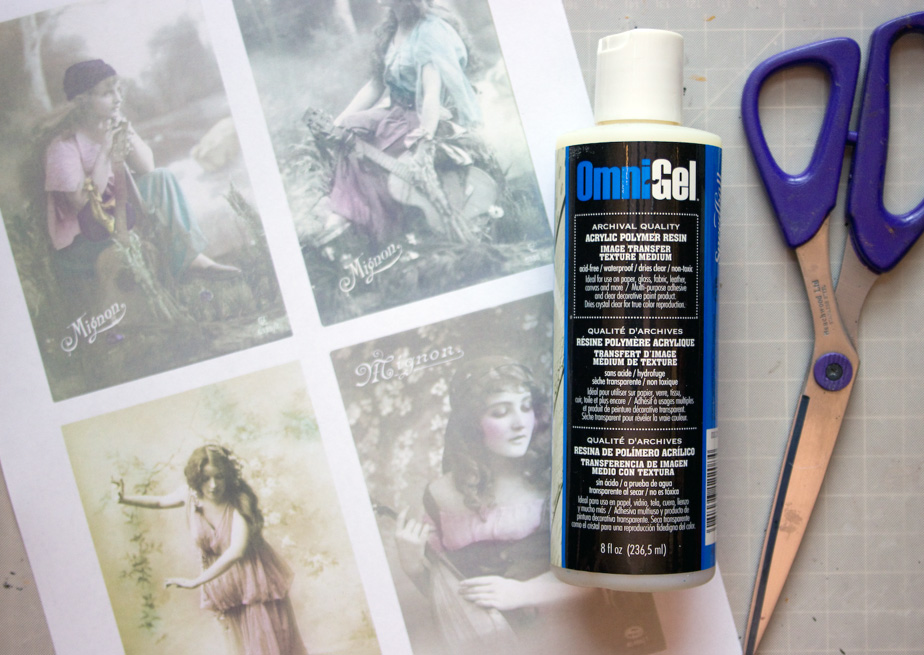
Heather from Thicketworks here with a few helpful hints to get lovely results when using Omni Gel for image transfers.
{this post contains affiliate links}
These softly romantic images called to me…
I couldn’t resist adding soft blushes of color to recreate the look of hand-tinted old photos…
If you would like to Download this Bohemian Beauties Collage, click HERE!
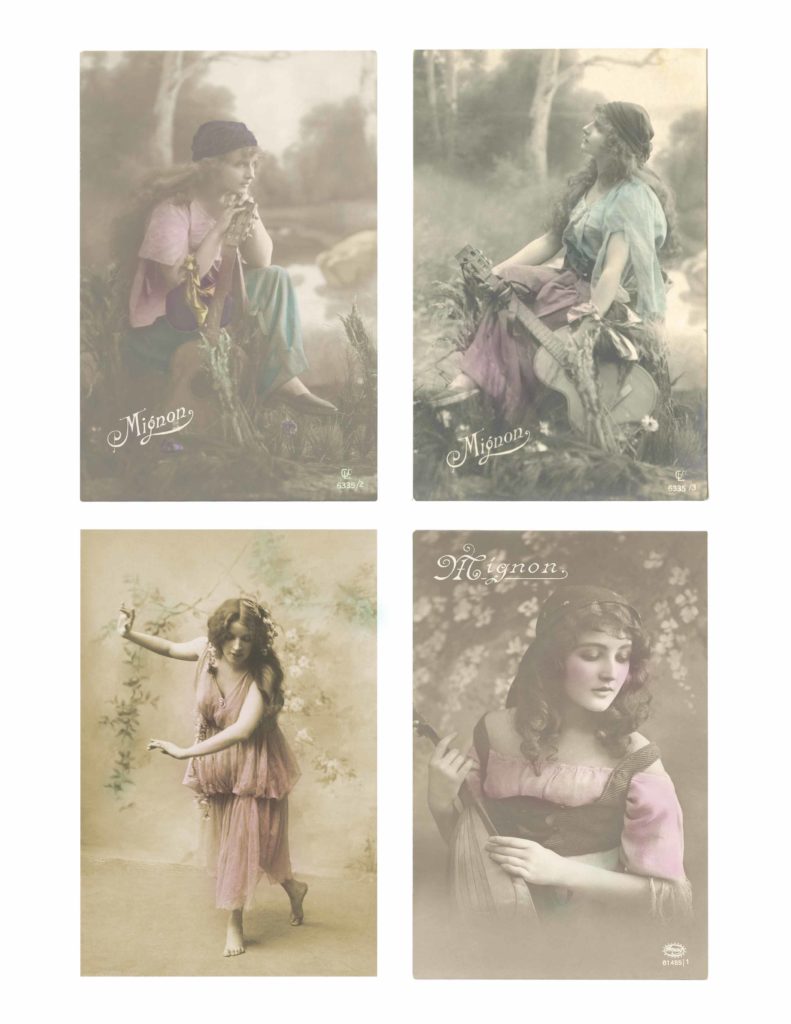
Graphics Fairy Source Images:
- Stunning Vintage Gypsy Photo!
- Vintage Gypsy Postcard Image!
- Vintage Bohemian Lady Image!
- Beautiful Gypsy #2
Note:
Omni Gel is intended for use only with toner-based images – it will not work with InkJet Prints.
Supplies for Image Transfer:
- Toner Print of Images on Printer Paper
- Omni Gel
- A Sponge Brush
- Heat Tool
- Scissors
- Container of cold water
- Non-Stick Craft Sheet or other non-porous, smooth surface
- Microfiber cloth
- Old Toothbrush
- Clock or Timer
- Flat bristle paint brush
- Gift Card or similar for burnishing
***NEW** We’ve updated this post with a Quick Video Tutorial! Please watch the Video instructions below or scroll down the page for the written Tutorial:
Before we begin, it’s important to understand two facts about Omni Gel:
1. Unlike traditional Image Transfer methods, you do NOT reverse the images for this technique.
2. This method results in a thin film of polymer imprinted with the image, which you then apply like a decal to your substrate.
How to Transfer Images with Omni Gel:
Begin by squeezing a generous amount of Omni Gel onto the surface of the print:
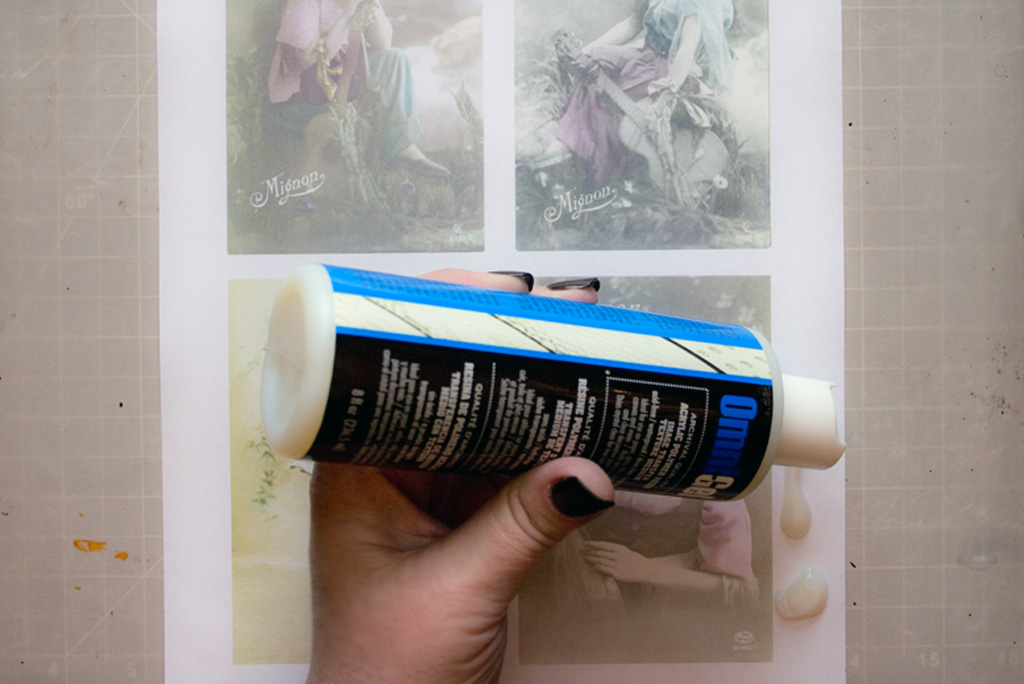
Spread the Omni Gel across the page horizontally, using a foam brush:
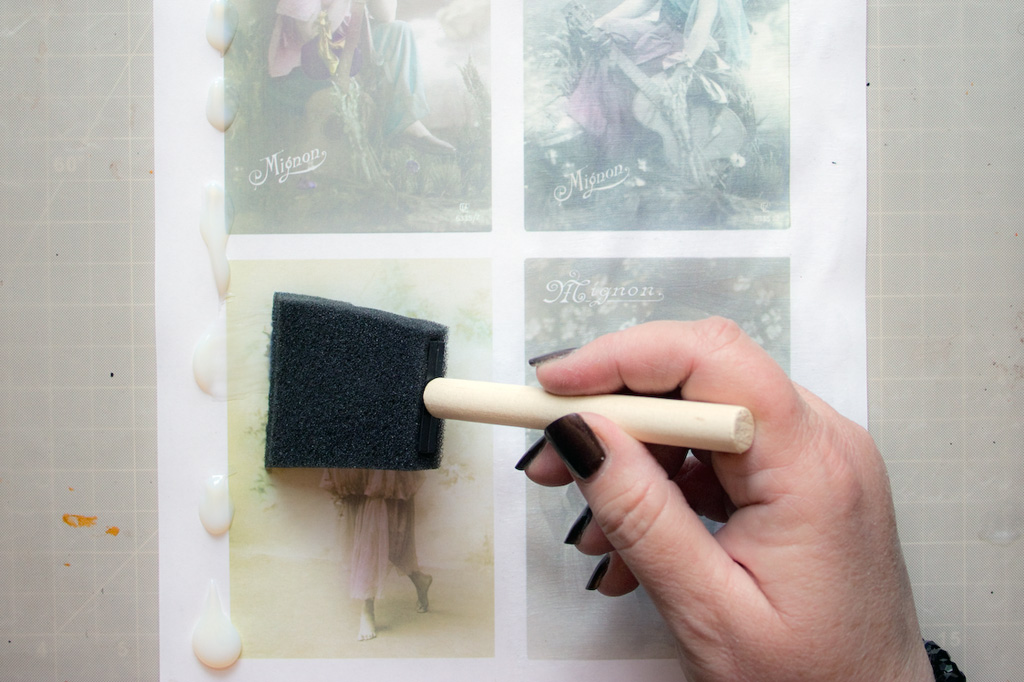
Most tutorials will indicate that you must wait for the Omni Gel to dry naturally.
Nope. Grab your heat tool and dry the Omni Gel just like you would dry a coat of acrylic paint:
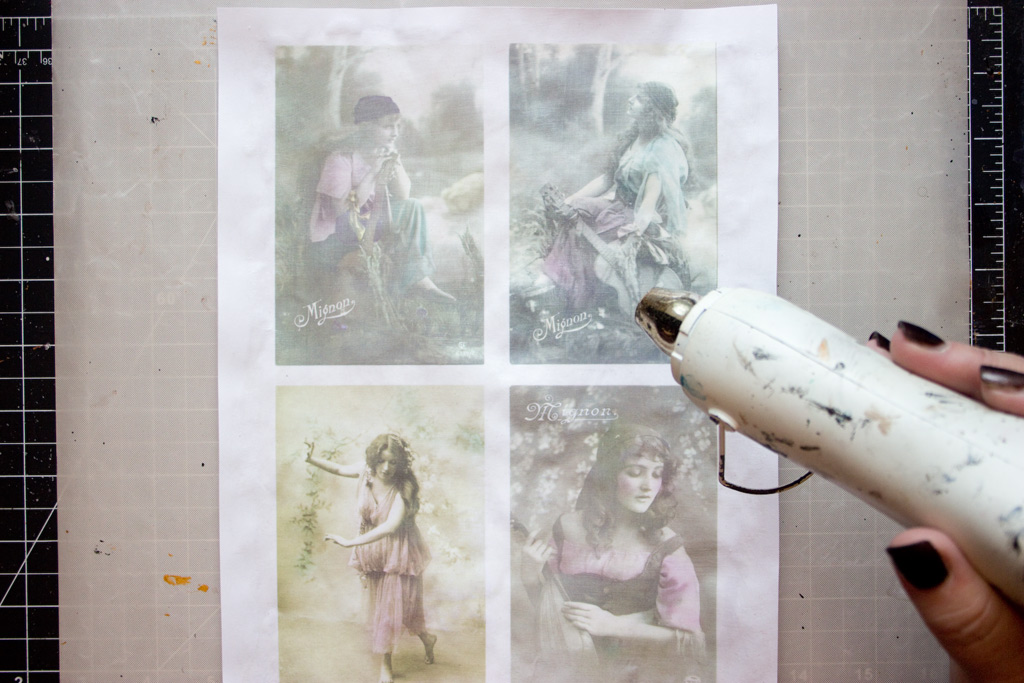
Once dry, you’ll be able to see faint horizontal brush marks:
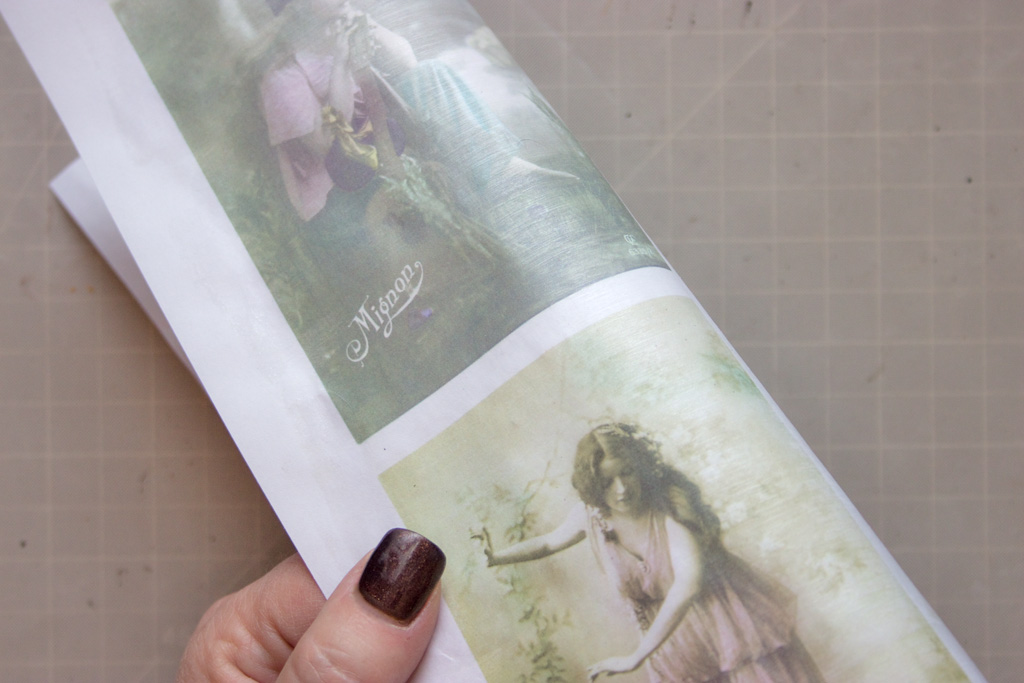
Next, add another layer of Omni Gel – but this time with smooth vertical brush strokes:
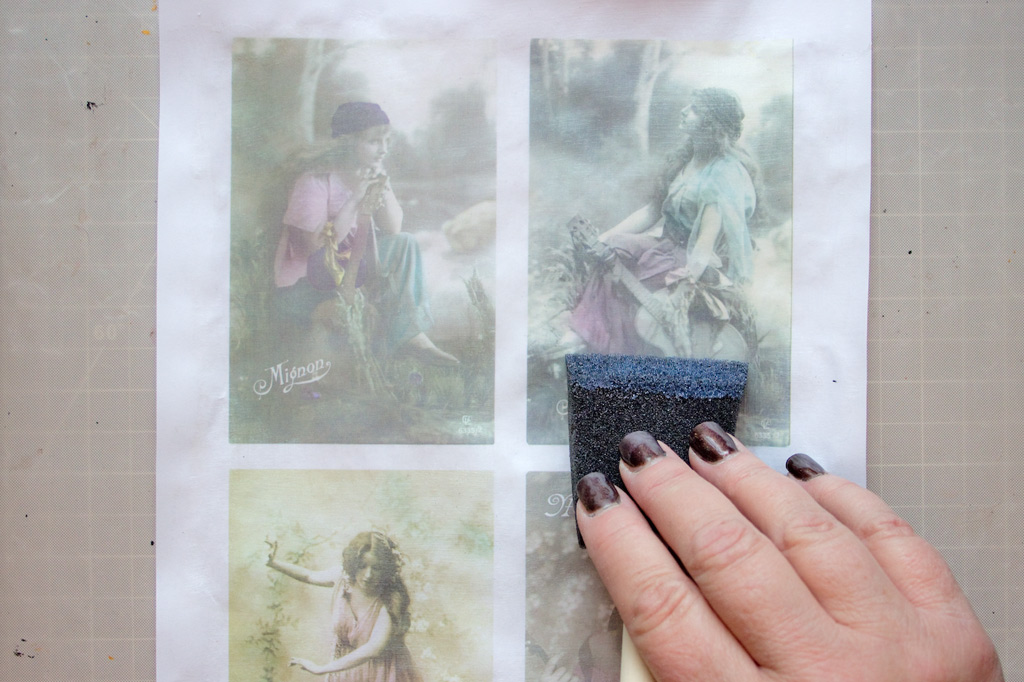
Dry with a Heat Tool.
Apply a third coat of Omni Gel, again with horizontal brush strokes.
Dry with a Heat Tool.
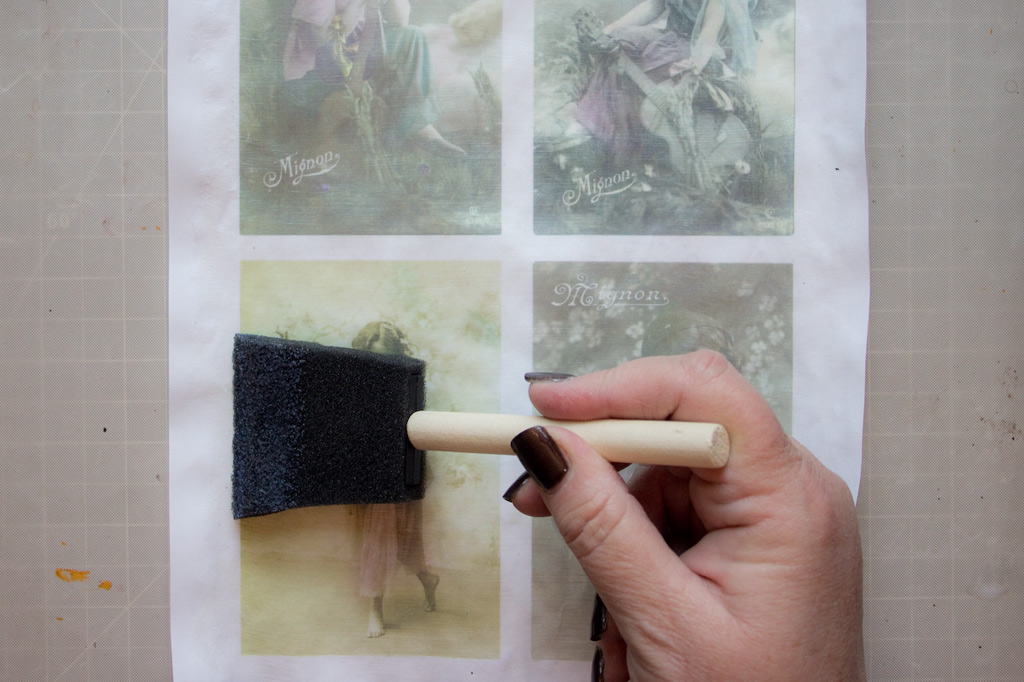
Trim the edges of your prints, leaving only the areas you wish to transfer.
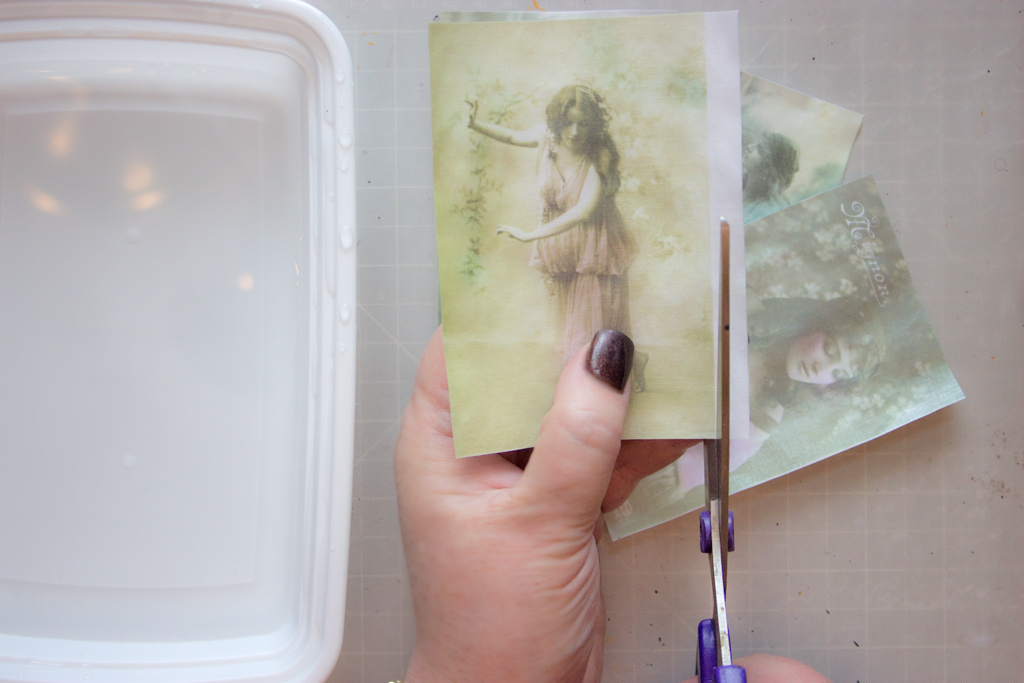
Plunge the prints into a container of cold water, and go play outside for 20 minutes!
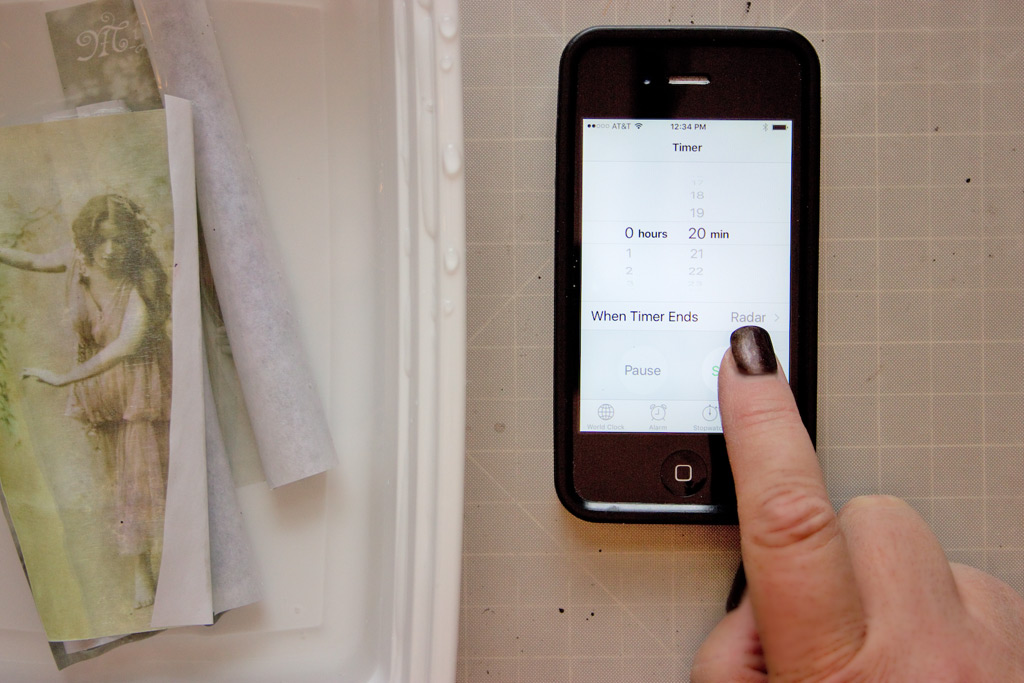
After the 20 minutes has elapsed, gently remove your print from the water.
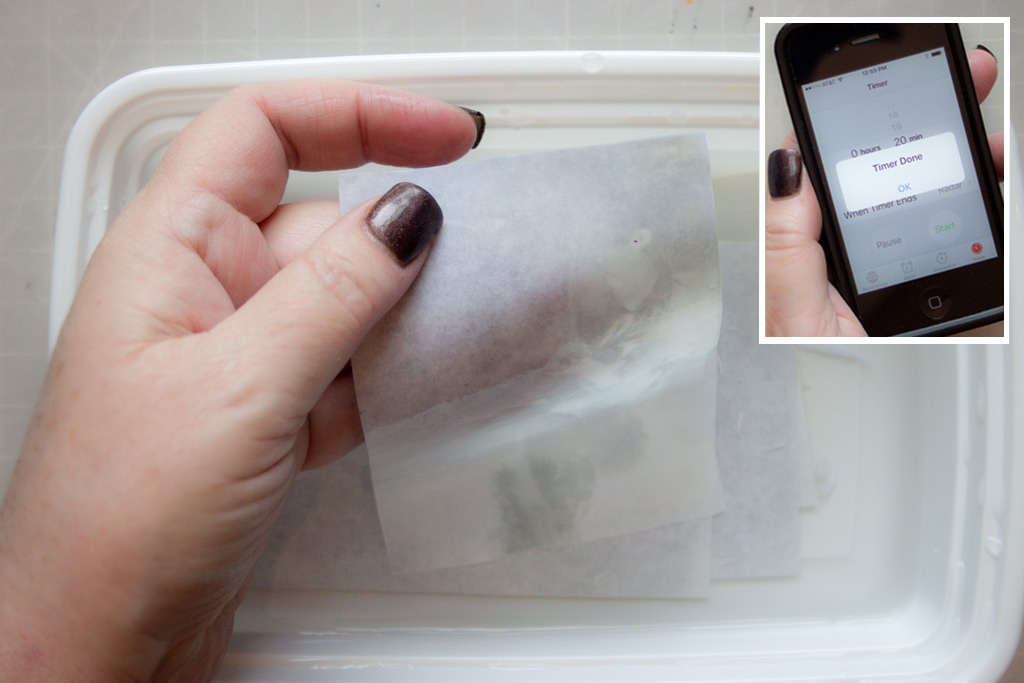
Place the print Gel side down onto a smooth, non-porous surface.
Smooth into place. The smooth surface is important: the wet transfer clings to it, and makes it possible to remove the paper without stretching and wrinkling the thin polymer film (at least not too much!)
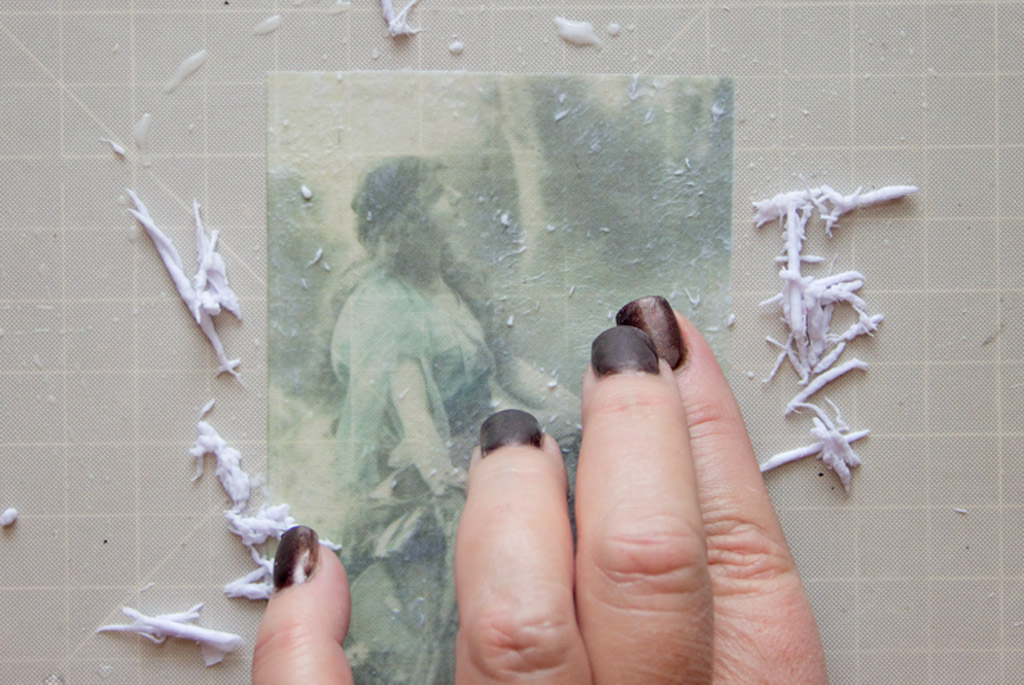
Being careful to avoid stretching the thin film, begin rolling the paper fibers off of the film.
It helps to roll the fibers toward the edges – this way, stretching is kept to a minimum.
Sprinkle water on the surface as it begins to dry out.
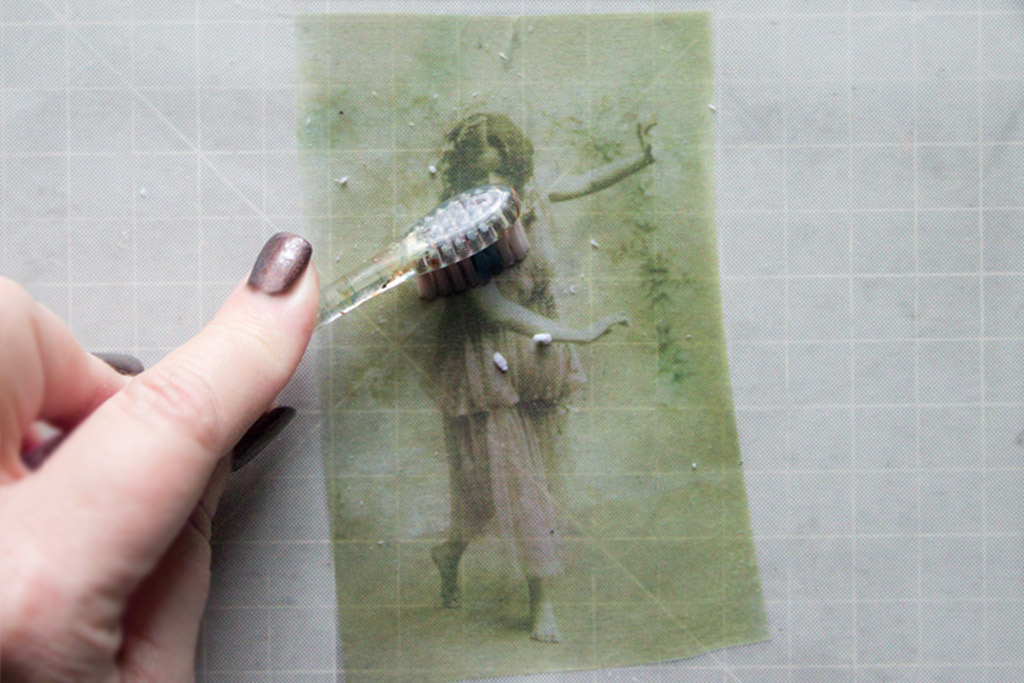
Once the majority of paper pulp has been removed, gently scrub the surface with a soft old toothbrush.
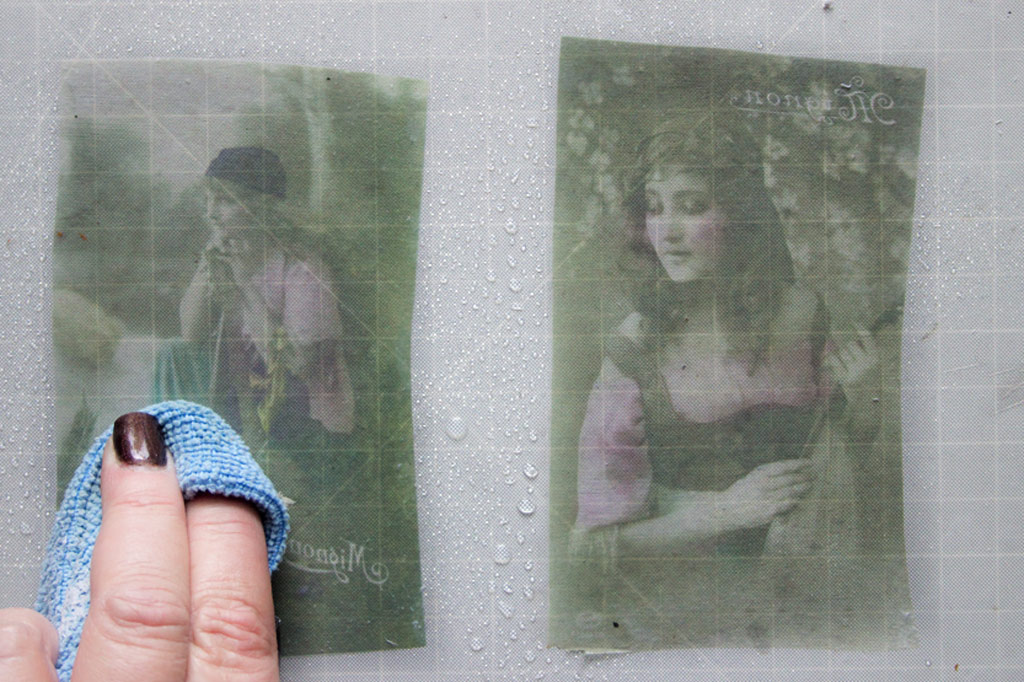
Use a microfiber cloth to gently swirl away more paper fibers:
And finally, use your fingertips again to help you detect and rub away the final layer of paper fibers:
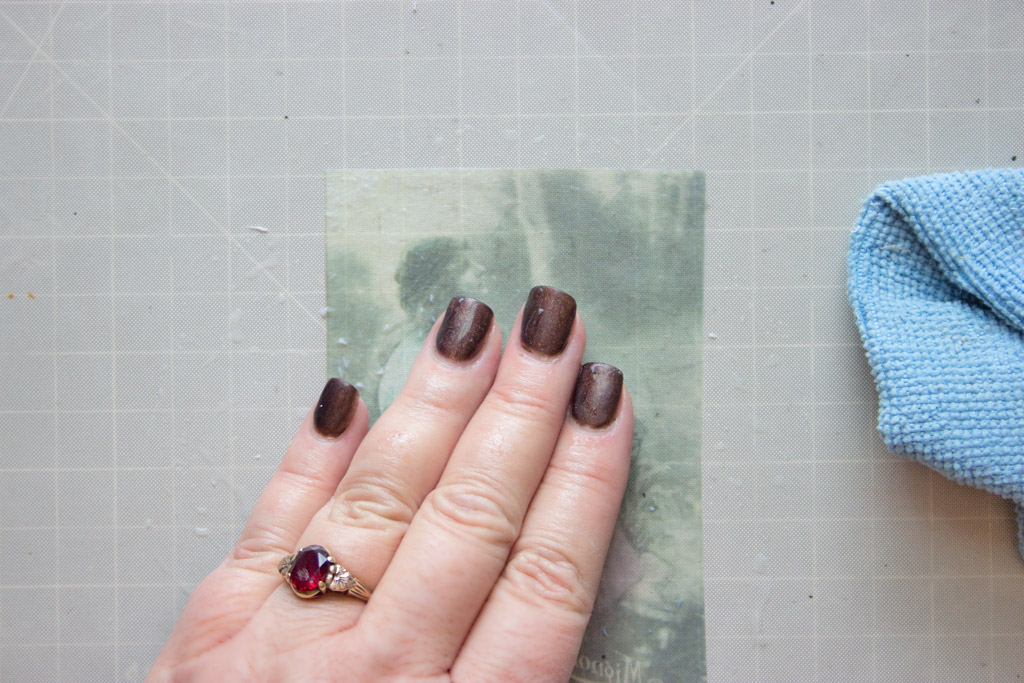
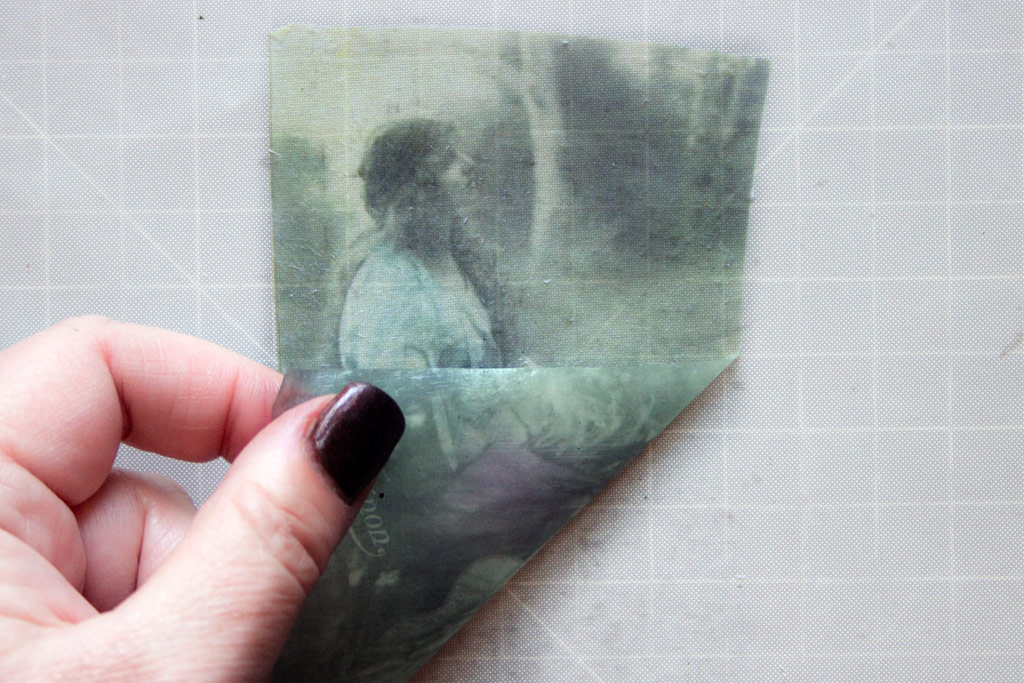
Carefully lift the resulting film off of the surface.
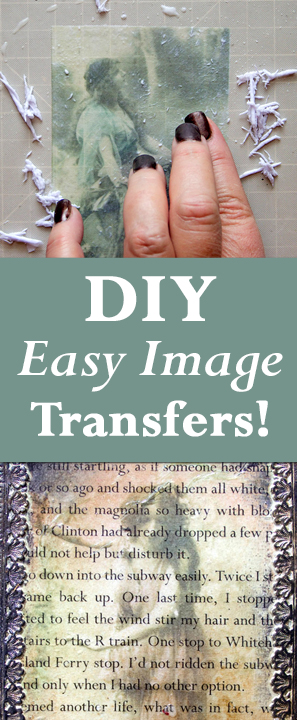
The image will be clear and vivid once you turn it over, and view the ink through the Omni Gel.
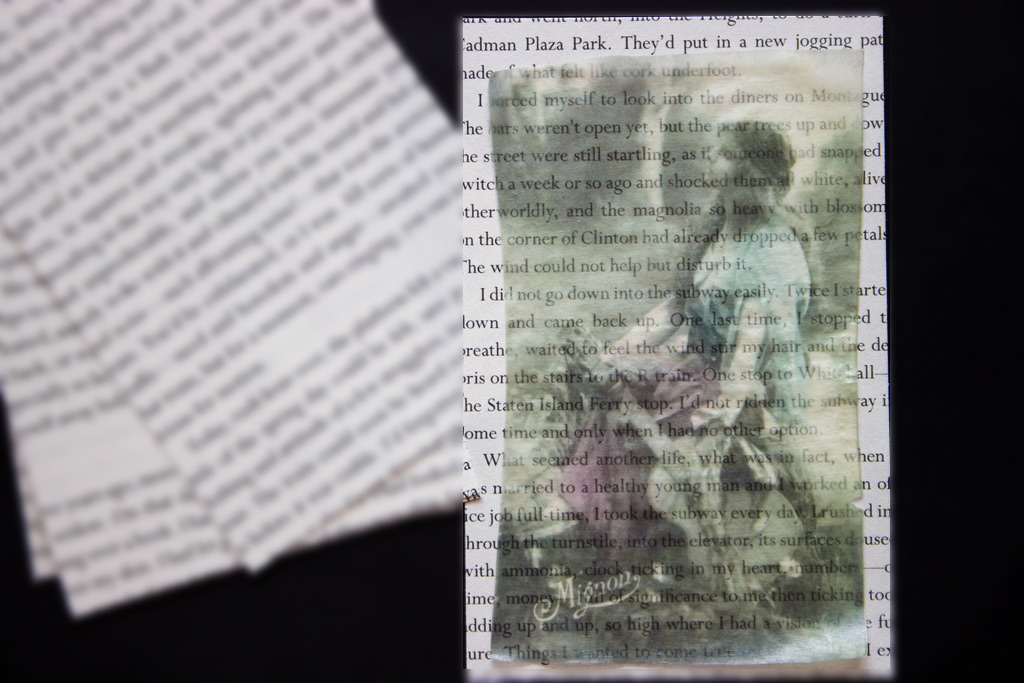
I wanted to see text through my images, and so chose to layer them over book pages.
Here you can see just how transparent the film is, and yet, the soft coloration is perfectly preserved:
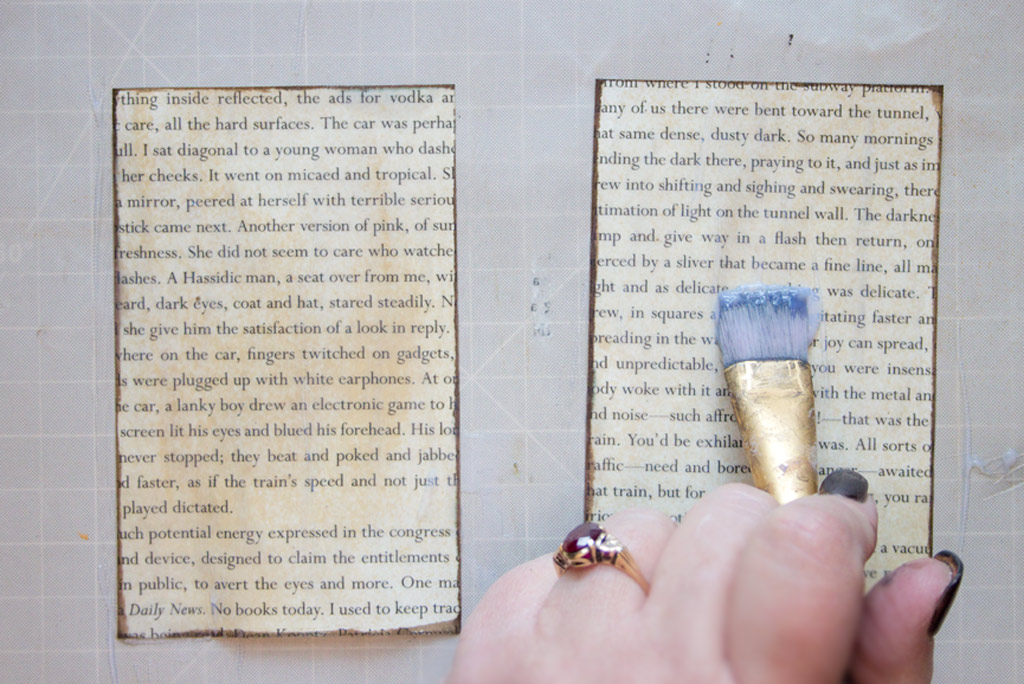
Apply a thin layer of Omni Gel onto your chosen substrate with a flat bristled brush:
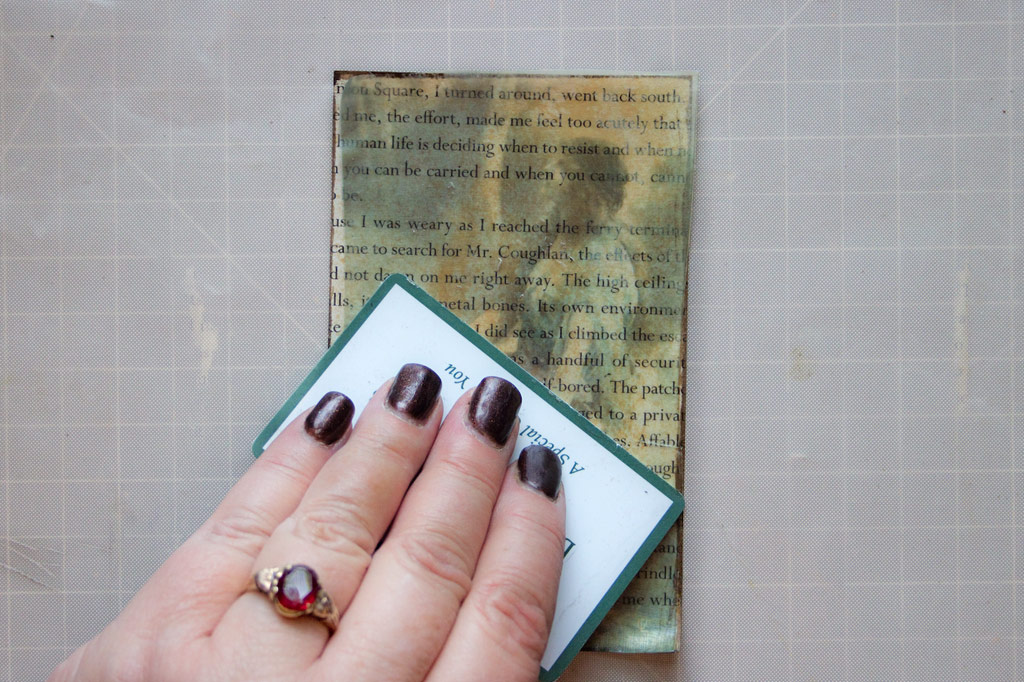
Place the transfer onto the wet surface, Gel side up.
Burnish carefully with a plastic card, stroking from the center of the image outward:
Seal, distress and embellish to your heart’s content!
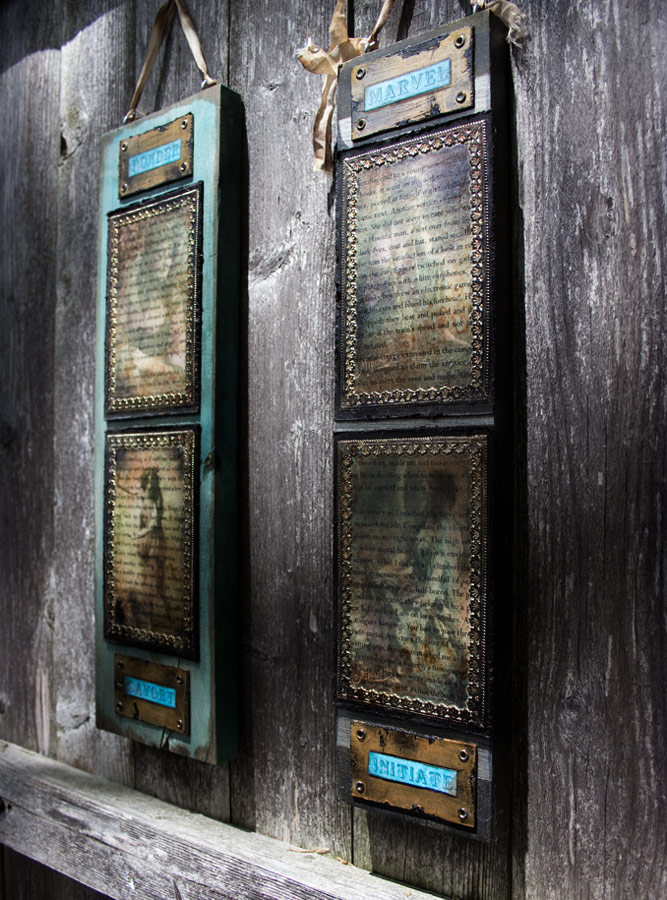
I love the vintage feel of Dresden Trim, and added a border around each of these beauties.
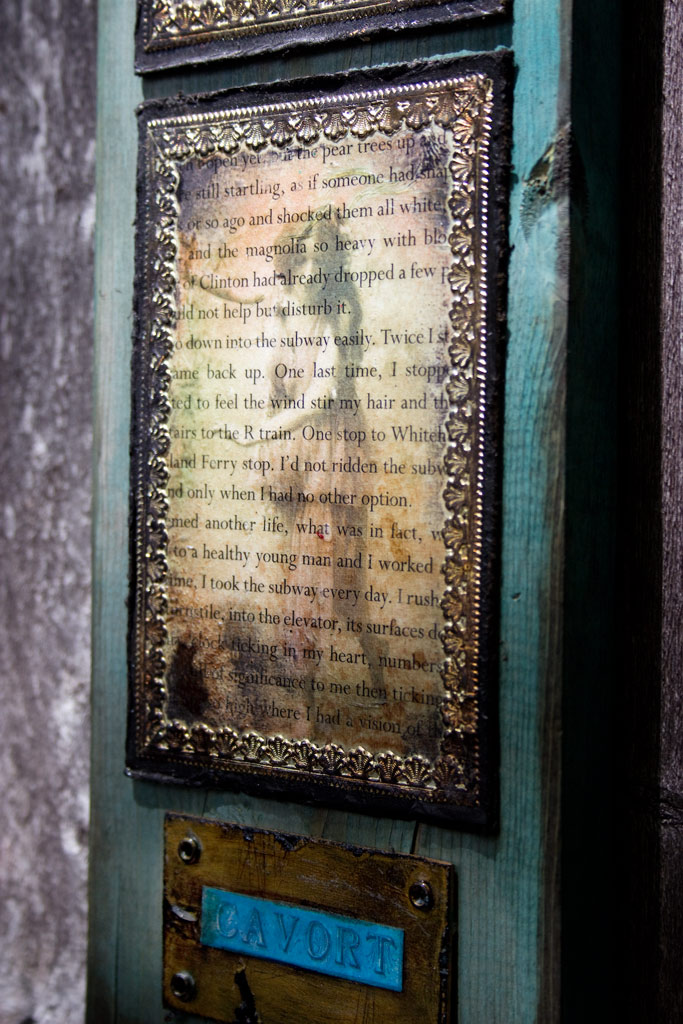
I sealed the transfers with Triple Thick Gloss Glaze for a clear and glossy finish:
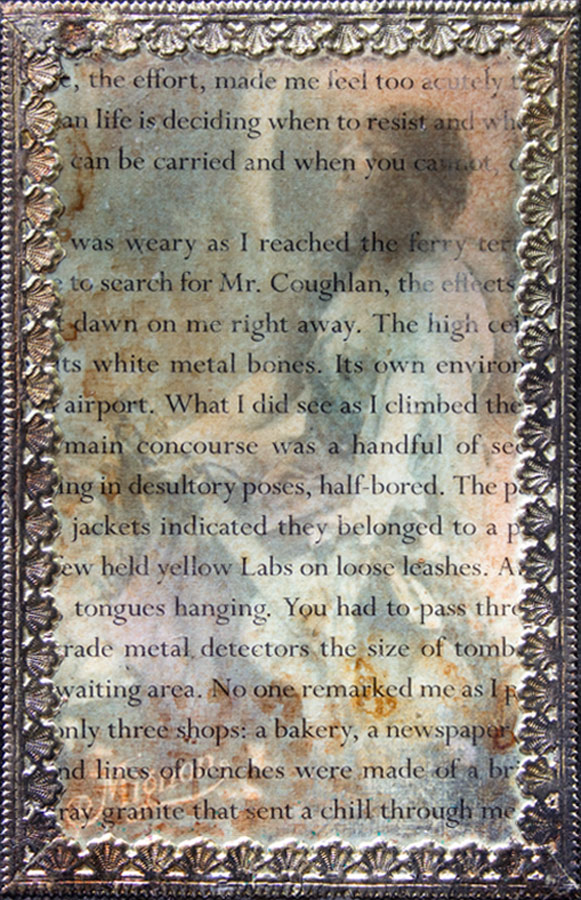
Touches of Distress Ink: Vintage Photo and Distress Ink: Black Soot blend nicely right over the Gloss Glaze, and add a sense of age and mystery….
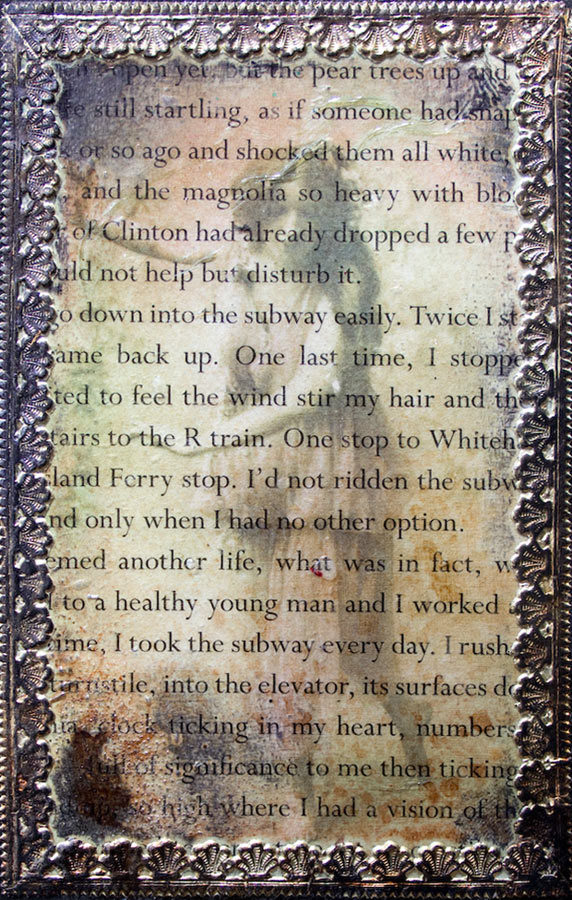
I’m astonished by how transparent the transfers are – every bit of text is as crisp as though nothing at all has been layered atop it!
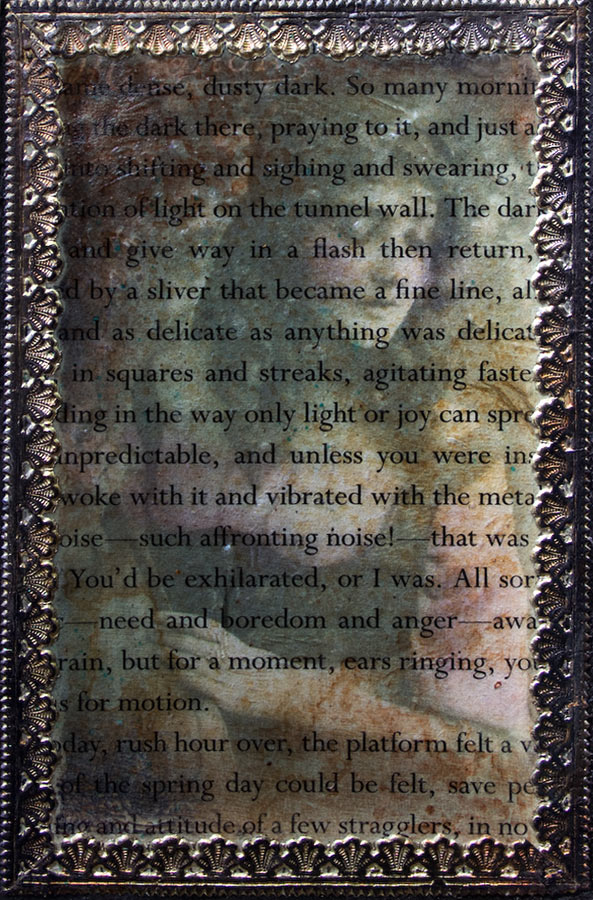
I love the way these Bohemian Beauties softly interplay with the vivid text…
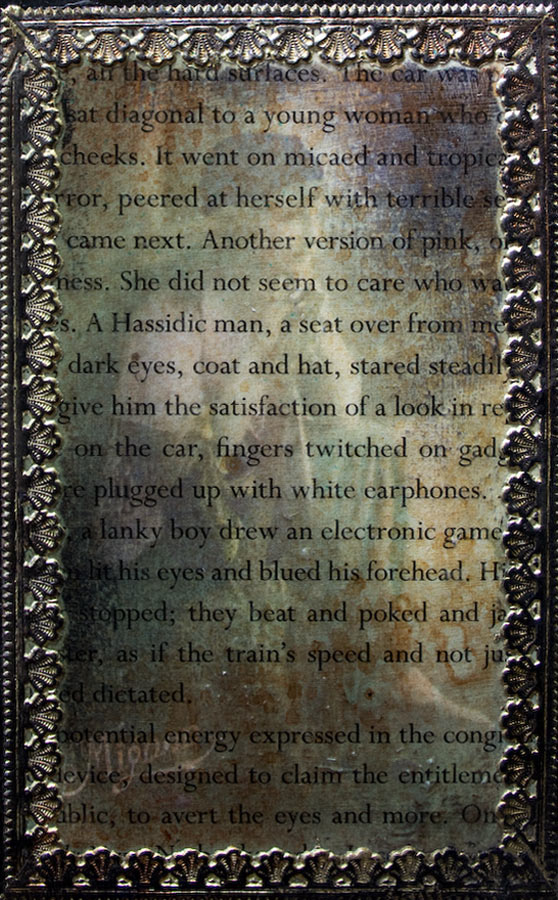
I’m really impressed with the speed of this process – using a Heat Tool really shortens the time required – yay!
The results are perfectly transparent, versatile and fun!
Thank you for visiting The Graphics Fairy! I hope that this helps you to see the possibilities in this fun Image Transfer Technique!
Until next time,
Heather ♥


Brenda says
Please will this method work with color floral downloads such as cabbage roses or a cover of a magazine image? Will it come out as a sharp image?
I want to transfer a vogue magazine lady picture.
graphicsfairy says
It should Brenda, the best way to know is to try it first on a scrap piece and go from there. Good luck!
Mischelle says
Hi there,
You have beautiful pieces. I’ve been doing this for awhile without a heat tool. I’m trying to figure out if my process can be shortened so that is a great tip. If you don’t use a heat gun then approximately how long from start to finish does your process take? I seem to be coming in around eight hours and am usually working in batches of 15. I don’t use triple gloss but rather two or three coats of acrylic varnish which is probably the same thing as you but just takes longer to dry.
I really love this process and was just so amazed that it even worked.
Thanks for sharing!