Hello, all you lovely Graphics Fairy readers – Heather from Thicketworks here to share a colorful technique that you can easily replicate.
It’s high time for some rich color in my world. I have a fondness for neutrals that tends to dominate most of my decorating choices, but today, we’re about to wake things UP!
If intense color feels a bit out of your comfort zone, keep reading – you just might change your mind!
This post was sponsored by the amazing creative team at Heirloom Traditions Paint!
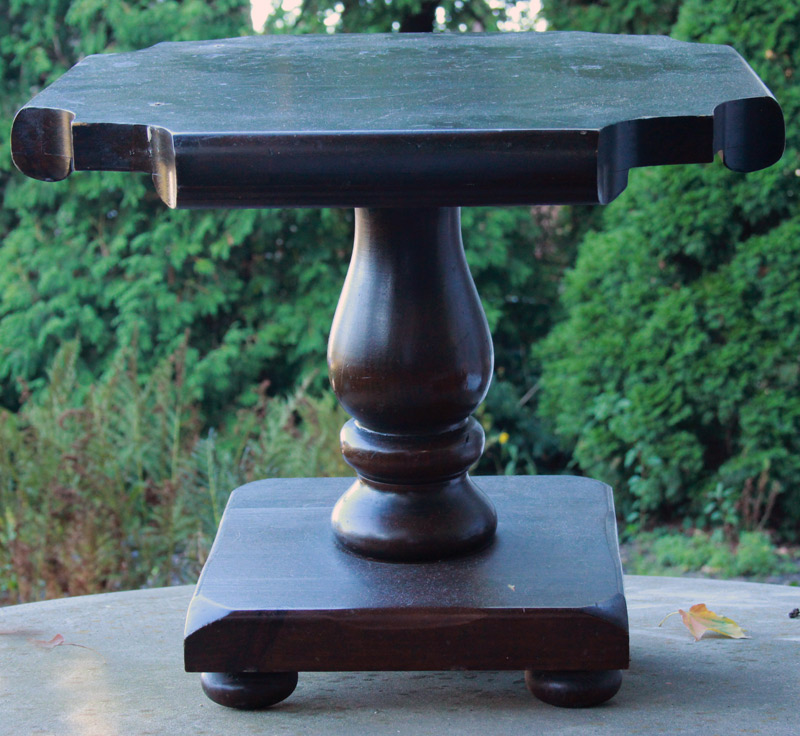
This chunky side table had a few things going for it. The lovely shape of the pedestal was charming, the construction was beyond solid, and the unusual shape of the tabletop was intriguing…
However, the marred and dark stained high-gloss finish left something to be desired. Not too keen on the stocky / primitive base, either:
It became a personal challenge to highlight the areas that I loved, and minimize those that didn’t thrill me.
Join me for this little journey into color!
To replicate this look you’ll need a few things…
Supplies:
- Heirloom Traditions Chalk Type Paint: Danube
- Heirloom Traditions Chalk Type Paint: Tanya
- A Best Chalk Paint Brush
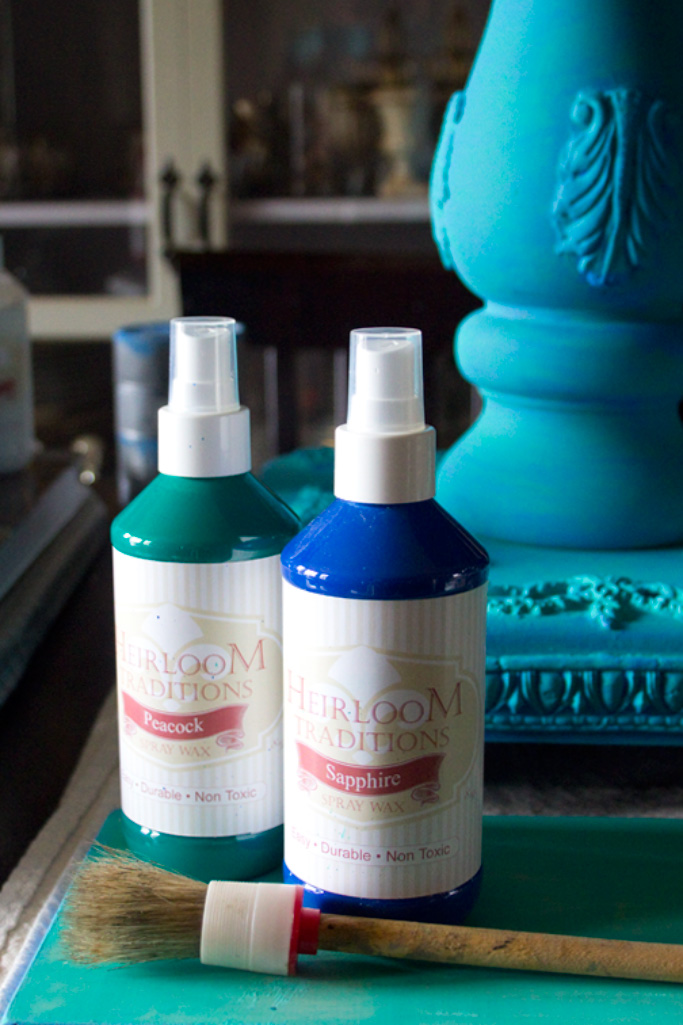
- Heirloom Traditions Spray Wax: Sapphire
- Heirloom Traditions Spray Wax: Peacock
- Small containers for the Spray Wax liquid
- Heirloom Traditions Gilding Patina: Golden Glimmer
- 1 drop of black craft paint
- A mixing container for mixing a paint wash
- A small container for mixing the Gilding Patina
- A small flat bristled artist’s paint brush
- A raggedy brush, suitable for stippling
- A smooth bristled paint brush for applying the top coat
- Lint-free rags
- Furniture appliques of your choosing
- Heirloom Traditions Aqua Clear Top Coat
Secret Tip: it’s tempting to sand a finish like this. The high-gloss just begs to be roughed up a bit. However, with HTP Chalk Type Paint, this is unnecessary.
In fact, it might just do more harm than good.
I’ll explain: sanding will release the stain and tannins, almost guaranteeing that you’ll have ‘bleed through’ problems.
Chalk Type Paint is formulated to allow you to apply it onto glossy surfaces, without sanding. If you’re concerned about bleed through, or you’ve already sanded your piece, a light coat of spray shellac will seal the pigments, and you can paint with confidence.
HowTo:
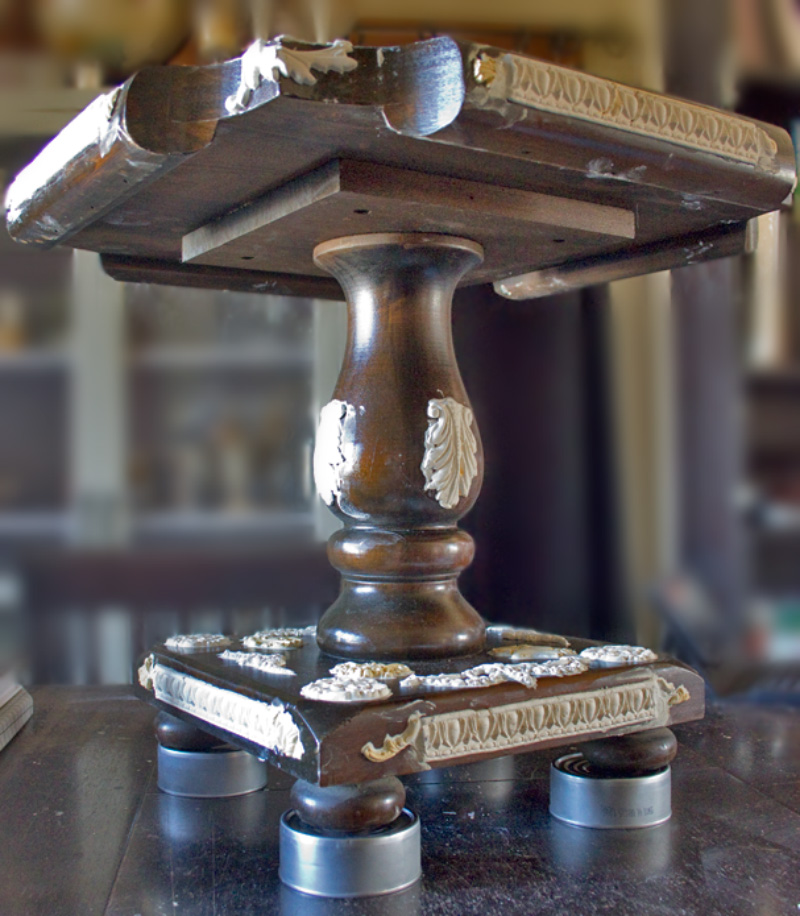
- The first step is to add some interest by creating textured areas for our finish to cling to. I added appliques to break up the vast expanses of flat surface, and allowed the adhesive to cure fully before proceeding.
It’s painful to share this picture, but we all know that every project has an UGLY stage. Well, here’s our little Vintage Peacock during her corrective surgery phase:
(Being the excessive person that I am, I went a bit overboard with the appliques)
There was method to my madness, I promise!
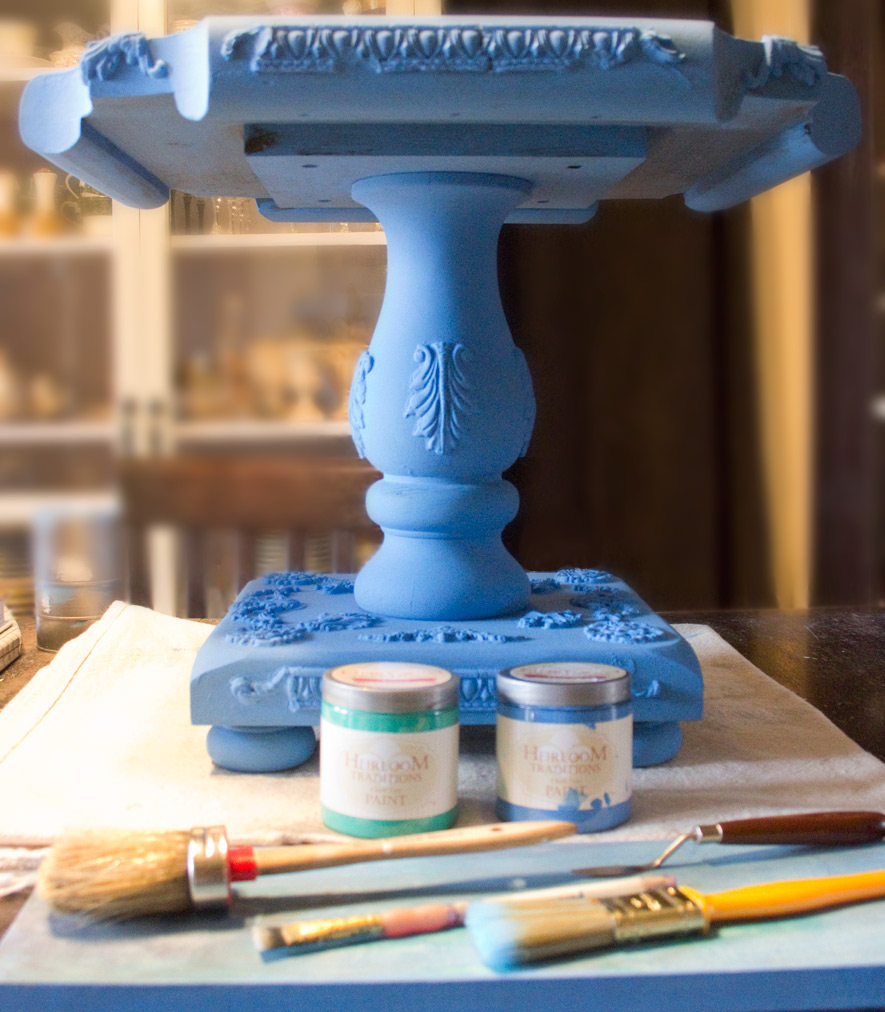
2. Two coats of Danube Chalk Type Paint later, (with about an hour between coats) and she’s recovering nicely:
3. Allow the paint to cure overnight.
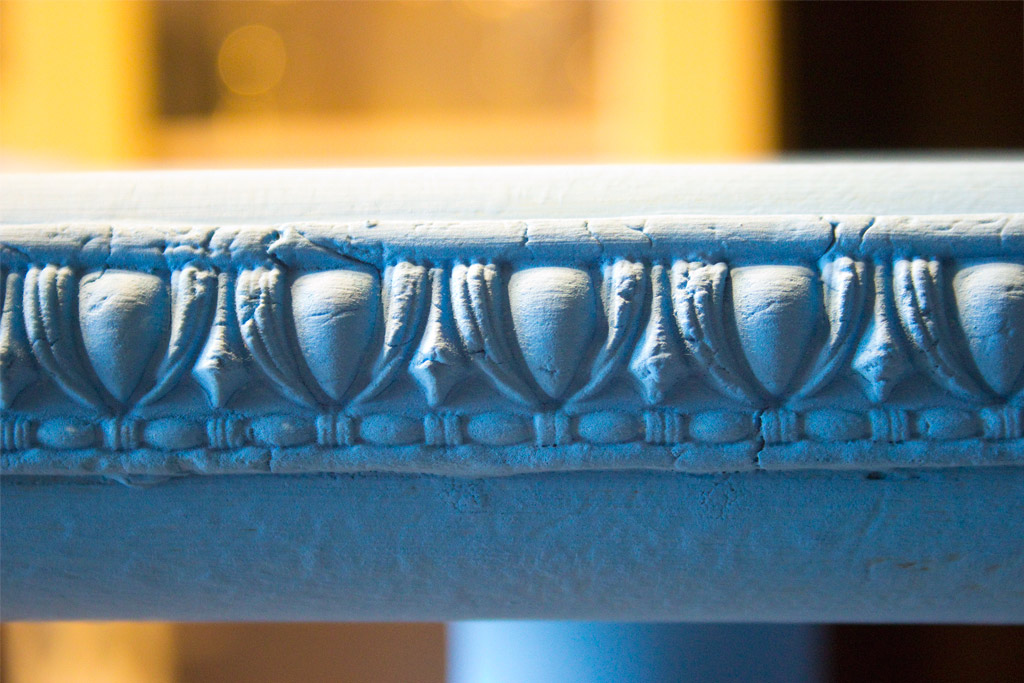
Danube is a gorgeous Royal Blue:
4. To create this complex-looking finish, we’ll add a wash of contrasting (but harmonious) color.
4 Tablespoons of water + 1 Tablespoon of Tanya Chalk Type Paint mixed together creates exactly the right mix for this method:
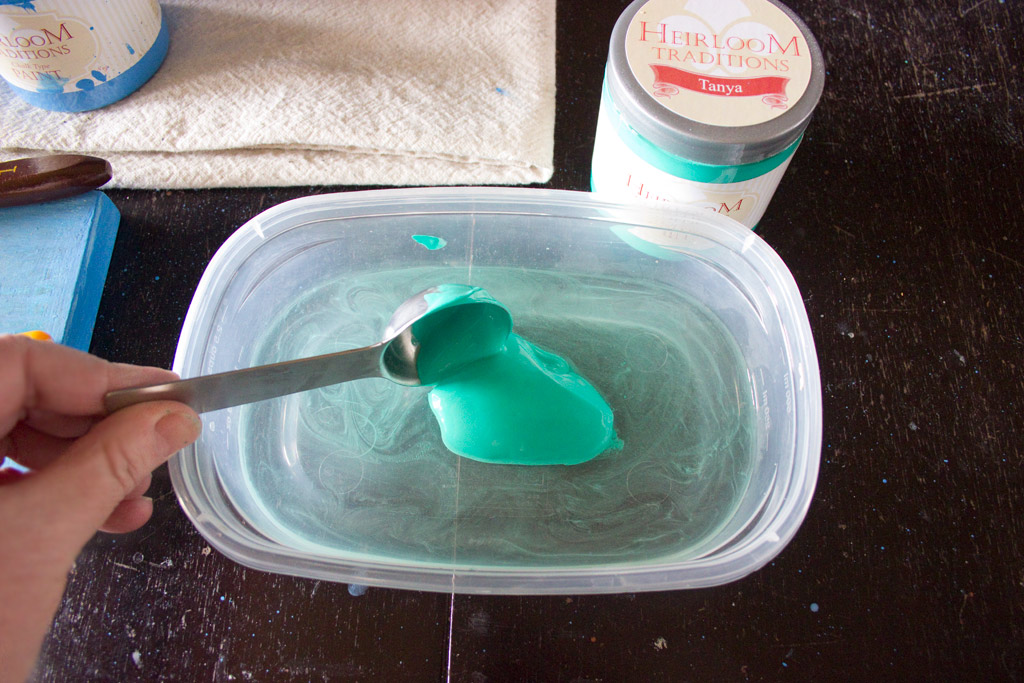
5. A Best Chalk Brush is perfect for slathering the very fluid wash over the surface. Coat every inch with the wash.
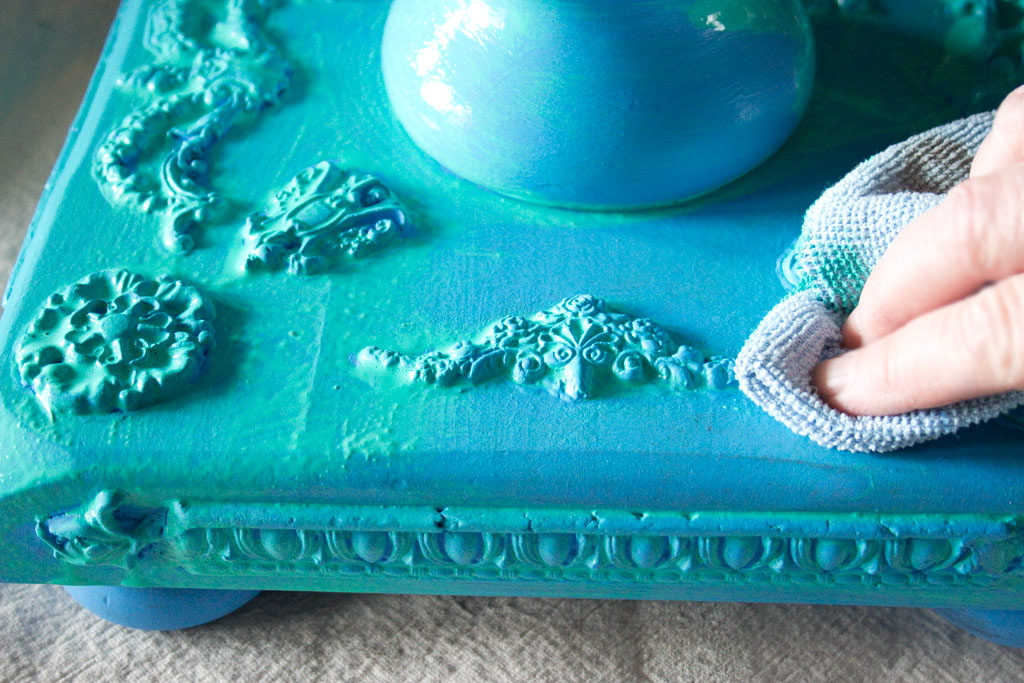
6. Randomly remove areas of the wash with a rag, allowing the Tanya to collect in the nooks and crannies:
7. Allow the wash to dry thoroughly – I waited 4 hours or so.
In the background of the next photo, you get a feel for how the wash has created depth and movement.
We’re about to take that depth to the next level – time for the Magic!
Secret Tip: Spray waxes are a huge innovation.
They provide a durable finish that doesn’t require repeated application, like soft waxes. There is no need to ‘wipe-back’ unless you choose to – AND the depth of color that can be created is unbelievable!
8. Pour small amounts of Peacock Spray Wax and Sapphire Spray Wax into separate containers. We’ll be alternating the colors as we go.
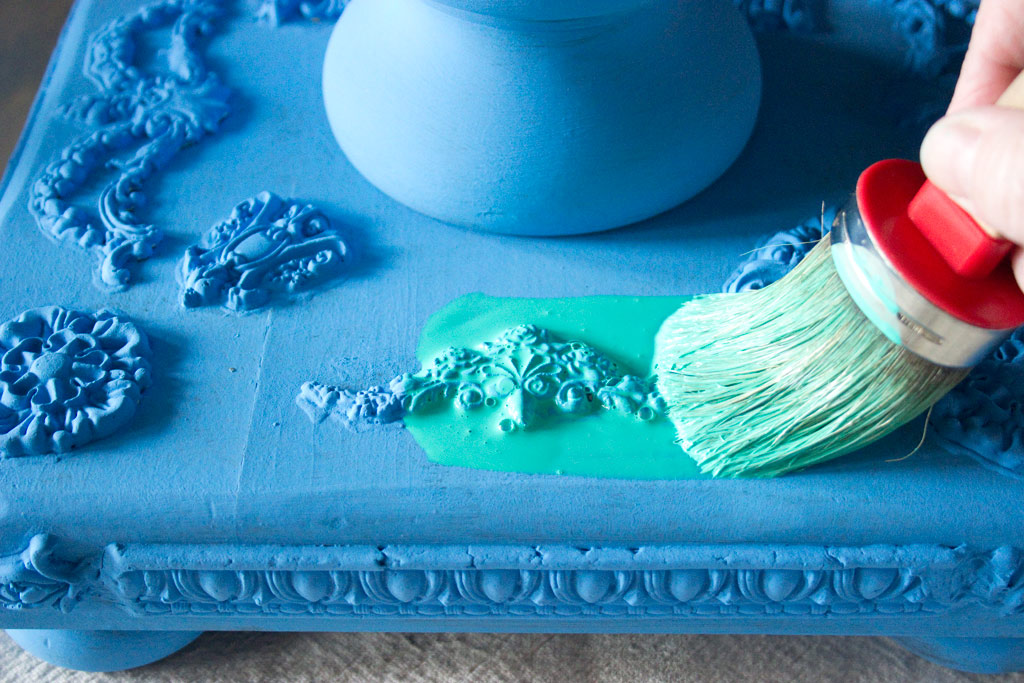
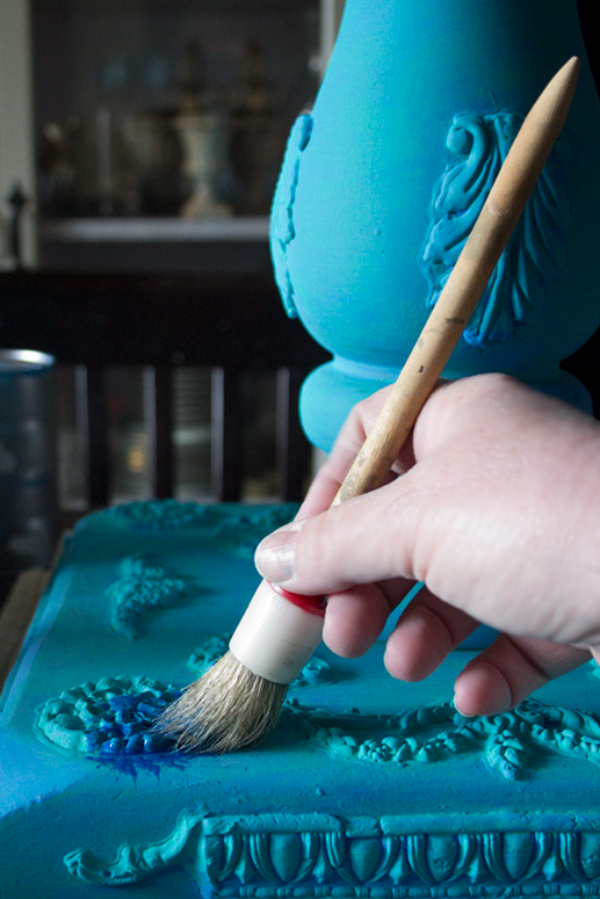
9. Begin by pouncing a generous layer of Sapphire onto an area with a “raggedy” full brush.
10. Using the same brush, add areas of Peacock.
Note: This is an intuitive process – allow yourself the freedom to randomly “blotch” the colors.
The less rigid and formulaic you can be, the more lively the finished product.
11. Continue alternating the colors, blending them as you go, until you have coated the entire piece. If you’re not happy with a particular area, add more color, or gently wipe it back.
Remember to pounce, rather than stroke the colors onto the surface.
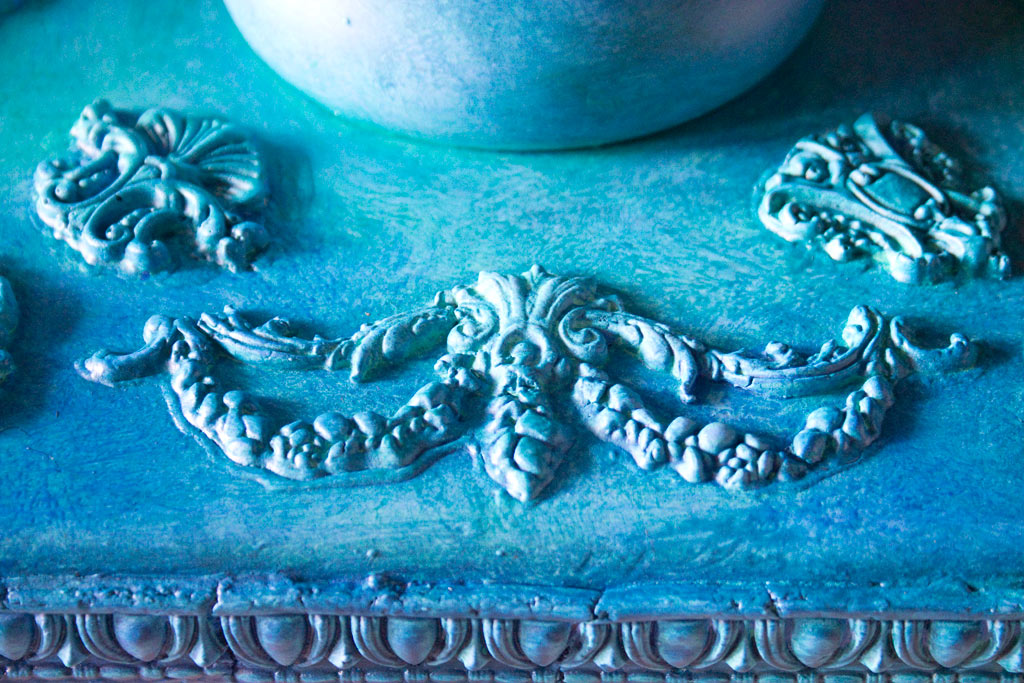
Allow the colors to interact…they play very nicely together:
12. Allow the Spray Wax to dry. It took a little less than an hour, in this case.
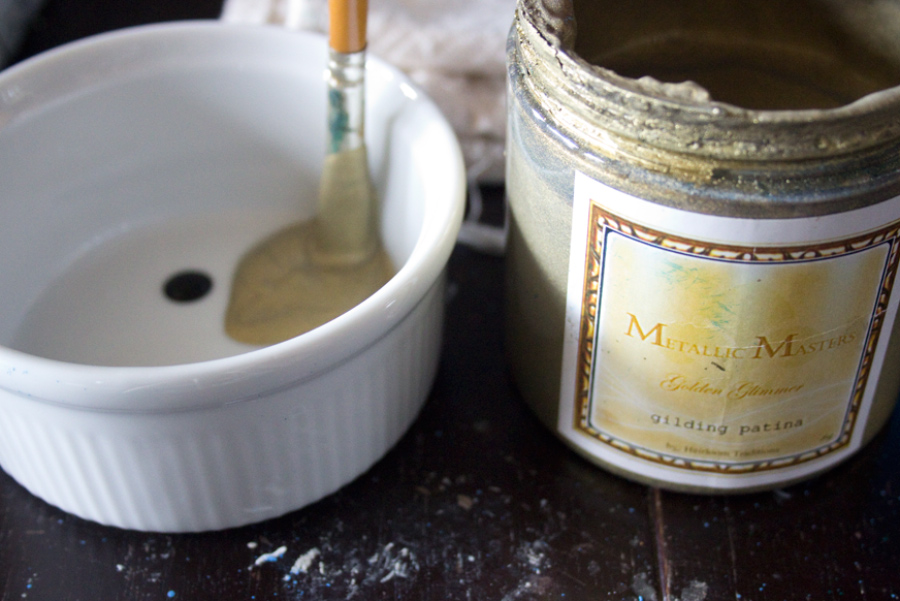
13. Create a slightly ‘vintage’ version of Golden Glimmer Gilding Patina, by adding a single drop of black craft paint to about a tablespoon of Patina. Mix thoroughly.
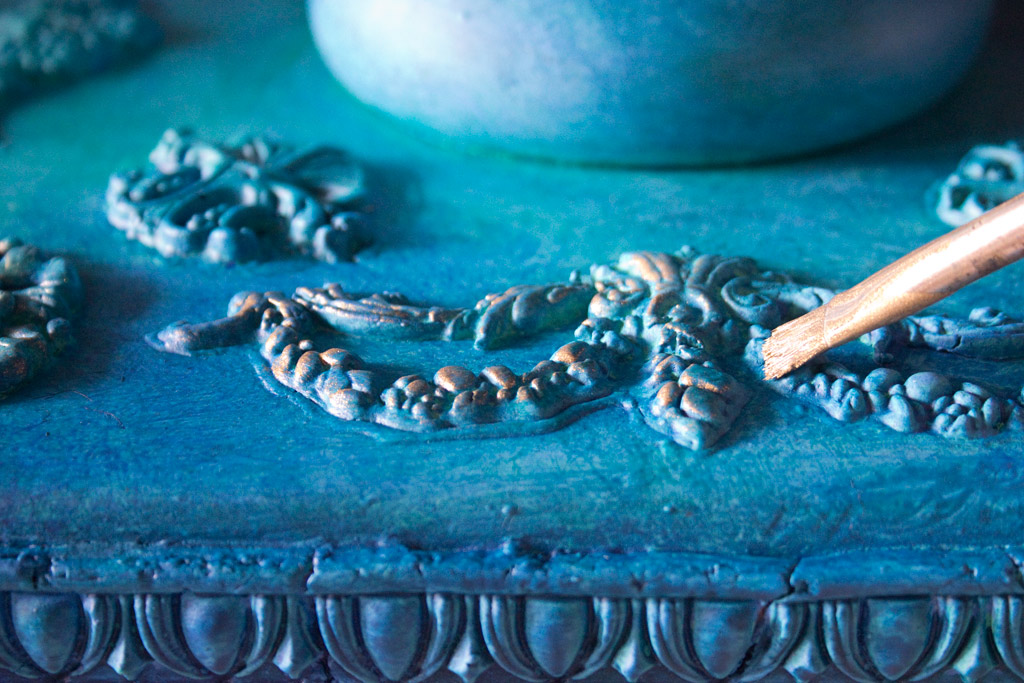
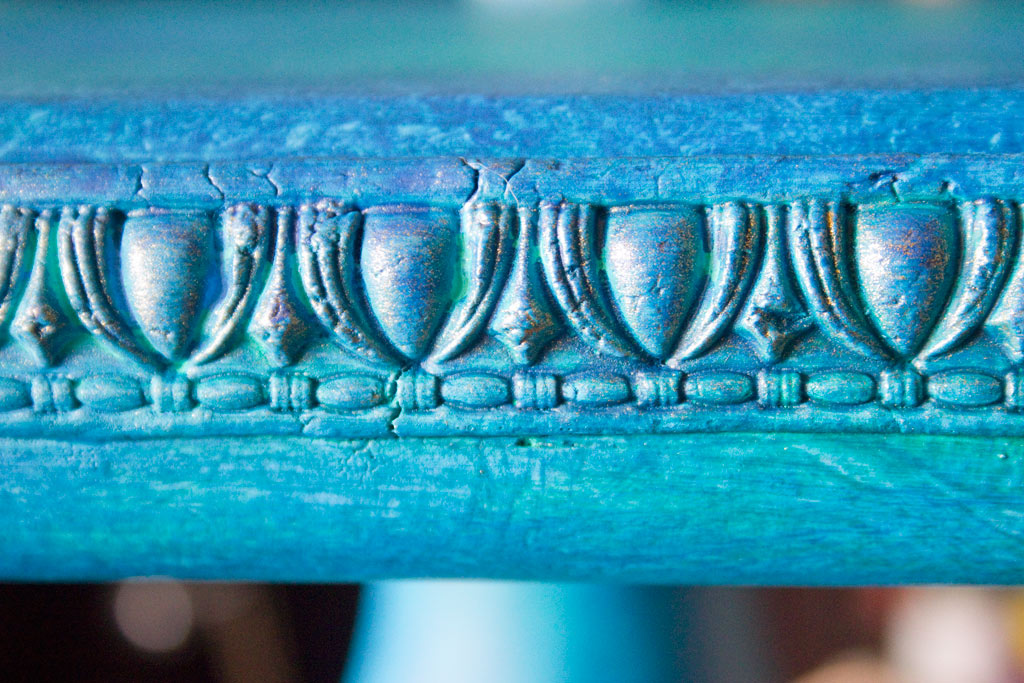
14. Using a flat artists brush, gently add Gilding Patina to the high points of your piece:
If you like, you can gently ‘wipe-back’ the patina with a damp cloth, creating a very subtle metallic sheen:
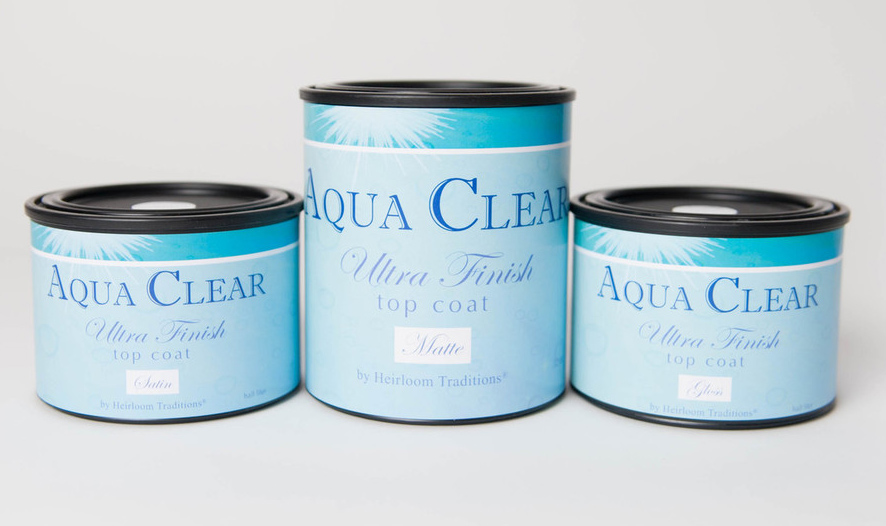
15. Once the Gilding Patina has dried, seal and protect your masterpiece with a coat of Heirloom Traditions Aqua Clear Top Coat. I used the “Matte” version, applied with a smooth bristled nylon paint brush.
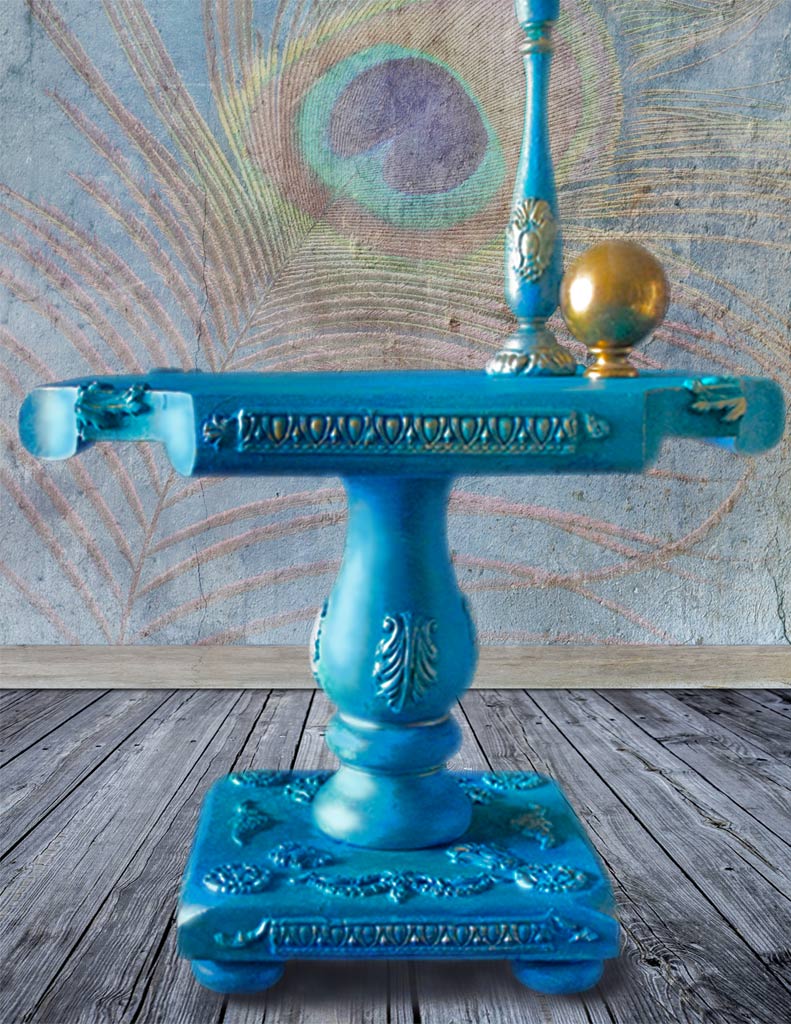
16. Allow it to cure, and revel in the amazing Jewel Tones Painted Furniture Finish you have achieved!
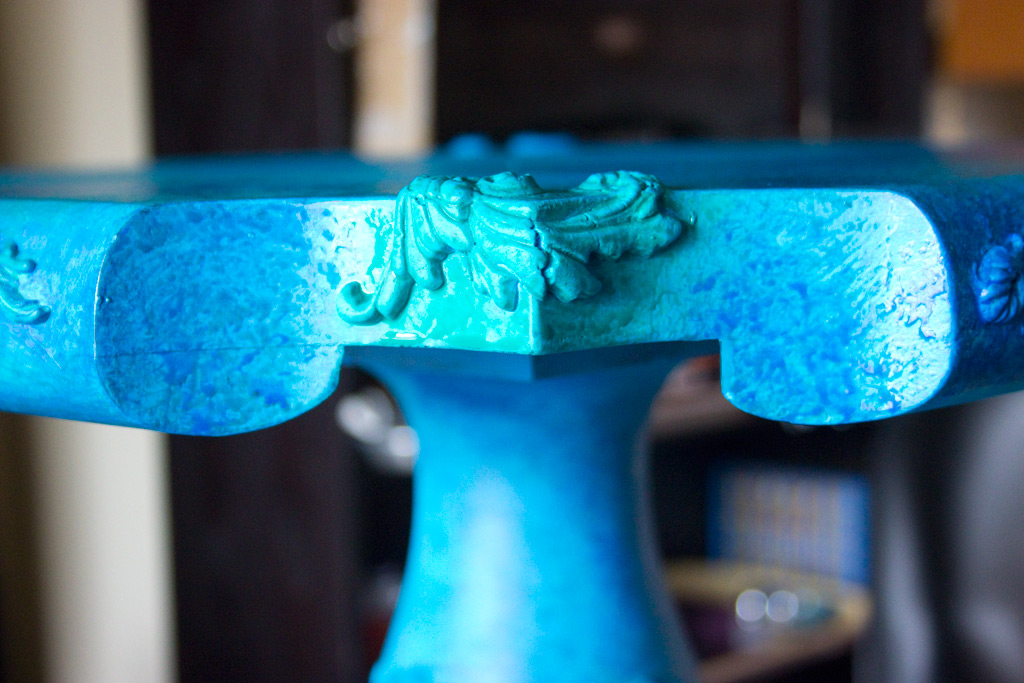
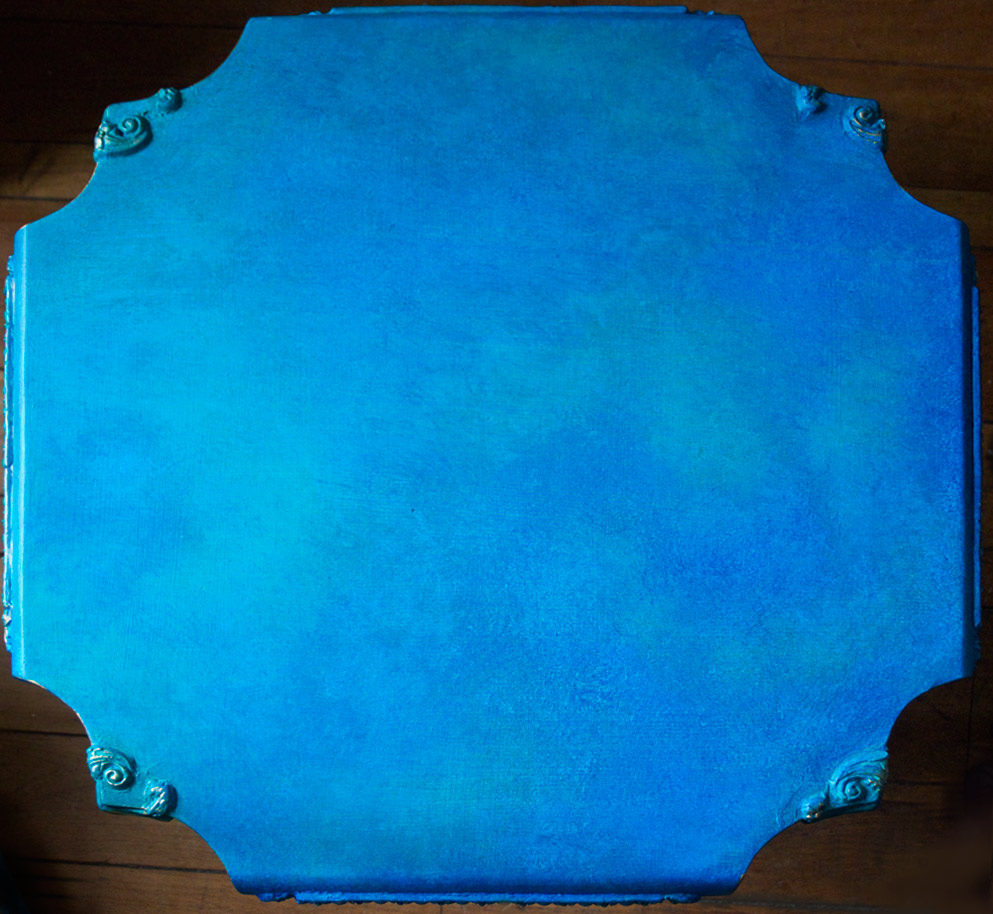
Here is the lovely effect that you achieve by pouncing the Spray Wax colors over a large surface:
I couldn’t be happier with the final result. Maybe now I’ll experiment with color more often!
This little table has begun a new incarnation as a joyfully colorful accent piece, and it was SO EASY!
Many thanks to Tracey, of Tracey’s Fancy, for permission to create a variation of her glorious Gilded Peacock Finish!
For more information on Heirloom Traditions Products, please visit www.heirloomtraditionspaint.com
* Full Disclosure: Heirloom Traditions supplied their products to be used in this project, and they sponsored this post – however, I supplied the elbow grease, rescued furniture, design concept, and color craziness! All of which reflect my own point of view, regardless of affiliation…
It was an absolute joy to delve into this colorful experiment, and the end-product just makes me happy!
Thank you for taking the time to visit The Graphics Fairy today, and I hope this inspires you to create something colorful!
Visit Thicketworks to explore more techniques to enliven your projects – I’d love to meet you!
Heather



Gabrielle Gelly says
Hi, I so loved this effect, the table is gorgeous. I would love to do it another colour way say bronze, dark orange, gold. Can you suggest the colour names for me in the products you used and can I buy all this at an online store and have it shipped to Australia. Can you please let me know what online store to contact or does the company have an Australian stockist.
Thanks for your time, Kind regards, Gabrielle.
Heather Tracy says
Hello Gabrielle! I love your vision of bronzy rich tones used in this manner – wow! I’m linking you to the HTP color range guide: https://www.heirloomtraditionspaint.com/color-cards/
They ship internationally from the same site – so I think you might just find everything you need right there! Good luck on your quest. xox
Mary says
Rich, detailed & inspirational! We all get a bit comfortable with the usual and traditional finishes on wood pieces, but seldom take the risk of doing something so outside the box. Your hard work and creativity produced an awesome transformation. I’m hoping we can all see the possibilities when we next stumble upon a piece of furniture just waiting for a new life and an update. Thanks so much for sharing your hard work and creativity. Mary
Heather Tracy says
Hi Mary! Thanks so much for your thoughtful and encouraging words…fear of failing is a constant companion to anyone who dares to indulge in creativity. Challenging those fears and stepping outside of what is comfortable can result in breakthroughs. This project was a definite breakthrough for me, complete with the fear of ‘failure’. I’m so grateful to have made the leap, and am thrilled to think it might encourage others to dive in, too! Have a lovely day, my friend!
Rupa says
hm…I was drooling profusely when I saw this project and commented but must have not hit “post” or something on my ipad 🙂 THIS IS AN AMAZING PROJECT AND YOUR IDEAS ARE ALWAYS MAKING MY JAW DROP! Truly gorgeous and elegant. I especially have a strong love for bright colors and peacock related ones in particular! I love that bird, the colors, the shine and all its glory! You are very talented and gutsy to take on this complex project and come out a winner every single time!
Heather Tracy says
Oh, Rupa. You are so sweet. Thank you – this leap into the world of color was difficult, but I learned so much. It’s a true pleasure to push past one’s personal comfort zone, and risk falling flat on your face, when there are lovely folks like you who are so supportive. Have a wonderful day, my friend.
Debbie says
This table is soooo beautiful! I’m also in love with the Peacock feather wall!! Did you do that too?
Heather Tracy says
Hi Debbie, thank you so much! I can’t take credit for the wall…it’s a background I created in Photoshop!
Kristen says
This sooo inspiring, and your step-by-step directions are amazingly helpful. You’ve encouraged me to try a project like this.
Heather Tracy says
Hi Kristen – Thanks for making my day! If you’re inspired, I’m HAPPY! Go for it, you’ll surprise yourself (in a good way)
Kathy Groah says
I for one am a person who relishes in jewel tones rather than neutrals. That being said I absolutely positively think this is one of the most extraordinary transformations I have seen. Kudos!
Heather Tracy says
Hello Kathy – it’s lovely to see you here! I think I may come around – neutrals are safe and ‘easy’, but jewel tones are dramatic and exciting. Thank you so much for your inspiring comment, it makes me feel more Color Courageous!
Jean Tuthill says
The colors you chose are beautiful and so harmonious. It’s beautiful!
Heather Tracy says
Hi Jean! Thank you for your kind words…
Color is powerful stuff. I didn’t know how much I would adore this finish, but it’s stolen my heart!
Elizabeth says
WOW!!! This is amazing. What a transformation.
Heather Tracy says
Hey Elizabeth – You are very sweet! Thank you so much for taking time out from your busy day to leave such a lovely comment.