

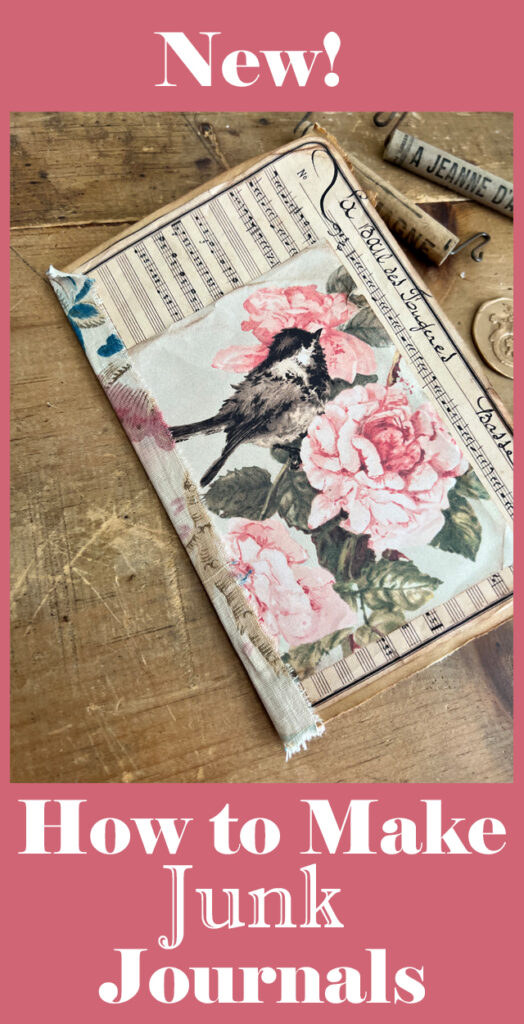
Journal Binding
Hello Friends! I am Heather from Ruby & Pearl xo. Welcome to Part 2 of our series on how to create a Junk Journal. In this section we will be working on how to bind your journal together. Don’t worry, I’ll share all of my best tips and tricks for Journal Binding with you to make it easy! 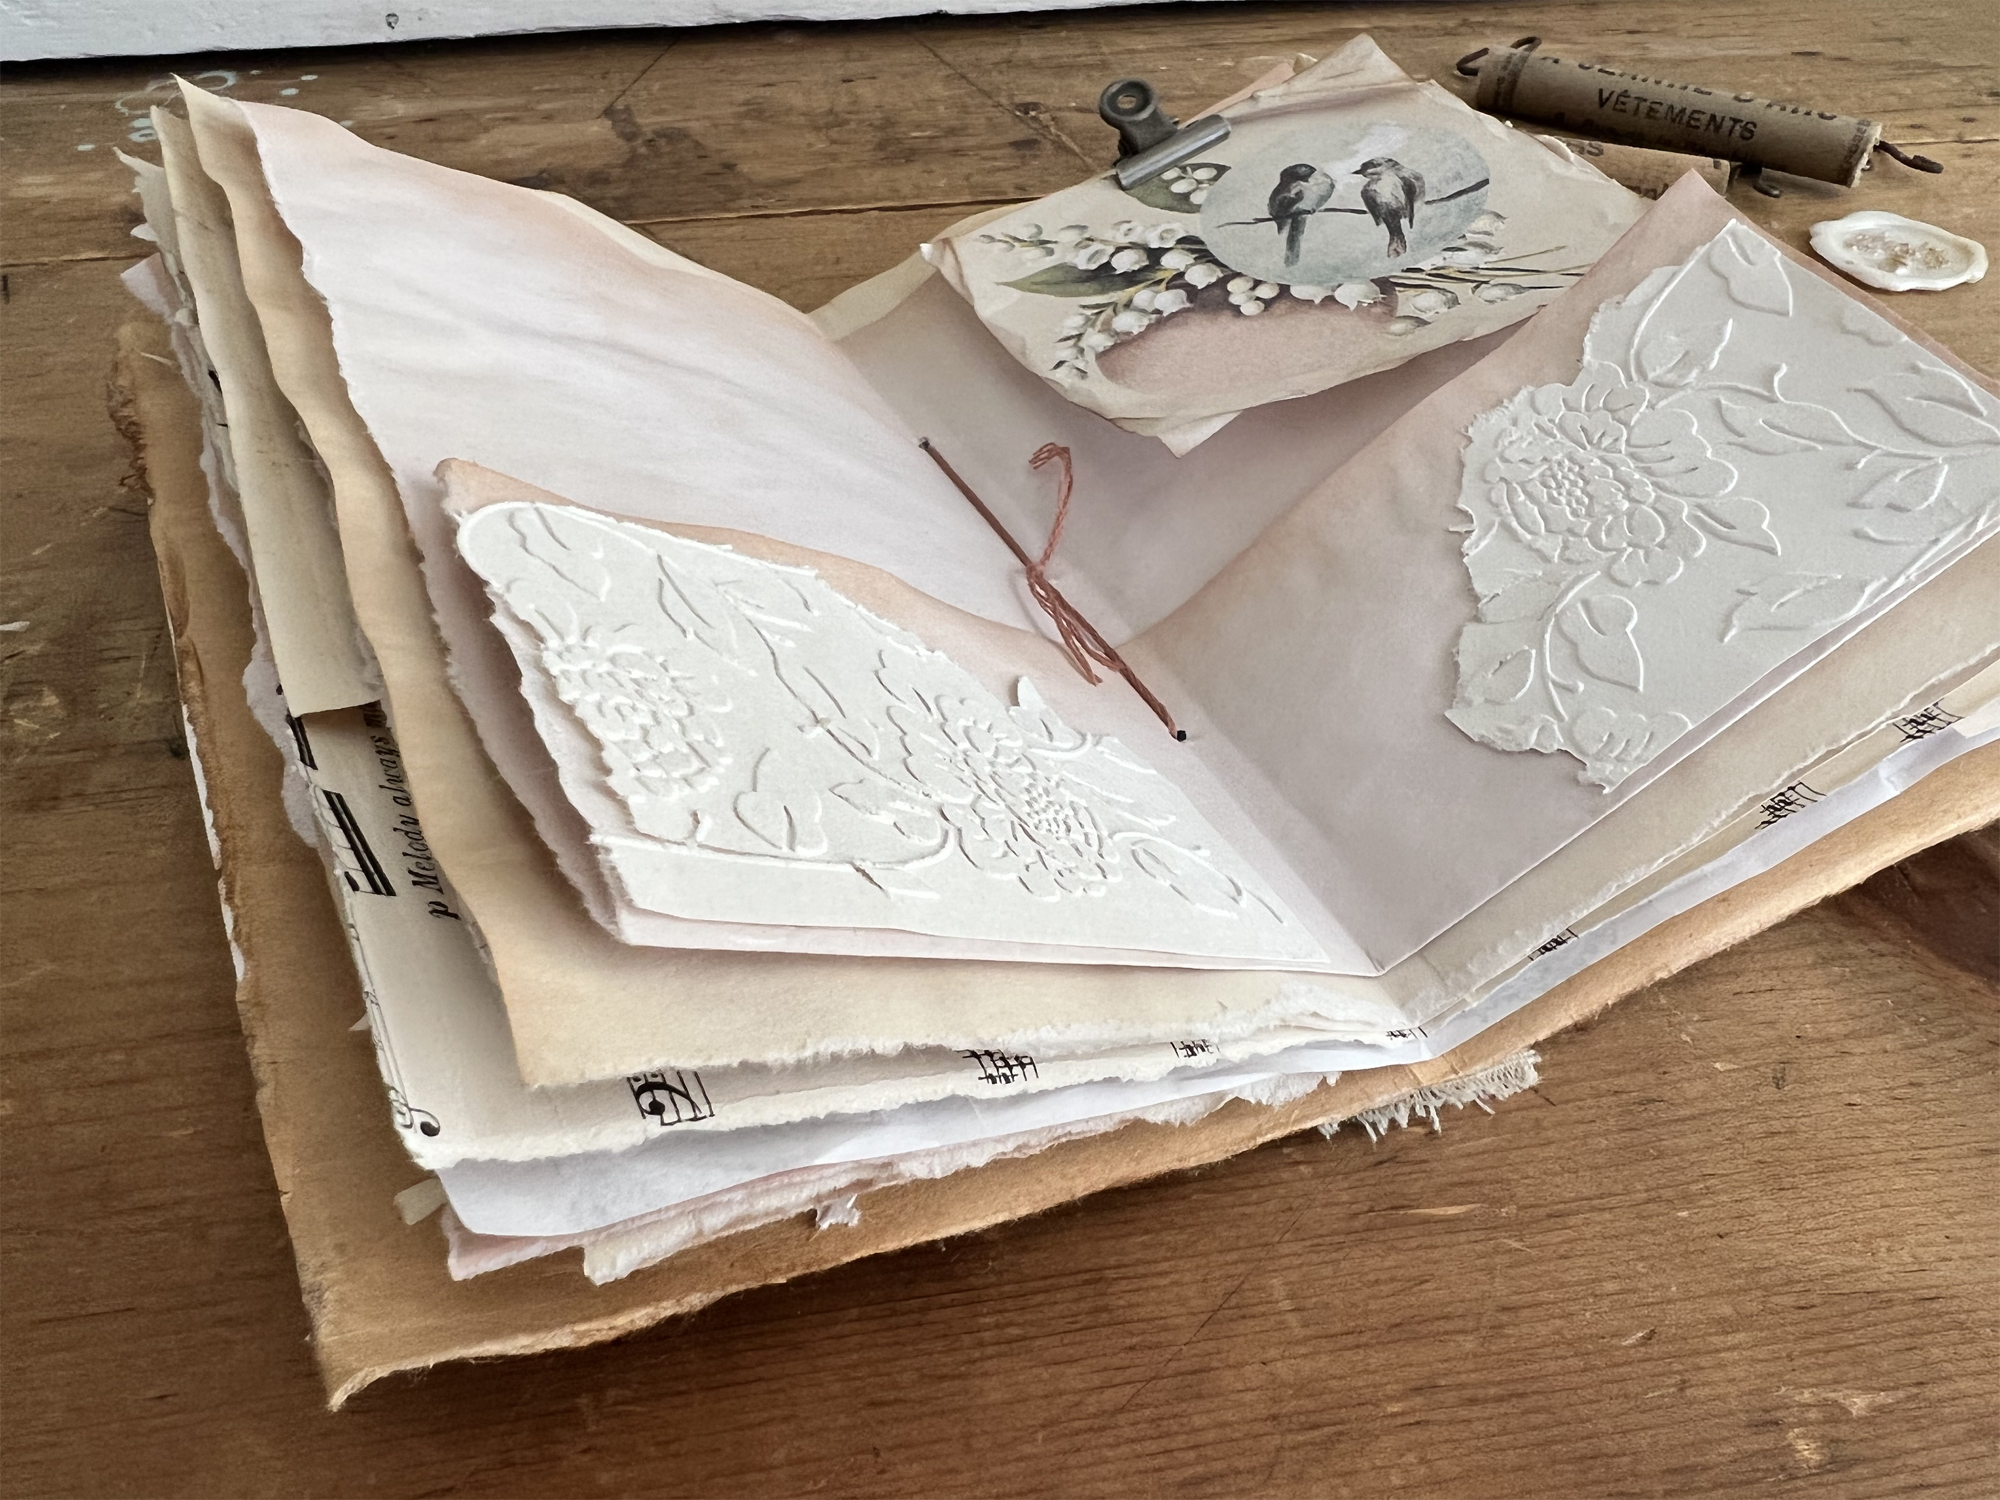
The first step is to fold all of your pages (I have used 10 folded papers of various sizes) inside your journal just as you would like them to appear when you turn the pages. Clip the pages at the top and bottom so they stay put. 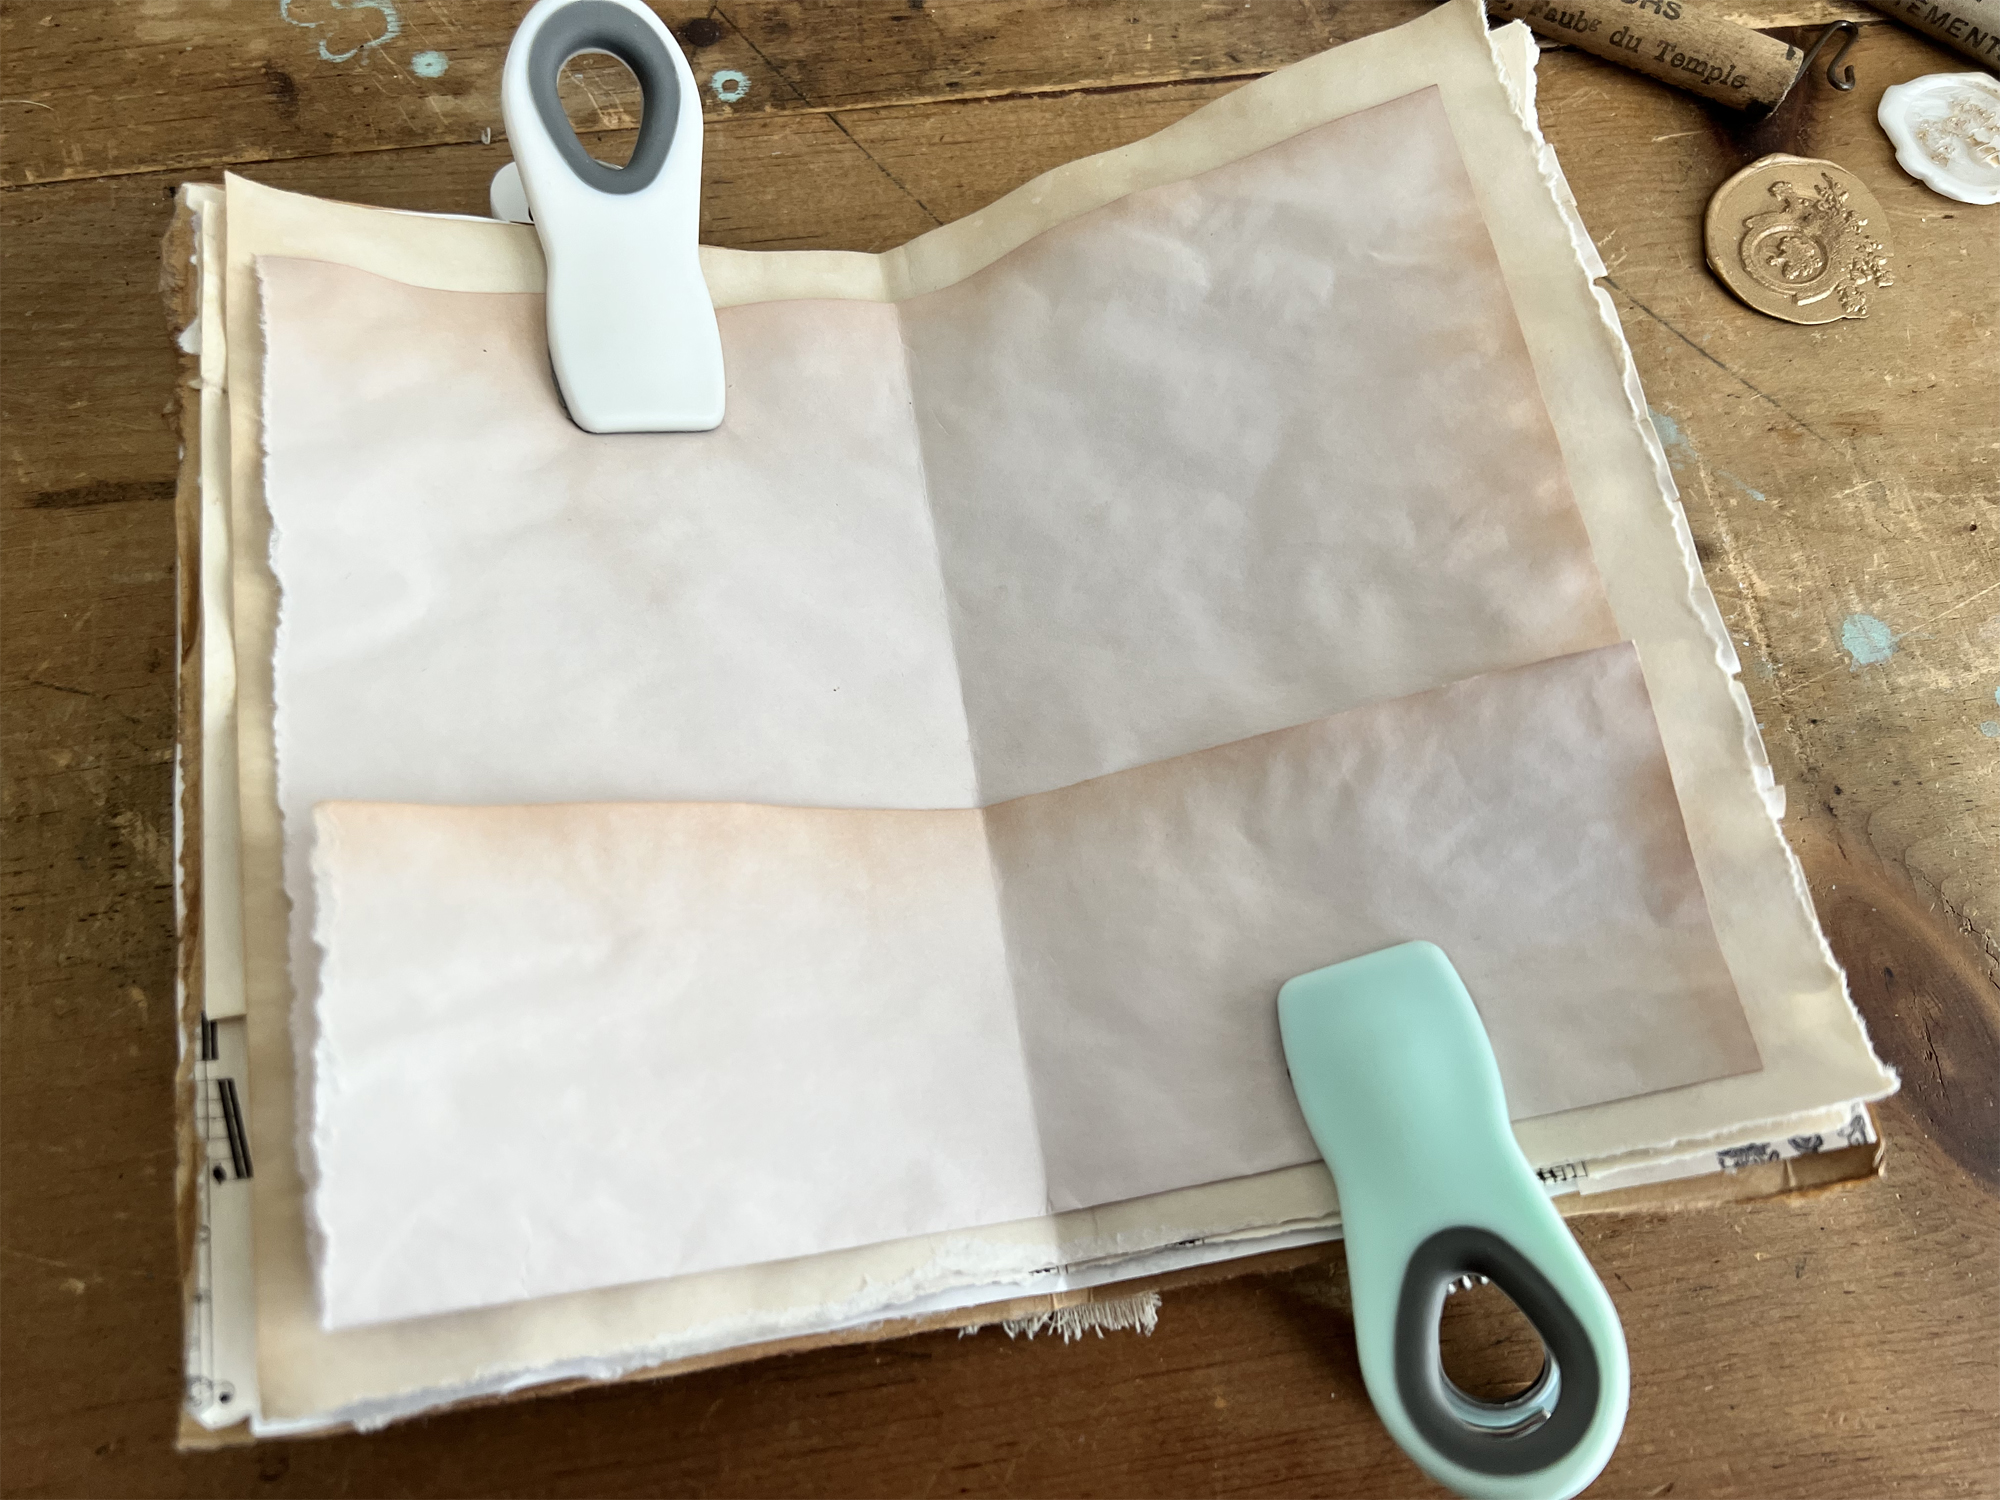
Journal Binding Supplies:
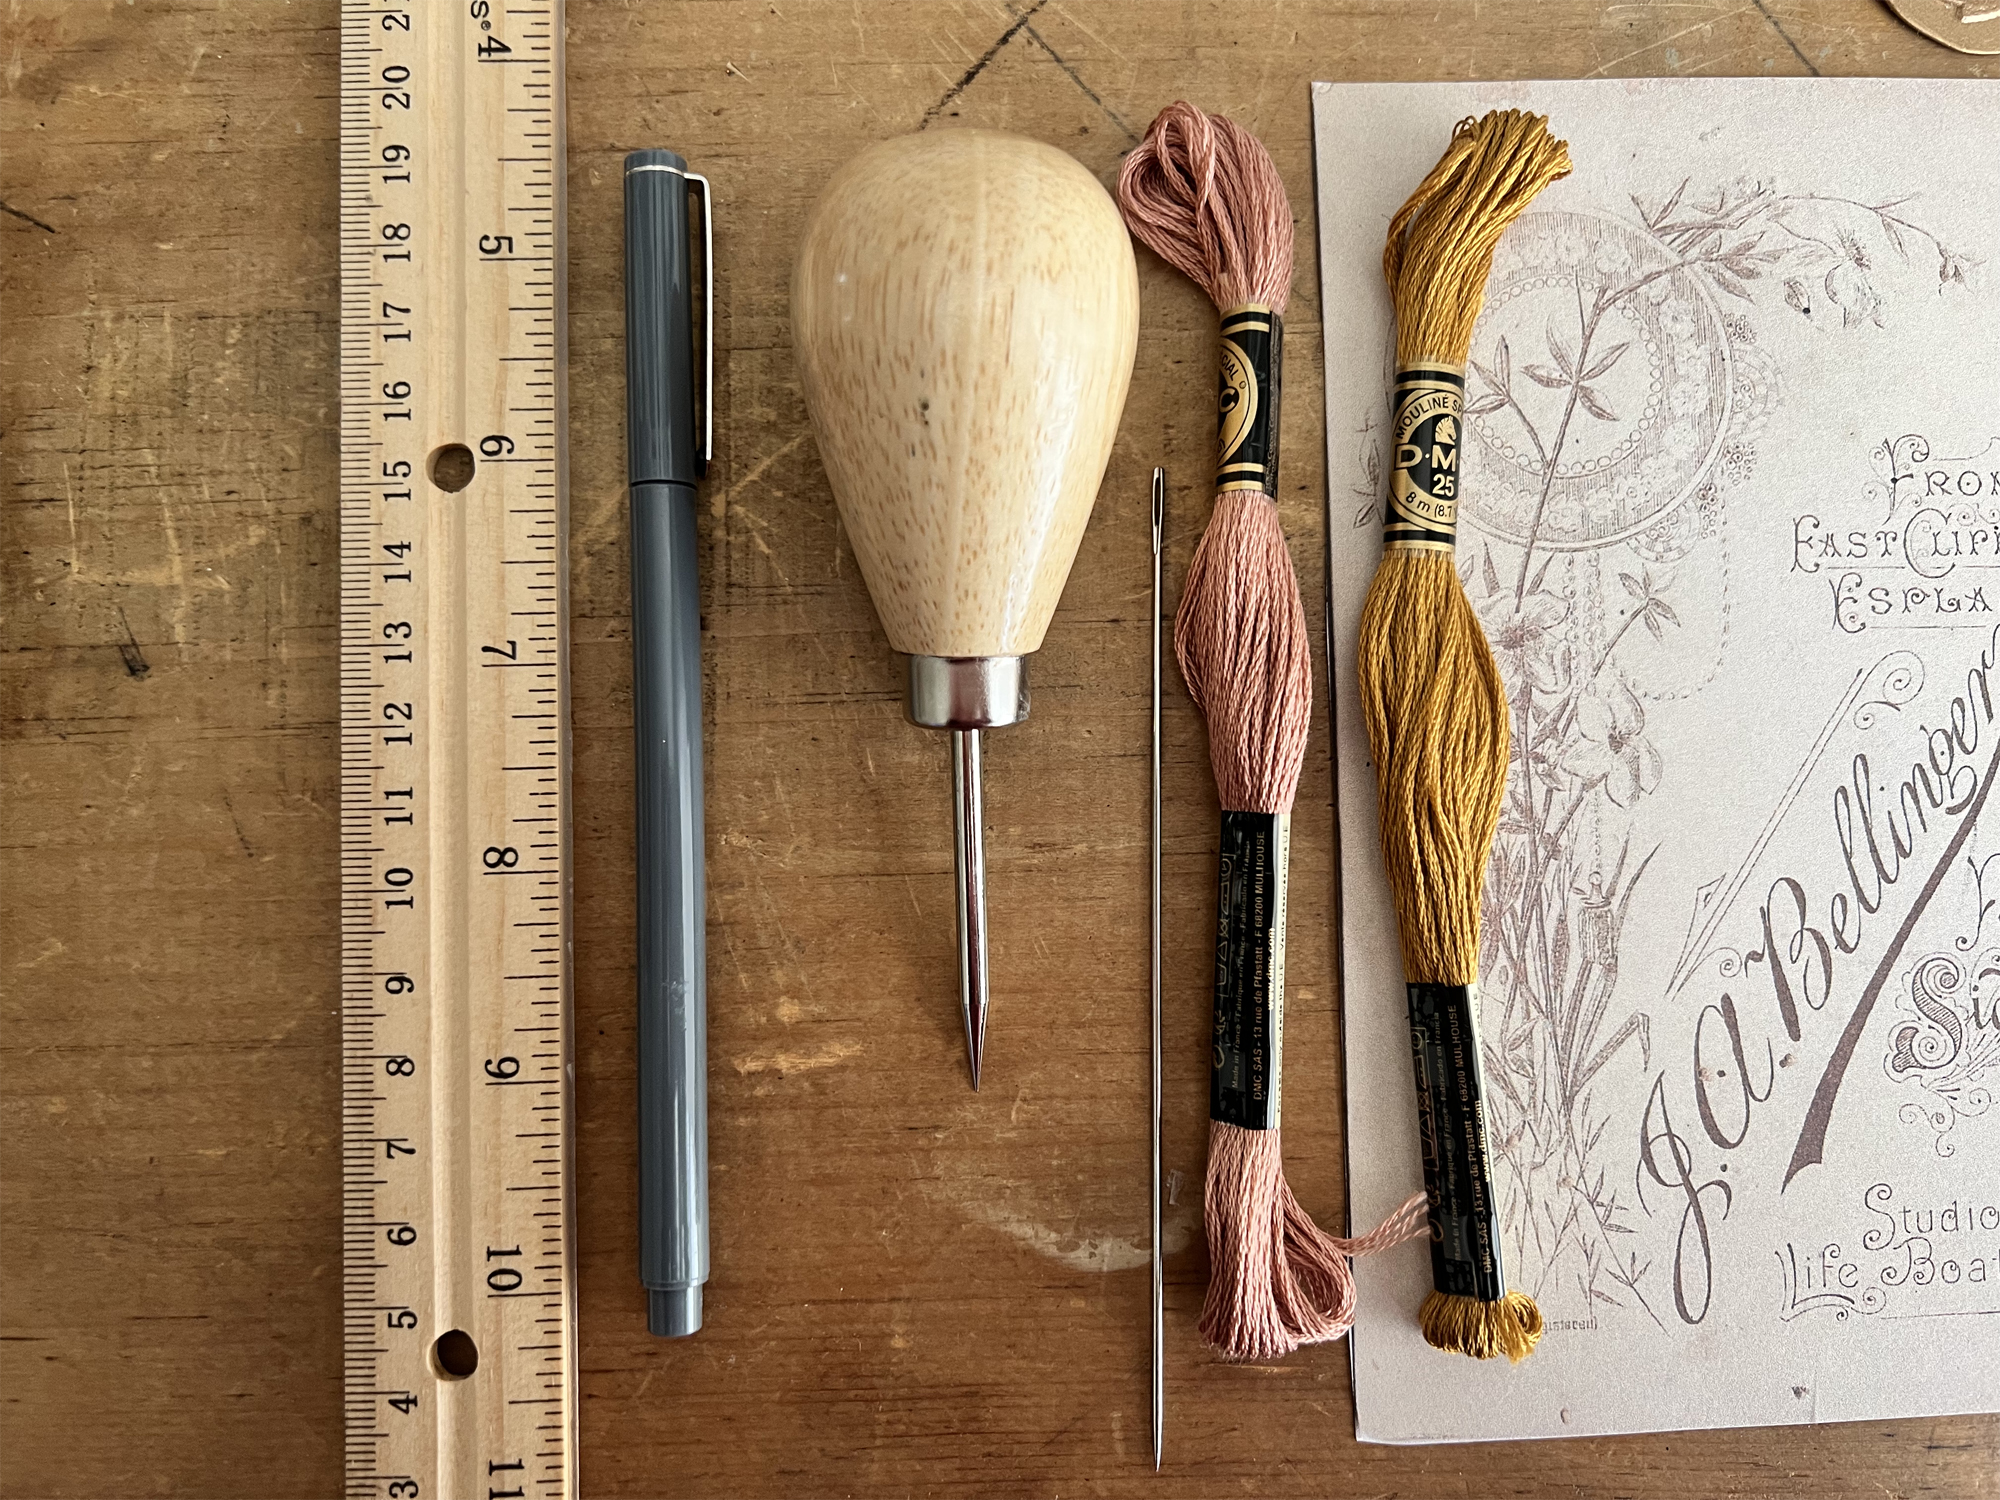
Next we will need some supplies for our bookmaking project, you will need the following:
Ruler
Pen or Pencil
Needle (I am using a fairy large one as it is easiest)
Embroidery Thread
Instructions:
Begin by finding and marking the center of your page along the crease with your pen. Then measure up and down from the center 1 1/2″ and mark.
Next you will use your awl tool and poke holes into each mark being sure to go through all the stack of pages and come out the other side of the journal. Warning … and Awl is a sharp tool so be use with caution. Make sure you keep it away from Kids. 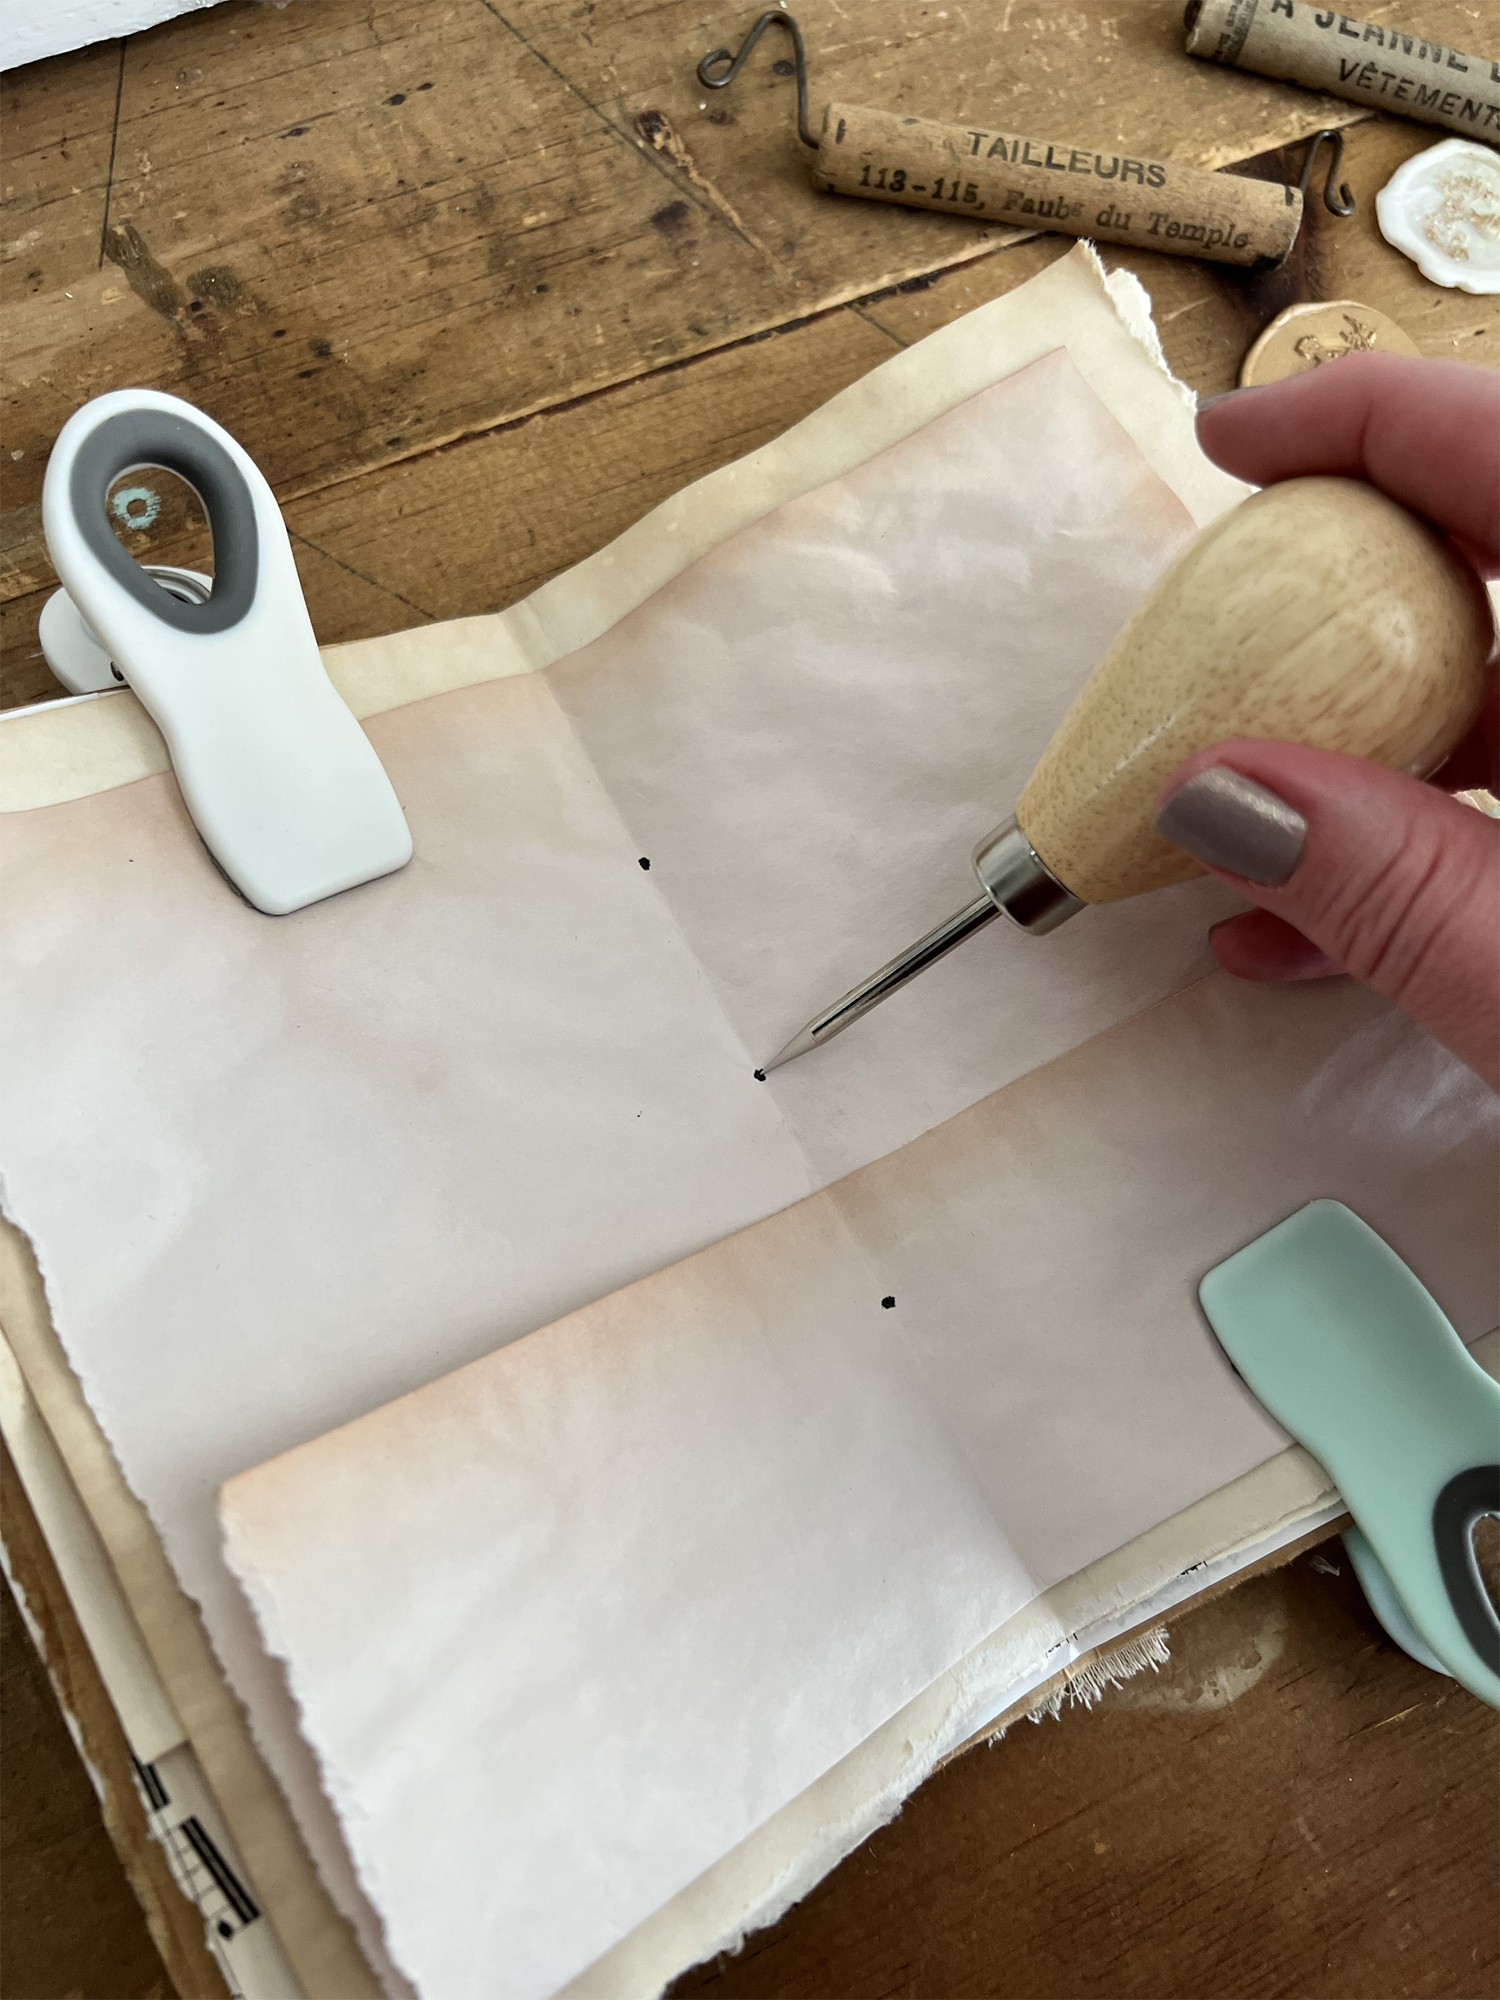
Next, thread your needle and loop the embroidery floss through leaving a good length to work with.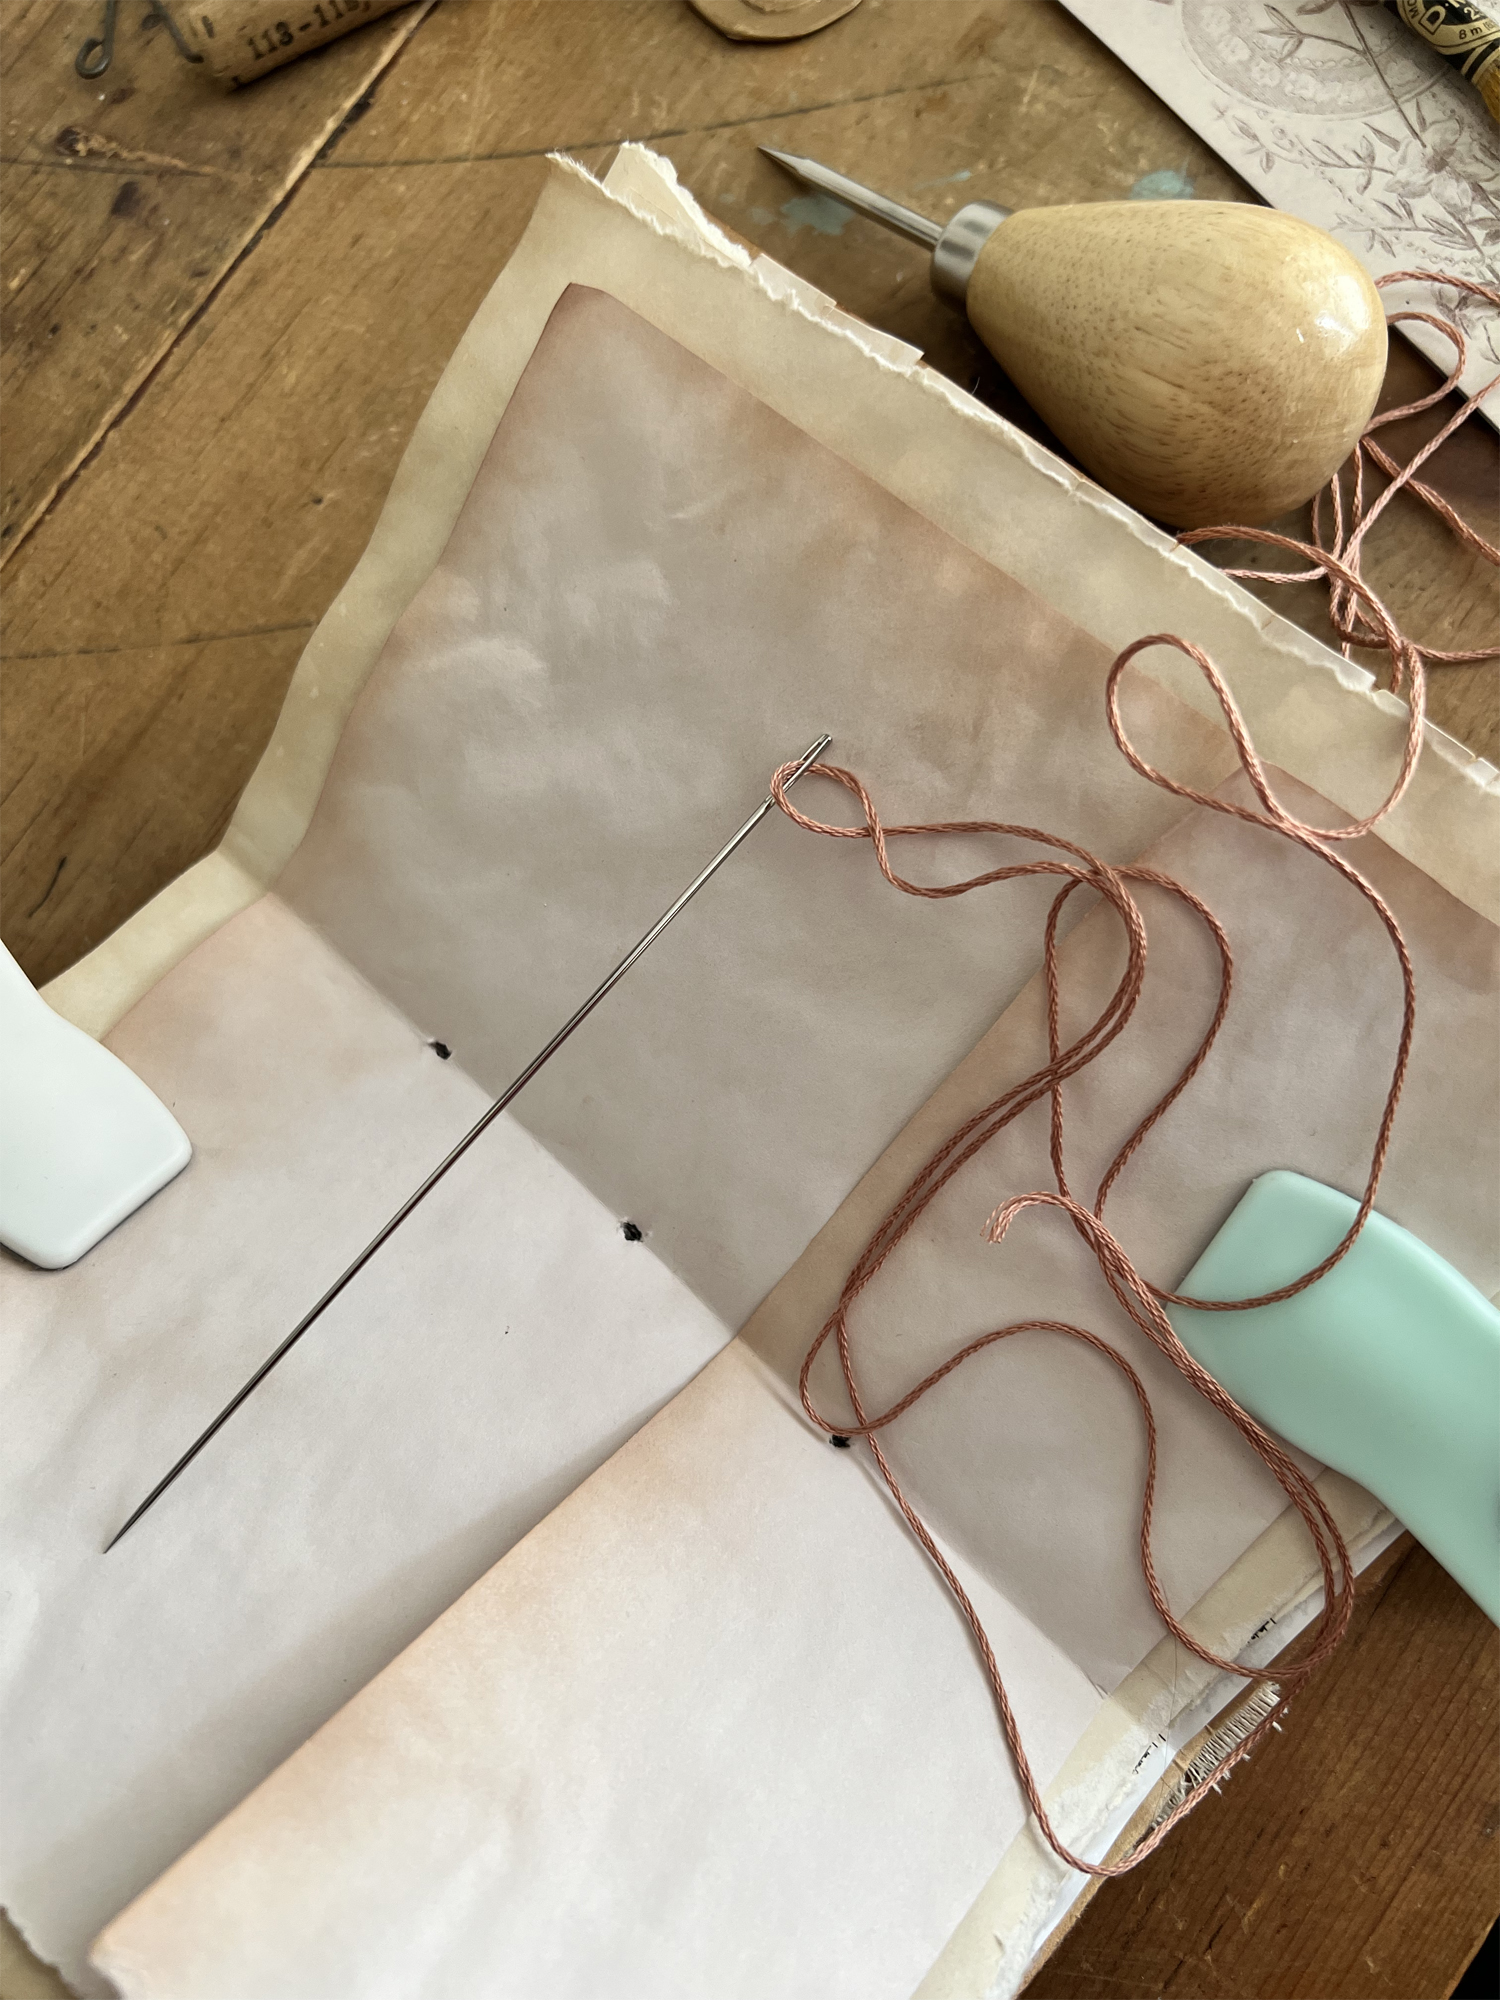
Now we will being the binding…
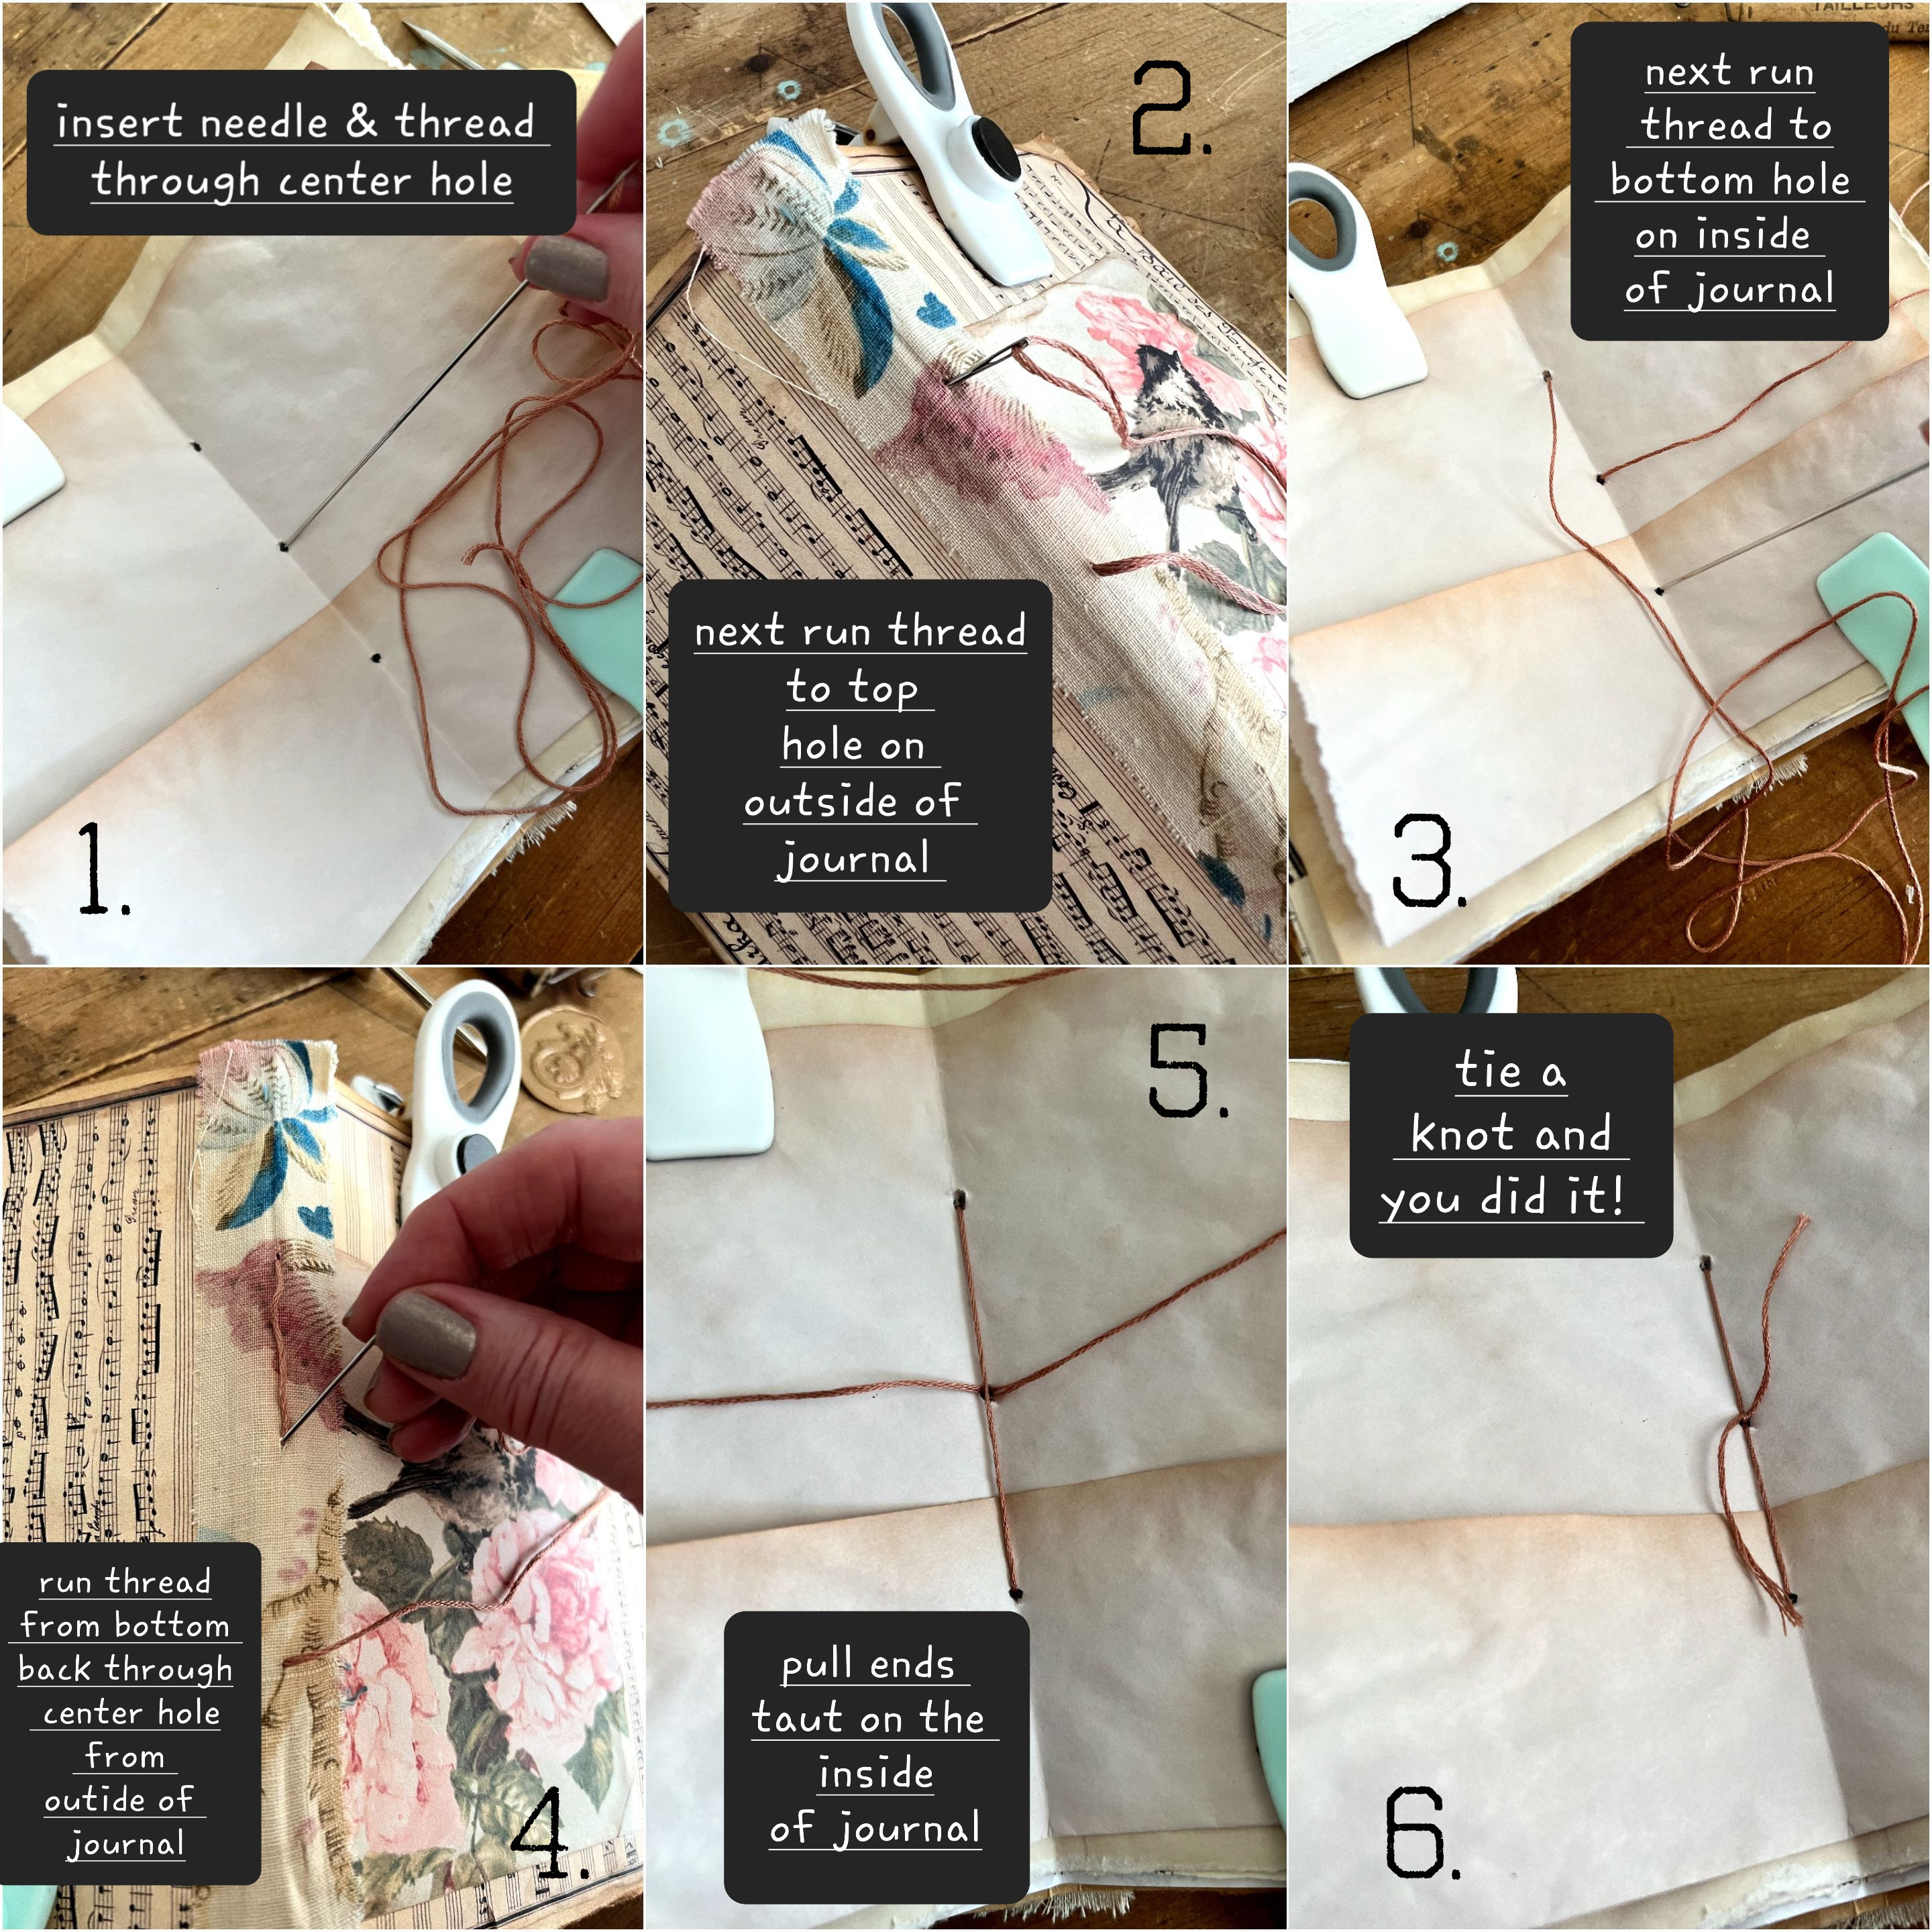
Step 1: Insert the needle and thread through the center hole.
Step 2: Next run the thread to the top hole on the outside of the spine.
Step 3: Run the thread to the bottom last hole on the side of the journal.
Step 4: Run the thread from bottom back through the center hole from the outside of the book.
Step 5: Pull the ends of the stitches taught on the inside.
Step 6: Tie a knot and you are finished! You will have a little loose tail at the end. Now see … that wasn’t too bad and the sewing was minimal!
Now your journal is bound together!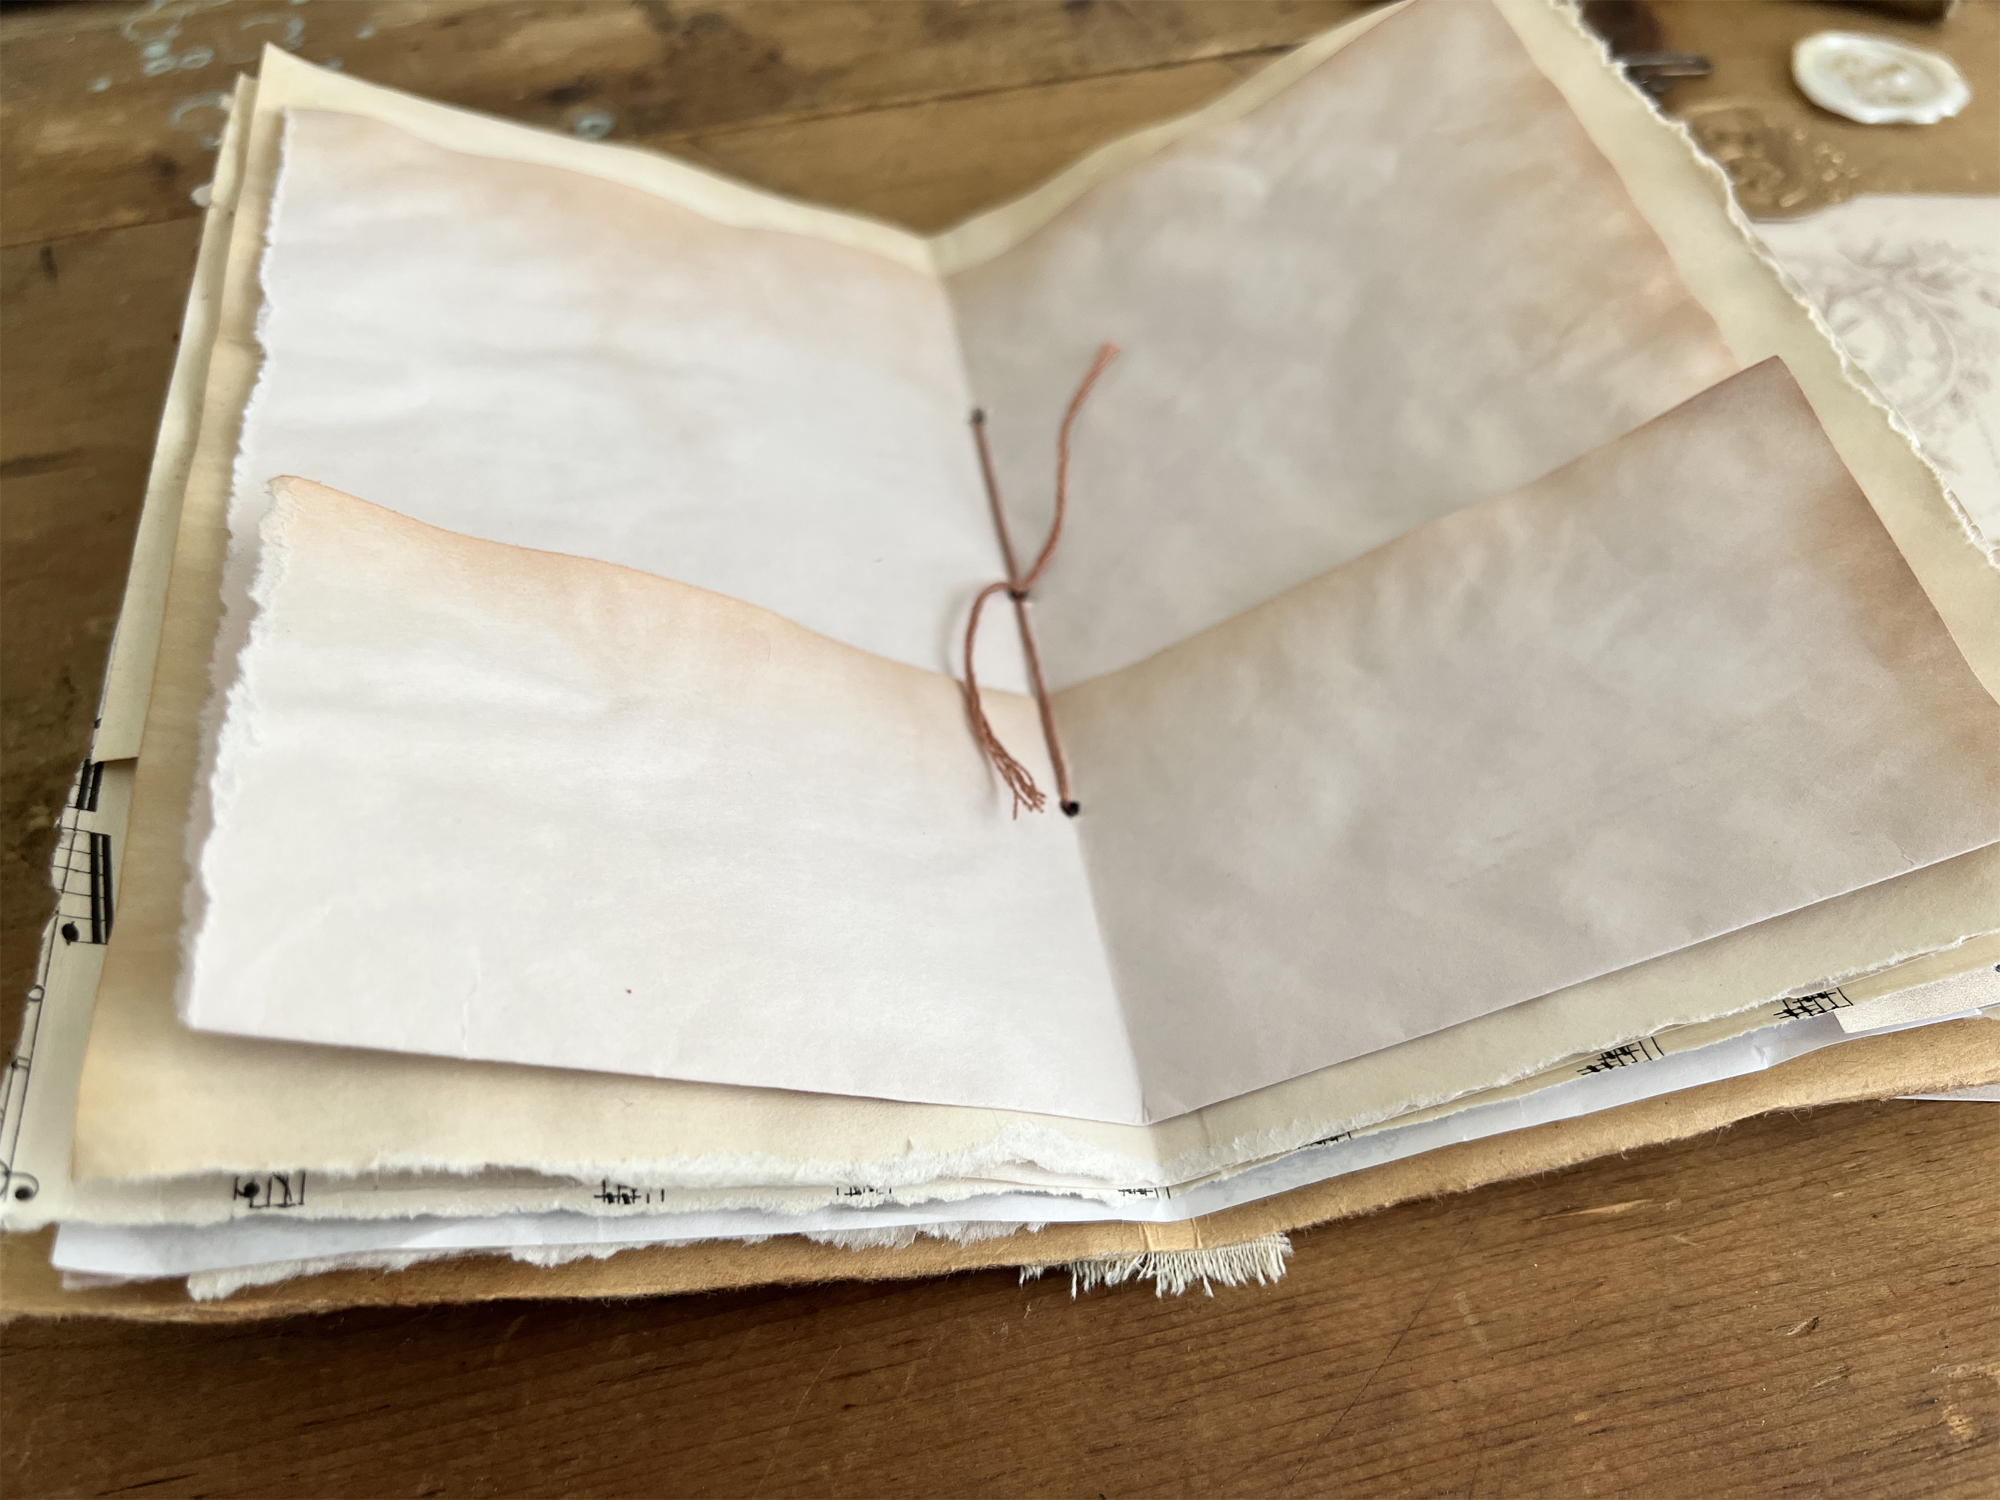
You can see how pretty the thread looks on the outside.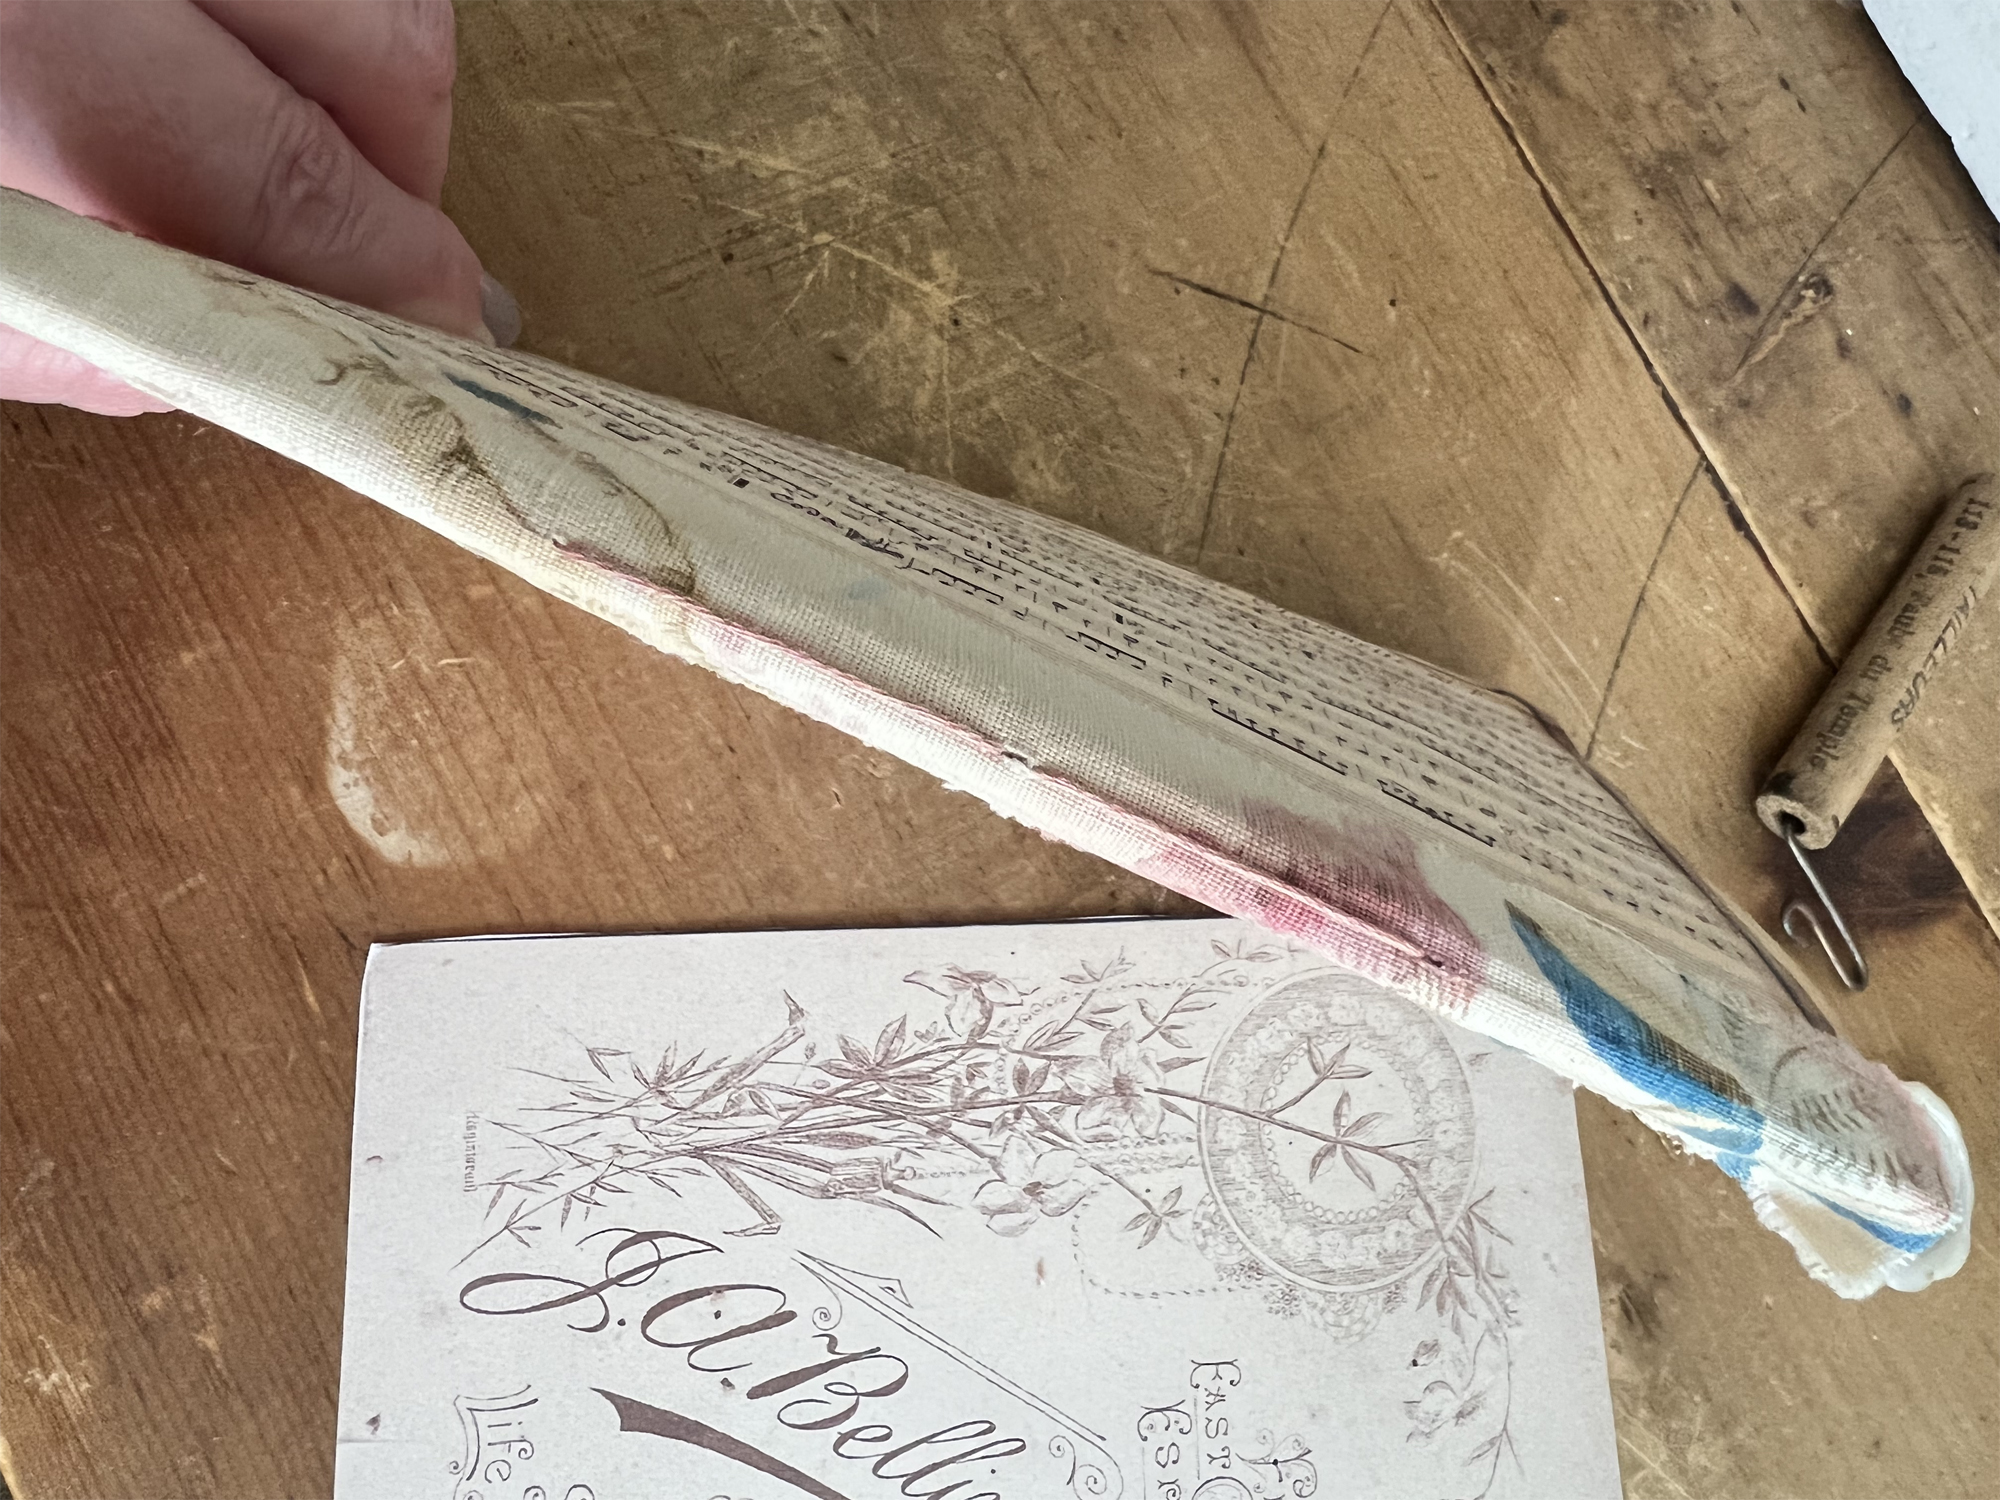
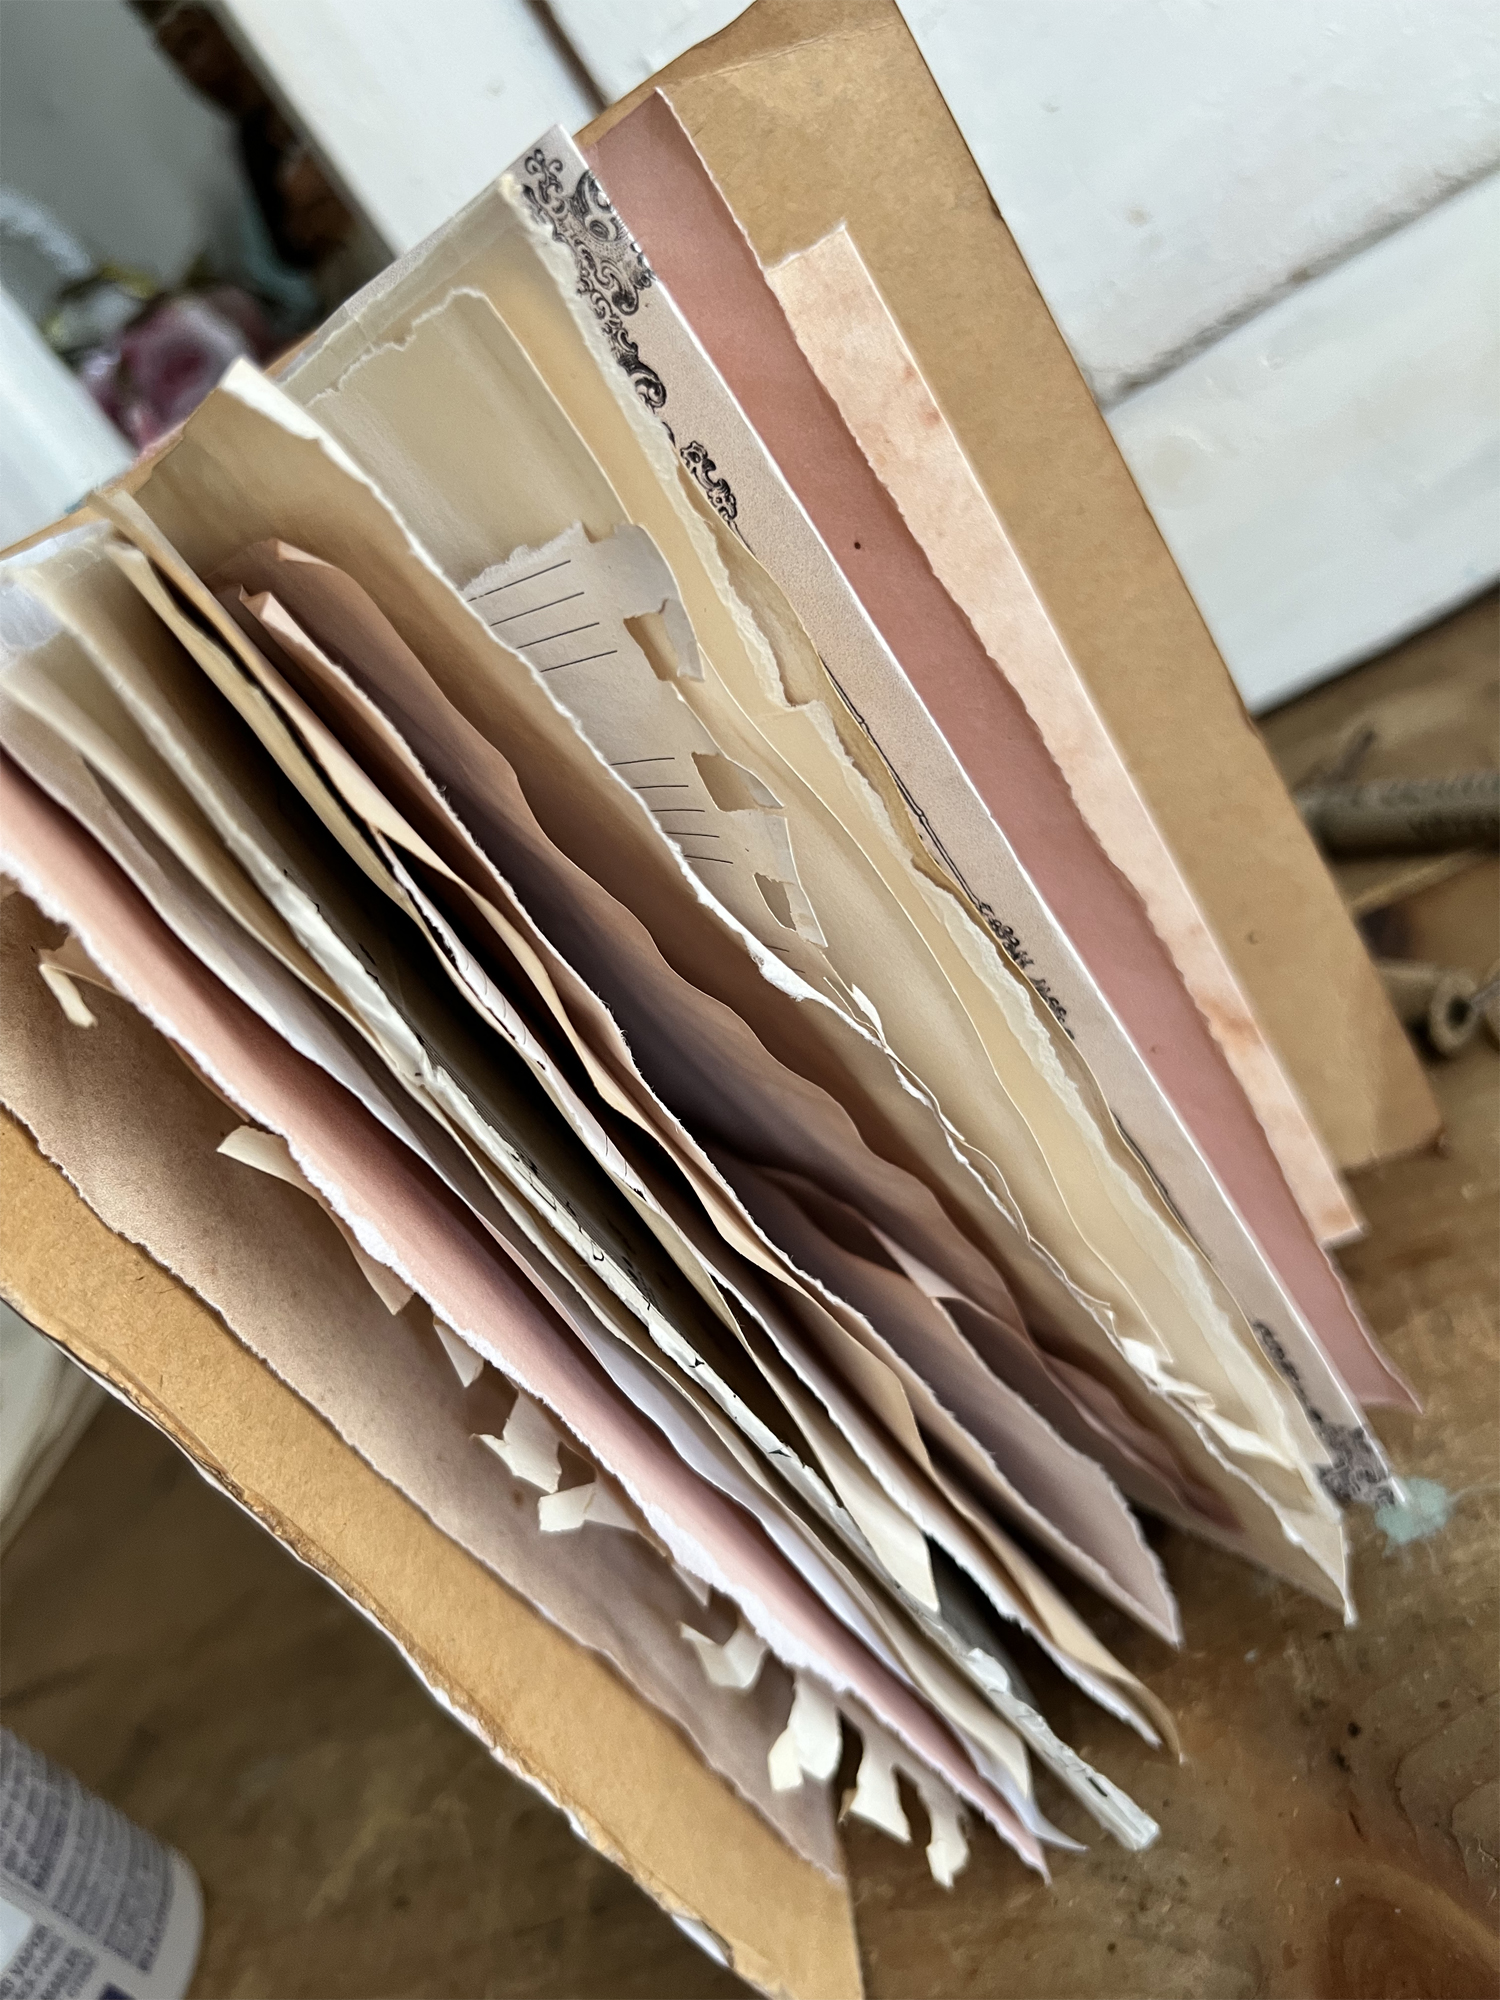
And your pages are all peeking out of the front cover with many different colors and textures. This is my favorite part of a Junk Journal!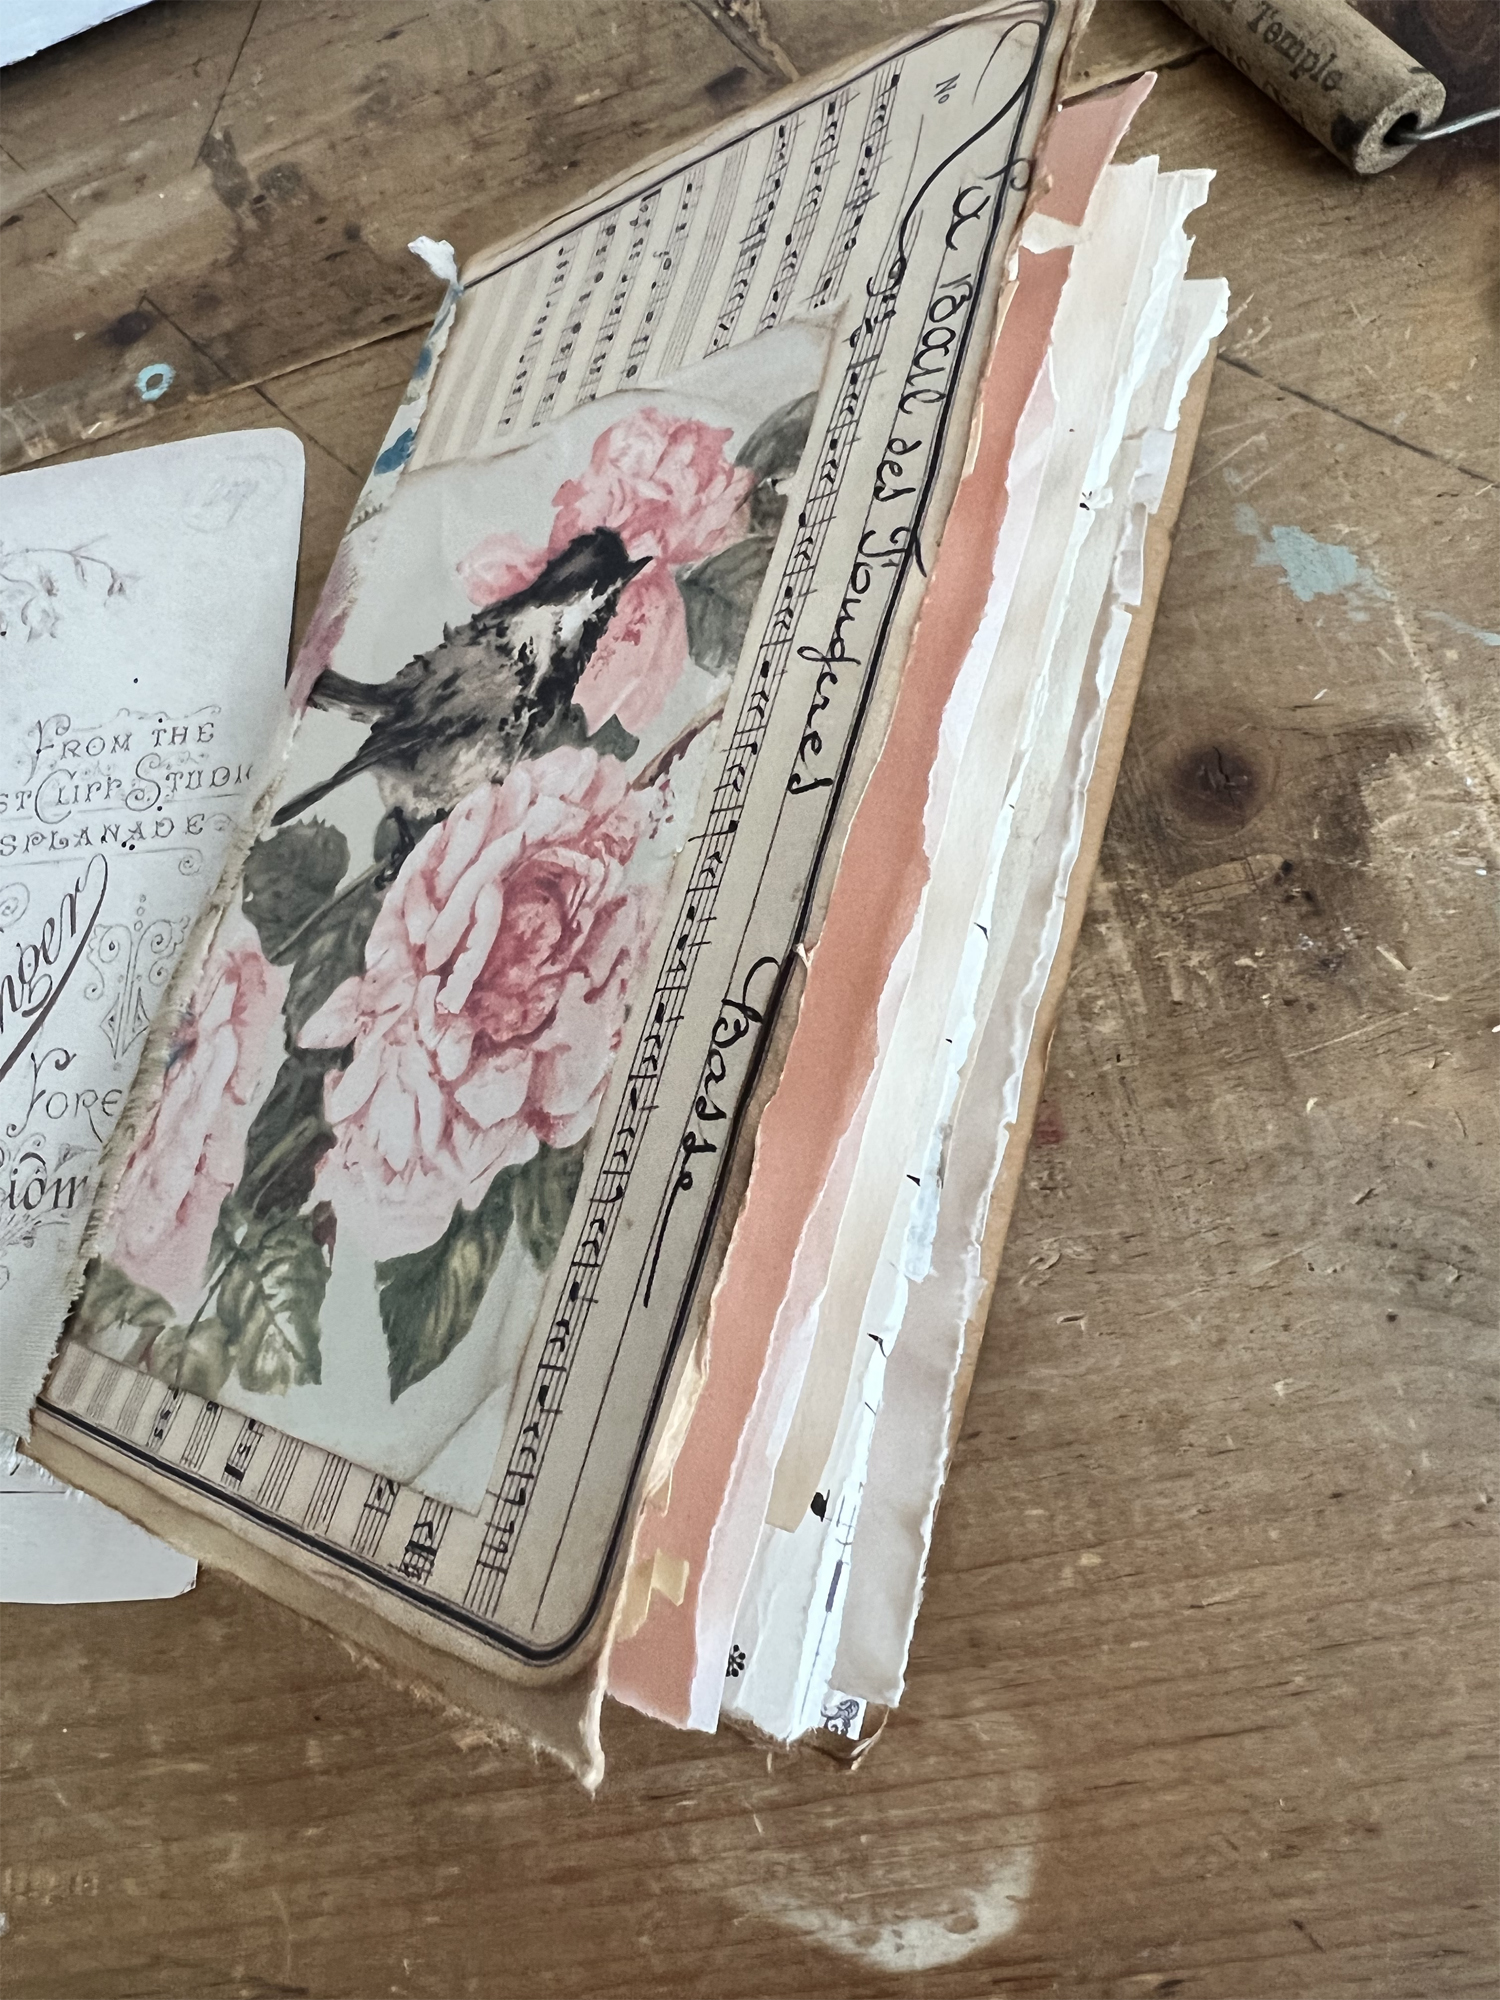
Overall it’s pretty much a finished book at this point, but of course we want to pretty it up even more and add more interest to it.
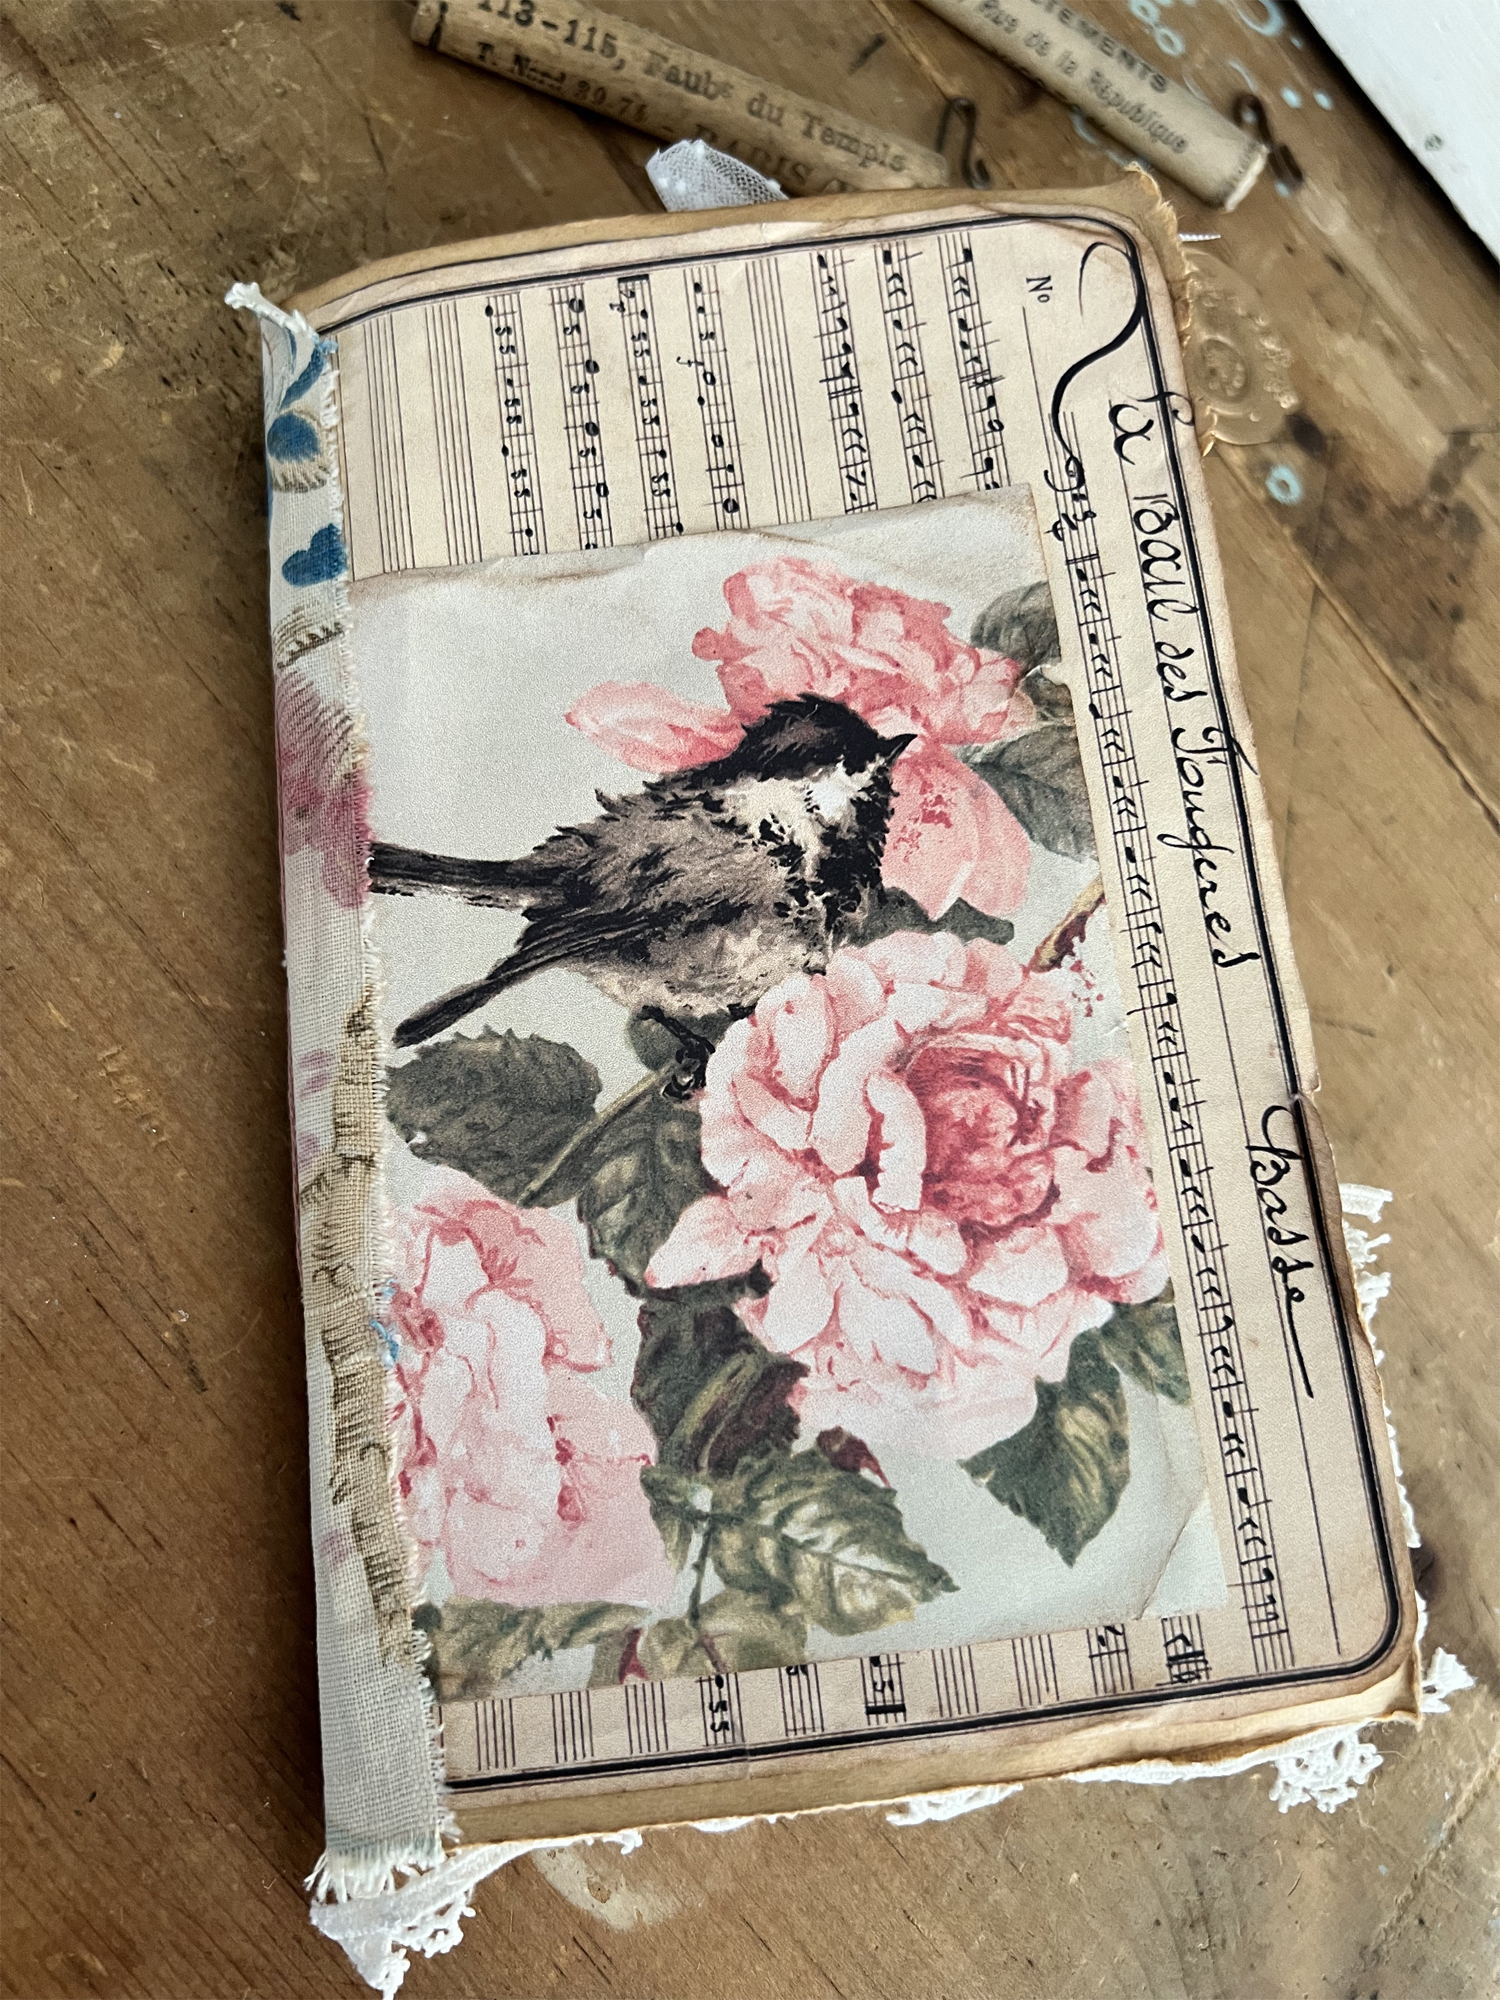
Before we end this part, we will pretty up the center pocket page! I love this image of the little birds on the branch so I am going to simply combine this image with a few embossed papers.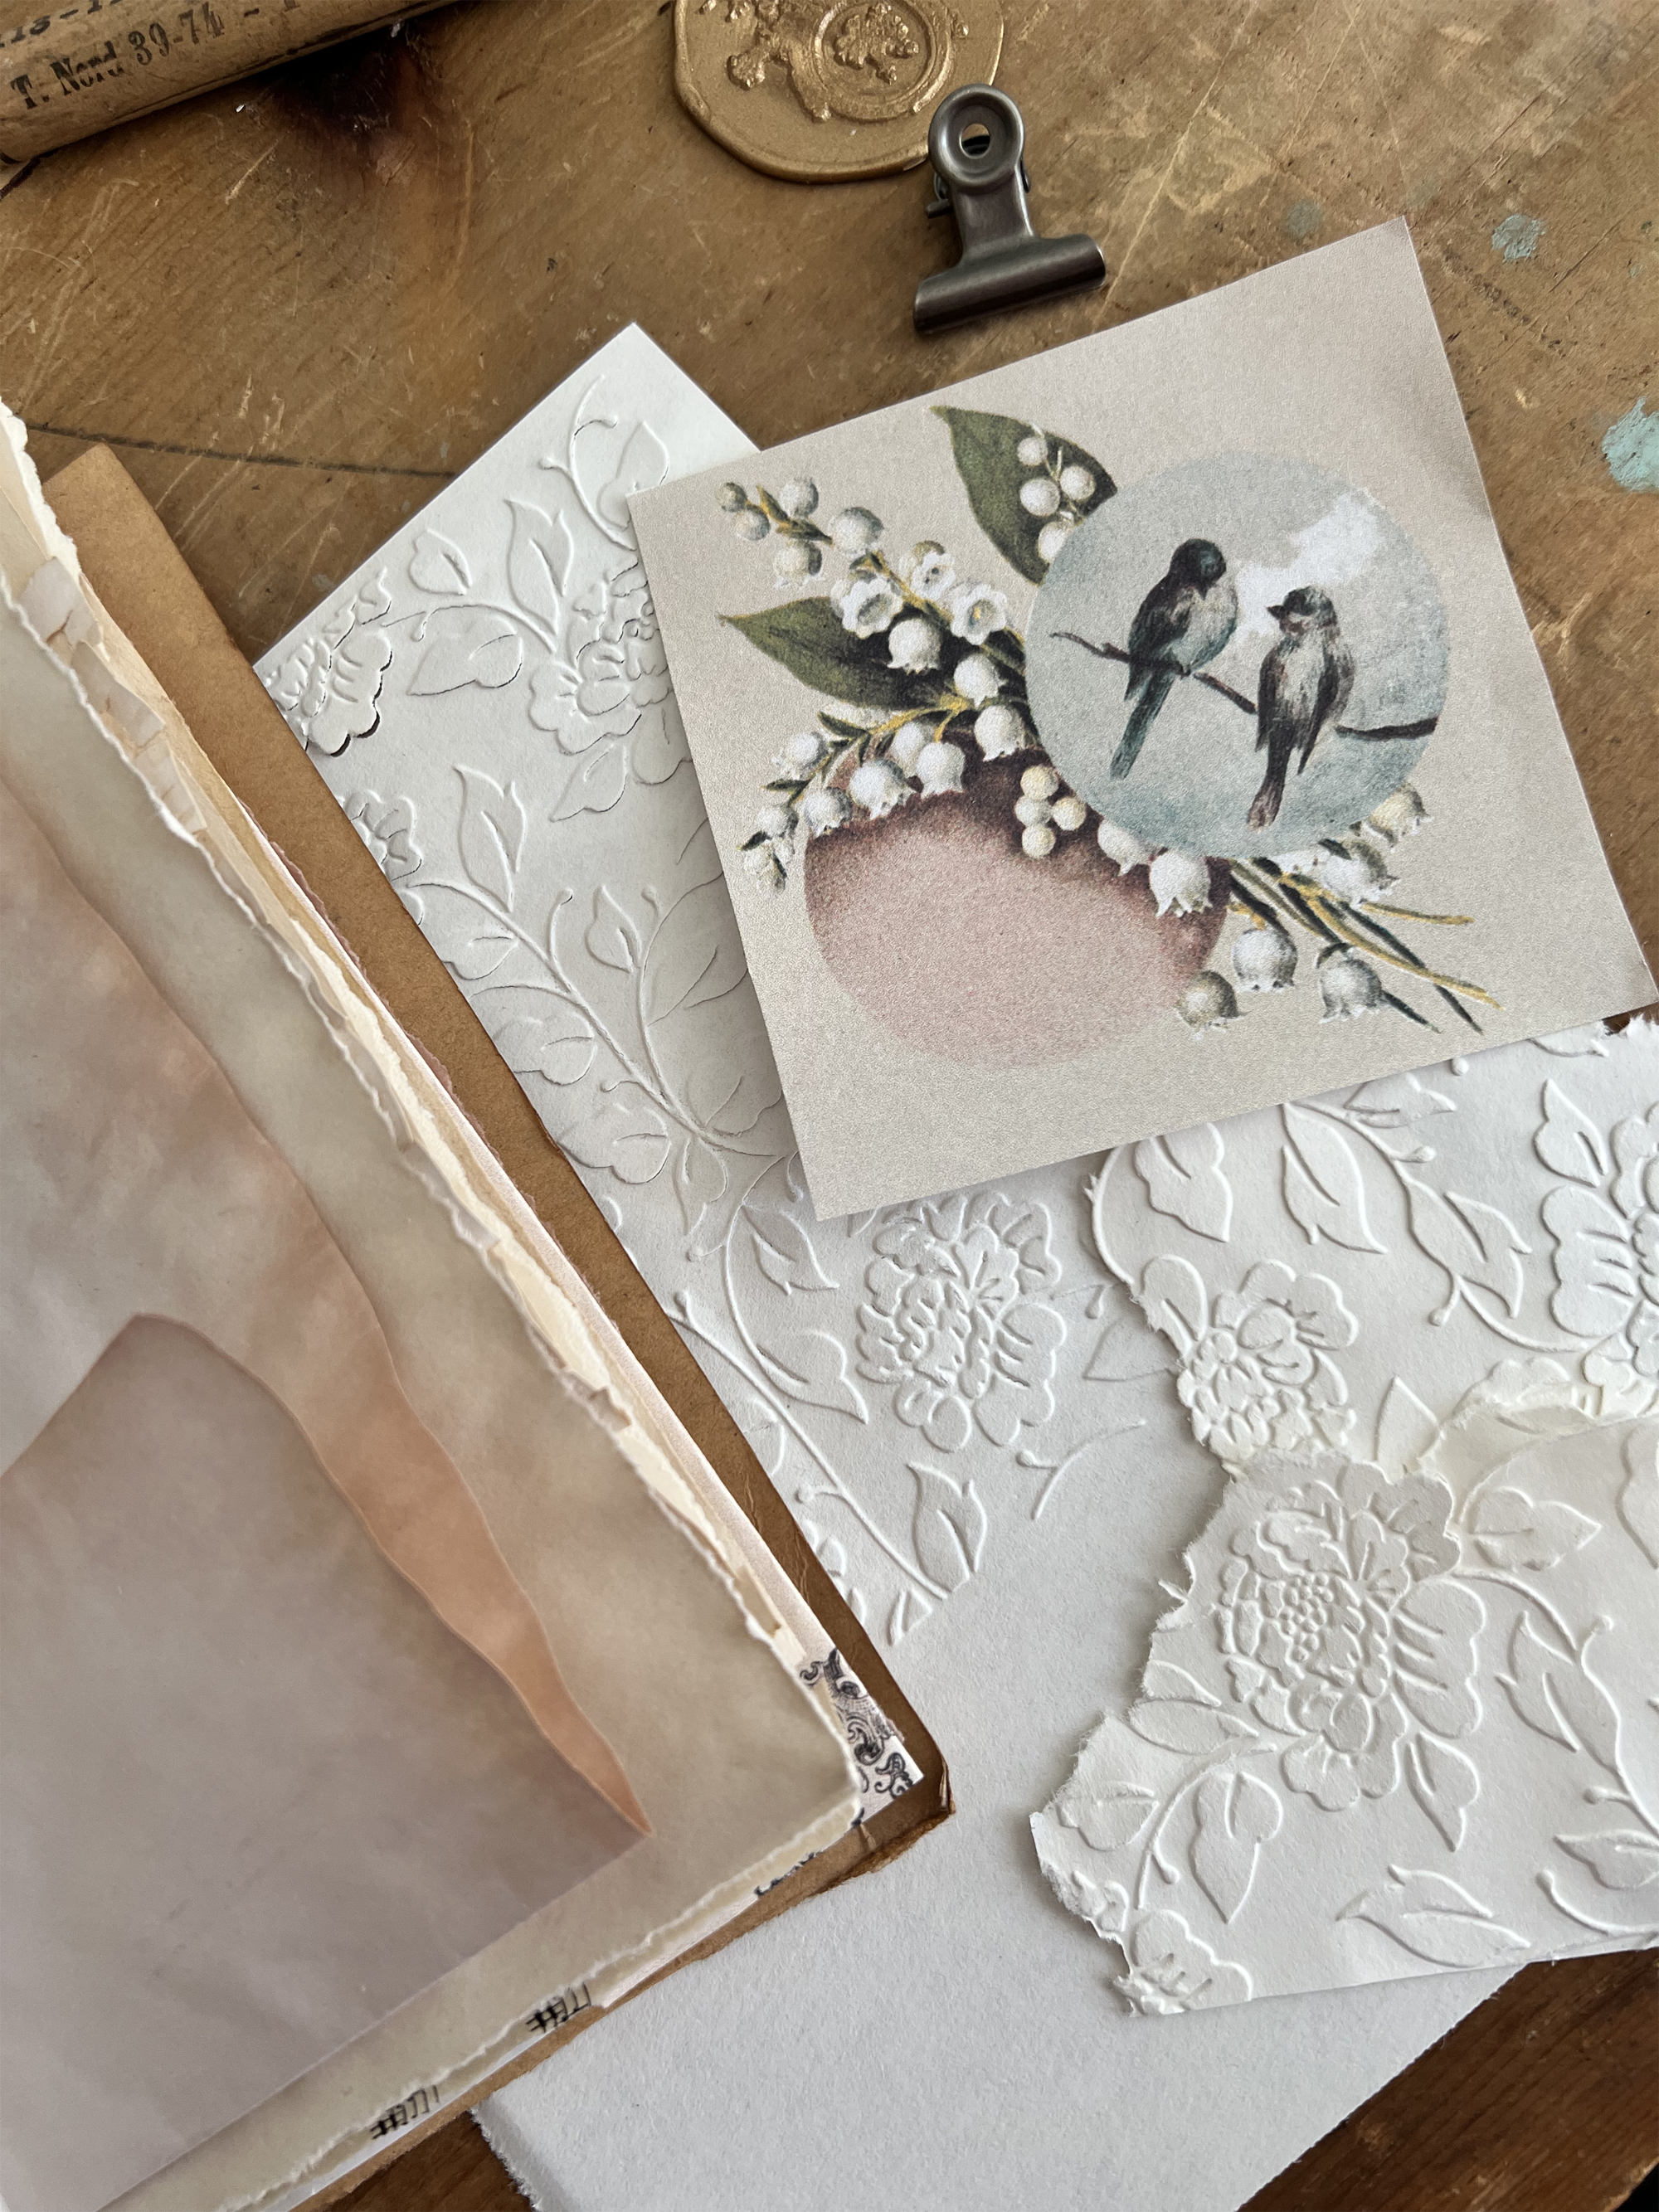
I distressed and crinkled the edges of the image.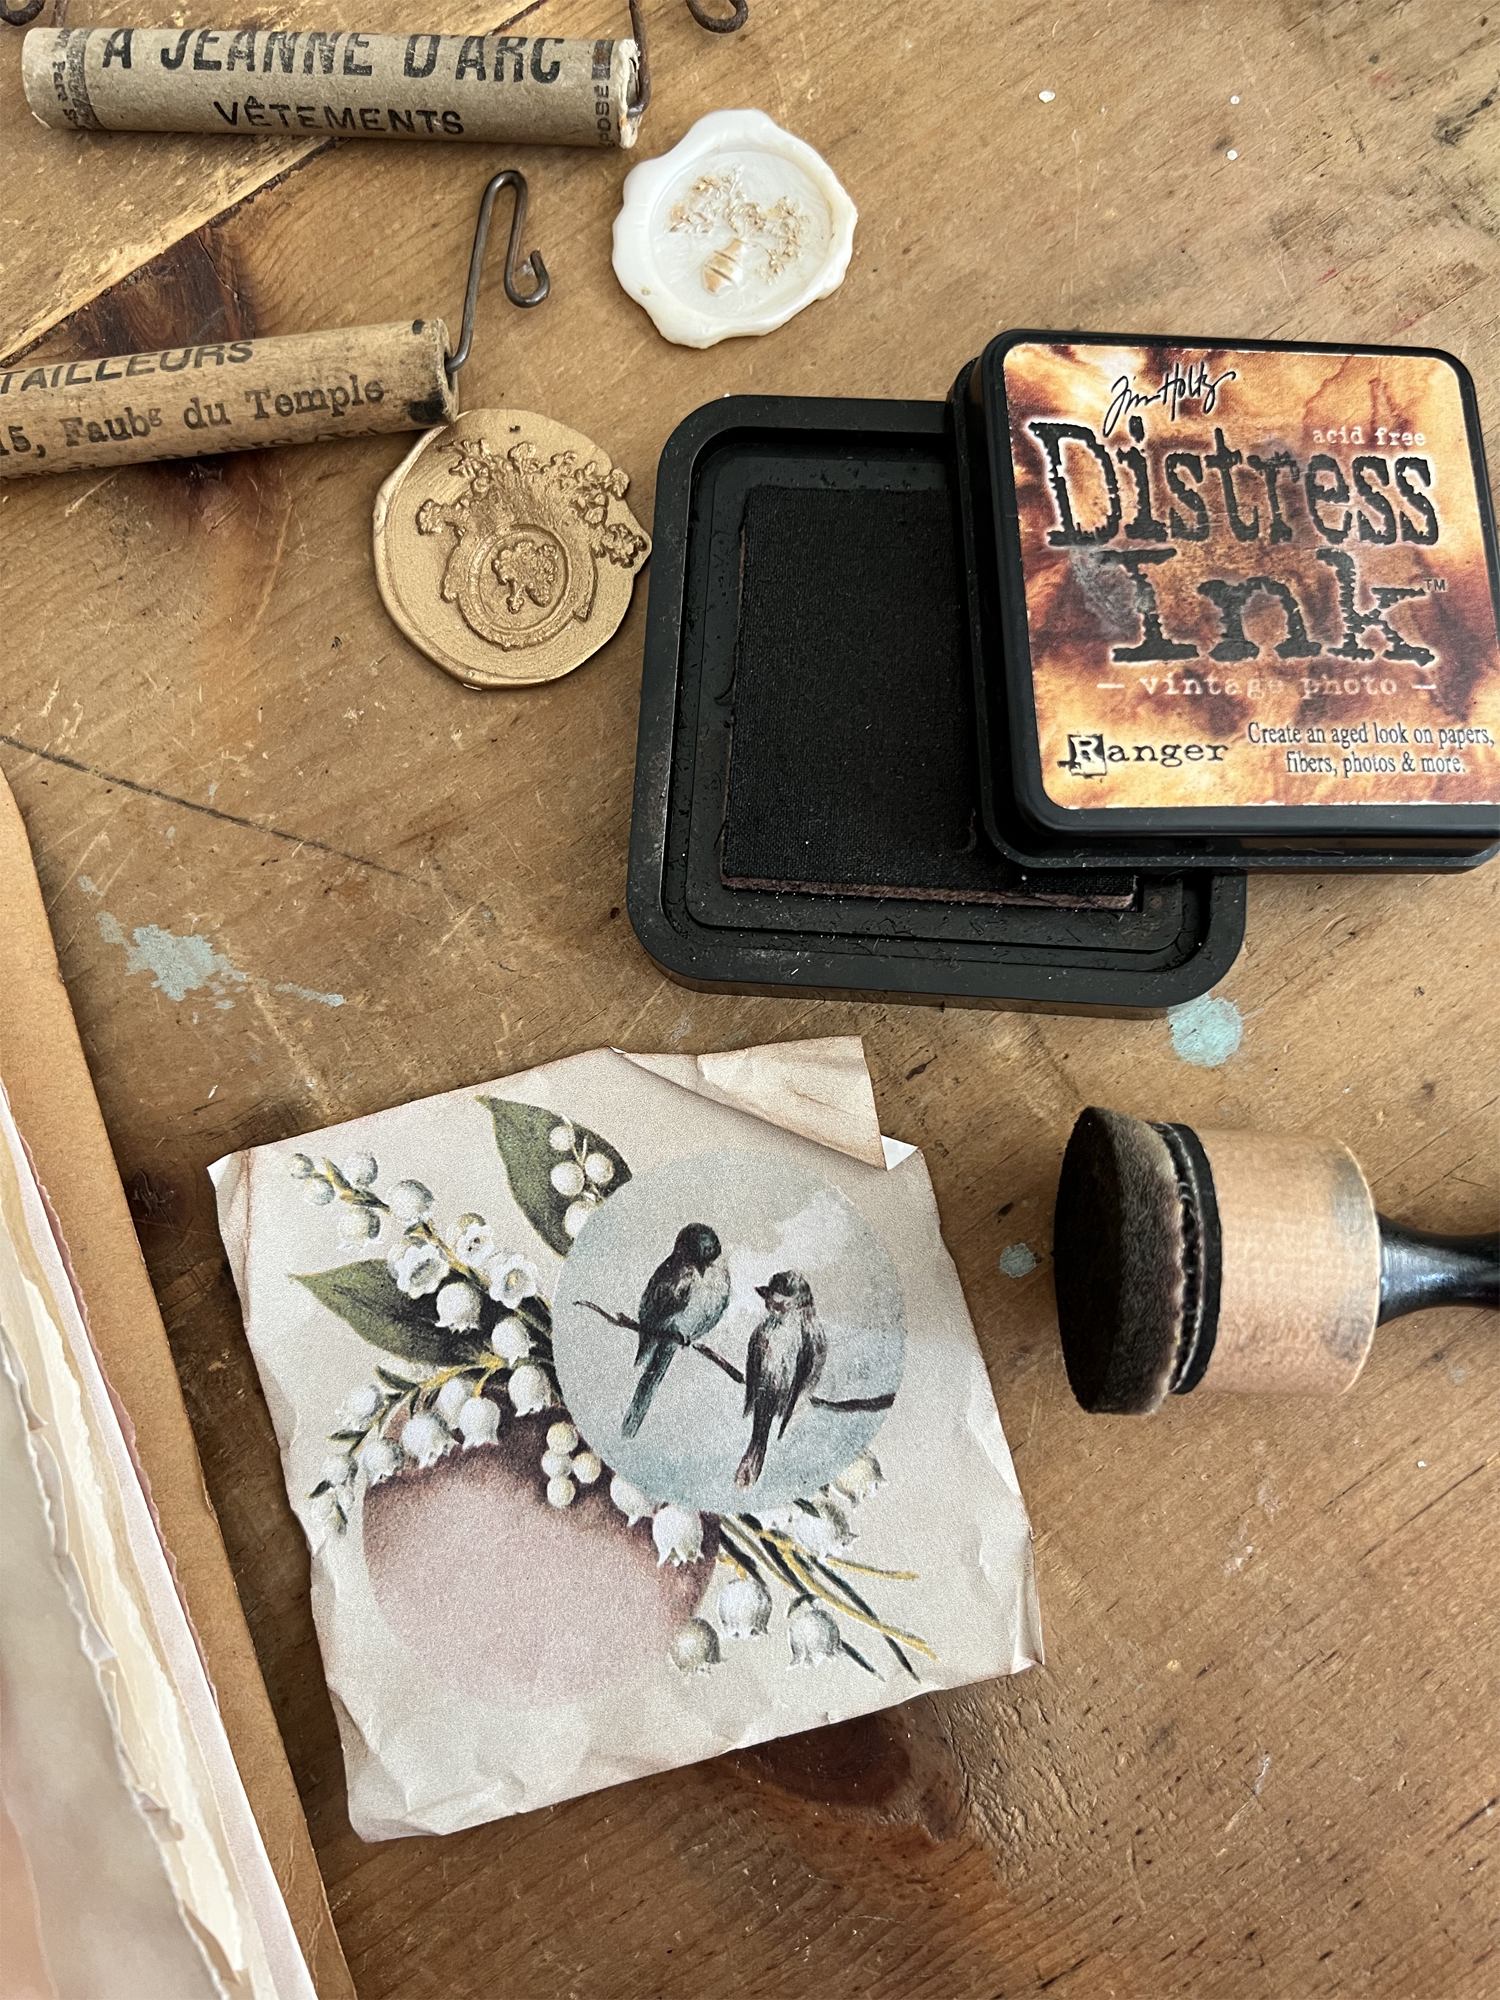
Then clip the image on the top of the page and add a few snips of the embossed papers to the pockets.. and voila, a beautiful page ready to fill with writing and treasures!
I hope you will love making your own books as much as I do!
I will see you in the next blog post and we will begin to decorate the inside of our junk journal with pretty images and trims! You can find the Part 3 Page Layout Ideas HERE.
Images used from The Graphics Fairy can be found here:
Happy Creating!
Heather ~ you can find more of my art here at Ruby & Pearl xo


Jan Green says
Hi Rebecca,
I lost my 18 year old grandson near the time your project ended, September 22, 2018. I stumbled across your tutorial after the worst holiday season of my life looking for a diversion to keep my mind occupied and it helped more than you will ever know. I have crafted off and on for many years and this was a new one for me and I thoroughly enjoyed it. This comment is to thank you for helping me through a most difficult time.
graphicsfairy says
We are so very sorry for your loss Jan. You and your family are in our thoughts and prayers. God bless you all.
Janine Smith says
Hi Rebecca
I have been following this tutorial and have …almost… completed my Paris journal.
The reason I say almost, is because I have collected so much Paris ephemera that I feel I may have to add an extra signature. Not a bad thing, but I would like to complete it this year!
It has been a great learning experience and you have been so generous in sharing your skills and ideas. Thank you so much for your generosity.
Is the gallery up and running yet?
Rebecca E. Parsons says
Oh Janine, I FULLY understand Paris and French ephemera stashes. You got but a glimpse in the series…trust me. An extra signature is awesome, but you could create other French journals with the extra things. Just an idea that might help you complete this one! TEE HEE Well, the Gallery is a little behind. I have promised myself to have it up before Thanksgiving. You have given me the kick in the pants I needed… SO I promise you that and would love to include yours! WINK! Hugs and Light!
Tom Gray says
This has been such an incredible learning and creative experience. I have sent some page pics, and am waiting on my glue to arrive so I can start binding. Thank you so much for sharing your talents and creativity with us.
graphicsfairy says
Thanks so much Tom, We are so happy that you have enjoyed the series, good luck with your binding 🙂
Rebecca E. Parsons says
Oh Eileen, that makes me feel so good because I really sweated the instructions. I was unsure if I was explaining it well enough for readers to duplicate. Thank you. I can’t wait to see your book!! HUGS!
Jacqueline Simmons says
Thank you Rebecca. I have read and followed along with interest all your junk journal lessons, but have not had the time to make my own as we went along. I would still very much like to try making a junk journal one day, and know where to refer back to when I get stuck! Thank you for this last binding lesson too…very helpful, and it does look very sturdy.
Kind regards
Jackie.
Rebecca E. Parsons says
That is awesome Jackie. It is really fun and goes fairly fast for a craft if you have a bunch of paper supplies on hand. Hope you will share your book with me someday!
Eileen says
Thank you so much, Rebecca. This is by far the best book binding how-to I’ve seen – because of the numerous illustrations and especially the sewing diagram. I’ve enjoyed this series tremendously!
Thanks to Karen as well for sponsoring this series and for all the wonderful images.
Love you both 😉
graphicsfairy says
Thanks so much Eileen, you are so sweet!
Christine Eaton Jones says
Thank you for your tutorial. I couldn’t believe my luck. I am ready to bind my signatures into a hard-bound cover. Your timing was awesome. Again, thank you.
Christine
graphicsfairy says
That is wonderful Christine, good luck 🙂
Rebecca E. Parsons says
That is awesome Christine. I would love to see your finished book!