

Junk Journal Page Ideas
Hi Friends! I am Heather from Ruby & Pearl xo. Welcome to Part 3 of How to Make a Junk Journal. Today we will go over some pretty Junk Journal page ideas and spreads too, for on the inside of our journal, using the beautiful imagery from The Graphics Fairy along with some other bits and trims and embellishments. This is the fun part!
On the inside cover I love to add pocket pages. To make the pocket you want to run a bead of Fabri-Tac glue along underside of lace going from the left edge along the bottom and then up right edge.. then press to the page. This will leave the center open for a pocket. Then you can tuck little cards of ephemera inside your pocket to use in your journal. I also tucked a few decorative papers to the right side with a tiny clip. I love all of the different textures! 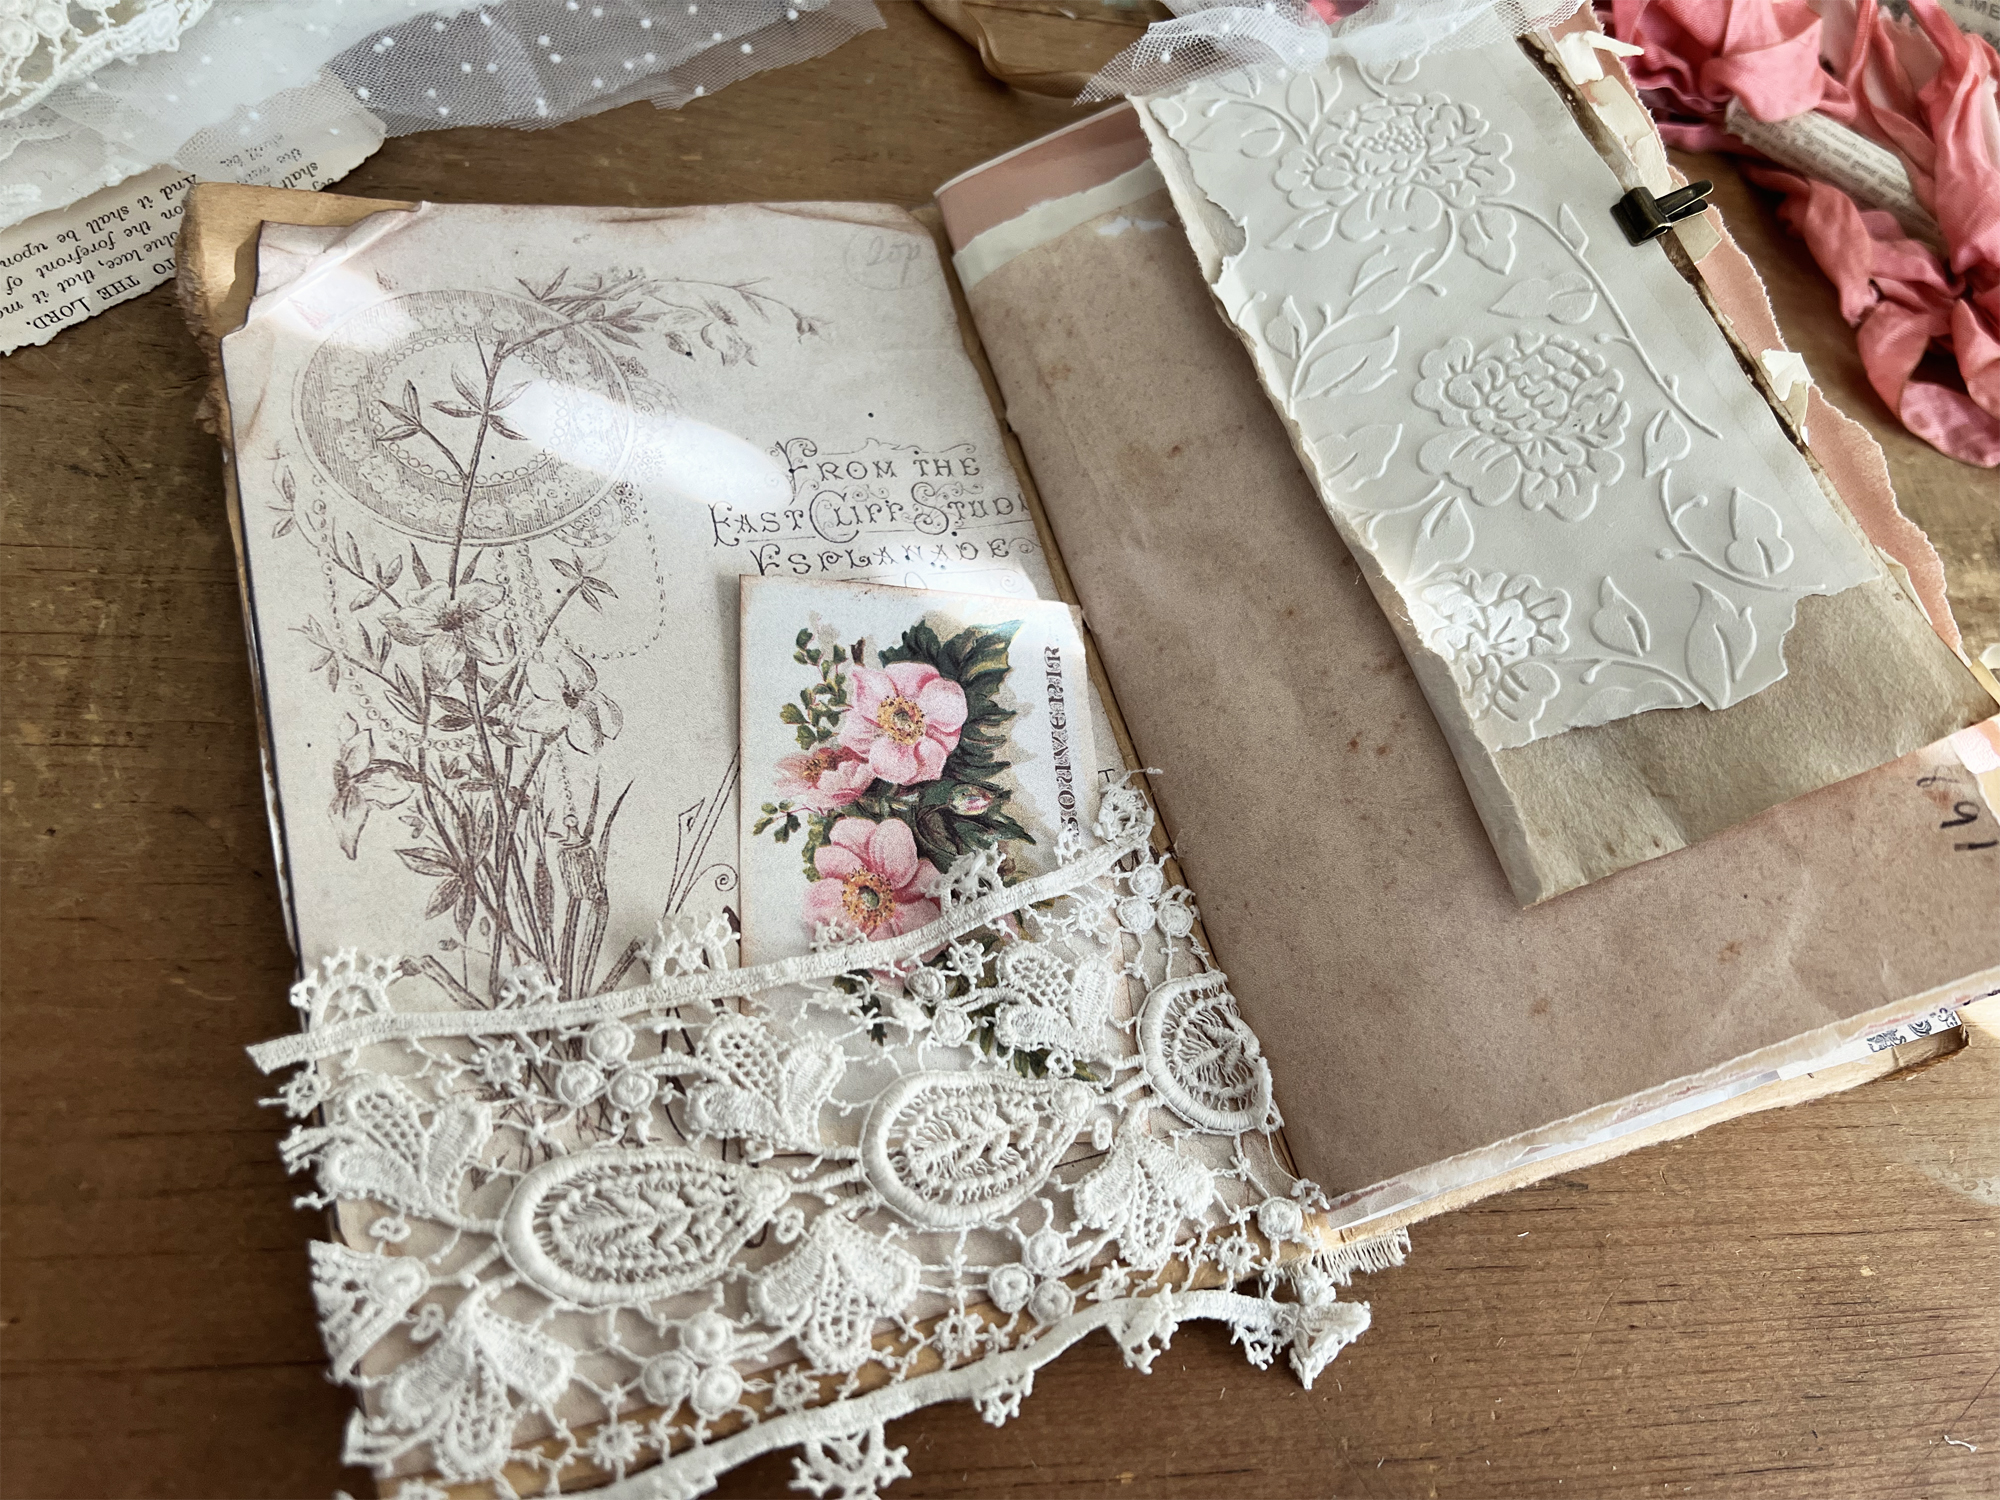
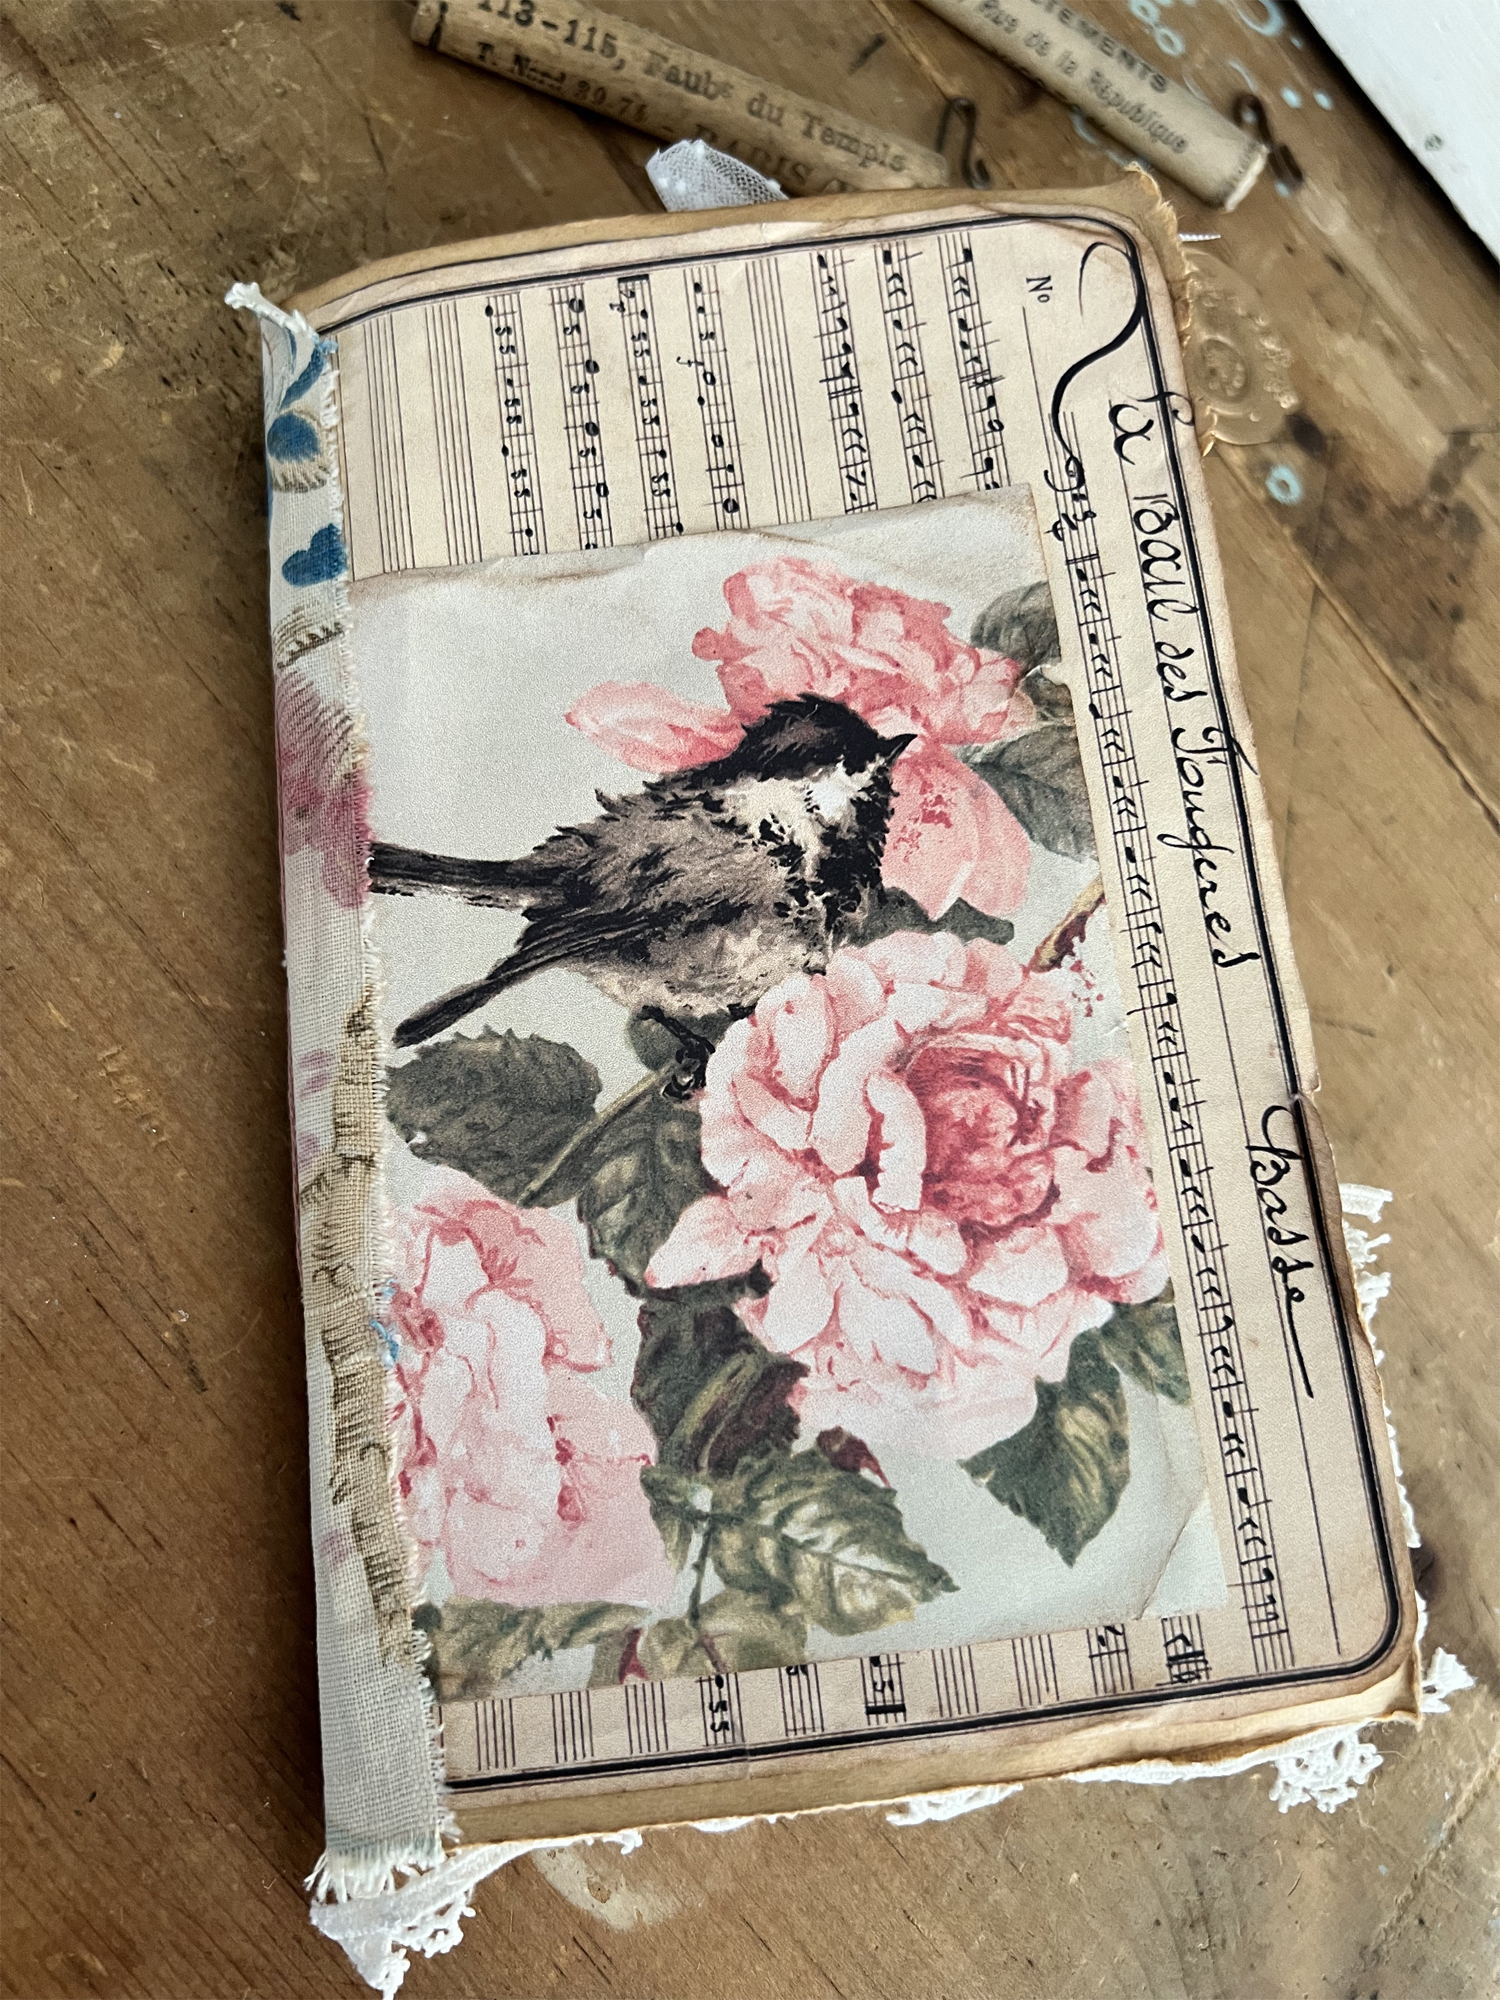
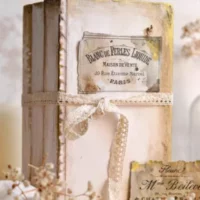
This is the back inside cover.. I glued this pretty bluebird image from The Graphics Fairy and just added a tiny strip of vintage book page at the bottom. It is perfect to add something pretty to the back inside cover! 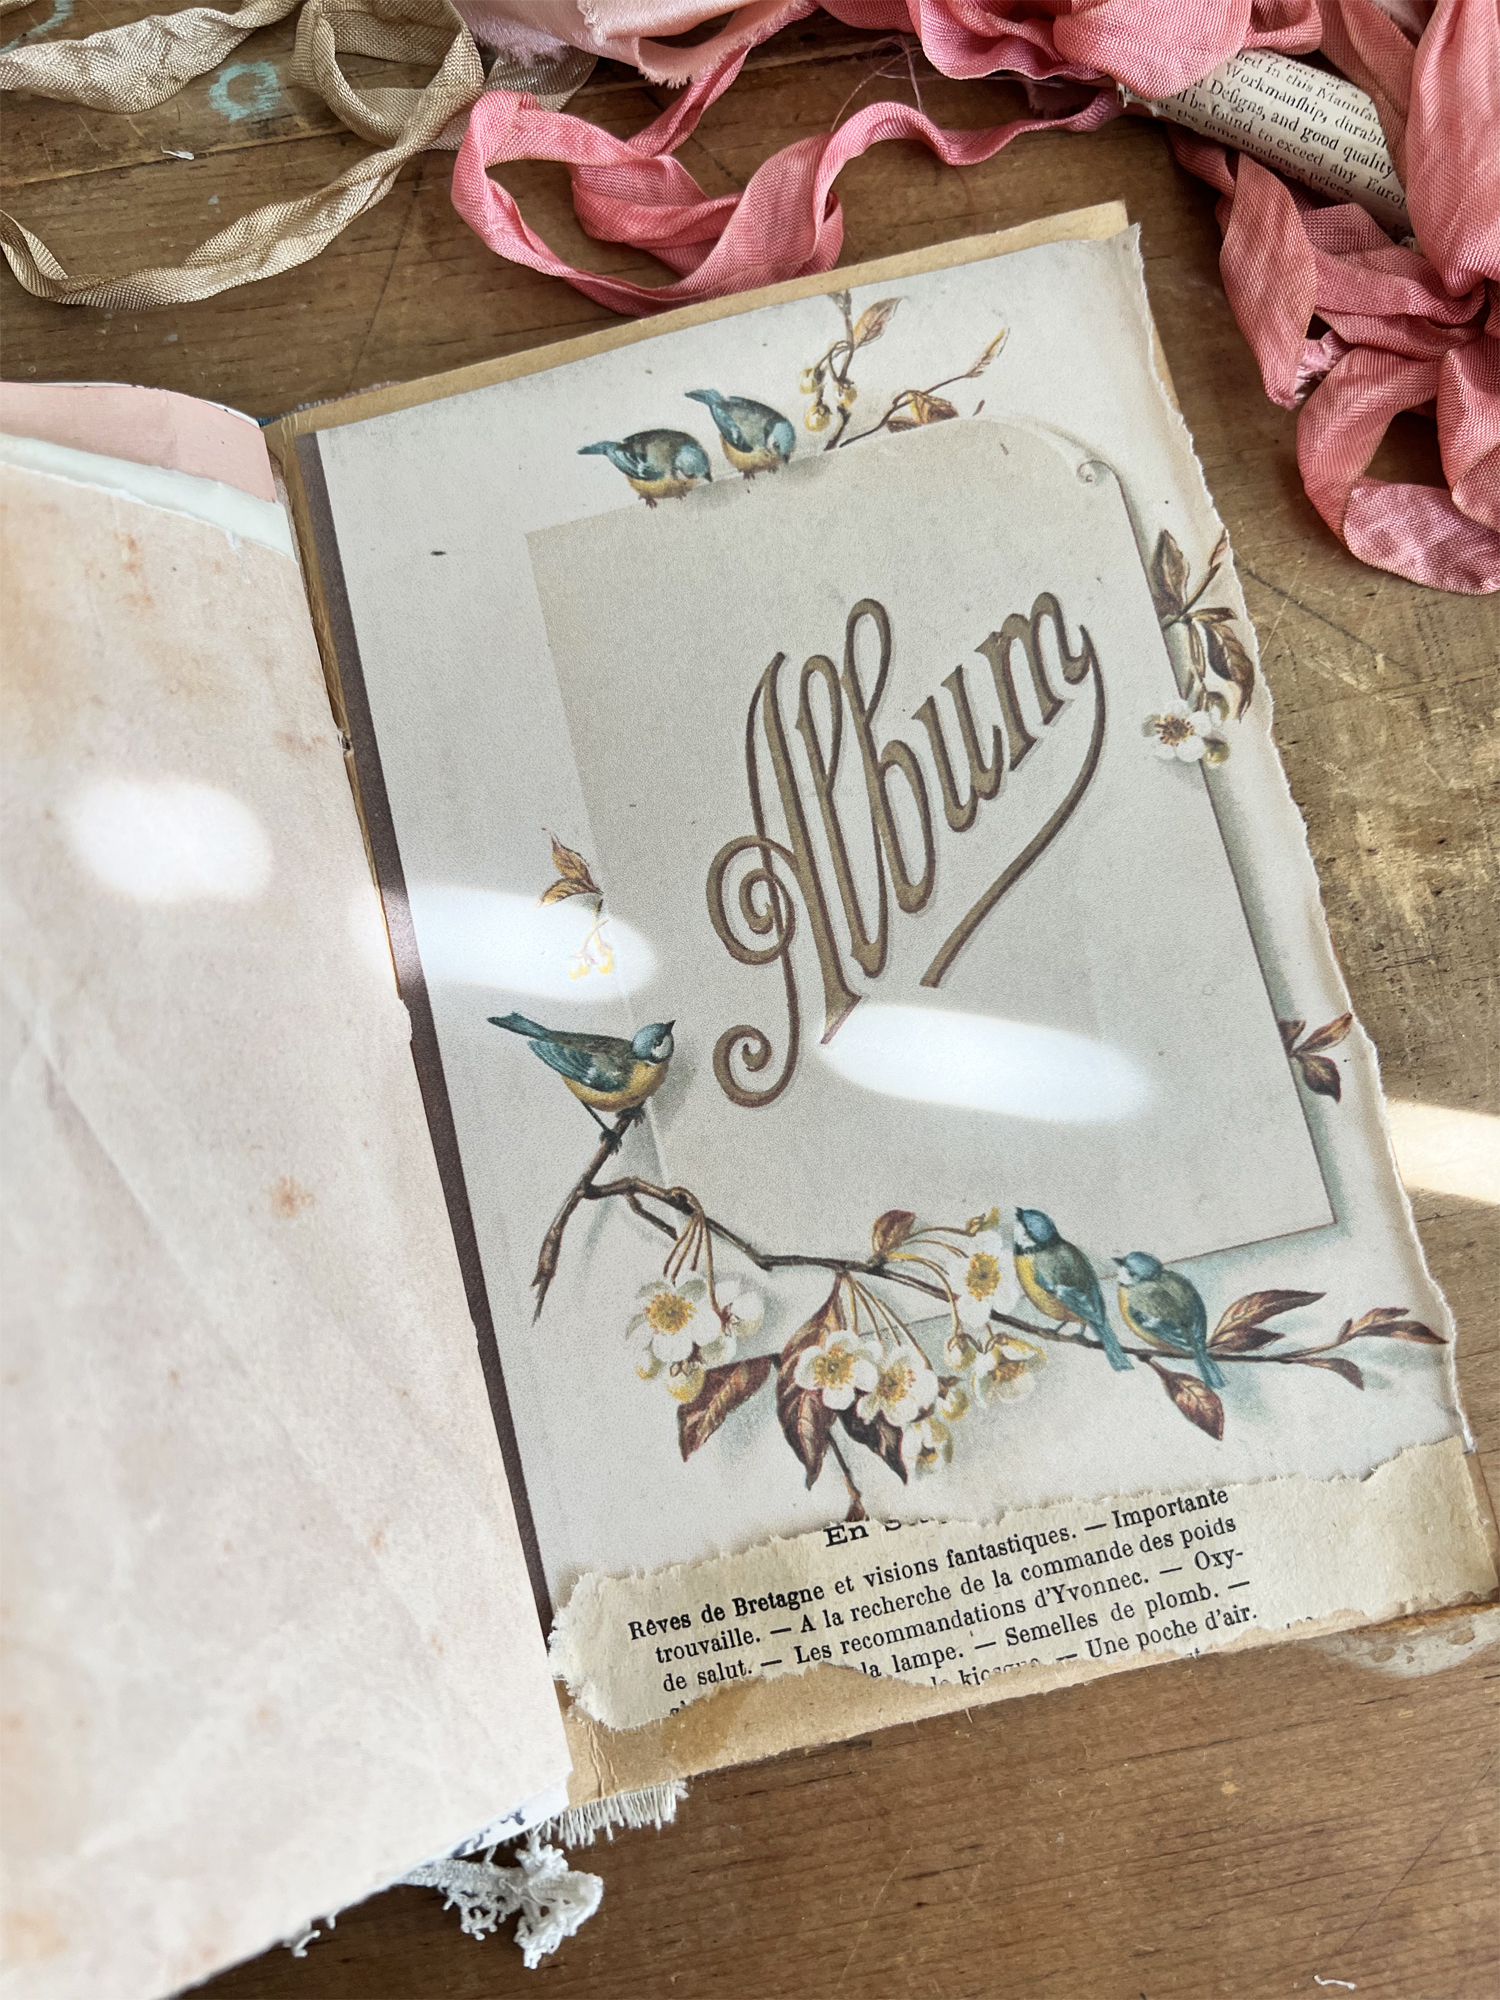
Now that we have the inside covers decorated.. lets move on to the inside pages. In this spread I created a pocket from this pretty French script paper but cutting it to the size of the page. I then added a piece of polka dot tulle fabric to the top. I then tucked a pink floral journal card inside the pocket. 
Next I tied a bow and simply glued it to the outside edge of a page.. this gives such an interesting look when your journal is all closed up and also looks so pretty! 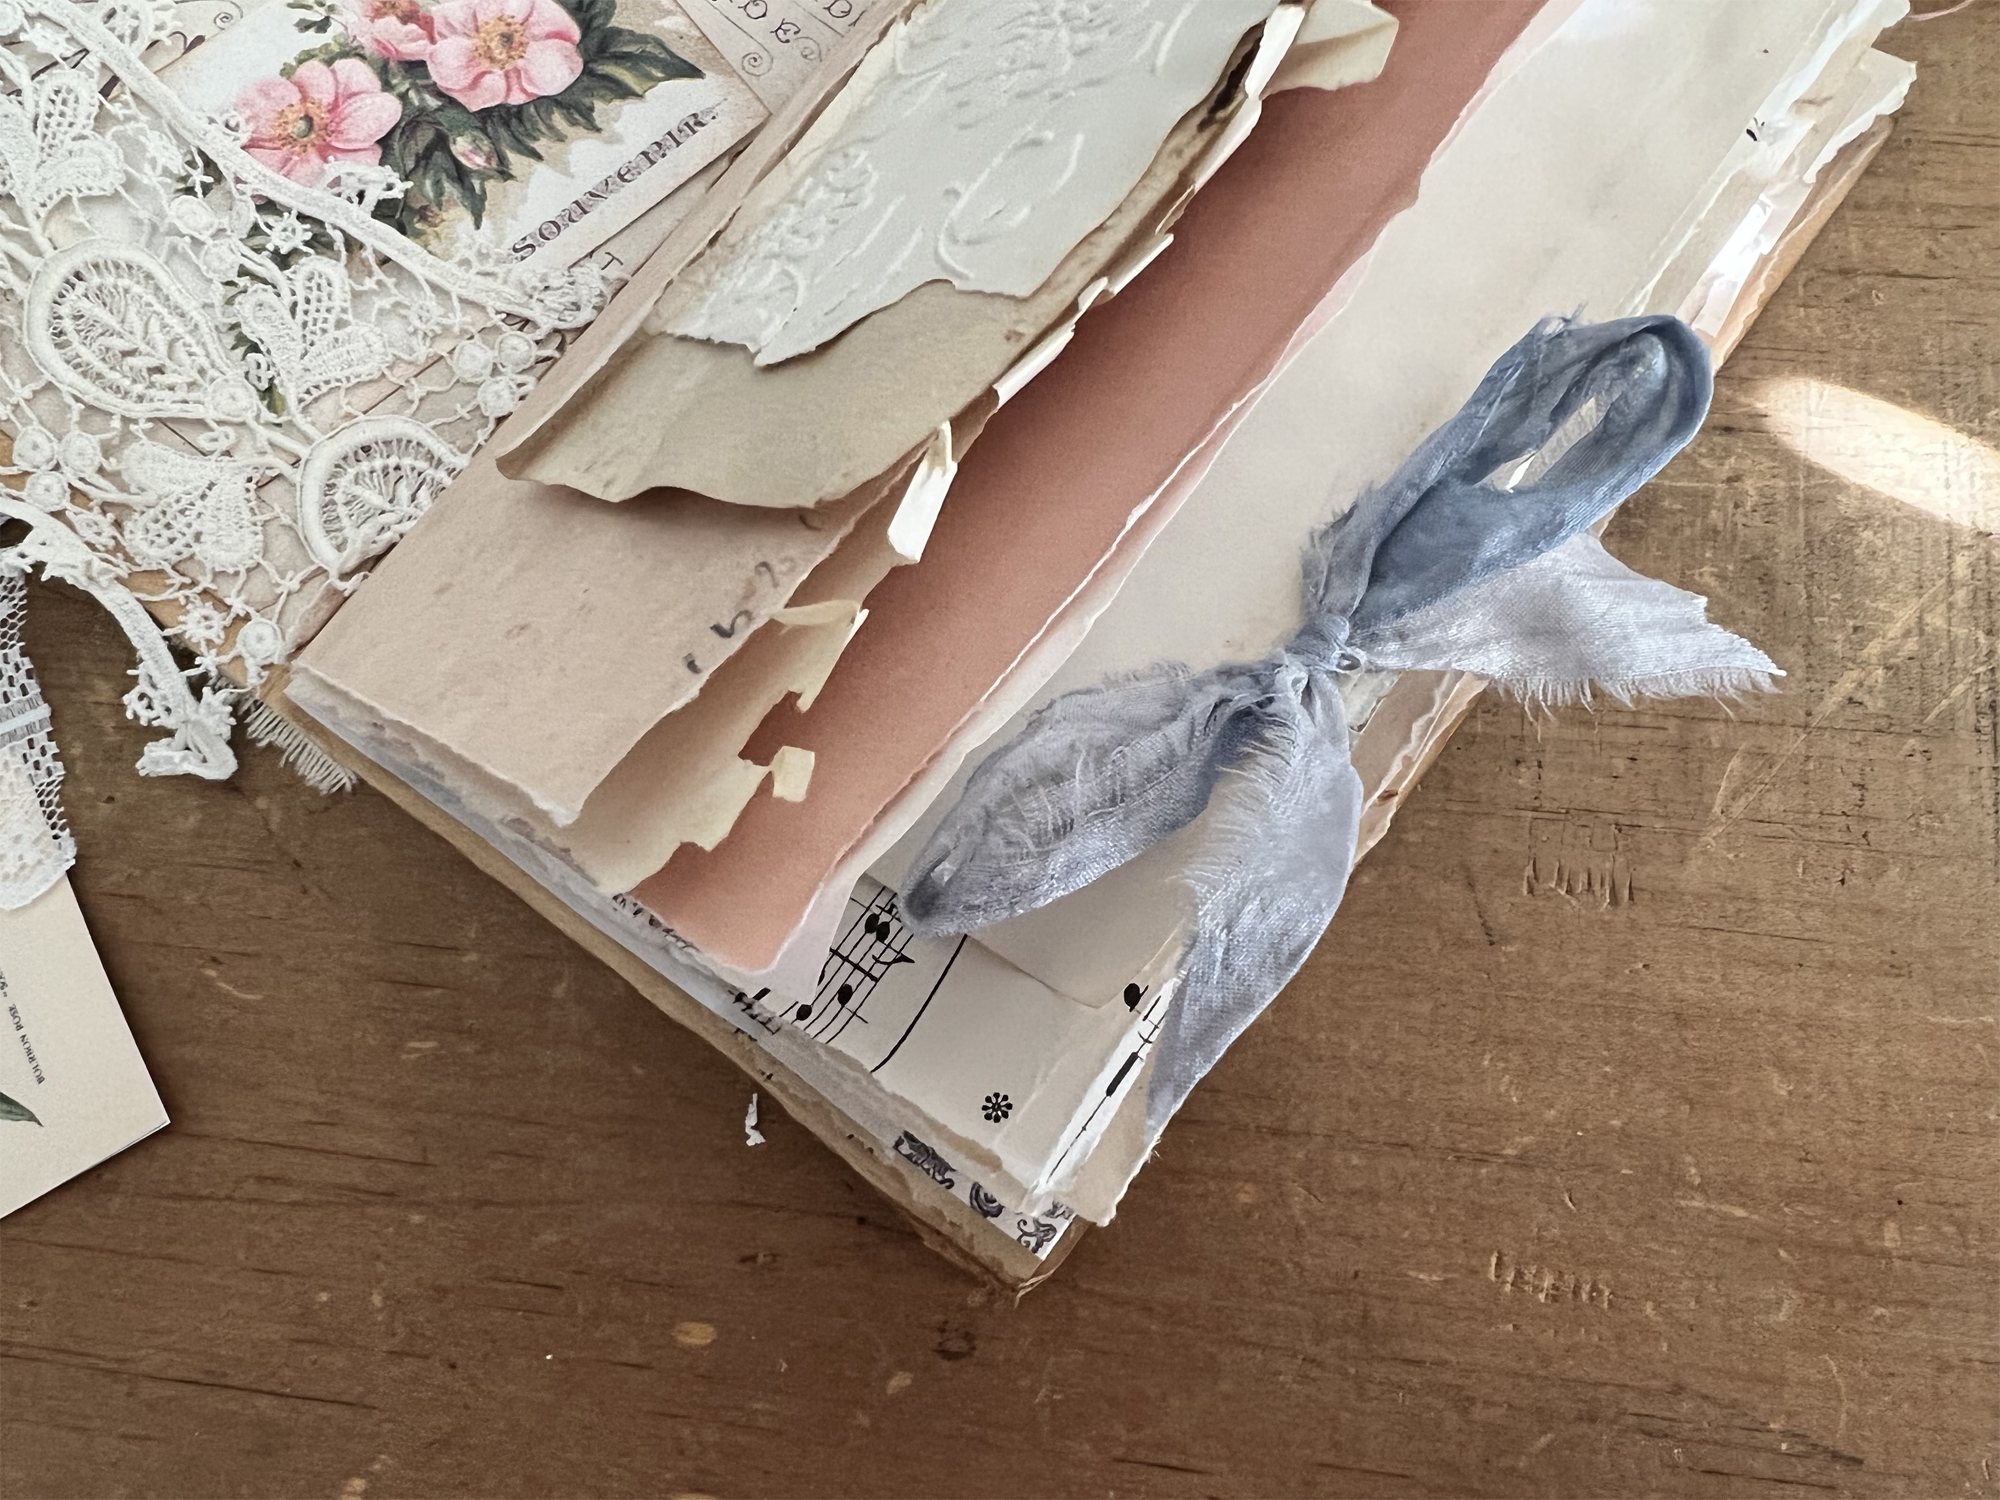
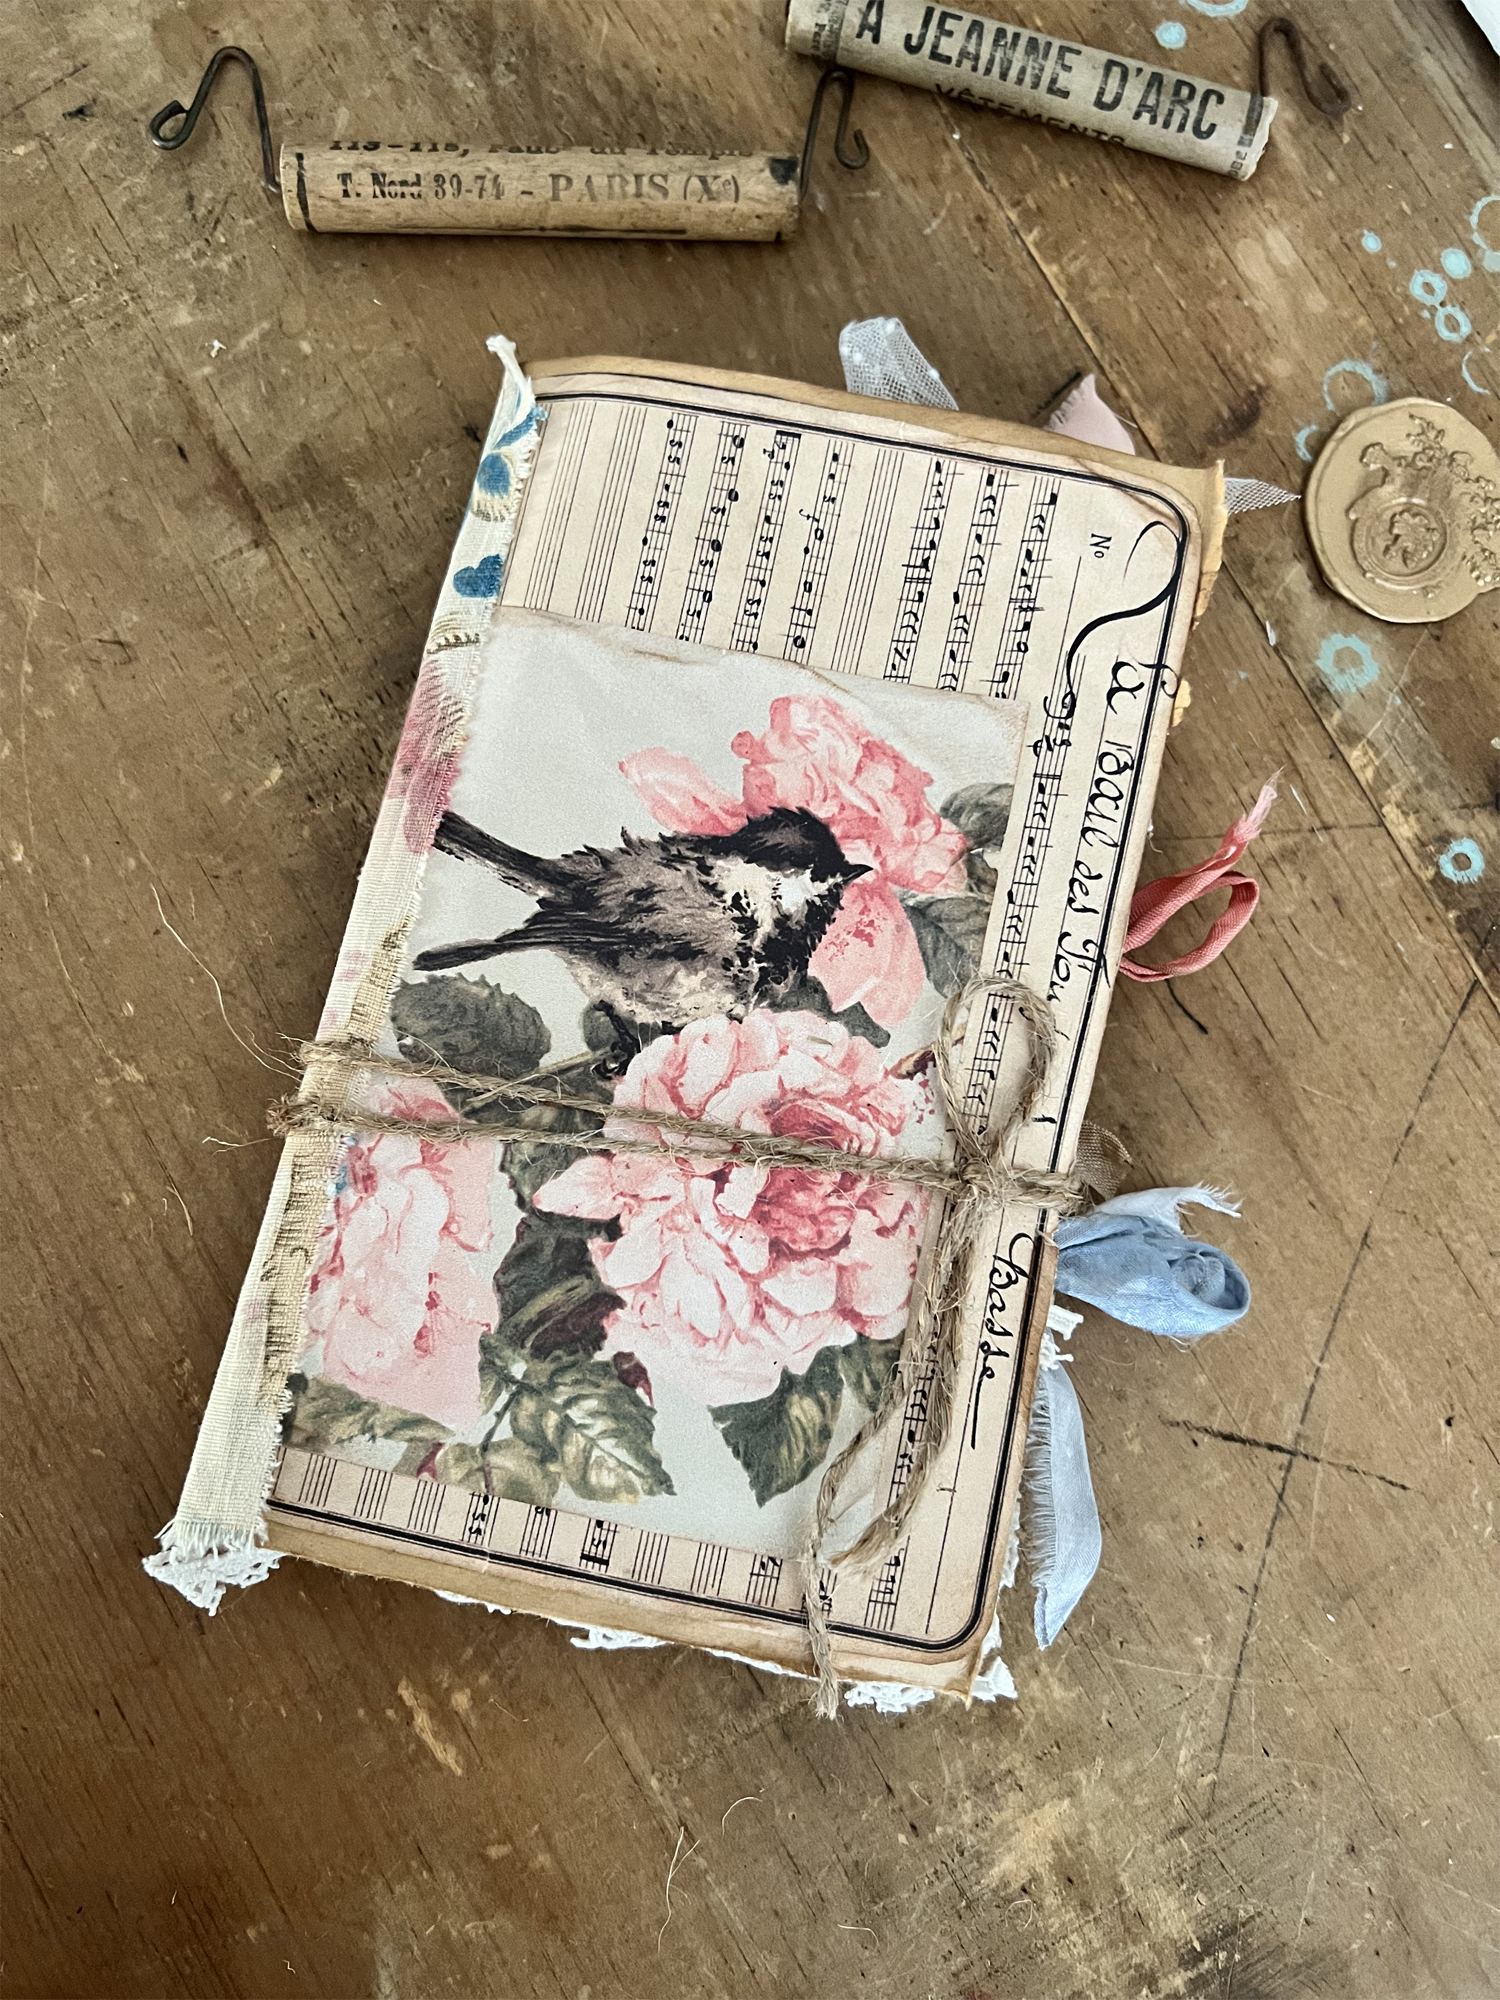
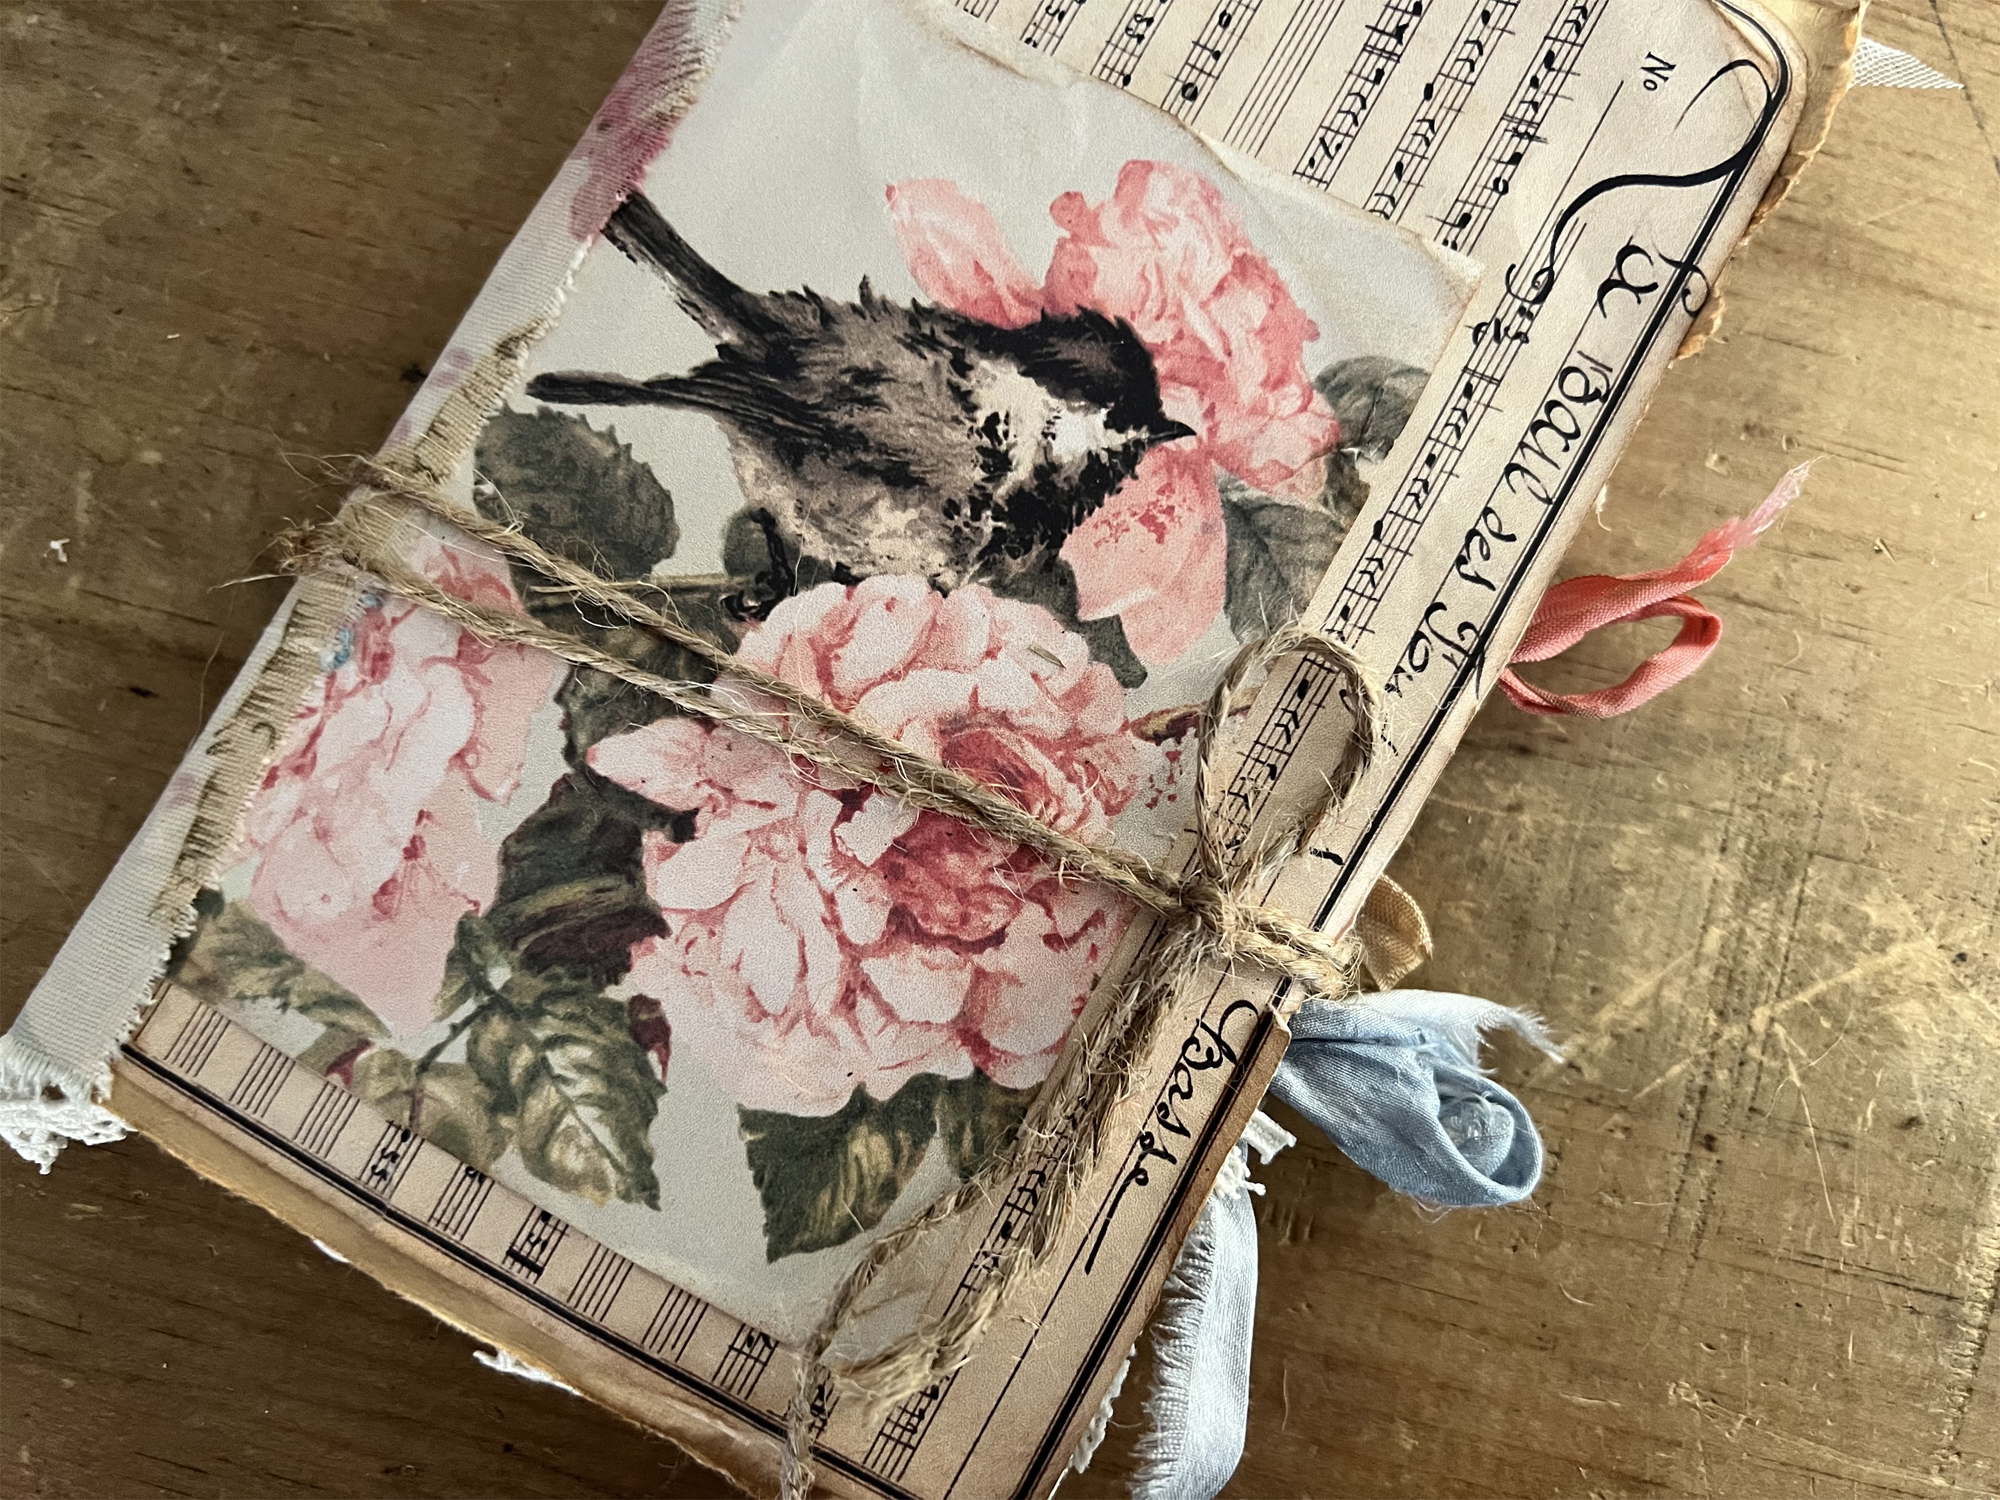
For the next page spread I created a tuck spot in the upper right corner. I layered the bird image on top of an old book page.. then I glued along the top and outside edge under the tuck.. then press down. This allows your papers to slip under in the center. I added notebook paper to write on in the tuck spot. I also slipped the bird image into the pages on the left because I love it! 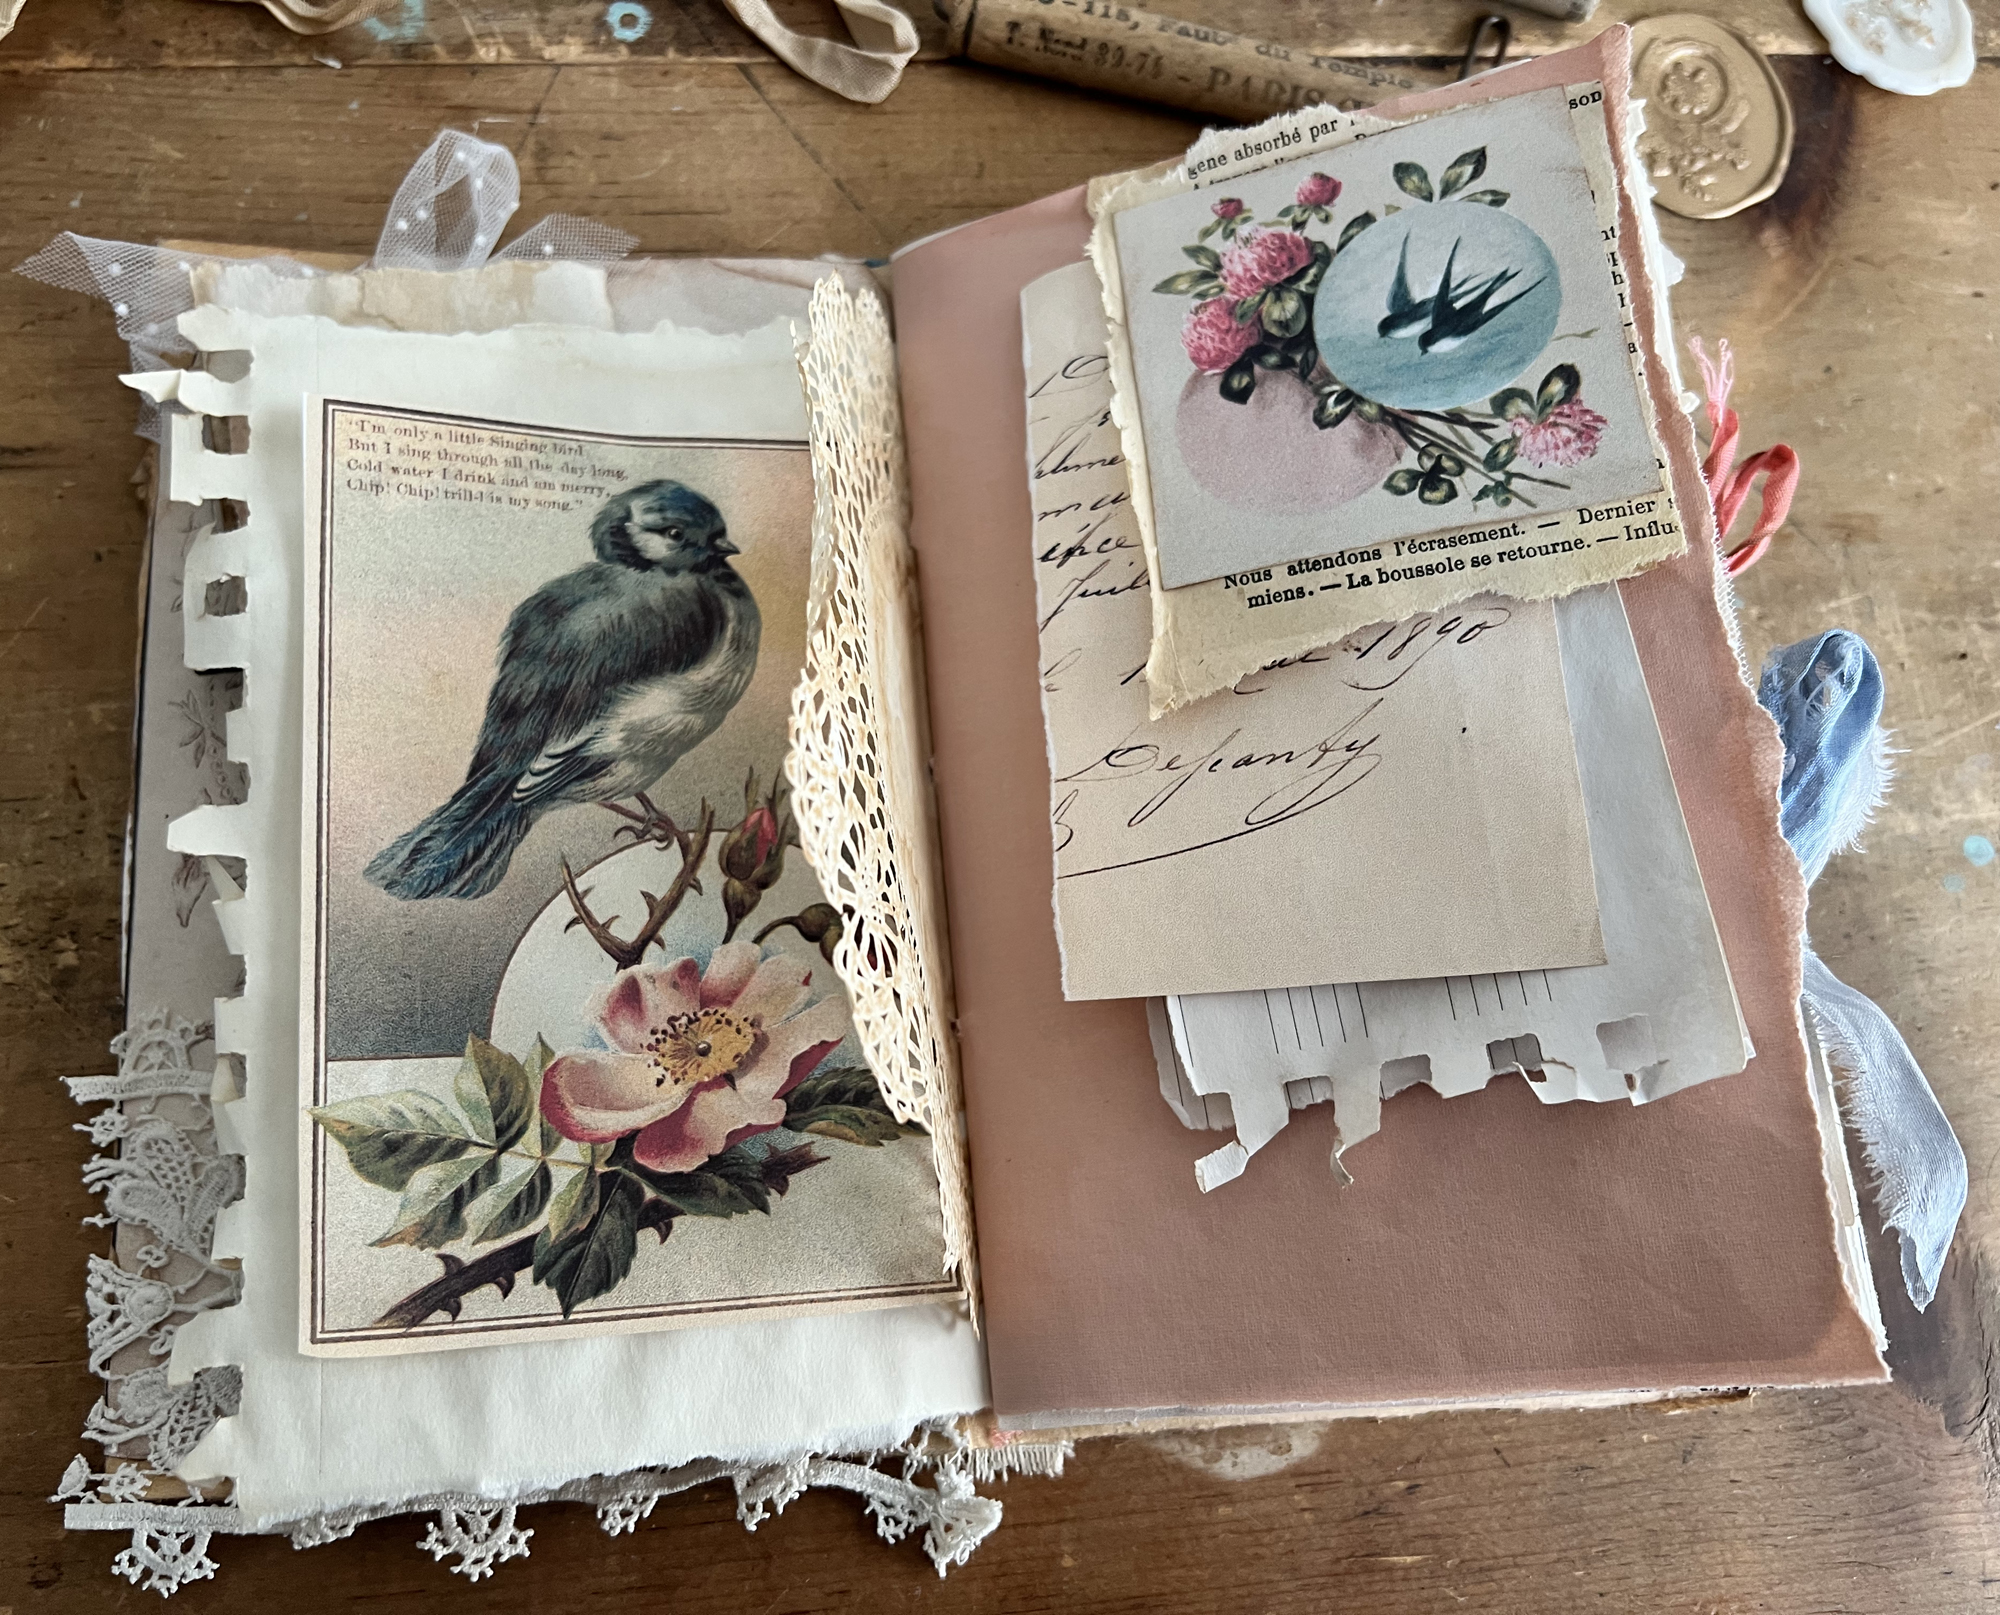
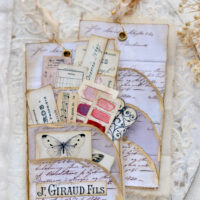
For this page, I simply glued this pretty French Typography image to the short page and added a rusty paperclip with some ribbon tied to it. This will give a place to add something later when creating in the journal. 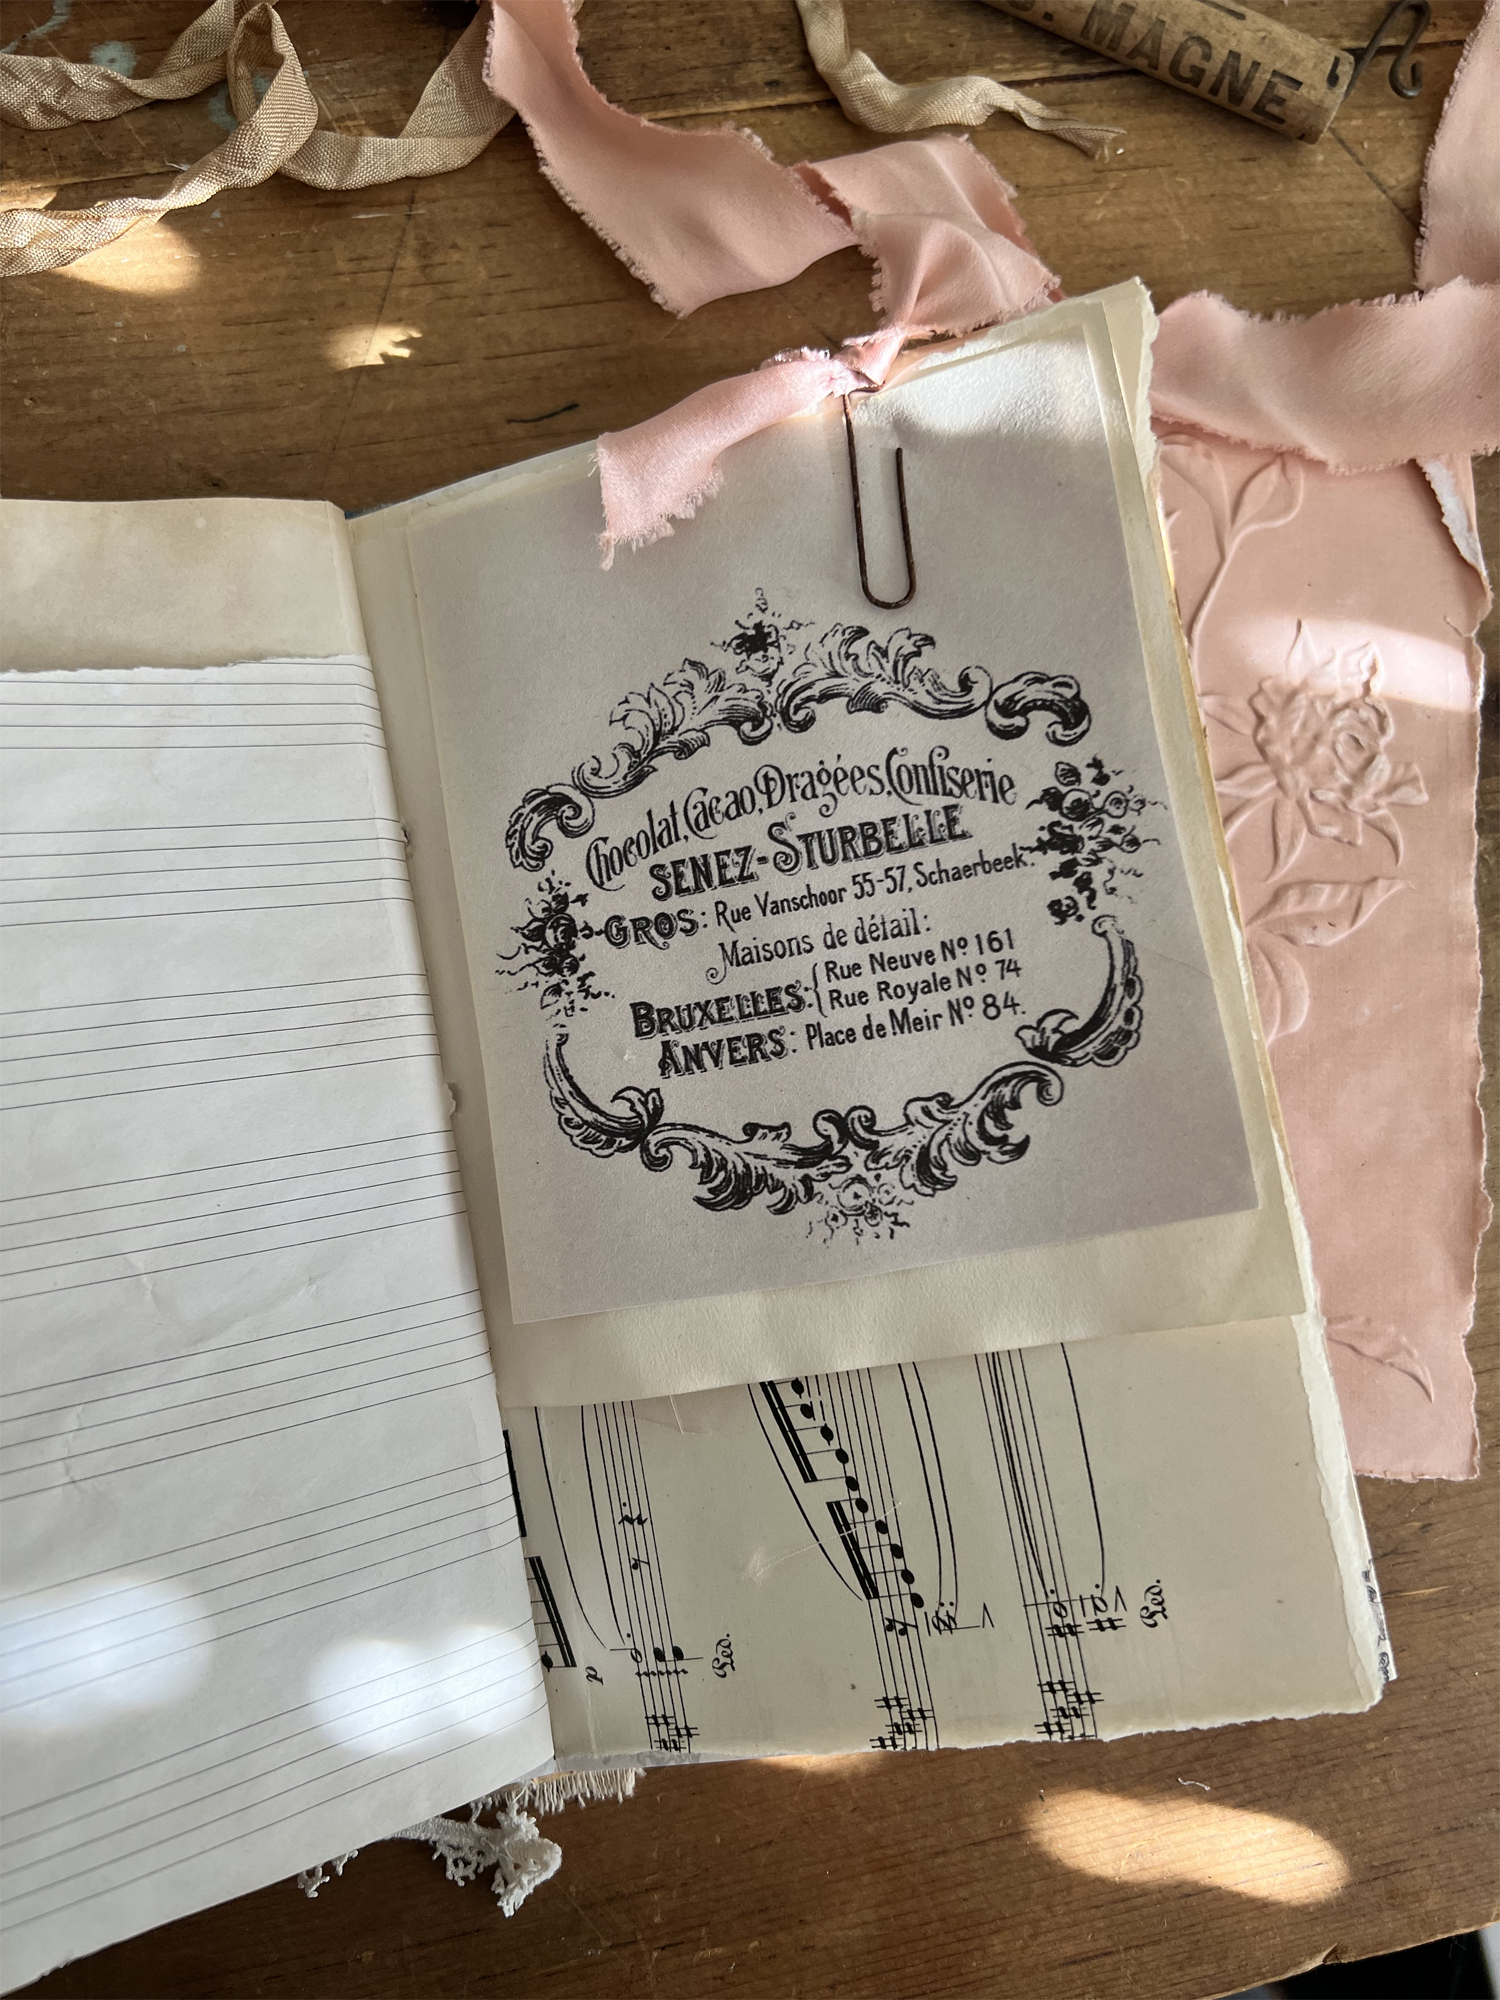
You can add photos and more ribbons.. and maybe some washi tape along the edge for more detail. 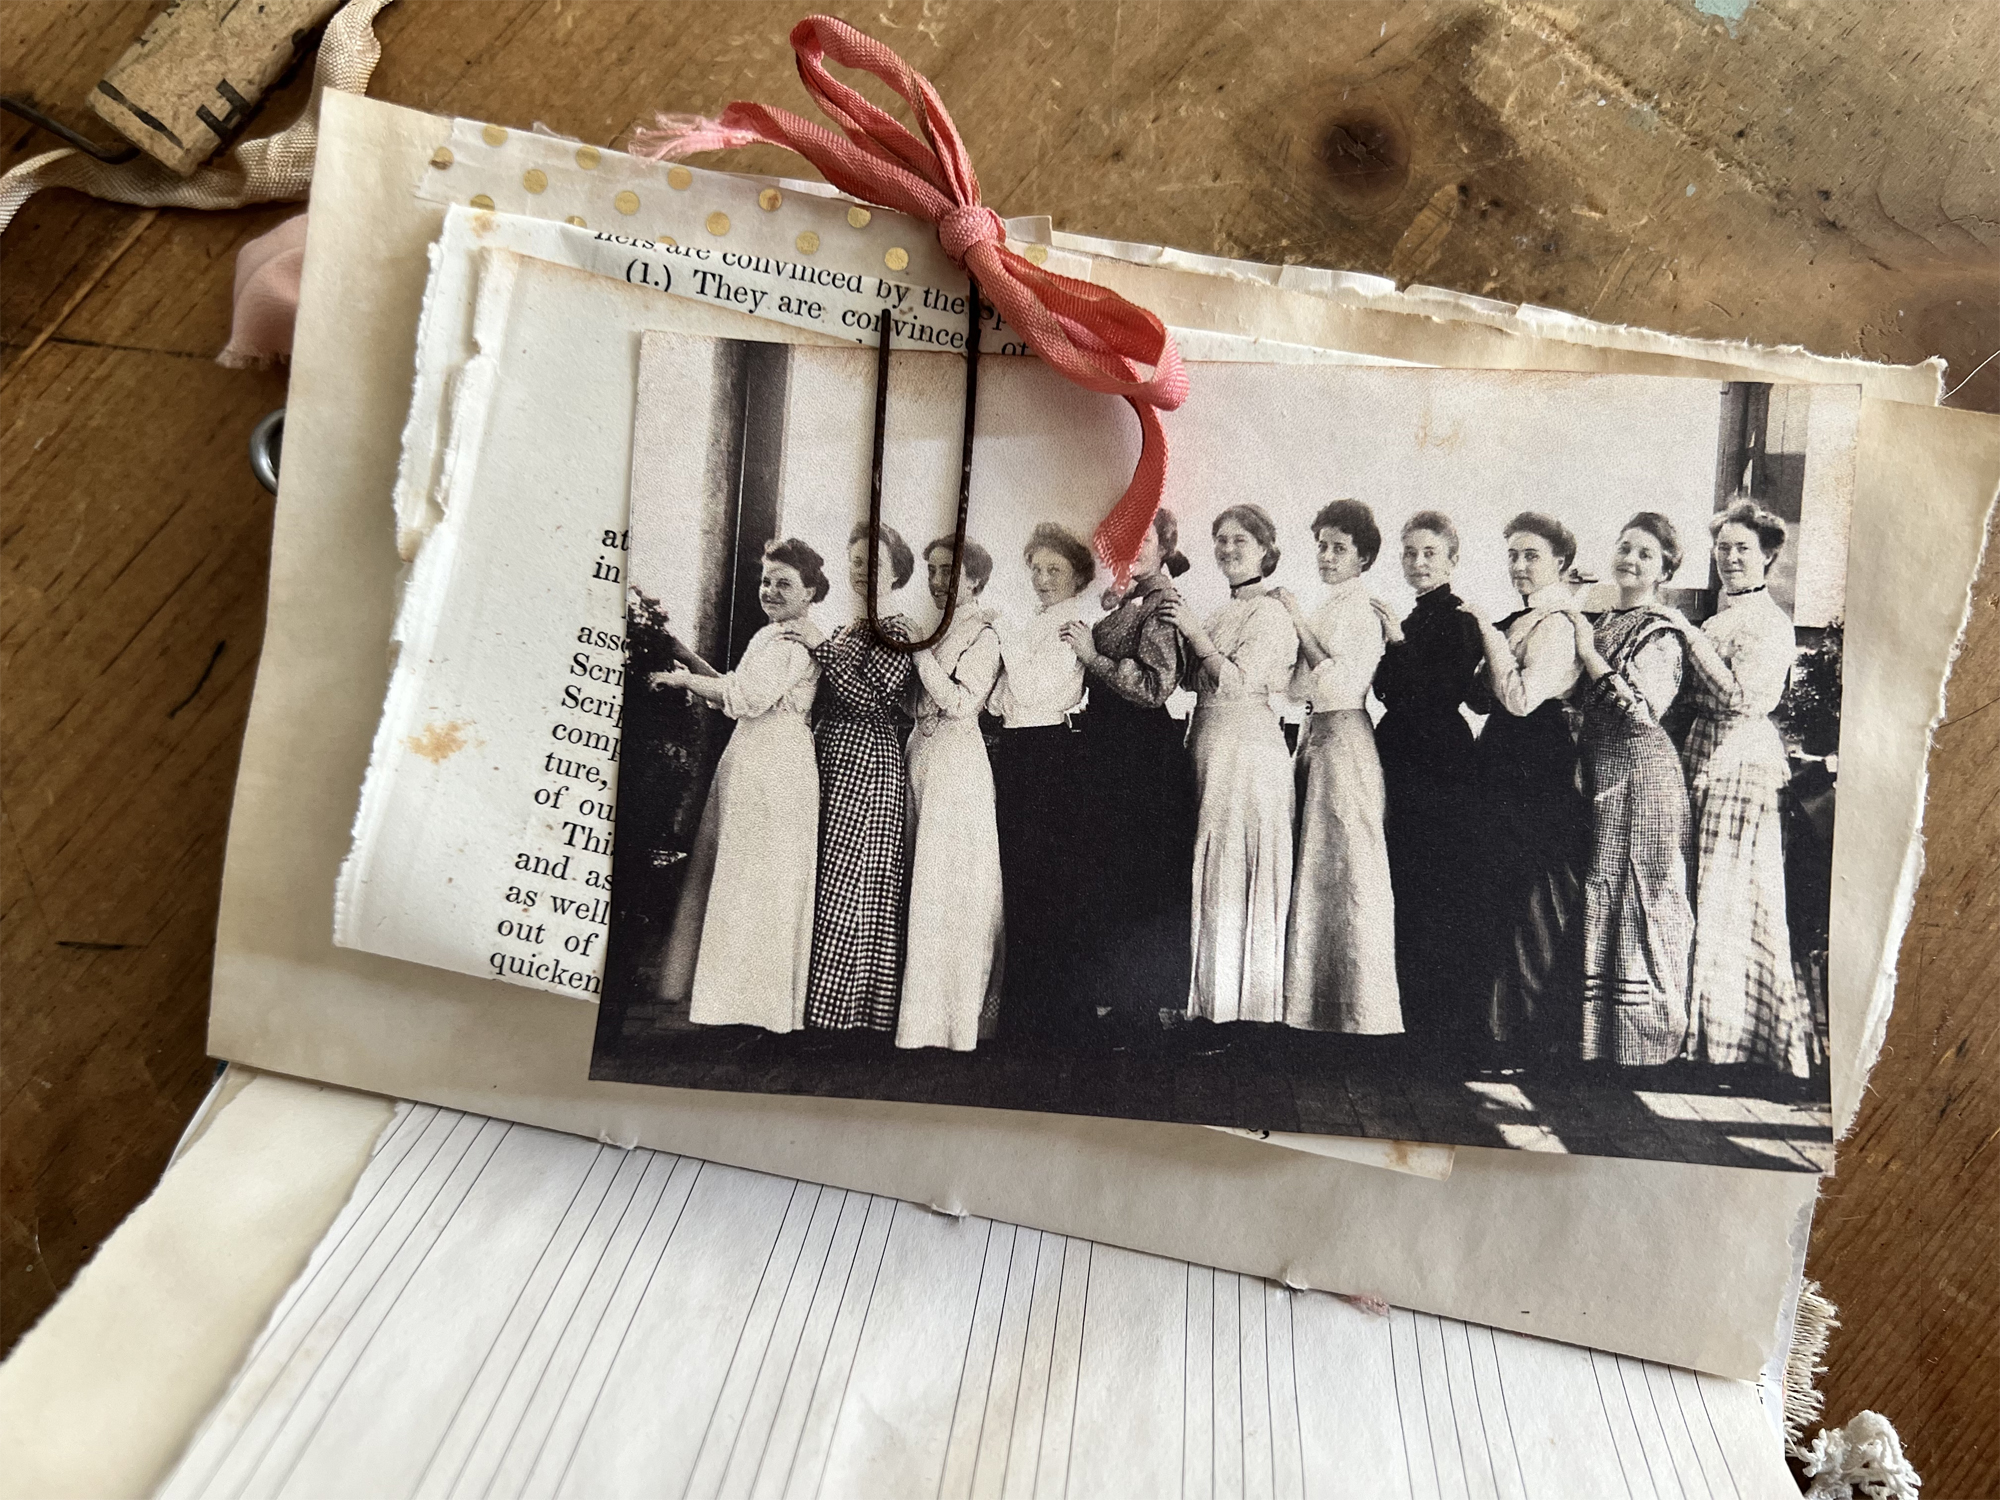
On this page I created a belly band with the golden ribbon. I tied a bow and simply glued each end allowing the center to be open. this allows you to slip some pretty papers or your writing under the belly band. I added a piece of embossed paper to the right side of the page. 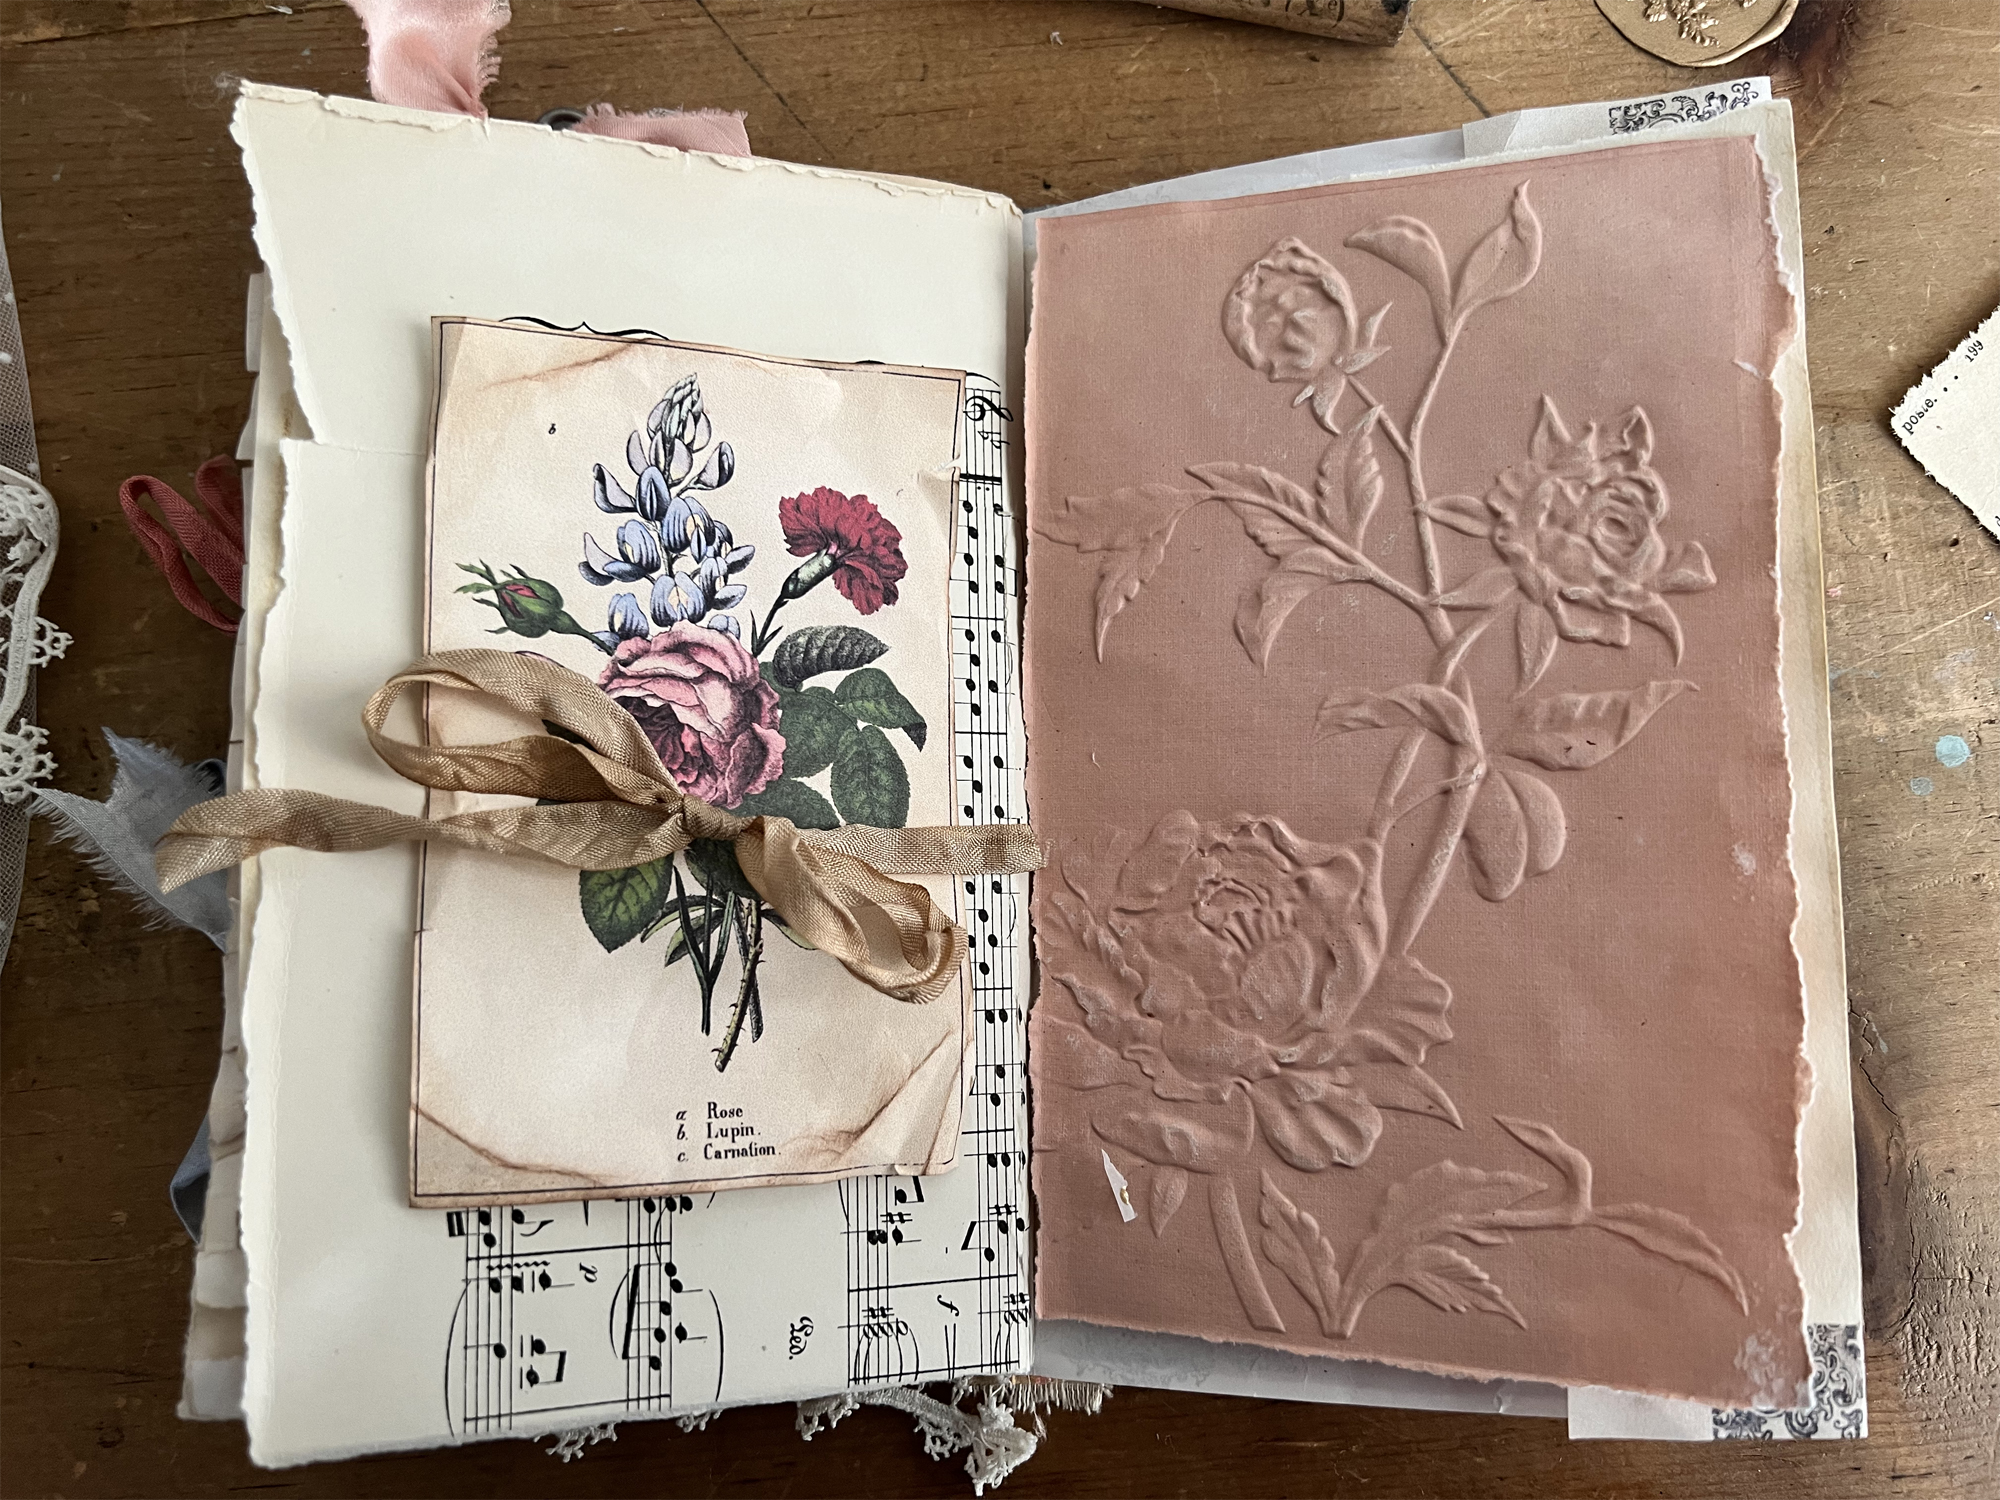
So just by adding a few simple things to the inside of your junk journal, you can create a beautiful journal to write your thoughts or give as a gift! It is fun to create using a theme or with a color palette. If you need theme inspiration you can find loads of Junk Journal Ideas HERE.
Other art journaling embellishment ideas included adding tickets, envelopes, sheet music, stickers, stamps, paper scraps, wrapping paper or doily papers. Many people enjoy sewing in their books too but it’s not required.
Thank you so much for following along… I hope this series has inspired you to create a Junk Journal! Junk Journals are a wonderful way to create from the heart using your own imagination. Fill your own journals full of whatever you dream up!
How to use your Handmade Book:
A junk journal is sort of like a cross between a diary and a scrapbook. You use the various blank spots of paper in your journal to write your thoughts, record memories or even do some creative writing if you desire. Then you can insert little mementos like photos, ticket stubs from a favorite play, a dried flower from a loved one etc. If you make a travel journal, you can include postcards or menus from your trip as well as other little souvenirs.
Watch the Video Below to see how Gina Testa used Her Book to remember a Family Vacation:
Images used for the Junk Journal Page Ideas can be found here:
If you missed Part one of this Series on How to Make a Junk Journal you can find it HERE.
Have fun creating!
Heather ~ you can find more of my art here at Ruby & Pearl xo


Linda R. says
Just finished my first two page spread. It turned out really nice. Your instructions are very easy to follow, thanks. I am not very computer savy, so where would I enter a picture?
Rebecca E. Parsons says
Hi Linda. Awesome. I would love to see your work. You can submit images here: https://thegraphicsfairy.com/reader-submissions/ Or click the Submit tab in the menu bar.
Rupa says
This is so pretty and dreamy! Love the story. I, of course, love all things French????Thank you for the wonderful tutorial. It will take me a while to complete the first set. Looking forward to the continuation of the journal pages and the lovely story!
graphicsfairy says
Thanks Rupa 🙂
Carla Fisch says
Rebecca, I’m loving following along and having more segments to look forward to this summer. I want to make sure I am understanding. We are skipping the page numbers you don’t mention and leaving them blank for now correct? (1,2,7,8,9,10)
Rebecca E. Parsons says
Great question Carla, you are correct. We will be creating those pages in the next tutorial!!
Joy McClintock says
Rebecca, are we doing 6 or 8 pages? You demonstrated 8, but only listed 6 page size to complete as assignment. Just checking. Thanks for all the ideas.
Rebecca E. Parsons says
Great catch Joy!!! Thank you for keeping me on my toes! I forgot to include the single pages 6 and 11 (updated now). Talking about pages and spreads within a signature can be pretty difficult to translate into words!! Glad you are here.
Nancy Allen says
Rebecca, do the page numbers you give reflect the folding of the large sheets? It seems as if they do since page 5 appears to be on a separate sheet from page 4.
Rebecca E. Parsons says
Yes Nancy, page 4 will be on a different piece of paper from page 5. 4 and 5 will be a spread in the final bound book. Talking about pages and spreads within a signature can be pretty difficult to translate into words!! I think I will create a diagram for the next tutorial to show exactly where everything is. Glad you are joining us this Summer.
Nancy Allen says
Rebecca, in order to be better organized, I took four of my folded sheets and stacked them by placing the second inside the first, the third inside the second, and the fourth inside the third. Then I put a small post-it on each of the 16 pages with the page number and, when known, a brief description like “steamship” or “train.” I’ve placed my completed images on the proper pages without gluing them down for now.
Rebecca E. Parsons says
Great ingenuity Nancy. Whatever works for you. I know creating a book can be confusing at first. I hope you will jump in and start to glue things down soon. No pressure. Happy creating.
cmt says
Wow. So many great tips here. Love the style.
graphicsfairy says
Thanks so much 🙂
Rebecca E. Parsons says
Thank you! Glad you are joining us.
Jennifer Scull says
Thank you so much for sharing all of the beautiful pages and photos! 🙂 now for me to get busy!
graphicsfairy says
Thanks Jennifer and I hope you have fun creating!! That is what it is all about 🙂