Junk Journal Flower Clusters
Hello Graphics Fairy friends! I’m Diana from Dreams Factory and I’m happy to be here once again to share another DIY project with you! Today, I will show you how to make these gorgeous Vintage style Junk Journal Flower Clusters with Birds, using only a handful of supplies. Our goal is to add dimension and depth and manage to create visually appealing final pieces. I’ll show you how to cut, embellish and layer all these beautiful elements to create something truly unique.

These clusters can be created and used depending on your imagination and your inspiration for the moment. There are no rules when it comes to layering all these beautiful elements, but I’ll give you a few ideas that will help you get started.
Free Printable
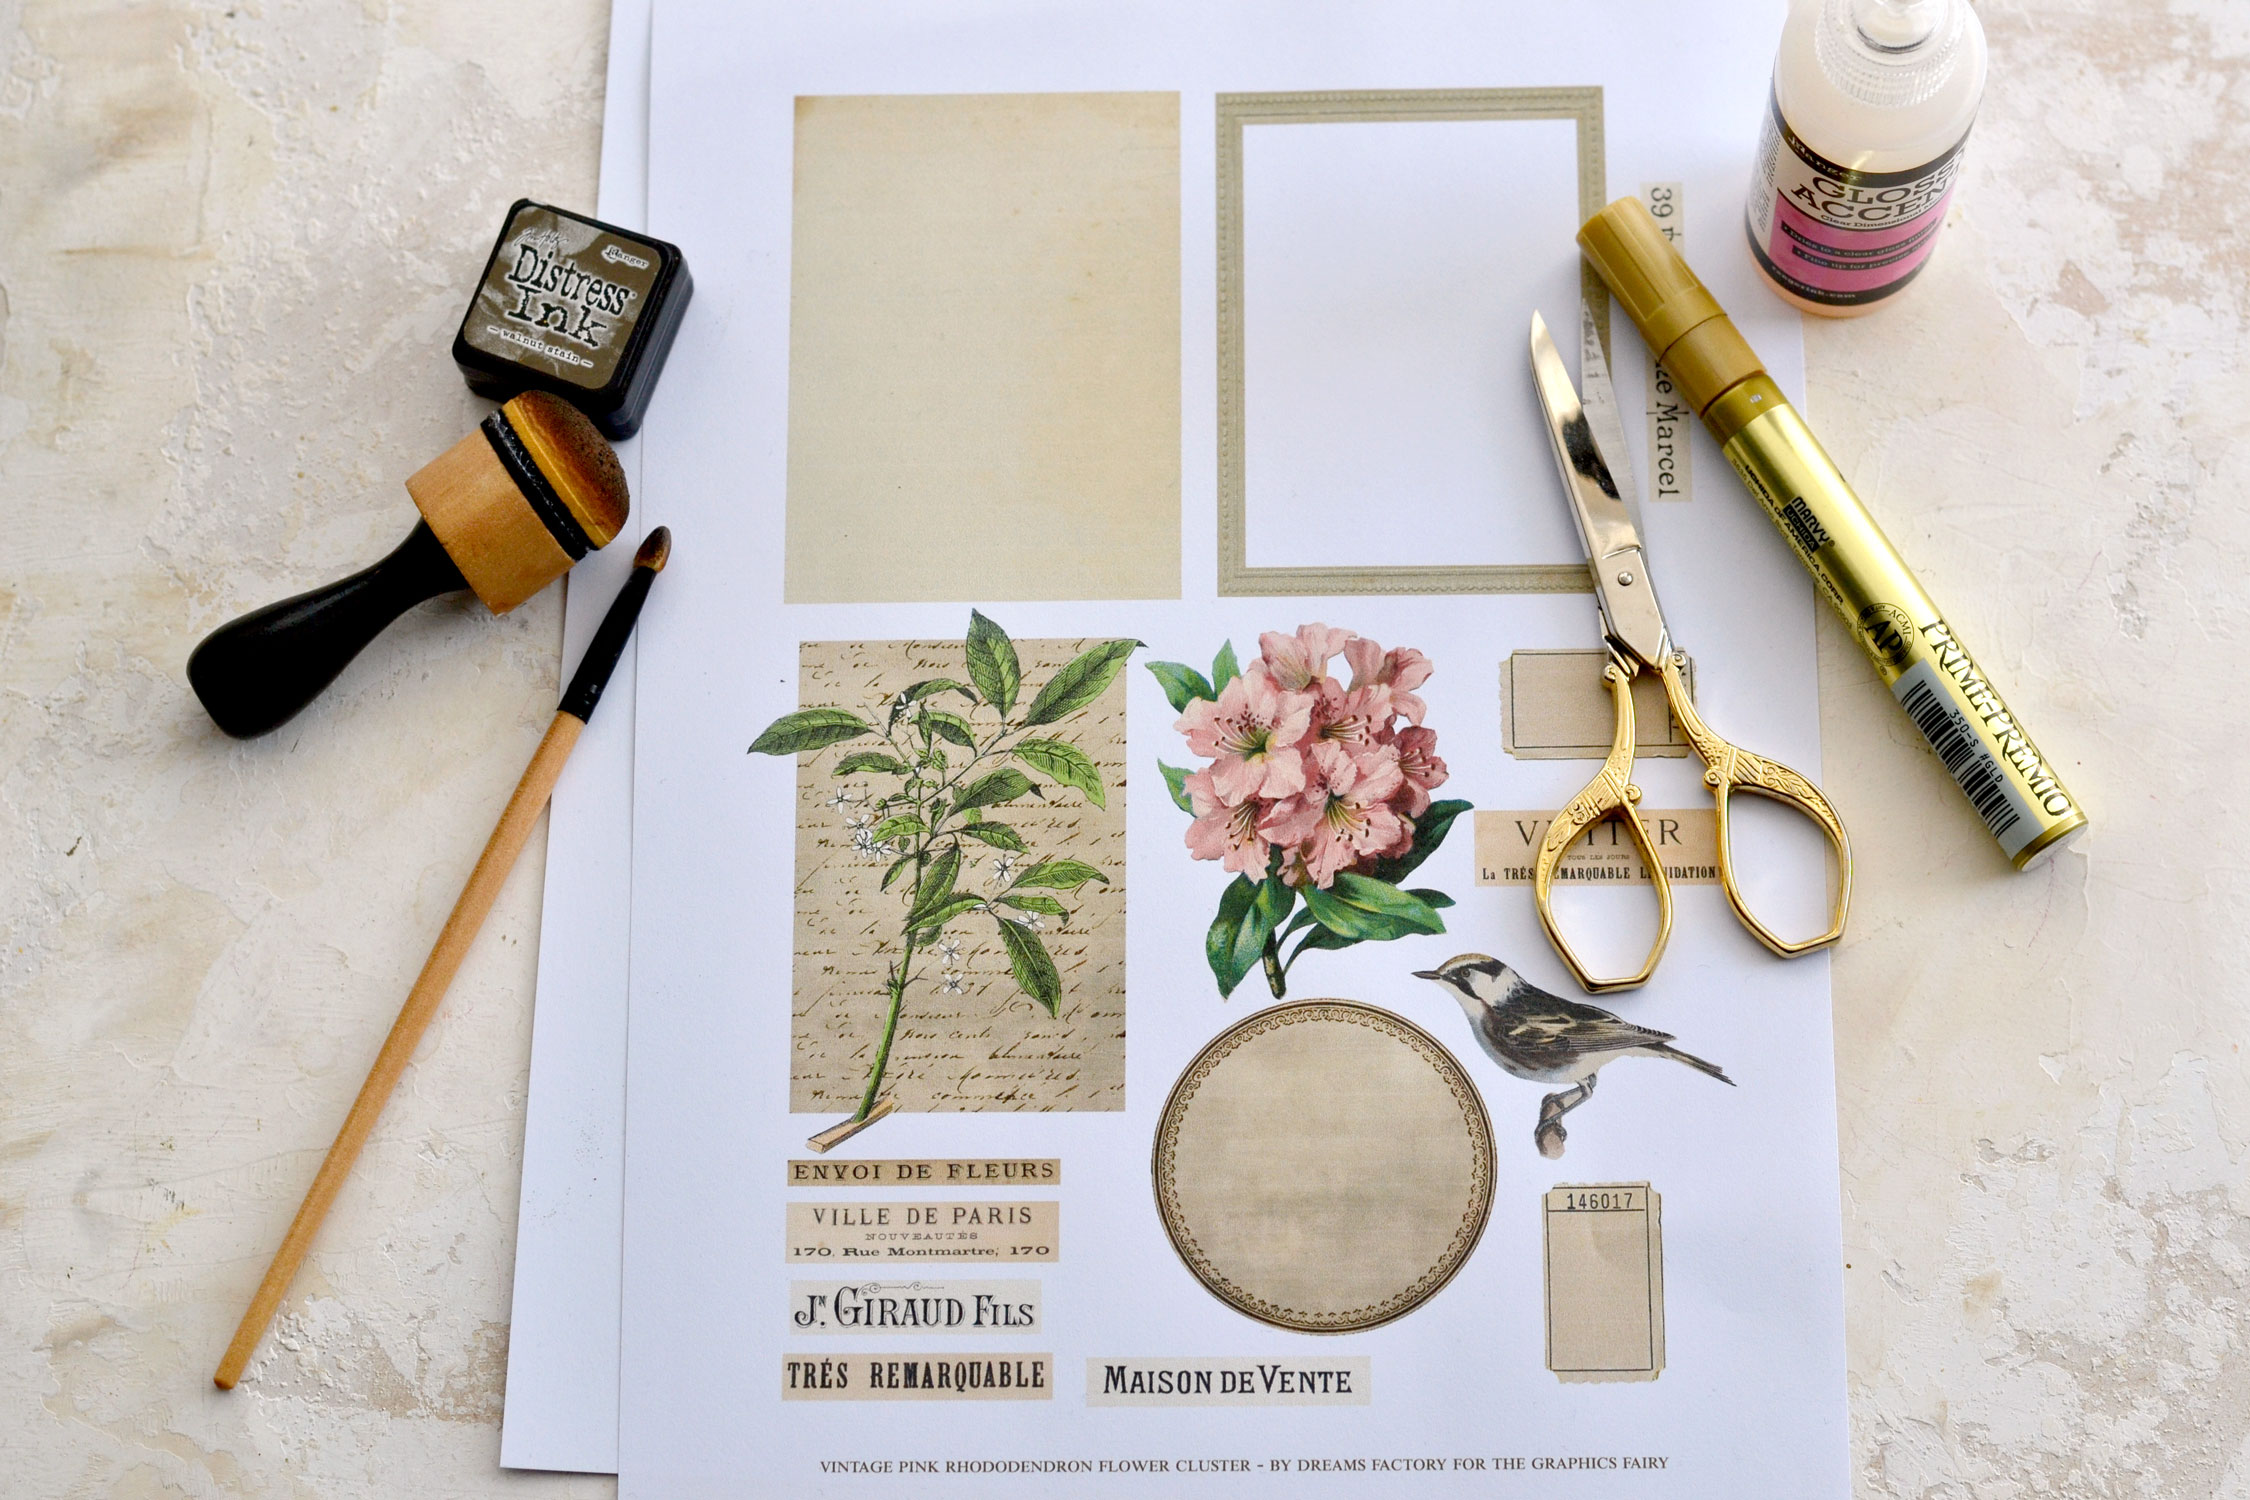
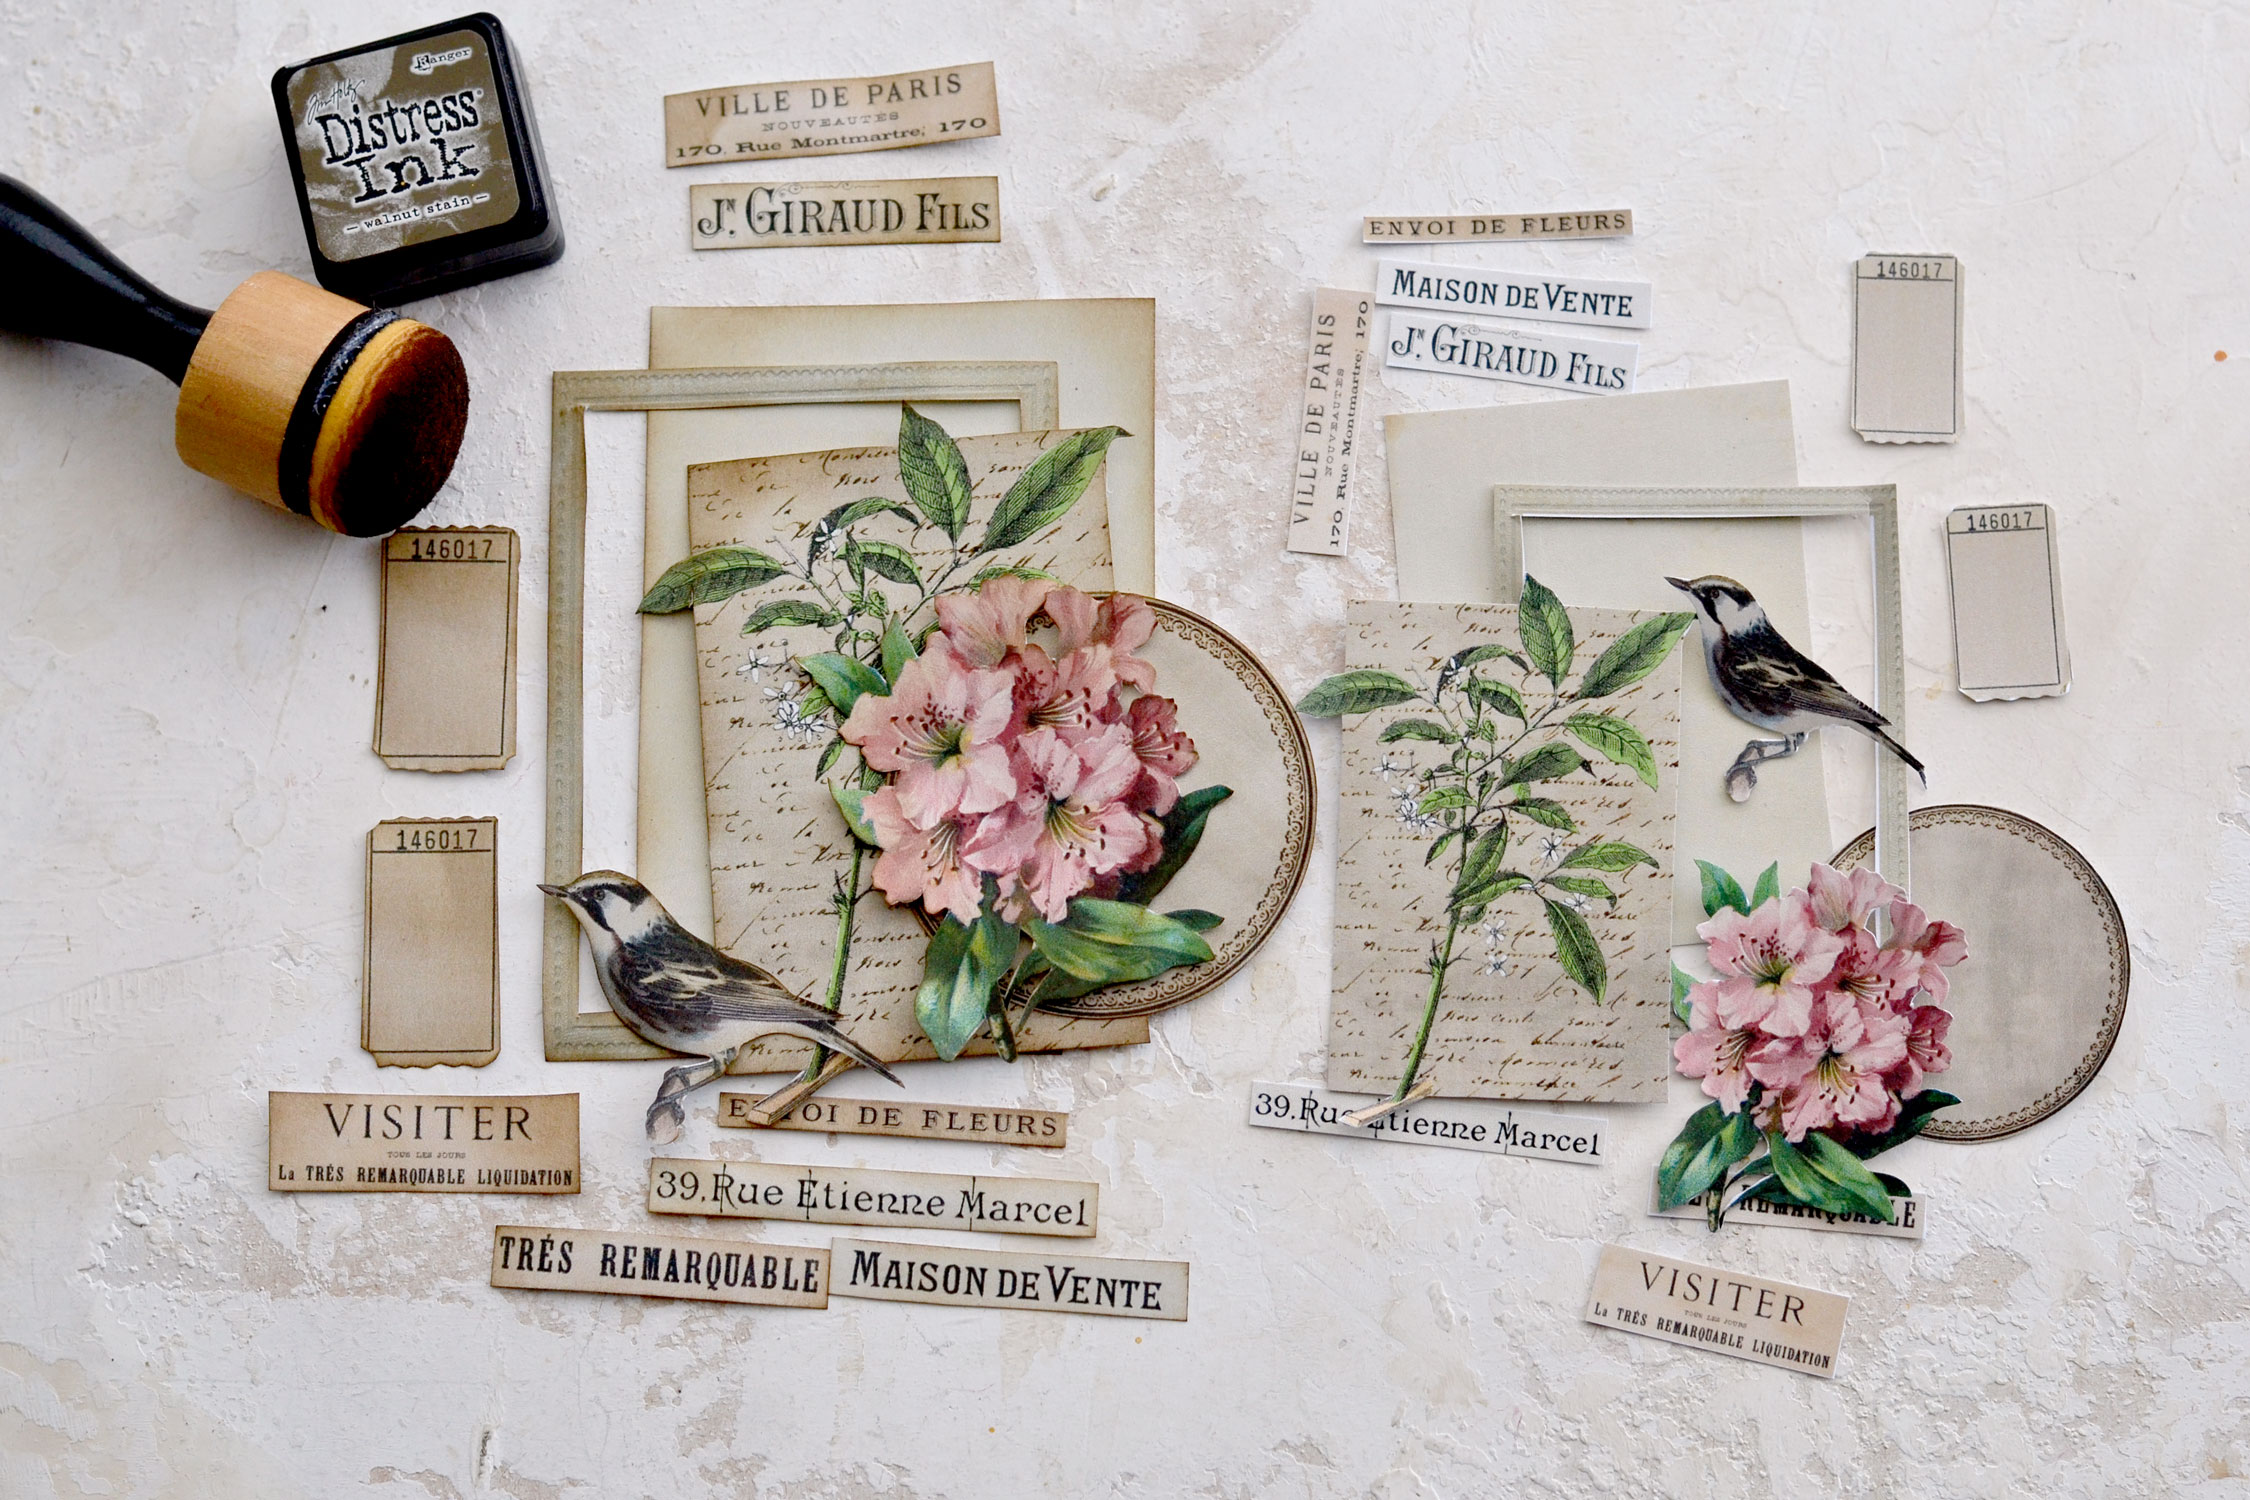
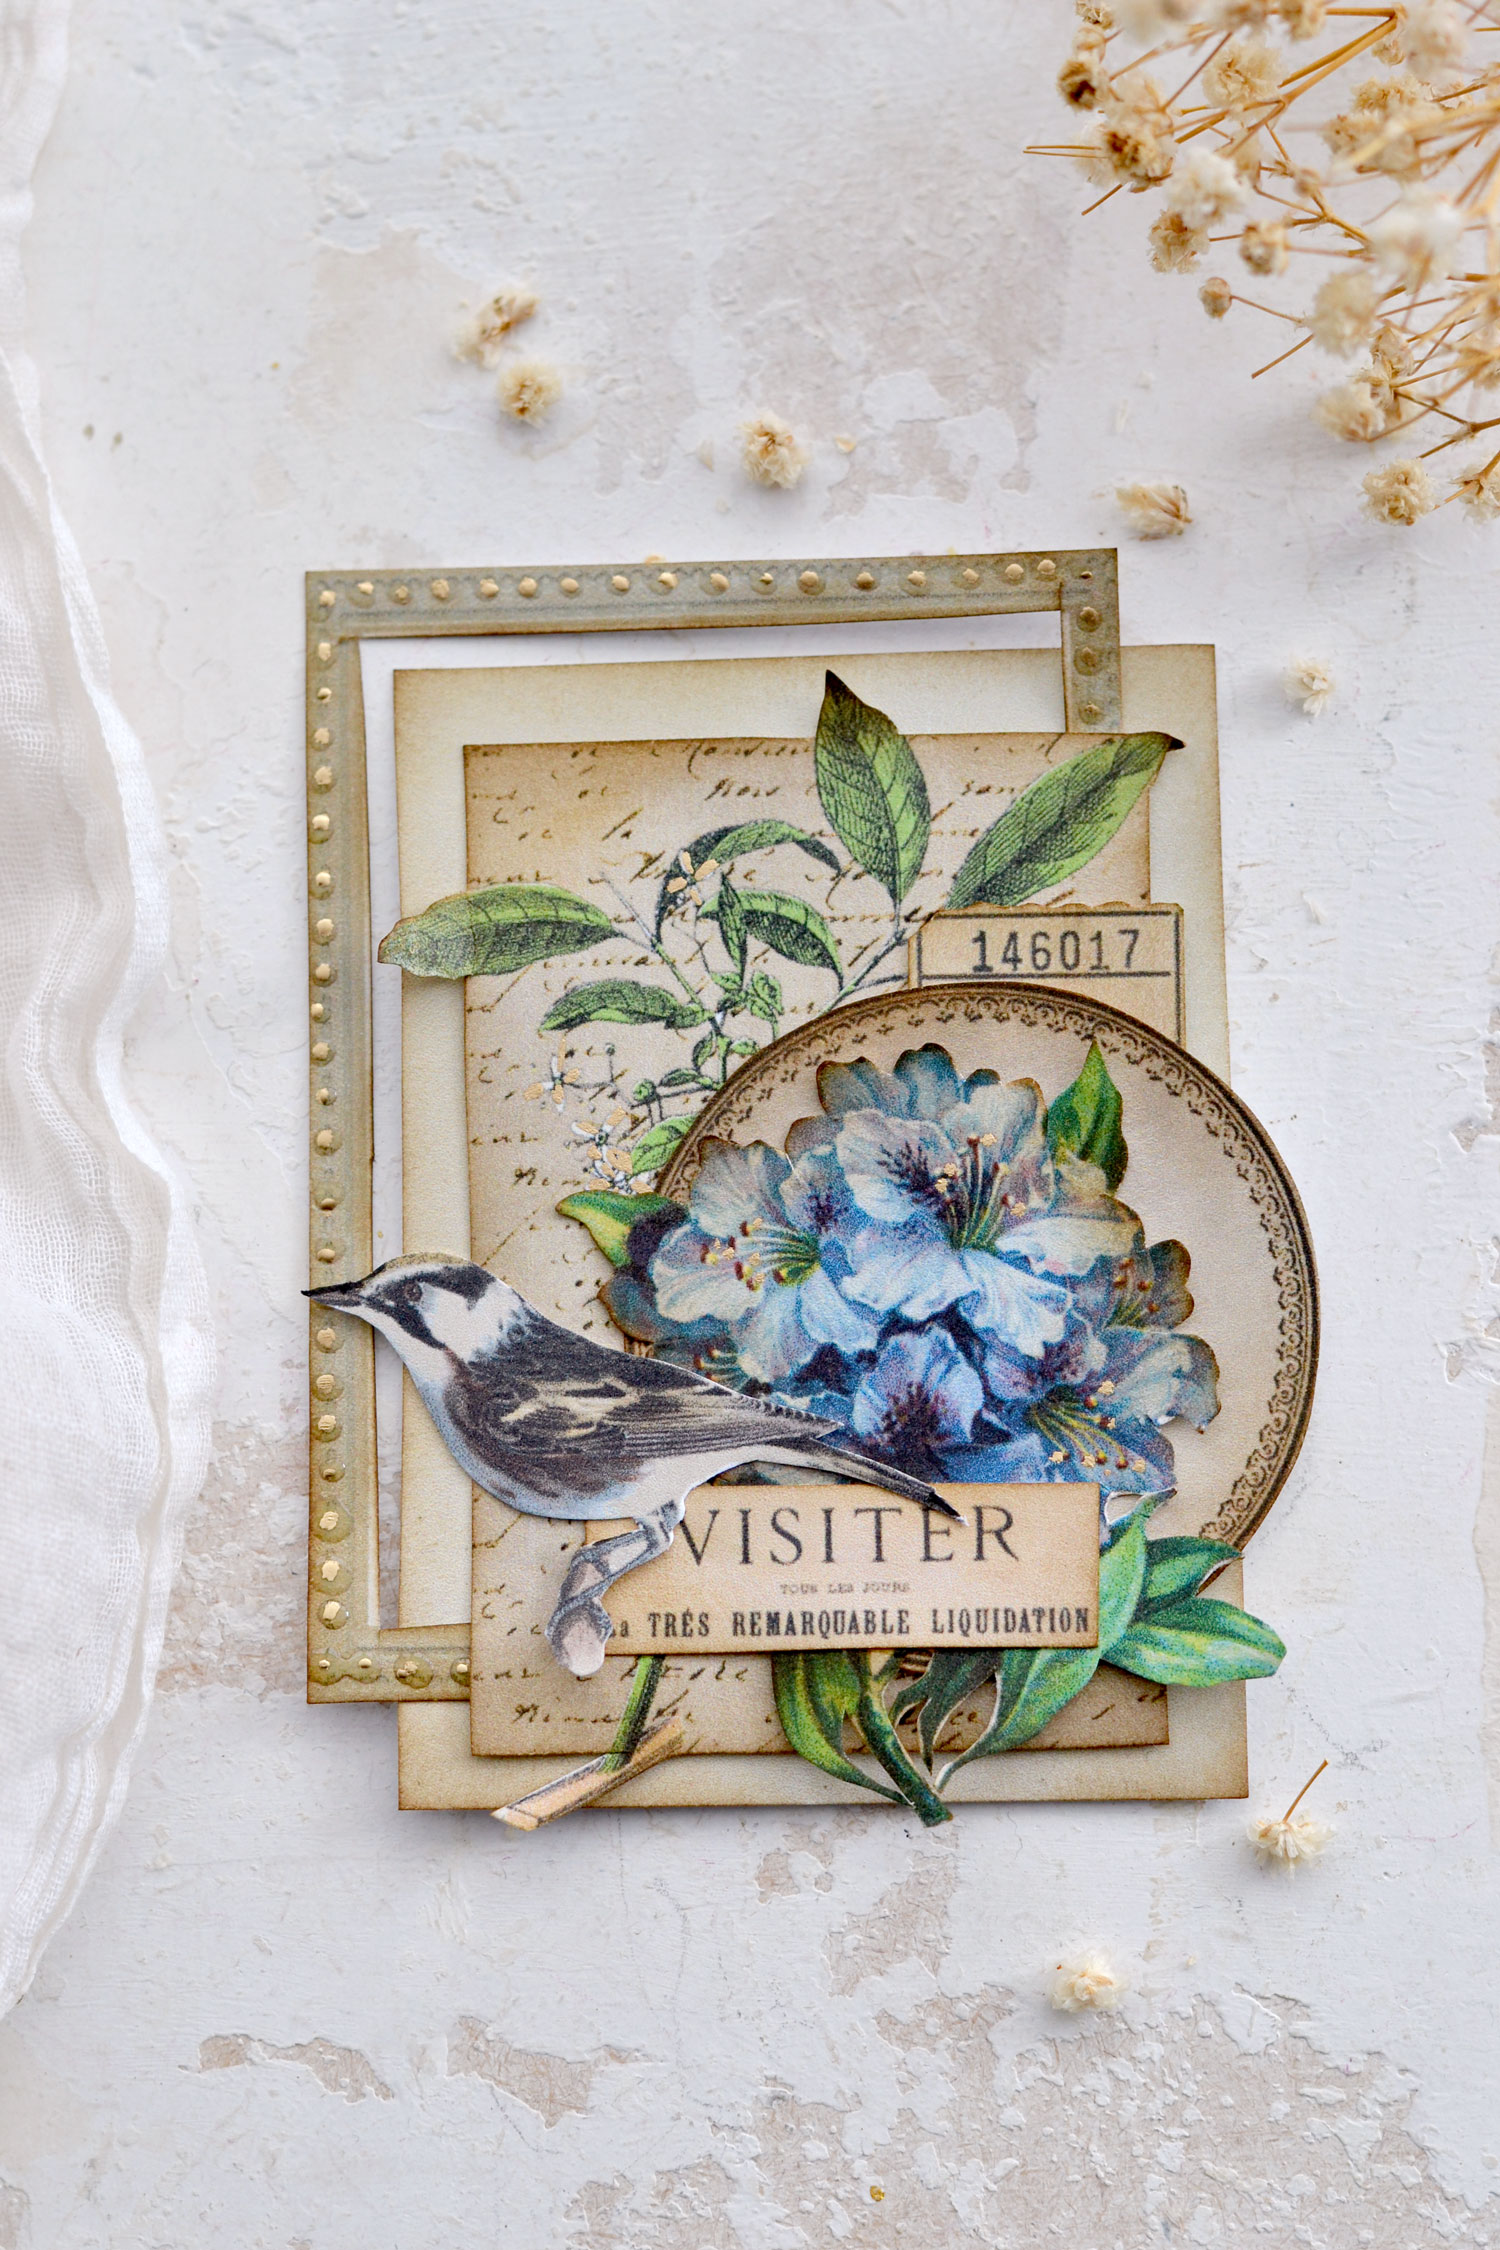
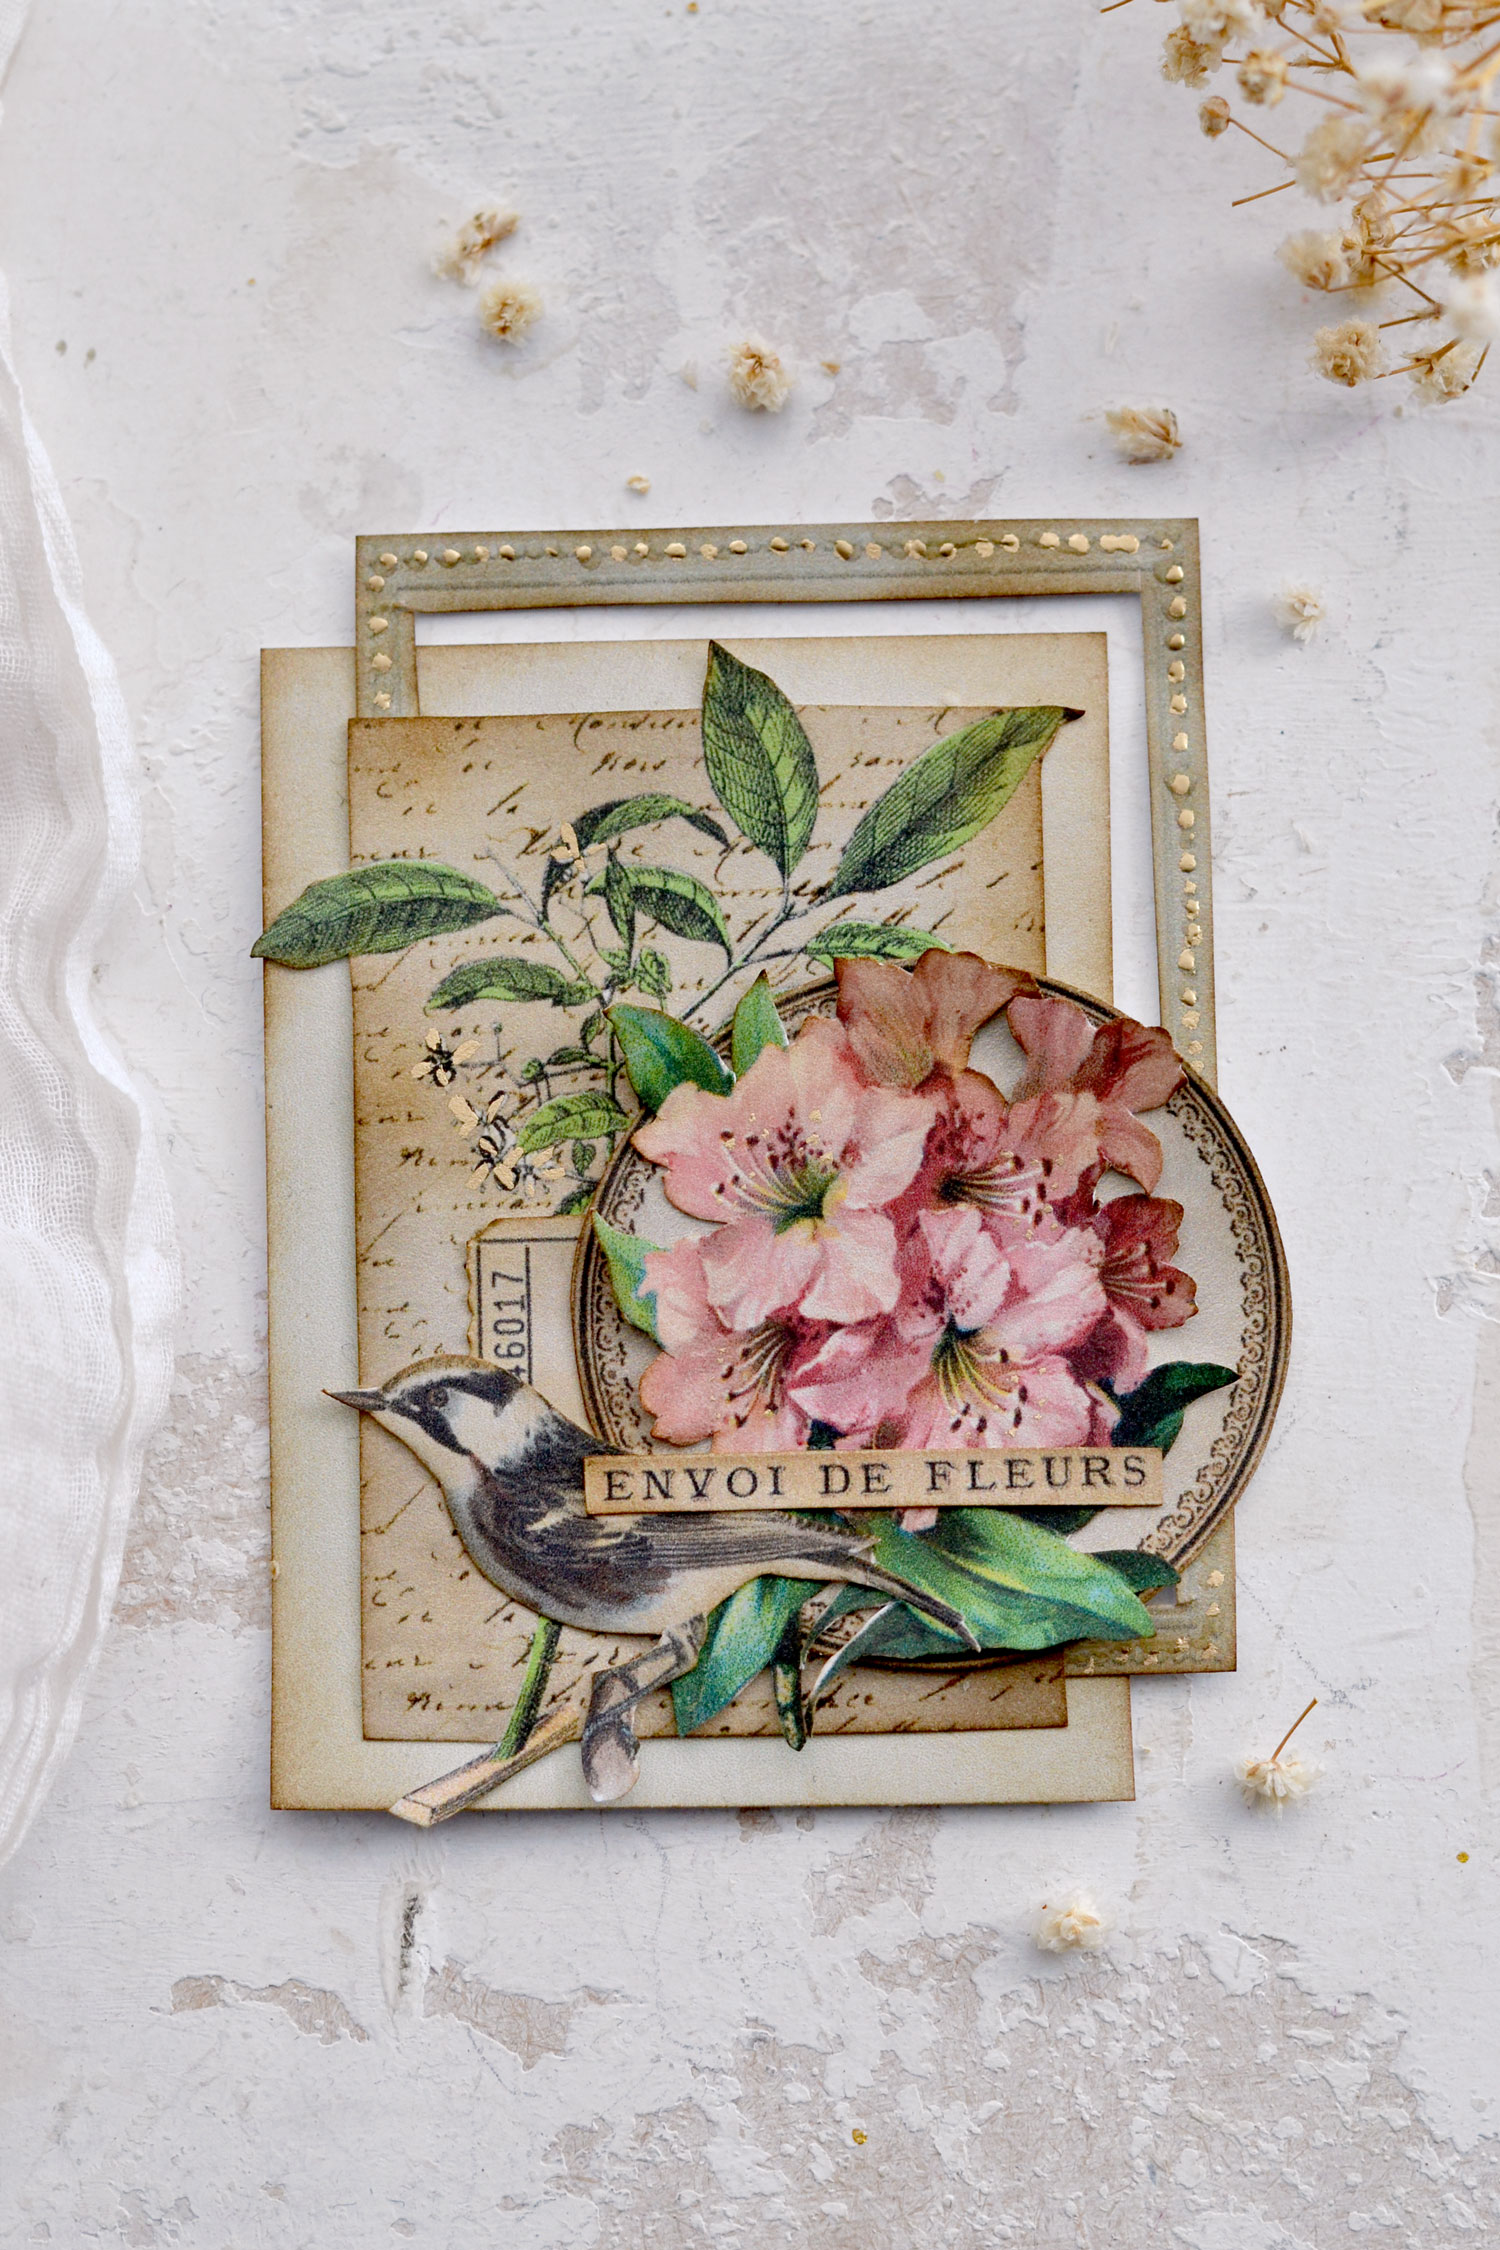
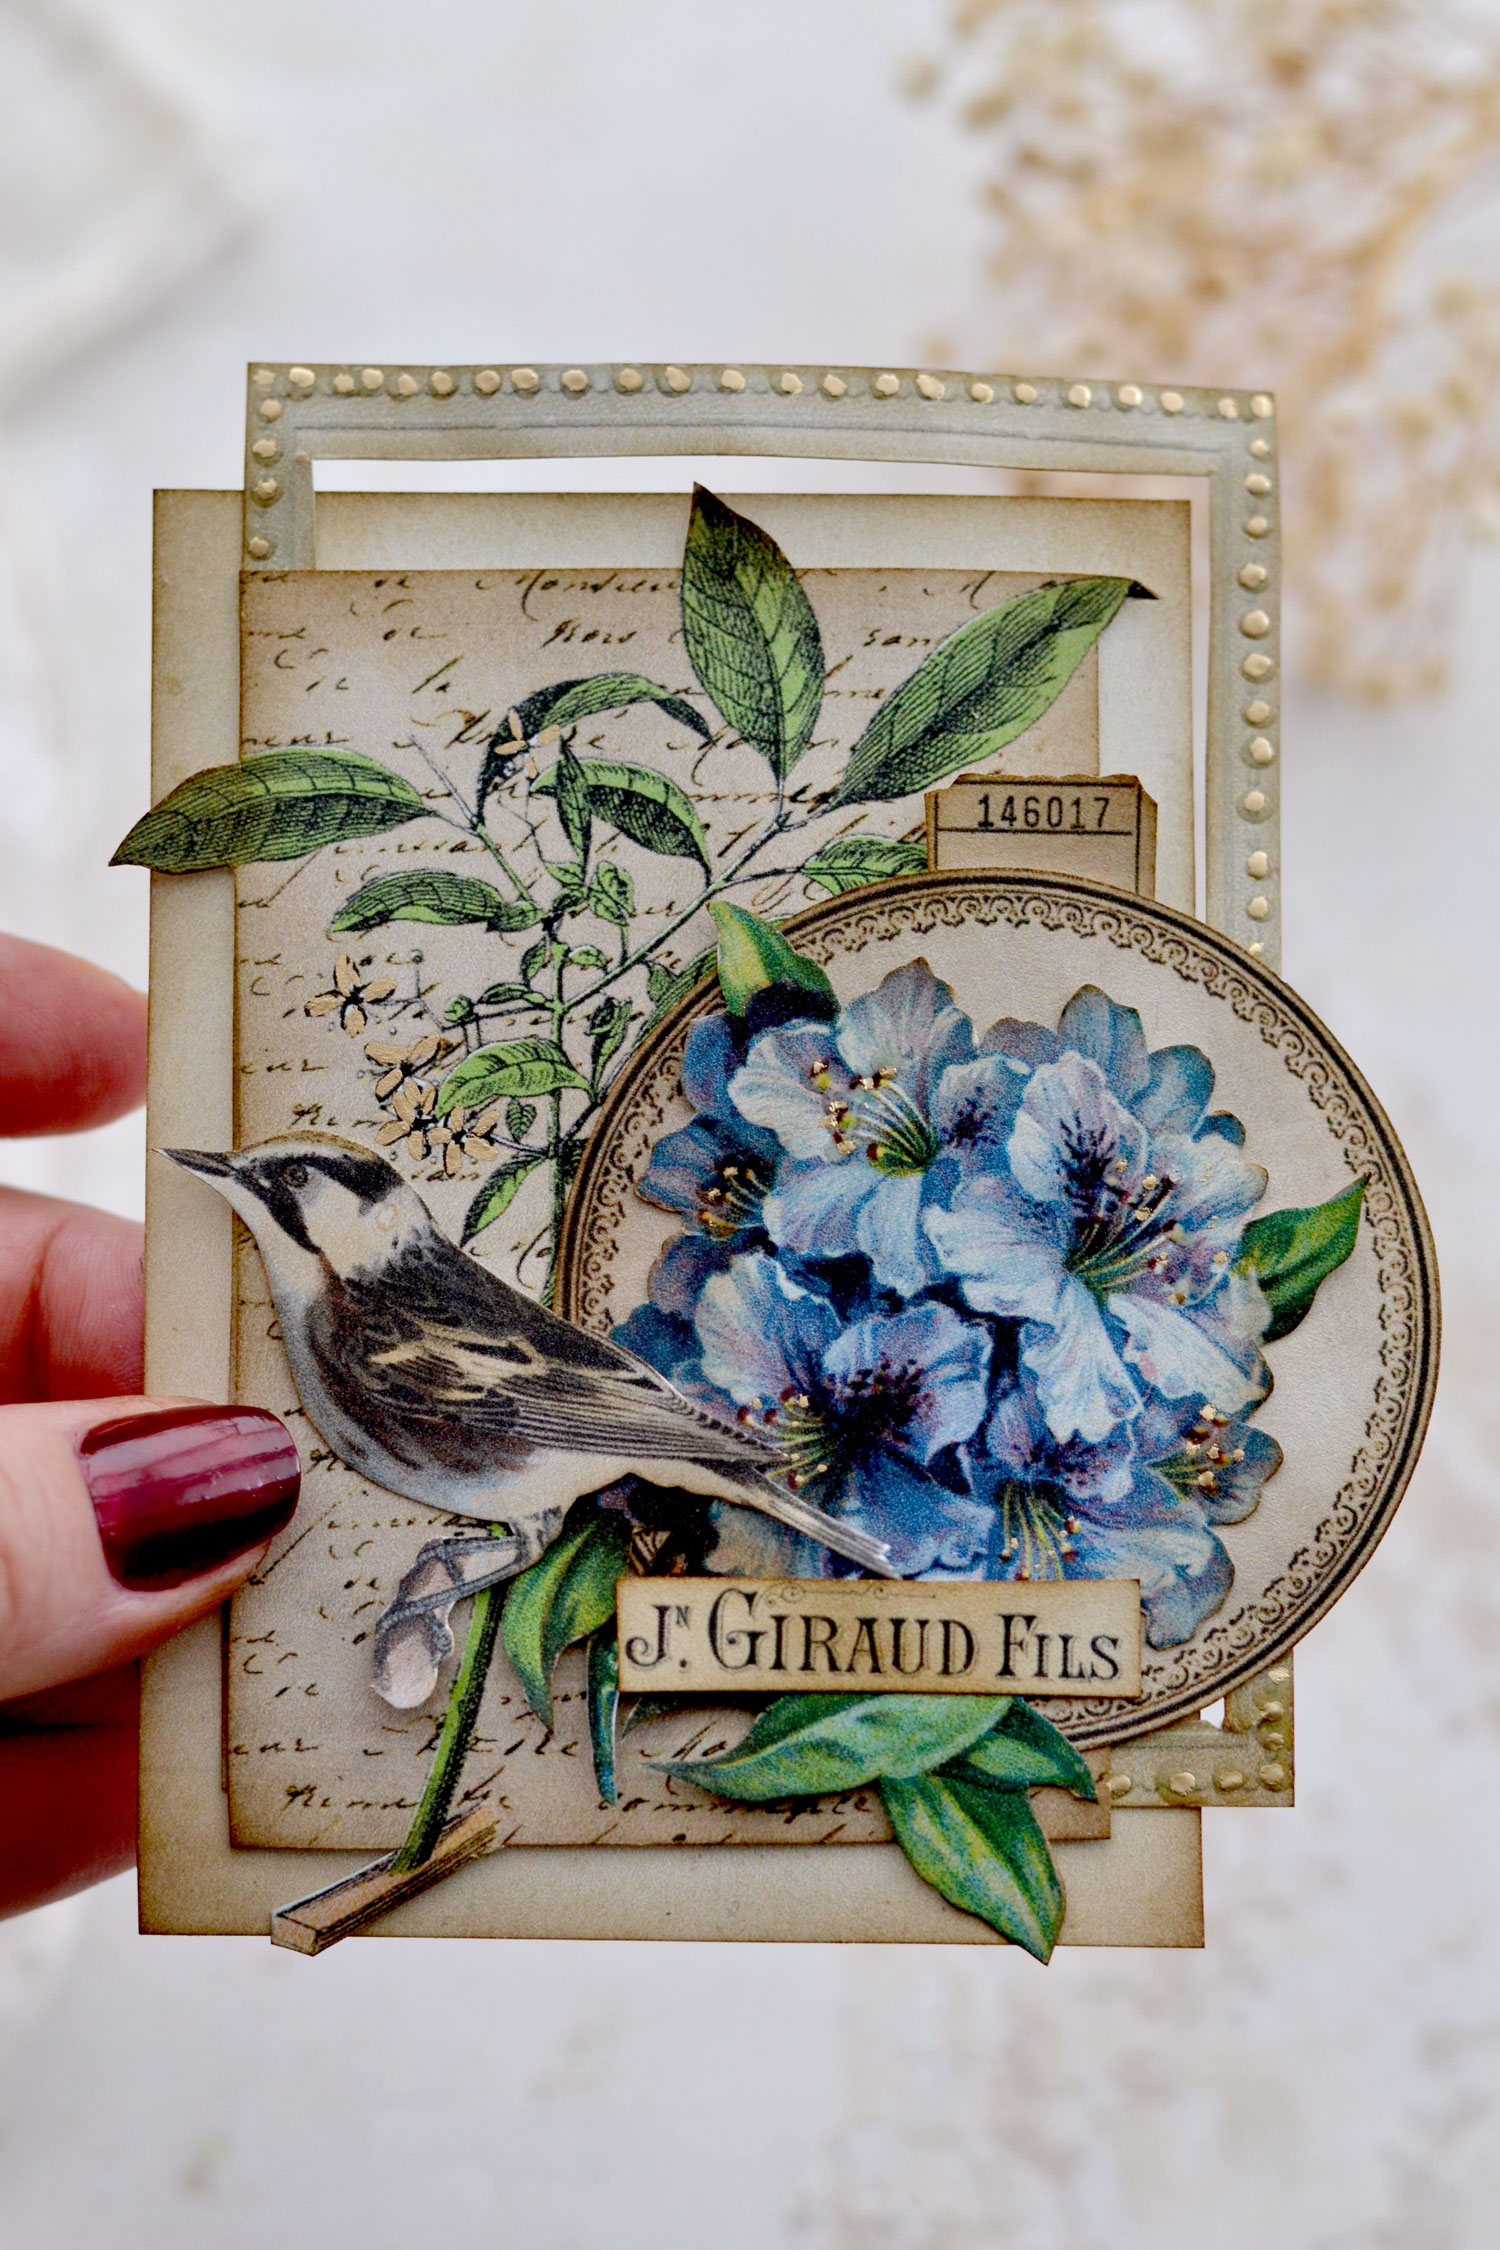
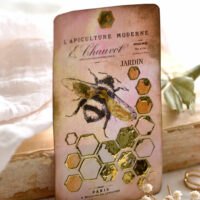
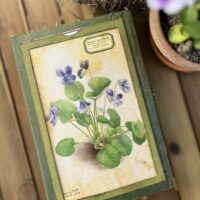
You will find below the three printables that I created for this project. I included a few backgrounds, rectangular and round frames, tickets and a French script element with super chic green leaves. All these have a lovely vintage vibe and will create almost like a 3D base for our clusters. For the top, I went with a beautiful vintage bird image and some gorgeous rhododendron flowers in pink and blue that will create our focal point areas. You can use one of the many French ephemera cutouts to wrap things up and add even more charm to these beauties.
P.S. Each of the larger printables will create one cluster and the smaller printable will create two clusters.
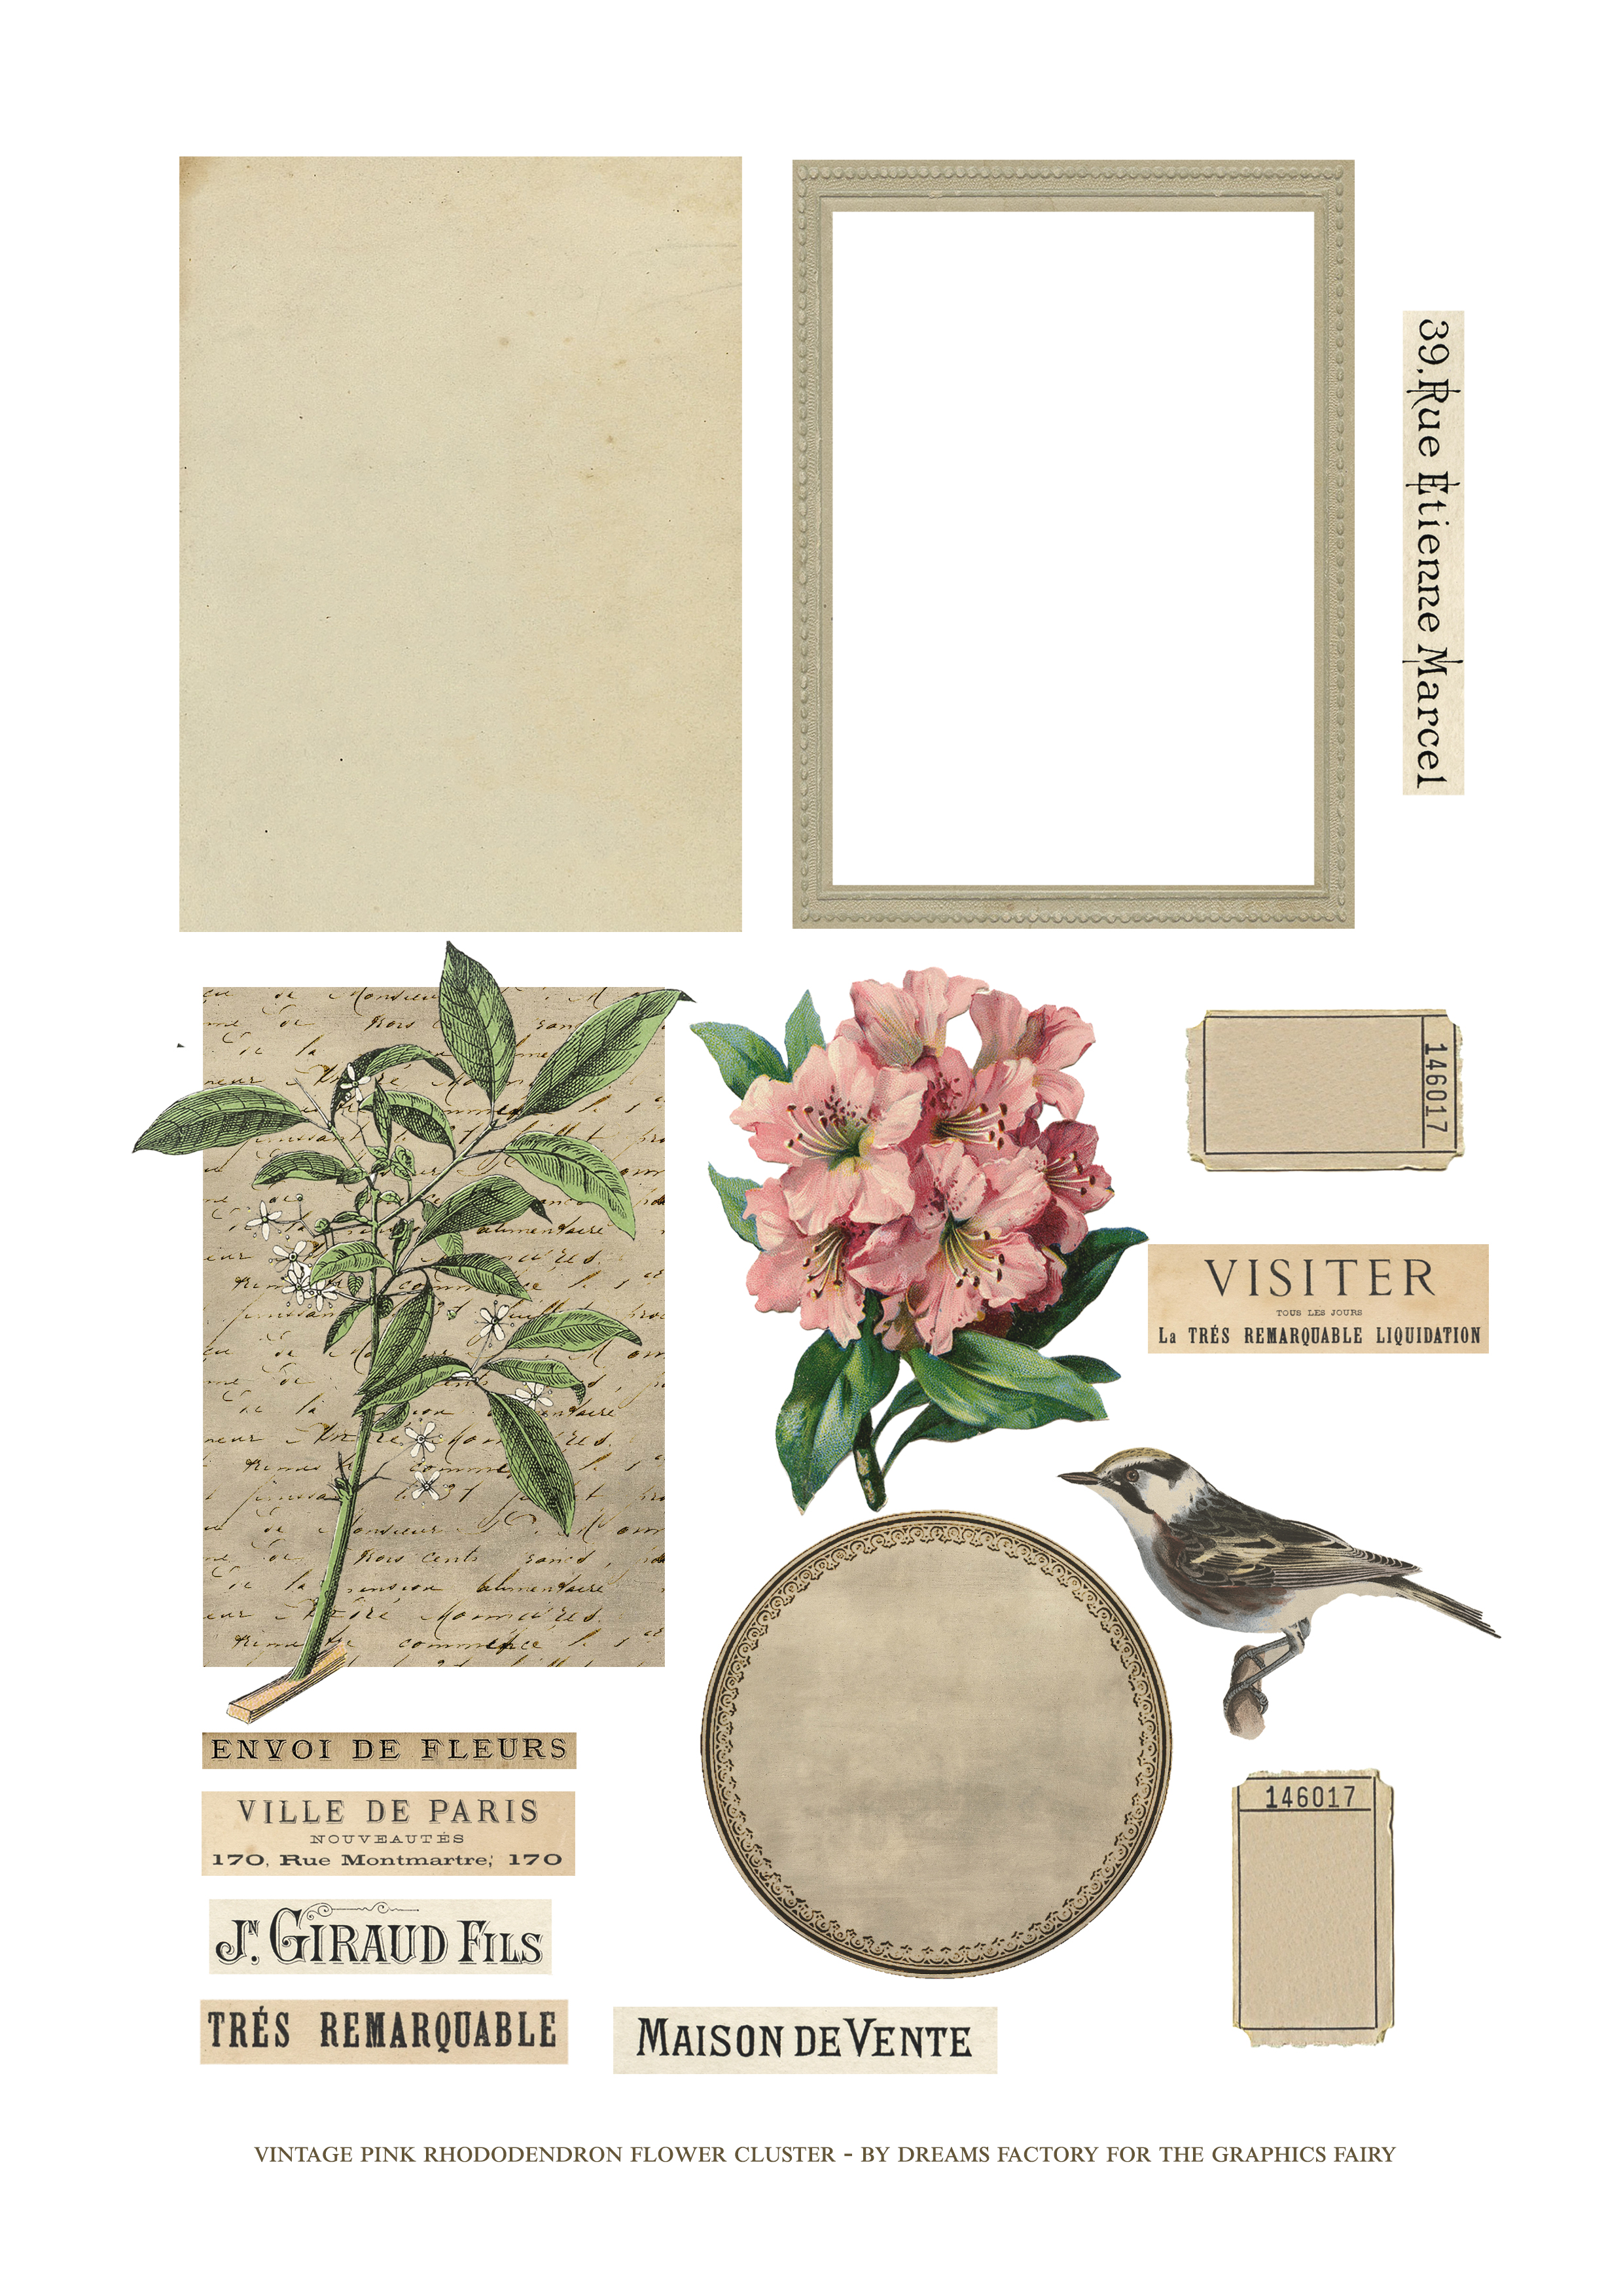
—-> Click HERE to Download the Full Size Printable PDF <—-
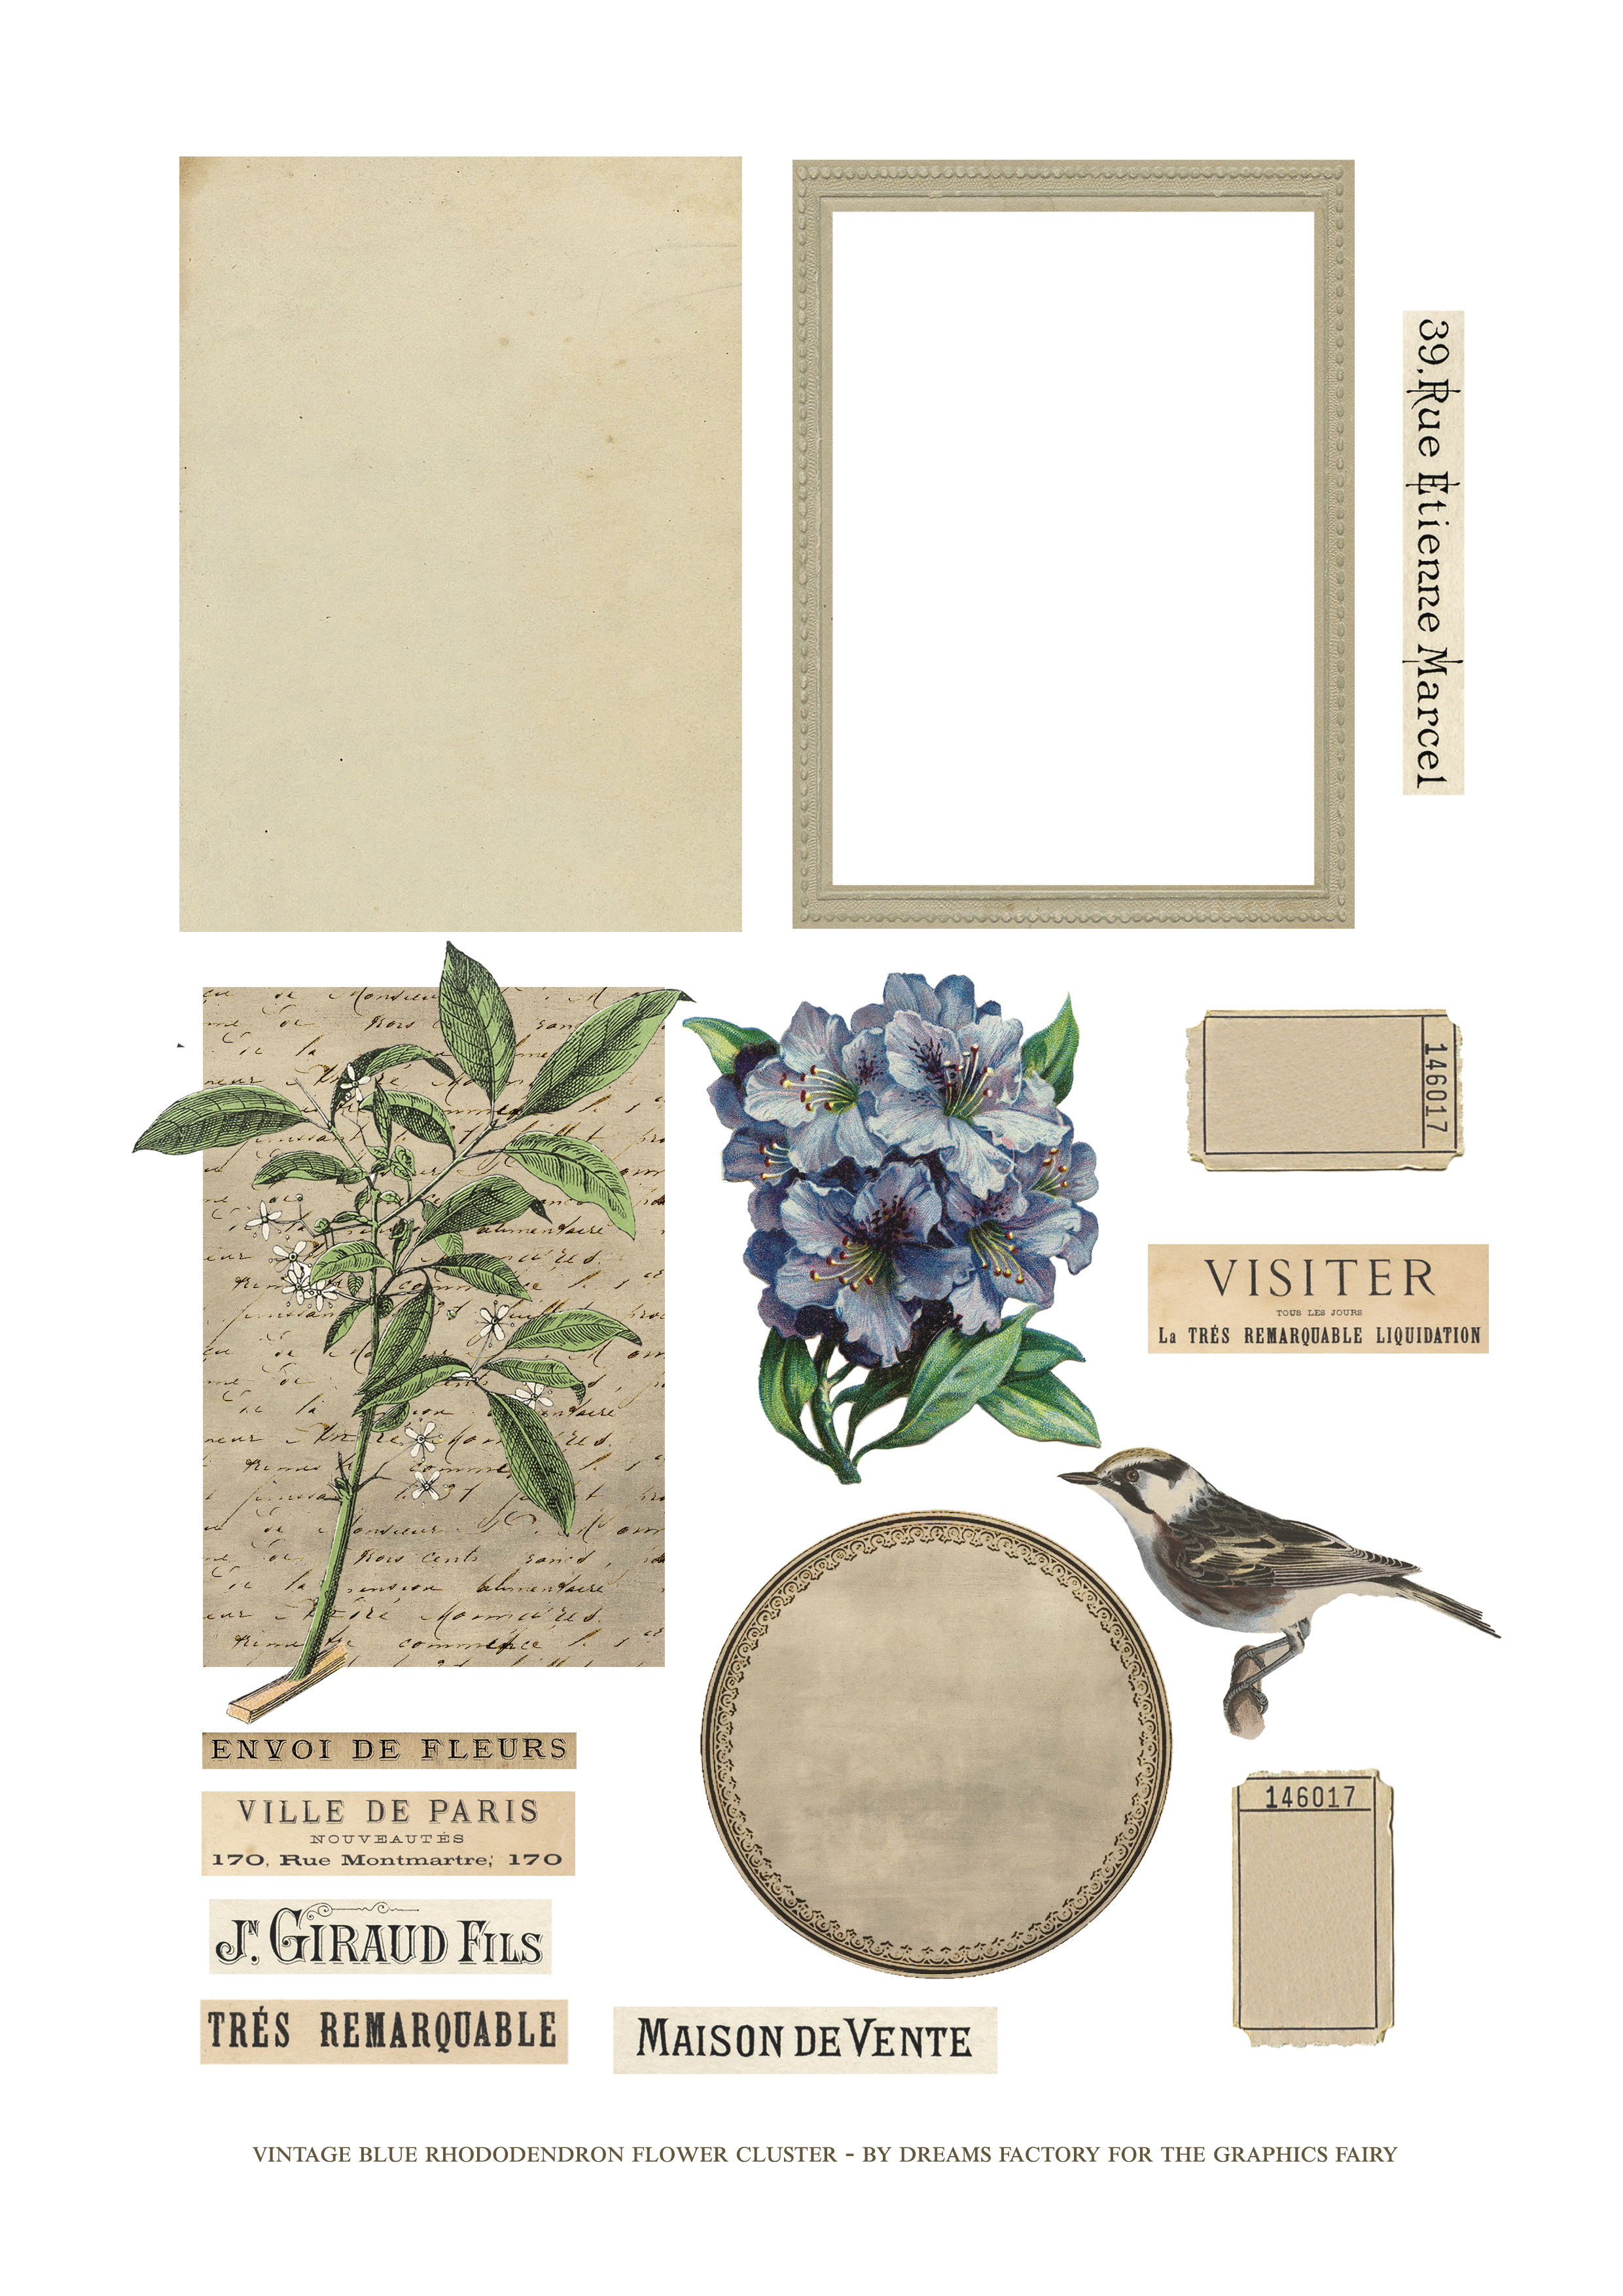 —-> Click HERE to Download the Full Size Printable PDF <—-
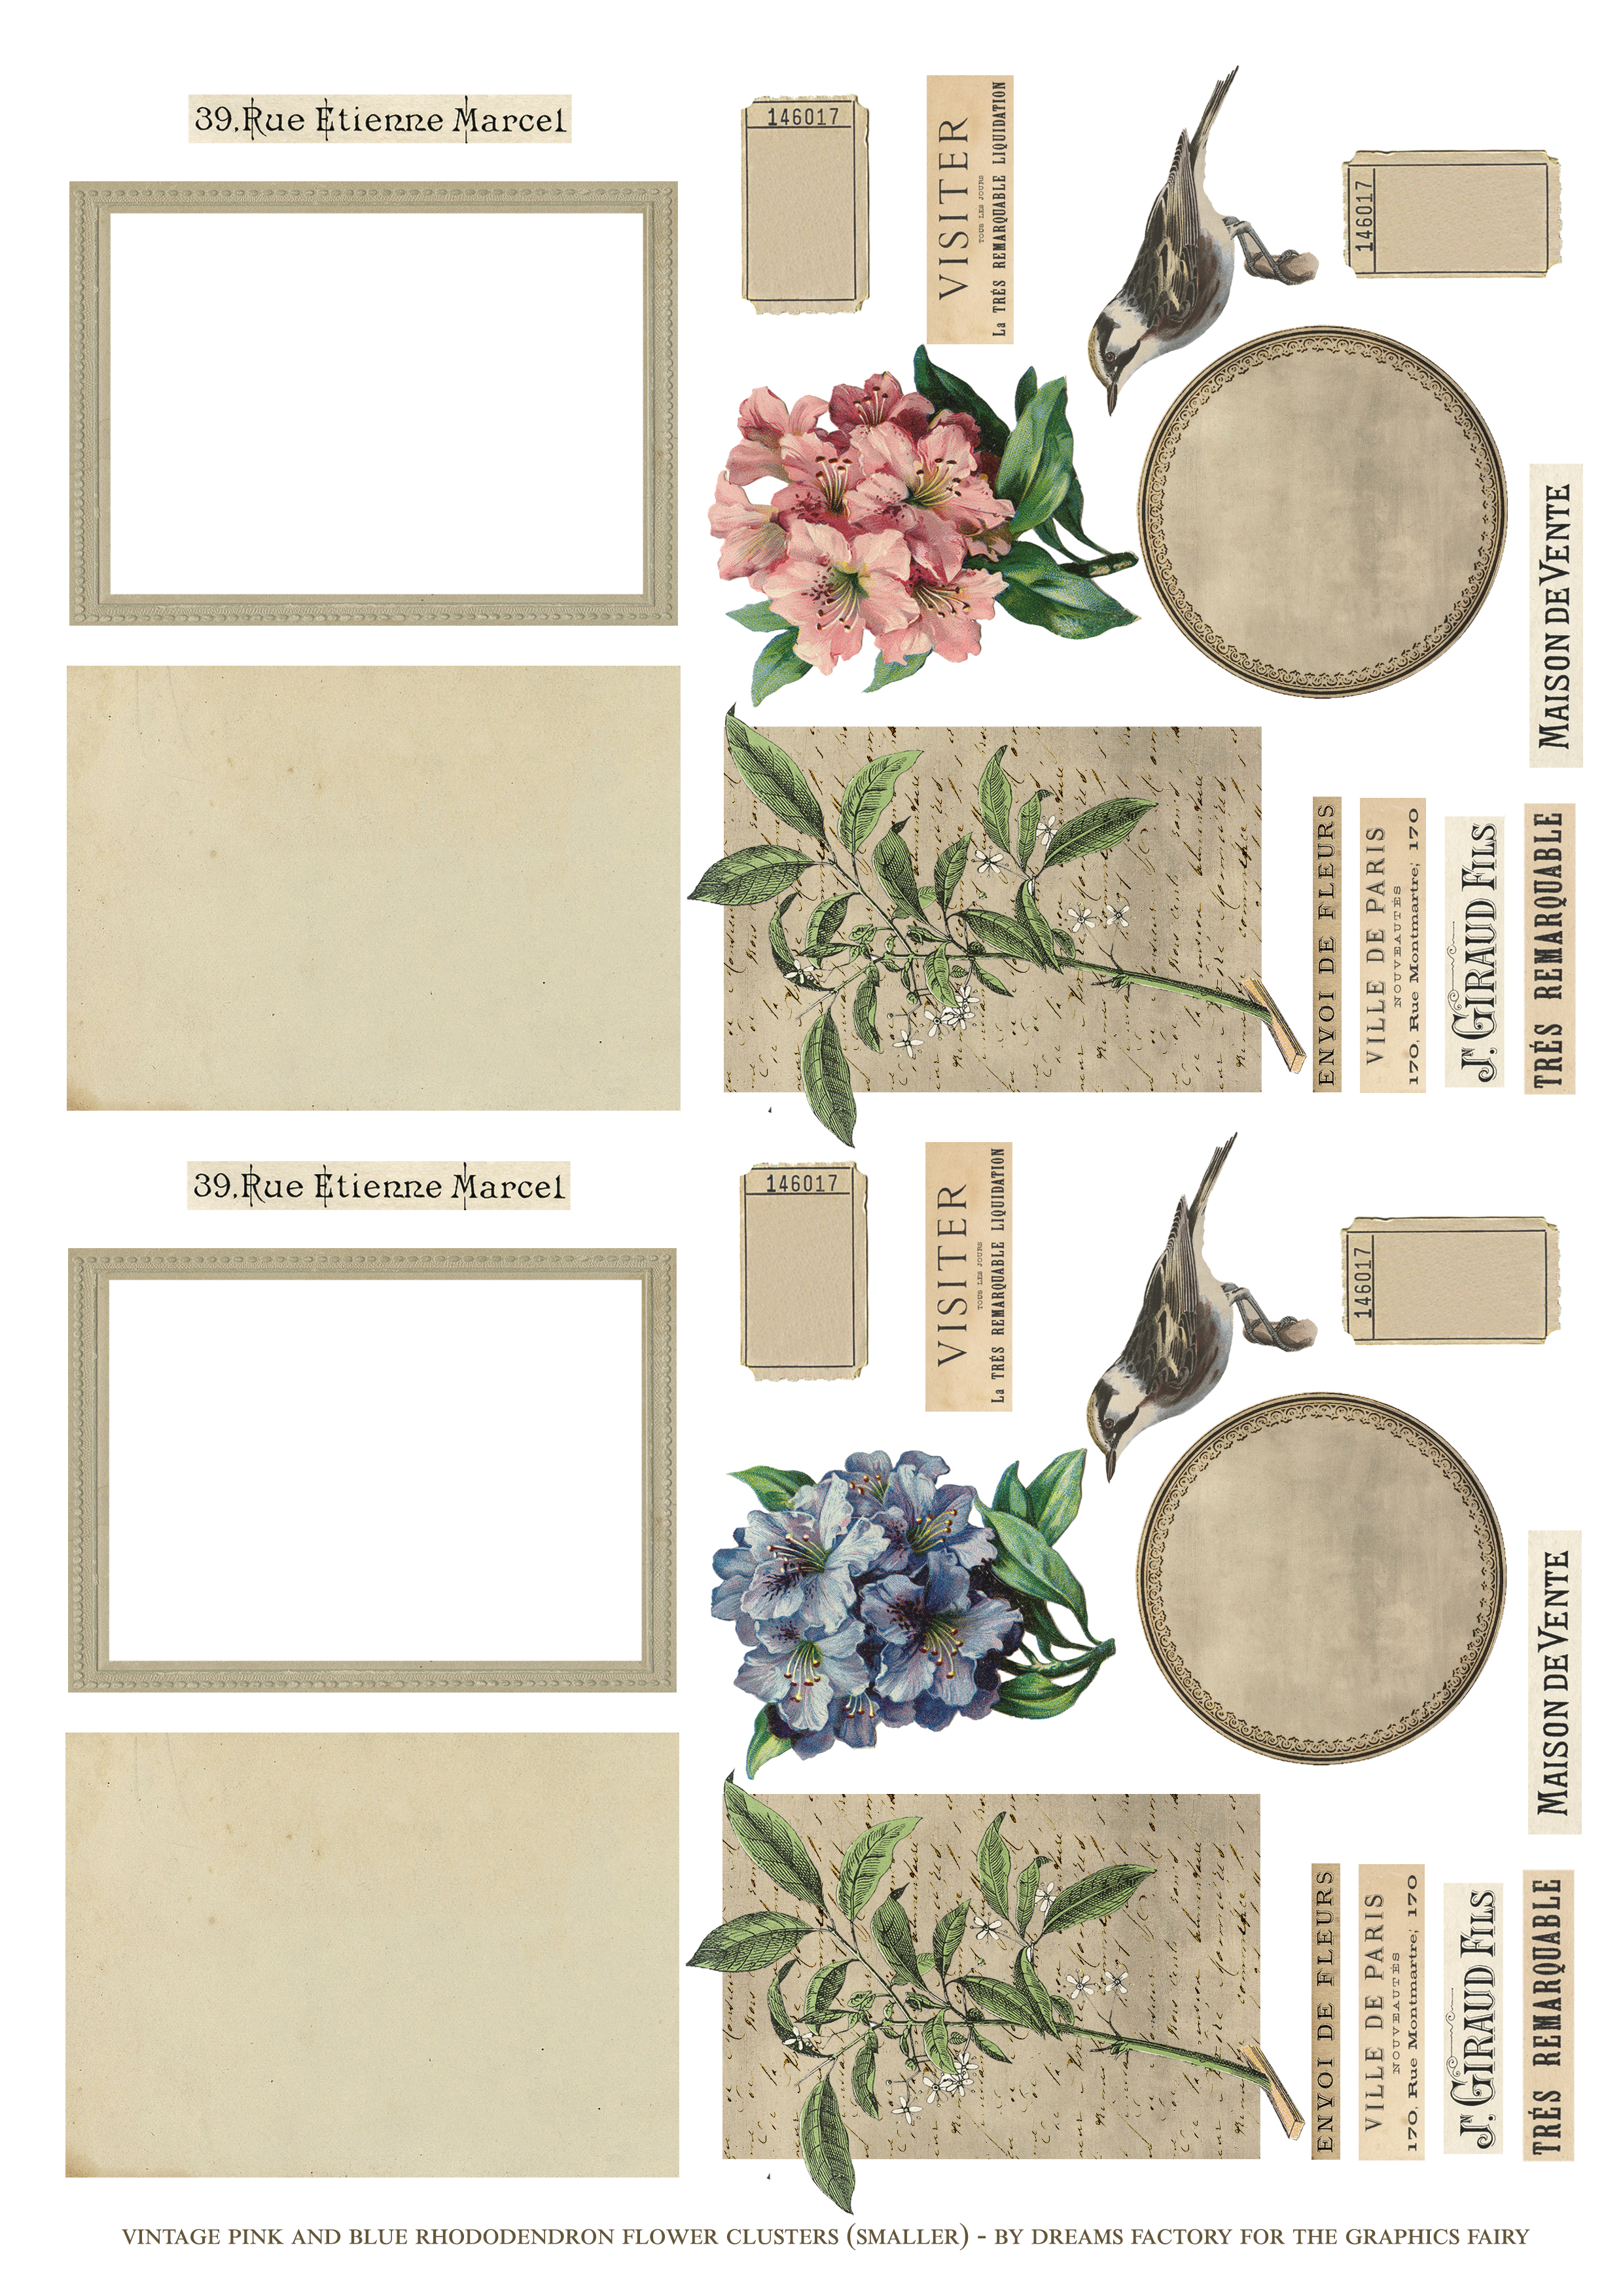
—-> Click HERE to Download the Full Size Printable PDF <—-
Junk Journal Flower Clusters Supply List:
- white cardstock paper
- home printer
- scissors
- mini distress inks
- blending tool with foams
- paper glue
- DecoColor gold marker or gold watercolors or gold acrylic paint
- Glossy Accents medium
Step by Step Tutorial:
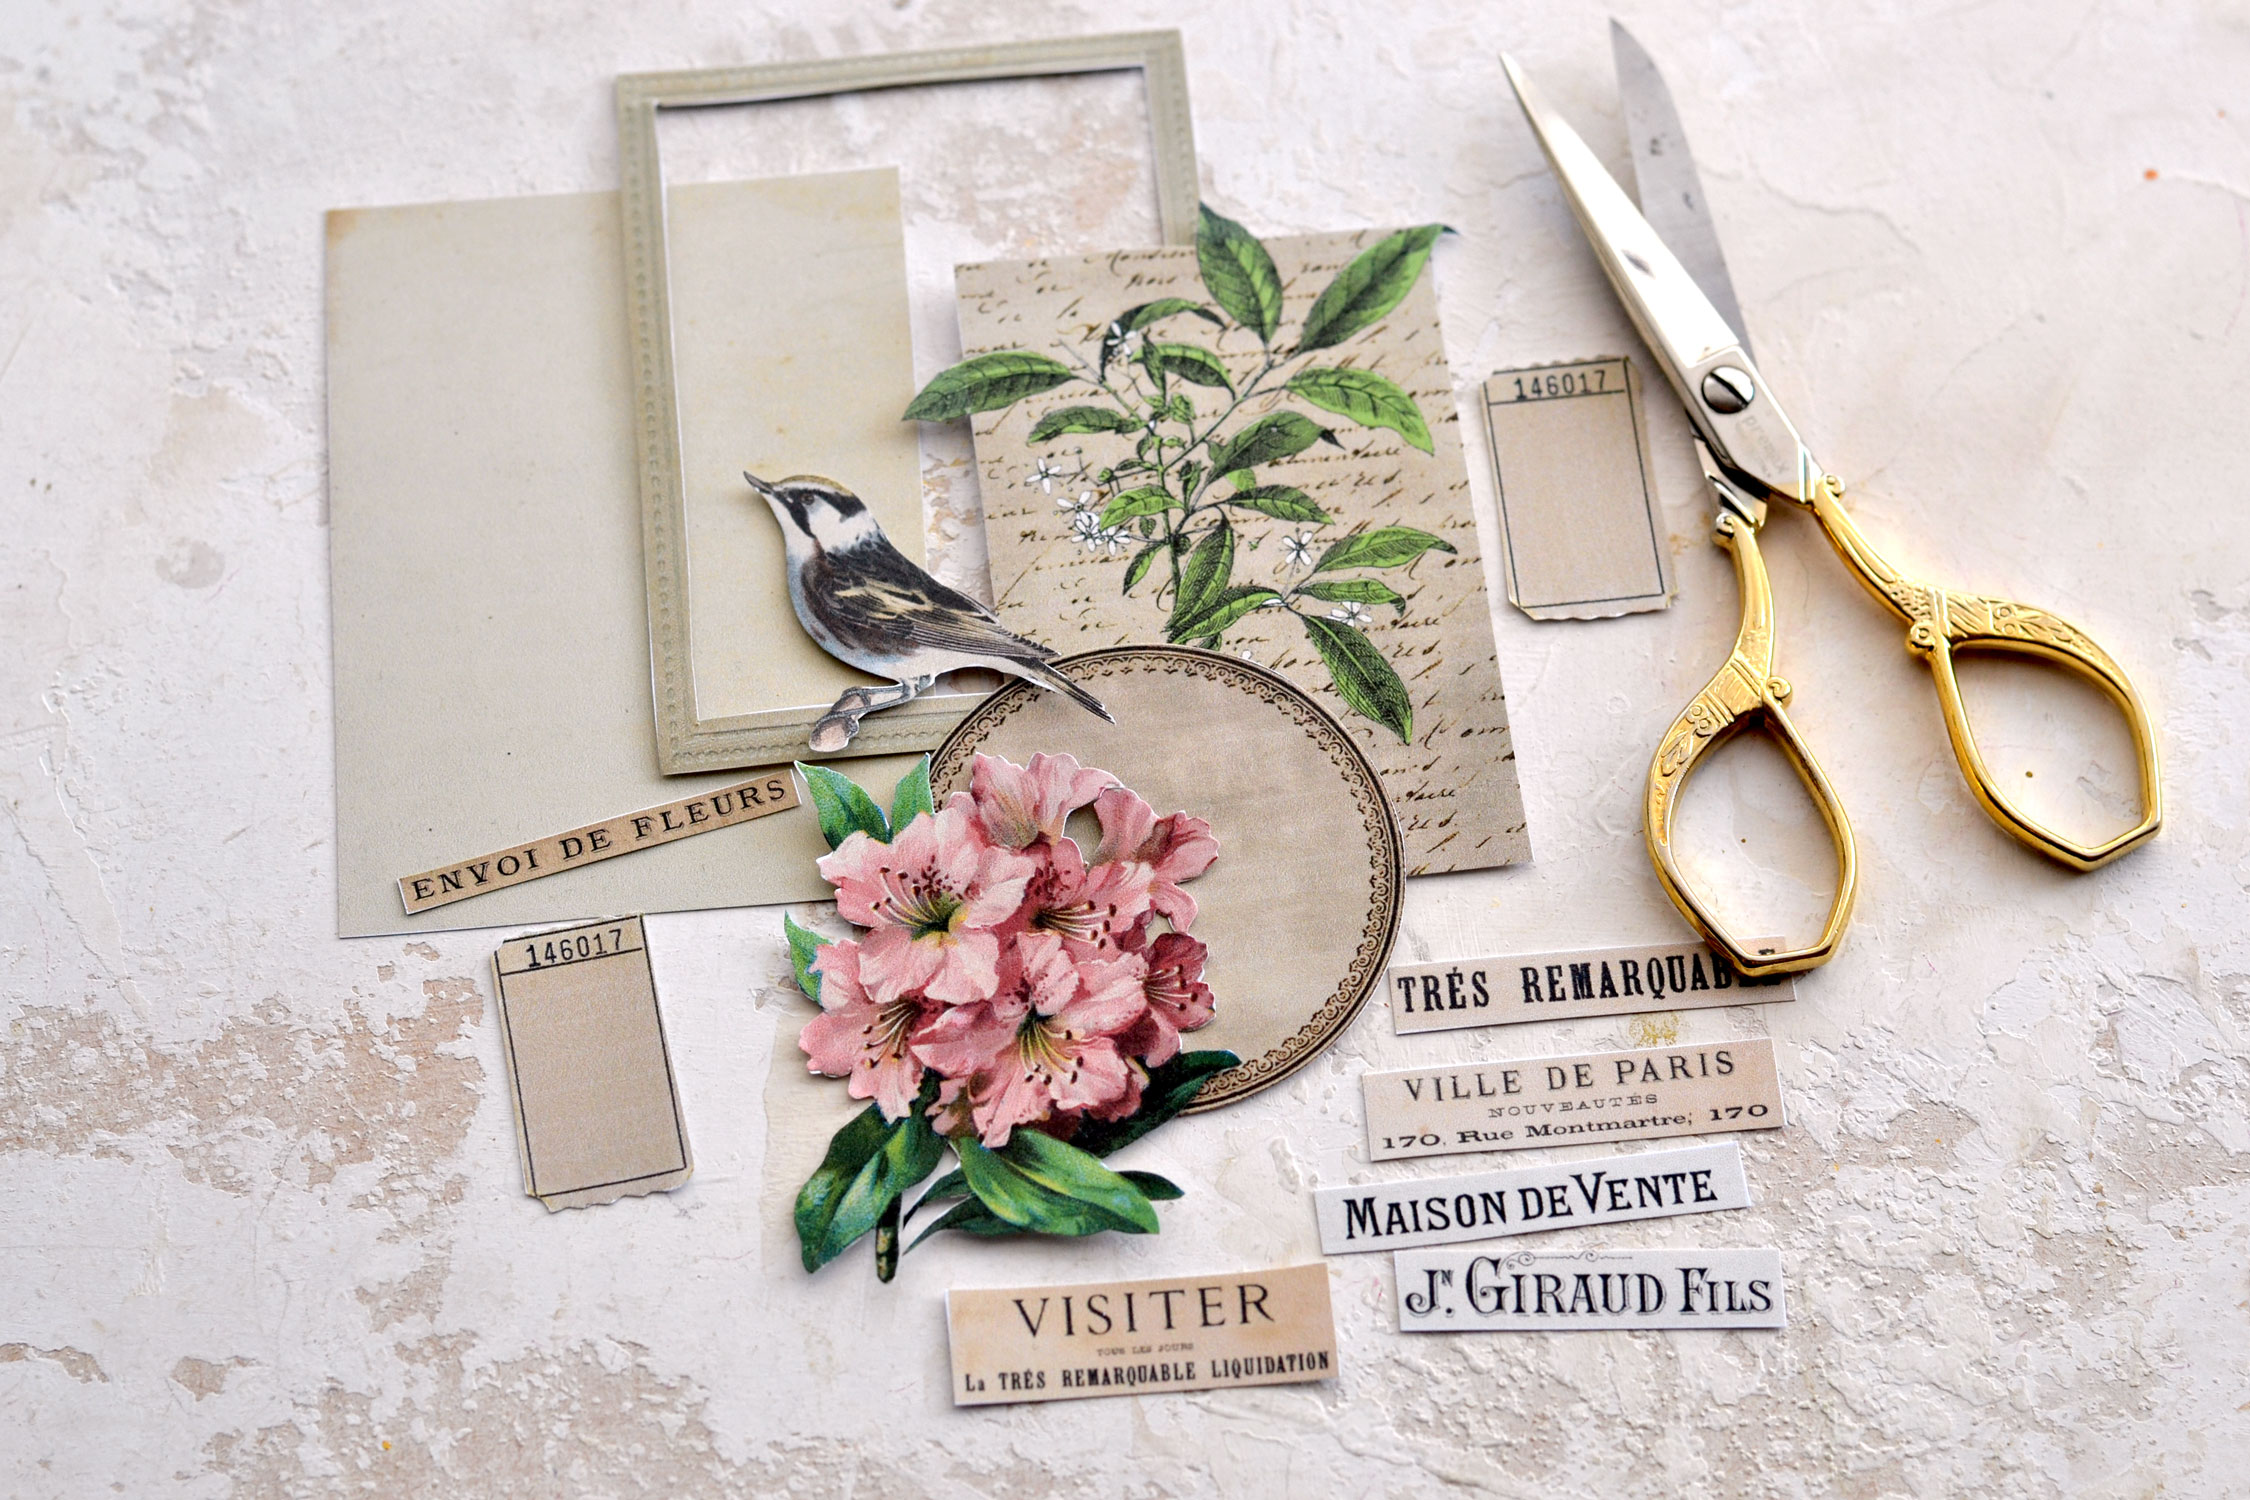
Start by printing your printable on cardstock paper. I would suggest using the heaviest cardstock your printer can handle to give the final pieces more body and dimension.
Use your scissors to cut all the elements, making sure you remove all the white paper around them. Pay extra attention to the shape of the flowers and try to remove all the white paper near the leaves. If there are small areas that are more difficult to remove, you can use a little bit of distress ink afterward.
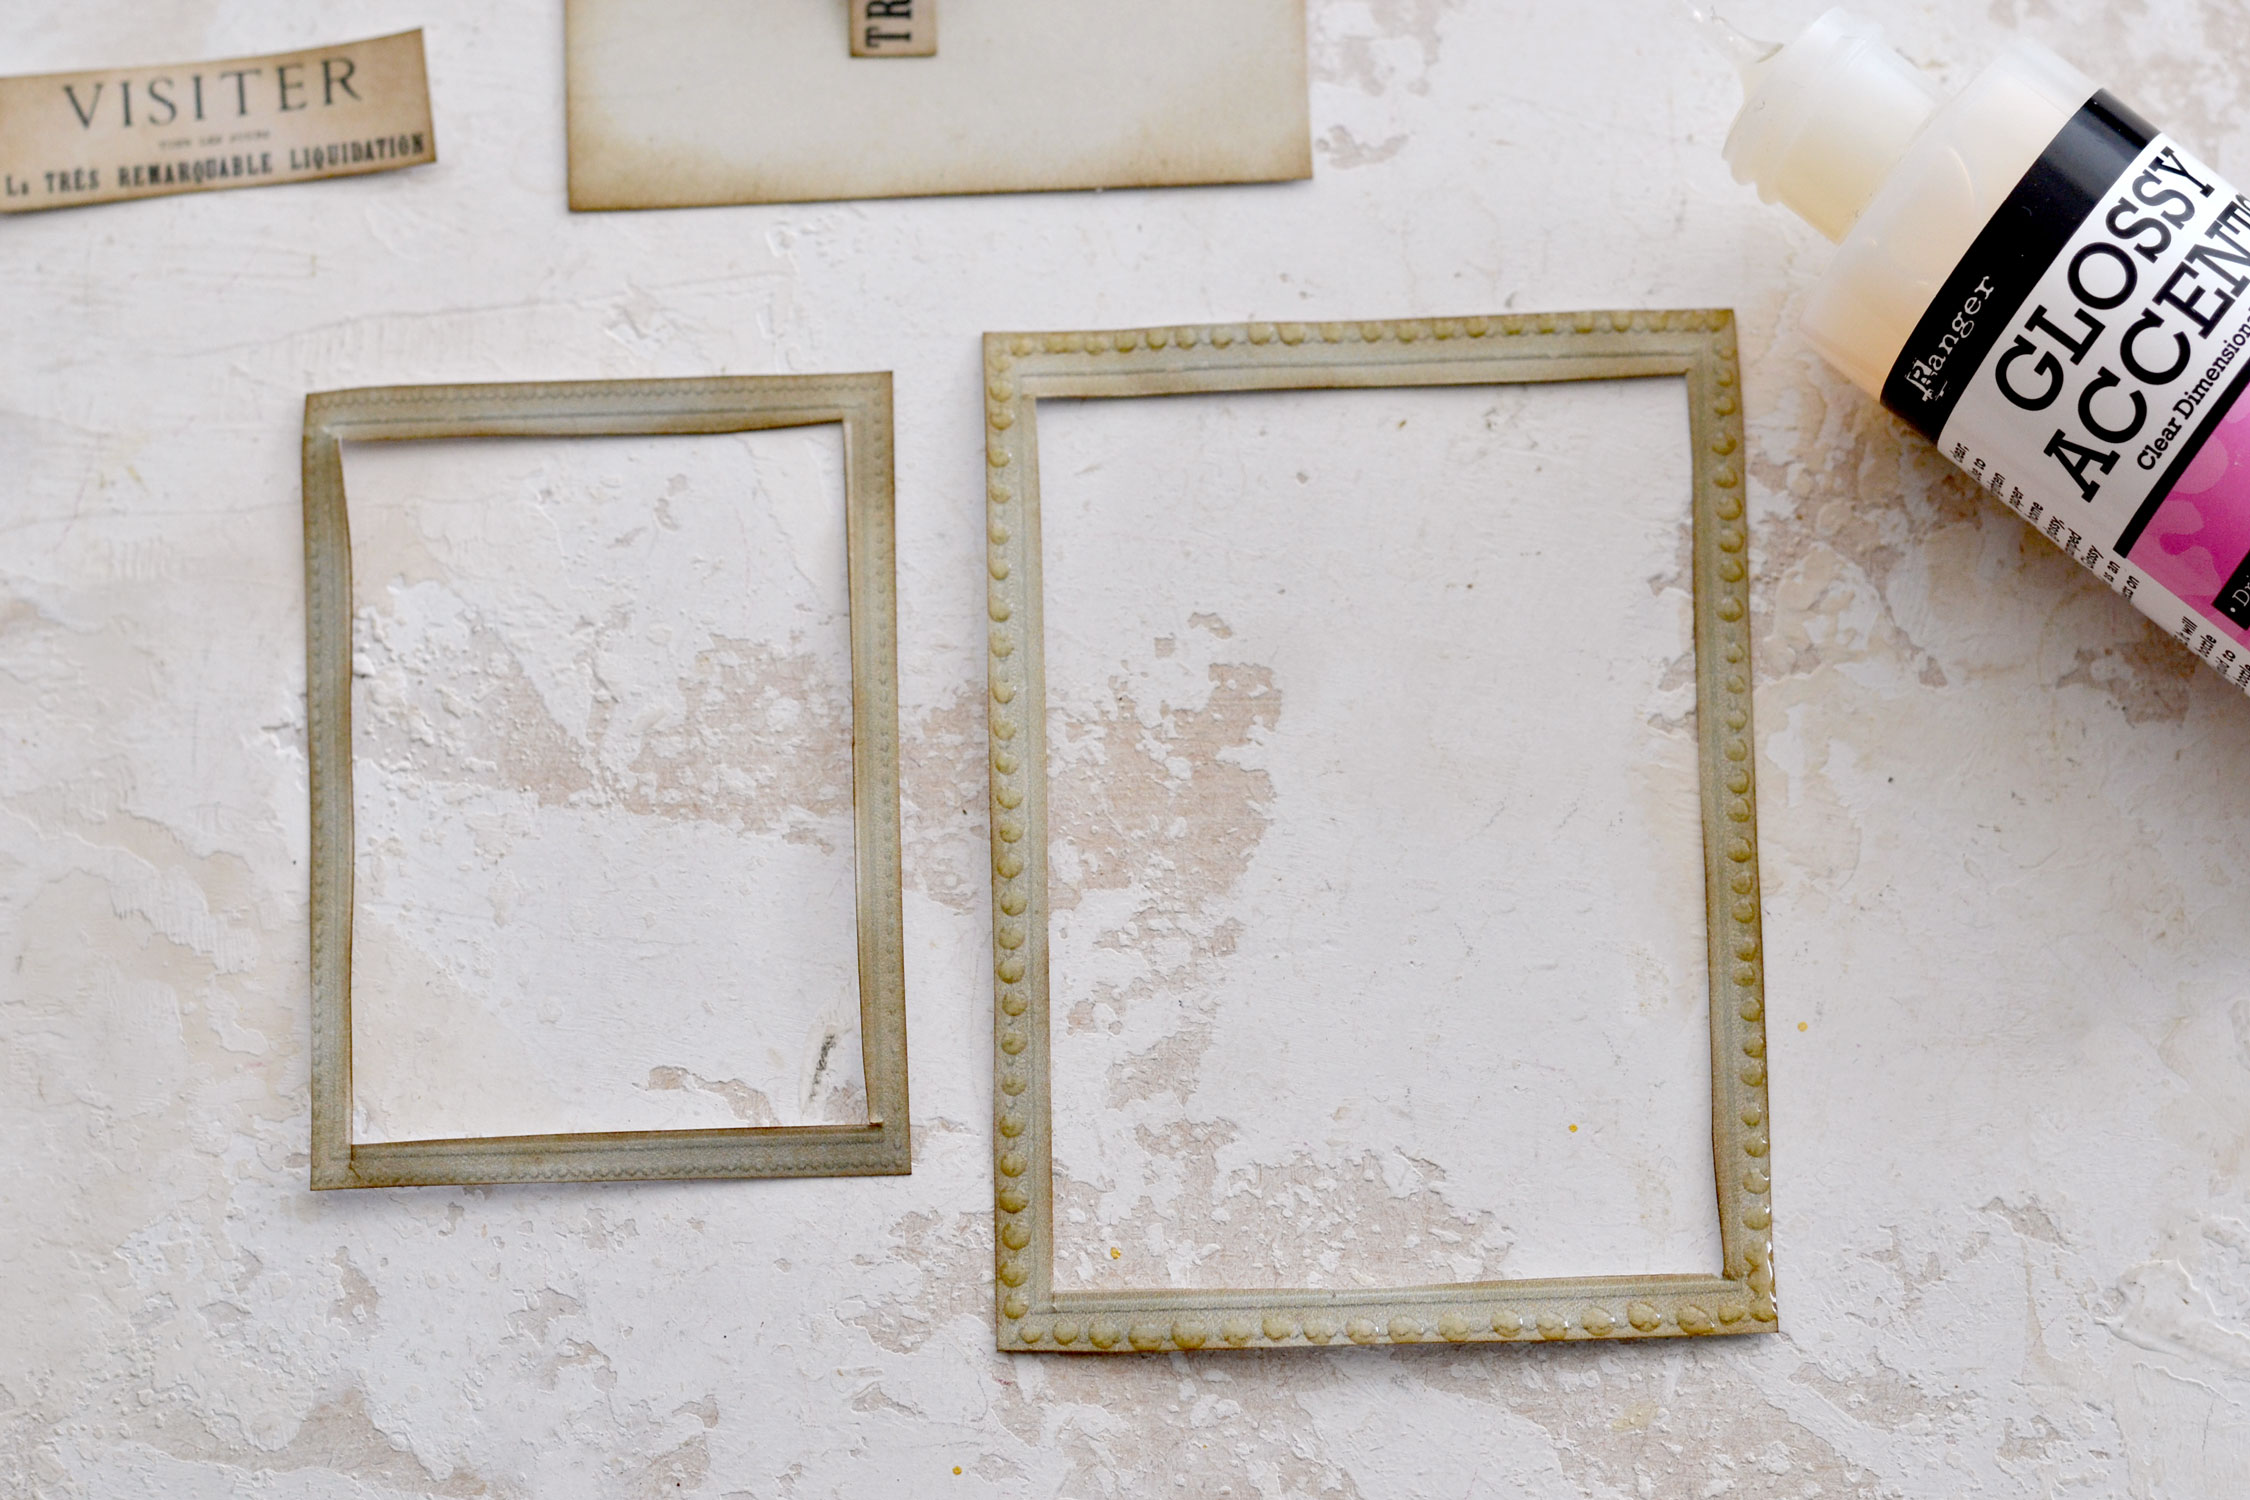
When cutting the rectangular frame, I would suggest removing the excess white paper from the inside of the frame first. Lightly fold and pinch the paper inside the frame with your scissors, somewhere in the middle, then go from there and completely remove it. After that, you can cut the shape of the frame itself.
I started with the large pink printable.
And then I moved on to cutting all the others.
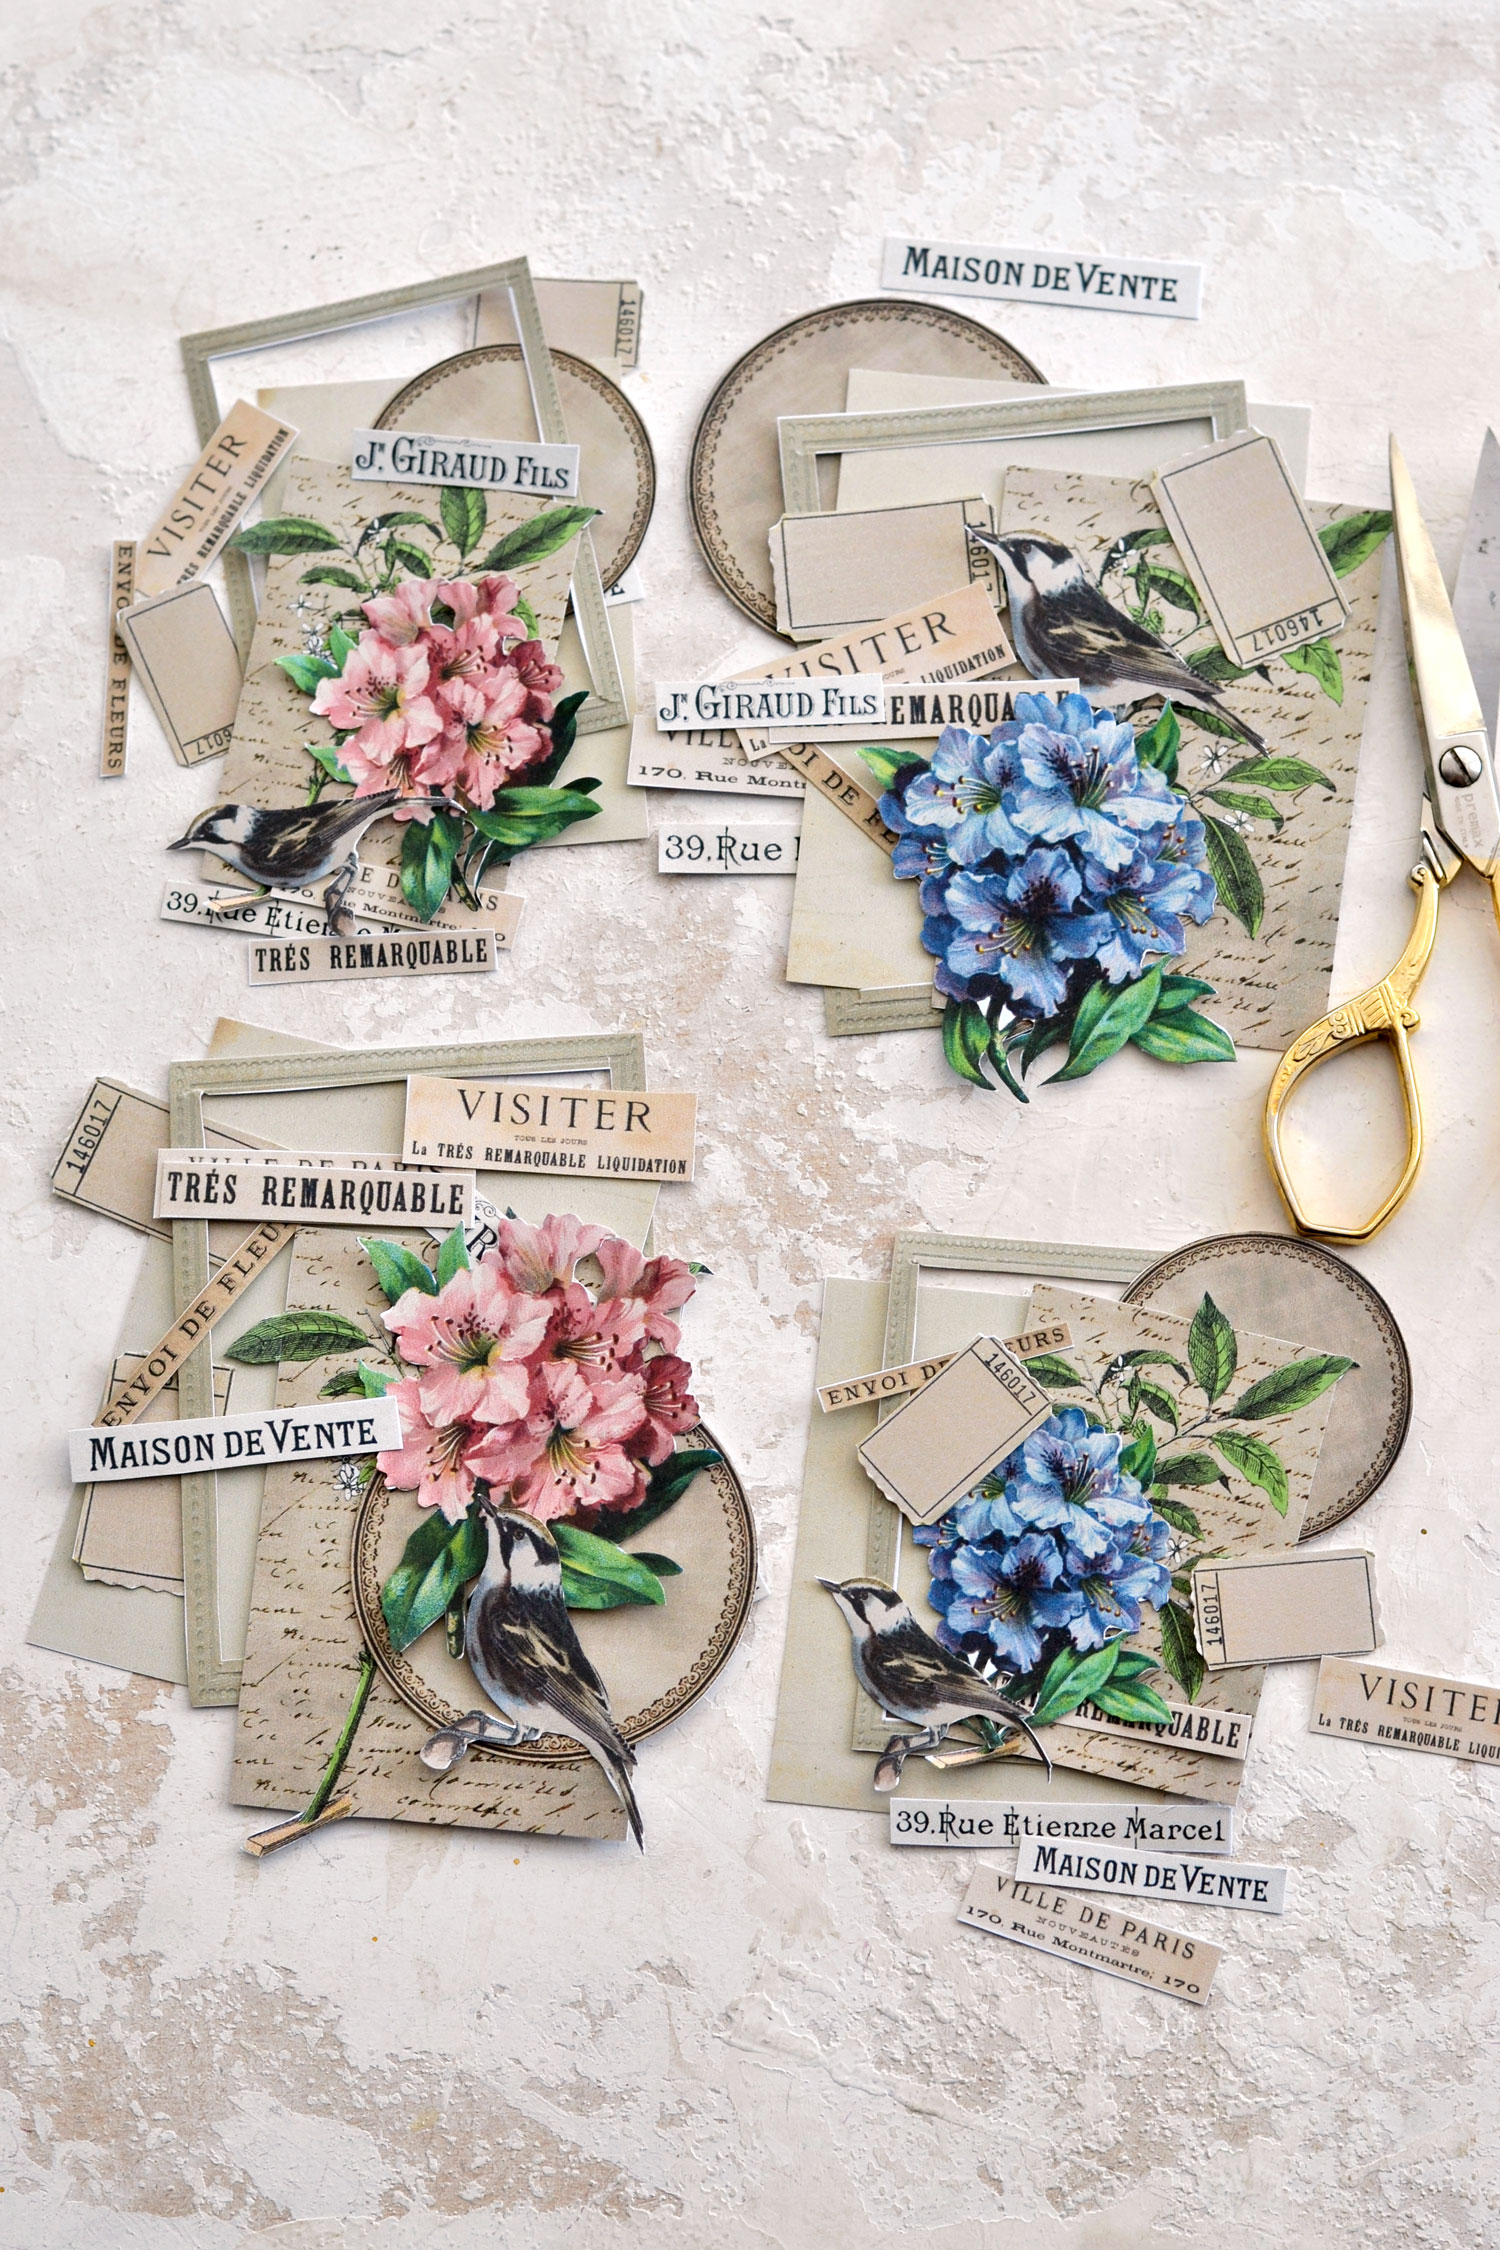
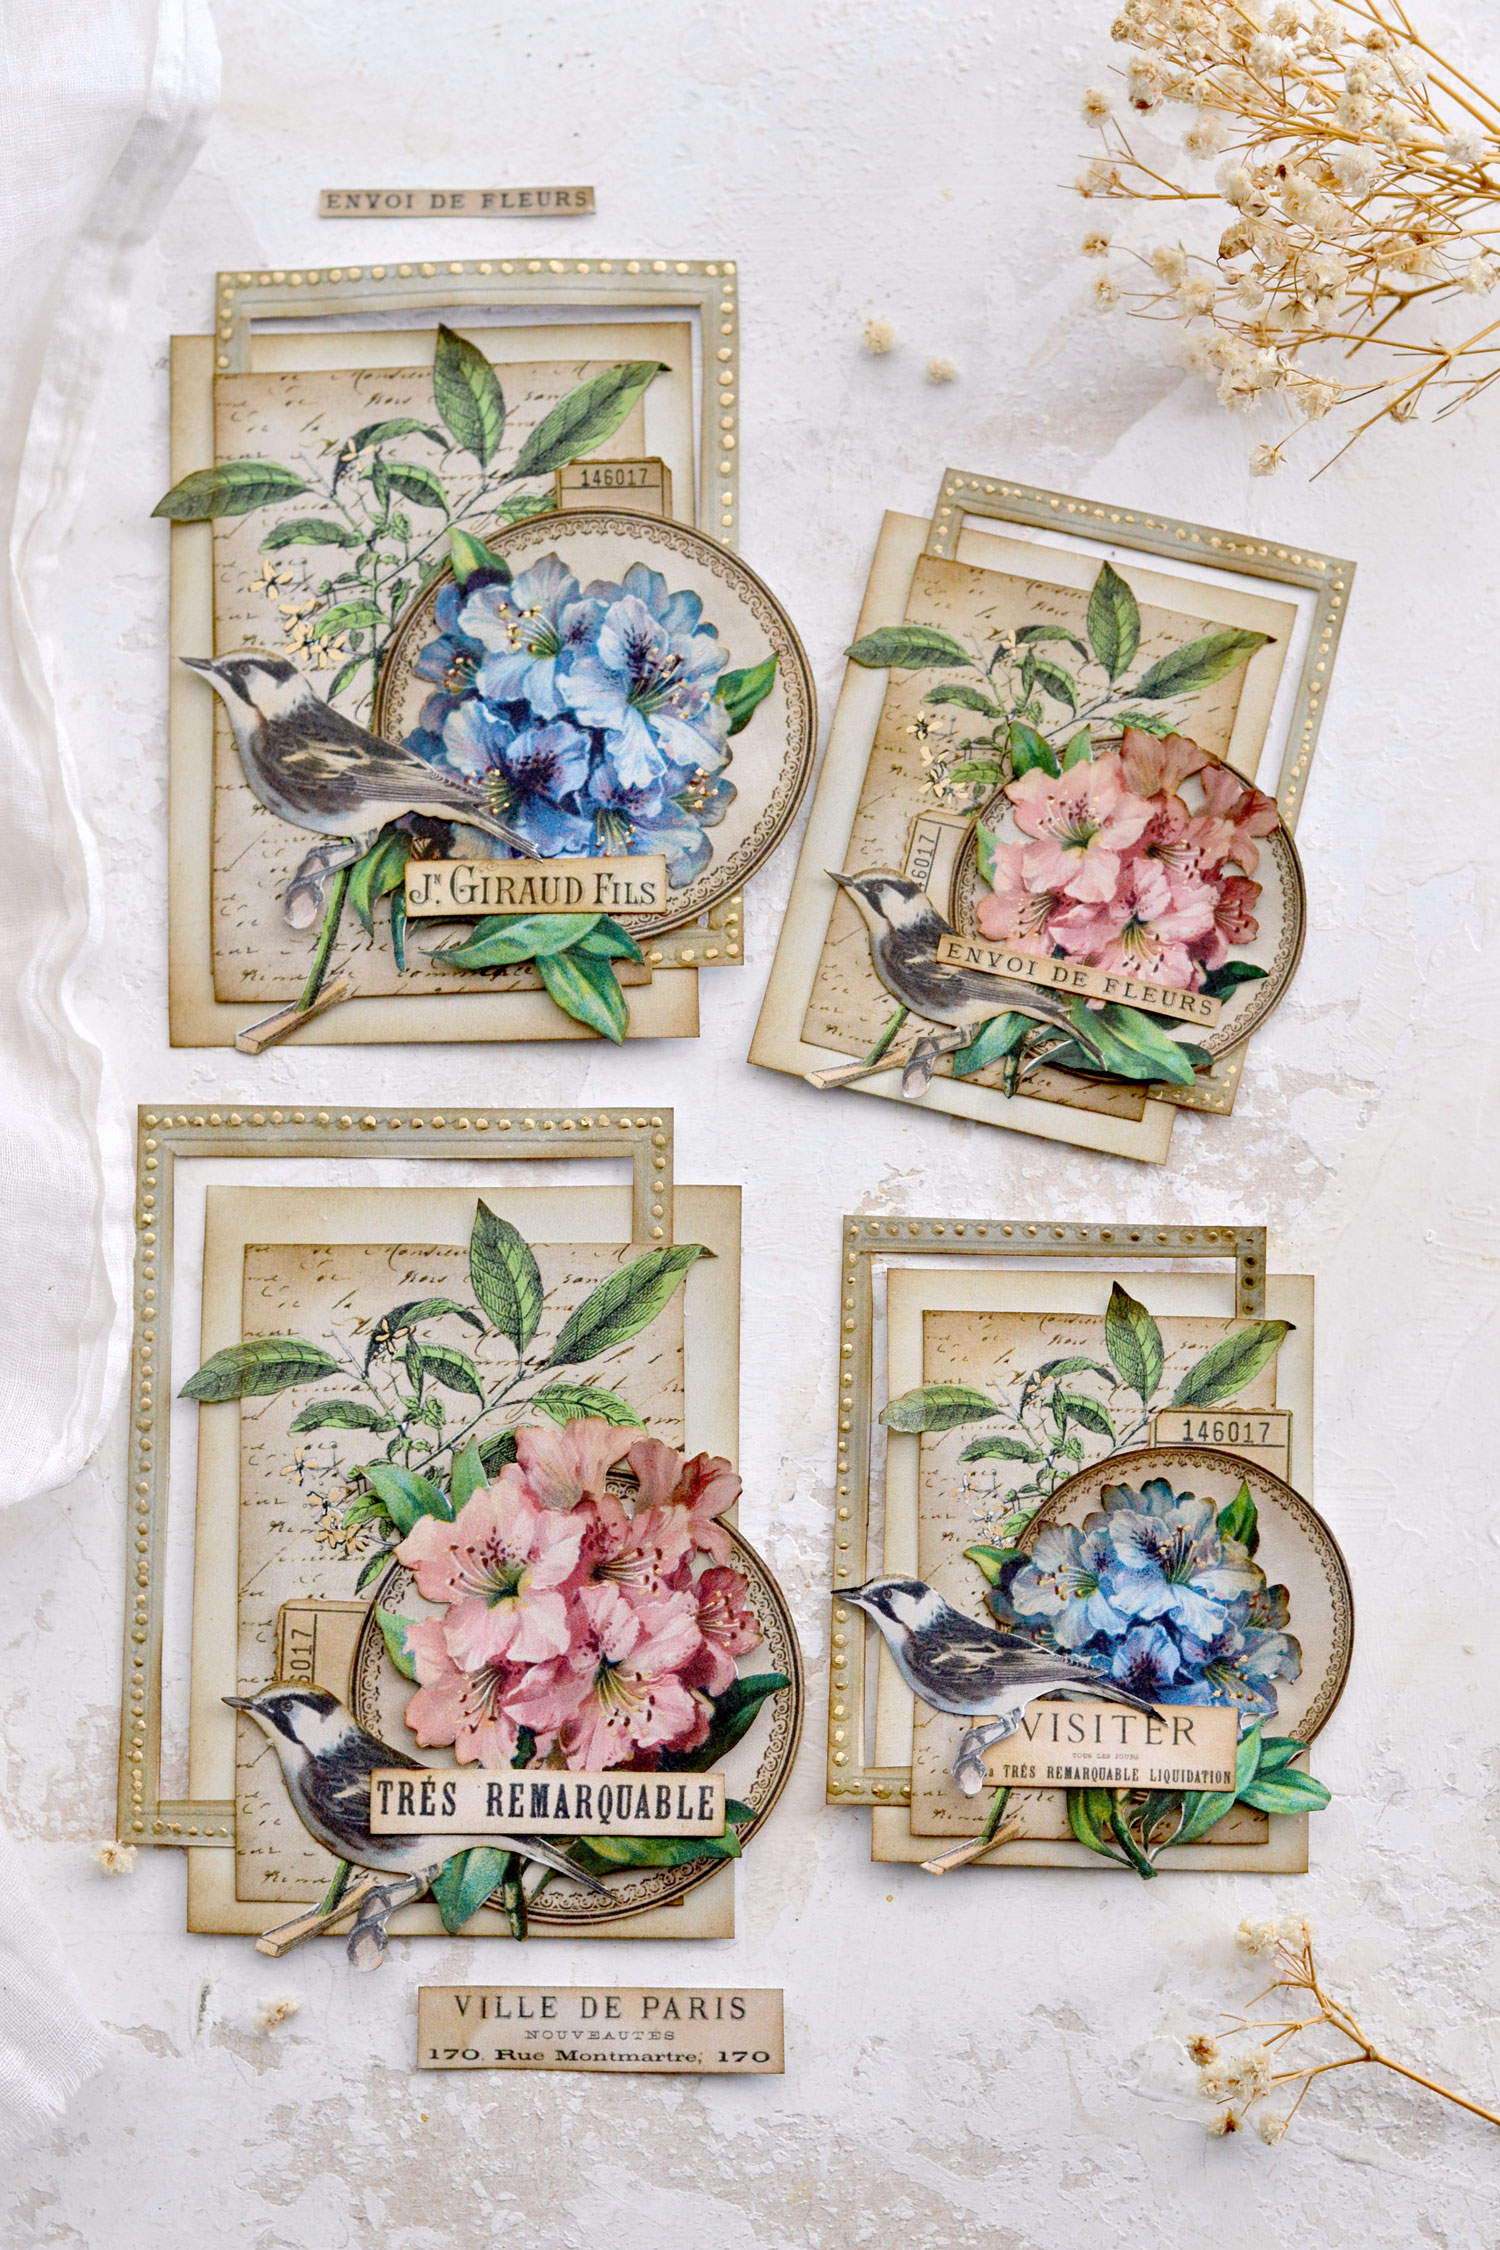
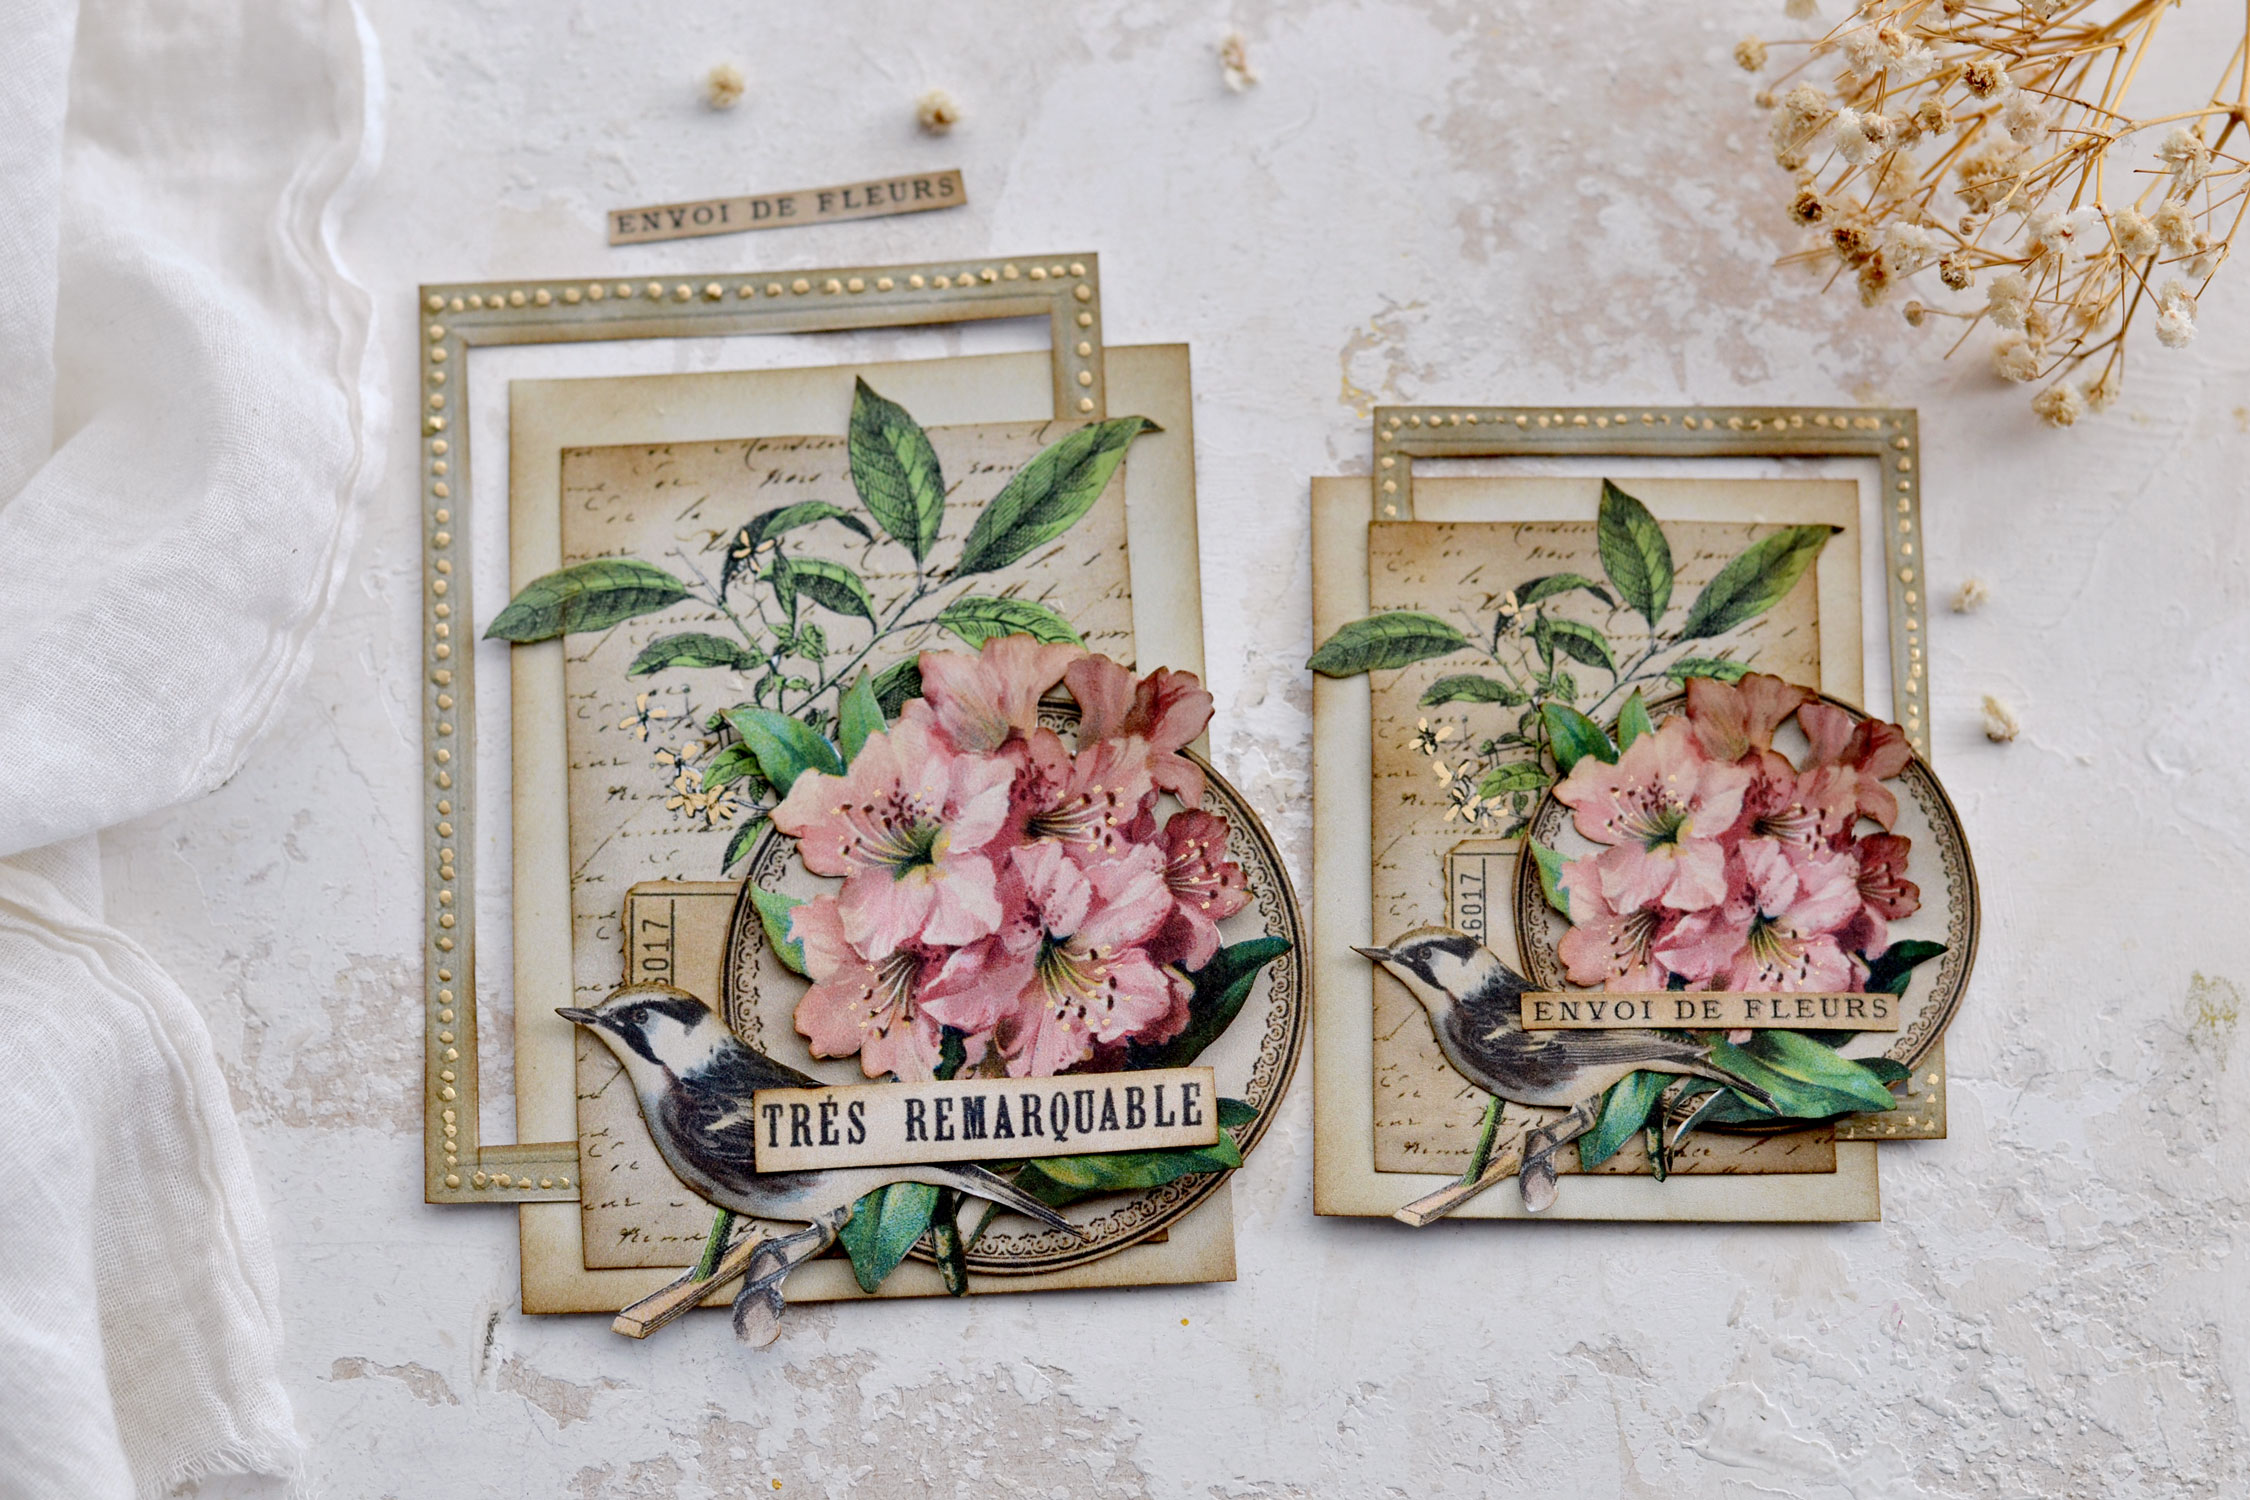
If you print all the printables that I shared, you will be able to make two large clusters and two smaller ones. It would be best to group all the elements as you cut them, it will help you stay organized and be more productive.
There will be a laborious cutting session involved, but if you find this relaxing as I do, you are in for a treat! I promise this will be the hardest thing you’ll have to do on this whole project!
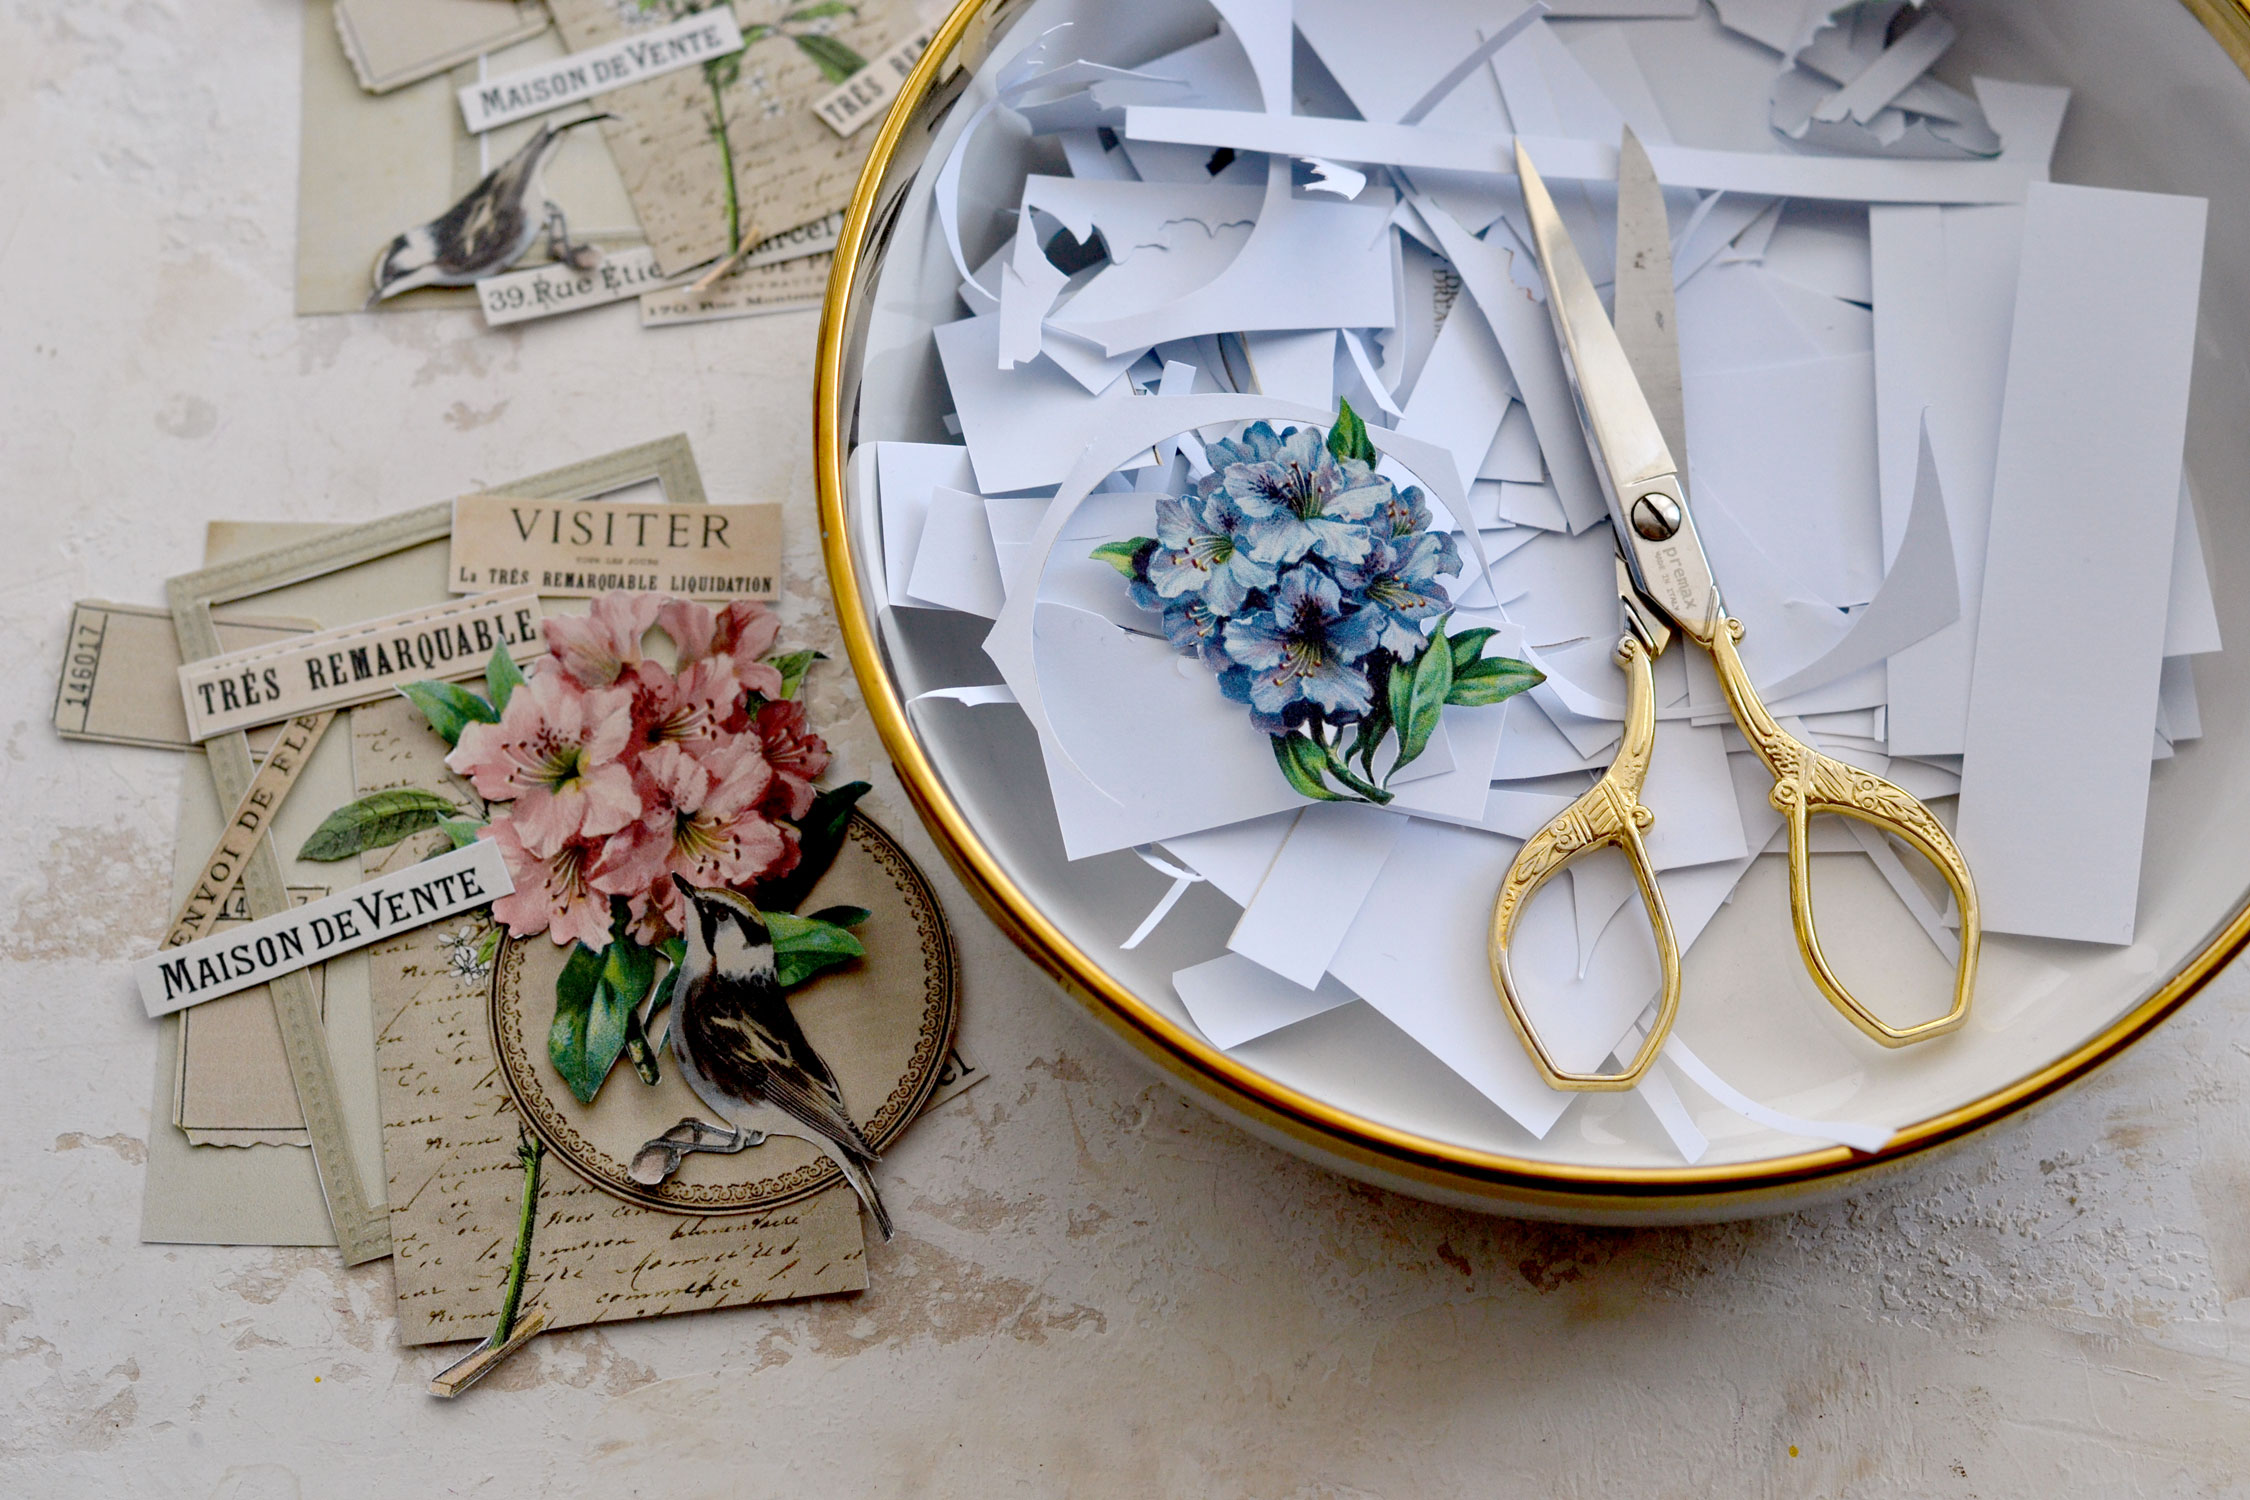
Useful tip: Use a bowl to hold all the scrap pieces of paper as you cut all the elements, cleaning will be so much easier afterward!
Use a brown distress ink to give the paper even more of a vintage vibe – I love using the Walnut Stain from Ranger. Distress ink adds so much depth and manages to completely remove that white and crisp feel that new paper usually has.
You can see below how ‘alive’ the distressed stash on the left feels as opposed to the one on the right, which looks quite dull.
Useful tip: Use an old makeup brush to distress the smaller elements.
Before you move on to distressing all the elements, you can use a little bit of dimensional medium to create small embellishments on your rectangular frames. As you can see, the frames already have some small dots embedded in their design, but I wanted to make them pop even more. So I started applying small Glossy Accents dots all around the edges. I noticed that if you only lightly squeeze the bottle and lightly touch the paper, you are able to create quite small dots. I initially tried to follow the dotted design underneath, but the dots were quite small, so I ended up creating my own design instead. Try not to think too much and go with the flow, you won’t believe how quickly you’ll fill in all the edges. If you are afraid of messing things up, you can practice on a scrap piece of paper first.
Let the dimensional glue dry completely before using the frames.
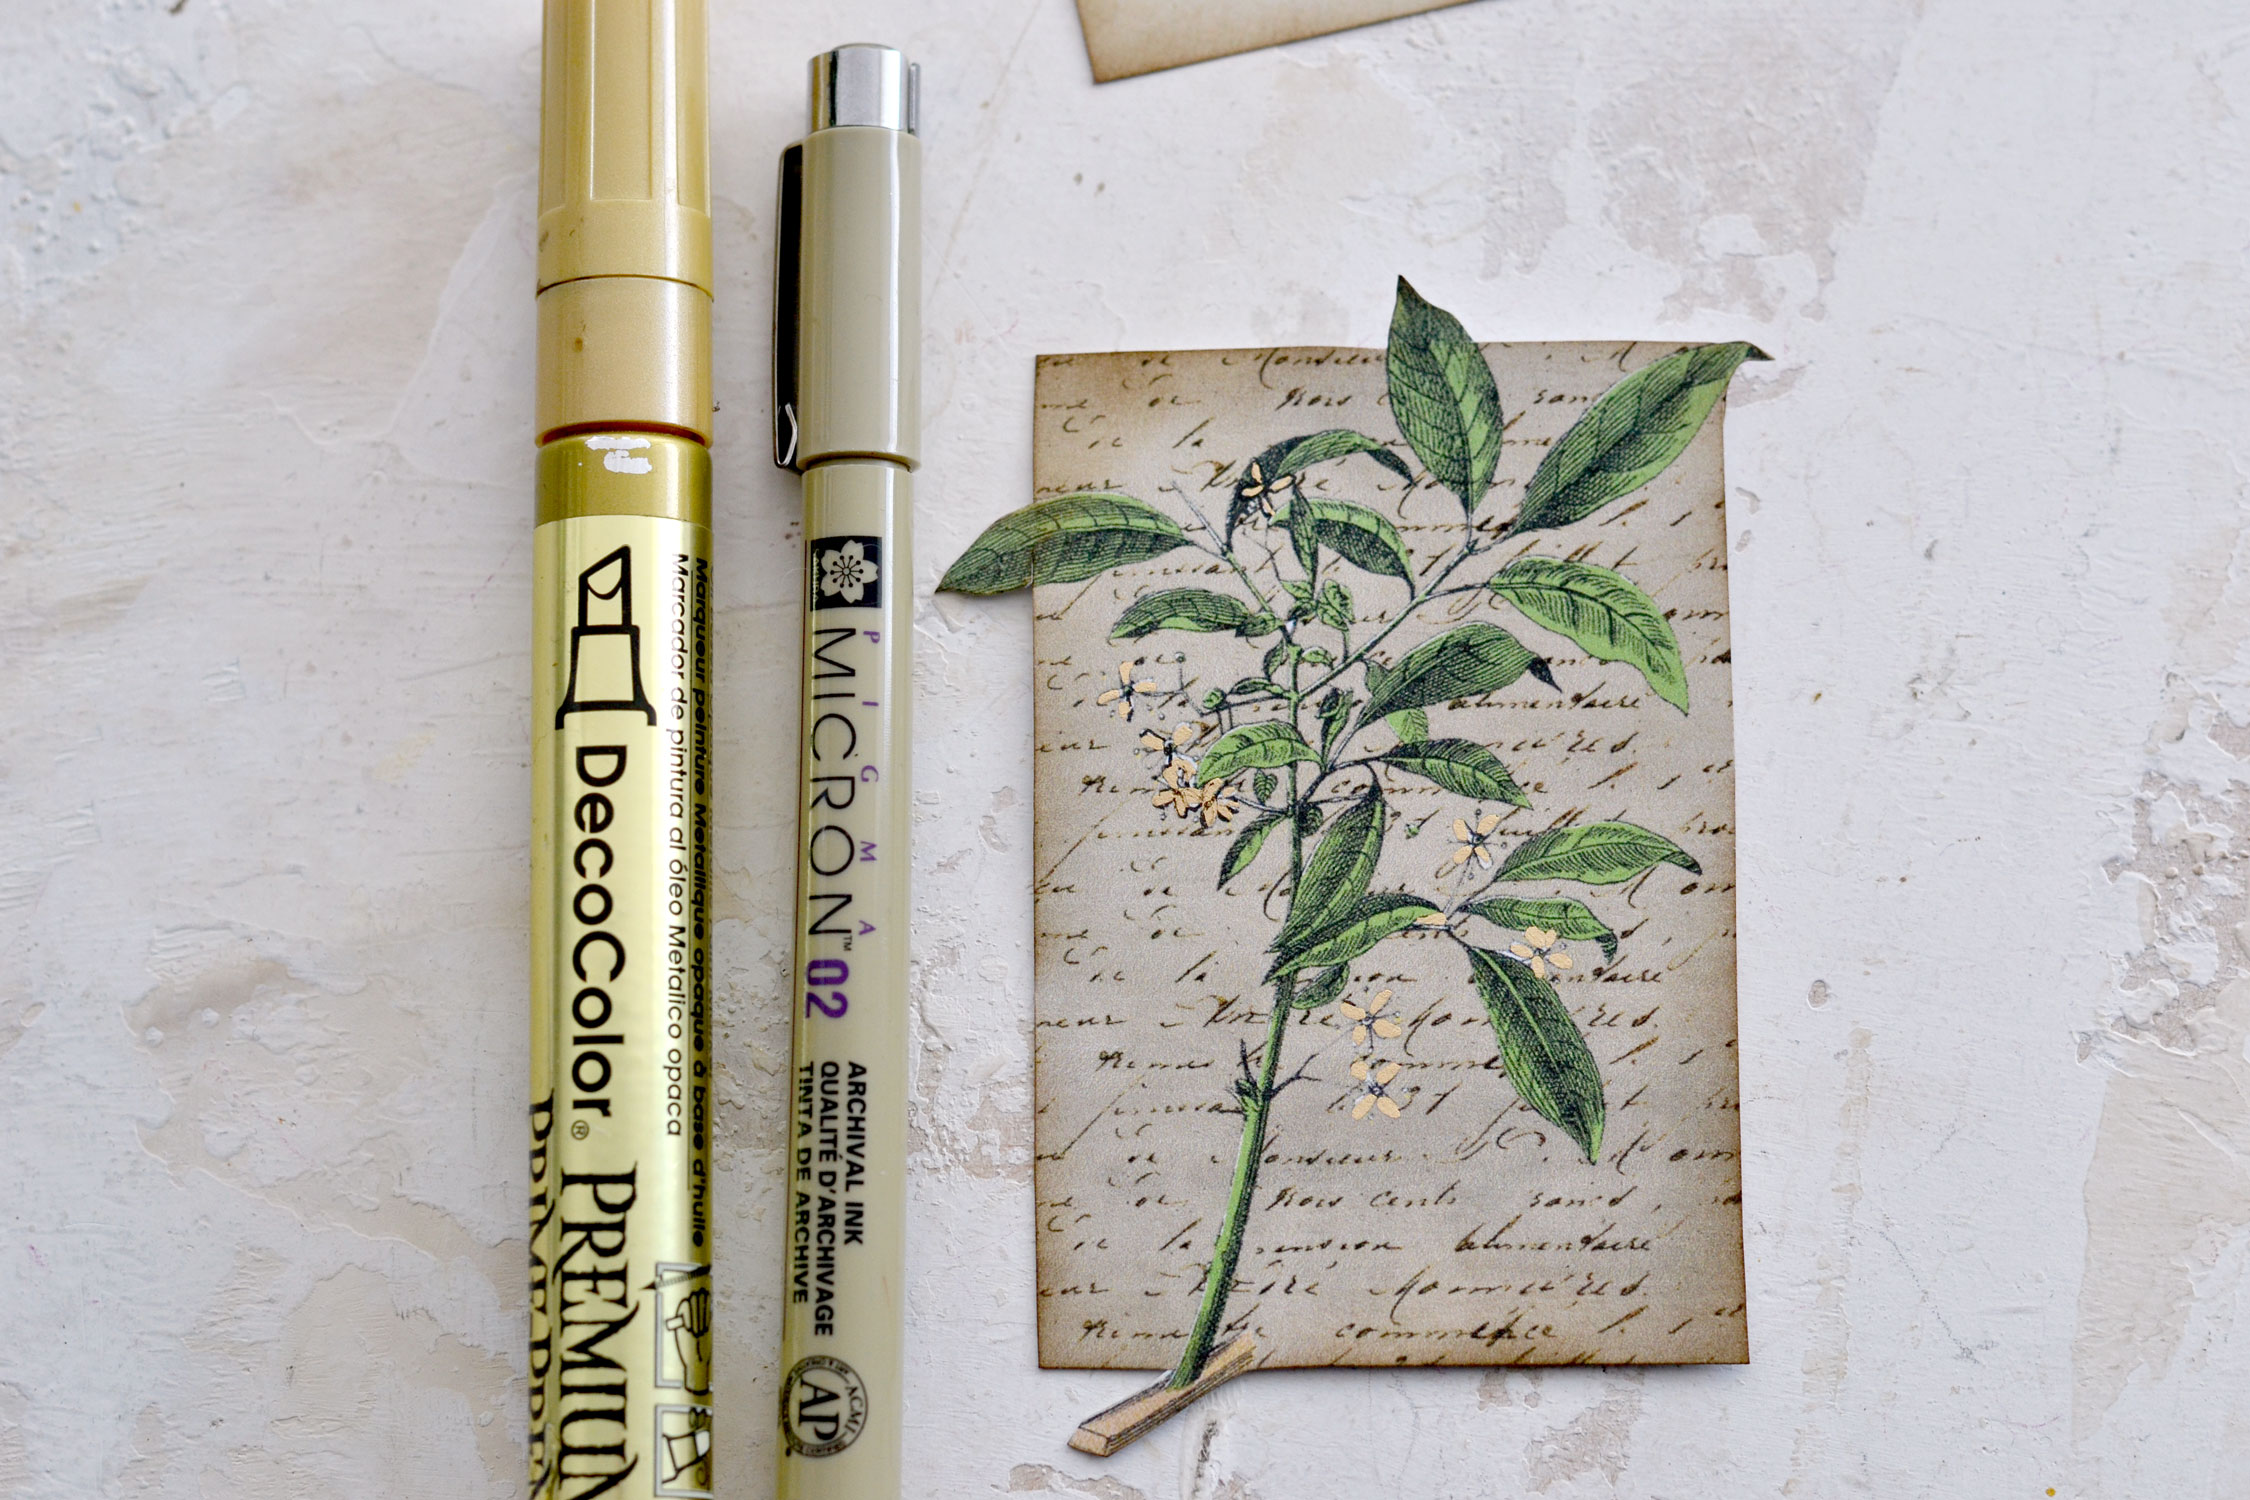
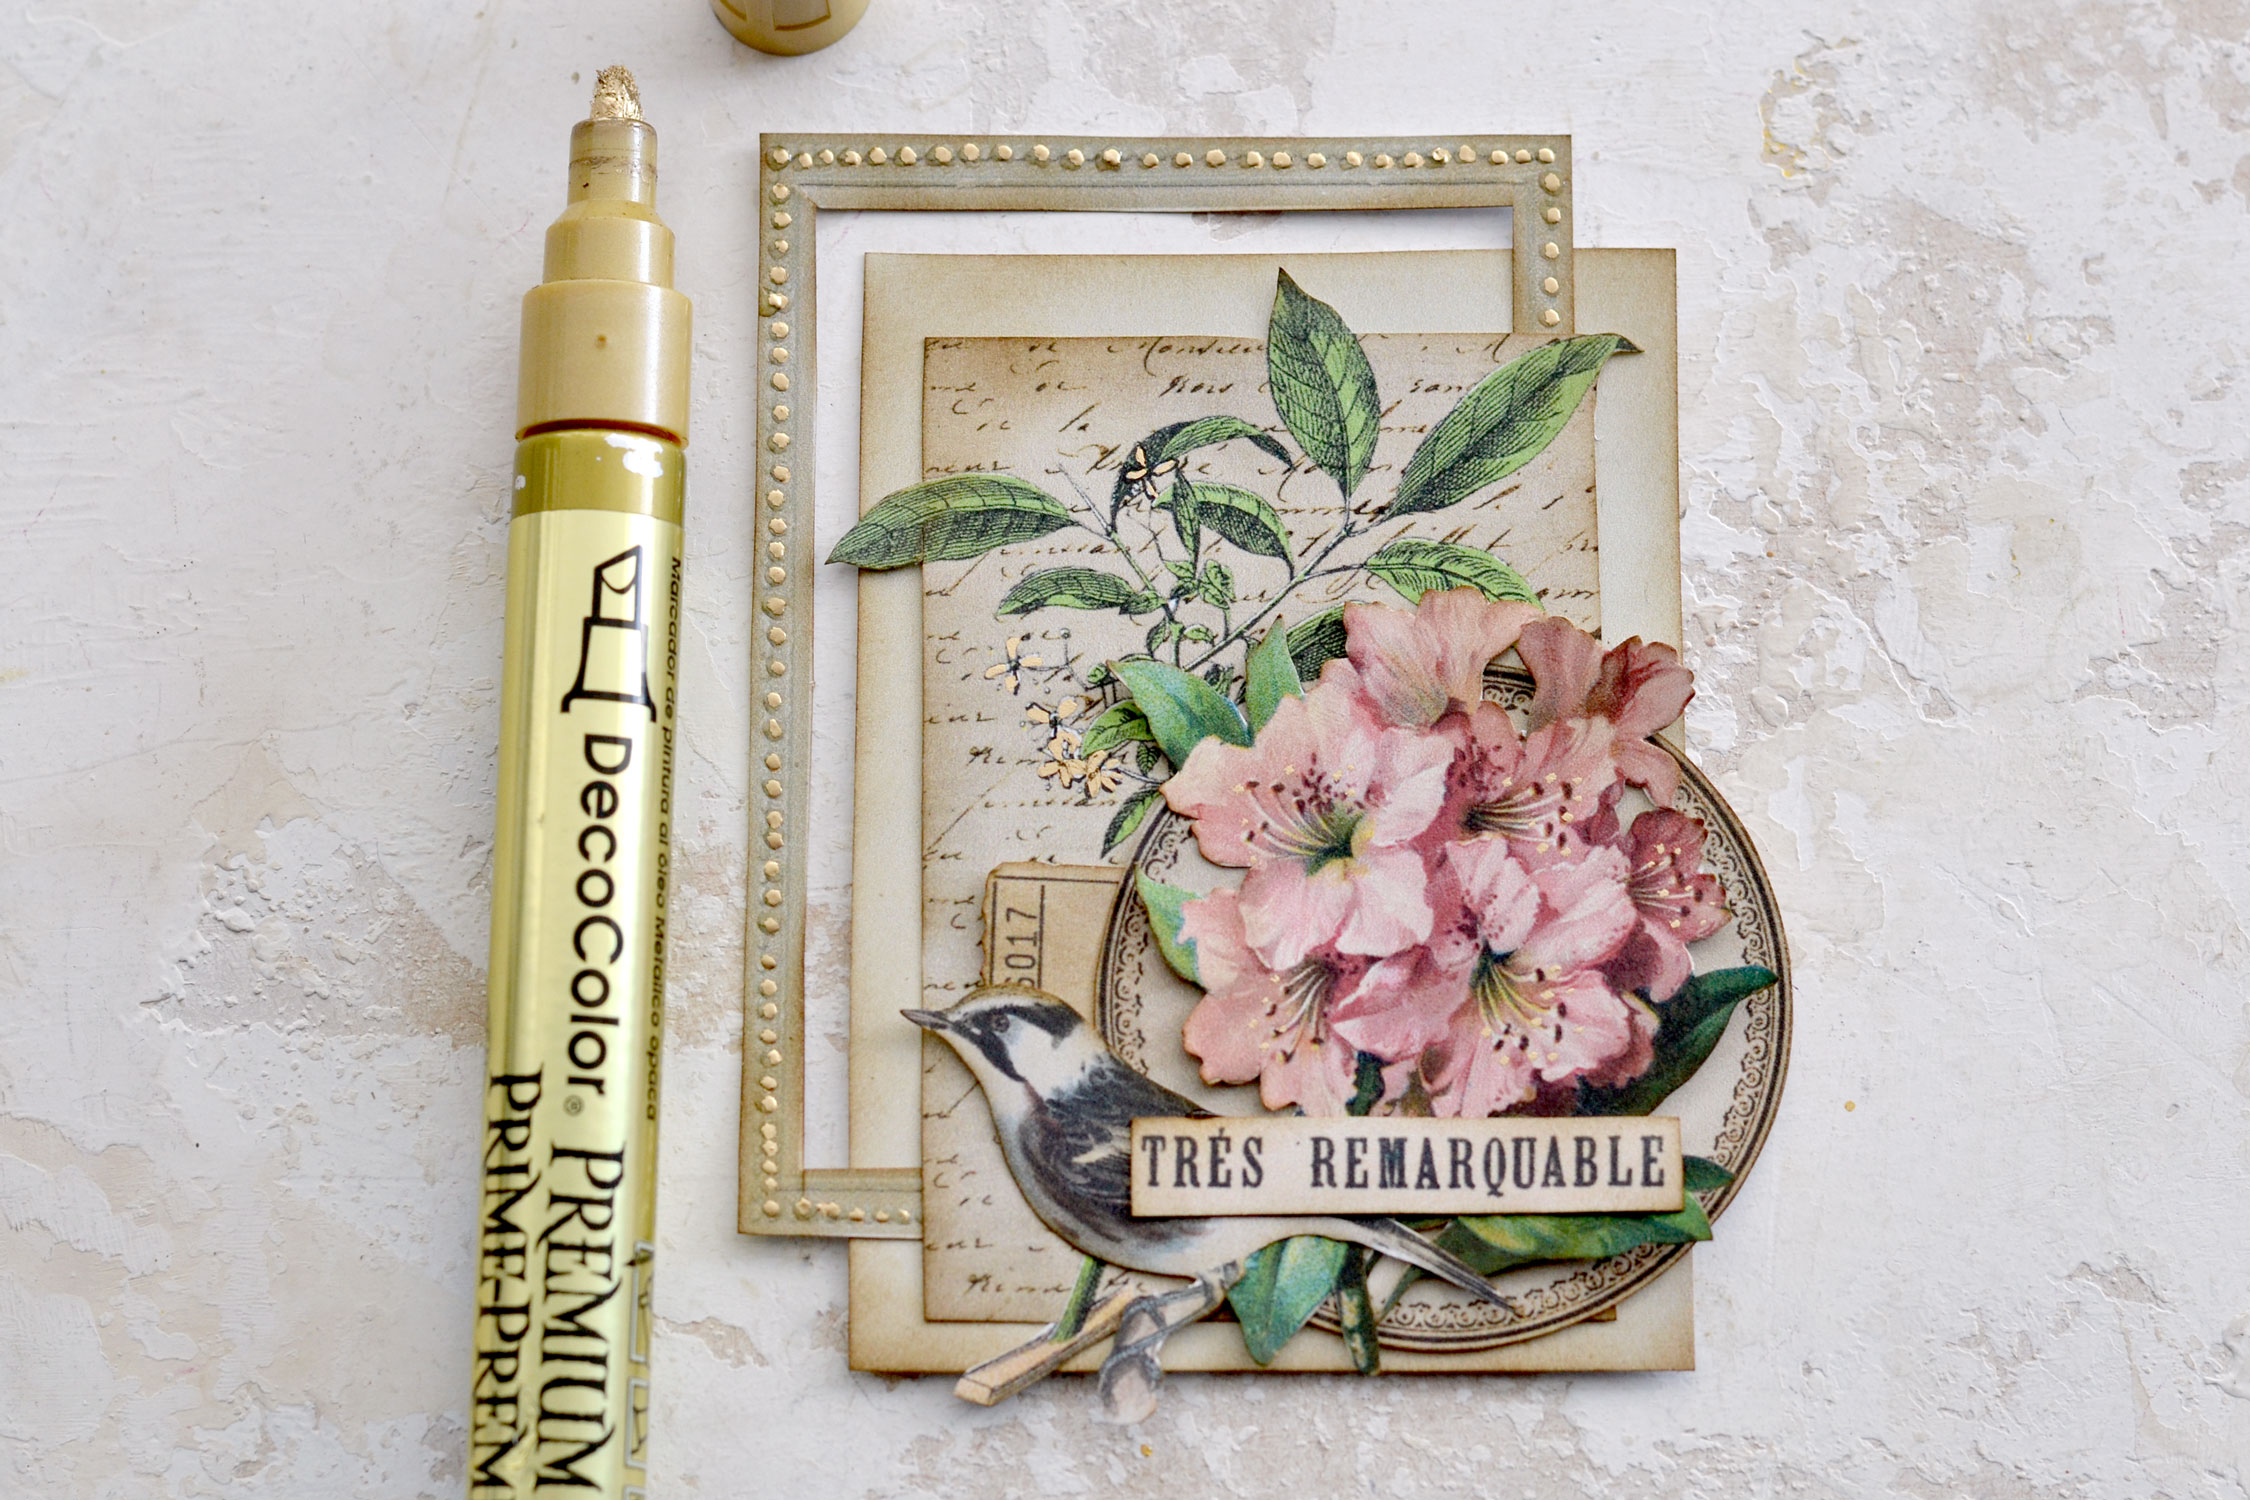
Moving on to the French script background element with the botanical plant. This is one of my favorite images, I just love the leaves and the small flowers of this plant! I used a little bit of gold to paint over the white flowers and a fine liner to draw back some of the petals that got covered in the process. You can also use acrylic paint or watercolors to create a similar effect.
If you don’t have any gold supplies or prefer not to use them here, you can use a little bit more distress ink instead. Lightly go over the flowers to make the white less bright and more in tune with the overall vintage vibe.
Now that you have all the elements ready, let’s move on to assembling our gorgeous paper clusters, shall we? If you want, you can place everything together without gluing them first, this way you’ll be able to move things around as you go.
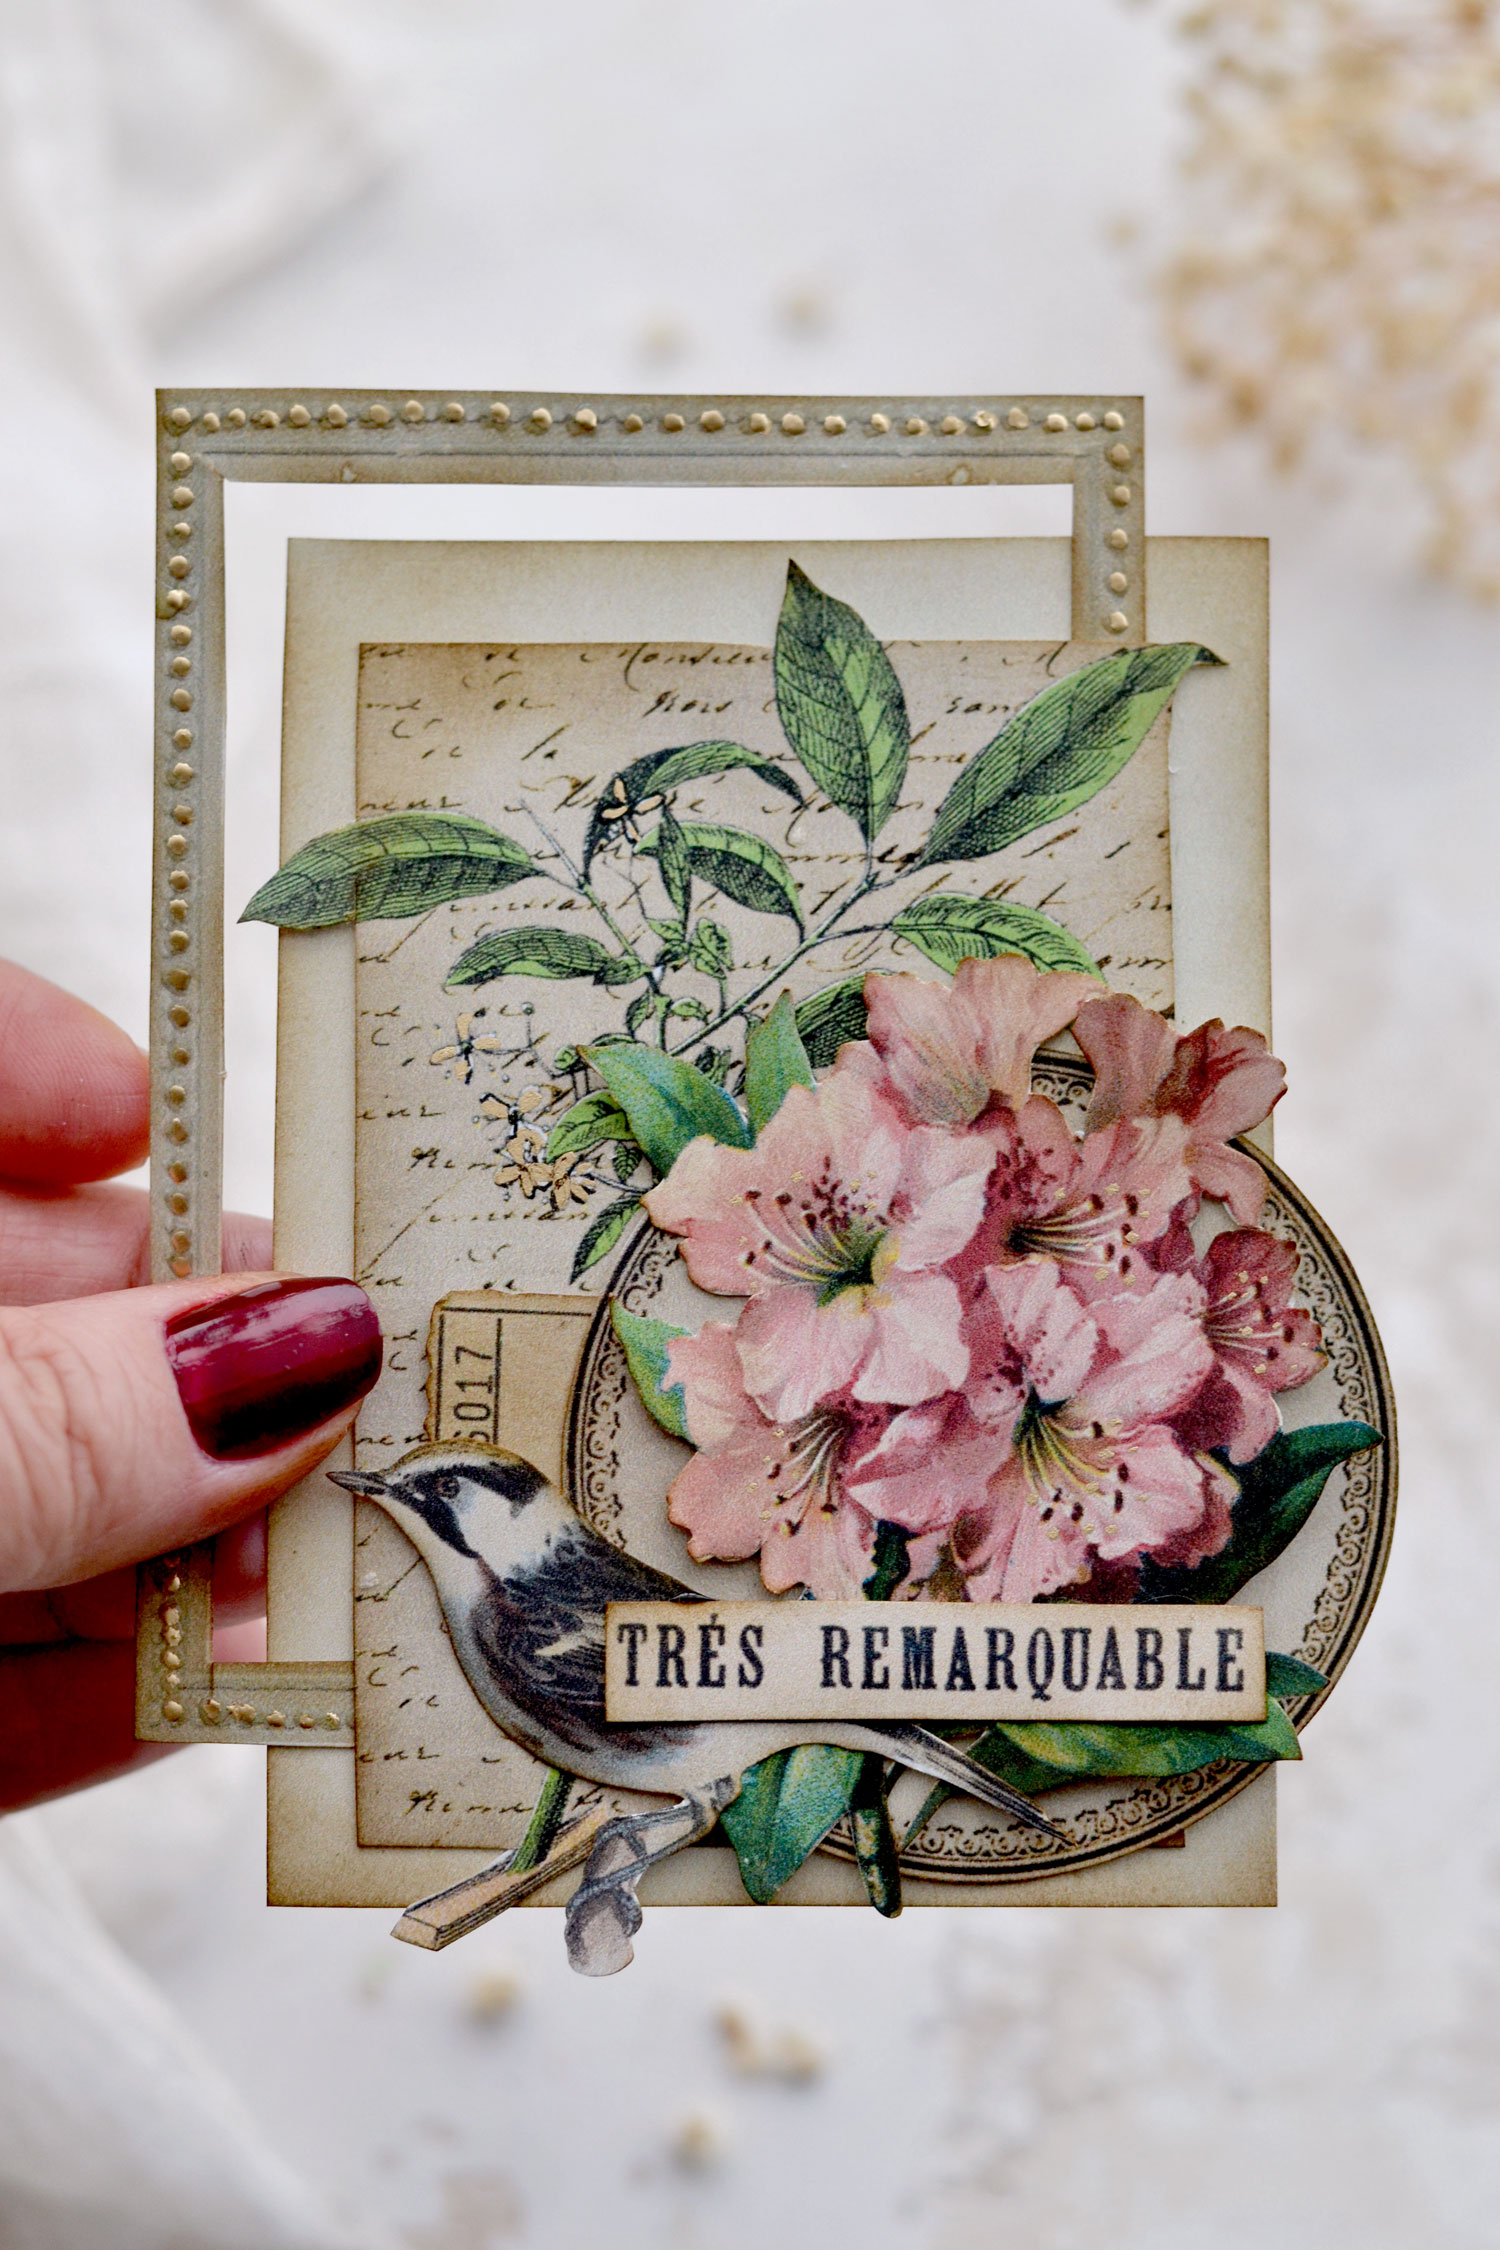
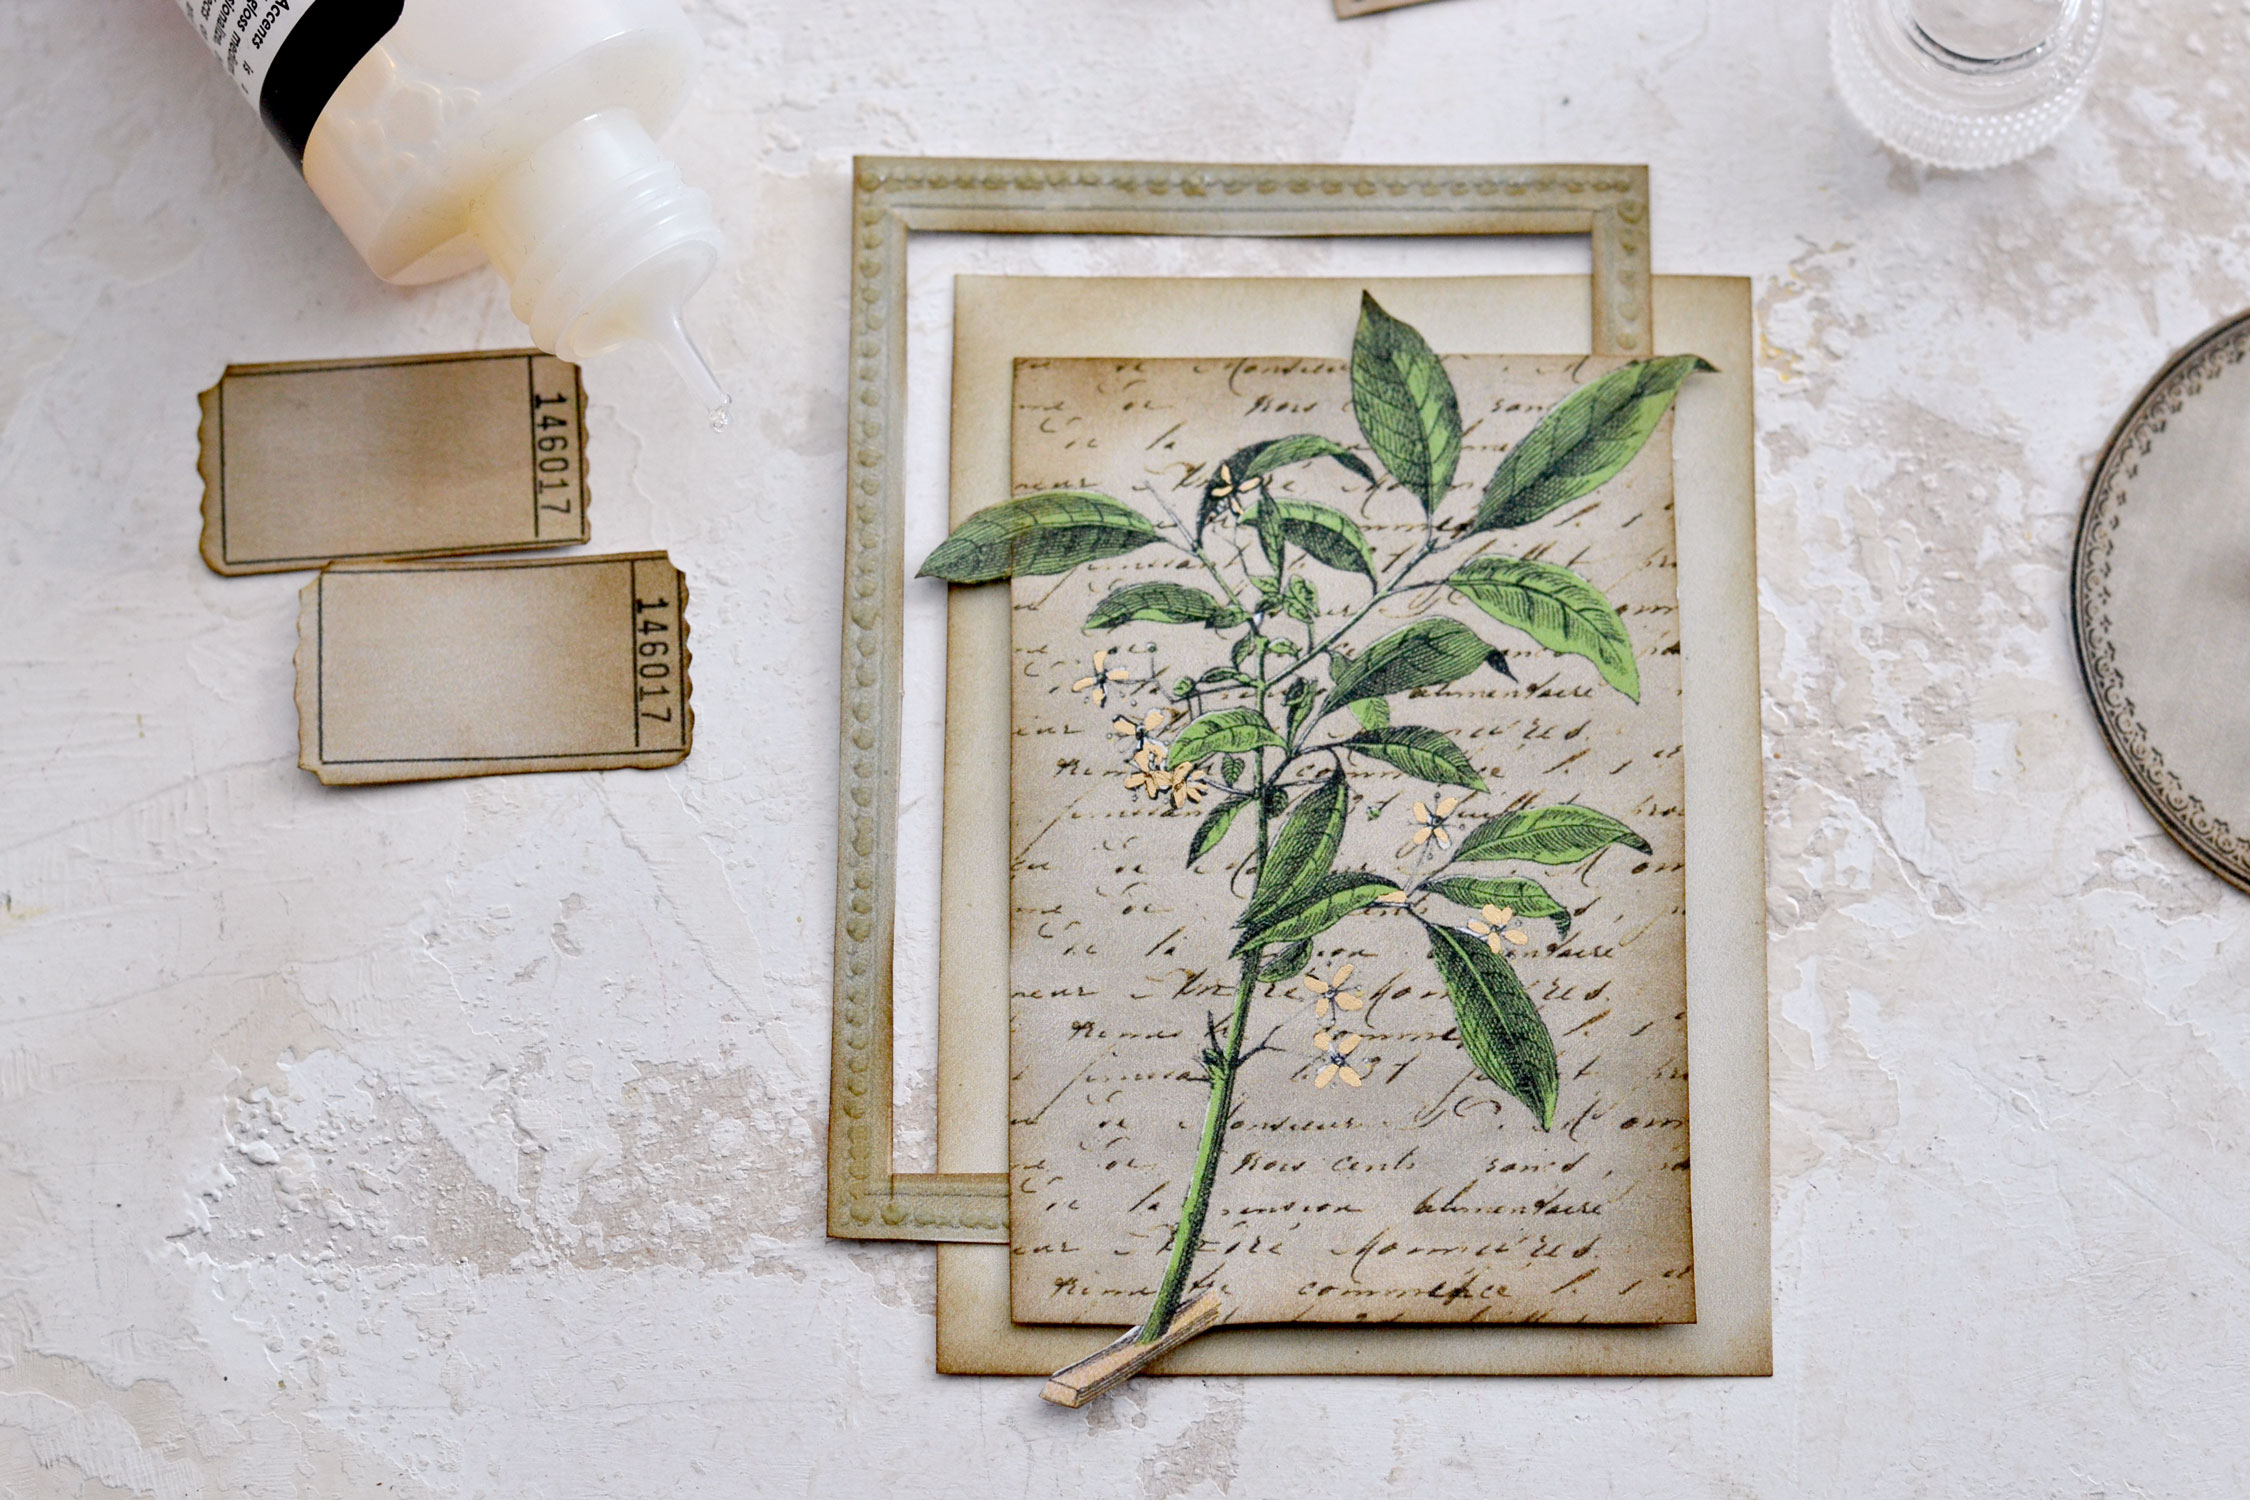
Start by placing the blank background on your table.

Place the rectangular frame on top and move it slightly to the left (or right) so it goes outside the background underneath.
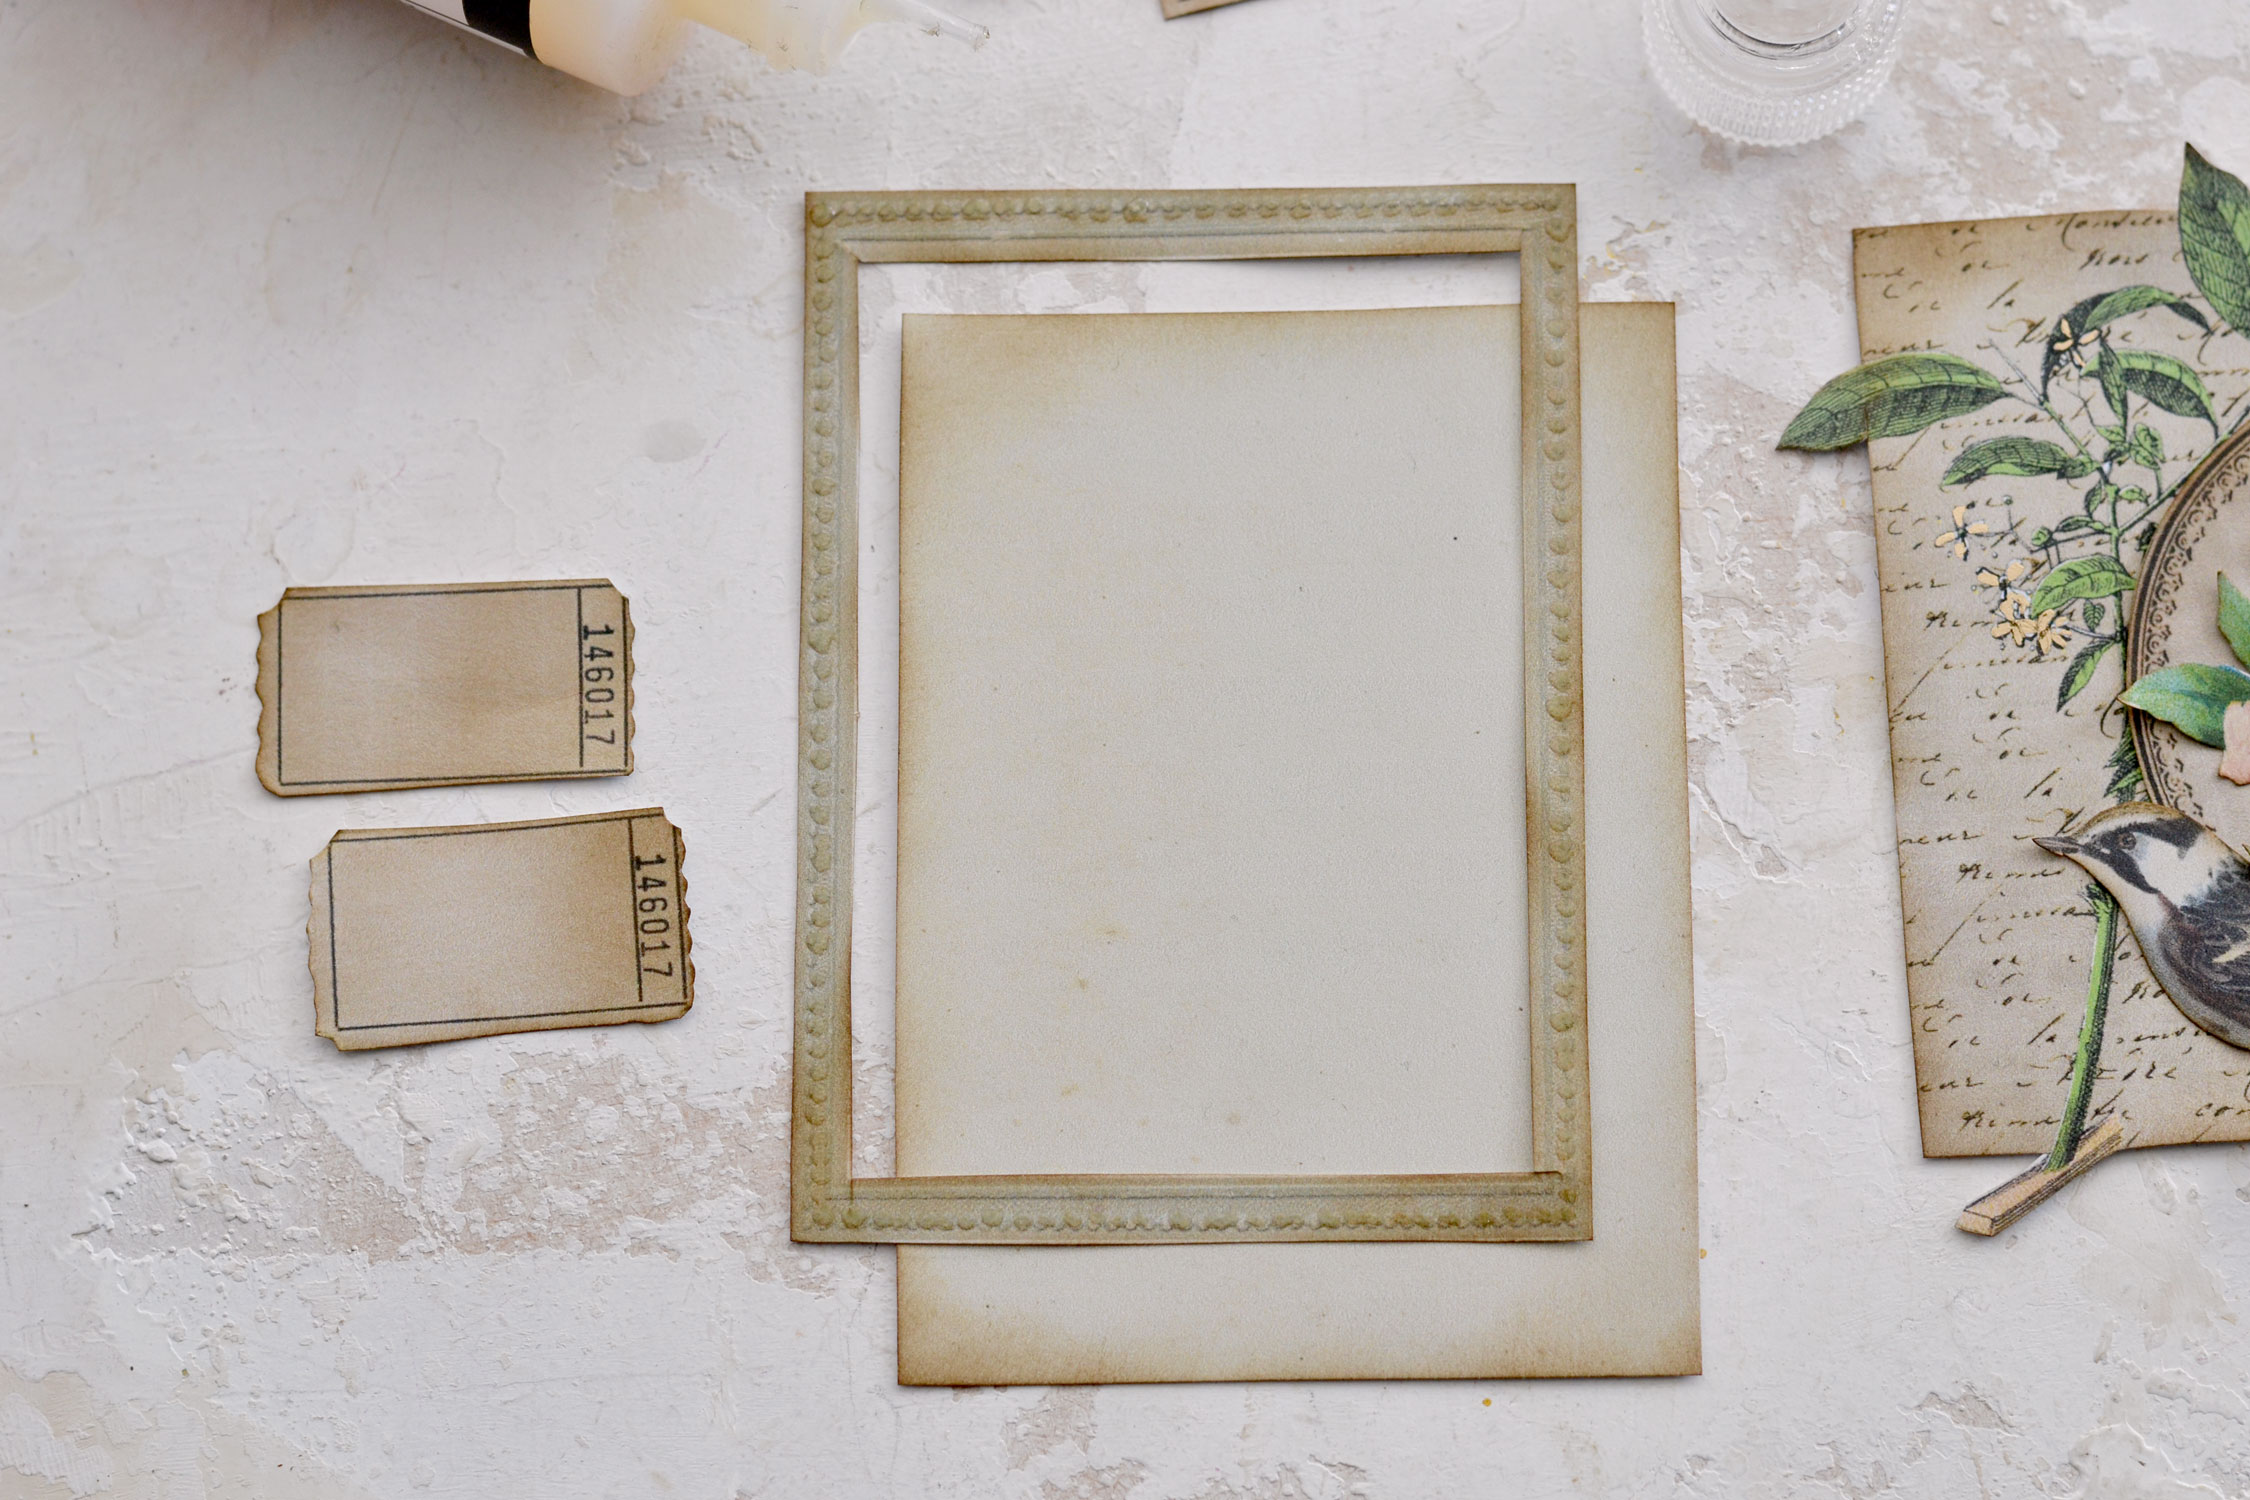
Place the French script element with the botanical on top.
Place the round frame on top and move it slightly to the right so it goes outside all the elements underneath. Tuck a lovely ticket under one of the sides before gluing this lovely vintage round frame in place.
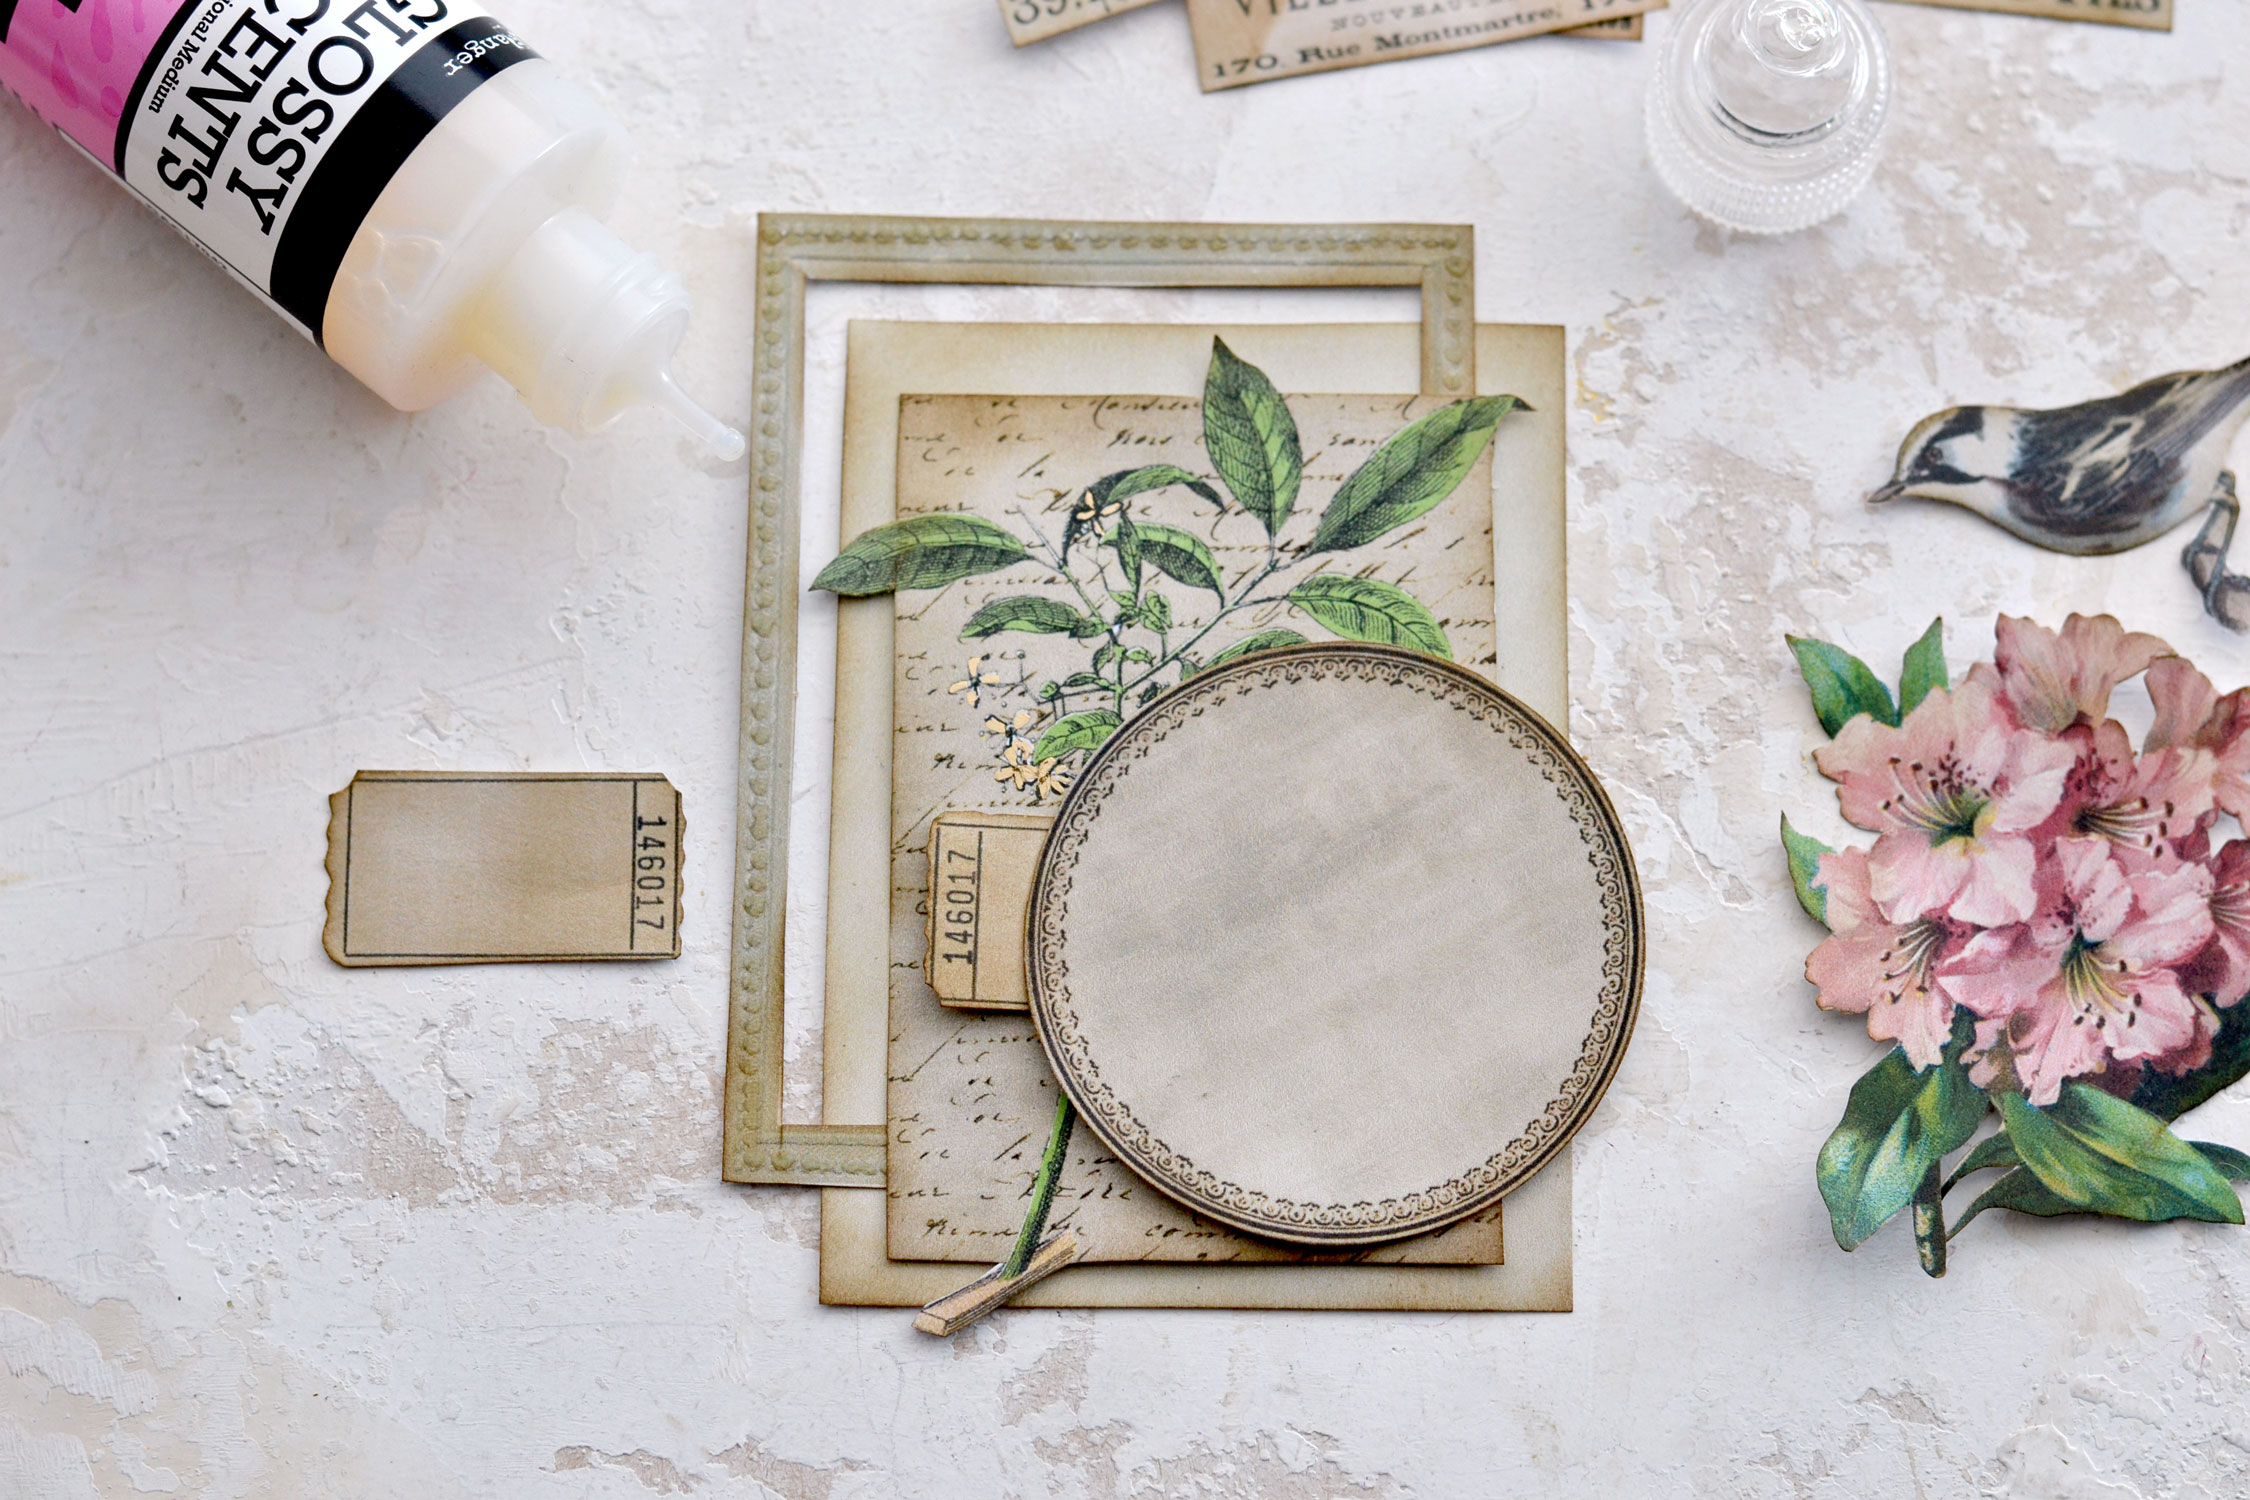
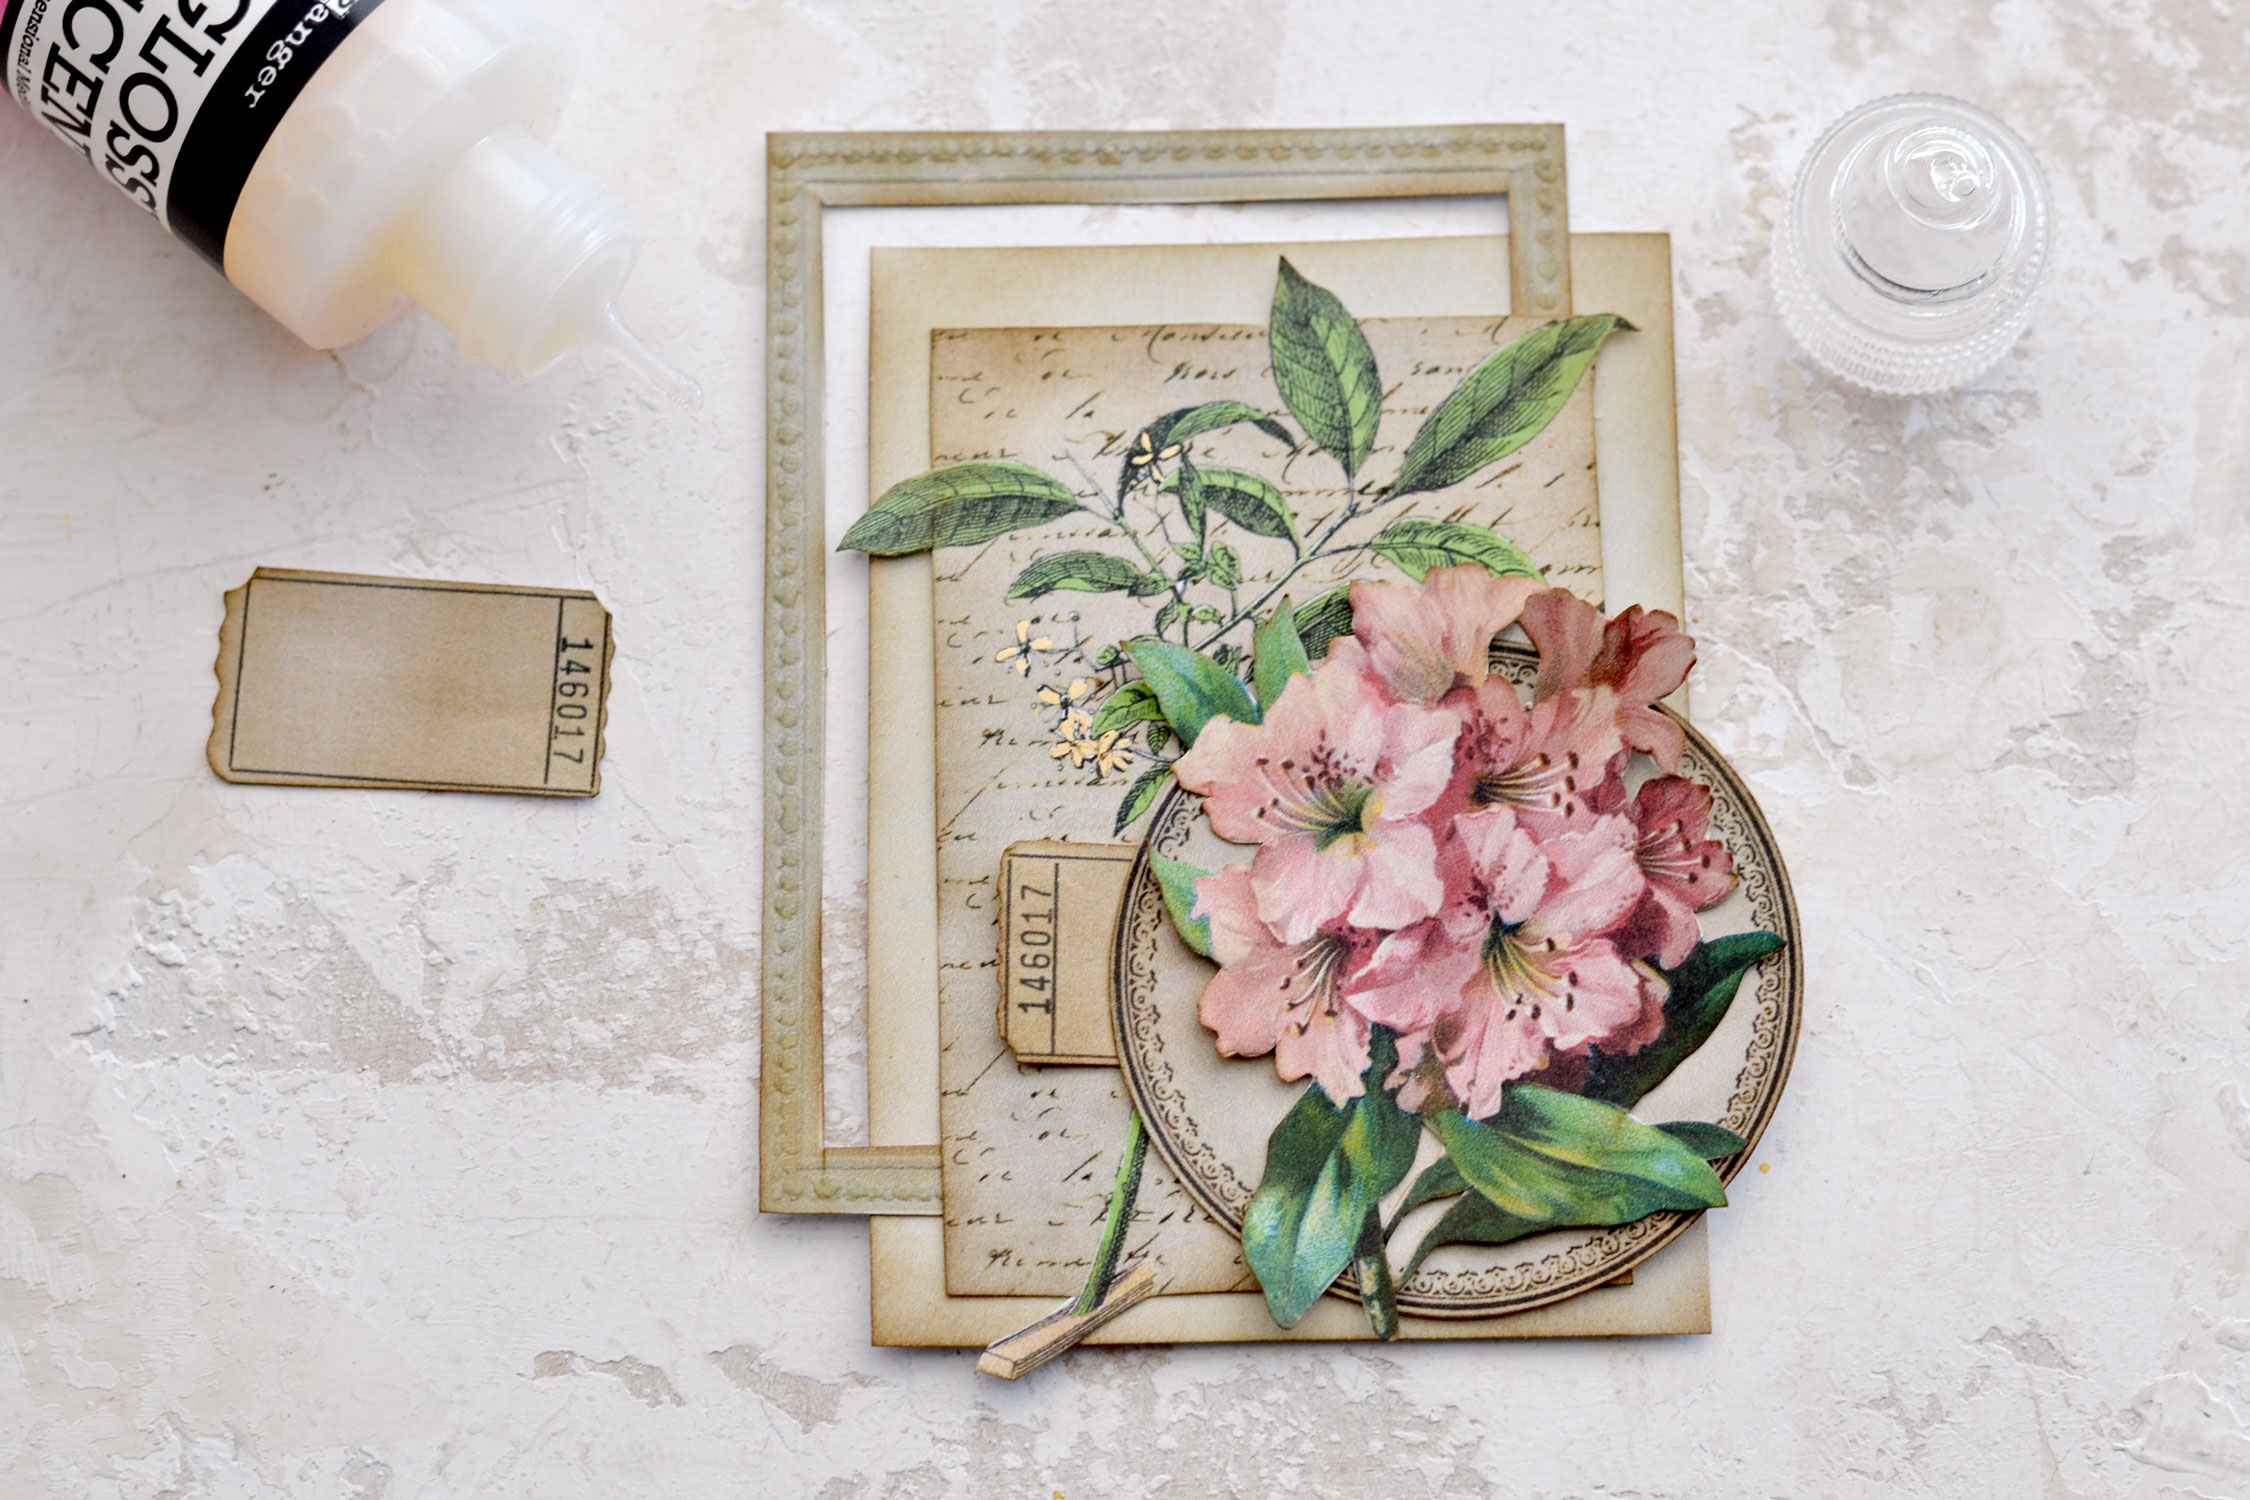
Glue the flower on top of the round frame.
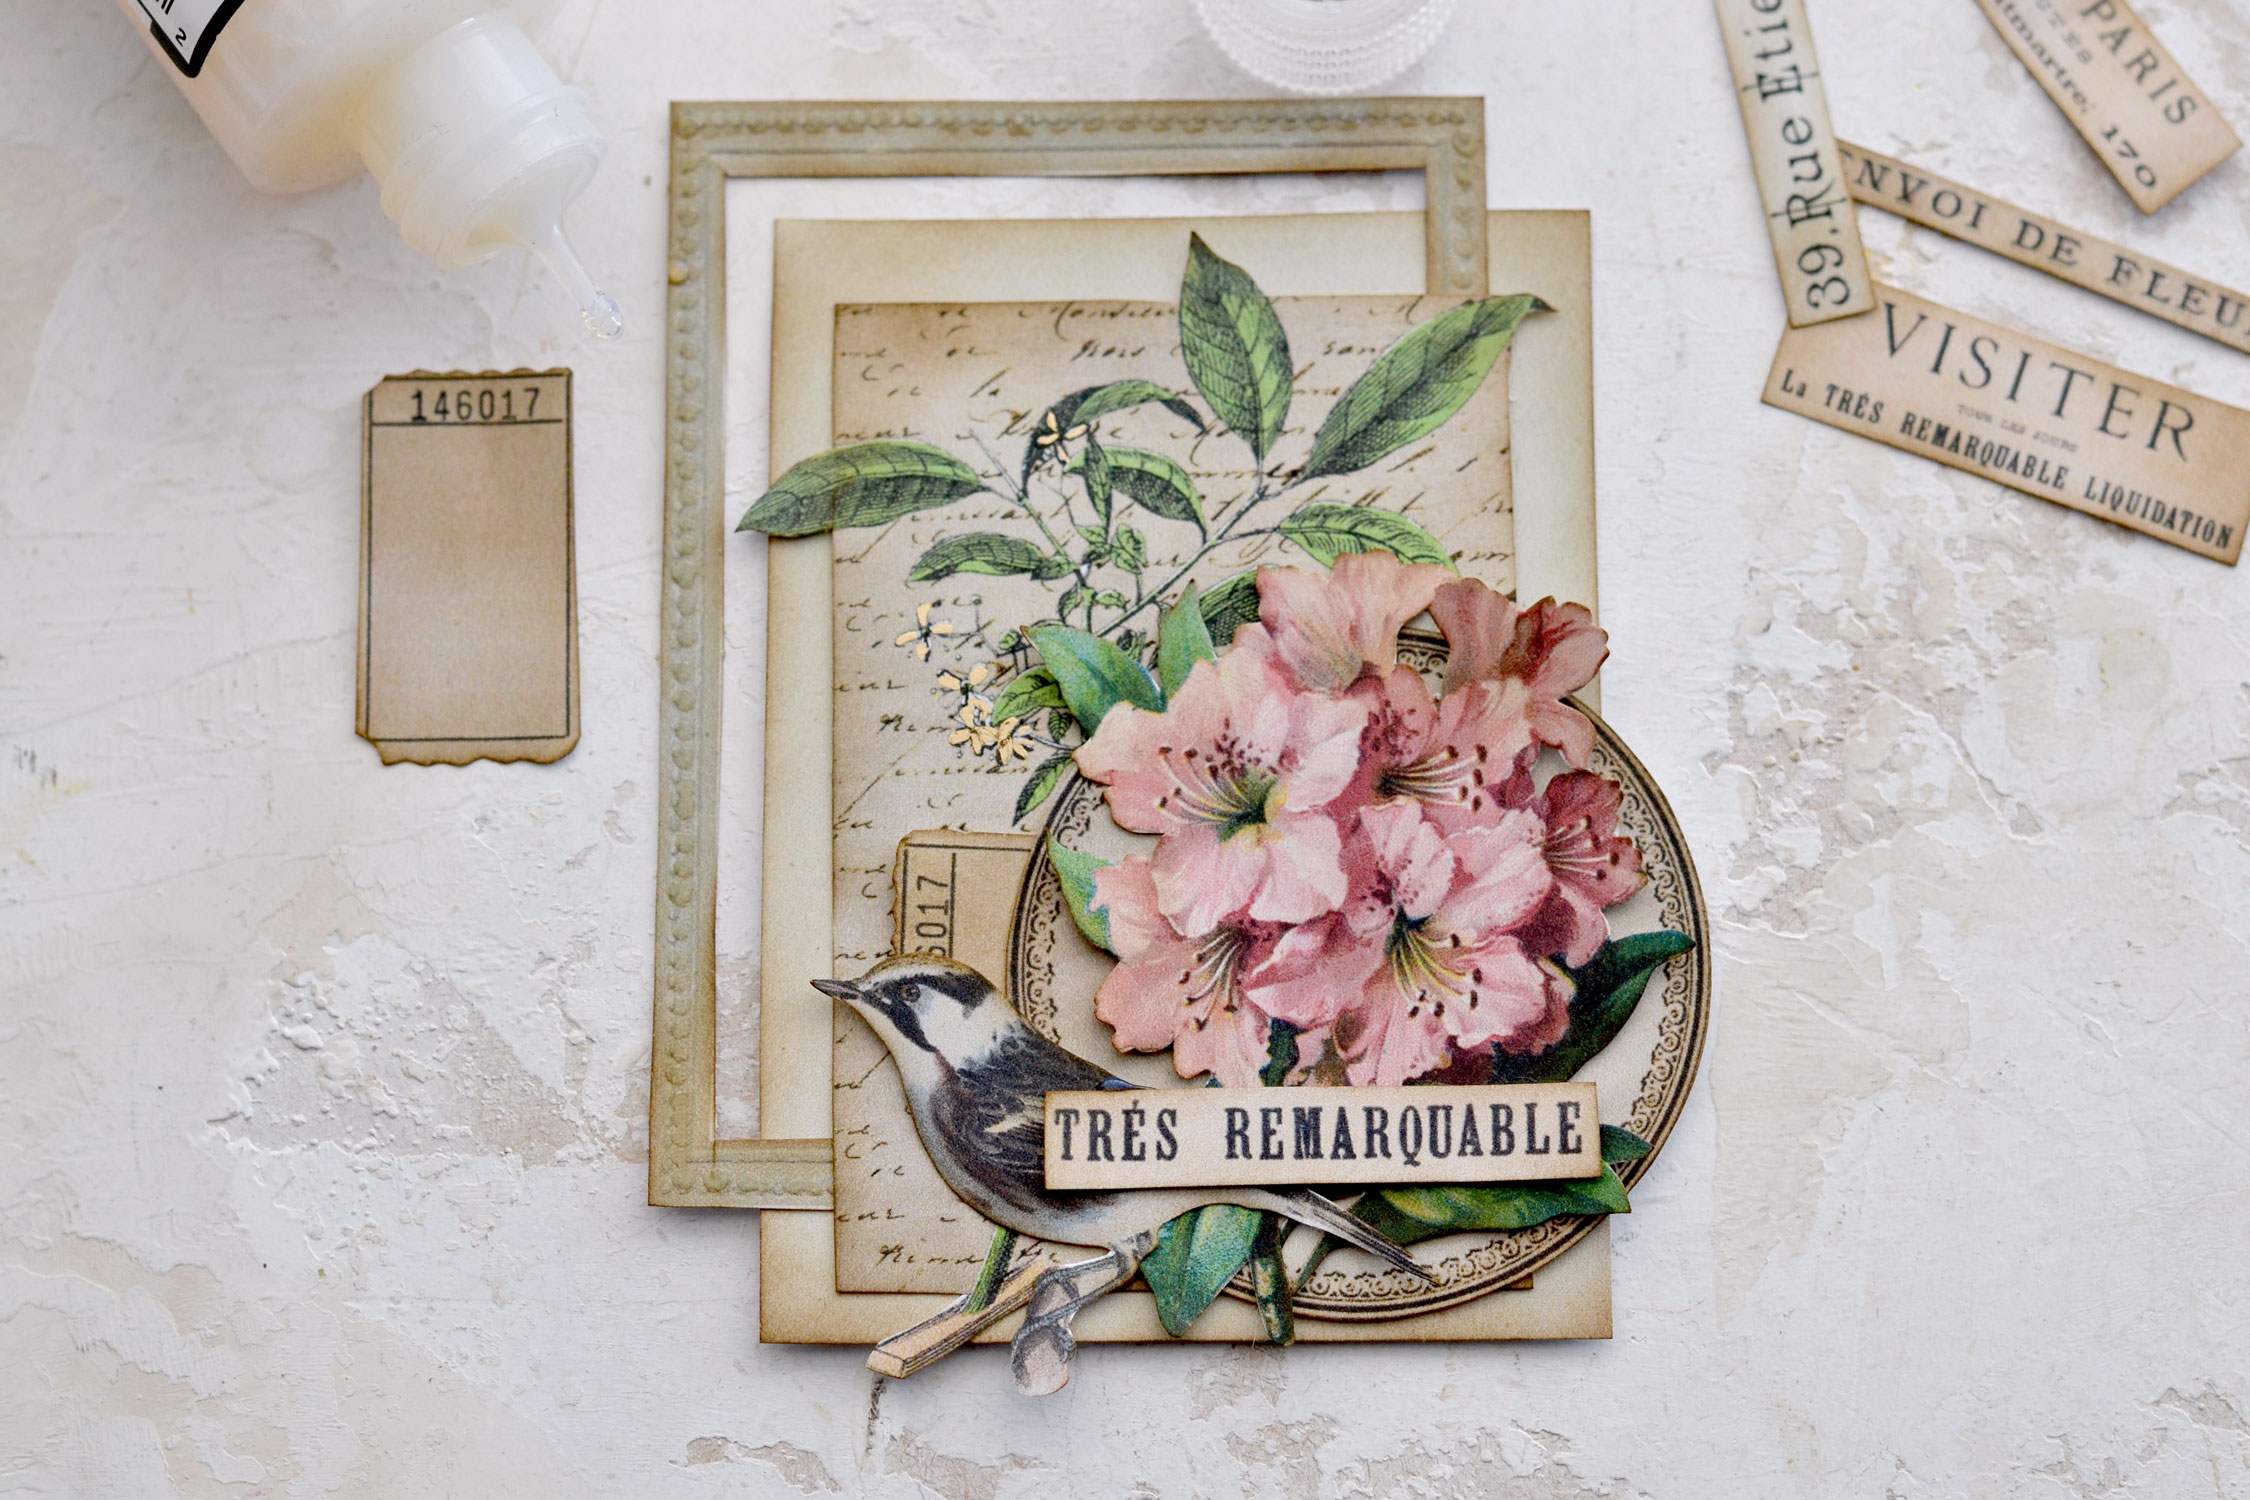
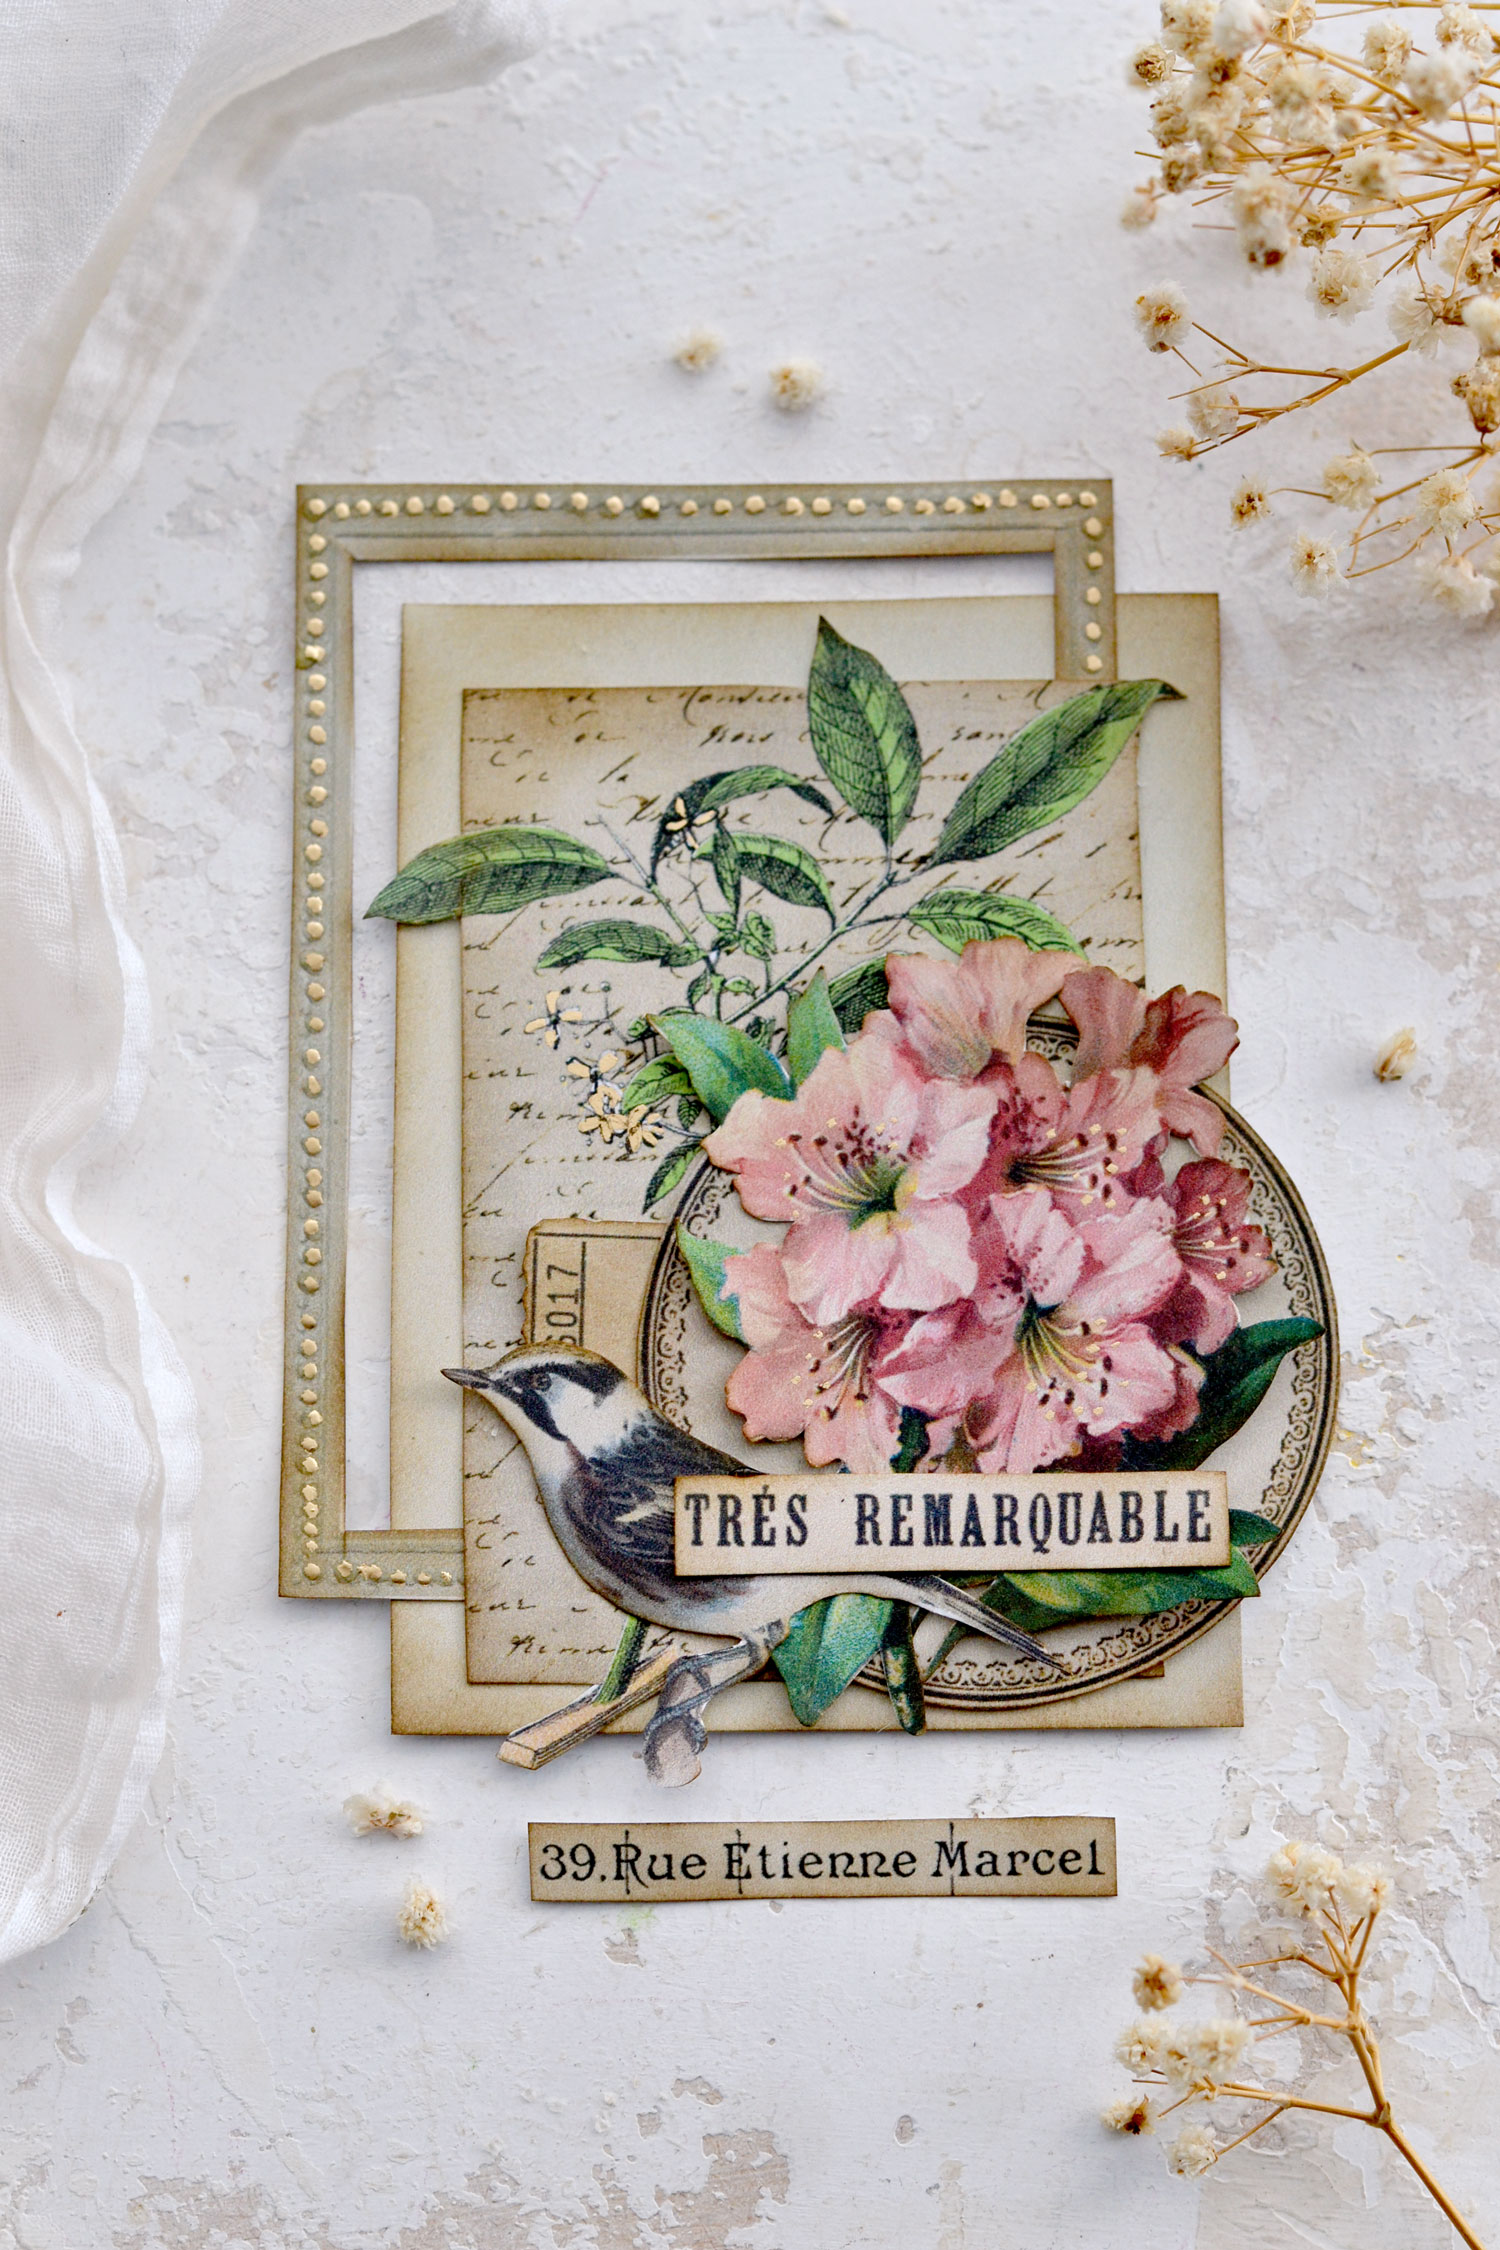
Place the bird slightly to the left and then pick one of our super chic French ephemera elements and glue it on top. As you can see, you’ll only need one of these Frenchified beauties, so you can stash the others for other projects too!
And that’s pretty much it, your first cluster is now ready!
The rectangular frame looks beautiful with all those dimensional dots, but I felt like I wanted it to look even better. So I added gold dots on top of the glue dots! This will bring things to a whole new level and add even more charm to our already beautiful paper clusters!
Our final super chic paper clusters with a vintage vibe are now ready to be admired! They look quite amazing, don’t you think?
If you look really close you will notice that I also added some small gold dots on top of the flower image. I ever so lightly touched the paper with the tip of my golden marker and added small dots around the pistil of the flower. It’s all about the small details!
I could just stare at these beauties and admire all of their super chic elements! I moved the rectangular frames to the right while assembling some of the clusters to create a little bit of variation.
I feel like we managed to perfectly create that 3D feel that we initially had in mind. All these beautifully layered paper elements definitely helped with that!
Useful tip: If you want to create even more dimension, use small glue dots or double-sided foam tape instead of the glue. Use these on all or only some of the focal point elements to create a small raised effect.
I’m sure you are already contemplating tons of ideas on how to use these super chic clusters! The easiest thing would be to use them in your junk journal, they will instantly beautify your pages or why not, even your covers! You can add other paper elements like French ephemera images, dictionary pages or even other small embellishments (scrap pieces of lace, gold pins, buttons, etc.) to create even more dimension. Have fun putting your own twist on these or just use them as they are!
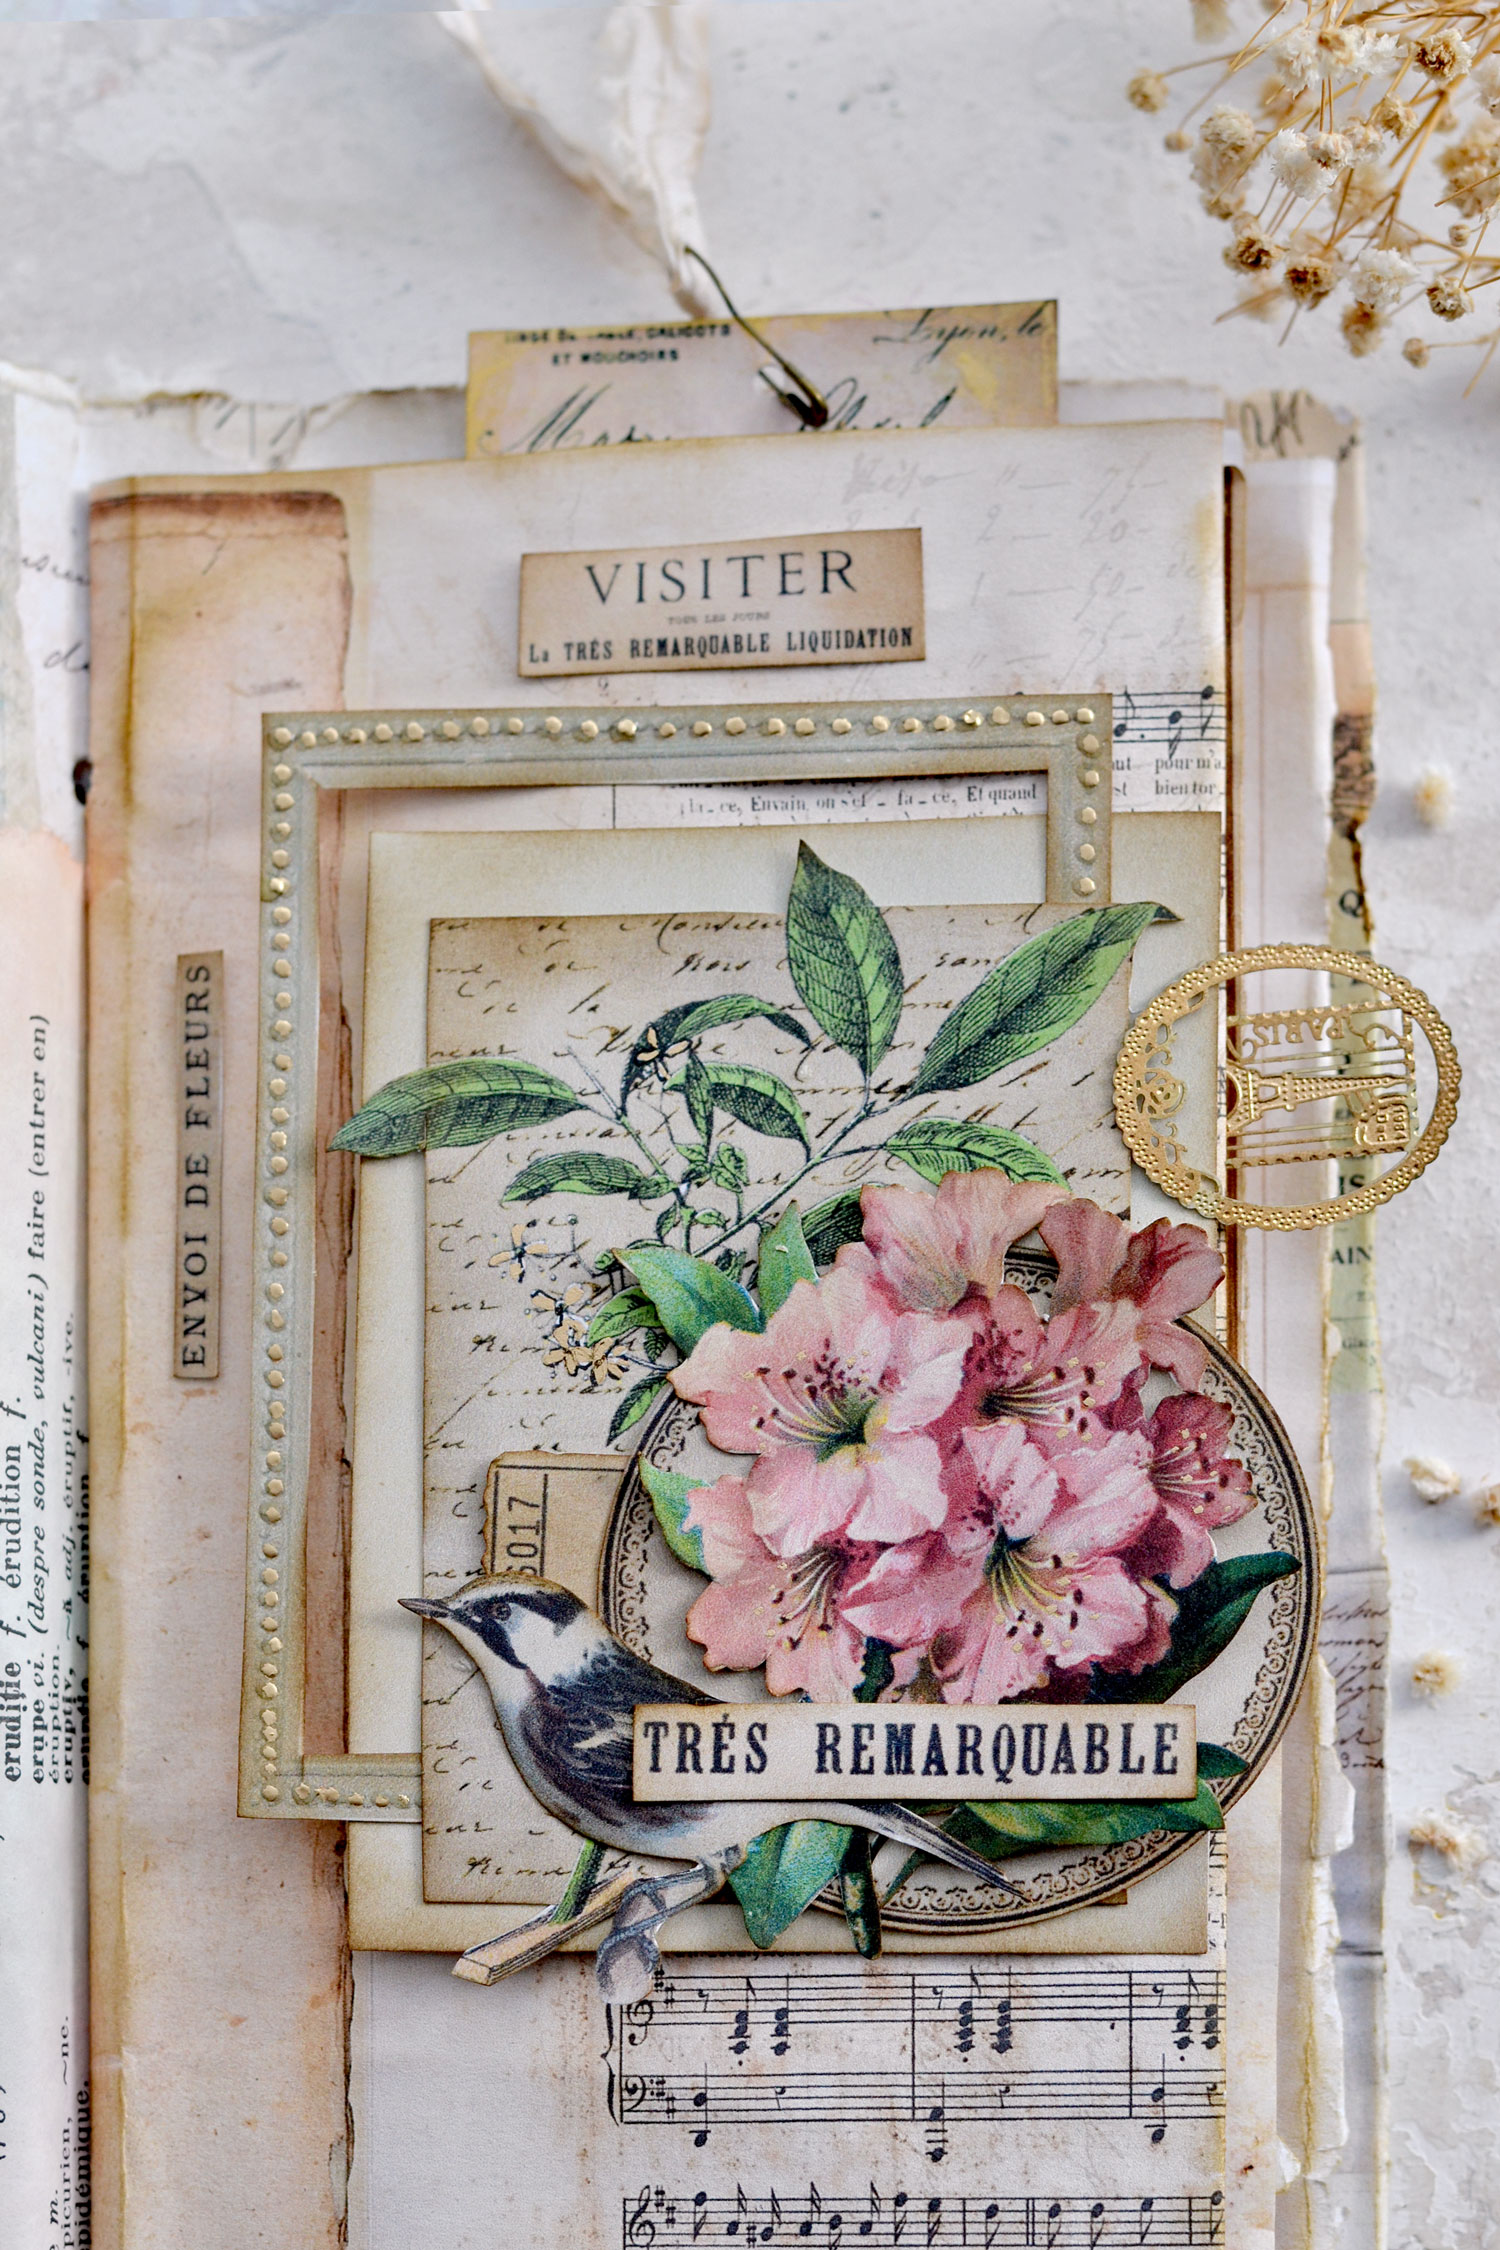
You can include these beauties in other craft or DIY projects, the sky is the limit! So I hope you will love this sweet little project and decide to give it a try! Can’t wait to hear your thoughts and impressions and I’m really curious if you can decide which one is your favorite – the pink or the blue version?
 You might also like my DIY Junk Journal Embellishments Tutorial HERE.
Happy crafting,
Diana | Dreams Factory


Leave a Reply