DIY Altoid Tin Art
Tiny Treasures…DIY Altoid Tin Art – these are a few of my favorite things! Hello, Graphics Fairy Friends… it’s Heather from Thicketworks. Today I’m sharing a fun project created with some of the gorgeous Bird Themed Images that Karen has made available to us!
I hope that you’ll pick up a useful technique or two along the way.
Let’s make this pretty DIY Altoid Tin Art!
To begin, please help yourself to the Free Printable that has been created especially to fit Altoid-Type Tins.
Note: Toner based prints were used for this demonstration
Free Printable DIY Altoid Tin Art
Click HERE to Download the Free Printable PDF for the Altoid Tin
DIY Altoid Tin Art Supplies:
- Free Printable
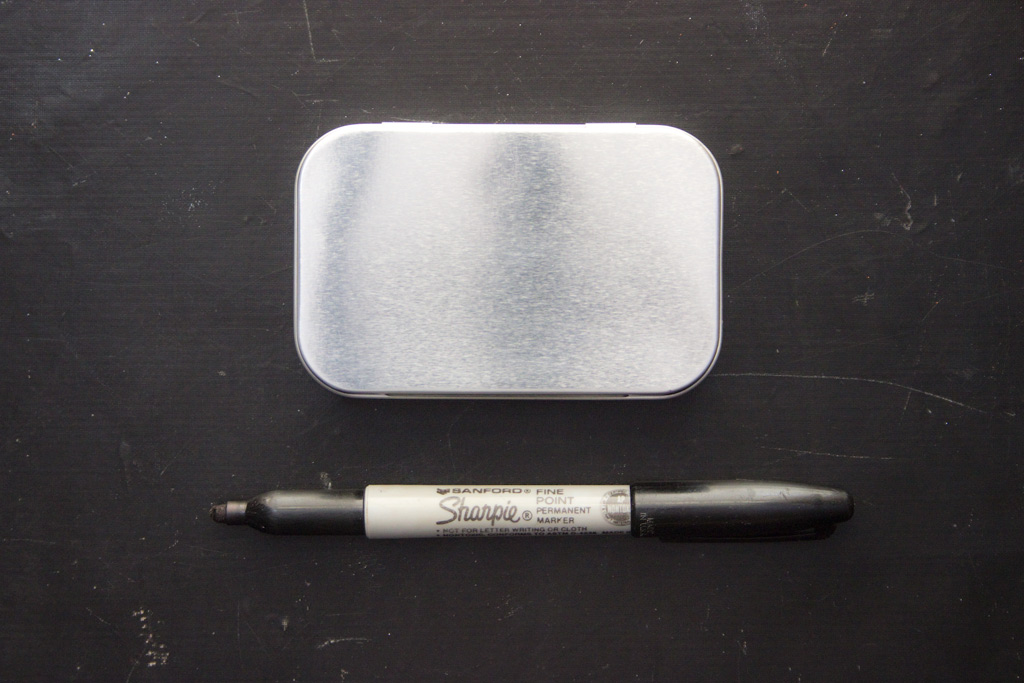
- Blank Altoid Tin – 3-3/4″ x 2-1/4″ (x 7/8″ deep)
- A Black Sharpie Pen
- Aqua or Turquoise Acrylic Craft Paint
- Black Acrylic Craft Paint
- Dresden Trim: Scallop and Fleur Gold
- We R Memory Keepers Crop-A-Dile
- Paint brushes
- Scissors
- We-R-Memory-Keepers Corner Chomper
- Aleene’s Original “Tacky” Glue
- Glossy Accents Adhesive
- 2 Sheets Black Cardstock
- 1 Sheet White Cardstock (for Printables)
- Rustoleum 2X Primer: Black
- Distress Ink: Salty Ocean
- Ranger Inkssentials Ink Blending Tool
- Ruler
- Paper Trimmer or Craft Knife and Cutting Mat
- Pencil with an Eraser
- Glitter: Blue and Silver
- Paper Distressing Tool
- Bone Folder
- An old credit card, or similar (for smoothing)
- A Glue Stick
- Craft Wire, Ribbon and Beads (for necklace)
- Adhesive Gems
- Martha Stewart Scoring Board
- Assorted Bird Stamps
- Delicata Ink Pad: Silvery Shimmer
- Tim Holtz idea-ology Corked Vials
- Bird Seed
How to make an Altered Art Gift Tin:
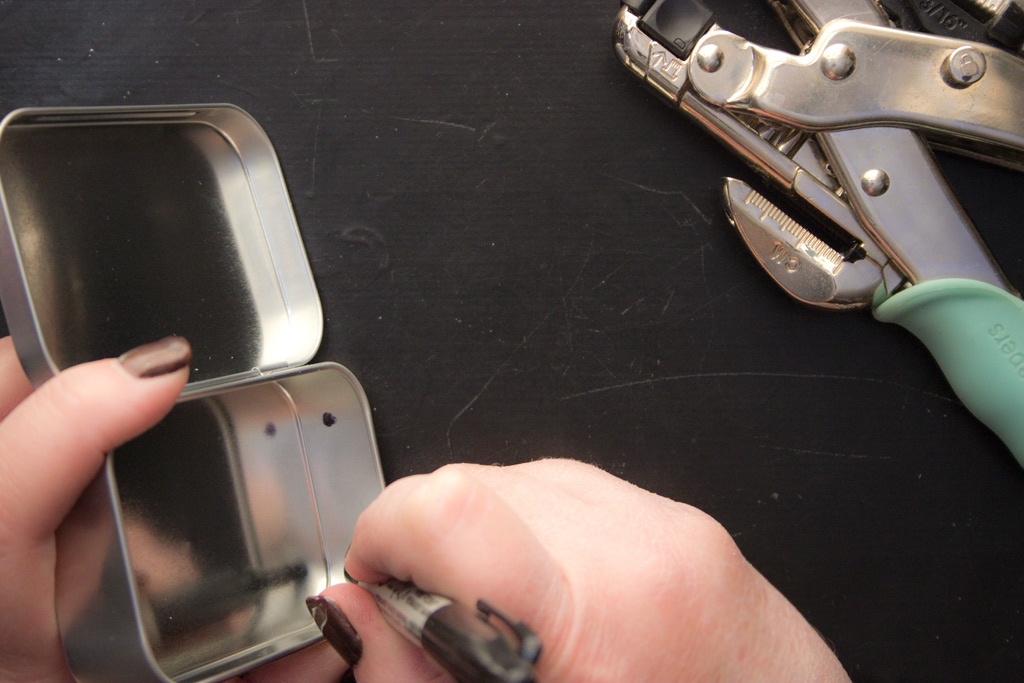
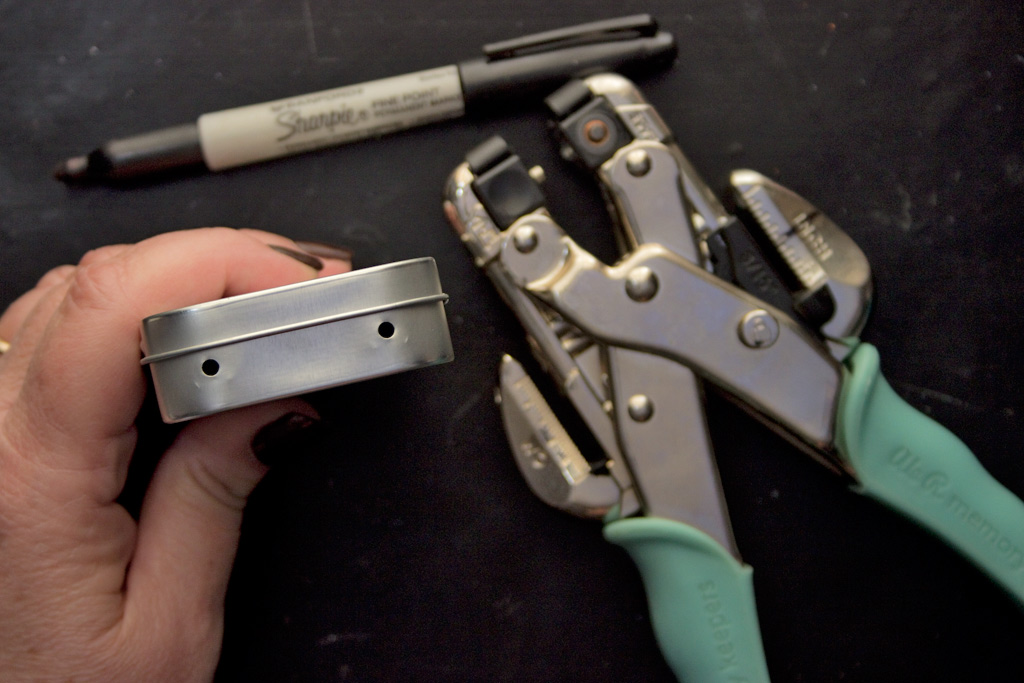
If you would like to be able to dangle the completed tin, use a Sharpie to mark hole placements.
Make certain that the holes will extend beyond the edge of the lid when the tin is closed:
Use a Crop-A-Dile Hole Punch to easily cut clean holes in the metal.
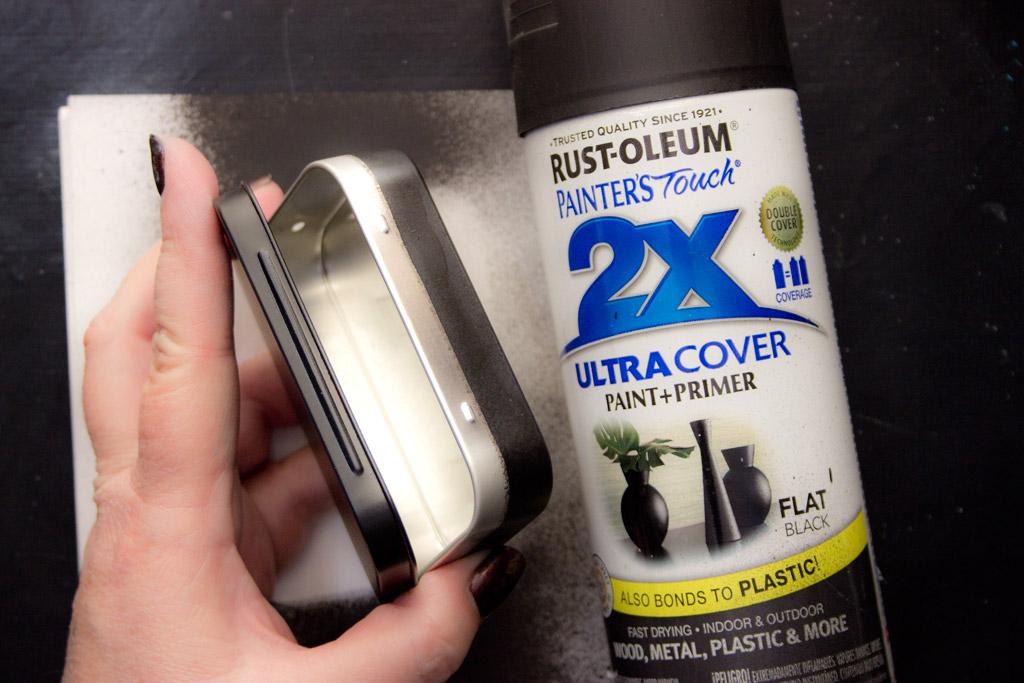
Spray the exterior of the tin, (with the lid closed) with a good quality primer – make sure to have adequate ventilation when you spray!
Allow to dry.
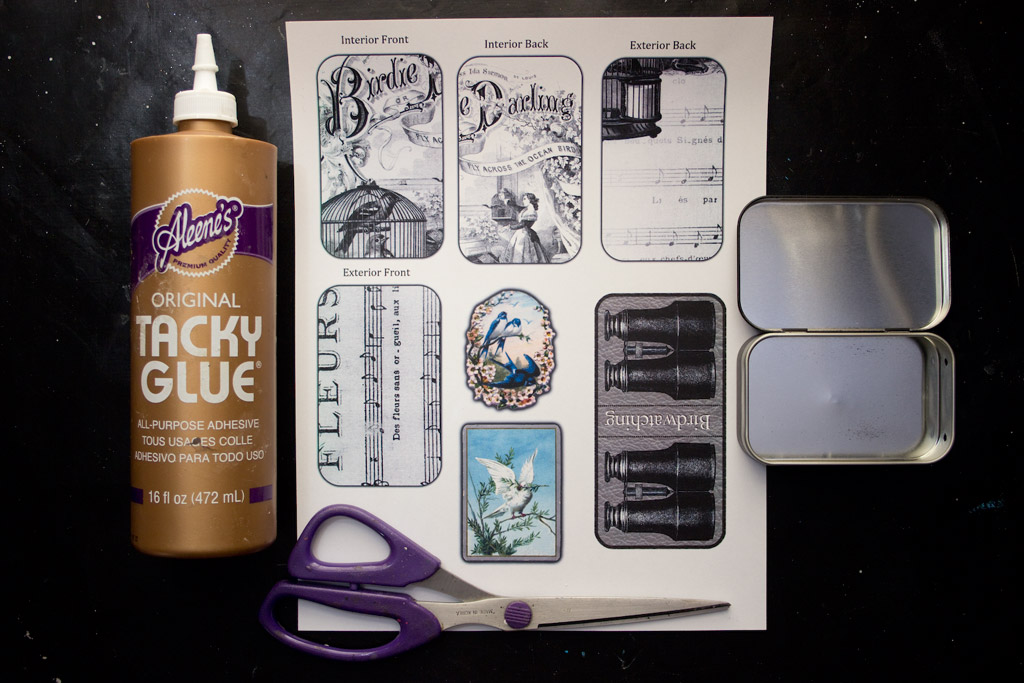
Print out the graphics that you will be using.
Note: Ink jet prints can smear when Distress Ink is added – you know your printer best!
If in doubt, use a good quality sealer, or toner based copies.
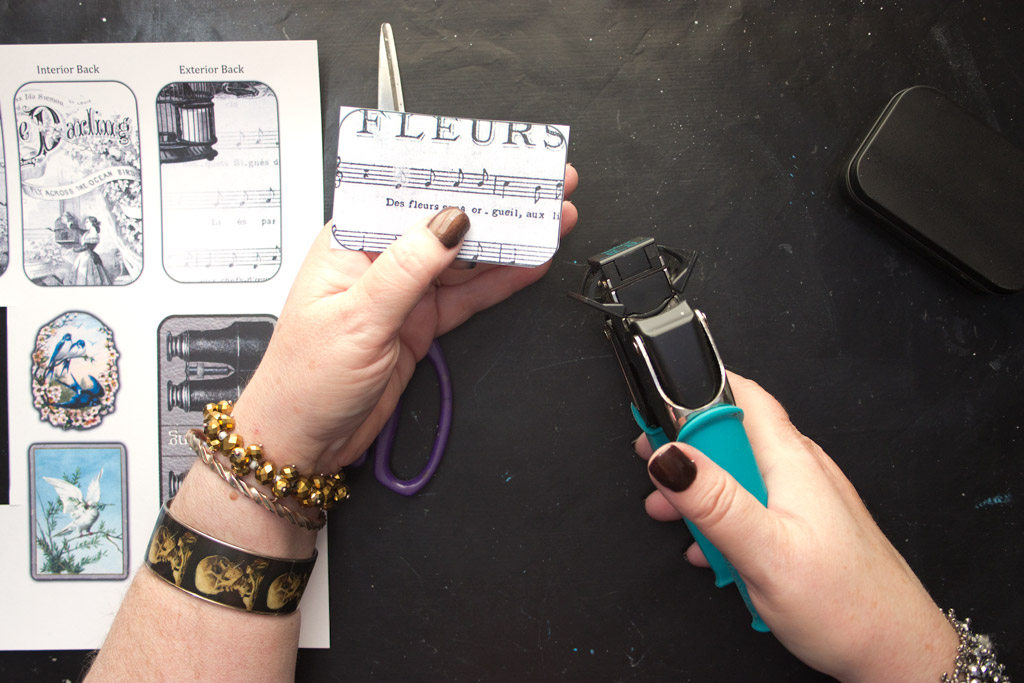
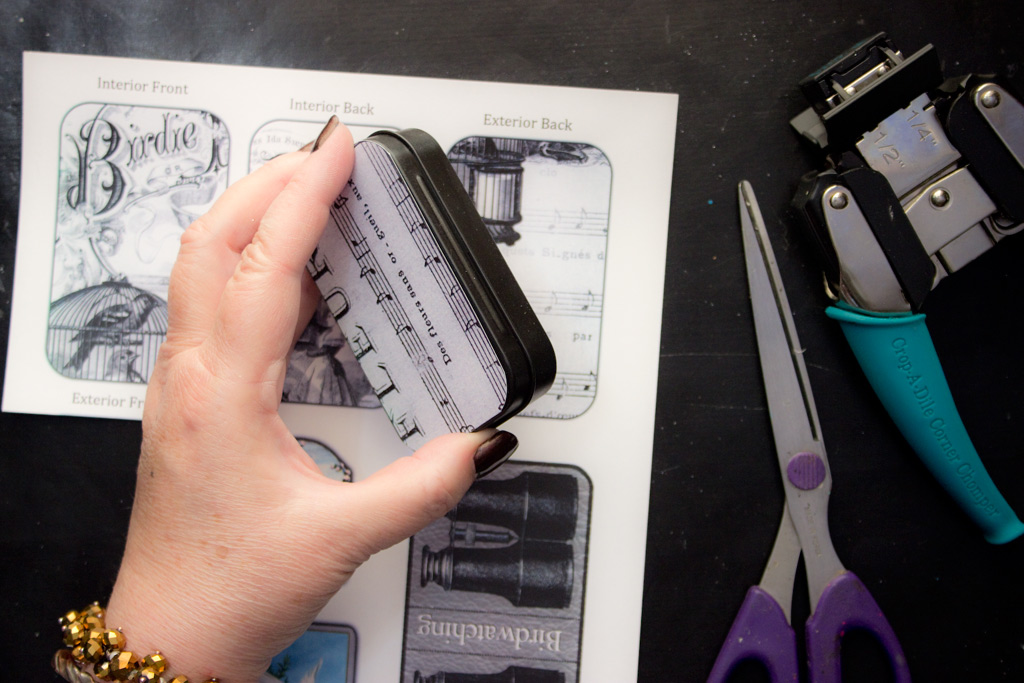
Cut out the designs.
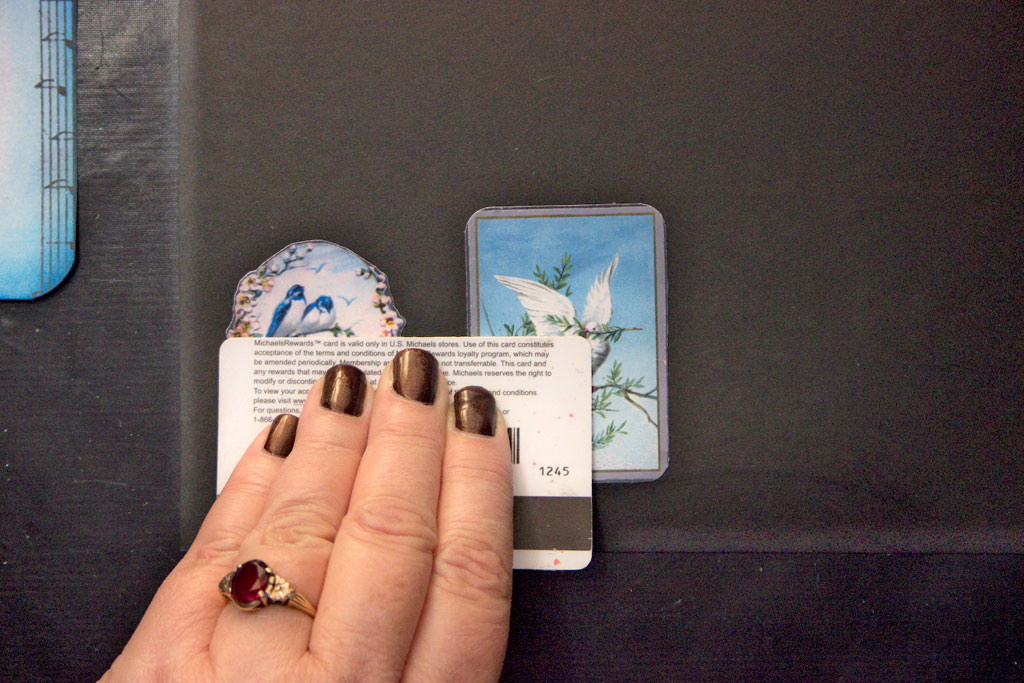
It’s simple to round the corners using the 1/2″ setting on a Corner Chomper, if you prefer.
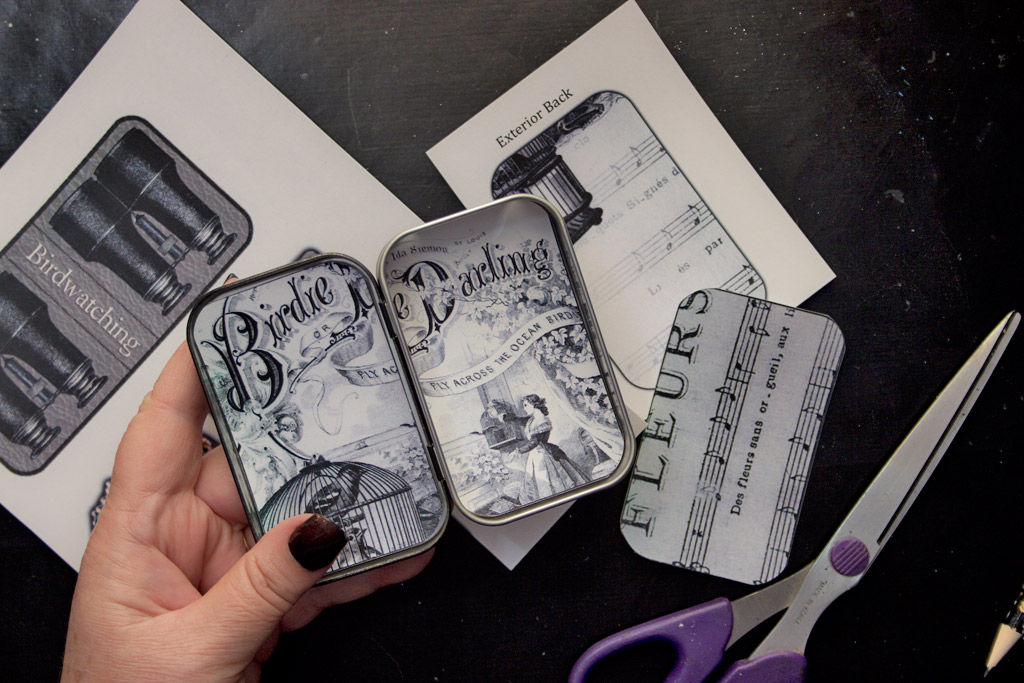
Dry-fit the cut pieces, and adjust them if necessary.
Test fit each element:
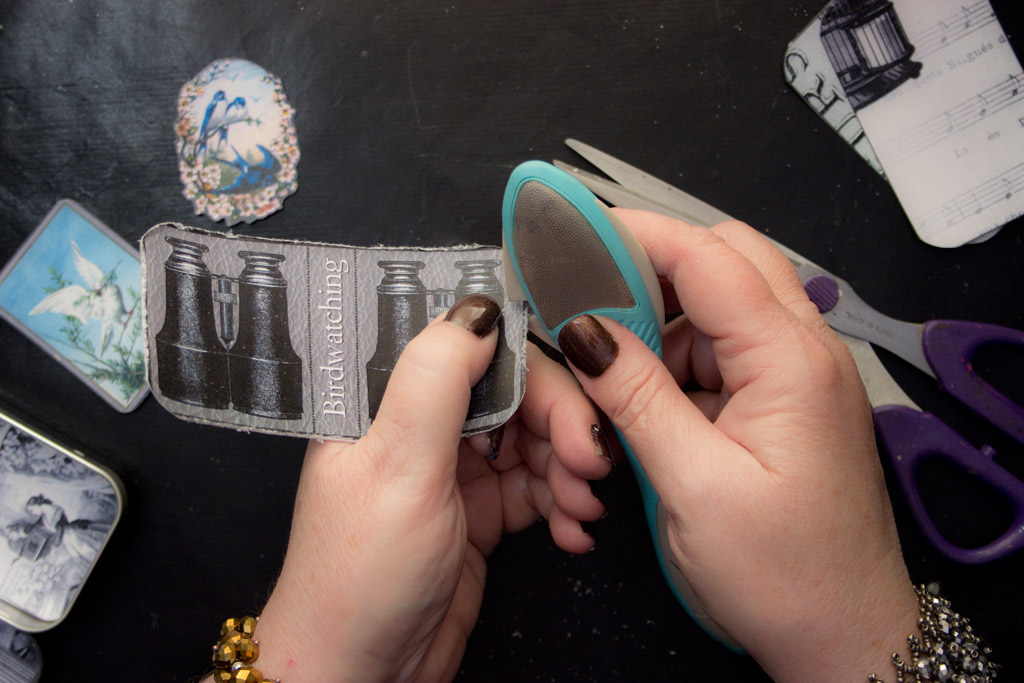
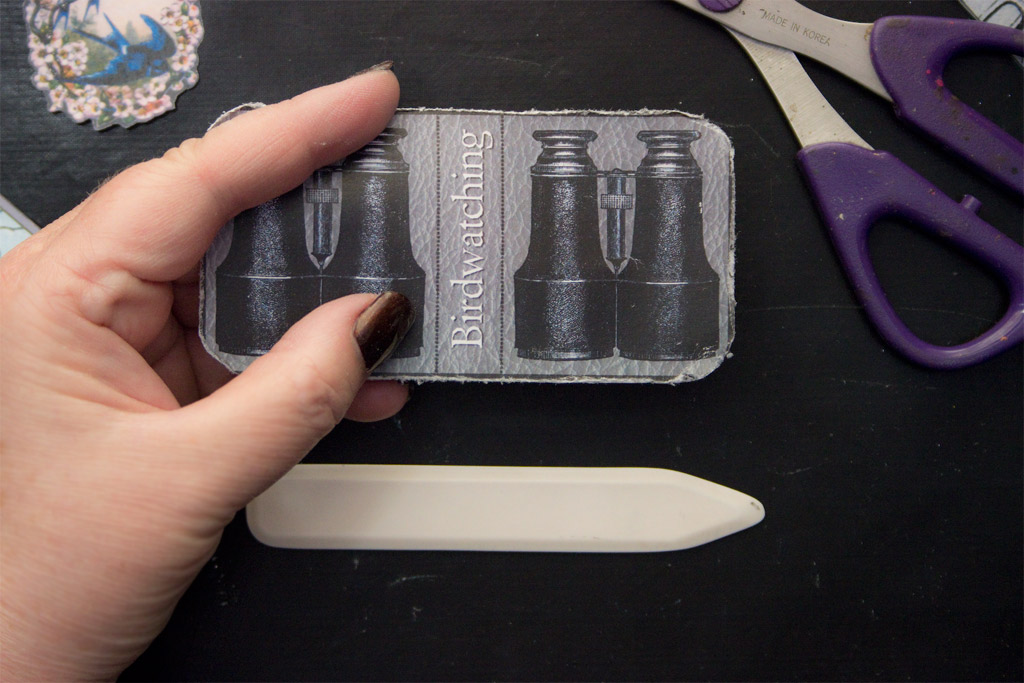
Distress the edges of the Mini Book Cover.
Locate the fold lines, indicated by the broken lines:
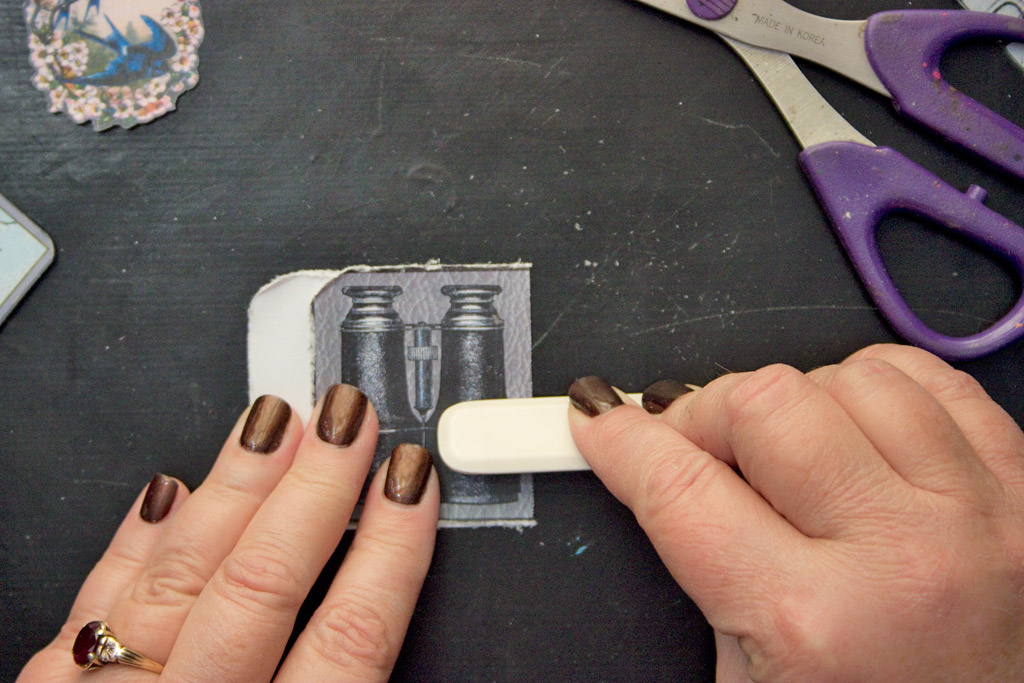
Use a bone folder to crease firmly along the fold lines:
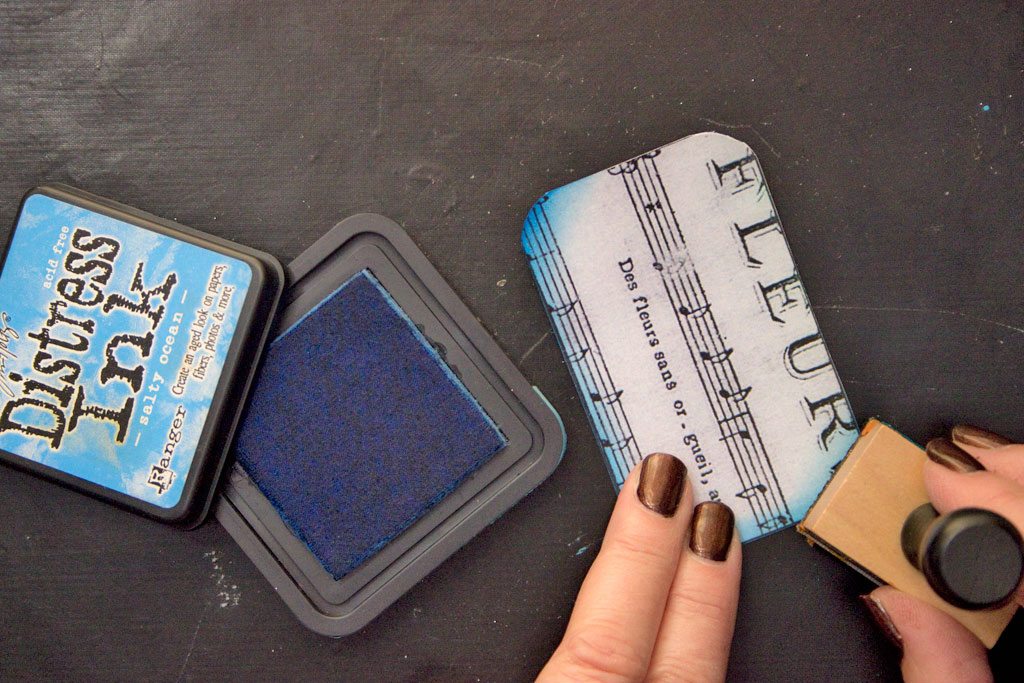
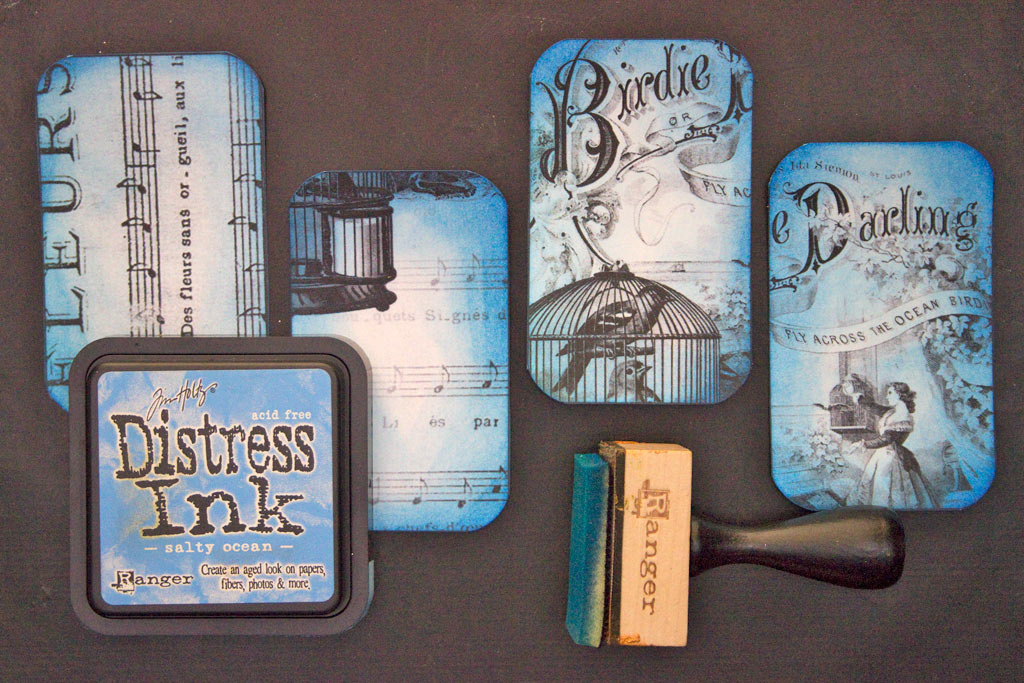
Use Distress Ink: Salty Ocean and a Blending Tool to add pigment to the collage elements:
Do this to each of the following pieces:
- Exterior Front
- Exterior Back
- Interior Front
- Interior Back
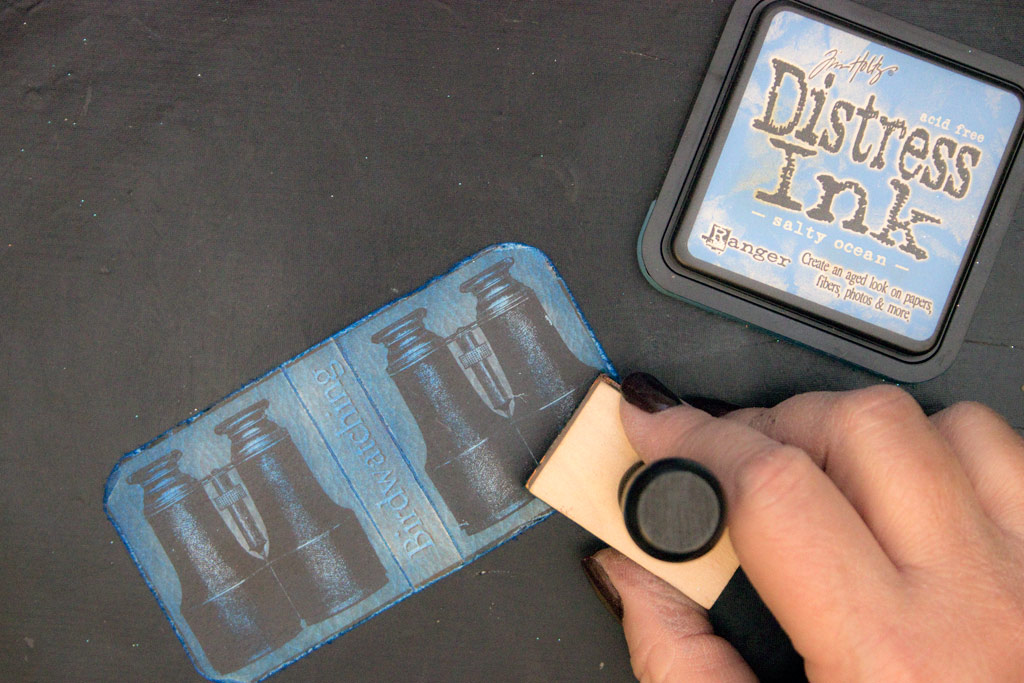
Tint the Mini Book Cover with Salty Ocean, both inside and out:
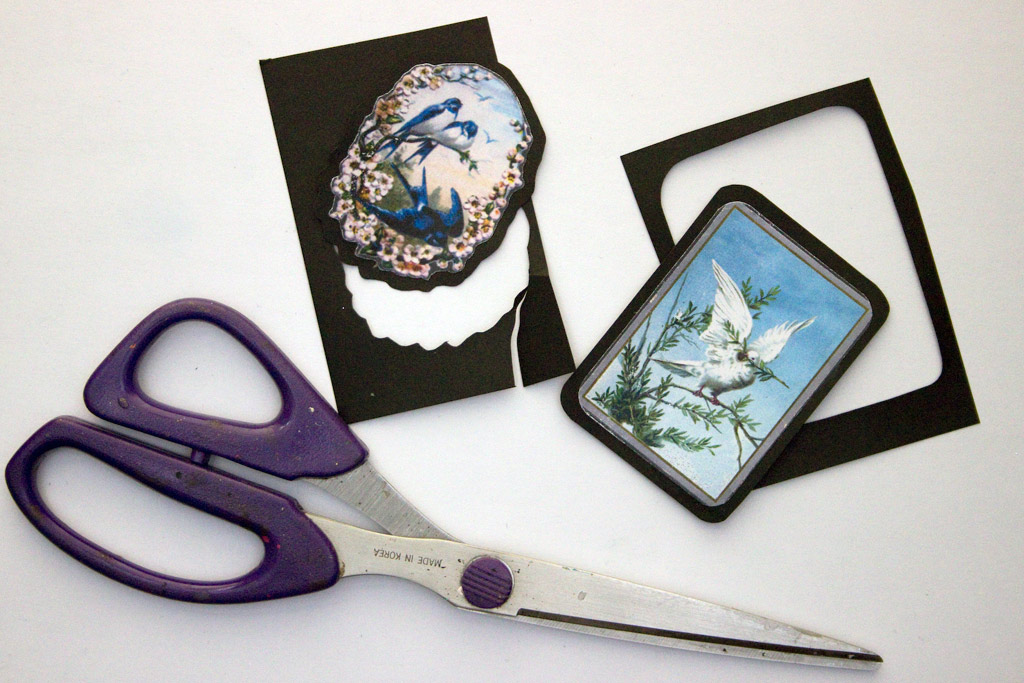
Adhere the Focal Elements to a Sheet of Black Cardstock with Aleene’s Tacky Glue.
Smooth them firmly in place.
Once dry, fussy cut around the edges, leaving a margin of about 1/8″:
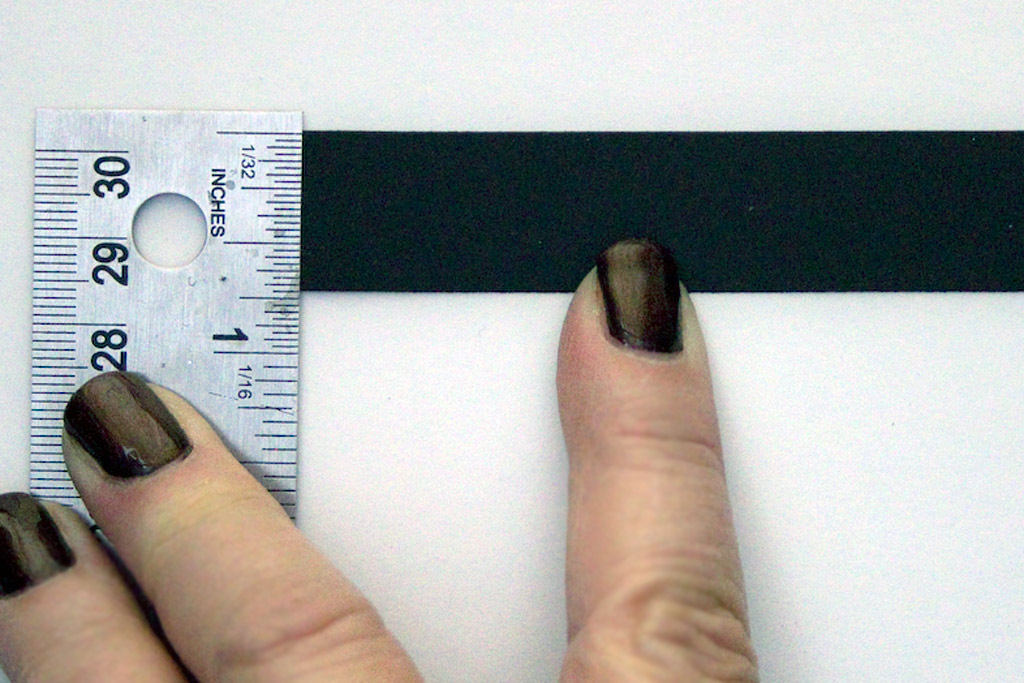
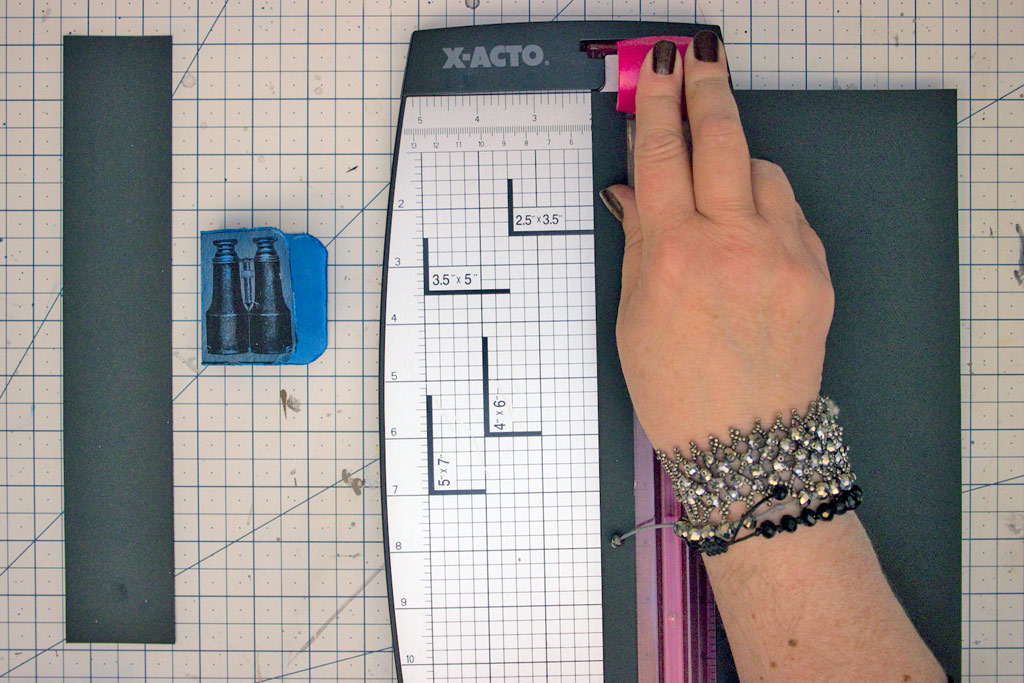
To cover the interior ‘wall’ of the tin, cut a strip of black cardstock 3/4″ wide by 11″ long:
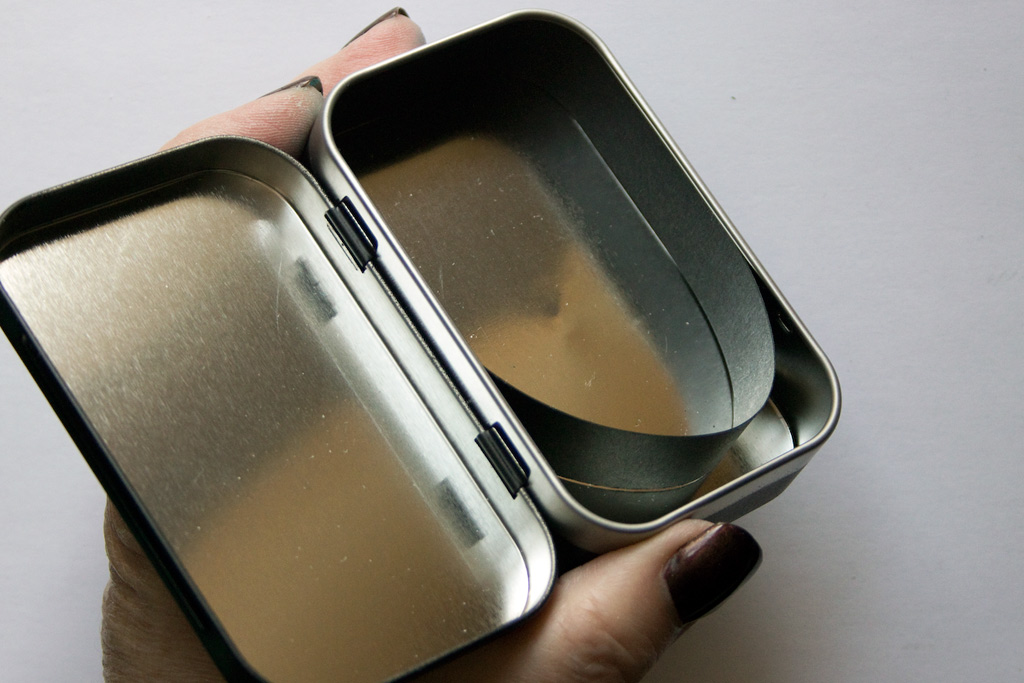
This should fit perfectly beneath the tiny rolled edge of the tin, completely concealing the shiny metal along the interior ‘wall’.
Dry fit, then remove the strip in order to embellish it!
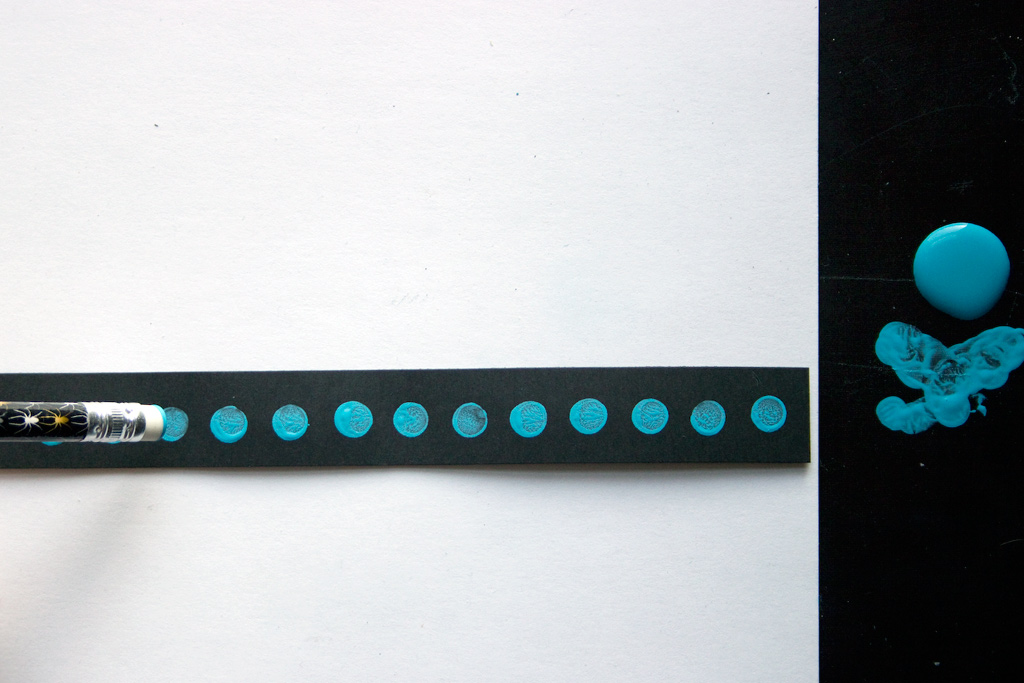
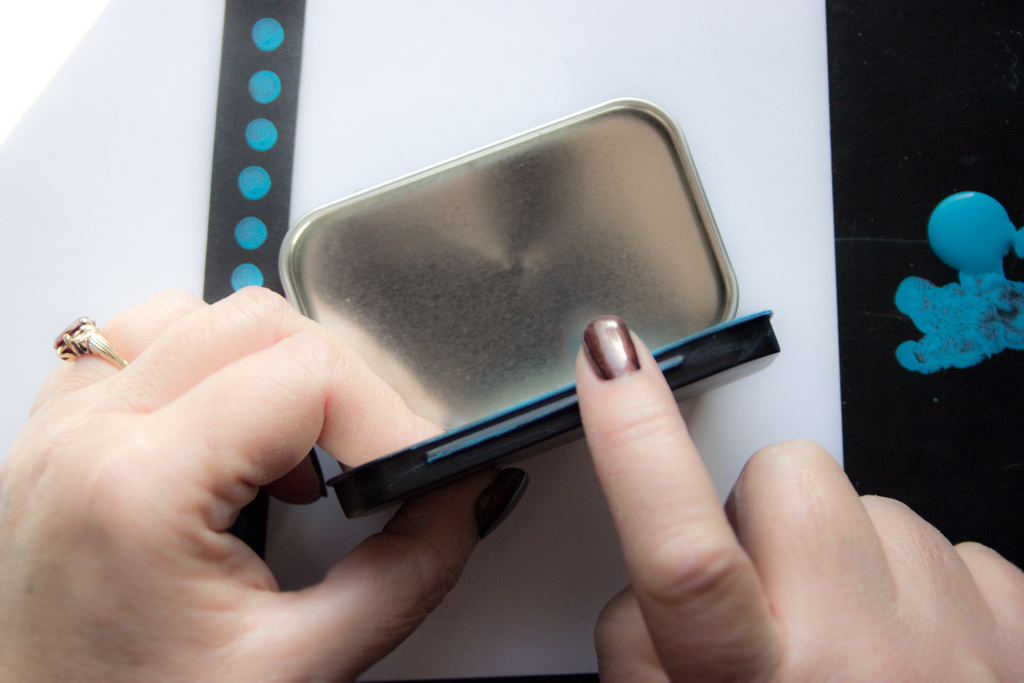
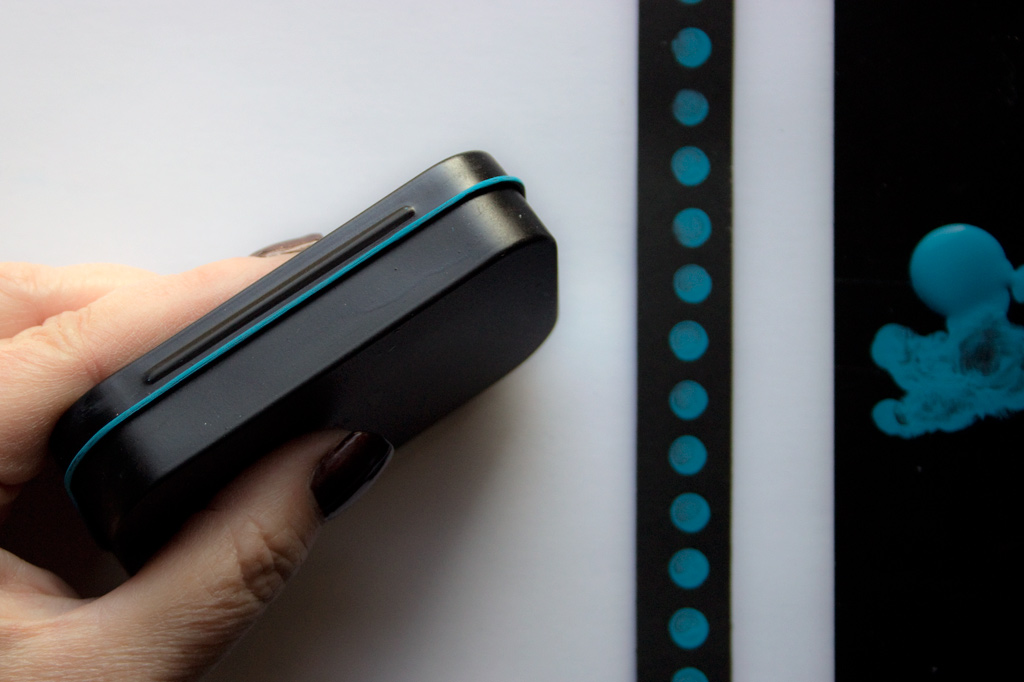
Grab a pencil with an eraser, and stamp fun dots of paint along the strip of cardstock:
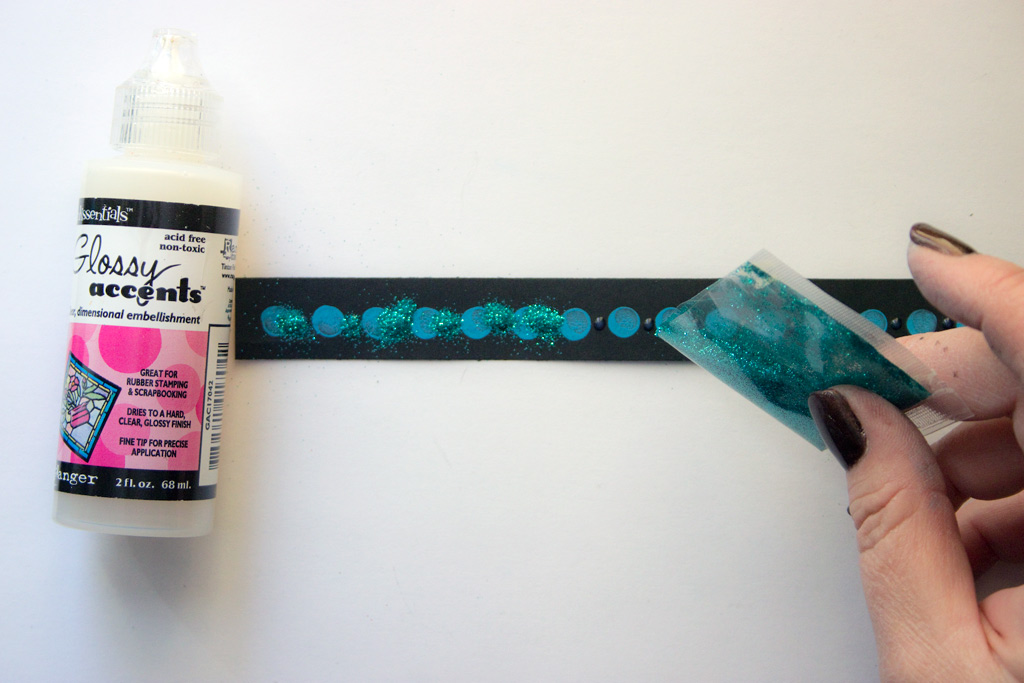
Once dry, add dots of adhesive and sprinkle with glitter:
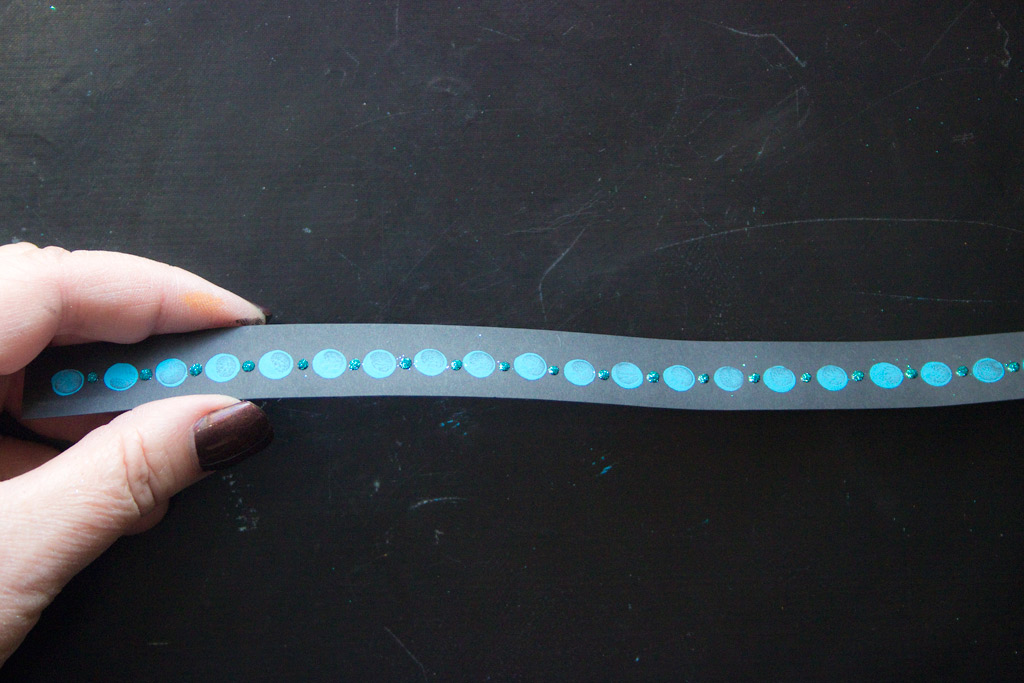
This creates a nicely finished surface:
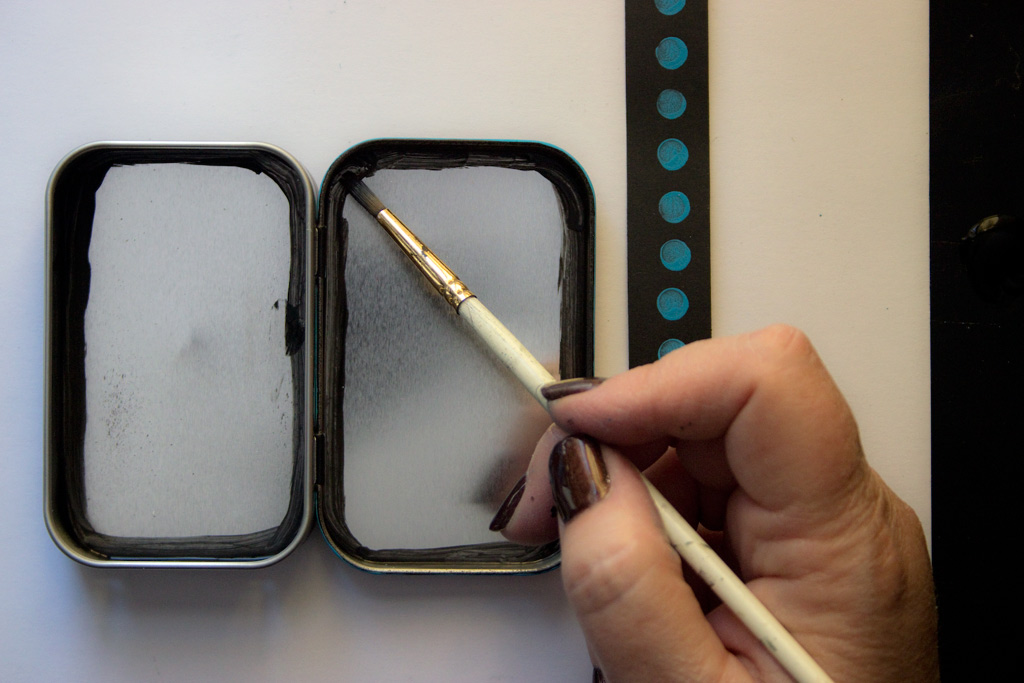
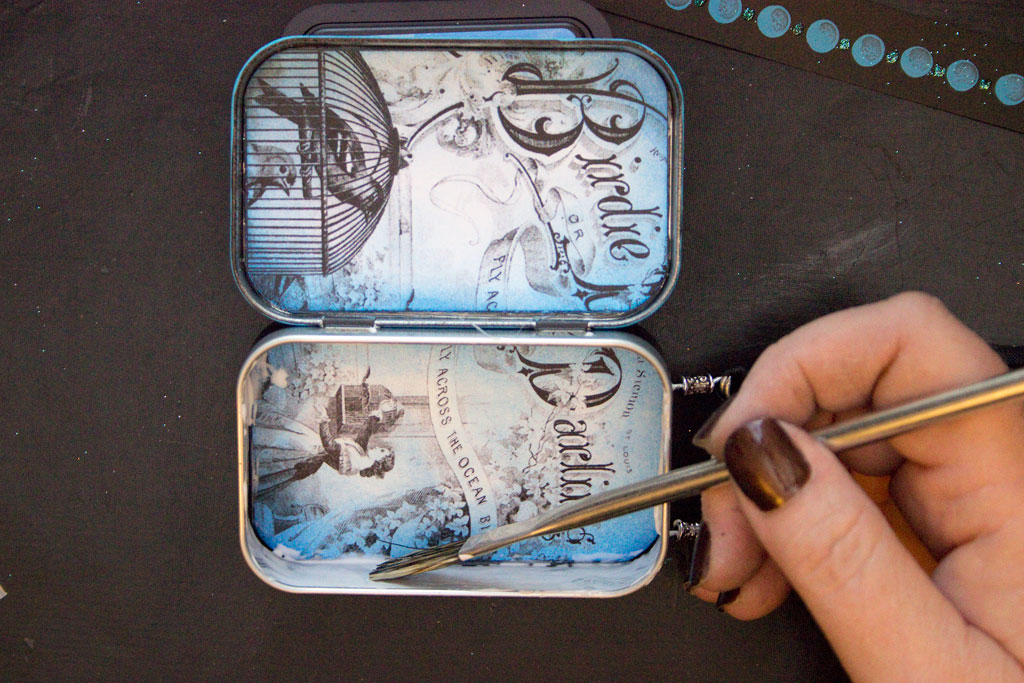
Use black paint to edge the seams of the interior Front and Back of the tin:
Use your finger to apply a tiny highlight of blue to the edge of the lid:
This looks lovely against the black:
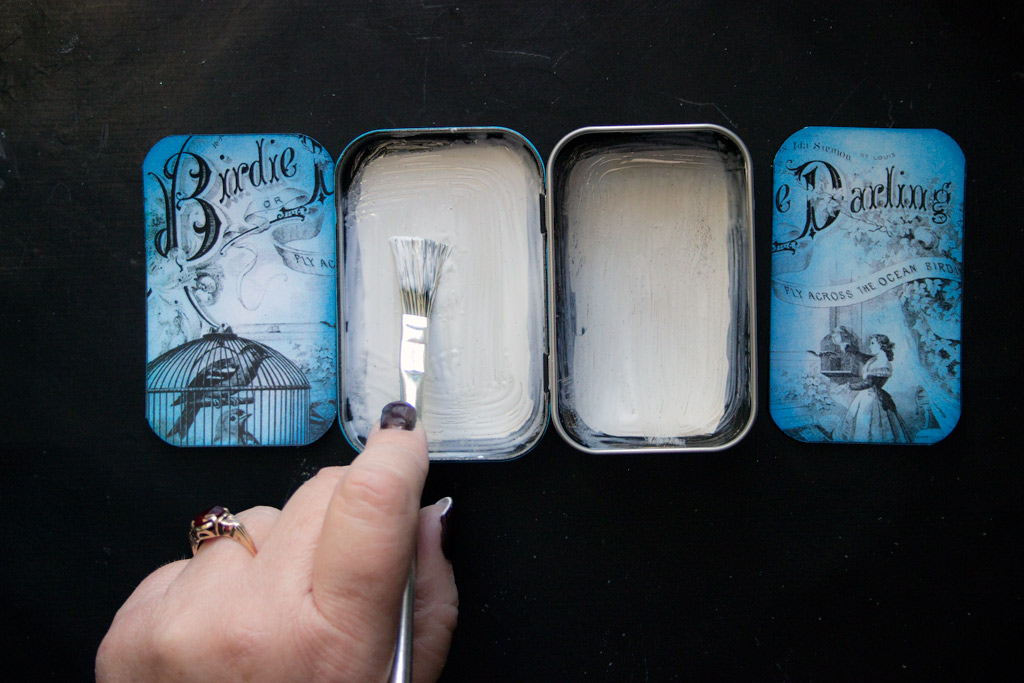
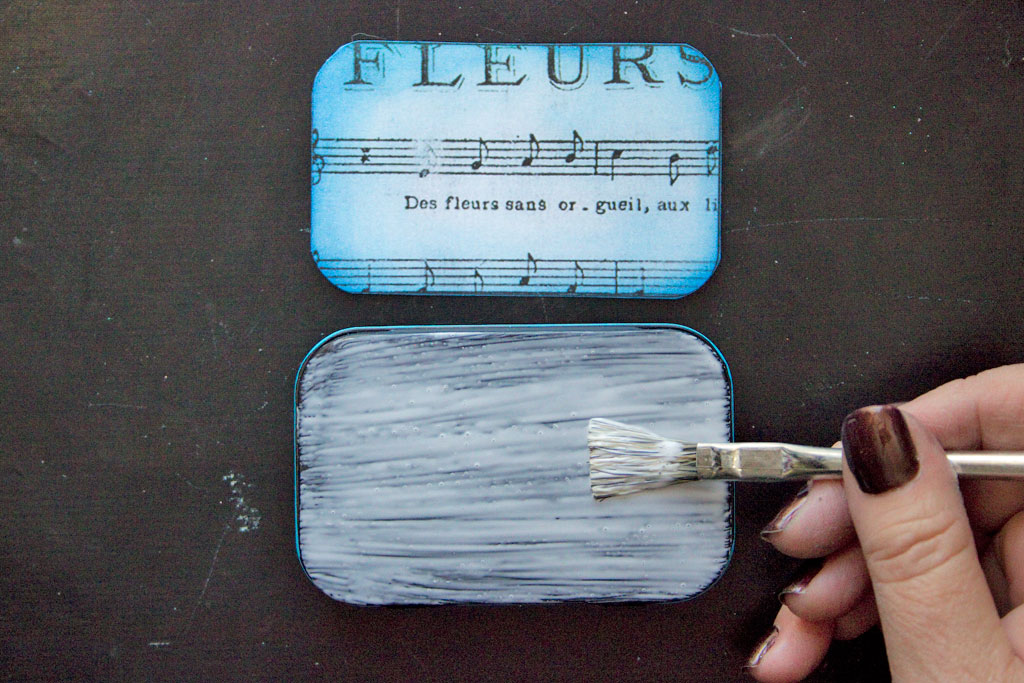
When the paint is fully dry, add a thin but even layer of Aleene’s Tacky Glue to the Interior Front and Interior Back of the tin.
Press the cutouts in place, and smooth them firmly.
Repeat this procedure for the Exterior Front and Exterior Back, as well:
If you are adding a necklace, do so before you glue the strip of paper along the Interior Side Wall, so that the wire will be concealed beneath the paper:
This is how it appears when all the cutouts have been adhered:
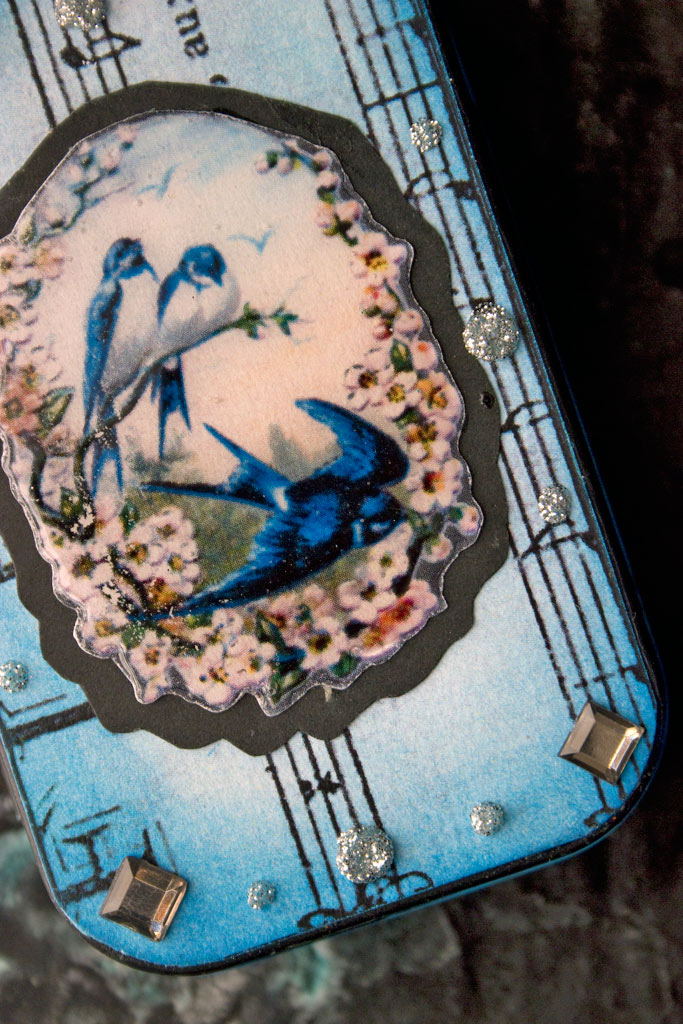
Glue the Focal Element in place, atop the Exterior Front:
And on the Exterior Back:
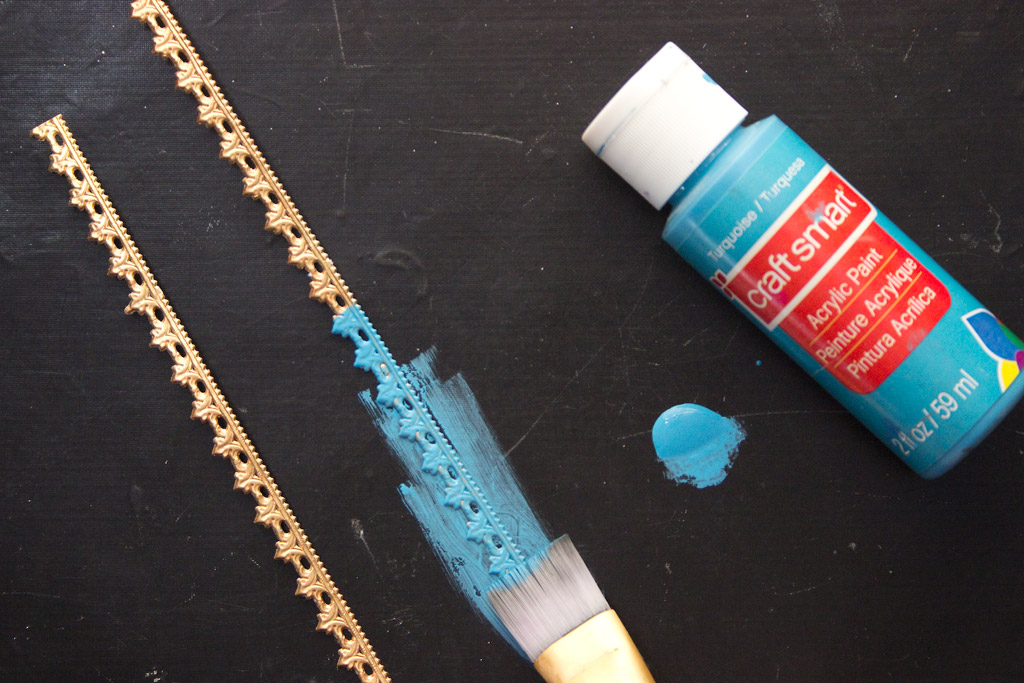
I like to tint Dresden Trim to harmonize with the project. Two coats of Craft Paint and this trim is ready to adhere to the outside edge of the tin:
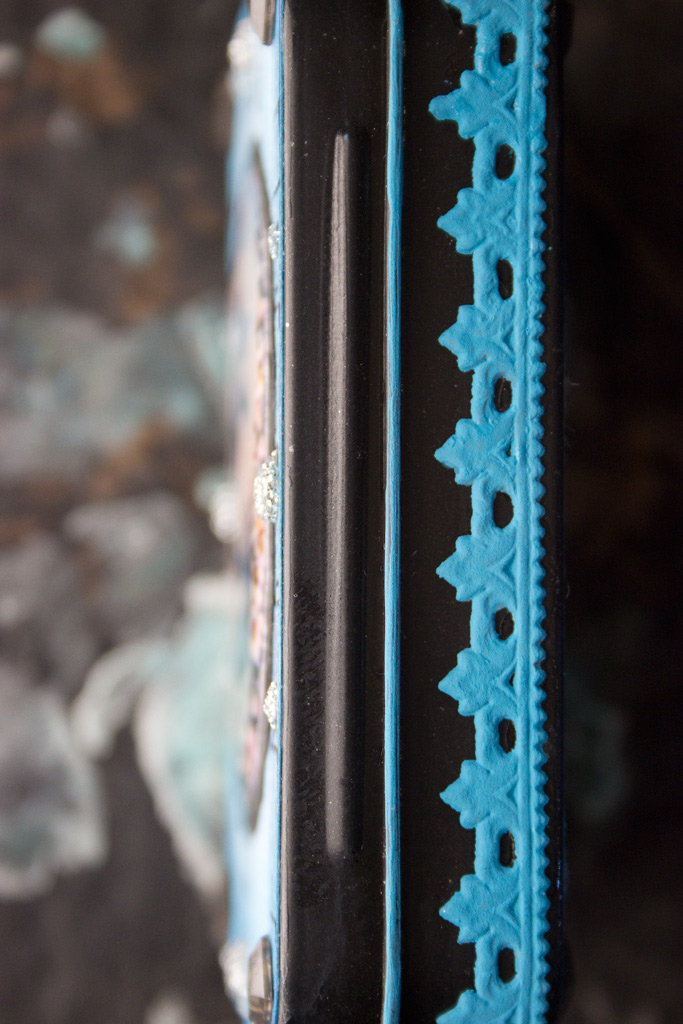
Once glued in place, the trim adds dimension, form and color:
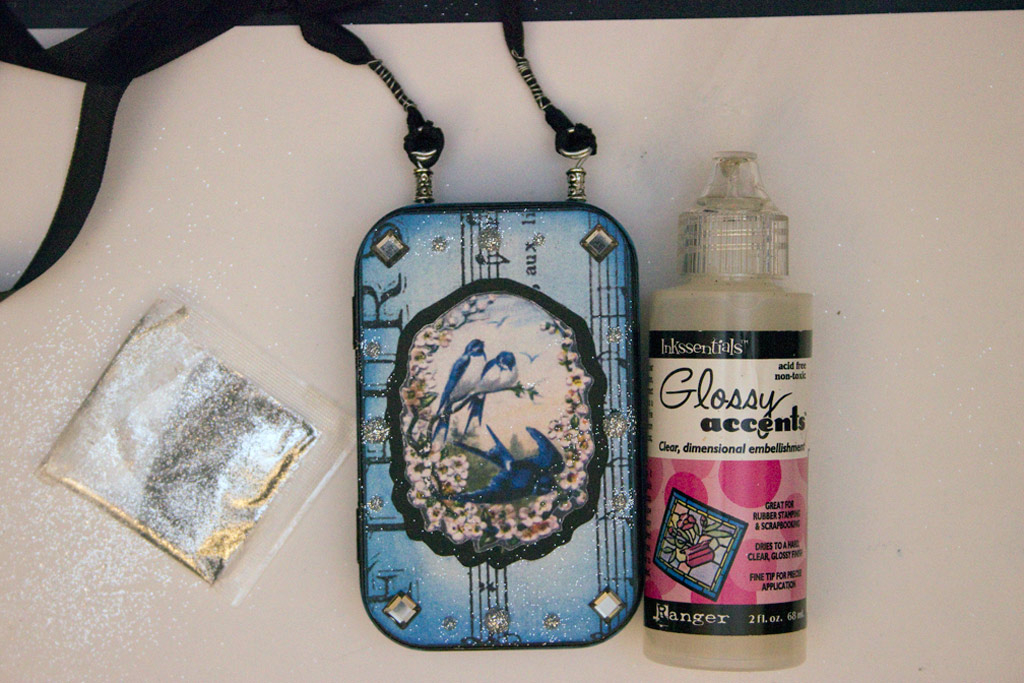
Add Glittery Dots and Adhesive Gems to the cover, if you desire:
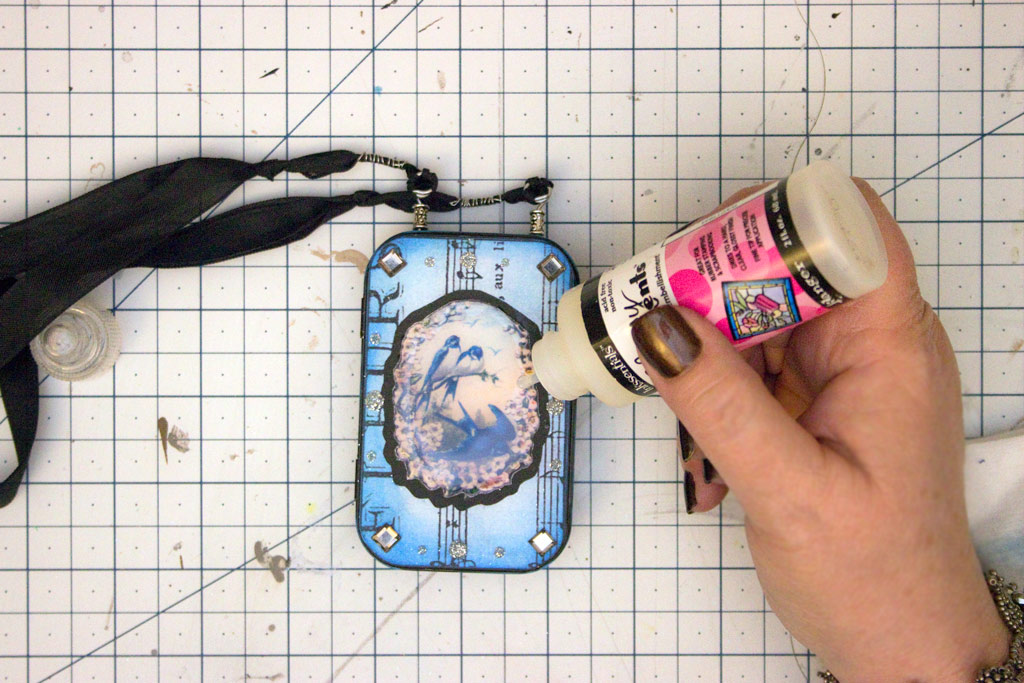
Add a pool of Glossy Accents to the Blue Bird Focal Element to create a lovely depth and sheen:
How to Create the Mini Book:
Cut strips of black cardstock 2″ wide by 11″ long.
4 Strips were used in the example.
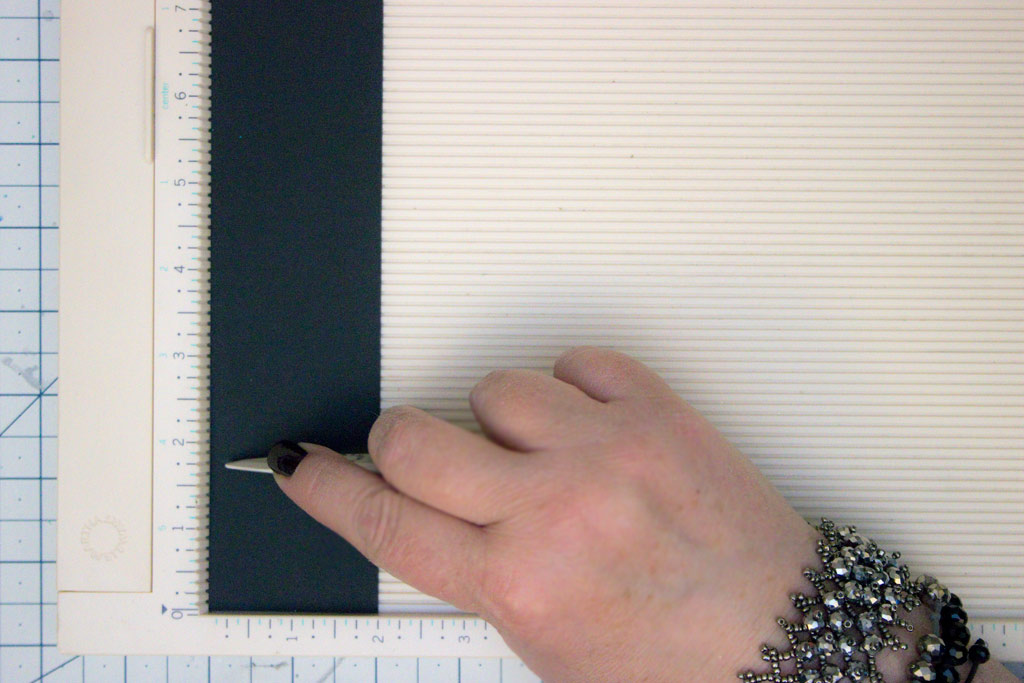
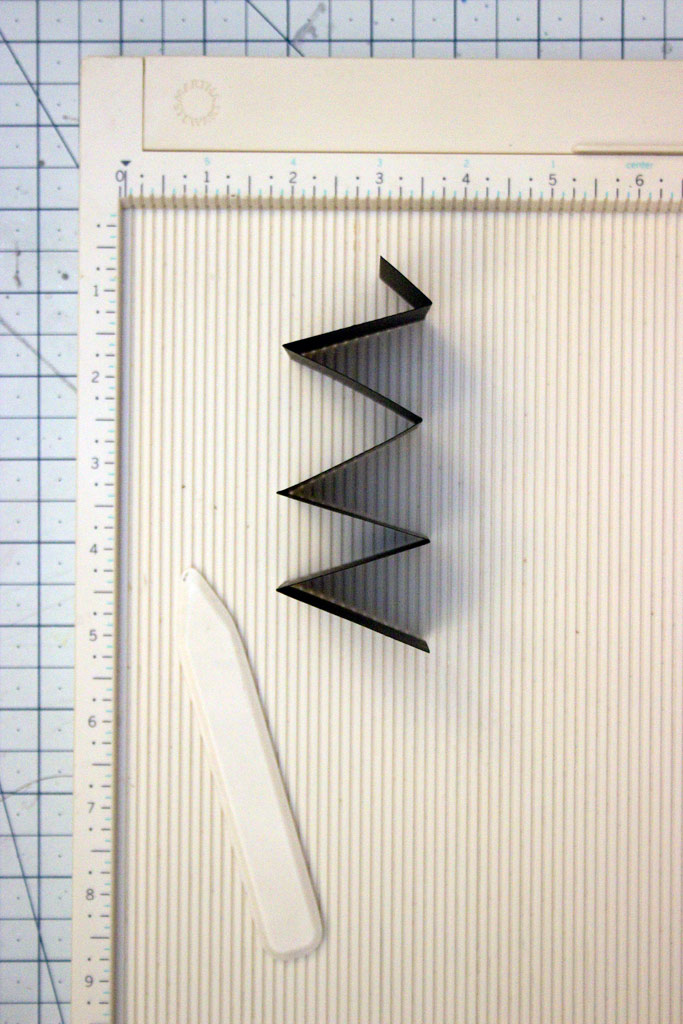
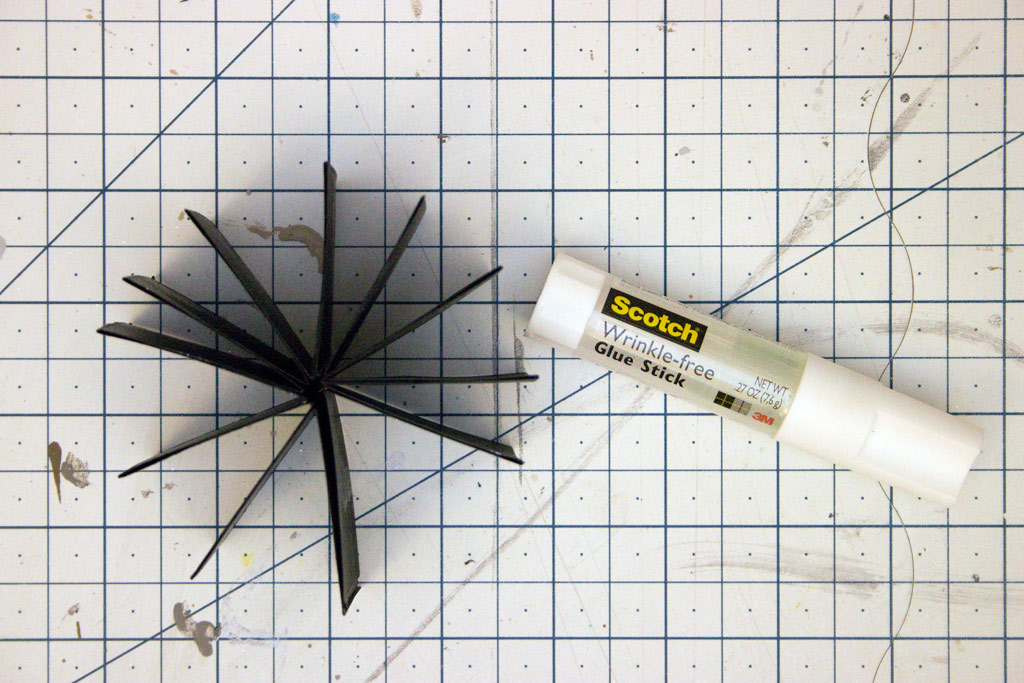
Crease each strip in increments of 1 3/4″, along the entire length:
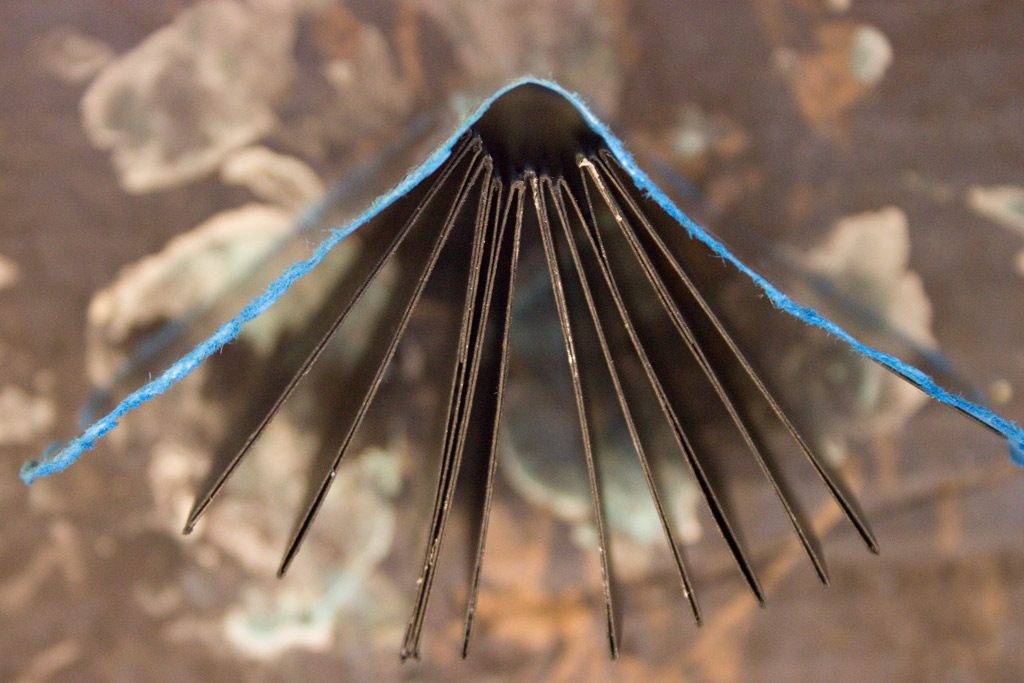
You’ll end up with squiggly pieces like the one pictured below.
Don’t snip off the little ‘tail’ – you’ll use that to glue the strips together into one long accordion.
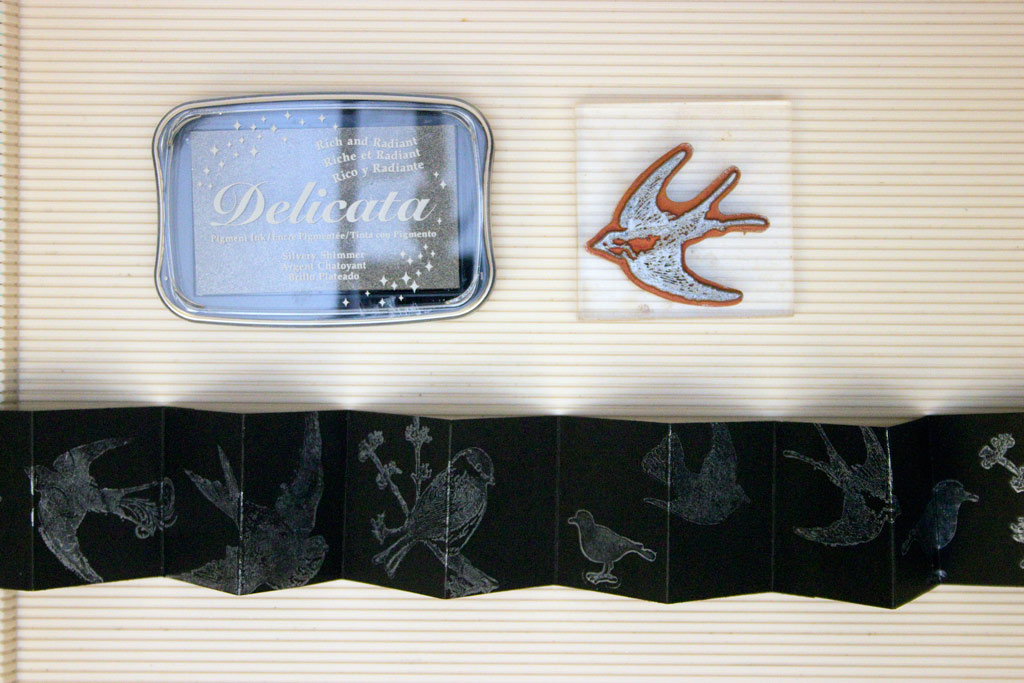
Once you’ve created the accordion, add stamped bird imagery to one side in a pleasing pattern.
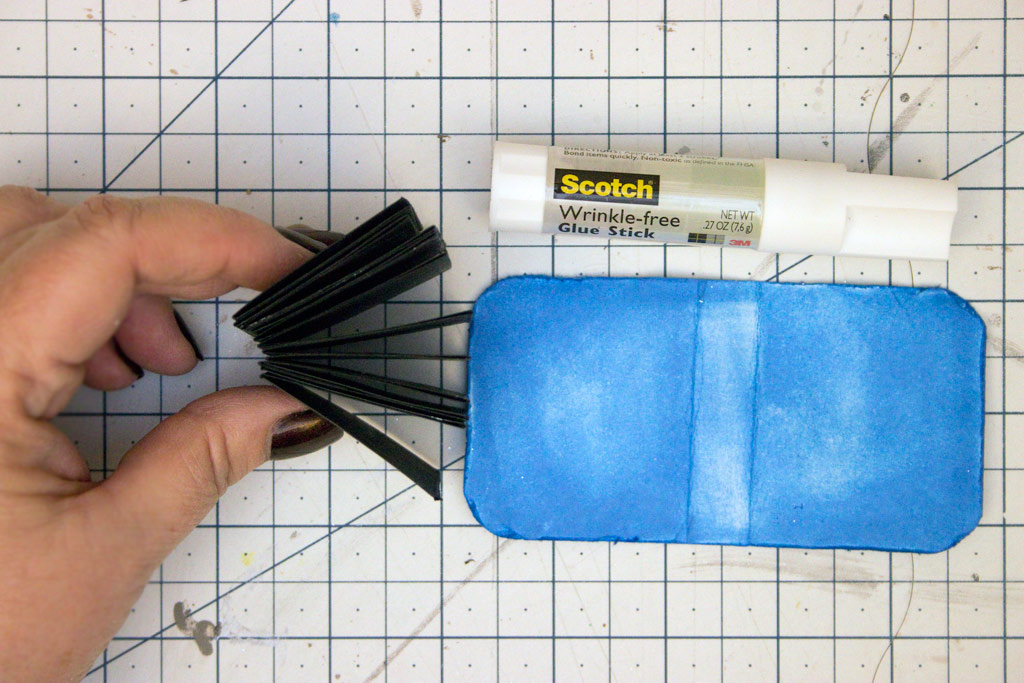
Apply adhesive to the back of the strip, and fold the strip into ‘pages’.
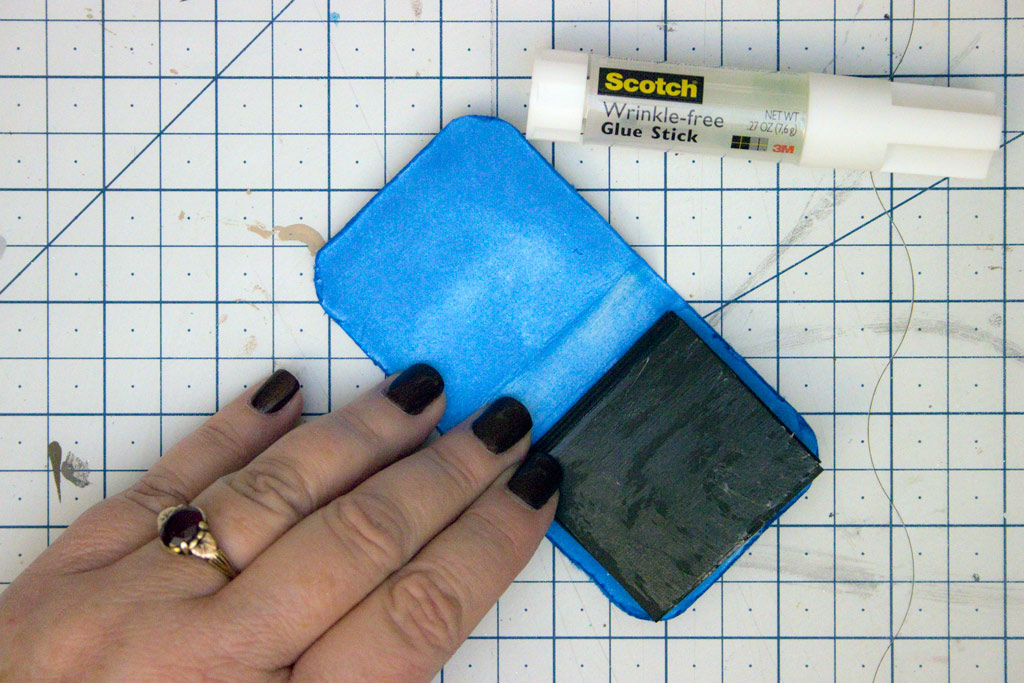
Note: you may have to trim off an end ‘panel’ or two from the completed set in order to glue into the cover correctly.
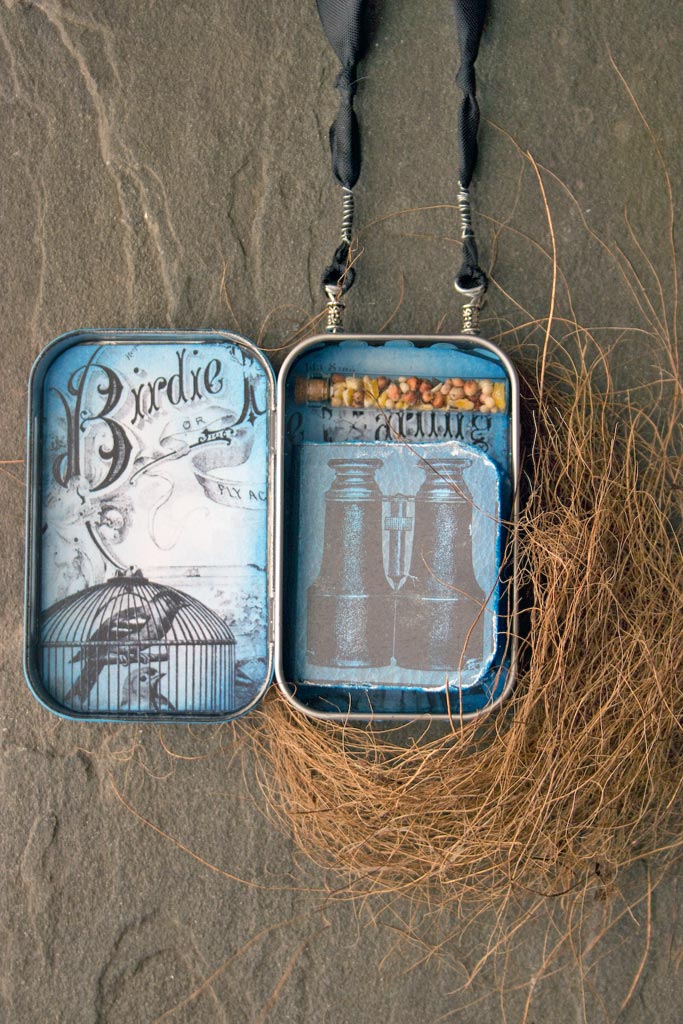
These will fit nicely within the ‘Birdwatching’ Book Cover:
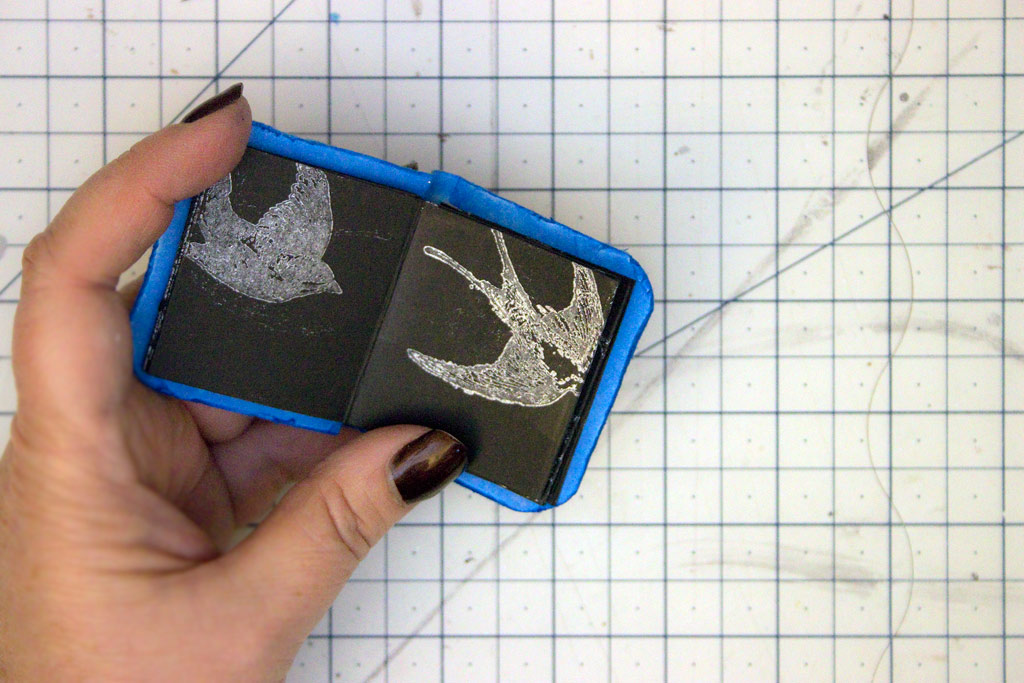
Adhere to both the front and the back cover, leaving the ‘spine’ free.
The result will be a charming Mini Book, perfect for tucking into the Altered Art Tin!
I adore tiny books. So cute!
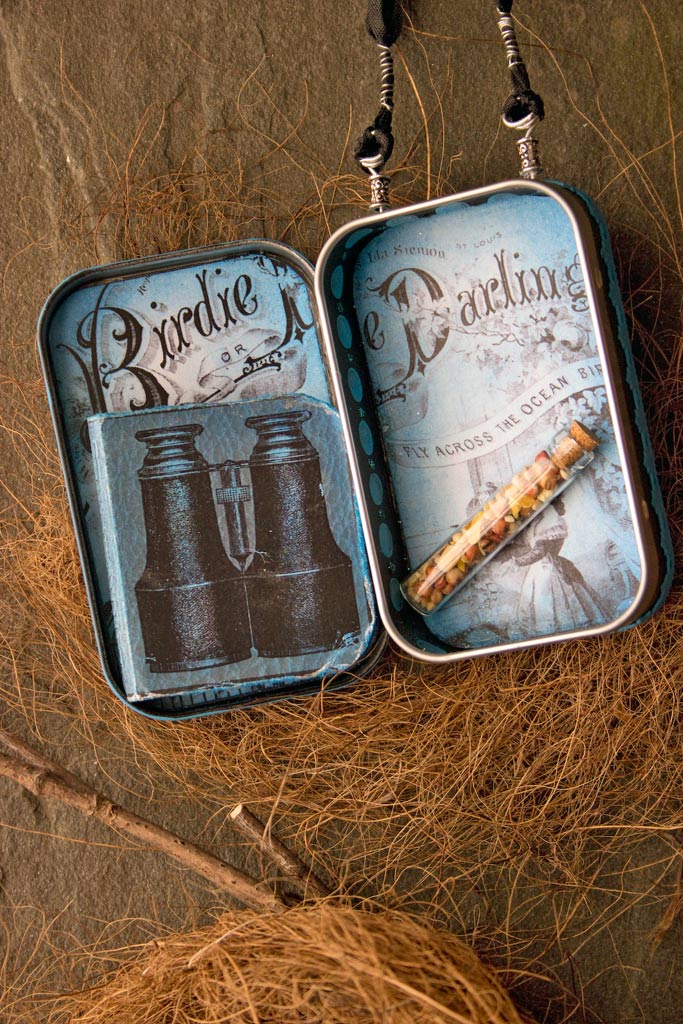
Add a tiny vial filled with birdseed, (because you never know!) and you have the perfect little keepsake for a bird loving friend!
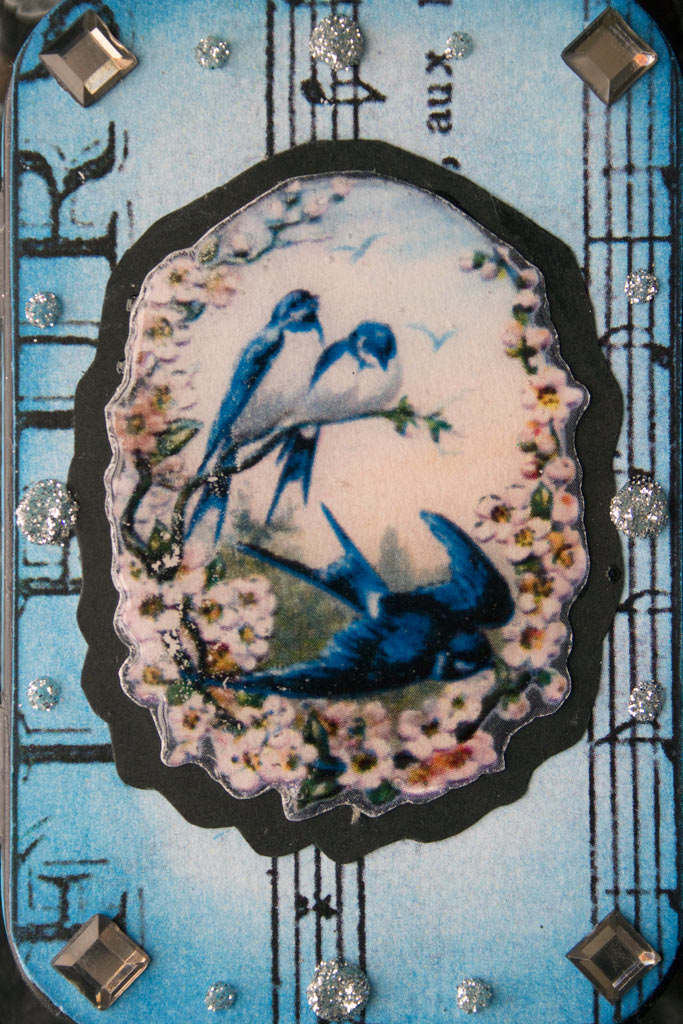
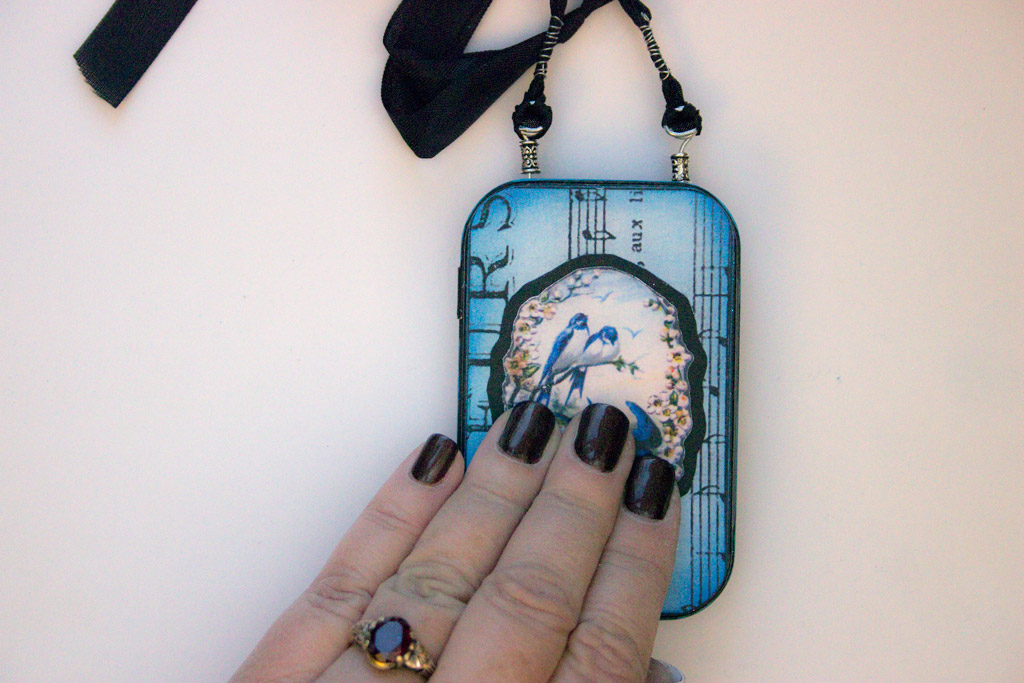
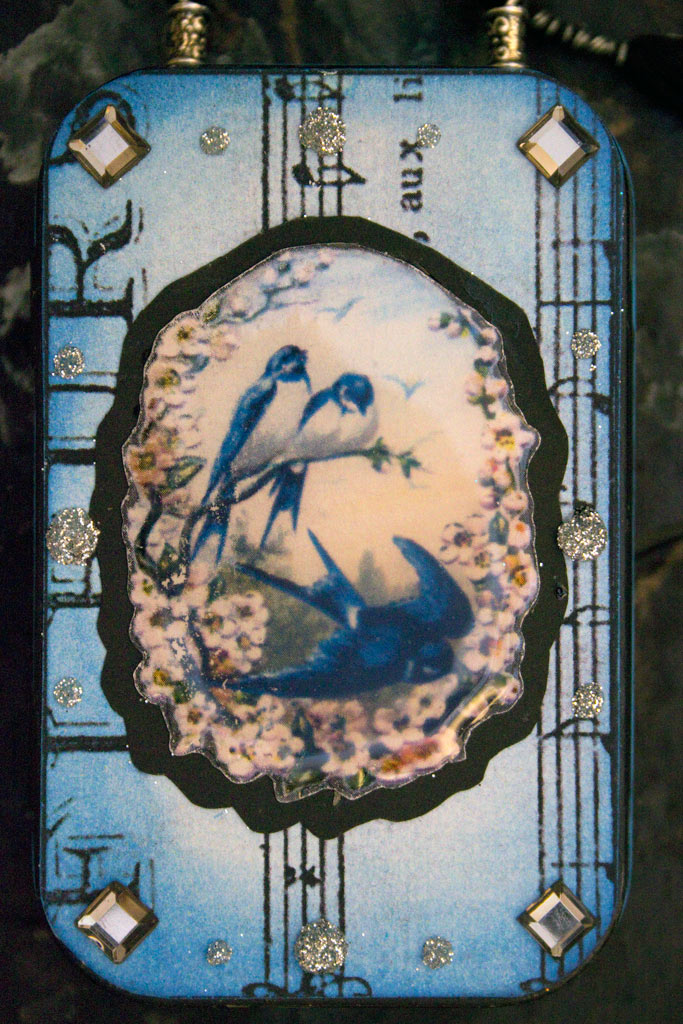
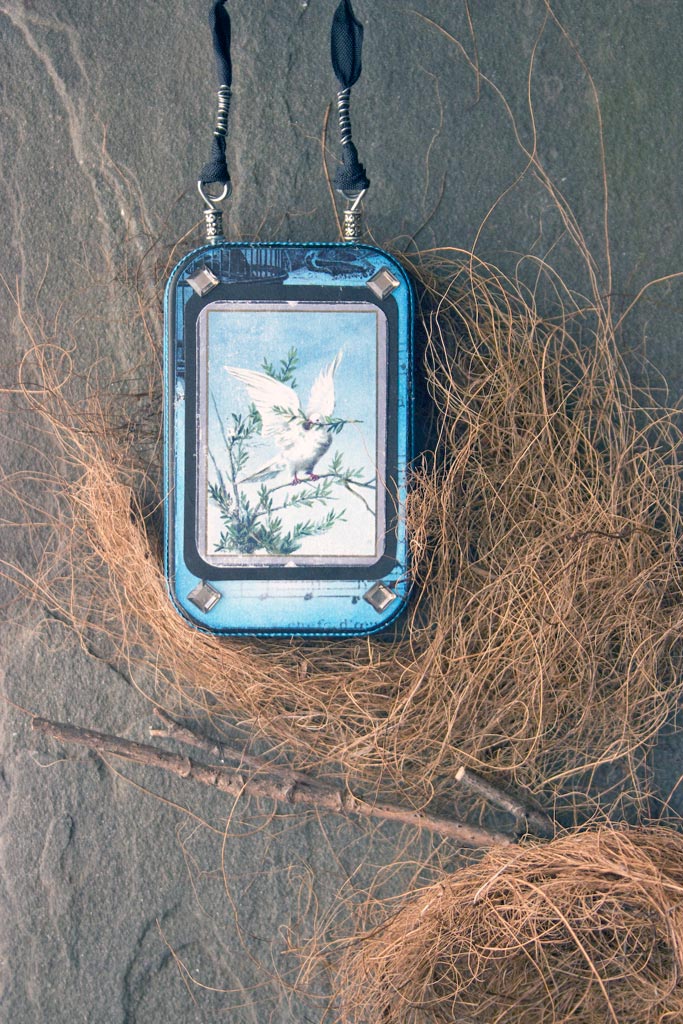
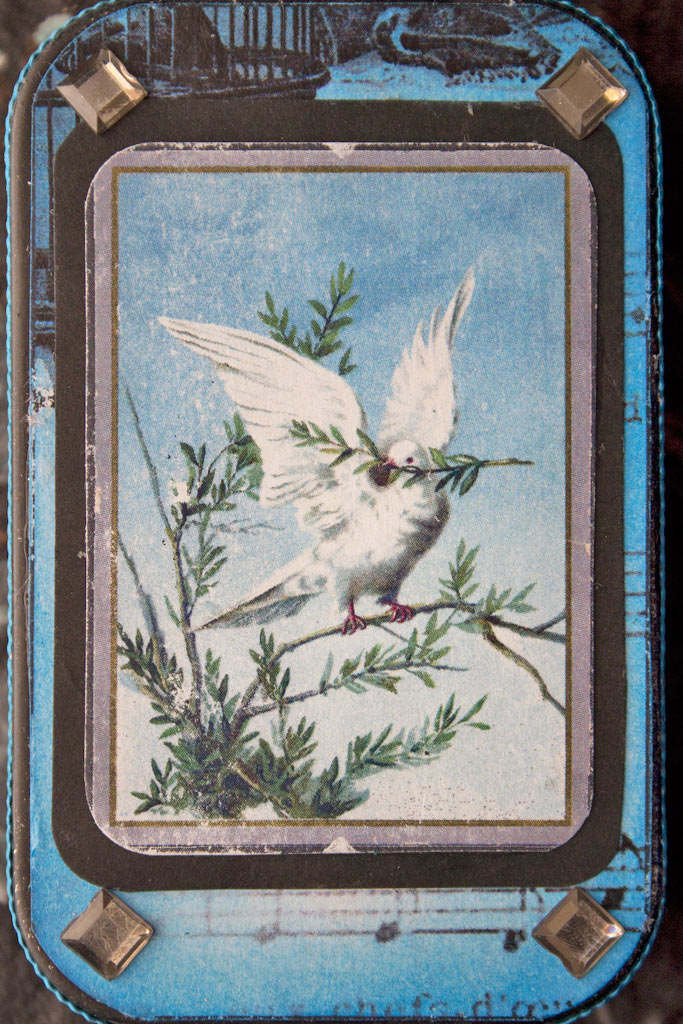
The cover has a lovely blend of color and shimmer.
This will bring a smile to the face of the lucky recipient!
And the little treasures inside? Bonus!
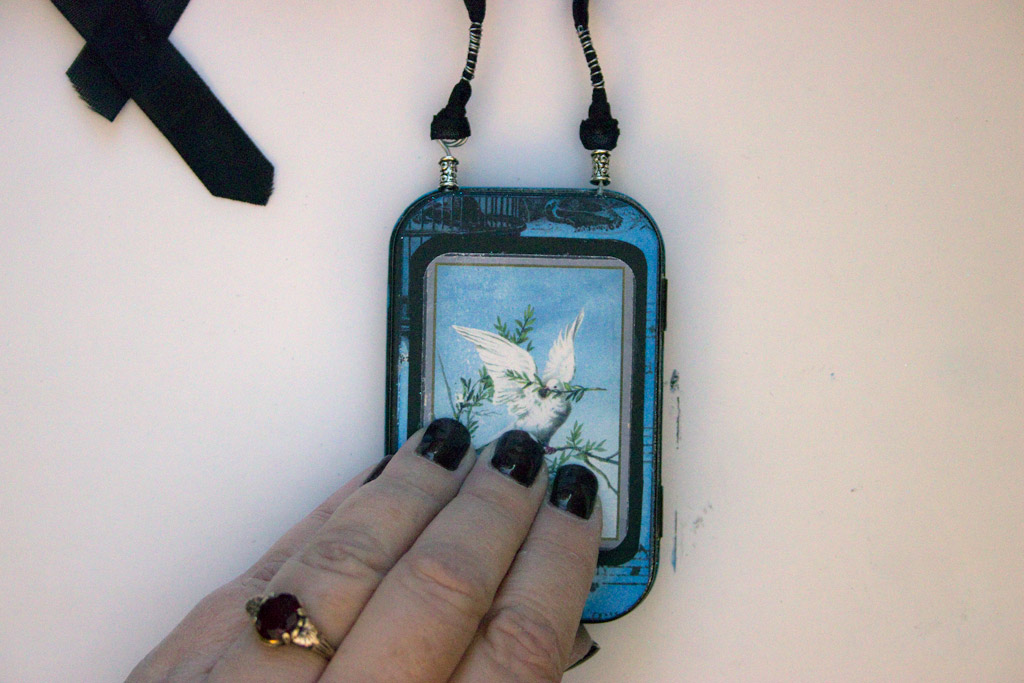
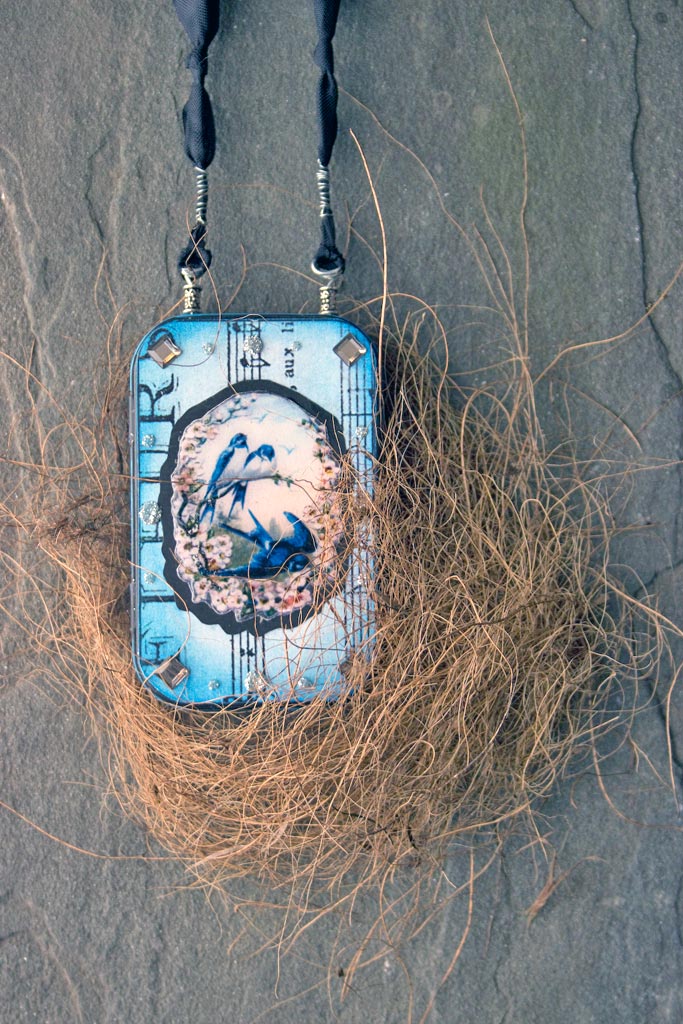
Even the back gets a bit of bling:
Ready to share a snack with some lucky Birdie…
Detail – Front:
Detail – Back:
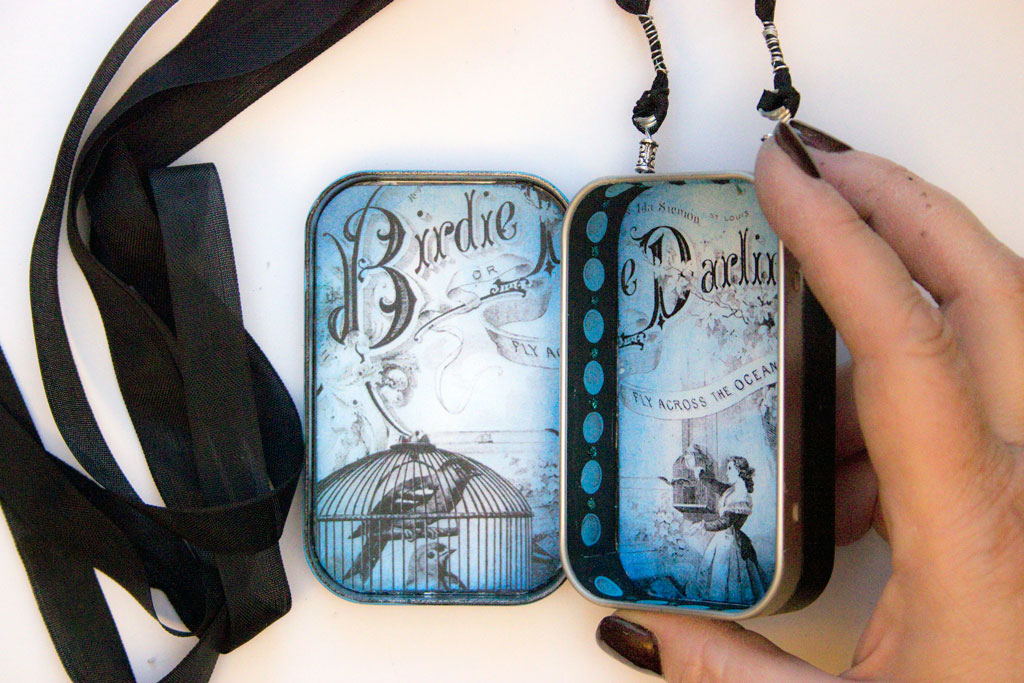
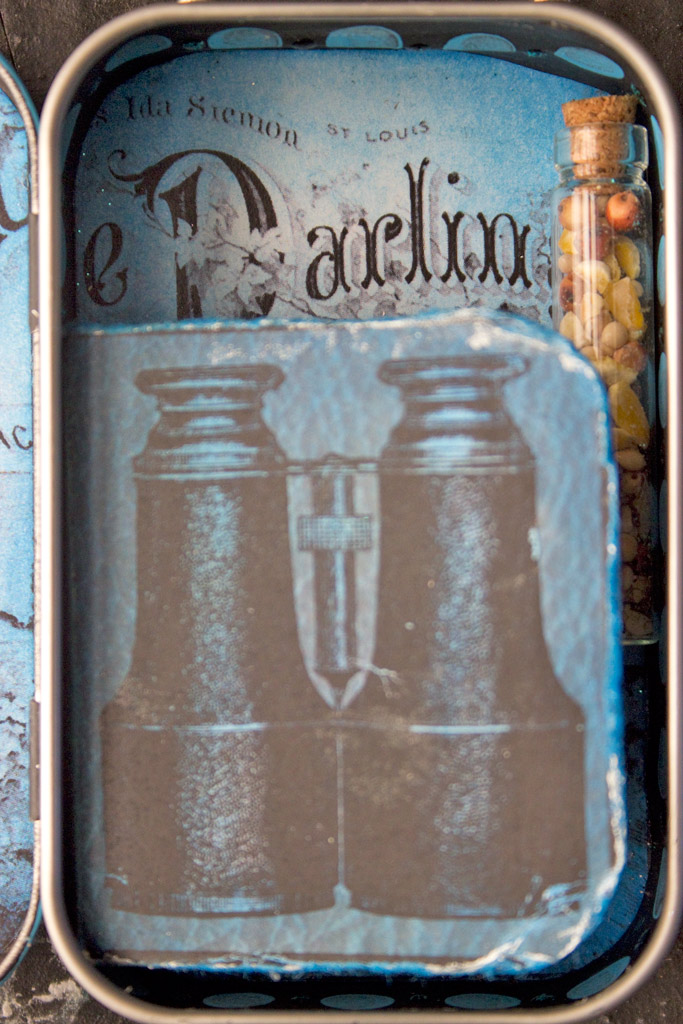
Interior Front:
Interior Back:
Add a layer of high quality Spray Sealer to protect the delicate pigments…
Thank you so much for visiting The Graphics Fairy today! It’s been a pleasure to share this fun DIY Altoid Tin Art project with you. I hope you are inspired to create your very own version!
You may also like another Altoid Tin Tutorial HERE.
For quirky, crafty goodness, visit me at Thicketworks – I’d love to see you there!
Until next time,
Heather
If you’ve always wanted to try the art of Mixed Media, be sure and check out this amazing course by Heather Tracy! Click HERE to learn more about it.








Erin Kaven says
Links are coming up item not found. Didn’t try all but did try the postcard and music sheet. Please check because I would love to try this project
Karen Watson says
Hi Erin, thanks for letting me know! I’ve gone ahead and removed those links, since they are not necessary for the project. You really don’t need them for the project since she created a printable right in the post. Just download the printable and you can start creating! The links were just there to reference where she got the images from for the Printable. I think it was probably confusing to people though to see that.
rkramadh says
Another gem, blast from the past from the one and only Heather Tracy! I miss her, I should probably ping her. In July of this year, I happen to acquire (ahemm.. buy lol) about 20+ tins that are actually mini cigar tins. They were so gorgeous and about a $1 each, how could I resist lol. I also have a few Altoid ones of course and this project reminded me I should make more of these. Heather’s instructions are always so thorough and no doubts/questions when I follow her tuts. I even bought two of her courses from GF from back in the day….reminiscing!
Karen Watson says
That sounds like a wonderful find Rupa! Yes, we miss Heather too. She is such a creative genius and a born teacher.
Daphne says
Loved this tutorial and project when it was first posted and so happy to see it again since it’s inspired me to make one for my granddaughter.
Karen Watson says
I’m so glad to hear that Daphne! There are so many good tutorials in the archives here that I even forget what we have! I’m sure your granddaughter will love her handmade gift from you.
Tom says
Brilliant…. Love it!!!
Karen Watson says
I’m glad you enjoyed this one Tom!
Amy says
What a lovely thing to make! Thank you for the instructions. They were very thorough. I think I might give this a try. Have you done anything like this with the mini tins?
graphicsfairy says
Thanks Amy!
Heather Tracy says
Hi Amy – I have not worked with the mini tins, but they are so cute. I just might have to! Thanks for your kind words.
Karen Butts says
I was very excited to make this tin project but when I went to print out the graphics only half the sheet is printing. Is this my printer?
Heather Tracy says
Hi Karen…uh oh! I just tested printing the PDF, and all was well. I’m sorry to say, it may be your printer…are you able to print other full sheet designs?
theresa forge says
This is a beautiful little project! I cant wait to make one! May I ask you about the ribbon you used for the necklace part of it? Did you make it yourself? Is there a tutorial for that? Thank you~
theresa forge says
now see your supplies in the long list~ :). Is there a photo of the necklace part?
Heather Tracy says
I don’t have a photo that details the necklace, Theresa, but you could just run ribbon through the holes to achieve the same thing – thread some beads on the ribbon – it would be pretty!
Heather Tracy says
Hey Theresa…I didn’t include my process for the necklace, but it’s pretty simple: I bent a piece of wire into a “U” shape, ran it through the holes in the tin, slipped beads over each end, then twisted loops in the ends of the wire, and snipped off the excess. Then just ran Seam Binding Tape through the wire loops and tied the ends. Hope this helps!
Rupa says
Heather, I am so thrilled to see a tut from you here. I LOVE this cute little tin project. So many techniques and goodness in this mini project. I may do this without the dangling and gift it to a bird addict…ME! Of course, hard to believe but I just bought a mini altoid tin (not for altoids) two days ago and here is your project 🙂 I could try some of these techniques on a domino too…thank you so much again for the fabulous instructions and the beautiful images all ready to go. I am so very grateful for your ideas and generosity!
Heather Tracy says
Yay! Hi Rupa…It warms my heart that you find this little project useful. Thank you for your kind words, and I hope you have fun making your Altered Art Tin, and Domino too! I’m grateful for your encouraging support, today and always! xox
Kathleen Kemler says
Oh heather, this is too wonderful. Can’t thank you enough for
such a creative idea. I just love this!
Heather Tracy says
Yay! I’m so glad that it pleases you, Kathleen…it was such fun to create. Thank you for your kind comment! xox
Fernie says
This tutorial was wonderful, well done! Can’t wait to make this, must get my tin soon.
Heather Tracy says
Hi Fernie! It’s such a fun little project – I know you’ll enjoy it. Thank you for your kindness. xox
Joey says
Thank You Heather. It is beautiful and I will have to make one. You always give the best instructions and it always turns out so so so good. Have a great day!
Heather Tracy says
Hi Joey! Oh, I’m so glad you like this one…and thank you for the feedback – it’s always great to hear that the steps make sense! xox