Dollar Store Pumpkin Crafts
Today we’re going to make a fun and inexpensive Dollar Store Pumpkin Craft! I love book page crafts… maybe that’s because I love books so much! But also, because book page crafts are inexpensive, they use materials that most of us have on hand already and the neutral look of the all over black and white text, is a great background drop for pretty much anything that you would like to add to it. I hope you will have fun creating these fall crafts!
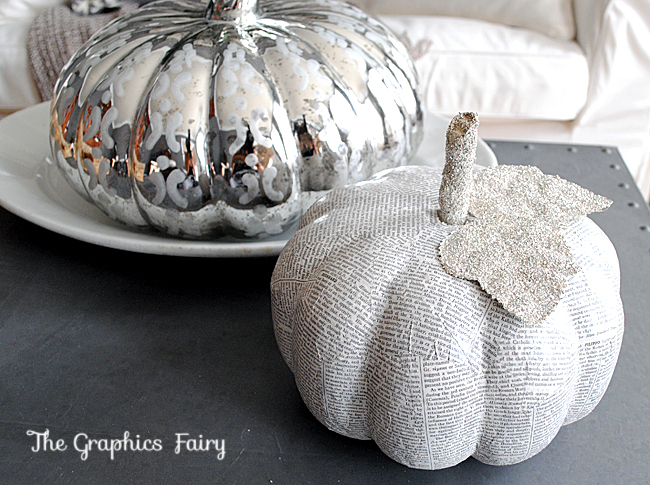
Today I’m sharing a fun project that I created for my Fall Decor! I made some cute farmhouse style Book Page Pumpkins. I got the inspiration to make these after seeing the ones that Heather from At the Picket Fence made! I did my own spin on them, mine are a little more sparkly, no surprise there, I’m sure by now you guys know that I love glitter!
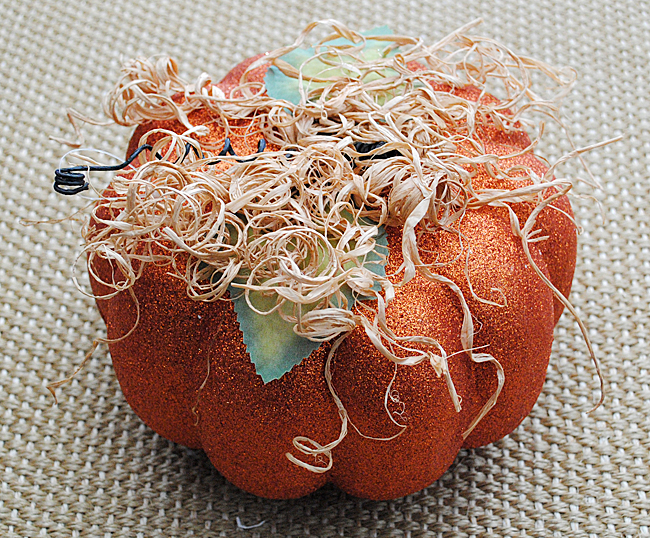
I just used some of those cheap foam Pumpkins from the Dollar Store for this easy craft project, it’s lightweight and appears to be made out of some kind of foam. Here are the craft Supplies that I used…
Dollar Store Pumpkin Crafts Supplies:
- Dollar Tree foam Pumpkins
- Paint (I used Annie Sloan Chalk Paint)
- Book (If you don’t have one already, buy one at the dollar store, thrift store, or yard sale)
- Mod Podge Matte
- Foam brush
- Stick (Just an old Twig from your yard will do!)
- Glitter ( I used German Glass Glitter)
- Elmer’s Blue School Gel Glue
- Hot Glue Gun
Full Tutorial Instructions:
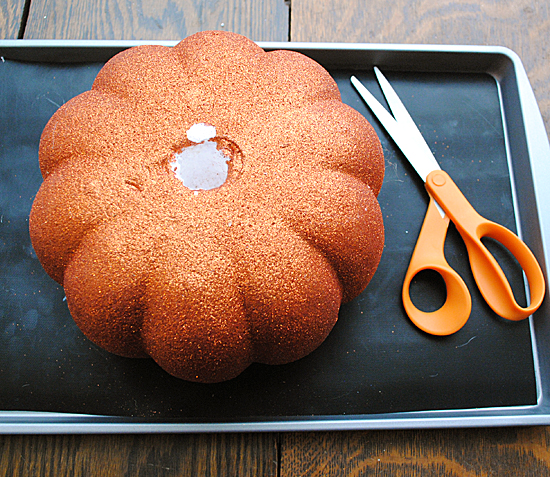
Step 1: First remove the embellishments from the pumpkin. You will want to keep the faux leaves though, as we will reuse those on this project later!
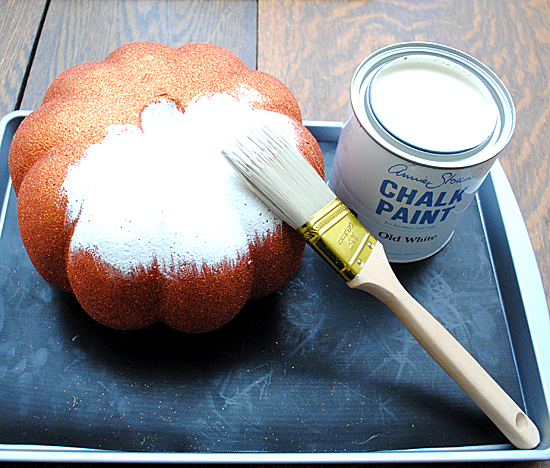
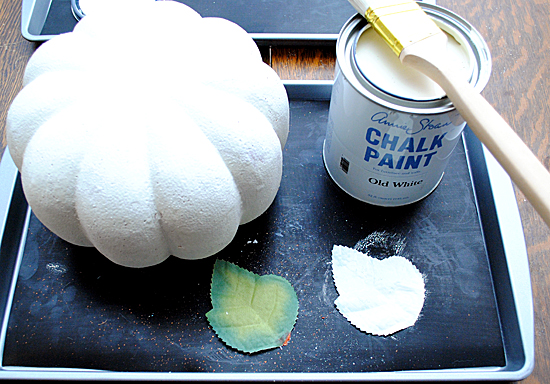
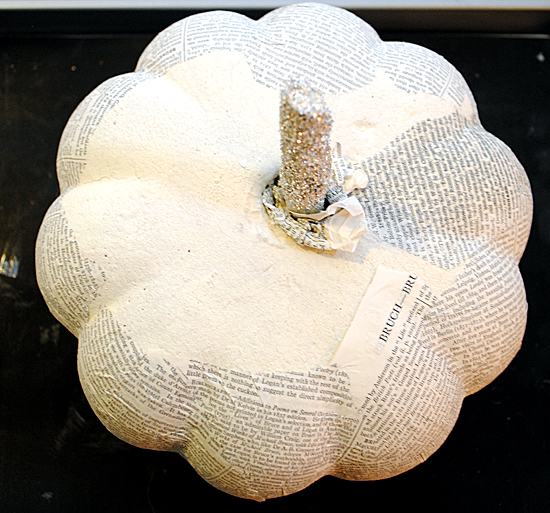
Step 2: Next Paint the Pumpkin, so that none of the orange peeks through in case you miss a spot with the paper later. I used white chalk paint… in particular I used Annie Sloan Chalk Paint in Old White, and the whole thing was covered with one coat!
Step 3: Paint the leaves with you White Paint as well and set them aside.
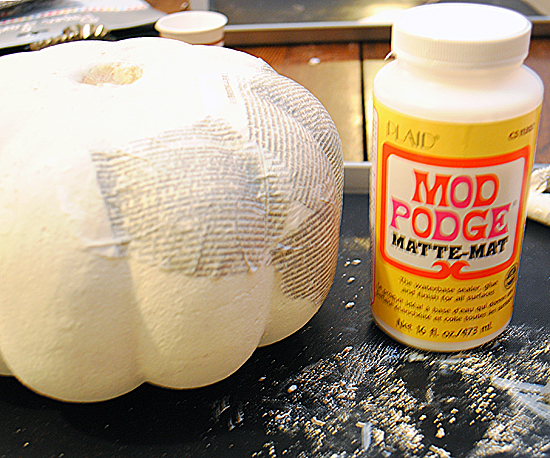
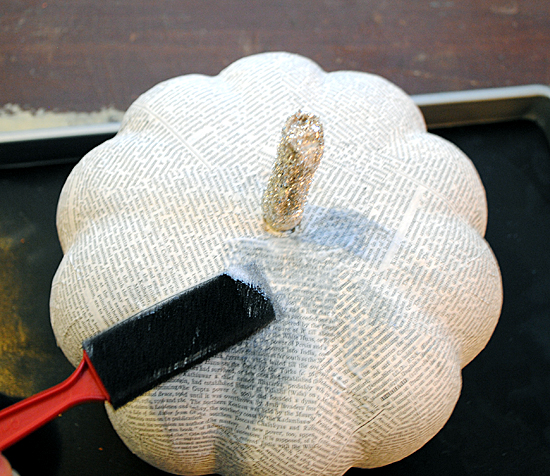
Step 4: Begin by tearing bits from the Book pages. Use the Mod Podge Matte and a foam brush to apply the paper. Work your way around as much as you can, and then let it dry and flip it over to do the underside.
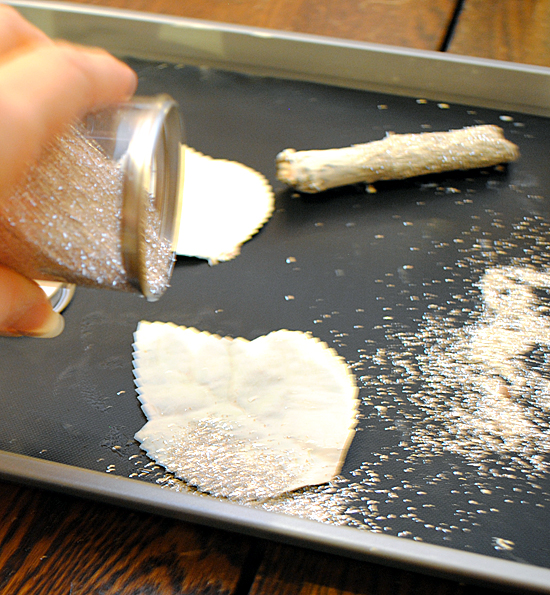
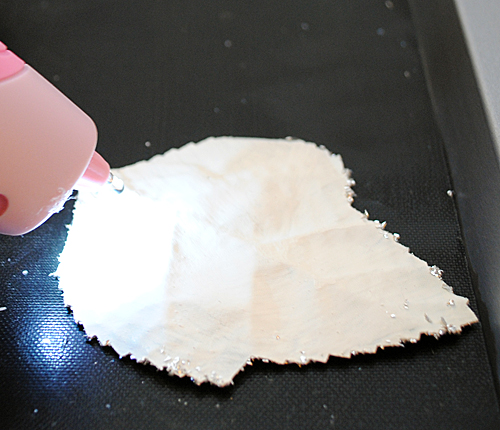
Step 5: Meanwhile, apply the Elmer’s Blue School Glue Gel to the leaves, and to the stick, and shake on the glitter to cover them. I always use this type of glue with the Glass Glitter because it really grabs it and keeps it in place on your project. (Safety Note: Please keep in mind Glass glitter is made of glass, so wearing gloves and safety glasses is best. Do NOT use this glitter with kids)
Step 6: I was left with a large gap in my Dollar Store pumpkin, where the raffia had been. I took some more book pages and rolled them into coils and stuffed them into the space, to fill it, all around the stem twig. If you don’t have this problem, you can just insert the glittered twig, with out the paper coils.
Step 7: Finish decoupaging the book pages on around the top, where the gap was filled in. I just went right over the paper coils and it hid them perfectly! You can apply a final coat of the Mod Podge all over the outside of the pumpkin to protect it if you like. It will add a slight sheen to it, so keep that in mind in case you prefer a less shiny finish.
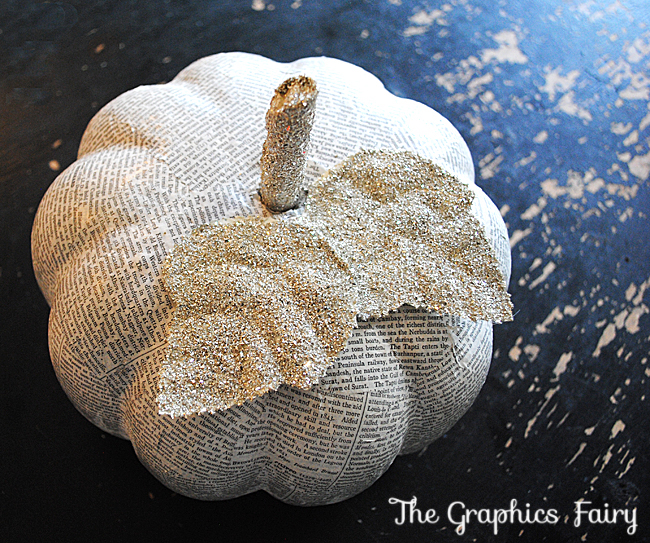
Step 8: Next Hot Glue the glittered leaves to the top of the pumpkin. I like them sort of together like you see in the photo below, but you can arrange them however you like.
That’s it, now you are done! Such a fun and easy Fall Craft right?! I love fast projects. You can now display your lovely book page pumpkins in your home decor.
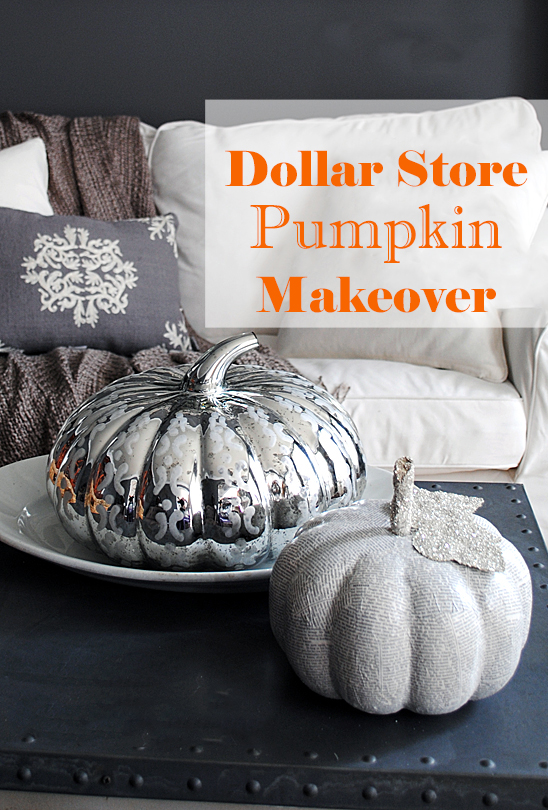
They are much more sparkly in person, the Glitter Leaves are really pretty next to the book pages! I displayed mine next to a Mercury Glass Pumpkin for even more sparkle and shine in my Autumn Vignette. I hope you enjoyed this Dollar Store Pumpkin Craft and it brings on some Fall Spirit. For more Fall Decor Ideas check out our Beautiful Fall Coaster Project HERE Or for more Book page crafts check out our Book Page Ornaments HERE.
Karen
Welcome, I’m so glad you’re here! Browse around to find thousands of Stock Images that you can use in your projects or designs! I post new Vintage images every day, as well as projects and DIY’s too! Need more info about my site? Try my FAQ page.


Linda Weber says
FUN FUN FUN Thanks Karen
Friendly reminder- glitter of any sort should be tossed in the garbage, never down the drain!
Karen Watson says
Thank you Linda! Good point about the glitter! 🎃
JK says
Why paint it first if it is covered completely with pages?
graphicsfairy says
The original color might bleed through the light book page once the Modge Podge is applied. It just makes for a cleaner project 🙂